
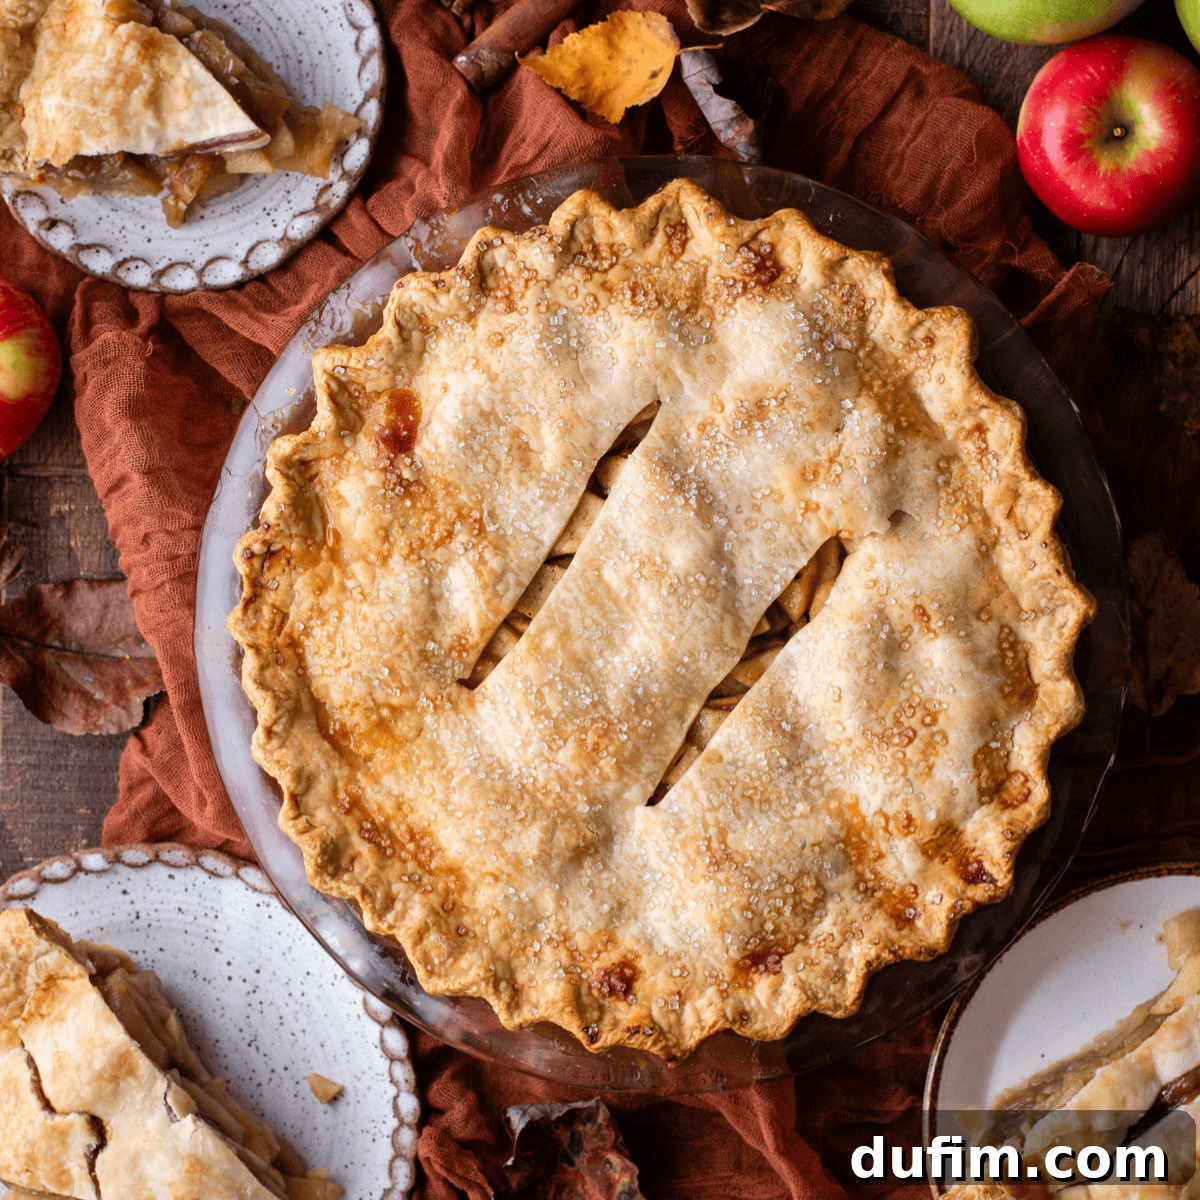
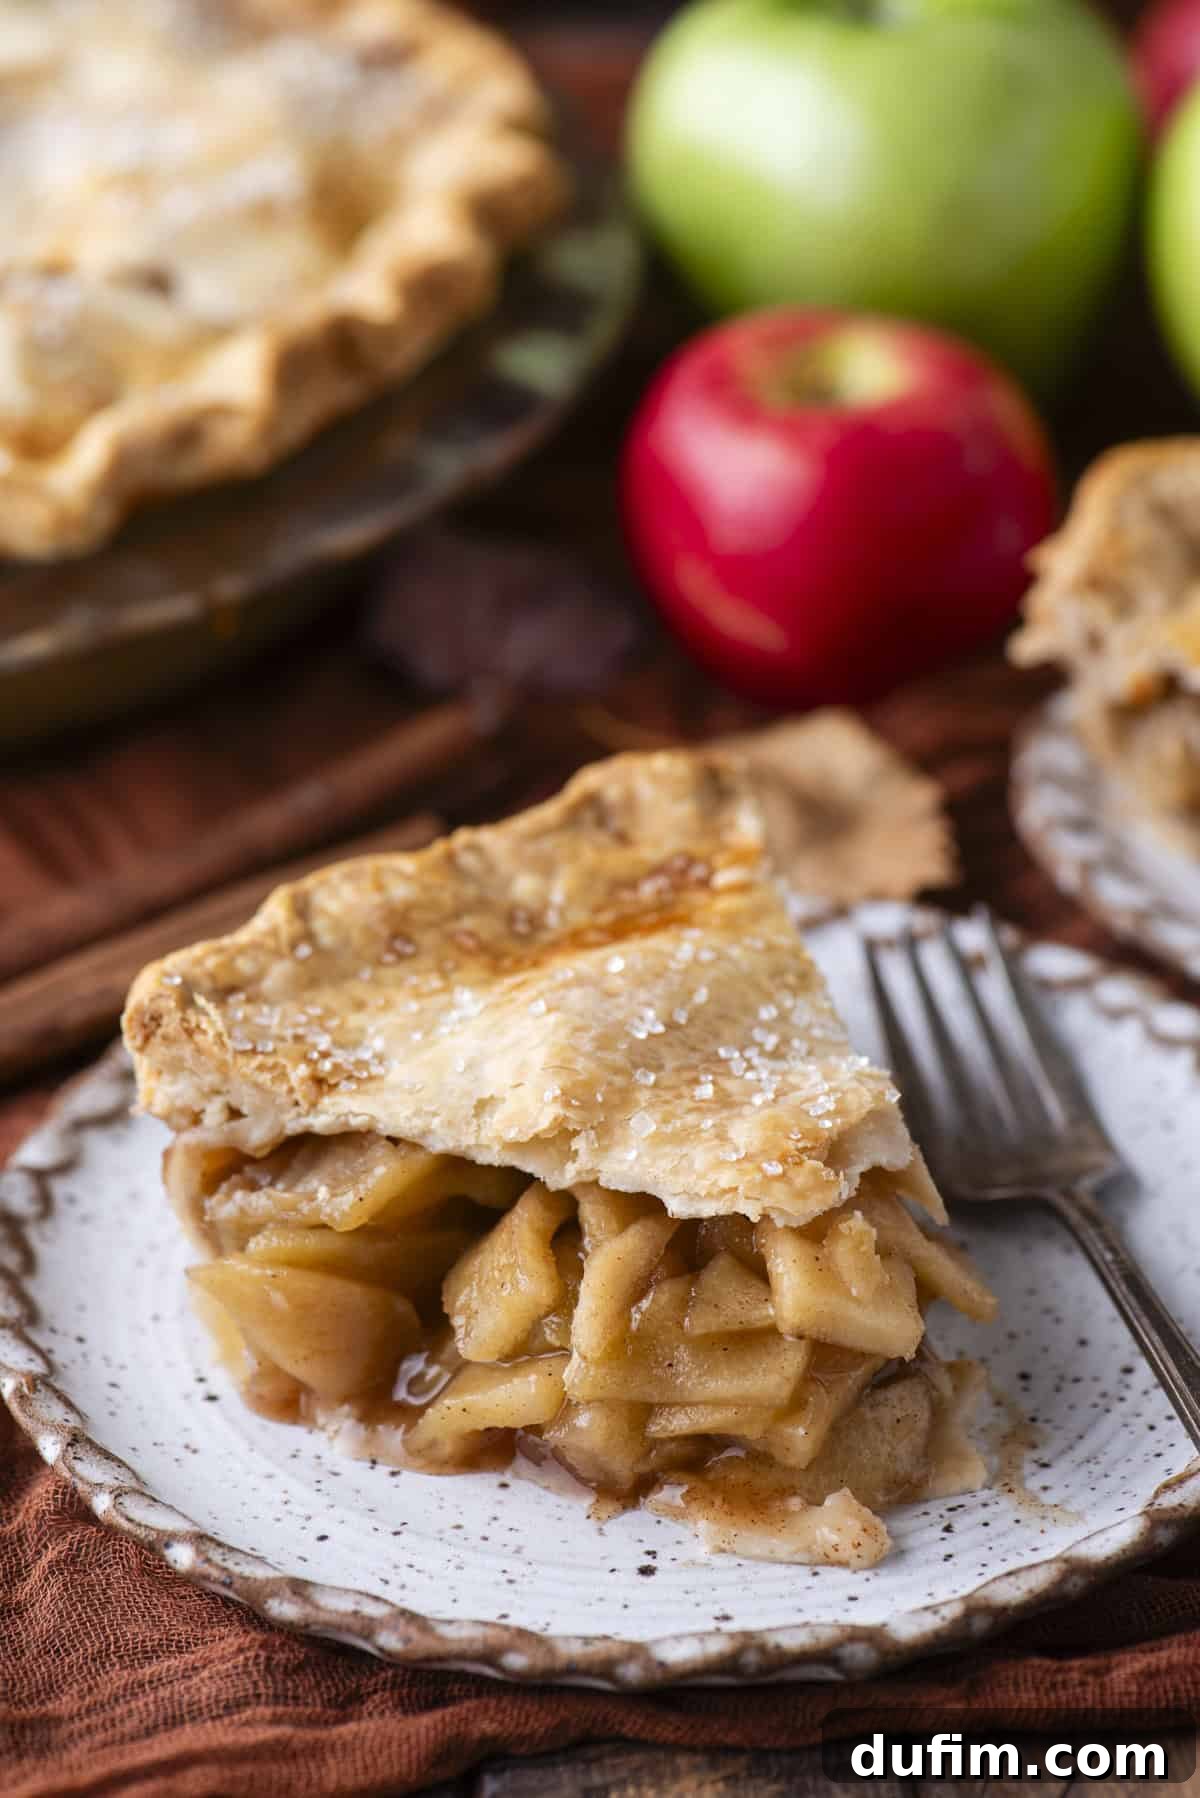
Embark on a culinary journey to create the quintessential homemade apple pie, a dessert that evokes warmth, comfort, and nostalgia. After countless hours of dedicated testing and refinement, I’ve uncovered a truly transformative technique: harnessing the natural juices released from apples to craft an intensely rich, aromatic syrup. This innovative step elevates the humble apple pie to an extraordinary level, infusing every bite with deep, concentrated apple flavor and an irresistibly luxurious texture.
I’ve navigated all the trial and error for you, meticulously comparing different methods and distilling my most effective tips into a comprehensive guide. Now, I’m thrilled to share every secret I’ve learned, empowering you to bake with unwavering confidence and achieve the perfect, show-stopping apple pie for any occasion. Prepare to impress your family and friends with a pie that’s not just delicious, but a true testament to the art of home baking.
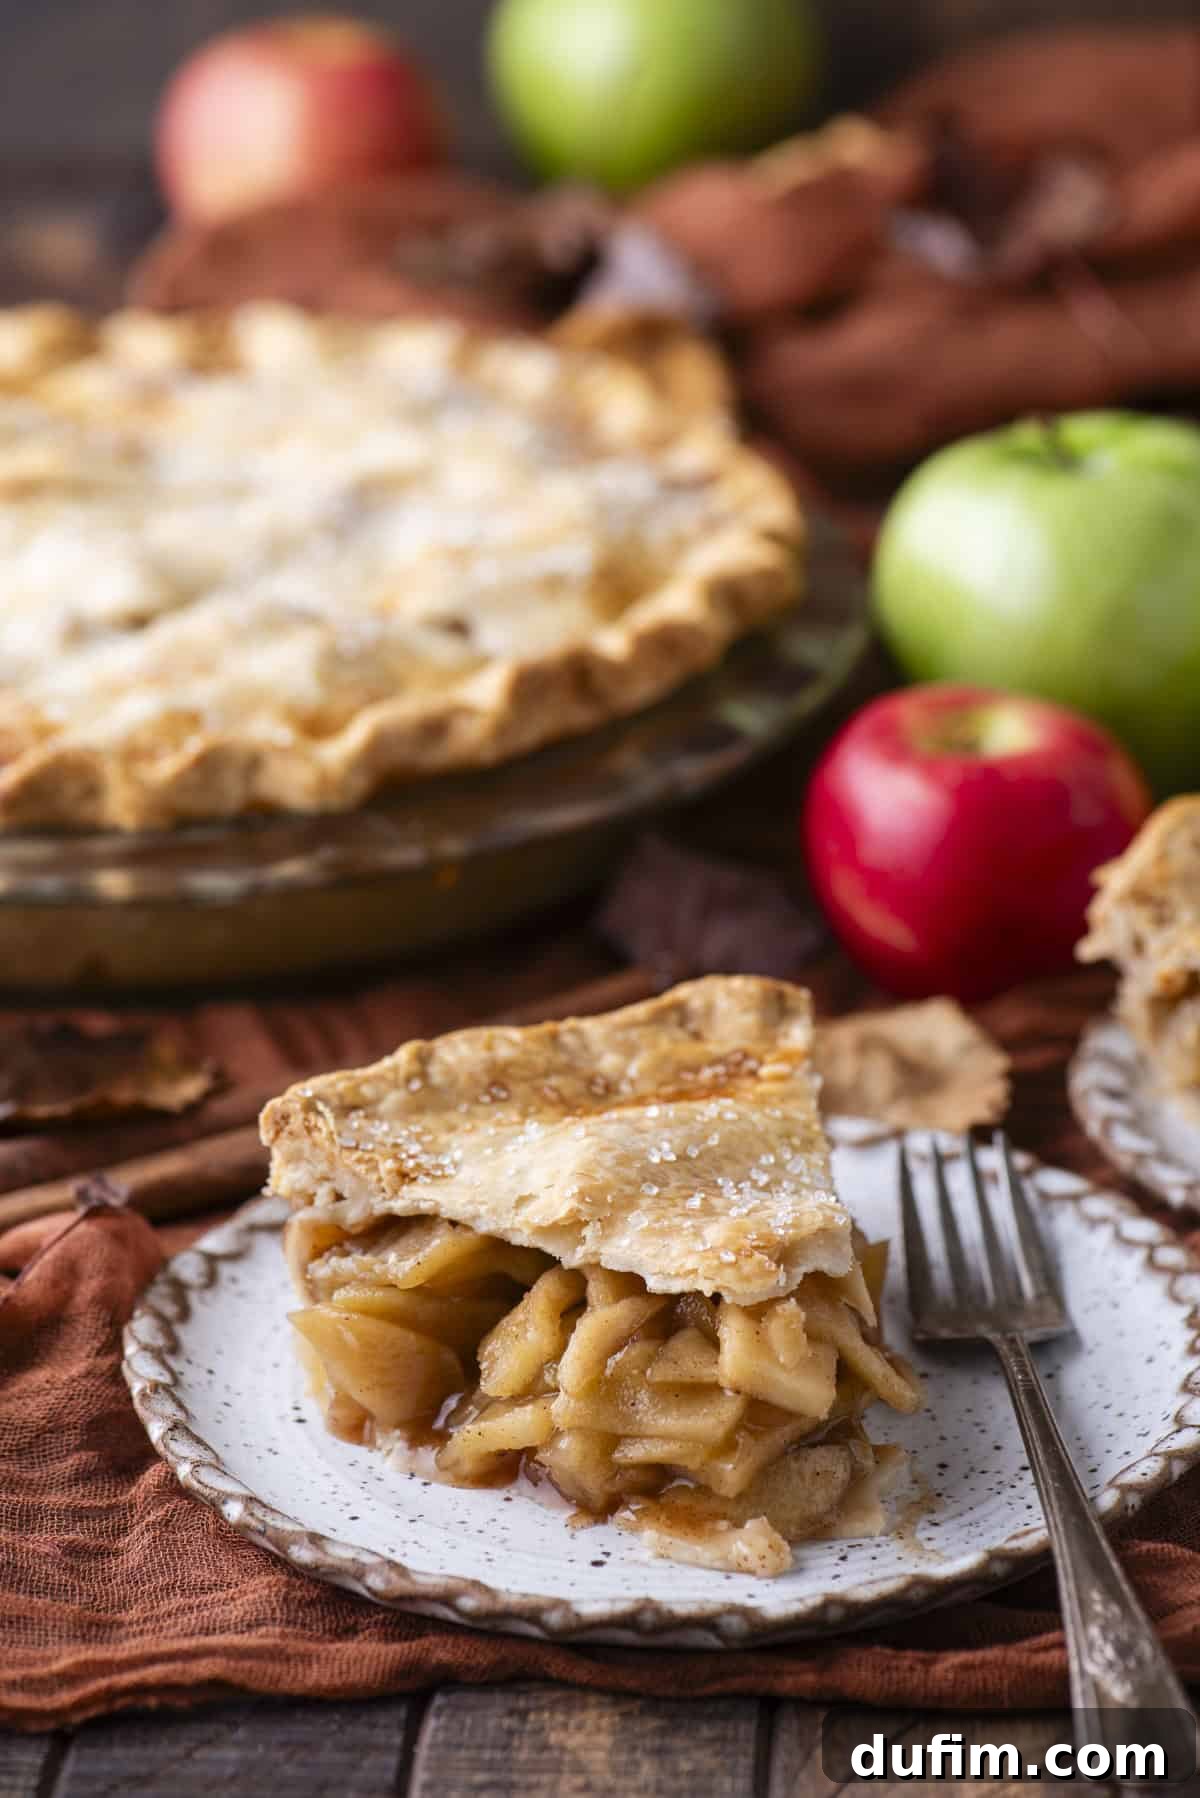
“It came out SO beautiful, and smelled wonderful!! Making the filling early is a game-changer time wise. It made the assembly so much easier. If I can do it, you can!”
-Claudia
Mastering Homemade Apple Pie: The Secret to a Perfect Filling
Creating an exceptional apple pie filling is paramount to the overall success of your dessert. When preparing this classic component, bakers often face a choice: use raw or precooked apples. Through rigorous testing, I’ve found that pre-cooking the apples offers a significant advantage, particularly in preventing the common issue of the filling sinking or the crust collapsing during baking. This method allows excess moisture to be released on the stovetop, ensuring a stable and satisfyingly full pie.
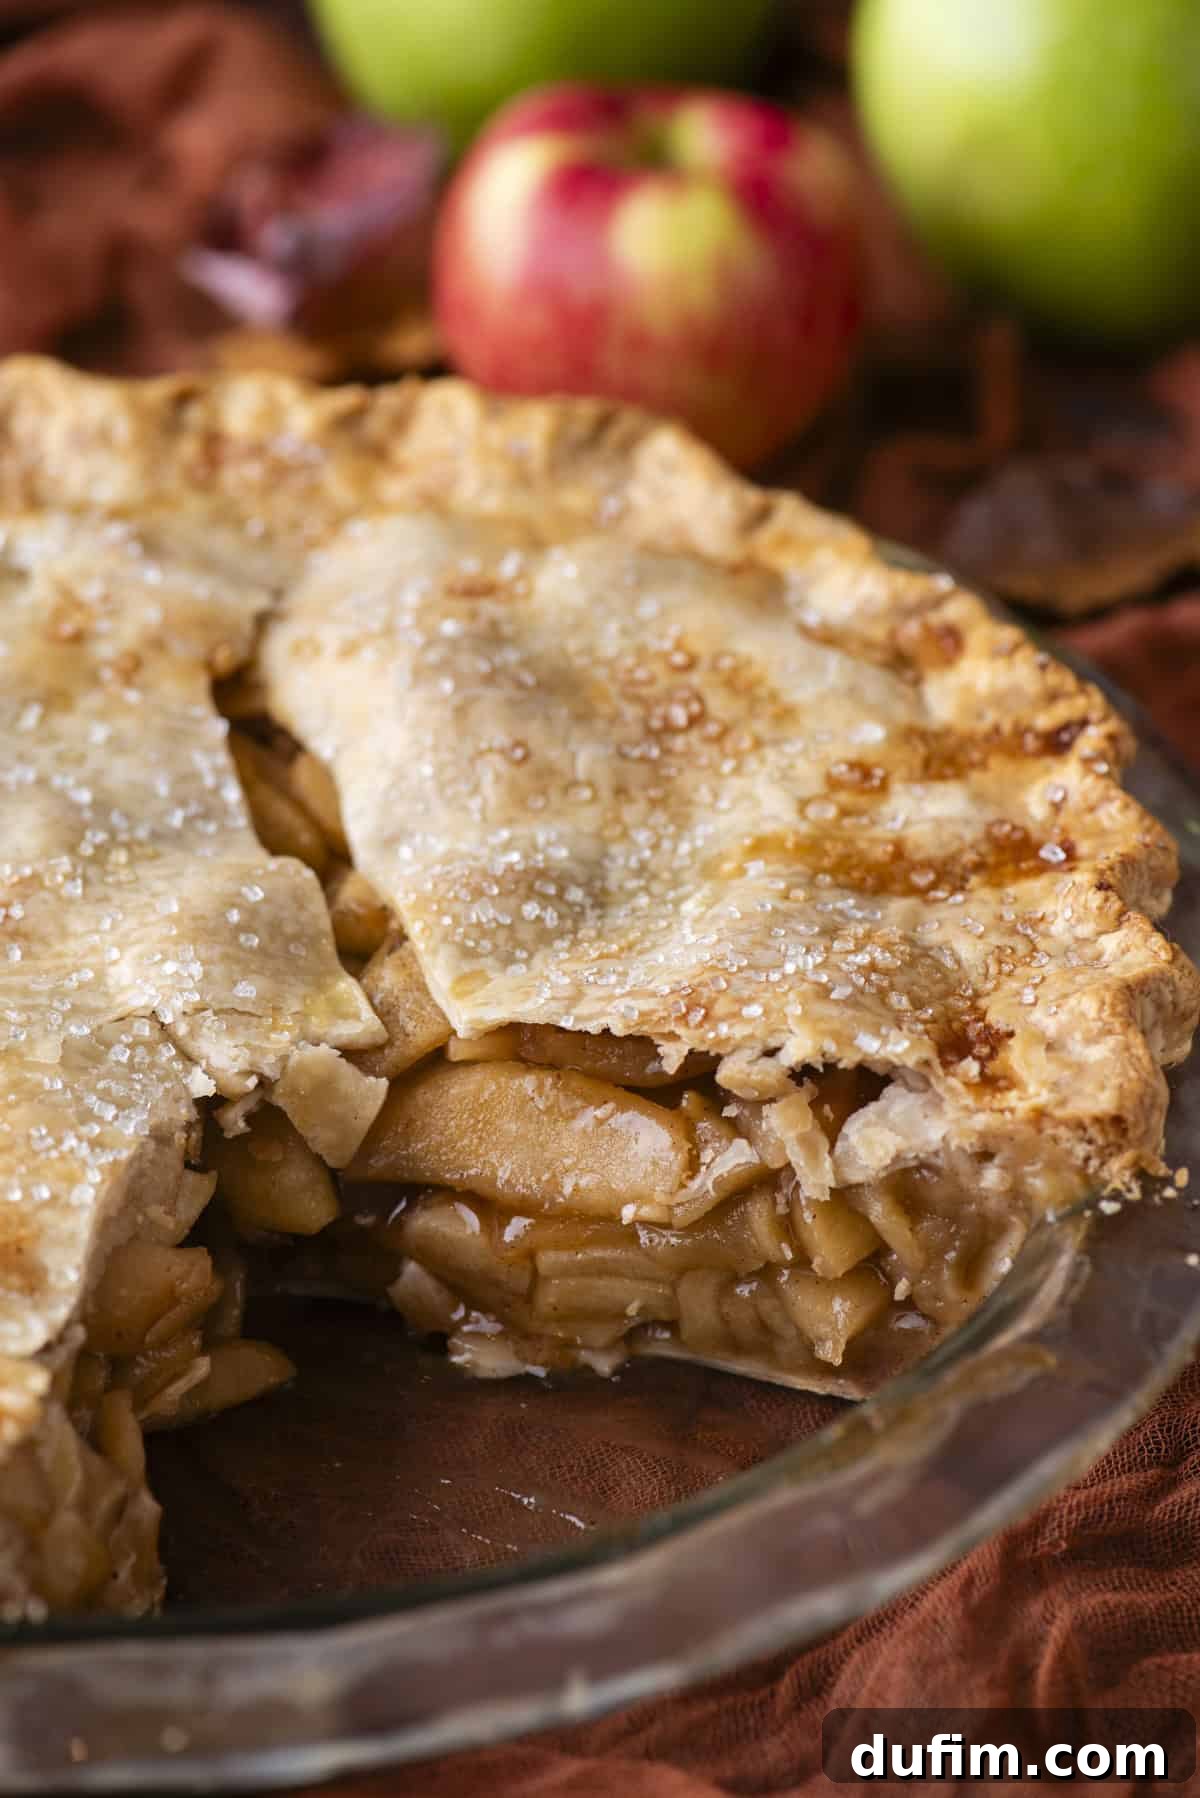
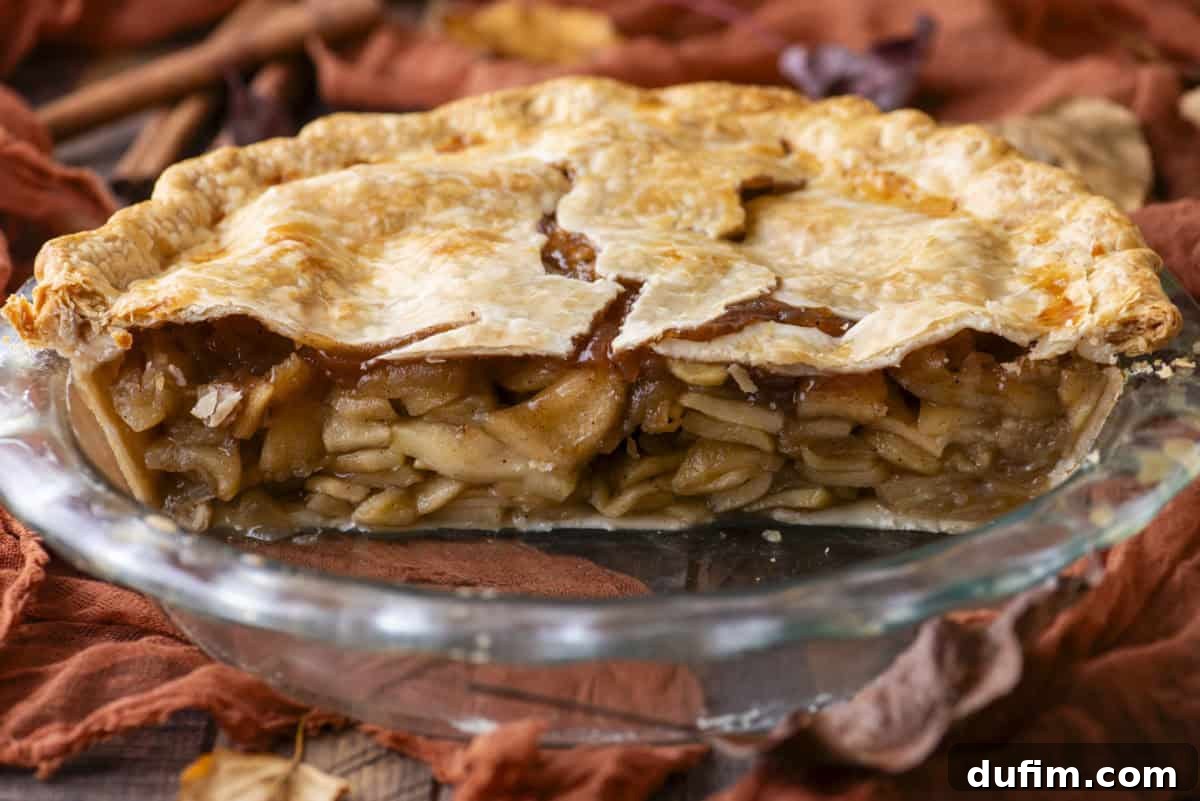
An additional, invaluable benefit of precooking the filling is the opportunity to transform the naturally extracted apple juices into a concentrated syrup. This syrup is a game-changer; it intensely focuses the apple flavor, adding a profound richness and depth that raw fillings simply can’t achieve. Beyond flavor, the syrup acts as a natural binder, giving the filling a beautifully glossy, cohesive consistency. This means no more runny slices – your pie will hold its shape perfectly, making it easier to cut and serve elegant, clean slices every single time. The pre-cooking step truly sets this recipe apart, guaranteeing a pie that is as structurally sound as it is delicious.
A truly generous and satisfying apple pie requires a substantial amount of apples. To achieve that classic, hearty taste and ensure a balanced ratio between the luscious filling and the crisp crust, a full 9-inch pie typically calls for approximately 5 to 6 cups of thinly sliced apples. This ample quantity guarantees that every forkful delivers a delightful blend of tender fruit and rich flavor, preventing a thin or sparse filling that can disappoint. Using enough apples is key to a robust pie that stands tall and proud.
Why You’ll Adore This Apple Pie Recipe
This apple pie recipe isn’t just another dessert; it’s an experience designed for success and pure baking joy. Here are compelling reasons why this particular recipe will become your new go-to:
- Flexible Crust Options: Whether you’re a seasoned baker who loves crafting dough from scratch or you prefer the convenience of ready-made options, this recipe accommodates both. You can either use a homemade flaky pie crust for an extra touch of artisanal quality or opt for high-quality store-bought crusts to save time without compromising on flavor.
- Guaranteed Golden Perfection: Say goodbye to sunken fillings and pale crusts. Our meticulously tested methods ensure that your apple pie bakes to a beautiful golden brown, achieving that coveted crispness while maintaining its structural integrity. The filling remains perfectly plump, never collapsing under the weight of expectation.
- Versatile Apple Filling: The star of this pie is its incredible apple filling. Not only is it designed to create the perfect pie, but its robust flavor and ideal consistency make it highly versatile. Use this delicious filling in other seasonal desserts like turnovers, crumbles, or even as a topping for pancakes and waffles.
- Heavenly with Vanilla Ice Cream: While this pie is a masterpiece on its own, it truly shines when served warm with a generous scoop of cold vanilla ice cream. The contrasting temperatures and complementary flavors create an irresistible indulgence that’s perfect for any occasion, from casual family dinners to festive holiday gatherings.
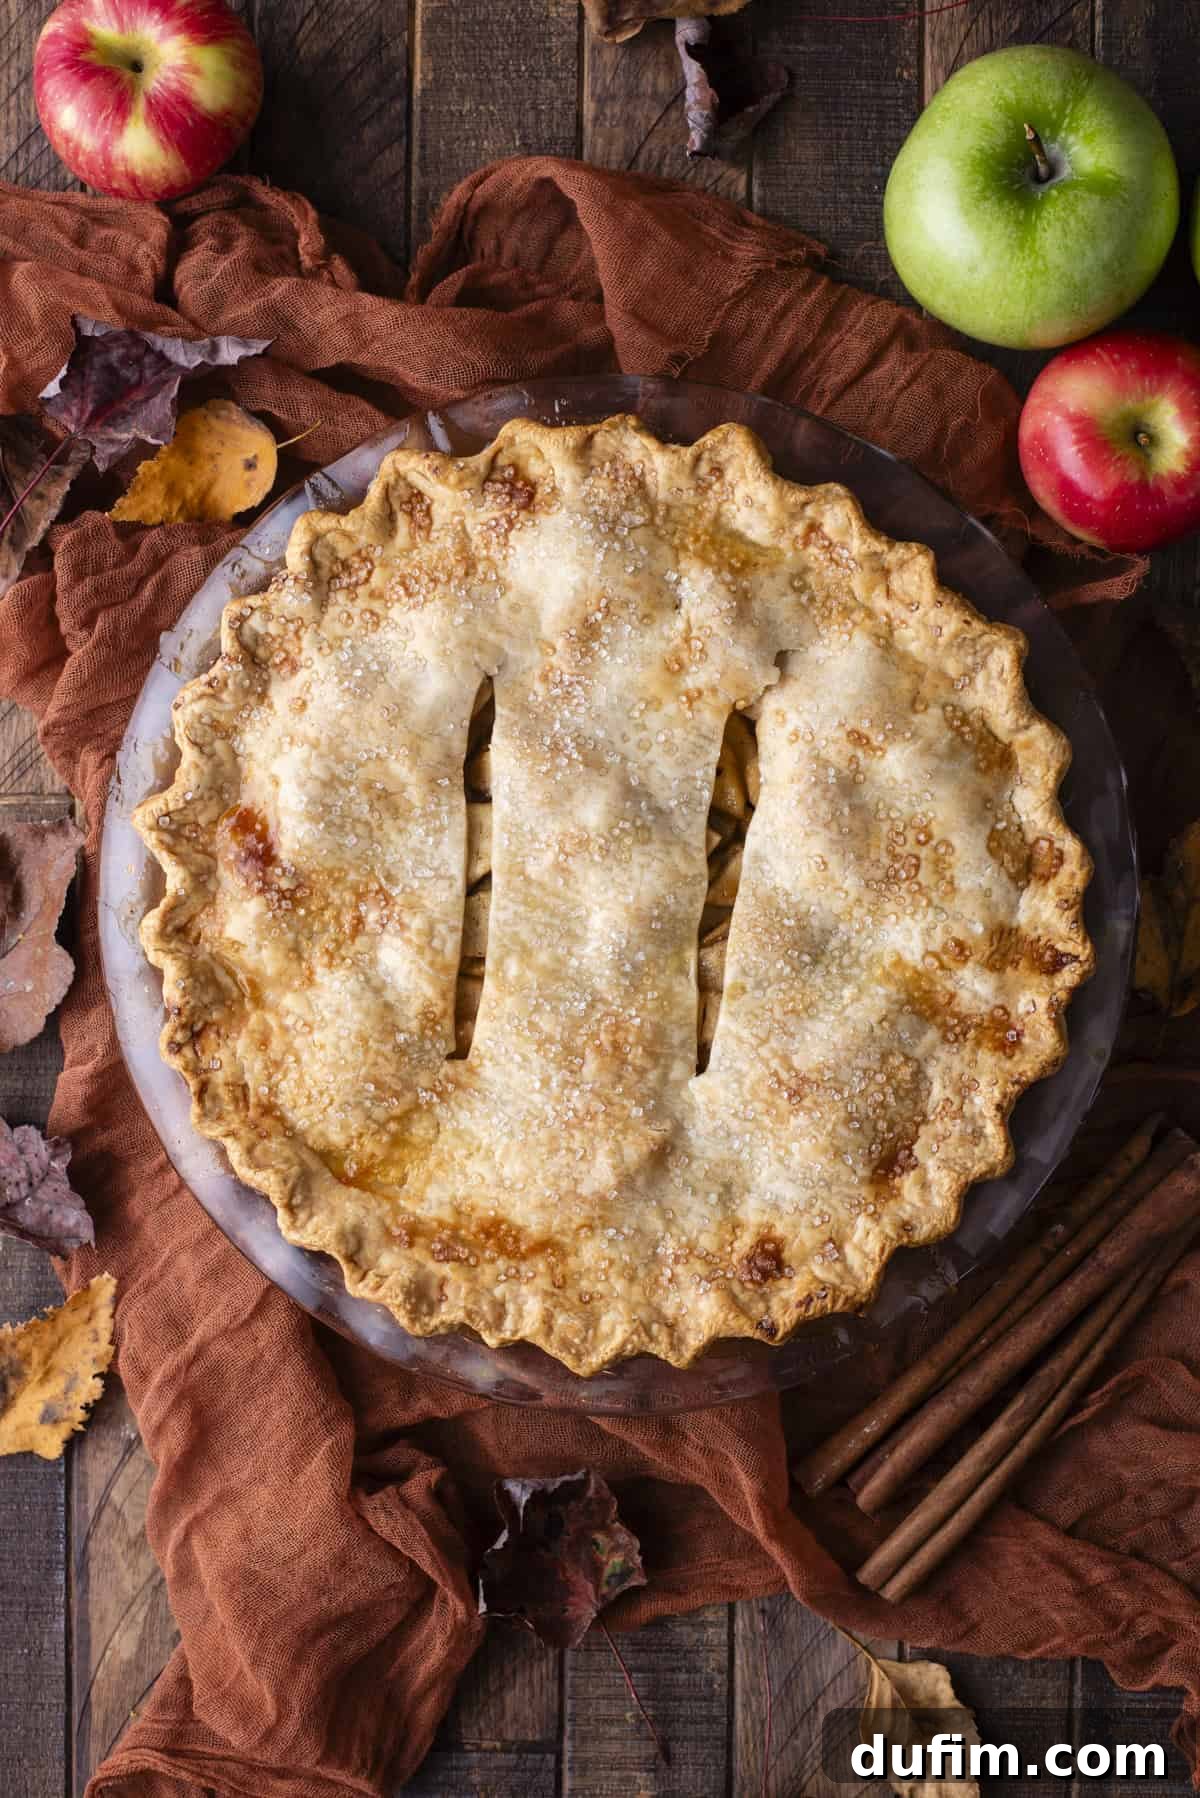
Essential Ingredients for the Best Apple Pie From Scratch
Crafting a truly memorable apple pie from scratch begins with selecting the right, simple ingredients. This classic recipe uses fundamental components, but it’s my specialized technique for creating the filling that truly elevates it. Below, you’ll find a list of everything you’ll need, along with my expert tips for achieving the perfect balance of flavors and textures. The full, detailed recipe card follows for your convenience.
- Homemade pie crust or 2 store-bought crusts: The foundation of your pie. A homemade crust offers unmatched flakiness, but quality store-bought options are a great shortcut.
Apple Pie Filling: The Heart of the Pie
This is where the magic happens, transforming simple apples and spices into a rich, flavorful core:
- Apples: Peeled, cored, and cut into uniform 1/4-inch-thick slices. The choice of apple variety greatly impacts the final taste and texture.
- Brown sugar: Provides a deep, caramel-like sweetness that beautifully complements the apples.
- Ground cinnamon: The classic warm spice, essential for that comforting apple pie aroma and flavor.
- Ground allspice: Adds a subtle complexity, bridging the gap between sweet and savory notes.
- Ground nutmeg: A hint of nutmeg enhances the overall spice profile without overpowering the apple.
- Salt: A pinch of salt balances the sweetness and brightens all the flavors.
- Water: Used to dissolve the cornstarch and create the thickening slurry for the syrup.
- Cornstarch: Our secret weapon for thickening the apple juices into that glorious, cohesive syrup that binds the filling perfectly.
Selecting the Best Apples for Your Homemade Apple Pie
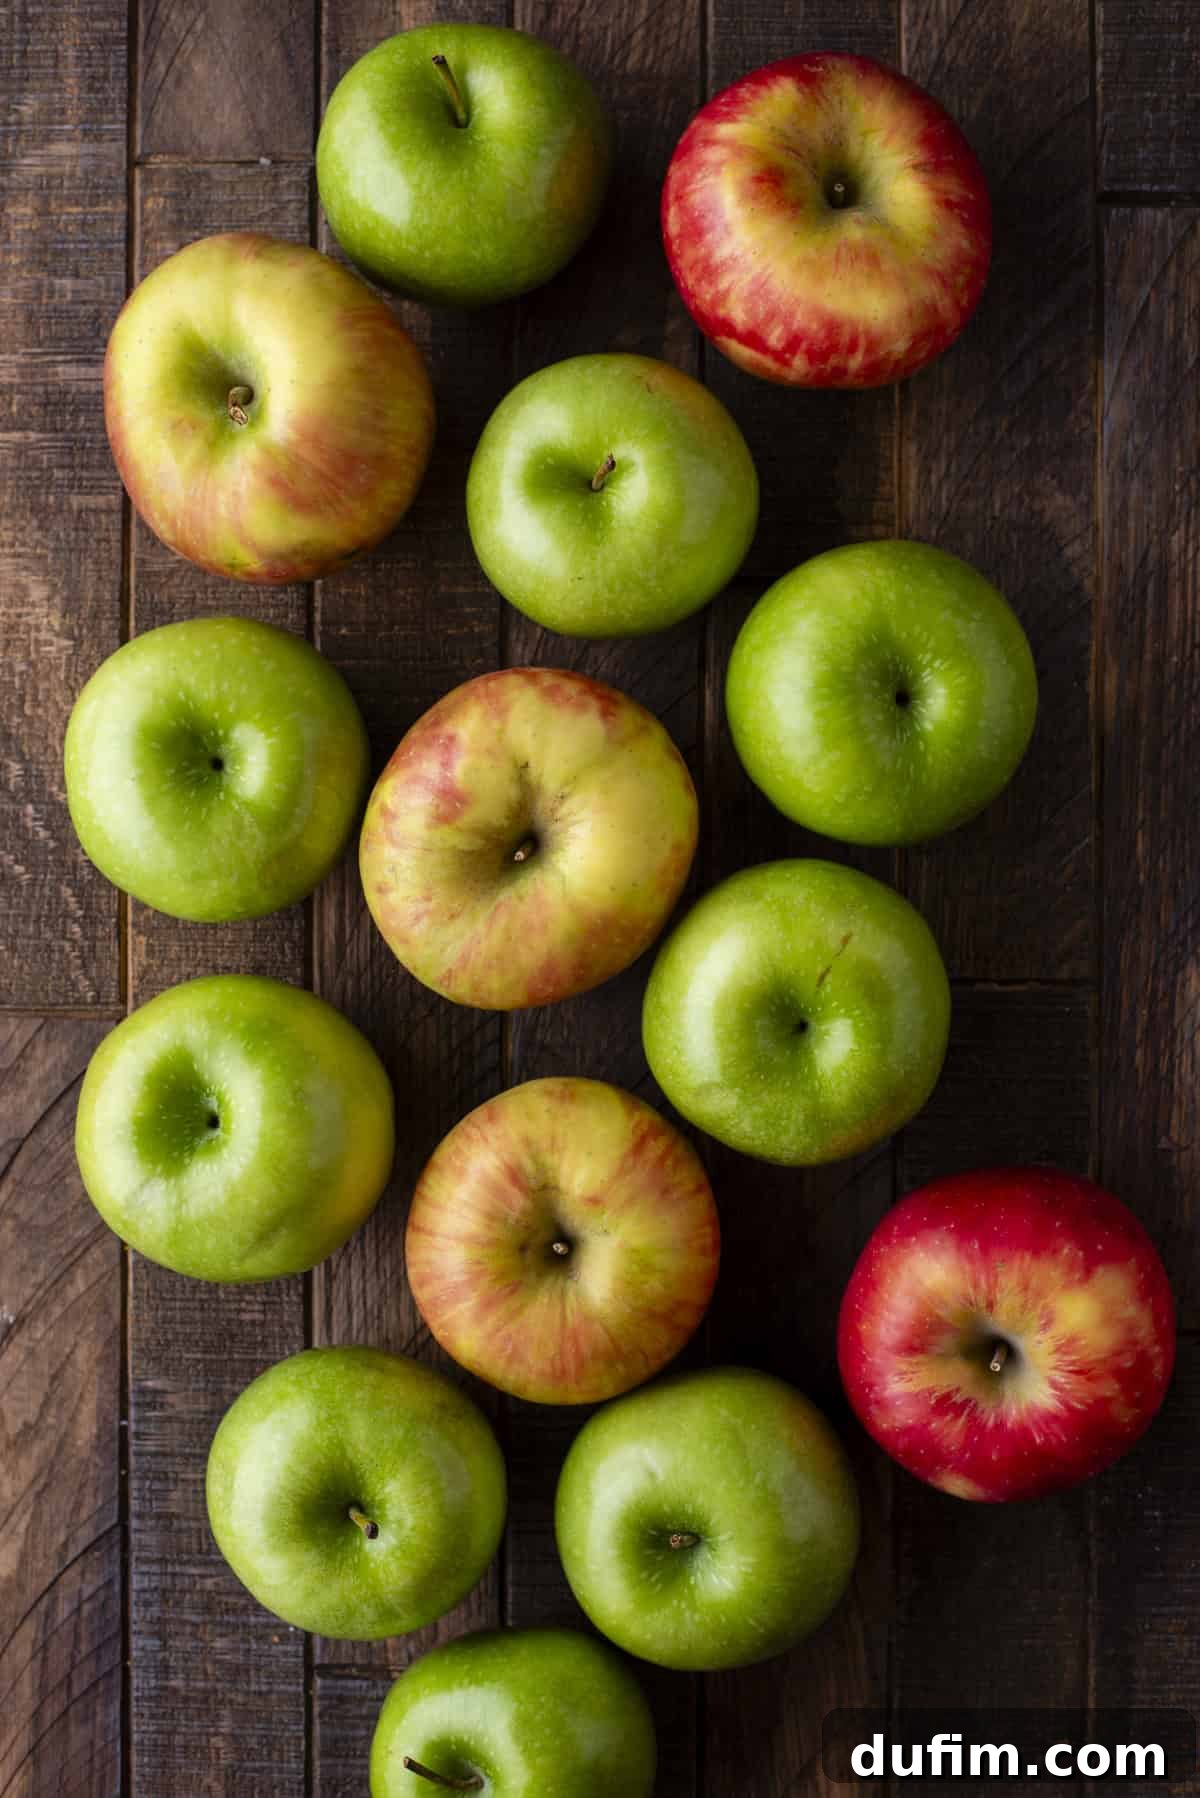
The choice of apples is crucial for achieving the perfect balance of sweetness, tartness, and texture in your pie. I highly recommend using a blend of varieties to create a complex and dynamic flavor profile. Fresh, seasonal apples will always yield the best results. Here are some of the top apple varieties that excel in pie baking:
- Granny Smith Apples: Known for their firm texture and pronounced tartness, they hold their shape beautifully when baked and provide a necessary tangy counterpoint to the sweet sugars.
- Honeycrisp Apples: Offers a delightful crispness even after baking and a balanced sweet-tart flavor, contributing both texture and a pleasant sweetness.
- Golden Delicious Apples: These sweet apples soften nicely and contribute a rich, mellow flavor to the filling, complementing the tarter varieties.
- Pink Lady Apples: A fantastic all-rounder, offering a lovely balance of sweet and tart with a firm flesh that holds up well under heat.
- Braeburn Apples: Provides a rich, aromatic flavor and a good firm texture, making them another excellent choice for baking.
Combining 2-3 of these varieties will give your pie an unparalleled depth of flavor and a varied, appealing texture that keeps every bite interesting.
Step-by-Step Guide: Crafting the Perfect Apple Pie From Scratch
I’ve poured extensive effort into perfecting this apple pie recipe, ensuring it delivers a consistently amazing result. Even more importantly, I’ve meticulously crafted these step-by-step instructions to be incredibly precise and easy to follow, making it possible for anyone—from novice bakers to seasoned pros—to create an extraordinary pie. The full recipe with exact ingredient measurements is available in the recipe card below. Let’s begin!
Preparing Your Flaky Pie Crust
A phenomenal apple pie begins with an equally phenomenal crust. This crucial step sets the stage for the textural delight of your finished pie.
- Prepare the Crust: You have two excellent options for your pie crust. For an authentic, unparalleled flakiness, I highly recommend using our homemade flaky pie crust recipe. If you choose this path, follow the homemade recipe up to step 6, then refrigerate the prepared discs of dough while you proceed with the apple pie filling. This chilling time is vital for developing the crust’s texture. Alternatively, if time is a factor, feel free to use a high-quality store-bought pie crust; in this case, you’ll start directly with preparing the filling.
Crafting the Rich Apple Pie Filling
This is where our unique technique truly shines, transforming simple apples into a deeply flavorful, perfectly set filling.
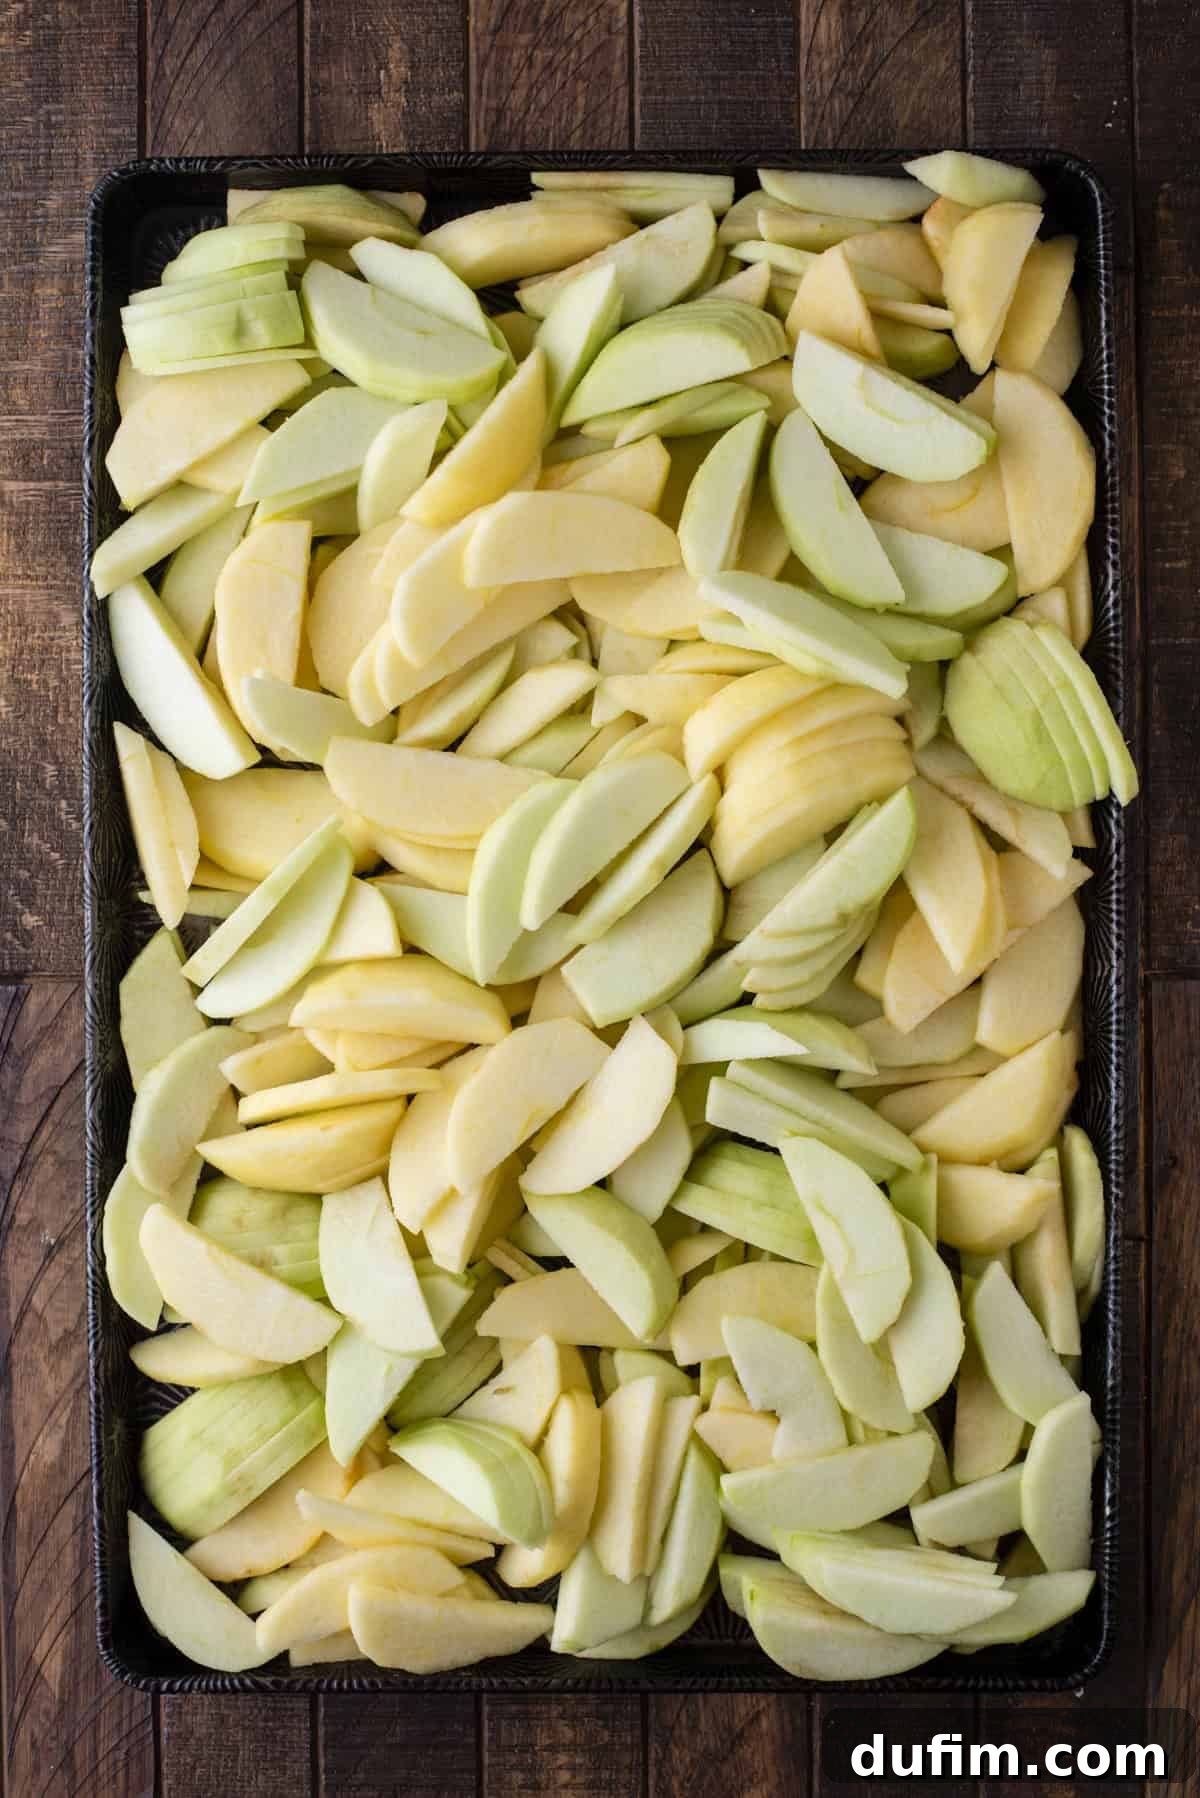
- Prep the Apples: Begin by thoroughly peeling, coring, and slicing 5 pounds of your chosen apples. The key here is uniformity; aim for consistent 1/4-inch-thick slices. This ensures that all the apples cook evenly, resulting in a perfectly tender texture without any mushy or overly firm pieces.
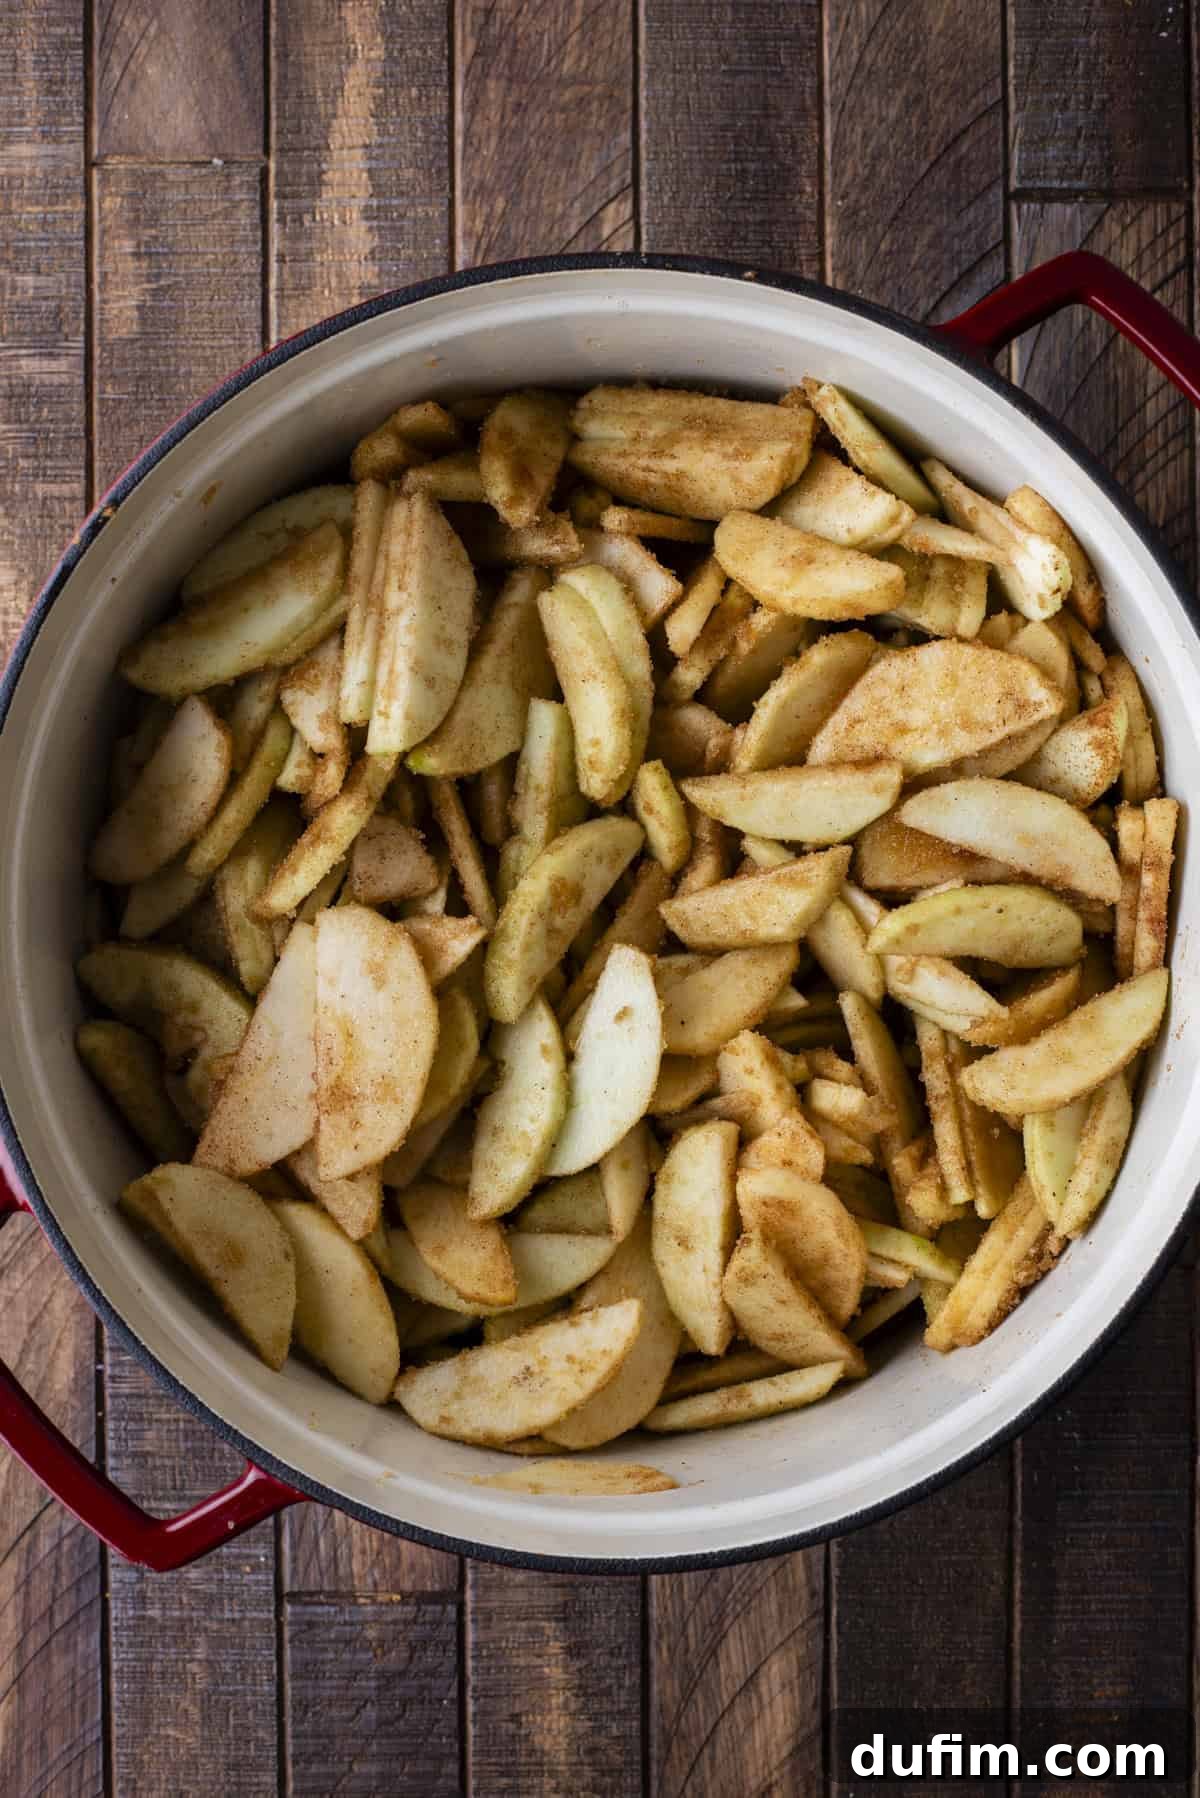
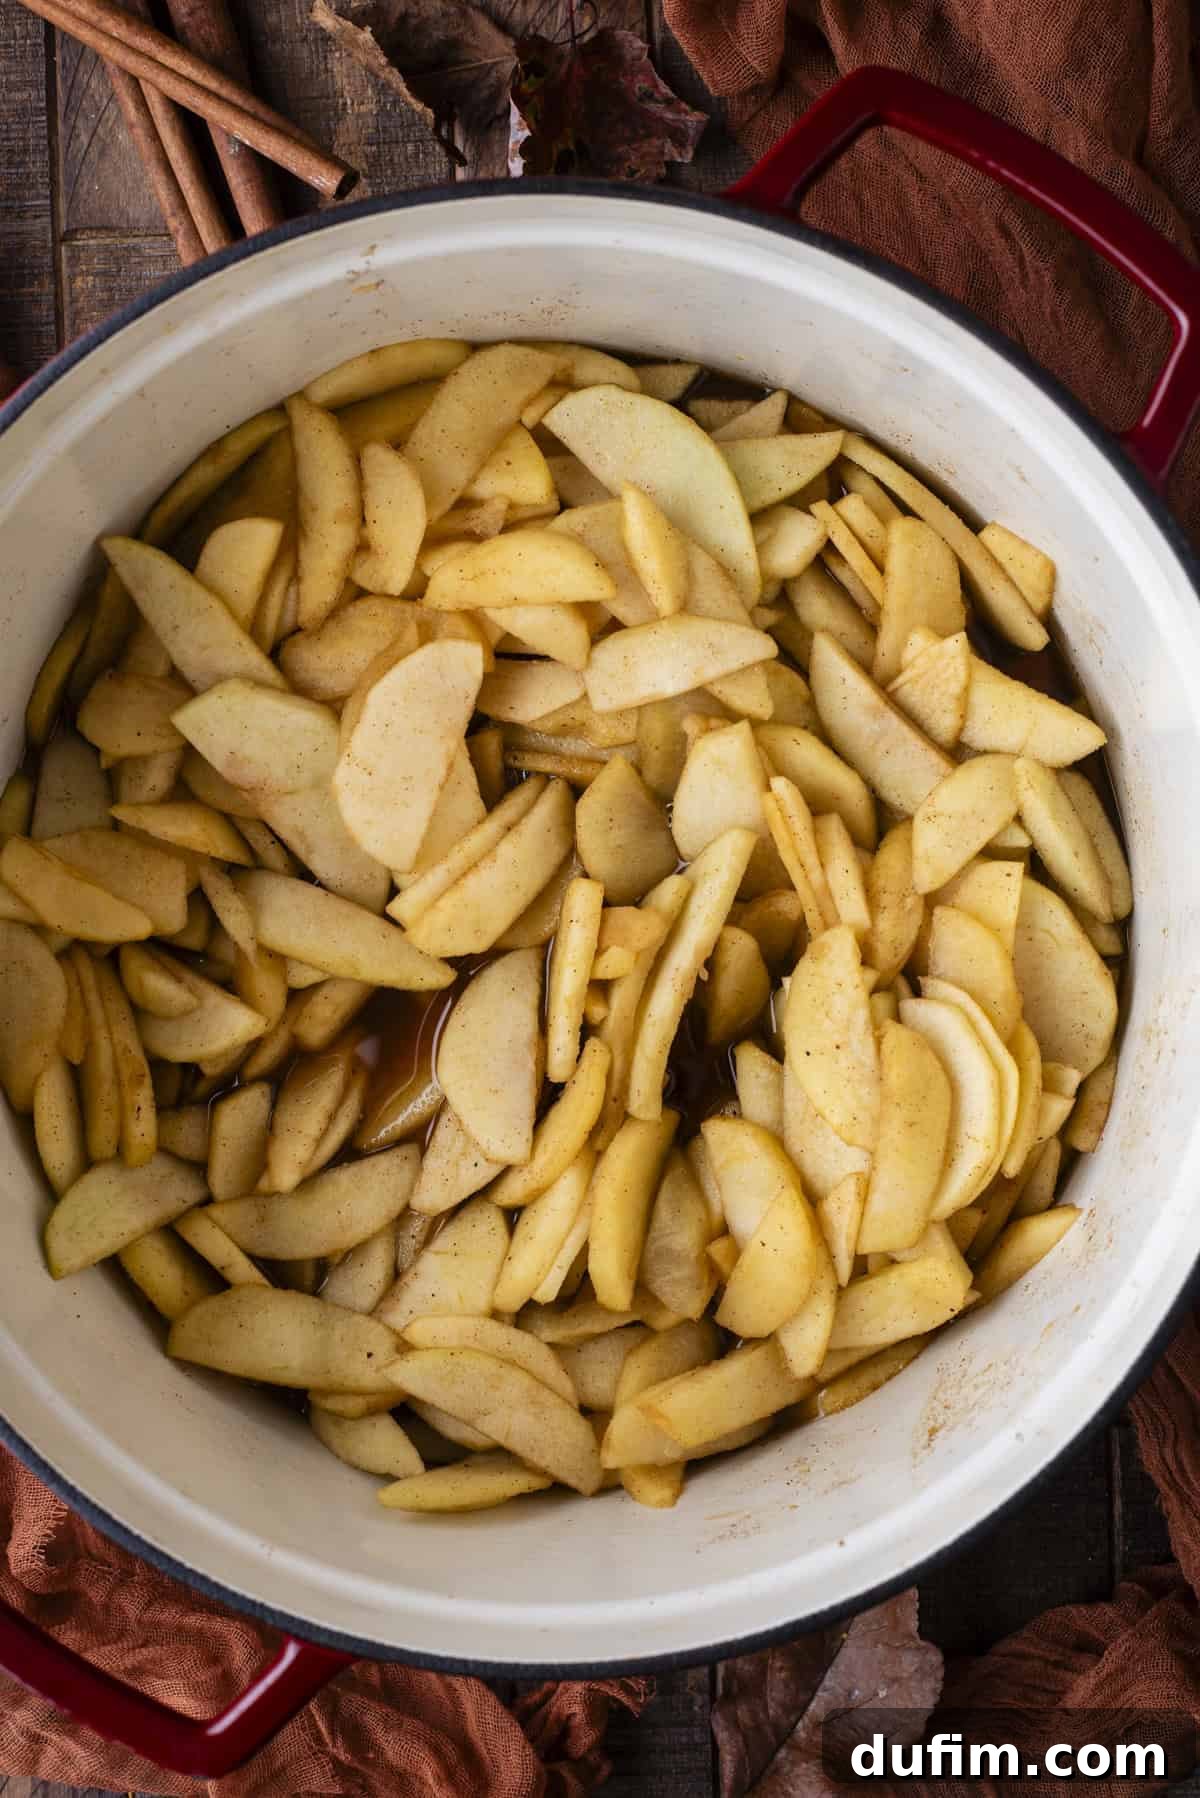
- Cook the Filling: In a large, heavy-bottomed pot, combine your sliced apples, brown sugar, ground cinnamon, allspice, nutmeg, and salt. Cook this mixture over medium heat, stirring occasionally, for 10-15 minutes. The goal is for the apples to become tender, but still hold their shape – they should be slightly softened, not mushy. This step allows the apples to release their natural juices, which are vital for our syrup.
- Cool the Apples: Using a slotted spoon, carefully transfer the cooked apples from the pot to a large baking sheet, spreading them out in a single layer to cool quickly. For an even faster cool-down, you can place the baking sheet in the fridge or freezer for approximately 20 minutes. This rapid cooling prevents the apples from continuing to cook and ensures they maintain their ideal texture.
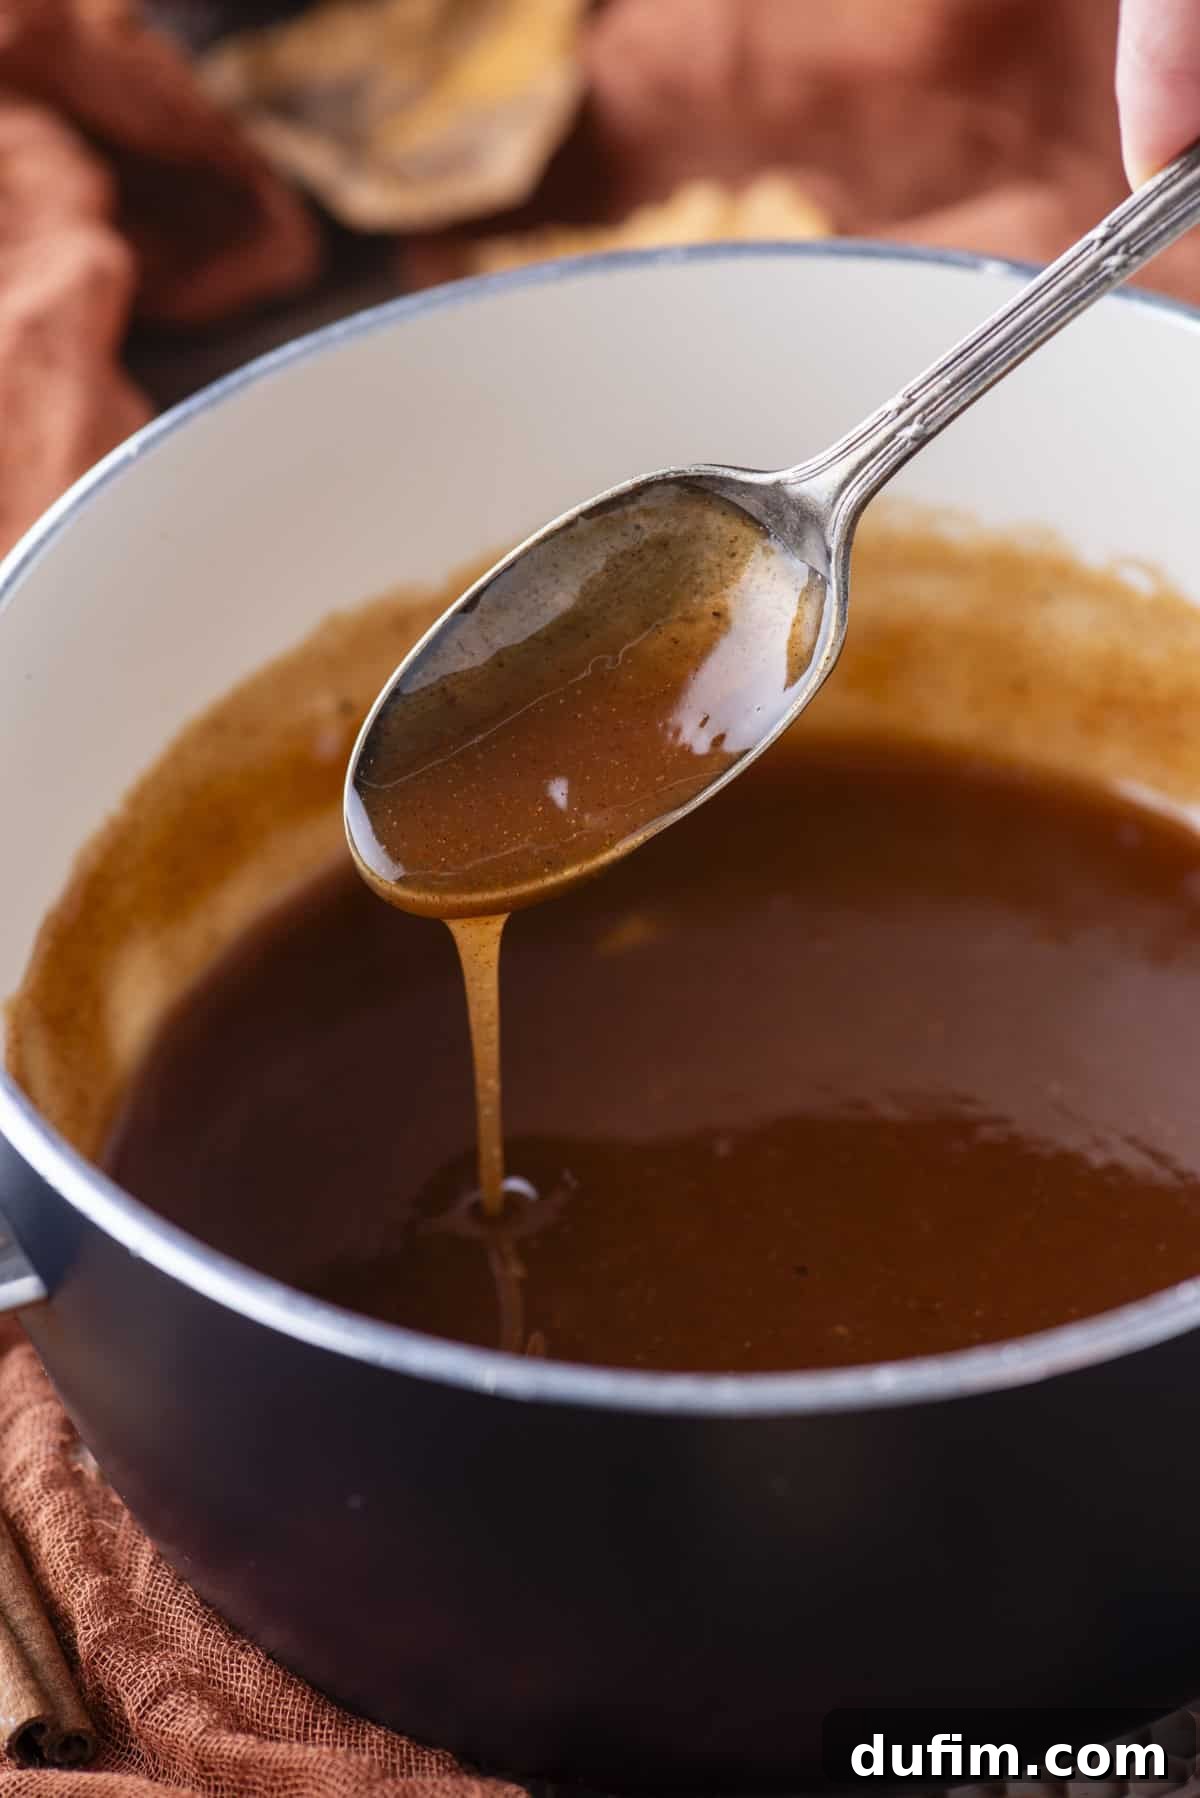
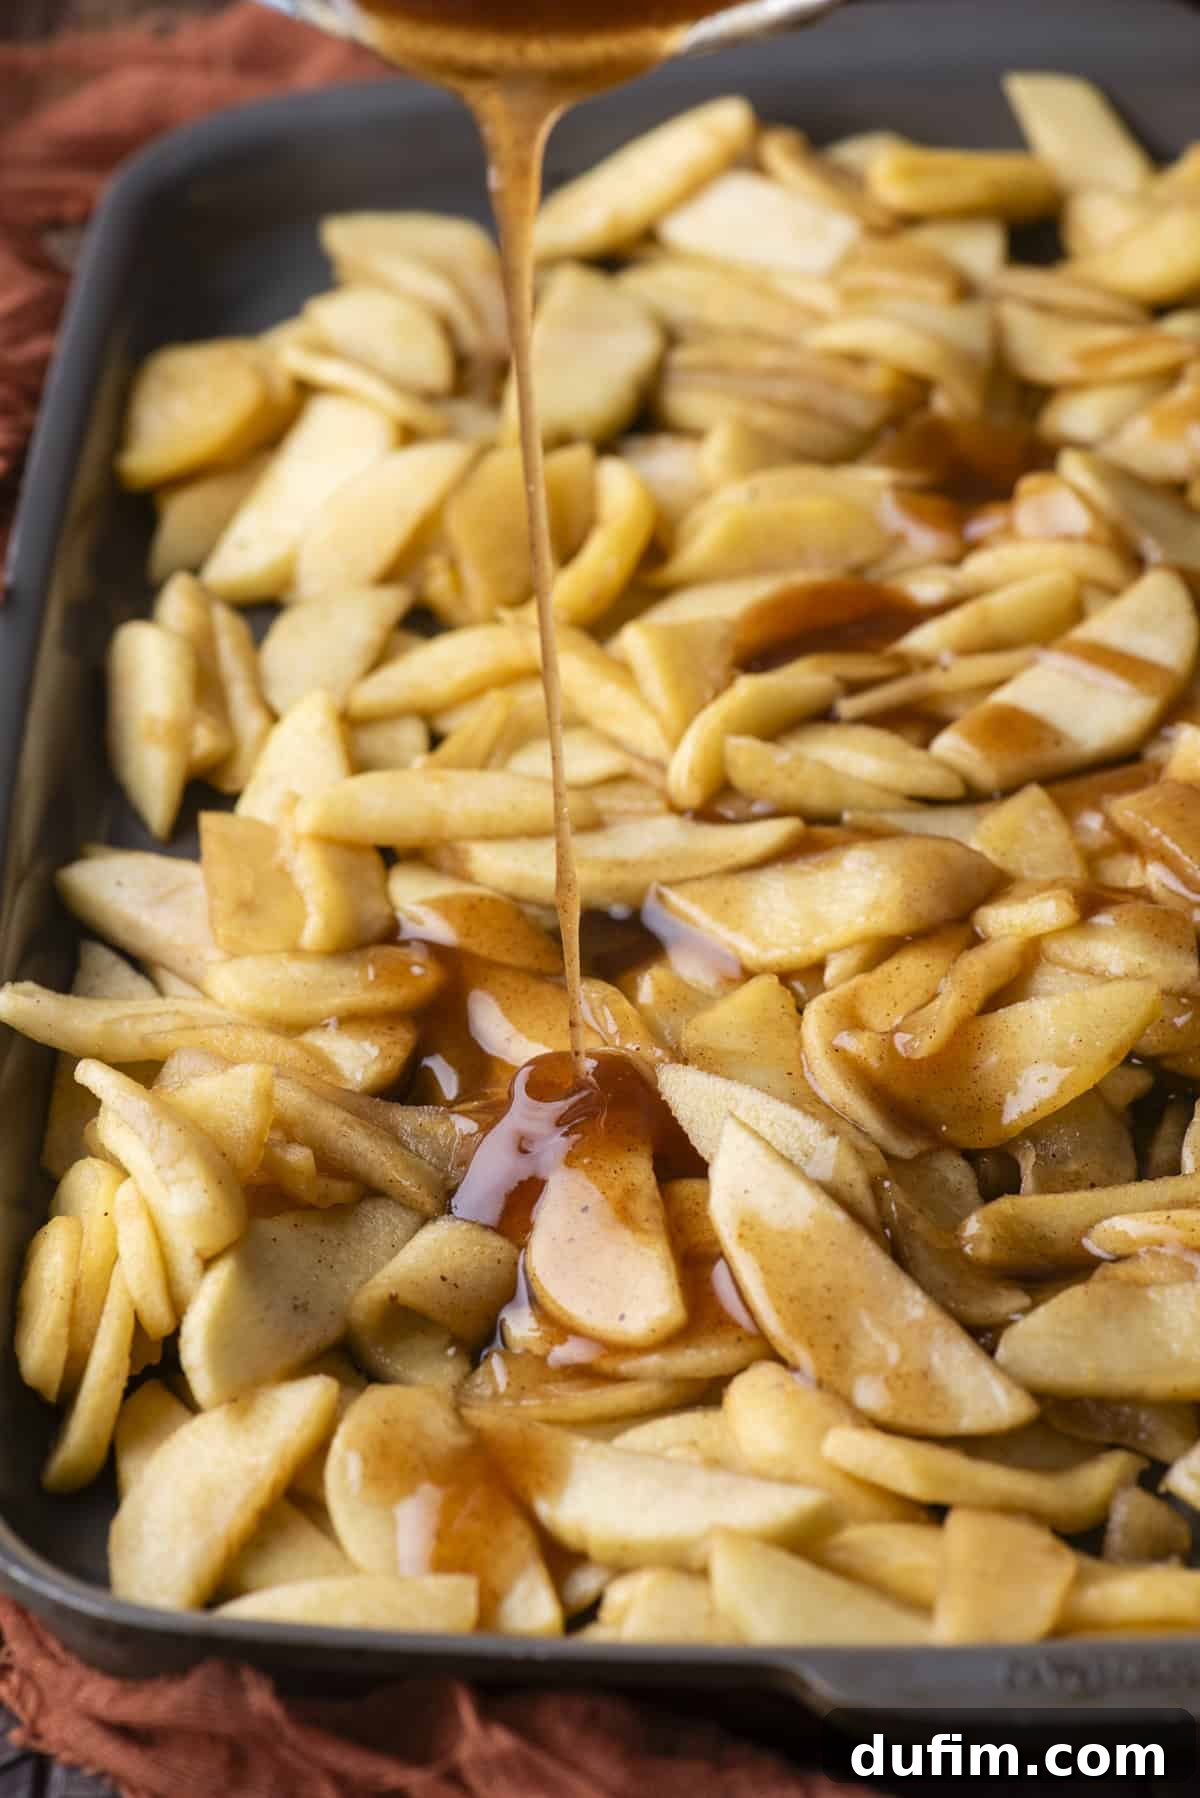
- Make the Flavorful Syrup: While the apples cool, turn your attention to the leftover juices in the large pot. Transfer these intensely flavored juices to a smaller saucepan. Bring them to a gentle simmer over medium-low heat. In a separate small bowl, dissolve the cornstarch in a tablespoon of cold water to create a smooth slurry. Gradually whisk this cornstarch slurry into the simmering apple juices. Continue to cook and stir constantly for about 3-5 minutes, until the syrup visibly thickens to a consistency similar to thin honey. This concentrated syrup is packed with apple essence and will provide incredible flavor and perfect binding for your pie.
- Combine Filling Components: Once the syrup has thickened and the cooked apples are cool to the touch, gently combine them in a large bowl. Ensure all the apple slices are evenly coated with the rich, glossy syrup. This step is crucial for distributing flavor and ensuring every bite of your pie is equally delicious and well-bound.
Assembling Your Masterpiece Apple Pie
With your crust chilled and filling perfected, it’s time to bring all the elements together into a stunning pie.
- Preheat Oven and Adjust Rack: Preheat your oven to a robust 425°F (220°C). It’s essential to position one of your oven racks on the lowest level before preheating. Baking the pie on the bottom rack initially helps to ensure a perfectly crisp, golden-brown bottom crust, preventing sogginess.
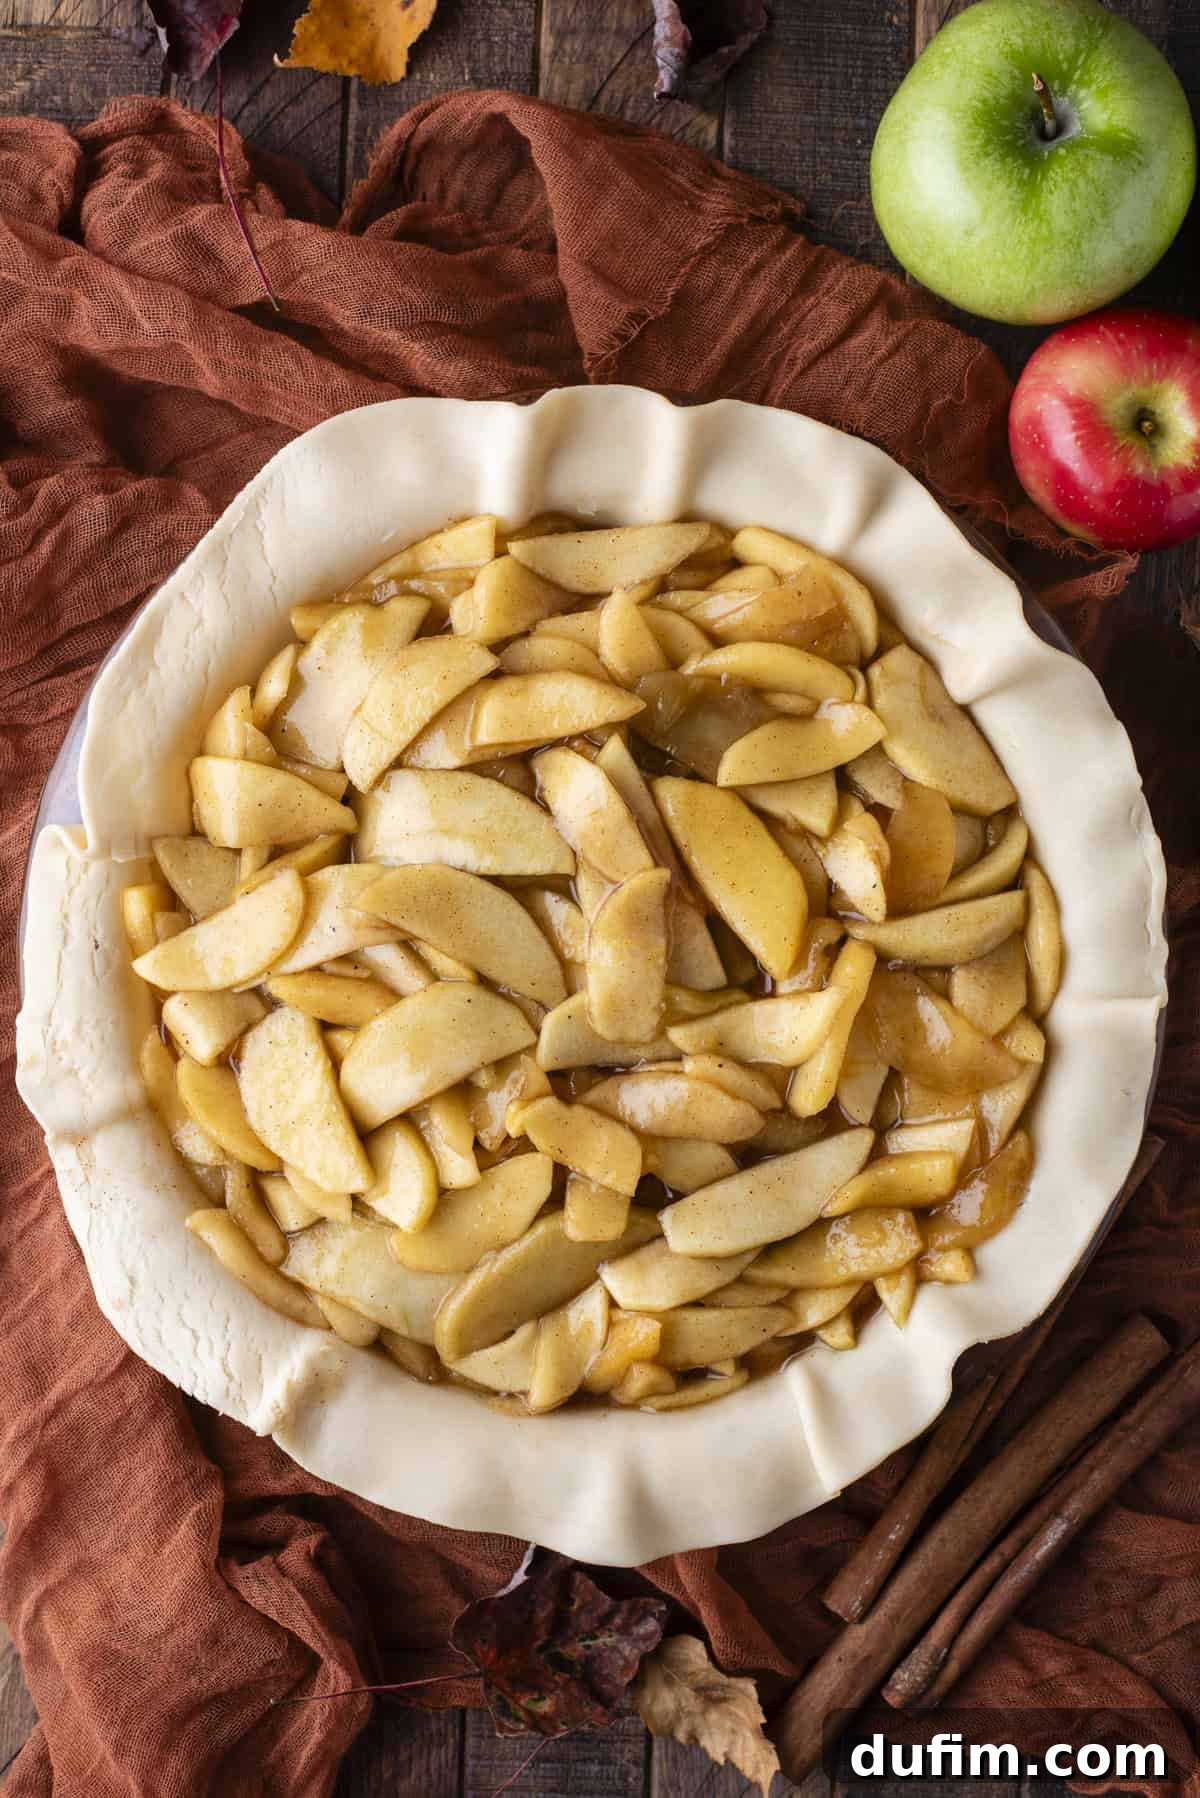
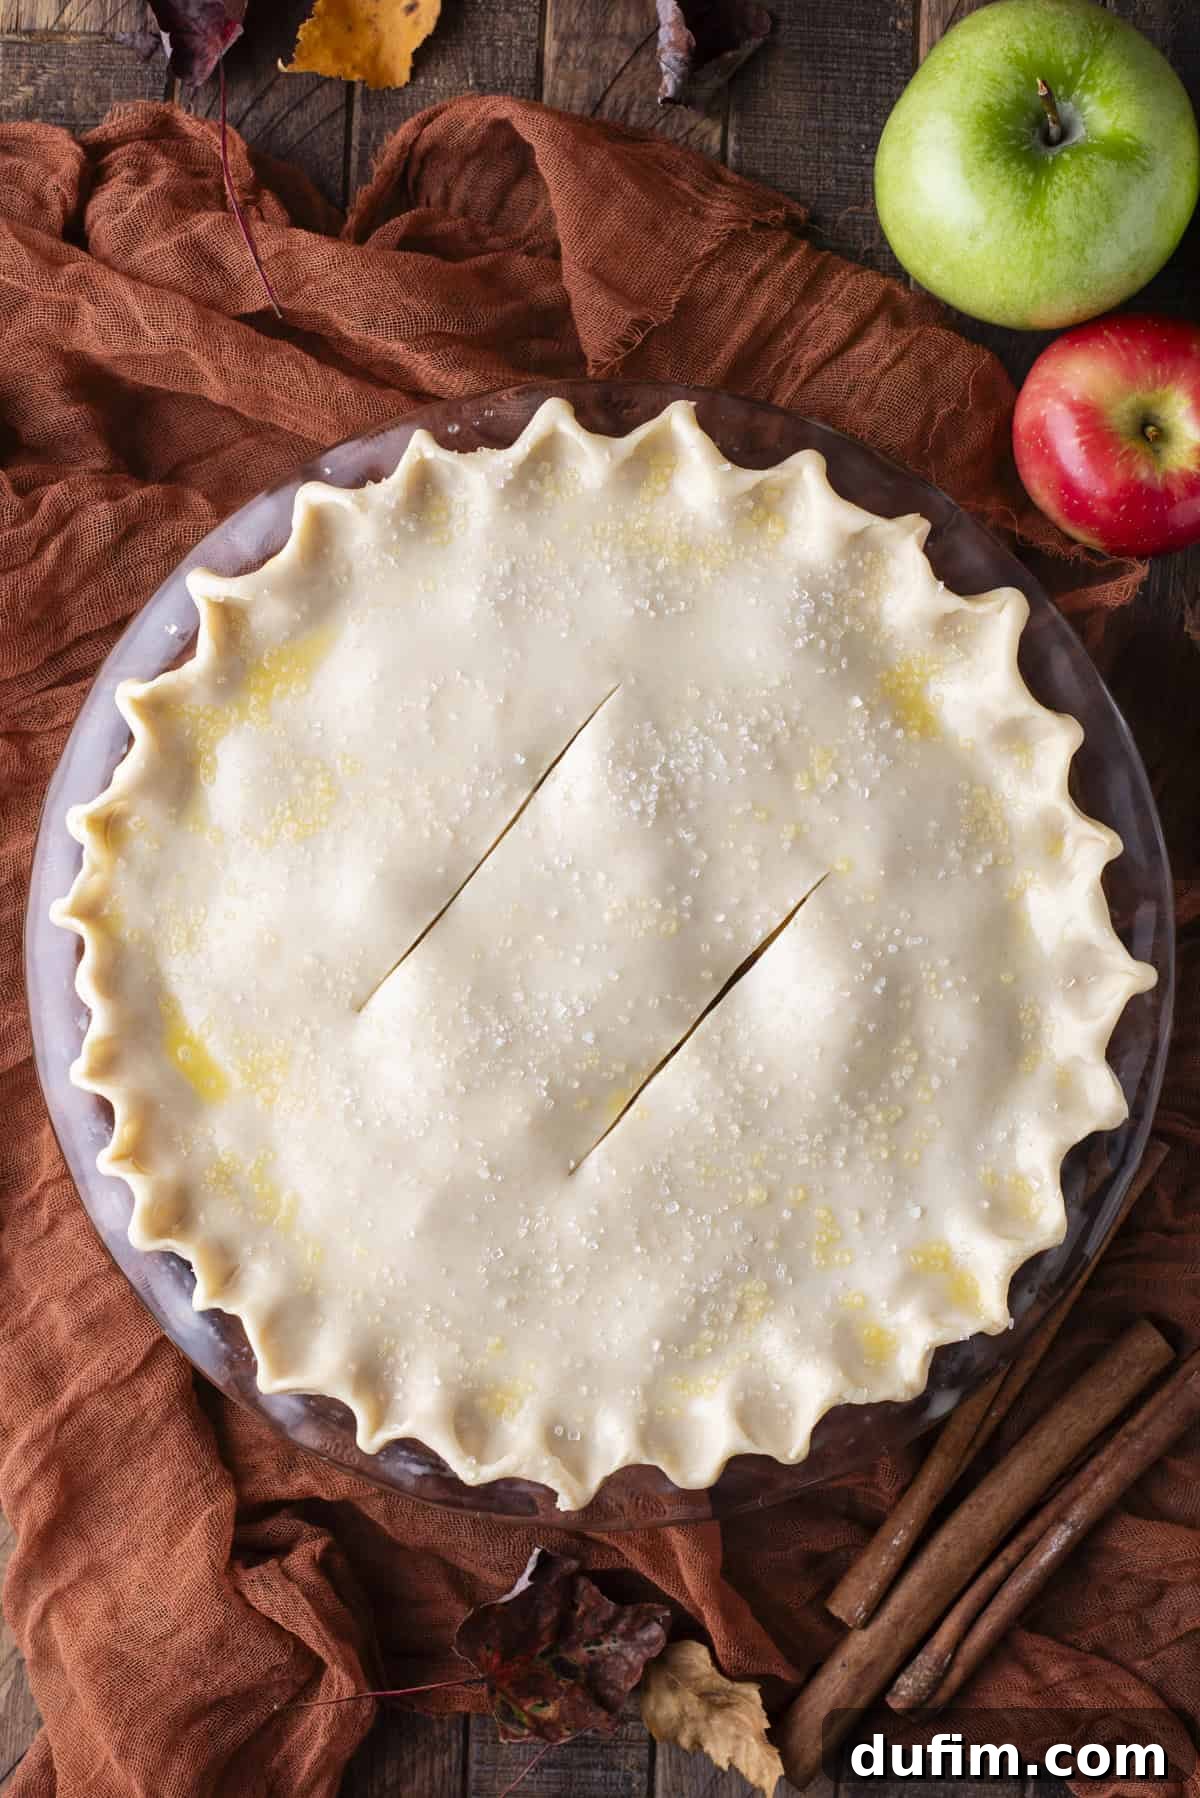
- Prepare the Bottom Crust: On a lightly floured surface, roll out one disc of your pie dough into a circle approximately 13-14 inches in diameter. Carefully transfer this dough circle into a 9-inch pie dish. Gently press the dough into the bottom and sides of the dish, ensuring it fits snugly without tearing. Allow the edges of the dough to drape slightly over the rim of the pie dish.
- Add the Filling: Pour your luscious, prepared apple pie filling directly into the bottom crust. Use a spoon or spatula to spread the filling evenly, ensuring it’s distributed right up to the edges of the crust. Pile it high for a truly generous pie!
- Roll Out the Top Crust: Roll out the second piece of dough into a circle, slightly smaller than the bottom crust, about 12-13 inches in diameter. Carefully drape this top crust over the mounded apple filling.
- Trim and Flute the Edges: Using kitchen shears or a sharp knife, trim any excess dough from both the top and bottom crusts, leaving about a 1-inch overhang. This extra dough provides material for a decorative edge. Now, gently press or crimp the edges of the top and bottom crusts together. You can use your fingers to create a classic fluted edge or press with the tines of a fork for a simpler, rustic look. This seals the pie and creates a beautiful finish.
- Egg Wash and Vent Holes: For a beautiful golden sheen, lightly brush the entire top crust with an egg wash (one egg beaten with 1 tablespoon of water or milk). This also helps any sanding sugar adhere. Using a small, sharp knife, cut a few small slits or decorative shapes in the center of the top crust. These “vent holes” are crucial; they allow steam to escape during baking, preventing the crust from puffing up excessively and ensuring a crisp top. For extra crunch and sparkle, sprinkle the top generously with sanding sugar.
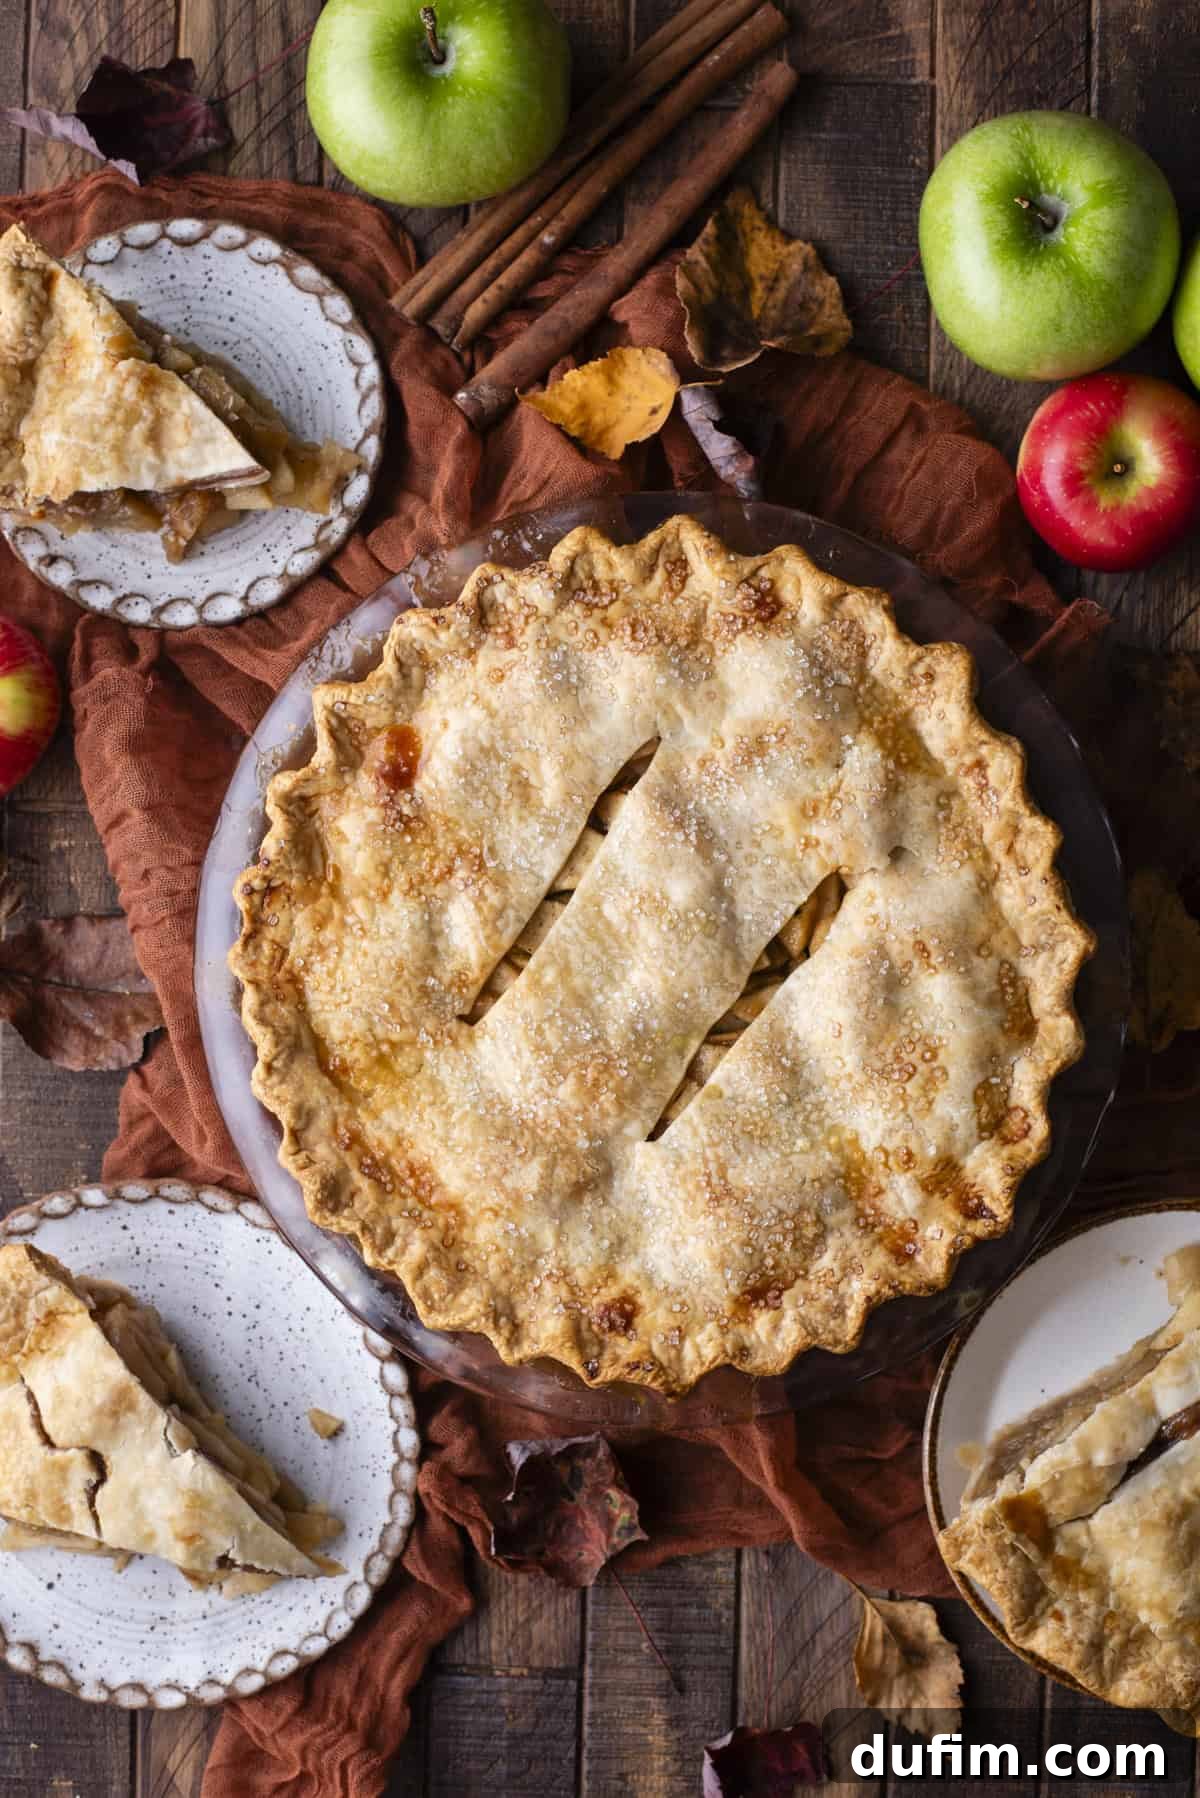
- Baking: To catch any potential drips or overflows during baking, place your assembled pie on a sturdy baking sheet. Transfer the baking sheet with the pie to the preheated 425°F (220°C) oven and bake for 30 minutes. After this initial bake, reduce the oven temperature to 375°F (190°C). Continue baking for another 15-30 minutes. Keep an eye on the crust: if the edges begin to brown too quickly, loosely cover them with strips of aluminum foil or a dedicated pie shield. The pie is done when the filling is visibly bubbling through the vent holes, and the internal temperature of the filling reaches 200°F (93°C) when measured with an instant-read thermometer. The crust should be deeply golden brown.
- Cool for Perfection: This step is non-negotiable for a perfect slice. Once baked, remove the pie from the oven and allow it to cool completely on a wire rack for at least 4 hours, or ideally until it reaches room temperature. This extended cooling time allows the rich filling to fully set, ensuring clean, intact slices that hold their shape beautifully. Patience is key here!
Expert Tips for the Best Homemade Apple Pie Recipe
Achieving a truly outstanding homemade apple pie involves a few key techniques that can make all the difference. These tried-and-true tips will guide you to a pie with unparalleled flavor and a perfectly flaky crust.
- Keep the Pie Crust Ingredients Cold: This is arguably the most critical factor for achieving a wonderfully flaky pie crust. Ensure all your fat components—cold butter and cold shortening—are diced and well-chilled, and use ice-cold water. The science behind this is simple yet effective: as the cold butter or shortening melts during baking, it releases steam, which creates pockets in the dough, resulting in those desirable airy, flaky layers. Warm ingredients will cause the fat to melt prematurely, leading to a tough or dense crust. Dive deeper into making the ultimate flaky pie crust here.
- Utilize a Variety of Apples for Complex Flavor: While a single apple type can work, using a blend of 2-3 different apple varieties will dramatically enhance the flavor profile of your pie. Different apples offer varying levels of sweetness, tartness, and texture. Combining a tart apple like Granny Smith with a sweeter, crisper apple like Honeycrisp or Golden Delicious creates a dynamic and well-balanced filling that is far more interesting than a monochromatic one. This layering of flavors ensures every bite is rich and satisfying.
- Slice Apples Uniformly to ¼-inch Thickness: Precision in slicing your apples is key to even cooking and a consistent texture throughout your pie. Aim for uniform 1/4-inch-thick slices. Through extensive testing, I’ve found this specific thickness to be the sweet spot, allowing apples to cook through to a tender, yet still slightly firm, consistency. Slices that are too thick will remain crunchy, while those that are too thin will turn to mush. Uniformity guarantees perfect tenderness in every piece.
- Transform Apple Juices into a Rich Syrup: Do not discard the flavorful juices released during the initial cooking of the apples! These juices are a treasure trove of natural apple essence. By simmering them down with a cornstarch slurry, you create a concentrated syrup that is then reintroduced to the cooked apples. This step intensifies the apple flavor, adds a luscious sheen, and perfectly binds the filling, preventing any runny or watery slices. It’s a simple technique that elevates the pie’s taste and texture significantly.
- Always Use a Baking Sheet for Easy Cleanup: Apple pies, especially generous ones, can sometimes bubble over in the oven, releasing delicious but sticky juices. To protect your oven and make cleanup effortless, always place your pie dish on a sturdy baking sheet lined with aluminum foil before baking. This simple precaution will catch any potential overflows, saving you from scrubbing burnt sugar later.
Storing Your Delicious Homemade Apple Pie
Proper storage ensures your apple pie remains delicious and fresh for as long as possible. Once your pie has completely cooled—this is crucial to prevent condensation—cover it tightly with plastic wrap or transfer it to an airtight container. At room temperature, the pie will stay fresh and delightful for up to 2 days. For extended freshness, especially in warmer climates or if your pie contains dairy-based additions like cream, refrigerate it for up to 5 days. Ensure it’s fully cooled before covering to avoid a soggy crust.
Can You Freeze Apple Pie? Absolutely!
Homemade apple pie freezes exceptionally well, making it a fantastic make-ahead dessert. To freeze, allow the pie to cool completely after baking. Once cool, wrap it very tightly in several layers of plastic wrap, ensuring no air can get in. Then, place the wrapped pie in a heavy-duty freezer bag or an airtight freezer-safe container to prevent freezer burn. It can be stored in the freezer for up to 3 months. When you’re ready to enjoy it, simply thaw the pie at room temperature for several hours or overnight in the refrigerator. For the best experience, you can gently reheat it in a preheated oven at 300°F (150°C) for about 15-20 minutes until warmed through, which will help crisp up the crust again.
Explore More Delightful Apple Recipes
If you’ve fallen in love with the comforting flavors of apple, you’ll adore these other fantastic recipes:
- Refreshing Apple Cider Punch
- Crispy Homemade Apple Fritters
- Easy and Cozy Apple Crumble
- Flaky Apple Turnovers with Puff Pastry
Tap stars to rate!
Best Apple Pie Recipe From Scratch
Rate
Equipment
-
Glass Pie Pan
-
Glass Mixing Bowl
-
My favorite spatula!
-
Kitchen Scale
Ingredients
- Homemade pie crust or 2 store bought crusts
Apple Pie Filling
- 5 pounds apples, cut into 1/4-inch-thick slices
- 1 cup (213g) packed brown sugar
- 1 ½ tsp ground cinnamon
- ¼ tsp ground allspice
- ¼ tsp ground nutmeg
- ⅛ tsp salt
- 1 Tbsp water
- 1 Tbsp cornstarch
Instructions
Pie Crust
-
You can either use our homemade pie crust recipe or a store-bought option. If you’re making the homemade crust, stop after step 6 and refrigerate the discs of dough while you prepare the apple pie filling. If you’re using a store-bought crust, start by preparing the filling first.Homemade pie crust or 2 store bought crusts
Apple Pie Filling
-
Peel and slice 5 pounds of apples into ¼-inch-thick slices. Ensure uniformity for even cooking.
-
In a large pot, combine the sliced apples, brown sugar, cinnamon, allspice, nutmeg, and salt. Cook over medium heat for 10-15 minutes, stirring occasionally, until the apples are tender but still hold their shape. This process extracts flavorful juices.5 pounds apples, 1 cup (213g) packed brown sugar, 1 ½ tsp ground cinnamon, ¼ tsp ground allspice, ¼ tsp ground nutmeg, ⅛ tsp salt
-
Using a slotted spoon, transfer the cooked apples to a large baking sheet to cool. Spreading them out helps them cool faster. For quicker cooling, place the sheet in the fridge or freezer for 20 minutes.
-
Meanwhile, make a rich syrup from the leftover apple juices in the pot. Transfer the juice to a smaller pot. Simmer over medium-low heat. In a separate small bowl, dissolve the cornstarch in water to create a slurry, then stir this into the simmering syrup. Cook and stir continuously until the syrup thickens to a honey-like consistency, about 3-5 minutes.1 Tbsp water, 1 Tbsp cornstarch
-
Once the syrup has thickened and the apples are cool, gently combine them in a large bowl, ensuring all apples are evenly coated with the glossy syrup.
Assemble
-
Preheat the oven to 425ºF (220°C). Position your baking racks so you can place the pie on the bottom rack, ensuring a crisp bottom crust.
-
Prepare the Bottom Crust: Roll out your pie dough on a lightly floured surface into a circle about 13-14 inches in diameter. Gently place it into a 9-inch pie dish, ensuring the dough drapes over the edges slightly. Press it lightly into the dish to ensure it fits snugly without air pockets.
-
Add the Filling: Pour your prepared apple pie filling into the bottom crust, spreading it evenly and mounding it slightly in the center.
-
Roll Out the Top Crust: Roll out the second piece of dough into a circle about 12-13 inches in diameter. Carefully lay it over the apples, aligning it with the bottom crust.
-
Trim and Flute the Edges: If needed, trim the excess dough from both the top and bottom crusts, leaving about a 1-inch overhang. Pinch or crimp the edges together by pressing them with your fingers or a fork to create a decorative fluted edge and seal the pie.
-
Egg Wash and Vent Holes: Brush the top crust with a light layer of egg wash (1 egg beaten with 1 Tbsp water or milk) for a golden finish. Cut a few small vent holes in the top crust to allow steam to escape while baking. For added texture and sweetness, sprinkle the top with sanding sugar.
-
Baking: Position the pie on a baking sheet to catch any juices that may overflow during baking. Bake the pie at 425°F (220°C) for 30 minutes. After 30 minutes, lower the oven temperature to 375°F (190°C). Check the pie after 20 minutes—if the edges are browning too quickly, cover them loosely with aluminum foil or a pie shield. Continue baking until the pie is done, about another 15-30 minutes. The filling should be visibly bubbling through the vents, and the internal temperature should reach 200°F (93°C).
-
Cool: Allow the pie to cool completely on a wire rack for at least 4 hours before slicing. This crucial step lets the filling fully set, ensuring clean, perfect slices.
Nutrition
Nutrition Disclosure
All nutritional values are approximate and provided to the reader as a courtesy. Changing ingredients and/or quantities will alter the estimated nutritional calculations.
Like this recipe? Rate and comment below!