
The Ultimate Guide to Storing and Freezing Fudge for Lasting Freshness
As an enthusiastic fudge maker, you understand the joy of creating rich, creamy batches of this classic confection. But what happens when you have an abundance of delicious fudge, or you want to prepare ahead for the holidays? The good news is that fudge can be stored for extended periods, and even frozen, without losing its delightful texture or flavor. This comprehensive guide will walk you through the ultimate hacks for freezing, storing, and thawing fudge, ensuring every piece remains as perfect as the day it was made. Get ready to extend the life of your sweet treats with these expert tips and tools!
Can Fudge Be Frozen? Absolutely! Your Dessert Game Changer
Yes, fudge can be frozen, and it’s a fantastic secret weapon for any dessert lover or holiday baker! Imagine having a stash of your favorite chocolate fudge or peanut butter fudge ready to enjoy at a moment’s notice, long after the initial baking frenzy. Freezing fudge is a simple yet powerful hack that allows you to preserve its rich taste and smooth texture for weeks or even months. With the right techniques, you can enjoy homemade fudge throughout the holiday season, share it as thoughtful gifts, or simply satisfy a sudden craving without compromising quality.
Fudge Storage at a Glance: Shelf Life Expectations
Understanding how long your fudge will last is key to enjoying it at its best. The high sugar content in fudge acts as a natural preservative, inhibiting microbial growth and giving it a surprisingly long shelf life. However, proper storage methods are crucial to maintain its optimal texture and flavor. Here’s a quick overview:
- Room Temperature: Up to 2 weeks (7-14 days)
- Refrigerator: Up to 1 month (3-4 weeks)
- Freezer: Up to 3 months, or even longer for optimal taste
These timelines assume the fudge is stored correctly in an airtight environment, protecting it from moisture, air, and extreme temperature fluctuations. Always follow the specific recommendations for each storage method below to maximize freshness.
Why Does Fudge Last So Long? The Science Behind Sweetness
Fudge boasts an impressive shelf life primarily due to its unique chemical composition, particularly its high sugar content. In the realm of food chemistry, sugar is a powerful humectant, meaning it attracts and binds water molecules. When the concentration of sugar in fudge reaches a certain threshold, most of the available water becomes “bound” by sugar. This leaves very little “free water” for microorganisms, such as bacteria and mold, to utilize for growth and reproduction. Essentially, the sugar creates an inhospitable environment for spoilage, acting as a natural preservative.
Beyond its sugar content, factors like low moisture content and the presence of fat (from butter or cream) also contribute to fudge’s stability. When prepared and cooled correctly, fudge forms a dense, semi-crystalline structure that further protects it from external elements. This scientific advantage allows homemade fudge to maintain its quality for a significant period, making it an excellent candidate for advance preparation and long-term storage.
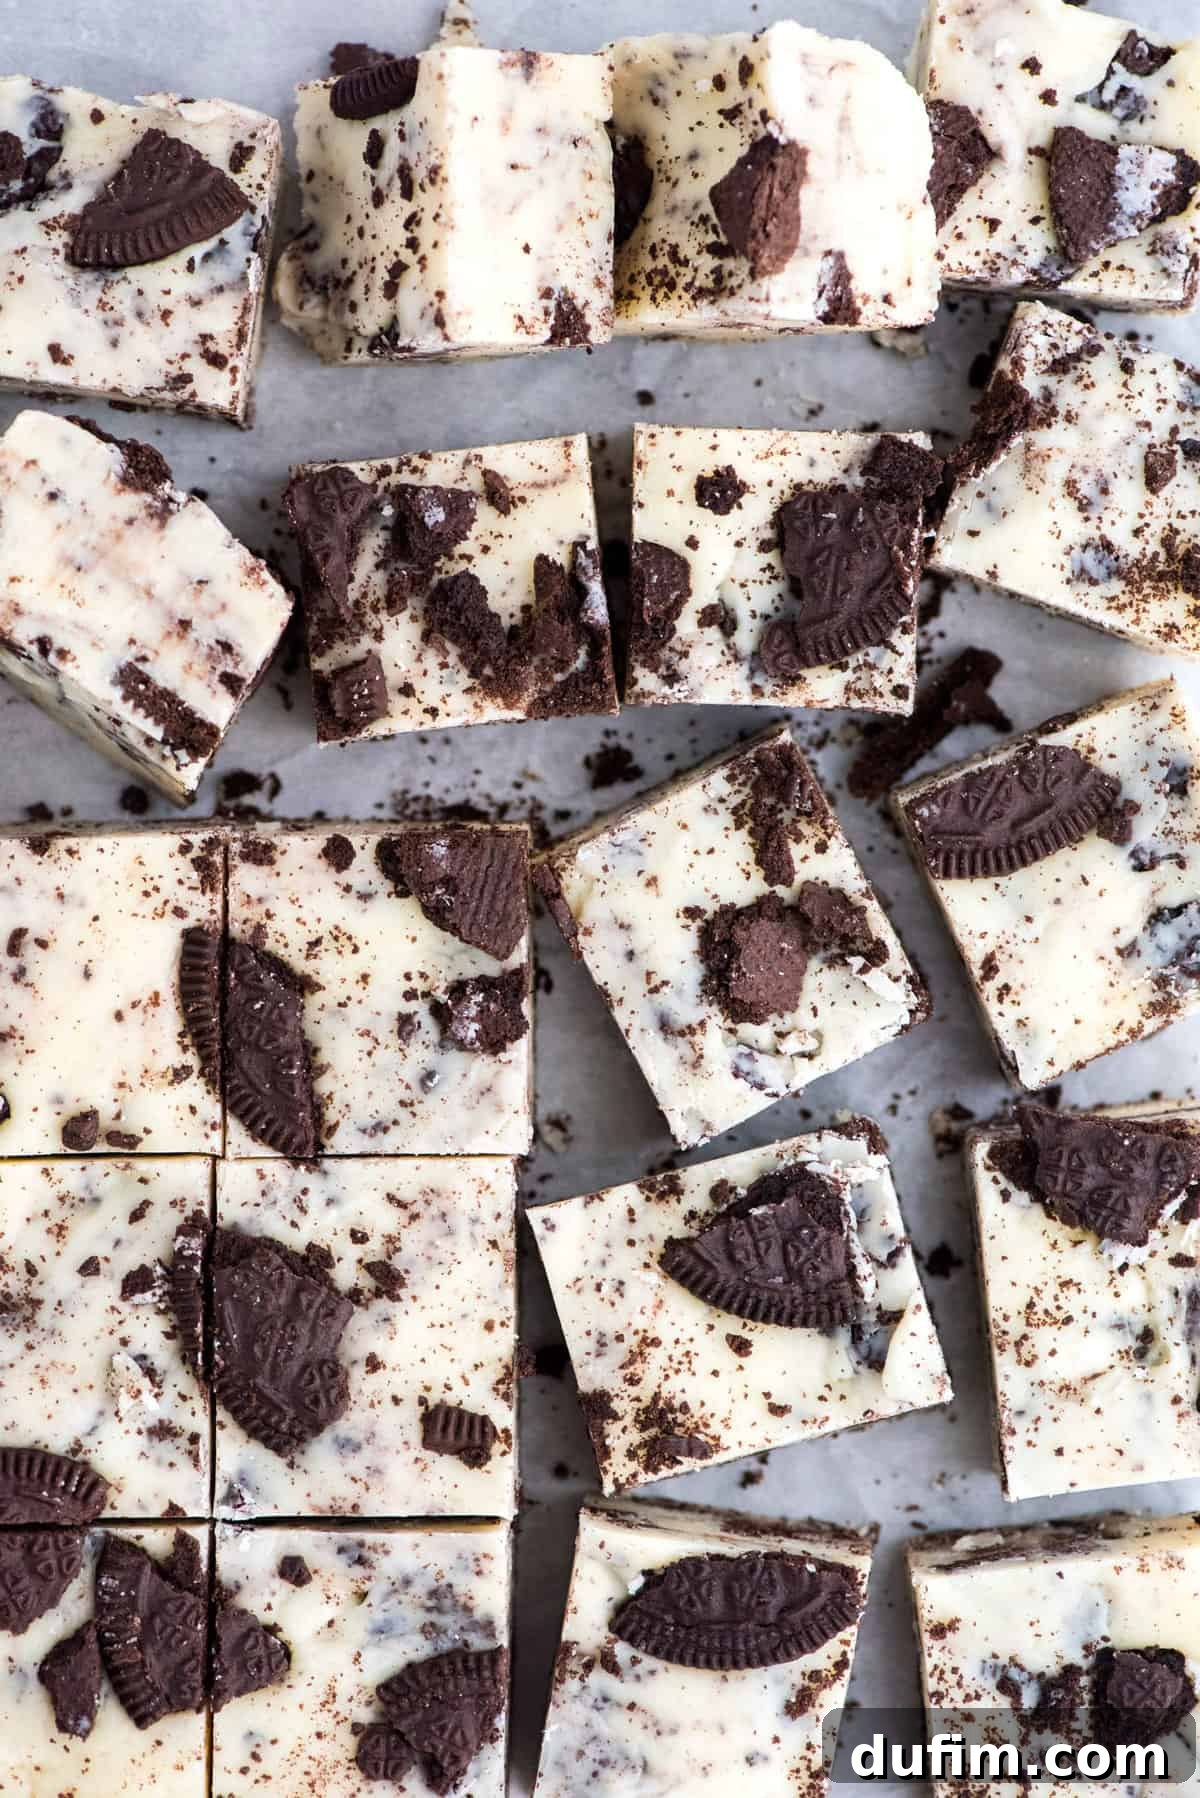
How to Store Fudge at Room Temperature for Short-Term Freshness
For immediate enjoyment or short-term storage, keeping homemade fudge at room temperature is ideal. Properly stored, fudge can remain fresh and delicious for up to two weeks. The key to successful room temperature storage is protection from air, light, and fluctuating temperatures.
First, ensure your fudge is completely cooled and set before storing. If it’s still warm, condensation can form inside the container, leading to a sticky texture and potential spoilage. Once cooled, place the fudge in an airtight container. Options include plastic food storage containers with tight-fitting lids, or heavy-duty resealable bags. If stacking multiple layers of fudge, always place a piece of parchment or wax paper between each layer to prevent them from sticking together. Store the container in a cool, dry place, away from direct sunlight, heat sources (like ovens or stovetops), and areas with high humidity. A pantry or cupboard is often an excellent choice. This method works wonderfully for many fudge varieties, including my thick chocolate fudge, which maintains its perfect texture this way.
Can You Freeze Fudge? And Why It’s the Best Long-Term Solution
Yes, absolutely! Freezing is hands down the best method for long-term fudge storage, allowing you to enjoy your homemade treats months down the line. It’s particularly useful for preparing holiday gifts in advance, managing large batches, or simply ensuring you always have a delightful dessert on hand. Our detailed guide will show you exactly how to freeze fudge without compromising its integrity.
The primary enemies of frozen fudge are moisture and air, which lead to the dreaded freezer burn. Freezer burn occurs when moisture evaporates from the food’s surface and then refreezes as ice crystals. This process results in a dry, discolored, and flavorless product. To combat this, a multi-layered wrapping approach is essential. Additionally, ensure your fudge is completely set and at room temperature before you begin the freezing process. This rule applies to any toppings or drizzles you’ve added, such as chocolate ganache or caramel swirls; they must be firm and cool to avoid smudging or sticky messes.
Essential Tools for Freezing Fudge
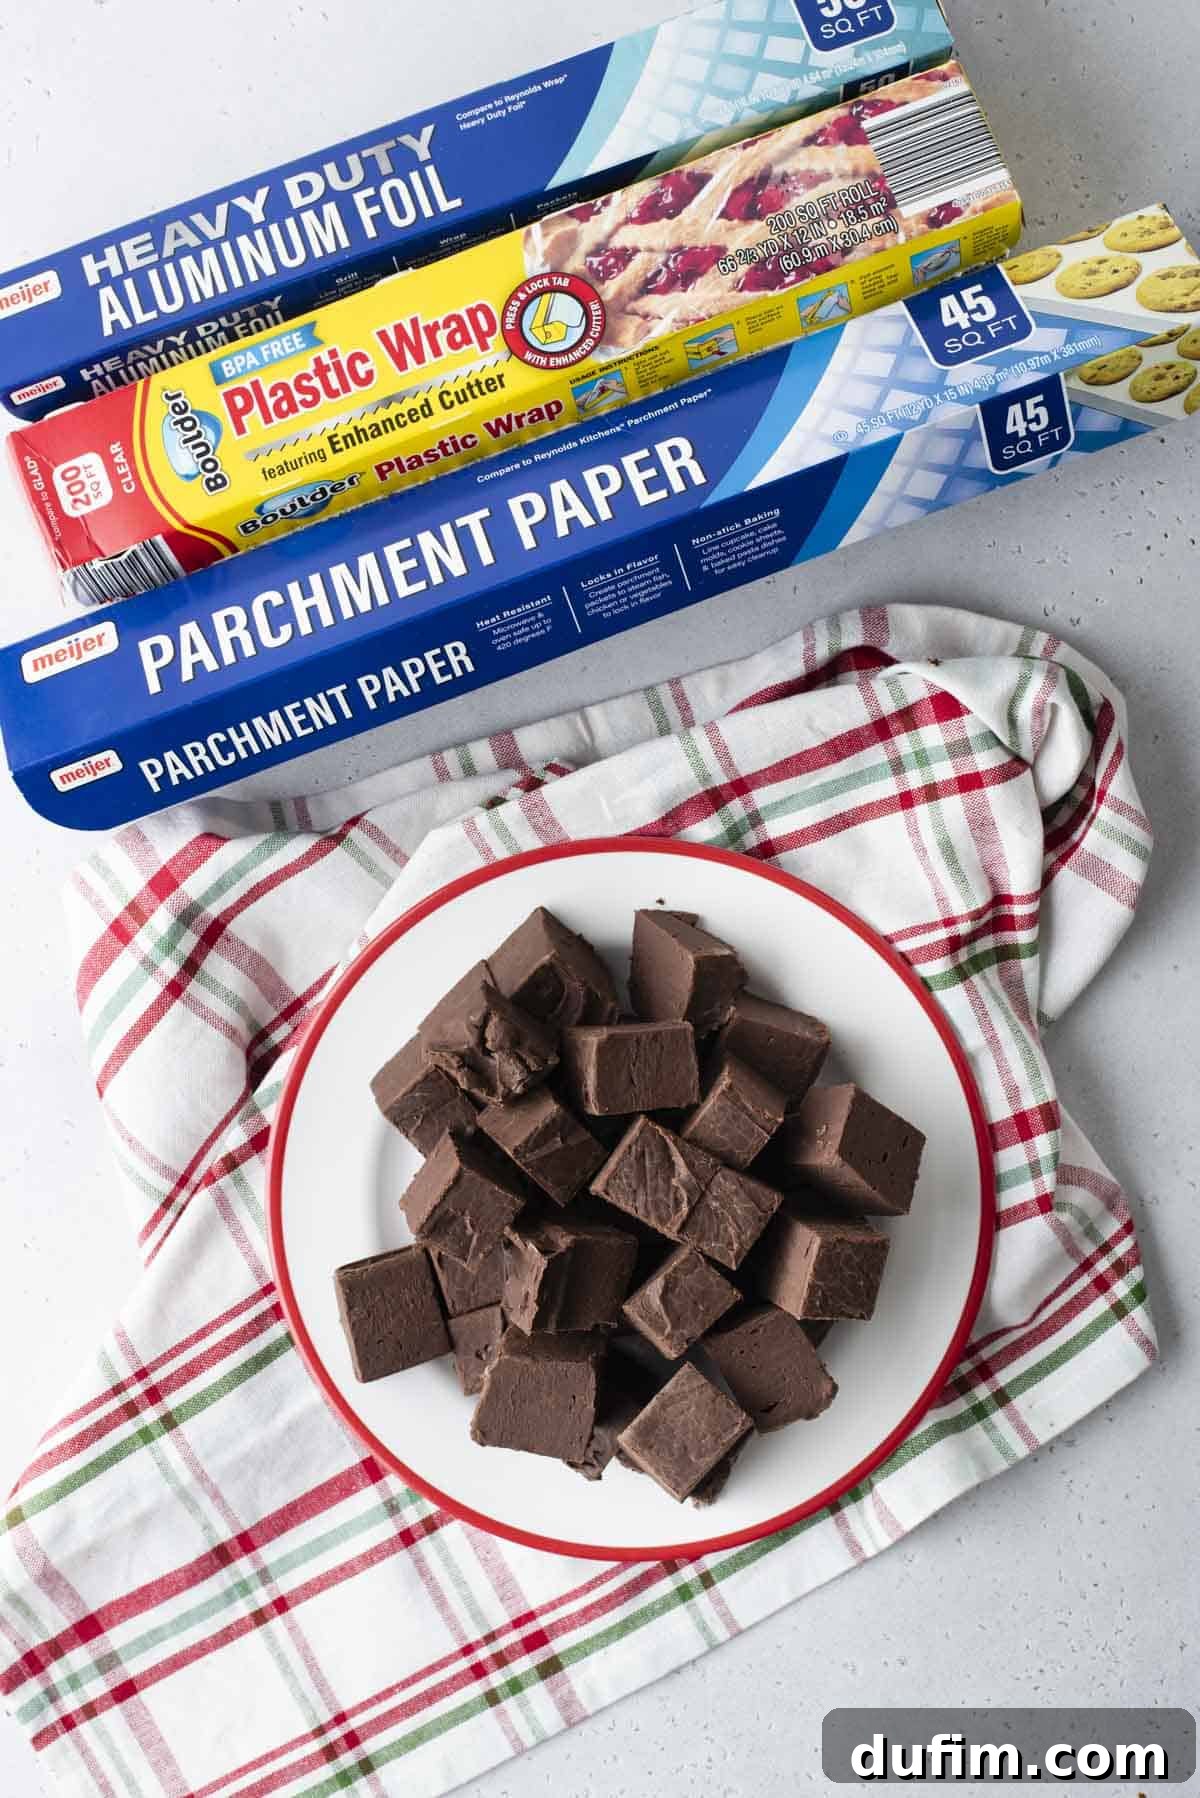
Gathering the right tools before you start will make the freezing process smooth and efficient. Here’s what you’ll need to protect your precious fudge from freezer burn and preserve its quality:
- Sharp Kitchen Knife: For clean, precise cuts of fudge.
- Plastic Wrap (Heavy-Duty): Your first line of defense against air and moisture.
- Aluminum Foil (Heavy-Duty): Provides an additional protective barrier.
- Parchment Paper or Wax Paper: Essential for preventing sticky layers when stacking.
- Freezer Bags (Heavy-Duty, Resealable) or Airtight Freezer-Safe Containers: The final barrier against freezer air and odors.
- Permanent Marker and Labels: To accurately date and identify your frozen fudge.
Having these items on hand ensures that each piece of fudge is meticulously protected, ready for its long slumber in the freezer and a triumphant return to your dessert plate.
Freezing Fudge: A Step-by-Step Guide to Perfect Wrapping
The secret to perfectly frozen fudge lies in its wrapping. This crucial multi-layered approach safeguards your fudge from the harsh freezer environment. Follow these simple 4 steps for optimal protection:
1. Layer One: Tightly Wrap Fudge in Plastic Wrap
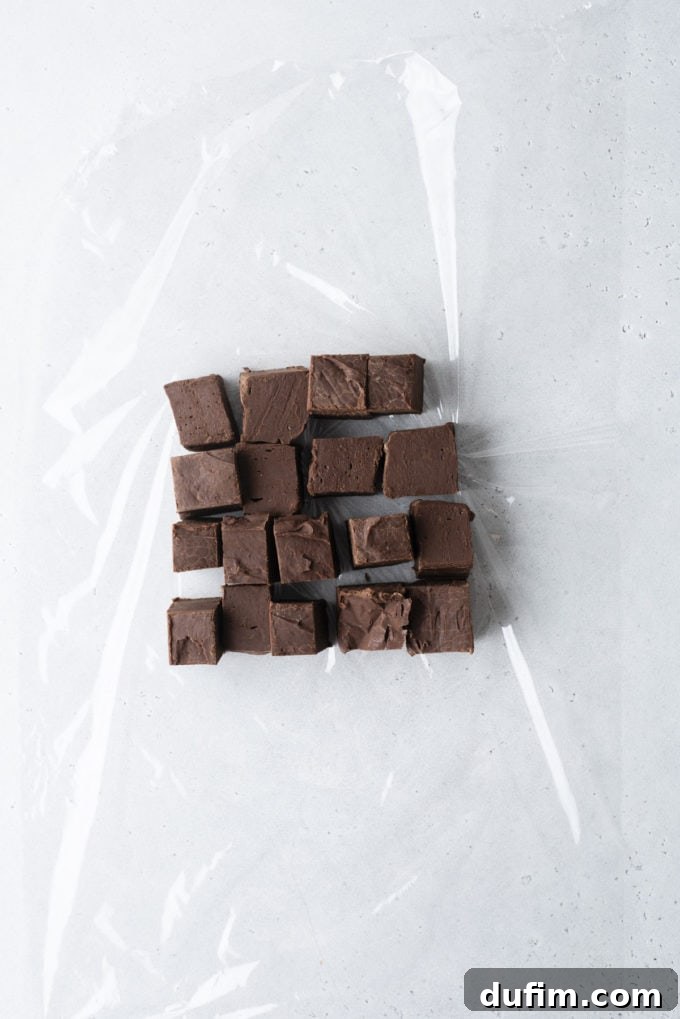
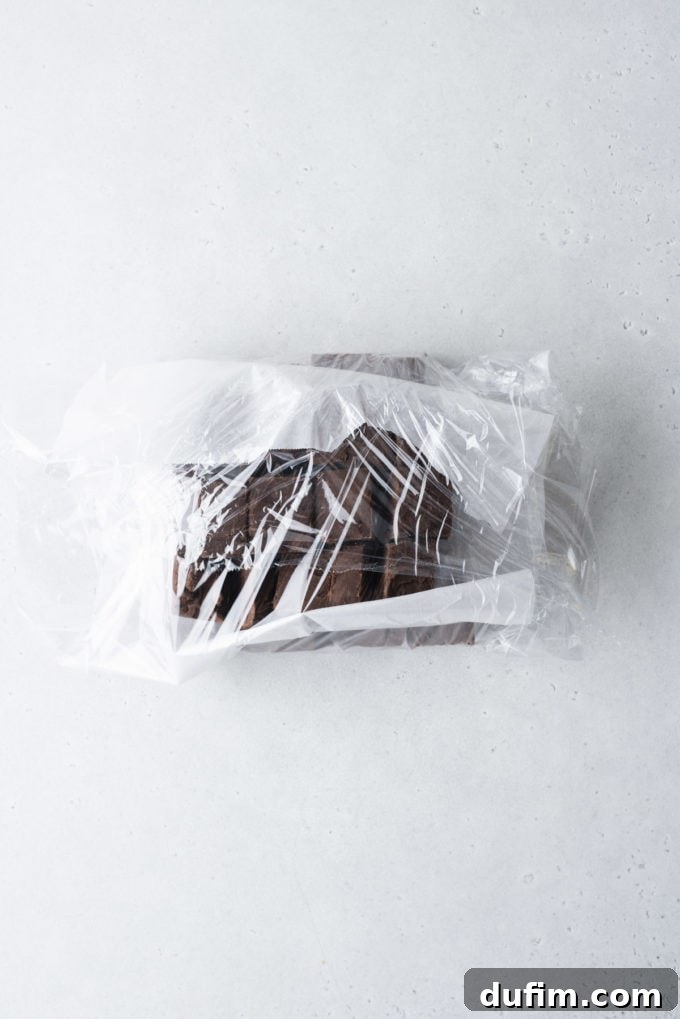
Begin by wrapping your fudge in a layer of heavy-duty plastic wrap. You can wrap the fudge as a whole block or cut it into individual pieces first. Wrapping individual portions is incredibly convenient if you plan to thaw just a few pieces at a time, allowing for portion control and less waste. If you choose to stack multiple individual pieces, place a small square of wax paper or parchment paper between each layer. This simple barrier prevents the pieces from sticking together and makes them easier to separate once frozen. When wrapping, be sure to make it as airtight as possible to minimize exposure to moisture and air, which are the main culprits behind freezer burn. If freezing a large block, this also helps reduce the surface area exposed to air, further preventing drying out.
2. Layer Two: Add a Shield of Aluminum Foil
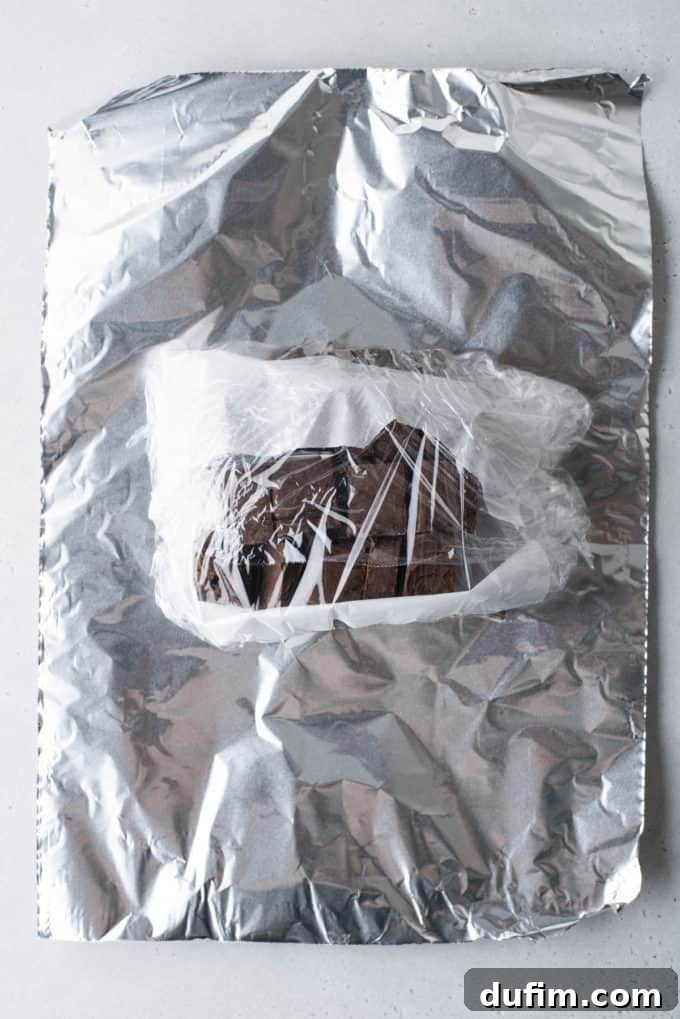
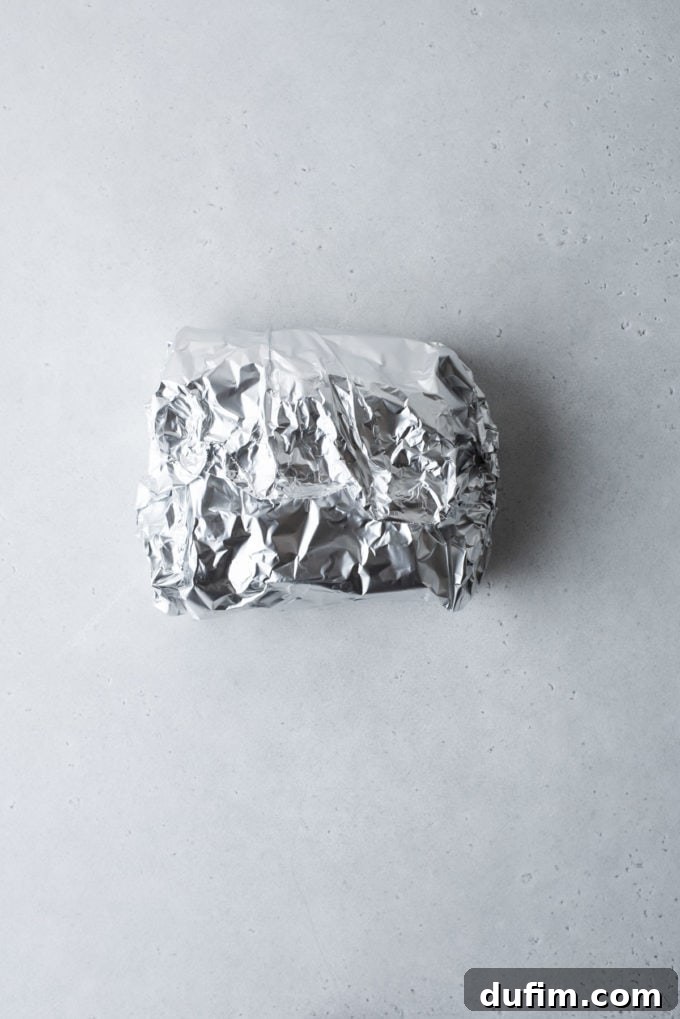
Once your fudge is securely wrapped in plastic wrap, the next step is to wrap it tightly in a layer of heavy-duty aluminum foil. This step is critical for providing an additional barrier against both air and moisture, significantly enhancing protection against freezer burn. Aluminum foil acts as an impermeable shield, preventing any lingering air from reaching the fudge and minimizing temperature fluctuations that can occur in the freezer. If heavy-duty foil isn’t available, you can substitute it with a double layer of plastic wrap for similar protection, though foil is generally more effective. Ensure the foil is pressed firmly around the fudge, leaving no gaps or loose edges.
3. Layer Three: Secure in a Freezer Bag or Container
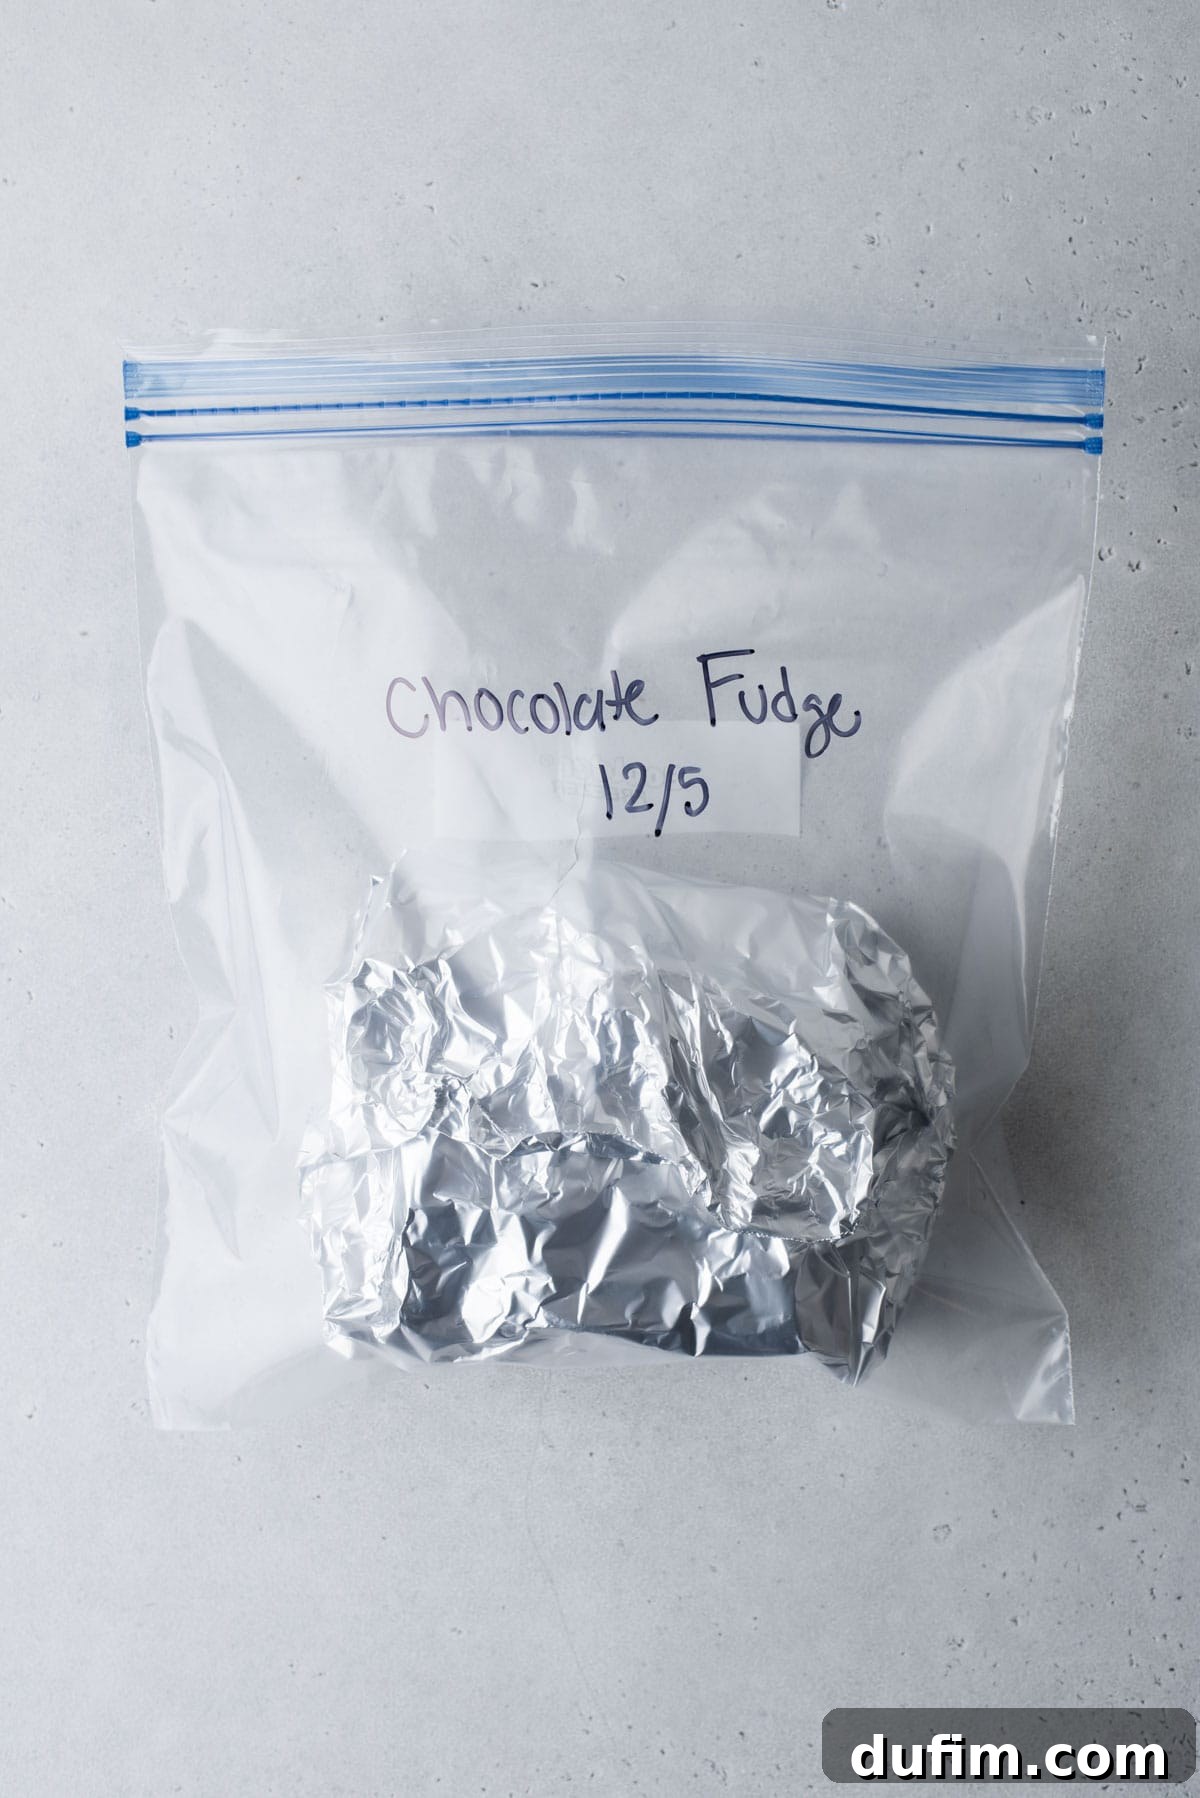
For the ultimate protection, place your double-wrapped fudge (plastic wrap and foil) into a heavy-duty freezer bag or an airtight freezer-safe container. If using a freezer bag, press out as much air as possible before sealing to create a vacuum-like effect, further reducing the risk of freezer burn and preventing your fudge from absorbing any freezer odors. If opting for a rigid container, ensure it’s filled as much as possible to minimize air pockets. This final layer protects the fudge from physical damage, crushing, and accidental exposure to air if the outer layers somehow become compromised.
Crucial Tip: Always label and date the bag or container with a permanent marker. Trust me on this! When you have multiple types of fudge or other frozen goods, it’s easy to forget what’s what. A clear label helps you keep track of its freezing date and ensures you consume it within its optimal window. Identifying a beautifully wrapped, but unlabeled, “mummy-like” block of mystery fudge months later can be a challenge!
4. Final Step: Place Fudge in the Freezer Carefully
With your fudge meticulously wrapped and labeled, it’s time for its journey into the freezer. For the first 6-12 hours, while the fudge is fully freezing, it’s important to place it in an area where it won’t be crushed or have other items piled on top of it. This initial freezing period allows the fudge to solidify completely and maintain its shape without distortion. Once your fudge is rock-solid, typically after 12 hours, you can then safely stack other freezer items on top of it. This strategic placement ensures that your fudge freezes evenly and retains its pristine condition until you’re ready to enjoy it again.
How to Thaw Frozen Fudge for Optimal Texture
Thawing frozen fudge correctly is just as important as freezing it to preserve its smooth texture and rich flavor. The best approach involves a gradual temperature change to prevent sudden condensation, which can make the fudge watery or gritty.
The recommended method is to place the entire wrapped bundle (still in its freezer bag or airtight container) in the refrigerator. If you only want to enjoy a few pieces, transfer just the desired portion into a fresh plastic bag and place it in the fridge. This slow thawing process helps the fudge re-acclimate to a warmer temperature without shocking its delicate crystalline structure.
Fudge typically takes about 2-3 hours to thaw in the refrigerator, though thicker blocks or larger quantities may require slightly longer. Once thawed, unwrap the fudge and, if needed, slice it into squares for serving. Allow it to come to room temperature for about 15-30 minutes before serving for the best flavor and melt-in-your-mouth experience.
Important Tip: Never thaw frozen fudge in the microwave. The rapid and uneven heating will likely melt the sugar, creating a sticky, grainy, or rubbery texture that is far from desirable. Patience in thawing ensures your fudge tastes just as good as fresh!
Freezing Fudge with Toppings and Mix-Ins: Special Considerations
While most fudges freeze beautifully, those with certain toppings or mix-ins require a little extra thought to ensure optimal results upon thawing. The goal is to prevent texture degradation and maintain flavor.
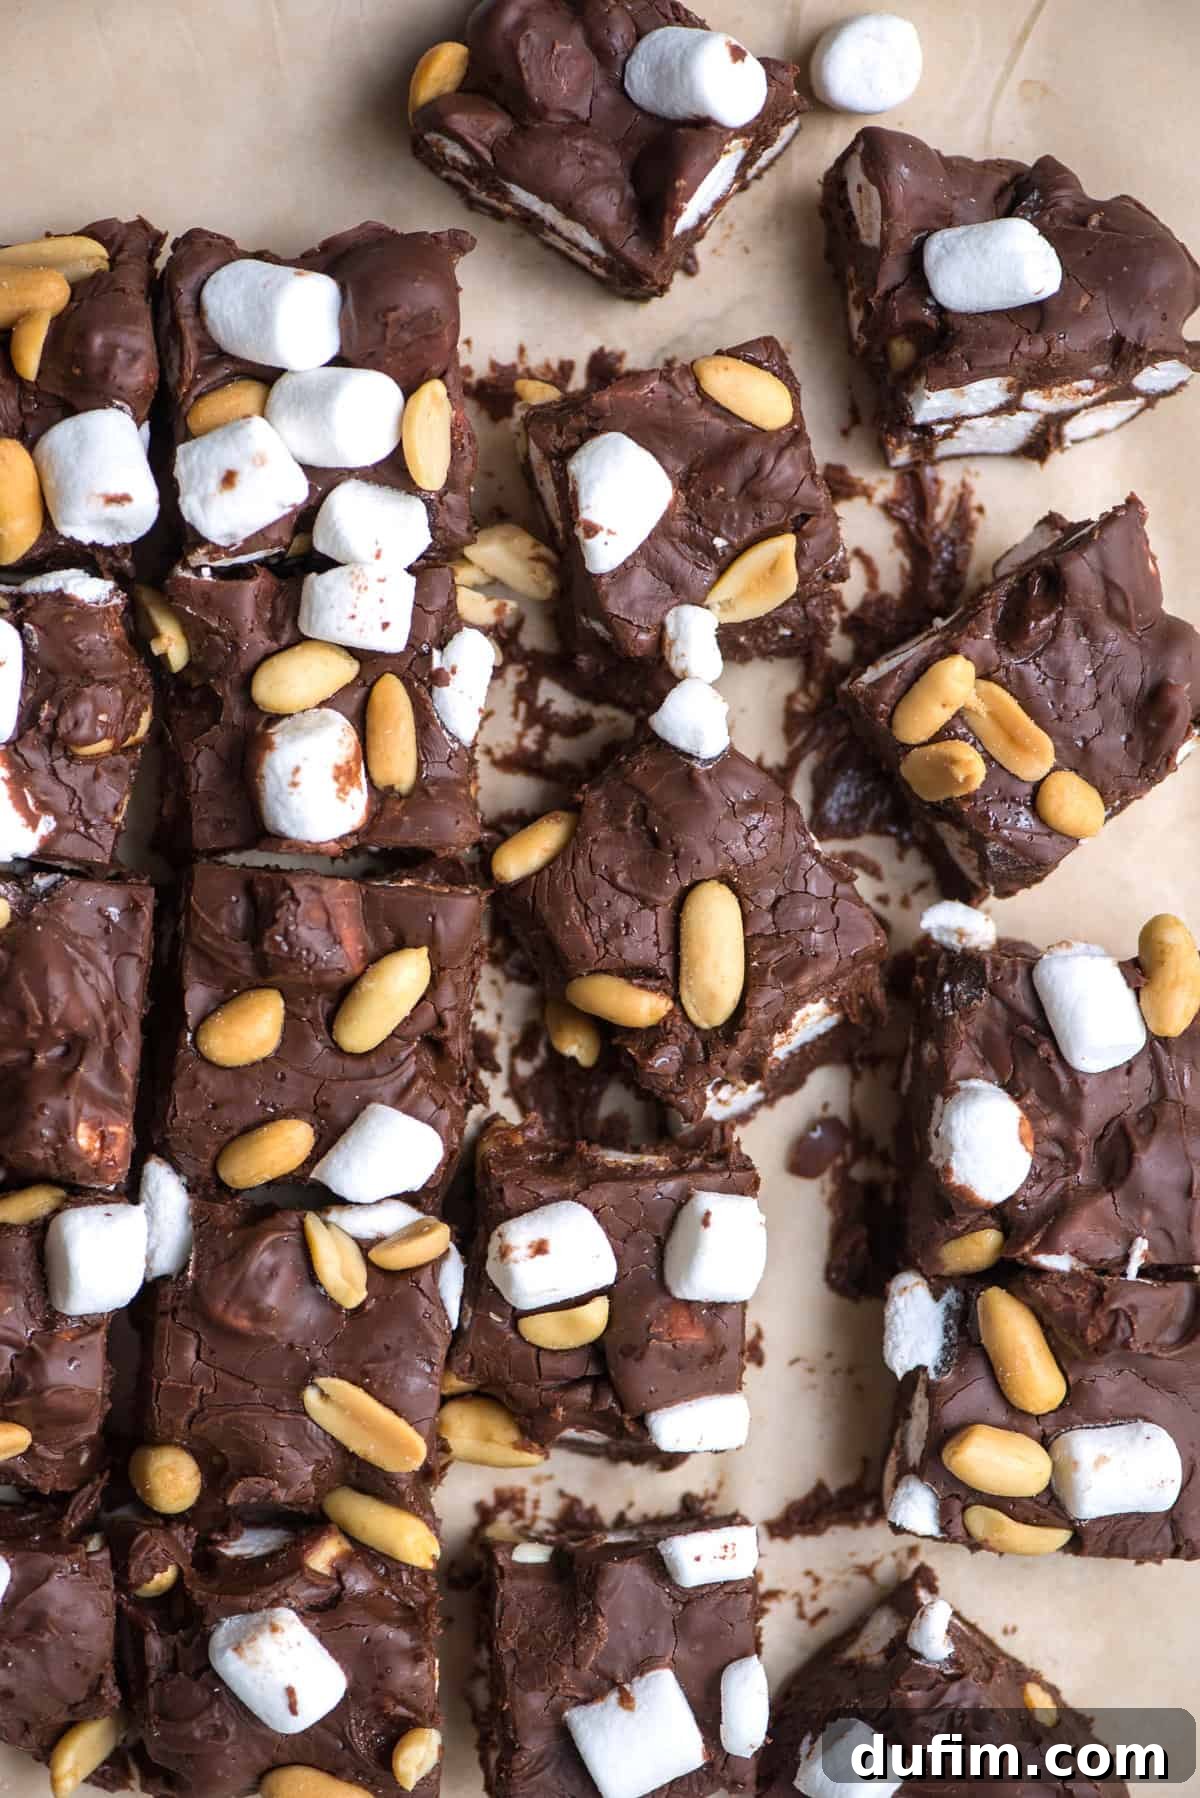
- Nuts: Nuts pressed onto the surface of fudge can sometimes detach or become slightly soft during the freezing and thawing cycle. To prevent this, it’s best to mix the nuts directly into the fudge batter while you’re making it. This way, they are fully incorporated and protected, maintaining their crunch.
- Marshmallows: Similar to nuts, marshmallows layered on top might not hold their shape or texture as well. For recipes like our rocky road fudge, gently fold the marshmallows and peanuts (or other mix-ins) into the fudge mixture just before pouring it into the pan. This ensures they are fully integrated and better preserved during freezing.
- Dried Fruits: Dried fruits generally freeze well and retain their texture. However, you might notice a slight loss of some of their vibrant flavor after freezing and thawing. This is usually minimal and still results in a delicious treat.
- Fresh Fruits: It is generally not recommended to freeze fudge that contains fresh fruit. Fresh fruits have a high water content, which turns into ice crystals during freezing. Upon thawing, these crystals melt, releasing excess moisture that can significantly alter the fudge’s texture, making it watery, mushy, or gritty. Stick to fudges without fresh fruit for freezing.
- Chocolate Drizzles & Sprinkles: These typically fare well. Ensure any chocolate drizzles are fully set and hardened before wrapping the fudge. Sprinkles might lose a little of their vibrant color over very long periods but generally hold up well.
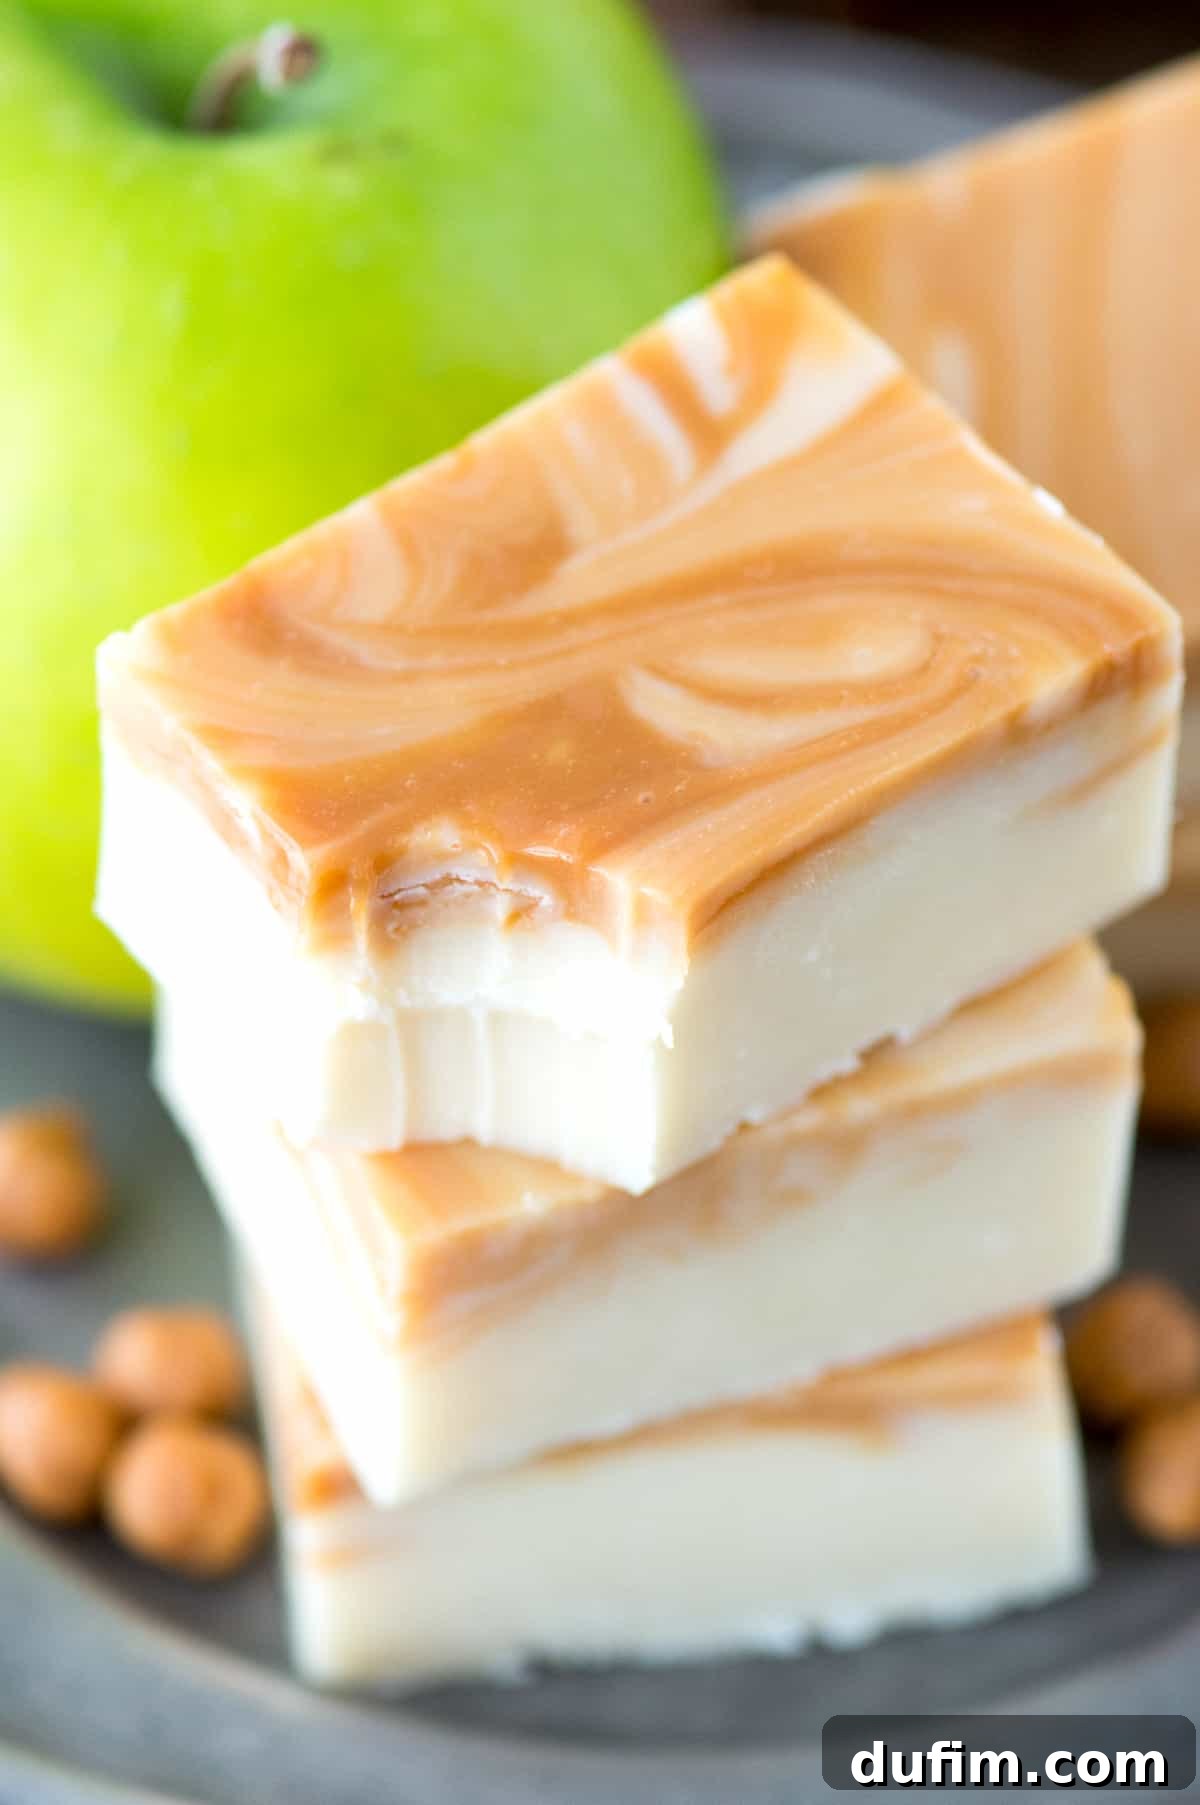
- Caramel Swirls/Layers: Fudge with caramel swirls or layers generally freezes well. The caramel might become slightly firmer when frozen, but it should return to its original consistency upon thawing.
Does Fudge Go Bad? 5 Critical Signs to Avoid
While fudge has an impressive shelf life, it’s not immortal. Eventually, even the best-stored fudge can spoil. Knowing the signs of spoilage is crucial to ensure food safety and prevent an unpleasant experience. Here are five unmistakable indicators that your fudge has gone bad and should be discarded:
- Mold Growth: This is the most obvious sign. Any visible fuzzy, green, white, or black spots mean the fudge is contaminated and must be thrown out immediately. No exceptions!
- Texture or Color Changes: Fresh fudge should be smooth, creamy, and consistent in color. If your fudge becomes gritty, crumbly, excessively hard, or develops an unusual chalky texture, it’s likely past its prime. Similarly, if its vibrant color has faded or changed significantly, it’s a strong indicator of spoilage or degradation.
- Deep Cracks and Excessive Dryness: While some minor cracking can occur, deep, pervasive cracks throughout the fudge indicate it has severely dried out. Dry fudge loses its appealing texture and moisture, making it unpalatable. It might not be harmful, but it certainly won’t be enjoyable.
- Slimy or Cloudy Coating: A sticky, slimy, or cloudy film on the surface of the fudge is a definite red flag. This can be a sign of moisture accumulation or bacterial growth. If you observe any such coating, into the trash it goes!
- Off-Putting Smell: Fresh fudge has a sweet, inviting aroma. If your fudge emits any sour, yeasty, moldy, or generally “off” smell, trust your nose. An unusual odor is a strong indicator that the fudge has spoiled and should not be consumed.
When in doubt, it’s always better to play it safe and discard the fudge. Your health and taste buds will thank you!

Frequently Asked Questions About Fudge Storage
Yes, absolutely! Sweetened condensed milk is a very common ingredient in many homemade fudge recipes and it freezes exceptionally well. Its high sugar content and smooth texture are conducive to freezing without significant changes in quality. Just follow the multi-layered wrapping instructions for best results.
The key to preventing fudge from drying out is to create an airtight seal around it. Whether storing at room temperature, in the refrigerator, or freezer, always use an airtight container or a heavy-duty resealable bag. For freezer storage, the multi-layered wrapping method (plastic wrap, then foil, then a freezer bag/container) provides the best defense against moisture loss and air exposure, which are the main causes of dryness and freezer burn.
It is generally not recommended to thaw fudge at room temperature. A sudden shift from freezing cold to room temperature can cause condensation to form rapidly on the surface of the fudge, leading to a sticky, watery, or grainy texture. To maintain the fudge’s smooth consistency, always thaw it gradually in the refrigerator. This allows for a gentle temperature equalization, preserving its original quality.
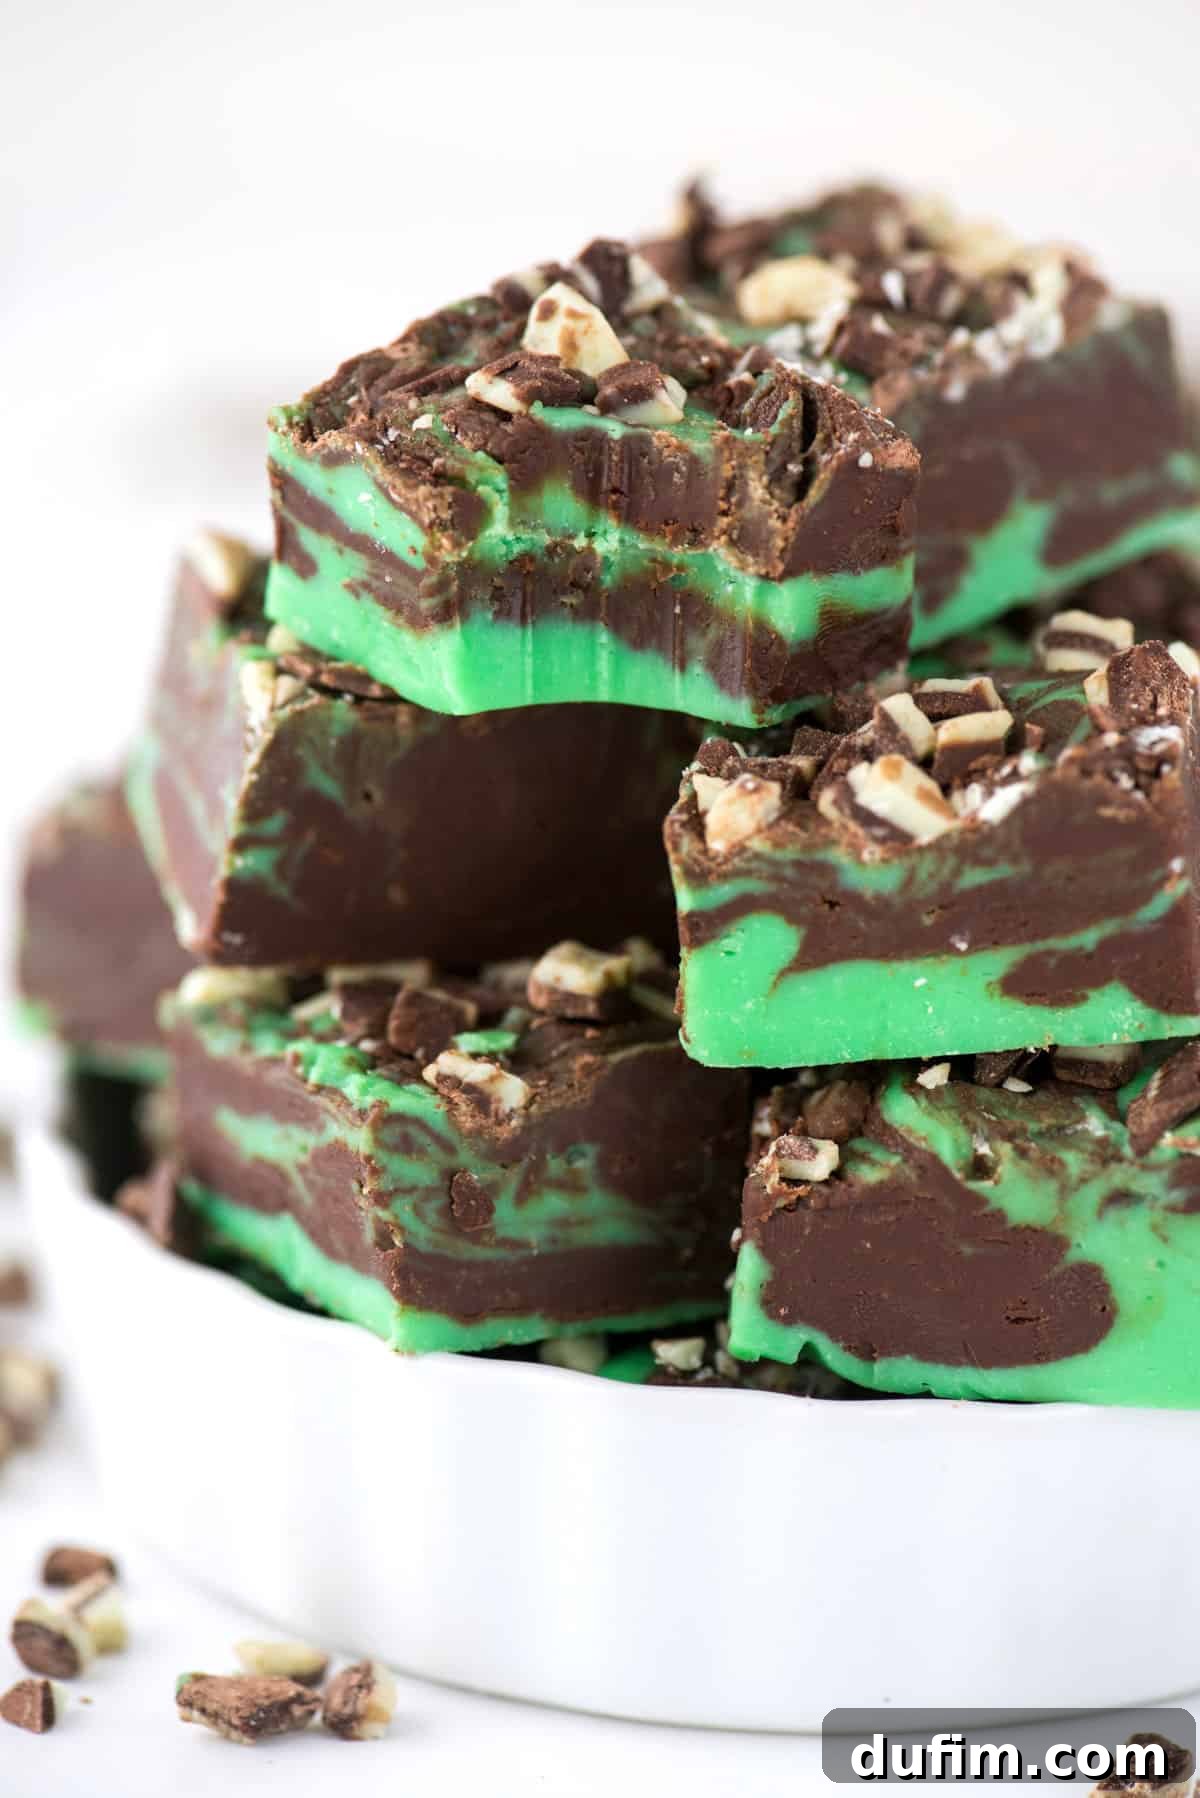
Properly stored fudge can last for 2 to 3 months in the freezer without a noticeable decline in quality. However, with meticulous wrapping and consistent freezer temperatures, it can often remain delicious for up to 6 months or even longer. For instance, I’ve personally enjoyed mint chocolate fudge that was frozen for half a year, and it was still absolutely delectable!
While technically possible, refreezing thawed fudge is generally not recommended for optimal quality. Each thaw-and-freeze cycle can compromise the texture, leading to a more crumbly, gritty, or dry consistency due to moisture loss and crystal formation. It’s best to thaw only the amount of fudge you plan to consume.
Denser, richer fudges without fresh fruit tend to freeze best. Varieties like classic chocolate fudge, peanut butter fudge, and those with integrated nuts or dried fruits hold up exceptionally well. Fudges with delicate toppings or fresh fruit are less ideal for freezing due to potential texture changes.
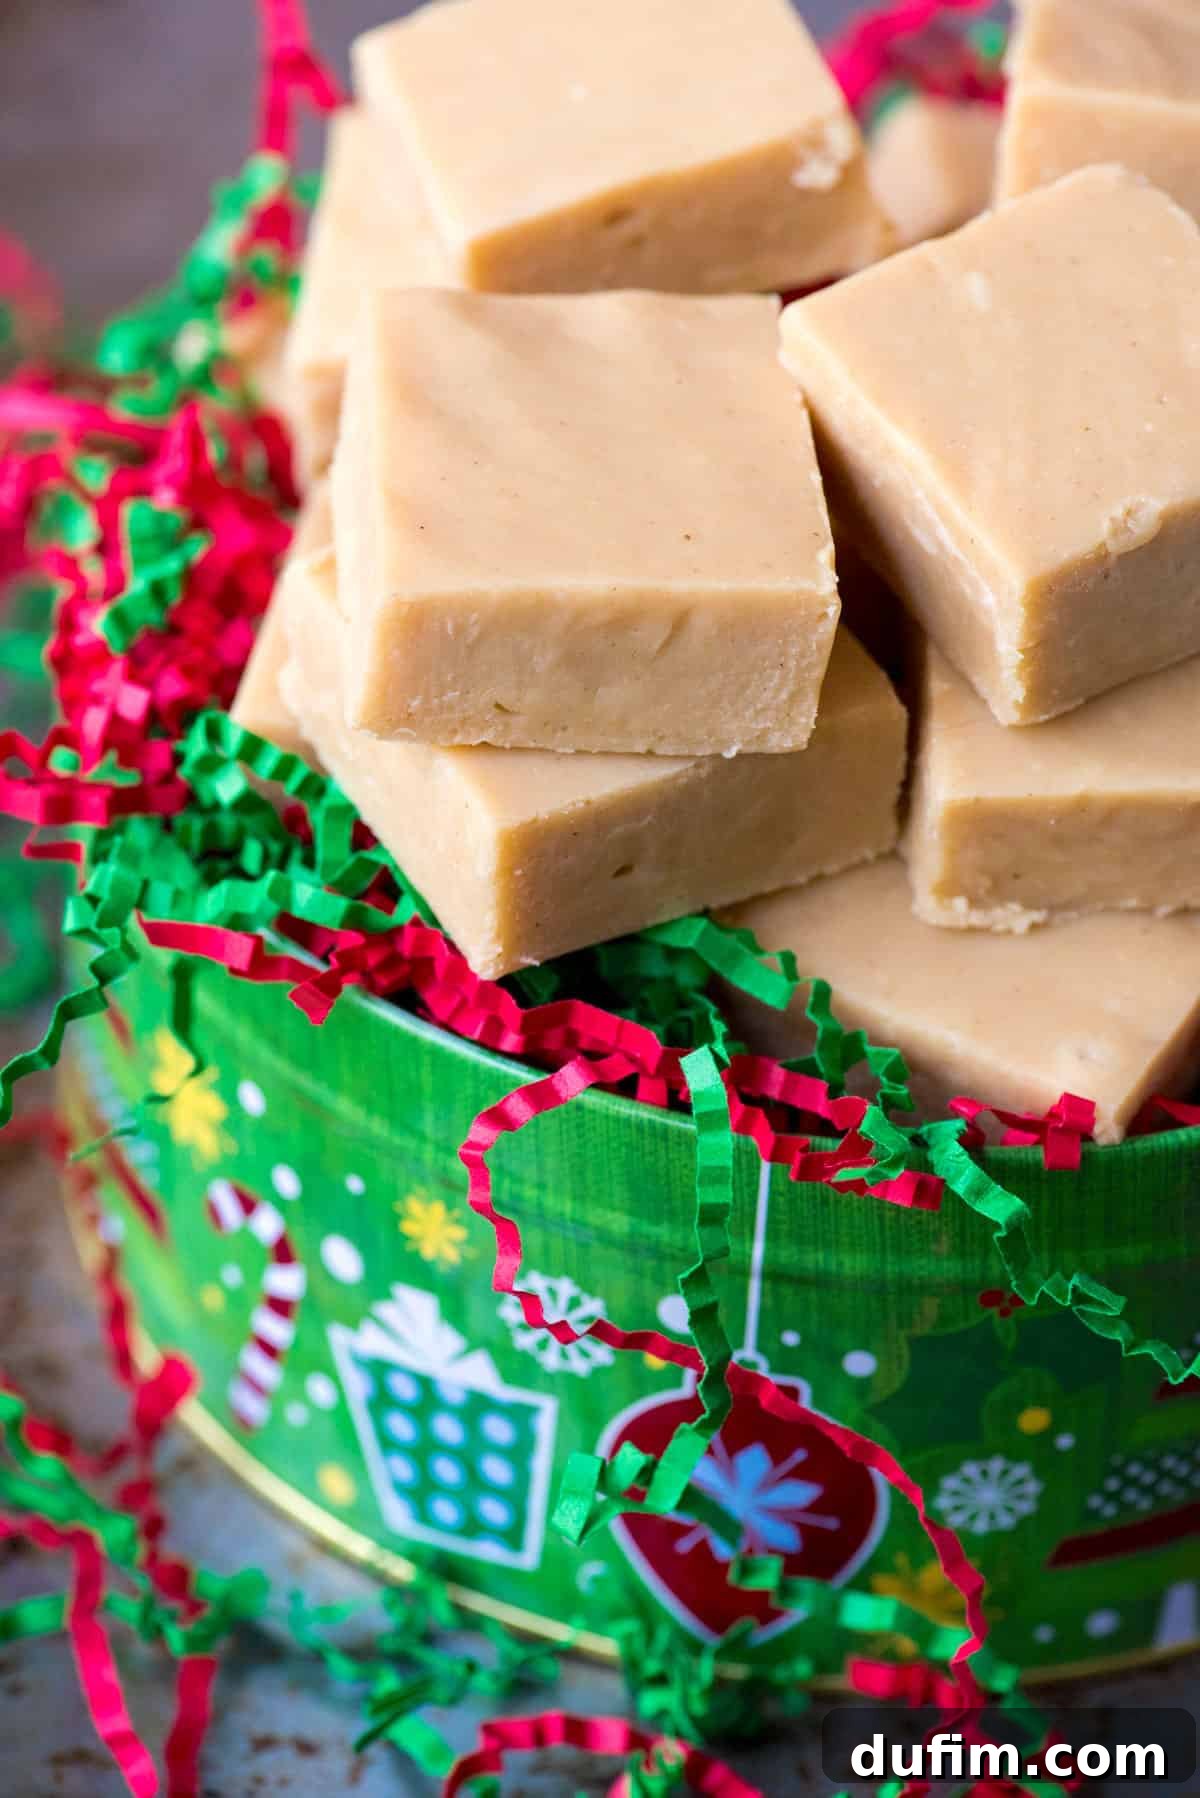
If gifting immediately, store in an airtight decorative tin or box at room temperature. If preparing gifts in advance, follow the freezing instructions above. When ready to gift, thaw the fudge in the refrigerator overnight, then transfer to presentation packaging. Include a small note with thawing instructions if the recipient might freeze it or receive it frozen.
Tap stars to rate!
How to Freeze Fudge: Complete Fudge Storing & Freezing Guide
Rate
Ingredients (Tools & Materials)
- Your favorite homemade Fudge
- Heavy-Duty Plastic Wrap
- Heavy-Duty Aluminum Foil
- Heavy-Duty Freezer Bag or Airtight Container
- Parchment or Wax Paper (for stacking)
- Permanent Marker for Labeling
Instructions for Freezing & Thawing Fudge
Part 1: How to Wrap Fudge for Freezing (4 Steps)
-
Step 1: Plastic Wrap. Ensure fudge is completely cooled. Wrap the fudge (either as a whole block or individual pieces) tightly in heavy-duty plastic wrap, pressing out as much air as possible. If stacking individual pieces, place parchment or wax paper between layers to prevent sticking.
-
Step 2: Aluminum Foil. Next, wrap the plastic-wrapped fudge securely in a layer of heavy-duty aluminum foil. This adds an extra protective barrier against freezer burn and odor absorption. Alternatively, use a second layer of plastic wrap if foil is unavailable.
-
Step 3: Freezer Bag/Container. Place the double-wrapped fudge into a heavy-duty freezer bag or an airtight freezer-safe container. Remove as much air as possible from freezer bags. Label and date the package clearly.
-
Step 4: Freezer Placement. Place the fudge in the freezer. Avoid stacking other items on top of it for the first 6-12 hours until it is fully frozen and firm. Once solidified, it can be stacked with other items.
Part 2: How to Thaw Frozen Fudge
-
Step 1: Refrigerate. Transfer the entire wrapped fudge bundle from the freezer to the refrigerator to thaw gradually. If you only need a portion, place just those pieces in a fresh plastic bag and into the fridge.
Step 2: Thawing Time. Allow 2-3 hours for the fudge to thaw in the refrigerator. Thicker pieces may require more time.
Step 3: Serve. Once thawed, unwrap the fudge and slice into squares if desired. For best taste and texture, let it sit at room temperature for 15-30 minutes before enjoying. Avoid thawing in the microwave to prevent texture issues.
Nutrition Disclosure
All nutritional values are approximate and provided to the reader as a courtesy. Changing ingredients and/or quantities will alter the estimated nutritional calculations.
Love this comprehensive guide? Please rate and share your thoughts below!