
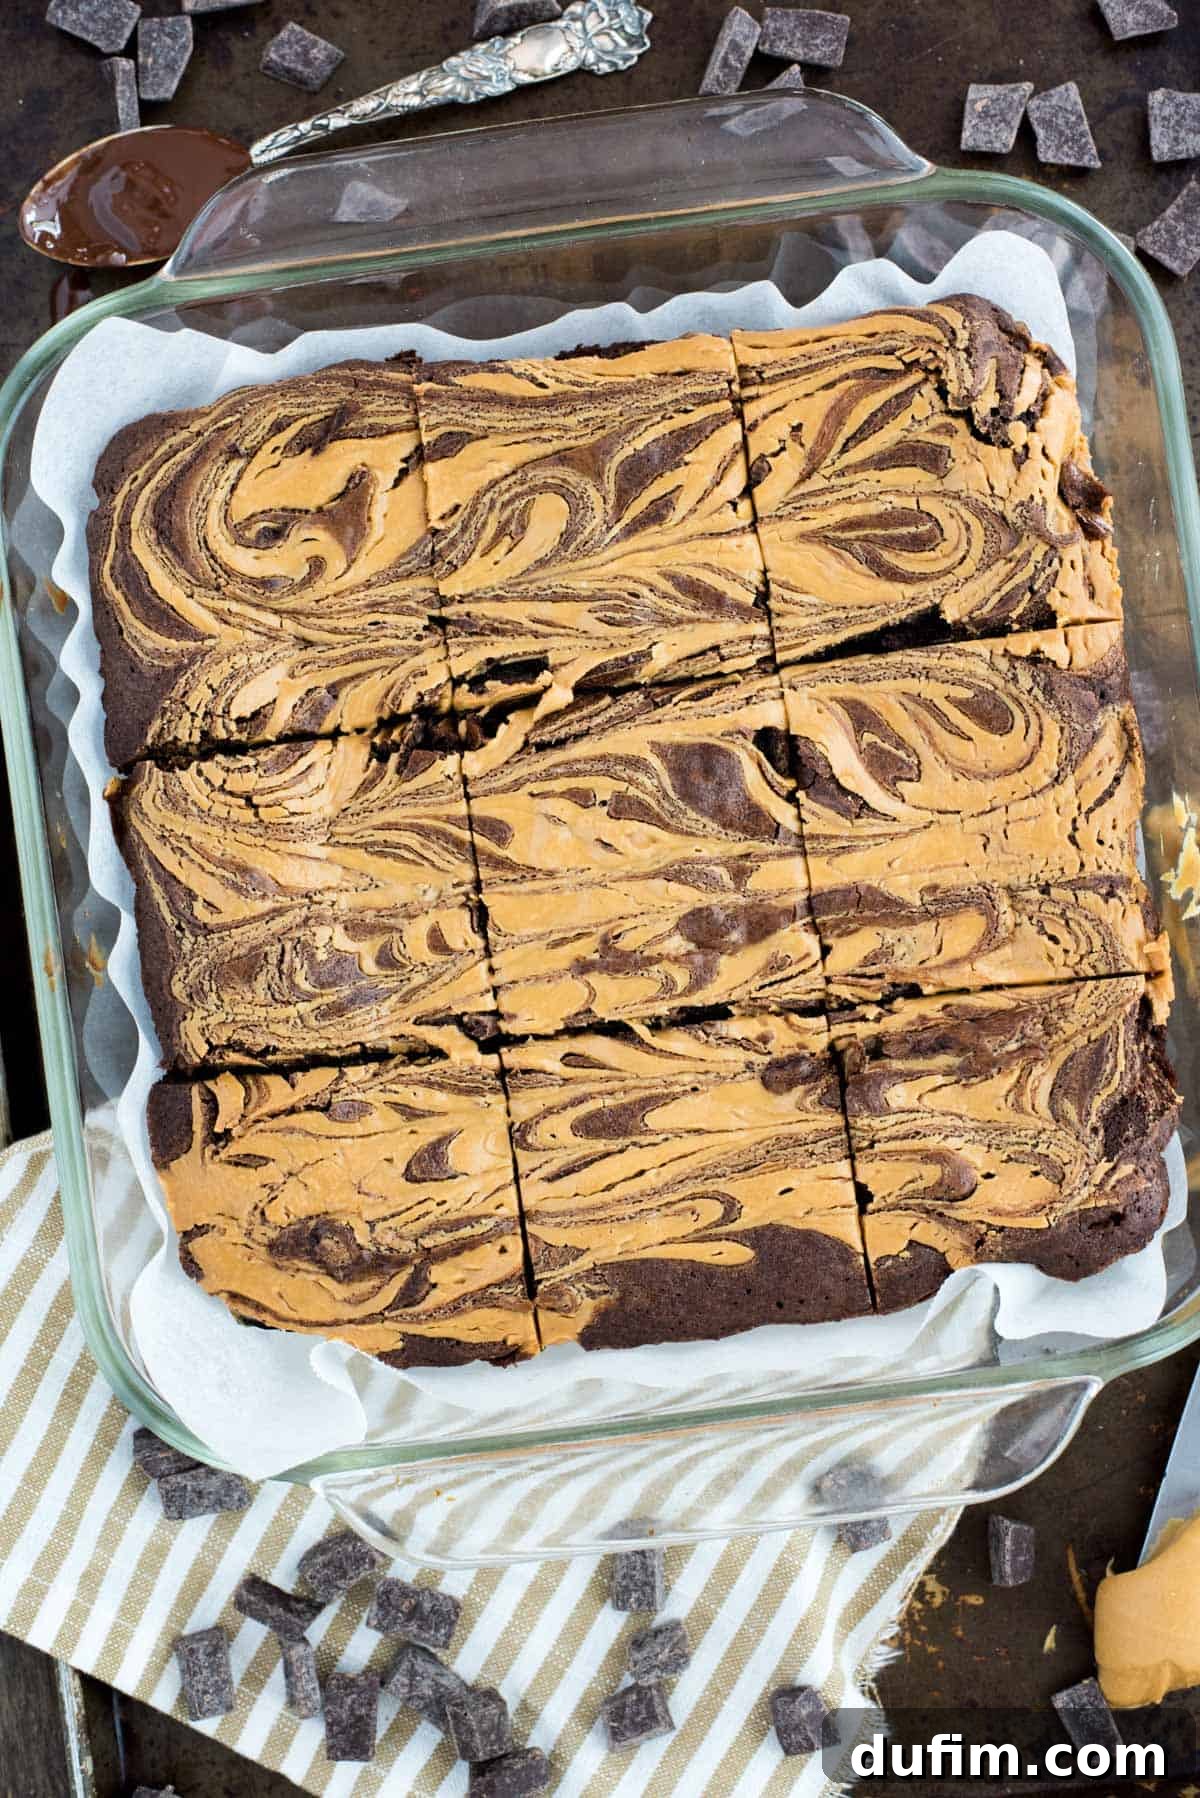
Indulge in our ultimate recipe for fudgy and chewy peanut butter swirl brownies, a truly irresistible homemade dessert that promises to become a staple in your kitchen!
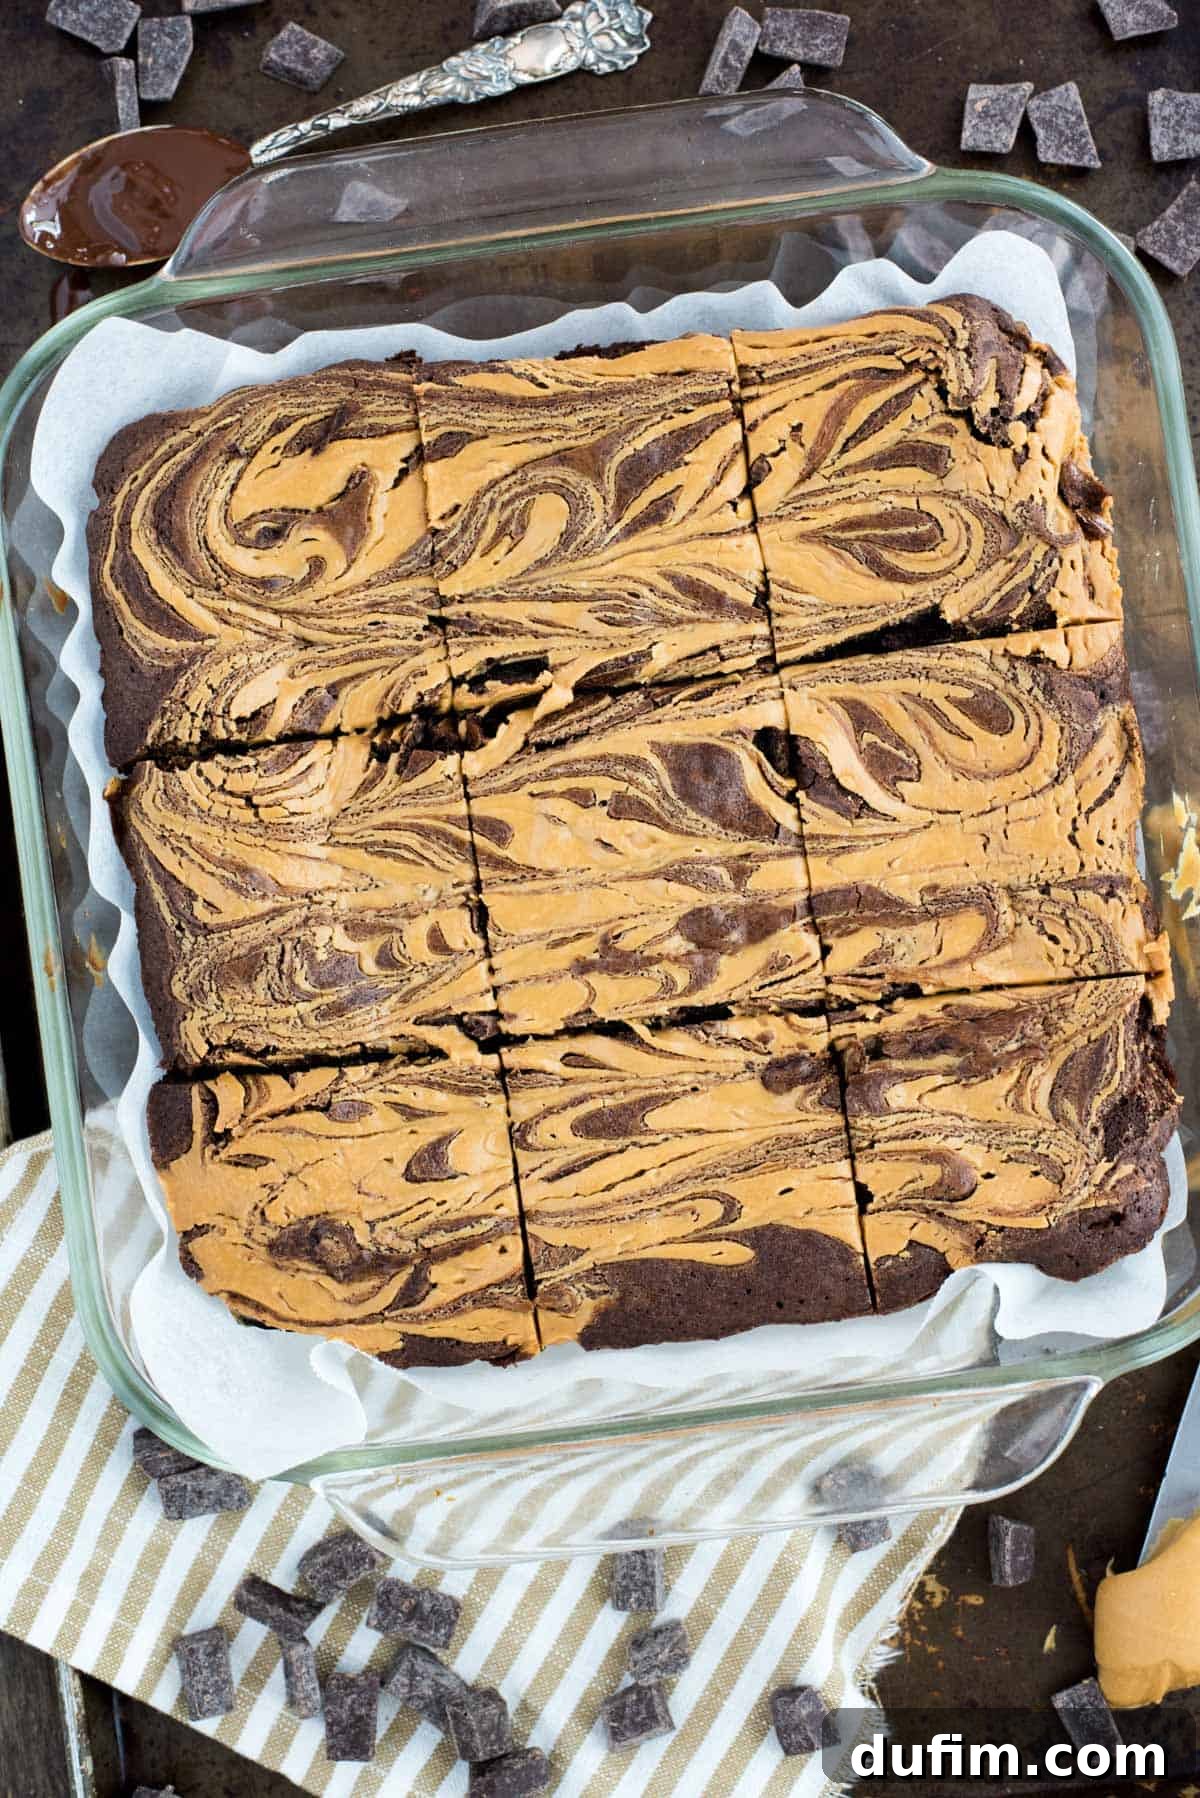
“These turned out amazing & so incredibly easy to make! I topped with coconut flakes and sprinkled a few chocolate chips on the top, and it gave it a nice yummy bonus texture! I will definitely be adding this to my go-to dessert recipes.”
– Amanda
Welcome to the definitive guide for crafting the most delectable peanut butter swirl brownies you’ll ever taste. This comprehensive post dives deep into the art and science of baking, offering a wealth of expert tips and tricks to help you achieve your desired brownie perfection. Whether you prefer a supremely fudgy center or a delightfully chewy bite, we’ve got you covered. We’ll also explore methods for freezing these delightful treats for future enjoyment and share exciting news for those with dietary restrictions: this recipe has been rigorously tested and consistently yields incredible gluten-free brownies!
After countless hours, copious amounts of butter, and an endless supply of premium chocolate dedicated to perfecting our classic homemade brownie recipe, the natural next step was to introduce the magic of peanut butter. As a devoted fan of Reese’s Peanut Butter Cups, the fusion of rich chocolate and creamy peanut butter was an irresistible call to action. This quest led to the creation of what has quickly become a beloved family favorite, a recipe that perfectly balances the deep cocoa notes with the distinct, nutty flavor of peanut butter.
The Perfect Peanut Butter Swirl Brownie: A Symphony of Texture and Taste
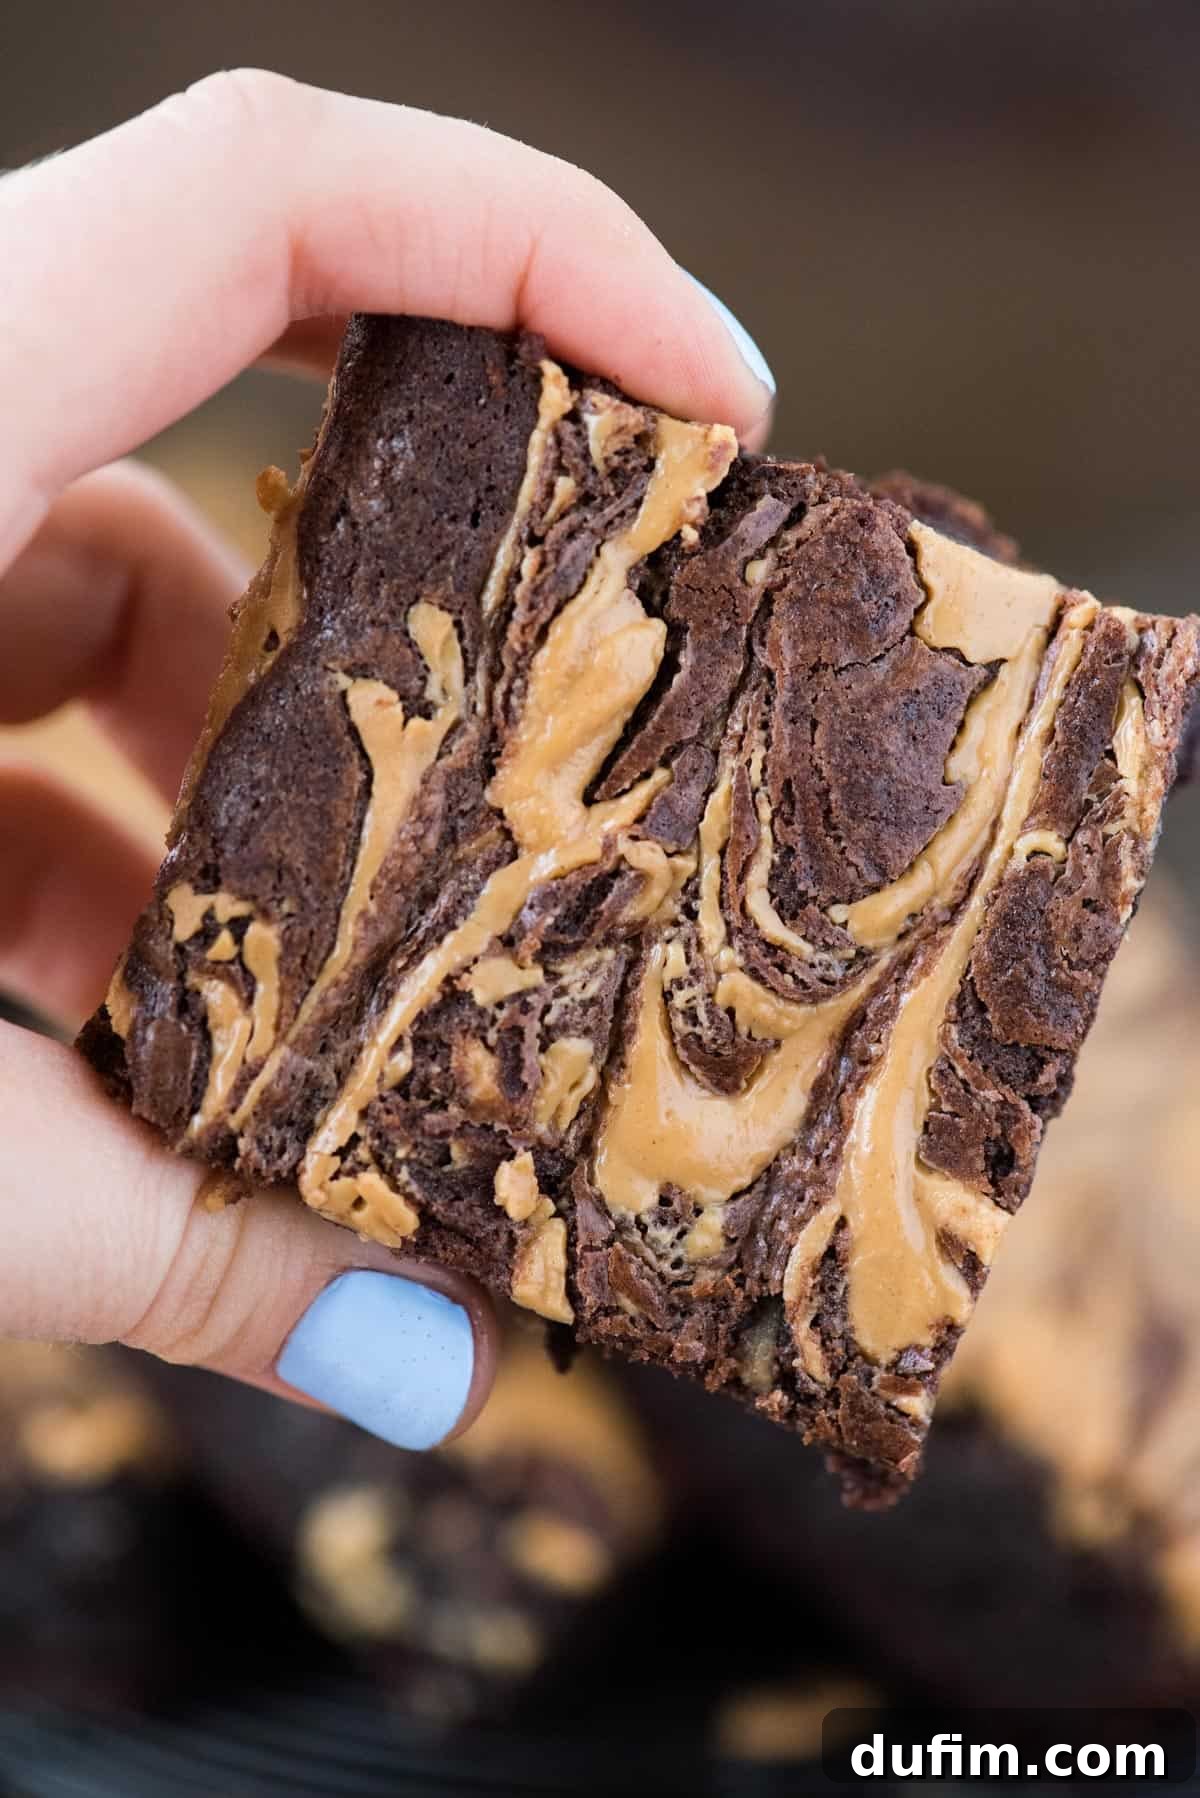
So, what exactly makes these peanut butter swirl brownies so special? Imagine a brownie that strikes the ideal balance between extreme fudginess and satisfying chewiness. It’s not so molten that it feels like you’re eating pure fudge, but it’s dense and rich enough to melt in your mouth. Each brownie boasts that coveted crispy and irresistibly shiny top, a hallmark of a perfectly baked batch. Beneath this enticing exterior lies a slightly chewy interior, a texture you can further enhance by simply adjusting your baking time.
But the true star of the show is the elegant ribbon of peanut butter, artfully swirled through the chocolate base. This isn’t just a chocolate brownie with a hint of peanut butter; it’s a harmonious blend where neither flavor overpowers the other. The peanut butter adds a delightful “pizzazz,” a creamy, salty-sweet contrast that elevates the classic chocolate brownie to an entirely new level of deliciousness. Every bite offers a complex interplay of textures and flavors – the rich bitterness of chocolate, the sweet crunch of the topping, and the smooth, nutty embrace of the peanut butter swirl.
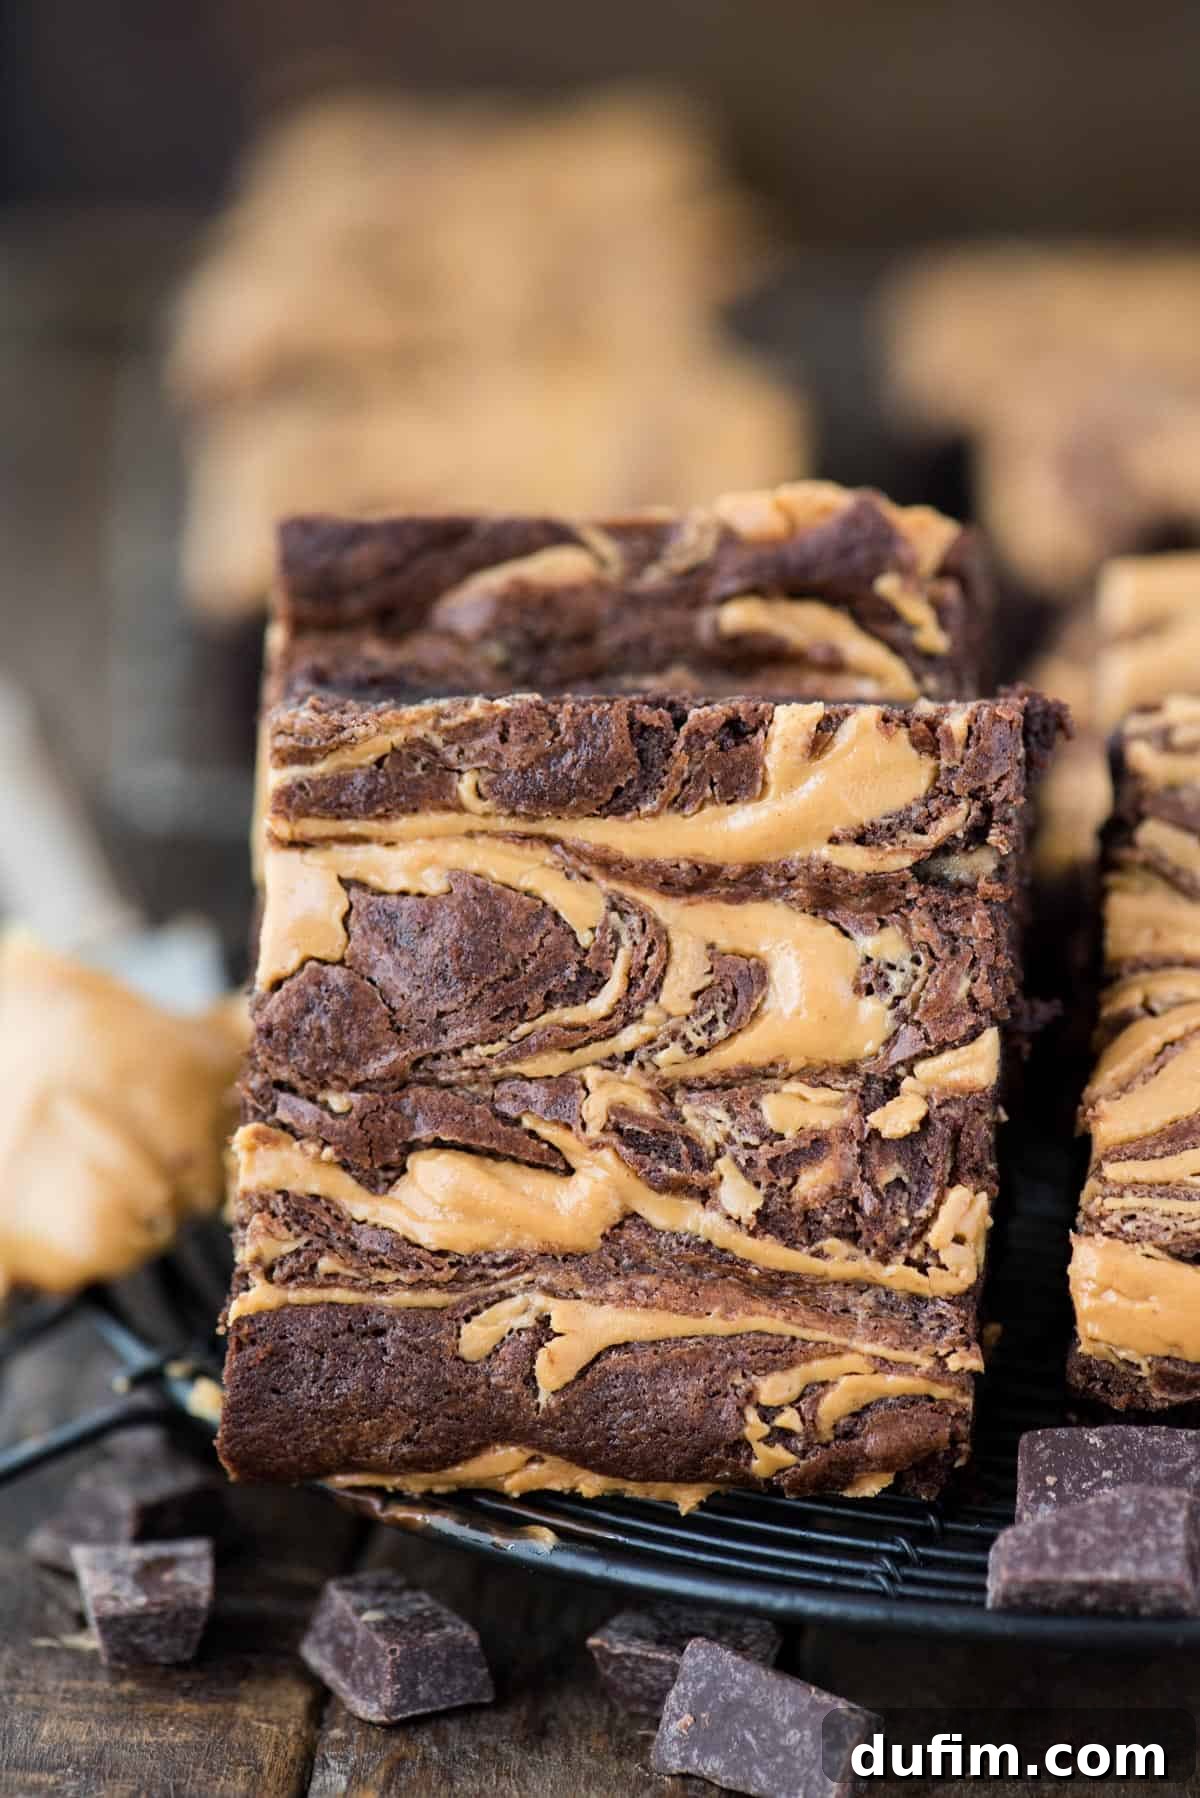
Achieving the Perfect Chewy Peanut Butter Brownie Texture
When I first embarked on my brownie perfection journey, I started with a recipe heavily reliant on melted chocolate, which, while delicious, resulted in an intensely fudgy brownie. While fudgy brownies are certainly a delight, I aimed for a texture that offered a satisfying chewiness alongside the richness. The secret, I discovered, lies in a strategic adjustment of ingredients.
To achieve that coveted chewy texture, I reduced the amount of melted chocolate and simultaneously increased the proportion of unsweetened cocoa powder. Here’s the science behind it: melted chocolate contributes a significant amount of fat, leading to a softer, more fudgy crumb. By decreasing this and introducing more cocoa powder, we increase the dry solids content in the batter. Cocoa powder, essentially dry cacao solids, absorbs more moisture and provides more structure to the brownie, resulting in a denser, chewier bite. This careful balance ensures you get a brownie that’s both rich in chocolate flavor and wonderfully chewy, a truly satisfying textural experience.
Unlocking the Secret to a Crispy, Shiny Brownie Top
That delicate, crinkly, and undeniably shiny crust on top of a brownie is often considered the holy grail of brownie baking. After extensive research and numerous baking experiments, I pinpointed the technique that consistently delivers this desirable crispy top: vigorously beating the sugar with the eggs. This isn’t just a simple mix; it’s a crucial step that transforms the texture of your brownies.
When granulated sugar is thoroughly beaten with eggs, it dissolves more completely and, importantly, incorporates air into the mixture. This creates a stable emulsion, much like the beginning of a meringue, which then forms a delicate, glassy crust as the brownies bake. The amount of granulated sugar in the recipe also plays a critical role. A higher sugar content helps facilitate this process, contributing to both the shine and the crispness. So, don’t skimp on the beating time for this step – it’s your key to brownie glory!
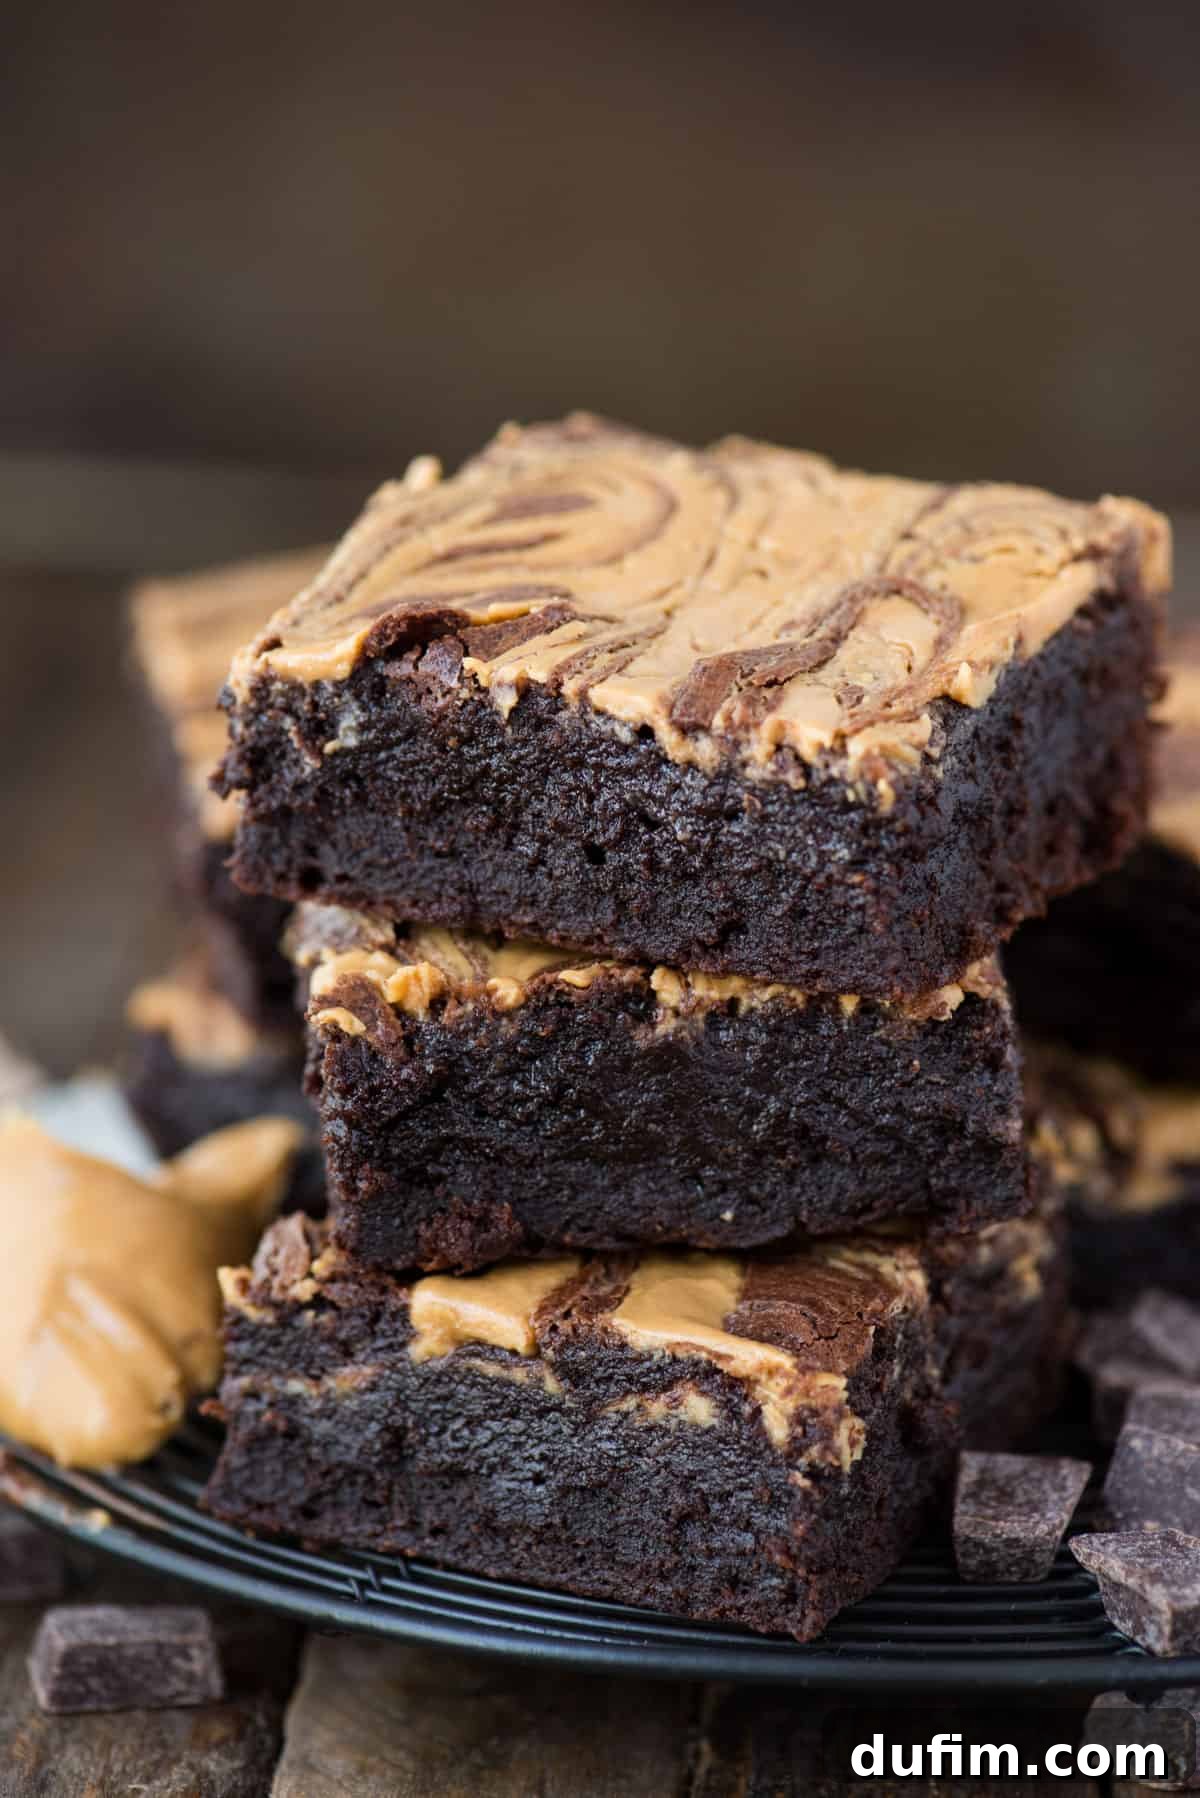
Butter vs. Oil in Brownies: The Perfect Fat Combination
The choice of fat significantly influences the final texture and flavor of your brownies. While some recipes call for all butter and others for all oil, my personal taste tests revealed that the optimal brownie for both flavor and texture benefits from a thoughtful combination of both.
Butter is a champion when it comes to flavor. Its rich, dairy notes inherently enhance the complex flavors of chocolate, adding a depth that oil simply cannot replicate. It contributes to a more luxurious and decadent taste. However, butter also contains water and solids, which can sometimes lead to a slightly cakier or firmer brownie. This is where vegetable oil comes into play. Vegetable oil is 100% fat and introduces pure moisture without additional solids or water. This pure fat content helps produce a remarkably chewier, more moist brownie. By using a blend of both, we harness the best of both worlds: the unparalleled flavor and richness of butter, combined with the moistness and chewiness provided by vegetable oil, creating a truly balanced and delightful brownie experience.
The Egg Debate: Finding the Ideal Egg Ratio for Homemade Brownies
Eggs are a fundamental ingredient in brownies, acting as a binder, leavener, and contributor to structure and richness. The “egg debate” often revolves around how many to use and whether to include extra yolks or whites. After extensive experimentation, I found that my ideal brownie recipe utilizes two large whole eggs complemented by an additional large egg yolk.
Two whole eggs provide the necessary structure and binding for the brownies, ensuring they hold together beautifully. The extra egg yolk, however, is where the magic for fudginess happens. Egg yolks are rich in fat, and by adding an extra one, you increase the overall fat content of the batter without significantly adding more liquid (which would come from an additional whole egg). This boost of fat is crucial for creating that signature dense, moist, and wonderfully fudgy texture that so many brownie enthusiasts crave. It’s a small but powerful adjustment that makes a big difference in the final product.
Choosing the Right Baking Pan: Glass vs. Metal for Brownies
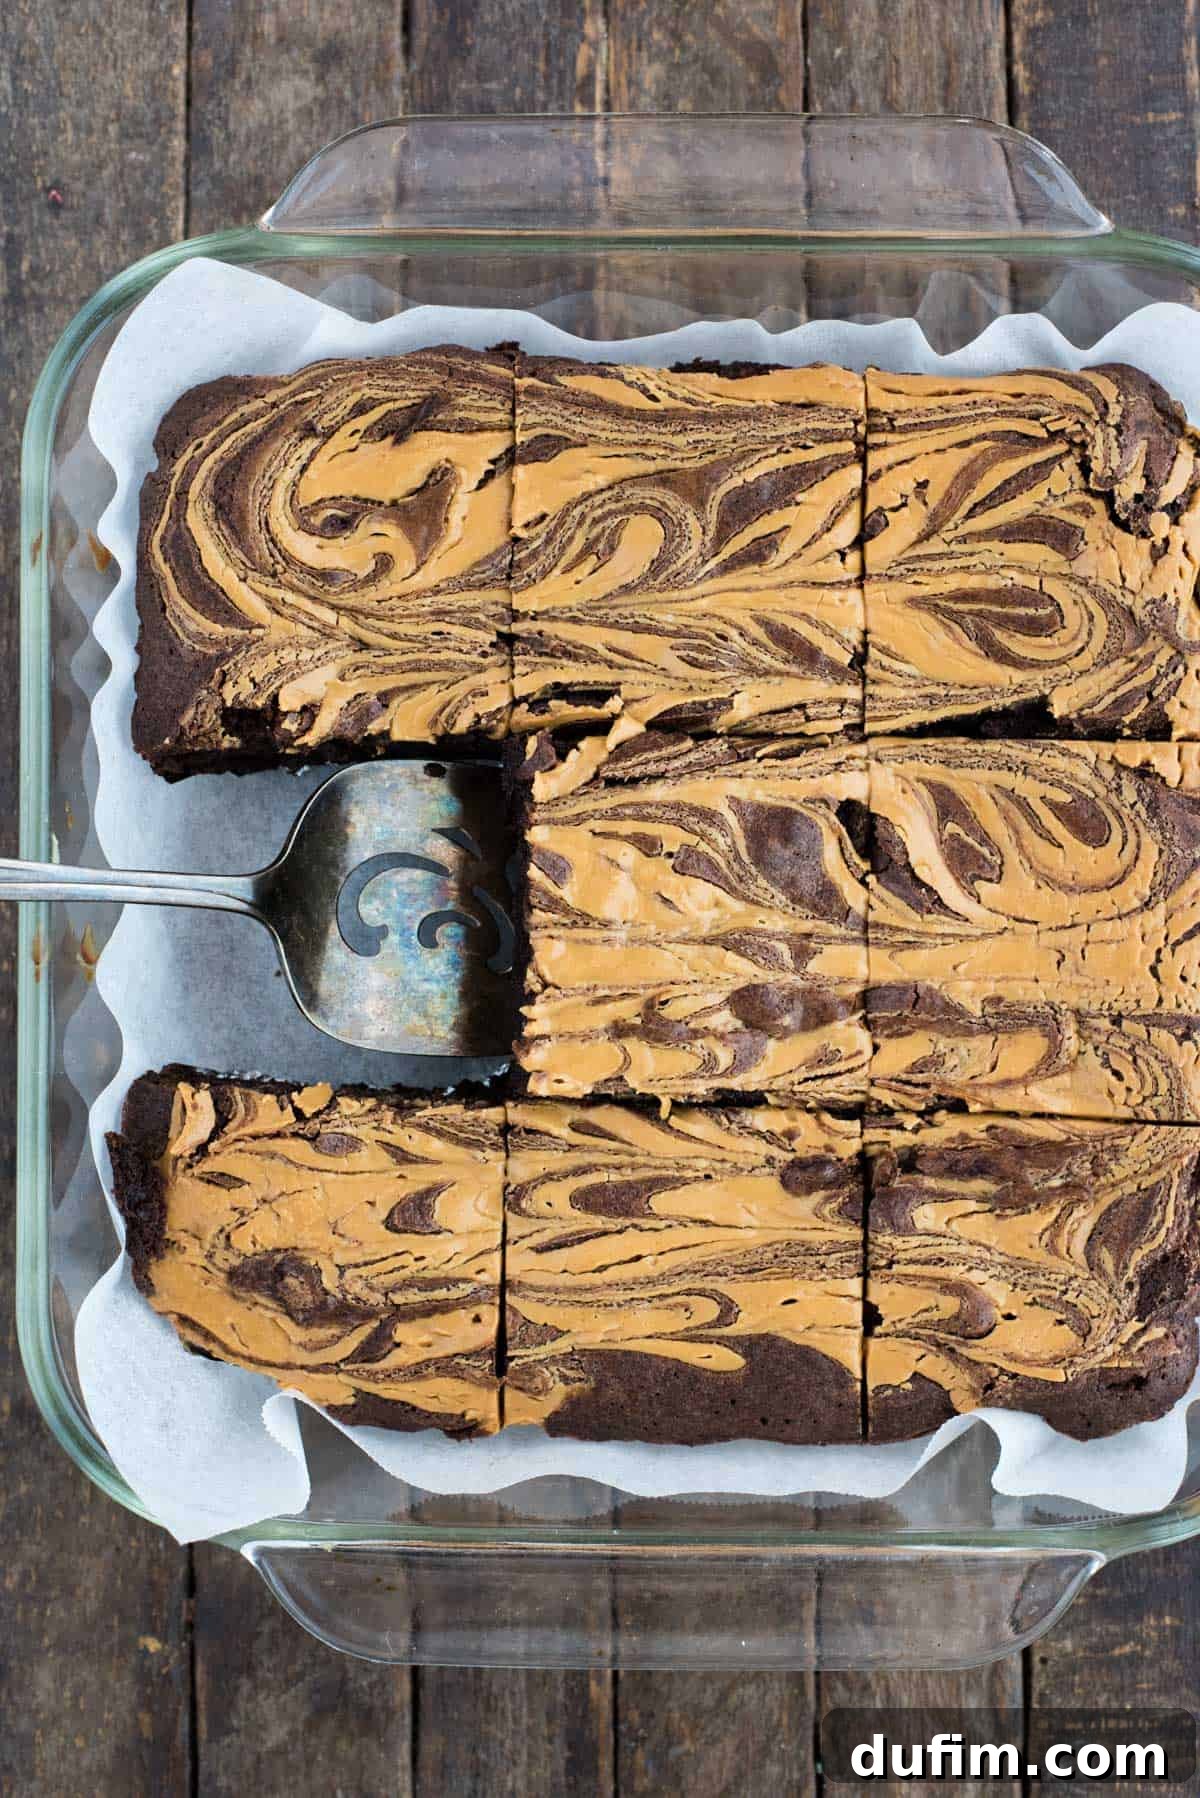
The type of baking pan you use can subtly impact the baking time and texture of your brownies. In my kitchen, I typically reach for an 8×8 inch glass baking pan because it’s what I have readily available and it consistently produces excellent results for this recipe.
However, if you prefer to use a metal pan, that’s perfectly fine! Just be aware that metal pans conduct heat more efficiently and heat up faster than glass pans. This means your brownies will likely bake a bit quicker. As a general rule, if you’re using a metal pan, I recommend decreasing the baking time by about 5 minutes initially, then checking for doneness. The increased heat transfer from a metal pan can also contribute to a slightly chewier edge and bottom crust, which some people absolutely love. Always keep an eye on your brownies, as oven temperatures can vary, and a visual check along with the toothpick test is always the best indicator.
Crafting Perfect Gluten-Free Peanut Butter Swirl Brownies: Flour Recommendations
For those seeking a delicious gluten-free version of these peanut butter swirl brownies, rest assured, this recipe has been thoroughly tested and proven to be outstanding with a simple flour substitution. The key to successful gluten-free baking often lies in selecting the right flour blend.
After multiple trials, I highly recommend and personally tested this recipe with King Arthur’s Measure for Measure All-Purpose Gluten-Free Flour. This blend is specifically formulated to be a direct 1:1 substitute for traditional all-purpose flour in most recipes, making it incredibly convenient for bakers. It contains a balanced mix of gluten-free grains and binders that mimic the structure and texture provided by wheat flour, ensuring your brownies are not only safe for those with gluten sensitivities but also retain their fudgy, chewy perfection and beautiful crumb structure. Using a high-quality blend like this helps avoid the common pitfalls of dry or crumbly gluten-free baked goods, guaranteeing awesome results every time.
Mastering the Art of Peanut Butter Swirl Brownies
Creating these exquisite peanut butter swirl brownies can be broken down into two primary components: preparing the rich chocolate brownie batter and perfecting the creamy peanut butter swirl.
For the brownie batter, a crucial tip is to avoid overmixing the dry ingredients into the wet. Once you’ve added your flour, salt, and cocoa powder mixture, mix it by hand with a spatula just until the majority of the flour streaks disappear. Overmixing develops gluten, even in traditional flour, leading to tougher, cakier brownies rather than the desired fudgy and chewy texture. Stop mixing as soon as everything is just combined.
Now for the star of the show, the peanut butter swirl. This element adds both visual appeal and an incredible flavor dimension.
Tip 1: Achieve the Right Peanut Butter Consistency
Before mixing, gently heat your creamy peanut butter until it reaches a more liquid, pourable consistency. This can be done in the microwave in short bursts (15-30 seconds) or over a double boiler. Once it’s smooth and flowing, mix in the powdered sugar until fully combined. The powdered sugar not only adds a touch of sweetness but also helps to stabilize the peanut butter, preventing it from completely melting into the brownie batter during baking.
Tip 2: Precision Swirling for Beautiful Patterns
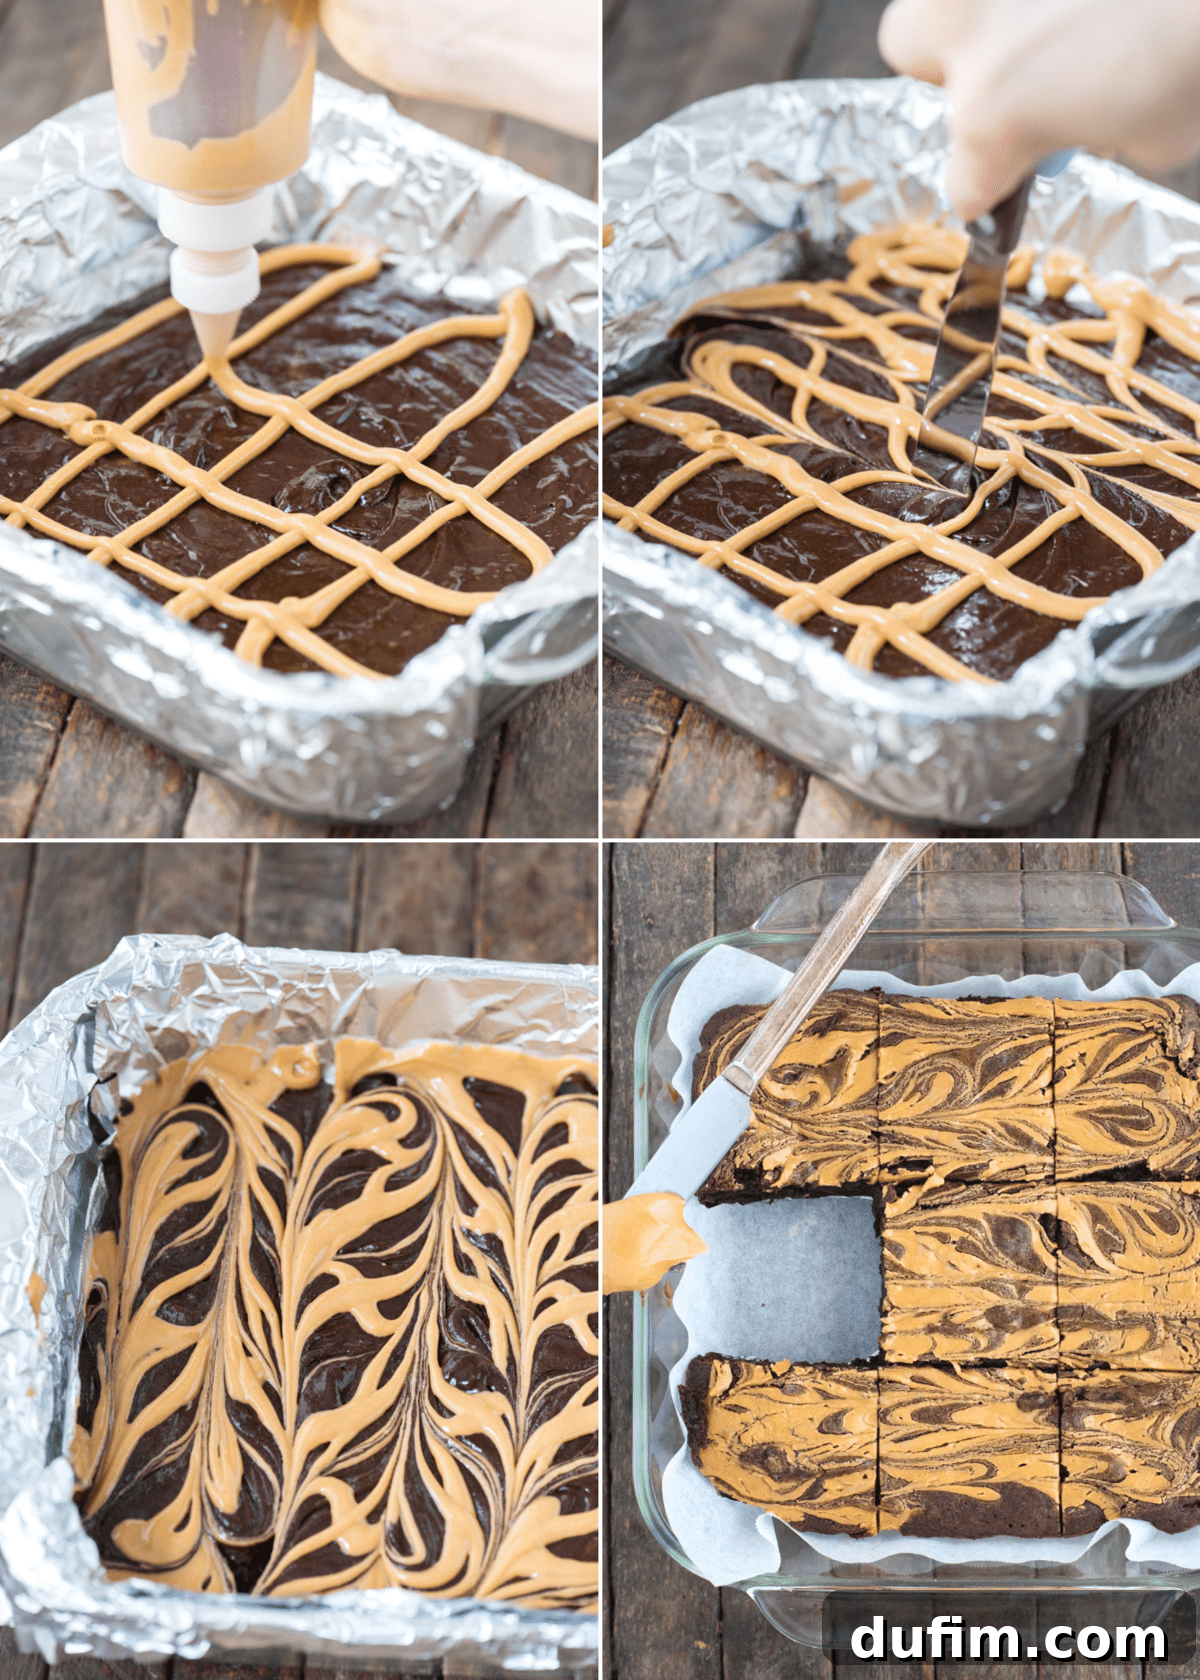
For the most elegant and defined swirls, I highly recommend piping the peanut butter mixture over the brownie batter. Transfer your prepared peanut butter mixture to a piping bag (or a sturdy ziplock bag with a corner snipped off). Pipe lines or dollops evenly across the surface of the brownie batter. Once the peanut butter is in place, use a butter knife, a skewer, or even the tip of a spoon to gently drag through the peanut butter and brownie batter, creating beautiful, distinct swirls. The key here is caution: DO NOT over swirl! If you mix the batter too vigorously or for too long, the two layers will become muddled, and you’ll lose those lovely, defined marble patterns. A few gentle passes are all you need to achieve stunning results.
Tip 3: Elevating the Peanut Butter Factor
If you’re a true peanut butter devotee and crave an even more prominent flavor, you can easily adapt this recipe to include more. Increase the amount of creamy peanut butter in your swirl mixture to ½ to ¾ cup. To ensure an even distribution, pour all but about ½ cup of your chocolate brownie batter into the prepared pan and smooth it out. Then, pipe the increased peanut butter layer over this first layer of brownie batter. Finally, dollop the remaining ½ cup of brownie batter on top of the peanut butter layer, and then gently swirl as directed. This method creates a multi-layered effect, guaranteeing a richer peanut butter experience in every single square.
Scaling Up: Doubling the Peanut Butter Swirl Brownie Recipe
Hosting a party, feeding a crowd, or simply want more brownies? Good news! This recipe is incredibly easy to double. If you wish to bake a larger batch, simply double all the ingredient quantities in the recipe and use a standard 9×13 inch baking pan. When doubling, keep in mind that larger pans often require a slightly longer baking time due to the increased volume of batter. For a 9×13 inch pan, anticipate baking your doubled batch for approximately 29-35 minutes. Always perform the toothpick test to ensure they are baked to your desired level of fudginess or chewiness.
Mastering the Art of Clean Brownie Cuts
Achieving those perfectly clean, neat brownie squares can sometimes feel like a challenge, but with a few simple tricks, you can elevate your presentation significantly. To get truly professional-looking brownie edges, patience is paramount. I highly recommend refrigerating your brownies for at least 30 minutes, or even longer, before attempting to cut them. Chilling helps the brownies firm up, preventing crumbling and smudging.
Once chilled, grab a long, sharp 8-inch chef’s knife. But here’s the MOST IMPORTANT TIP that will change your brownie-cutting game forever: wipe the knife clean between each and every cut. Yes, it might seem a little tedious, but this simple step prevents chocolate and peanut butter residue from building up on the blade, which is what causes messy, uneven edges. A clean blade ensures a clean slice every time, resulting in beautifully defined squares that are as pleasing to the eye as they are to the palate!
Planning Ahead: Freezing Peanut Butter Swirl Brownies for Later
Life gets busy, but that doesn’t mean you can’t enjoy homemade treats on demand. These peanut butter swirl brownies are excellent candidates for making ahead and freezing. This makes them perfect for meal prepping desserts, unexpected guests, or simply satisfying a sudden craving.
To freeze your brownies effectively, first, bake them according to the recipe instructions and allow them to cool completely to room temperature. This is crucial to prevent condensation and ice crystals from forming. Once cooled, cut the brownies into individual squares. For optimal freshness and to prevent freezer burn, wrap four brownies at a time tightly in aluminum foil. Ensure they are well-wrapped, with no exposed areas. Then, place the foil-wrapped bundles into a freezer-safe ziplock bag. They will keep beautifully in the freezer for up to three months. To thaw, simply transfer the wrapped brownies from the freezer to the refrigerator overnight. You can also briefly warm them in the microwave for a fresh-baked taste experience!
Explore More Irresistible Peanut Butter Desserts
If you’ve fallen in love with the combination of peanut butter and sweet treats, you’re in good company! Here are more delightful peanut butter dessert recipes from our collection that you’re sure to enjoy:
- Mini Peanut Butter Cheesecakes
- No Bake Peanut Butter Cup Pie
- Peanut Butter Sheet Cake
- Reese’s Pieces Peanut Butter Cookies
Tap stars to rate!
Peanut Butter Swirl Brownies
Beth
15 minutes
33 minutes
30 minutes
1 hour 18 minutes
12 servings
Rate
Equipment
-
My favorite spatula!
-
Glass Mixing Bowl
-
Kitchen Scale
-
KitchenAid 9-Speed Mixer
Ingredients
- ¾ cup (90g) properly measured all purpose flour OR gluten free flour, I recommend King Arthur’s GF Measure for Measure Flour
- ½ tsp salt
- ⅓ cup (28g) unsweetened cocoa powder
- 2 oz unsweetened chocolate, chopped
- ½ cup (113g) unsalted butter, 1 stick, cubed
- 1 ¼ cups (248g) sugar
- 2 large eggs
- 1 large egg yolk
- ¼ cup (59ml) vegetable oil
- 1 tsp vanilla extract
Peanut butter swirl
- ⅓ cup (84g) creamy peanut butter
- 2 Tbsp powdered sugar
Instructions
-
Preheat the oven to 350º F. Line an 8×8 or 9×9 inch pan with aluminum foil or parchment paper. Spray lightly with non-stick cooking spray.
-
In a medium mixing bowl, combine the properly measured all-purpose flour (or gluten-free flour), salt, and unsweetened cocoa powder. Stir these dry ingredients together with a spoon until they are well mixed and no lumps of cocoa powder remain. Set this mixture aside.¾ cup (90g) properly measured all purpose flour OR gluten free flour,
½ tsp salt,
⅓ cup (28g) unsweetened cocoa powder -
In a small saucepan set over low heat, combine the chopped unsweetened chocolate and the cubed unsalted butter. Stir occasionally with a heat-resistant spatula until the chocolate and butter are completely melted and smooth, which should take approximately 5 minutes. Remove from heat once melted.2 oz unsweetened chocolate,
½ cup (113g) unsalted butter -
Meanwhile, in a larger mixing bowl, using an electric mixer, beat the granulated sugar, two large eggs, and the additional large egg yolk for 1 minute. Continue beating until the mixture turns a pale yellow color and has significantly doubled in volume, becoming light and fluffy. This step is crucial for the shiny, crispy top.1 ¼ cups (248g) sugar,
2 large eggs,
1 large egg yolk -
Once the chocolate and butter mixture is fully melted, carefully pour it into the beaten egg and sugar mixture. Then, add the vegetable oil and vanilla extract. Using a spatula, gently stir these wet ingredients together until they are just combined and smooth.¼ cup (59ml) vegetable oil,
1 tsp vanilla extract -
Gradually spoon the reserved dry flour mixture into the wet ingredients. Mix with a spatula only until the flour is just incorporated and no longer visible. It is very important not to overmix the batter at this stage to ensure fudgy and chewy brownies.
-
Pour the brownie batter into the prepared baking pan and use your spatula to smooth the top evenly. Set the pan aside while you prepare the peanut butter swirl.
-
For the peanut butter swirl, heat the creamy peanut butter in a microwave-safe bowl for 15-30 seconds, or until it becomes more liquidy and easy to stir. Stir in the powdered sugar until fully combined and smooth. Transfer this peanut butter mixture to a piping bag, or if you don’t have one, use a ziplock bag and snip off a small corner.⅓ cup (84g) creamy peanut butter,
2 Tbsp powdered sugar -
Pipe the peanut butter filling over the brownie batter in your desired pattern, such as a grid or parallel lines. Then, take a butter knife or a skewer and gently drag it through the peanut butter and chocolate batter to create beautiful swirls. Be careful not to overmix; a few gentle passes are sufficient to achieve distinct swirls.
-
Bake the brownies in the preheated oven. For a fudgier, slightly chewy brownie, bake for 33-35 minutes if using a glass pan, or 30-33 minutes if using a metal pan. A toothpick inserted into the center should come out with moist crumbs attached, but not wet batter. For a chewier, less fudgy brownie, extend the baking time slightly: 36-40 minutes in a glass pan or 34-38 minutes in a metal pan, or until the toothpick comes out mostly clean.
-
Once baked, remove the brownies from the oven and allow them to cool completely in the pan on a wire rack. To achieve really nice, clean-cut brownie squares, I highly recommend refrigerating the cooled brownies for at least 30 minutes before cutting. Then, use a long, sharp 8-inch chef’s knife. Here’s the MOST IMPORTANT TIP: wipe the knife CLEAN between each cut. This prevents smudging and ensures perfectly defined squares. Yes, it’s annoying, but it truly works!
Notes
Want more peanut butter in these brownies? Increase the amount of peanut butter to ½-¾ cup. Add all but ½ cup of brownie batter to the pan. Pipe in the peanut butter layer, then go back and add in the remaining brownie batter. Swirl and bake.
Can I make brownies ahead of time and freeze? Yes! Make the brownies and allow them to cool completely. Cut them into squares, wrap 4 at a time in aluminum foil (wrap well) and store in a freezer ziplock bag for up to 3 months. To thaw, place in the fridge overnight.
Nutrition
Calories:
270kcal
|
Carbohydrates:
32g
|
Protein:
5g
|
Fat:
15g
|
Saturated Fat:
8g
|
Polyunsaturated Fat:
2g
|
Monounsaturated Fat:
5g
|
Trans Fat:
1g
|
Cholesterol:
66mg
|
Sodium:
145mg
|
Potassium:
147mg
|
Fiber:
2g
|
Sugar:
23g
|
Vitamin A:
299IU
|
Calcium:
21mg
|
Iron:
2mg
Nutrition Disclosure
All nutritional values are approximate and provided to the reader as a courtesy. Changing ingredients and/or quantities will alter the estimated nutritional calculations.
Like this recipe? Rate and comment below!