
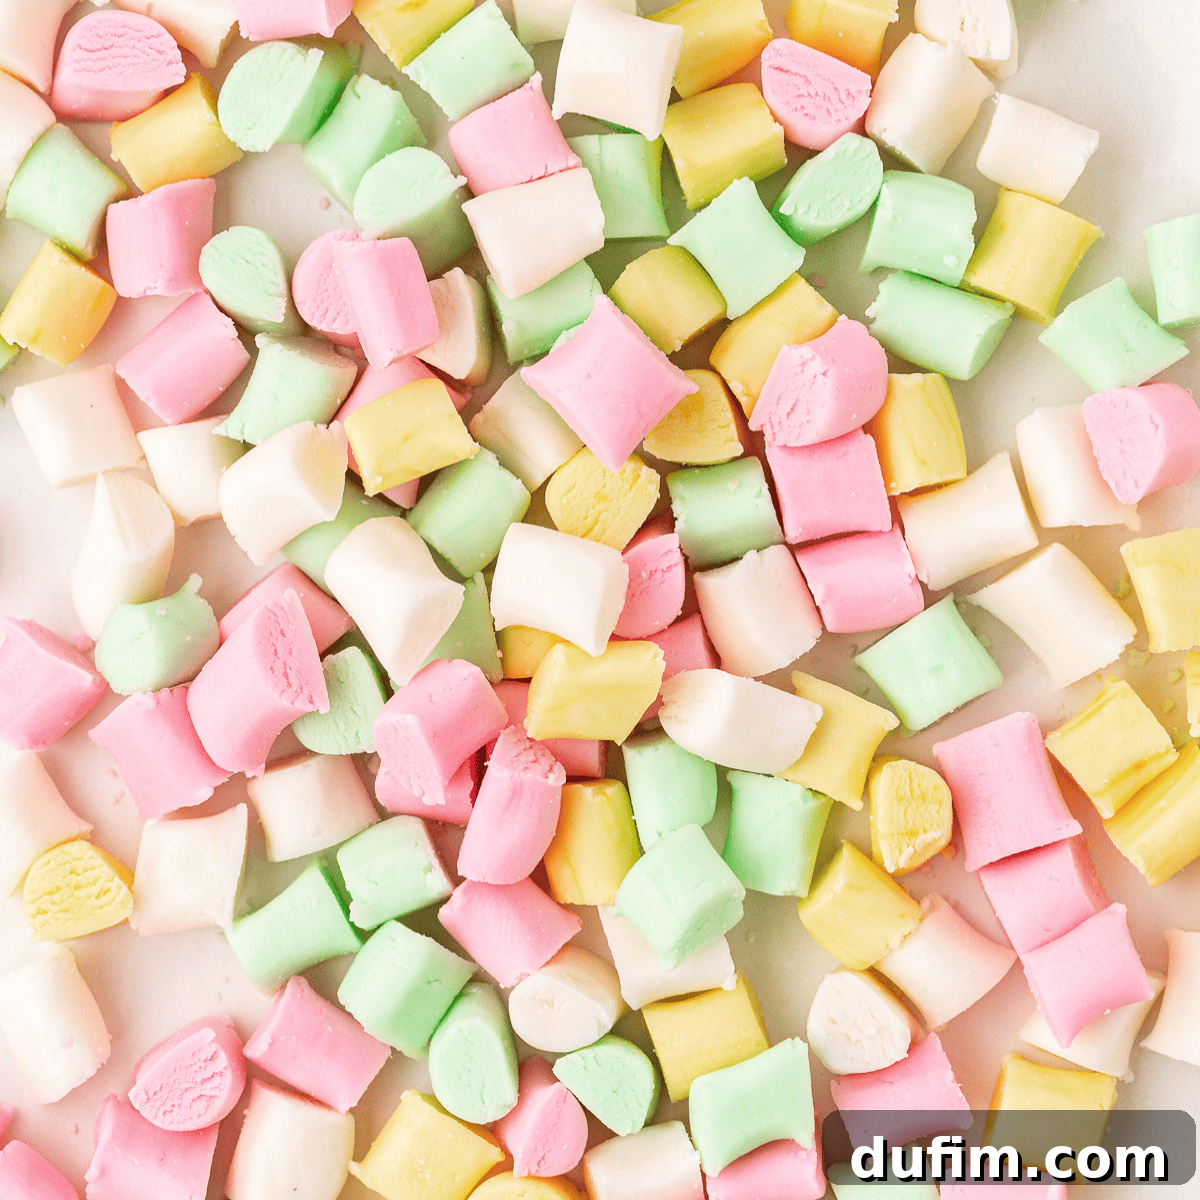
There’s a special charm to old-fashioned butter mints—those delicate, melt-in-your-mouth candies that instantly evoke nostalgia. My recipe for these creamy delights consistently earns rave reviews, and I’m thrilled to share the culmination of years of testing with you. I’ve meticulously refined this classic confection, solving common frustrations like overly sticky dough and inconsistent shapes. With my expert tips—such as incorporating extra powdered sugar for effortless rolling and precise cutting for that elegant, professional finish—you’ll effortlessly create batches of perfect butter mints that are guaranteed to impress every single time.
Mastering the Art of Homemade Butter Mints: A Foolproof Recipe
Creating delicious butter mints from scratch can sometimes present a few hurdles. Perhaps you’ve encountered sticky, unmanageable dough, unevenly shaped candies, or flavors that turn out far too intense. Believe me, I’ve been there too! That’s precisely why I dedicated countless hours to testing and refining this butter mint recipe, ensuring that all those common challenges are completely resolved for you. My goal is to make your homemade candy-making experience enjoyable and successful.
My tried-and-true solutions are surprisingly simple yet incredibly effective. For instance, incrementally adding more powdered sugar significantly improves the dough’s workability, making it a joy to roll. When it comes to flavor, introducing your chosen extract gradually allows you to achieve the perfect balance without overwhelming the delicate mints. And for that polished, bakery-quality appearance, careful and even cutting is key. These aren’t just theoretical suggestions; they are practical insights gained through extensive hands-on experience, and I’m thrilled to empower you with them!
Why You’ll Love Making These Homemade Butter Mints
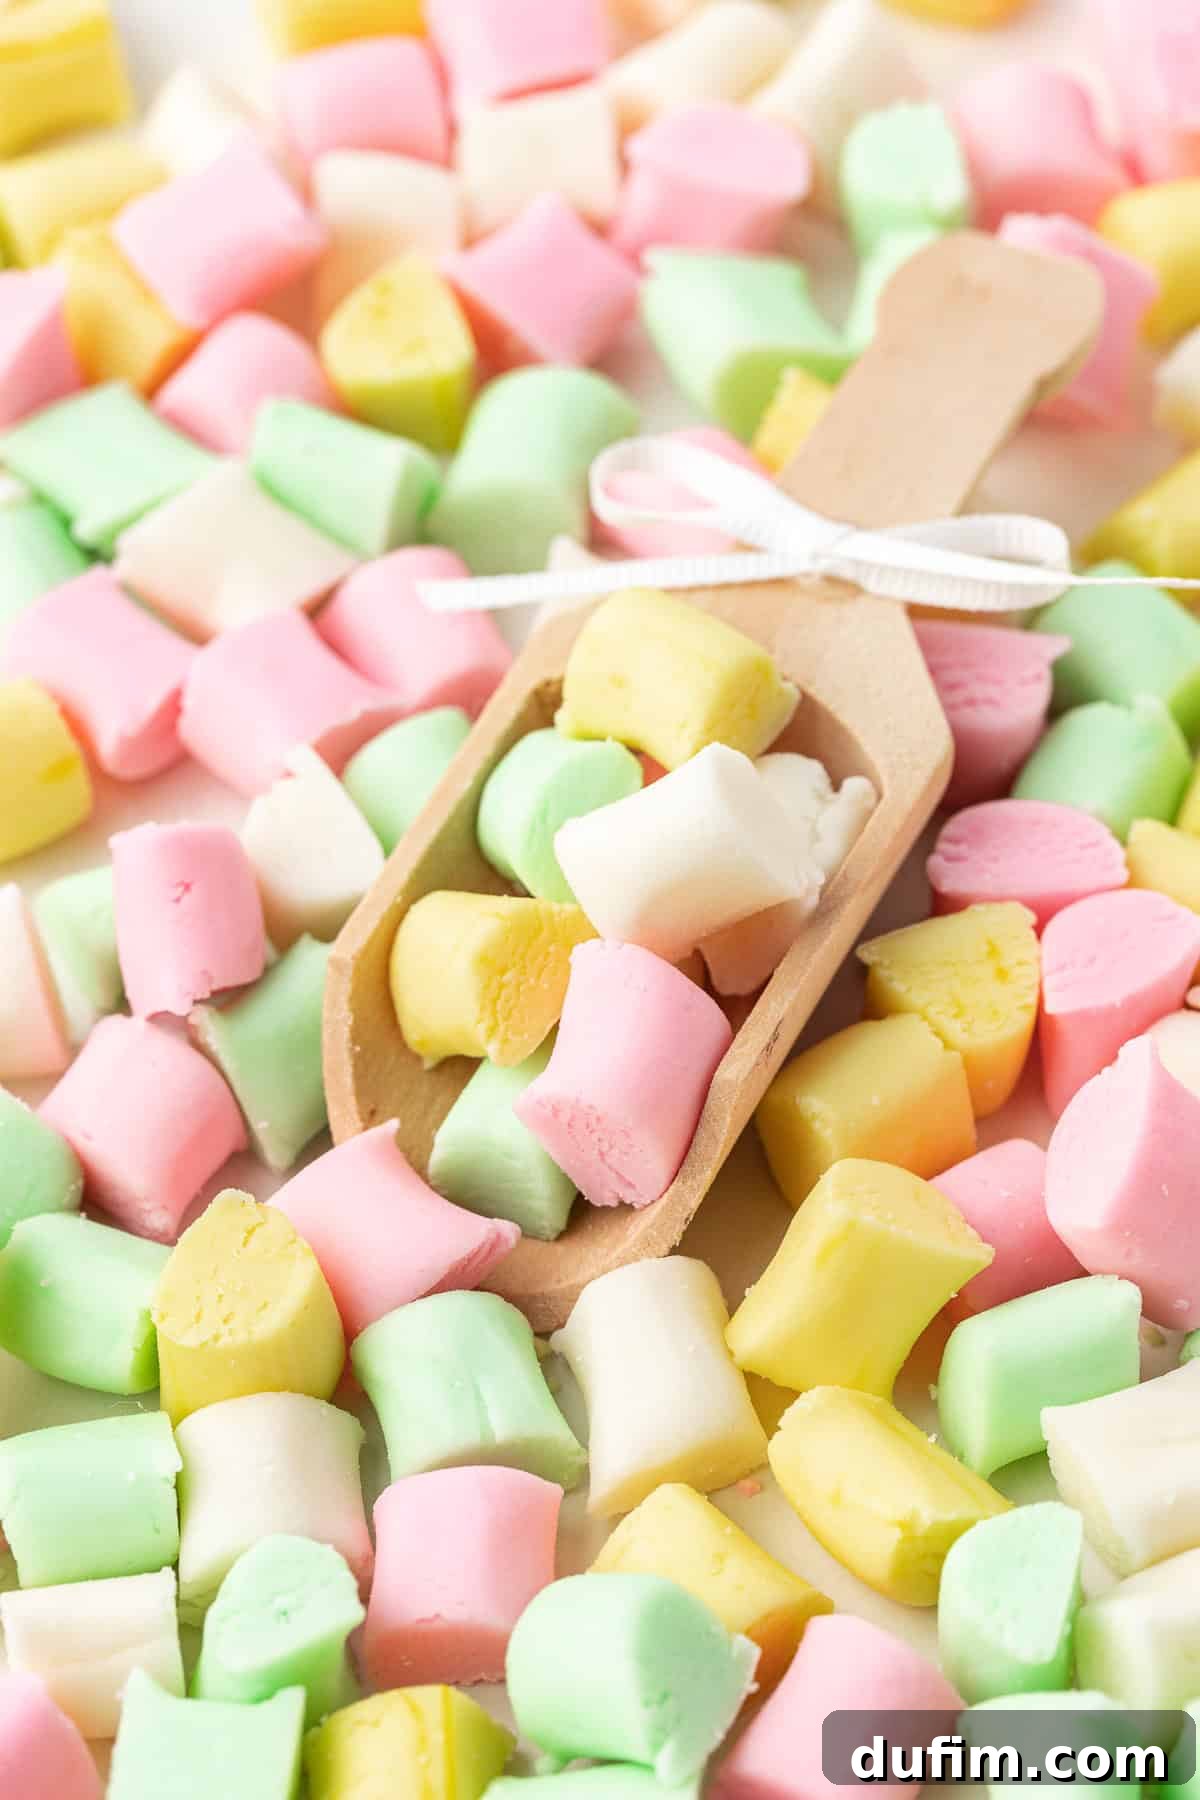
These delightful, bite-sized pieces of sweet, minty goodness are incredibly versatile. They make for truly thoughtful and cherished gifts during the Christmas season, adding a personal touch to your holiday giving. For special events, such as weddings, baby showers, or anniversaries, they serve as elegant and delicious treats that guests will adore. And, of course, they are absolutely perfect for simply filling a candy dish at home—just because you deserve a little indulgence! With so many wonderful applications, this simple yet profoundly satisfying butter mint recipe is undoubtedly a keeper you’ll find yourself reaching for and making time and time again.
The Enduring Appeal of Old-Fashioned Butter Mints
In a world of complex desserts, the classic butter mint stands out for its elegant simplicity and irresistible charm. These candies are more than just a treat; they’re a connection to tradition, a taste of comfort, and a testament to the joy of homemade confections. Their delicate texture and refreshing flavor make them universally loved, perfect for any generation. Moreover, making them yourself means you control the quality of ingredients, ensuring a truly premium experience. There’s an undeniable satisfaction in presenting a beautiful plate of homemade butter mints, knowing the care and love that went into each one.
What Exactly Are Butter Mints?
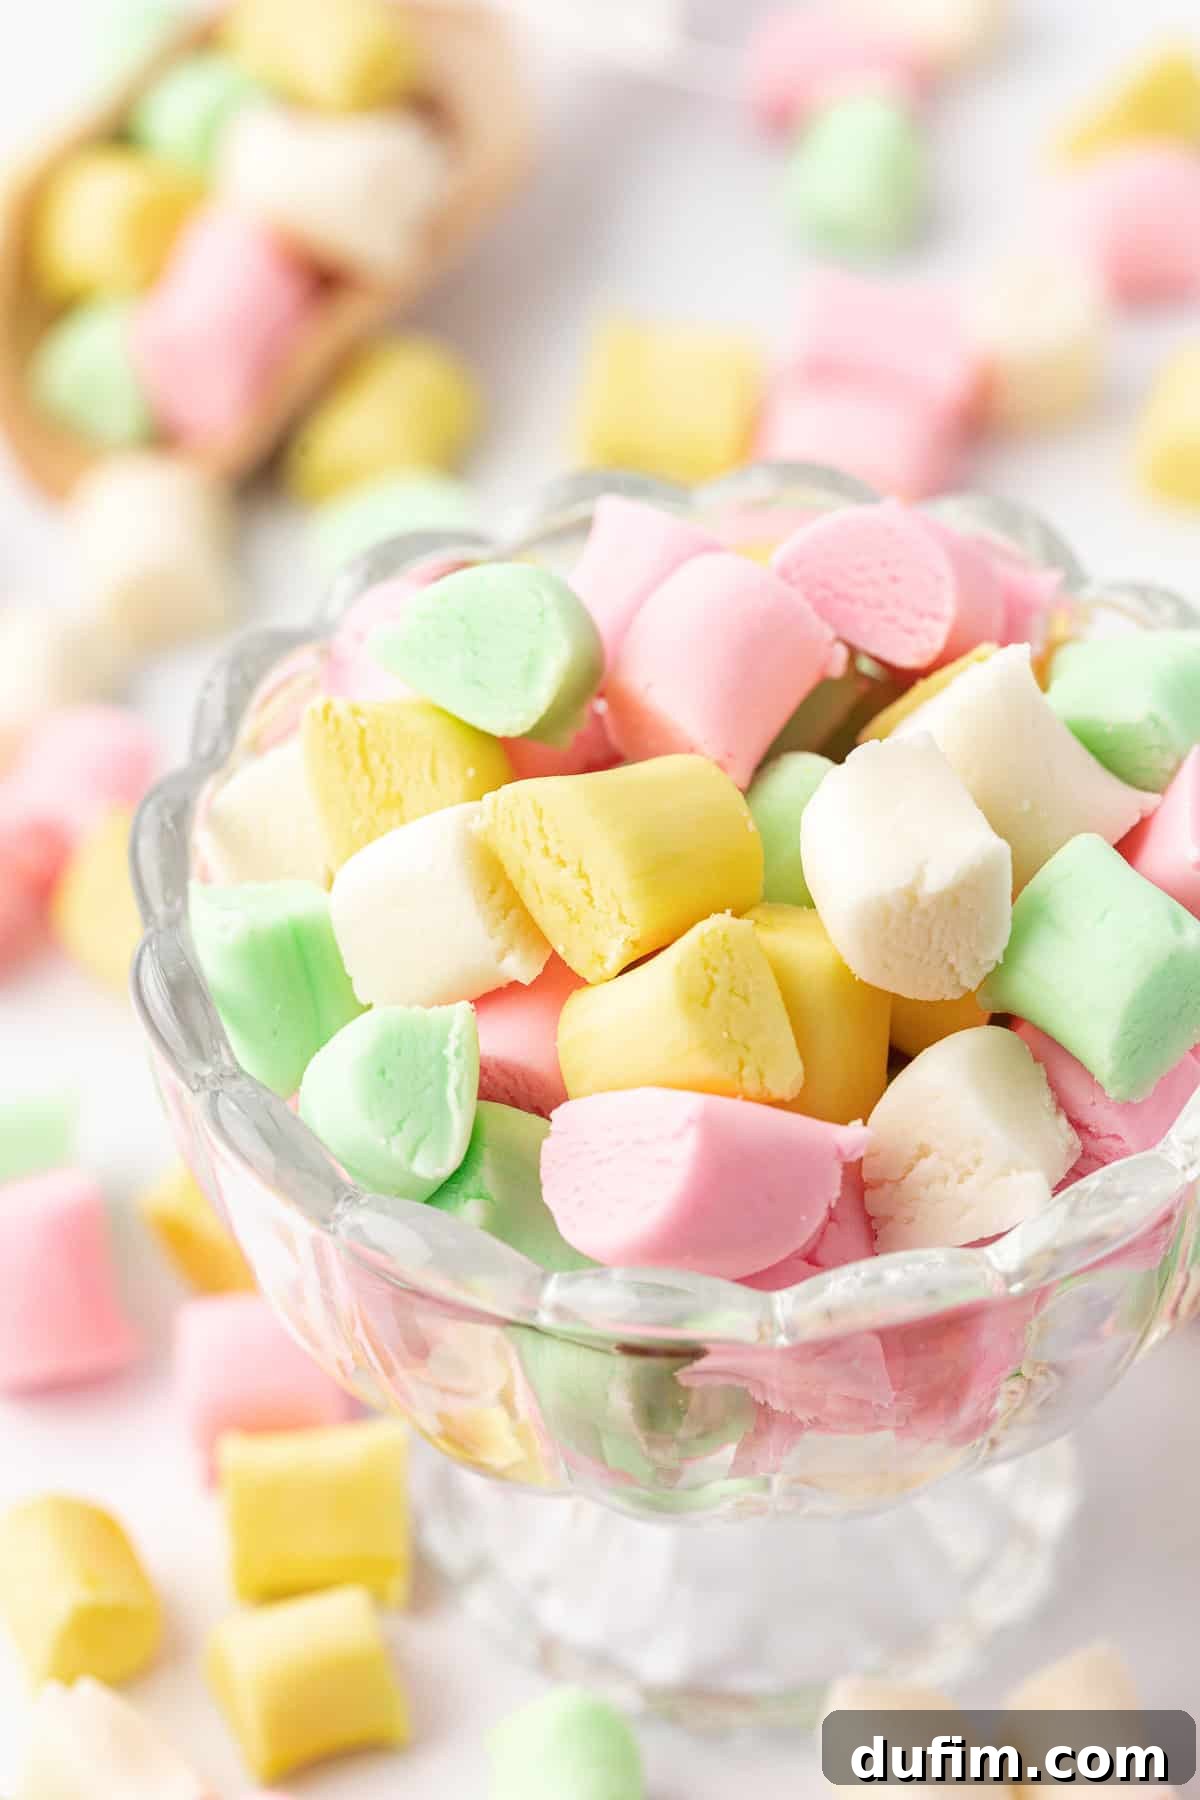
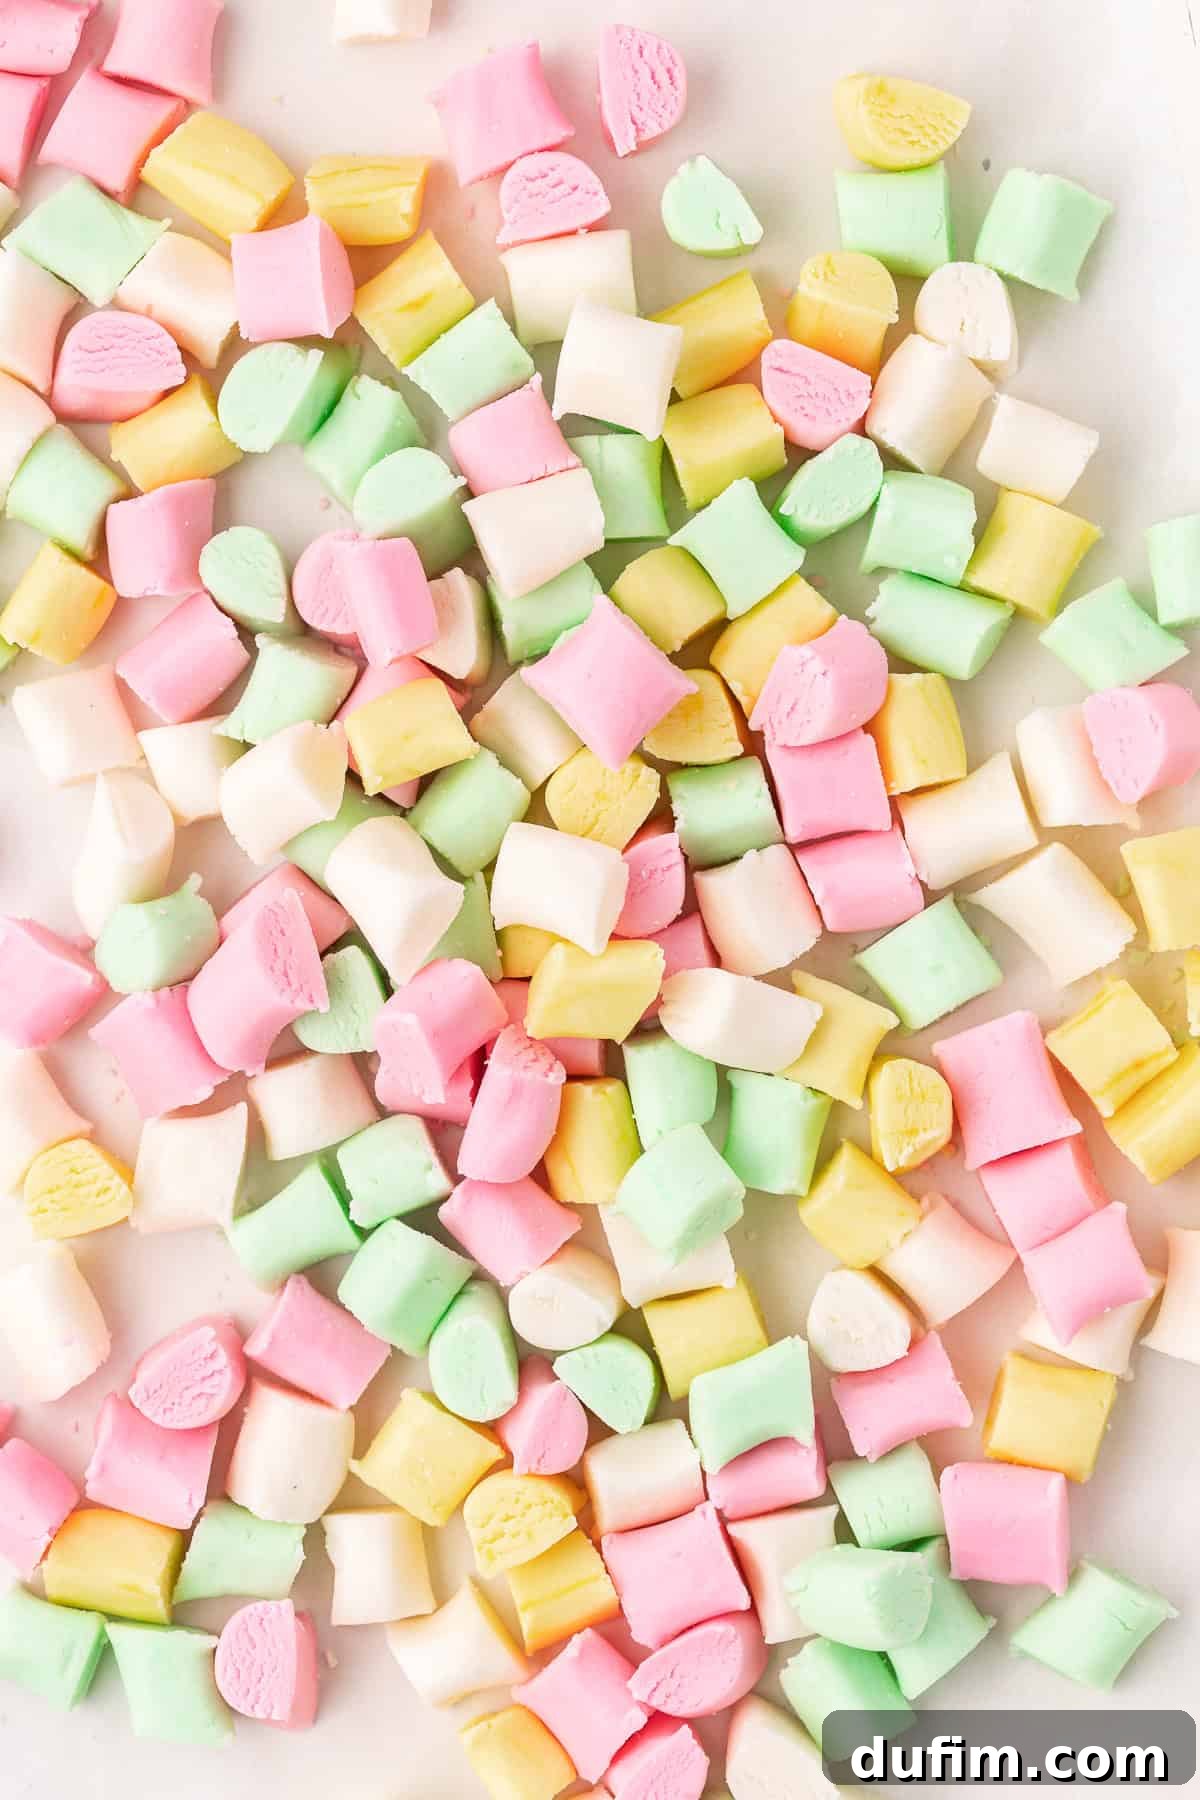
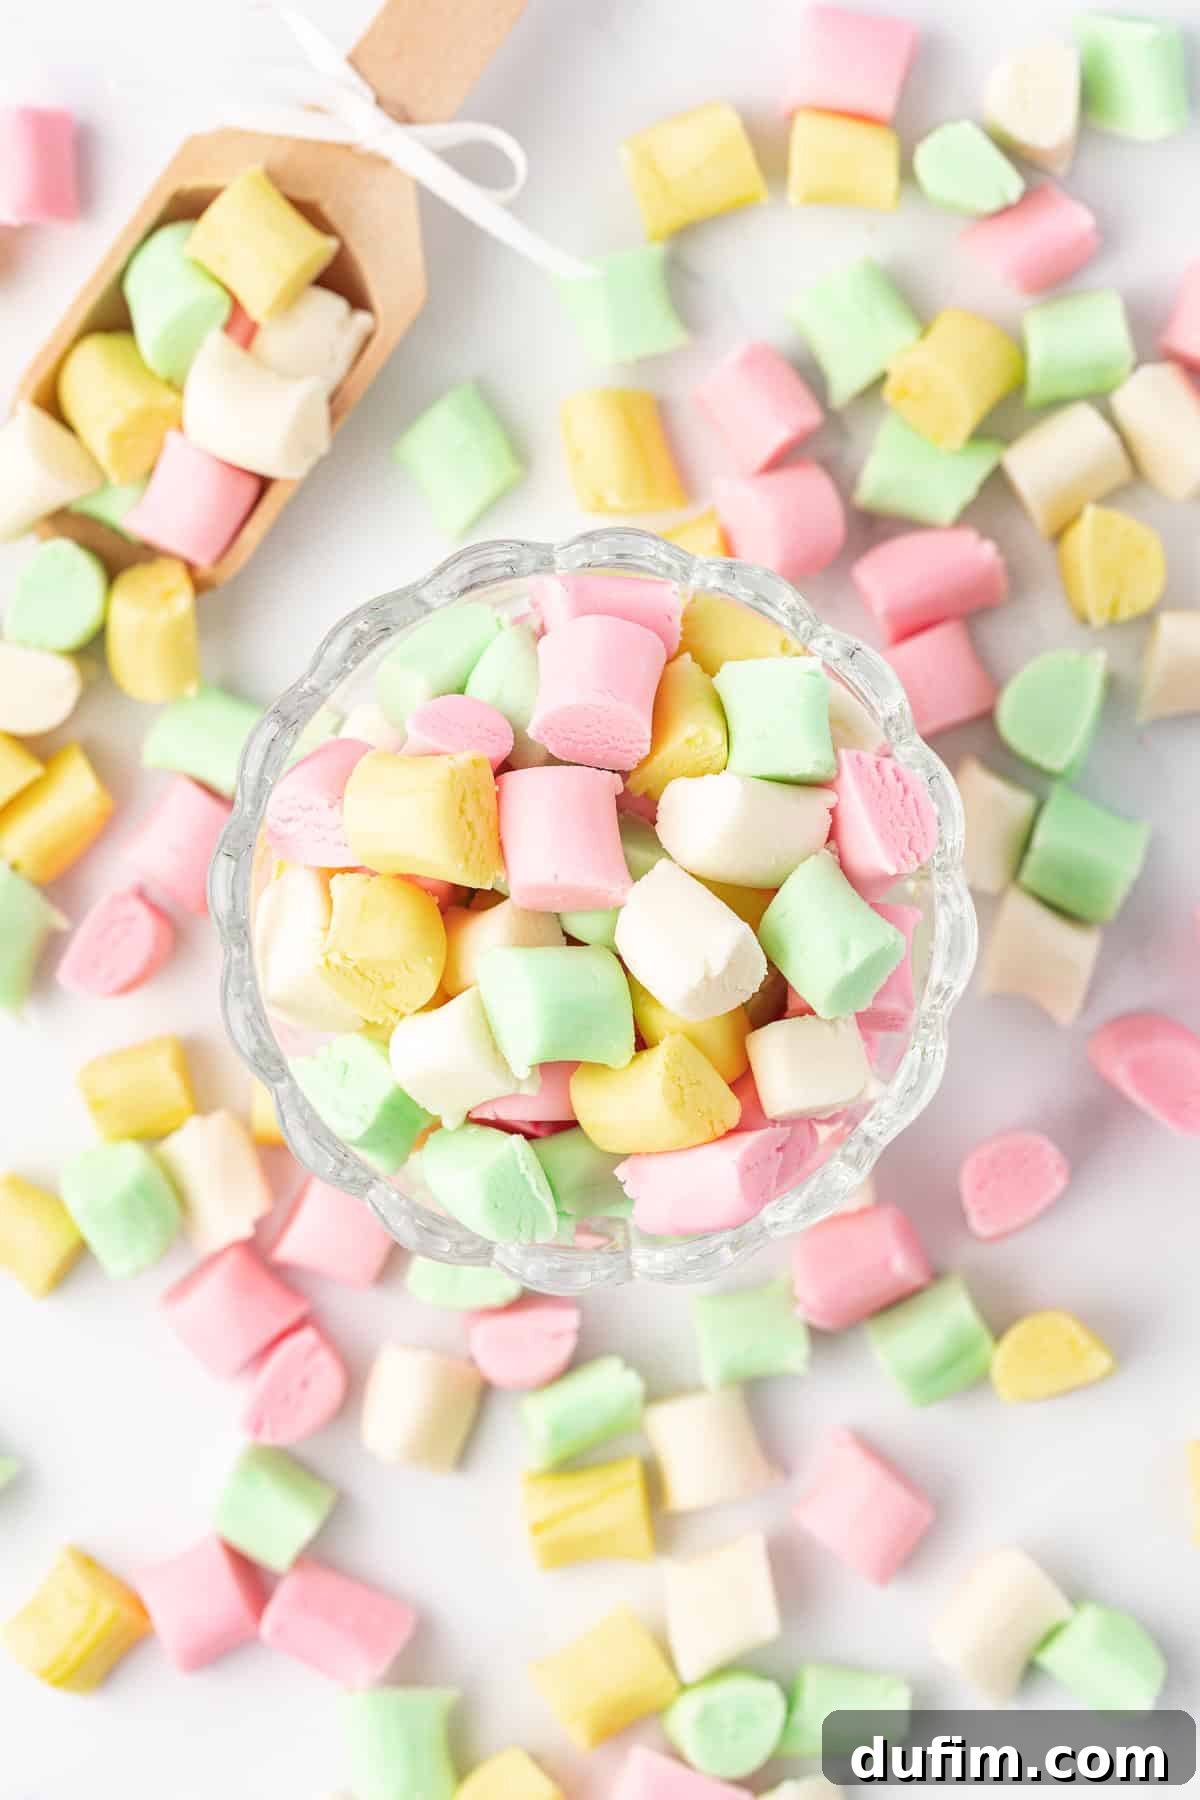
Butter mints are a beloved variety of soft, creamy, and undeniably melt-in-your-mouth candies. They are traditionally crafted from a delightful blend of simple ingredients: rich butter, fine powdered sugar, a touch of heavy cream, and a distinctive peppermint flavoring. These charming confections are most widely recognized for their signature pastel hues, often appearing in soft pinks, yellows, greens, and whites. You’ll commonly find them gracing dessert tables at elegant events such as weddings, baby showers, and bridal showers, where their delicate appearance and refreshing taste are always a welcome addition. Beyond these formal occasions, butter mints are also fantastic for Valentine’s Day celebrations, festive holiday gatherings, and thoughtful gifts throughout the season. Truly, they are a delightful indulgence suitable for any special moment, or simply to brighten an ordinary day.
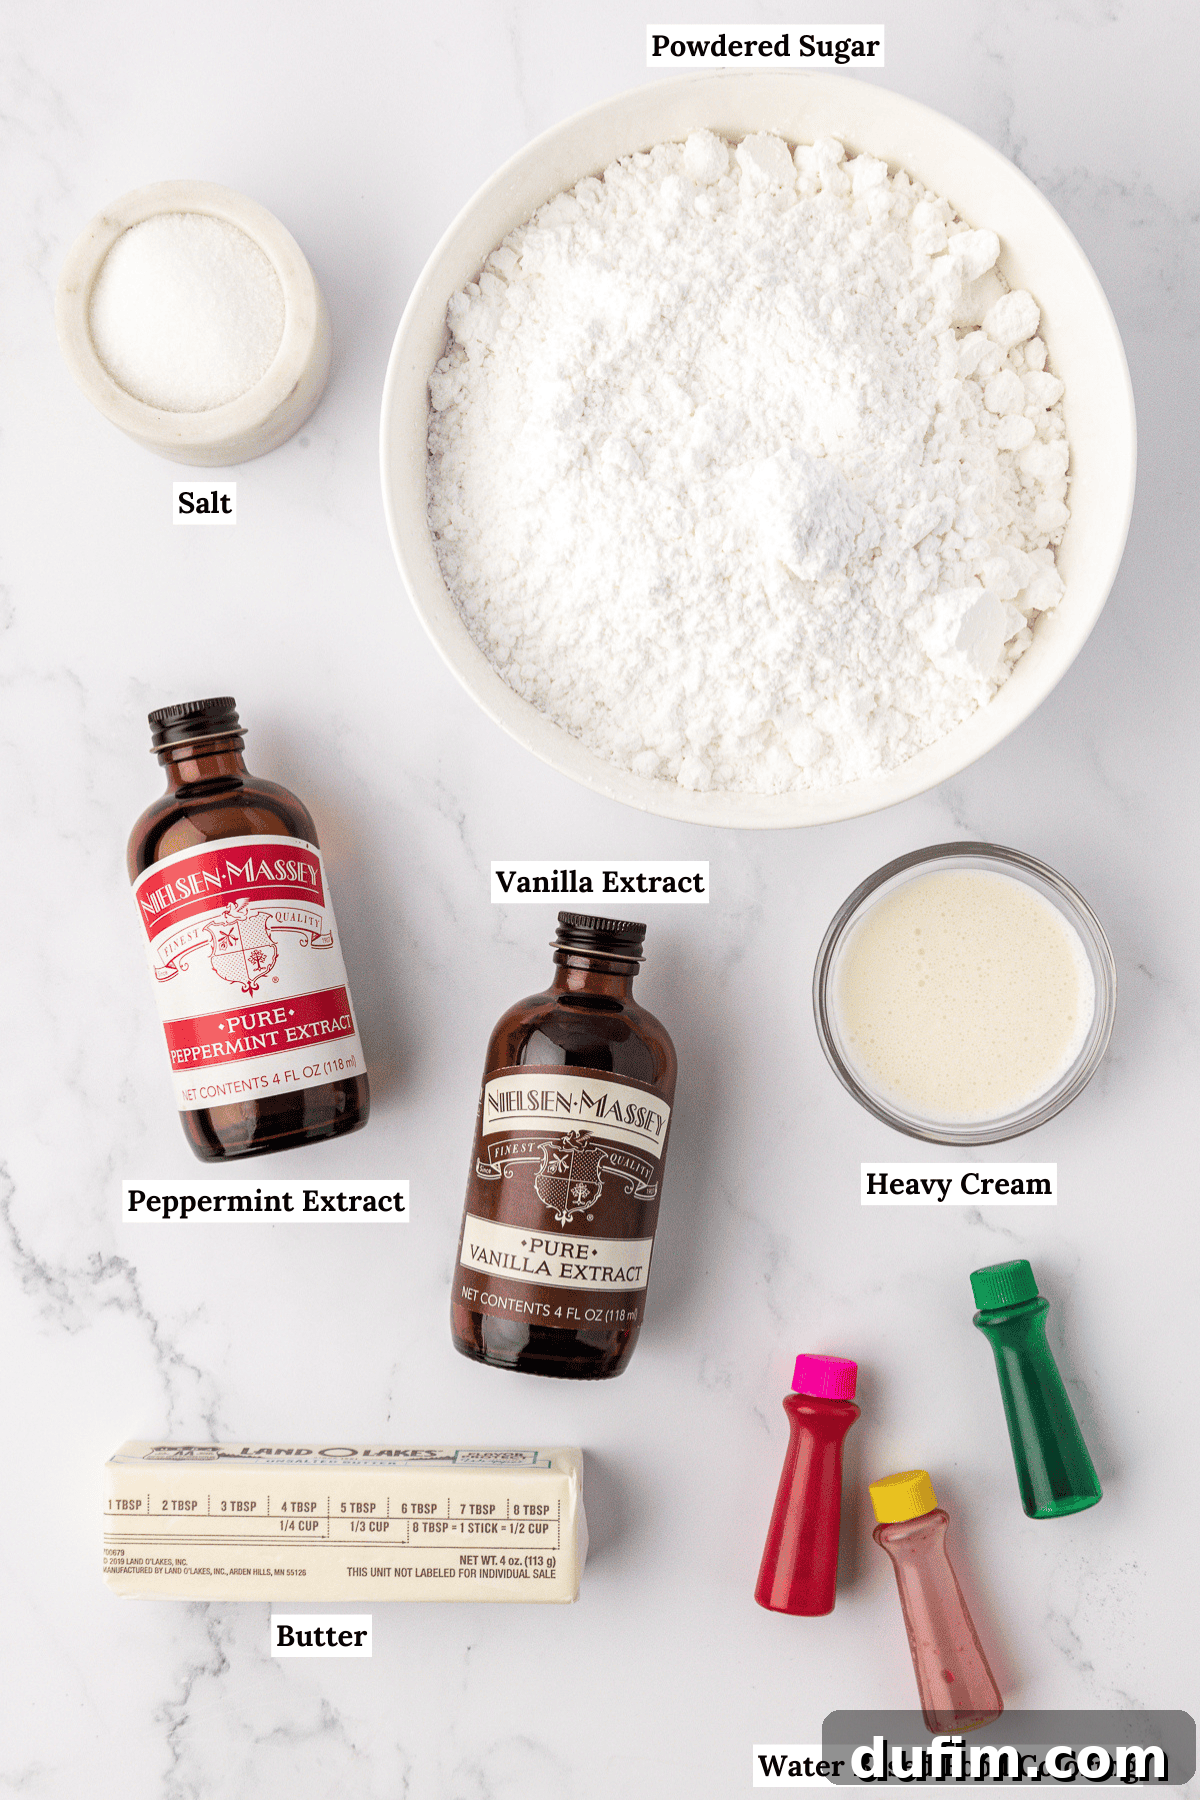
Essential Butter Mint Ingredients: Quality Makes the Difference
This nostalgic and utterly delightful treat is crafted from surprisingly simple, readily available ingredients. While the full recipe with precise measurements can be found in the recipe card below, here’s a closer look at what you’ll need and why each component is vital for achieving that perfect melt-in-your-mouth texture and flavor:
- Unsalted Butter, room temperature: High-quality unsalted butter is the foundation of these mints. Using unsalted butter allows you to control the exact amount of salt in the recipe. Crucially, ensure it’s at room temperature—soft enough to cream easily but not melted—to achieve the smooth, emulsified texture essential for the dough.
- Powdered Sugar (Confectioners’ Sugar): This is the primary sweetener and the structural backbone of your mints. Its finely ground texture is what gives butter mints their characteristic smooth, non-gritty feel. Sifting it is highly recommended to prevent lumps and ensure a velvety dough.
- Heavy Cream: A small amount of heavy cream adds richness, moisture, and contributes to the creamy consistency. It helps bind the dough and makes it pliable. Adjusting the cream content can help correct overly dry or sticky dough.
- Vanilla Extract: While often playing a supporting role, a good quality vanilla extract enhances the overall flavor profile, adding a subtle warmth and complexity that beautifully complements the peppermint.
- Peppermint Extract (not mint extract): This is where the signature “mint” flavor comes from. It’s crucial to use *peppermint* extract, as general “mint” extract can sometimes have a spearmint flavor profile, which is different and not traditional for butter mints. Start with a small amount and taste, as extracts can be quite potent.
- Salt: Just a tiny pinch of salt is a flavor enhancer. It balances the sweetness of the powdered sugar and brings out the best in the butter and peppermint, preventing the mints from tasting flat.
- Food Coloring (optional): For those classic pastel hues, food coloring is a must. I strongly recommend using water-based food coloring for achieving soft, delicate pastel shades, as gel colorings can sometimes be too intense and alter the dough’s consistency if used in large quantities.
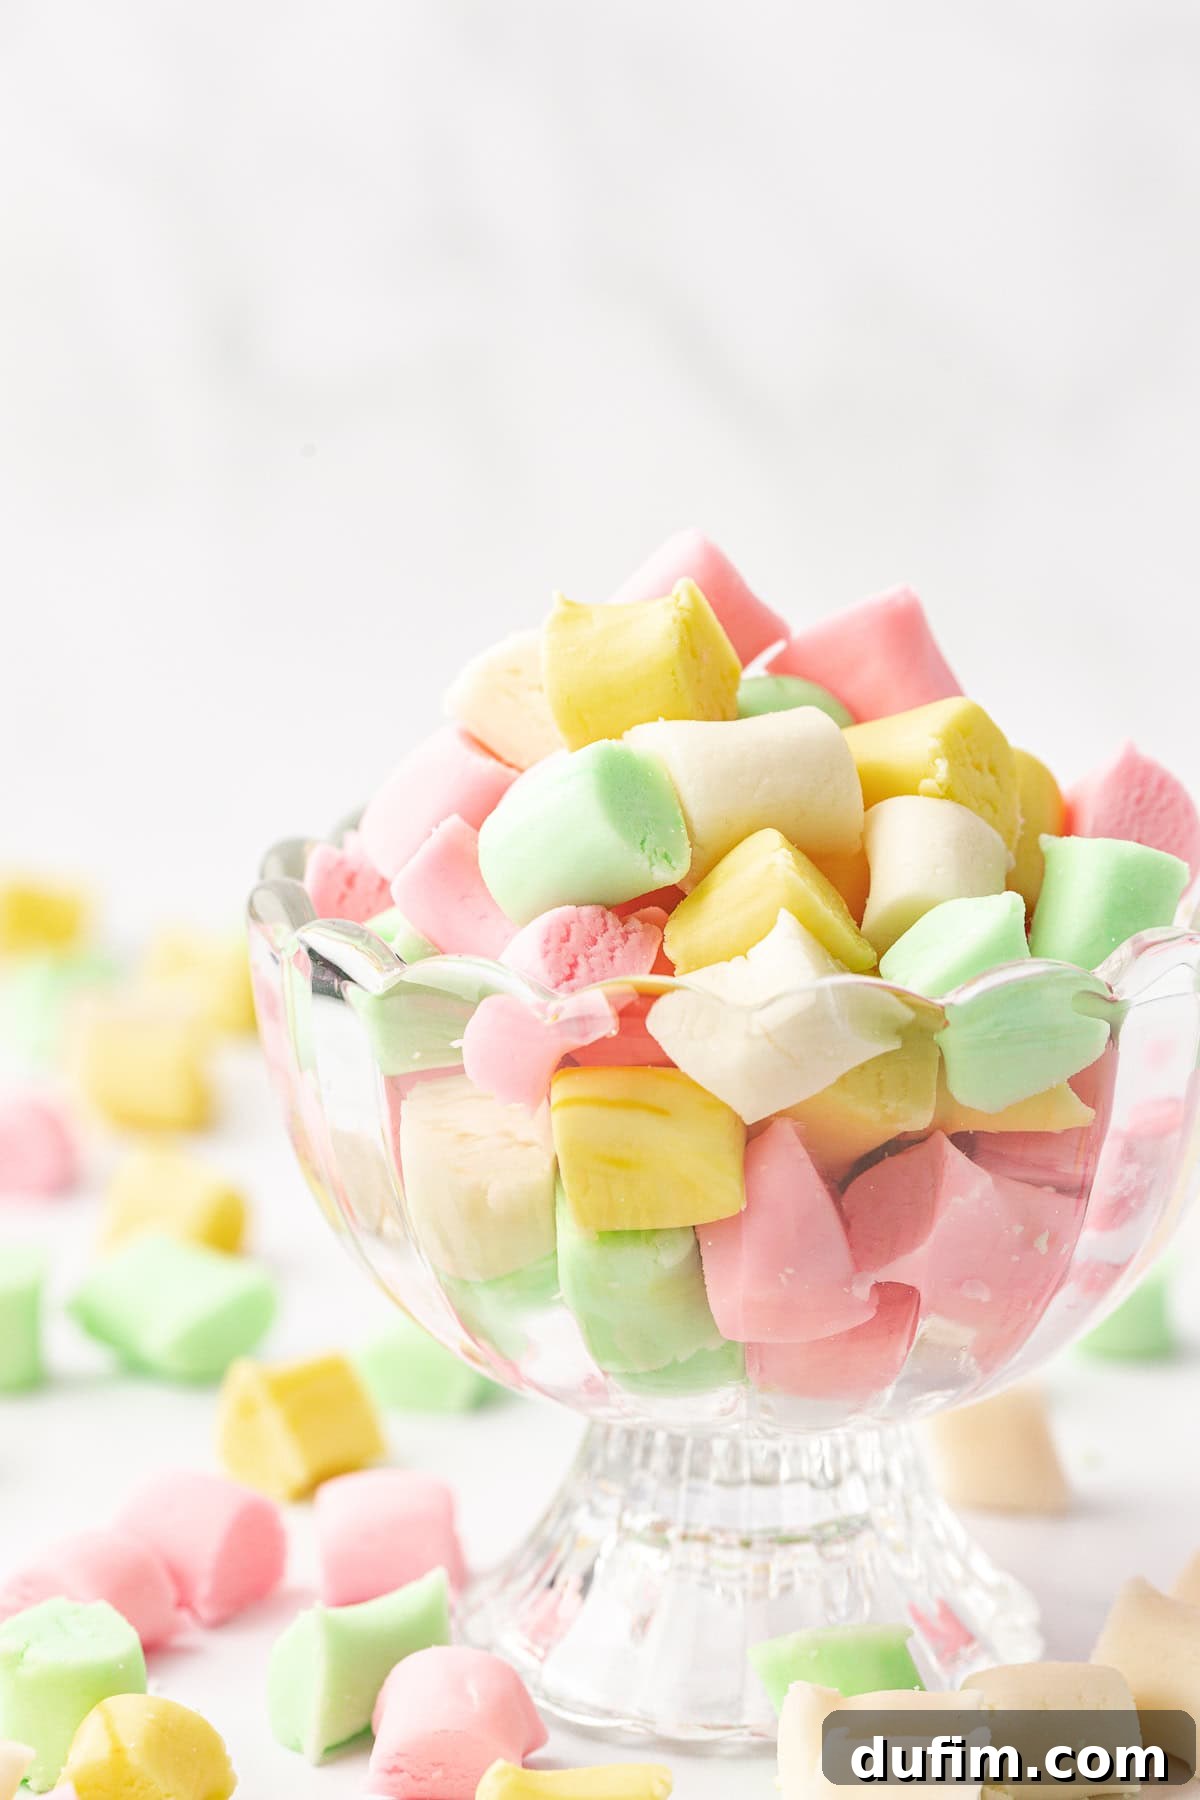
Step-by-Step Guide: Crafting Your Perfect Homemade Butter Mints
Making these easy butter mints is a rewarding process broken down into just a few straightforward steps. Follow these detailed instructions, along with my expert tips, to ensure you achieve perfect, delectable mints every single time. For more in-depth advice and the full printable recipe, keep reading!
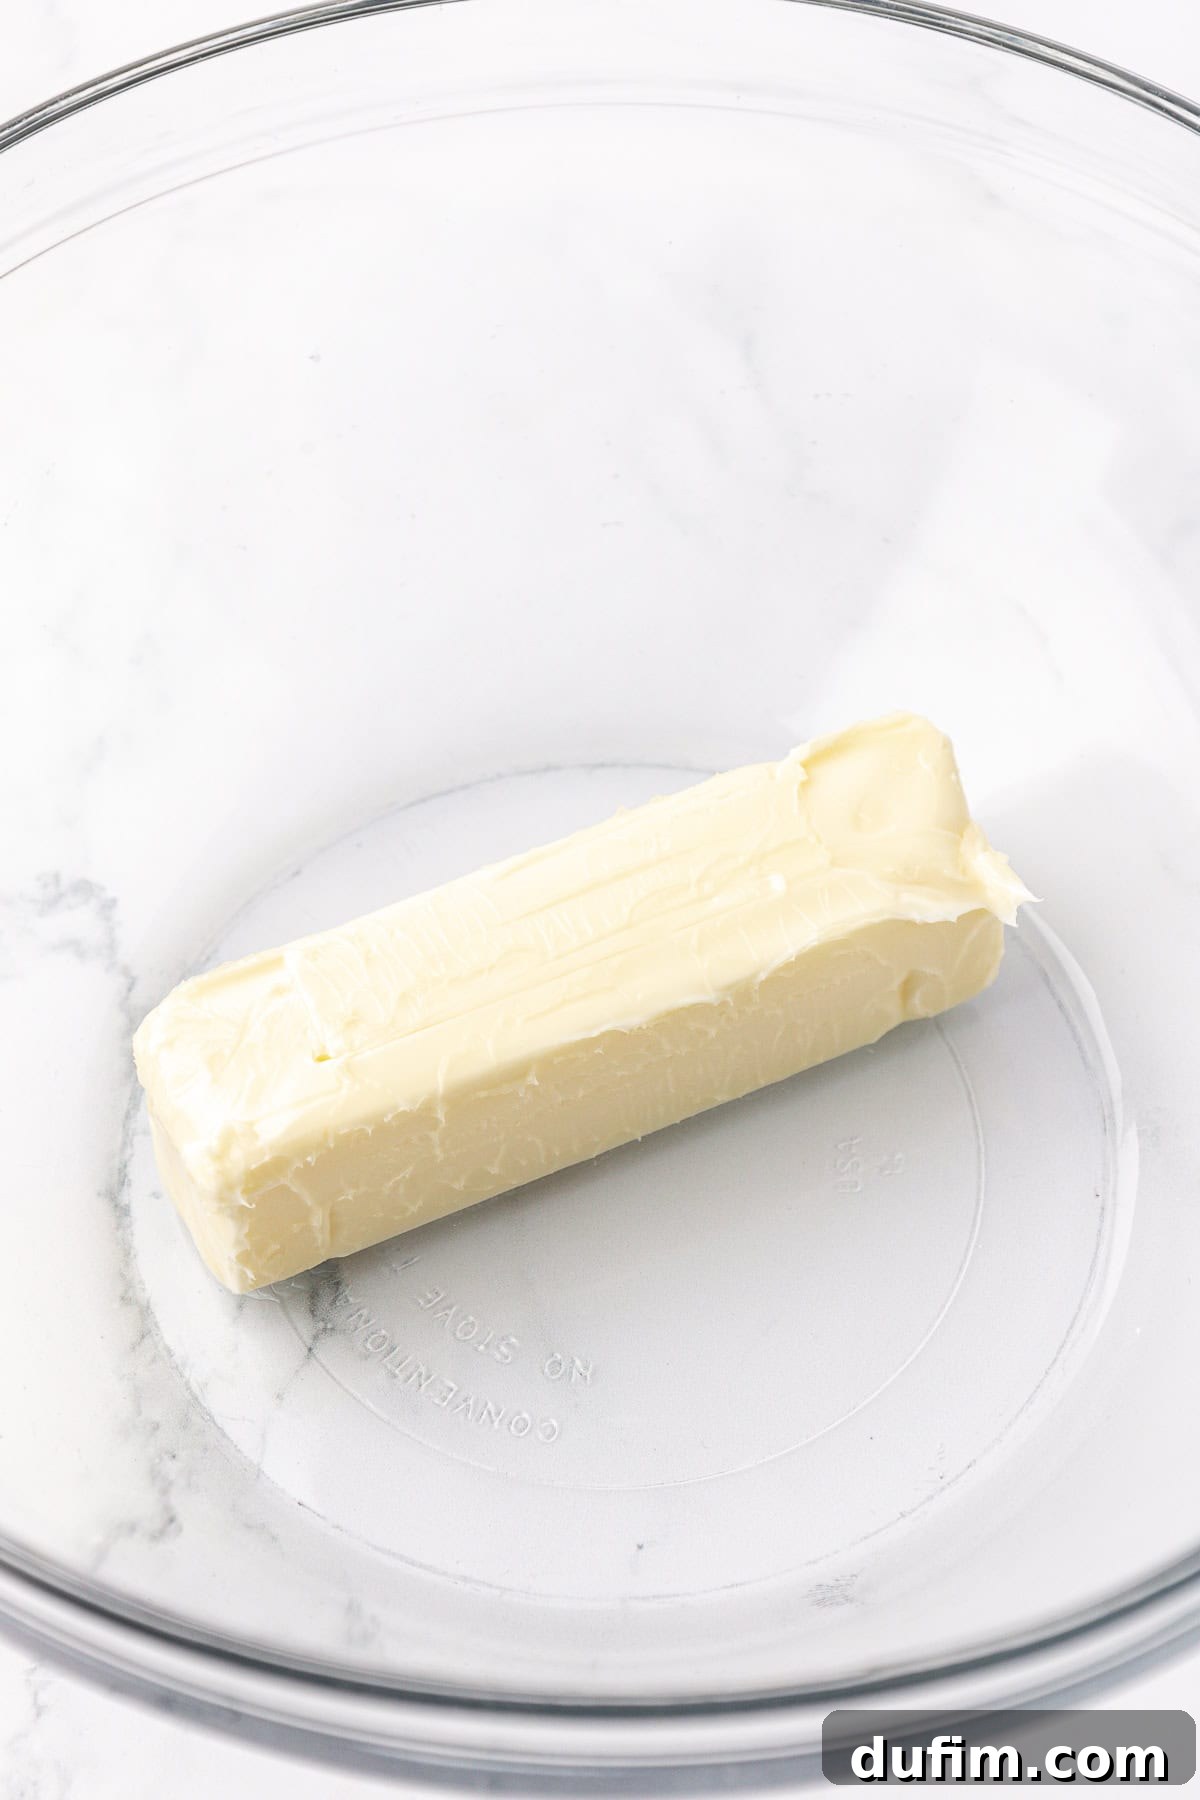
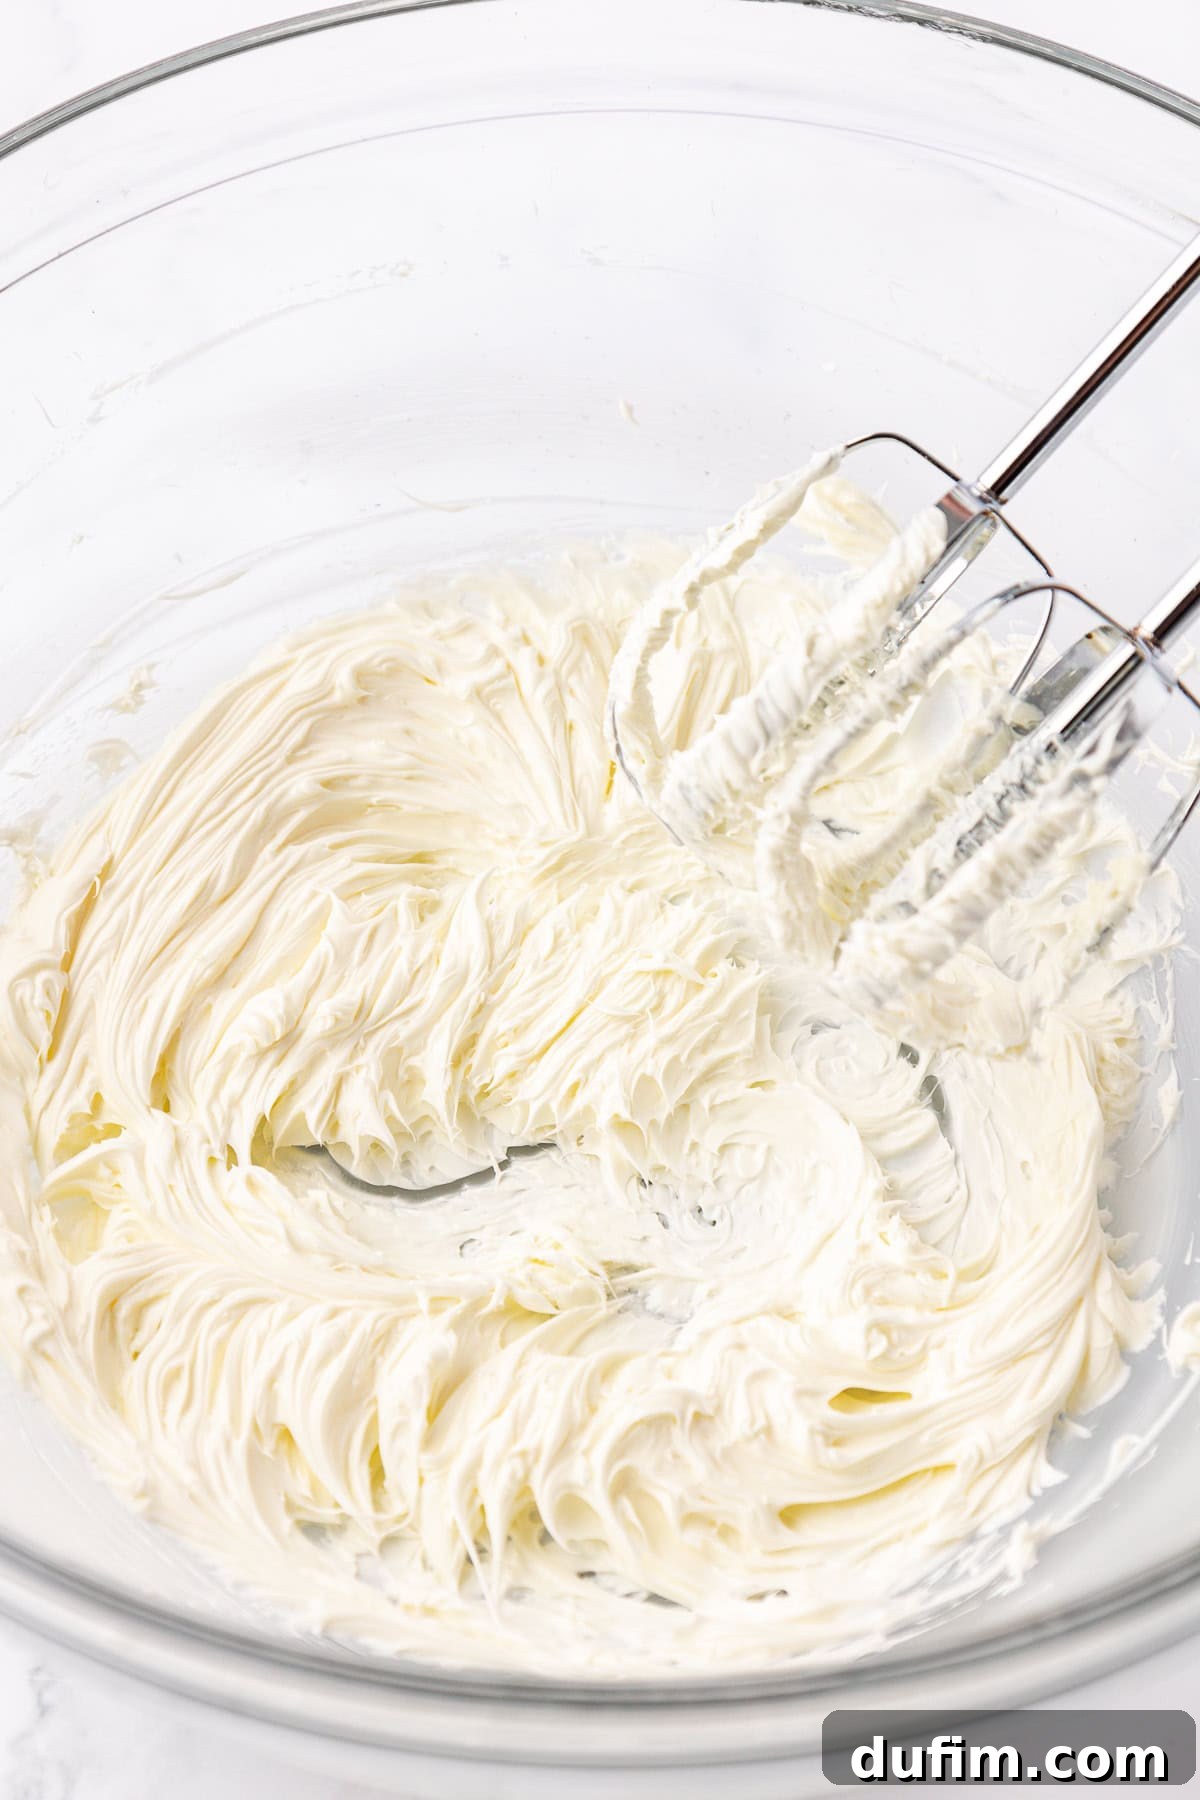
- Cream the Butter to Perfection: Begin by placing your room-temperature unsalted butter into a large mixing bowl. Using an electric mixer, beat the butter on medium speed for about 1-2 minutes. Your goal here is to achieve a light, fluffy, and notably smooth and creamy consistency. This creaming process incorporates air, which is crucial for the tender texture of the finished mints.
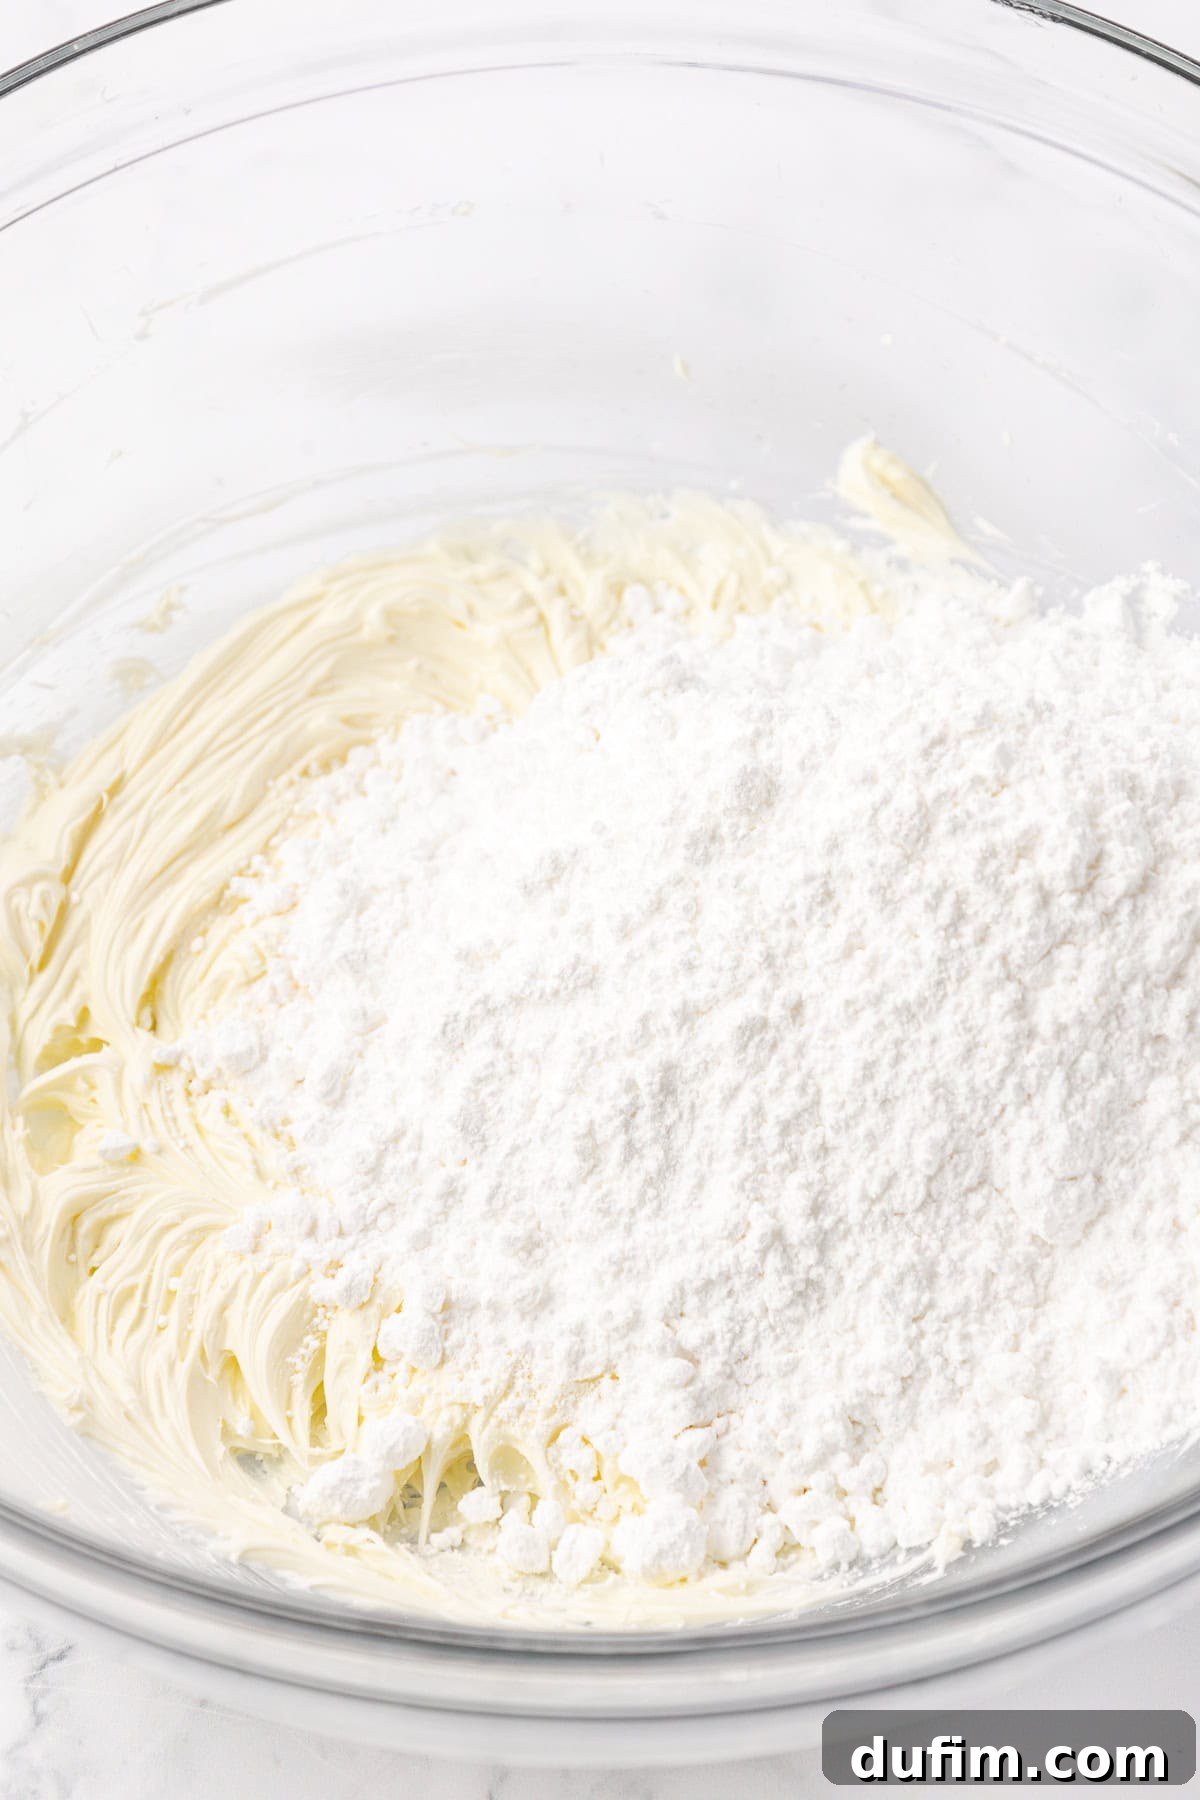
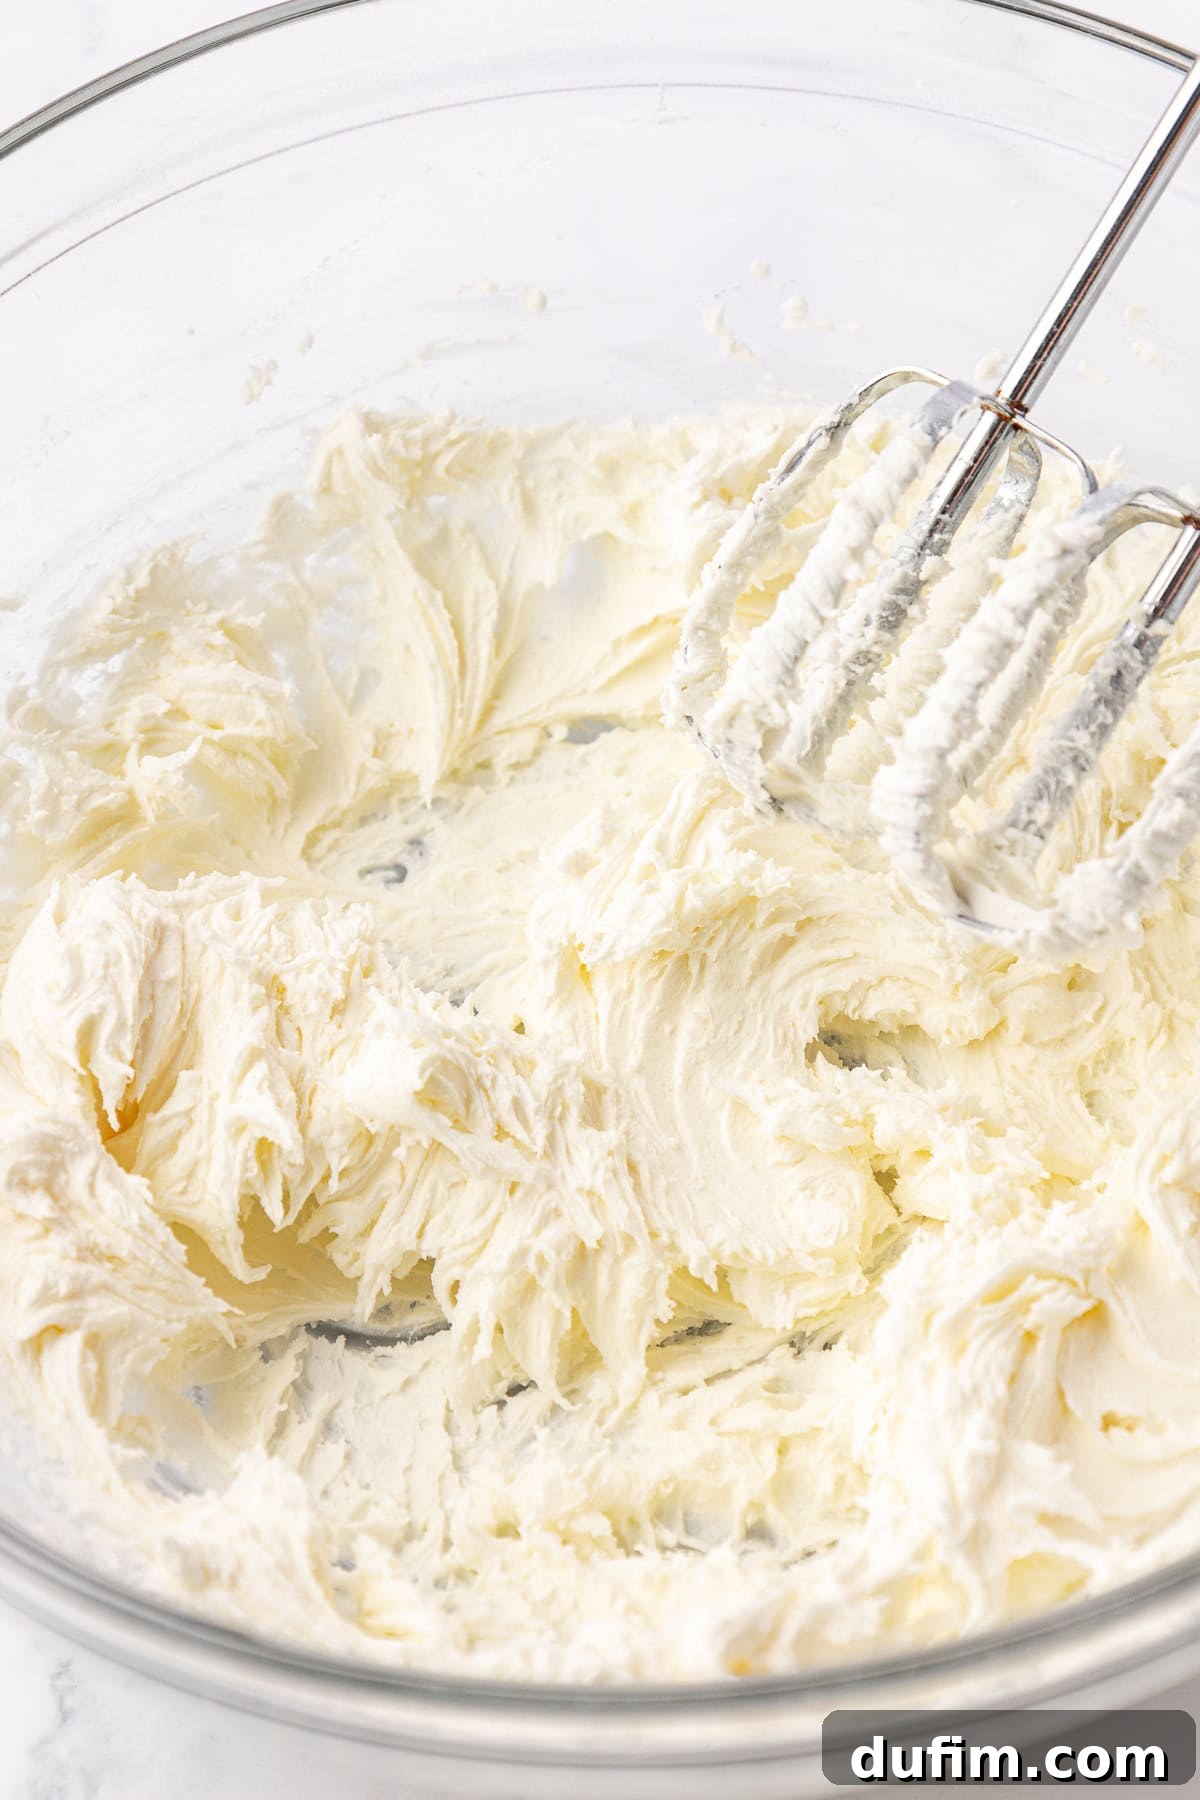
- Gradually Incorporate Powdered Sugar: Add the first 2 cups of powdered sugar to the creamed butter. Start mixing on low speed to prevent a cloud of sugar from enveloping your kitchen! Continue mixing until the sugar is just incorporated and the mixture is smooth. Adding the sugar in stages helps it blend more evenly and reduces the chance of a stiff, crumbly dough.
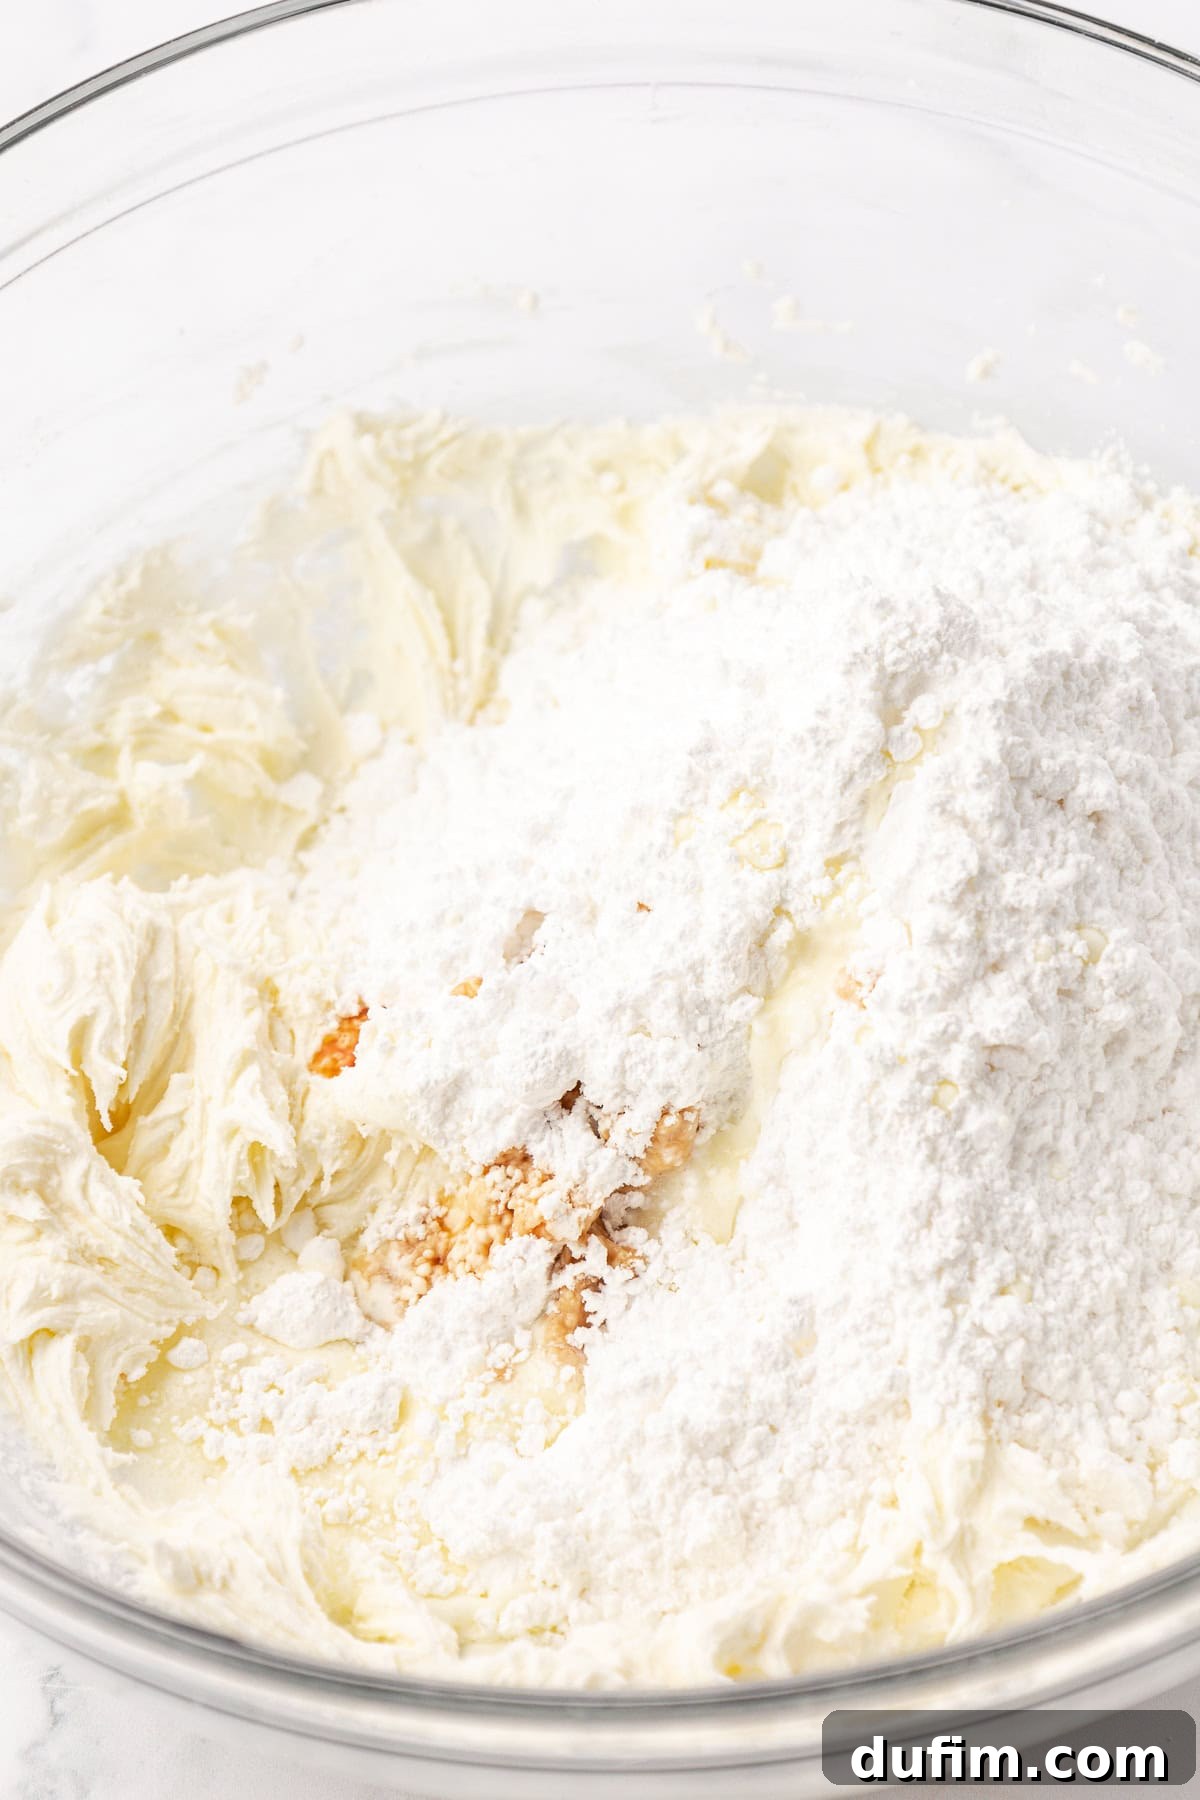
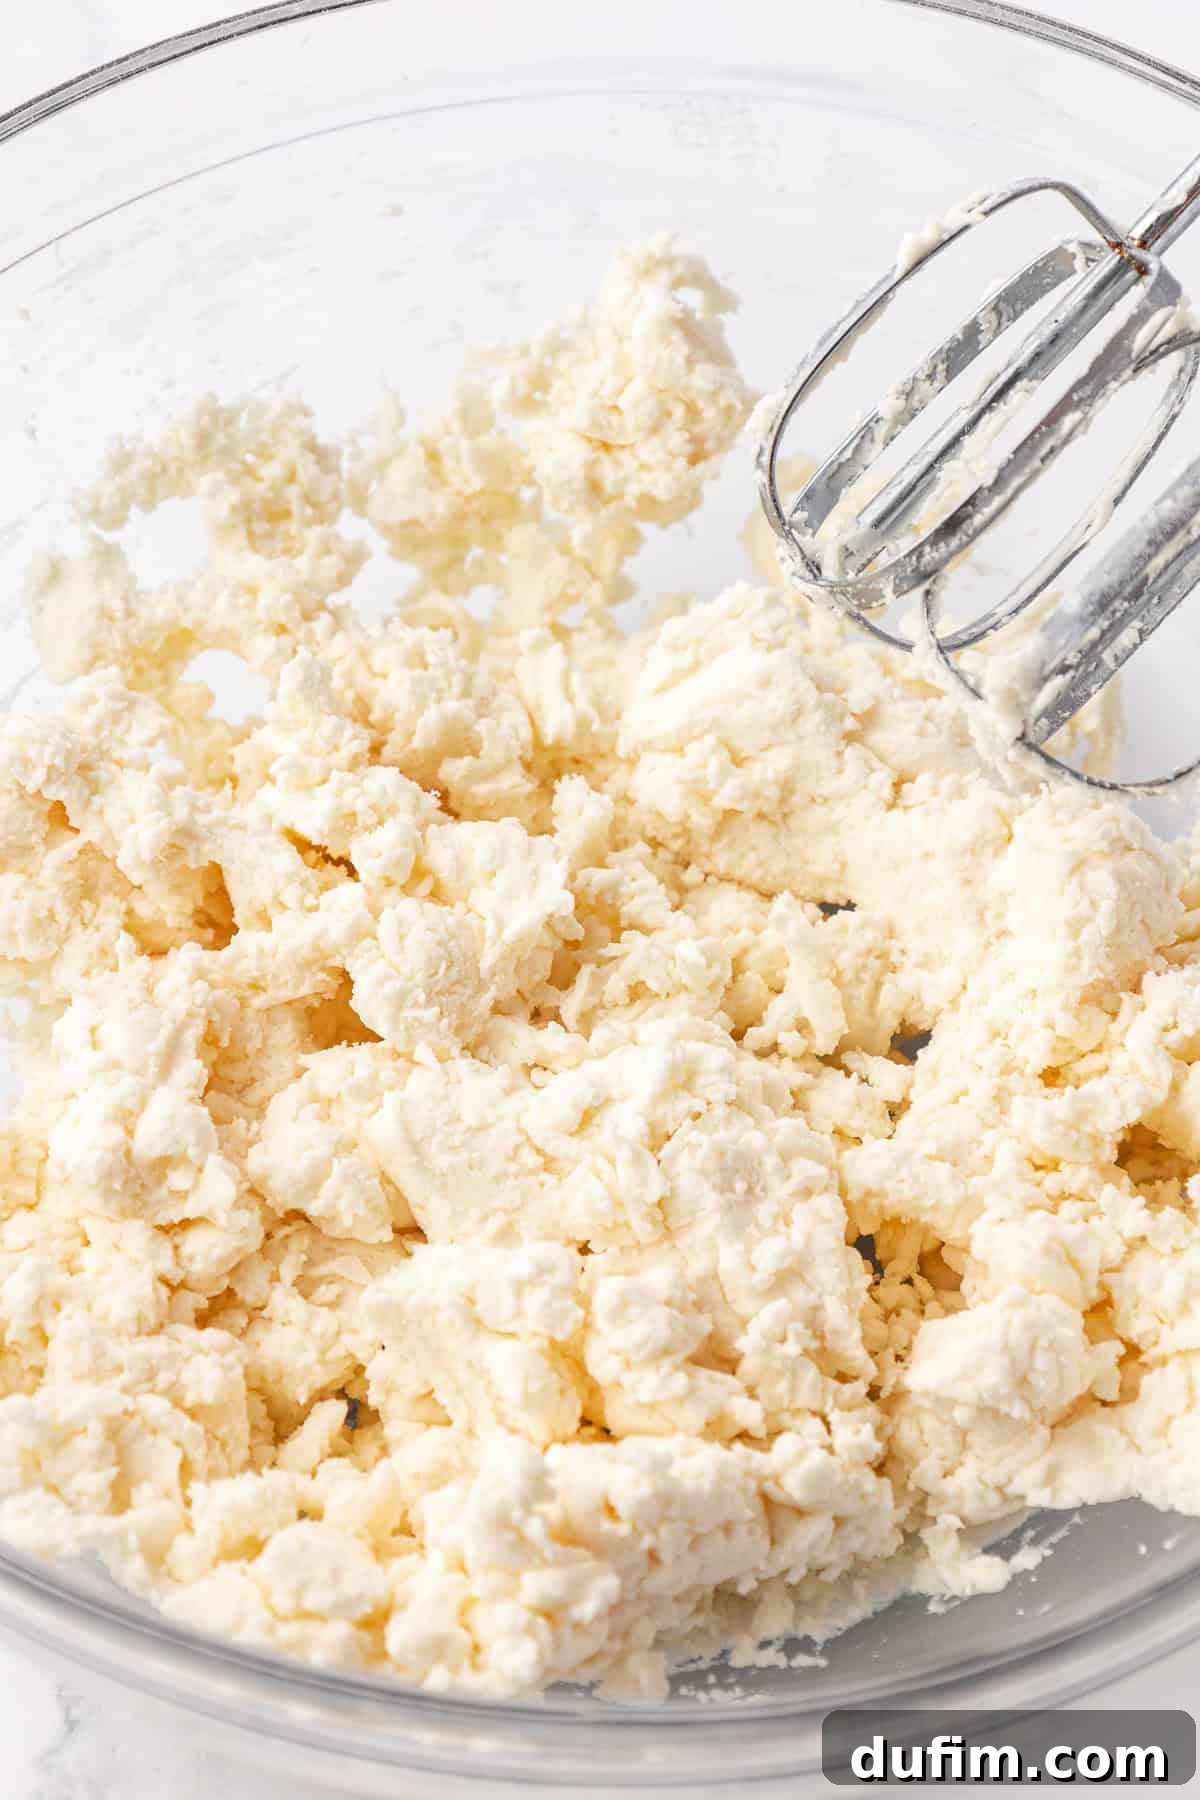
- Complete the Dough Mixture: Now, add the remaining 2 cups of powdered sugar, the heavy cream, vanilla extract, peppermint extract, and salt to the bowl. Beat all ingredients together on medium-low speed until they are fully incorporated and form a cohesive dough. This step is crucial for achieving the right consistency.
- Troubleshooting Dough Consistency: If your dough feels too dry or crumbly and isn’t coming together, add a very small amount of extra heavy cream, about ½ teaspoon at a time. Mix thoroughly after each addition until the dough becomes pliable and holds its shape when pressed.
- Addressing Sticky Dough: Conversely, if the dough is too sticky to handle, add powdered sugar, 1 tablespoon at a time, until it reaches a consistency similar to soft playdough – firm enough to shape but still smooth and flexible.
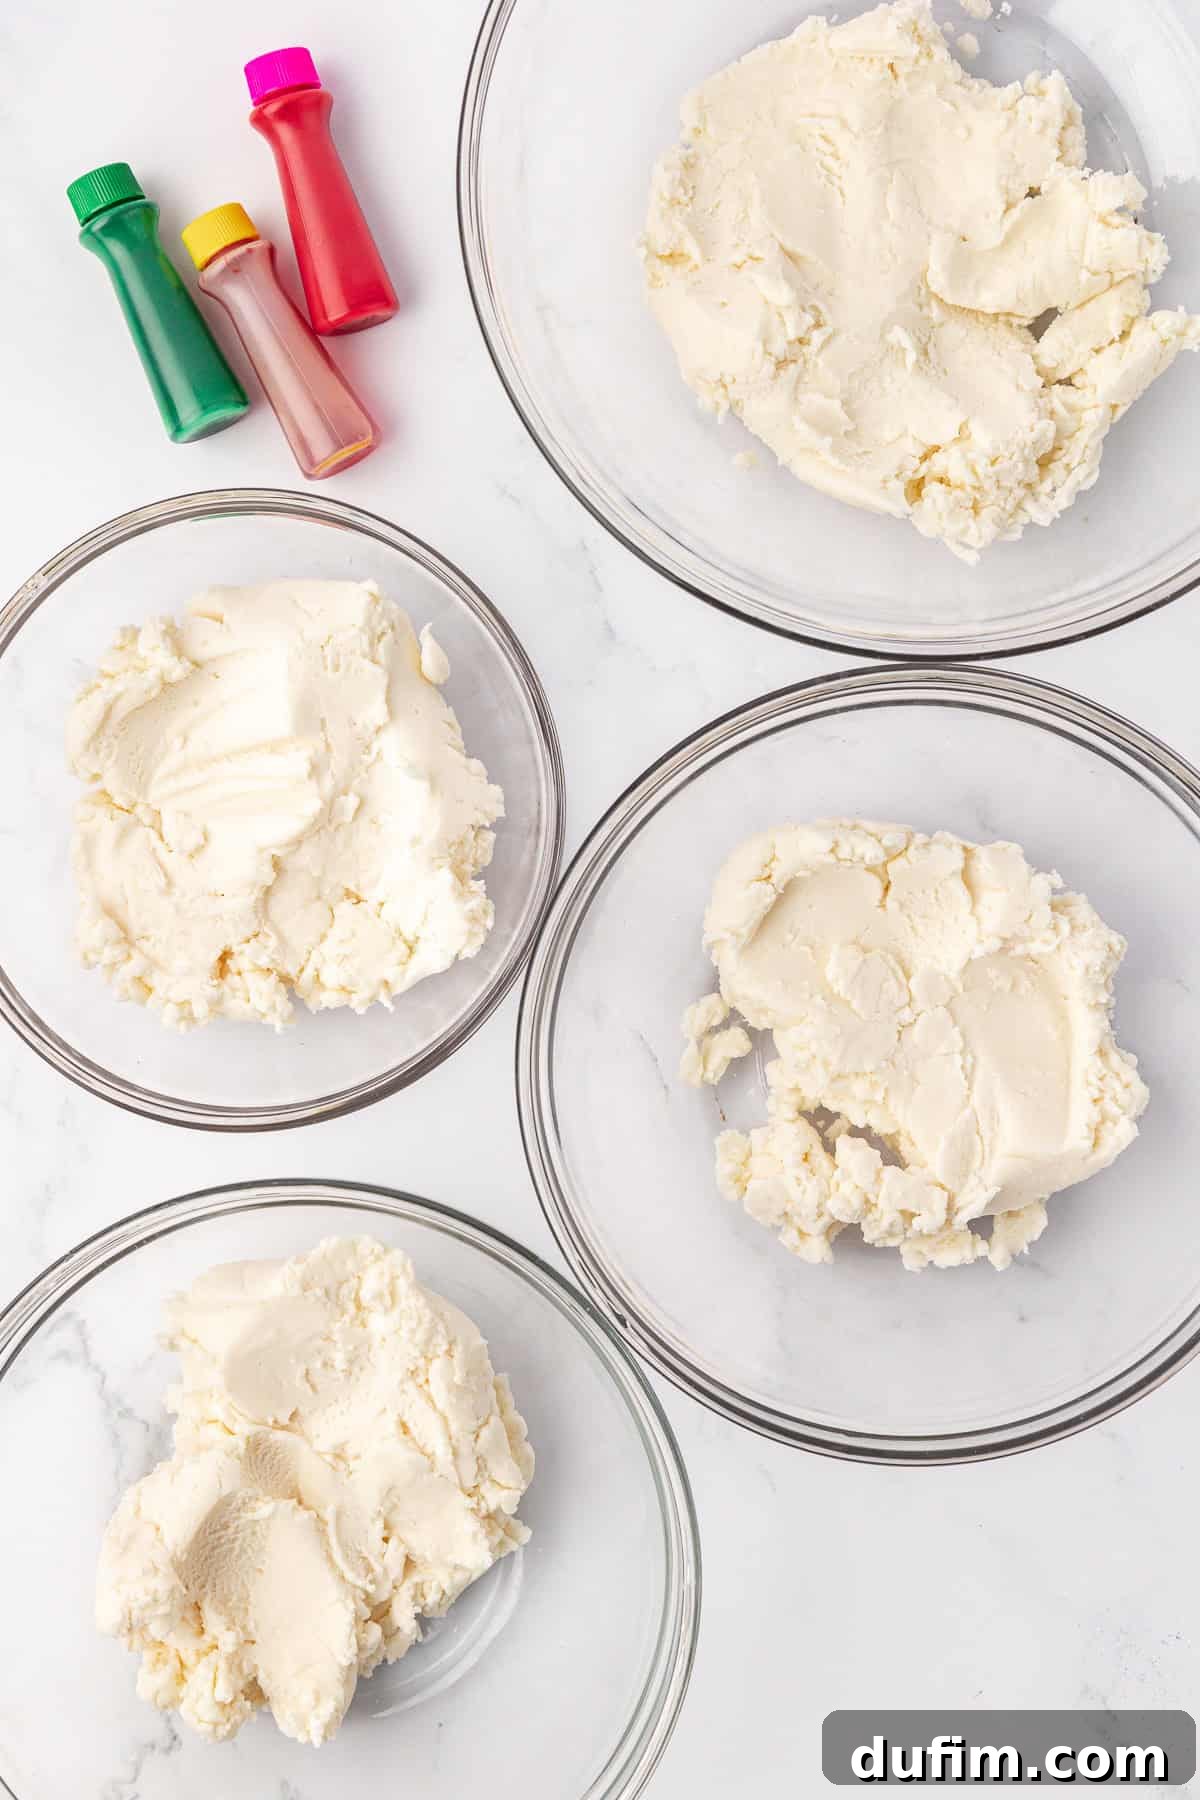
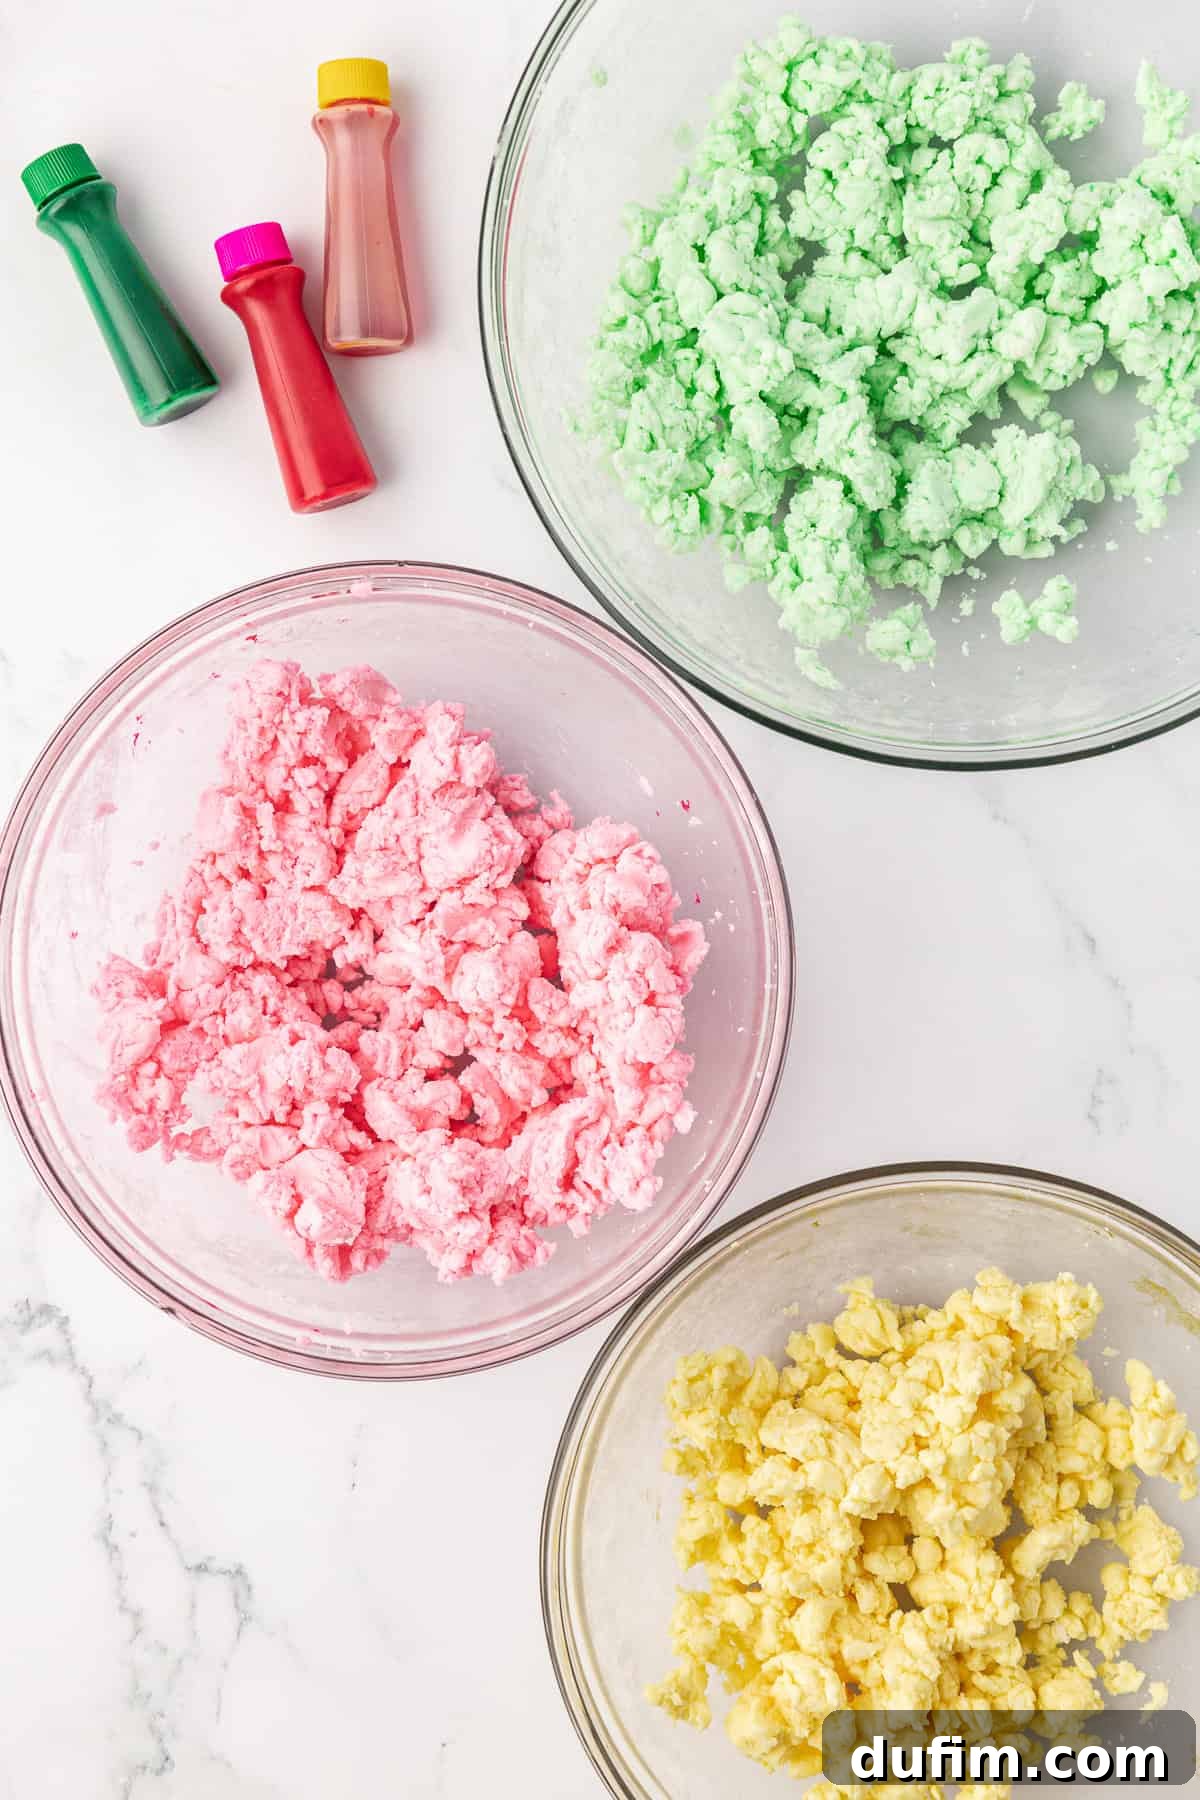
- Add Color (Optional, but Recommended for Charm!): If you’re opting for those beautiful pastel shades, now is the time to add your food coloring. Begin with 2-3 drops of your chosen water-based food coloring. Beat on medium speed until the color is evenly distributed throughout the dough. If you plan to make mints in multiple colors, divide the plain dough into separate sections first, and then add a different food coloring to each section, beating them individually. This ensures vibrant, distinct colors without muddying.
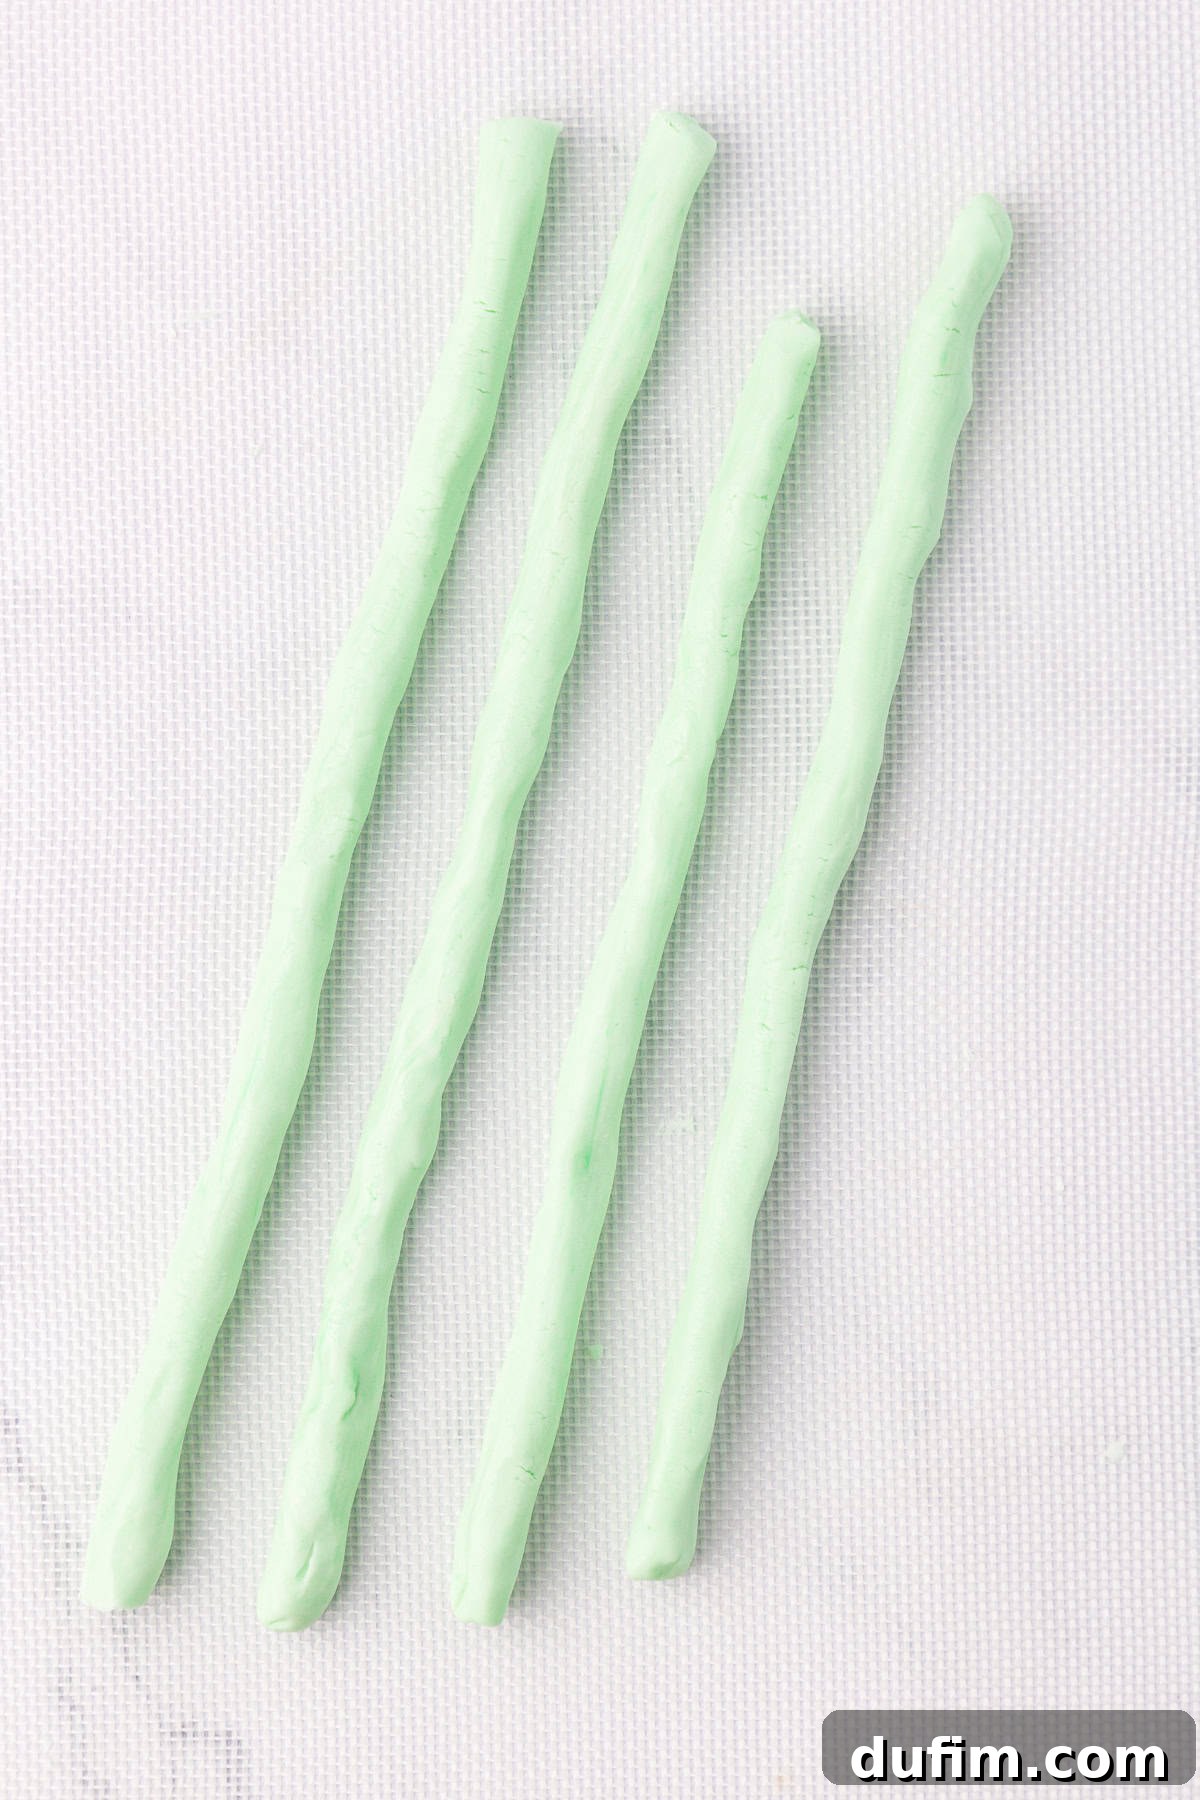
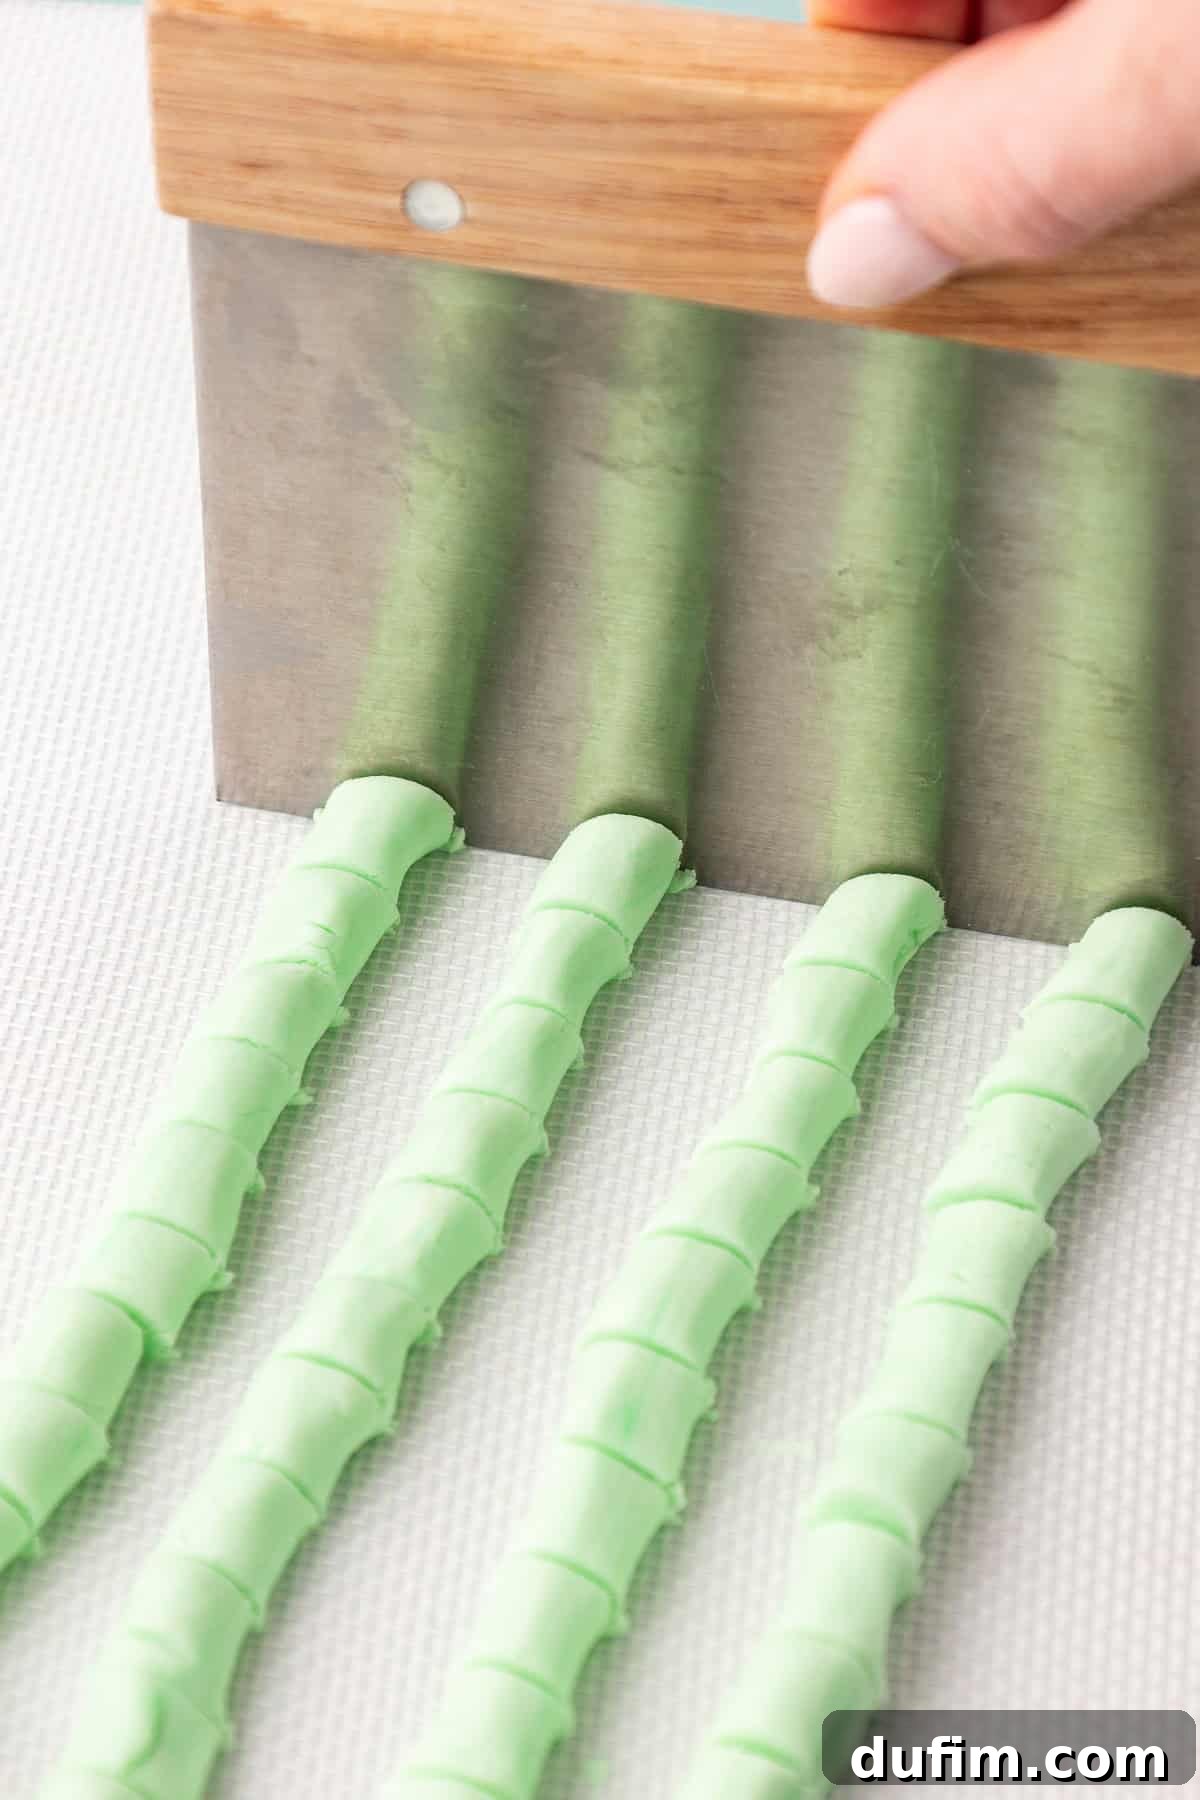
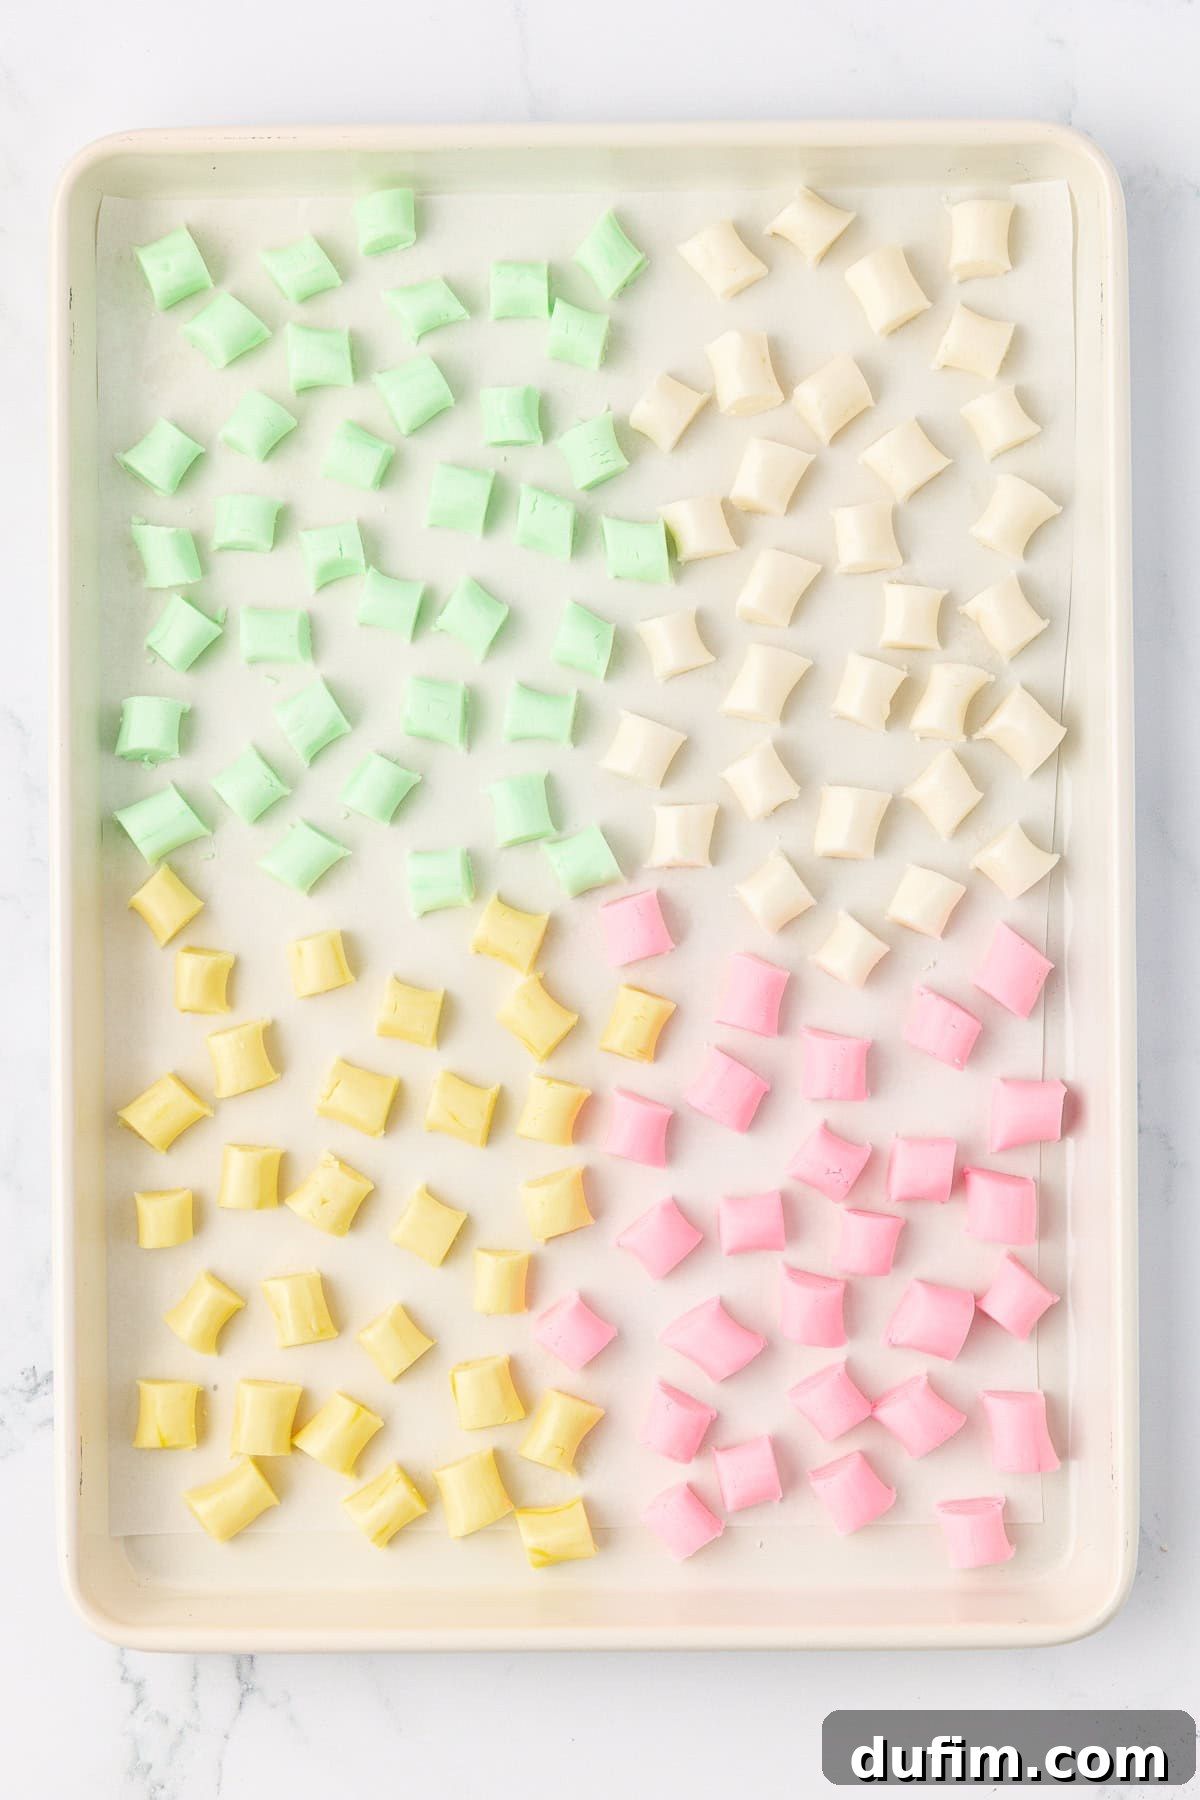
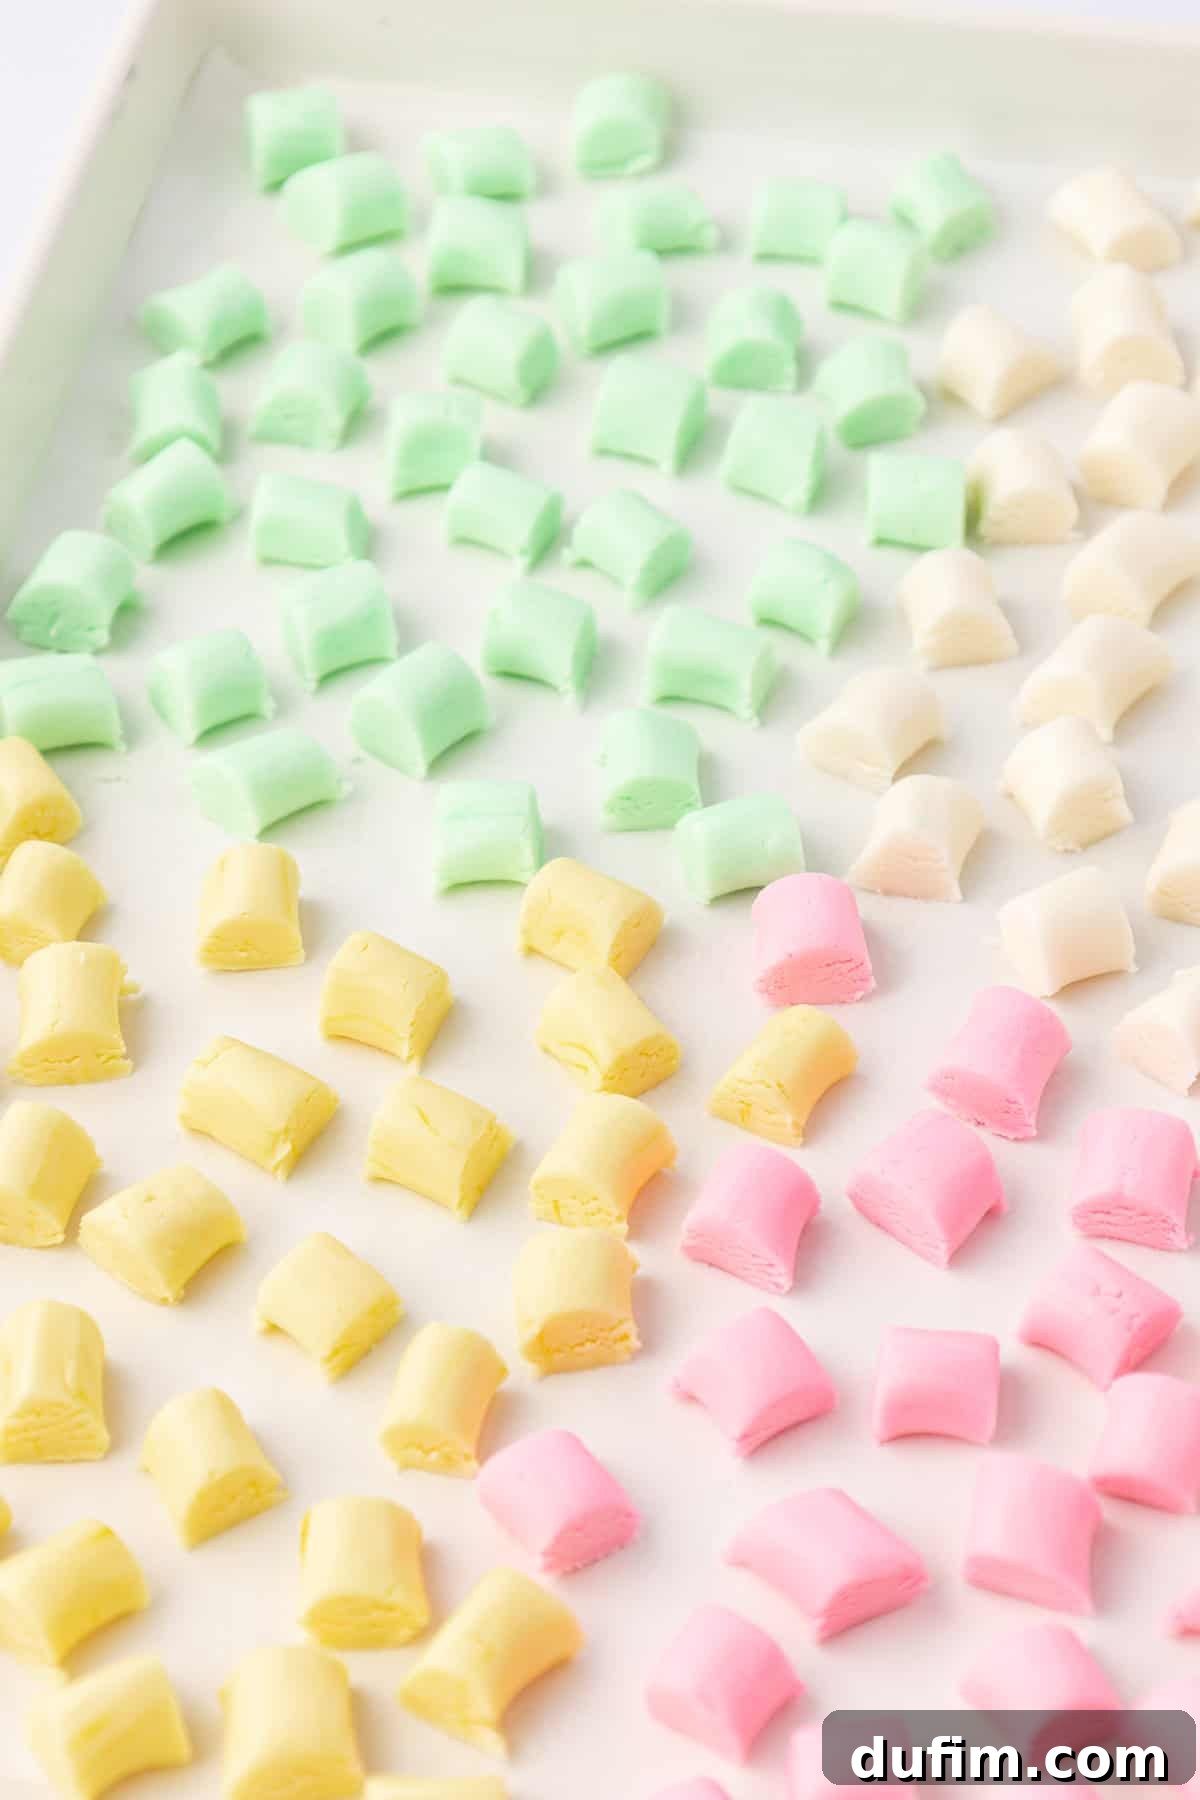
- Roll and Cut with Precision: Prepare a clean work surface, lightly dusting it with extra powdered sugar if the dough feels slightly sticky. Take a portion of your butter mint dough and roll it into a thin, long rope, aiming for a consistent thickness of about ½ inch. For perfectly uniform mints, use a sharp knife or a bench scraper to cut the rope into small pieces, each approximately ½ inch long. Consistency here makes a big difference in the final presentation. Repeat this process with all the remaining dough until all your mints are shaped.
- Allow to Air Dry: This crucial step is what gives butter mints their slightly firm exterior and melt-in-your-mouth interior. Arrange your freshly cut mints in a single layer on a baking sheet that has been lined with parchment paper, wax paper, or a silicone mat. Ensure there’s enough space between each mint so they do not touch. Allow the mints to air dry at room temperature for 12-24 hours. The exact drying time can vary depending on the humidity in your environment; in higher humidity, they may need longer. The mints should feel firm to the touch but still yield slightly when gently squeezed, indicating they are set but not brittle. Once dried, transfer them to an airtight container for storage. They will maintain their freshness and delightful texture for up to 1 month.
Unleash Your Creativity: Homemade Butter Mints Recipe Variations
One of the most exciting aspects of making your own butter mints is their incredible versatility. They are wonderfully customizable, allowing you to experiment with a spectrum of flavors and themes to suit any occasion or personal preference. Here are some fantastic ideas to spark your creativity and take your butter mints beyond the classic peppermint:
1. Classic Peppermint Mints with a Twist
- For the purists, simply adhere to the original, beloved peppermint flavor using high-quality peppermint extract. This timeless choice is always a crowd-pleaser.
- To elevate the classic for seasonal celebrations, add a few drops of vibrant green food coloring for St. Patrick’s Day or a festive red for Christmas. You can even create swirled red and white mints by gently twisting two colored ropes together before cutting!
2. Zesty Citrus Butter Mints
- Infuse your mints with a bright, refreshing tang by substituting the peppermint extract with a flavorful lemon, orange, or lime extract. These citrus notes offer a delightful contrast to the sweet butter base.
- Enhance the visual appeal by matching the mints’ colors to their citrus flavor: a sunny yellow for lemon, a warm orange for orange, and a vibrant green for lime. You could also add a tiny pinch of citrus zest (finely grated) to the dough for an extra burst of aroma and flavor.
3. Indulgent Chocolate Butter Mints
- For chocolate lovers, transform your butter mints into a rich, decadent treat. Adjust the dry ingredients by reducing the powdered sugar to 3 ¾ cups and incorporating ¼ cup of unsweetened cocoa powder. Sift the cocoa powder with the powdered sugar to avoid clumps.
- Amplify the luxurious flavor by using a specialized mint-chocolate extract, or a combination of peppermint extract and a touch of chocolate extract, for a truly deep and satisfying blend that mimics your favorite after-dinner mint.
4. Fruity & Fun Butter Mints
- Explore a spectrum of fruity flavors by experimenting with extracts like strawberry, raspberry, cherry, or even almond for a subtle, sweet nuttiness. These variations are particularly popular for children’s parties or themed events.
- Complete the fruity theme by adding vibrant pink or rich red food coloring to complement strawberry, raspberry, or cherry flavors. For almond, a pale ivory or light brown could be lovely.
5. Festive Holiday-Themed Butter Mints
- Elevate your holiday mints with texture and crunch by folding in crushed candy canes or miniature chocolate chips into the dough during the final mixing stage. This adds a delightful surprise with every bite.
- Go beyond simple ropes by rolling the dough out flat (about ¼ to ½ inch thick) and using tiny holiday-themed cookie cutters – think stars, trees, candy canes, or tiny gingerbread men – to create uniquely shaped mints that are perfect for festive platters and gifts.
Pro Tips for Butter Mint Perfection: Your Guide to Flawless Results
While my recipe is designed to be foolproof, incorporating these expert tips will elevate your butter mints from good to absolutely perfect, ensuring delicious, melt-in-your-mouth candies every single time:
- Always Use Softened Butter: This cannot be stressed enough. Your butter needs to be genuinely softened but definitely not melted. Butter that is too cold won’t cream properly, leading to a lumpy dough, while melted butter will make the dough greasy and difficult to work with. Ideally, it should be soft enough to easily indent with a finger.
- Sift the Powdered Sugar: To achieve that incredibly smooth, non-gritty texture characteristic of classic butter mints, sifting your powdered sugar is a non-negotiable step. This removes any lumps and ensures it blends seamlessly into the butter, creating a silky consistency for your dough.
- Add Flavor Extract Gradually: Peppermint and other extracts can be very potent. It’s always best to start with a smaller amount than you think you’ll need (e.g., ¼ teaspoon as suggested) and then taste the dough. You can always add a few more drops until you reach your desired flavor intensity, but you can’t take it away!
- Chill the Dough if Needed: If you find your dough becoming too soft, sticky, or challenging to handle during the rolling and cutting process, don’t hesitate to pop it into the refrigerator. A brief chill of 15-20 minutes will firm it up, making it much easier to work with.
- Roll Evenly for Uniformity: For the most professional-looking butter mints, strive for consistent thickness when rolling your dough into ropes. Uneven ropes will result in mints of varying sizes and textures. Using a ruler as a guide during rolling and cutting can be incredibly helpful if presentation is a priority.
- Thorough Drying is Key: The air-drying step is essential for butter mints to develop their signature delicate crust and chewy interior. Do not rush this process. Allow them to sit at room temperature for the full 12-24 hours. In humid environments, they may need even longer. They should feel firm but not hard or brittle; a slight give when pressed is ideal.
- Clean Your Work Surface Regularly: When rolling and cutting multiple batches, leftover powdered sugar and dough bits can accumulate. Periodically wipe down your work surface to ensure a clean, smooth area for consistent results and to prevent unwanted sticking.
Storing Your Homemade Butter Mints for Lasting Freshness
Proper storage is crucial to maintain the delightful texture and flavor of your homemade butter mints. Once they have fully air-dried and are firm to the touch, transfer them to an airtight container. Keep the container in a cool, dry place away from direct sunlight and humidity. Stored this way, your mints will stay fresh and delicious for up to 1 month, making them perfect for preparing in advance for events or for enjoying as a daily treat. For longer-term storage, butter mints can also be frozen for up to 3 months in an airtight freezer-safe container. Thaw them at room temperature before serving.
Explore More Minty Delights
If you’ve fallen in love with the refreshing taste of mint, especially in sweet treats, then you’ll definitely want to explore these other fantastic recipes. From cookies to bark, there’s a minty confection for every craving and occasion:
- Peppermint Chocolate Cookies: A classic combination of rich chocolate and cool peppermint, perfect for holiday baking.
- Chocolate Peppermint Bark: Layers of delicious chocolate topped with crunchy peppermint pieces, ideal for gifting.
- Peppermint Oreo Balls: No-bake treats featuring crushed Oreos, cream cheese, and a hint of peppermint, coated in chocolate.
- Swirled Peppermint Bark: An artistic take on peppermint bark, with beautiful swirls of white and dark chocolate.
Homemade Butter Mints Recipe
By: Beth
Prep Time: 30 minutes
Drying Time: 12 hours
Servings: 200 mints
My old-fashioned butter mints always get rave reviews. With years of recipe testing under my belt, I’ve worked out the kinks so you don’t have to, making it easy for you to whip up a batch of perfect, melt-in-your-mouth butter mints every time.
Pin Recipe
Equipment
- Glass Mixing Bowl
- Electric Mixer (e.g., KitchenAid 9-Speed Mixer)
- Baking Sheet
- Silicone Baking Mat (or parchment paper/wax paper)
Ingredients
- ½ cup (113g) unsalted butter, room temperature
- 4 cups (454g) powdered sugar (confectioners’ sugar), sifted
- 1 Tbsp heavy cream
- 1 tsp vanilla extract
- ¼ tsp peppermint extract, ensure it’s not mint extract
- ⅛ tsp salt
- Food coloring, optional (water-based recommended for pastel colors, not gel)
Instructions
-
In a large mixing bowl, beat the room temperature unsalted butter with an electric mixer on medium speed until it is smooth, light, and creamy. This should take about 1-2 minutes.
(Ingredients used: ½ cup (113g) unsalted butter)
-
Add the first 2 cups of sifted powdered sugar to the creamed butter. Mix on low speed until the sugar is just incorporated and no dry streaks remain.
(Ingredients used: part of 4 cups (454g) powdered sugar)
-
Add the remaining 2 cups of powdered sugar, along with the heavy cream, vanilla extract, peppermint extract, and salt. Continue to beat on medium-low speed until all ingredients are fully combined and a smooth, pliable dough forms. The dough should feel similar to soft playdough. If the dough is too dry, add heavy cream ½ teaspoon at a time until it reaches the correct consistency. If it’s too sticky, add powdered sugar 1 tablespoon at a time.
(Ingredients used: remaining 4 cups (454g) powdered sugar, 1 Tbsp heavy cream, 1 tsp vanilla extract, ¼ tsp peppermint extract, ⅛ tsp salt)
-
If you are using food coloring, add 2-3 drops of your chosen water-based color to the dough. Beat on medium speed until the color is evenly distributed. If you plan to make multiple colors, divide the dough into separate portions before adding coloring to each section and mixing individually.
(Ingredients used: Food coloring)
-
Prepare a clean work surface, lightly dusting it with extra powdered sugar if needed. Take a portion of the dough and roll it into a thin, consistent rope, approximately ½ inch thick. Using a sharp knife or bench scraper, cut the rope into small, uniform pieces, about ½ inch long. Repeat this process with the remaining dough.
-
Arrange the cut mints in a single layer on a baking sheet lined with parchment paper, wax paper, or a silicone mat, ensuring they do not touch each other. Allow the mints to air dry at room temperature for 12-24 hours. They should become firm but not hard. Store the dried mints in an airtight container for up to 1 month, or freeze for up to 3 months.
Notes
Be precise with the peppermint extract; too much can make the mints taste overwhelmingly strong. It’s always better to add a little less and then gradually increase it to your preferred intensity after tasting a tiny bit of the dough.
Nutrition
Serving: 1 mint | Calories: 14kcal | Carbohydrates: 2g | Protein: 0.01g | Fat: 0.5g | Saturated Fat: 0.3g | Polyunsaturated Fat: 0.02g | Monounsaturated Fat: 0.1g | Trans Fat: 0.02g | Cholesterol: 1mg | Sodium: 2mg | Potassium: 0.3mg | Sugar: 2g | Vitamin A: 15IU | Calcium: 0.2mg | Iron: 0.002mg
Nutrition Disclosure
All nutritional values are approximate and provided to the reader as a courtesy. Changing ingredients and/or quantities will alter the estimated nutritional calculations.
Like this recipe? We’d love to hear from you!
Please rate and leave a comment below to share your experience.