
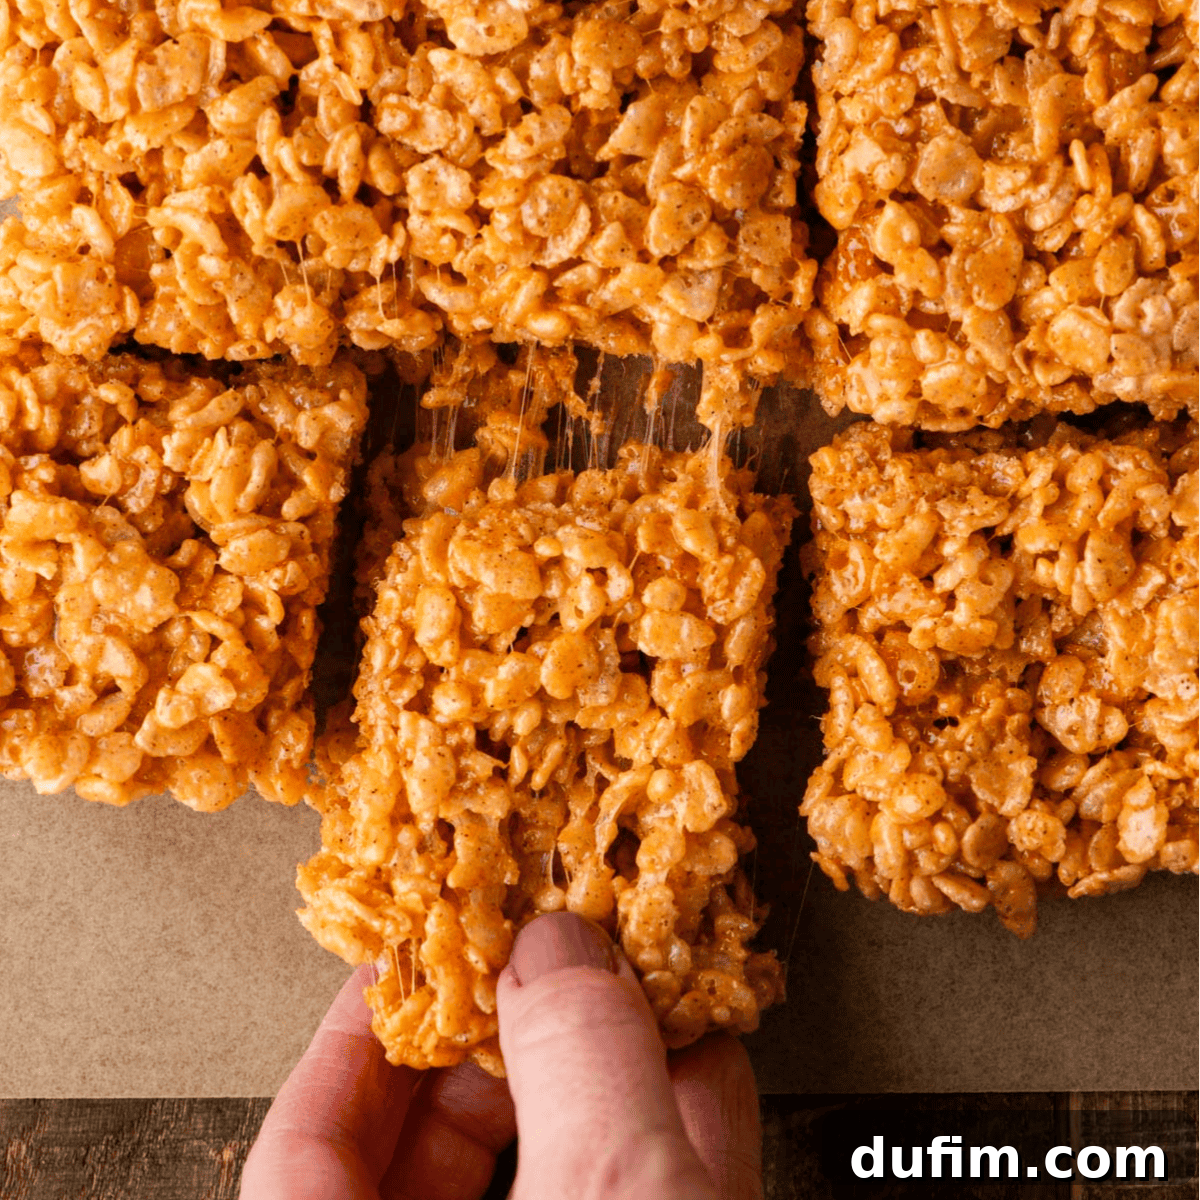
The quest for the ultimate Pumpkin Rice Krispie Treat led me through five distinct versions, each promising the cozy essence of fall. My journey, however, quickly revealed that achieving that perfect balance of bold pumpkin spice flavor and an irresistibly gooey texture was more nuanced than a simple seasonal twist. After much experimentation, the clear winner emerged: a straightforward approach featuring classic regular butter combined with a generous three teaspoons of fragrant pumpkin pie spice. This combination delivers a remarkably deep, warm flavor profile without compromising the beloved light and chewy consistency. Forget overpowering brown butter or heavy pumpkin puree—this recipe guarantees the classic, trustworthy gooeyness you crave, infused with undeniable autumn charm that will delight your taste buds every time.
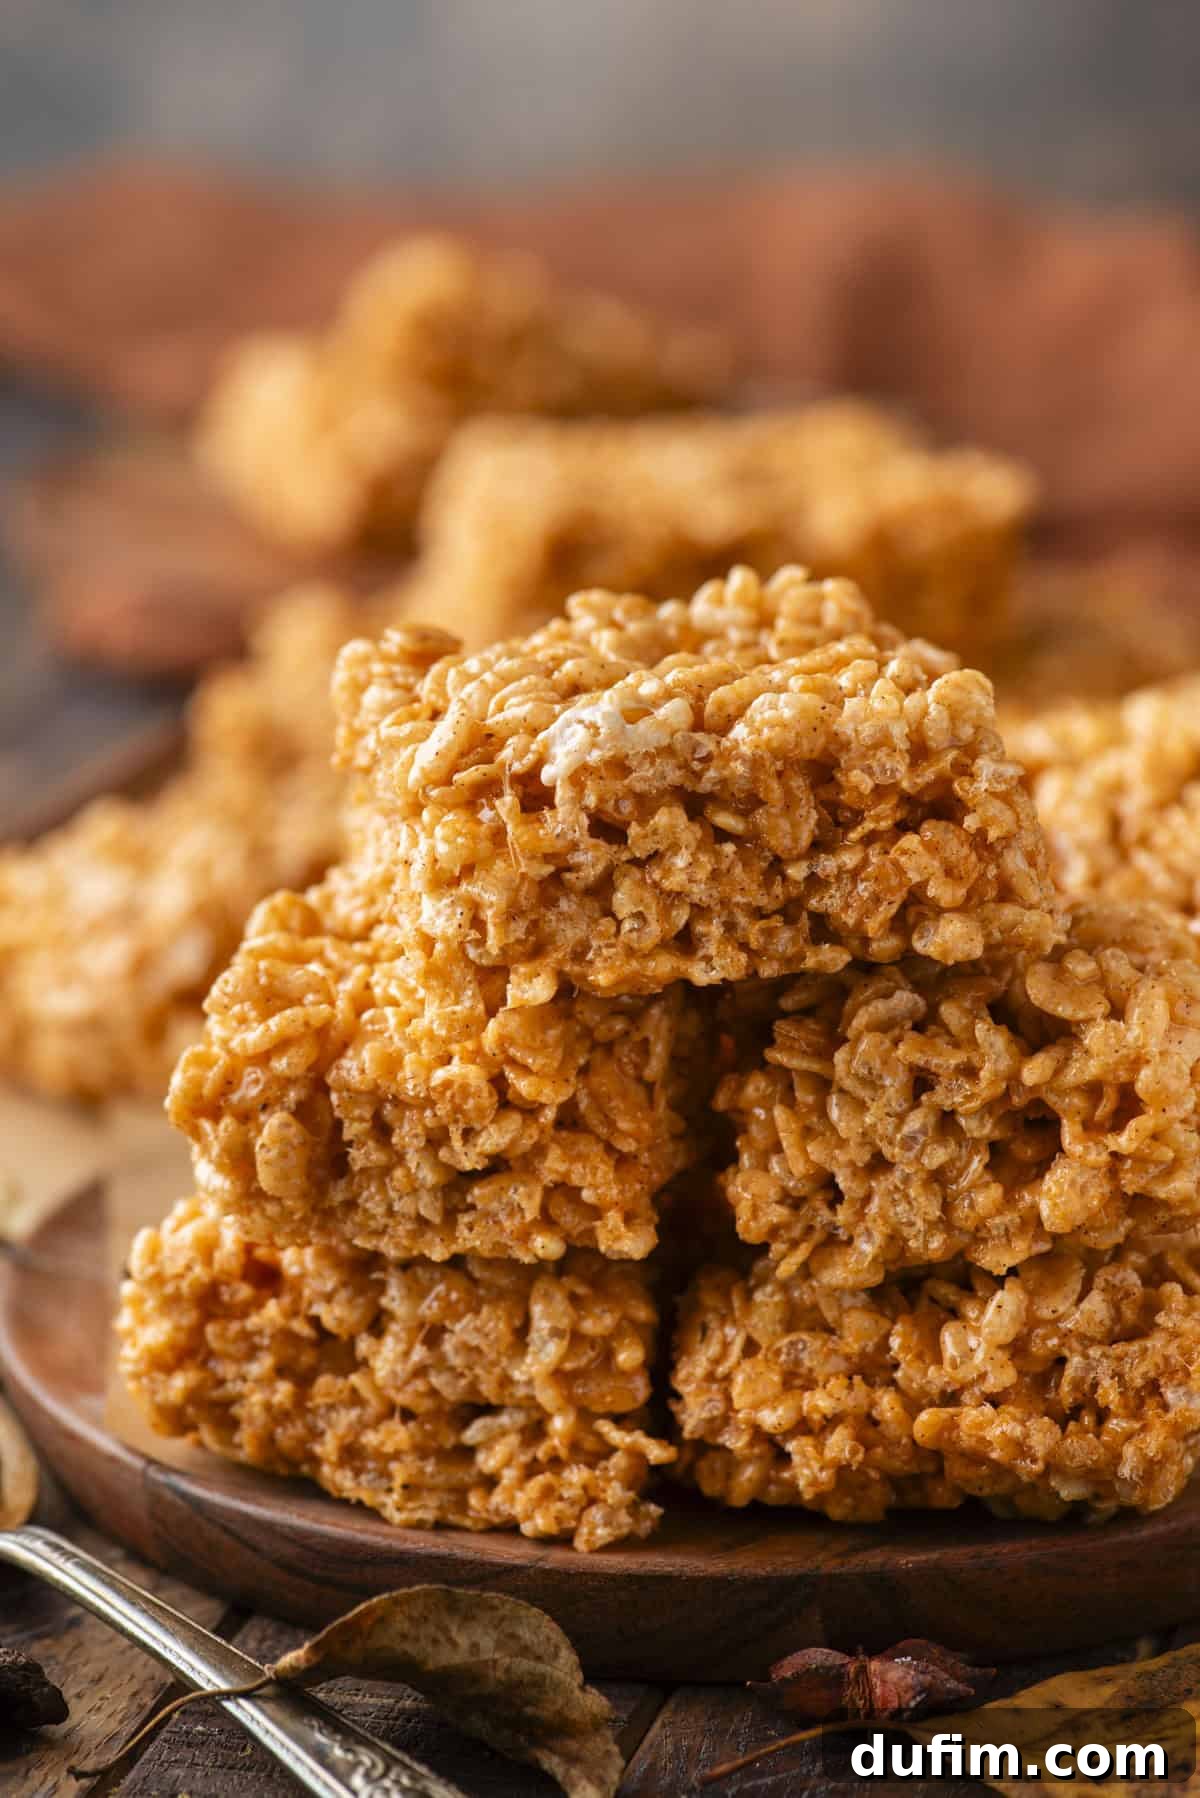
Crafting the Perfect Pumpkin Rice Krispie Treats: A Deep Dive into Flavor and Texture
Pumpkin Spice Rice Krispie Treats might seem like a simple concept, a quick autumnal upgrade to a classic no-bake dessert. However, my extensive testing journey revealed that perfecting these seasonal delights demands a meticulous approach to balance flavor intensity with the signature chewy, gooey texture that makes Rice Krispie Treats so universally adored. This wasn’t just about adding pumpkin spice; it was about ensuring every bite delivered an authentic fall experience without sacrificing the treat’s fundamental characteristics.
I dedicated considerable time to testing five different iterations, each designed to explore various ways of incorporating pumpkin flavor and evaluating their impact on both taste and consistency. My goal was clear: to create a Pumpkin Rice Krispie Treat that boasted a bold, inviting pumpkin spice aroma and taste, coupled with the light, airy, and delightfully sticky texture that has made the original a timeless favorite. The path to perfection was filled with surprising discoveries, proving that sometimes, the simplest solutions yield the most exceptional results.
The Experiment: How We Found Our Winning Recipe
My initial hypothesis for enhancing these treats involved brown butter, a common favorite in fall baking for its nutty, caramelized notes. I envisioned it adding a layer of sophisticated depth to the warm spices. However, the reality was quite different. When paired with pumpkin pie spice, the brown butter proved to be overwhelmingly assertive. Instead of complementing the pumpkin, it completely overshadowed the delicate nuances of cinnamon, nutmeg, ginger, and cloves, making the pumpkin spice flavor virtually undetectable. While brown butter certainly has its place in many cherished autumn recipes, it unfortunately drowned out the very essence of what makes a pumpkin treat special in this context.
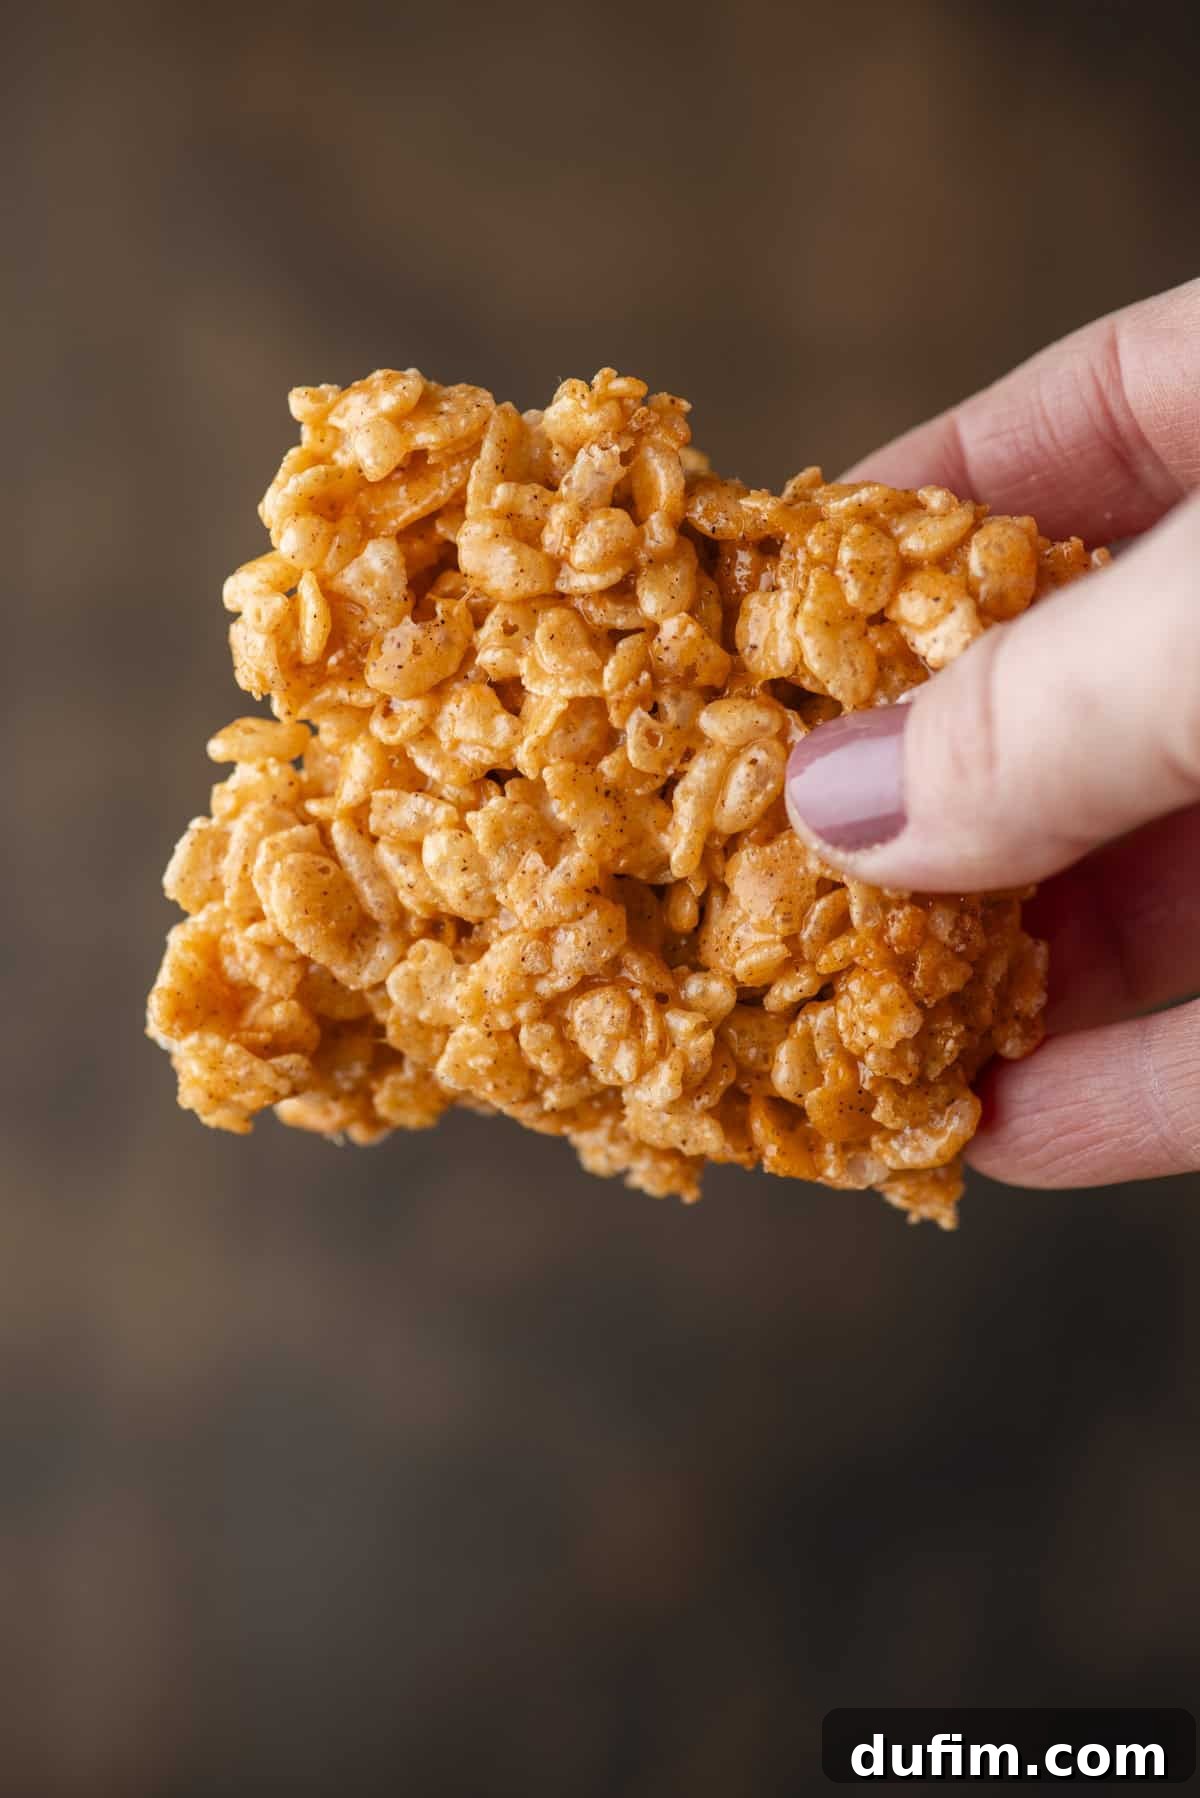
Next, I turned my attention to actual pumpkin puree, hoping it would amplify the natural pumpkin flavor. Logically, it seemed like a straightforward way to infuse genuine pumpkin taste. Indeed, it imparted a faint, subtle pumpkin note. However, this came at a significant cost to the texture. The added moisture from the puree transformed the light and airy marshmallow mixture into something noticeably wet, dense, and heavy. The crispiness of the Rice Krispies cereal was dulled, and the characteristic chewy, fluffy quality that defines a perfect Rice Krispie Treat was lost. These weren’t the delightful, stretchy bars everyone loves; they were solid, almost cake-like, a definite departure from the desired consistency.
With brown butter and pumpkin puree ruled out, my focus shifted entirely to the pumpkin pie spice itself, recognizing its crucial role in delivering that authentic fall flavor. I experimented with varying amounts, starting with two teaspoons. This version yielded a pleasant, mild pumpkin spice flavor that was certainly enjoyable. But I sensed it could be bolder, more pronounced. Increasing the spice to three teaspoons proved to be the magic number. The flavor was no longer just “good”; it was undeniably “BOOM, WINNER!” It was warm, profoundly cozy, perfectly balanced, and unmistakably pumpkin. This quantity struck the ideal harmony, providing a robust spice presence without being overwhelming.
Through all these dedicated trials, the winning formula became brilliantly clear: regular, unsalted butter, a generous three teaspoons of pumpkin pie spice, and no pumpkin puree whatsoever. This method masterfully preserves the quintessential gooey, chewy, and airy texture that Rice Krispie Treats are celebrated for, while infusing every single bite with a vibrant, bold pumpkin spice flavor. My extensive trial-and-error process means you can confidently bypass the experimentation and trust this recipe to deliver the absolute best fall-inspired Rice Krispie Treats imaginable. You deserve nothing less than perfect indulgence this season!
The Comprehensive Test Results: What Worked and What Didn’t
To help you understand the journey to perfection, here’s a quick summary of my extensive testing and the outcomes:
- Regular butter + 2 tsp pumpkin pie spice: A good start, but the flavor was a bit too subtle, leaving me wanting more of that signature fall spice.
- Brown butter + 2 tsp pumpkin pie spice: The distinct nutty flavor of brown butter completely dominated, making it taste like brown butter treats with a whisper of spice, not true pumpkin spice treats.
- Regular butter + pumpkin puree + 2 tsp pumpkin pie spice: The puree added a slight pumpkin note but dramatically altered the texture, resulting in treats that were wet, dense, and lacked the desired chewiness and lightness.
- Brown butter + pumpkin puree + 2 tsp pumpkin pie spice: A double whammy of disappointment. The brown butter still overpowered, and the pumpkin puree made the texture unpleasantly wet and heavy, stripping away any fluffiness or gooeyness. This was clearly not the direction to go.
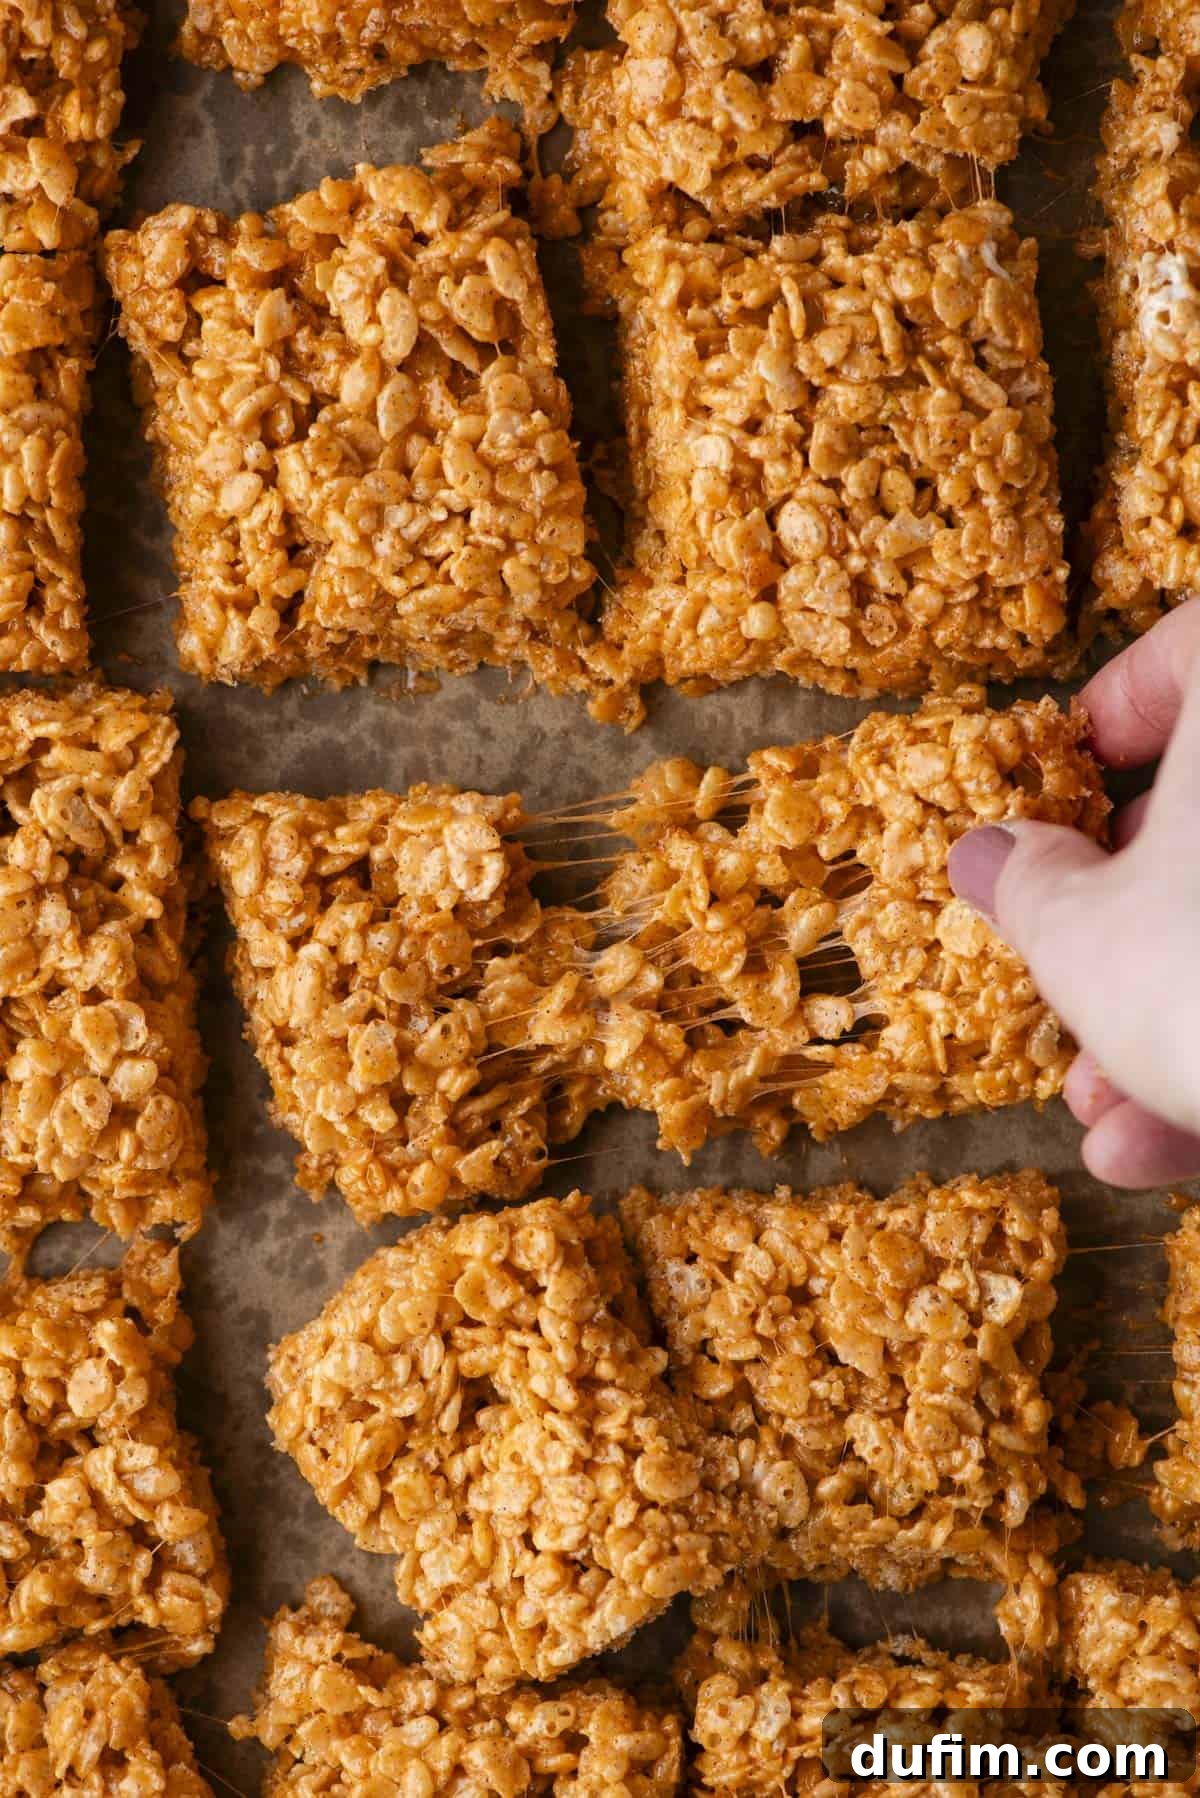
- Regular butter + 3 tsp pumpkin pie spice: This combination was the undisputed champion! It delivered an incredibly bold, authentic, and wonderfully cozy pumpkin spice flavor, all while maintaining the classic, satisfyingly gooey, and perfectly chewy texture. This is the recipe you can trust for absolute success.
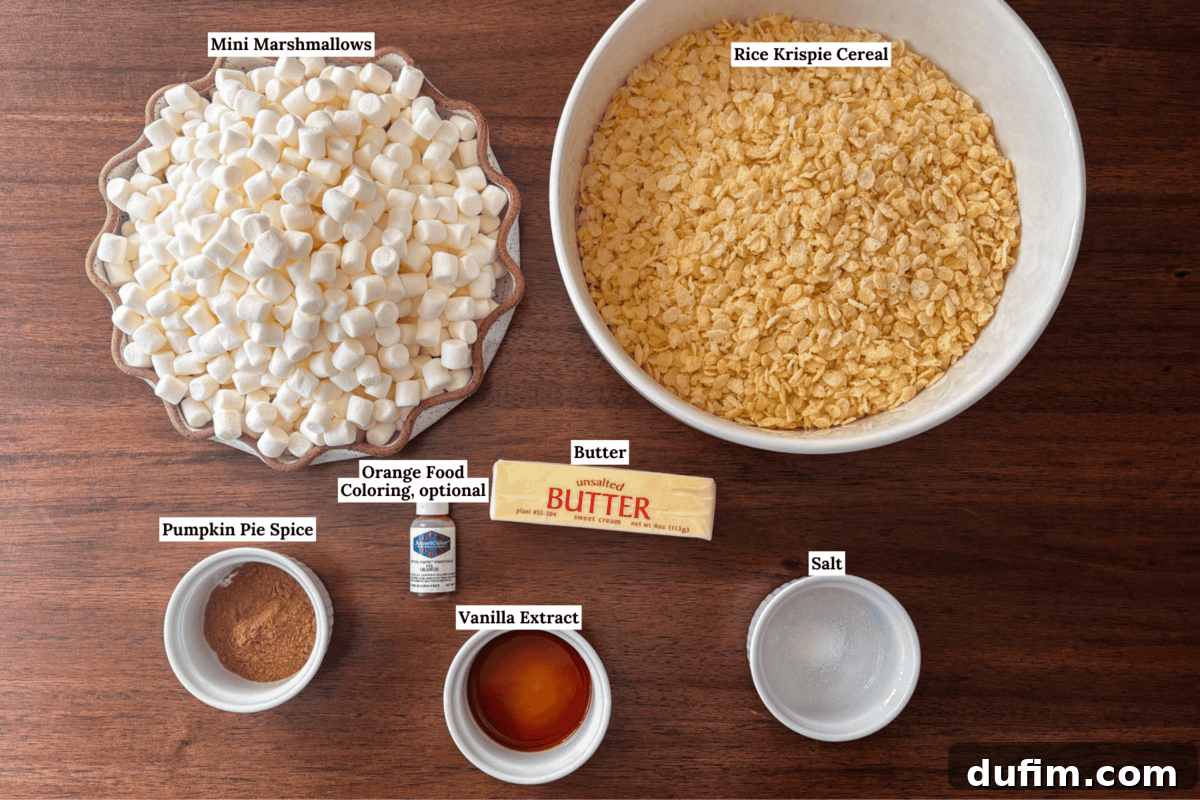
Mastering the Art of Pumpkin Spice Rice Krispie Treats: Your Simple Guide
Ready to create your own batch of perfectly spiced, wonderfully gooey Pumpkin Rice Krispie Treats? You’re just a few simple steps away from enjoying this delightful no-bake fall dessert. What’s even better is that you won’t need to turn on your oven, making this a quick and effortless recipe for any occasion. Follow these detailed instructions to ensure every treat is a testament to gooey goodness and bold pumpkin flavor. For a full list of ingredients and precise measurements, be sure to check out the recipe card below.
- Prepare Your Ingredients: Begin by carefully measuring out 10 cups of mini marshmallows. Crucially, set aside 2 cups of these marshmallows for later inclusion – this secret step is key to achieving that extra gooey texture! Next, measure out 8 cups of your favorite Rice Krispies cereal and set that aside as well. Having everything pre-measured ensures a smooth and stress-free process once you start cooking.
- Ready Your Baking Dish: Line a 9×13 inch baking dish with parchment paper. This simple step is a game-changer for easy removal and cleanup. If you don’t have parchment paper, or simply prefer an alternative, you can lightly grease your pan with butter. Ensure the entire surface is coated to prevent sticking.
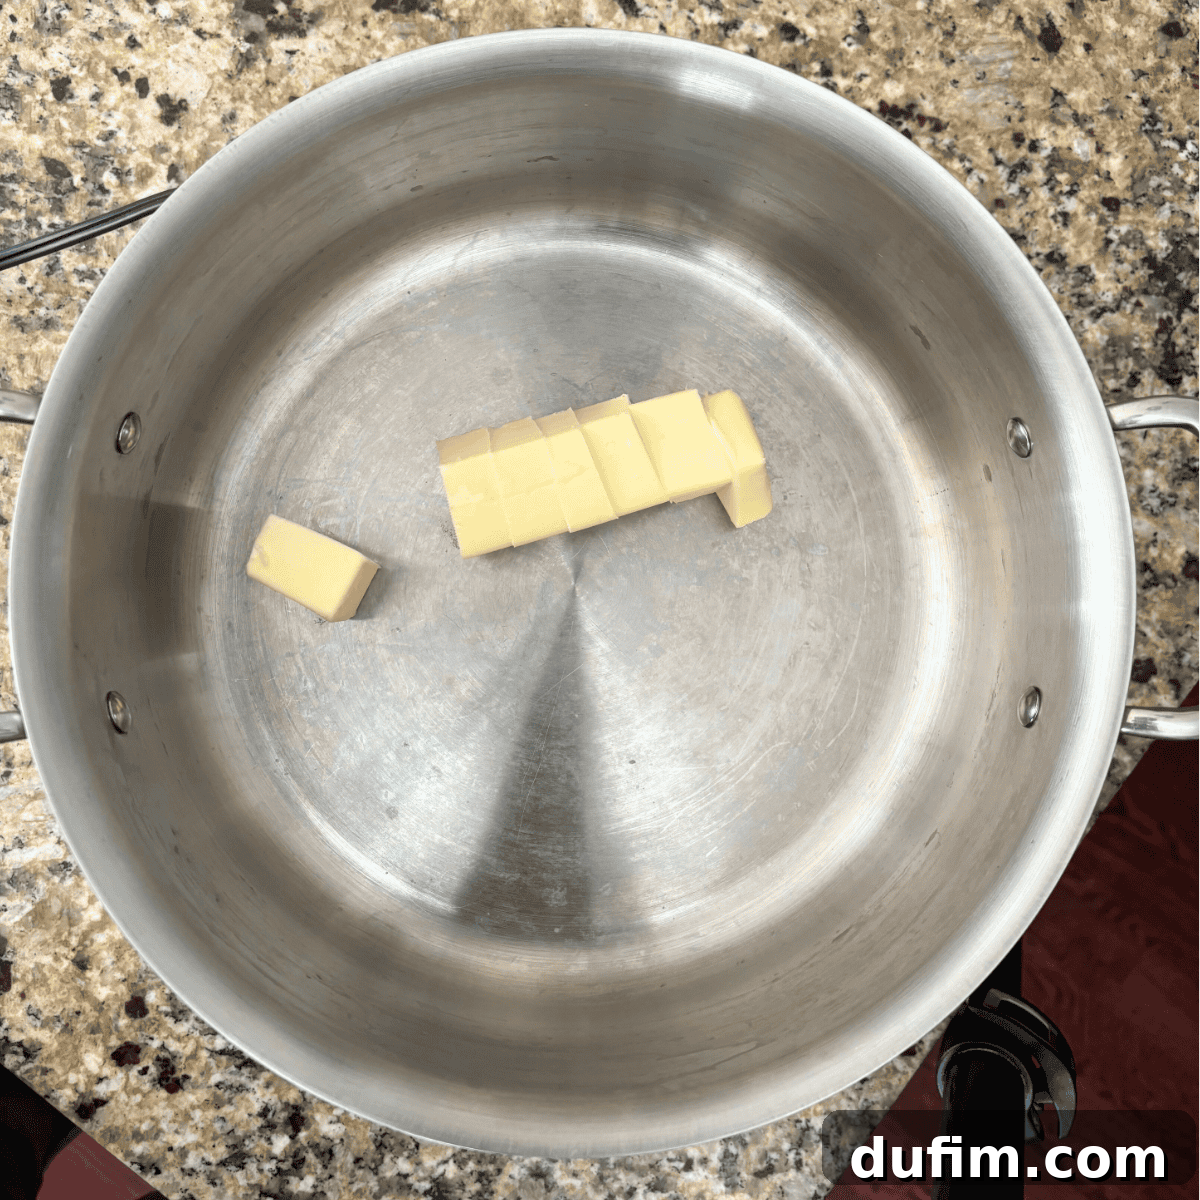
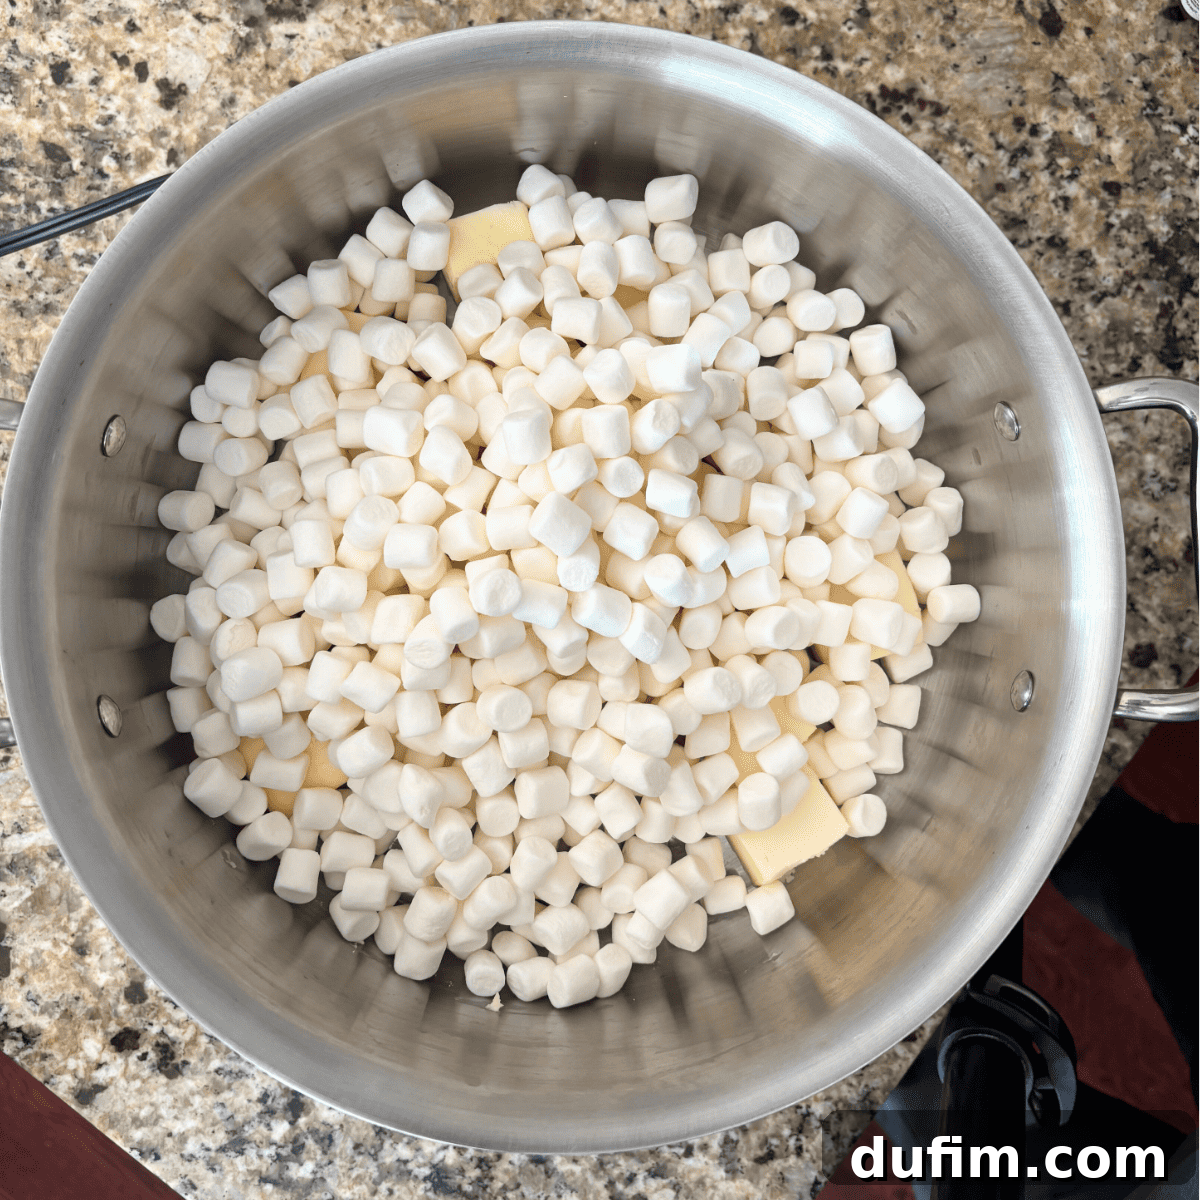
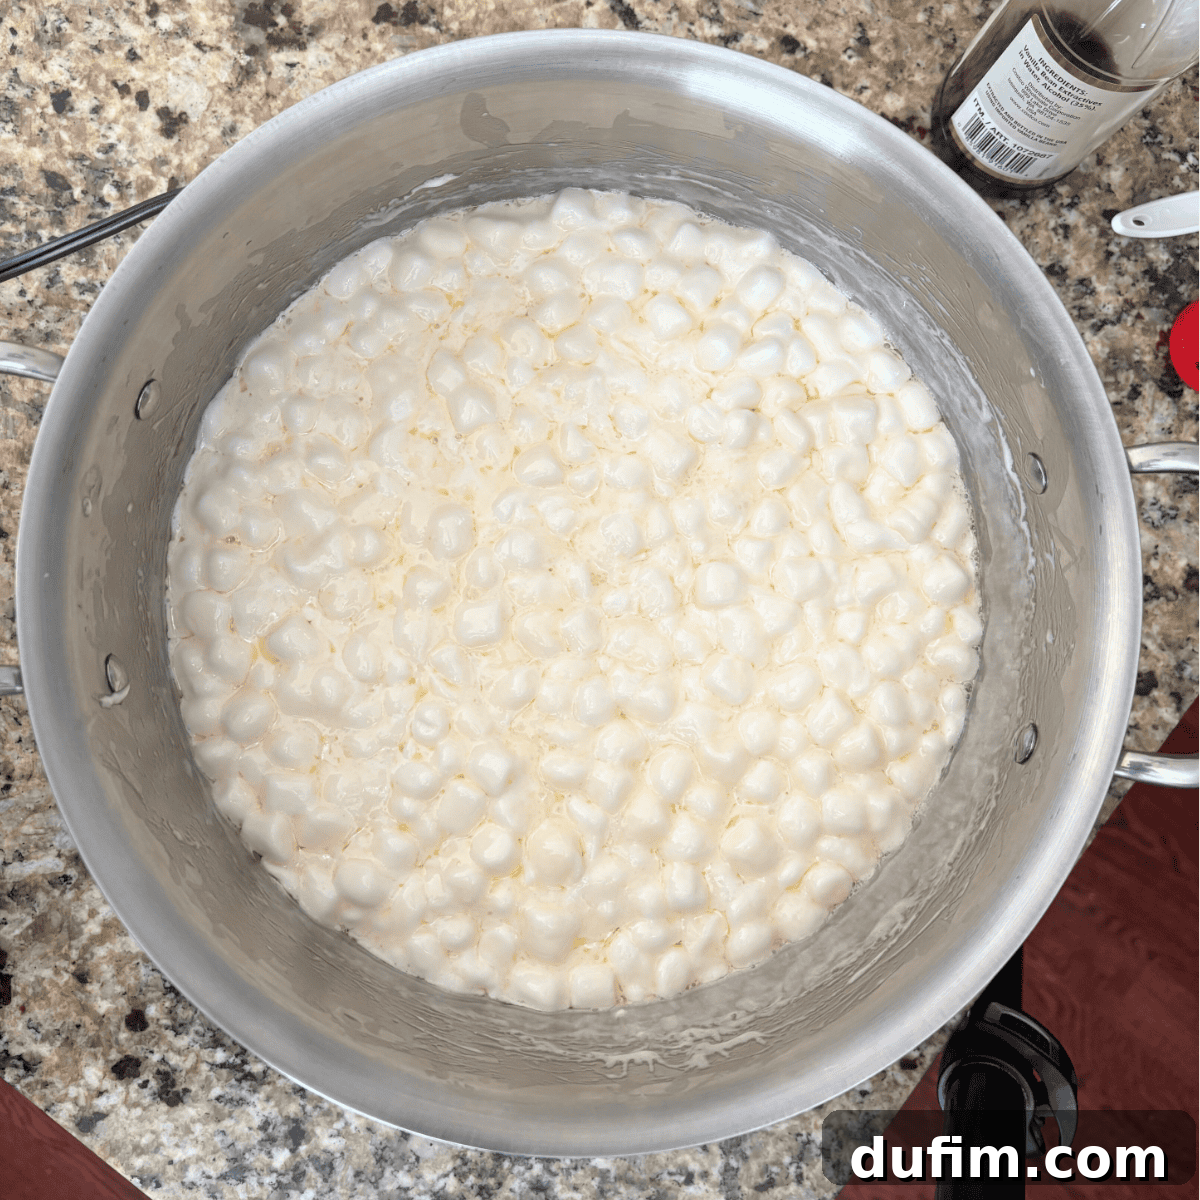
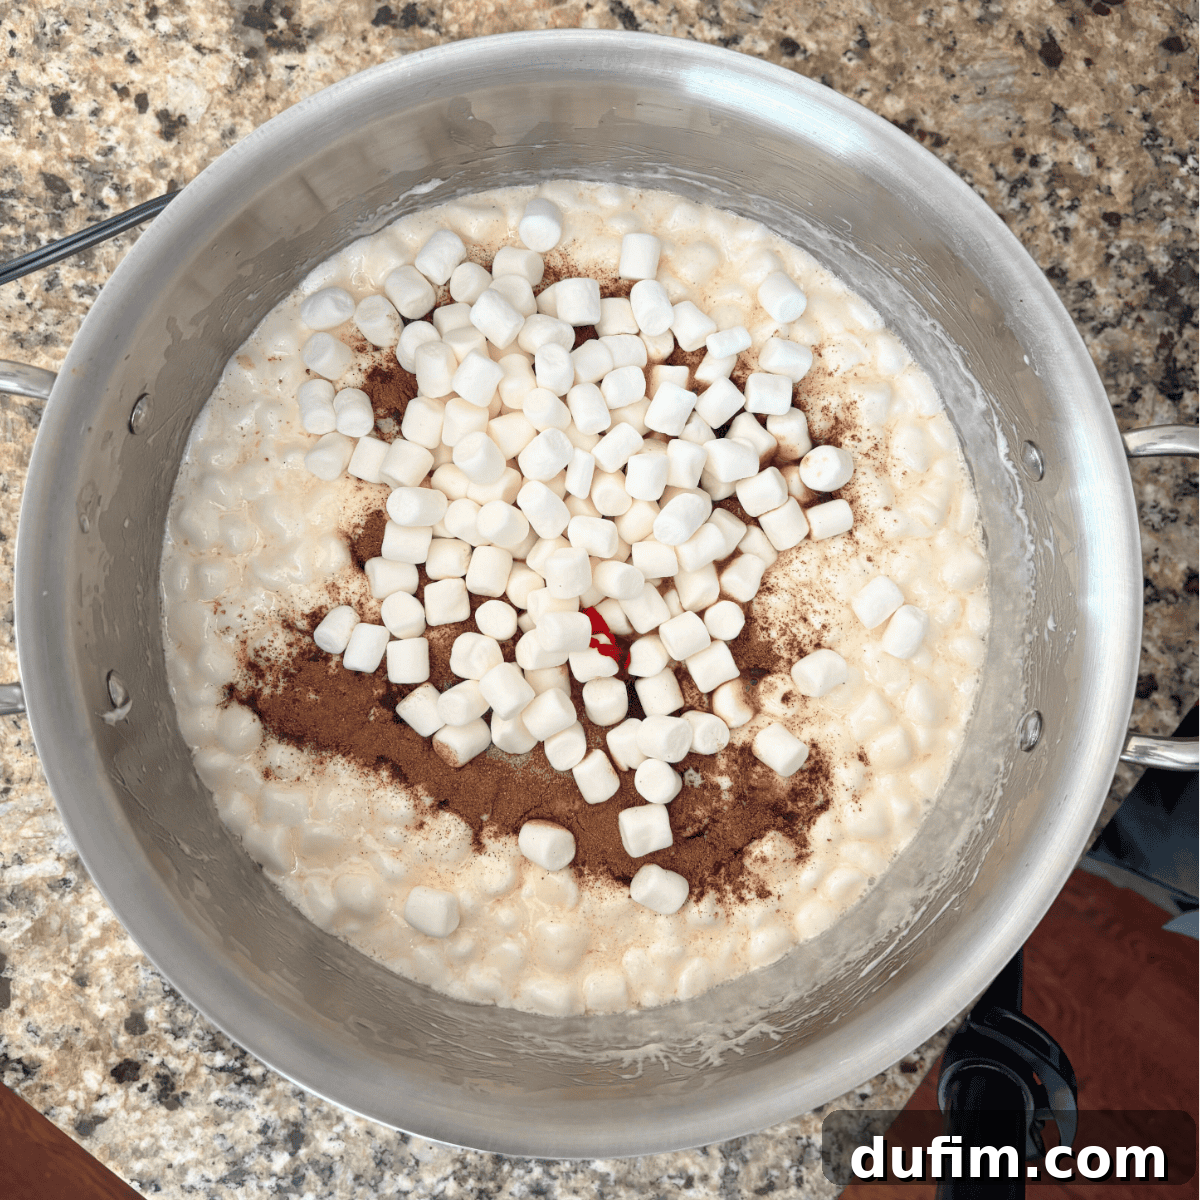
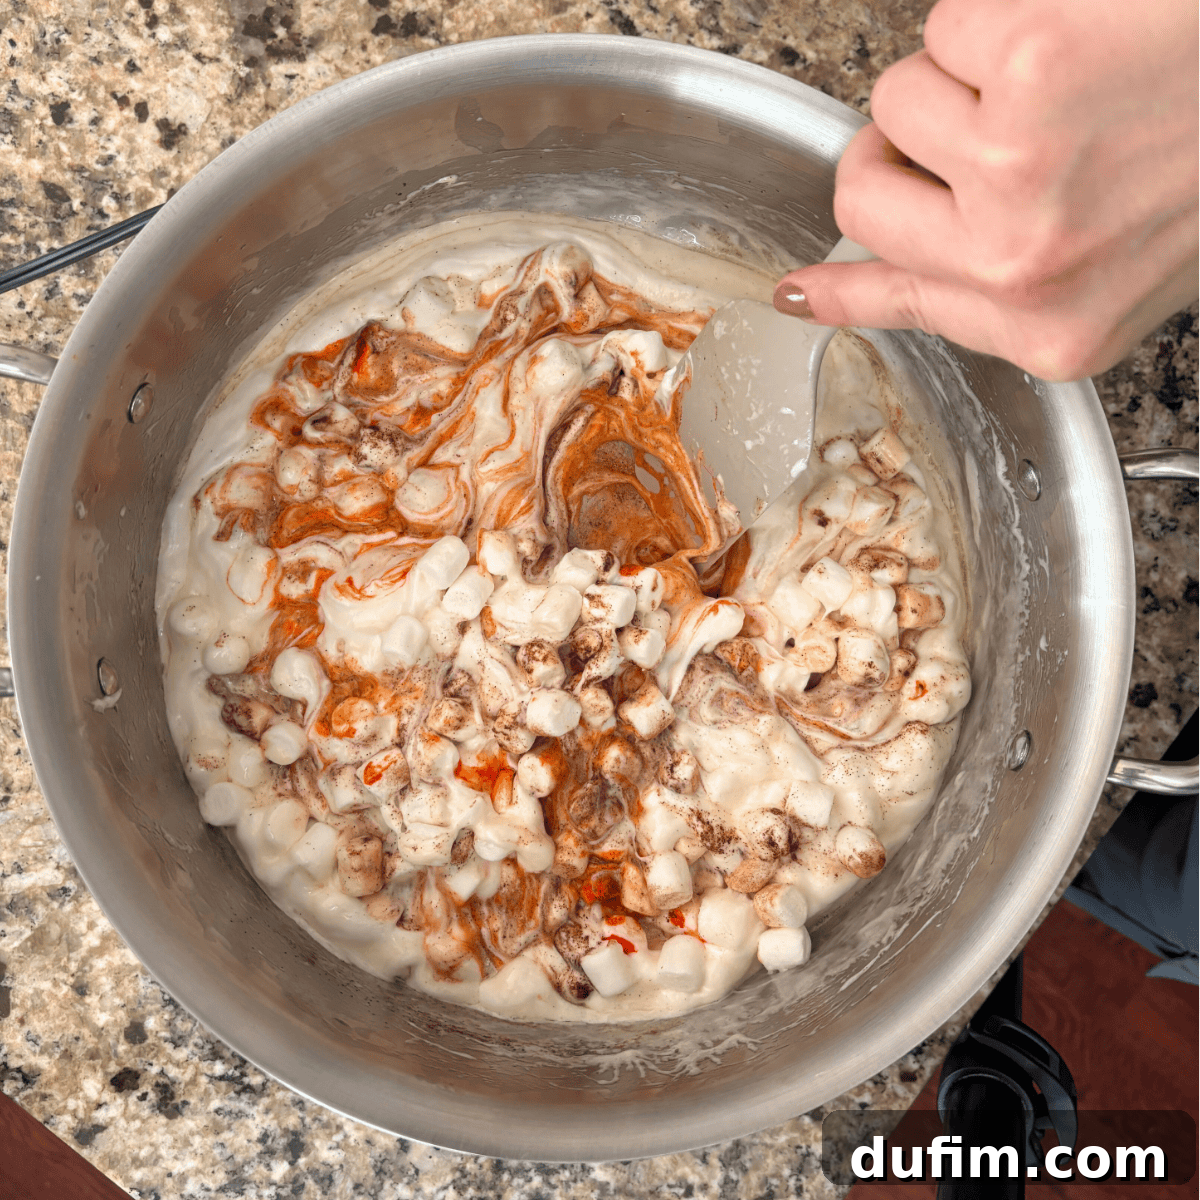
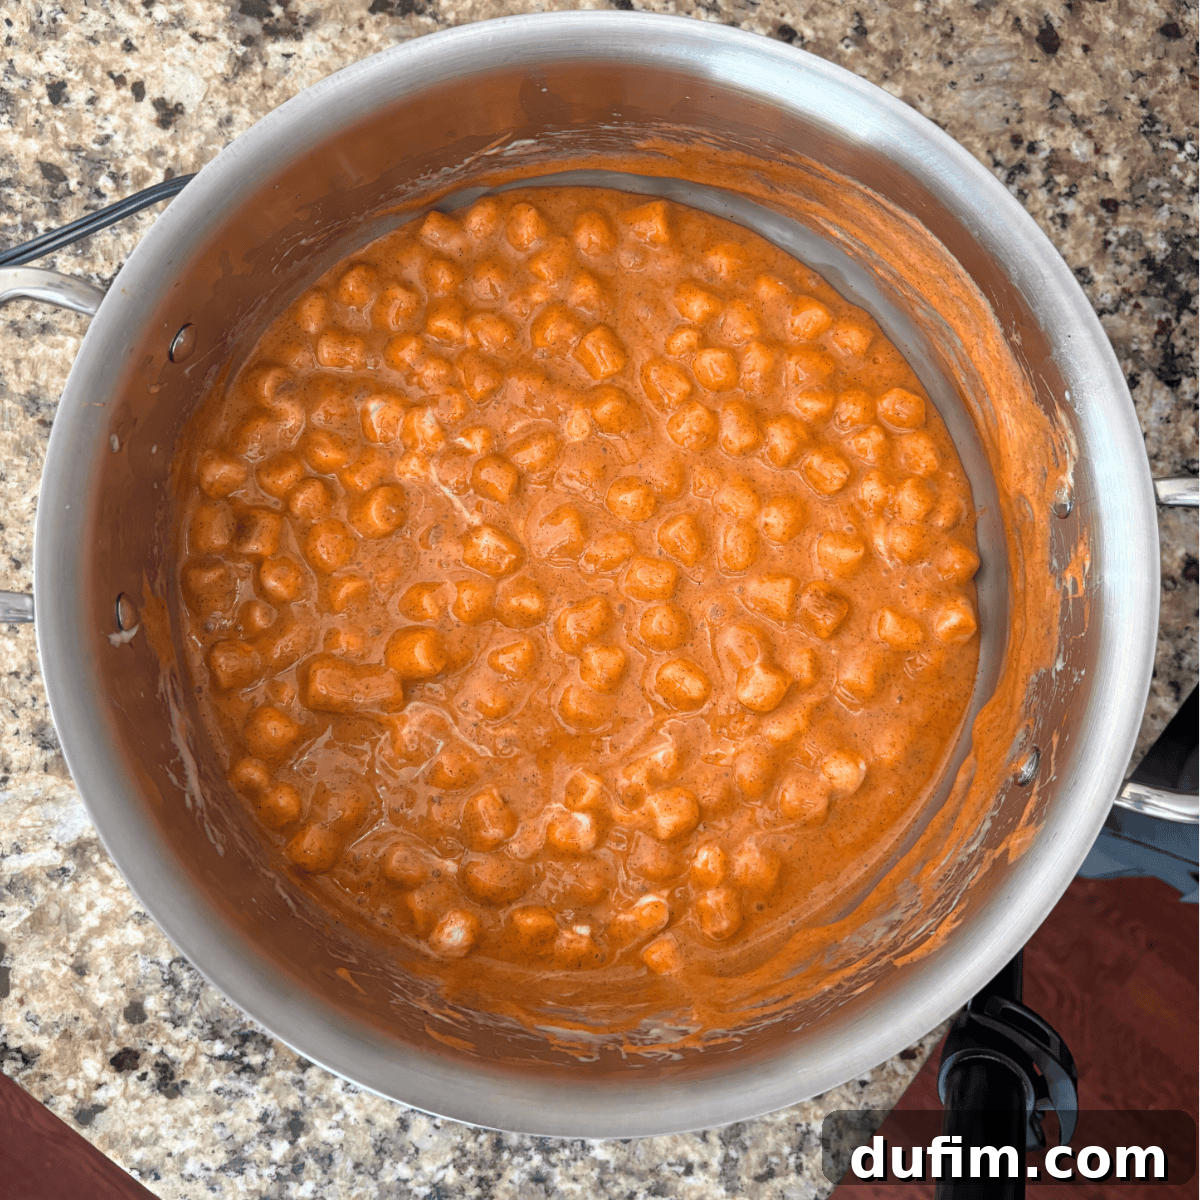
- Melt and Flavor the Marshmallows: In a large, sturdy saucepan, melt the butter and 8 cups of your measured mini marshmallows over medium-low heat. Stir continuously with a heat-proof spatula until the mixture is completely melted and smooth. Immediately remove the pan from the heat. Now, swiftly stir in the pumpkin pie spice, salt, vanilla extract, and the optional orange food coloring (just a few drops for that vibrant pumpkin hue!). Finally, add the remaining 2 cups of mini marshmallows. Stir vigorously until these newly added marshmallows are about halfway melted, creating delightful pockets of extra gooeyness throughout the mixture. Remove from the heat completely to prevent overcooking.
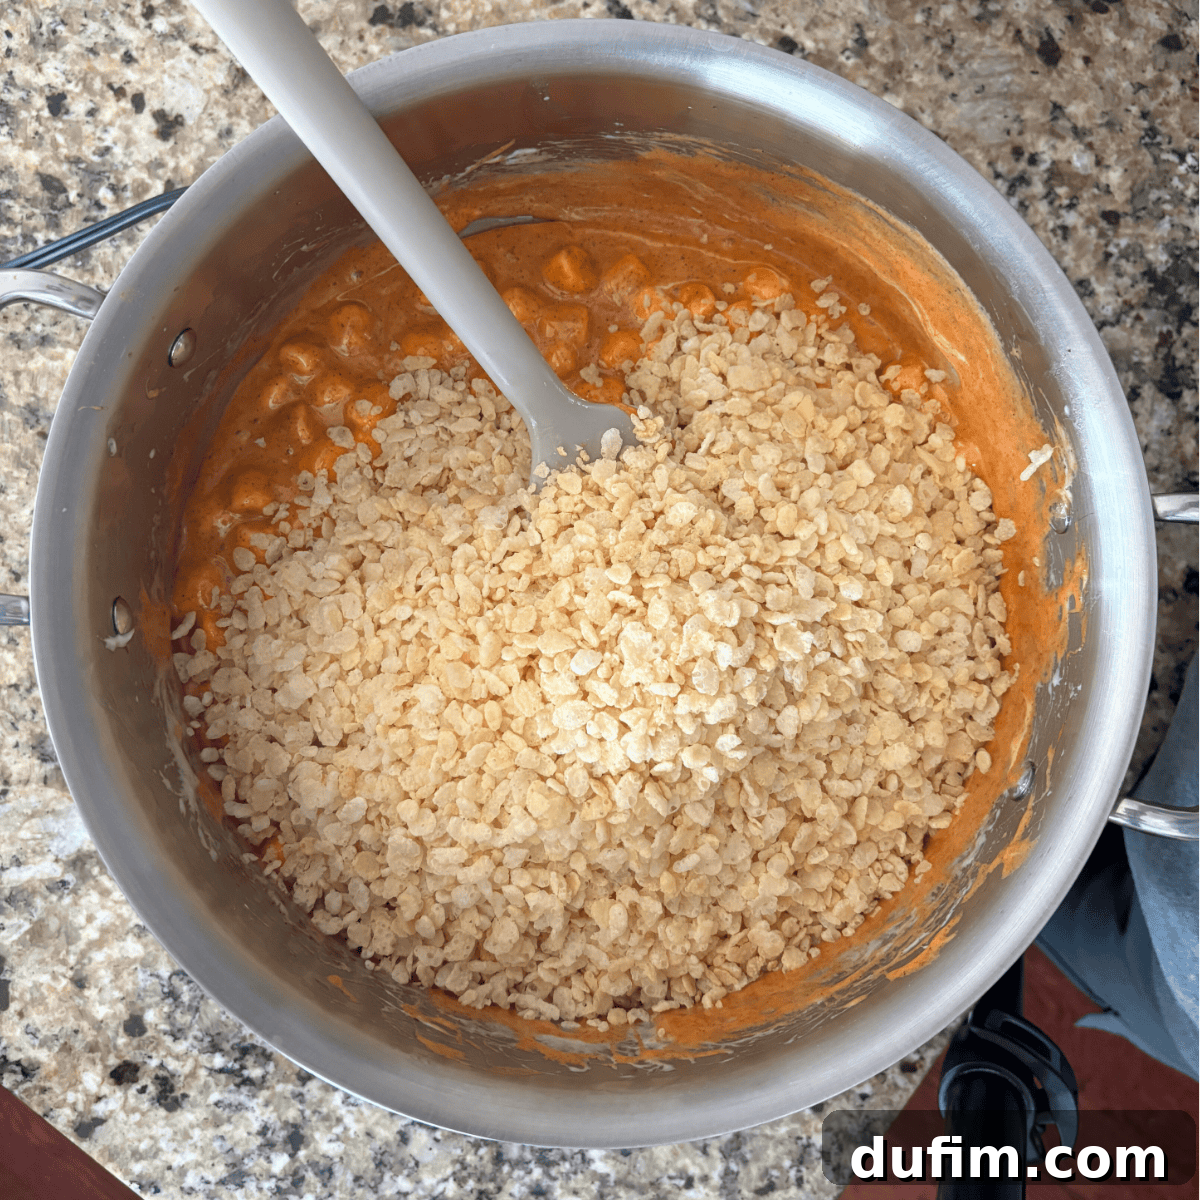
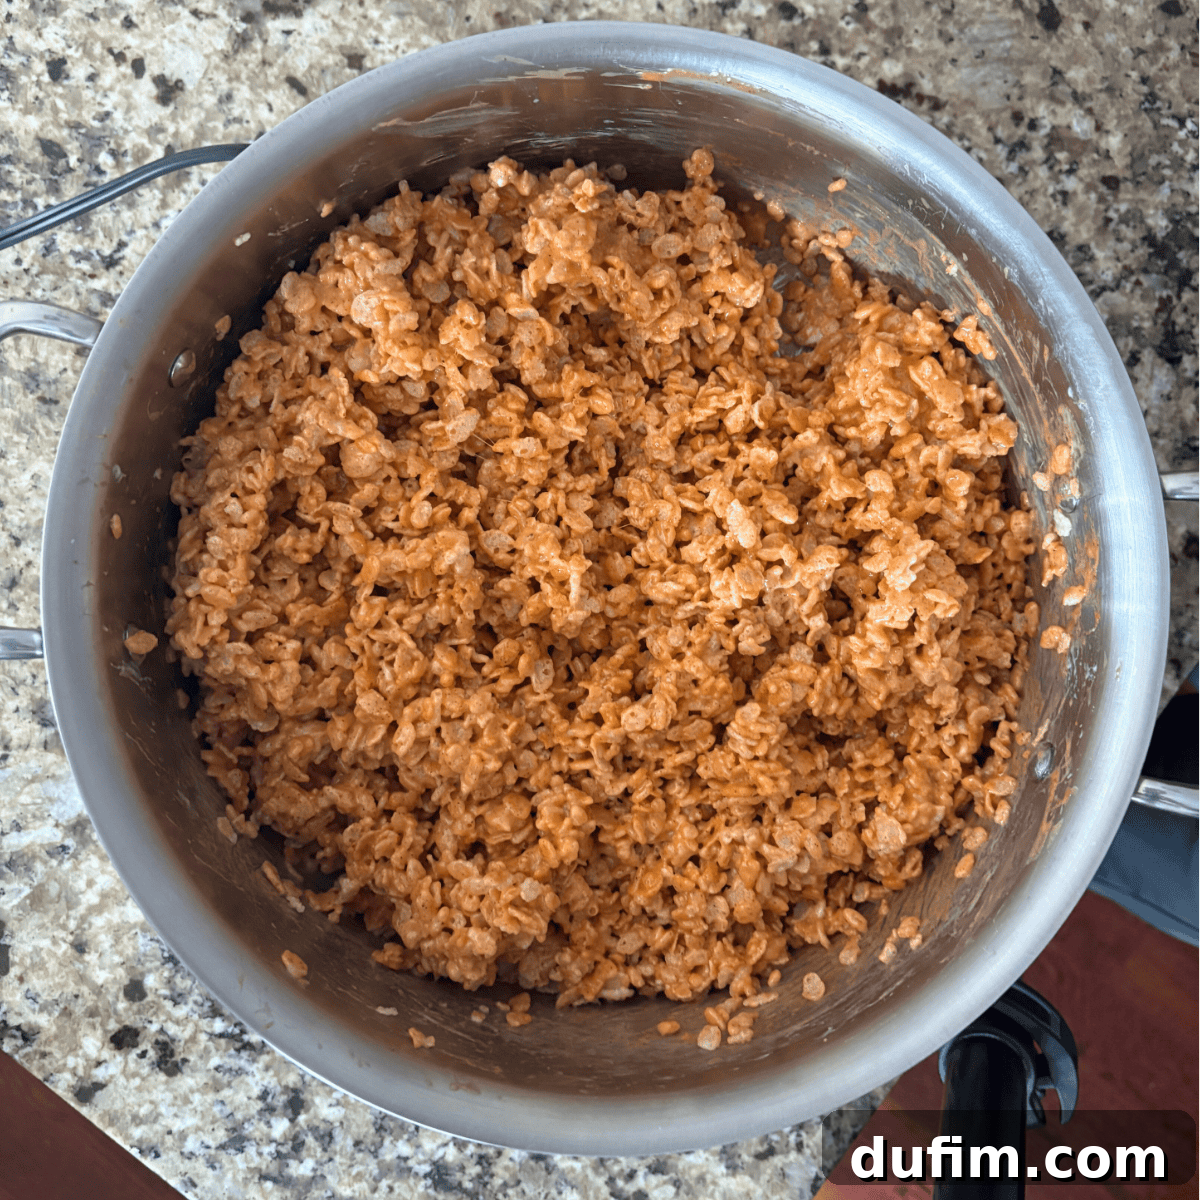
- Gently Fold in the Rice Krispies: Add the measured Rice Krispies cereal to the marshmallow mixture. Using your spatula, gently fold and stir until every single piece of cereal is thoroughly coated with the warm, pumpkin-spiced marshmallow. Be careful not to over-mix, as this can lead to dense, hard treats rather than the desired soft and fluffy texture.
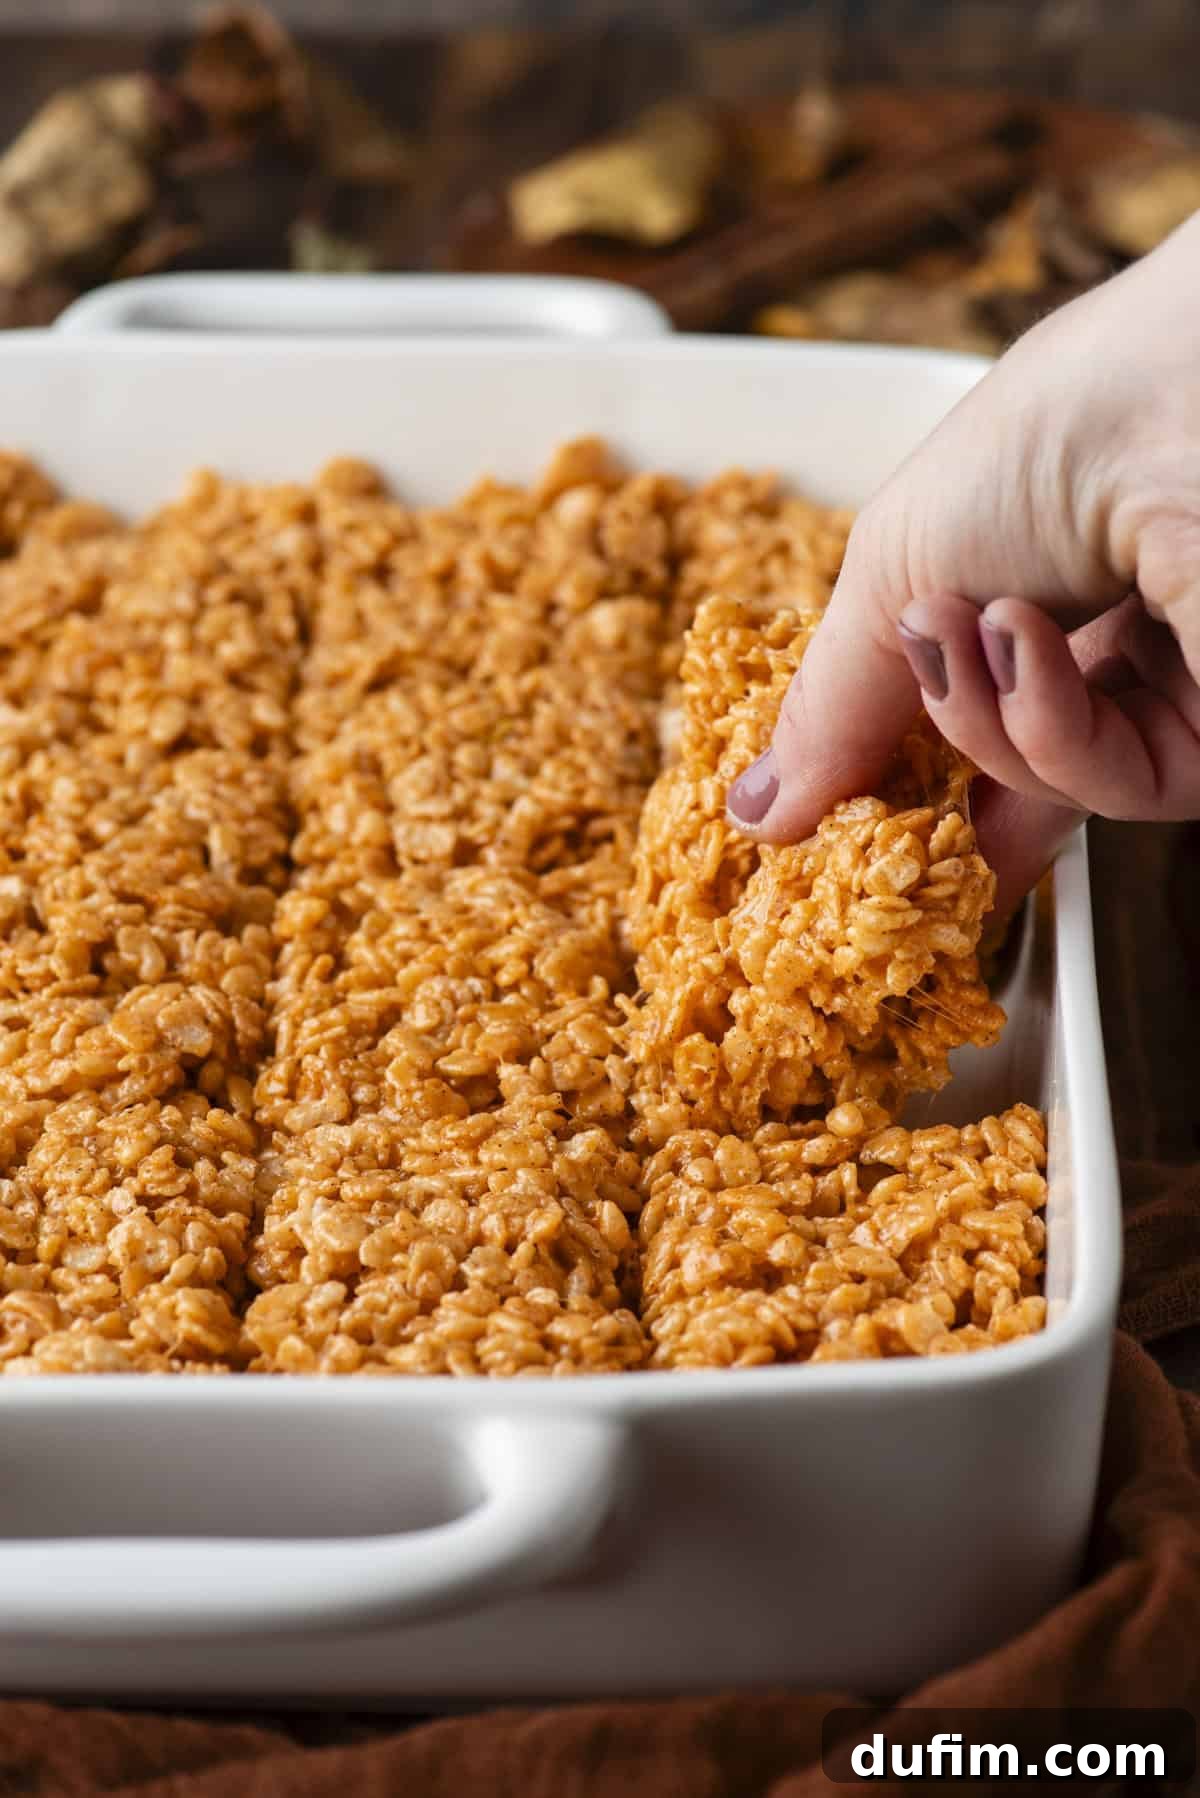
- Press into the Pan: Transfer the sticky, aromatic mixture into your prepared baking dish. This is where a light touch is crucial! Gently press the Rice Krispies down into the pan to form an even layer. Remember, the more firmly you press, the denser and less airy and gooey your finished treats will be. For light, fluffy, and perfectly chewy bars, aim for a very light touch. Pro tip: Slightly wet your hands before pressing. This creates a non-stick barrier, making it much easier to handle the mixture without it clinging to your fingers.
- Cool and Serve: Allow the treats to set completely at room temperature, which typically takes about 1 hour. Resist the urge to rush this step; proper cooling ensures they hold their shape and achieve the ideal texture. Once fully set, use a sharp, lightly greased knife to slice them into squares. Now, gather your loved ones and enjoy your homemade, boldly flavored, and wonderfully gooey Pumpkin Spice Rice Krispie Treats!
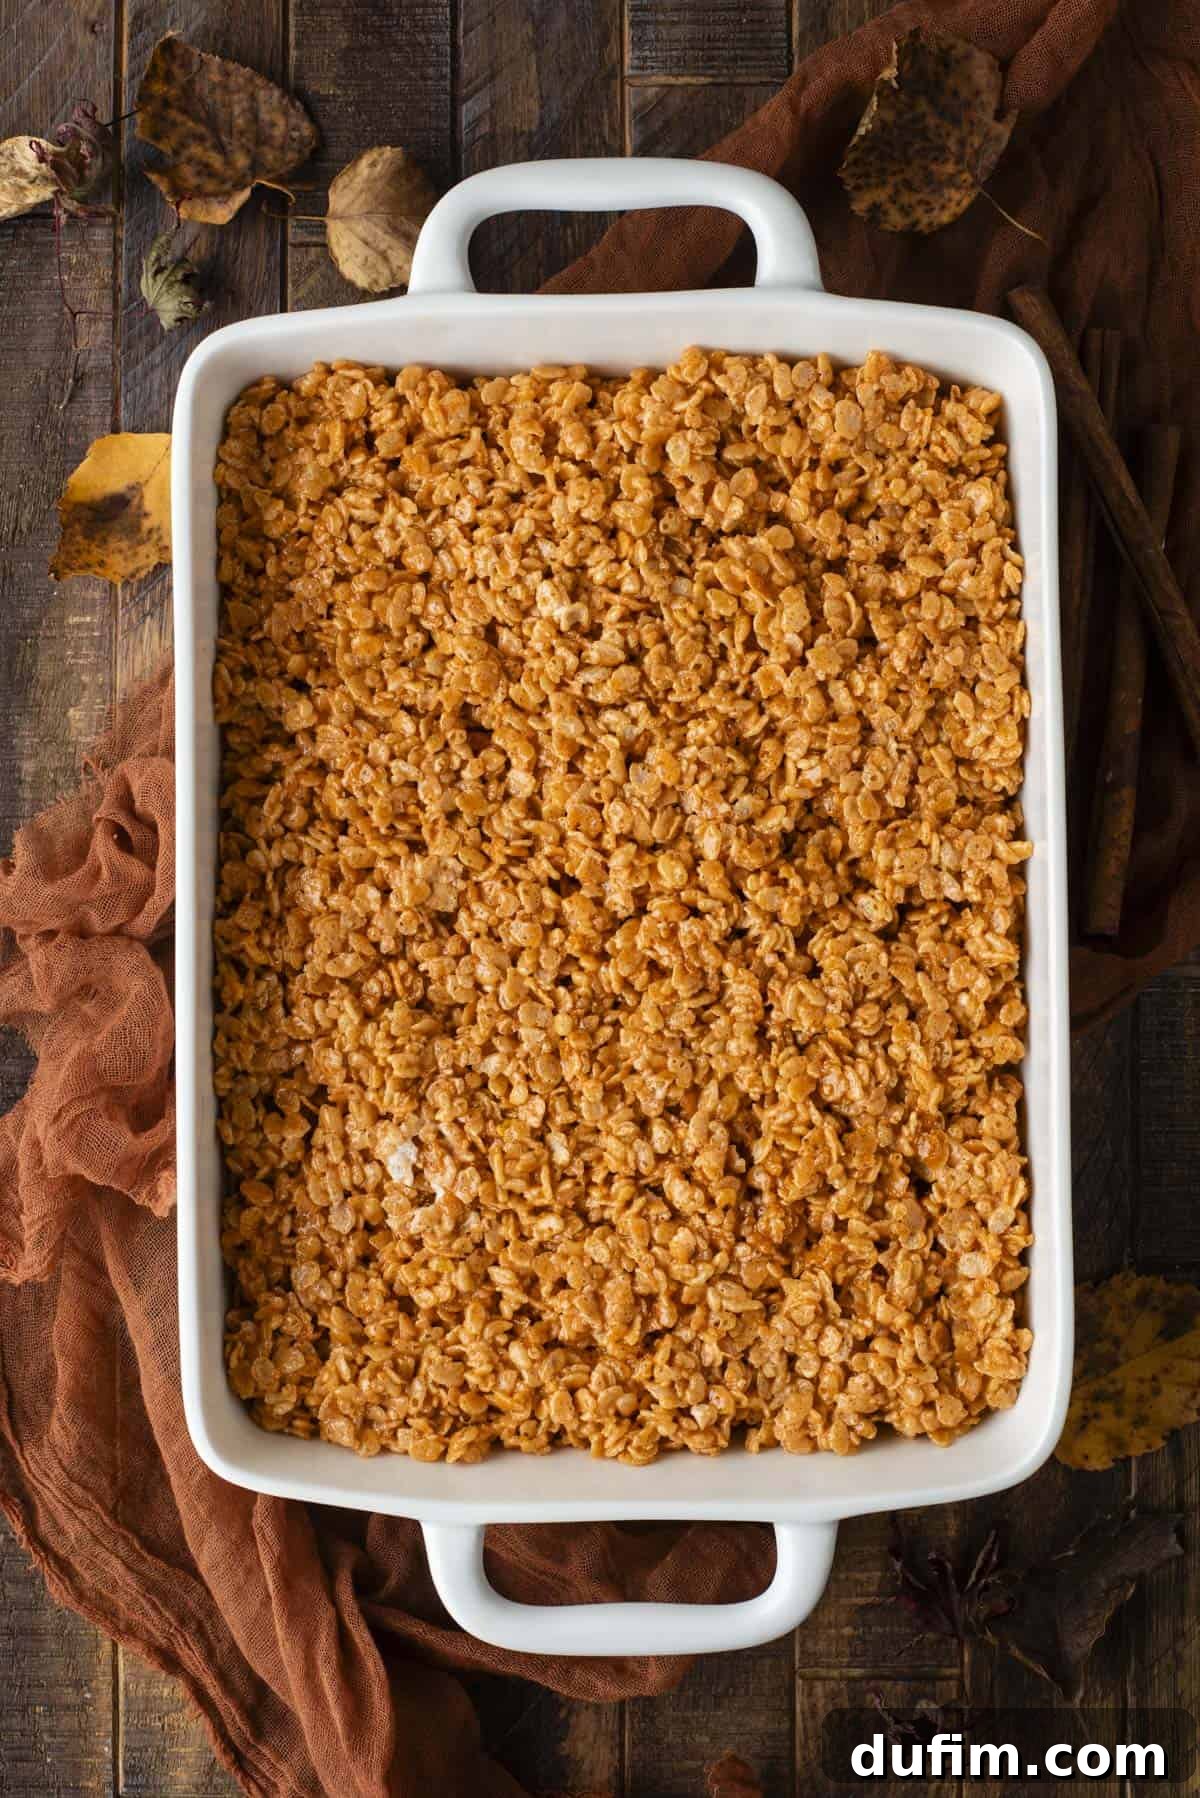
Essential Tips for Unforgettable Rice Krispie Treat Success
While making Rice Krispie Treats is generally considered easy, a few expert tricks can elevate your results from good to absolutely outstanding, ensuring every batch is perfectly gooey, soft, and flavorful. These pro tips are especially helpful when working with specialty flavors like pumpkin spice, where texture and spice balance are key.
- Mix with Care: When combining the melted marshmallow mixture with your Rice Krispies cereal, stir just enough to evenly coat all the cereal. Over-mixing is a common culprit for dense, hard treats. Gentle folding preserves the airiness in the marshmallow, resulting in softer, fluffier bars.
- Maximize the Gooey Factor: The inclusion of an additional 2 cups of mini marshmallows after the initial melting phase is a game-changer. These partially melted marshmallows create delightful, stretchy pockets throughout the treats, significantly boosting the overall gooeyness and marshmallow-to-cereal ratio. It’s the secret to those truly irresistible bites!
- Press Lightly, Not Firmly: Resist the urge to press the mixture down aggressively into your baking pan. A gentle, light press is all that’s needed to form an even layer. Excessive pressing compacts the cereal and marshmallows, expelling air and leading to a denser, less airy, and consequently, less gooey treat. For maximum fluffiness and softness, less pressure is definitely more.
- Keep Hands Slightly Damp: Handling sticky marshmallow-coated cereal can be a challenge. Lightly wetting your hands with water or greasing them with a tiny bit of butter or non-stick spray before pressing the mixture into the pan will create a non-stick surface. This clever trick prevents the gooey marshmallow from clinging to your fingers, making the shaping process much cleaner and easier.
- Fresh Marshmallows are Key: Always use fresh marshmallows! Older, stale marshmallows can be harder to melt evenly and may result in a less smooth, less gooey texture. Fresh marshmallows melt beautifully, contributing to that perfect consistency.
- Temperature Control: Melting your butter and marshmallows over medium-low heat is crucial. High heat can cause the marshmallows to become tough and rubbery rather than soft and pliable when they cool. Patience with gentle heat yields the best results.
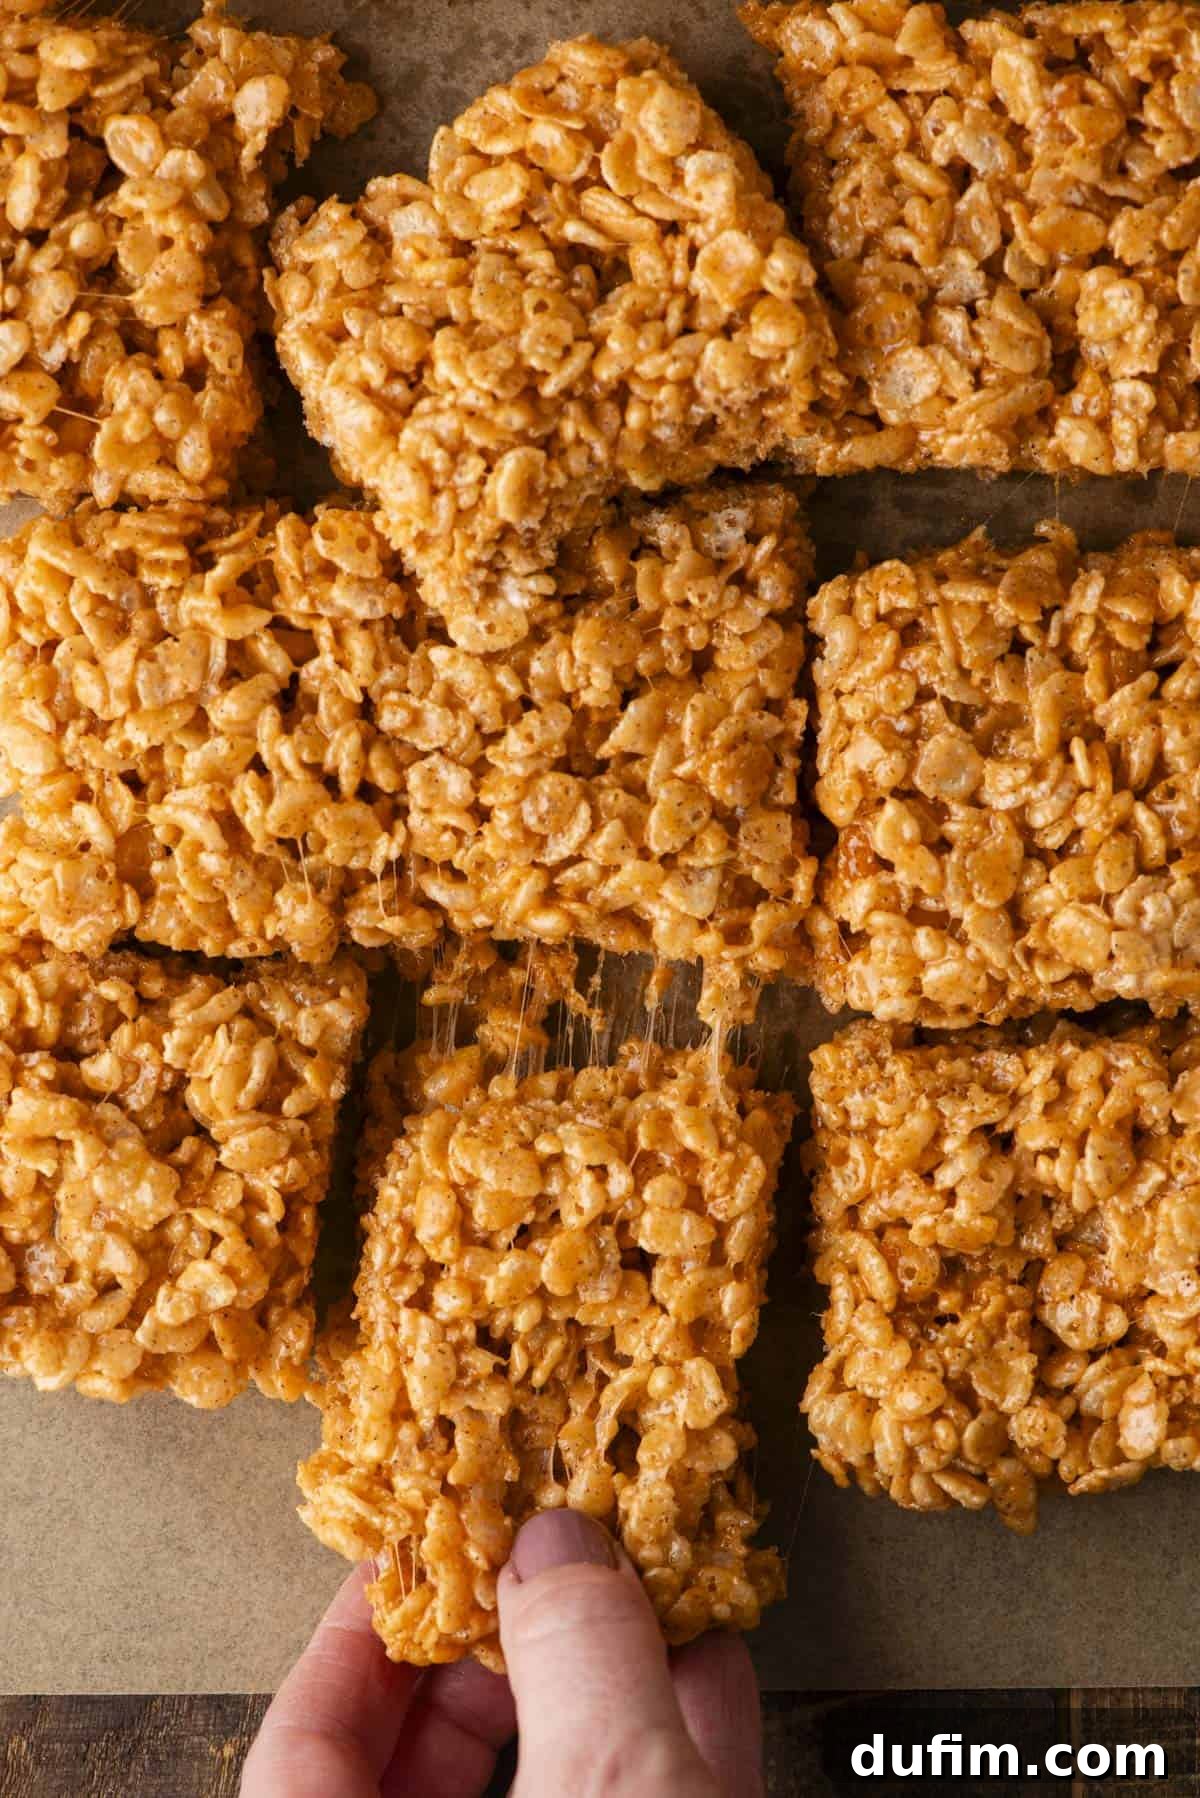
The Marshmallow Magic: Why Mini is Best for Rice Krispie Treats
When it comes to crafting the perfect Rice Krispie Treats, the type of marshmallow you choose makes a surprisingly significant difference, especially for achieving that ideal gooey texture. While large marshmallows might seem more convenient, mini marshmallows are unequivocally the best choice for these classic no-bake desserts.
Here’s why mini marshmallows reign supreme:
- Faster, More Even Melting: Mini marshmallows have a much smaller surface area, allowing them to melt quickly and uniformly. This prevents unevenly cooked marshmallow pockets and ensures a smooth, consistent base for your treats. Large marshmallows can take longer to melt, increasing the risk of overcooking the butter or scorching the marshmallow at the bottom of the pan.
- Superior Gooey Pockets: The genius of this recipe, and a key to true gooeyness, lies in adding a portion of marshmallows at the end of the melting process. Mini marshmallows, when added and only partially melted, create those delightful, stretchy pockets of unadulterated marshmallow goodness throughout every bite. These pockets are what give Rice Krispie Treats their signature pull and chew, which is harder to achieve with larger, fully melted marshmallows.
- Better Distribution: Due to their small size, mini marshmallows mix more easily and thoroughly with the Rice Krispies cereal, ensuring a more even distribution of marshmallow coating on every single grain of cereal. This results in a consistently delicious texture from edge to center.
So, for a truly soft, chewy, and perfectly gooey batch of Pumpkin Rice Krispie Treats, always reach for the mini marshmallows. They are the secret ingredient for undeniable marshmallow magic!
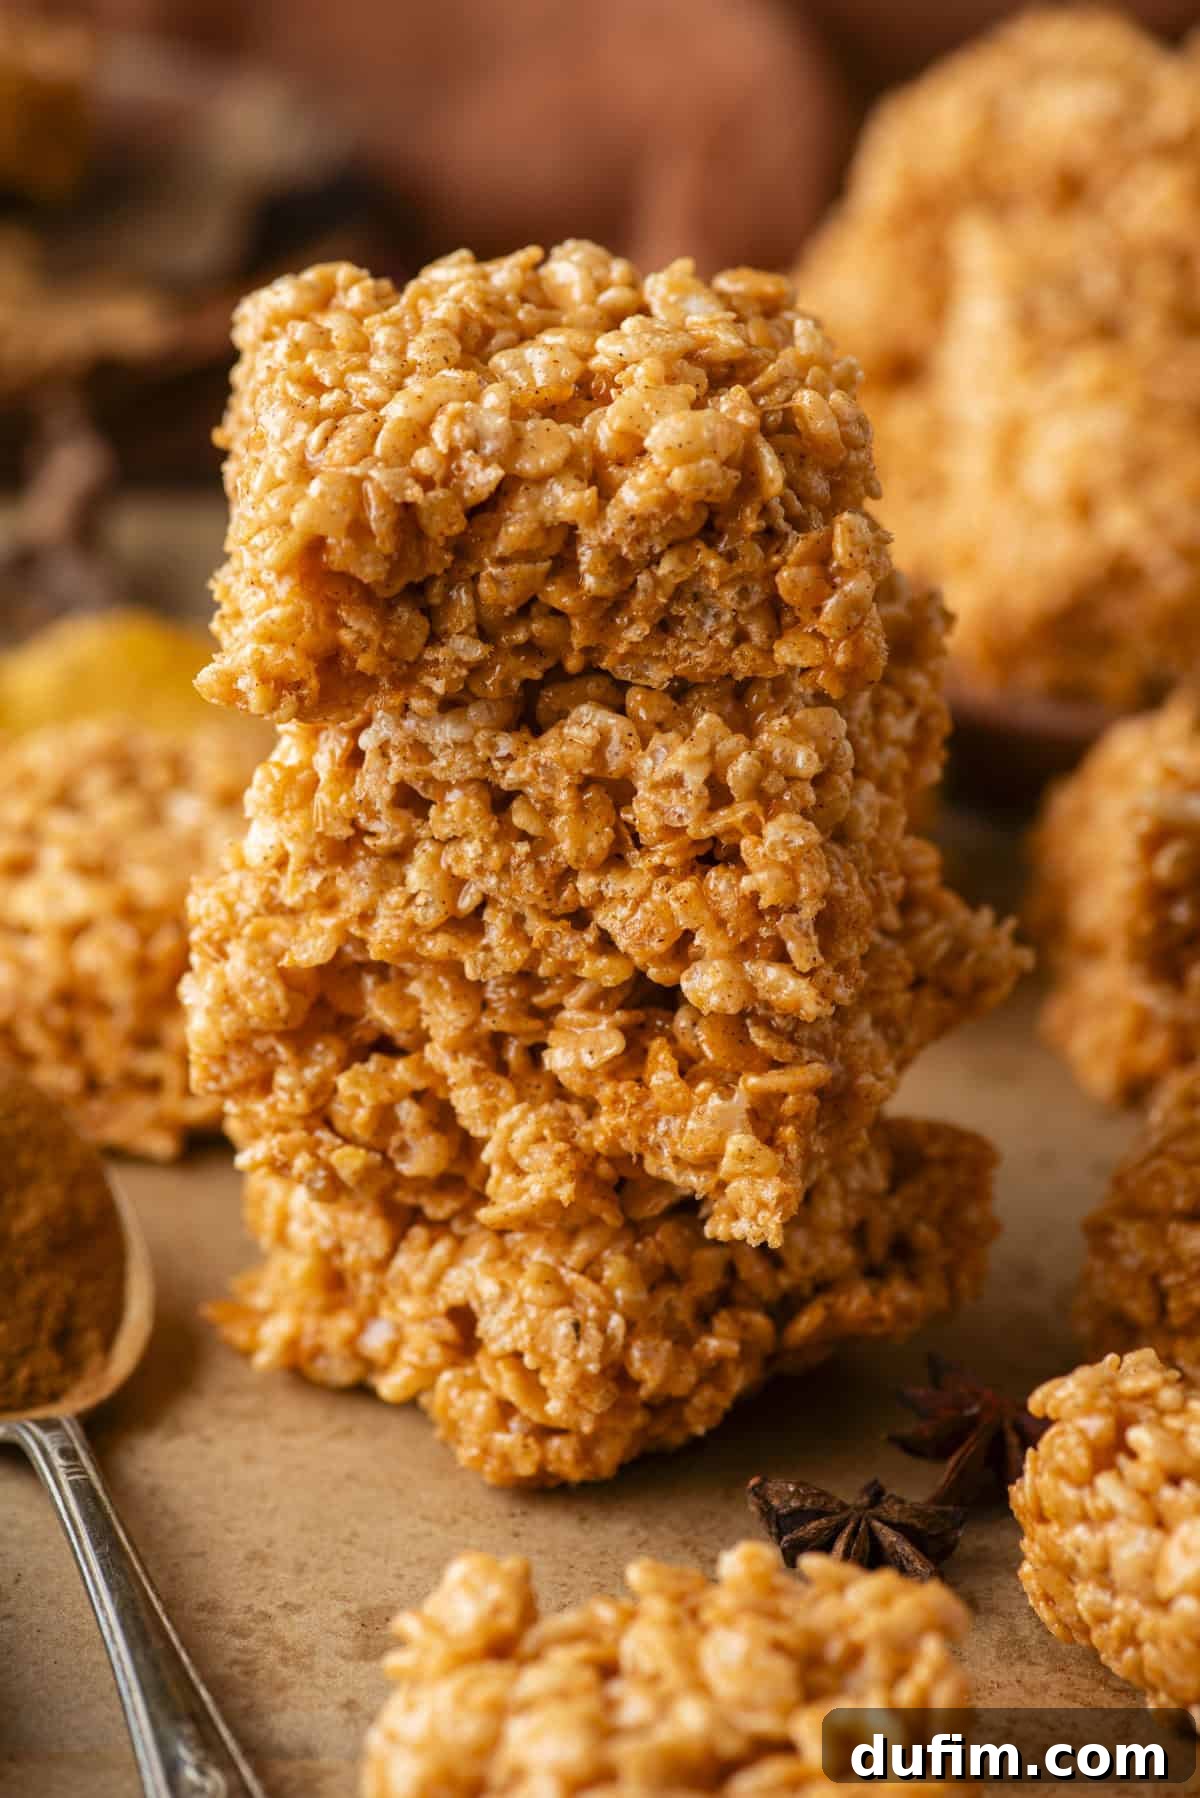
Storing Your Seasonal Delights: Keeping Homemade Pumpkin Rice Krispie Treats Fresh
You’ve put in the effort to create these incredible Pumpkin Rice Krispie Treats, so ensuring they stay fresh and delicious for as long as possible is important. Proper storage techniques will preserve their signature gooey texture and delightful fall flavor.
- Short-Term Storage (1-2 days): For treats that will be enjoyed within a day or two, simply place them in an airtight container or a large zip-top bag at room temperature. There’s no need to wrap them individually if they’ll be consumed quickly. Keeping air out is the primary goal to prevent them from drying out and becoming hard.
- Longer-Term Storage (5-7 days): To keep your Pumpkin Rice Krispie Treats fresh for up to a week, individual wrapping is highly recommended. Wrap each treat tightly in plastic wrap before placing them in an airtight container. This extra barrier protects against air exposure and helps maintain their soft, chewy texture. Always store them at room temperature, away from direct sunlight or heat, as excessive warmth can melt the marshmallow and alter the texture.
- Avoid Refrigeration: It’s generally not recommended to store Rice Krispie Treats in the refrigerator. The cold temperature can cause the marshmallows to stiffen and harden, making the treats less gooey and chewy. Room temperature storage is always preferred for optimal texture.
- Freezing (Use with Caution): While not ideal, freezing is an option if you absolutely must store them for an extended period, but be aware that it can affect the texture. If you choose to freeze them, first wrap each treat individually in plastic wrap, then place layers of wax paper or parchment paper between them in an airtight freezer-safe container. They can be stored for up to 2 months. To enjoy, thaw them completely at room temperature before serving. They may not be quite as gooey as fresh, but the flavor will still be present.
By following these simple storage guidelines, you can ensure your homemade Pumpkin Rice Krispie Treats remain a delightful, fresh indulgence for days to come, making them perfect for meal prepping desserts or enjoying as a festive snack throughout the week.
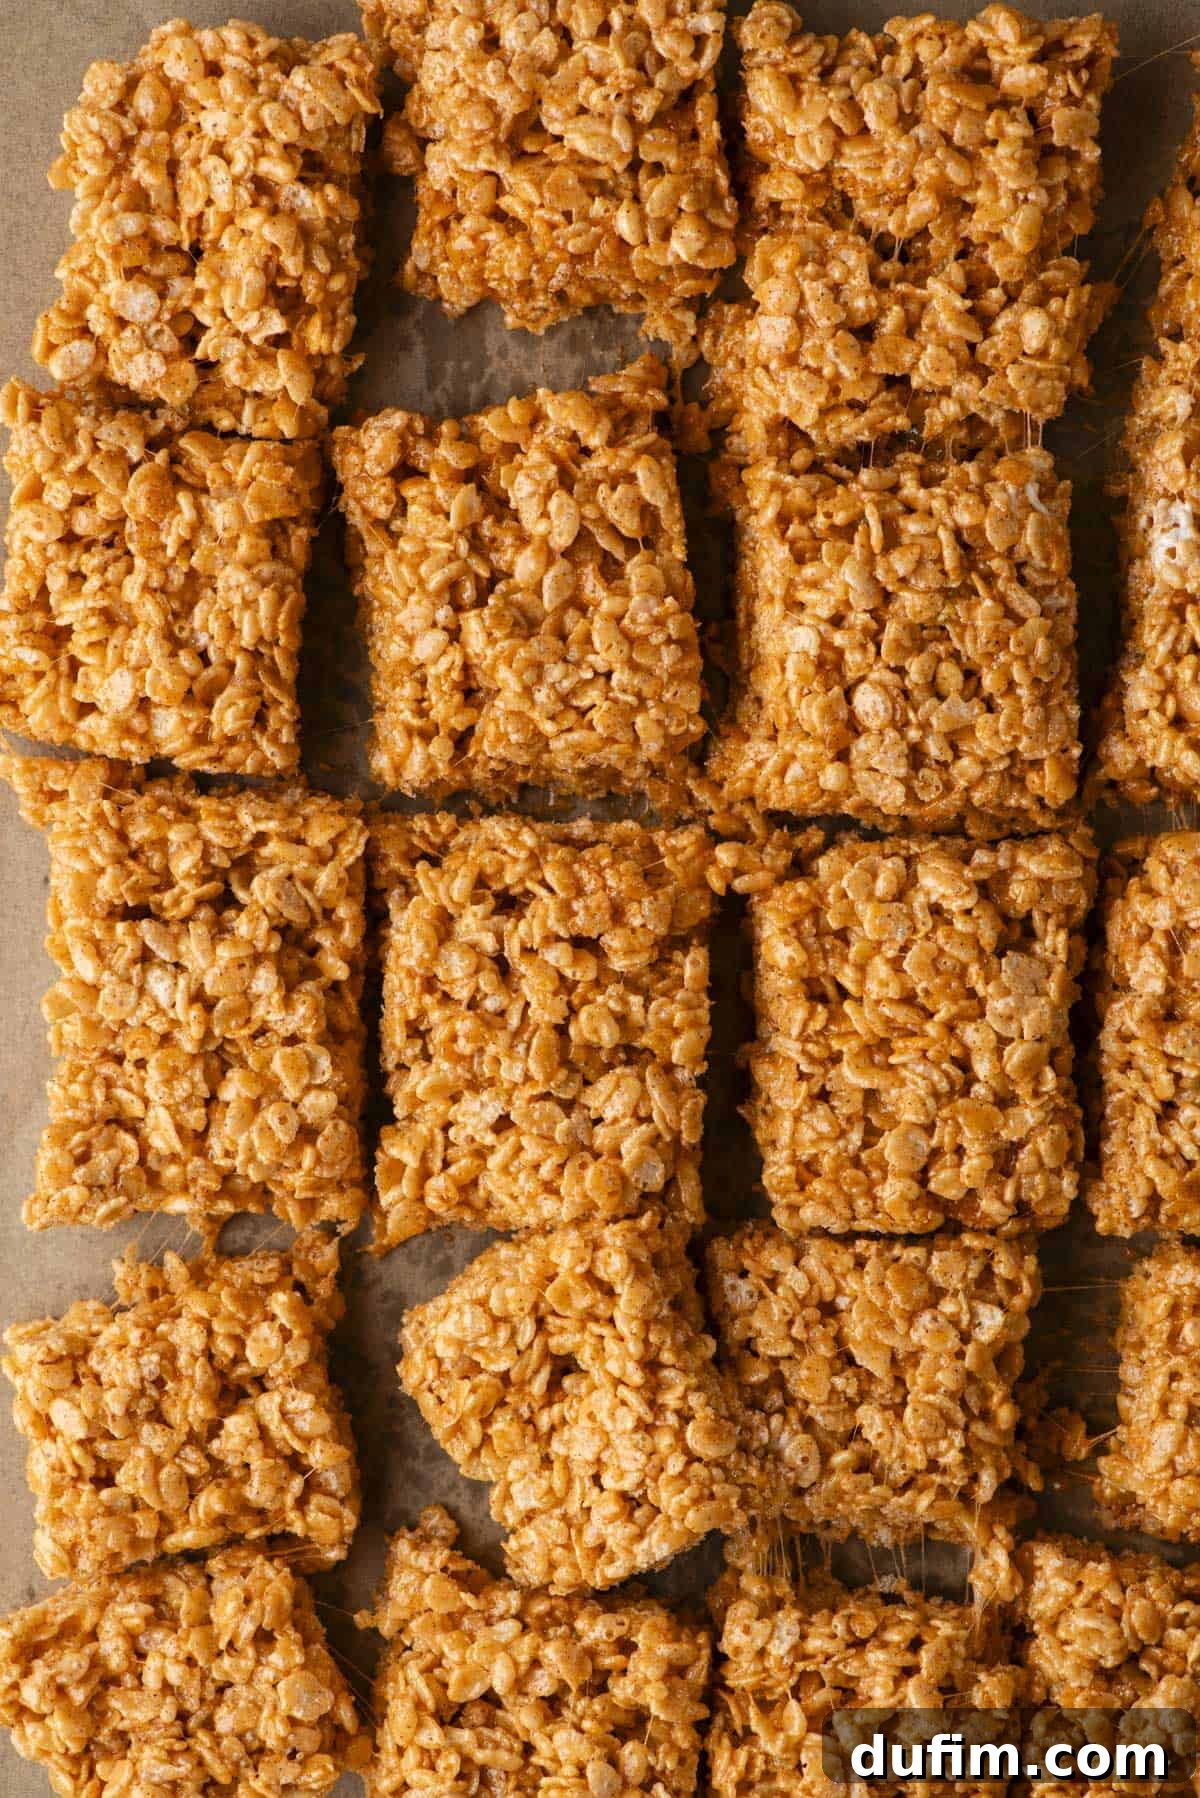
Creative Variations and Serving Suggestions for Your Pumpkin Spice Treats
While our perfected Pumpkin Rice Krispie Treat recipe is a triumph in itself, there’s always room for creativity! These treats serve as a fantastic canvas for additional flavors and festive decorations. Here are some ideas to make them even more special:
- Chocolate Drizzle: A drizzle of melted white chocolate, dark chocolate, or even a spiced chocolate (with a pinch of extra cinnamon or nutmeg) can add an extra layer of decadence and visual appeal.
- Toasted Pecans or Walnuts: For a delightful textural contrast and nutty flavor, gently fold in a handful of finely chopped, toasted pecans or walnuts with the Rice Krispies cereal.
- Maple Glaze: Instead of or in addition to the orange food coloring, consider a simple maple glaze (powdered sugar, a touch of maple syrup, and a splash of milk) for a sweet, earthy topping.
- Candied Ginger Bits: For those who love a bit of a kick, sprinkle some finely diced candied ginger over the top or mix it into the batter.
- Festive Sprinkles: Before they set, adorn your treats with autumn-themed sprinkles, edible glitter, or small candy corn for a playful touch, especially if serving them for a Halloween or Thanksgiving gathering.
When serving, these Pumpkin Rice Krispie Treats are fantastic on their own with a warm cup of coffee or cider. They also make a wonderful addition to any fall dessert platter, a thoughtful homemade gift, or a delightful classroom treat. Enjoy experimenting and making them your own!
Frequently Asked Questions About Pumpkin Rice Krispie Treats
Here are some common questions and helpful answers to ensure your Pumpkin Rice Krispie Treat making experience is a breeze:
- Can I use old marshmallows? It’s best to use fresh marshmallows. Older marshmallows tend to be stiffer and can result in a less smooth melt and a tougher final product. Fresh marshmallows melt easily and contribute to the best gooey texture.
- Why are my treats hard? This is often due to overcooking the marshmallow mixture or pressing the mixture too firmly into the pan. Make sure to melt marshmallows over low heat and only until just combined. Also, press them gently into the pan to keep them airy and soft.
- Can I make these gluten-free? Yes! Ensure your Rice Krispies cereal is certified gluten-free (some brands contain malt flavoring that is not gluten-free). Most marshmallows are naturally gluten-free, but always double-check the packaging.
- What if I don’t have pumpkin pie spice? You can easily make your own! Combine 1 ¼ teaspoons ground cinnamon, ¼ teaspoon ground ginger, ¼ teaspoon ground nutmeg, ⅛ teaspoon ground allspice, and ⅛ teaspoon ground cloves to get 3 teaspoons of homemade pumpkin pie spice.
- How long do these treats last? When stored properly in an airtight container at room temperature, they will stay fresh and delicious for 5-7 days.
- Can I add pumpkin puree for more pumpkin flavor? As discovered in our testing, adding pumpkin puree makes the treats wet, dense, and less chewy. We recommend sticking to the pumpkin pie spice for flavor, which gives a fantastic, concentrated taste without altering the texture negatively.
More Irresistible No-Bake Desserts to Satisfy Your Sweet Cravings
If you’re a fan of these easy, no-bake Pumpkin Rice Krispie Treats, you’ll love exploring other simple yet delicious recipes that require no oven time. Perfect for busy days or when you just need a quick dessert fix!
- Holiday Rice Krispie Treats
- S’Mores Rice Krispie Treats
- Spider Rice Krispie Treats
- Oreo Rice Krispie Treats
Rated 5 out of 5 stars by 3 ratings.
Pumpkin Spice Rice Krispies
Beth
5 minutes
30 minutes
16
Print Recipe
Equipment
-
My fav 9×13 pan
-
My favorite spatula!
Ingredients
- ½ cup (113g) unsalted butter
- 10 cups (430g) mini marshmallows, divided, this is about two 10 oz bags
- 3 tsp pumpkin pie spice *see note for homemade version
- ½ tsp salt
- 1 tsp vanilla extract
- 8 cups (224-240g) Rice Krispies cereal
- Orange food coloring, optional
Instructions
-
Measure out 10 cups of mini marshmallows. Set 2 cups aside for later. Measure out 8 cups of Rice Krispies cereal. Set aside.
-
Line a 9×13 inch baking dish with parchment paper or grease it lightly with butter.
-
In a large saucepan, melt the butter and 8 cups of mini marshmallows over medium-low heat, stirring until smooth. Remove from heat. Stir in the pumpkin pie spice, salt, vanilla extract, optional orange food coloring, and the remaining 2 cups of marshmallows. Stir until the marshmallows are halfway melted.½ cup (113g) unsalted butter,
10 cups (430g) mini marshmallows,
3 tsp pumpkin pie spice,
½ tsp salt,
1 tsp vanilla extract,
Orange food coloring -
Gently mix in the Rice Krispies cereal until completely coated.8 cups (224-240g) Rice Krispies cereal
-
Transfer the mixture to the baking dish. Gently press the Rice Krispies into the pan. Use slightly wet hands to prevent sticking.
-
Allow them to set at room temperature for about 1 hour. Slice into squares with a sharp knife and enjoy!
Video

Watch how to make these delicious Pumpkin Rice Krispies!
View Recipe Video
Notes
Nutrition
Calories: 204kcal |
Carbohydrates: 37g |
Protein: 2g |
Fat: 6g |
Saturated Fat: 4g |
Polyunsaturated Fat: 0.3g |
Monounsaturated Fat: 2g |
Trans Fat: 0.2g |
Cholesterol: 15mg |
Sodium: 172mg |
Potassium: 21mg |
Fiber: 0.1g |
Sugar: 19g |
Vitamin A: 1109IU |
Vitamin C: 9mg |
Calcium: 3mg |
Iron: 4mg
Nutrition Disclosure
All nutritional values are approximate and provided to the reader as a courtesy. Changing ingredients and/or quantities will alter the estimated nutritional calculations.
Love this recipe? Share your thoughts and leave a comment below!