
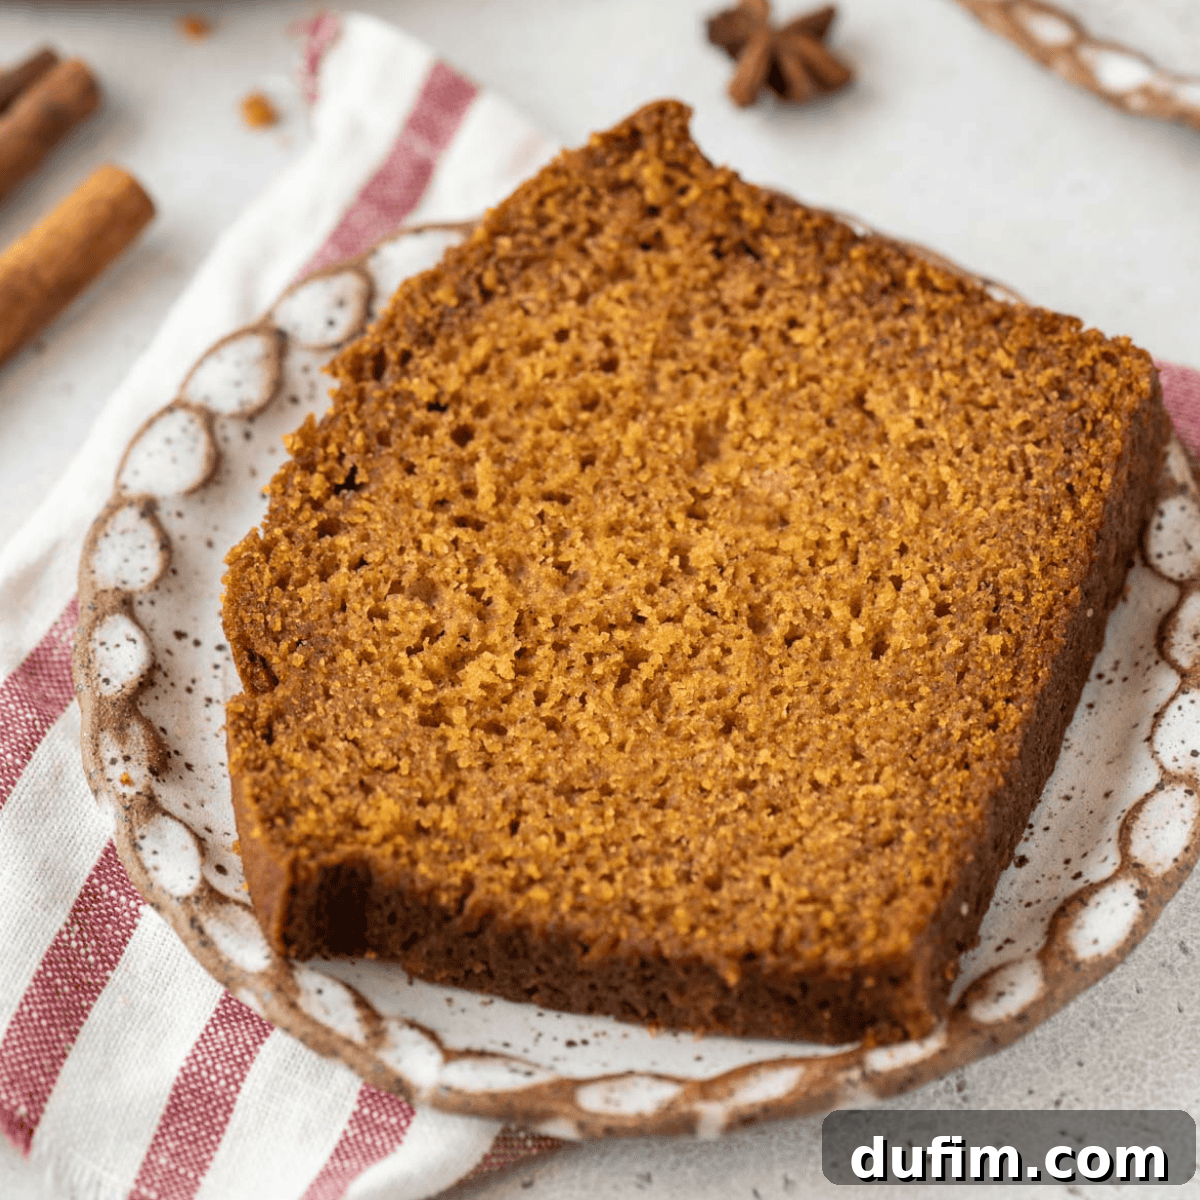
The Ultimate Moist Pumpkin Bread Recipe for Fall
Prepare yourself for the quintessential taste of autumn with our ultimate pumpkin bread recipe. This delightful quick bread is an expert adaptation of our critically acclaimed pumpkin muffins, which have consistently earned nearly five-star reviews and are frequently hailed as the best by countless home bakers. We’ve meticulously scaled down those beloved flavors, ensuring every bite of this loaf delivers the same comforting warmth and irresistible texture, perfectly baked in a convenient loaf pan.
“Made this for my neighbors, it was wonderful! They really enjoyed it, I will make this again. Thank you.”
– Deborah
Why This Is Your Go-To Pumpkin Bread Recipe
As a seasoned baker with years of experience crafting countless loaves and batches of baked goods, perfecting this easy pumpkin bread recipe was a natural progression. My popular pumpkin muffins have been a reader favorite for years, and I even have a delicious gluten-free version of pumpkin bread. This expertise guarantees that you’re getting a thoroughly tested and perfected recipe that promises exceptional results every time. Consider me your bread-making bestie, ready to guide you to baking success!
This quick bread recipe is more than just a treat; it’s an experience. It’s the ideal way to usher in the coziness of Fall, filling your home with an intoxicating aroma that rivals any pumpkin spice candle. With minimal mixing required, you can simply prepare the batter, pop it into the oven, and anticipate the comforting scents of cinnamon, nutmeg, and ginger as they envelop your kitchen. This simplicity makes it a perfect choice for busy weekdays or relaxed weekend baking sessions.
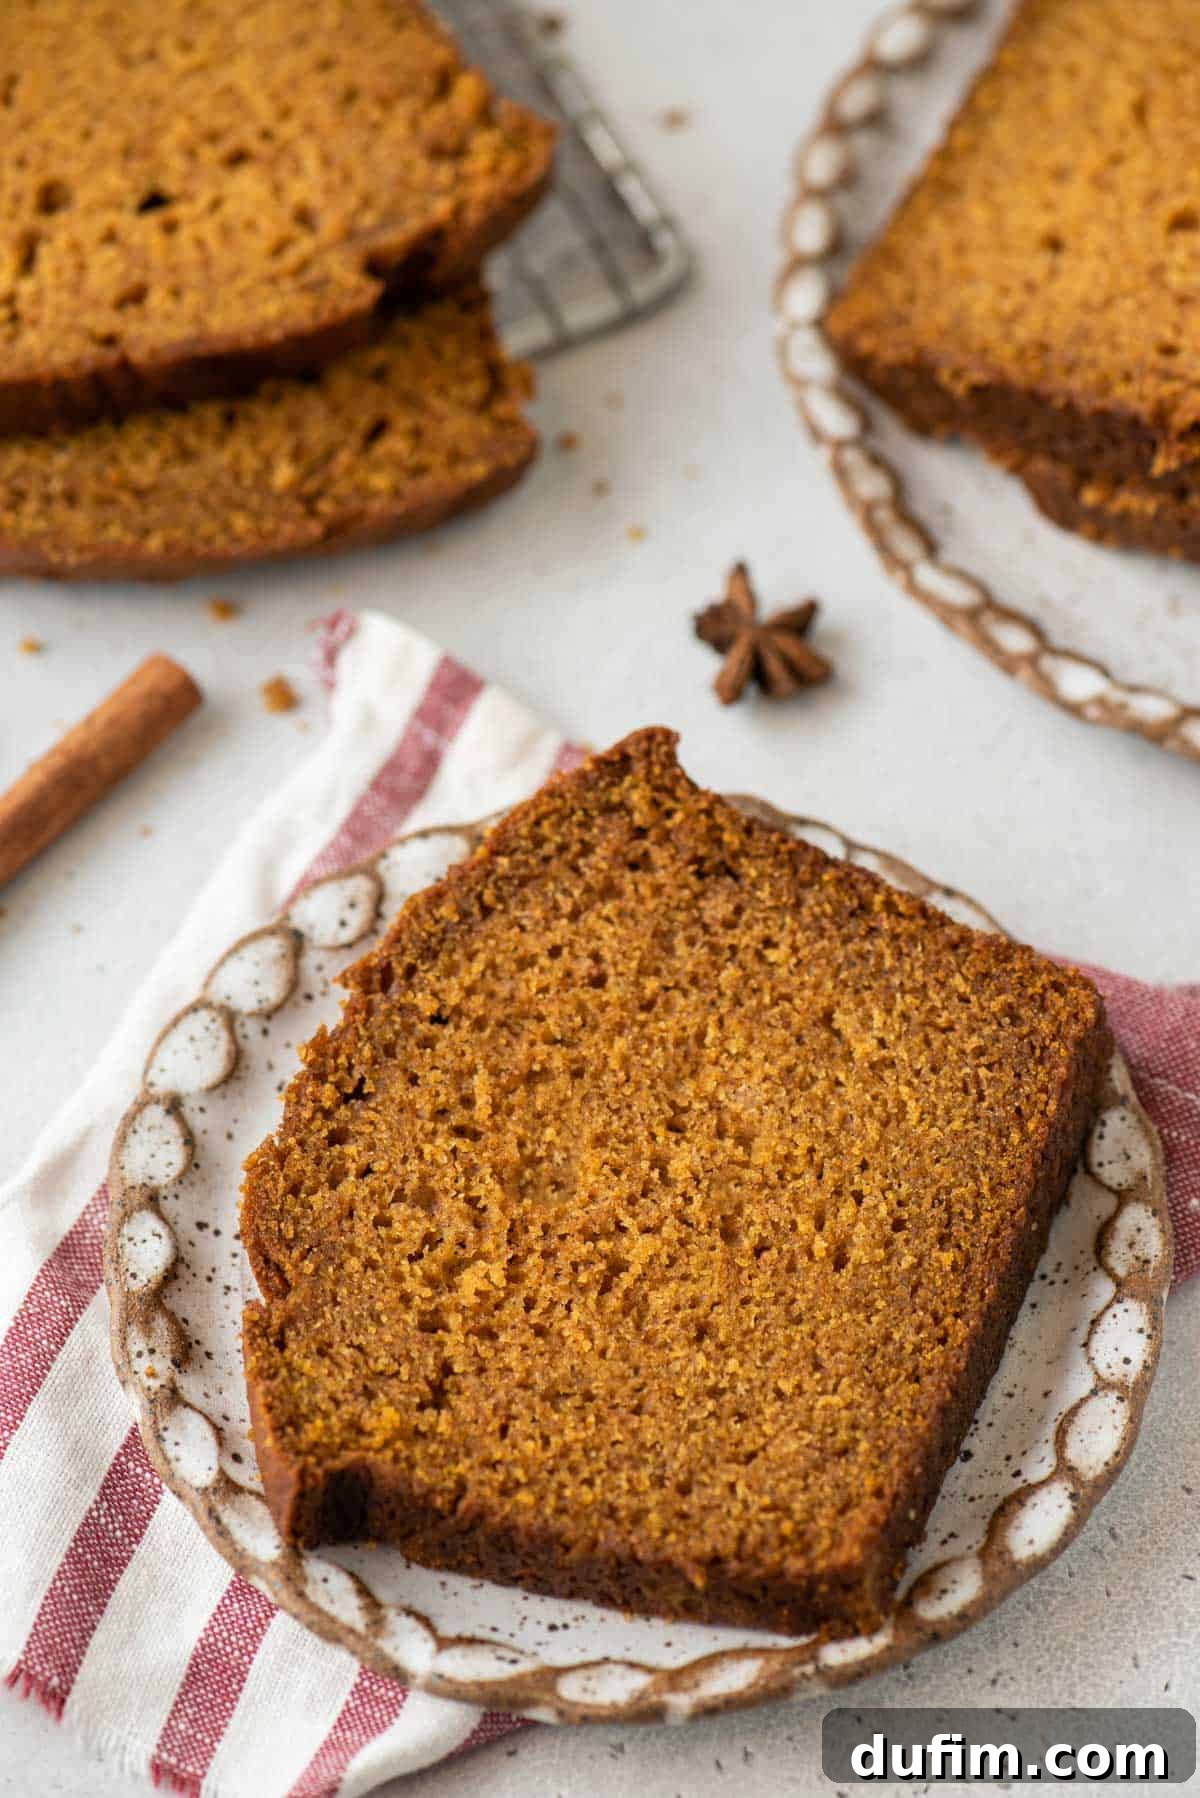
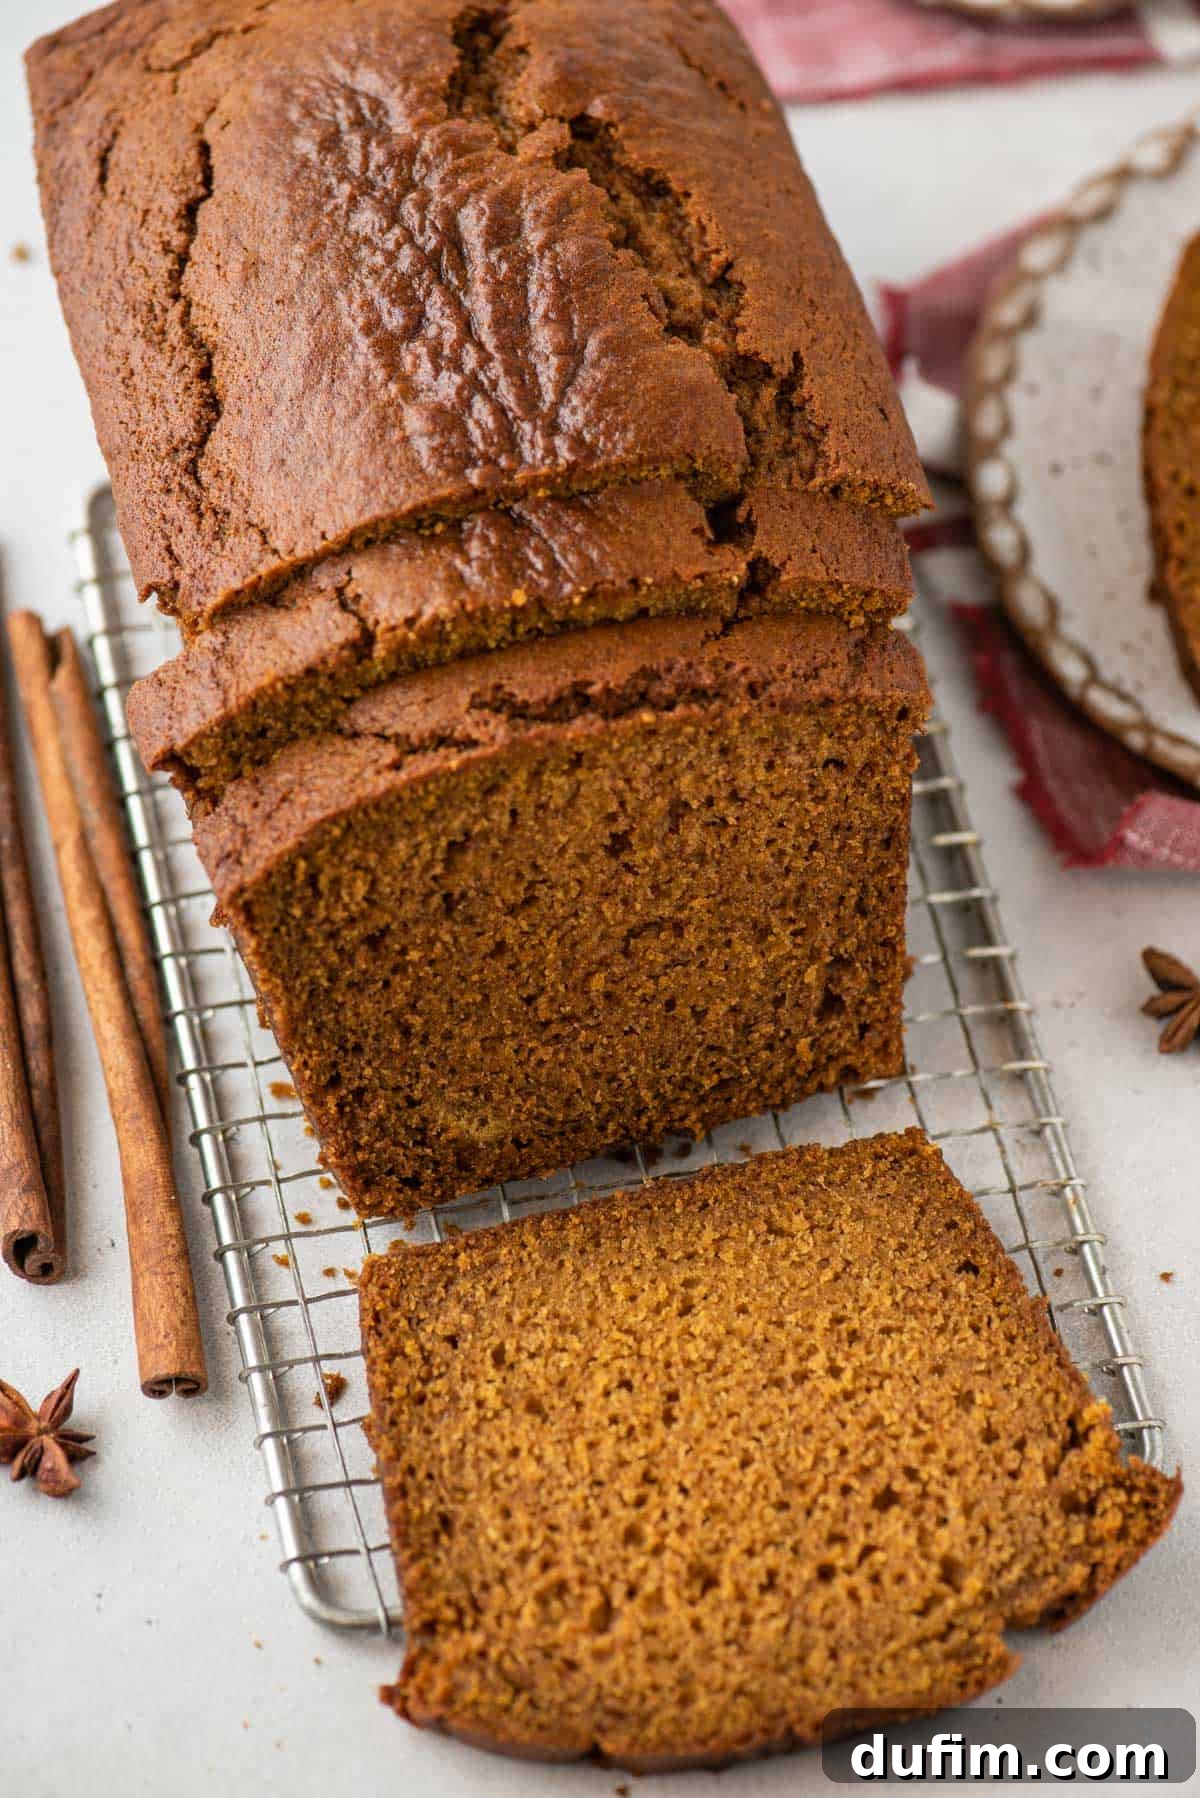
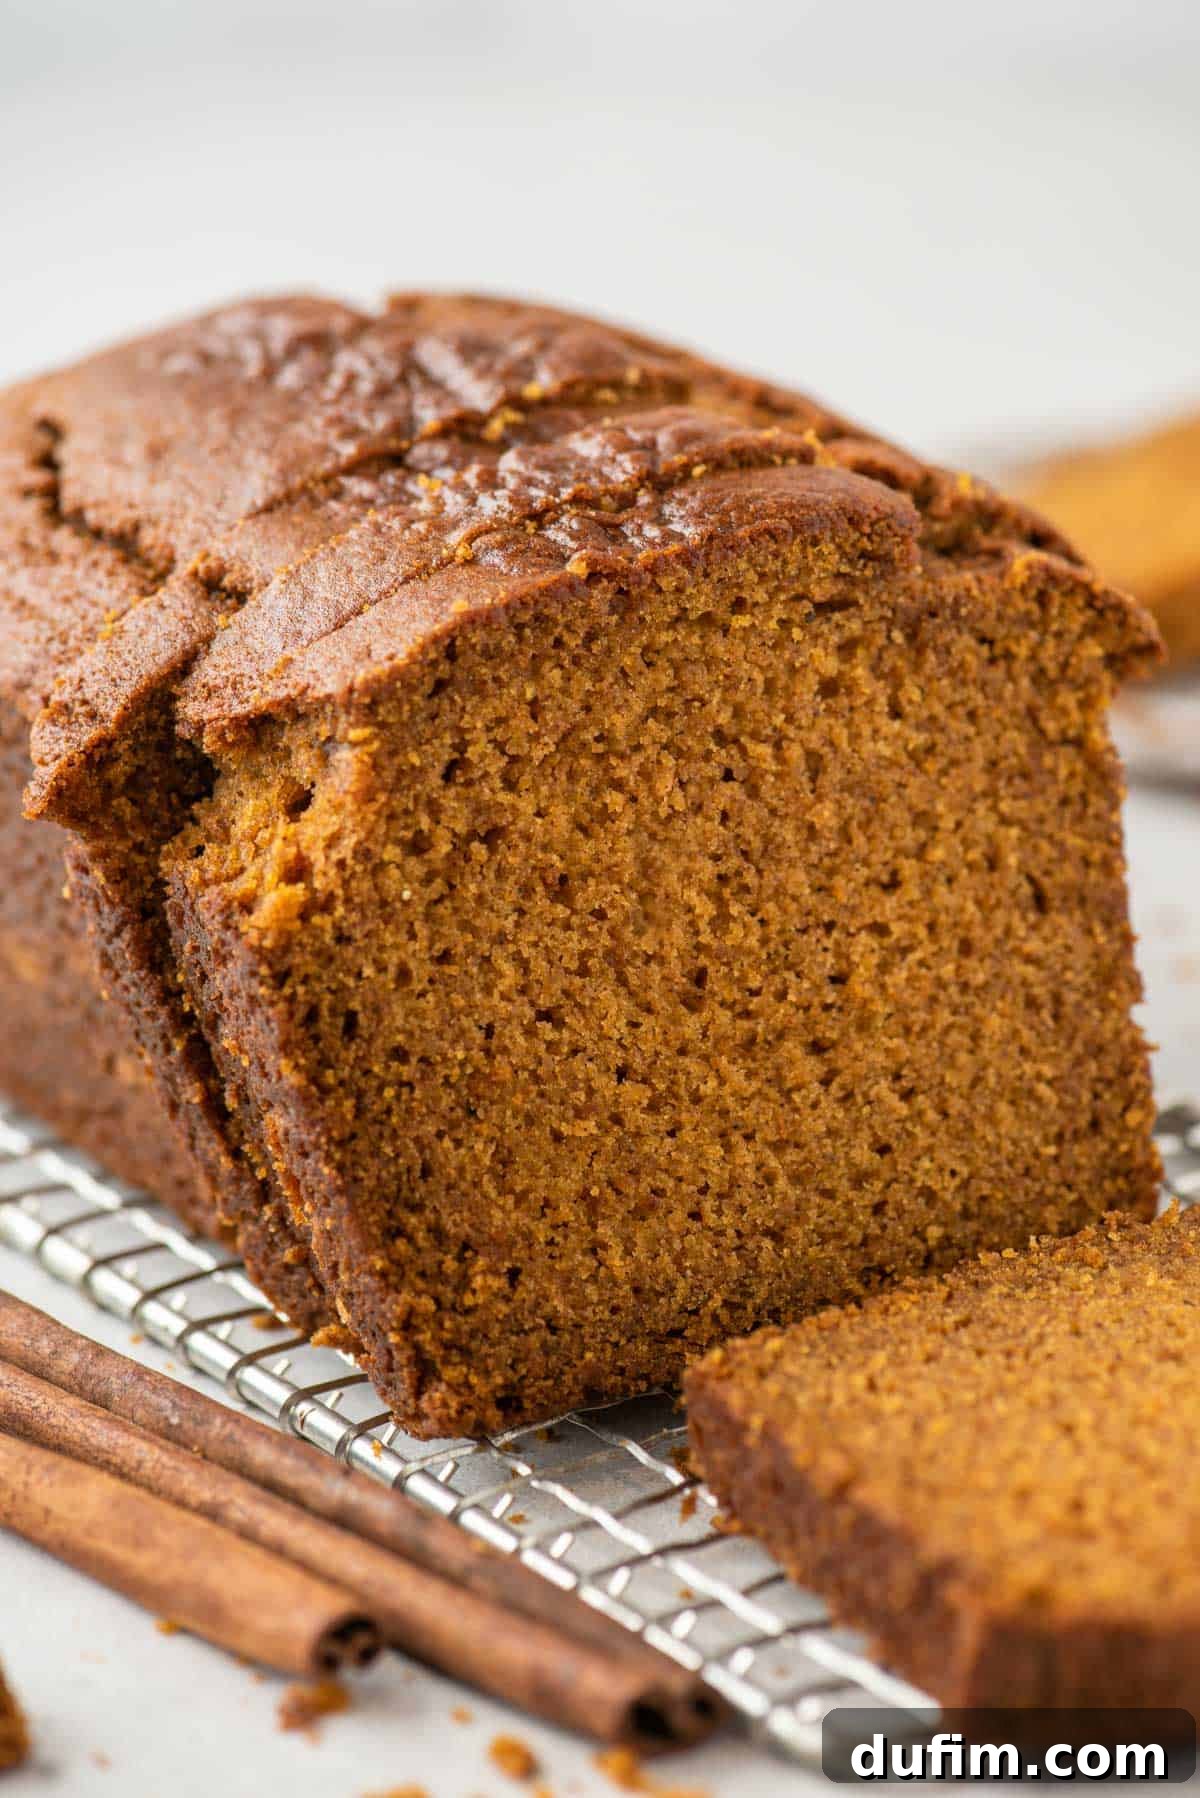
What truly sets this pumpkin bread apart is its unparalleled moisture and rich, authentic Fall flavor. The combination of pure pumpkin puree and a touch of vegetable oil ensures an incredibly tender and moist crumb that stays fresh for days. Paired with a generous blend of warm spices, each slice tastes like a cozy pumpkin spice latte transformed into a delightful bread. And the best part? No fancy equipment is needed! This recipe can be made entirely by hand, saving you from the hassle of cleaning a stand mixer. That’s always a win in our book.
Keep reading to unlock all the secrets to baking the best pumpkin bread, including valuable tips on proper storage, freezing techniques to enjoy it later, and much more. If your cravings for pumpkin run deep, be sure to explore more of my irresistible pumpkin recipes for an endless supply of seasonal delights!
Top Reasons to Adore This Pumpkin Bread Recipe
This isn’t just another pumpkin bread recipe; it’s destined to become a cherished annual tradition. Here are just a few compelling reasons why you’ll find yourself reaching for this recipe year after year:
- Explosion of Fall Flavor: Each bite is generously infused with authentic pumpkin and an expertly balanced blend of warm, inviting Fall spices.
- Effortlessly Simple: Requiring minimal hands-on time, this recipe is perfect for both novice and experienced bakers seeking a quick and rewarding project.
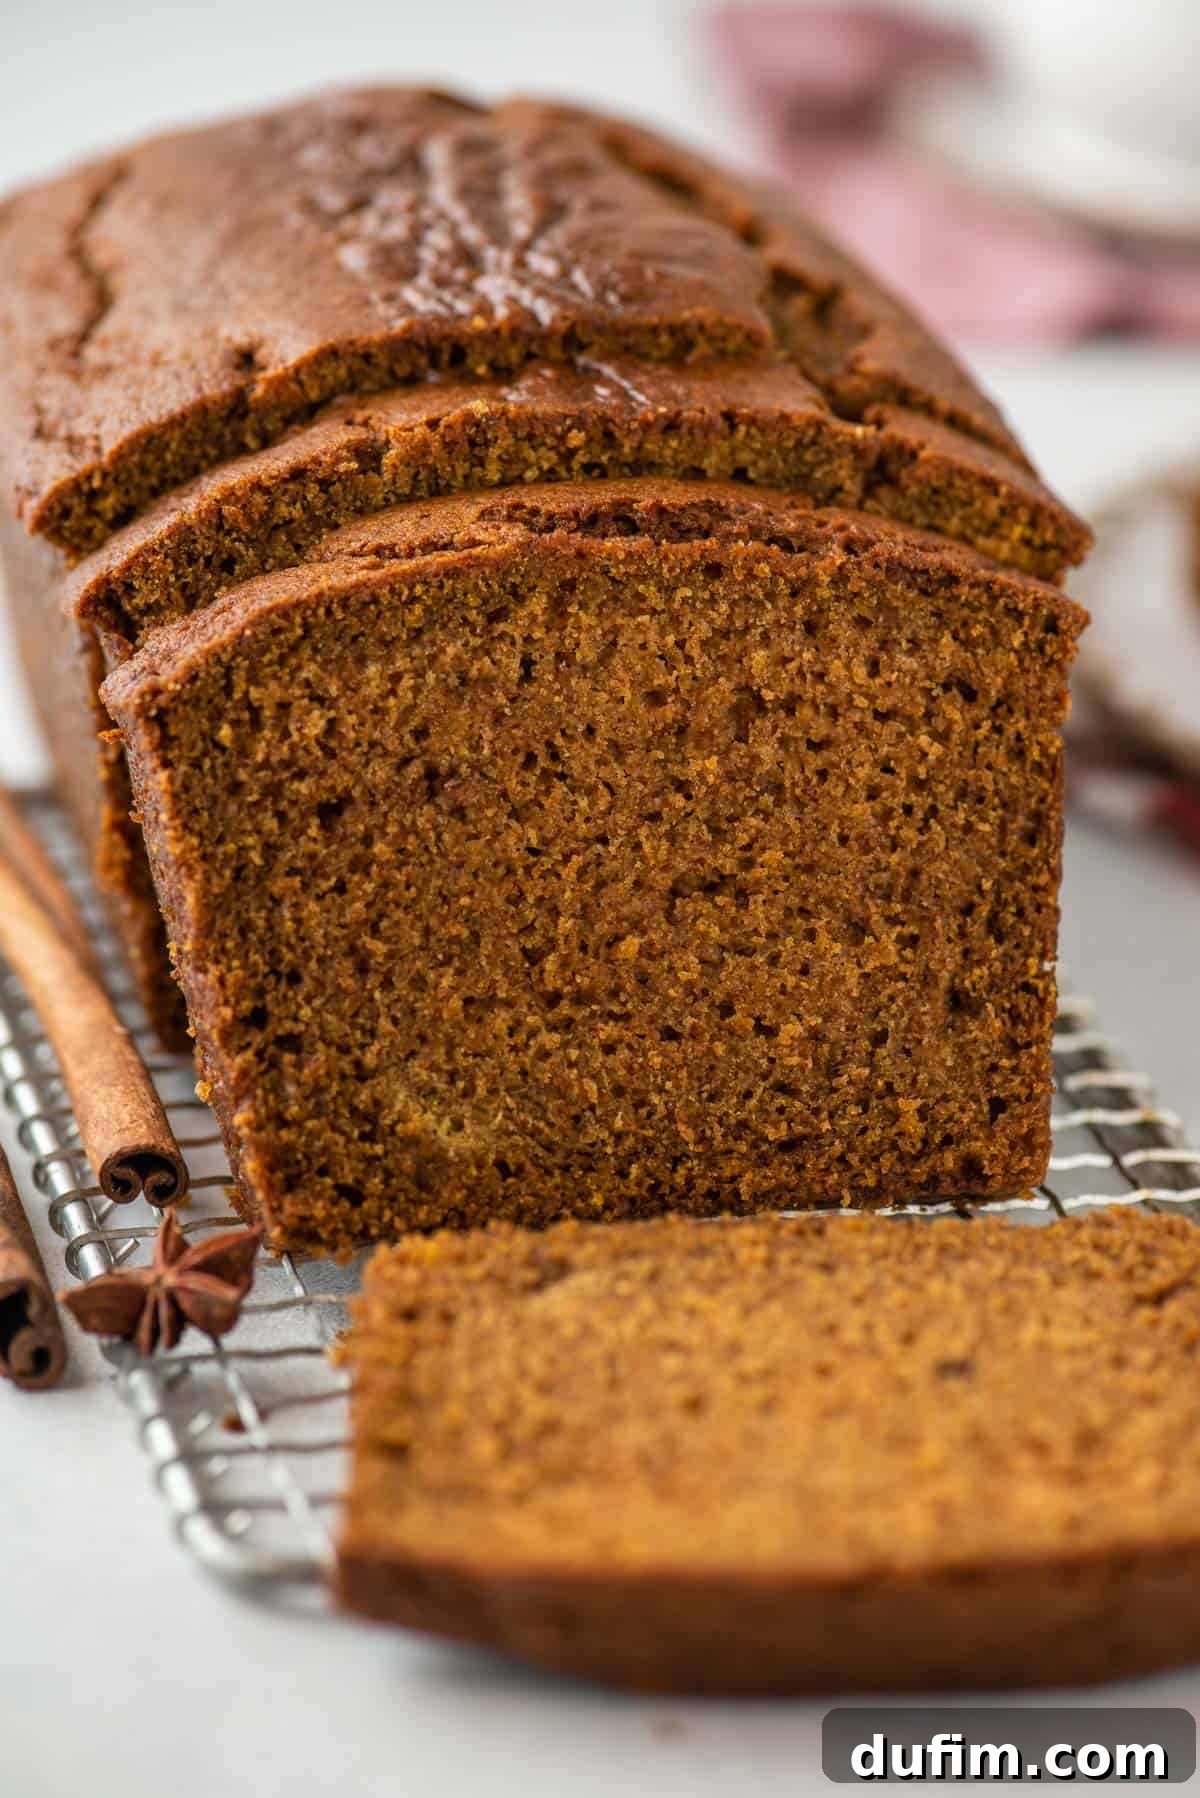
- Unbelievably Moist Texture: Thanks to carefully chosen ingredients, this bread boasts a perfectly moist, tender, and irresistible crumb that won’t dry out.
- Versatile Delight: Whether enjoyed as a comforting breakfast alongside a steaming cup of coffee, a satisfying afternoon snack, or a delightful dessert, it hits the spot every time.
- No Mixer Required: Achieve bakery-quality results with just a bowl and a spatula, making cleanup a breeze and baking accessible to everyone.
- Freezer-Friendly: Bake a double batch and freeze a loaf (or two!) to enjoy the taste of Fall whenever the craving strikes, months later.
Essential Ingredients for Perfect Pumpkin Bread
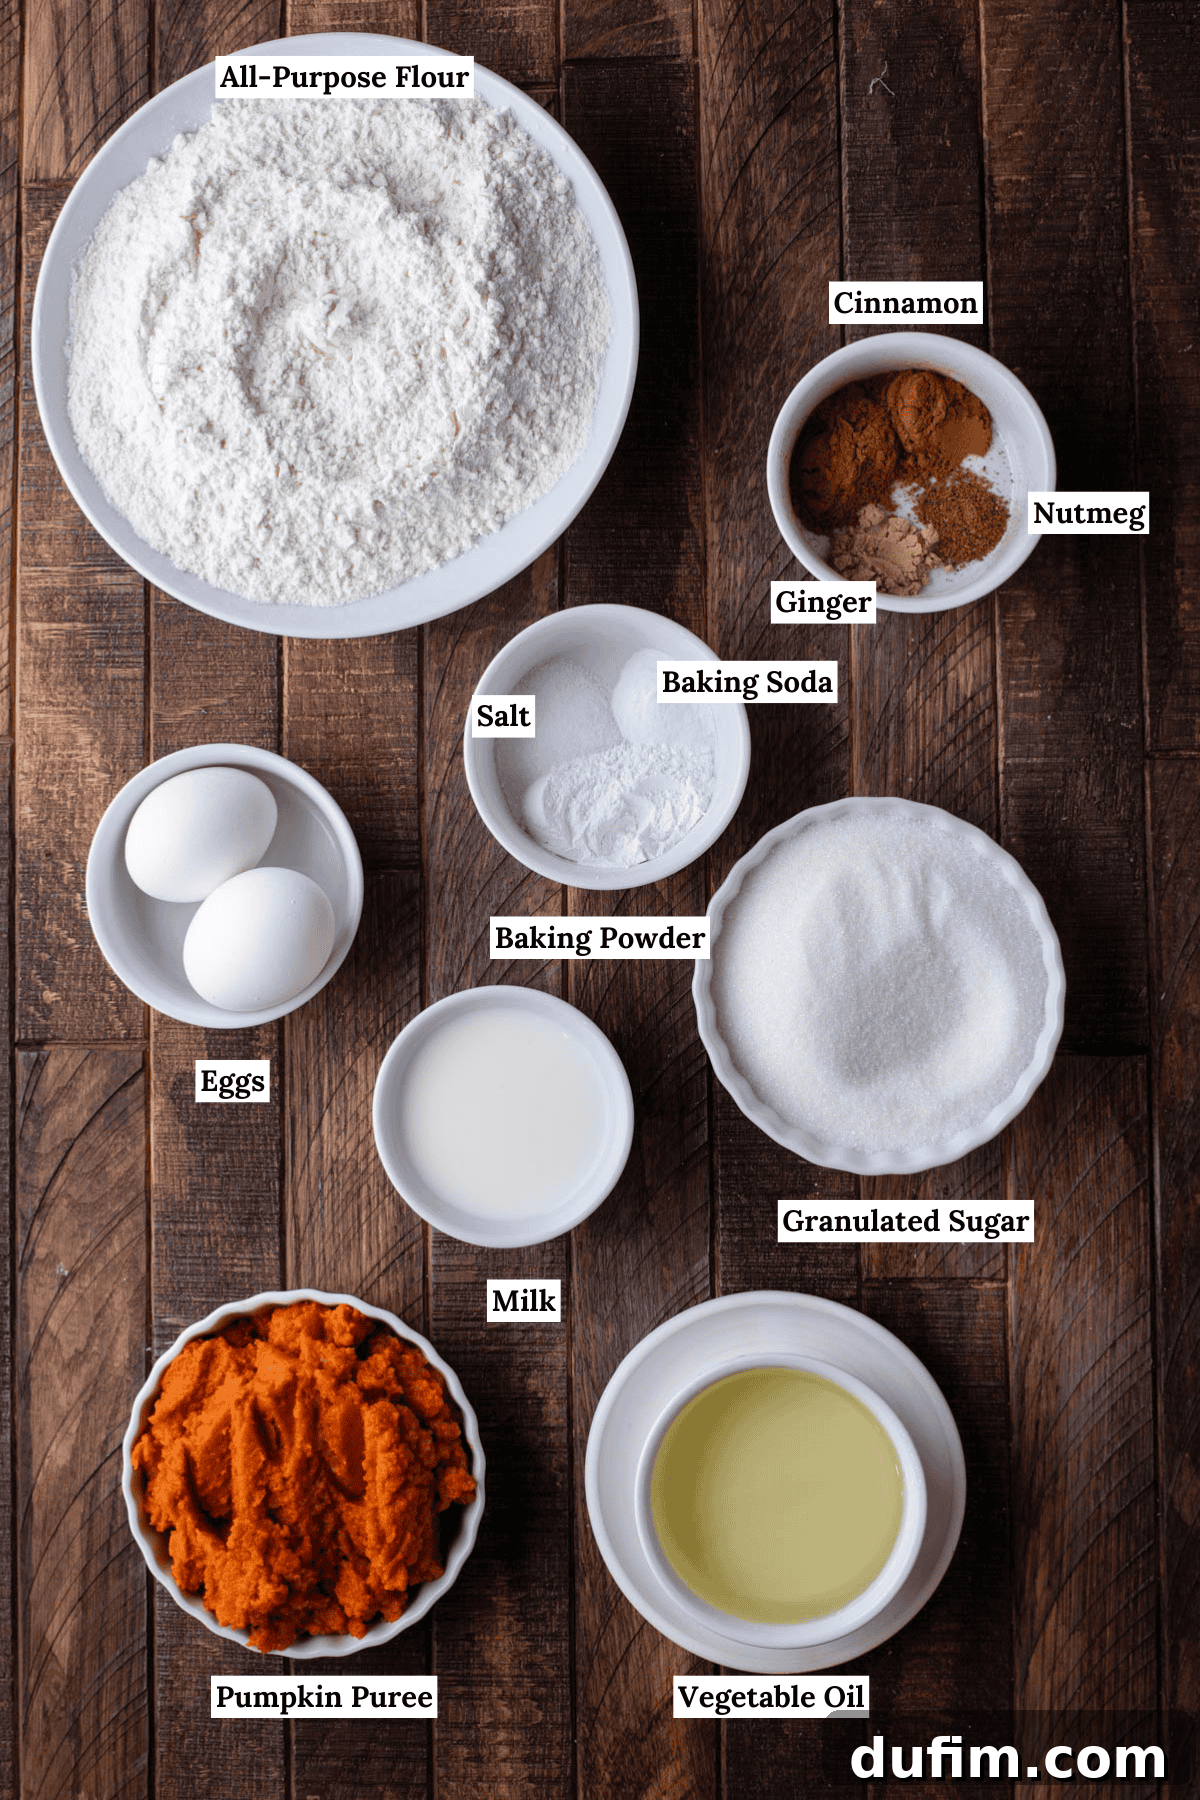
Crafted with readily available, simple ingredients, this homemade pumpkin bread is designed to fill your kitchen with the irresistible scents of Fall, drawing everyone closer to discover the source of that delicious aroma. You’ll find a detailed breakdown of measurements and instructions in the comprehensive recipe card below. Here’s a closer look at what you’ll need to create this seasonal masterpiece:
- All-Purpose Flour: The foundation of our bread, providing structure and a tender crumb.
- Baking Powder & Baking Soda: These leavening agents work in harmony to give the bread its perfect lift and light texture.
- Salt: Essential for balancing the sweetness and enhancing all the delicious flavors.
- Ground Cinnamon, Nutmeg, & Ground Ginger: The classic trio of Fall spices that infuse the bread with its signature warm and inviting aroma and taste.
- 100% Pure Canned Pumpkin: The star ingredient, providing natural sweetness, vibrant color, and incredible moisture. Be sure to use pure pumpkin puree, not pumpkin pie filling.
- Granulated Sugar & Packed Brown Sugar: A blend of sugars delivers the ideal sweetness and helps create that wonderfully moist texture. Brown sugar adds a deeper, molasses-like flavor complexity.
- Vegetable Oil: Contributes significantly to the bread’s moistness and tender crumb, ensuring it stays fresh longer.
- Eggs: Act as a binder, adding richness and helping to hold the bread together for a cohesive structure.
Step-by-Step Guide: How to Make Homemade Pumpkin Bread
Once you try this recipe, it’s guaranteed to become a cherished Fall tradition in your family. Even if you’re new to baking quick breads, my simple, foolproof steps ensure a perfect result on your very first attempt. For precise measurements and the full recipe, refer to the recipe card below. Here are the easy steps to follow:
- Prepare Your Oven: Start by preheating your oven to 350ºF (175ºC). This ensures a consistent baking temperature from the moment your loaf enters the oven.
- Combine Dry Ingredients: In a medium-sized mixing bowl, whisk together the all-purpose flour, baking powder, baking soda, salt, ground cinnamon, nutmeg, and ginger. Stir until well combined, then set this mixture aside. This step evenly distributes the leavening agents and spices throughout the flour.
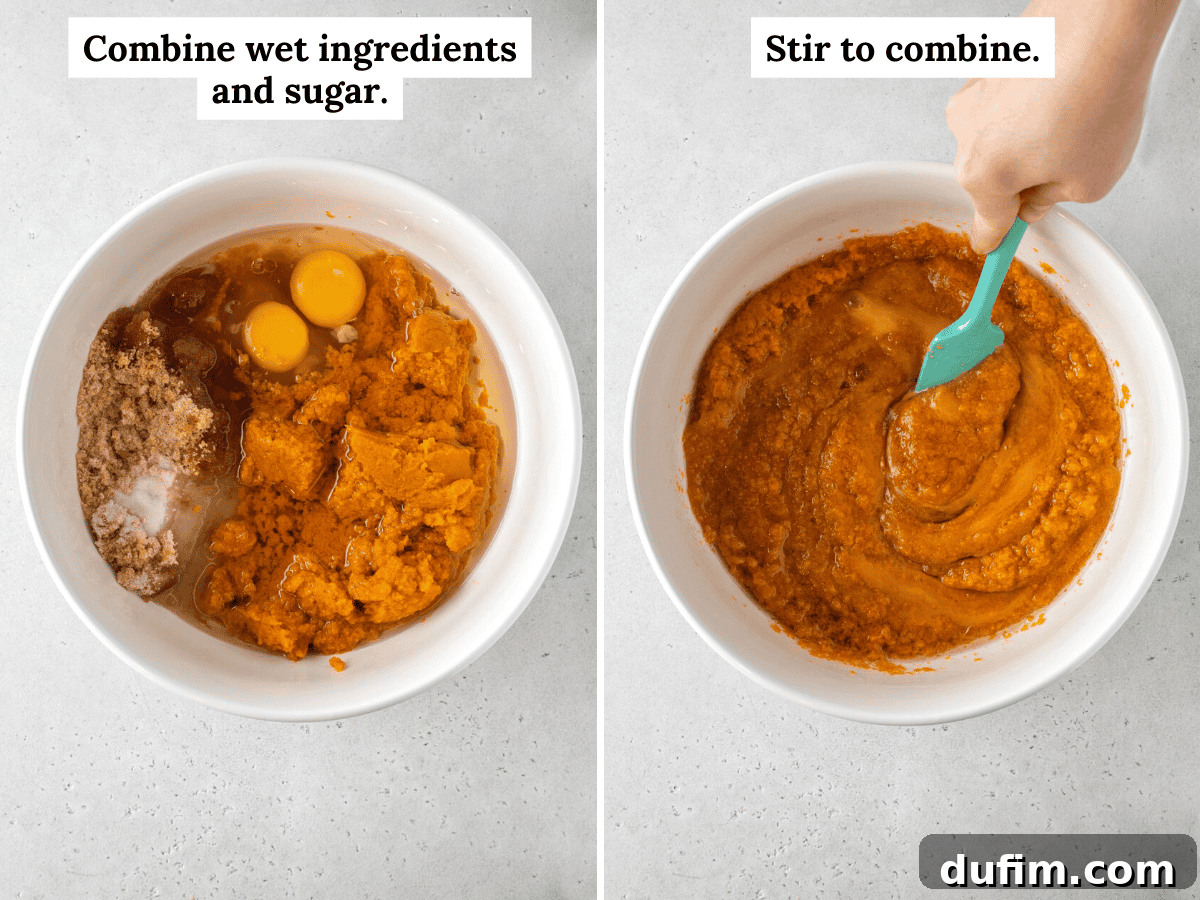
- Mix Wet Ingredients: In a separate, larger bowl, combine the pure pumpkin puree, granulated sugar, packed brown sugar, vegetable oil, and large eggs. Using a spatula or a mixer on low speed, stir these ingredients together for about 30 seconds until they are fully incorporated and smooth. This creates a rich, flavorful base for your bread.
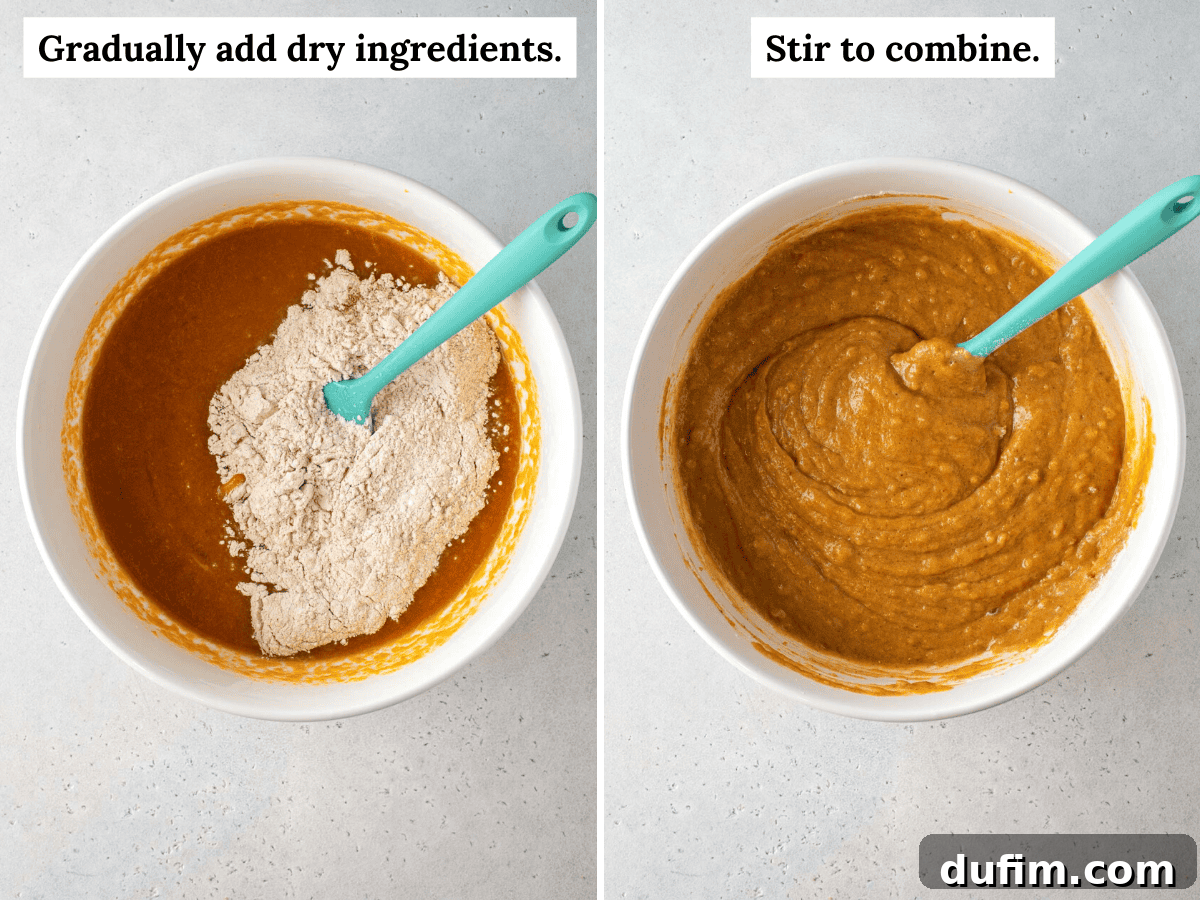
- Combine Wet and Dry: Gradually add the reserved dry ingredient mixture into the wet ingredients. Mix by hand with a spatula or use a mixer on the lowest setting, stirring *just until combined*. Be careful not to overmix, as this can lead to a tough bread. The batter will be notably thick.
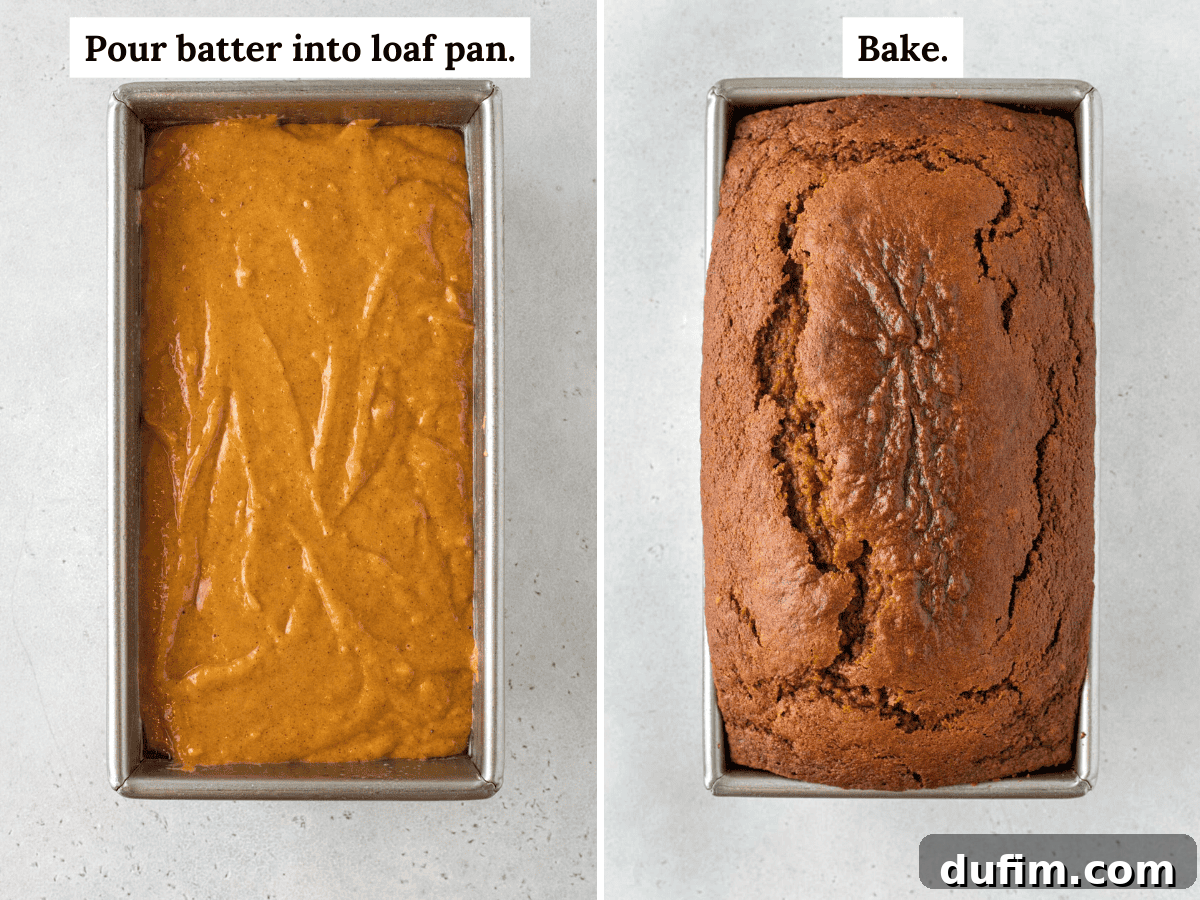
- Prepare Pan & Add Batter: Lightly spray your chosen loaf pan (either a 9×5 inch or an 8.5×4.5 inch pan) with a non-stick cooking spray. Carefully transfer the thick batter into the prepared pan and spread it evenly with your spatula to ensure uniform baking.
- Bake to Perfection: Place the loaf pan in the center of your preheated oven. Bake for approximately 45-75 minutes. The total baking time can vary significantly based on your oven and the size of your loaf pan. The bread is done when a wooden skewer or toothpick inserted into the center comes out clean or with only a few moist crumbs attached.
Achieving Perfection: Knowing When Your Pumpkin Bread is Done
Accurately determining when your pumpkin bread is perfectly baked is key to its moist texture. The most reliable indicator is the toothpick test: insert a wooden skewer or toothpick into the very center of the loaf. When it comes out clean, with only moist crumbs attached (no wet batter), your bread is ready. Ovens can vary widely, so begin checking for doneness around the 50-minute mark and continue checking every 5 minutes thereafter.
It’s crucial to be aware of your specific loaf pan size, as this significantly impacts baking time. There are two common loaf pan dimensions: 9×5 inches and 8.5×4.5 inches. While the numbers seem close, these pans actually differ in volume by about 15%. The smaller 8.5×4.5 inch pan will result in a taller, more domed loaf, typically requiring an additional 5-10 minutes of baking time. For the 8.5×4.5 inch pan, expect a total bake time of 65-75 minutes. For the larger 9×5 inch pan, the suggested bake time is 45-65 minutes. Always prioritize the toothpick test over strict timing.
Storing and Freezing Your Delicious Pumpkin Bread
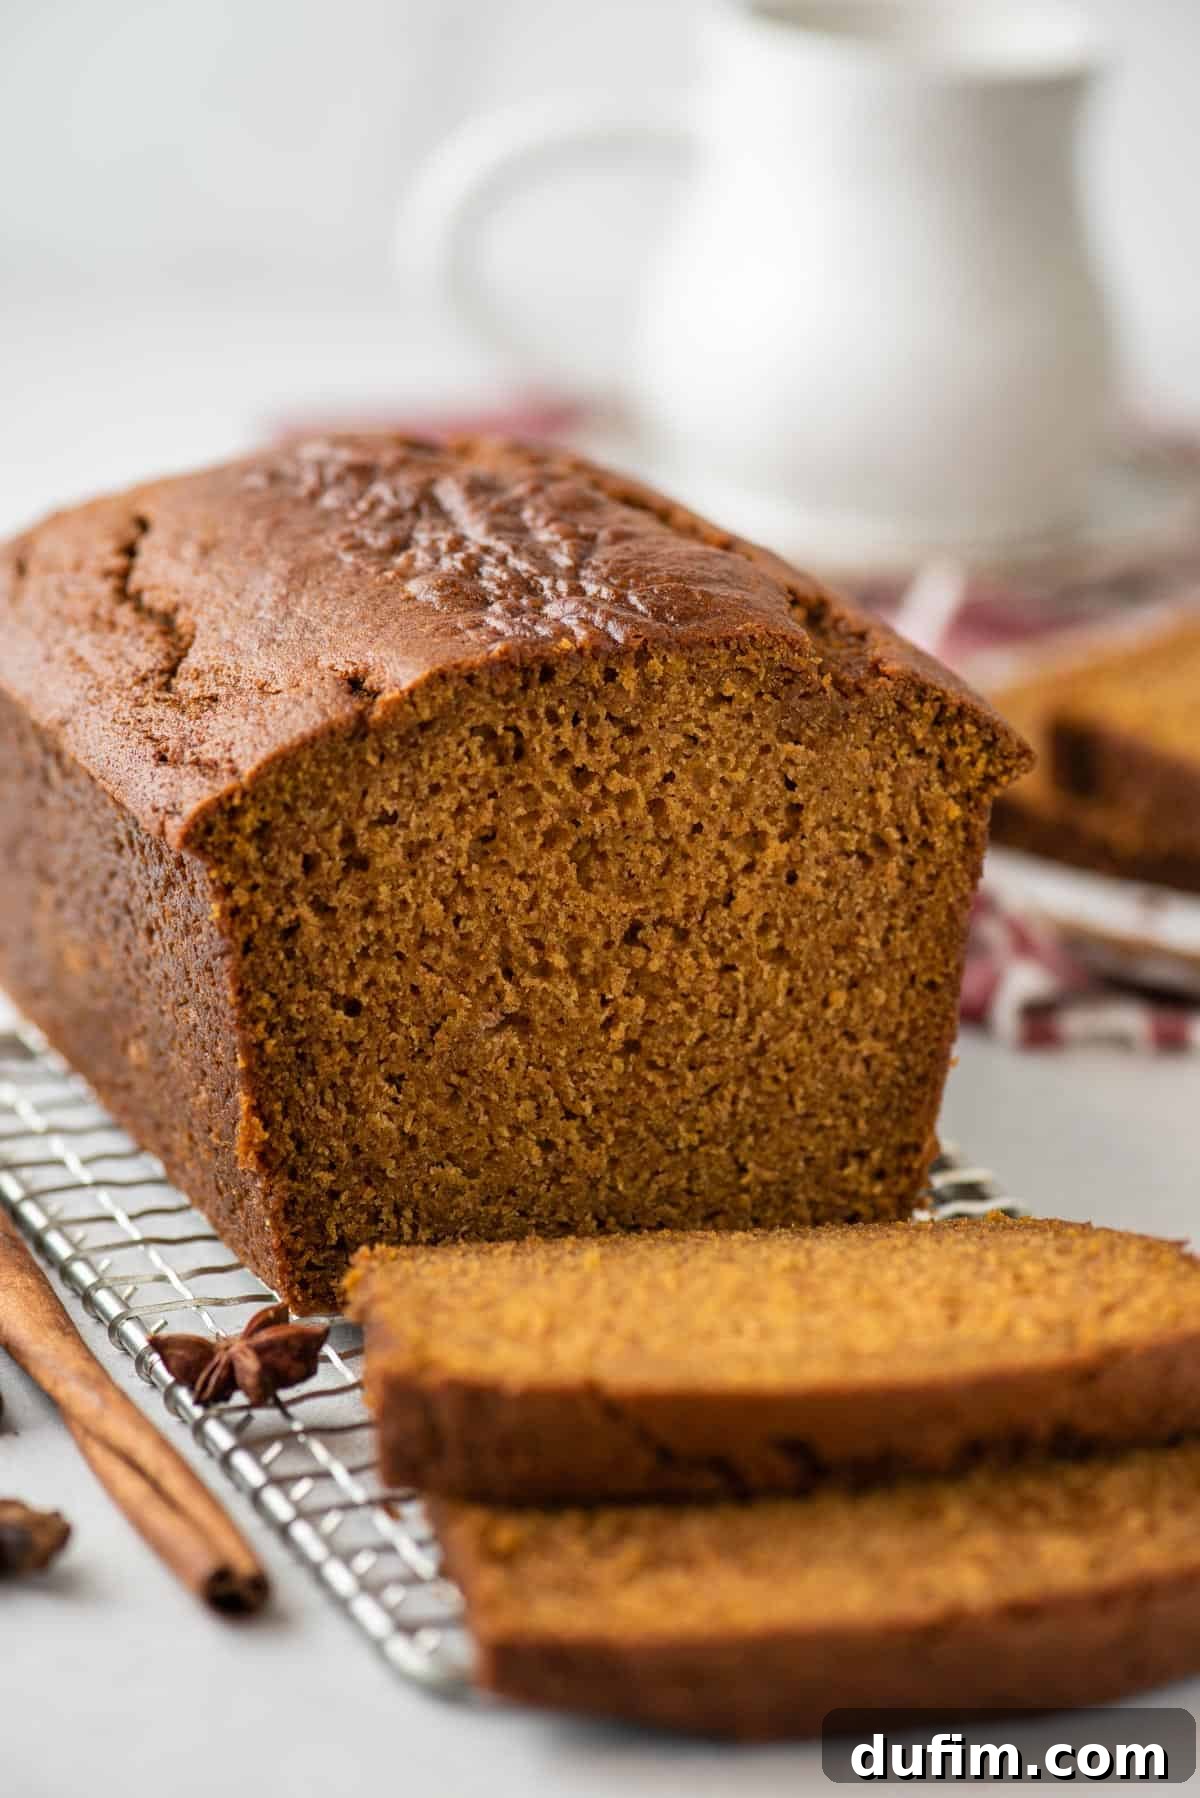
Another fantastic reason this will quickly become your ultimate pumpkin bread recipe is its exceptional shelf life and versatility in storage. Whether you prefer to keep it at room temperature, in the refrigerator, or freeze it for future enjoyment, this bread maintains its delicious flavor and moist texture beautifully.
Storage Options: Countertop vs. Refrigerator
- Countertop Storage: Once your pumpkin bread has cooled completely to room temperature, wrap it tightly in aluminum foil or plastic wrap. Alternatively, place it in an airtight container. Stored this way, it will remain fresh and moist at room temperature for up to five days, perfect for daily enjoyment.
- Refrigerator Storage: For slightly extended freshness, once cooled and securely wrapped in aluminum foil or plastic, your pumpkin bread can be stored in the refrigerator for up to a full week. While refrigeration can sometimes slightly alter the texture, it’s a good option for longer short-term storage.
Can You Freeze Pumpkin Bread? (Yes, Here’s How!)
Absolutely! Pumpkin bread is an excellent candidate for freezing, allowing you to enjoy this delightful treat long after the baking day. To freeze: ensure the bread is completely cool. Wrap the entire loaf or individual slices very tightly in plastic wrap, then follow with a layer of aluminum foil. For extra protection against freezer burn, you can also place the wrapped bread in a freezer-safe bag. It will keep beautifully in the freezer for up to three months. When you’re ready to enjoy, simply thaw at room temperature. For a warm, freshly baked experience, you can gently reheat thawed slices in the oven or microwave.
Does Pumpkin Bread Need Refrigeration? (The Truth About Freshness)
No, pumpkin bread does not typically require refrigeration for short-term storage. It will stay wonderfully fresh and moist when stored at room temperature, provided it’s kept tightly wrapped or in an airtight container for about 3-4 days. For longer storage, freezing is actually the better option compared to refrigerating. Refrigeration can sometimes accelerate the drying out process, potentially making your bread less moist over time. So, for peak freshness and texture, stick to the countertop or the freezer!
Variations and Add-Ins to Elevate Your Pumpkin Bread
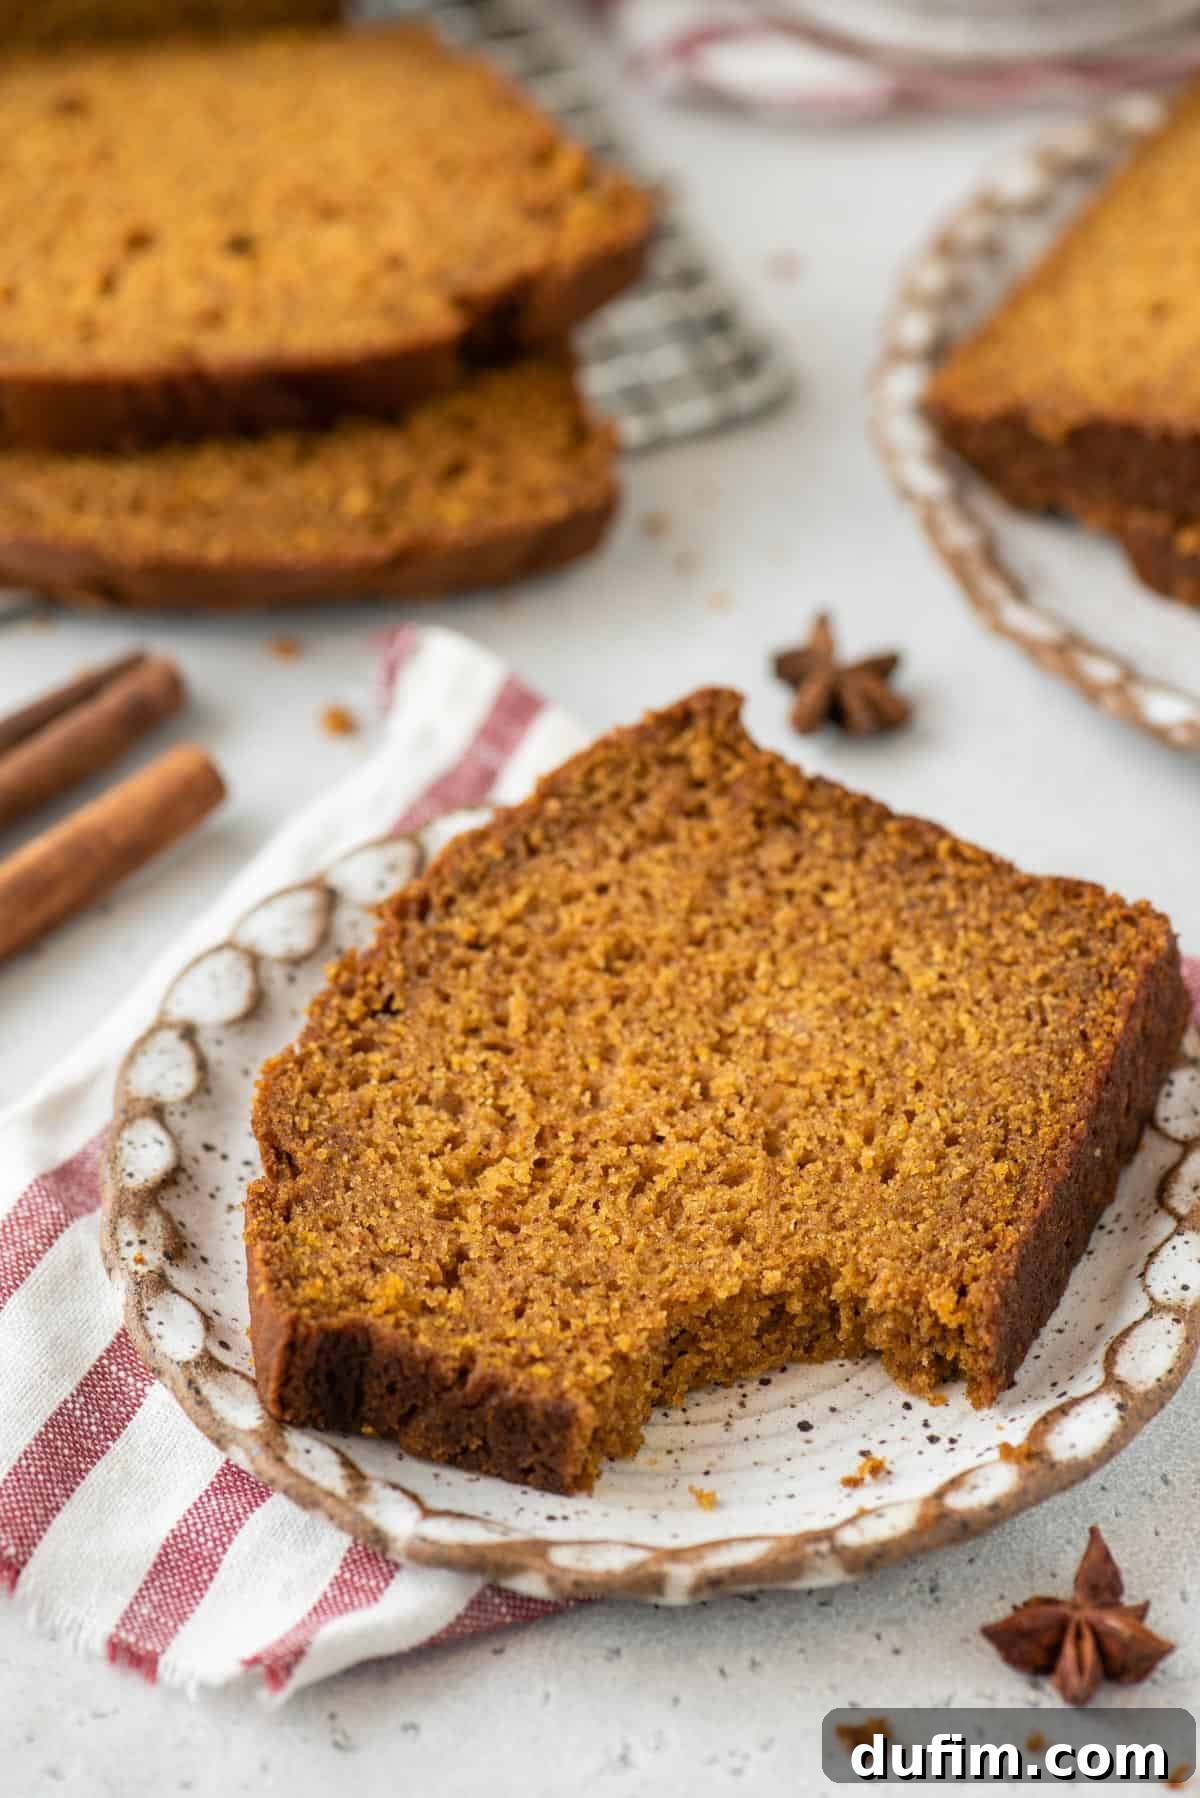
While this pumpkin bread recipe is perfectly delicious on its own, it also serves as a fantastic base for customization. Feel free to get creative and add your favorite mix-ins to make it uniquely yours:
- Chocolate Chips: Stir in 1 cup of semi-sweet, milk, or white chocolate chips for an added layer of sweetness and texture.
- Nuts: Add ½ to 1 cup of chopped pecans or walnuts for a delightful crunch and nutty flavor.
- Dried Fruit: Mix in ½ cup of dried cranberries, raisins, or chopped dried apricots for a burst of chewy sweetness.
- Cream Cheese Swirl: Prepare a simple cream cheese filling (softened cream cheese, a little sugar, and an egg yolk) and swirl it into the batter before baking for an extra decadent touch.
- Simple Glaze: Drizzle a powdered sugar glaze (powdered sugar mixed with a touch of milk or orange juice) over the cooled loaf for an elegant finish and added sweetness.
More Delightful Bread Recipes to Try
If you’ve enjoyed baking this pumpkin bread, you’ll love exploring these other fantastic quick bread recipes from my collection:
- Easy Banana Bread
- Green Monster Bread
- Cinnamon Swirl Bread
- Lemon Poppy Seed Bread
Rated 4 out of 5 stars by 1 user.
Best Recipe for Pumpkin Bread
Rate This Recipe
Print Recipe
Equipment
- Glass Mixing Bowl
- KitchenAid 9-Speed Mixer (Optional, can mix by hand)
- My favorite spatula!
- Loaf Pan (9×5 inch or 8.5×4.5 inch)
Ingredients
- 2 ¼ cups (270g) all-purpose flour
- 1 ½ tsp baking powder
- 1 ½ tsp baking soda
- 1 tsp salt
- 2 ½ tsp ground cinnamon
- ½ tsp ground nutmeg
- ¼ tsp ground ginger
- 15 oz (425g) 100% pure pumpkin puree (not pie filling)
- 1 cup (198g) granulated sugar
- ½ cup (107g) packed brown sugar
- ½ cup (118ml) vegetable oil
- 2 large eggs
Instructions
- Preheat the oven to 350ºF (175ºC).
- In a medium mixing bowl, combine the flour, baking powder, baking soda, salt, cinnamon, nutmeg, and ginger. Stir well and set aside.
- In a larger bowl, combine the pumpkin puree, granulated sugar, brown sugar, vegetable oil, and eggs. Stir with a spatula or mixer on low for about 30 seconds until thoroughly combined.
- Gradually mix in the dry ingredients into the wet ingredients. Mix by hand or with a mixer on low speed *just until combined*. Be careful not to overmix the batter; it will be very thick.
- Spray a loaf pan (either 9×5 inches or 8.5×4.5 inches) with non-stick cooking spray. Transfer the batter to the pan and spread it evenly with a spatula.
- Place the pan in the center of the oven and bake for 45-75 minutes, or until a toothpick inserted into the center comes out clean. Note that total bake times will vary based on your oven and pan size. For an 8.5×4.5 inch pan, baking typically takes 65-75 minutes. For a 9×5 inch pan, expect 45-65 minutes.
Video Tutorial
Notes
Understanding your loaf pan size is key to perfect baking. The two popular sizes are 9×5 inches and 8.5×4.5 inches. Despite similar numbers, these pans differ in volume by about 15%. The smaller 8.5×4.5 inch pan yields a taller, more domed bread and will generally require 5-10 minutes longer baking time than the larger 9×5 inch pan.
Always perform the toothpick test to confirm doneness, as oven temperatures and pan variations can affect total baking time. The total suggested bake time for an 8.5×4.5 inch pan is 65-75 minutes, while a 9×5 inch pan typically bakes in 45-65 minutes.
Nutrition Information
Nutrition Disclosure
All nutritional values are approximate and provided to the reader as a courtesy. Changes to ingredients and/or quantities will alter the estimated nutritional calculations. This information is for guidance only and not a substitute for professional nutritional advice.
Like this recipe? Rate and comment below!