

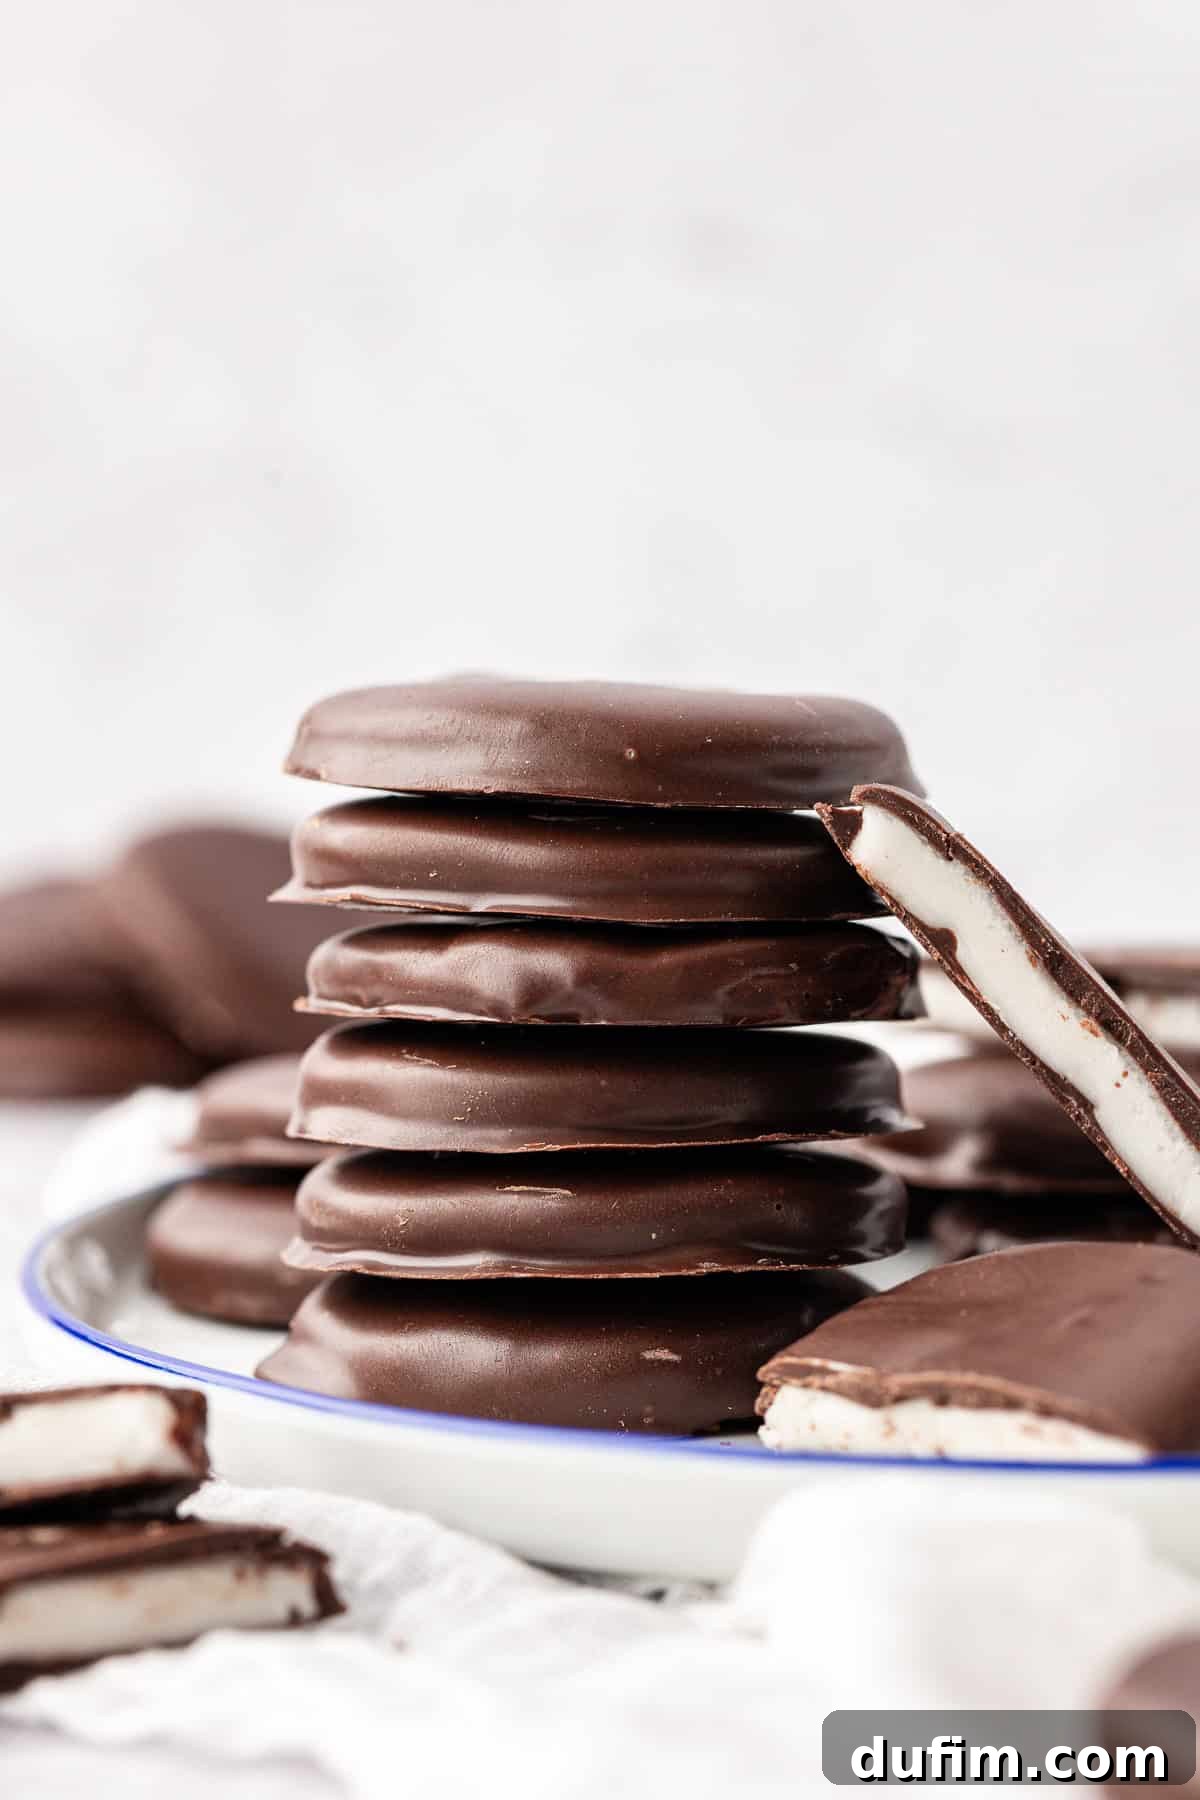
Over the years, I’ve poured my passion into perfecting this homemade peppermint patties recipe, discovering that truly professional and delightfully smooth results hinge on the smallest details. Today, I’m thrilled to unveil all my cherished secrets and proven tricks, ensuring you can create these exquisite mint chocolate treats that will undoubtedly impress your family and friends!
This recipe is so easy to make and the product is delicious! I made them around Christmas and cut them out into little gingerbread men instead of circles – they were a hit.
– Katlin
Why You’ll Absolutely Adore This Peppermint Patties Recipe!
Prepare to fall in love with this addictive mint chocolate candy! Once you realize just how effortless it is to craft these superior treats right in your own kitchen, you’ll find yourself saying a permanent goodbye to store-bought versions. Yes, you heard that correctly! Bid farewell to your beloved York peppermint patties and embrace this homemade rendition – a truly remarkable upgrade that offers unparalleled freshness and flavor. These aren’t just candies; they’re a delightful experience, delivering that unmistakable cool burst of peppermint perfectly balanced with rich, dark chocolate.
The magic of a peppermint patty lies undeniably in its creamy, dreamy peppermint center. We aim for a filling that is incredibly soft and melts in your mouth, never sticky or overly firm. Achieving this ideal texture is paramount, and it’s a detail I’ve spent considerable time mastering. Through countless batches, I’ve learned that if your filling starts to feel a bit too sticky, a small adjustment with a little extra powdered sugar works wonders, transforming it into the perfect consistency. Another crucial tip for the most authentic and vibrant flavor: always reach for pure peppermint extract, not generic mint extract. The subtle difference makes a monumental impact on the final taste, giving your patties that signature refreshing kick.
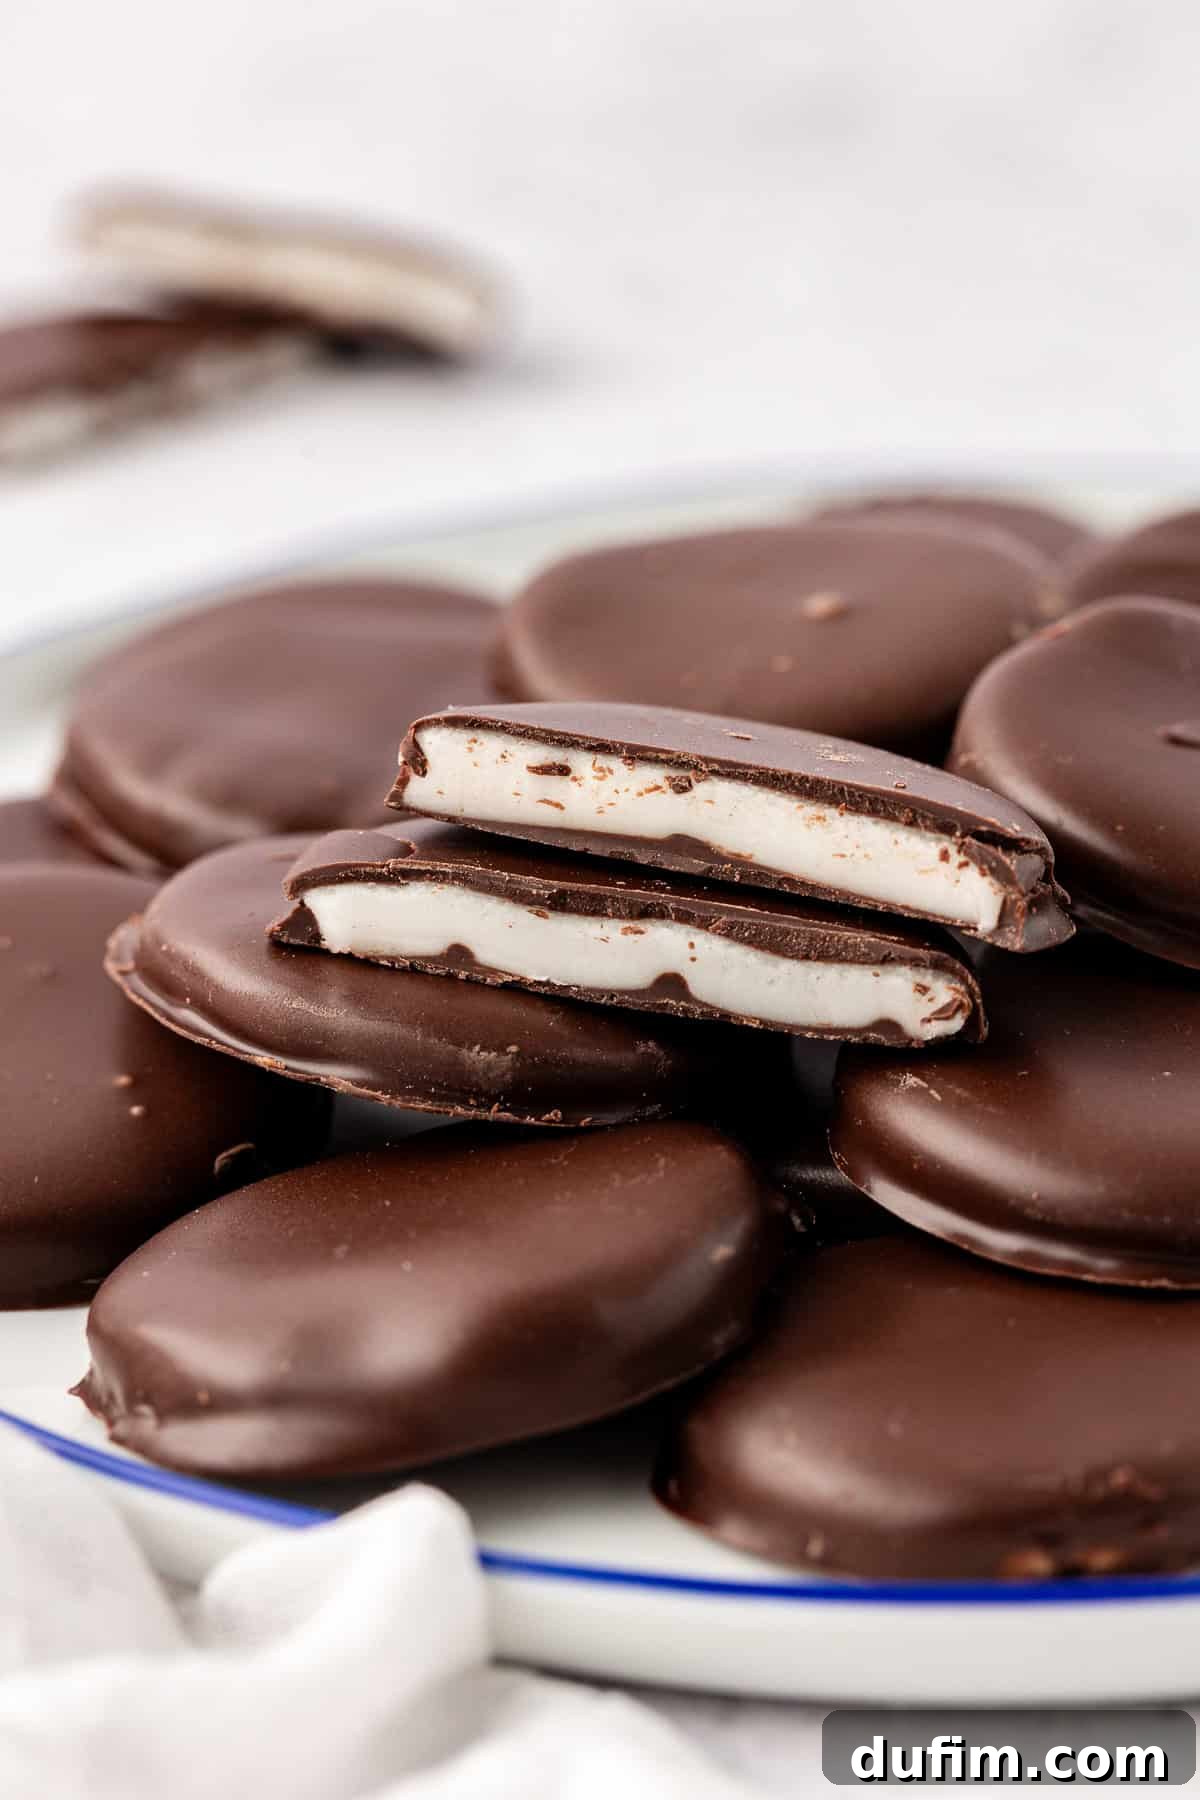
The final touch that elevates these confections from simple sweets to professional-looking delights is all about presentation. And fear not, I have a few ingenious tricks ready to share! First, to ensure a flawlessly smooth and non-stick rolling process, we sandwich the peppermint filling between two sheets of parchment paper. This method prevents any frustrating sticking and helps achieve a uniform thickness. Next, when cutting the discs, I recommend aiming for a thickness of no less than ½ inch. This seemingly small detail makes a huge difference in how easily and cleanly they can be dipped into the melted chocolate, preventing breakage and ensuring a beautiful coating.
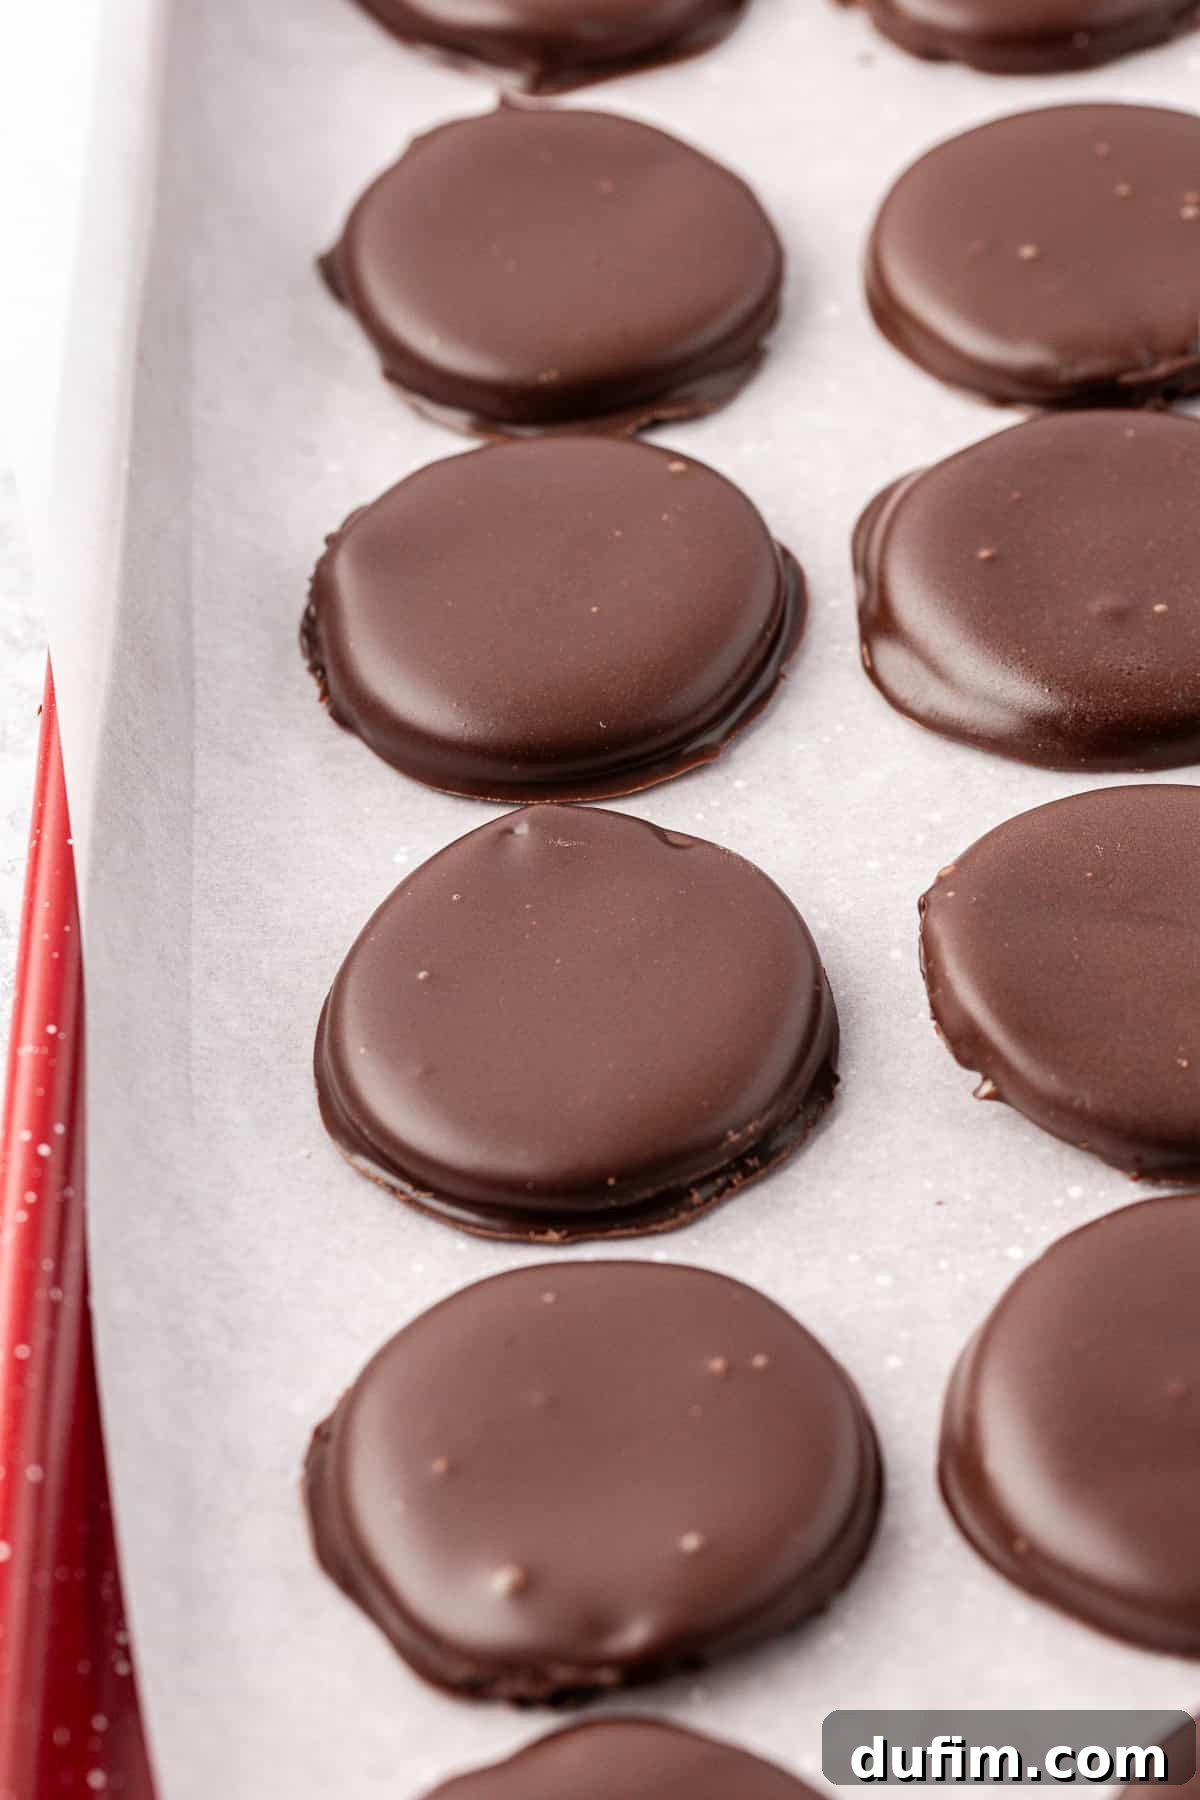
Chilling the peppermint discs thoroughly before dipping is another non-negotiable step. This ensures they firm up beautifully, allowing them to retain their perfect shape as they meet the warm chocolate. When it comes to the dipping itself, using a fork or a specialized dipping tool is essential for a clean, polished finish. Gently tapping the dipping fork on the edge of the bowl after coating helps remove any excess chocolate, preventing unsightly puddles and creating that sleek, professional look. Follow these simple yet effective steps, and you’ll be rewarded with picture-perfect peppermint patties, each boasting a creamy, minty filling and a glossy chocolate shell that’s ready to dazzle.
Keep reading to uncover more of my tried-and-true tips, essential troubleshooting advice, and a treasure trove of creative ideas for both serving and gifting these delightful homemade treats!
Essential Ingredients for Your Perfect Peppermint Patty Recipe
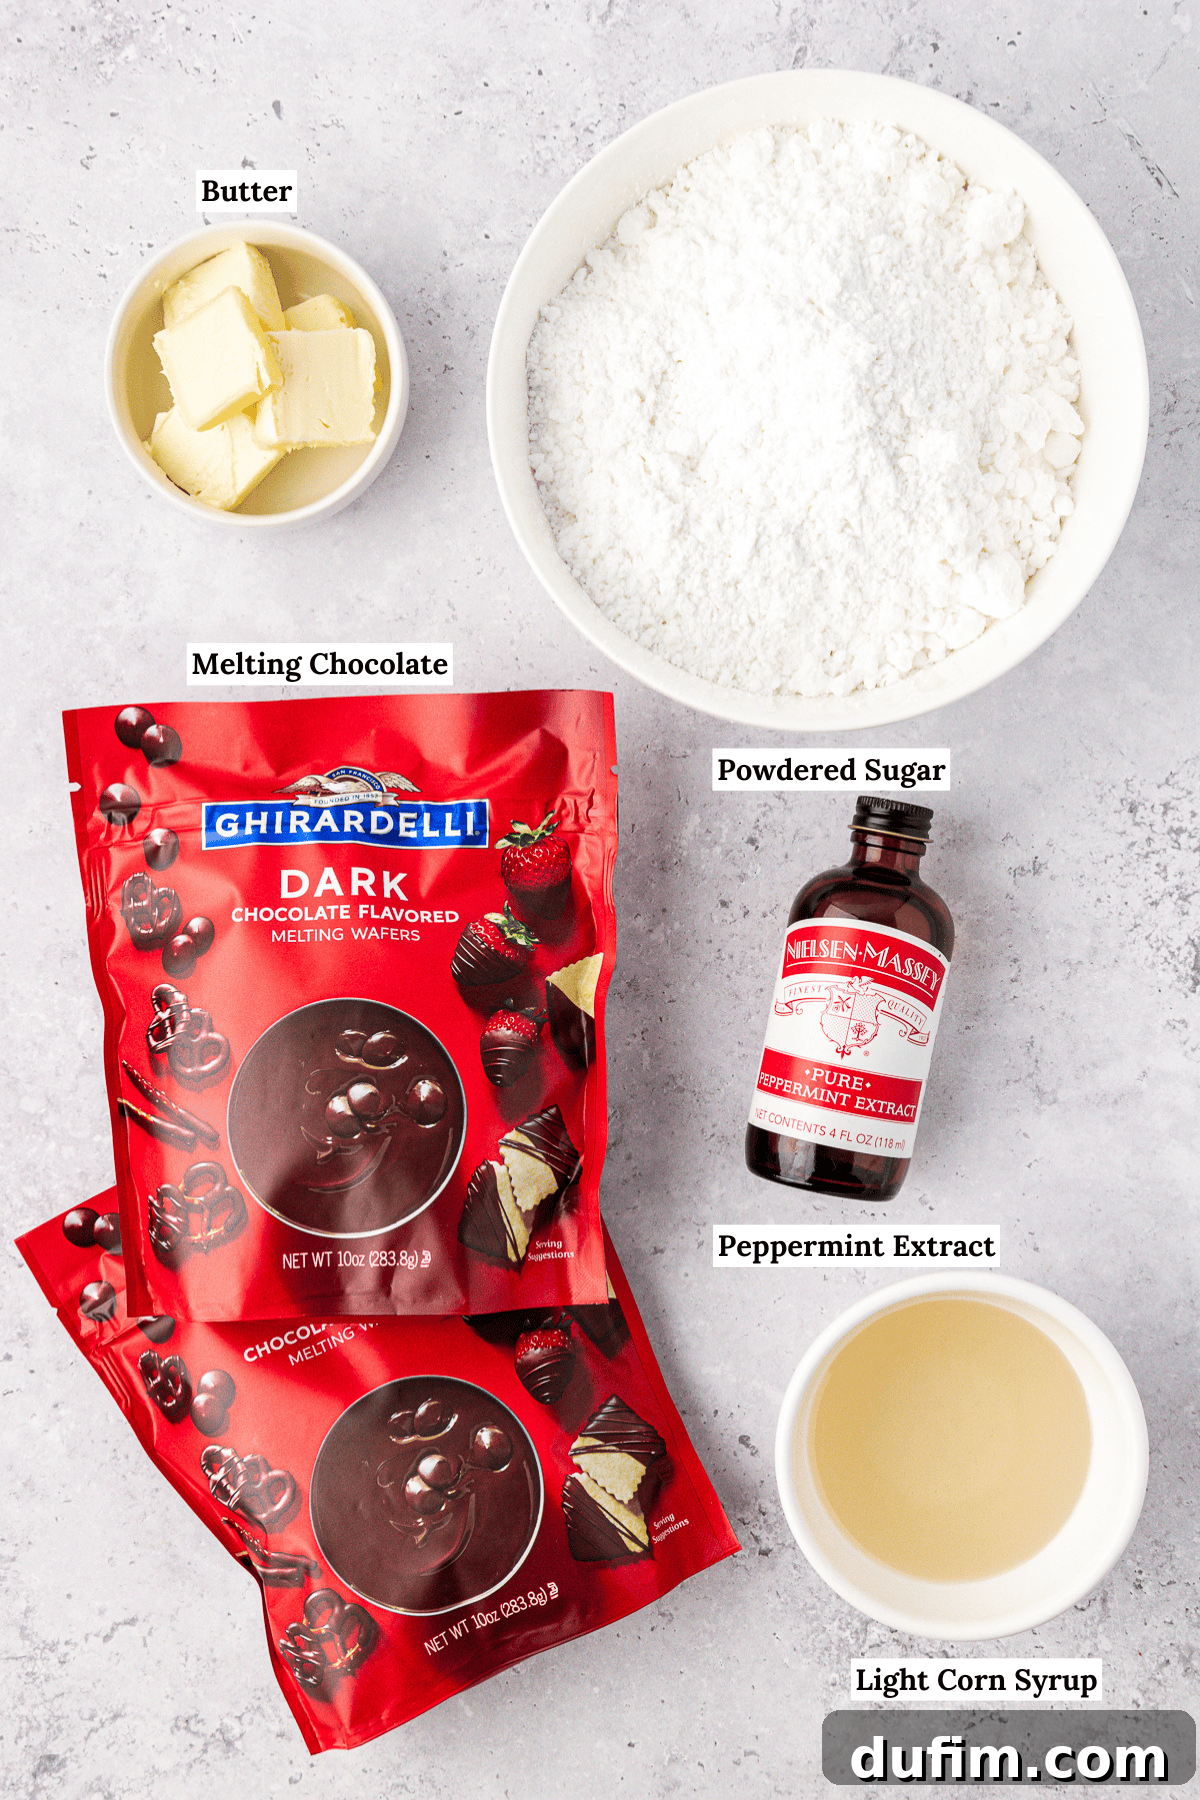
One of the many joys of this particular recipe is its simplicity. This no-bake wonder requires only a handful of readily available ingredients, proving that extraordinary flavor doesn’t need an elaborate shopping list. Below is a summary of what you’ll need to gather to create the most exquisite homemade peppermint patties. For precise measurements and the complete, detailed recipe, be sure to check the dedicated recipe card further down this page.
- Unsalted butter, softened: Using unsalted butter gives you complete control over the salt content of your patties. Softened butter is crucial for achieving a smooth, well-incorporated filling without lumps.
- Light corn syrup: This ingredient is key to the filling’s texture. It contributes to the characteristic chewiness and creaminess of the peppermint center, and also helps prevent the powdered sugar from crystallizing, ensuring a super smooth result.
- Peppermint extract: As highlighted before, this is non-negotiable for authentic flavor. Peppermint extract delivers that clean, bright, and refreshing minty taste that defines a classic peppermint patty. Avoid mint extract, which can have a more spearmint-like flavor.
- Powdered sugar (confectioners’ sugar): The backbone of our creamy filling. Powdered sugar dissolves beautifully to create a smooth, non-gritty texture. Having a little extra on hand is always a good idea for adjustments.
- Ghirardelli chocolate melting wafers: For the ultimate chocolate coating, quality matters. Ghirardelli wafers are formulated to melt smoothly and set with a lovely, glossy finish, providing that perfect crack when you bite into the patty. You can use dark, semi-sweet, or milk chocolate based on your preference.

Crafting Perfection: How to Make Homemade Peppermint Patties
My easy homemade peppermint patties recipe is designed to be incredibly straightforward, ensuring success even if you’re a novice in the kitchen or trying a no-bake dessert for the very first time. You’ll find the complete, step-by-step instructions in the recipe card below, but here I’ll walk you through the process with my best tips embedded to guarantee a standout treat. This is how you transform simple ingredients into mint chocolate magic:
Step 1: Prepare the Irresistible Peppermint Filling
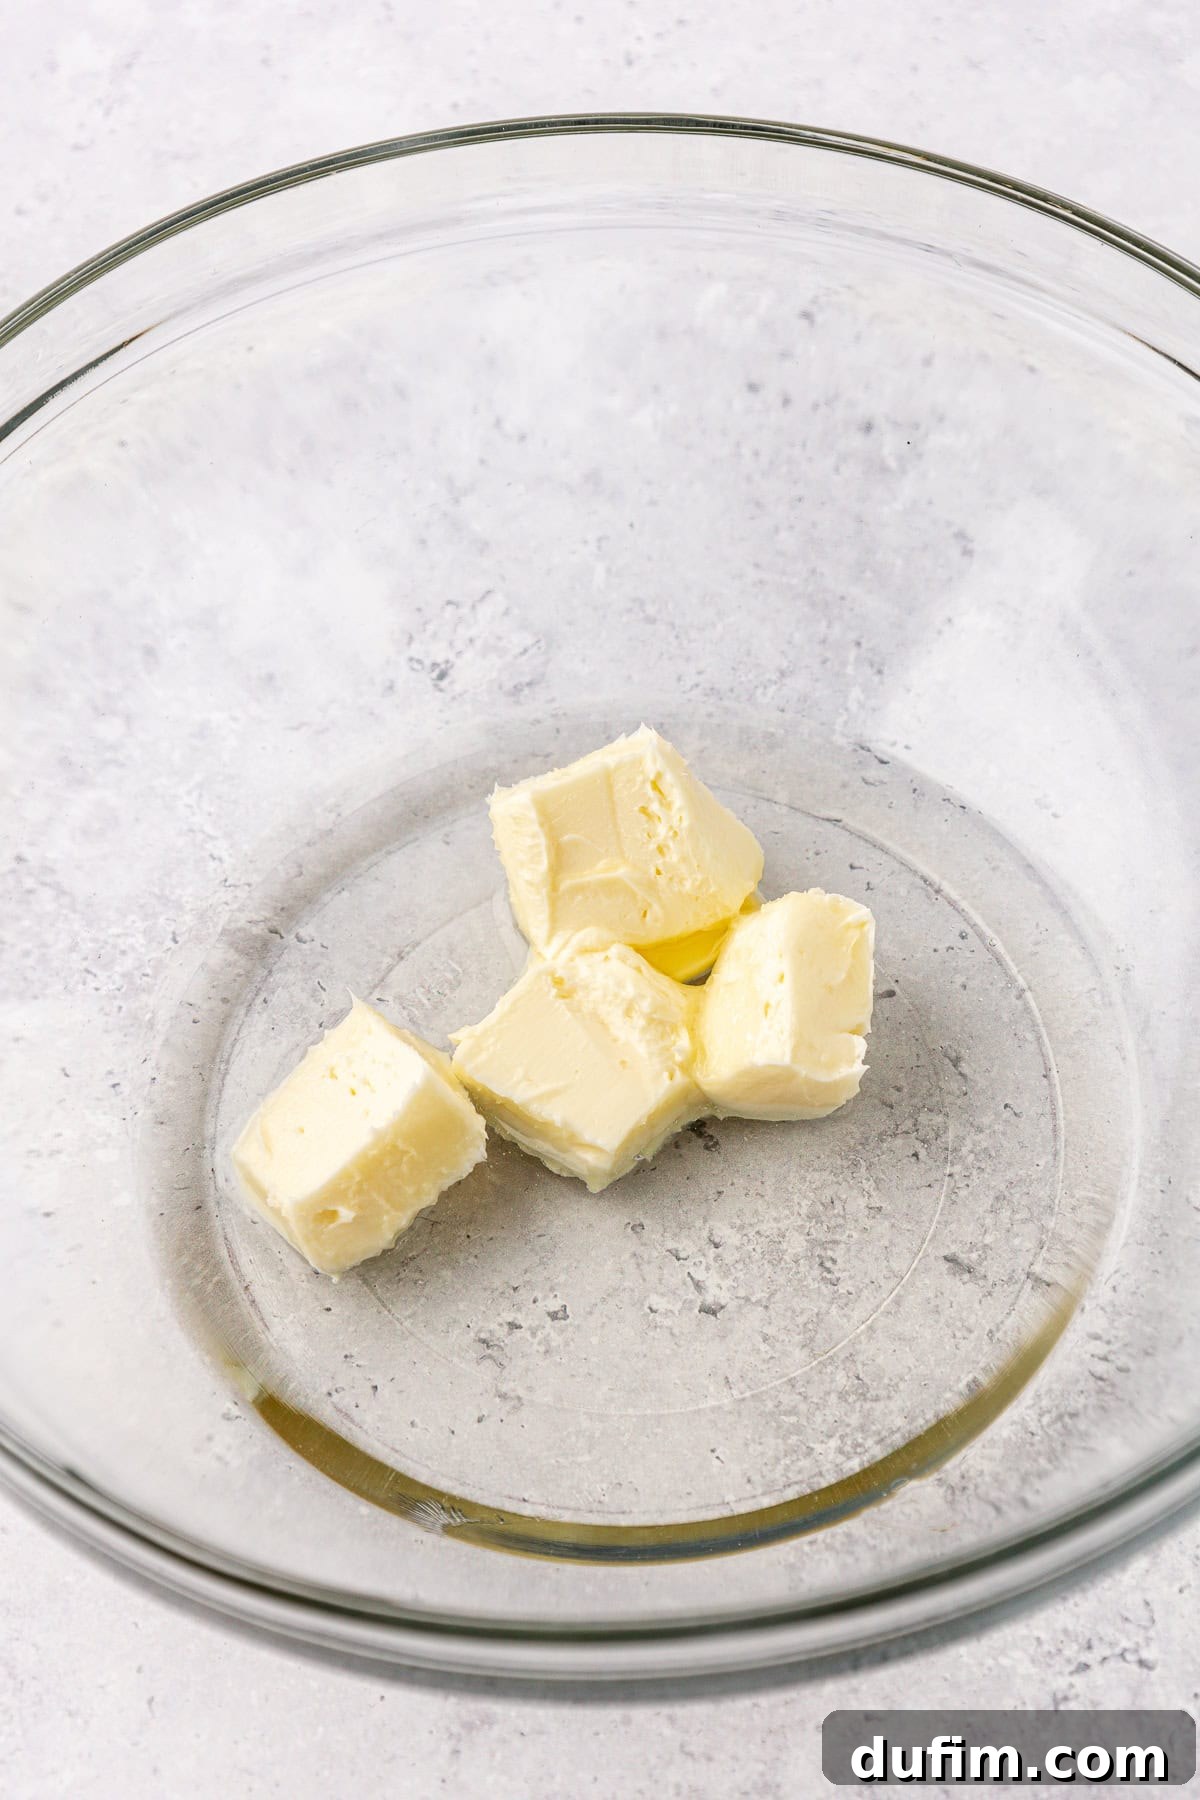
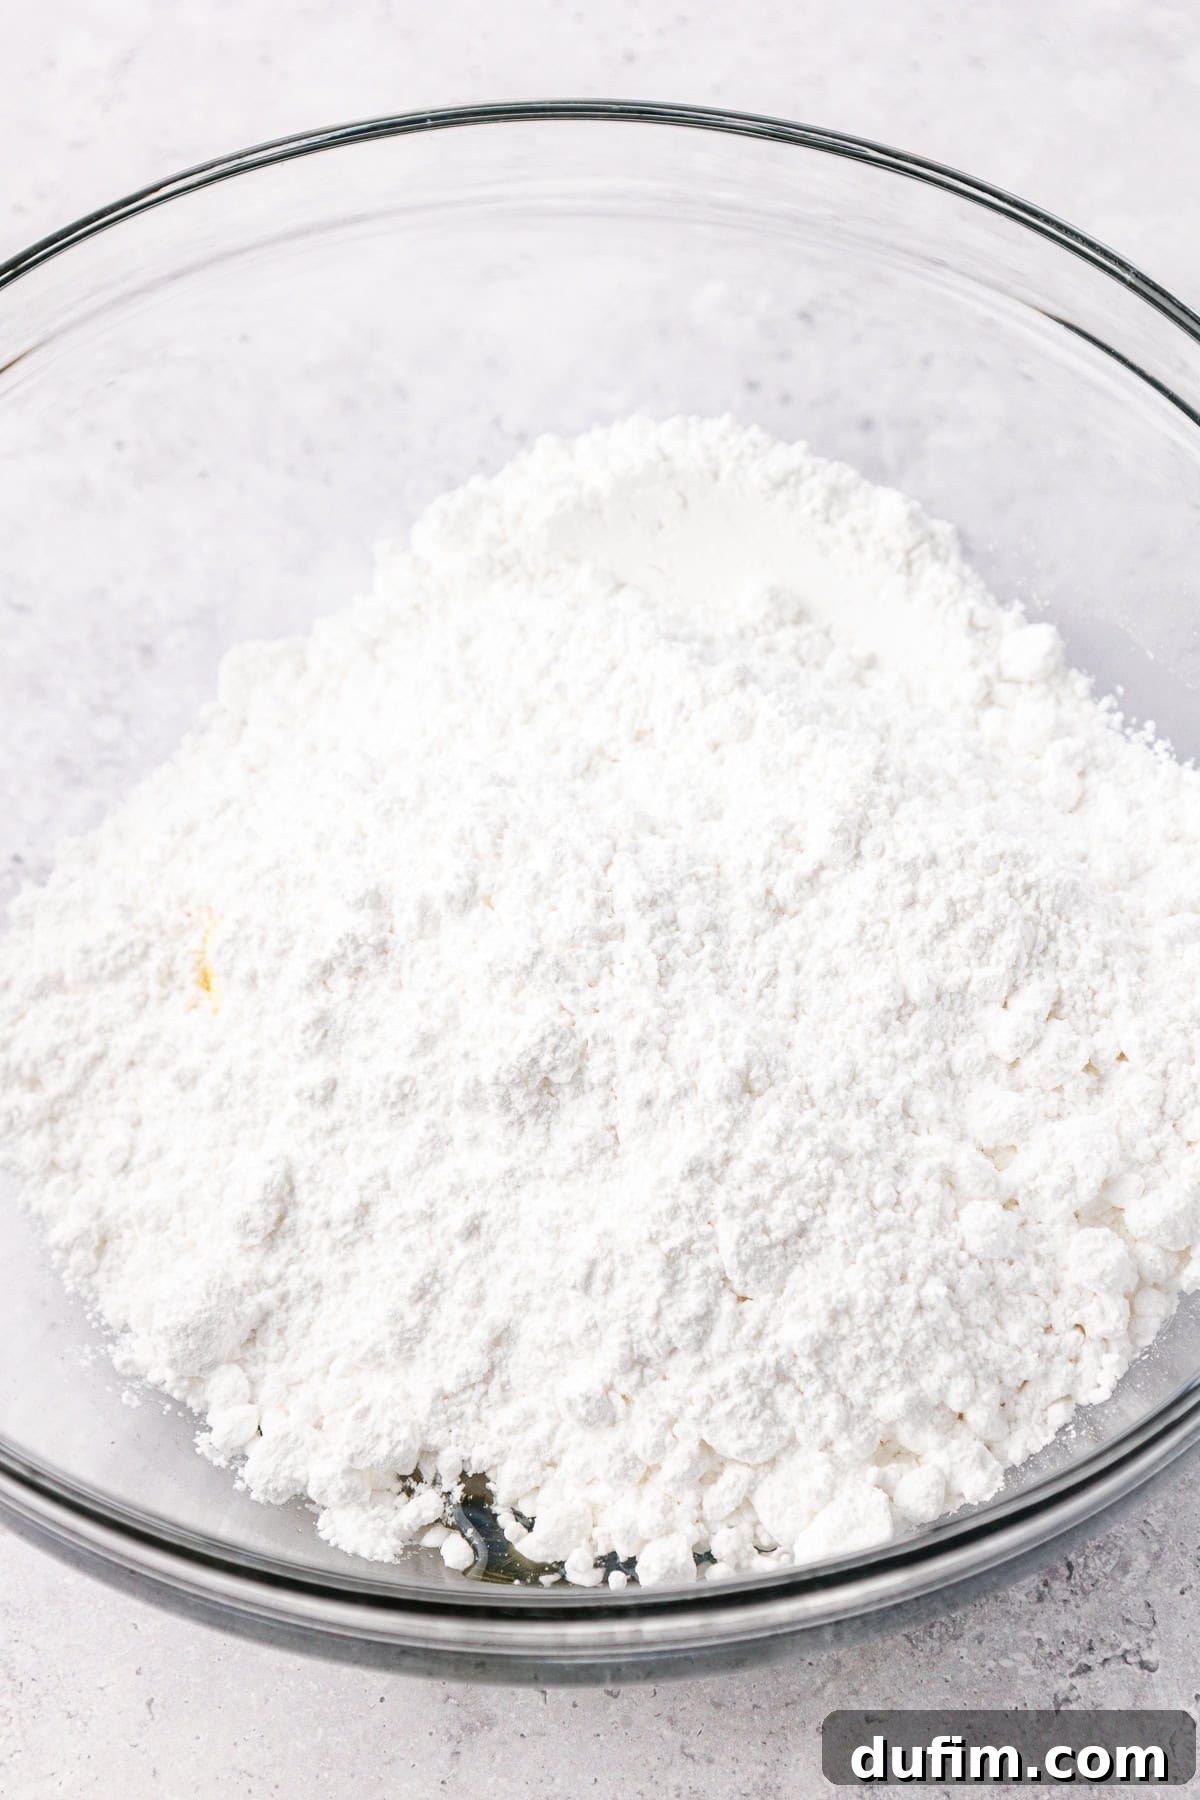
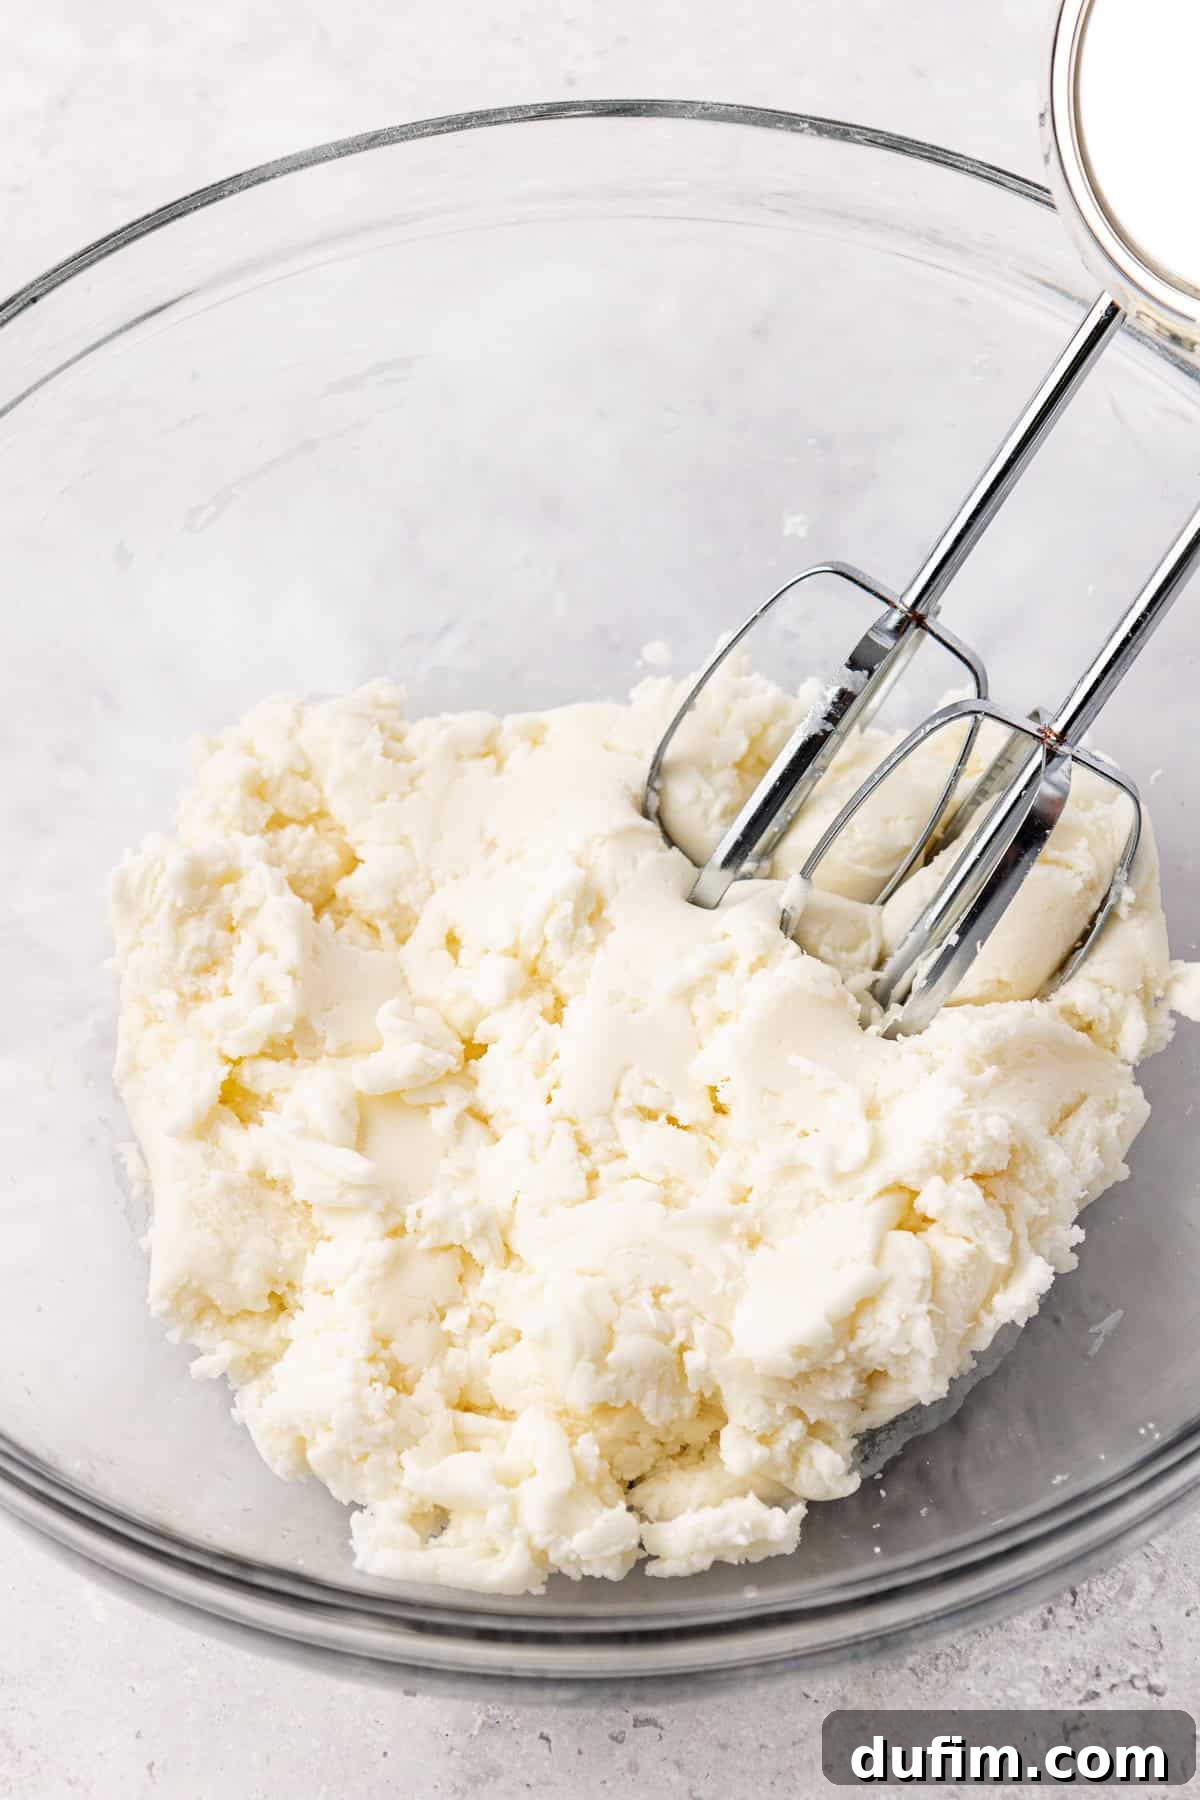
- Combine Your Core Ingredients: In a large mixing bowl, begin by beating together the softened unsalted butter, light corn syrup, fragrant peppermint extract, and the powdered sugar using an electric mixer. Start on a low speed to prevent a cloud of powdered sugar, then increase gradually. Initially, the mixture will appear quite crumbly, almost like wet sand. Don’t be discouraged; this is perfectly normal. Continue beating, scraping down the sides of the bowl as needed, until the ingredients are mostly combined. You’ll notice it gradually start to thicken significantly, transforming into a dense, workable dough. Patience here ensures thorough incorporation and a uniform flavor.
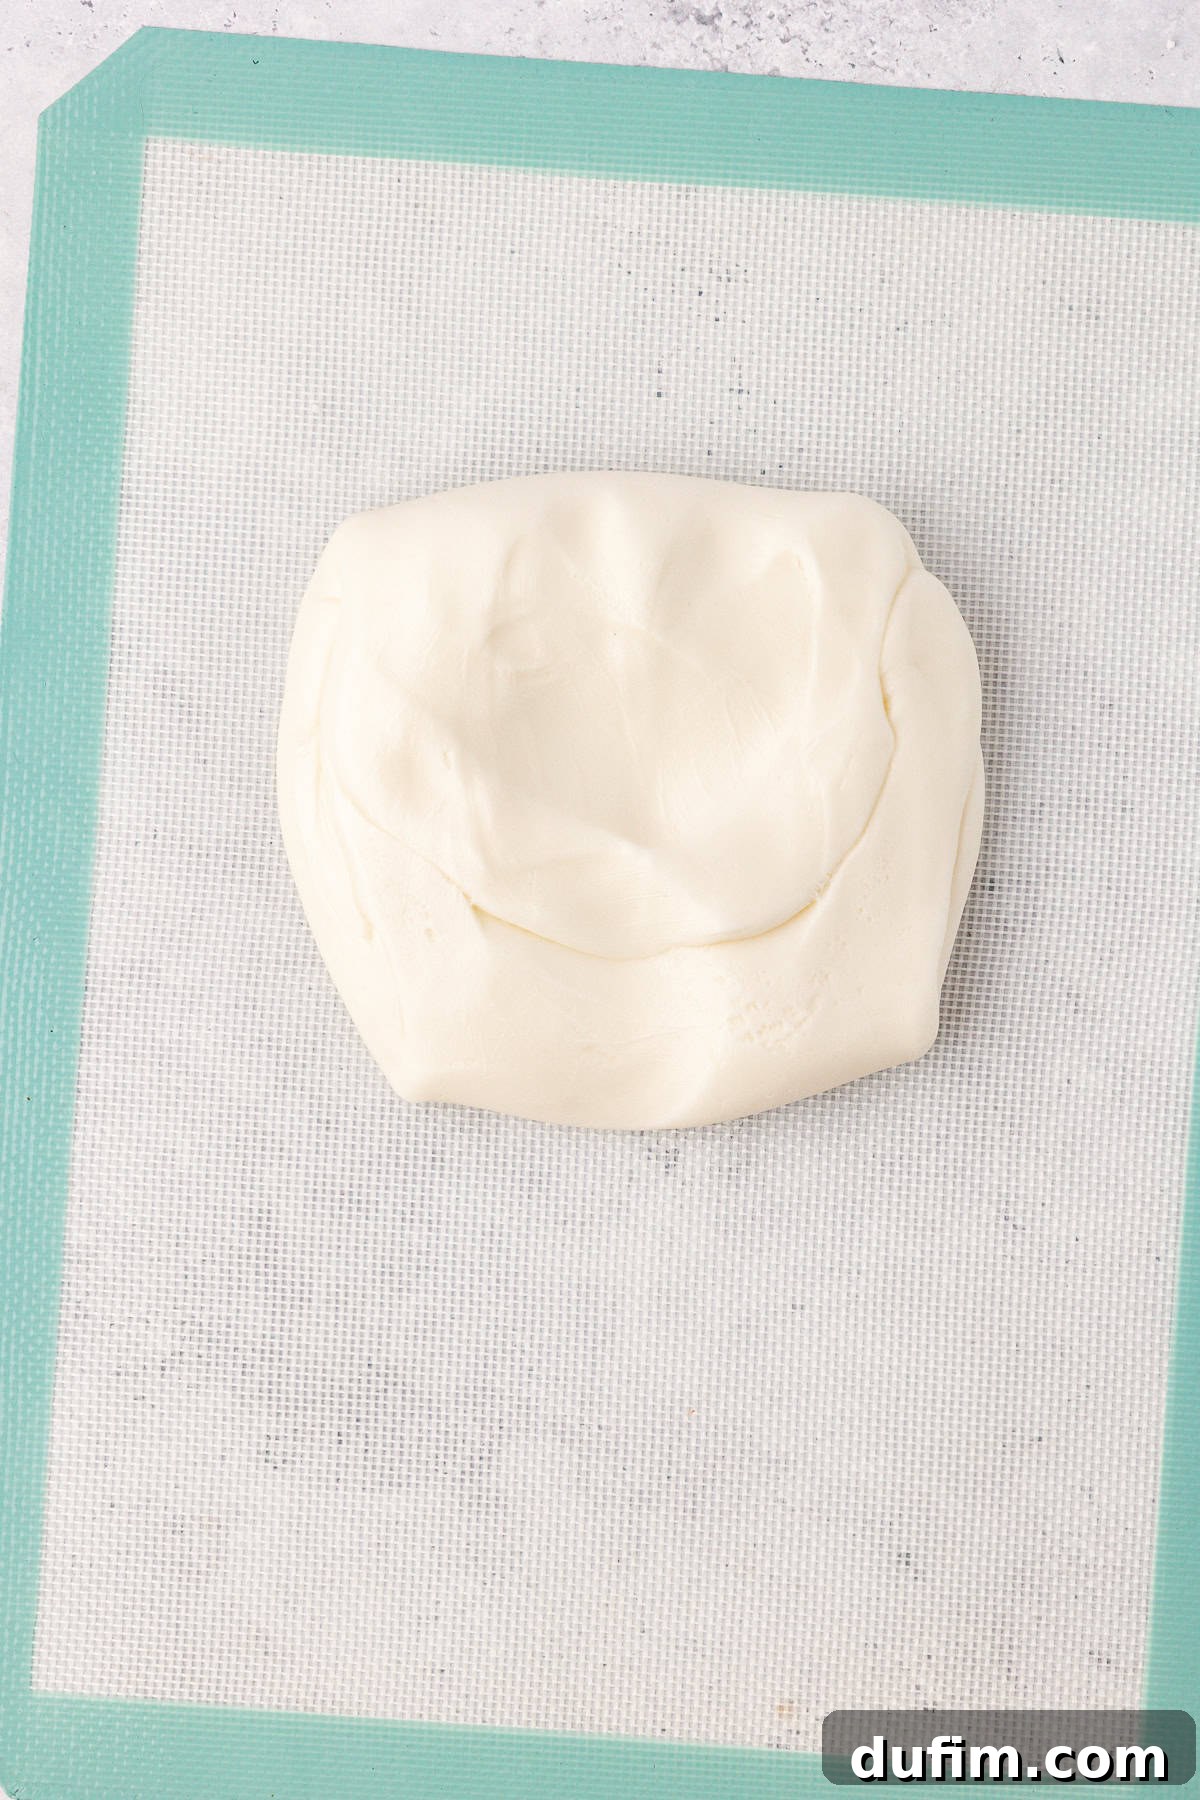
- Knead for Ultimate Smoothness: Once the powdered sugar is fully incorporated and you have a thick mixture, transfer the dough onto a clean, lightly powdered surface. Gently knead the dough by hand until it becomes completely smooth and pliable. This kneading step is important for achieving that silky, non-gritty texture in your finished patties. If, at any point, the dough feels too sticky to handle comfortably, simply add a small amount of extra powdered sugar, one tablespoon at a time, until it reaches a perfect, non-tacky consistency. You want it soft enough to roll, but firm enough to hold its shape.
Step 2: Expertly Shape Your Peppermint Patties
- Roll Out the Dough Evenly: To prevent any sticking and ensure an even thickness, place the peppermint dough between two sheets of parchment paper. Using a rolling pin, carefully roll out the dough to an approximate thickness of ½ inch. Aim for uniformity across the entire sheet of dough, as this will result in consistently sized and easier-to-dip patties. This parchment paper trick is a game-changer for clean handling.
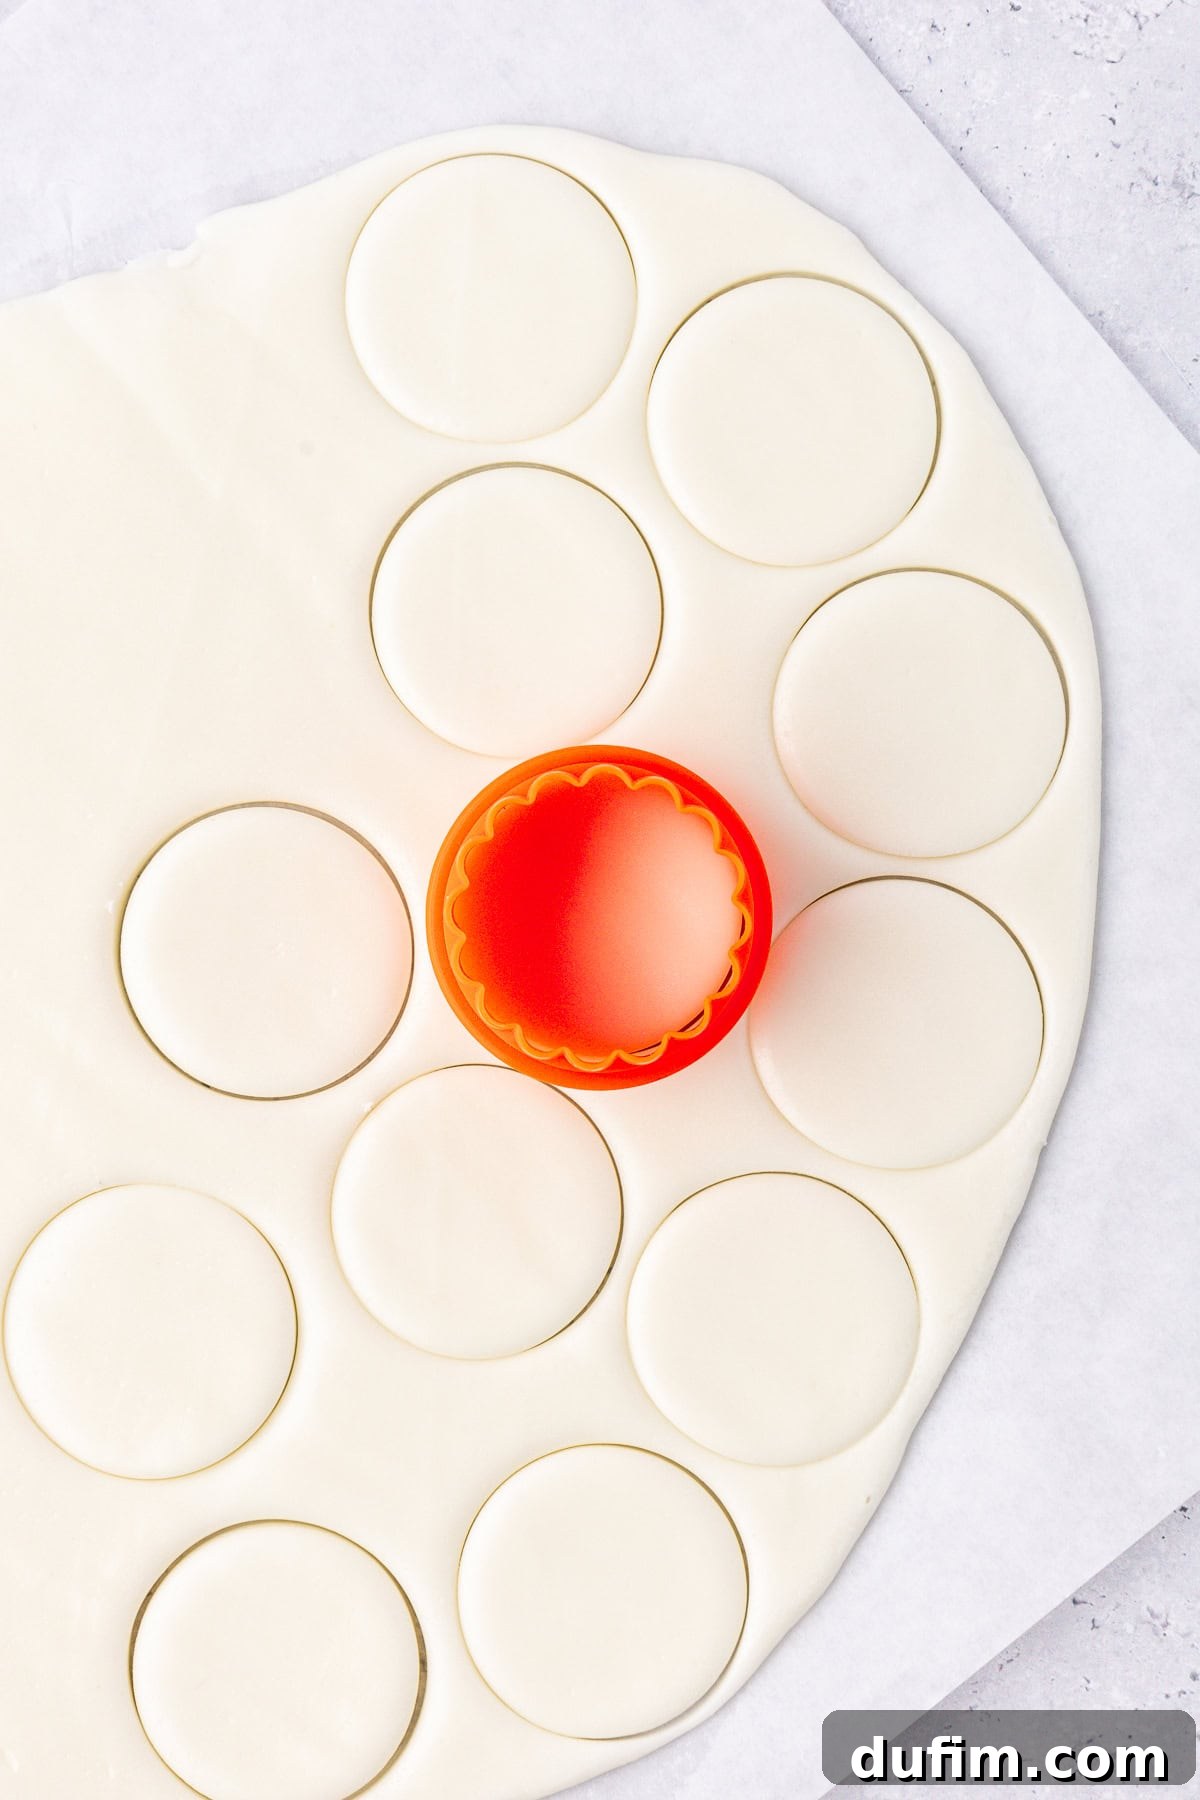
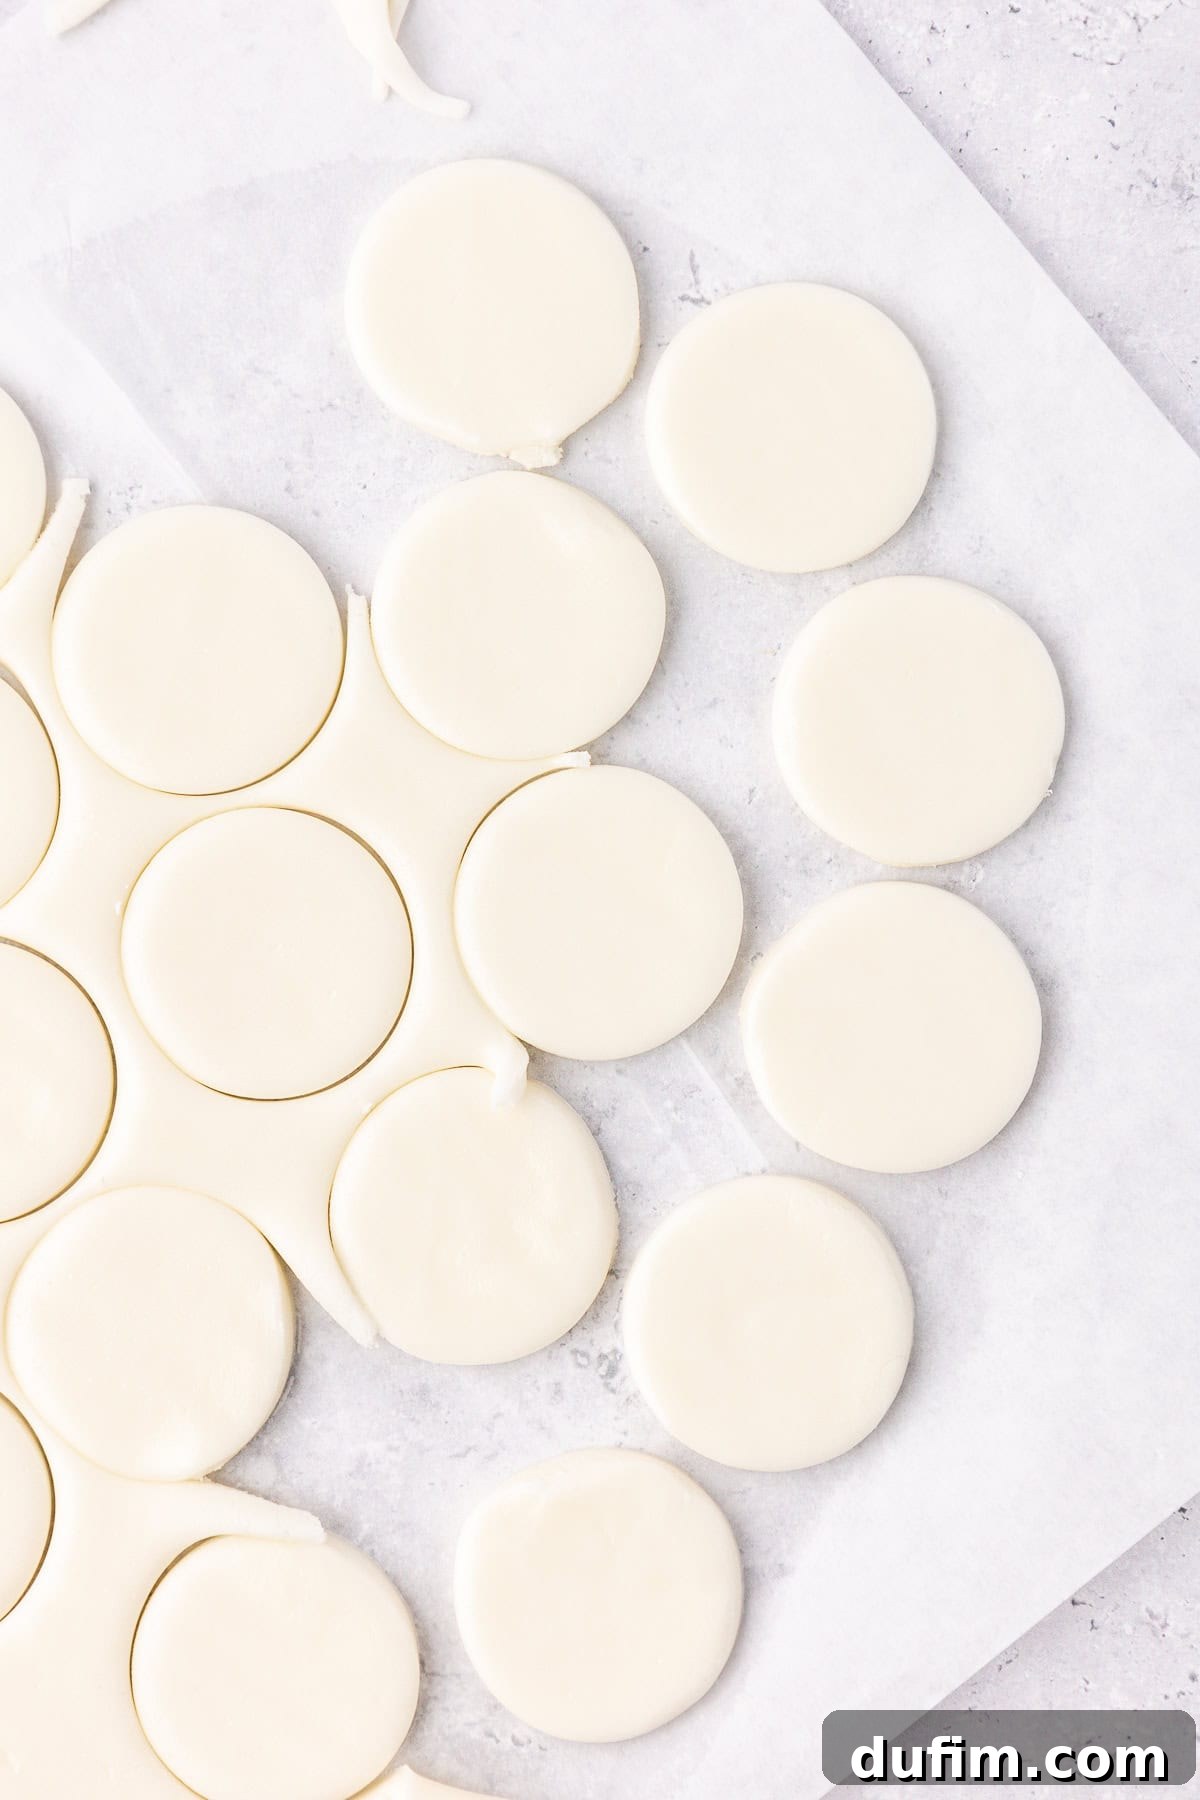
- Cut Your Patties: Now comes the fun part! Use a small round cookie cutter to cut out individual circles from the rolled-out dough. You have flexibility here: anything from ½ inch to 1 ½ inches in diameter works beautifully, depending on your preferred patty size. Carefully transfer these delicate circles to a baking sheet that you’ve lined with parchment paper. This preparation ensures they won’t stick and are easy to handle.
- The Crucial Chill: This step is absolutely vital for maintaining the shape of your patties. Place the baking sheet, loaded with your peppermint discs, into the freezer for approximately 30 minutes. This chilling period allows the peppermint filling to firm up completely, making it resilient enough to withstand the dipping process without losing its perfect circular form. Do not skip this!
Step 3: Elegantly Coat with Rich Dark Chocolate
- Melt Your Chocolate Flawlessly: While your peppermint discs are chilling, it’s time to prepare the chocolate coating. Melt the Ghirardelli dark chocolate melting wafers according to the specific package instructions. You can achieve this using either a microwave (stirring frequently in short intervals to prevent burning) or a double boiler for a more controlled melt. Stir the melted chocolate until it is completely smooth, glossy, and free of any lumps. The consistency should be fluid enough for easy dipping.
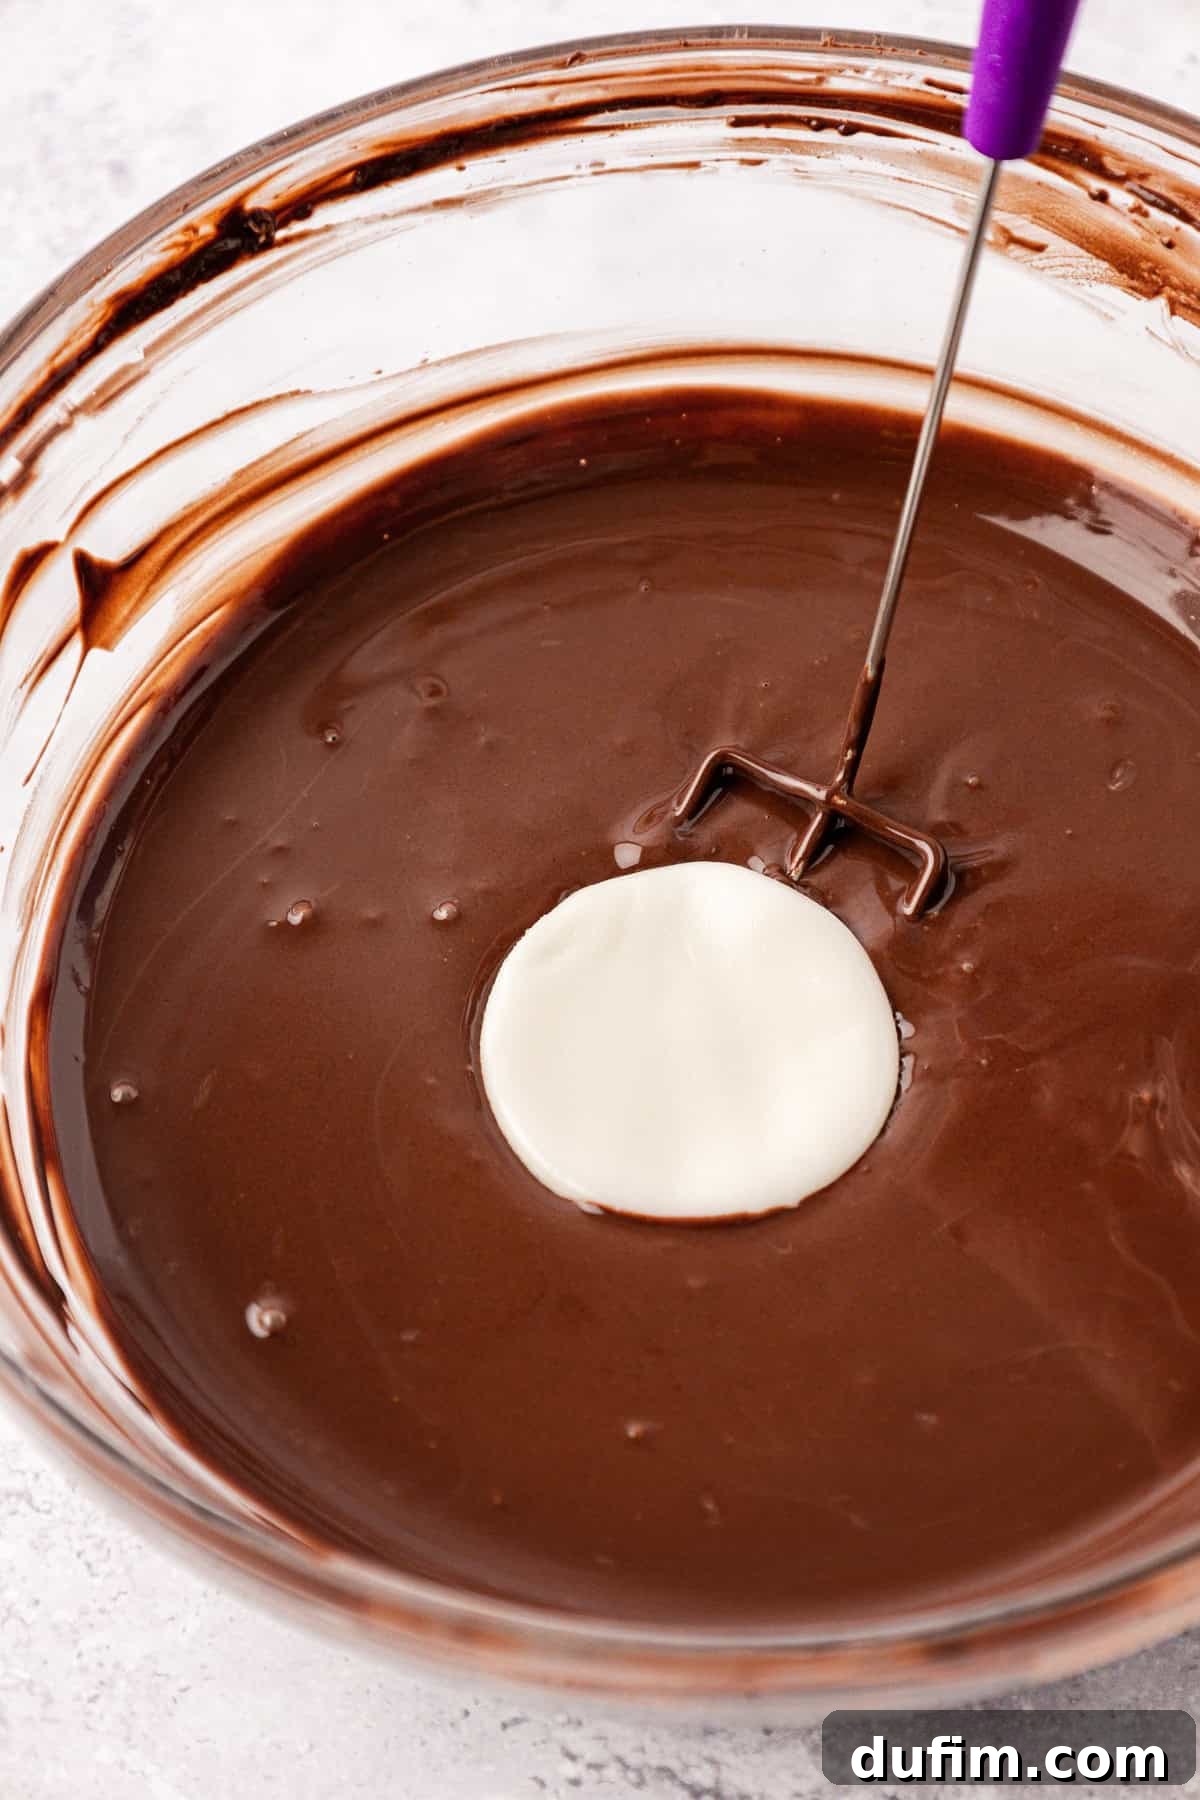
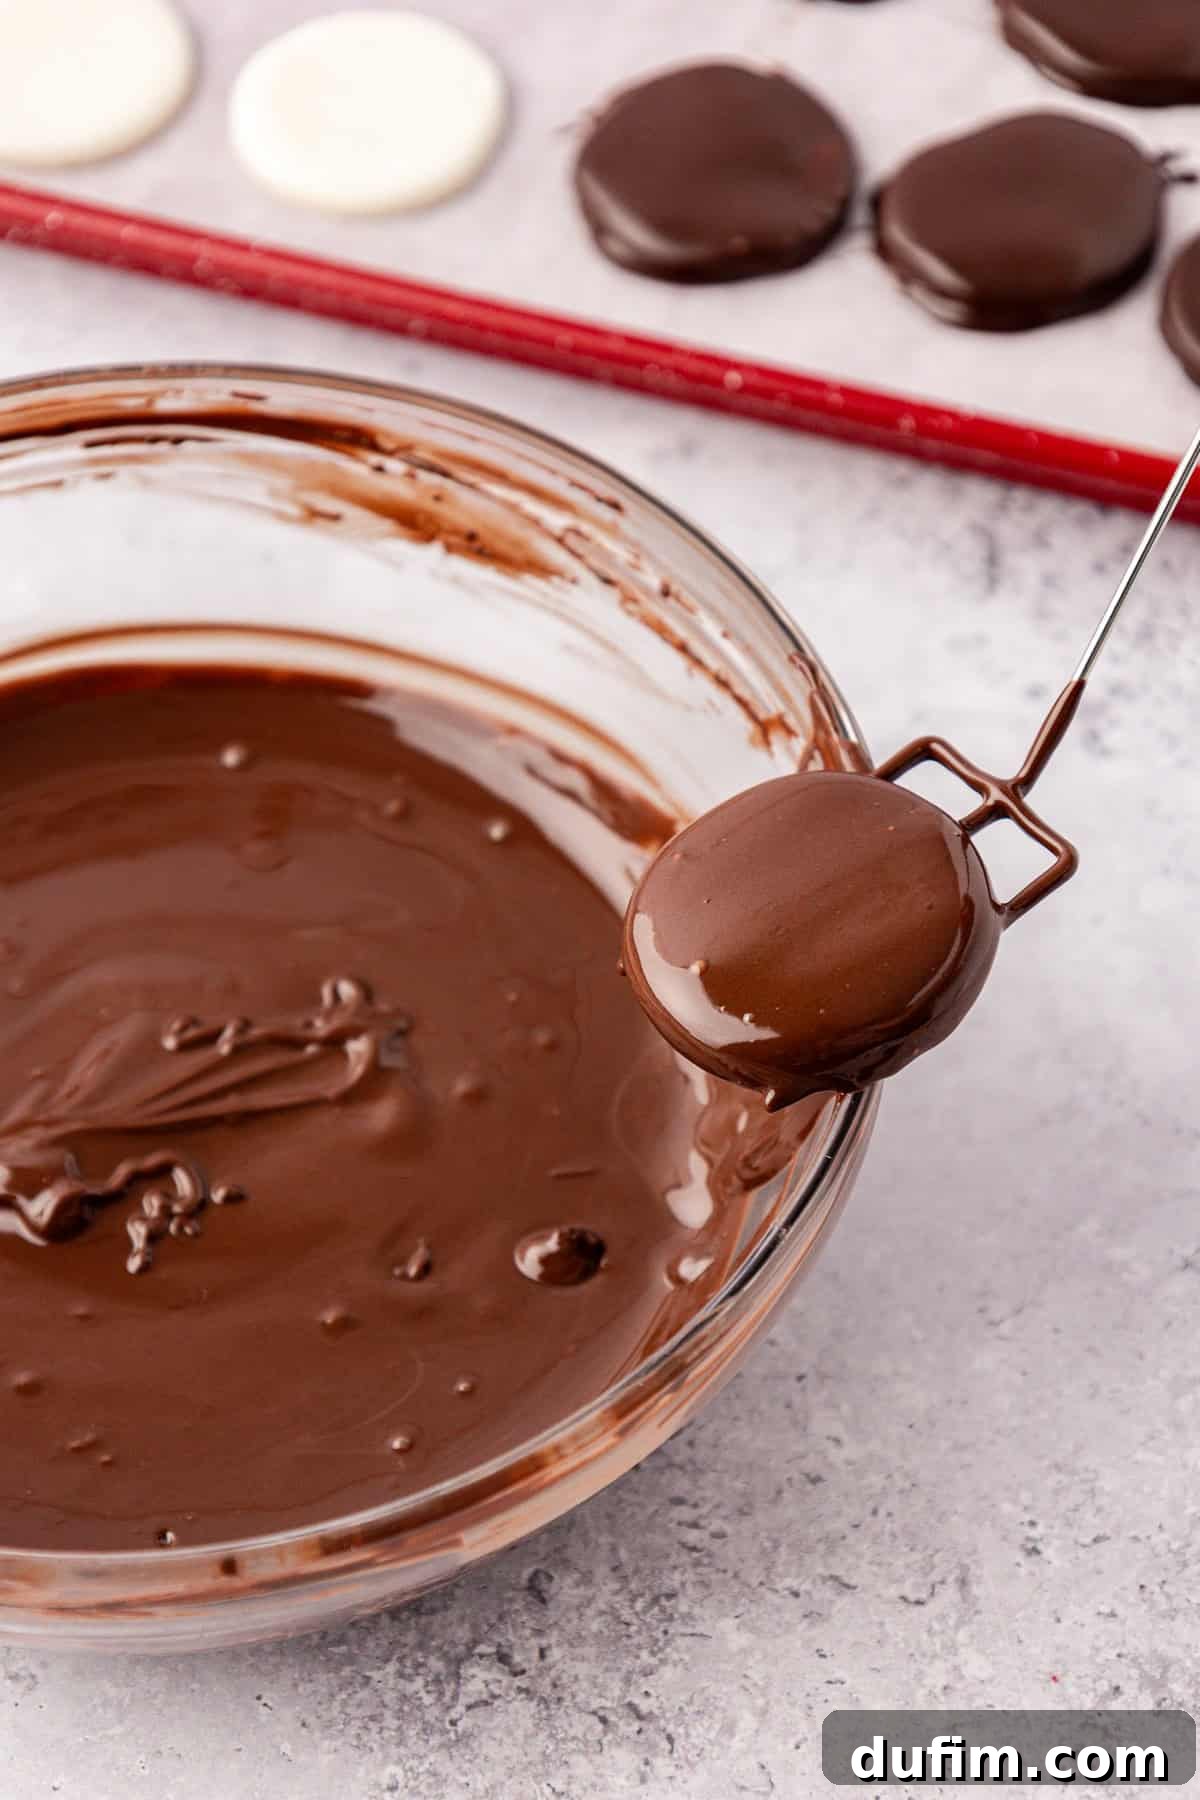
- Dip the Chilled Filling Discs: This is where the magic happens! Keep your remaining peppermint patties in the freezer, taking them out one at a time for dipping. This ensures they stay perfectly firm. Using a fork or a specialized chocolate dipping tool, fully submerge each peppermint patty into the melted chocolate, making sure it’s completely coated. Gently lift the patty out and allow any excess chocolate to drip off back into the bowl. A gentle tap against the edge of the bowl helps to achieve a clean, smooth coating. Once coated, carefully place the patty onto a fresh parchment-lined baking sheet.
- Allow the Chocolate to Set: For the chocolate coating to achieve its firm, glossy finish, it needs time to set. You can allow the patties to set at room temperature, which will take a bit longer but often results in the best texture, or for quicker results, place the baking sheet in the refrigerator. Once the chocolate is firm to the touch, your homemade peppermint patties are complete!
- Store and Indulge: To maintain their optimal freshness and delicious texture, store your finished peppermint patties in an airtight container in the refrigerator. They will remain wonderfully fresh for up to two weeks. For the absolute best flavor and melt-in-your-mouth experience, allow them to come to room temperature for about 10-15 minutes before serving. This softens the filling slightly and enhances the overall sensory delight.
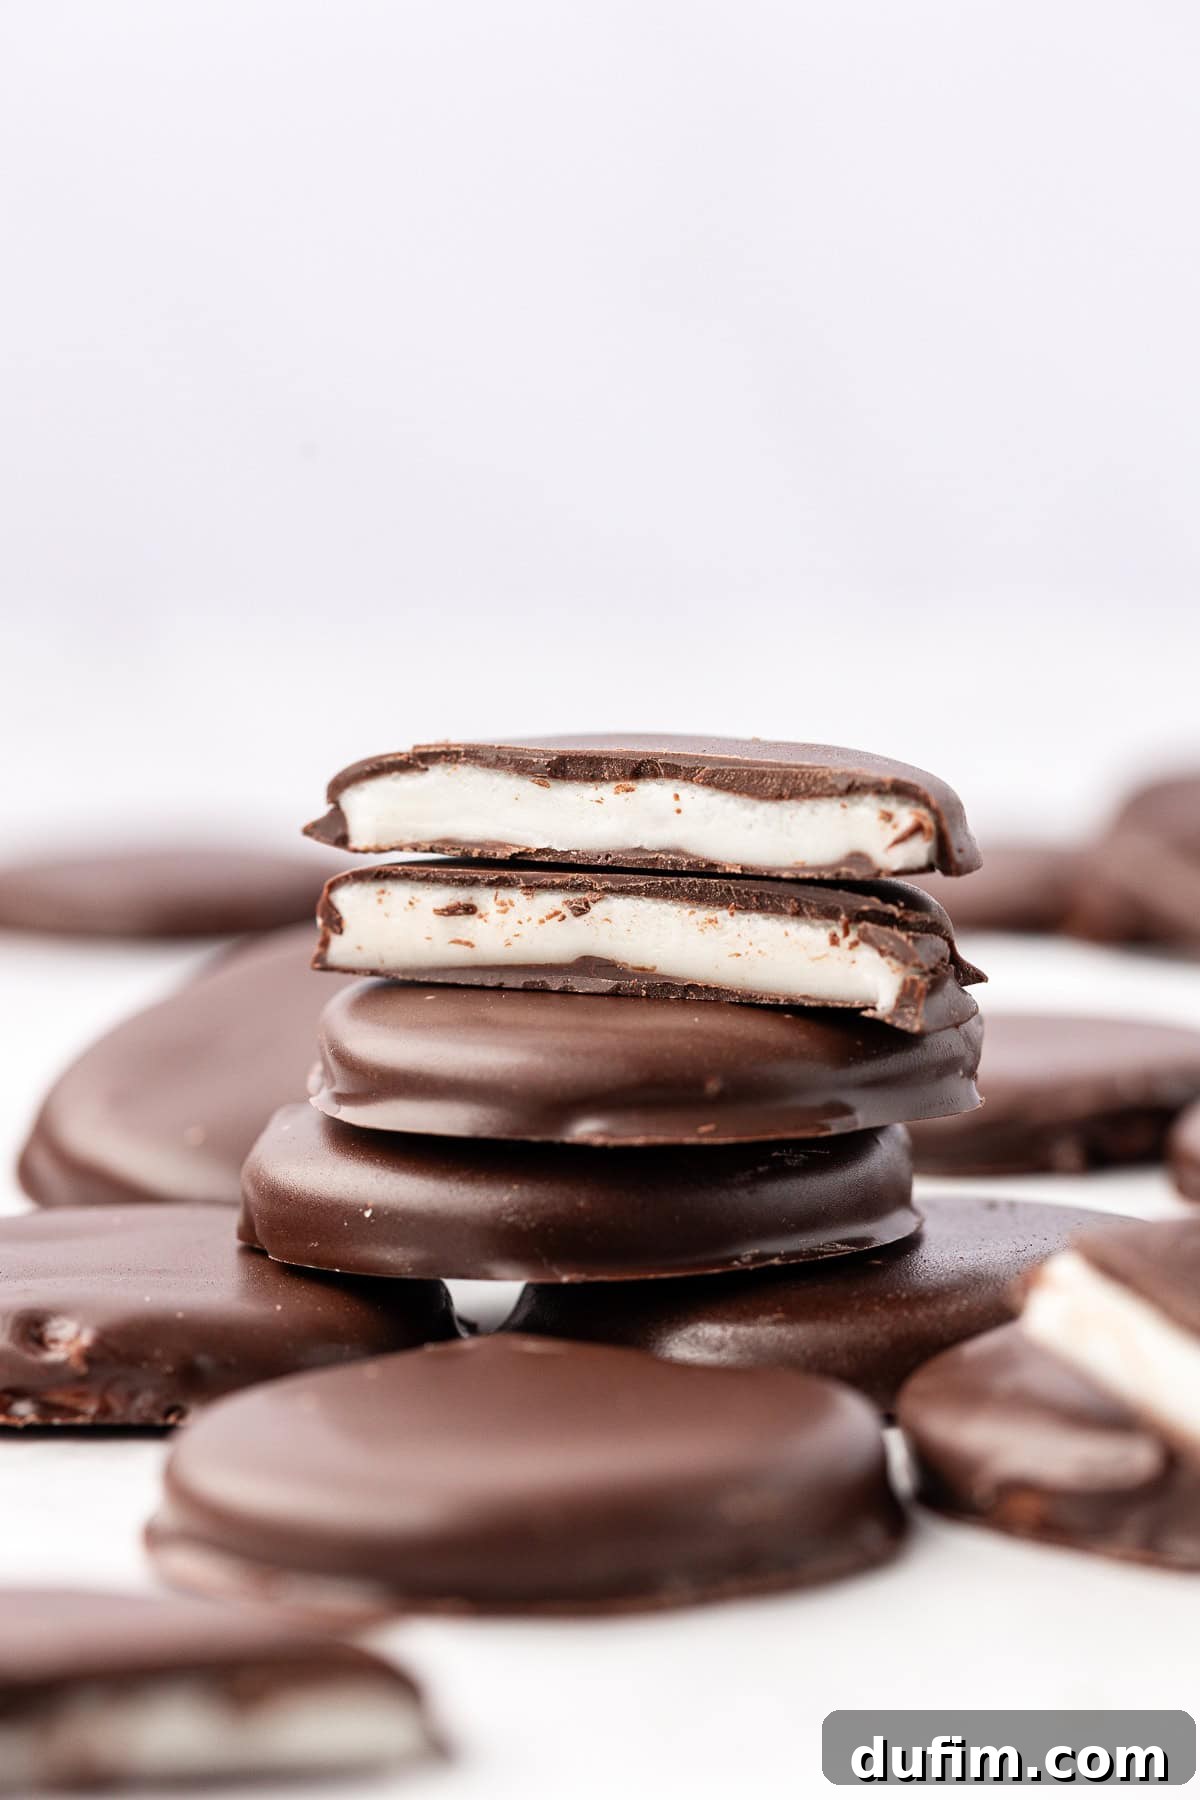
Top Tips for Unforgettable Peppermint Patties: Mastering the Art
Creating truly exceptional homemade peppermint patties involves a few key techniques and careful attention to detail. Follow these expert tips for the best possible results, ensuring your mint chocolate treats are consistently smooth, perfectly coated, and utterly delicious:
- Mind the Thickness: I strongly advise against rolling the peppermint patty rounds thinner than ½ inch. While thinner patties might seem appealing, they become incredibly difficult to dip neatly into chocolate without breaking or losing their shape. A ½-inch thickness offers the perfect balance of sturdy handling and a satisfying filling-to-chocolate ratio.
- Peppermint Extract is Paramount: This cannot be stressed enough – always use pure peppermint extract. Avoid generic “mint” extract, which often contains spearmint and will give your patties a different, less classic flavor profile. Pure peppermint is key for that iconic refreshing kick.
- Sift Your Powdered Sugar: To guarantee a silky-smooth, lump-free peppermint filling, take the extra minute to sift your powdered sugar before adding it to the mixture. This prevents any gritty texture and ensures a consistently fine dough.
- Adjust for Stickiness: The ideal peppermint filling should be soft and pliable, but never overly sticky. If your dough feels too tacky to handle or roll easily, gradually add a little more sifted powdered sugar, one tablespoon at a time, until it reaches a manageable, smooth consistency.
- Prevent Sticking During Rolling: The most effective way to prevent the peppermint filling from sticking to your rolling pin or work surface is to roll it between two sheets of parchment paper. This method keeps everything clean and makes for effortless shaping.
- Achieve Uniformity with Cutters: For perfectly uniform, professional-looking circles, a small round cookie cutter is your best friend. However, don’t limit yourself! For special occasions or holidays, feel free to experiment with festive cookie cutter shapes like stars, hearts, or mini gingerbread men.
- Don’t Skip the Chilling Step: This step is non-negotiable! Freezing or refrigerating the peppermint filling discs until they are firm before dipping them in chocolate is crucial. Cold patties hold their shape beautifully and prevent the filling from melting or distorting when it comes into contact with the warm chocolate.
- Master the Clean Finish: For that glossy, professional look, use a fork or a dedicated chocolate dipping tool. Submerge the patty completely, then lift it out and gently tap the fork on the edge of the bowl. This allows any excess chocolate to drip away, leaving a smooth, even coating without thick, messy edges.
- Experiment with Chocolate: While dark chocolate is classic, feel free to experiment with semi-sweet or even milk chocolate for a different flavor profile. For an extra touch, drizzle with white chocolate or sprinkle with crushed candy canes before the chocolate sets.

Serving Homemade Peppermint Patties: Ideas for Every Occasion
These homemade peppermint patties are not only a joy to make but also incredibly versatile. They shine as a festive party display and make truly thoughtful, personalized gifts, especially during the holiday season. Here are some inspiring ideas for how to serve and gift your delicious creations, ensuring they leave a lasting impression:
Creative Serving Ideas:
- Craft a Festive Platter: Elevate your dessert table by arranging your peppermint patties on a beautiful decorative holiday platter. Enhance the visual appeal with sprigs of fresh mint, a dusting of edible glitter, or small, non-toxic ornaments for an extra festive touch.
- Elegant Dessert Topping: Repurpose these delightful patties as sophisticated garnishes. Cut them into quarters or small wedges and use them to adorn cupcakes, rich brownies, or decadent slices of chocolate cake. Their minty crunch adds both flavor and texture.
- The Perfect Hot Cocoa Companion: Serve a couple of peppermint patties alongside warm mugs of rich hot cocoa. They offer a delightful minty treat to nibble on, or guests can stir them directly into their drink for a subtle, melting peppermint infusion.
- Ice Cream Sundae Station: Set up an extravagant ice cream sundae bar and include your homemade peppermint patties as a premium topping. Crushed or chopped, they add a fantastic burst of mint and chocolate to any scoop.
- Holiday Snack Board Inclusion: Diversify your holiday charcuterie or dessert board by adding these patties. They pair wonderfully with an assortment of cookies, truffles, chocolate-covered pretzels, and classic candy canes, creating a visually appealing and delicious spread.
- Refreshing After-Dinner Mint: Present these small, elegant treats on individual small plates after a lavish holiday meal. They serve as a perfectly refreshing and palate-cleansing dessert, leaving a cool, minty finish.
Thoughtful Gifting Ideas:
- Classic Holiday Tins: A timeless choice! Carefully arrange your freshly made peppermint patties in decorative holiday tins. Line the tins with parchment or tissue paper to protect the candies and add a touch of elegance.
- Charming Glass Jars: Fill clear mason jars with layers of peppermint patties. Securely tie a festive holiday ribbon around the lid and attach a handwritten tag with a warm holiday message or a personal note. This creates a rustic yet charming gift.
- Personalized Cellophane Bags: For a more individual presentation, wrap each peppermint patty in wax paper or small cellophane bags. Then, bundle several individually wrapped patties into a larger, holiday-themed cellophane bag. Add a personalized tag with the recipient’s name for a truly special touch.
- Cozy Holiday Mugs: Create a delightful gift set by placing a neat stack of peppermint patties inside a festive holiday mug. Wrap the entire mug in clear cellophane and consider adding a packet of gourmet hot cocoa mix for the ultimate cozy winter treat.
Storing Your Homemade Peppermint Patties for Lasting Freshness
Proper storage is essential to keep your homemade peppermint patties tasting their best and maintaining their wonderful texture. These delightful treats should always be stored in an airtight container to prevent them from drying out or absorbing unwanted odors from the refrigerator. For added protection and to prevent them from sticking together, I highly recommend placing a piece of parchment paper or waxed paper between layers of patties within the container. When stored correctly in the refrigerator, your homemade peppermint patties will remain fresh and delicious for up to two weeks, providing you with plenty of time to enjoy them or share them as gifts.
Can You Freeze Homemade Peppermint Patties?
Absolutely! Homemade peppermint patties are excellent candidates for freezing, allowing you to prepare them in advance or save a batch for later enjoyment. To freeze them effectively, first arrange the freshly made (and fully set) patties in a single layer on a baking sheet. Place the baking sheet in the freezer for at least 2 hours, or even overnight, until the patties are completely solid. This “flash freezing” step prevents them from sticking together when you consolidate them. Once frozen solid, transfer the patties to a freezer-safe bag or an airtight container, making sure to remove as much air as possible to prevent freezer burn. When properly frozen, these peppermint patties can last for 6 months or even longer, retaining much of their original quality. When you’re ready to indulge, simply transfer the desired number of patties to the refrigerator to thaw overnight, or let them sit at room temperature for 30 minutes to an hour until softened to your liking.
Big hit with these peppermint patties! Just as good or better than the real thing and so easy to make. I put them on a cookie tray and brought to several friends’ houses, and everybody loved them. And they’re just as good frozen from the freezer. Just like all of Beth’s recipes, they are top-notch!
– Cindy
Explore More Peppermint-Inspired Recipes
If you’ve fallen in love with the refreshing taste of peppermint, you’re in for a treat! Discover more delightful recipes that feature this invigorating flavor, perfect for holidays, gifting, or simply satisfying your sweet tooth:
- Classic Swirled Peppermint Bark
- Irresistible Peppermint Oreo Balls
- Rich Chocolate Peppermint Bark
- Decadent Peppermint Chocolate Cookies

Peppermint Patties Recipe
By: Beth
Over the years I’ve spent perfecting my homemade peppermint patties recipe, I’ve learned that the small details make the biggest difference in achieving smooth, professional results. I’m spilling all my best tricks here so you can wow your family and friends!
Print Recipe
Equipment
- Glass Mixing Bowl
- Electric Mixer (e.g., KitchenAid)
- Baking Sheet
- Parchment paper
- Small round cookie cutters (½ inch to 1 ½ inches)
- Fork or chocolate dipping tool
Ingredients
- ¼ cup (60g) unsalted butter, softened
- ⅓ cup (80ml) light corn syrup
- 2 tsp peppermint extract
- 3 ½ cups (420g) powdered sugar (confectioners’ sugar), plus extra for dusting if needed
- 20 oz Ghirardelli chocolate melting wafers (two 10-ounce bags), dark, semi-sweet, or milk chocolate
Instructions
Make the Filling
- In a large mixing bowl, use an electric mixer to beat the softened butter, light corn syrup, peppermint extract, and powdered sugar. Start on low speed, then increase. Initially, the mixture will be crumbly; continue beating until it’s mostly combined and starts to get very thick, forming a dense dough.
- Once the powdered sugar is fully mixed in, transfer the dough to a clean surface and knead it until smooth and pliable. If the dough is too sticky to handle, add a little more powdered sugar, one tablespoon at a time, until it reaches the desired non-tacky consistency.
Shape the Patties
- Place the dough between two sheets of parchment paper and roll it out to about ½-inch thickness. Ensure an even thickness across the entire dough.
- Using a small round cookie cutter (between ½ inch and 1 ½ inches in diameter), cut out circular patties. Carefully transfer these circles to a parchment-lined baking sheet.
- Place the baking sheet with the peppermint discs into the freezer for about 30 minutes, or until the peppermint filling is firm and completely chilled. This is crucial for maintaining their shape during dipping.
Coat with Chocolate
- Melt the Ghirardelli chocolate melting wafers according to package instructions (using a microwave or double boiler). Stir until the chocolate is smooth, glossy, and fluid.
- Keep the chilled patties in the freezer, taking them out one at a time. Use a fork or a chocolate dipping tool to fully coat each peppermint patty in the melted chocolate. Gently tap the fork against the edge of the bowl to remove any excess chocolate before placing the coated patty onto a fresh parchment-lined baking sheet.
- Allow the chocolate coating to set. You can leave the patties at room temperature or place the baking sheet in the refrigerator for quicker setting.
- Store the finished peppermint patties in an airtight container in the refrigerator for up to 2 weeks, with parchment paper between layers. For the best flavor and texture, let them come to room temperature for 10-15 minutes before serving.
Nutrition Information (Approximate)
- Serving Size: 1 patty
- Calories: 48 kcal
- Carbohydrates: 10g
- Protein: 0.01g
- Fat: 1g
- Saturated Fat: 1g
- Polyunsaturated Fat: 0.03g
- Monounsaturated Fat: 0.2g
- Trans Fat: 0.04g
- Cholesterol: 2mg
- Sodium: 2mg
- Potassium: 1mg
- Sugar: 10g
- Vitamin A: 28 IU
- Calcium: 1mg
- Iron: 0.01mg
All nutritional values are approximate and provided to the reader as a courtesy. Changing ingredients and/or quantities will alter the estimated nutritional calculations.
Enjoyed this recipe? Share your feedback below!
We love hearing about your kitchen adventures. Let us know how your homemade peppermint patties turned out!