
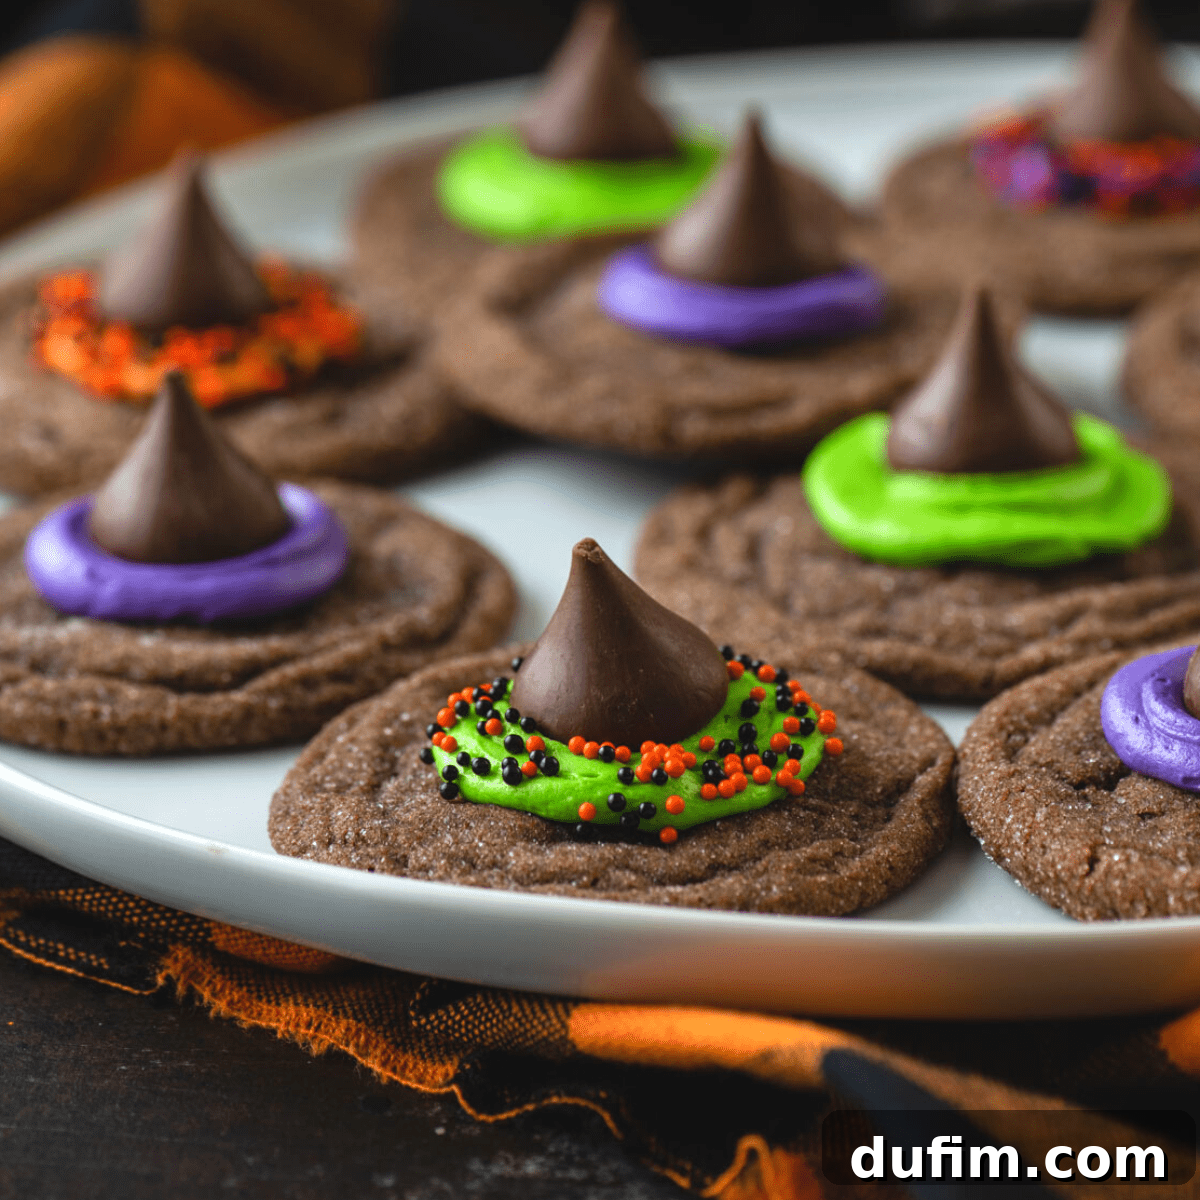
Get ready for a touch of Halloween magic with these delightful Witch Hat Cookies! Imagine soft, chewy chocolate cookies, each crowned with a whimsical Hershey’s Kiss, vibrant frosting, and a dash of spooky sprinkles. This enchanting dessert is not only incredibly easy to make but also promises to be a family favorite, bringing smiles and festive cheer to any Halloween celebration. Best of all? They’re ready in just 30 minutes, making them the perfect last-minute treat for busy ghouls and goblins!
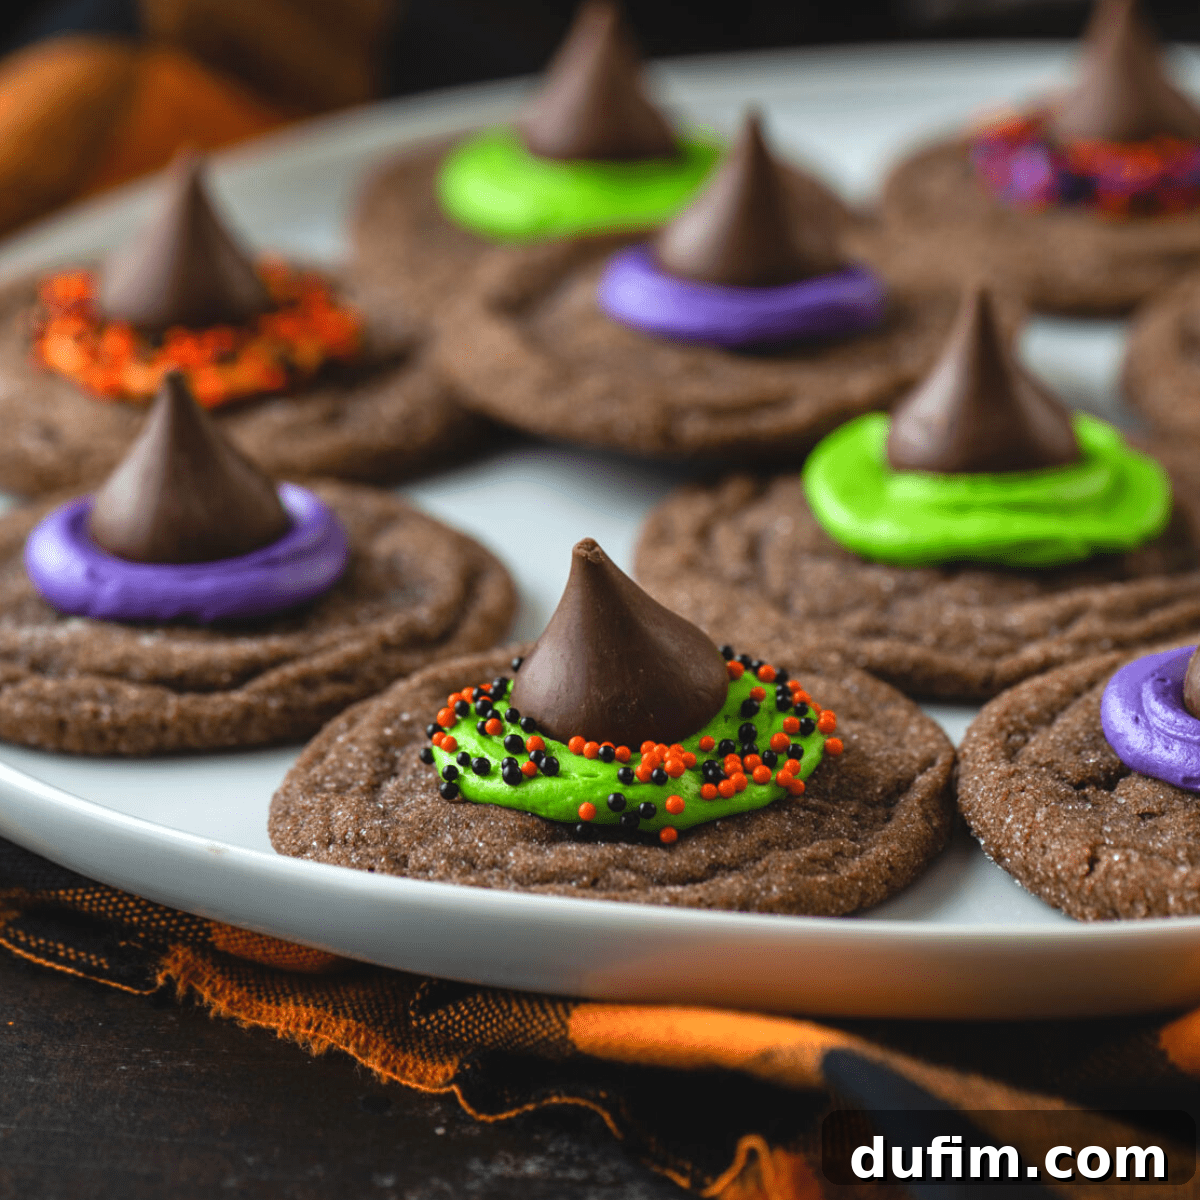
Halloween has a special place in our hearts, isn’t it? It’s a time when we embrace all things spooky, whimsical, and utterly delicious. While the season often inspires an array of creepy-crawly spider-themed delights, like our popular Peanut Butter Spider Cookies and creative Spider Cupcakes, we felt it was time to shift our focus to another iconic Halloween figure: the witch!
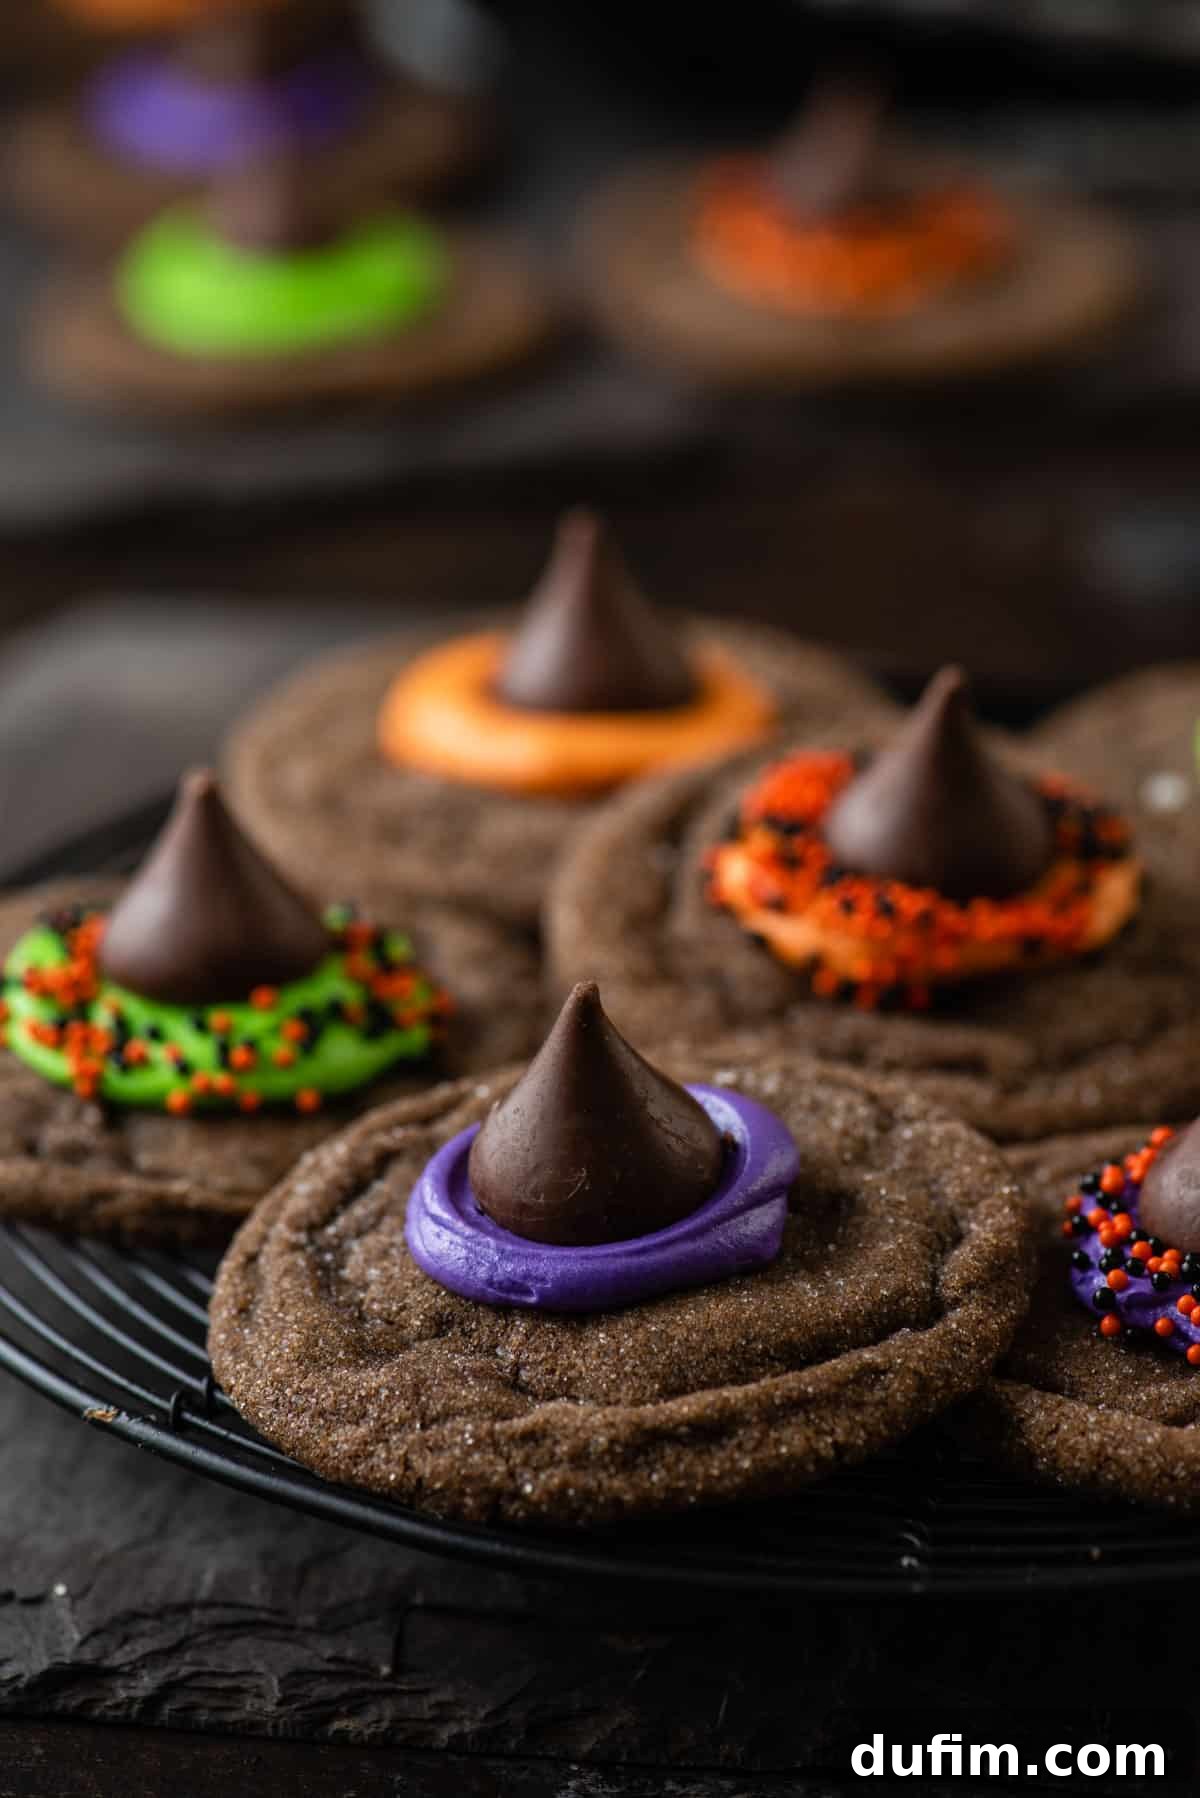
These Witch Hat Cookies are undeniably cute and surprisingly simple to assemble. The base is a wonderfully soft and chewy chocolate cookie, providing the perfect foundation for our edible witch’s hat – a classic Hershey’s Kiss. A generous dollop of vibrantly colored frosting and a sprinkle of festive decorations transform these humble cookies into miniature works of Halloween art. Prepare to make these enchanting treats again and again throughout the spooky season!
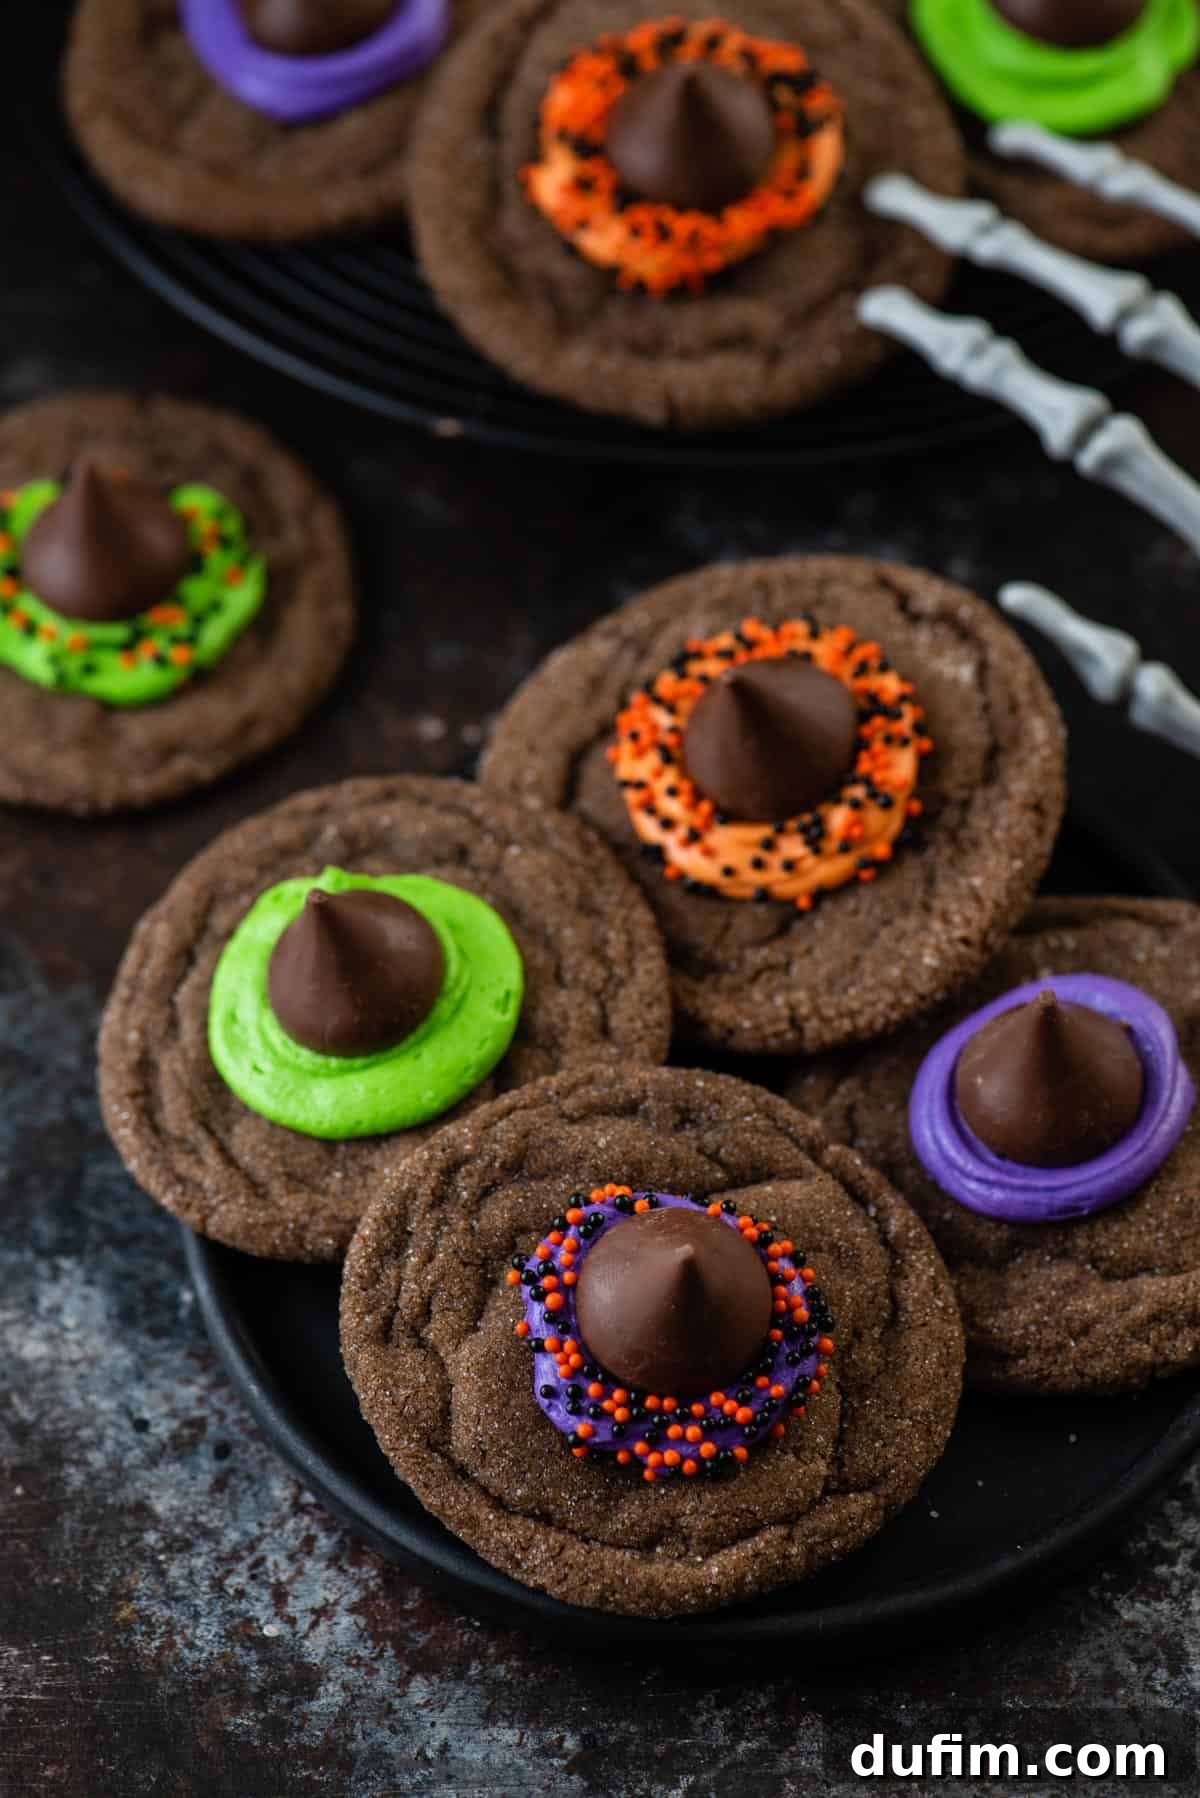
Why These Chocolate Witch Hat Cookies Will Be Your New Halloween Favorite
Wondering why these charming cookies deserve a prime spot on your Halloween party dessert table? Let us count the ways this easy Halloween dessert will win over everyone!
- Lightning Fast & Effortless: From mixing bowl to finished treat, these cookies demand less than 30 minutes of your time. Forget about lengthy dough chilling – this recipe is designed for quick satisfaction, making it ideal for spontaneous baking sessions or last-minute party preparations.
- Pantry-Friendly Ingredients: You’ll likely find most of the necessary ingredients already stocked in your kitchen, especially if you have a soft spot for chocolate. This means less time shopping and more time baking!
- The Ultimate Halloween Party Star: These cookies are guaranteed to be the star attraction at any Halloween gathering. Their adorable witch hat design makes them incredibly festive and appealing to all ages. Beyond their looks, their rich chocolate flavor and tender texture make them an absolute crowd-pleaser that guests won’t be able to resist.
- Kid-Friendly Fun: This recipe is fantastic for involving children in the kitchen. Rolling dough, piping frosting, and adding sprinkles are all fun, simple tasks that little hands can help with, creating lasting Halloween memories.
- Customizable Creativity: With endless possibilities for frosting colors and sprinkle varieties, you can personalize these cookies to match any Halloween theme or simply let your creativity run wild!
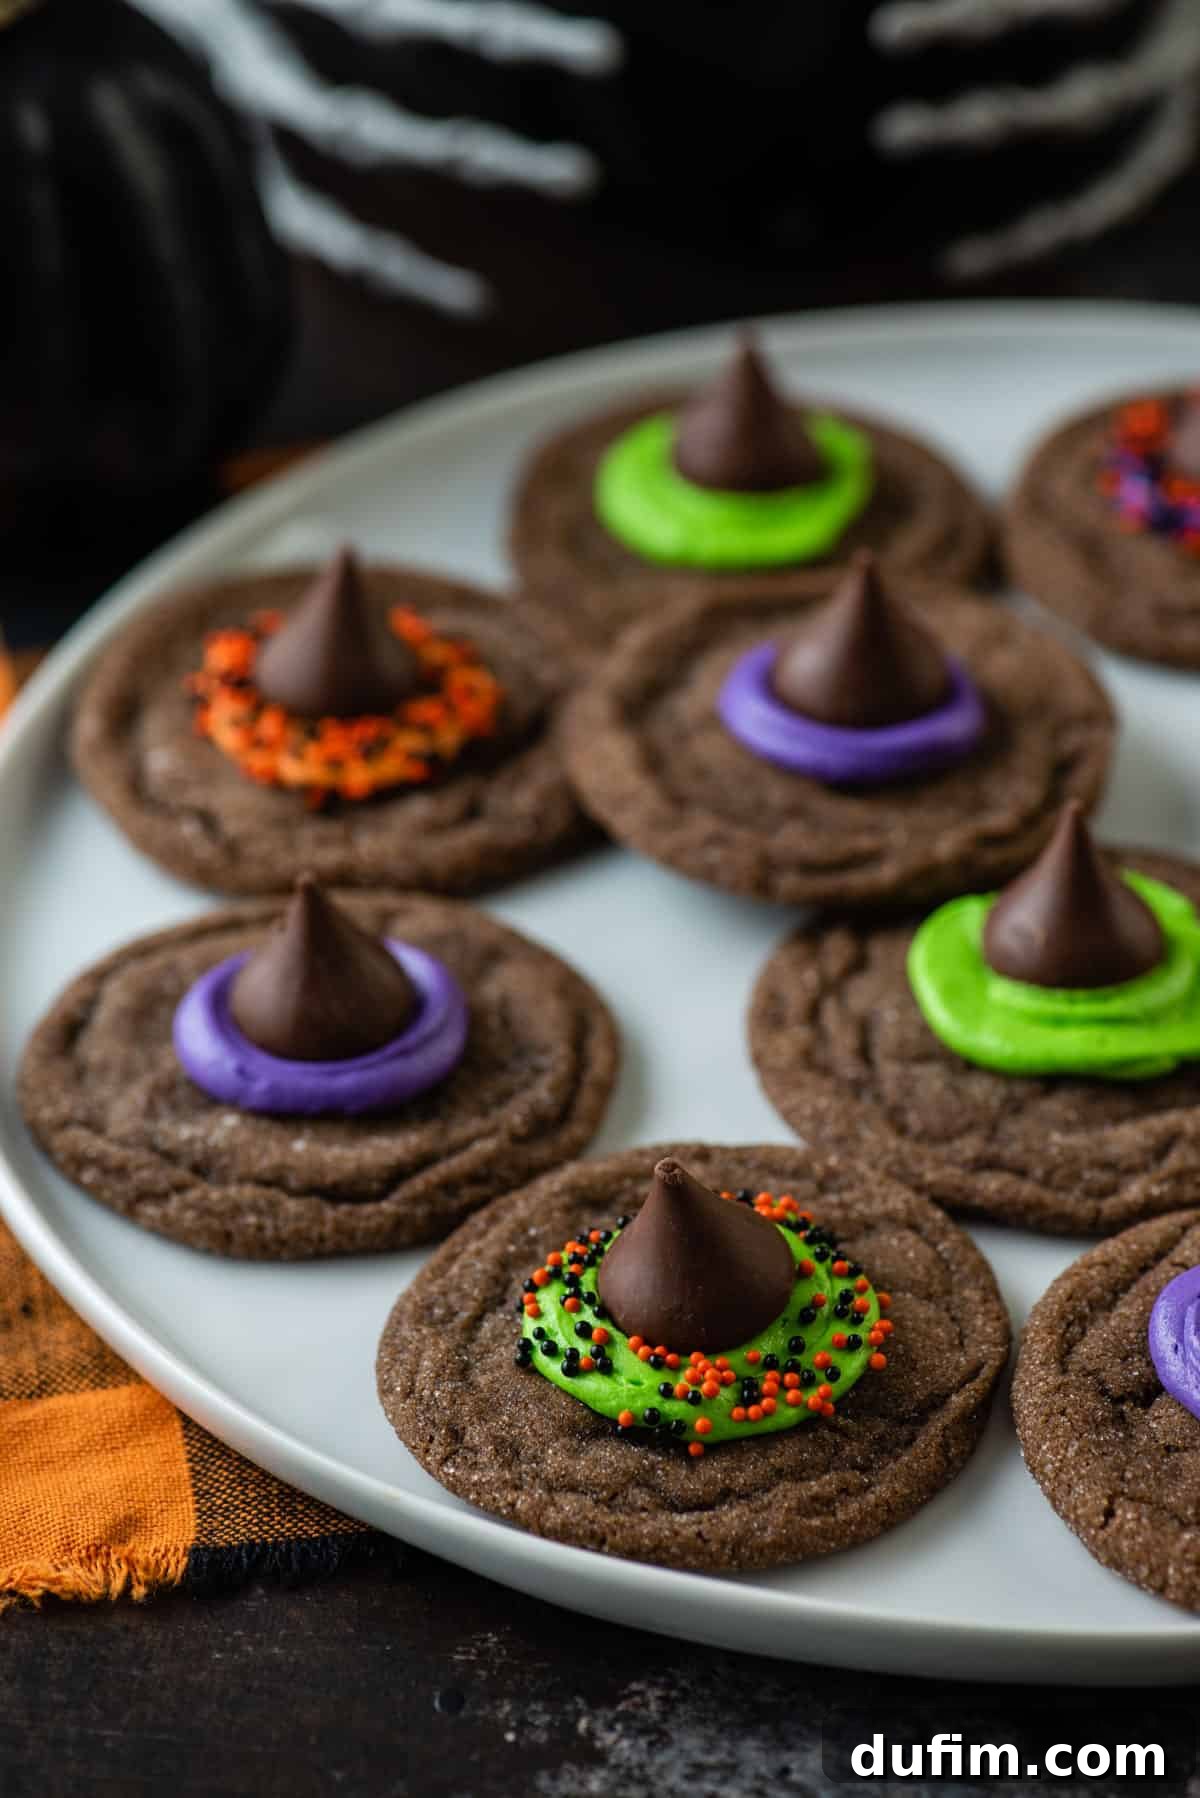
Essential Ingredients for Your Witch Hat Cookies
Crafting these delectable chocolate cookies relies on common pantry staples, elevated by the rich flavor of cocoa powder. And of course, the iconic Hershey’s Kisses and festive sprinkles are key to bringing these witchy wonders to life!
For the Soft Chocolate Cookies:
- All-Purpose Flour: The structural backbone of our cookies, providing the perfect chewy texture.
- Unsweetened Cocoa Powder: Choose natural unsweetened cocoa powder for a deep chocolate flavor without added sweetness, ensuring the cookies aren’t overly sugary.
- Baking Soda: A crucial leavening agent that helps the cookies achieve their soft, slightly risen texture.
- Salt: A pinch of salt enhances the chocolate flavor and balances the sweetness.
- Unsalted Butter (Softened): Room temperature butter is essential for a smooth, well-creamed dough. Using unsalted butter gives you complete control over the salt content in your recipe.
- Granulated Sugar: Used both in the cookie dough for sweetness and tenderness, and for rolling the dough balls, which creates a delightful crispy edge.
- Brown Sugar: The molasses in brown sugar contributes to the cookies’ warm, slightly caramel-like flavor and their wonderfully moist, chewy consistency.
- Large Egg: Acts as a binder, adding richness and moisture to the dough.
- Vanilla Extract: A classic flavor enhancer that complements the chocolate beautifully.
- Extra Granulated Sugar for Rolling: This simple step adds a lovely sparkly crust and subtle crunch to each cookie.
For the Magical Frosting & Decoration:
- Unsalted Butter (Room Temperature): Crucial for a smooth, stable buttercream. Ensure it’s soft but not melted, allowing the frosting to hold its shape perfectly.
- Powdered Sugar (Confectioners’ Sugar): Provides the frosting with its signature smooth, spreadable texture and a sweet, melt-in-your-mouth finish.
- Vanilla Extract: Infuses the frosting with a delicate, aromatic vanilla flavor.
- Gel Food Coloring: Highly recommended for achieving vibrant, intense Halloween colors like purple, orange, and green, far superior to liquid food colorings.
- Hershey’s Kisses: These iconic chocolate drops are key to forming the whimsical witch hats, providing a delightful chocolatey surprise in every bite.
- Halloween Sprinkles: The finishing touch that adds extra Halloween flair, texture, and visual appeal.
How to Conjure Up Your Own Witch Hat Cookies
This enchanting Halloween dessert comes together quickly with a few simple steps. The cookie dough is designed for convenience, requiring no chill time, which means you can whip up a batch of these magical treats whenever the craving strikes!
Step-by-Step Cookie Creation:
- Prepare Your Workspace: Begin by preheating your oven to 350°F (175°C). Line a baking sheet with parchment paper or a silicone baking mat for easy cleanup and consistent baking.
- Whisk Dry Ingredients: In a medium mixing bowl, combine the all-purpose flour, unsweetened cocoa powder, baking soda, and salt. Whisk these dry ingredients together thoroughly to ensure they are evenly distributed. Set aside.
- Cream Wet Ingredients: In a separate, larger mixing bowl, using an electric mixer on low speed, cream together the softened unsalted butter, granulated sugar, and brown sugar until the mixture is light, fluffy, and well combined. Scrape down the sides of the bowl as needed to ensure everything is incorporated.
- Add Egg and Vanilla: Beat in the large egg and vanilla extract on low speed until just combined. Be careful not to overmix at this stage.
- Incorporate Dry into Wet: Gradually add the dry ingredient mixture to the wet ingredients. Mix on low speed or by hand until just combined. Stop mixing as soon as no streaks of flour are visible to avoid overworking the dough, which can result in tough cookies.
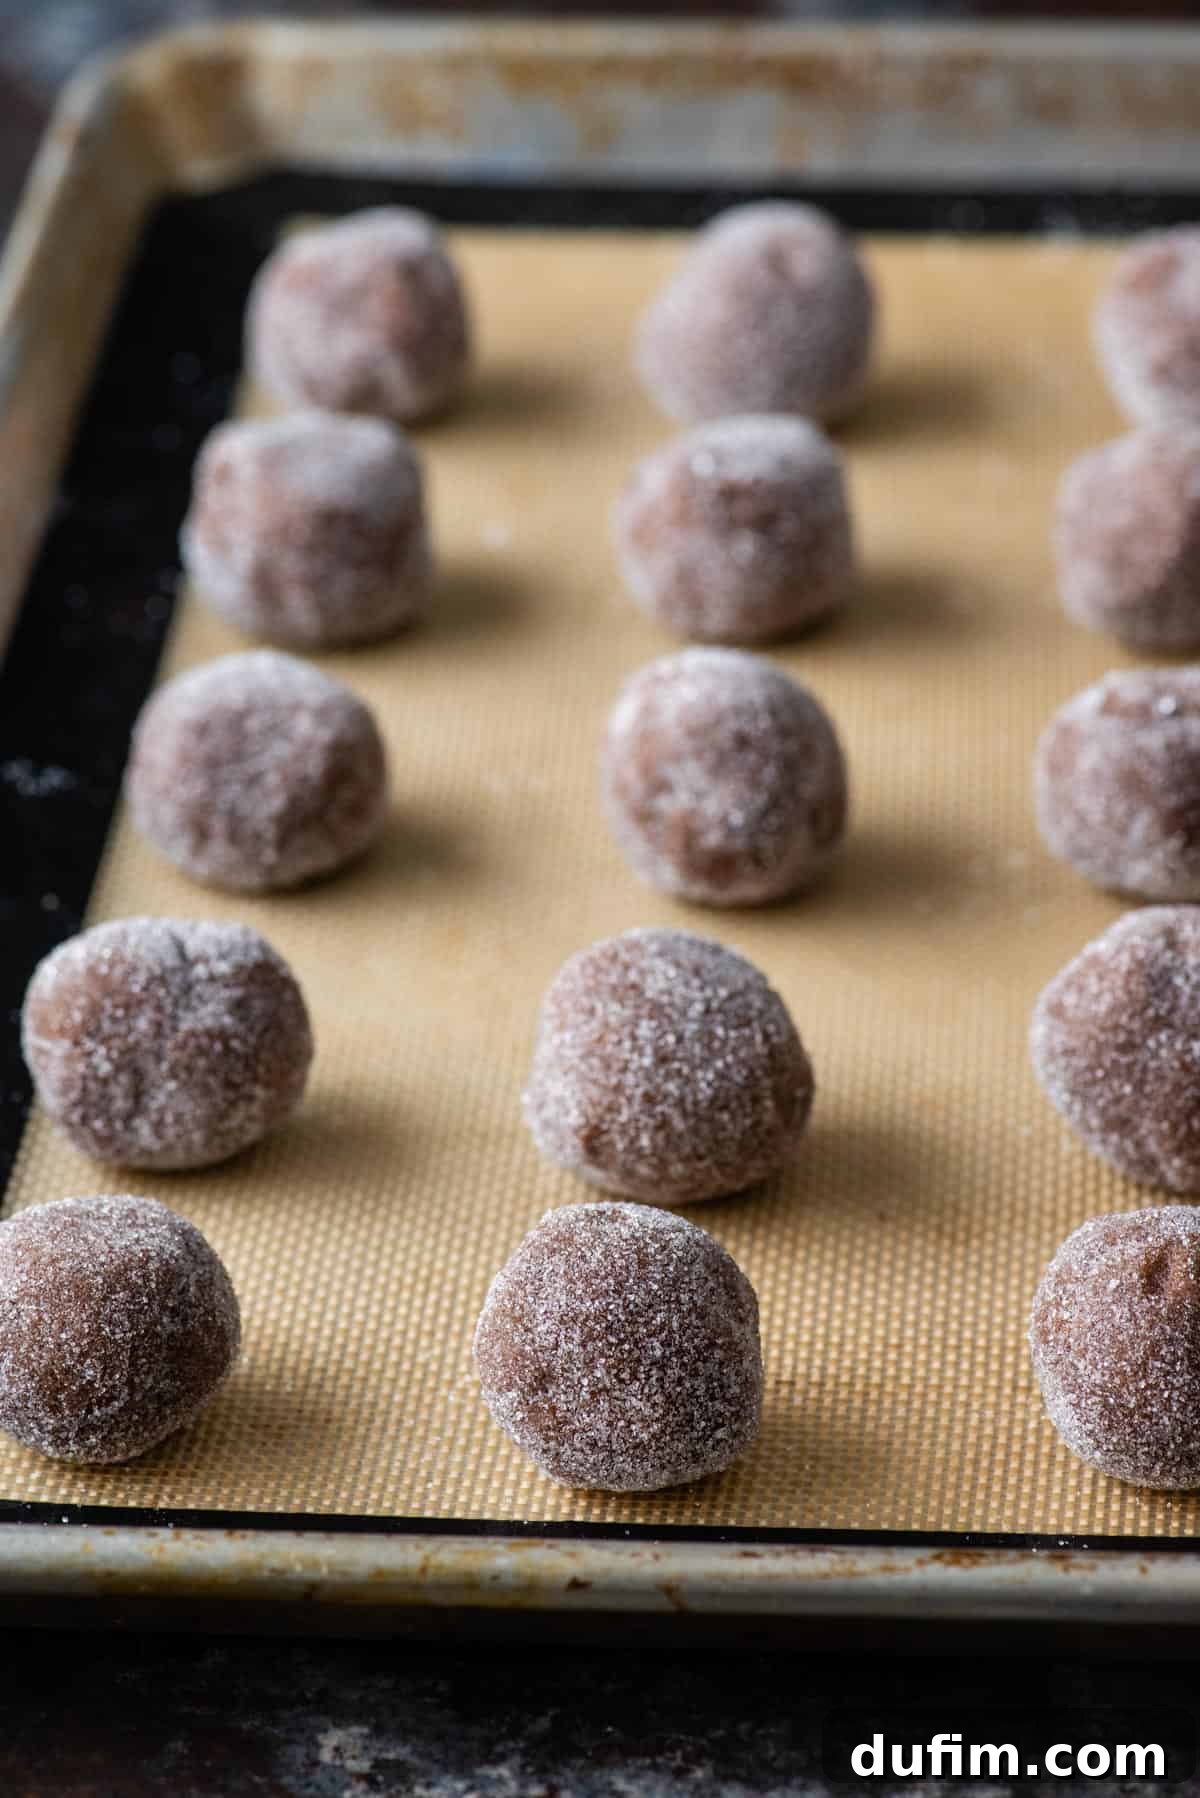
- Form and Sugar-Coat: Use a small cookie scoop or a tablespoon to portion out tablespoon-sized balls of dough. Roll each portion between your palms to create a smooth, uniform ball. Then, roll each dough ball in the extra granulated sugar to coat it completely.
- Bake to Perfection: Place the sugar-coated cookie balls about 2-3 inches apart on your prepared baking sheet. Bake for 8 to 11 minutes, or until the edges are set and the centers are still slightly soft. Remember, cookies continue to cook slightly as they cool.
- Cool Down: Allow the cookies to cool on the baking sheet for about 10 minutes before carefully transferring them to a wire cooling rack to cool completely. This helps them firm up and prevents them from breaking. Ensure they are completely cool before frosting.
Crafting the Frosting & Assembly:
- Whip Up the Frosting: In a clean mixing bowl, combine the room temperature unsalted butter, powdered sugar, and vanilla extract. Beat with an electric mixer on medium speed until the frosting is light, fluffy, and smooth.
- Color Your Magic: Divide the frosting into separate bowls, one for each color you wish to use (orange, purple, and green are classic Halloween choices). Add a few drops of gel food coloring to each bowl and mix until you achieve your desired vibrant shades.
- Prepare for Piping: Transfer each color of frosting into individual piping bags. If you don’t have piping bags, a sturdy resealable sandwich bag with a small corner snipped off works perfectly.
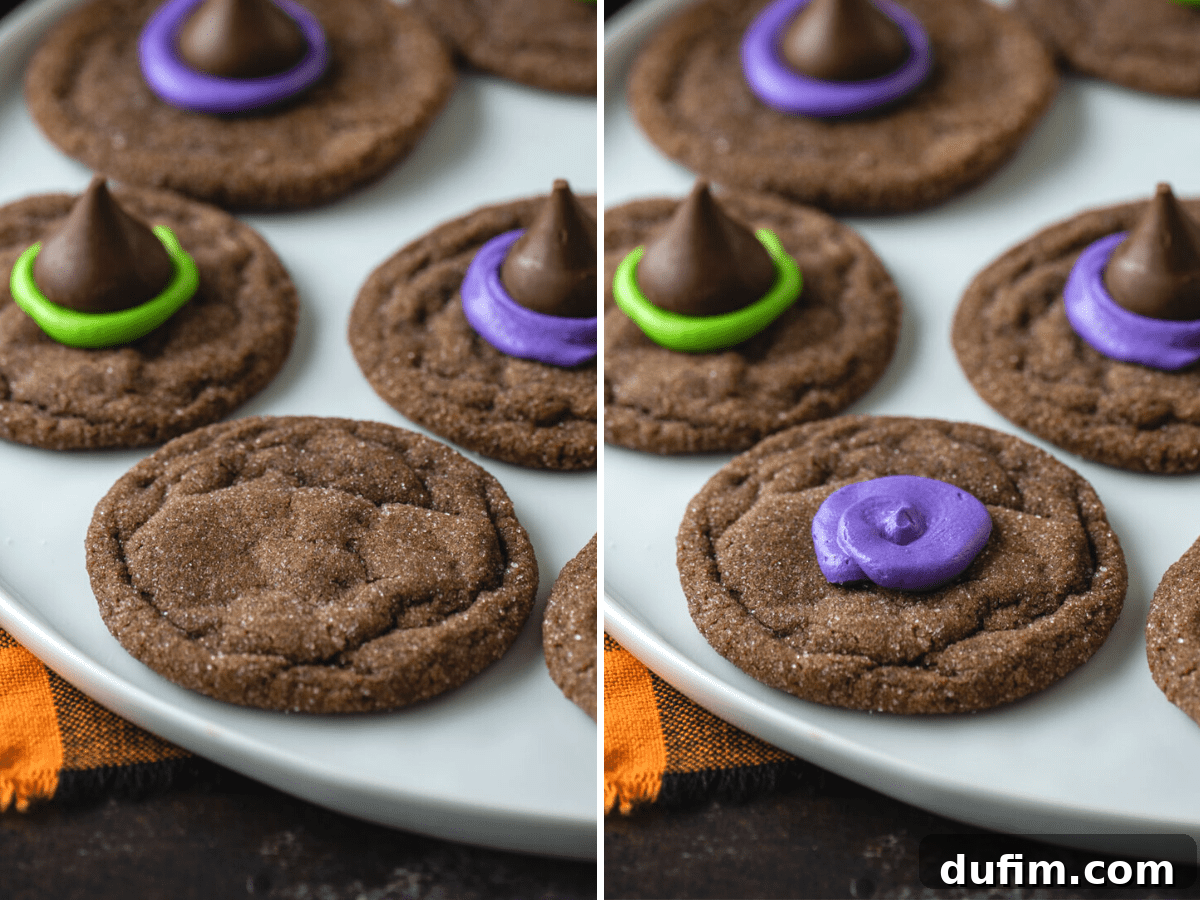
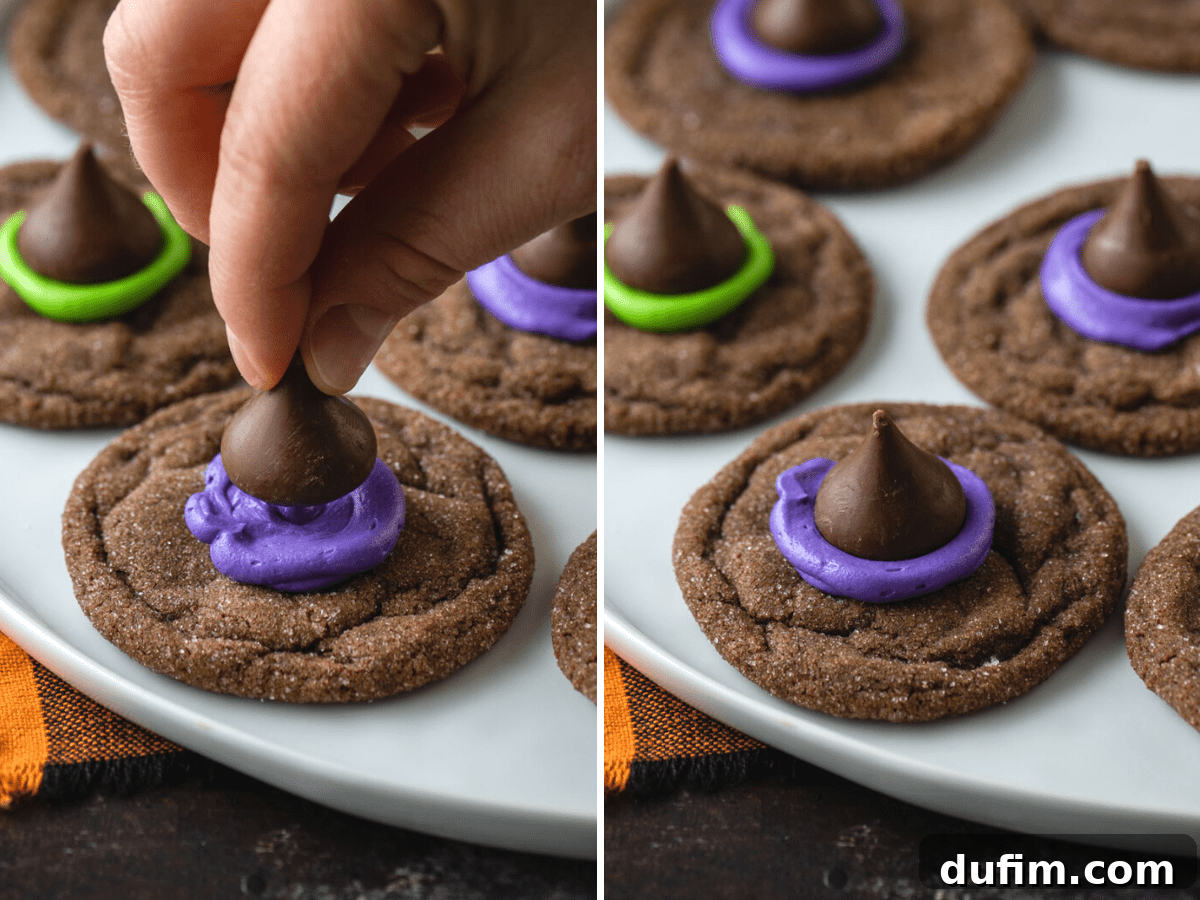
- Assemble the Witch Hats: Pipe a generous dollop of frosting onto the center of each cooled chocolate cookie. Gently press a Hershey’s Kiss into the center of the frosting. The frosting should spread out slightly around the base of the Kiss, creating the “brim” of the witch’s hat.
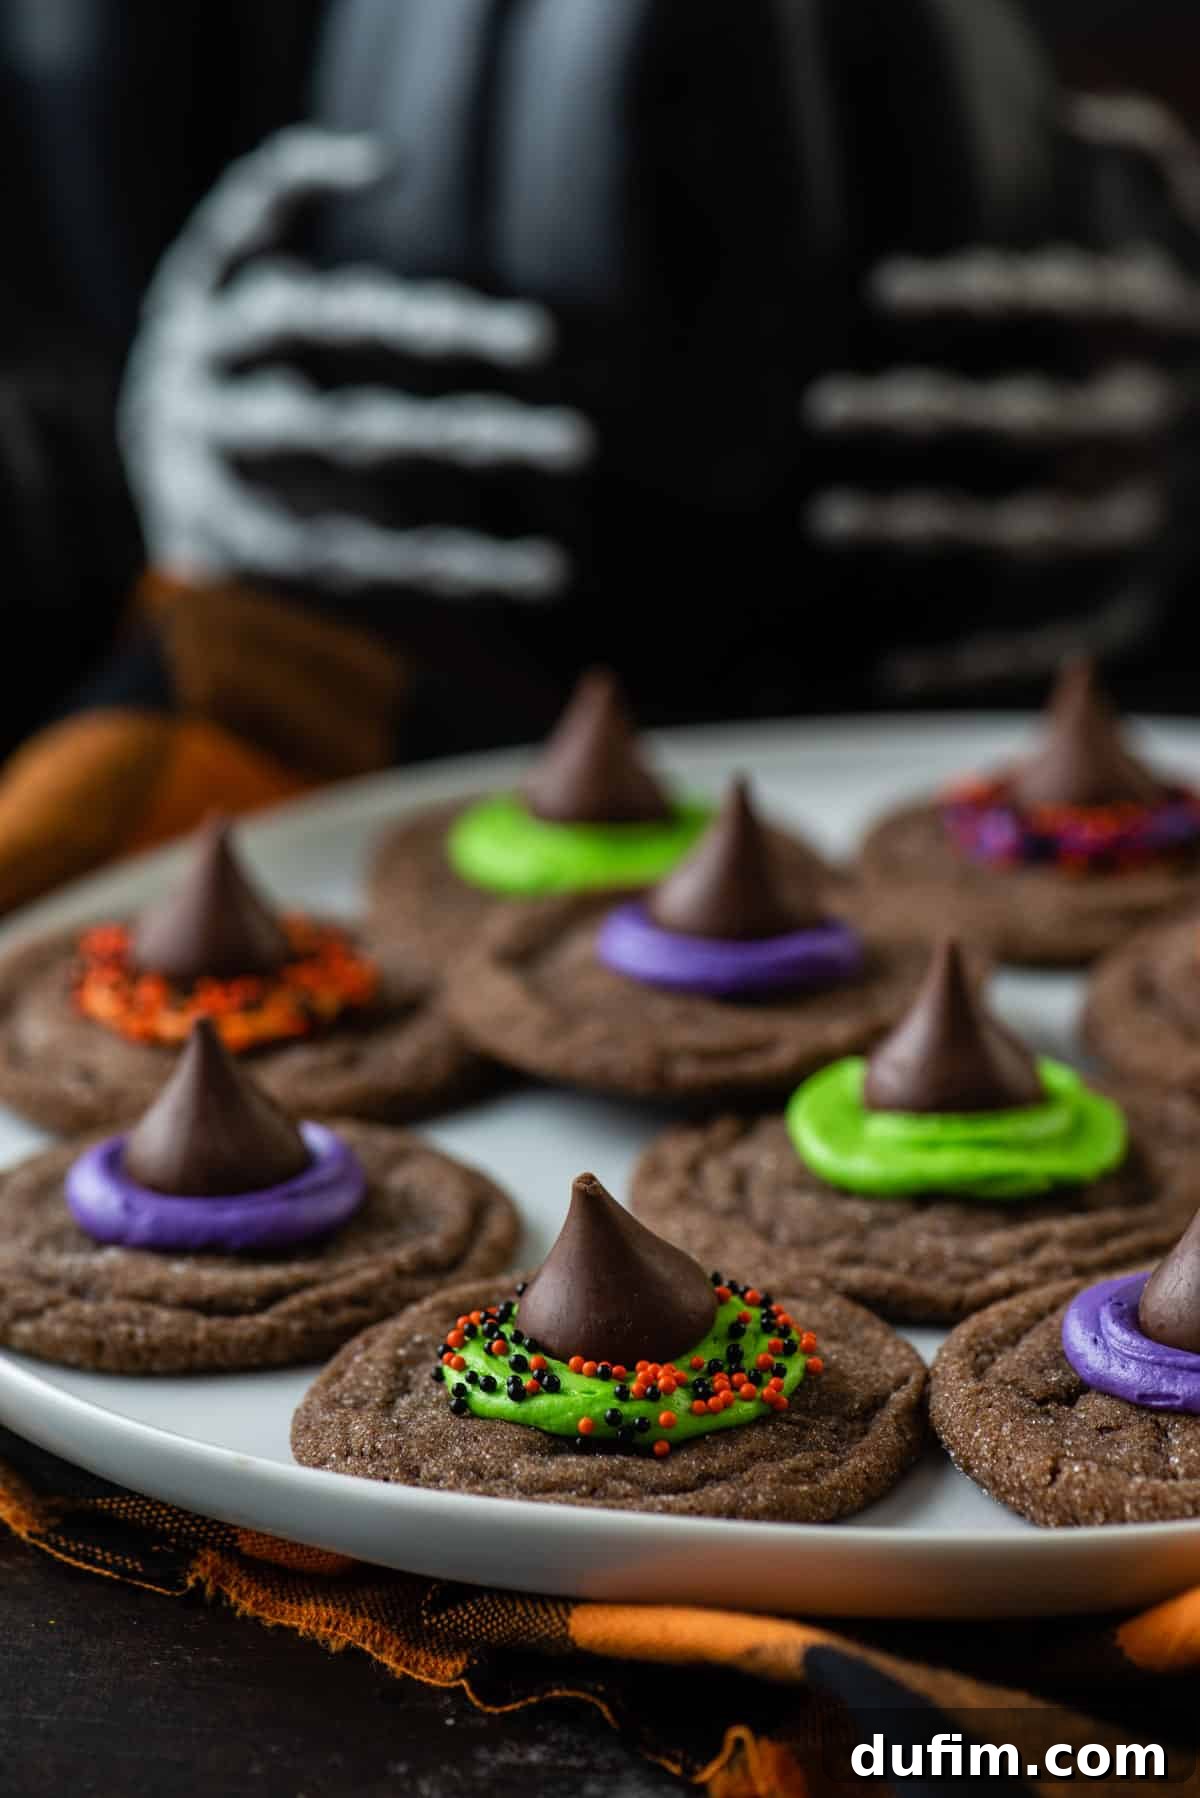
- Add Spooky Sprinkles: Before the frosting sets, generously sprinkle your Halloween sprinkles around the base of the Hershey’s Kiss for that extra festive touch. Repeat this process with all remaining cookies.
- Let Set and Serve: Allow the frosting to set for a bit (preferably an hour or two, or faster in the refrigerator) before serving. This ensures the hats are stable and ready for transport or display.
Expert Tips for Bewitching Witch Hat Cookies
These Witch Hat Cookies are designed to be an easy Halloween dessert, but a few simple tips can elevate your baking experience and ensure perfect results every time. Plus, we’ve got some creative variations to spark your imagination!
Baking Tips for Success:
- Do Not Overmix the Dough: This is a golden rule in baking! Once you add the dry ingredients to your wet mixture, mix just until they are fully incorporated. Over-mixing develops the gluten in the flour too much, leading to tough, dense cookies instead of soft and tender ones.
- Bake One Sheet at a Time: For consistent baking and even browning, it’s best to bake only one cookie sheet in the oven at a time. This ensures proper air circulation and heat distribution. If you have multiple sheets, rotate them for efficiency, allowing the first batch to cool slightly on the sheet before transferring.
- Room Temperature Ingredients are Key: Ensure your butter and egg are at proper room temperature. This allows them to cream together smoothly, creating an emulsified mixture that traps air, resulting in lighter, fluffier cookies and a smoother frosting.
- Measure Flour Correctly: For accurate baking, spoon your flour into the measuring cup and then level it off with a straight edge. Scooping directly with the measuring cup can compact the flour, leading to too much flour and dry cookies.
- Silicone Mats or Parchment Paper: Always use parchment paper or silicone baking mats. They prevent sticking, promote even baking, and make cleanup a breeze.
Creative Variations to Try
- Unleash Your Color Palette: As seen in our photos, traditional Halloween colors like orange, purple, and green work wonderfully for the frosting. However, feel free to get creative! Black, white, or even multi-colored frosting can add a unique touch to your witch hats.
- Switch Up the Cookie Base: While chocolate cookies are a classic choice, these witch hats are equally delightful on a different base. If you’re a peanut butter enthusiast, consider making them with a peanut butter cookie base for a fun flavor twist. Sugar cookies or even shortbread would also make excellent foundations!
- Different Chocolate Hats: Experiment with different types of chocolate kisses or small chocolate candies for the hat. White chocolate kisses could create a “ghostly” witch hat!
- Beyond Sprinkles: While sprinkles are fantastic, consider other decorations. Small candy pearls, edible glitter, or even tiny chocolate chips can add unique textures and visual interest to your witch hats.
Can I Make These Halloween Cookies in Advance?
Absolutely! These Witch Hat Cookies are actually perfect for making ahead, as the frosting benefits from a little time to set. Preparing them in advance also frees up your time on the day of your Halloween party for other spooky preparations.
We recommend preparing this Halloween dessert up to a day in advance for optimal freshness and texture. Simply store the assembled cookies in an airtight container at room temperature. For longer storage, you can keep them in the refrigerator for up to 3-4 days. Just be sure to bring them back to room temperature before serving for the best flavor and texture.
If you wish to prepare even further ahead, the baked, unfrosted cookies can be frozen for up to 2-3 months. Thaw them at room temperature, then frost and decorate as usual.
More Spooktacular Halloween Recipes to Try
- Peanut Butter Spider Cookies
- Ghost Cupcakes
- Halloween Sugar Cookies
- Spider Rice Krispie Treats
- Tombstone Oreo Balls
5 from 3 ratings
Tap stars to rate!
Witch Hat Cookies
Beth
15
13
28
16
cookies
Rate
Equipment
-
Glass Mixing Bowl
-
Silicone Baking Mat
-
Cookie Dough Scoop
-
KitchenAid 9-Speed Mixer
Ingredients
For the Cookies
- 1 ½ cups (180g) all purpose flour
- ¼ cup (21g) natural unsweetened cocoa powder
- ½ tsp baking soda
- ½ tsp salt
- ½ cup (113g) unsalted butter, 1 stick, softened
- ½ cup (99g) granulated sugar
- ½ cup (107g) brown sugar
- 1 large egg
- 1 tsp vanilla extract
- ⅓ cup (66g) granulated sugar, for rolling
For the Frosting
- 1 stick unsalted butter, room temperature (1/2 cup)
- 1 cup (113g) powdered sugar
- 1 tsp vanilla extract
- Gel food coloring
- Hershey’s Kisses
- Halloween sprinkles
Instructions
Cookies
-
Preheat the oven to 350ºF (175°C). In a mixing bowl, combine the all-purpose flour, cocoa powder, baking soda, and salt. Whisk well and set aside.
-
In a separate large mixing bowl, cream together the softened unsalted butter, granulated sugar, and brown sugar using an electric mixer on low speed until light and fluffy. Scrape down the sides of the bowl as needed.
-
Add in the large egg and vanilla extract, mixing again on low speed until just combined. Gently add the dry ingredients to the wet ingredients, mixing on low or by hand just until combined. Be careful not to overmix.
-
Use a small cookie scoop or a tablespoon to form tablespoon-sized balls from the dough. Roll each dough ball between your hands to create a uniform shape, then roll it in the 1/3 cup of granulated sugar to coat. Place the cookies 2-3 inches apart on a silicone-lined or parchment-lined baking sheet and bake for 8-11 minutes, or until edges are set.
-
Allow the cookies to cool on the baking sheet for 10 minutes before carefully transferring them to a wire cooling rack. Bake one cookie sheet at a time for best results. Ensure the cookies are completely cool before proceeding to the frosting stage.
Frosting
-
In a mixing bowl, combine the room temperature unsalted butter, powdered sugar, and vanilla extract. Beat with an electric mixer on medium speed until the frosting is light, fluffy, and smooth. Divide the frosting into separate bowls and use gel food coloring to color each portion as desired (e.g., orange, purple, green).
-
Transfer the colored frosting to a piping bag (or a sturdy sandwich bag with a small corner cut off). Pipe a dollop of frosting into the center of each cooled cookie. Gently press a Hershey’s Kiss into the center of the frosting, allowing the frosting to “smoosh” out slightly around the base to create the hat’s brim. Add Halloween sprinkles around the base of the Kiss if desired. Repeat this process until all the cookies are assembled. Let the frosting set before serving.
Video
Watch the video tutorial on how to make these delicious Witch Hat Cookies!

Click here to watch the full video.
Nutrition
Calories:
231
kcal
|
Carbohydrates:
39
g
|
Protein:
2
g
|
Fat:
8
g
|
Saturated Fat:
5
g
|
Polyunsaturated Fat:
0.3
g
|
Monounsaturated Fat:
2
g
|
Trans Fat:
0.2
g
|
Cholesterol:
27
mg
|
Sodium:
120
mg
|
Potassium:
49
mg
|
Fiber:
1
g
|
Sugar:
28
g
|
Vitamin A:
193
IU
|
Calcium:
26
mg
|
Iron:
1
mg
Nutrition Disclosure
All nutritional values are approximate and provided to the reader as a courtesy. Changing ingredients and/or quantities will alter the estimated nutritional calculations.
Like this recipe? Rate and comment below!