
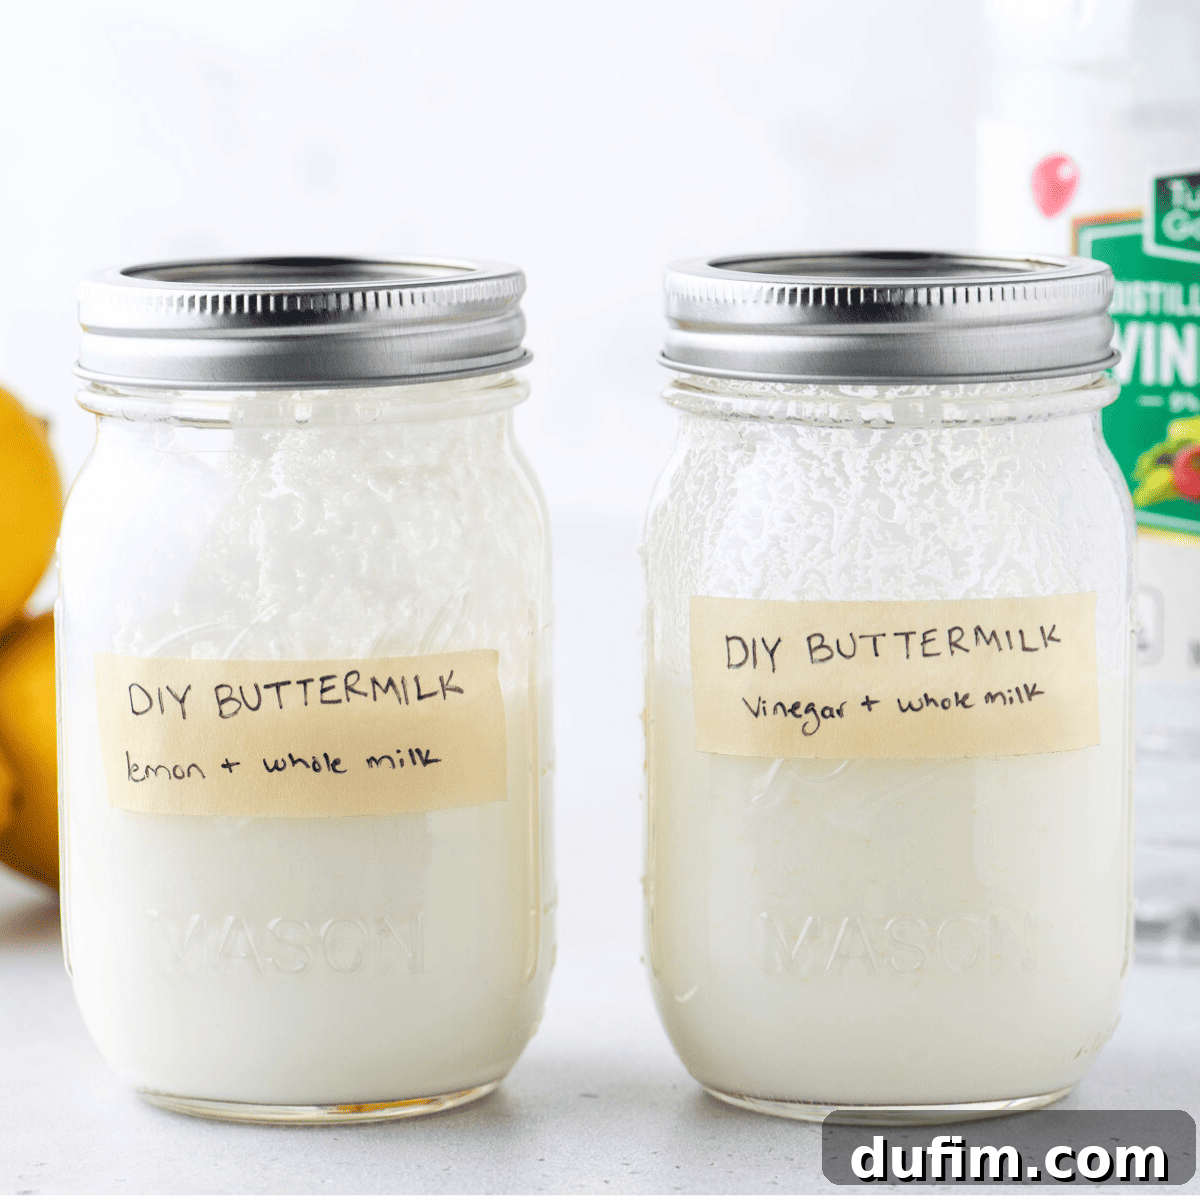
The Ultimate Guide to Homemade Buttermilk: A Scientifically Perfected Recipe
Have you ever found yourself in the middle of a baking project, only to realize you’re suddenly out of buttermilk? Or perhaps you’ve diligently followed online tutorials for a quick buttermilk substitute, only to be left with results that just don’t quite hit the mark? You’re certainly not alone in this common culinary dilemma. The quest for a truly authentic homemade buttermilk that perfectly rivals store-bought versions can be surprisingly challenging. Many recipes simply offer a common ratio without delving into the scientific principles that ensure consistent, high-quality outcomes.
Here, we’re changing the game entirely. I teamed up with my husband, who brings a wealth of knowledge with his Ph.D. in Chemistry, to rigorously test and uncover the precise methodology for crafting buttermilk that flawlessly matches the taste, texture, and crucial chemical properties of your favorite commercial brands. This isn’t just another quick fix; it’s a meticulously developed, scientifically proven approach designed to ensure your homemade buttermilk delivers truly outstanding results in all your culinary endeavors. Prepare to elevate your baking and cooking with what we believe is the best DIY buttermilk recipe you’ll find anywhere!
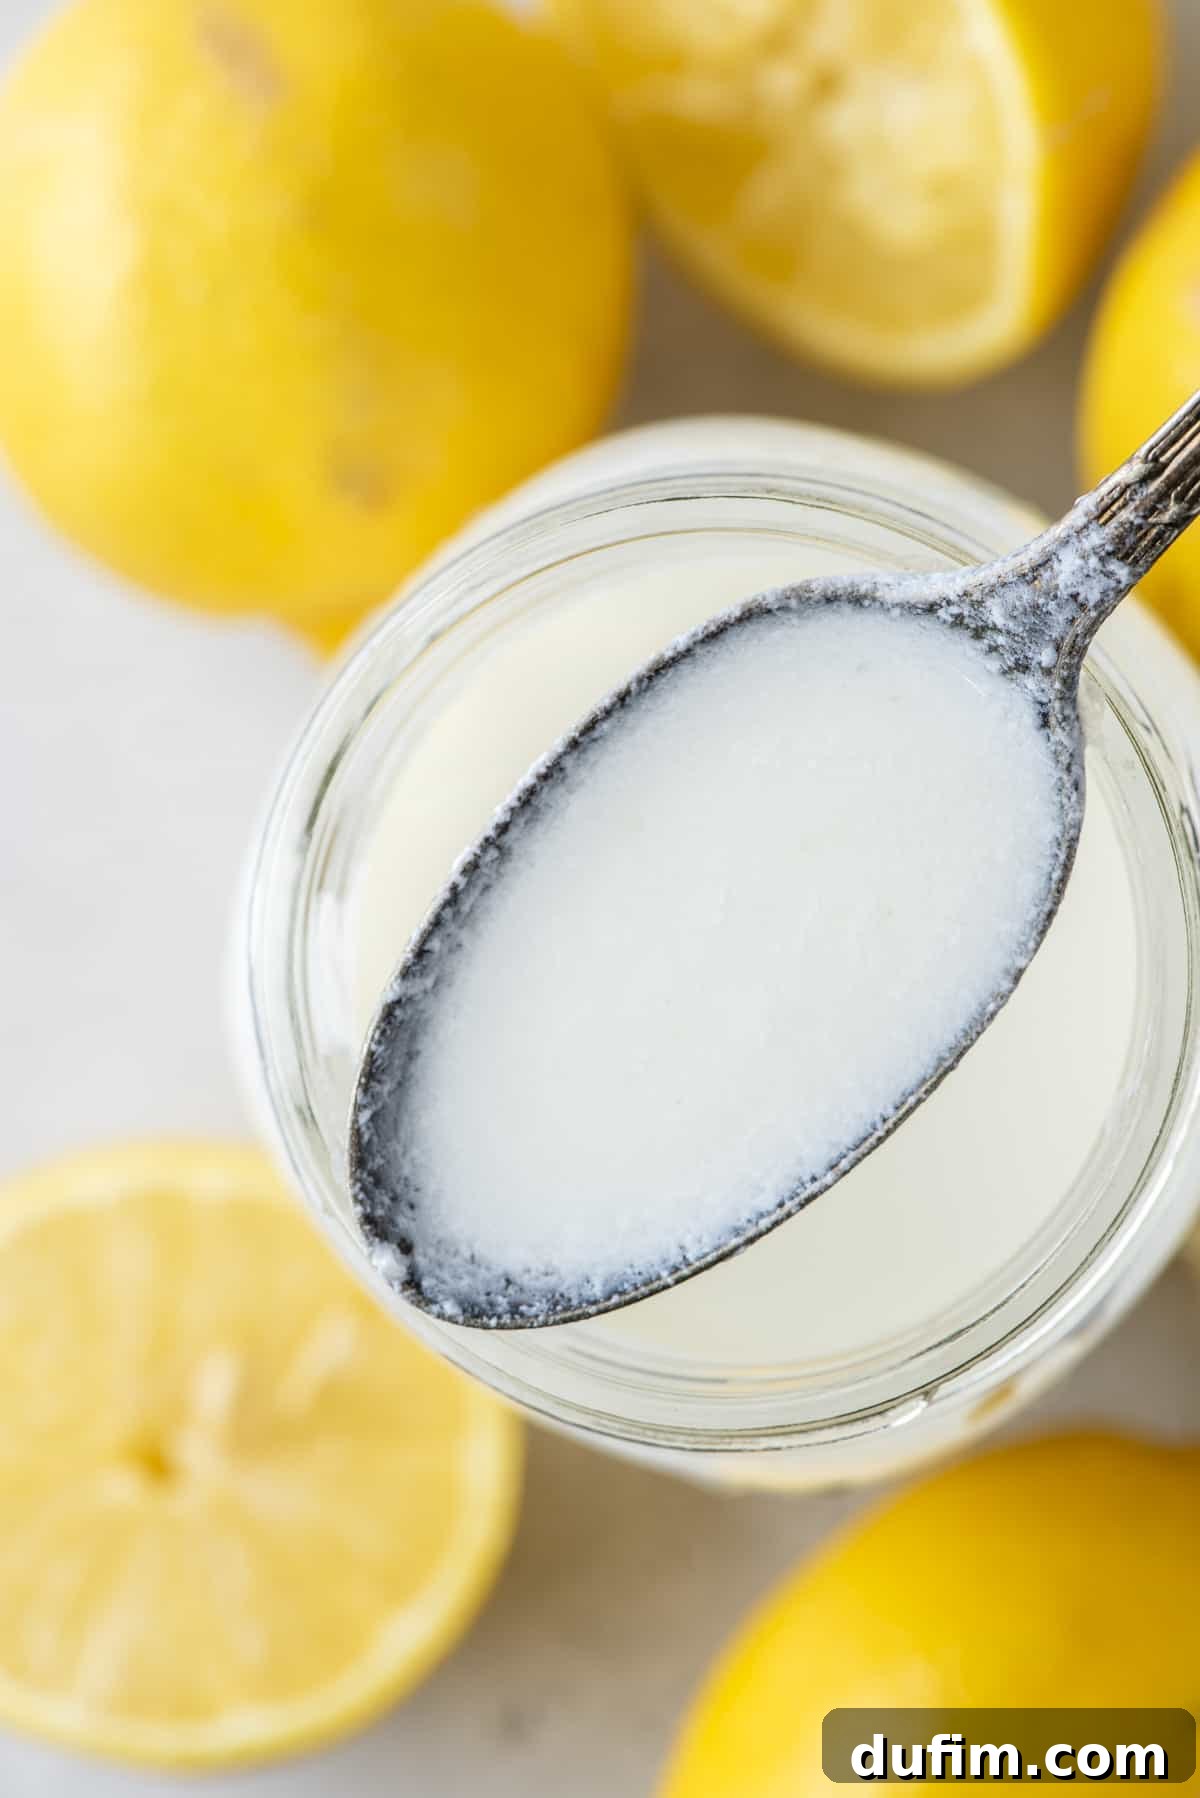
“This is so interesting! Thank you and your husband for taking the time to figure out the best DIY buttermilk!”
– Rachel, a satisfied baker
Unveiling the Secrets of Homemade Buttermilk: A Scientific Quest
As a dedicated recipe developer, my commitment is always to thoroughly test and perfect every creation before confidently sharing it with you. My journey into developing a truly superior homemade buttermilk was no exception. I consistently observed that nearly every online tutorial for a buttermilk substitute adhered to the exact same formula: one cup of milk combined with just one tablespoon of lemon juice or white vinegar. This widespread repetition, rather than inspiring confidence, sparked a crucial question in my mind: Is this particular ratio truly optimal, or is it merely a widely accepted, yet potentially suboptimal, standard that needs to be challenged?
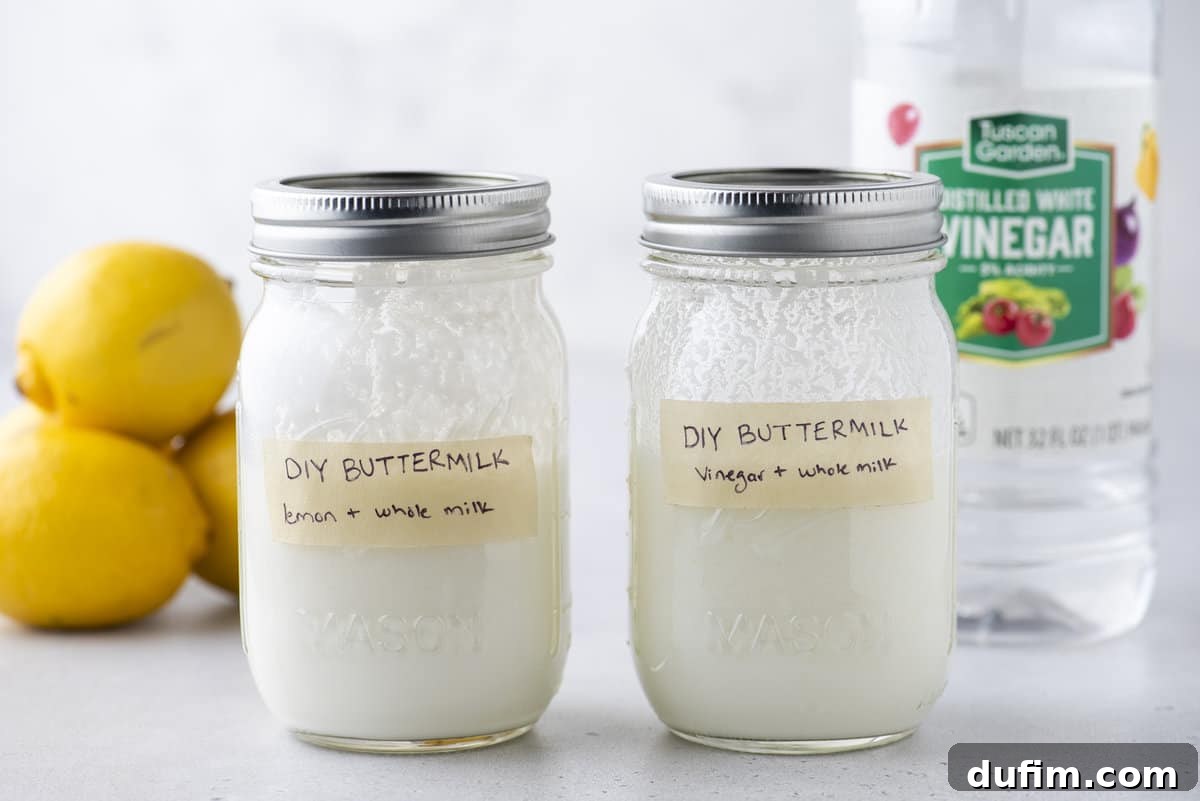
Our Scientific Approach: Perfecting Homemade Buttermilk Through pH Testing
This nagging curiosity ignited a series of meticulous experiments in our kitchen. Given my husband’s deep expertise and Ph.D. in Chemistry, he was the perfect partner to embark on this scientific culinary adventure. Our primary objective was straightforward yet crucial: to precisely determine the ideal amount of acidic ingredient – be it fresh lemon juice or distilled white vinegar – required to transform regular milk into a truly superior buttermilk substitute that performs indistinguishably from its commercial counterpart.
To establish a reliable, scientific benchmark for our homemade variations, our very first step involved testing the pH level of various store-bought traditional buttermilks. But before we dive deeper into our findings, let’s take a moment to quickly clarify what pH actually signifies. While this might primarily be a food blog, it’s worth remembering that the intricate and delicious world of cooking and baking is profoundly rooted in fundamental scientific principles! pH is a quantitative measure that precisely indicates the acidity or basicity (alkalinity) of any liquid solution. This universal scale ranges from 0 to 14, with a value of 7 representing a perfectly neutral solution. A lower pH indicates higher acidity, while a higher pH indicates higher alkalinity.
Our initial tests revealed that commercial buttermilk typically exhibits a pH range of 4.4 to 4.8. Therefore, to create the most authentic and effective homemade buttermilk substitute, our ultimate goal was to develop a DIY alternative that consistently yielded a pH within this specific range. Achieving this would ensure that our homemade version would perform identically in recipes, providing the same tangy taste, tenderizing properties, and leavening reactions as the store-bought product.
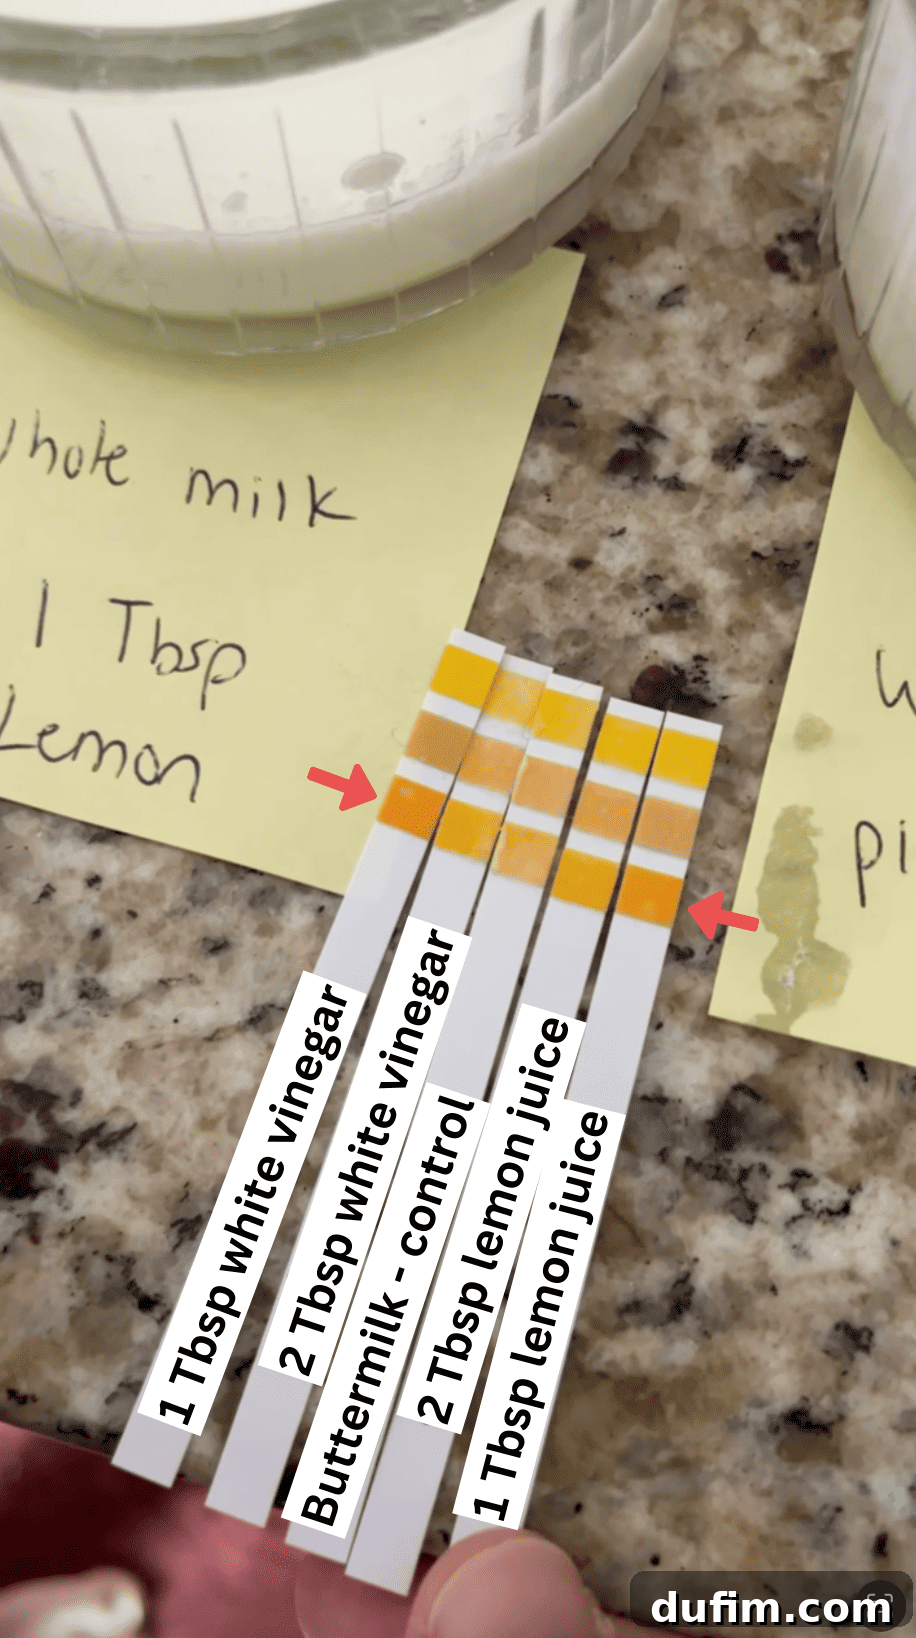
Measuring the pH of any liquid solution is a relatively straightforward process, often accomplished using simple pH test strips, which is exactly what we utilized for our experiment. These specialized paper strips are impregnated with a chemical substance that reacts to different acidities in a liquid, causing the paper to display a distinct color. By carefully comparing this resulting color to a standardized color chart provided with the strips, we could accurately determine the precise pH of each milk and acid mixture we tested.
The pH Test Results: Uncovering the Optimal Ratio
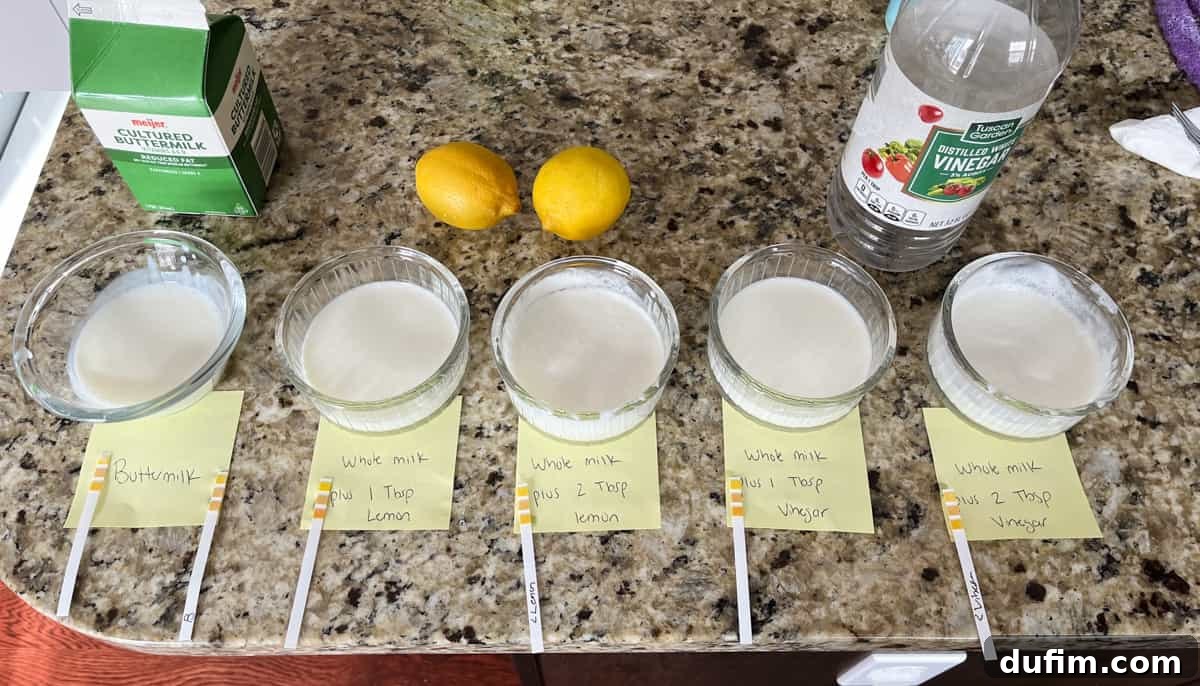
Our experiment involved methodically testing various combinations of whole milk with different amounts of both fresh lemon juice and distilled white vinegar. Below is a detailed breakdown of our significant findings, comparing each carefully prepared mixture against our crucial store-bought buttermilk baseline:
- Store-bought Buttermilk (Control): This commercial product served as our essential reference point throughout the experiment. Our objective was to replicate the color of its pH test strip as closely as possible in our homemade versions, thereby confirming a similar and desired acidity level.
- 1 cup Whole Milk + 1 Tbsp Fresh Lemon Juice: As vividly indicated by the red arrow on the right side of the photo illustrating the pH strips, the resulting test strip for this particular mixture displayed a distinctly darker bottom square compared to our store-bought control. This observation clearly signified that the solution was less acidic than commercial buttermilk, robustly demonstrating that the widely advocated traditional 1:1 ratio simply wasn’t potent enough to achieve the desired acidity.
- 1 cup Whole Milk + 2 Tbsp Fresh Lemon Juice: Strikingly, the color indicator on this test strip was remarkably similar, if not identical, to our store-bought control. This compelling result strongly confirmed that doubling the amount of lemon juice to two tablespoons yielded a pH level that very closely matched commercial buttermilk, both in terms of its visual indication on the strip and, crucially, its measured acidity.
- 1 cup Whole Milk + 1 Tbsp Distilled Vinegar: Mirroring the results from the lemon juice test, the strip for this vinegar mixture (indicated by the red arrow on the left side of the photo) also conspicuously displayed a darker bottom square than the store-bought control. This outcome further reinforced our growing conviction that merely one tablespoon of acid was consistently insufficient to achieve the precise acidity required for an authentic buttermilk substitute.
- 1 cup Whole Milk + 2 Tbsp Distilled Vinegar: Just as we observed with the lemon juice, the pH test strip for this combination showcased a color indicator that was nearly identical to that of the store-bought buttermilk. This robustly demonstrated that employing two tablespoons of distilled white vinegar per cup of milk effectively and accurately replicated the crucial acidity of commercial buttermilk, providing a clear path to successful DIY substitution.
The Definitive Conclusion: The 2-Tablespoon Rule for Perfect Buttermilk
Our extensive and meticulous pH testing unequivocally revealed a critical, game-changing insight for homemade buttermilk: for every 1 cup of whole milk, consistently incorporating 2 tablespoons of acid (whether it’s fresh lemon juice or distilled white vinegar) yields a pH level that is most akin to store-bought buttermilk. This scientific discovery decisively disproves the long-standing, yet inaccurate, 1 cup milk to 1 tablespoon acid ratio commonly found across countless online tutorials.
If your culinary goal is to truly replicate the distinctive tangy taste, the desirable thickened texture, and, most importantly, the crucial chemical reactions of commercial buttermilk in your baking and cooking, then embracing and utilizing this refined 2-tablespoon ratio is absolutely essential. It is the undisputed key to unlocking consistent, high-quality, and authentic results in all your cherished recipes.
But scientific validation isn’t complete without real-world application. The proof, as the old adage goes, is truly in the pudding – or, in this compelling case, the muffins! We didn’t conclude our research solely with pH testing. The next crucial and exciting step was to conduct the ultimate baking test, designed to thoroughly validate our scientific findings in a tangible, real-world culinary application.
To put our theory to the test, I meticulously prepared two separate batches of my beloved lemon muffins. One batch was crafted using our newly perfected DIY buttermilk method (specifically, 1 cup whole milk combined with 2 tablespoons of distilled white vinegar), while the other batch utilized premium store-bought buttermilk as our essential control for comparison. The anticipation in the kitchen was palpable!
The results were astonishingly clear, consistent, and undeniably compelling: both batches of muffins looked, felt, and tasted absolutely identical! There was no discernible difference whatsoever in their rise, their crumb texture, their moisture content, or their overall flavor profile. This conclusive, real-world baking test provided irrefutable proof that our scientifically derived 2-tablespoon ratio creates a homemade buttermilk substitute that performs flawlessly, offering the same exceptional quality and reliable results as its store-bought counterpart. You can now bake with confidence, knowing your homemade buttermilk is truly up to the task.
Why Buttermilk is a Baking Essential: More Than Just a Tangy Flavor
Buttermilk holds a truly revered spot in the intricate and delicious world of baking, and for a multitude of excellent reasons. Its unique chemical and physical properties make it an incredibly invaluable ingredient in countless recipes, especially featuring prominently in many of my beloved muffin creations. Beyond its distinctive tangy flavor, buttermilk contributes profoundly to the overall success, texture, and taste of baked goods in several key, often underestimated, ways:
- Superior Tenderizing Agent: The inherent acidity of buttermilk plays a crucial role in the kitchen, specifically in breaking down and gently tenderizing the gluten strands within dough and batters. This vital process results in a remarkably softer, more delicate, and melt-in-your-mouth crumb texture in your finished baked goods, ranging from light cakes and fluffy pancakes to flaky biscuits and tender breads. This tenderizing action ensures a pleasant eating experience.
- Powerful and Consistent Leavening Action: Buttermilk is naturally rich in lactic acid, which is an absolutely vital component for achieving effective chemical leavening in baked goods. When this acid reacts with alkaline leavening agents like baking soda, it robustly produces carbon dioxide bubbles. These precious bubbles are primarily responsible for the light, airy, and desirable rise in countless baked items. To achieve the perfect lift and volume without introducing an excessive, noticeable baking soda taste, it’s often most effective to pair baking soda with baking powder (which cleverly offers a delayed, double-action rise). This harmonious combination ensures your baked goods achieve optimal volume, a wonderfully fluffy consistency, and an irresistible lightness, as beautifully demonstrated in delectable recipes like these fluffy chocolate whoopie pies.
- Enhanced and Balanced Flavor Profile: The characteristic tanginess of buttermilk adds a delightfully complex depth and a subtle yet impactful dimension to baked goods. This pleasant tartness cleverly helps to balance inherent sweetness, preventing recipes from tasting overly sugary or one-note, and instead imparts a sophisticated, well-rounded flavor profile to treats like rich cakes, tender scones, and fluffy pancakes. It adds a freshness that plain milk cannot.
- Unmatched Moisture Retention Capabilities: Buttermilk contributes significant and essential moisture to baked goods, a critical factor for maintaining freshness and quality. Its natural richness and slight viscosity help to keep cakes, muffins, breads, and other baked items from drying out prematurely, ensuring they remain wonderfully moist, incredibly tender, and enjoyable for a longer duration. This ultimately results in a more succulent and pleasing crumb that truly elevates the entire eating experience.
In essence, buttermilk is far more than just a liquid ingredient; it is a true powerhouse that consistently elevates the texture, enriches the flavor, and optimizes the moisture content of your baked creations, making them undeniably more delicious, satisfying, and memorable.
What is Buttermilk? Unpacking this Versatile Dairy Ingredient
At its core, buttermilk is a fermented dairy beverage renowned for its distinctly tangy flavor and creamy, slightly thickened texture. It’s an incredibly versatile and fundamental ingredient widely utilized in both cooking and baking to infuse dishes with essential moisture and acidity. Traditionally, buttermilk was the thin, slightly tart liquid left behind after churning butter from cream (this is often referred to as “traditional buttermilk” or “liquid buttermilk”). This natural byproduct inherently contains beneficial lactic acid bacteria, which naturally give it a subtle tang.
However, the buttermilk most commonly found and purchased in grocery stores today, frequently labeled as “cultured buttermilk,” is produced through a slightly different, more controlled process. It’s typically made by adding a specific bacterial culture (specifically, lactic acid bacteria) to fresh low-fat or skim milk. This culture then actively ferments the lactose (milk sugar) present in the milk, producing lactic acid. This controlled fermentation process is precisely what gives cultured buttermilk its characteristic sour taste, desirable thickened consistency, and makes it an excellent, consistent choice for baking, as its acidity readily reacts with alkaline leavening agents to produce lift and tenderness.
Why You’ll Absolutely Love This Scientifically Perfected Buttermilk Recipe
Say goodbye to those frustrating, last-minute grocery store runs for buttermilk! This meticulously developed and scientifically perfected homemade buttermilk substitute recipe isn’t just a convenient alternative; it’s a truly transformative game-changer for any home baker or cook. There are countless compelling reasons why you’ll want to keep this recipe handy in your essential culinary arsenal:
- Just 2 Simple Ingredients: You almost certainly already have everything you need readily available in your pantry and fridge, making this recipe incredibly accessible and effortless.
- Scientifically Perfected Ratio: Thanks to our rigorous pH testing and chemistry expertise, this recipe guarantees the ideal and most effective balance of milk to acid, impeccably mimicking store-bought buttermilk’s crucial properties.
- Authentic Buttermilk Taste: Enjoy that classic, desirable tangy flavor with a pleasant, subtle sourness that genuinely enhances and complements all your baked goods and savory dishes.
- Effortless Preparation: With only a mere 2 minutes of active prep time, you can confidently whip up fresh, high-quality buttermilk whenever culinary inspiration strikes, without any fuss or complication.
- Ready in Minutes: The essential curdling process takes less than 15 minutes to complete, meaning you won’t be waiting long to seamlessly incorporate this fresh ingredient back into your cooking or baking project.
- Incredibly Versatile for All Your Needs: This substitute is perfectly suited for everything from creating fluffy pancakes and tender muffins to achieving that crispy coating on savory fried chicken and adding creaminess to cooked dressings.
- Cost-Effective and Waste-Reducing: Avoid the need to buy a whole carton of buttermilk from the store when you only require a small amount for a recipe, thereby saving you money and significantly reducing potential food waste.
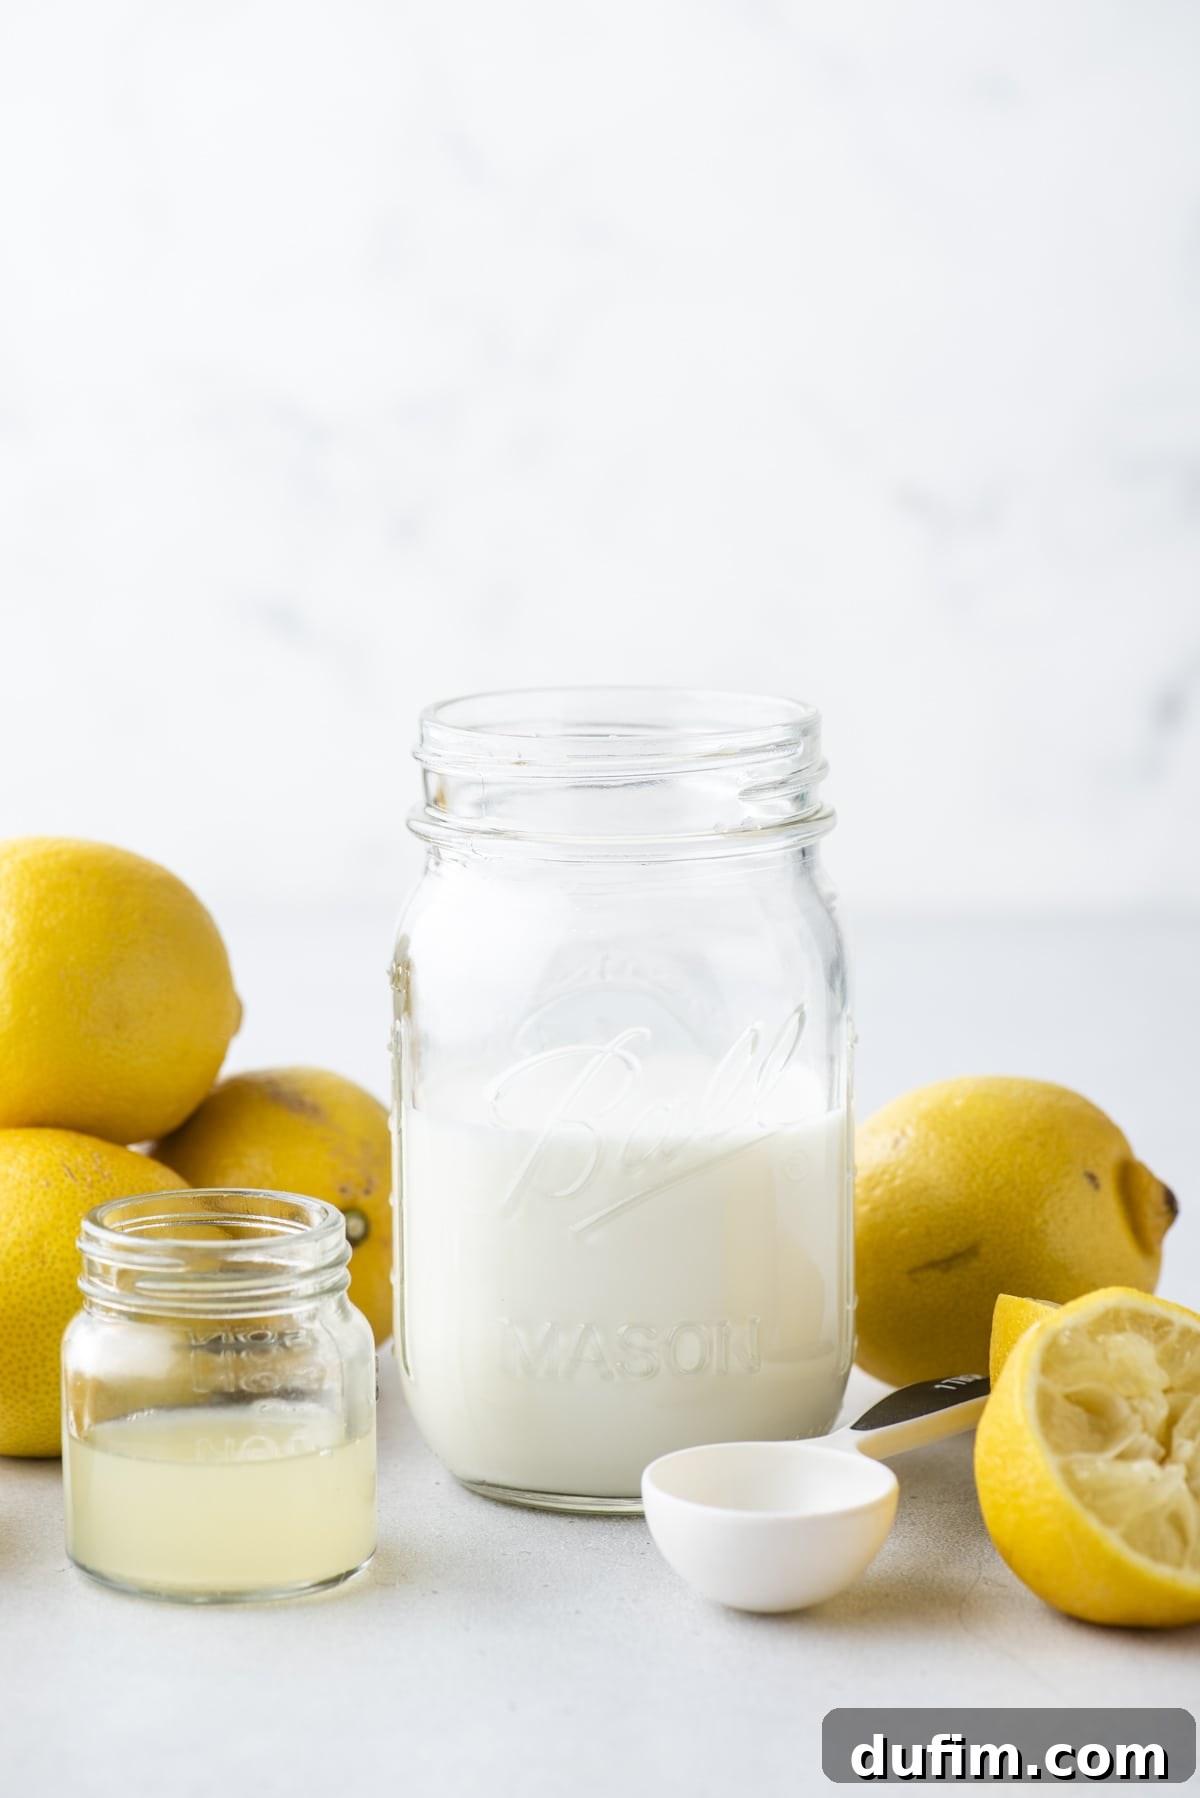
DIY Buttermilk Recipe Ingredients: Pantry Staples for Culinary Magic
One of the greatest and most appealing advantages of this homemade buttermilk substitute is its remarkable simplicity. You only need two incredibly basic ingredients, both of which you almost certainly have readily available in your kitchen right now, making it an instant solution:
- Whole Milk or 2% Milk: For achieving the absolute best results and a consistency that is closest to traditional cultured buttermilk, whole milk is highly recommended due to its higher fat content, which contributes to a richer texture. However, 2% milk will also work effectively, though the final texture might be marginally thinner. While skim milk or non-fat milk can technically be used, the richness and desirable slight thickness will be less pronounced compared to higher-fat options.
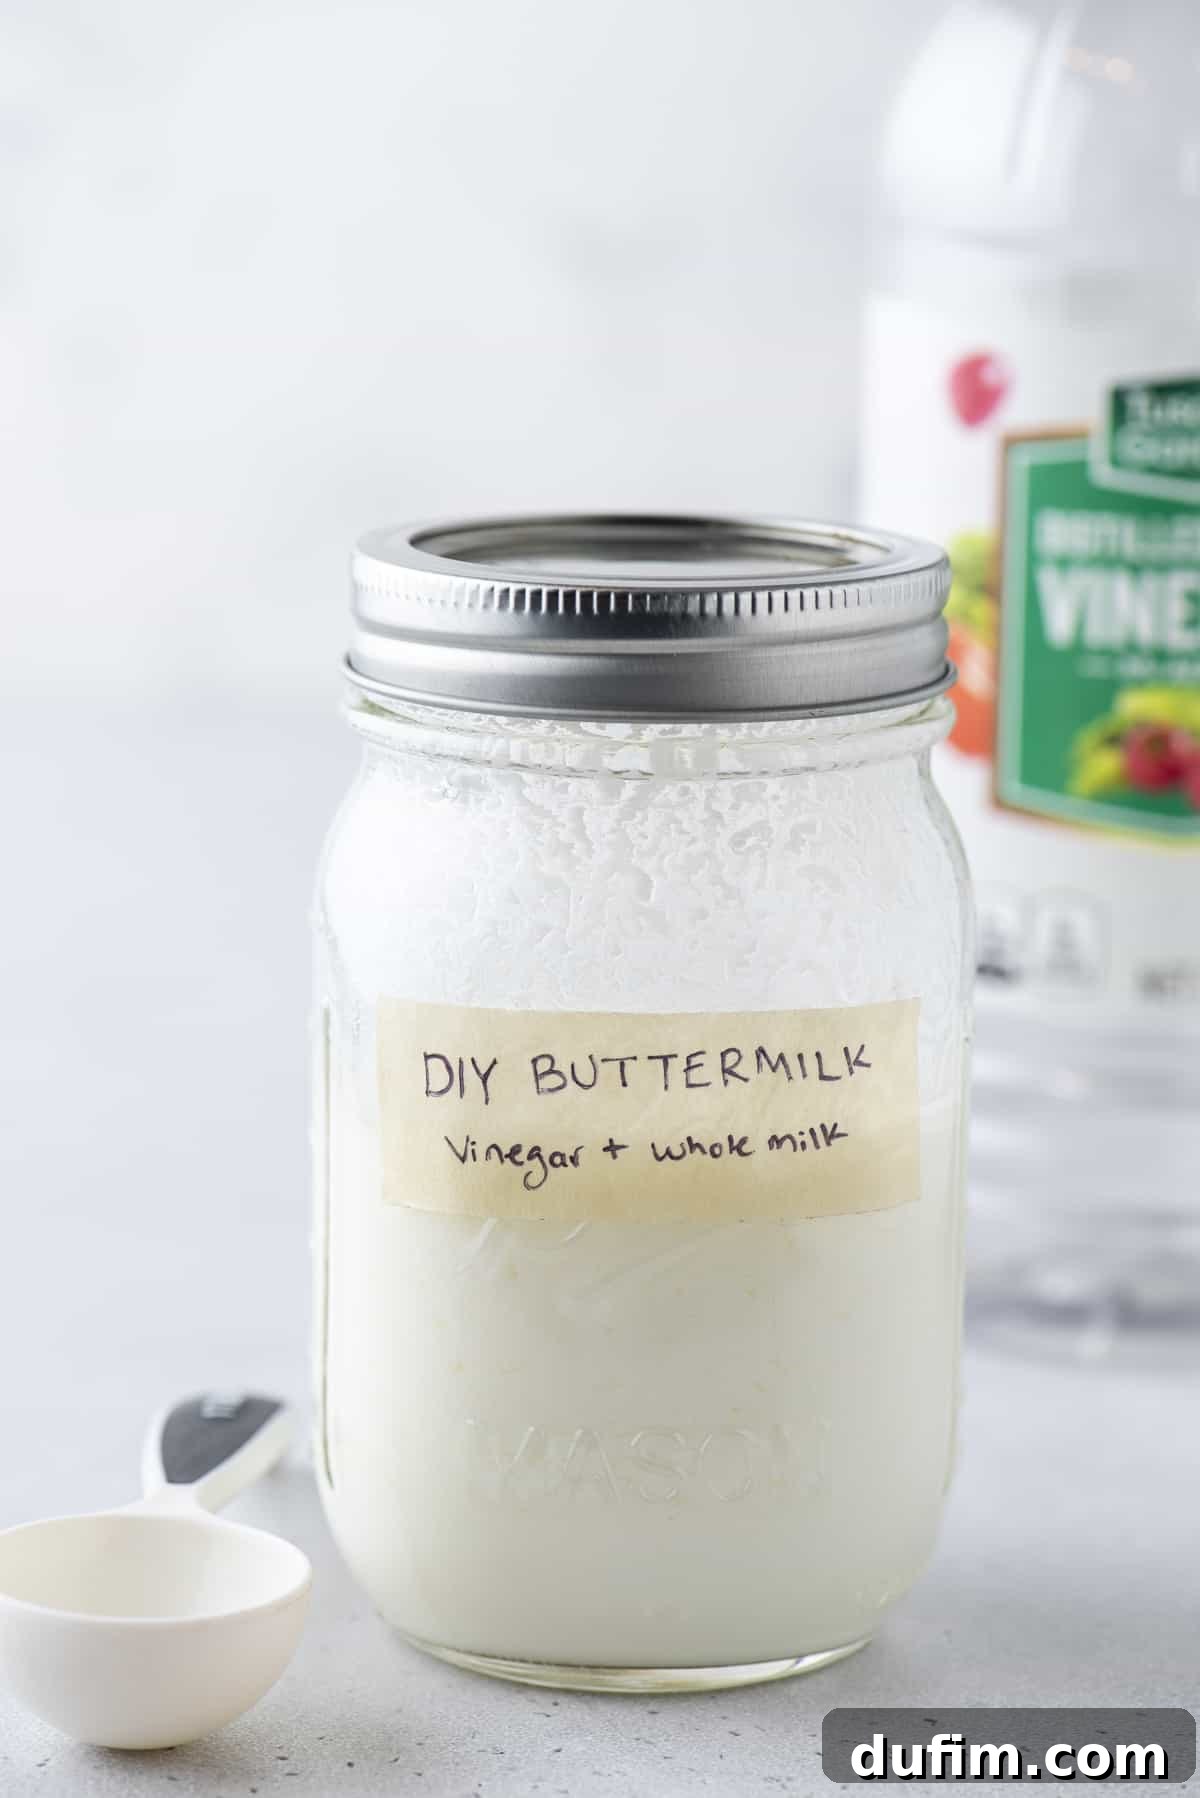
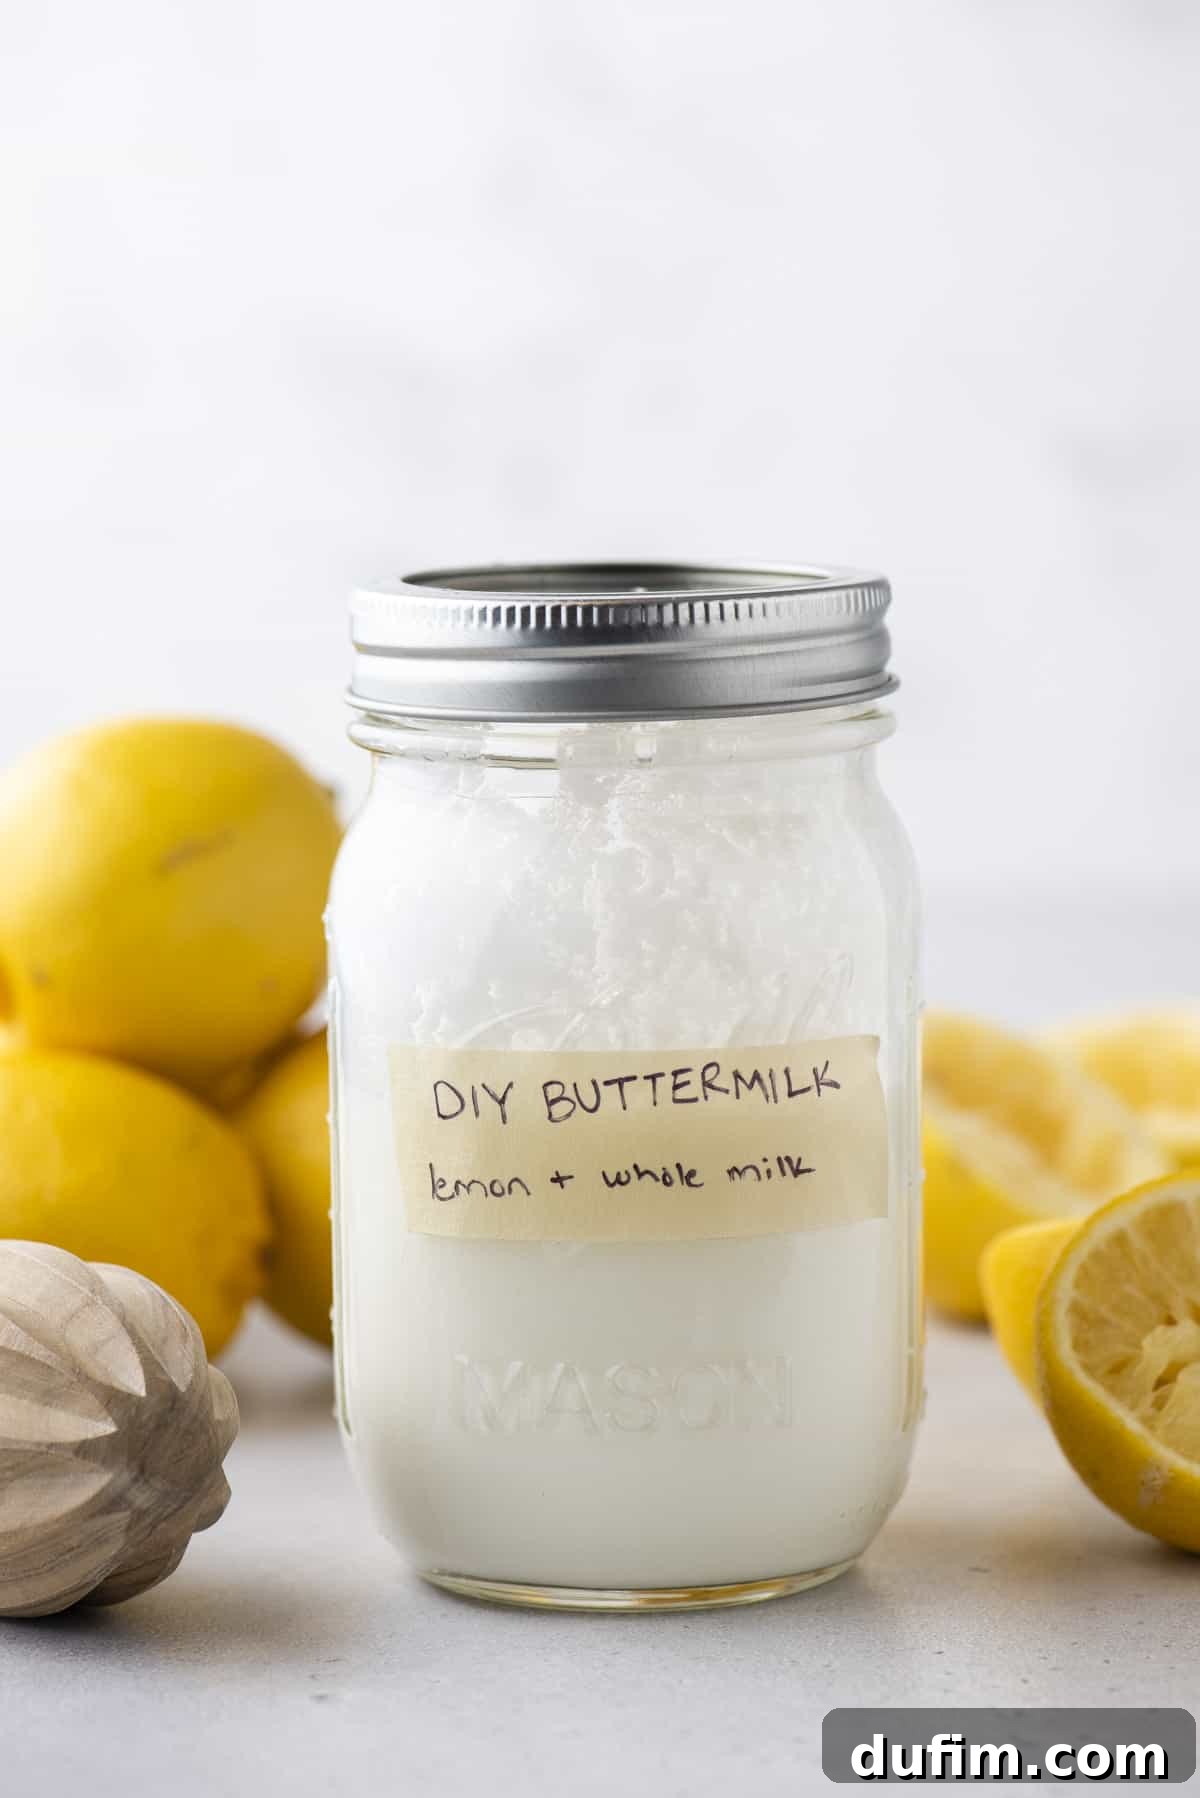
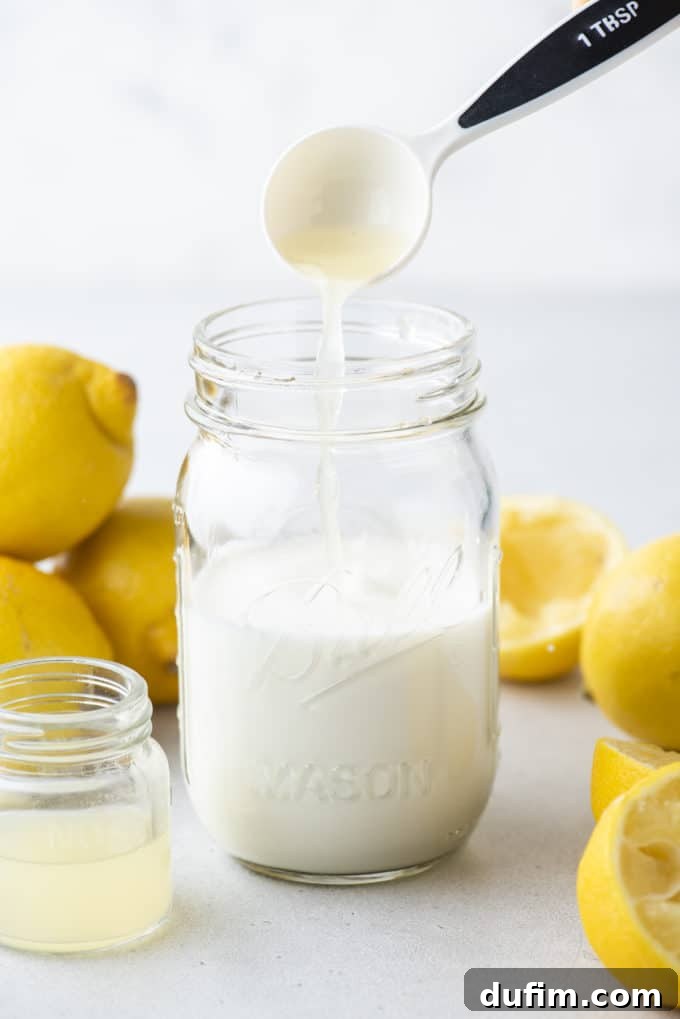
- Fresh Lemon Juice OR Distilled White Vinegar: Both of these acidic liquids perform equally well and reliably in this recipe to swiftly curdle the milk and achieve the precisely desired pH. Freshly squeezed lemon juice will impart a very subtle and pleasant citrus note to your buttermilk, which can be delightful in certain recipes. Distilled white vinegar, on the other hand, is virtually flavorless and will produce a perfectly neutral buttermilk taste. Your choice primarily depends on your preference for a hint of flavor or absolute neutrality, and, of course, what you conveniently have on hand!
How to Make Buttermilk at Home: Quick and Easy Instructions
Crafting this simple yet effective buttermilk substitute at home is astonishingly quick and straightforward, requiring only about 2 minutes of active preparation time before it’s perfectly ready to use in under 15 minutes. Follow these easy steps to achieve perfectly curdled milk every single time:
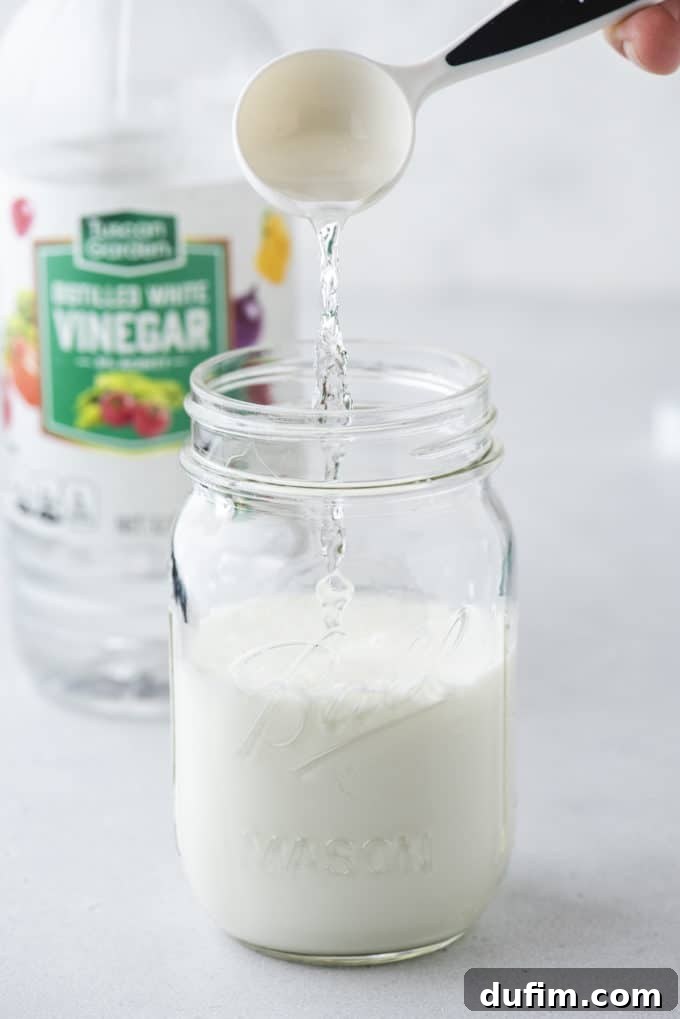
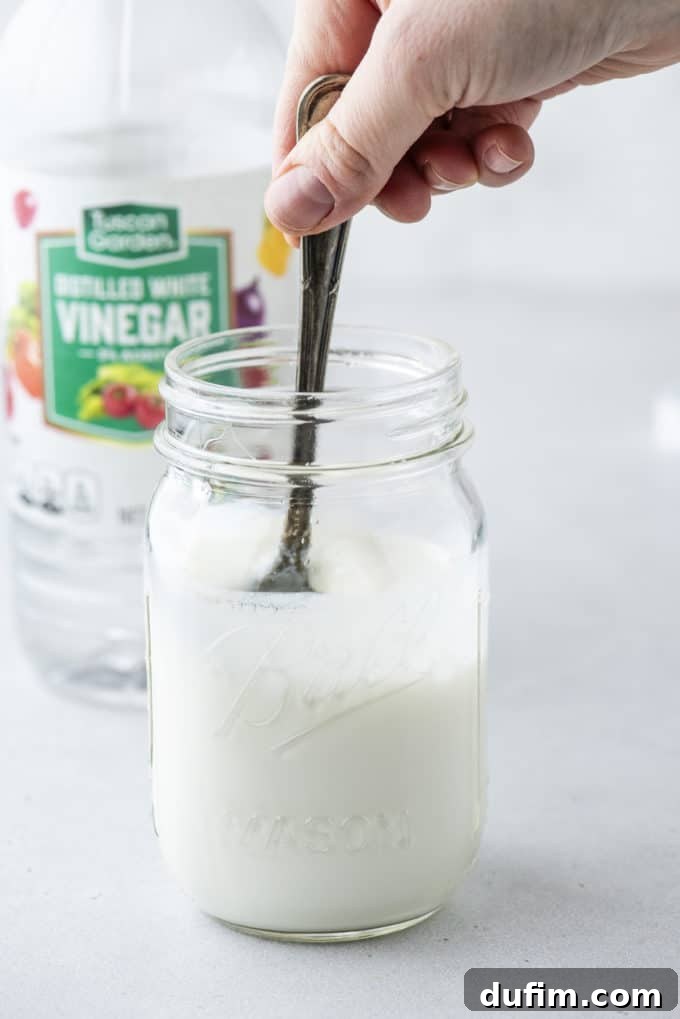
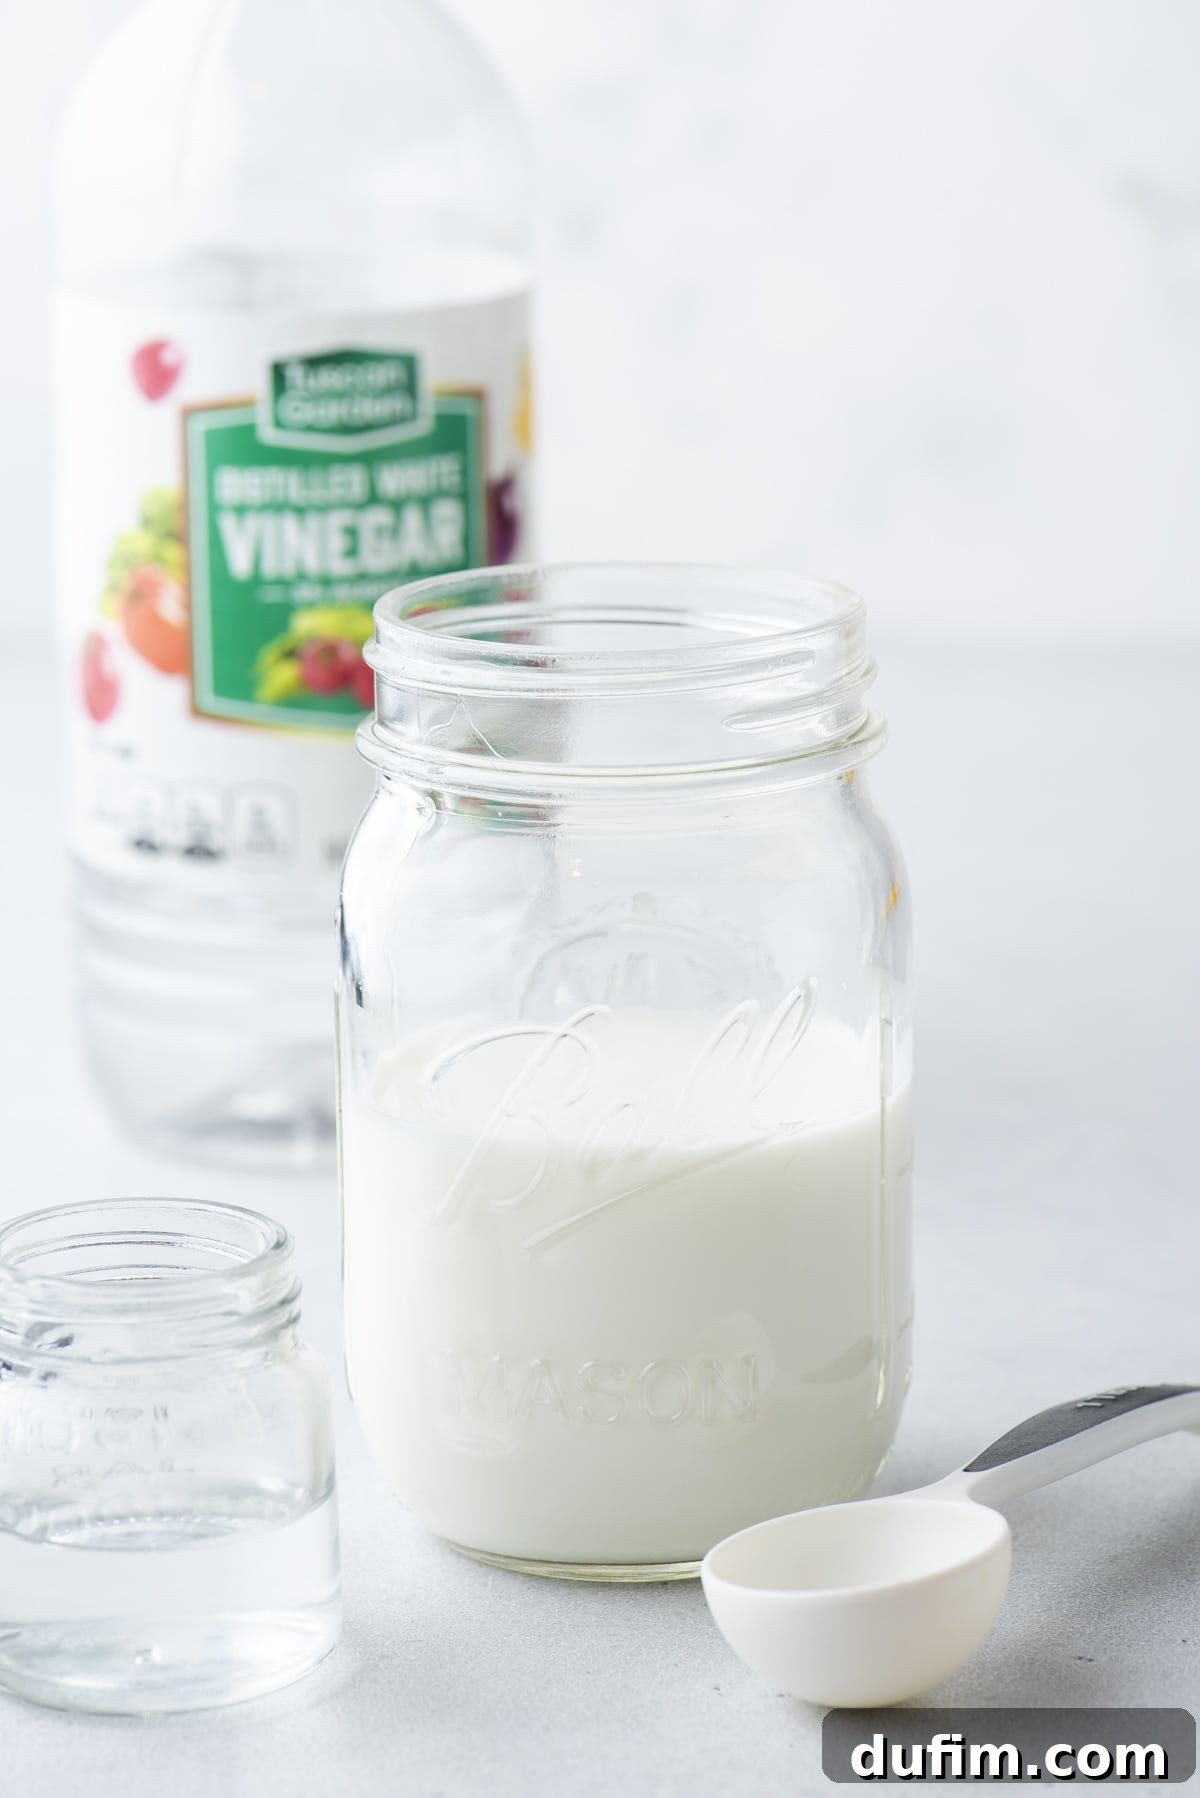
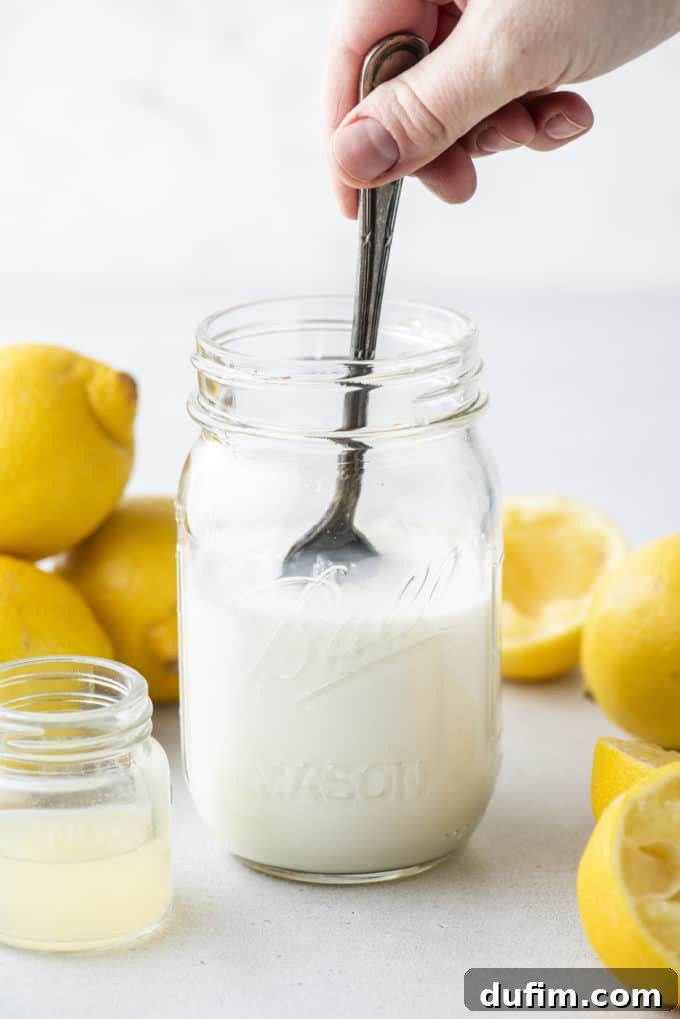
- Combine Ingredients: For every 1 cup (237ml) of whole milk (or 2% milk), accurately measure and thoroughly stir in 2 tablespoons (30ml) of either fresh lemon juice or distilled white vinegar into a clean mixing bowl or jar. Use a whisk or spoon to ensure the acid is evenly distributed.
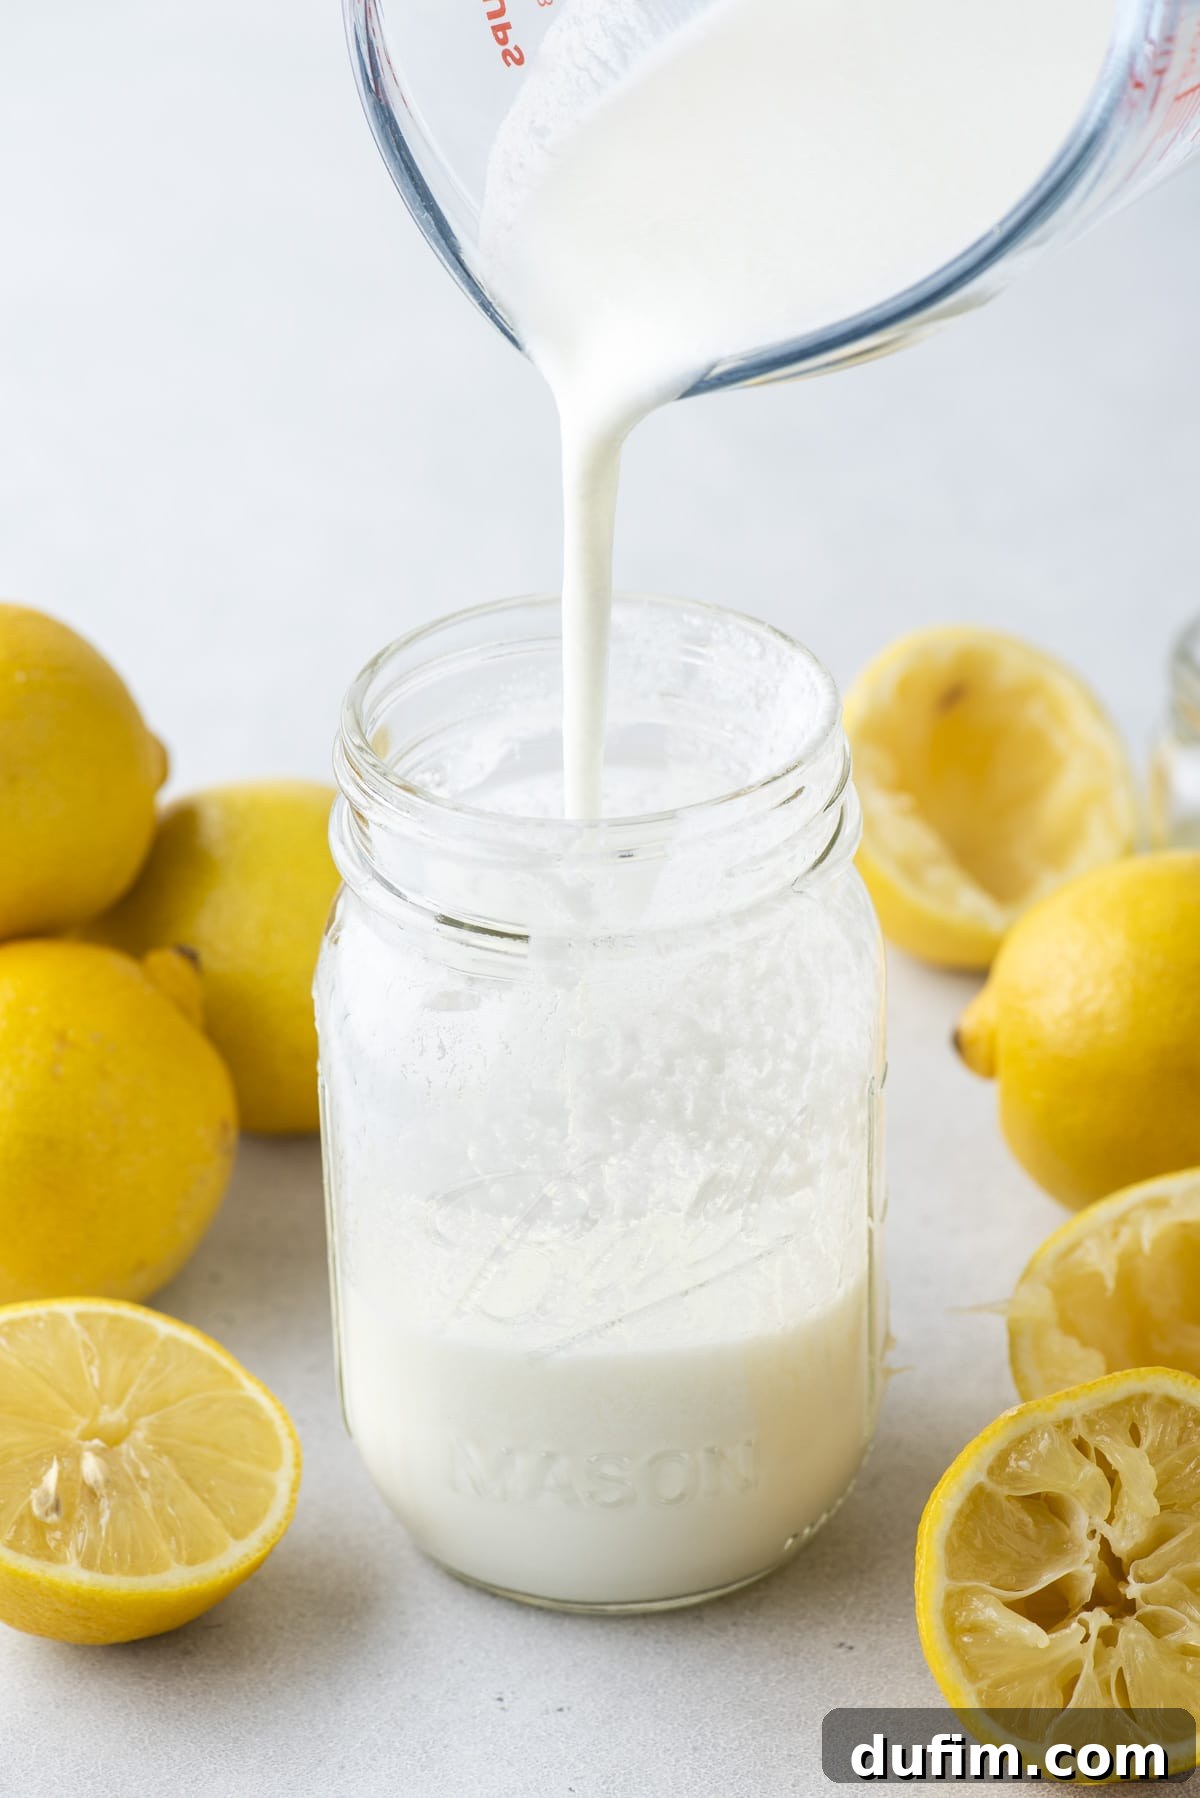
- Allow to Stand and Curdle: Let the milk and acid mixture stand undisturbed at room temperature for a minimum of 10 minutes, and up to 15 minutes. During this brief waiting period, the acid will actively curdle the milk, causing it to visibly thicken and develop small, distinct curds. This is a normal and desired reaction.
- Observe and Use: After 10-15 minutes, the buttermilk should appear noticeably thicker and have tiny, harmless clumps. Give it a final quick stir with a spoon or whisk to ensure an even consistency, and it’s then perfectly ready to be used immediately in your recipe as directed.
Remember, this recipe is remarkably easily scalable! Whether you require half a cup or two cups for your recipe, simply adjust the quantities of milk and acid proportionally. Always adhere to the scientifically proven ratio of 2 tablespoons of acid per 1 cup of milk for consistently optimal and reliable results.
How to Store Homemade Buttermilk & Maximize Freshness
Proper storage is absolutely key to extending the usability and maintaining the quality of your homemade buttermilk substitute. While it’s always best to use it fresh for optimal performance, you can certainly store it for a short period if you have leftovers:
- Refrigeration is Essential: The optimal way to store your homemade buttermilk is in a clean, airtight glass container. This type of container minimizes exposure to air, which is crucial for maintaining its freshness and preventing premature spoilage.
- Shake Before Each Use: If the buttermilk has been sitting in the refrigerator for a while, it’s entirely natural for it to separate slightly, with the curds settling at the bottom. Simply give the sealed container a gentle but thorough shake before each use to effectively recombine the liquids and curds, restoring its uniform consistency.
- Optimal Shelf Life: For peak freshness and best performance in your baking and cooking, this homemade buttermilk substitute is best when used within one week of preparation. Beyond this timeframe, its quality, texture, and leavening potential may begin to diminish.
How Long Does Homemade Buttermilk Last?
For optimal freshness, desirable texture, and reliable performance in your recipes, we strongly recommend using this homemade buttermilk within one week when it is stored correctly in an airtight container in the refrigerator. While it may remain safe to consume slightly longer, its peak quality for effective baking purposes is definitively within this initial timeframe. Always prioritize freshness for the best culinary outcomes.
Can You Freeze Homemade Buttermilk?
Absolutely, yes! Freezing is an excellent and highly recommended option for preserving homemade buttermilk, especially if you’ve made a larger batch than immediately needed or if you anticipate only requiring small quantities at various times. This recipe freezes exceptionally well and can be stored for up to 3 months without significant loss of quality. Here are a couple of convenient freezing methods:
- Airtight Container or Freezer Bag: Pour the homemade buttermilk into an airtight freezer-safe container or a heavy-duty freezer bag. Be sure to leave a little headspace at the top to allow for natural expansion as the liquid freezes. Clearly label the container or bag with the date it was prepared and frozen.
- Ice Cube Tray Portions: For incredibly convenient, pre-portioned amounts, freeze the buttermilk in tablespoon or ¼ cup portions using a standard ice cube tray. Once the buttermilk cubes are frozen solid, transfer them to a freezer-safe bag or container, making sure to press out as much air as possible before sealing. This clever method allows you to grab just the right amount for your recipes without the hassle of thawing a whole batch.
To thaw, simply transfer the desired amount of frozen buttermilk to the refrigerator overnight. For quicker thawing, you can place the sealed container or bag in a bowl of cold water. It’s common for thawed buttermilk to appear slightly separated or a bit grainier in texture; a quick whisk or stir will usually smooth it out and make it perfectly ready for use in your baking and cooking.
How to Tell if Homemade Buttermilk Has Gone Bad
Like any dairy product, even homemade buttermilk can eventually spoil. It’s crucial to always trust your senses to accurately determine its freshness and safety for consumption. You will typically notice clear and unmistakable signs of spoilage if this recipe has gone bad, such as:
- Foul or Off-Putting Odor: A distinctly sour, pungent, rancid, or yeasty smell that is far beyond its natural, pleasant tangy aroma.
- Unusual Texture: Excessive thickening beyond its initial consistency, sliminess, or the presence of unusually large, chunky curds that do not easily mix back into the liquid, even after stirring.
- Discoloration: Any noticeable and unnatural change in color, such as a yellowish, pinkish, or greenish tint.
- Visible Mold Growth: The appearance of any visible mold on the surface of the buttermilk or inside the container is a definitive sign of spoilage.
When in doubt about the freshness of your homemade buttermilk, it is always best and safest to discard it. Now that you’ve confidently mastered the art of crafting scientifically perfected homemade buttermilk, perhaps your culinary curiosity is piqued about how to make homemade butter from scratch!
Homemade Buttermilk Recipe FAQs: Your Questions Answered
Is it better to use vinegar or lemon juice when making buttermilk?
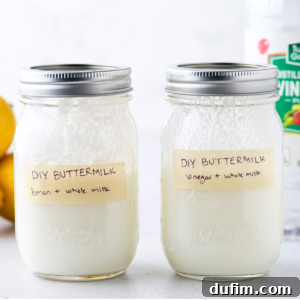
Based on our rigorous scientific pH testing results, there is no significant difference in effectiveness between using distilled white vinegar or fresh lemon juice, provided you adhere to the recommended 2 tablespoons of acid per cup of milk. Both acids will efficiently curdle the milk to the desired pH level, ensuring consistent results. Your ultimate choice primarily comes down to personal preference regarding any subtle flavor nuances (fresh lemon juice might impart a very faint citrus note, which can be lovely in some recipes, while distilled white vinegar is virtually flavorless and produces a more neutral buttermilk taste) and, of course, what you conveniently have readily available in your pantry.
Is homemade buttermilk the same as store-bought buttermilk?
While our scientifically developed homemade version very closely mimics store-bought buttermilk in terms of pH, functional taste, and exceptional performance in a vast majority of baking and cooking applications, they are not entirely identical. Store-bought cultured buttermilk undergoes a controlled fermentation process using specific, beneficial bacterial cultures, which typically results in a consistent, slightly thicker texture and a more complex, developed flavor profile. Our homemade substitute, conversely, uses an acid to rapidly curdle the milk, which creates a remarkably similar product that is perfectly suitable for almost all baking and cooking applications where buttermilk is called for. The texture of homemade buttermilk might be marginally thinner than commercial cultured buttermilk, but our optimized ratio ensures it performs identically where it matters most – in the success of your recipes.
Why does homemade buttermilk sometimes taste different?
The most common and significant reason for homemade buttermilk tasting different, or perhaps not performing as expected, is an incorrect milk-to-acid ratio. Many conventional online recipes unfortunately suggest a suboptimal 1-tablespoon acid ratio, which our extensive pH testing definitively proved to be insufficient for accurately replicating store-bought buttermilk’s crucial acidity and optimal performance. By strictly using our scientifically proven 2-tablespoon acid ratio, this recipe achieves a taste profile that is remarkably close to, if not indistinguishable from, commercial buttermilk, consistently delivering that desirable tang and yielding reliable, excellent results every time.
Can you drink homemade buttermilk?
Yes, this homemade buttermilk substitute, once prepared, is perfectly safe to drink. However, its primary purpose and appeal are typically found in its versatile applications in cooking and baking due to its tangy, slightly sour flavor. If you personally enjoy the unique tartness, feel free to drink it as is, but please be aware that it is primarily designed and optimized as a functional ingredient to enhance your culinary and baking endeavors.
Delicious Recipes That Shine with Buttermilk
Buttermilk is a true star ingredient in a wide array of both sweet and savory dishes, consistently lending its unique tangy flavor and tenderizing properties to create truly exceptional flavors and textures. Here are some of my all-time favorite recipes where this scientifically perfected homemade buttermilk will make an undeniable difference, elevating your results to new heights:
- Fluffy Blueberry Scones
- Decadent Chocolate Cupcakes
- Moist and Flavorful Peanut Butter Bread
- Zesty and Tender Lemon Muffins
- Classic Chocolate Whoopie Pies
DIY Buttermilk Recipe Card: Your Quick Reference
Perfect Homemade Buttermilk Substitute
This homemade buttermilk is scientifically perfected to taste and perform just like store-bought versions. Essential for all your baking needs!
- Author: Beth
- Prep Time: 2 minutes
- Rest Time: 10 minutes
- Yields: 1 cup
Equipment
- Glass Mixing Bowl
Ingredients
- 1 cup (237ml) Whole milk or 2% milk
- 2 Tbsp (30ml) fresh lemon juice OR distilled white vinegar
Instructions
- For every 1 cup of whole milk (or 2% milk), thoroughly stir in 2 tablespoons of fresh lemon juice or distilled white vinegar into a clean glass mixing bowl.
- Let the mixture stand undisturbed at room temperature for 10-15 minutes. During this time, you will observe the milk visibly curdling and thickening slightly, which is the desired effect.
- Once visibly curdled, give it a quick stir with a spoon or whisk and it’s ready to be used immediately in your recipe as directed. Please note: this homemade mixture is not recommended for raw applications like salad dressings; it is formulated as a substitute for cultured buttermilk intended for cooking and baking.
Recipe Notes & Scaling Guide
Important Note: This homemade buttermilk substitute is best used right away after it has stood for 10-15 minutes and developed its curds. For optimal quality and performance, it is generally not recommended to store this particular mixture in the fridge for later use as its texture can change. If you need to store buttermilk, freezing is a better option (see above).
Scaling Cup Measurements:
- For 1/2 cup buttermilk: 1/2 cup whole milk + 1 tablespoon fresh lemon juice or white vinegar
- For 3/4 cup buttermilk: 3/4 cup whole milk + 1 ½ tablespoons fresh lemon juice or white vinegar
- For 1 cup buttermilk: 1 cup whole milk + 2 tablespoons fresh lemon juice or white vinegar
- For 1 & 1/2 cups buttermilk: 1 & 1/2 cups whole milk + 3 tablespoons fresh lemon juice or white vinegar
- For 2 cups buttermilk: 2 cups whole milk + 4 tablespoons fresh lemon juice or white vinegar
Scaling Metric Measurements:
- For 1/2 cup buttermilk: 118 mL / 4 oz whole milk + 15 mL fresh lemon juice or white vinegar
- For 3/4 cup buttermilk: 177 mL / 6 oz whole milk + 22 mL fresh lemon juice or white vinegar
- For 1 cup buttermilk: 237 mL / 8 oz whole milk + 30 mL fresh lemon juice or white vinegar
- For 1 & 1/2 cups buttermilk: 355 mL / 12 oz whole milk + 44 mL fresh lemon juice or white vinegar
- For 2 cups buttermilk: 473 mL / 16 oz whole milk + 59 mL fresh lemon juice or white vinegar
Nutrition Information (Approximate Values)
All nutritional values provided here are approximate and are offered to the reader as a courtesy for informational purposes. Please be aware that changing ingredients and/or altering quantities will inevitably change and alter the estimated nutritional calculations for your specific preparation.
- Serving Size: 1 cup
- Calories: 146 kcal
- Carbohydrates: 11g
- Protein: 8g
- Fat: 8g
- Saturated Fat: 5g
- Polyunsaturated Fat: 0.3g
- Monounsaturated Fat: 2g
- Cholesterol: 29mg
- Sodium: 93mg
- Potassium: 366mg
- Sugar: 12g
- Vitamin A: 395 IU
- Calcium: 300mg