
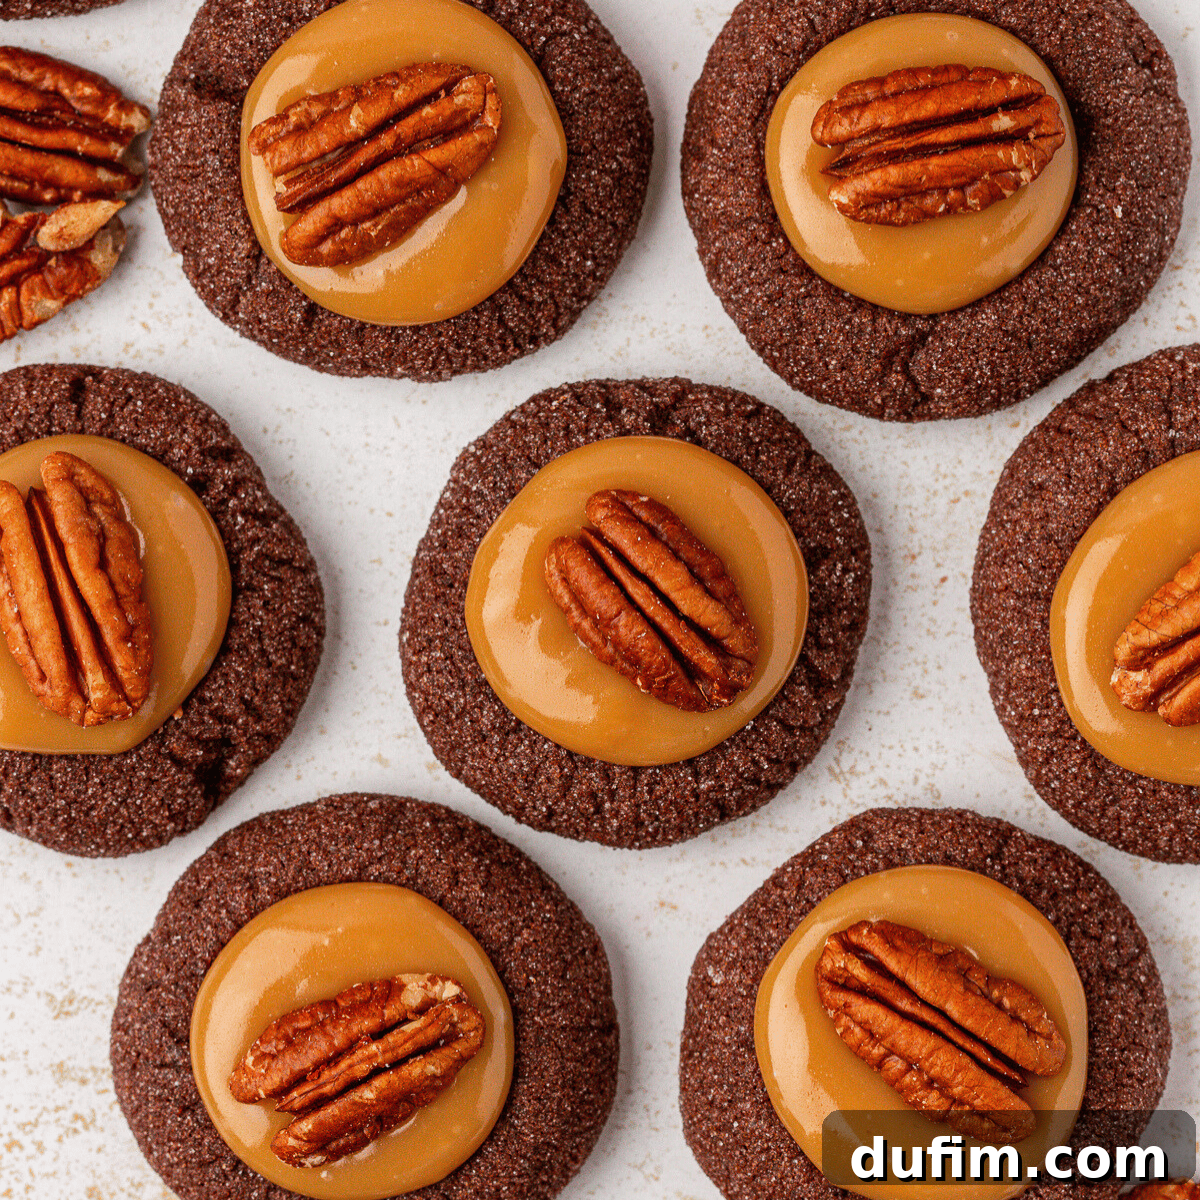
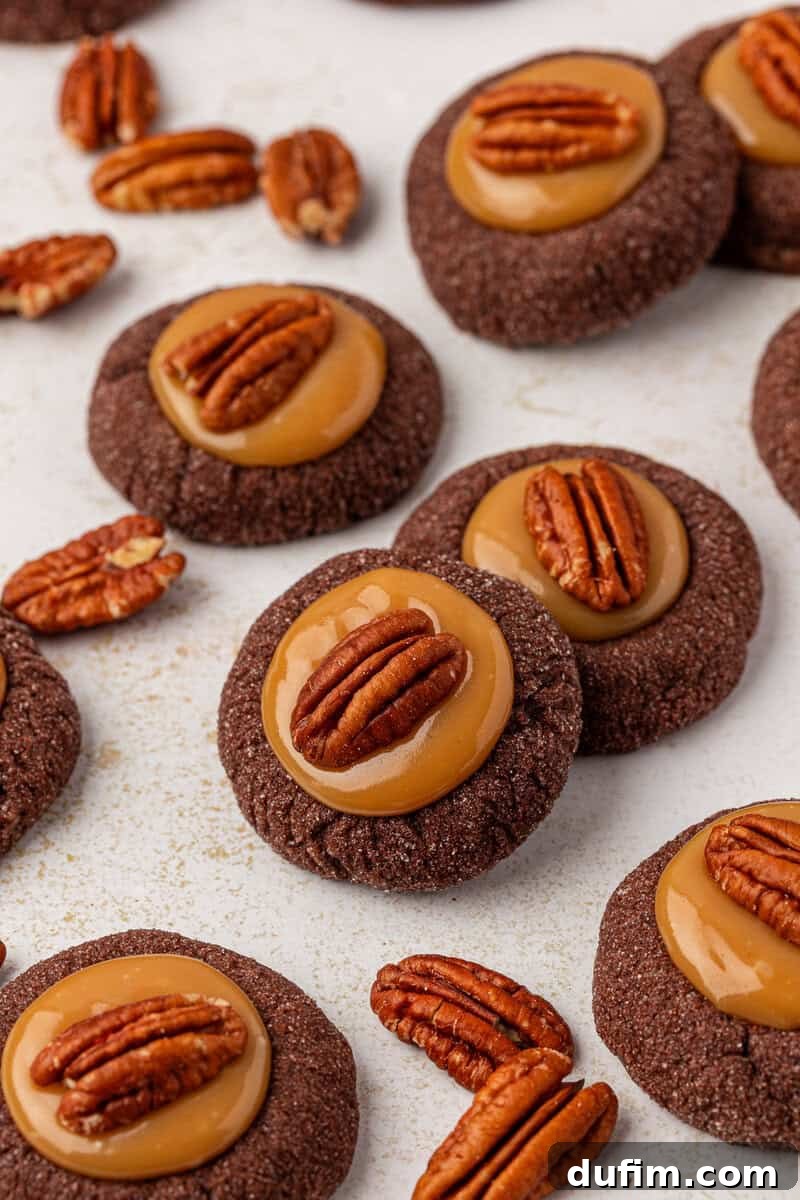
Prepare to be enchanted by these ultimate Turtle Thumbprint Cookies, a delightful symphony of rich chocolate, gooey homemade caramel, and crunchy pecans. These cookies aren’t just a treat; they’re an experience, designed to bring comfort and joy with every bite. The quest for this perfect cookie involved extensive testing, focusing on a chocolate base that remains irresistibly soft while flawlessly holding its signature thumbprint shape, cradling a luxurious, thick caramel center. Imagine a cookie so inviting, you can’t help but want to share it with everyone you cherish.
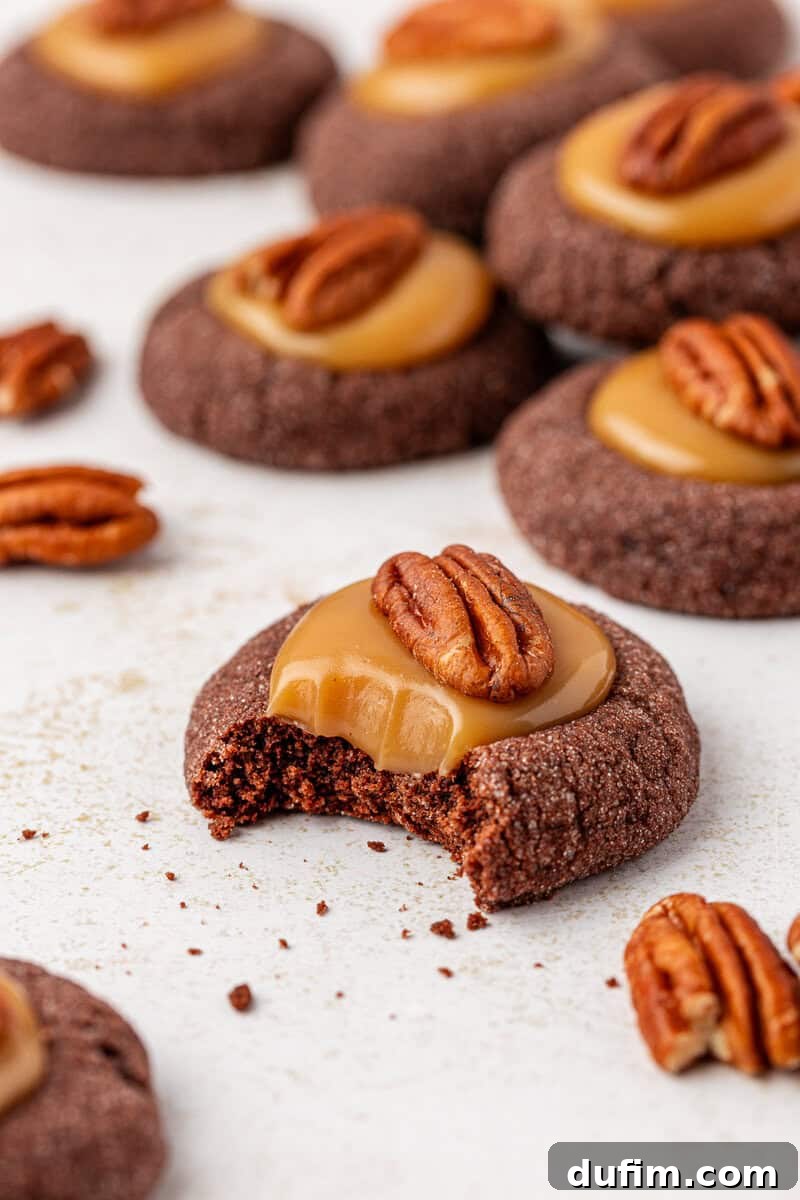
Ultimate Turtle Thumbprint Cookies: A Perfect Blend of Chocolate, Caramel, and Pecans
Creating a thumbprint cookie that maintains its indentation through the baking process is more challenging than it might seem. When I first embarked on developing these turtle thumbprint cookies, my natural inclination was to turn to my established, trusted chocolate cookie base. This particular recipe was renowned for its deep, rich chocolate flavor and satisfying chewiness, having proven its resilience and quality in countless other baking tests. It seemed like the perfect foundation for a thumbprint cookie.
I proceeded with confidence: rolled the dough in granulated sugar, carefully pressed the traditional thumbprint indentations, and eagerly slid the first batch into the oven. The anticipation was high. However, upon retrieving the freshly baked cookies, my excitement quickly turned to disappointment. The carefully pressed indents had completely vanished! The cookies had spread into perfect, flat circles, leaving no distinct well or cavity to hold the intended luscious caramel filling. It was clear this trusty base wasn’t suited for the structural demands of a thumbprint cookie.
Undeterred, I decided to try a common baking trick: freezing the next batch of dough for thirty minutes before baking, hoping the extreme cold would help the cookies maintain their shape. Alas, this modification also proved unsuccessful; the indentations still disappeared, and the cookies continued to spread. This setback provided a crucial insight: I needed an entirely new recipe, one specifically formulated from the ground up to achieve the delicate balance required for a thumbprint cookie that held its form.
This realization initiated a meticulous reformulation process. To provide the necessary structural integrity, I significantly increased the flour content. To ensure a delicate lift without compromising stability, I carefully measured in baking powder. Cornstarch was introduced for its remarkable ability to lend structure and tenderness, preventing excessive spread. And, to achieve that coveted rich, chewy texture without resorting to corn syrup within the cookie itself, I incorporated two egg yolks. Each ingredient was chosen for a specific purpose, building a dough designed for success.
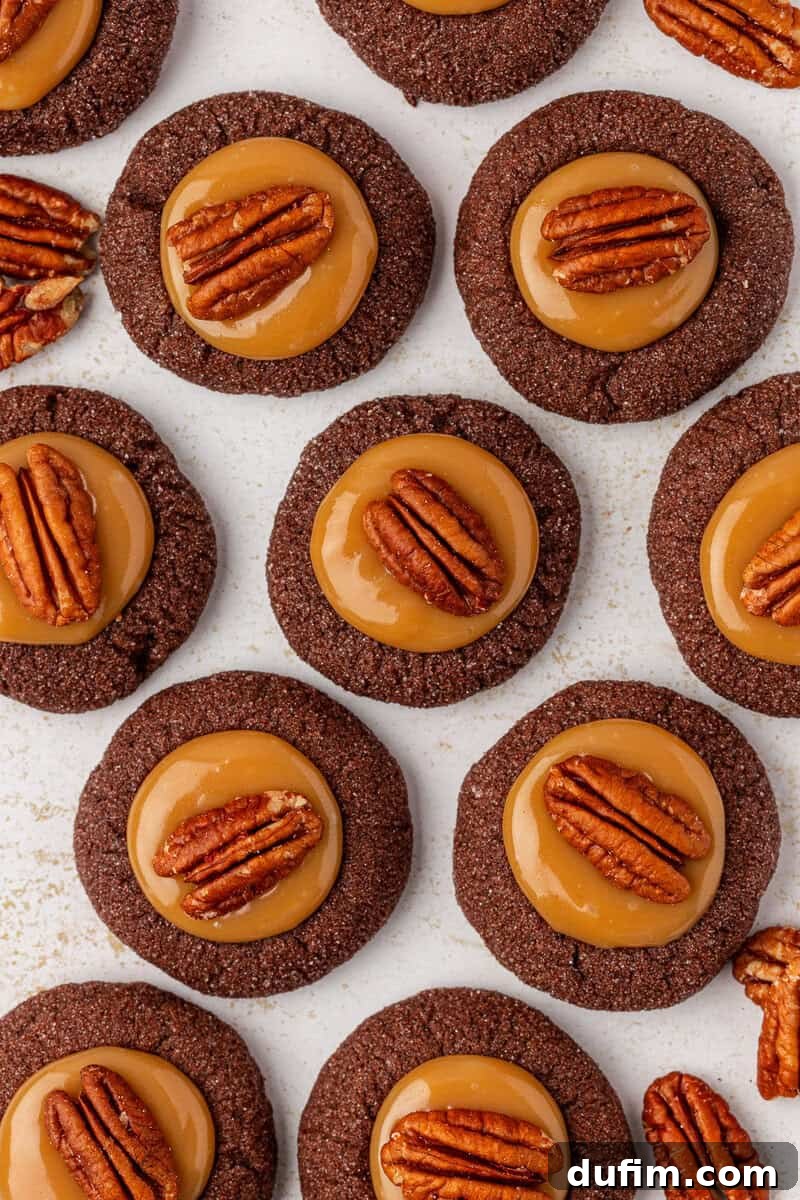
The first round with this newly formulated dough showed promise but wasn’t quite perfect. I found the dough to be a bit too dry, leading to undesirable cracking around the edges when I pressed in the teaspoon. The cracks meant the thumbprint wasn’t smooth and defined, clearly indicating a need for more fat and moisture. To address this, I increased the amount of butter, which not only added richness but also contributed to a more tender crumb. I also made a strategic switch to using all brown sugar, known for its moisture-retaining properties and its ability to limit excessive cookie spread, compared to granulated sugar alone. Despite these improvements, the cookies still felt a touch on the dry side, almost as if they were thirsting for more richness.
The true breakthrough, the “aha!” moment that completed the cookie base, arrived with the addition of just one more egg yolk. That single change proved to be the magic touch. The extra yolk supplied precisely the right amount of moisture and richness, transforming the dough. It now baked into remarkably soft cookies that still maintained a perfectly clean, uncracked thumbprint shape. This final adjustment ensured the cookies were not only visually appealing but also possessed an ideal tender-chewy texture, ready to embrace their caramel filling.
Crafting the Irresistible Caramel Filling
With the chocolate cookie base finally perfected, my attention shifted to the equally critical component: the caramel filling. The goal was to create a caramel that would not only be incredibly flavorful but also thick enough to maintain its luscious consistency even after being bitten into. A runny caramel simply wouldn’t do for these turtle delights. I drew significant inspiration from Sugar and Sparrow’s renowned thick caramel filling, scaling it down and carefully adapting it to perfectly complement the size and flavor profile of these thumbprint cookies. Their recipe is widely celebrated for its excellent structure, rich flavor profile, and ability to hold its shape, making it an ideal foundation for my specific needs.
The resulting caramel is wonderfully creamy, boasting a deep, rich flavor that sets beautifully within the chocolate wells. This stable and luxurious caramel is what truly transforms these treats into an authentic “turtle” experience, bringing together the classic trifecta of chocolate, caramel, and pecans in perfect harmony. Every single step of both the cookie dough and caramel filling creation processes was thoroughly tested, refined, and documented with the home baker in mind. This dedication to precision ensures that you can confidently follow this recipe exactly as written, knowing it will consistently deliver deliciously impressive and bakery-worthy results right in your own kitchen.
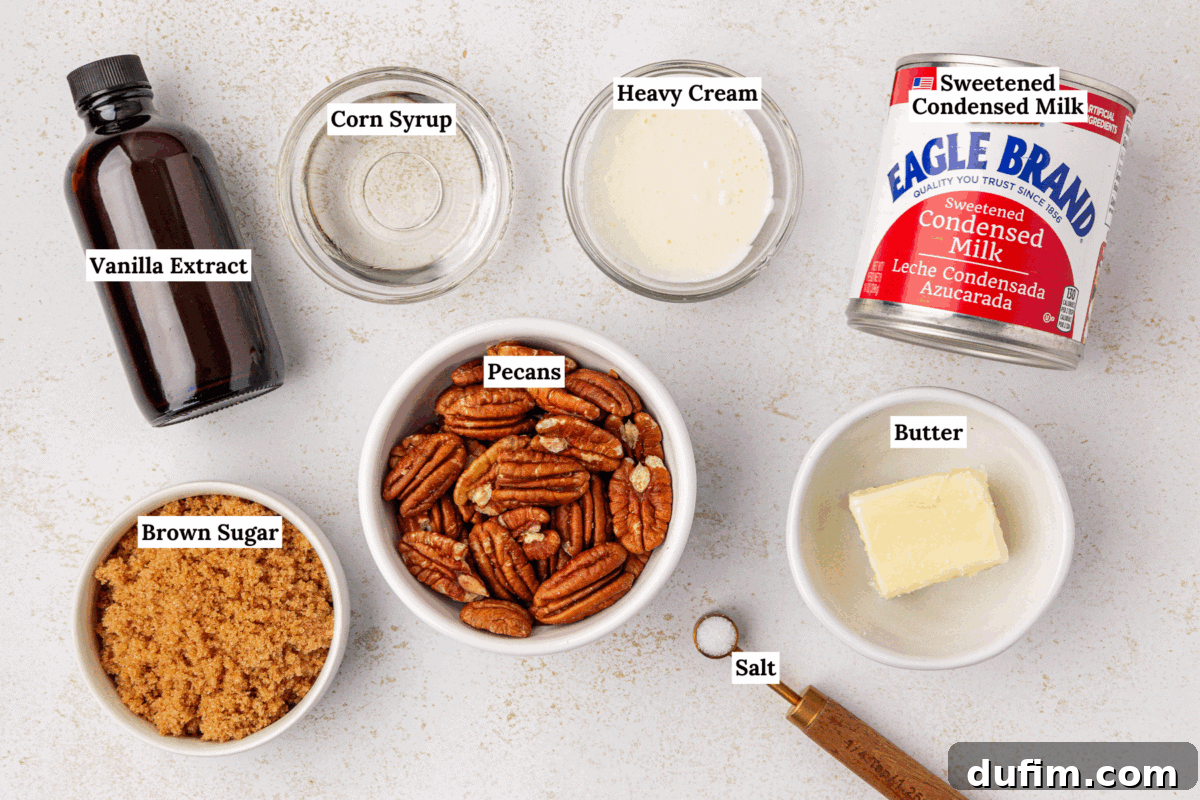
Key Ingredients and Their Purpose in Turtle Thumbprint Cookies
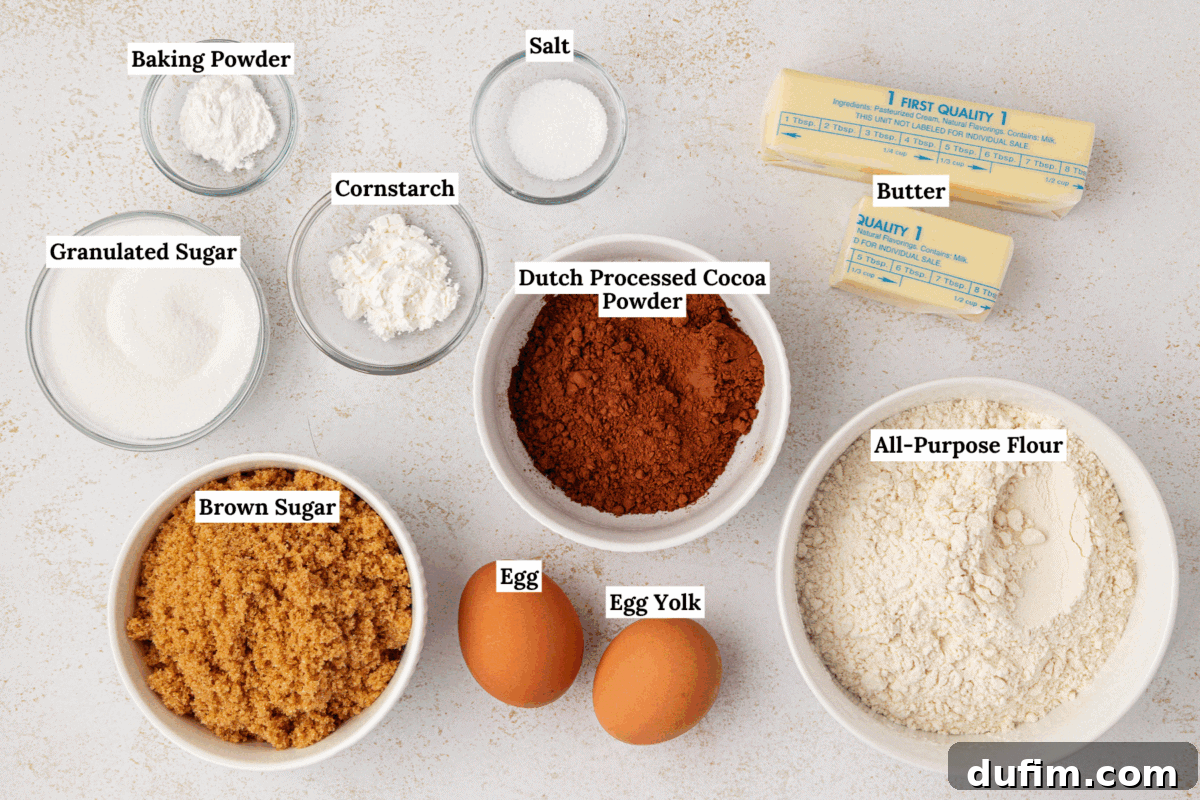
Understanding the role of each ingredient is essential for achieving baking success and appreciating the science behind a great cookie. Here’s a closer look at the key components that make these Turtle Thumbprint Cookies truly special and how each contributes to the final delicious outcome:
- Dutch-Processed Cocoa Powder: This isn’t just any cocoa powder. Dutch-processed cocoa undergoes an alkalization process that neutralizes its acidity, resulting in a deeper, richer chocolate flavor that is less bitter and more mellow than natural cocoa. It also imparts a strikingly dark and appealing color to the cookies and contributes to a wonderfully smooth texture.
- Brown Sugar: Beyond merely adding sweetness, brown sugar is a powerhouse ingredient in this recipe. Its molasses content brings vital moisture to the cookie dough, ensuring a remarkably soft and chewy texture that contrasts beautifully with the gooey caramel. This moisture also helps to prevent the cookies from drying out. Furthermore, brown sugar contributes a subtle, warm caramel note that perfectly complements the filling, enhancing the overall “turtle” experience. Using all brown sugar here is also strategic as it helps to limit excessive cookie spread, which is crucial for maintaining those distinct thumbprint indentations.
- Unsalted Butter: Butter is fundamental for both flavor and tenderness in baked goods. It provides a rich, luxurious mouthfeel and contributes significantly to the cookies’ delicate crumb structure. The fat in butter helps to create a soft, melt-in-your-mouth texture while still ensuring the cookies hold their defined shape. Using unsalted butter is preferred as it allows you to precisely control the amount of salt in the overall recipe, balancing the sweetness perfectly.
- Cornstarch: This seemingly minor addition plays a surprisingly significant role in the dough’s structure and stability. Cornstarch is a thickening agent that helps to tenderize the cookie and, more importantly, provides crucial stability to the dough. This stability is what allows the cookies to maintain their unique thumbprint shape throughout the baking process, preventing them from spreading too much and losing their indentation. It results in a cookie that is both tender and structurally sound.
- Egg Yolks (Especially the Extra One): Eggs contribute to structure, moisture, and richness. The addition of an extra egg yolk, beyond a whole egg, is a game-changer for these cookies. Egg yolks are rich in fat and emulsifiers, providing a significant boost of moisture and profound richness to the dough. This increased fat content is absolutely key to preventing the cookies from becoming dry, crumbly, or cracking when pressed. It ensures a perfectly soft, pliable, and luxurious chocolate cookie base that melts in your mouth.
- Sweetened Condensed Milk: This ingredient is the unsung hero and the secret to a thick, creamy, and wonderfully stable caramel filling. Unlike regular milk or cream, sweetened condensed milk has a very high sugar and milk solids content. This unique composition allows the caramel to achieve a luscious, smooth, and perfectly firm-but-not-hard set once cooled. It prevents the caramel from becoming watery or runny, ensuring it holds its form beautifully within the cookie’s well.
- Pecans: Beyond their quintessential “turtle” association, pecans provide a delightful nutty flavor that is both earthy and slightly sweet, perfectly complementing the rich chocolate and sweet caramel. More importantly, they offer a crucial textural contrast. Their slight crunch adds another layer of enjoyment to each bite, preventing the cookie from being uniformly soft and adding an essential element to the overall sensory experience.
How to Bake Flawless Turtle Thumbprint Cookies: A Step-by-Step Guide
These turtle thumbprint cookies may look sophisticated and impressive, but they are surprisingly straightforward to make when you follow this detailed, step-by-step guide. With careful attention to each stage, you’ll be able to produce a perfect batch that tastes and looks like it came from a professional bakery.
Part 1: Preparing the Irresistible Chocolate Cookie Base
- Prepare Your Baking Sheets: Before you begin mixing, ensure your workspace is ready. Line several large baking sheets with parchment paper or high-quality silicone baking mats. This crucial step prevents the cookies from sticking and ensures easy removal, leading to beautifully shaped cookies every time.
- Combine Dry Ingredients Thoroughly: In a medium-sized bowl, use a whisk to combine the all-purpose flour, Dutch-processed cocoa powder, salt, baking powder, and cornstarch. Whisking vigorously ensures that all these dry ingredients are evenly distributed, which is essential for consistent texture and leavening throughout the cookie dough. Set this mixture aside.
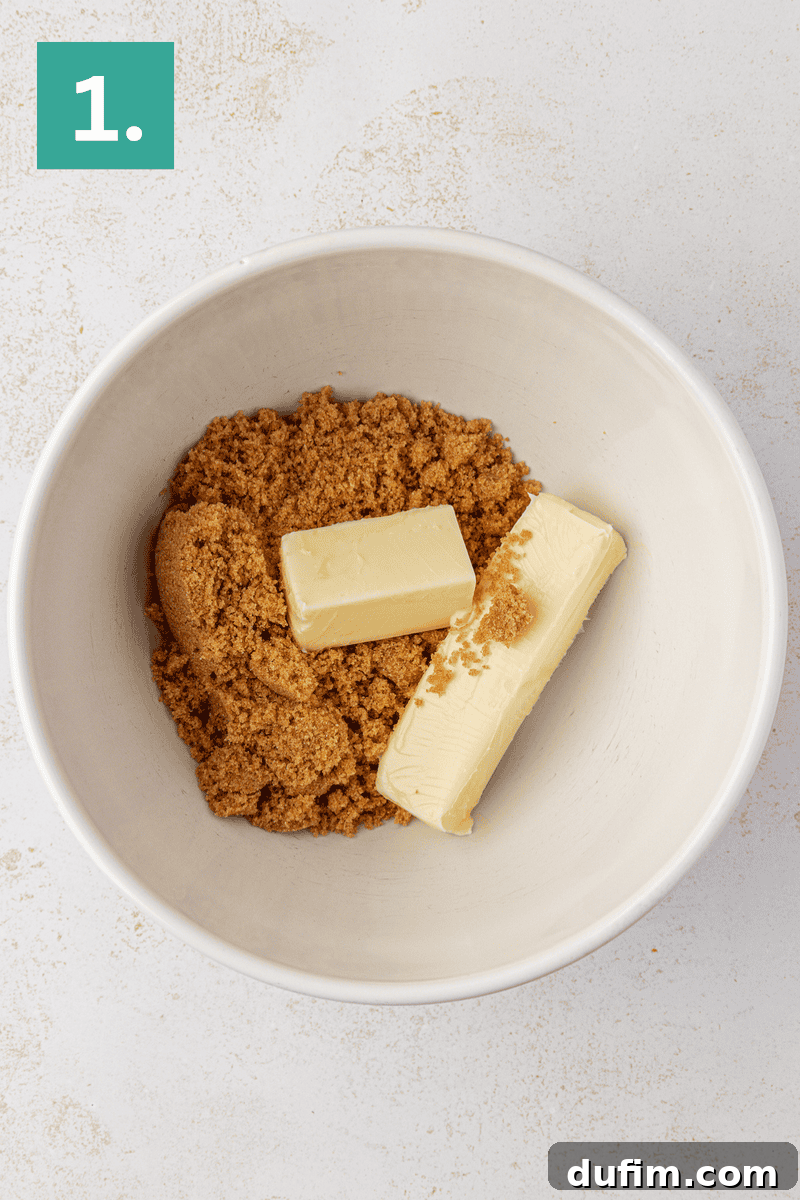
- Cream Butter and Brown Sugar: In a large mixing bowl, using an electric mixer (either a stand mixer with the paddle attachment or a hand mixer), beat the softened unsalted butter and brown sugar on medium speed. Continue mixing for approximately 1-2 minutes, or until the mixture transforms into a light, fluffy, and creamy consistency. This step is vital for incorporating air into the dough, which contributes significantly to the cookies’ soft and tender texture.
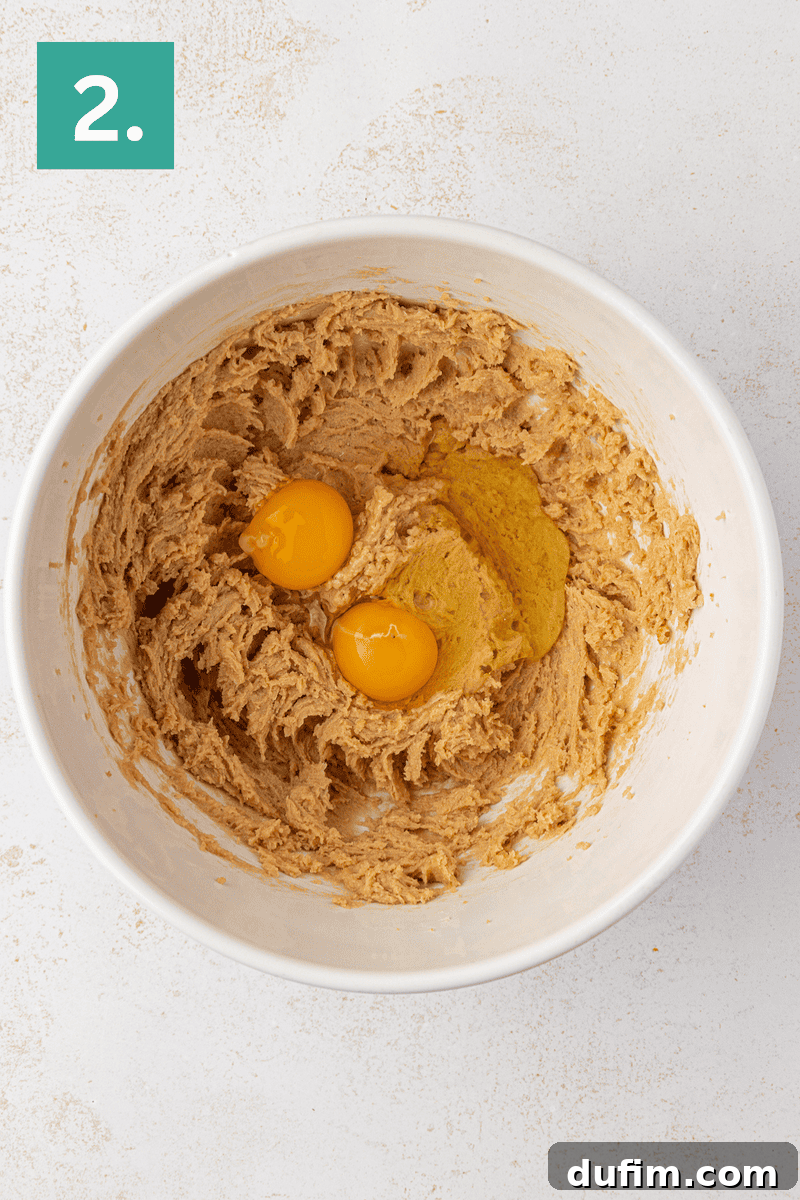
- Incorporate Eggs for Richness: Add the large whole egg and the additional large egg yolk to the creamed butter and sugar mixture. Beat for a precise 30 seconds, ensuring everything is well combined. Remember to pause and scrape down the sides of the bowl with a spatula as needed. This ensures all ingredients are fully incorporated and prevents any unmixed streaks.
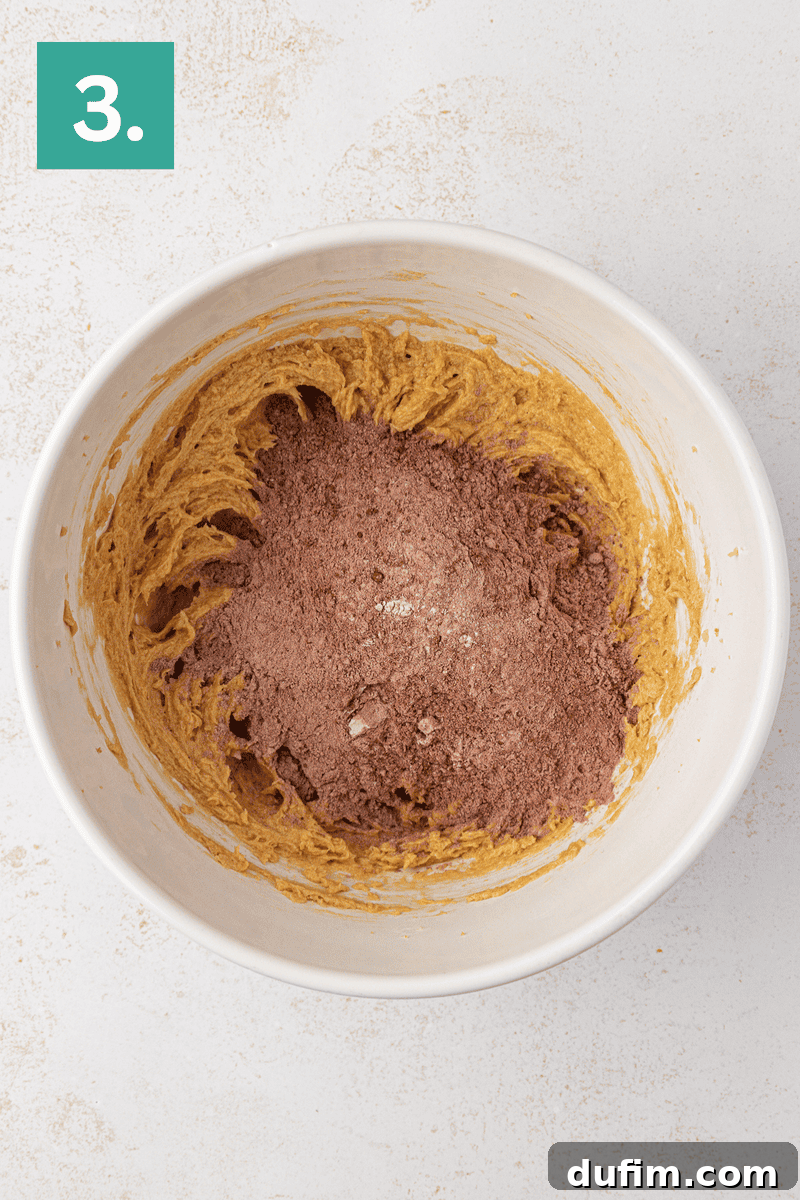
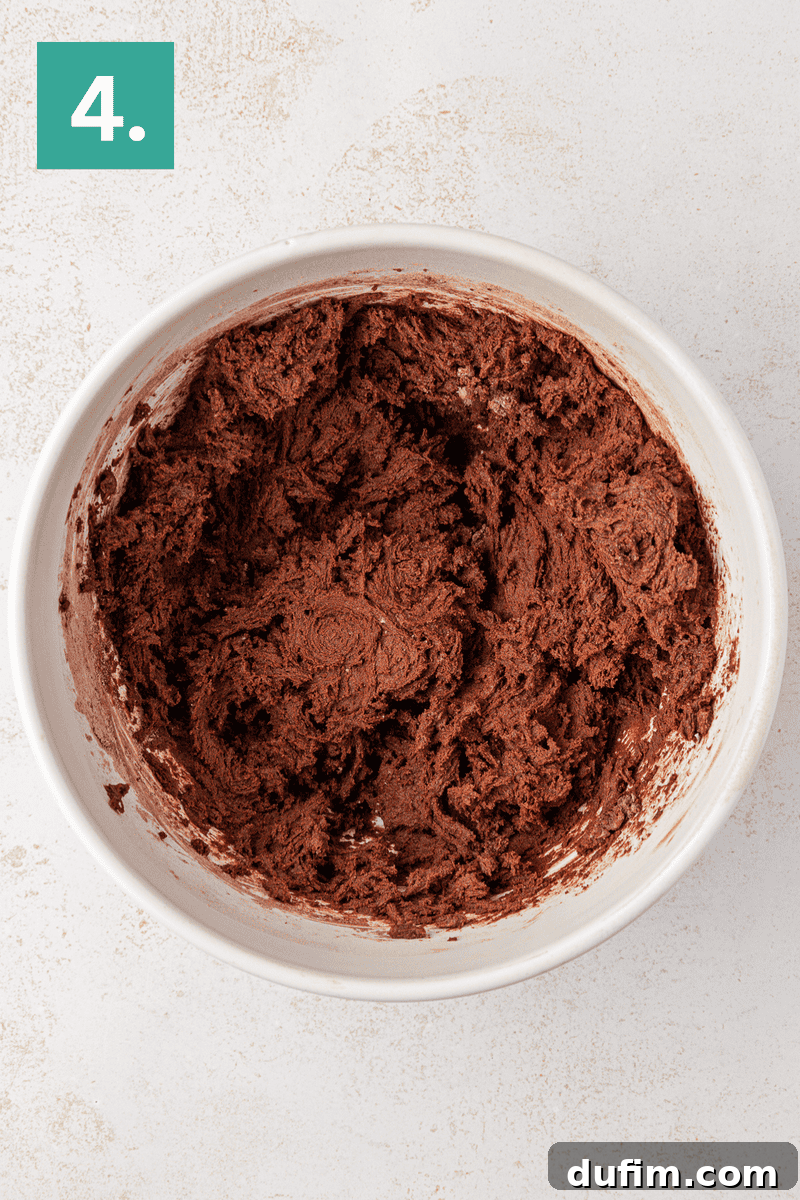
- Combine Wet and Dry Ingredients: Gradually add the reserved dry mixture to the wet ingredients in the mixing bowl. Mix on low speed, just until the flour mixture is fully incorporated and no dry streaks remain. Be extremely careful not to overmix the dough, as overmixing can develop the gluten too much, leading to tough cookies. The resulting dough will be noticeably thick and dense.
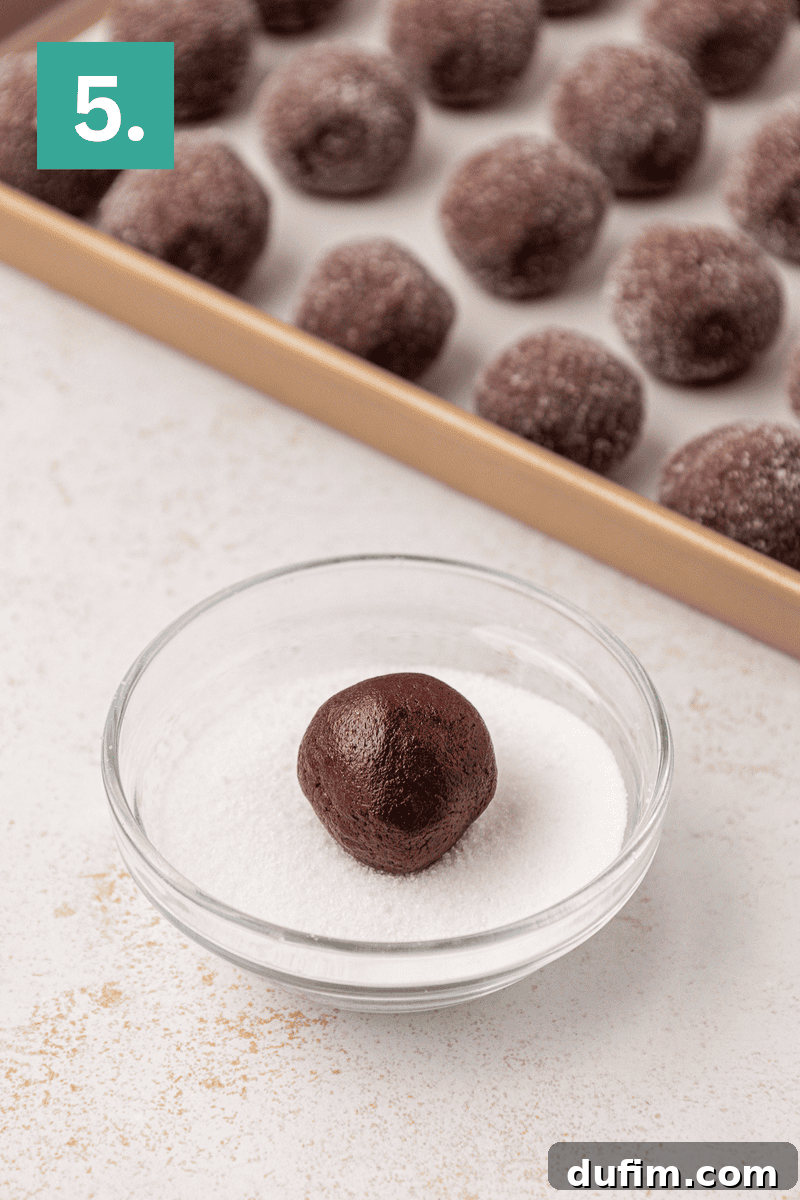
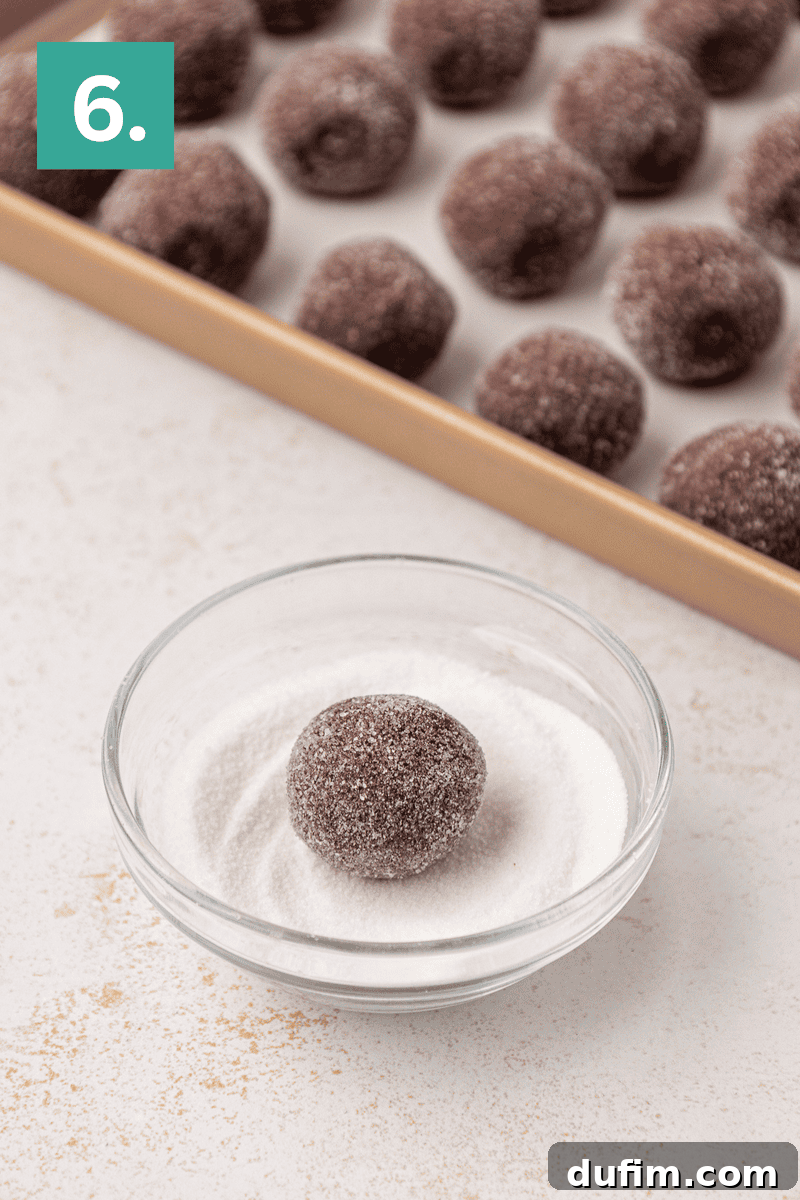
- Form Dough Balls and Sugar Coat: Using a #60 cookie scoop (which holds approximately 1 tablespoon of dough), scoop out uniform portions. Roll each portion into a smooth, perfectly round ball between your palms. Next, roll each dough ball generously in granulated sugar, ensuring it’s completely coated. This sugar coating adds a delightful sparkle and a subtle textural crunch to the finished cookie. Place the sugar-coated balls approximately 2 inches apart on your prepared baking sheets, allowing room for slight expansion.
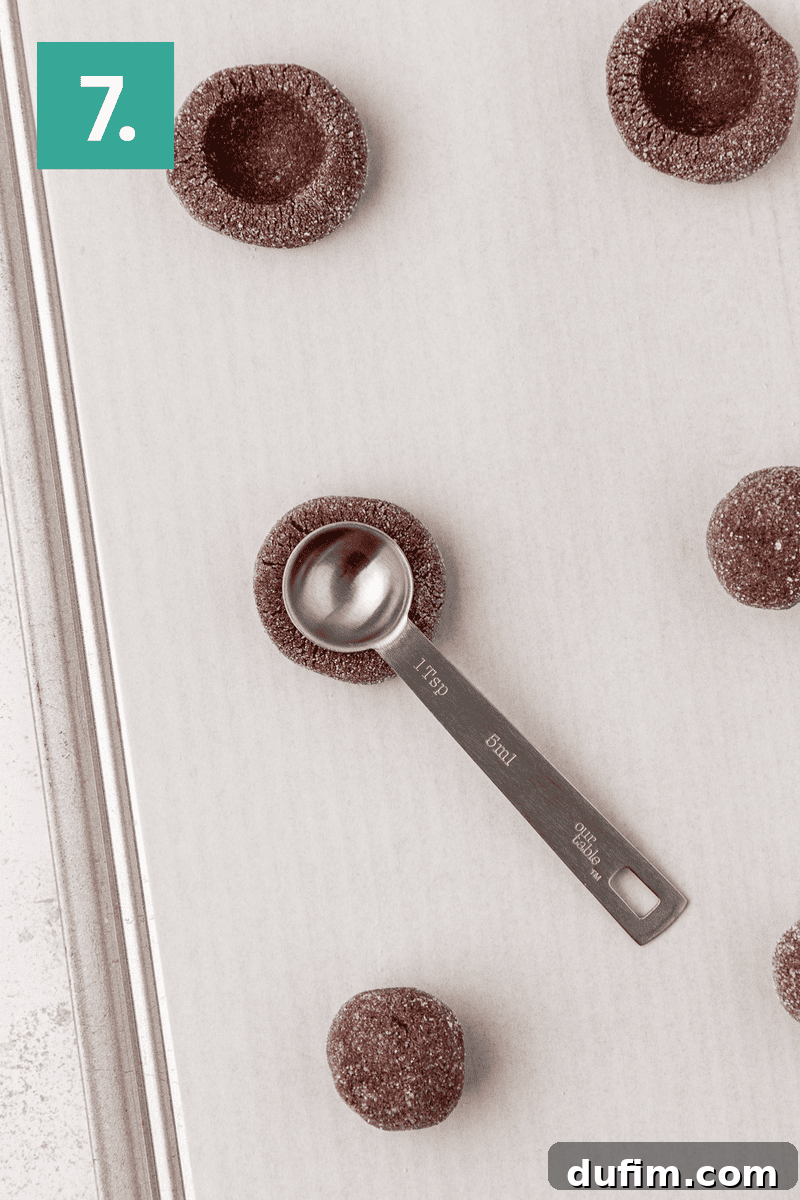
- Press Indents and Crucial Chilling: Use the back of a small measuring teaspoon or your clean thumb to gently press a divot into the center of each cookie dough ball. Be careful not to press all the way through to the baking sheet. Immediately transfer the baking sheets with the indented dough to the freezer for at least 10 minutes. This chilling step is absolutely crucial as it firms up the butter in the dough, significantly preventing excessive spreading during baking and ensuring those distinct thumbprint indentations remain defined. You can chill for longer if it suits your schedule, up to 30 minutes.
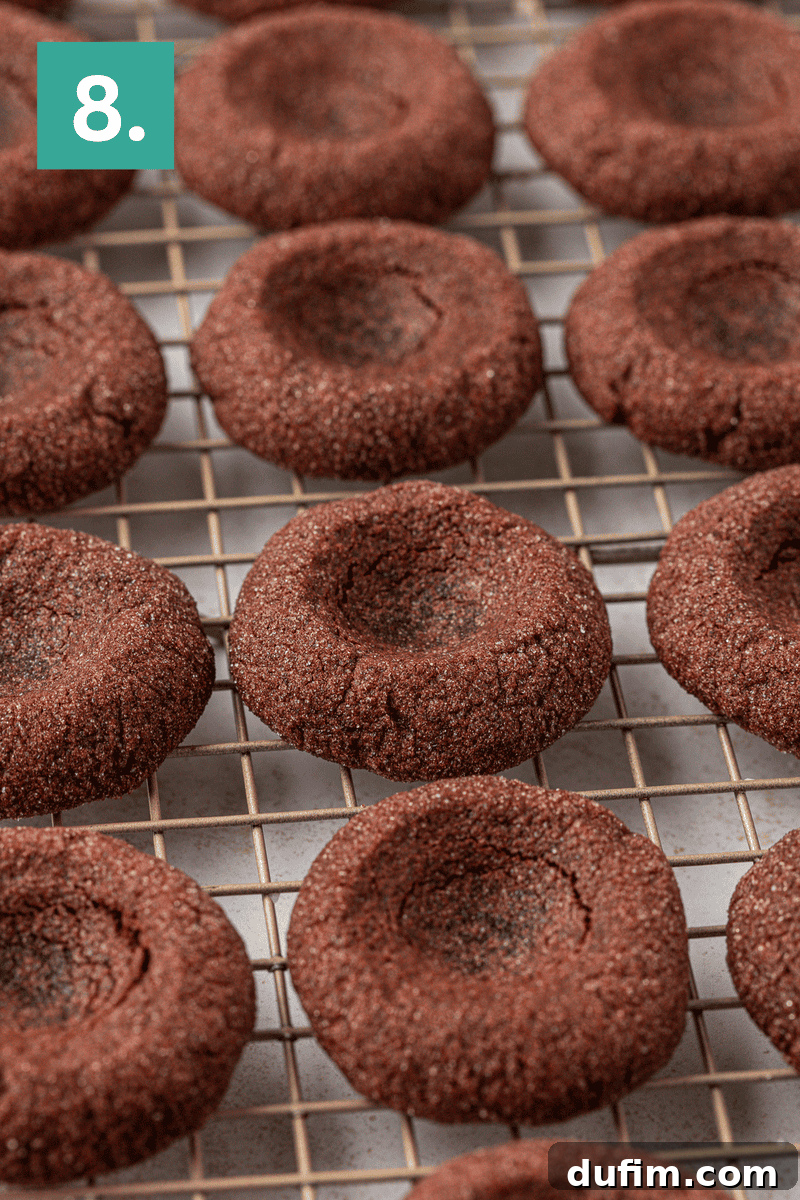
- Bake and Re-indent for Perfection: Preheat your oven to 350°F (177°C) with racks positioned in the middle. Bake the chilled cookies for 10-11 minutes, or until the edges appear set and slightly firm, but the centers still look visibly soft and slightly puffed. It’s okay if the indentation looks like it’s fading. Immediately upon removing the cookies from the oven, while they are still warm and pliable, use the back of the teaspoon or your thumb again to gently deepen the center indentation. This re-indenting creates a perfect, deep well ready for the caramel filling.
- Cool Completely: Carefully transfer the freshly baked and re-indented cookies to a wire rack. Allow them to cool completely to room temperature before proceeding to the filling stage. Attempting to fill warm cookies will cause the caramel to melt, become runny, and potentially overflow, ruining the perfect presentation. Patience is key here!
Part 2: Preparing the Luxurious Homemade Caramel Filling
A homemade caramel filling truly elevates these cookies to an extraordinary level. It’s surprisingly simple to make and well worth the minimal effort for the superior taste and texture it provides.
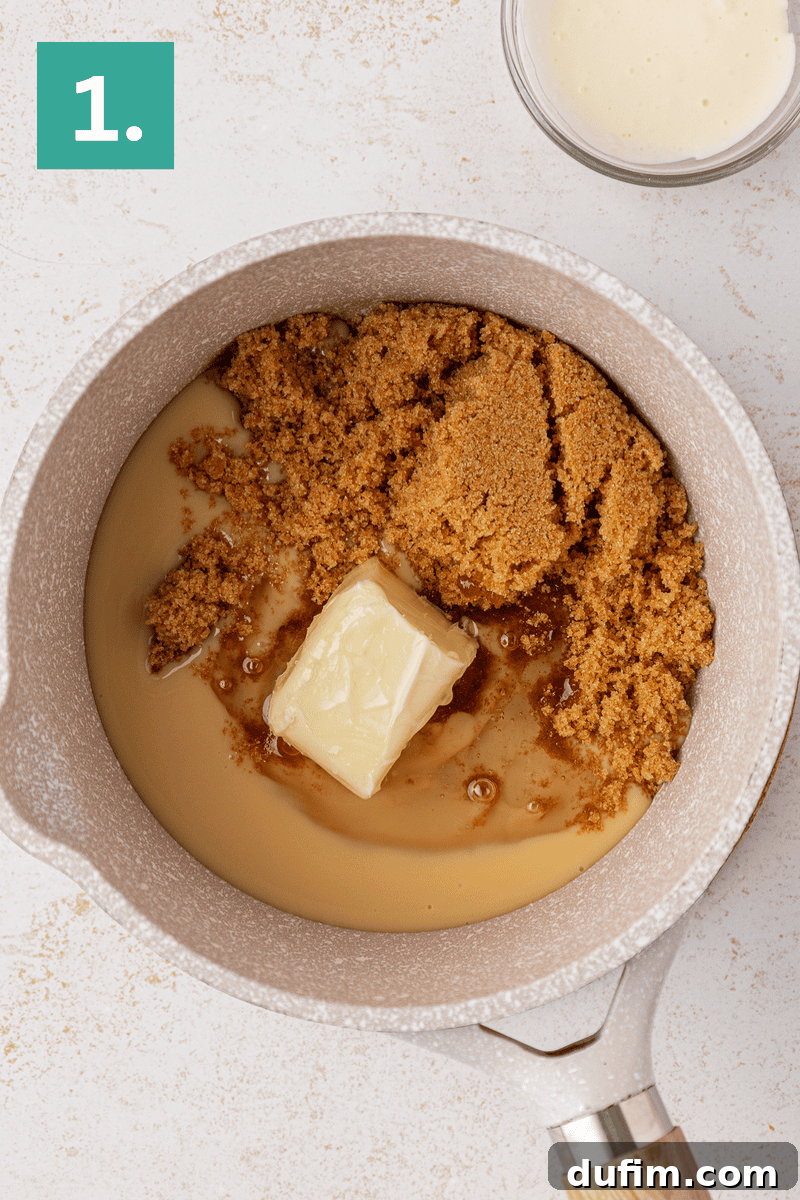
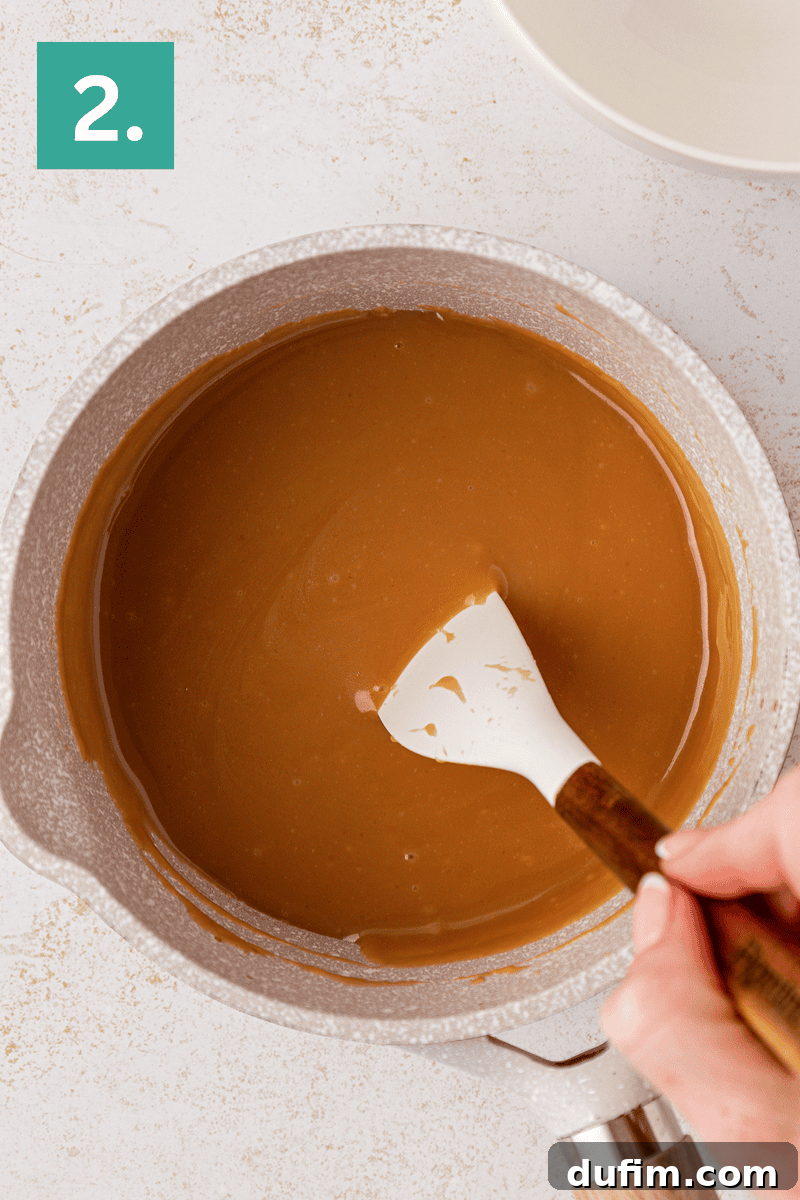
- Start the Caramel Base: In a small, heavy-bottomed saucepan (this helps prevent burning), combine the room temperature unsalted butter, brown sugar, corn syrup, and sweetened condensed milk. Place the saucepan over medium-high heat. It is critical to stir the mixture constantly with a heat-proof spatula or wooden spoon to prevent any scorching at the bottom of the pan. Continue stirring diligently until the mixture begins to bubble steadily across the entire surface.
- Develop the Caramel’s Richness and Thickness: Once the mixture is bubbling, stir in the heavy cream. Continue to stir vigorously and constantly. As you stir, the caramel will begin to deepen in color, transitioning to a rich, glossy amber, and will bubble more aggressively. For the most precise results and to ensure the caramel sets to a perfect, chewy, yet soft consistency, use a candy thermometer to monitor the temperature; aim for 225°F (107°C). If you don’t have a thermometer, continue cooking and stirring until the caramel looks thick and has achieved a deep, inviting golden-brown hue.
- Finish the Flavor Profile: Immediately remove the saucepan from the heat once it reaches the desired temperature and consistency. Stir in the vanilla extract and salt. The vanilla adds a comforting warmth and complexity to the caramel, while the salt is essential for balancing the sweetness and enhancing all the other flavors.
- Cool the Caramel to Perfection: Carefully pour the hot caramel into a separate heat-proof container, such as a glass measuring cup or a heat-resistant bowl, to allow it to cool. Letting it cool for approximately 30 minutes at room temperature is ideal. This cooling period allows the caramel to thicken to the perfect spoonable consistency, making it easy to fill the cookie wells without being too hot or too runny.
Part 3: Assembling and Finishing Your Ultimate Turtle Thumbprint Cookies
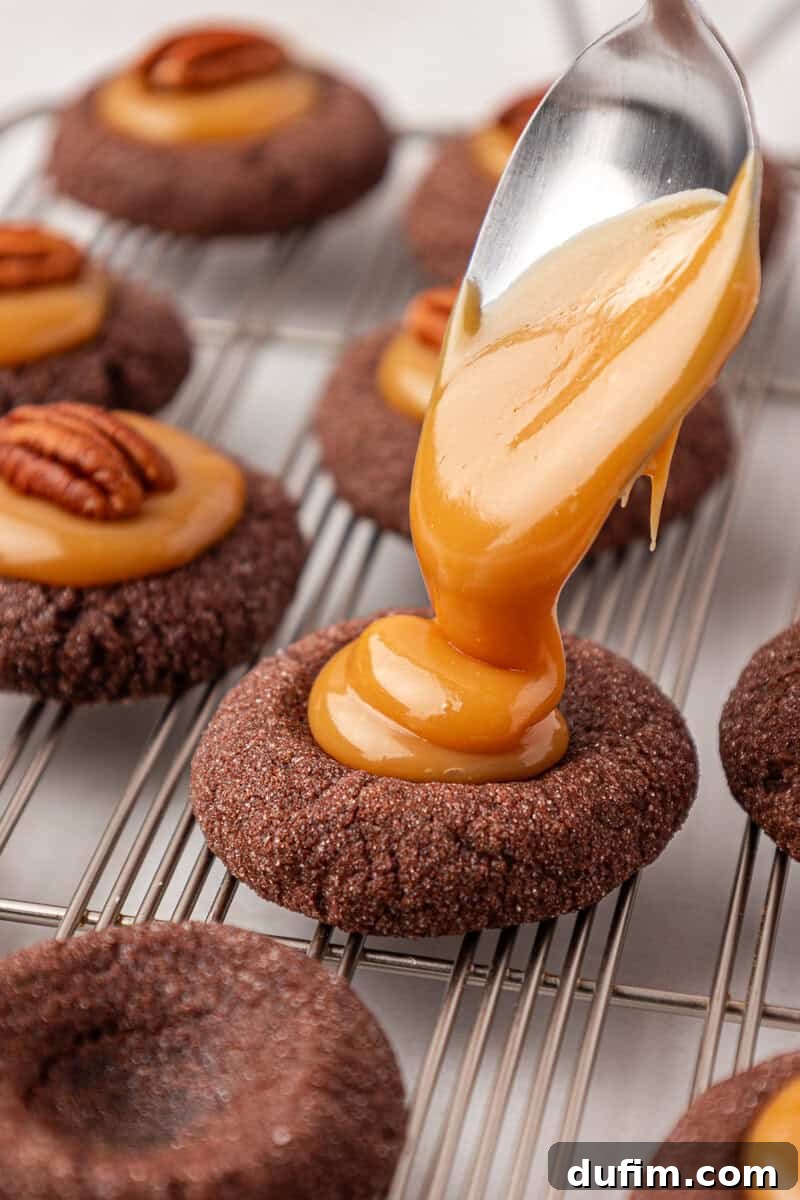
- Fill the Cookies with Caramel: Once the chocolate cookies are completely cool and the caramel has thickened to a lovely, spoonable consistency, it’s time for assembly. Spoon approximately 1 level teaspoon of the cooled caramel sauce into the center of each thumbprint well. Take care not to overfill; the caramel should sit neatly within the indentation without overflowing the edges, creating a clean and appealing look.
- Add the Signature Pecan: Gently press one beautiful pecan half on top of the caramel filling in each cookie. This step adds the classic “turtle” element and provides a delightful, contrasting crunch that complements the soft cookie and gooey caramel perfectly.
- Allow to Set: Let the filled cookies sit undisturbed at room temperature for an additional period, typically 1 to 2 hours, to allow the caramel to fully set and firm up. This final setting time will prevent the caramel from being too sticky or messy when handled, ensuring a clean and enjoyable eating experience. Once set, your magnificent Turtle Thumbprint Cookies are ready to be served or stored!
Essential Baking Tips for Success
To ensure your Turtle Thumbprint Cookies turn out perfectly every time, keep these expert tips in mind:
- Accurate Flour Measurement is Key: For the most precise and consistent results, always measure flour by weight using a digital kitchen scale (grams are best). If you don’t have a scale, use the “spoon and level” method: first, aerate the flour by fluffing it with a whisk or spoon. Then, gently spoon the flour into your measuring cup until it overflows, and level off the top with the straight edge of a knife or spatula. Avoid packing the flour into the cup.
- Room Temperature Ingredients for Best Emulsification: Ensure your butter and eggs are at true room temperature. This means they should be soft enough to indent easily but not melted or greasy. Room temperature ingredients cream together more smoothly and efficiently, incorporating more air into the dough, which results in a lighter, more tender cookie texture.
- Never Skip the Chill Step: The chilling step for the cookie dough is absolutely non-negotiable! It’s crucial for several reasons: it allows the butter to re-solidify, which significantly prevents the cookies from spreading too much in the oven. It also helps the dough firm up, making the indentations more stable and less likely to vanish during baking.
- Re-indent Immediately After Baking: As soon as the cookies come out of the hot oven, they will be soft and pliable. This is your window of opportunity to quickly and gently re-indent the centers with the back of a teaspoon. This ensures you have perfectly deep wells for your luscious caramel filling, even if they’ve slightly puffed up during baking.
- Monitor Caramel Temperature for Perfect Consistency: If you have a candy thermometer, using it for the caramel is highly recommended to achieve the perfect consistency (225°F/107°C). This temperature ensures the caramel sets to a wonderfully chewy yet soft texture. If you don’t have a thermometer, pay close attention to the visual cues: the caramel should bubble vigorously and deepen to a rich, golden-amber color. It’s generally better to err on the side of slightly undercooking the caramel rather than overcooking it, as overcooked caramel can become too hard or brittle.
- Don’t Overmix the Dough: Once you add the dry ingredients to the wet, mix on low speed only until just combined. Overmixing develops gluten, which can lead to tough, dense cookies instead of the desired soft and chewy texture.
Essential Equipment You’ll Need
Having the right tools makes the baking process smoother and more enjoyable. Here’s a list of equipment that will be helpful for making these delicious cookies:
- Silicone Baking Mats (or parchment paper, for non-stick baking)
- Baking Sheets (several, to allow for chilling and baking in batches)
- Electric Mixer (stand mixer with paddle attachment or a powerful hand mixer)
- Cookie Dough Scoop (specifically a #60 scoop, approximately 1 tablespoon, for uniform cookies)
- Small heavy-bottomed saucepan (essential for even heating of the caramel)
- Heat-proof spatula or wooden spoon (for stirring the caramel)
- Candy thermometer (optional, but highly recommended for precise caramel consistency)
- Wire cooling rack (for proper air circulation as cookies cool)
- Large and medium mixing bowls
- Measuring cups and spoons
Creative Variations and Serving Suggestions
While these Turtle Thumbprint Cookies are undeniably perfect as is, don’t hesitate to get creative with variations to suit your taste or occasion:
- Nutty Alternatives: If pecans aren’t your favorite, or if you want to experiment, try using chopped walnuts, almonds, or even a delightful mix of different nuts for the topping. Each will bring its own unique flavor profile.
- Decadent Chocolate Drizzle: For an extra layer of indulgence, once the caramel has set, drizzle melted milk chocolate, dark chocolate, or even white chocolate artistically over the finished cookies. This adds visual appeal and another dimension of flavor.
- Elevated Salted Caramel: To truly enhance the caramel’s depth of flavor, sprinkle a tiny pinch of flaky sea salt (such as Maldon) on top of each filled cookie just before the caramel fully sets. The contrast of sweet and salty is absolutely divine.
- Mini Turtles for Sharing: For bite-sized treats perfect for parties or sampling, use a smaller cookie scoop (e.g., a 1.5-teaspoon size) to create mini thumbprints. Adjust baking time slightly if making smaller cookies.
- Coconut Crunch: For a tropical twist, lightly toast some shredded coconut and sprinkle it over the caramel along with the pecan.
These exquisite cookies are wonderfully versatile. They make a stunning addition to holiday dessert platters, are a welcome homemade treat for potlucks and bake sales, or can simply be enjoyed as a luxurious indulgence with a warm cup of coffee, tea, or even a glass of milk. Their rich flavor, impressive appearance, and comforting texture make them a fantastic and thoughtful gift for loved ones during any season.
More Delicious Thumbprint Cookie Recipes to Explore
If you’ve fallen in love with the charm and deliciousness of thumbprint cookies, there’s a whole world of variations to discover. Here are some other delightful thumbprint cookie recipes to inspire your next baking adventure:
- Chocolate Orange Thumbprint Cookies
- Chocolate Peanut Butter Thumbprint Cookies
- Eggnog Thumbprint Cookies
- Black Forest Thumbprint Cookies
Turtle Thumbprint Cookies
By: Beth
Rich chocolate thumbprint cookies filled with a thick homemade caramel that stays perfectly creamy. This recipe offers an ideal texture and structure, making them feel impressive yet simple enough for any home baker to make with confidence.
- Prep Time: 10 minutes
- Cook Time: 10 minutes
- Chill Time: 10 minutes
- Yields: Approximately 35 cookies
Tap stars to rate!
Equipment
- Electric Mixer (stand or hand mixer)
- Cookie Dough Scoop (#60, 1 tablespoon)
- Silicone Baking Mats (or parchment paper)
- Baking Sheets
- Small heavy-bottomed saucepan
- Heat-proof spatula or wooden spoon
- Candy thermometer (optional)
- Wire cooling rack
Ingredients
For the Chocolate Cookies
- 1 ¾ cup (210g) all-purpose flour
- ½ cup (40g) Dutch-processed cocoa powder
- ½ tsp salt
- ½ tsp baking powder
- 1 tsp cornstarch
- ¾ cup (170g) unsalted butter, softened to room temperature
- 1 cup (213g) brown sugar, packed
- 1 large egg
- 1 large egg yolk
- ¼ cup (50g) granulated sugar, for rolling
For the Caramel Filling
- 2 ½ Tbsp (35g) unsalted butter, softened to room temperature
- ⅓ cup (71g) brown sugar, packed
- 2 Tbsp (39g) light corn syrup
- ⅓ cup (104g) sweetened condensed milk
- 1 tsp heavy whipping cream
- ¼ tsp vanilla extract
- ¼ tsp salt
- 35 pecan halves, for topping
Instructions
- Prepare Cookie Dough:
- Line baking sheets with parchment paper or silicone mats.
- In a medium bowl, whisk together flour, cocoa powder, salt, baking powder, and cornstarch. Set aside.
- In a large mixing bowl, beat softened butter and brown sugar on medium speed until light and fluffy (1–2 minutes).
- Beat in the large egg and egg yolk for 30 seconds, scraping down sides of the bowl as needed.
- Gradually add the dry mixture to the wet ingredients, mixing on low speed until just combined. The dough will be very thick.
- Scoop 1 tablespoon of dough (using a #60 cookie scoop) and roll into smooth balls. Roll each ball generously in granulated sugar and place 2 inches apart on prepared baking sheets.
- Use the back of a teaspoon to press a divot into the center of each cookie dough ball.
- Place the baking sheet in the freezer for 10 minutes to firm up the dough. (Can freeze longer if needed).
- Bake Cookies:
- Preheat oven to 350°F (177°C).
- Bake chilled cookies for 10-11 minutes, or until edges are set but centers still look soft.
- Remove from oven and immediately use the teaspoon again to gently deepen the center indentation as it disappears during baking.
- Allow cookies to cool completely on a wire rack before filling.
- Make Caramel Filling:
- In a small heavy-bottomed saucepan, combine butter, brown sugar, corn syrup, and sweetened condensed milk.
- Heat over medium-high heat, stirring constantly until the mixture starts to bubble.
- Once bubbling, stir in the heavy cream. Continue to stir until the caramel bubbles vigorously and deepens in color, reaching 225ºF (107°C) on a candy thermometer.
- Remove from heat and stir in vanilla extract and salt.
- Pour into a separate heat-proof container and let the caramel cool for about 30 minutes to thicken.
- Assemble Cookies:
- Spoon about 1 teaspoon of cooled caramel sauce into the center of each thumbprint well. The caramel should sit neatly without overflowing.
- Gently press one pecan half on top of the caramel in each cookie.
- Let the caramel set at room temperature for 1-2 hours before serving or storing.
Notes
- Gluten-Free Option: For a gluten-free version, substitute the all-purpose flour with a 1:1 gluten-free baking flour blend. King Arthur’s Measure for Measure Gluten-Free Flour is a reliable choice.
- Storage: Store the fully cooled Turtle Thumbprint Cookies in an airtight container at room temperature for up to four days. To prevent sticking, place parchment or wax paper between layers of cookies.
- Make Ahead: The cookie dough can be prepared up to 24 hours in advance. Cover tightly and chill in the refrigerator. Before shaping, let it sit at room temperature for 10-15 minutes to become pliable.
- Freezing Instructions:
- To Freeze Baked Cookies: Flash freeze the completely assembled and set cookies on a baking sheet until solid. Once frozen, transfer them to a freezer-safe airtight container or bag, separating layers with parchment paper. They can be frozen for 2-3 months. To thaw, arrange cookies in a single layer on a baking sheet and let them thaw at room temperature overnight.
- To Freeze Cookie Dough: Roll the cookie dough into balls as instructed, then flash freeze them on a baking sheet until solid. Transfer the frozen dough balls to a freezer-safe container or bag for up to 2 months. To bake from frozen, thaw the dough balls in the refrigerator overnight. Once thawed, roll in granulated sugar, create the indentations, and bake as directed.
Nutrition Facts
All nutritional values presented here are approximate estimations and are provided to the reader as a courtesy. Please note that changing ingredients, quantities, or brands may alter the estimated nutritional calculations.
- Serving Size: 1 cookie
- Calories: 132 kcal
- Carbohydrates: 18g
- Protein: 2g
- Fat: 7g
- Saturated Fat: 3g
- Polyunsaturated Fat: 1g
- Monounsaturated Fat: 2g
- Trans Fat: 0.2g
- Cholesterol: 24mg
- Sodium: 66mg
- Potassium: 57mg
- Fiber: 1g
- Sugar: 12g
- Vitamin A: 172 IU
- Vitamin C: 0.1mg
- Calcium: 25mg
- Iron: 1mg