
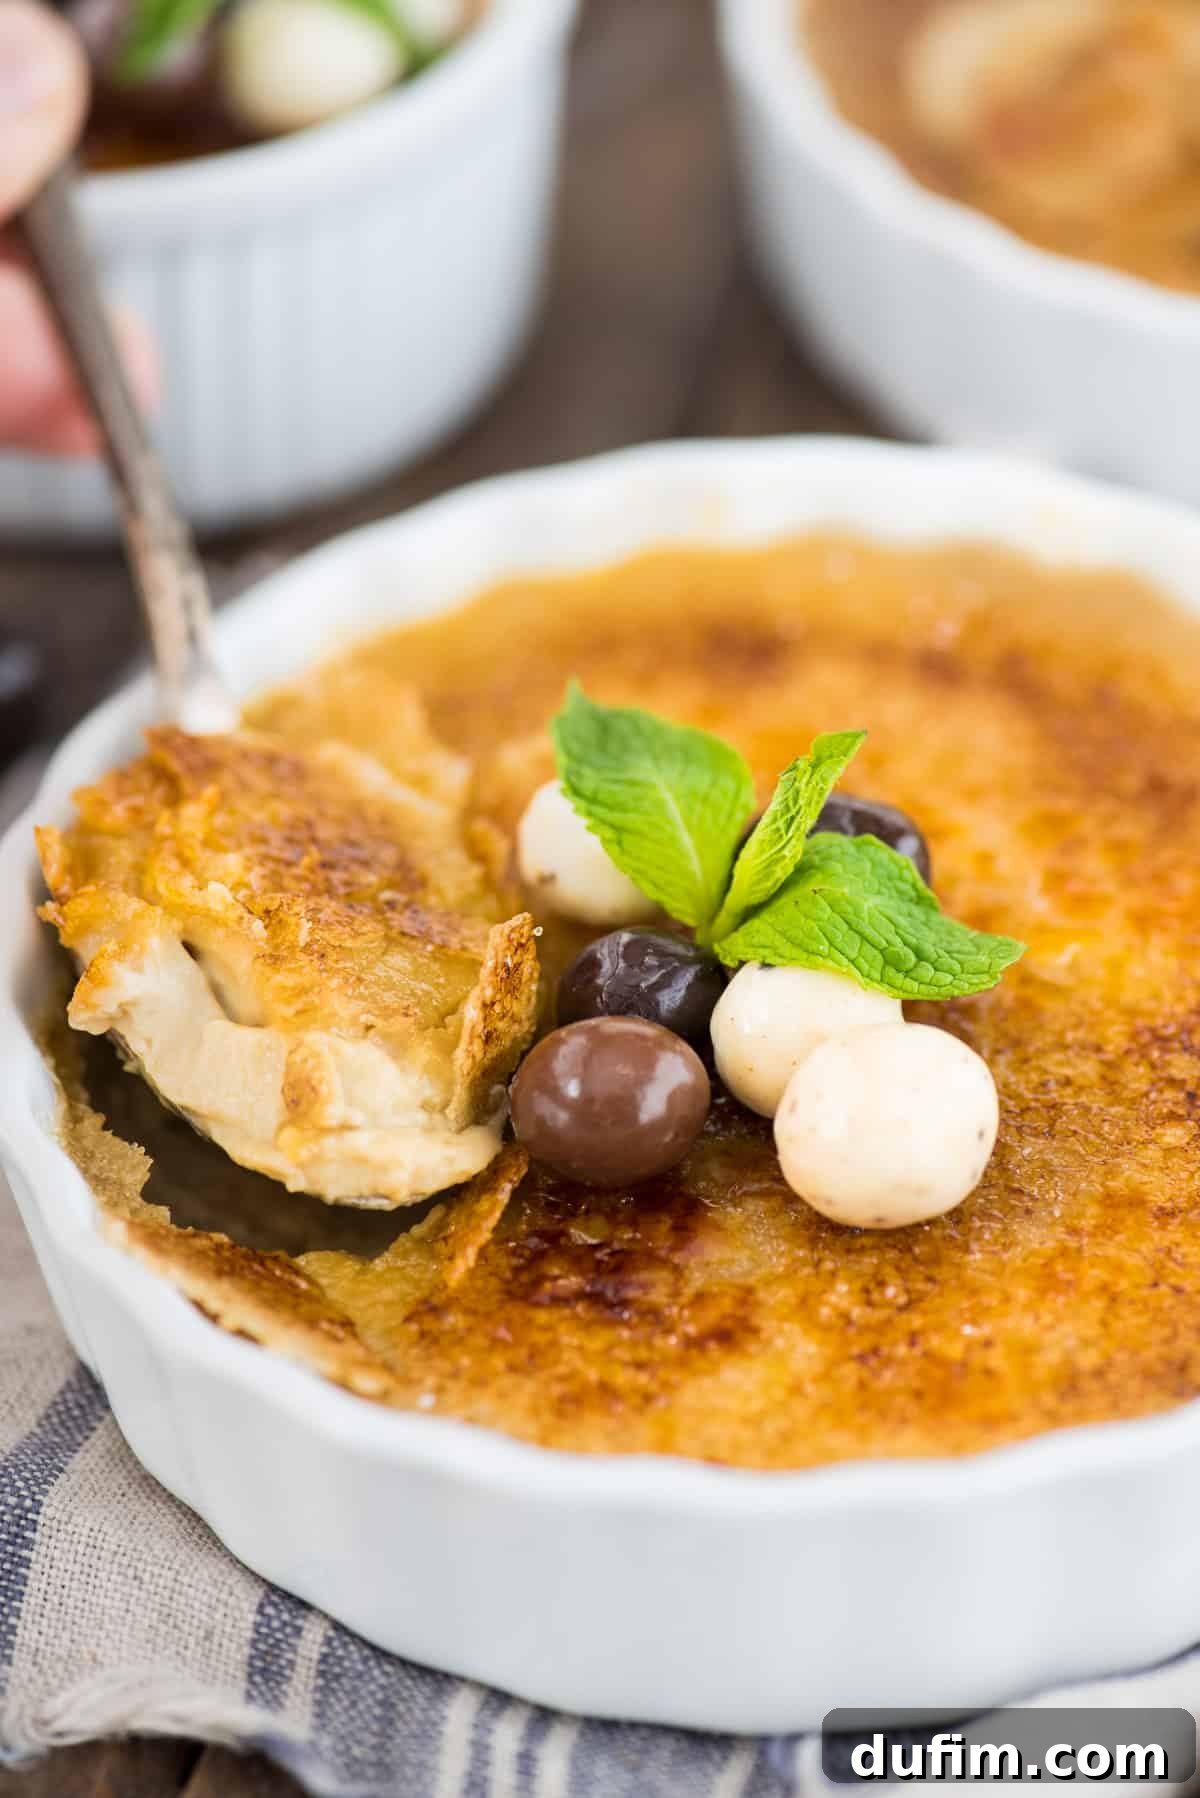
Your comprehensive guide to crafting easy espresso crème brûlée right in your own kitchen! This coffee-infused crème brûlée is a truly decadent dessert that’s surprisingly simple to make with just 5 core ingredients. Beyond the recipe, you’ll learn vital tips on choosing the best ramekins, mastering the art of the perfect caramelized topping, and even how to achieve that irresistible crunch without a kitchen torch. Prepare to impress your taste buds and your guests!
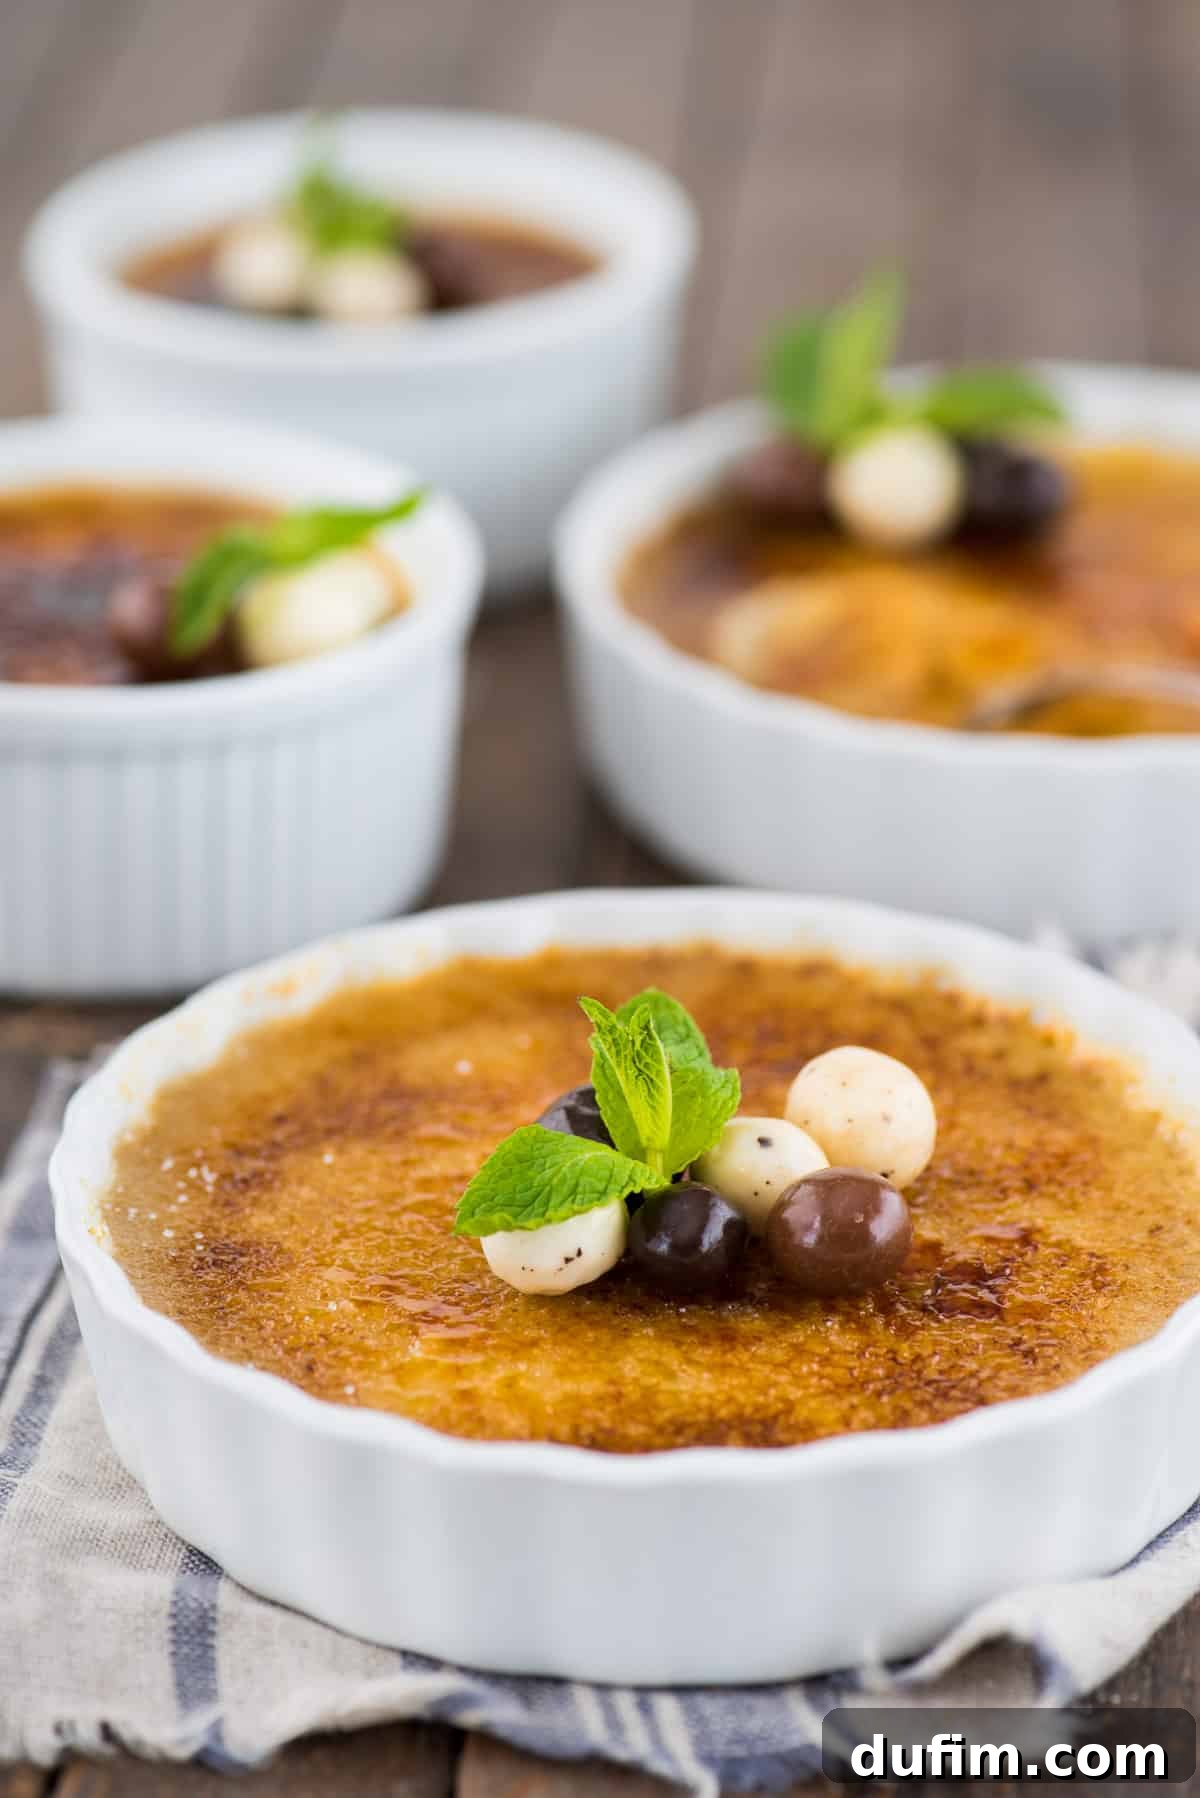
From Crème Brûlée Skeptic to Enthusiast: My Journey to Espresso Perfection
Allow me a moment of reflection. Here I am, proudly sharing a recipe for crème brûlée. For anyone who knows me, this might come as a delightful shock. Not long ago, I found myself declaring, “I’m just not a fan of crème brûlée.” Oh, how swiftly perspectives can change when the right recipe comes along!
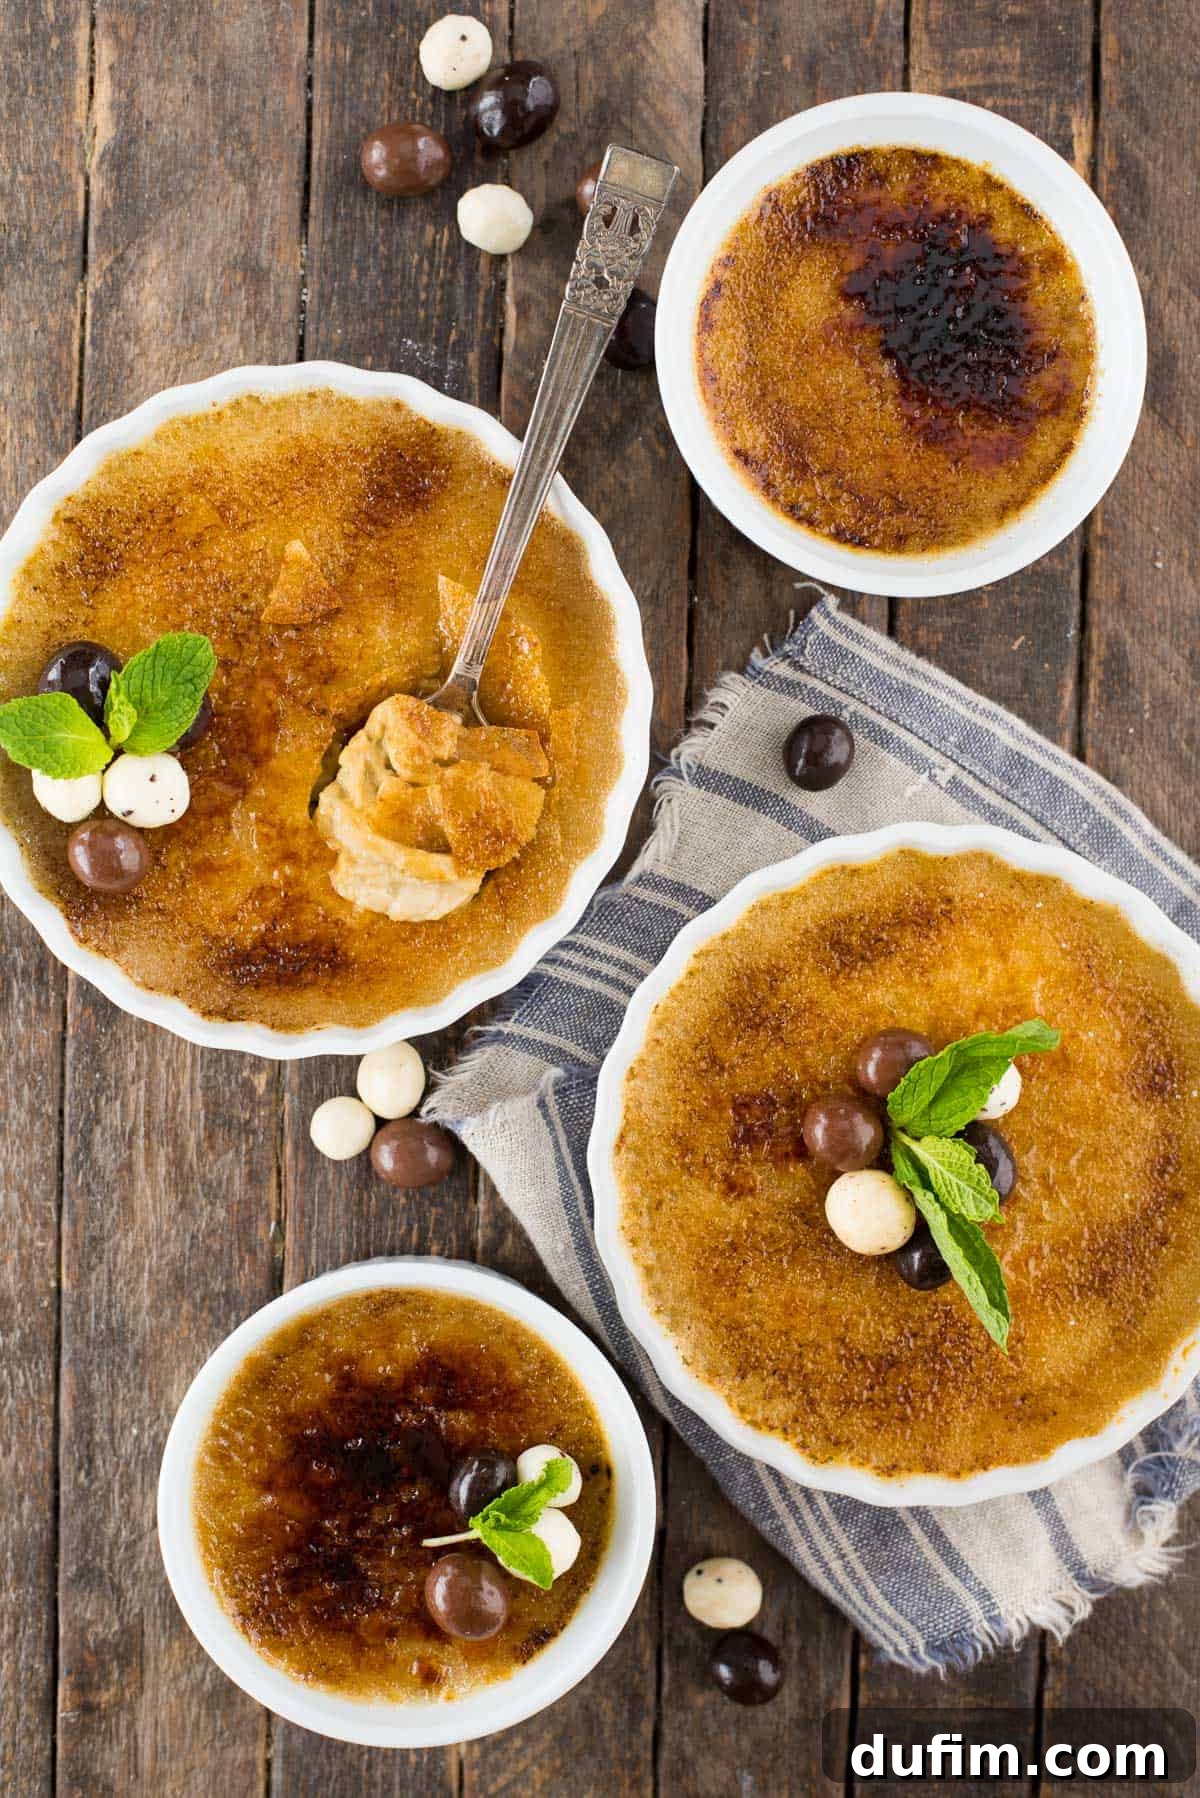
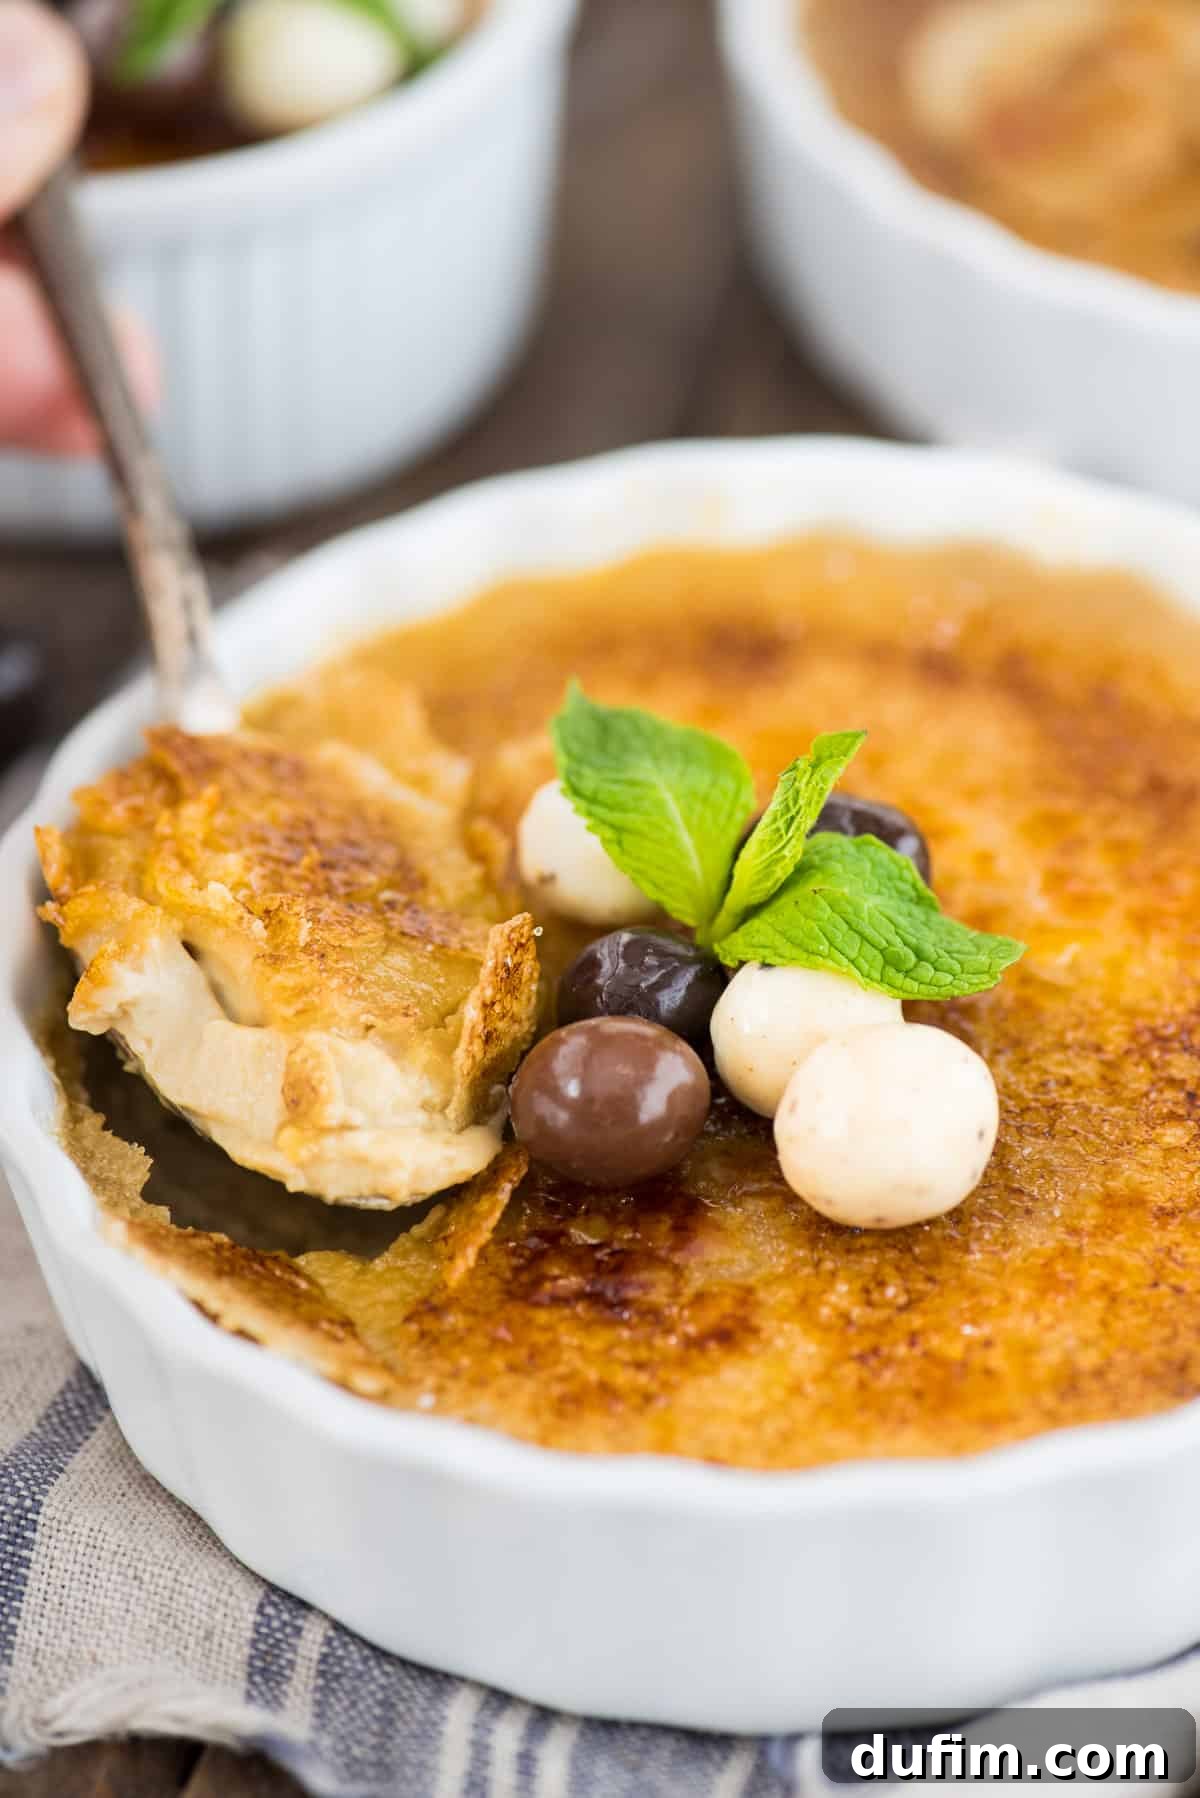
My previous dismissal of crème brûlée now seems utterly bewildering. While I can’t claim to love every variation out there, this espresso-infused version has completely captivated me. In fact, it’s become such a household favorite that we’ve whipped up this delightful dessert three times since Valentine’s Day alone! That’s a grand total of 18 individual crème brûlées. Rest assured, we’ve generously shared with friends, but I must admit that a significant portion of those velvety custards, crowned with their signature crispy sugar shell, have been happily devoured by my husband, Ryan, and me.
If you’ve ever felt intimidated by crème brûlée, or perhaps, like my former self, believed it wasn’t for you, then this recipe is your perfect starting point. Its remarkably smooth texture and rich, comforting coffee flavor are truly transformative. It might just be the dessert that converts you into a lifelong crème brûlée aficionado!
Choosing the Perfect Ramekins for Crème Brûlée
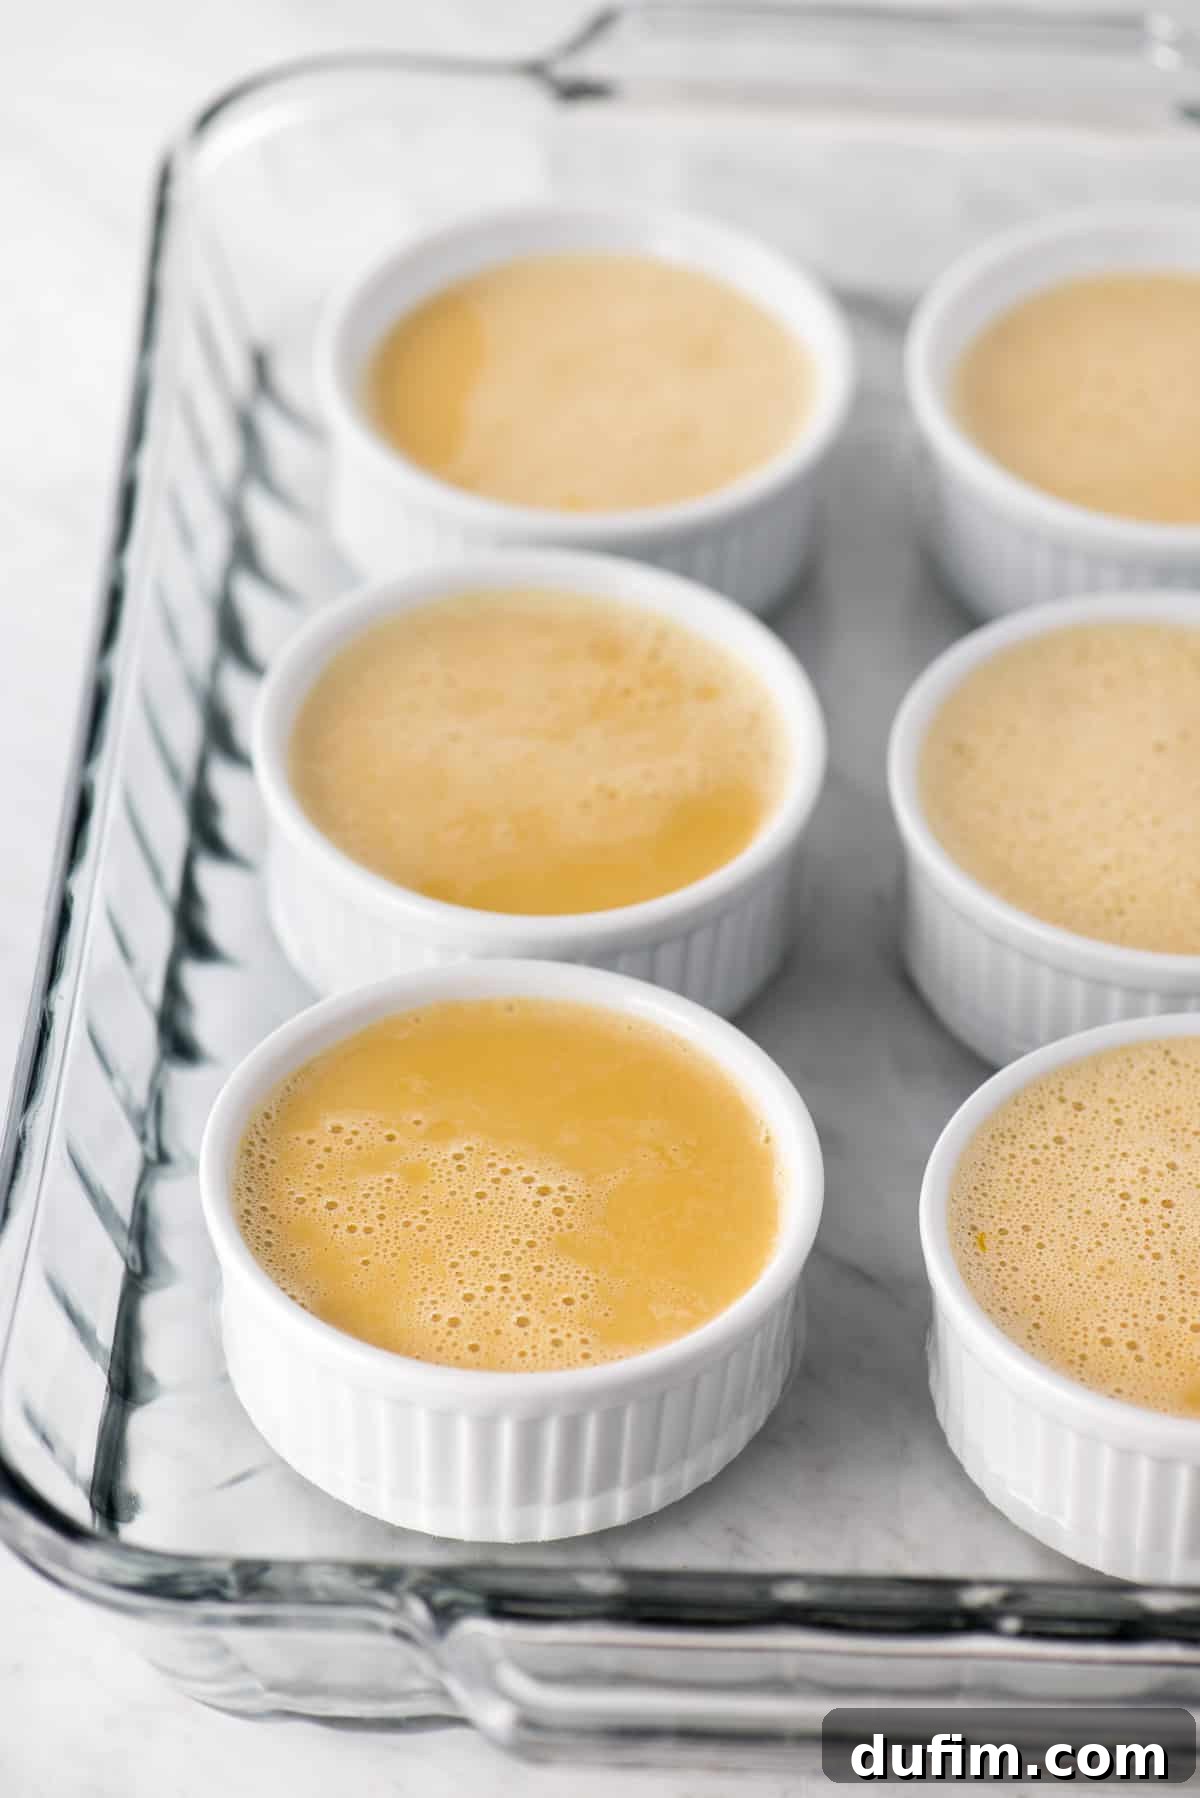
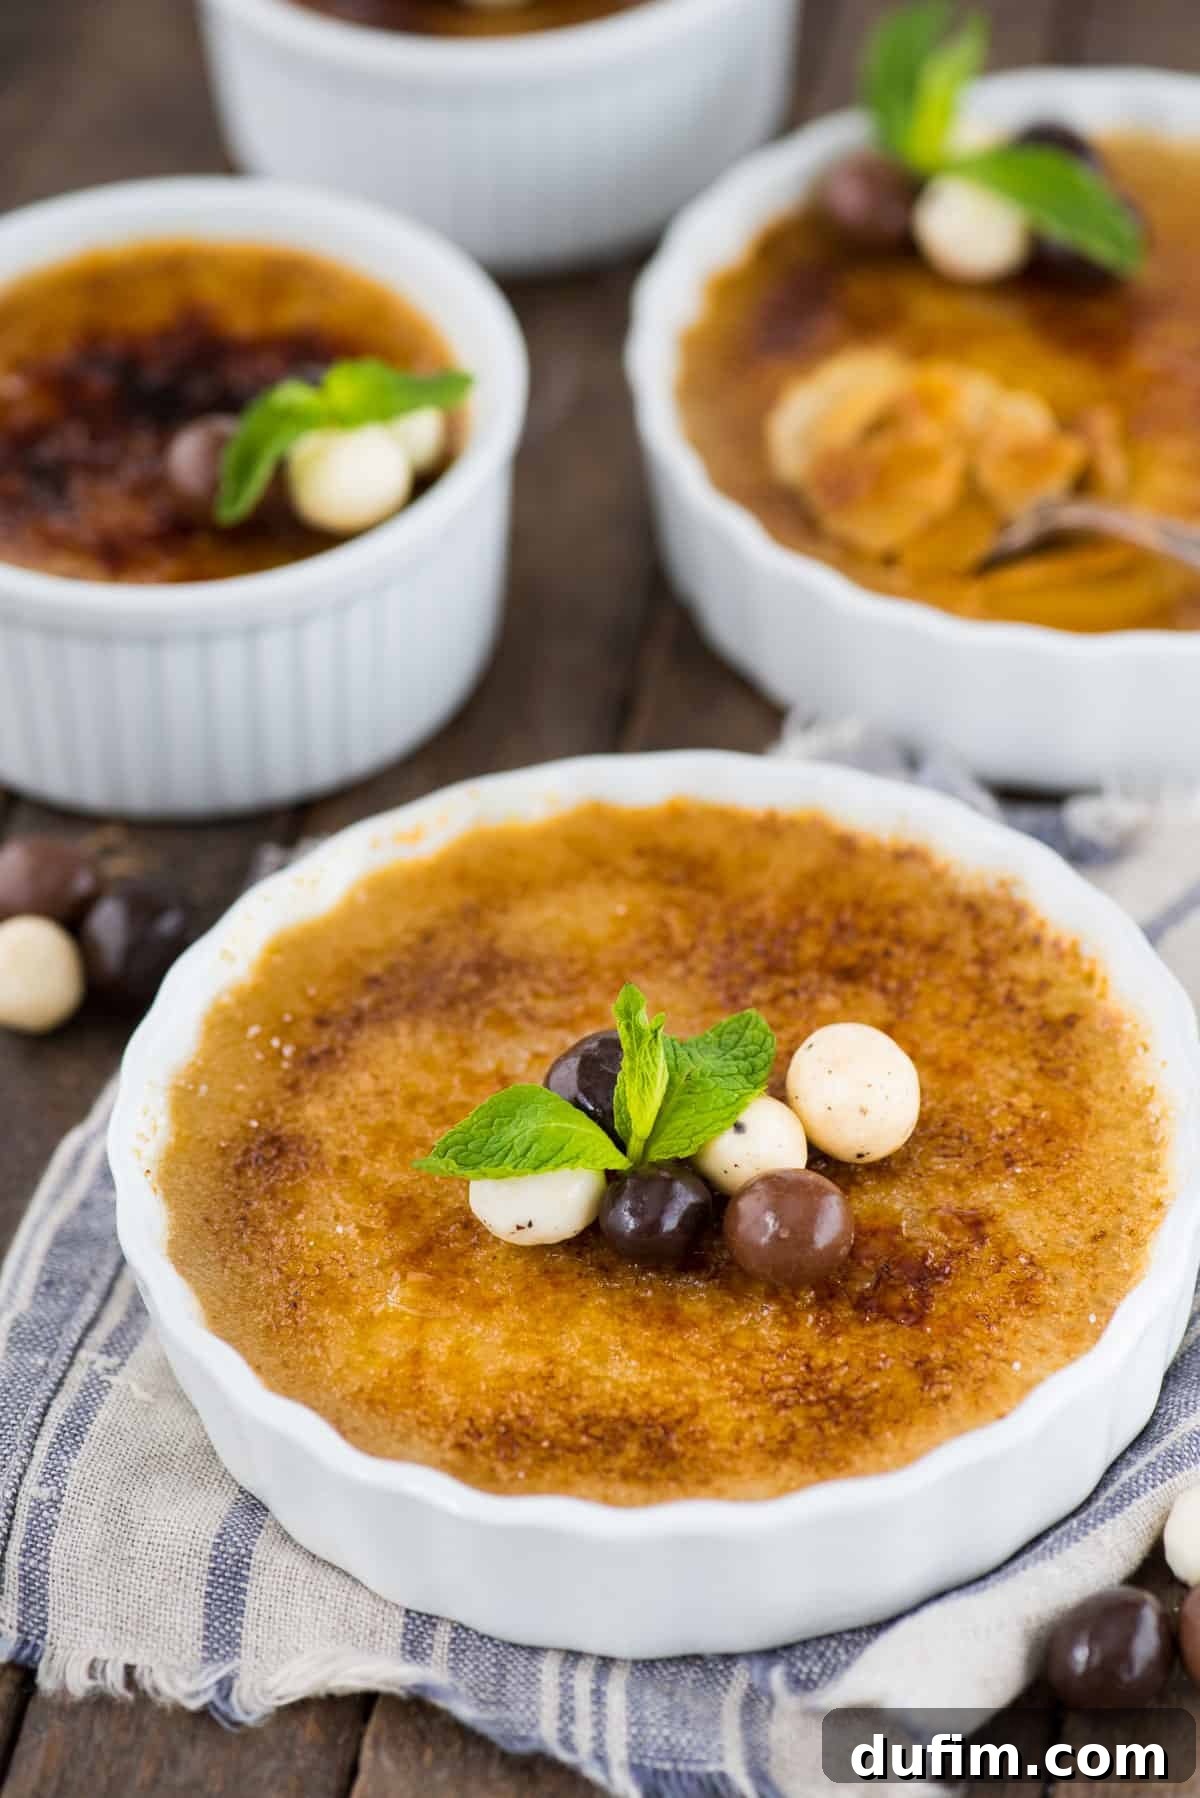
A ramekin is a small, oven-safe glazed ceramic dish designed for baking and serving individual portions. For crème brûlée, the choice of ramekin can impact both cooking time and presentation. I highly recommend using ramekins that hold between 4 oz, 5 oz, or 6 oz. These sizes strike the perfect balance, allowing the custard to set beautifully while providing a generous individual serving. For this specific espresso crème brûlée recipe, I personally used these elegant 5 oz round ramekins, and they performed wonderfully.
When selecting ramekins, consider their material – ceramic is ideal for even heat distribution, which is crucial for a perfectly cooked custard. While round ramekins are classic, oval or square shapes can also be used, though you might need to adjust baking times slightly. Ensuring your ramekins are shallow rather than deep is also important, as it provides a larger surface area for that iconic crunchy sugar topping.
Can Crème Brûlée Be Prepared in Advance? Absolutely!
One of the fantastic features of crème brûlée is that it can indeed be made the day before, making it an ideal dessert for entertaining. In fact, crème brûlée requires refrigeration to properly set after baking anyway, so planning ahead works perfectly. If you intend to serve your crème brûlée the following day, here’s how to do it right:
- After your crème brûlée has finished baking and has cooled down to room temperature (this usually takes about 30 minutes to an hour outside the fridge), transfer them to the refrigerator.
- Allow them to chill uncovered for at least 2 hours to set firmly.
- Once thoroughly chilled and firm, cover each ramekin tightly with plastic wrap to prevent them from absorbing any refrigerator odors or drying out.
- Refrigerate them until you are ready to serve.
- Just before serving, remove the plastic wrap, sprinkle the tops with sugar, and crystallize them using a kitchen torch or your oven’s broiler (more on these methods below).
**Important Note:** I strongly advise against caramelizing the sugar topping the day before. The caramelized sugar will absorb moisture from the refrigerator overnight, causing it to lose its crisp texture and become chewy or sticky. For that signature crack, always caramelize the sugar just before serving.
Mastering the Torch: Choosing and Using a Kitchen Torch for Crème Brûlée
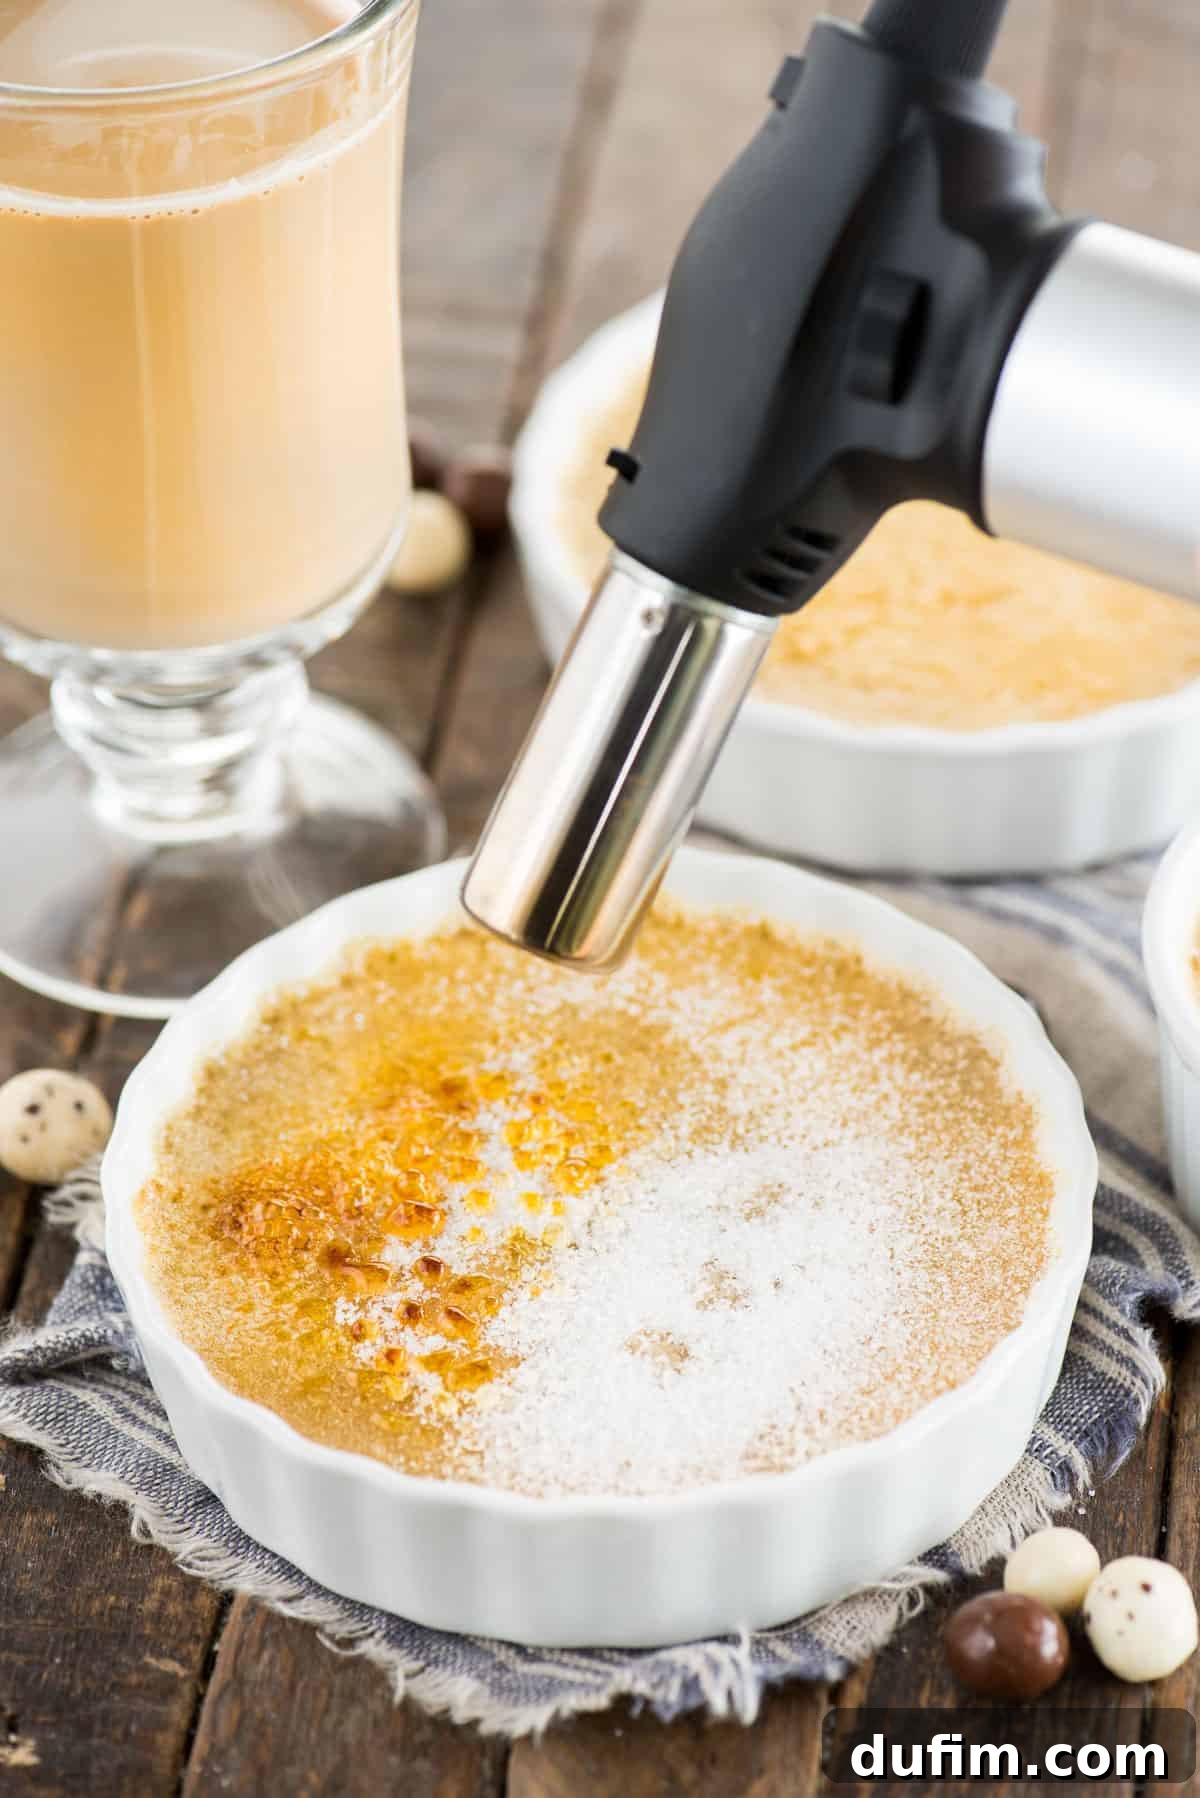
A kitchen torch is undeniably the most efficient and enjoyable way to achieve that perfect, glass-like caramelized sugar crust on your crème brûlée. If you’re in the market for one, I personally use and recommend this particular kitchen torch from Amazon.
What I love about this torch:
- **Continuous Flame Option:** Many torches require you to hold down a button constantly. This model features a convenient switch that allows for a continuous flame, freeing up your hands slightly and making the caramelizing process smoother.
- **Safety Lock Feature:** Safety is paramount when working with an open flame. This torch includes a lock feature that prevents accidental ignition, providing peace of mind when stored.
How to fill your kitchen torch with butane:
Before you can get started, remember that most kitchen torches are sold empty and require butane fuel. Butane is readily available at most hardware stores or online. To fill your torch:
- Turn the torch upside down.
- Locate the small refill hole at the bottom.
- Insert the nozzle from your butane fuel canister into this hole.
- Press down firmly for about 10-15 seconds. You’ll hear a hissing sound as the fuel transfers. Stop once the torch is full (some have a clear window to see the fuel level).
- Allow a minute or two for the gas to stabilize before igniting.
Always follow the specific instructions that come with your torch for safe and effective use.
No Torch? No Problem! How to Caramelize Crème Brûlée Using Your Oven Broiler
Don’t have a kitchen torch? No need to worry! You can still achieve that glorious caramelized, crispy top on your crème brûlée using a common kitchen appliance: your oven’s broiler. While a kitchen torch offers precise control and a bit of culinary theater, the broiler method is a perfectly viable and easy alternative.
Steps for broiler caramelization:
- **Prepare the Sugar:** Ensure your chilled crème brûlées are ready. Evenly dust the top of each crème brûlée with a thin, even layer of granulated sugar. Aim for about ½ tablespoon per ramekin, ensuring full coverage without creating a thick pile.
- **Preheat the Broiler:** Position an oven rack about 4-6 inches below your broiler element. Turn your oven to the broiler setting (usually high). Allow it to preheat for a few minutes until it’s very hot.
- **Broil with Vigilance:** Carefully place the sugar-dusted ramekins on a baking sheet. Slide the baking sheet into the oven under the broiler. This step requires your undivided attention.
- **Watch Closely:** Monitor the crème brûlées constantly. The sugar will begin to melt, bubble, and turn golden brown. This process happens very quickly, typically within 1-3 minutes. Check them every 30 seconds to a minute to prevent burning.
- **Rotate if Needed:** If your broiler heats unevenly, you may need to rotate the baking sheet halfway through to ensure all custards caramelize uniformly.
- **Remove and Cool:** Once the sugar has caramelized to a beautiful amber color, immediately remove the baking sheet from the oven. Allow the caramelized topping to cool for a few minutes before serving. It will harden and become crisp as it cools.
Using your oven broiler to caramelize crème brûlée is surprisingly easy and delivers excellent results, proving that a torch isn’t a strict requirement for this classic dessert!
Dietary Considerations: Is Crème Brûlée Gluten-Free? Can it be Keto-Friendly?
For those with dietary concerns, you’ll be pleased to know that traditional crème brûlée is inherently gluten-free. The basic custard is composed of simple, naturally gluten-free ingredients: egg yolks, granulated sugar, rich heavy cream, and a hint of vanilla extract. For this espresso version, brewed espresso is added, which is also gluten-free. The topping is, of course, just caramelized sugar. Therefore, if you are following a gluten-free diet, this decadent dessert is a safe and delicious option.
For individuals adhering to a ketogenic (keto) diet, this espresso crème brûlée can absolutely be adapted to fit your nutritional needs. The key is to substitute the conventional sugar with a keto-approved sweetener. I recommend using a granular erythritol-based sweetener, such as erythritol. Ensure you use a sugar substitute that caramelizes, as some don’t behave the same way under heat. Many erythritol blends are designed to brown and crisp up, offering a similar experience to traditional sugar. Always check the product labels for specific carb counts and instructions when making substitutions for dietary purposes.
The Jiggle Test: Knowing When Your Crème Brûlée is Perfectly Cooked
Determining when crème brûlée is perfectly done is crucial for achieving that silky-smooth custard texture. Overbaking can lead to a grainy custard, while underbaking will result in a runny center. The best way to check for doneness is through what’s affectionately known as the “jiggle test”:
Gently shake the baking pan containing the ramekins. A properly baked crème brûlée will have edges that appear set and firm, with a slight golden hue. The center, however, should still have a delicate “jiggle” – it should move like a very firm jelly or custard, but not like a liquid. If the center looks watery or sloshes around significantly, it needs more time in the oven. If the entire custard is completely firm with no jiggle at all, it’s likely overcooked. Trust your instincts and the jiggle!
The Simple Art of Making Espresso Crème Brûlée
Creating this gourmet dessert might seem daunting, but it’s remarkably straightforward! Crème brûlée is essentially composed of two main elements: the rich, creamy custard and the signature caramelized sugar topping. The custard is a beautiful blend of basic ingredients: egg yolks, sugar, luxurious heavy cream, and a touch of vanilla extract. For our delightful variation, we infuse it with the bold, aromatic flavor of freshly brewed espresso, elevating it to an extraordinary coffee dessert experience.
The process generally involves gently heating the cream mixture, tempering the egg yolks with sugar, combining them, baking in a water bath for even cooking, chilling until firm, and finally, caramelizing the sugar on top. Each step is simple, but precision ensures perfection.
Brewing Alternatives: What to Use Instead of Fresh Espresso
While freshly brewed espresso delivers the most authentic and robust coffee flavor to this crème brûlée, I understand that not everyone has an espresso machine at home. Thankfully, you have a couple of excellent alternatives to infuse your custard with that delicious coffee essence:
1. Instant Espresso Powder:
This is my top recommendation if fresh espresso isn’t an option. Instant espresso powder is essentially a more concentrated form of instant coffee, designed to deliver a stronger, deeper coffee flavor. It’s perfect for baking as it dissolves easily and provides an intense coffee punch without adding excess liquid. To substitute, follow the directions on your specific instant espresso container to brew the equivalent of 6 tablespoons of strong espresso. Often, this means dissolving 1-2 teaspoons of powder in 6 tablespoons of hot water. Adjust to your desired strength.
2. Strong Instant Coffee:
If instant espresso powder is unavailable, instant coffee can serve as a decent substitute in a pinch. However, be aware that instant coffee will likely not yield the same depth, richness, or boldness of flavor that true espresso or instant espresso powder provides. To use, try brewing 6 tablespoons of very strong instant coffee. This might mean using a higher concentration of coffee granules to water than you normally would for a regular cup of coffee. While it will still be delicious and coffee-flavored, I cannot guarantee it will result in the intensely authentic espresso taste this recipe aims for.
Regardless of your choice, ensure the coffee is fully dissolved and cooled slightly before incorporating it into your custard mixture to prevent any curdling or texture issues.
Craving More Coffee-Infused Delights?
If you’re anything like me and can’t get enough of coffee in your desserts, you’re in for a treat! Here are some more of my favorite recipes that celebrate the rich, invigorating flavor of coffee:
- Irresistible Coffee Cake Muffins
- Decadent Mini Coffee Cheesecakes
- Rich Espresso Buttercream (Coffee Frosting)
- Creamy Espresso Cheesecake
Tap stars to rate!
Espresso Crème Brûlée
Rate
Equipment
-
Kitchen Torch
-
My favorite spatula!
-
Glass Mixing Bowl
-
9×13 inch baking pan (for water bath)
Ingredients
- 6 large egg yolks
- ½ cup (99g) granulated sugar
- 2 cups heavy cream
- ½ Tbsp vanilla extract
- 6 Tbsp brewed espresso (cooled slightly)
- Granulated Sugar, for caramelizing the top of each ramekin
Instructions
-
Preheat your oven to 325°F (160°C). This gentle temperature is ideal for baking custard in a water bath.
-
Lightly spray six 5 oz ramekins with non-stick cooking spray for easy removal if desired, or simply place them as is. Arrange the ramekins inside a larger 9×13 inch baking pan. Carefully pour hot water into the larger pan, ensuring it comes about halfway up the sides of the ramekins. Be very careful not to splash any water into the ramekins themselves. This “water bath” (bain-marie) helps the custards cook gently and evenly, preventing them from cracking or overcooking around the edges. Set this aside.
-
In a medium mixing bowl, combine the egg yolks and granulated sugar. Whisk them together with a spatula or whisk until the mixture is thick, pale yellow, and forms a smooth paste. Set this aside.6 large egg yolks, ½ cup (99g) granulated sugar
-
In a small saucepan over medium heat, gently combine the heavy cream and vanilla extract. Stir constantly until the mixture just begins to show a few small bubbles around the edges – do not bring to a rolling boil. Remove from heat and stir in the cooled brewed espresso. Slowly and gradually pour this warm cream-espresso mixture into the egg yolk and sugar mixture, whisking constantly with your spatula or whisk. This process, known as “tempering,” prevents the eggs from scrambling. Continue stirring until everything is thoroughly combined and smooth.2 cups heavy cream, ½ Tbsp vanilla extract, 6 Tbsp brewed espresso
-
Carefully divide the espresso crème brûlée mixture evenly among the 6 prepared ramekins, filling them almost to the top. Place the baking pan with the ramekins into the preheated oven. Bake for 50-60 minutes. To check for doneness, gently jiggle the pan; the crème brûlées are done when the edges appear set and slightly firm, but the center still has a slight, delicate jiggle. If the center looks liquidy or unset, continue baking for a few more minutes, checking frequently.
-
Once baked, carefully remove the baking pan from the oven. Allow the crème brûlées to cool completely within the water bath for about 30 minutes before gently removing them and transferring them to the refrigerator. Refrigerate for at least 3 hours, or preferably overnight, until thoroughly chilled and firm. If refrigerating overnight, cover each ramekin tightly with plastic wrap after it has fully cooled to prevent skin from forming and keep them fresh.
-
When you are ready to serve, remove the chilled crème brûlées from the refrigerator to prepare for caramelizing the top.
-
Evenly sprinkle about ½ tablespoon of granulated sugar on top of each crème brûlée. Use a kitchen blow torch to caramelize the sugar until it turns a beautiful amber color and forms a hard, crackly crust. Alternatively, if you don’t have a torch: Place the sugar-dusted ramekins on a baking sheet and put them under your oven’s broiler (preheated to high, rack 4-6 inches from the heat). Watch them constantly and check every minute to ensure the sugar doesn’t burn. This process can take a few minutes. Serve immediately after caramelizing for the best texture!Granulated Sugar
Video Overview
Notes
Nutrition
Calories: 396kcal | Carbohydrates: 20g | Protein: 4g | Fat: 34g | Saturated Fat: 20g | Polyunsaturated Fat: 2g | Monounsaturated Fat: 10g | Cholesterol: 293mg | Sodium: 39mg | Potassium: 85mg | Sugar: 17g | Vitamin A: 1411IU | Vitamin C: 1mg | Calcium: 74mg | Iron: 1mg
Nutrition Disclosure
All nutritional values provided are approximate and intended as a courtesy to the reader. Please be aware that altering ingredients or quantities in this recipe will undoubtedly change the estimated nutritional calculations.
Like this recipe? Rate and comment below!
Your feedback helps me create more delicious content!