
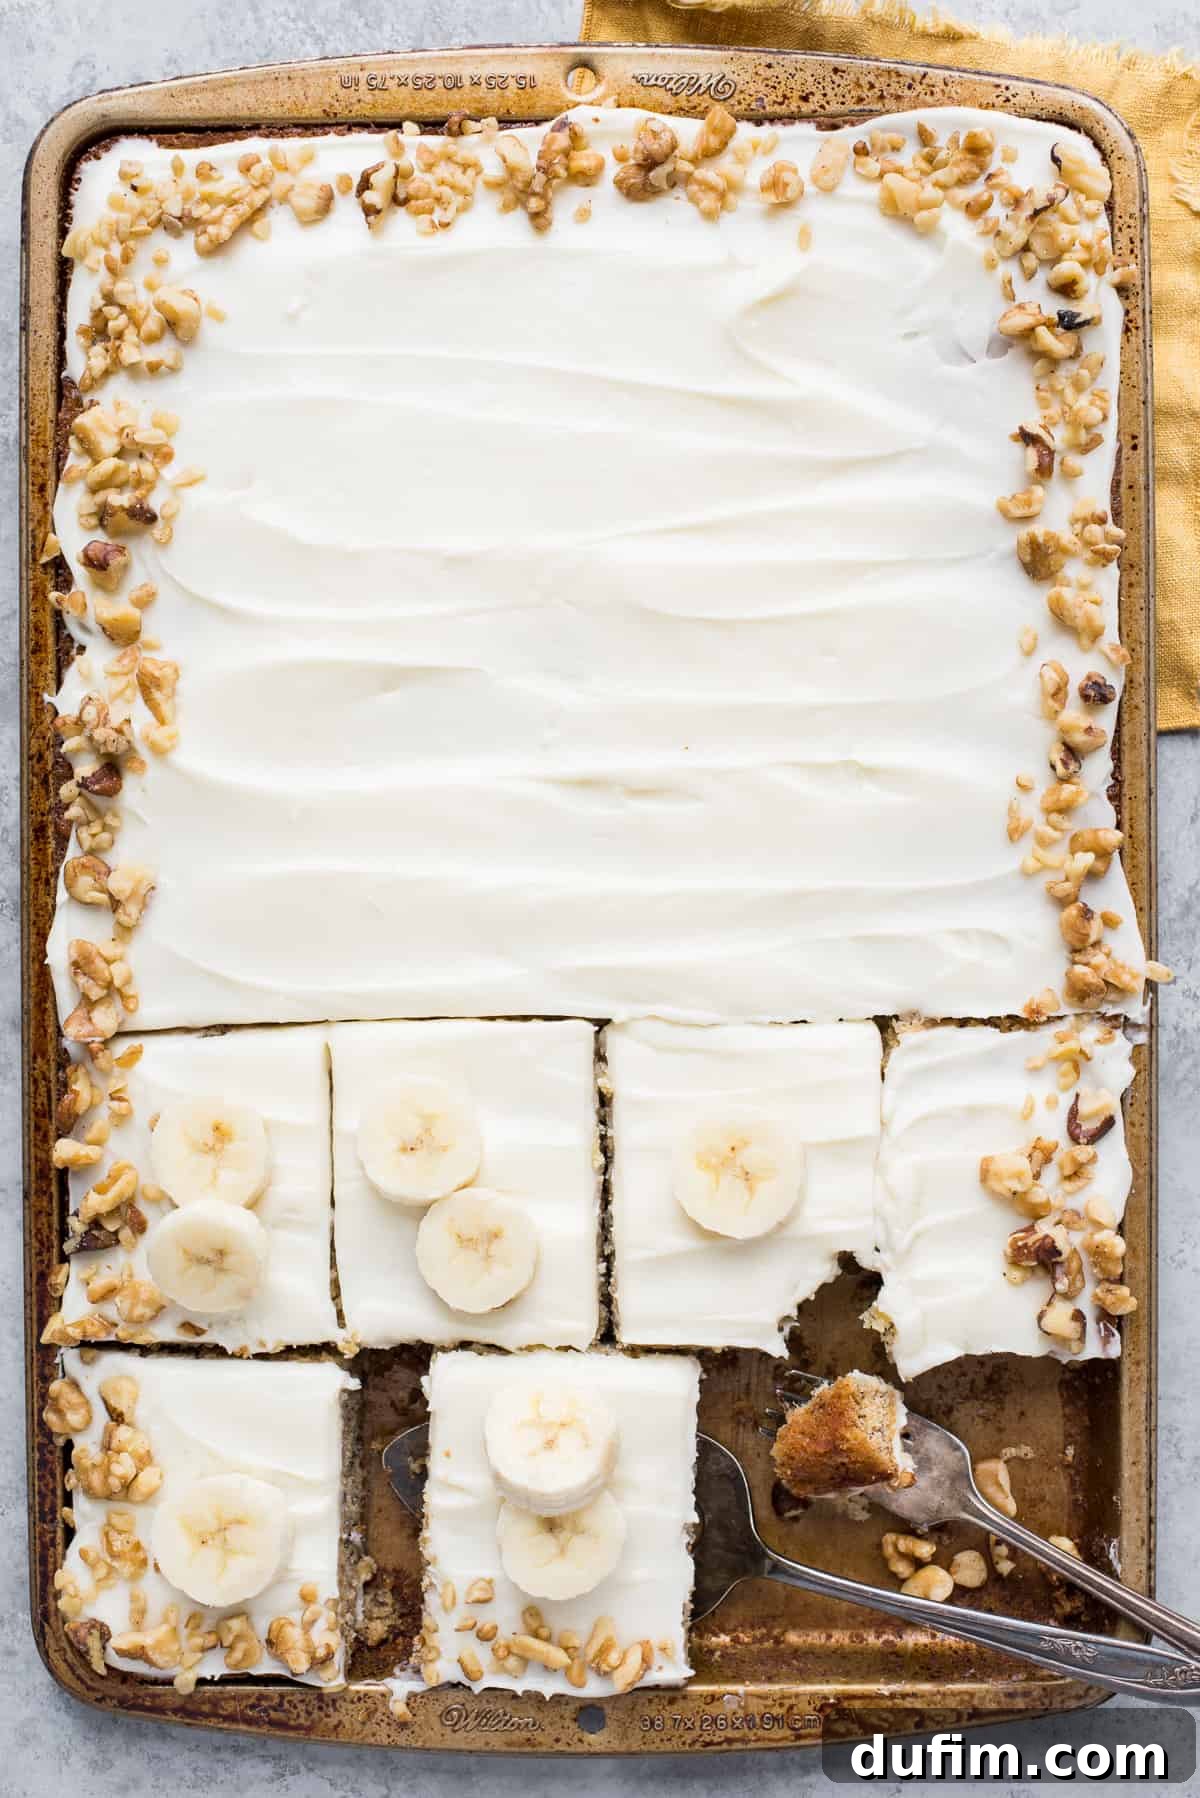
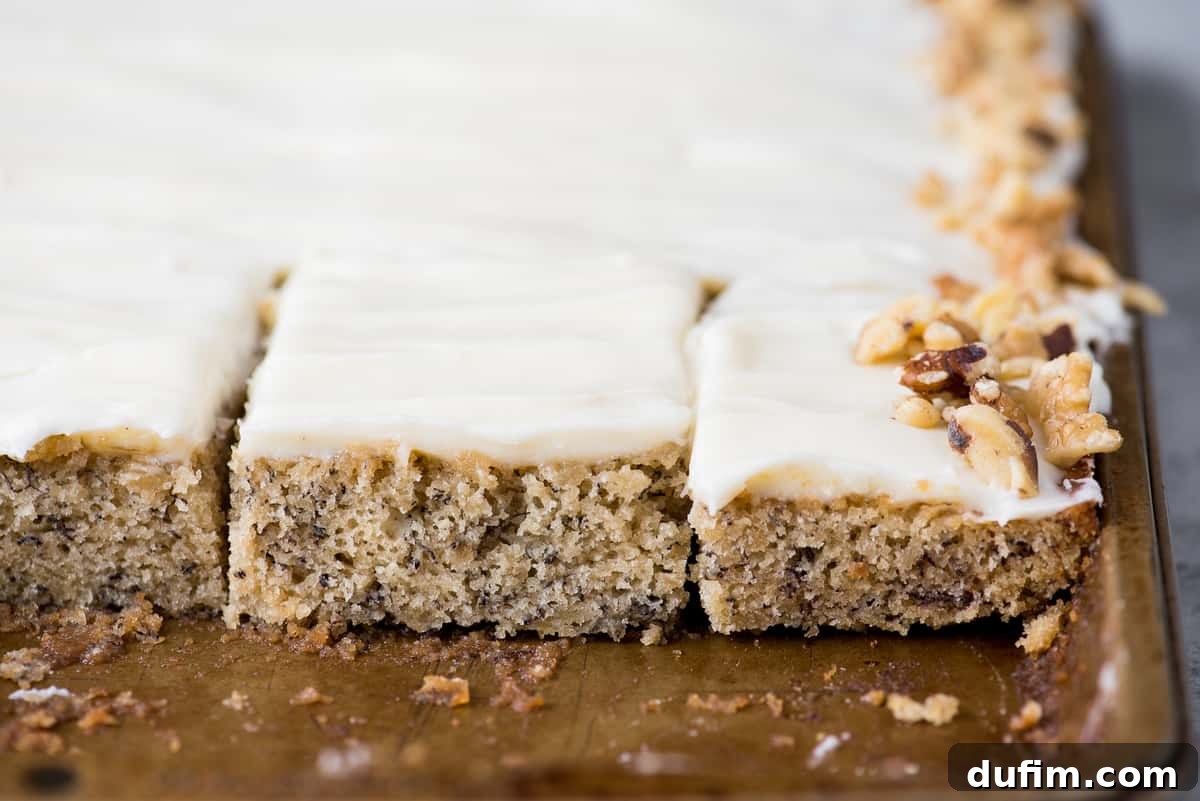
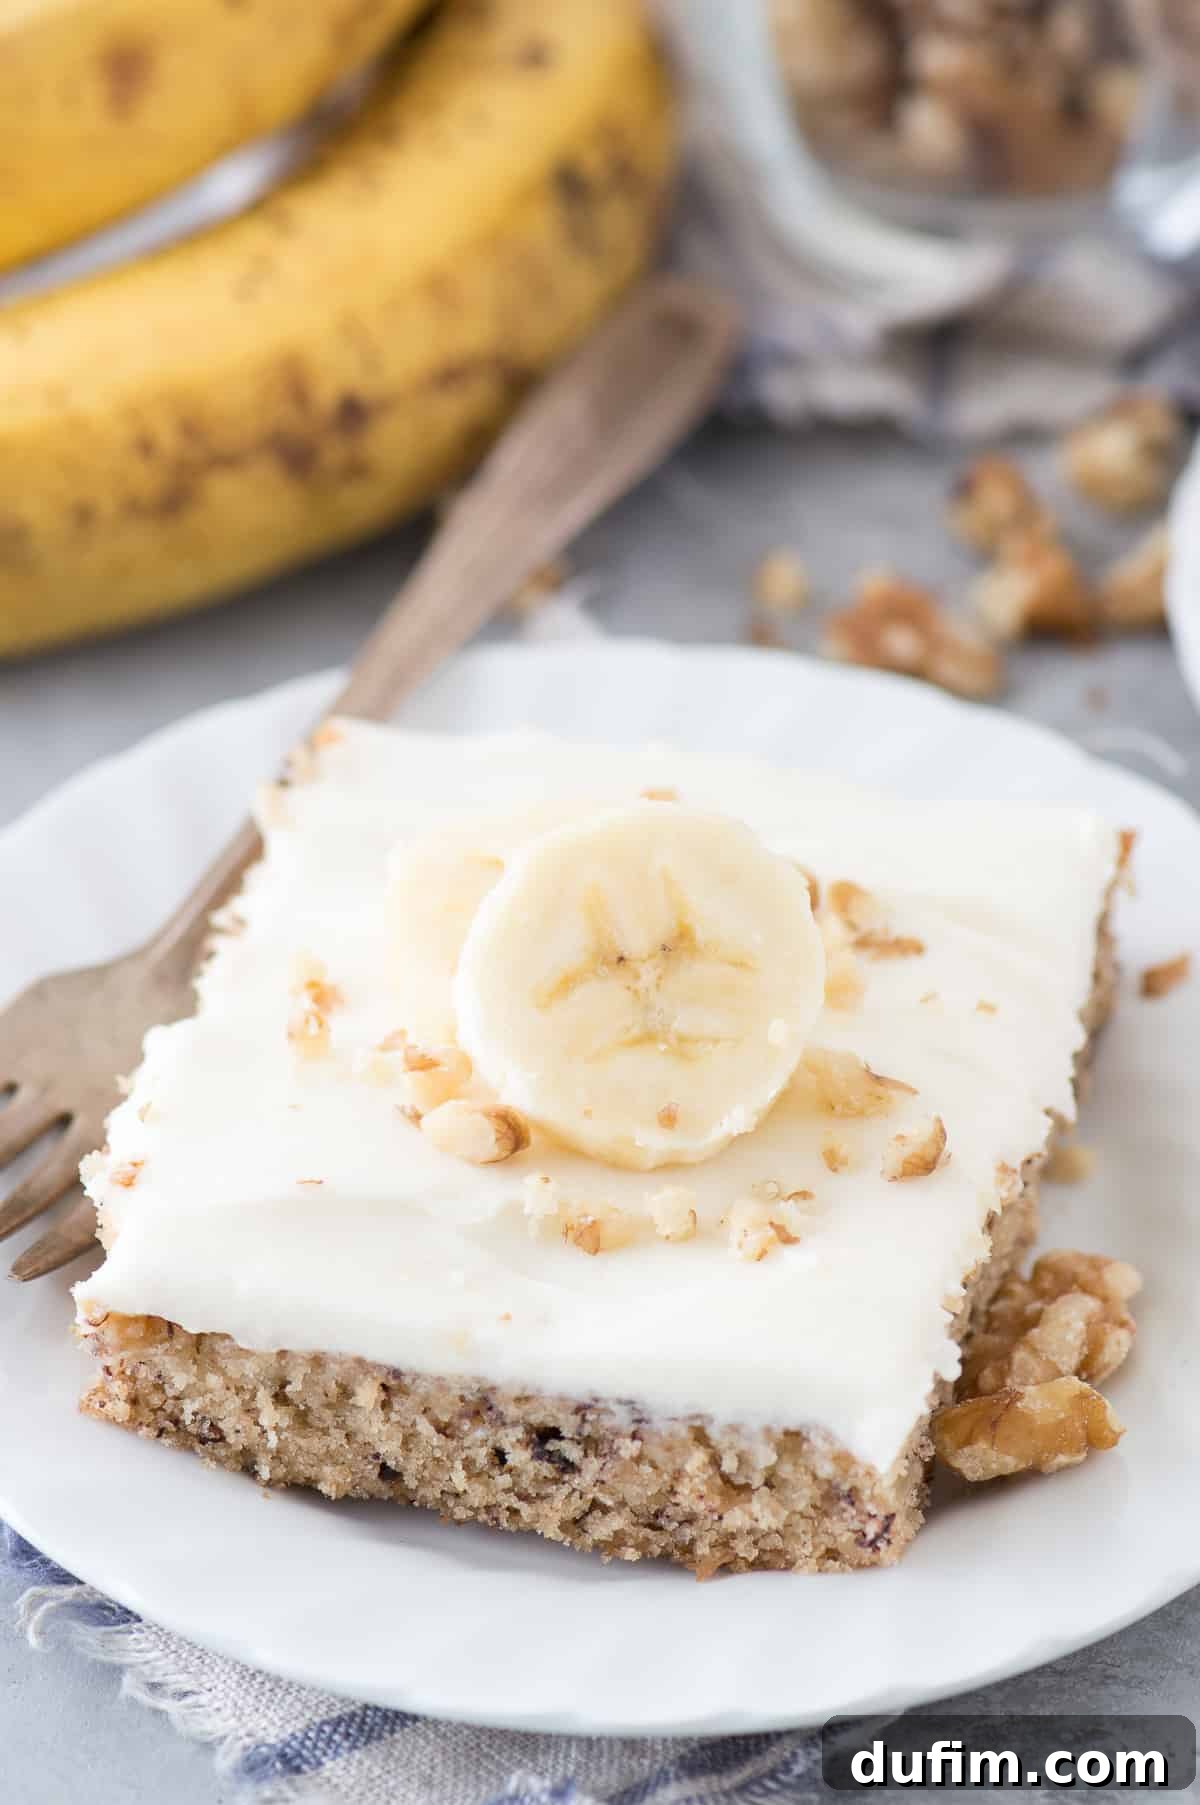
Welcome to a recipe that promises to transform your overripe bananas into a dessert masterpiece: our incredibly moist Banana Bars with rich Cream Cheese Frosting. Forget dry banana bread; these bars boast a tender crumb, an intense banana flavor, and are crowned with a sweet, tangy frosting that truly elevates them into a show-stopping treat.
Having perfected a wide array of bar recipes over the years, I can confidently say these banana bars consistently “wow a crowd.” Their delightful texture and complimentary frosting make them an instant favorite for any gathering or a special everyday indulgence.
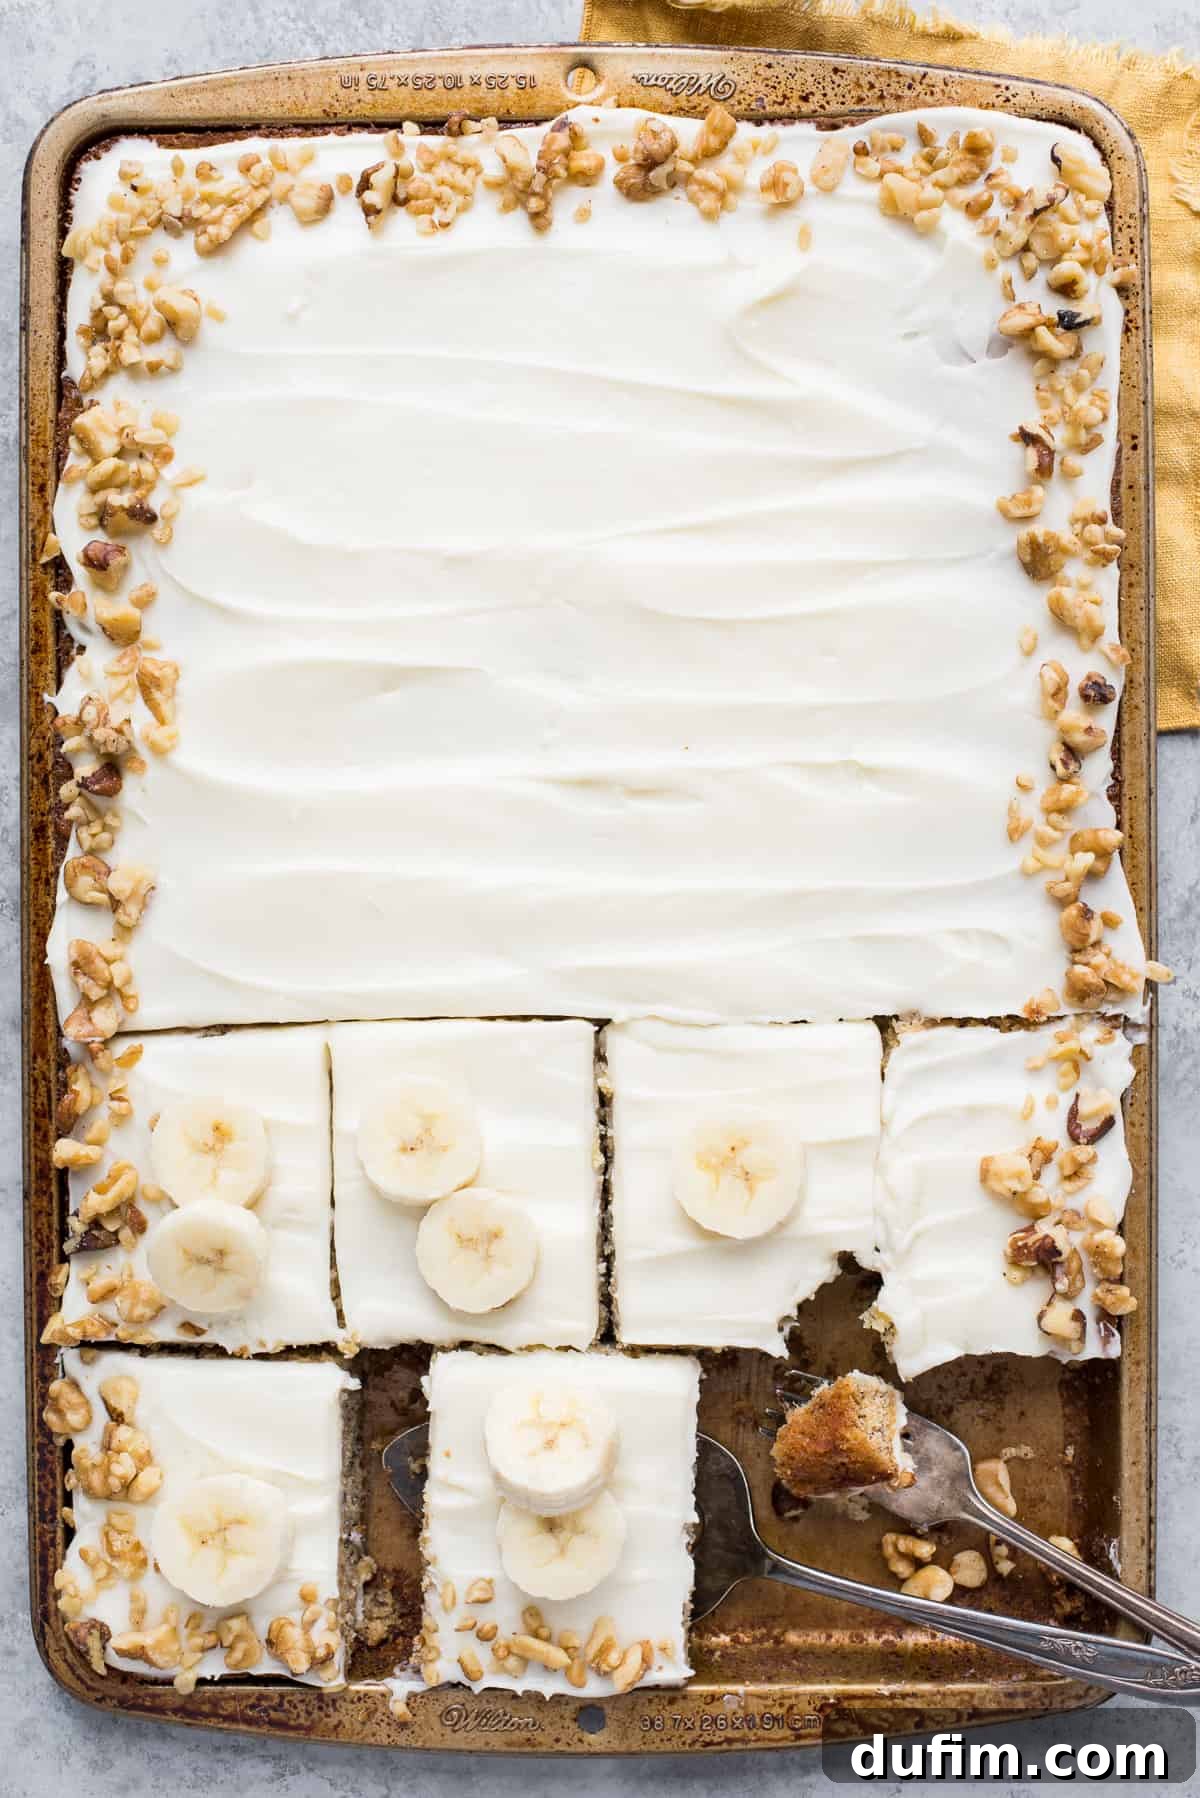
Unlocking the Secret to Perfectly Moist Banana Bars
Among all my cherished bar recipes, this one holds a special place, often outshining even the most beloved classics. When we find ourselves with a bounty of ripe bananas, our minds instinctively drift towards banana bread. However, my journey in crafting exceptional bar recipes led me to discover how effortlessly these humble ripe bananas can be transformed into a dessert that consistently earns glowing reviews.
The quest for the perfect moist banana bar led to countless experiments, fine-tuning the balance of wet and dry ingredients, the precise baking temperature, and the ideal cooling process. The result is a bar that is incredibly tender, bursting with natural banana sweetness, and never dry or crumbly. This recipe takes advantage of the natural moisture and binding properties of mashed bananas, ensuring every bite is soft, flavorful, and utterly satisfying. Read on to uncover all my best tips and tricks, including an ingenious method for ripening bananas faster when the craving strikes!
The Dreamy Pairing: Banana Bars and Cream Cheese Frosting
For a significant portion of my life, I harbored a misconception about cream cheese frosting, much like my younger self who, upon hearing the word “cheese,” prematurely decided against cheesecake. It was a culinary prejudice I laugh at now!
Then, one day, I embraced a spirit of adventure and decided to try cream cheese frosting on a classic cake. What can I say? It was a revelation. The rich, tangy, and subtly sweet cream cheese frosting was nothing short of dreamy. It quickly became clear that this frosting isn’t just good; it’s extraordinary. And when paired with the warm, comforting flavors of banana cake (or in this case, banana bars), it’s a match made in culinary heaven. Banana cake and cream cheese frosting were truly destined to be best friends, each enhancing the other’s unique qualities to create an unforgettable dessert experience.
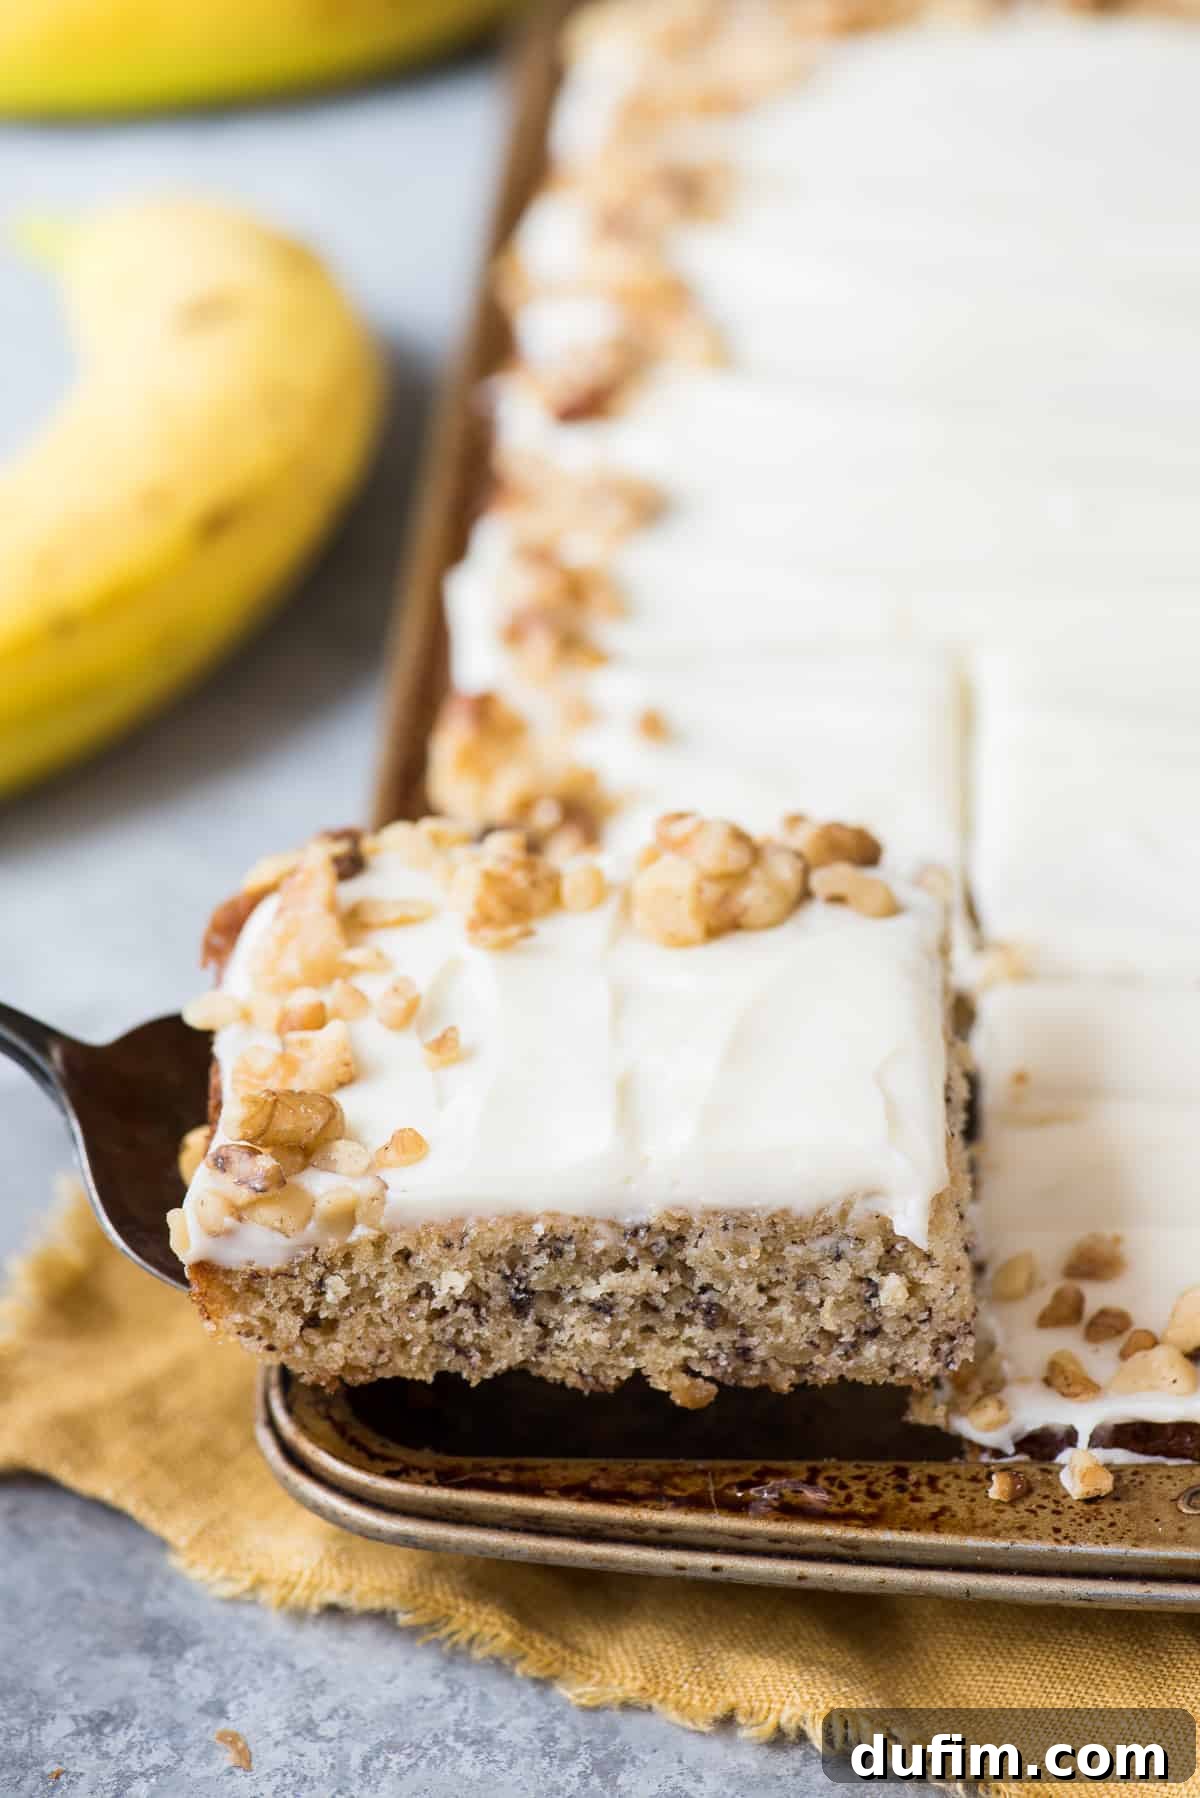
Essential Ingredients for Your Delicious Banana Nut Bars
Crafting these delectable banana bars requires a thoughtful selection of ingredients, each playing a crucial role in achieving that perfect moist texture and irresistible flavor. Here’s a breakdown of what you’ll need and why:
- Unsalted Butter: The foundation of flavor and tenderness. Using unsalted butter allows you to control the overall salt content of your recipe, ensuring a balanced taste.
- Water: Combined with butter, it forms the crucial wet base, contributing to the bar’s moist texture and helping to evenly distribute the other liquid ingredients.
- Granulated Sugar: Provides essential sweetness, enhances the banana flavor, and helps achieve a beautiful golden-brown finish on your bars.
- Brown Sugar: Adds a deeper, caramelized sweetness and, most importantly, helps keep the banana bars incredibly moist and tender thanks to its molasses content.
- Mashed Bananas: The star of the show! Ripe, mashed bananas infuse the bars with intense banana flavor and act as a natural binder, contributing to their soft texture.
- Buttermilk: This acidic ingredient reacts with baking soda to create lift, resulting in a lighter, more tender crumb. It also adds moisture and a subtle tangy complexity that complements the banana beautifully. If you don’t have buttermilk, you can easily make a substitute by adding a tablespoon of lemon juice or white vinegar to regular milk and letting it sit for 5-10 minutes.
- Eggs: Provide structure and stability to the bars, binding all the ingredients together and preventing them from crumbling. They also add richness and moisture.
- Vanilla Extract: A classic flavor enhancer that deepens and rounds out the overall sweetness and fruitiness of the banana. Use a good quality extract for the best results.
- All-Purpose Flour: The primary structural component of the bars, providing the necessary body and framework. Proper measurement is key here!
- Baking Soda: A leavening agent that reacts with the buttermilk to create carbon dioxide, which helps the batter rise, making the bars light and fluffy. It also influences browning and flavor development.
- Salt: Essential for balancing and enhancing all the other flavors in the bars, preventing them from tasting flat and bringing out the natural sweetness of the banana.
- Optional Walnuts: For those who love a bit of crunch and nutty flavor. Walnuts can be folded into the batter for texture or sprinkled on top of the cream cheese frosting for an elegant finish. Other additions like pecans or even chocolate chips can also be used.
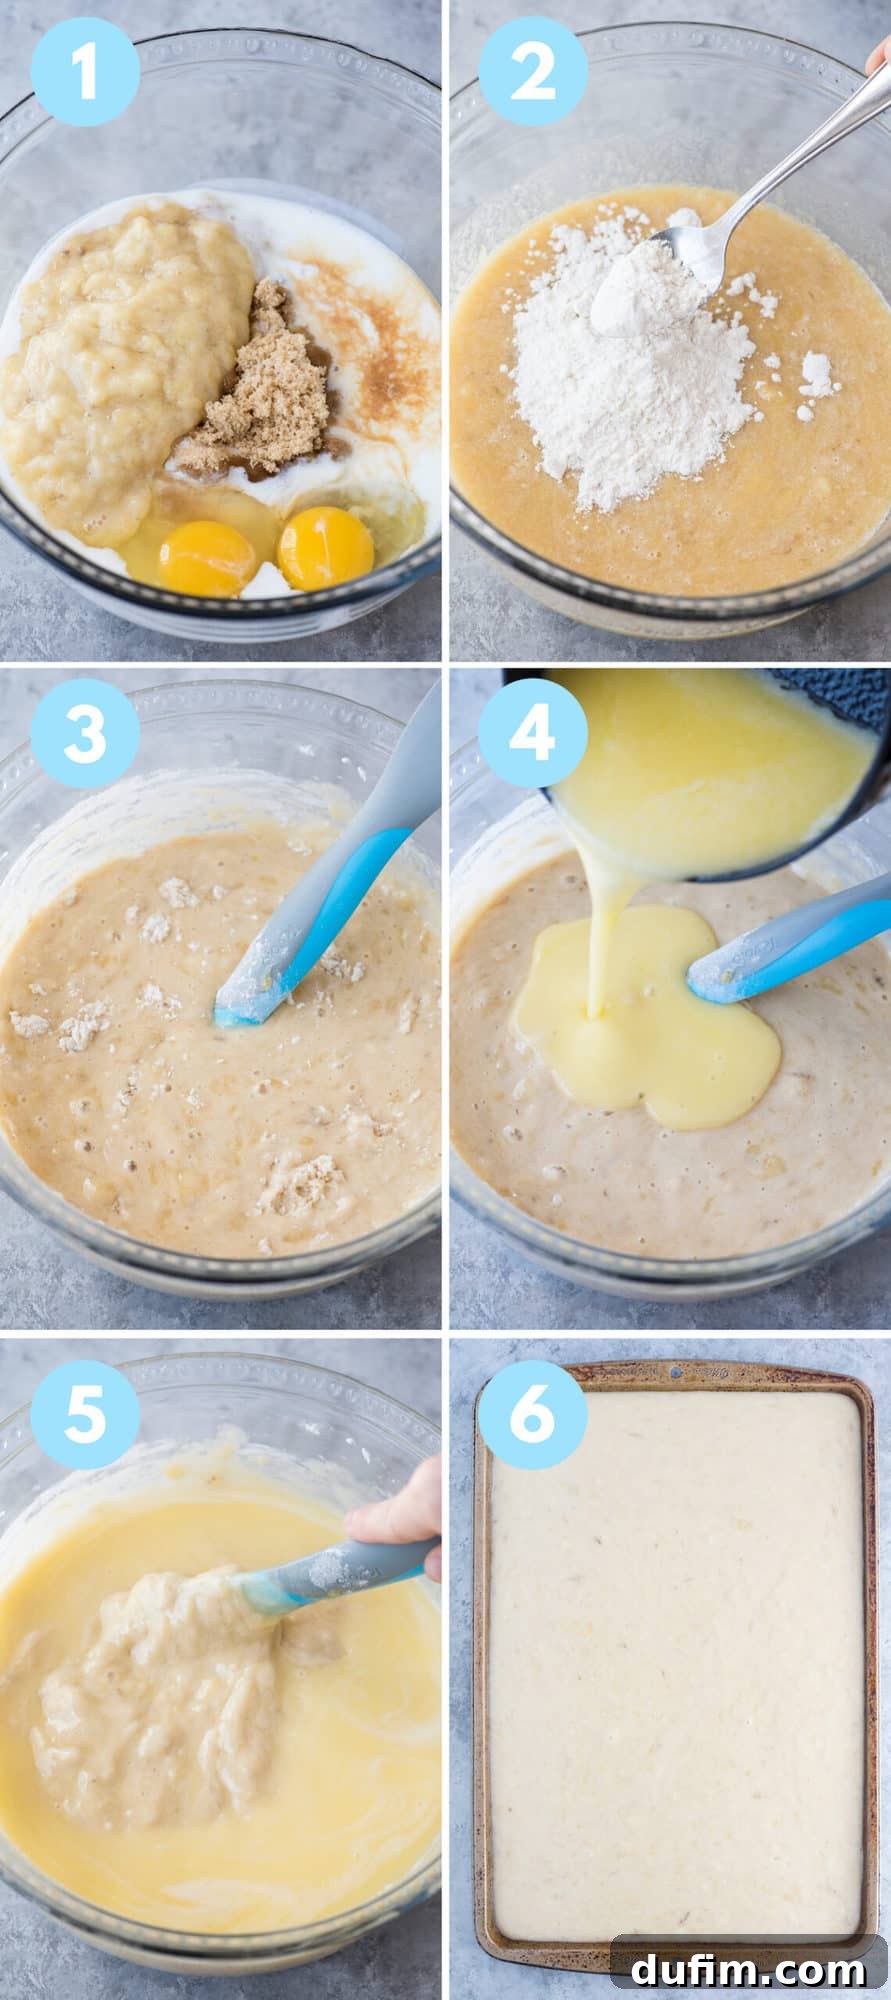
Mastering the Art: How to Make Banana Bars with Cream Cheese Frosting
Creating these delightful banana bars is simpler than you might think, making it a perfect baking project for any skill level. Follow these detailed steps for a flawless batch every time:
- Prepare Your Pan and Oven: Begin by preheating your oven to 350º F (175º C). Lightly grease and flour a 10.5 x 15.5-inch jelly roll pan or line it with parchment paper, allowing some overhang for easy removal. This ensures your bars won’t stick and will come out cleanly.
- Melt Butter and Water: In a small saucepan, combine the unsalted butter and water. Place it over medium-high heat on your stovetop. Bring the mixture to a gentle boil, then immediately remove it from the heat. Set it aside to cool slightly while you prepare the other ingredients.
- Combine Wet Ingredients: In a large mixing bowl, combine the granulated sugar, brown sugar, thoroughly mashed ripe bananas, buttermilk, eggs, and vanilla extract. Using an electric mixer, beat these ingredients together until the mixture is smooth and well combined, typically 1-2 minutes. The consistency should be uniform with no lumps of sugar remaining.
- Incorporate Dry Ingredients: In a separate bowl, whisk together the all-purpose flour, baking soda, and salt. If you’re adding chopped walnuts, fold them into the dry ingredients at this stage. Gradually add this dry mixture to your wet banana mixture. Mix gently on low speed or by hand until just combined. Be careful not to overmix, as this can lead to tough, dense bars.
- Add Melted Butter Mixture: Gently pour the slightly cooled melted butter and water mixture into your batter. Stir just until it is fully incorporated and the batter is smooth. Again, avoid vigorous mixing.
- Bake to Perfection: Pour the prepared batter evenly into your greased and floured (or parchment-lined) baking pan. Spread it out with a spatula if needed to ensure an even layer. Bake for 18-22 minutes, or until a wooden skewer or toothpick inserted into the center of the bars comes out clean. The top should be golden brown and spring back lightly when touched.
- Cool Completely: This step is crucial! Allow the banana bars to cool completely in the pan on a wire rack before attempting to frost them. Warm bars will melt the cream cheese frosting, creating a messy result. This typically takes at least 1 hour, or longer if your kitchen is warm.
- Prepare the Cream Cheese Frosting: While the bars are cooling, prepare your cream cheese frosting. In a mixing bowl, combine softened cream cheese and unsalted butter. Beat with an electric mixer until smooth and creamy, about 1-2 minutes. Add the vanilla extract, then gradually incorporate the powdered sugar, beating until the frosting is smooth, thick, and fluffy.
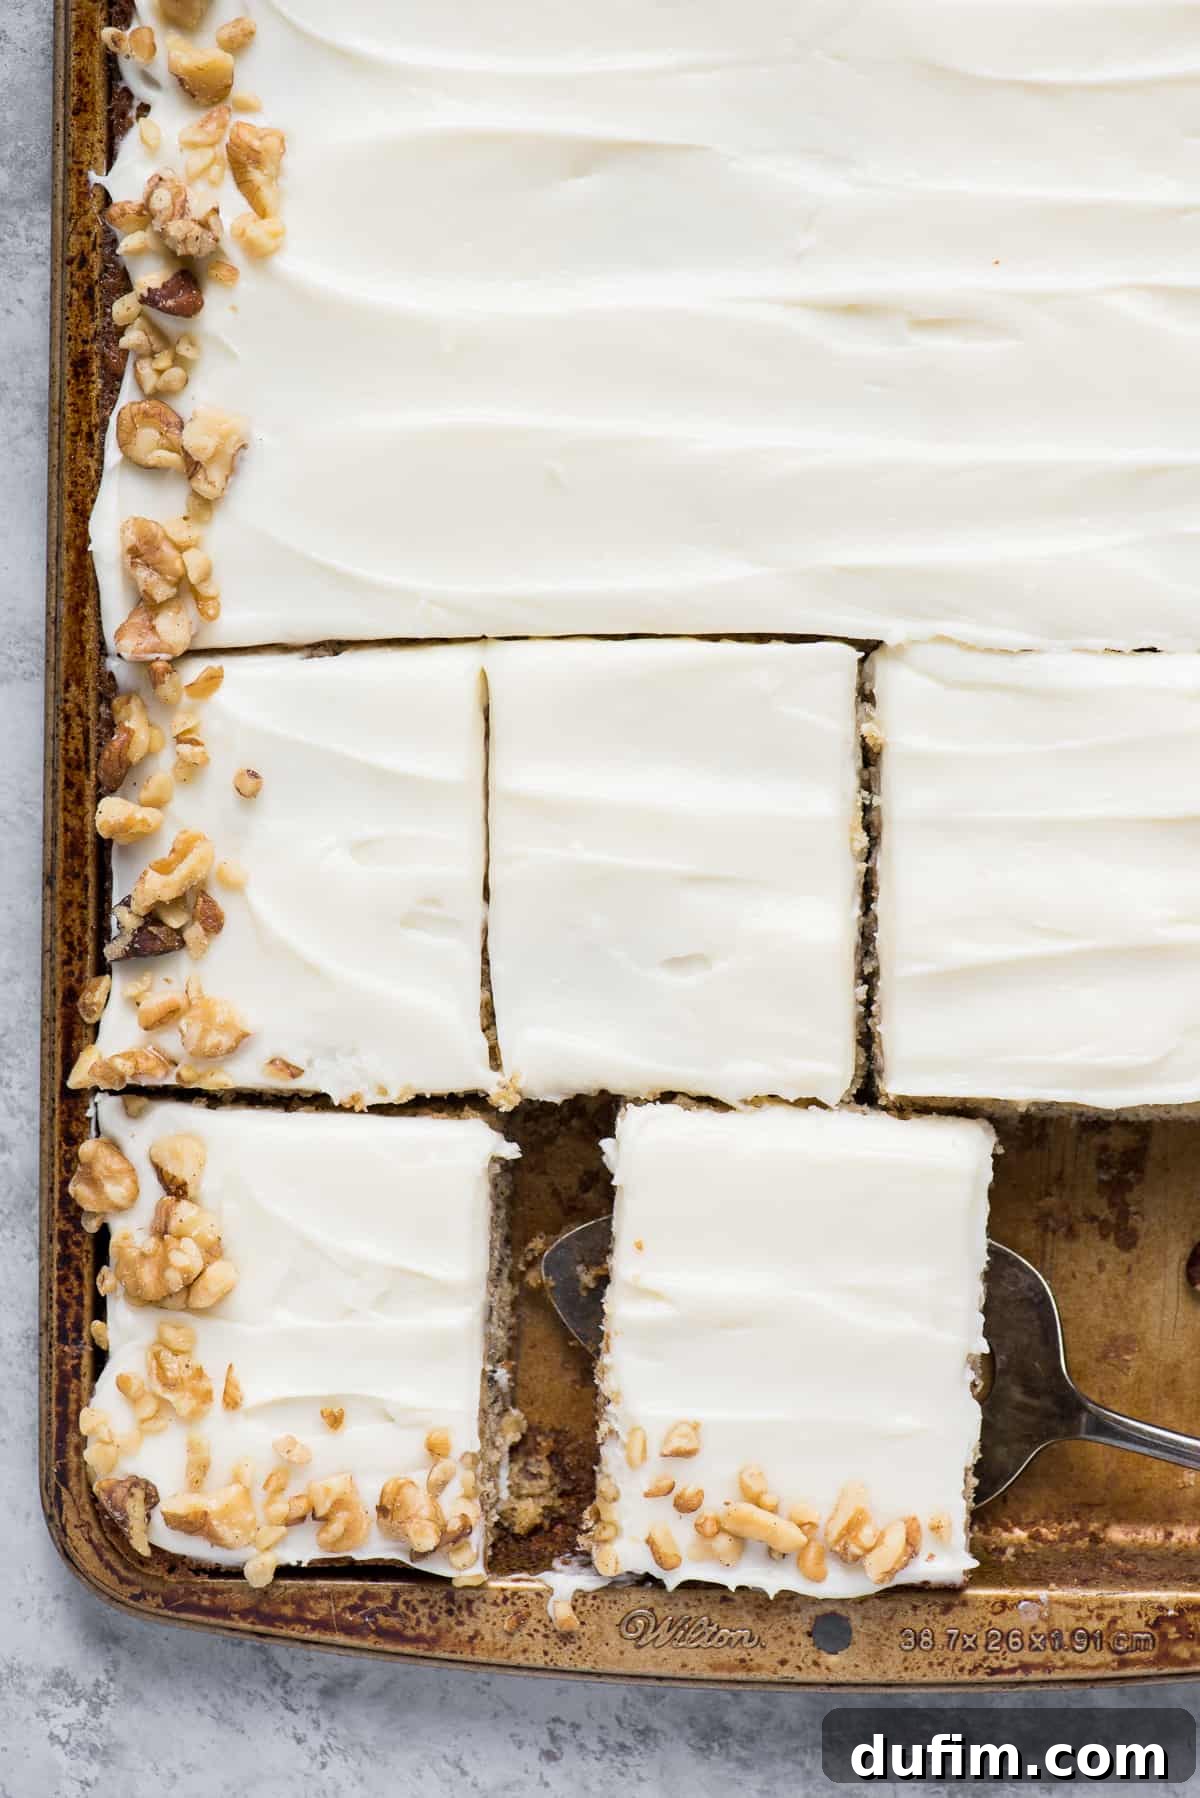
- Frost and Serve: Once the banana bars are completely cooled, spread the luscious cream cheese frosting evenly over the top. If desired, garnish with extra chopped walnuts or a sprinkle of cinnamon. Slice into squares or rectangles and serve!
Time Commitment for Your Delicious Banana Nut Bars
One of the beauties of this recipe is its relatively quick preparation and baking time, allowing you to enjoy a homemade treat without spending all day in the kitchen. Here’s a breakdown of the estimated time:
- Preparation for the Bars: Approximately 10 minutes. This includes mashing bananas, measuring ingredients, and mixing the batter.
- Baking Time: Around 18-22 minutes. Keep an eye on your oven, as baking times can vary slightly.
- Cooling Time: A crucial 1 hour. It’s essential for the bars to be completely cool before frosting.
- Frosting Preparation & Application: Roughly 10 minutes to whip up the cream cheese frosting and spread it evenly over the cooled bars.
In just about 1 hour and 30 minutes (mostly inactive cooling time), you’ll have a pan full of irresistible banana bars!
Expert Tips for Banana Bar Perfection
Achieving the perfect moist and flavorful banana bars is all about paying attention to a few key details. Here are my top tips to ensure your banana bars turn out flawlessly every time:
- Measure Flour Accurately: This is a golden rule in baking! Always measure your all-purpose flour using the “spoon and sweep” method. Gently spoon the flour into your measuring cup until it’s overflowing, then level it off with the back of a knife. Never scoop flour directly from the bag, as this compacts it and can lead to adding too much, resulting in dry, dense bars.
- Avoid Overmixing: Once you add the dry ingredients to the wet, mix them just until they are combined. Overmixing develops the gluten in the flour, leading to a tough and chewy texture rather than the desired moist and tender crumb. A few lumps are perfectly fine!
- Use Ripe Bananas: The riper the bananas, the better the flavor! Look for bananas with plenty of brown spots and even some blackening on the peel. These bananas are naturally sweeter and easier to mash, imparting a much richer banana flavor to your bars.
- Room Temperature Ingredients: For the best emulsion and smoothest batter, ensure your eggs, buttermilk, butter (for frosting), and cream cheese (for frosting) are at room temperature. This helps them combine evenly, preventing lumps and ensuring a consistent texture.
- Don’t Skip the Cream Cheese Frosting: Seriously, this is not just an optional topping; it’s an integral part of what makes these banana bars so amazing! The tangy sweetness of the cream cheese frosting perfectly complements the rich banana flavor, creating a harmonious balance that is truly irresistible.
- Test for Doneness: Always perform the toothpick test. Insert a wooden skewer or toothpick into the center of the bars. If it comes out clean or with a few moist crumbs attached, they are done. If it comes out with wet batter, continue baking for a few more minutes and test again.
The Speedy Secret: How to Ripen Bananas Quickly
Sometimes, you crave banana bars, but your bananas aren’t quite ripe enough. Don’t let that stop you! There’s a fantastic trick to ripen them quickly:
Preheat your oven to 300º F (150º C). Place the unripe bananas (with their peels still on) on a baking sheet. Bake them in the oven for 15-30 minutes. You’ll know they’re ready when their peels turn completely black and the bananas inside feel soft to the touch. The heat accelerates the ripening process, transforming starchy, green bananas into sweet, mashable perfection.
Storing Your Heavenly Banana Bars for Lasting Freshness
Proper storage is key to enjoying your banana bars for as long as possible. The method depends on whether they are frosted or unfrosted:
Unfrosted Banana Bars: If you haven’t yet applied the cream cheese frosting, the unfrosted banana bars can be covered tightly in an airtight container and stored at room temperature on your kitchen counter for up to 3 days. For extended freshness, you can place them in the refrigerator, where they will last for about 5-7 days. You can also freeze unfrosted bars wrapped tightly in plastic wrap and then foil for up to 2-3 months.
Frosted Banana Bars: Due to the dairy content of the cream cheese frosting, frosted banana bars must always be stored in an airtight container in the refrigerator. This will keep them fresh for up to 5-7 days. Interestingly, my husband, and many others, actually prefer them cold, straight from the fridge! You can also freeze frosted bars by placing them on a baking sheet to harden the frosting, then wrapping individual slices in plastic wrap and foil. Store in a freezer-safe container for up to 2-3 months. Thaw in the refrigerator before serving.
Craving More Banana Goodness? Try These Recipes!
If you’ve fallen in love with these banana bars, you’ll surely enjoy exploring more recipes that celebrate the versatility of bananas. Here are some of my other favorite banana-centric treats:
- Healthy Banana Breakfast Cookies: A guilt-free way to start your day with banana flavor.
- Strawberry Banana Muffins: A delightful fruit combination in a fluffy muffin form.
- Easy Banana Chocolate Chip Bread: The classic comfort food with an added touch of chocolate.
- Bakery Style Banana Bread Muffins: Achieve that professional bakery taste right in your home.
Frequently Asked Questions About Banana Bars
A jelly roll pan is essentially a shallow, rectangular baking sheet with a raised edge, typically about 1 inch high. It’s larger than a standard 9×13 inch baking pan, usually measuring around 10.5 x 15.5 inches. This size is ideal for thin cakes, cookies, or bars like our banana bars, ensuring they bake evenly and have a consistent thickness. Our recipe specifically calls for a 10.5 x 15.5-inch pan. If you don’t have this specific size, you can use a 9×13-inch pan, but be aware that your bars will be thicker and will likely require a slightly longer baking time. When using a 9×13-inch pan, start checking for doneness around 25 minutes and adjust baking time as needed, adding 5-10 minutes if necessary.
Absolutely! Chocolate chips, especially semi-sweet or dark chocolate, are a wonderful addition to banana bars. You can also experiment with other mix-ins like shredded coconut, dried cranberries, or a different type of chopped nut like pecans. Generally, about 1/2 to 1 cup of your chosen mix-in is a good amount to fold into the batter along with the dry ingredients.
For the best flavor and sweetness, very ripe (brown-spotted or even black) bananas are highly recommended. They are naturally sweeter and softer, making them easier to mash and providing a more intense banana flavor. If your bananas are only slightly ripe, you can use the quick ripening method in the oven as described above, or consider waiting a day or two for them to ripen naturally on the counter. Using underripe bananas will result in less flavor and a less sweet outcome.
The best way to tell if your banana bars are perfectly baked is by using the toothpick test. Insert a wooden toothpick or a thin skewer into the center of the pan. If it comes out clean, or with just a few moist crumbs attached, the bars are done. If you see wet batter, bake for another 2-3 minutes and test again. The edges should also be lightly golden brown and the center should feel set and spring back when gently touched.
Banana Nut Bars
Beth
10 minutes
22 minutes
1 hour
1 hour
32 minutes
20
servings
Equipment
-
KitchenAid 9-Speed Mixer
-
Favorite Spatula
-
Glass Mixing Bowl
-
10.5 x 15.5-inch Jelly Roll Pan
Ingredients
Banana Bars
- 1 cup (226g) unsalted butter, 2 sticks, cubed
- ½ cup (118ml) water
- 1 ½ cups (297g) granulated sugar
- ½ cup (107g) brown sugar
- 1 cup (227g) mashed banana, about 2 large ripe bananas
- ½ cup (118ml) buttermilk
- 2 large eggs
- 1 tsp vanilla extract
- 2 cups (240g) all-purpose flour
- 1 tsp baking soda
- ½ tsp salt
- ½ cup (57g) chopped walnuts, optional, for the batter
Cream Cheese Frosting
- 8 oz (226g) cream cheese, softened
- ½ cup (113g) unsalted butter, 1 stick, softened
- 1 tsp vanilla extract
- 3 cups (339g) powdered sugar
Instructions
Banana Bars
-
Preheat the oven to 350º F (175º C). Lightly spray a 10.5 x 15.5-inch baking pan with non-stick cooking spray, or line with parchment paper.
-
On medium-high heat over the stove, melt the butter and water together. Once the mixture comes to a boil, remove it immediately from the heat and set aside to cool slightly.1 cup (226g) unsalted butter,
1/2 cup (118ml) water -
In a large mixing bowl, combine the granulated sugar, brown sugar, mashed banana, buttermilk, eggs, and vanilla extract. Beat with an electric mixer until smooth and well-combined, about 1-2 minutes.1 1/2 cups (297g) granulated sugar,
1/2 cup (107g) brown sugar,
1 cup (227g) mashed banana,
1/2 cup (118ml) buttermilk,
2 large eggs,
1 tsp vanilla extract -
In a separate bowl, whisk together the flour, baking soda, salt, and the optional chopped walnuts. Gradually add this dry mixture to the banana mixture, mixing on low speed or by hand until just combined. Be careful not to overmix.2 cups (240g) all-purpose flour,
1 tsp baking soda,
1/2 tsp salt,
1/2 cup (57g) chopped walnuts in the batter -
Gently stir in the slightly cooled melted butter mixture until it is fully incorporated into the batter.
-
Pour the batter evenly onto the prepared baking sheet. Bake for 18-22 minutes, or until a toothpick inserted into the center of the bars comes out clean. Allow the bars to cool completely in the pan on a wire rack before adding the frosting.
Cream Cheese Frosting
-
In a mixing bowl, combine the softened cream cheese and softened unsalted butter. Beat with an electric mixer until smooth and creamy, about 1-2 minutes. Add the vanilla extract, then gradually add the powdered sugar, beating until the frosting is smooth, thick, and fluffy. Spread the frosting generously on top of the completely cooled banana bars. Garnish with extra chopped walnuts if desired. Slice and serve.8 oz (226g) cream cheese,
1/2 cup (113g) unsalted butter,
1 tsp vanilla extract,
3 cups (339g) powdered sugar
Video
For a visual guide on making these delicious banana bars, search for “Banana Bars with Cream Cheese Frosting Recipe” on popular video platforms.
Notes
How to Store Banana Bars
- Unfrosted banana bars can be covered in an airtight container and stored at room temperature on the counter for up to 3 days. For longer storage, place in the fridge.
- If they are frosted with cream cheese frosting, store them in an airtight container in the refrigerator for up to 5-7 days.
Nutrition
Calories:
377kcal
|
Carbohydrates:
51g
|
Protein:
3g
|
Fat:
18g
|
Saturated Fat:
11g
|
Polyunsaturated Fat:
1g
|
Monounsaturated Fat:
5g
|
Trans Fat:
1g
|
Cholesterol:
68mg
|
Sodium:
167mg
|
Potassium:
97mg
|
Fiber:
1g
|
Sugar:
40g
|
Vitamin A:
620IU
|
Vitamin C:
1mg
|
Calcium:
32mg
|
Iron:
1mg
Nutrition Disclosure
All nutritional values are approximate and provided to the reader as a courtesy. Changing ingredients and/or quantities will alter the estimated nutritional calculations.