
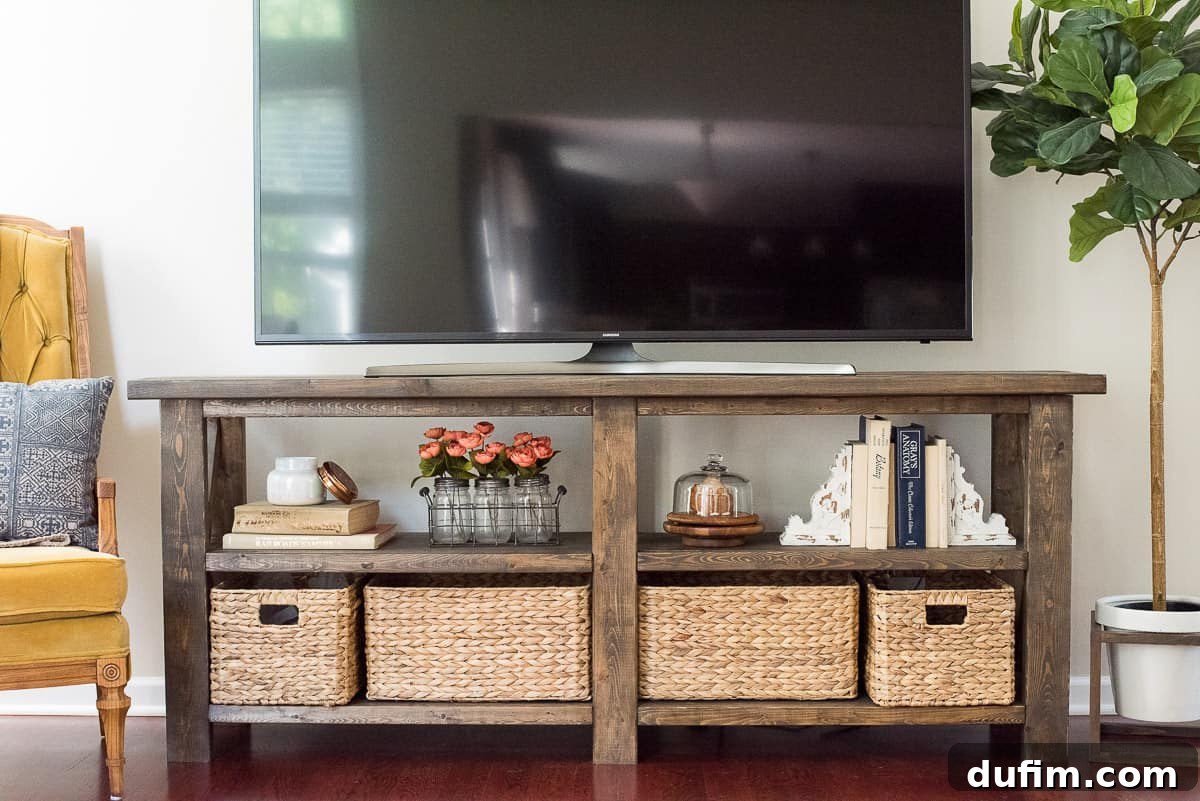
How to Make a Rustic Farmhouse Console Table: A DIY Journey with Ana White Plans
I’m absolutely thrilled to finally share this incredible DIY project with all of you! Get ready for a post that’s packed with inspiration and visual guidance, featuring numerous step-by-step photos designed to empower you to tackle this rewarding console table build yourself. And guess what? I even embraced my inner vlogger and created a detailed video walkthrough!
If you’ve been following my journey on Instagram, you’ll know that a significant theme for me lately has been stepping outside my comfort zone and embracing new challenges. My personal motto for the year has been about conquering fear and intentionally pushing past those barriers that often hold us back from trying something new and exciting. This rustic farmhouse console table project became a perfect embodiment of that spirit.
This comprehensive guide will detail the entire process of how I built my very own farmhouse TV table. While it’s not a standalone, full-blown tutorial in the traditional sense, consider it an invaluable companion piece to the original building plans. It offers additional insights, tips, and visual aids that will undoubtedly enhance your building experience. For the complete structural blueprints, I highly recommend referring to the original plans: Ana White’s Rustic X Console Table Building Plan.
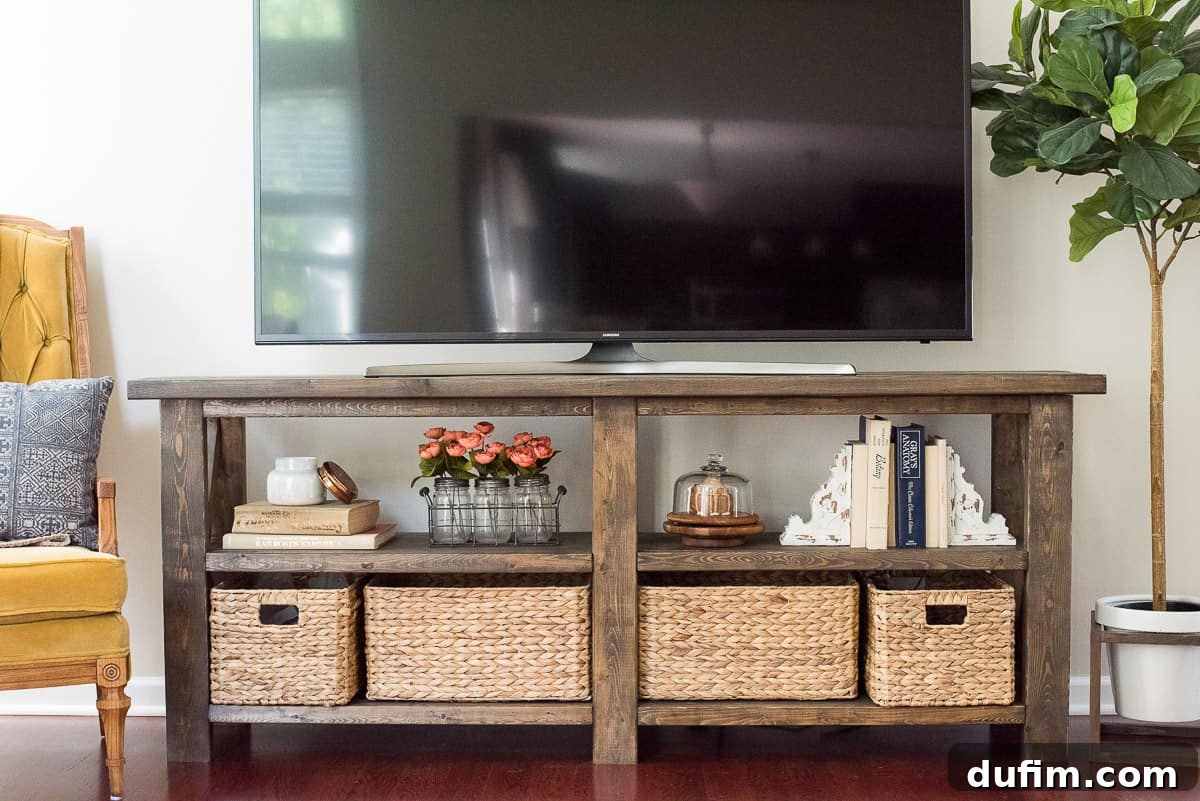
Why a DIY Farmhouse Console Table?
My decision to build this specific rustic farmhouse console table was driven by a couple of key factors. Firstly, I absolutely adore farmhouse design; its timeless charm and rustic appeal perfectly complement our home decor aesthetic. Secondly, we were in dire need of a new TV stand that could comfortably accommodate our increasingly larger television. Instead of settling for a store-bought piece that might not perfectly match our vision or budget, I embarked on a mission to find a building plan online that resonated with my style, and I was determined to prove to myself that I could bring it to life.
My Journey into Woodworking
Am I passionate about woodworking? Absolutely! My very first significant wood project was building our shiplap fireplace wall, an endeavor I extensively documented through Instagram stories. The profound satisfaction of learning to wield a miter saw and a nail gun, then witnessing that wall transform our living space, ignited a deep desire to create more. I’m constantly inspired by the incredible pieces people craft from humble 2x4s – an incredibly affordable and versatile material. The ability to design and build a custom piece of furniture, rather than spending countless hours searching through stores, all while saving money, is an empowering feeling that truly fuels my DIY spirit.
A Collaborative Craft: My Husband’s Role
My husband, Ryan, and I actually ventured into woodworking around the same time. While we both appreciate the craft, our building interests tend to diverge slightly. Ryan gravitates more towards fine craftsmanship and meticulous details, striving for absolute perfection in every joint and finish. My approach, on the other hand, leans more towards functionality and achieving a “cute” aesthetic, with a little more leniency for minor imperfections. This difference in approach often leads to interesting collaborations, where his precision complements my drive for practical, beautiful results.
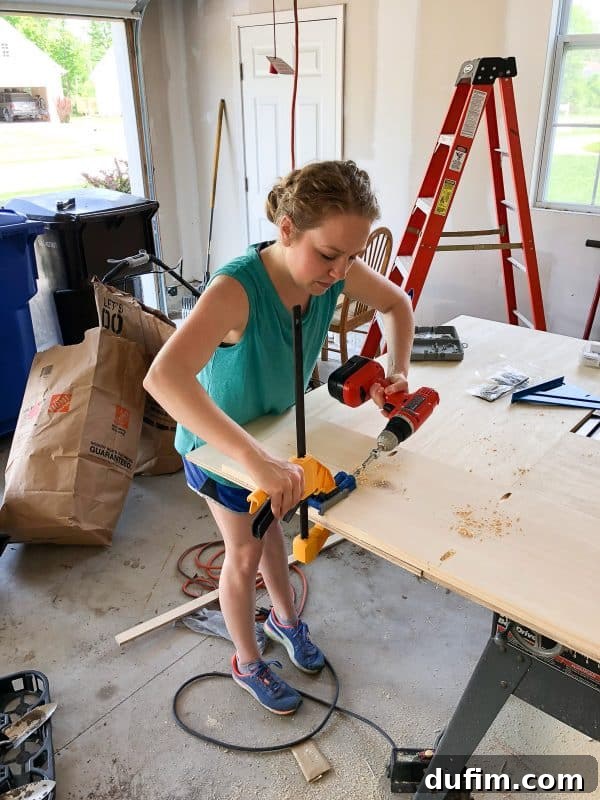
Was Building This Console Table Difficult?
Reflecting on the entire project, I can confidently say that it wasn’t overly difficult. However, I’ll be honest: before I even began, there were moments of confusion. The Ana White building plan, while excellent, wasn’t always 100% crystal clear to a novice like me, especially when it came to interpreting certain diagrams. Ryan’s help in deciphering some of the more intricate steps was invaluable during the initial phase. But a remarkable shift occurred once the table started taking shape; the process became much more intuitive, and I gained a clearer understanding of each subsequent action. This experience truly highlighted the learning curve inherent in any new skill and the satisfaction of overcoming initial hurdles.
Essential Tools for Your Farmhouse Console Table
To embark on this woodworking adventure, you’ll need a selection of tools. Here’s what I utilized:
- Miter Saw: Crucial for making precise crosscuts and angle cuts, especially for the X-braces.
- Table Saw: Used for ripping lumber lengthwise, like turning 2x4s into 2x2s (more on this below). While incredibly useful, it’s not strictly mandatory if you can source appropriate lumber.
- Power Sander: Essential for smoothing out rough edges and preparing the wood for staining.
- Pocket Hole Kreg Jig: A game-changer for creating strong, concealed joints. If you’re serious about DIY furniture, this is an excellent investment.
- Drill: For pre-drilling holes and driving screws.
- Speed Square: Indispensable for marking straight lines and checking angles.
- Clamps: You can never have enough clamps! They are vital for holding pieces together while glue dries or screws are driven.
- Screws: Specifically Kreg screws for pocket holes, and general wood screws for other attachments.
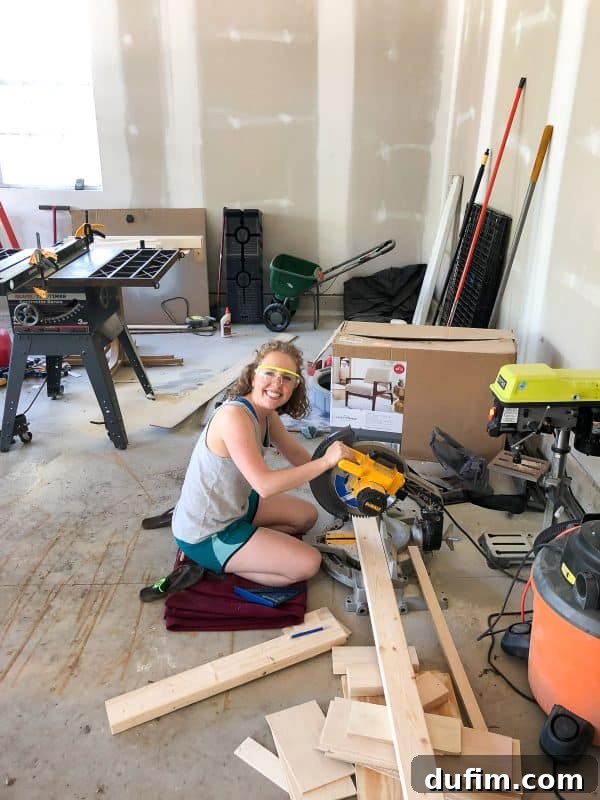
I know that list might seem extensive, especially for a beginner, but many of these tools can be acquired affordably or even borrowed. For instance, we scored a heavy-duty table saw at a garage sale for an unbelievable $60 last fall! I also found a used 12-inch miter saw at a great price. These two are often the biggest expenses, but they’re incredibly versatile and handy to have in a home workshop. If purchasing isn’t an option right away, consider asking friends or family if you can borrow their tools – that’s how I managed before getting my own miter saw!
Table Saw Tip: Making Your Own 2x2s
A quick note on the table saw: it wasn’t strictly *necessary* for this project, but it provided a significant advantage. We used it to cut 2x4s lengthwise (affectionately known as “hot dog style” in our workshop!) to create our own 2x2s. While you can certainly buy 2×2 lumber from a hardware store, I often find them warped or curved, which can complicate a build. Cutting your own from straight 2x4s ensures higher quality and often better structural integrity. It was Ryan who primarily handled the table saw for this, as I’m still building my confidence with it, but he’s patiently teaching me the ropes.
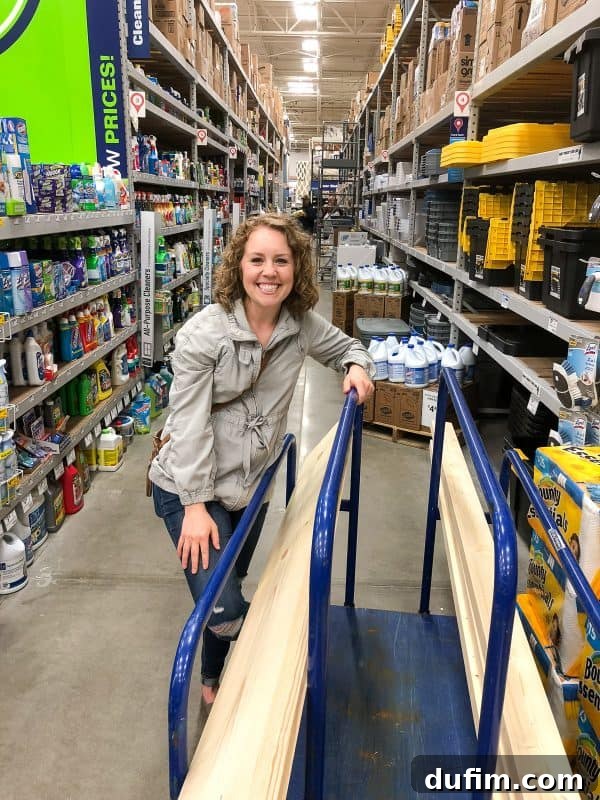
How Much Help Did I Really Need?
Looking back, I truly feel I completed about 70% of the work on this console table by myself. While initially a little intimidating, even tasks like heading to the lumber store alone to pick out the wood became a confidence-boosting experience I can now easily manage independently. It’s amazing how quickly you learn to identify good, straight lumber!
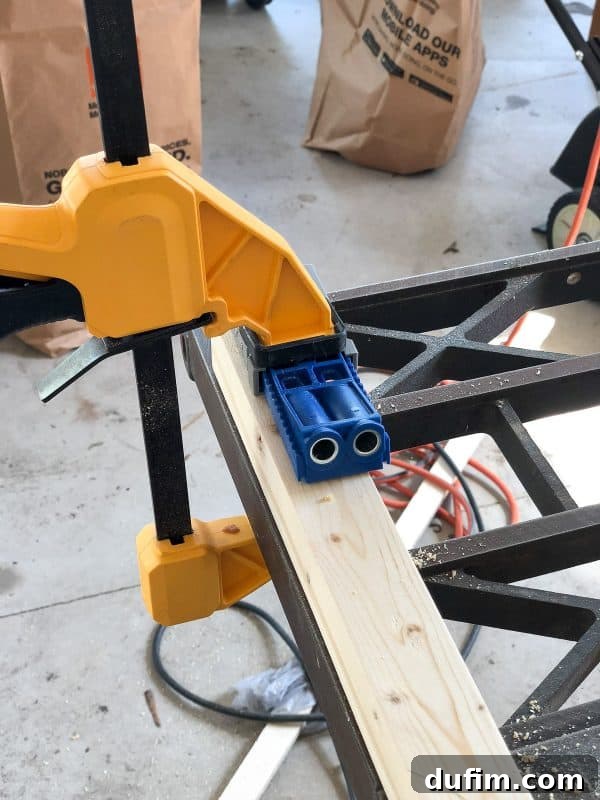
Ryan did lend a hand with the sanding – not because I absolutely *needed* his help, but because he genuinely wanted to contribute, and for that, I’m incredibly grateful. He also taught me the ins and outs of using the Kreg pocket hole jig, a tool that might seem daunting at first but is surprisingly straightforward once you get the hang of it. After his initial guidance, I was able to master it and handle all the pocket hole drilling myself.
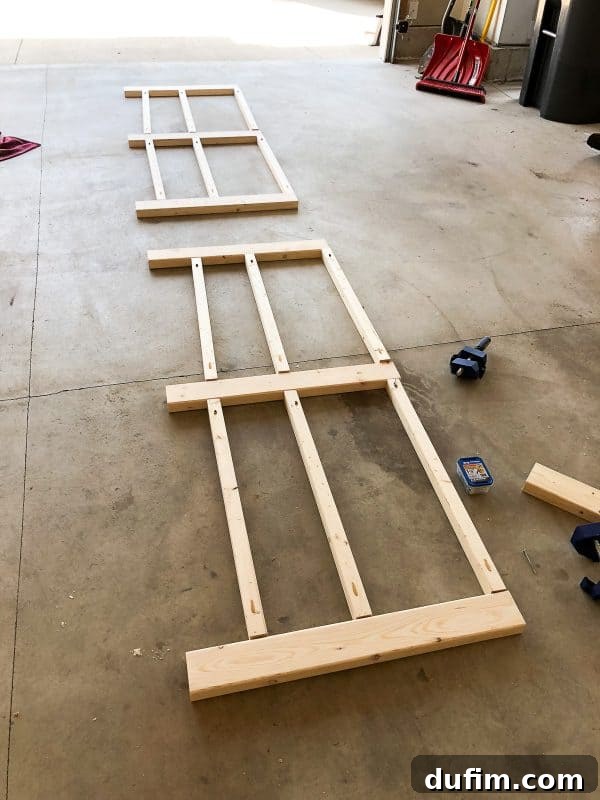
A huge personal triumph was building both the front and back frames of the console table entirely on my own! This was a significant moment of self-reliance and proved to me just how much I had learned.
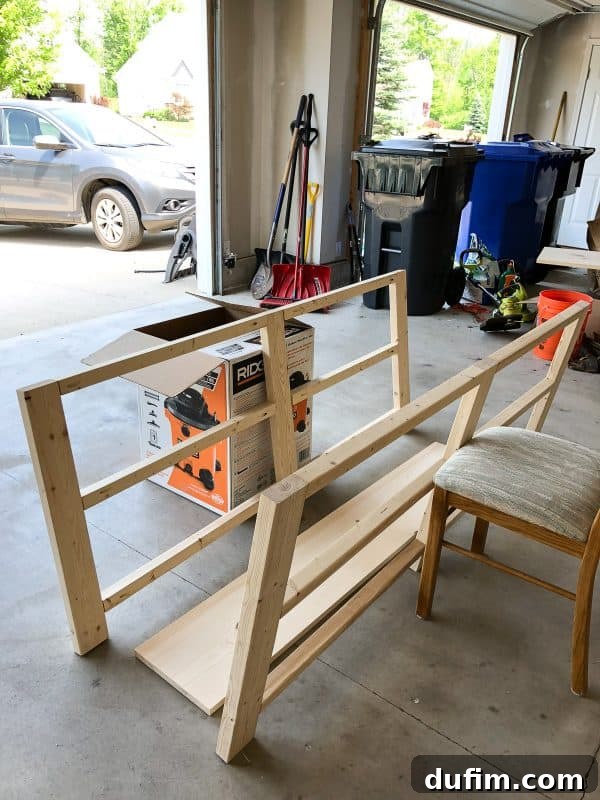
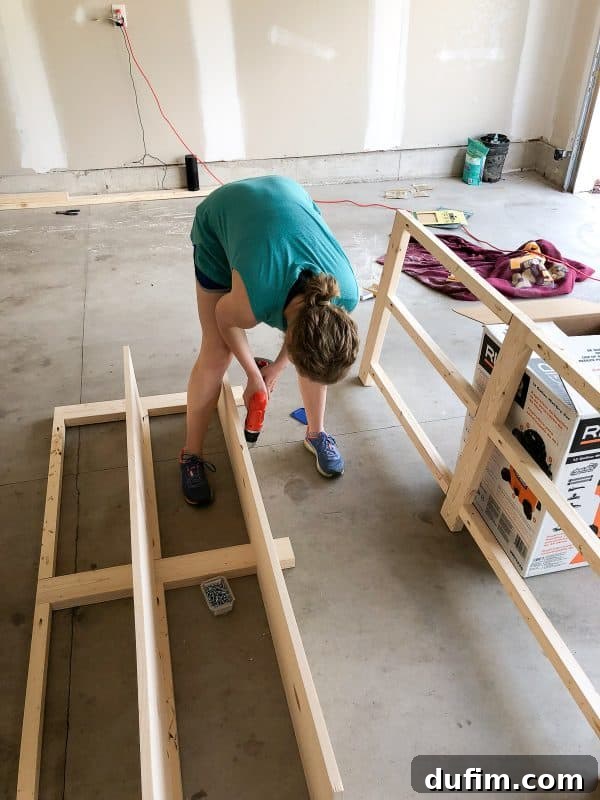
When it came to attaching the frames together, I did enlist Ryan’s help. This was primarily for the extra set of hands needed to hold the frames upright and steady while I made the crucial connections, ensuring everything was square and aligned. It’s often the simple tasks that benefit most from an extra person.
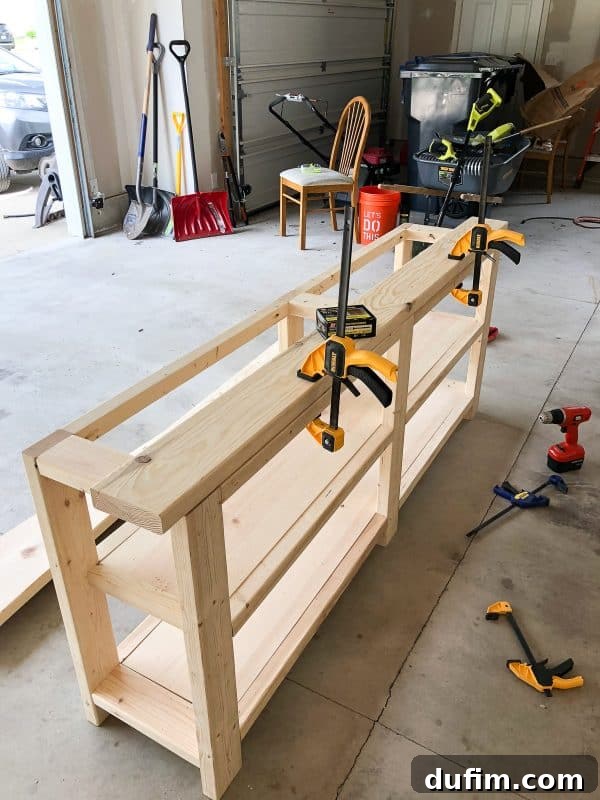
Next, Ryan assisted me in lining up the three top boards, making sure they were perfectly even and flush on both sides before I secured them permanently with screws. Precision at this stage is key for a professional-looking finish.
The Signature “X” Feature and Finishing Touches
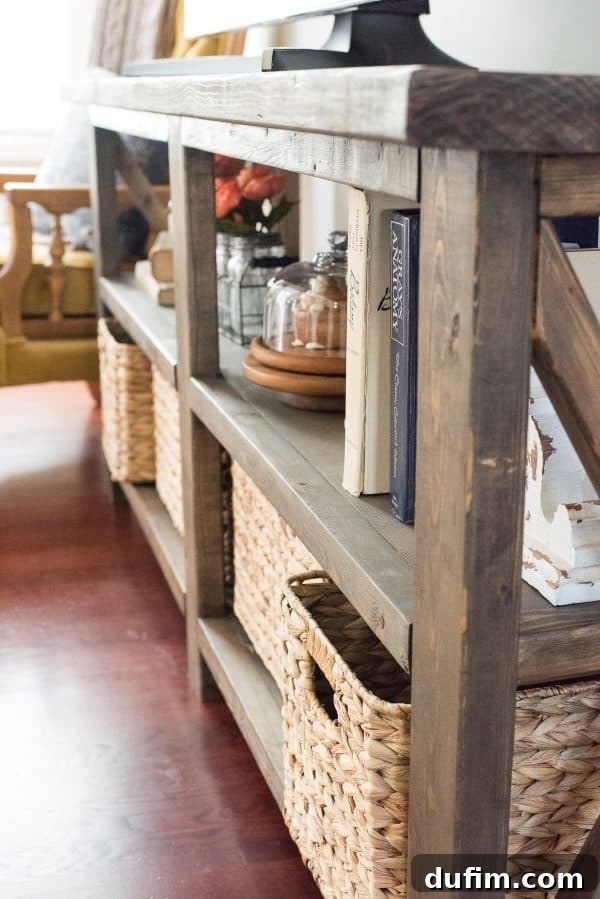
With the main structure complete, the table was structurally sound, but still missing its characteristic charm. One of the primary reasons I chose this particular plan was for the elegant “X” bracing on the sides of the table – a hallmark of farmhouse style. Crafting these X’s required a bit more finesse, and Ryan’s expertise was invaluable in ensuring the angles were cut precisely. It was a fun challenge figuring out the best way to clamp these pieces securely in place while the wood glue cured, demanding a bit of creative problem-solving and strategic use of various clamps.
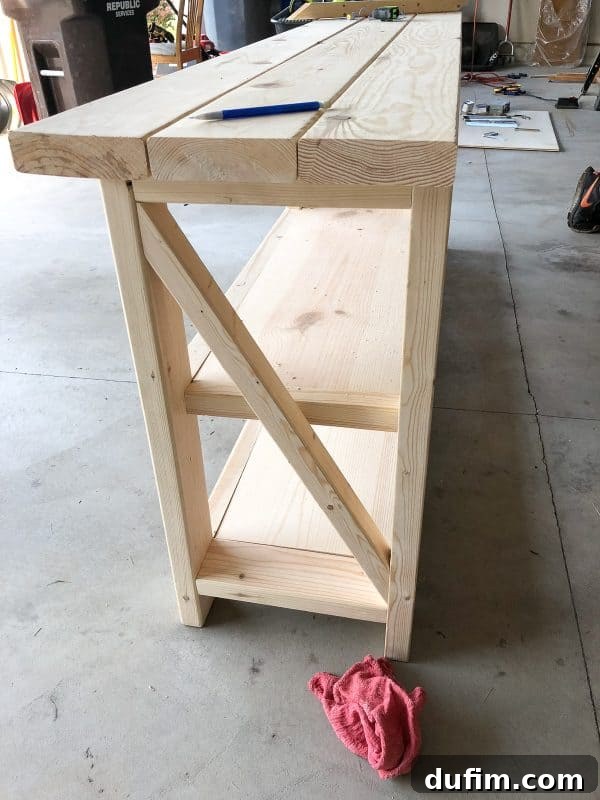
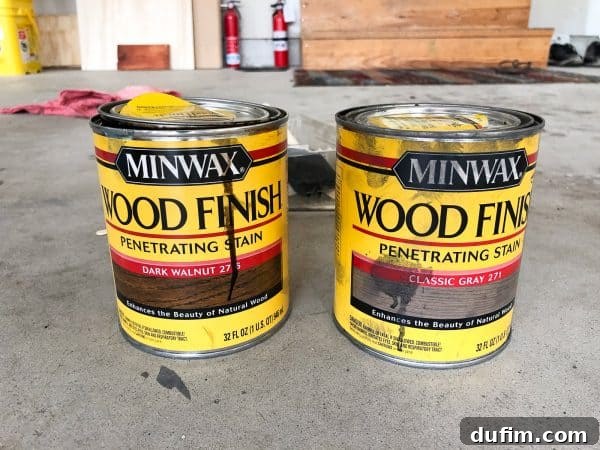
Once all the structural and decorative elements were in place, it was time for the staining – a step I eagerly took on myself! I opted for a classic two-tone finish: one coat of classic gray stain to create a subtle base, followed by a richer coat of dark walnut. This combination beautifully enhanced the wood grain and delivered that authentic rustic farmhouse look I was striving for. The staining process is where the true character of the wood comes alive, and it’s incredibly satisfying to see your hard work transform with each brushstroke.
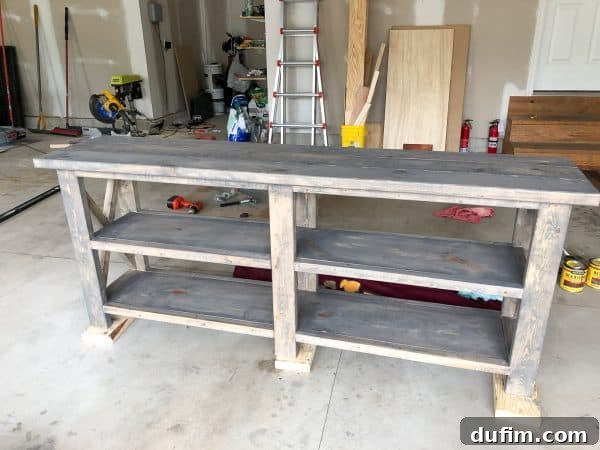
And with that, the hands-on building phase of our rustic farmhouse console table was complete!
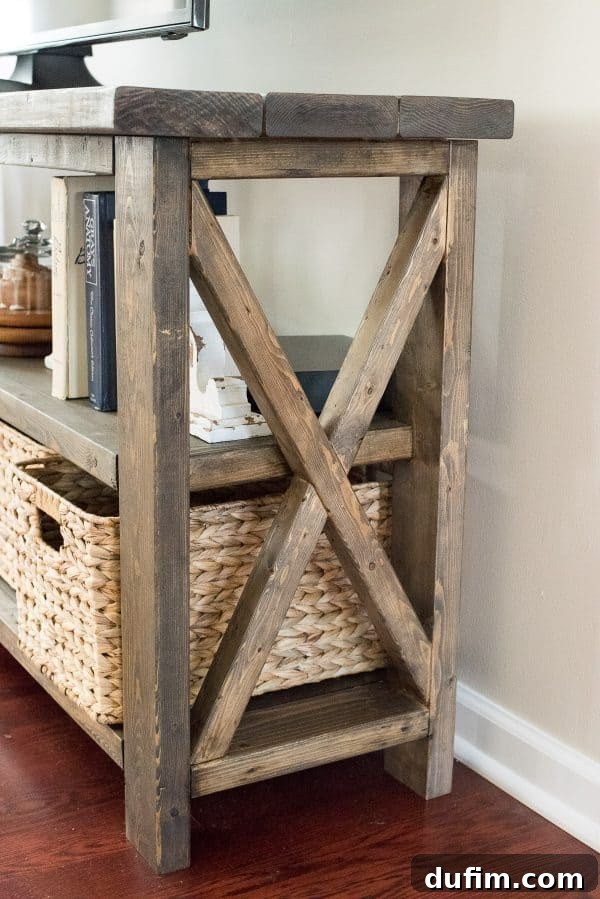
Reflections and Future Projects
Having completed this console table, I genuinely believe that my next woodworking project will require significantly less assistance. The learning curve was steep but incredibly rewarding; I now possess a much deeper understanding of various tools and the process of interpreting and executing building plans. While certain steps will always benefit from an extra pair of hands, my confidence and self-sufficiency in the workshop have grown exponentially.
Would I Do This Project Again?
Without a shadow of a doubt, yes! I am absolutely enamored with how this rustic farmhouse console table turned out. It perfectly complements our home decor style and serves its purpose beautifully as a TV stand. More than just a piece of furniture, this table holds immense sentimental value because I crafted it with my own hands. I have a feeling it will be a cherished part of our home for many years to come.
How Much Did This Project Cost?
One of the most appealing aspects of DIY furniture is the significant cost savings. The total expenditure for this entire project came to a surprisingly affordable $89.22!
This cost covered all the necessary lumber, wood glue, various screws (including specialized Kreg screws), the Kreg Jig system itself (a one-time investment that pays dividends), and a longer driver bit for the drill. I already had the stain on hand from a previous project, as well as all the primary power tools, which further reduced the overall expense. Imagine getting a custom, solid wood console table for under $100!
What’s Next on the DIY Horizon?
Oh, the ideas are flowing! My mind is brimming with exciting new building projects. On my list are plans for adding functional and stylish shelves to our bathroom and crafting a charming small hallway table. The possibilities truly feel endless once you discover the joy and capability of building things yourself.
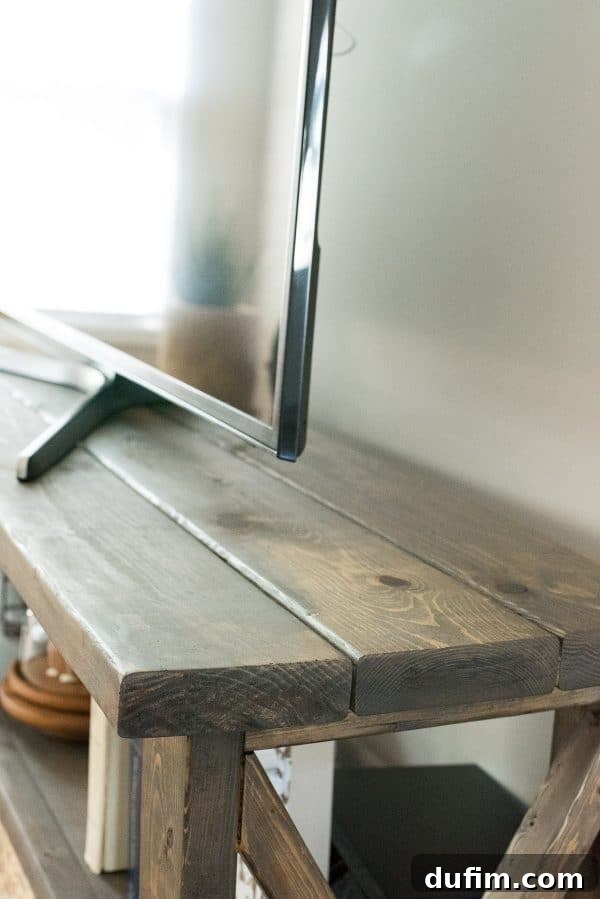
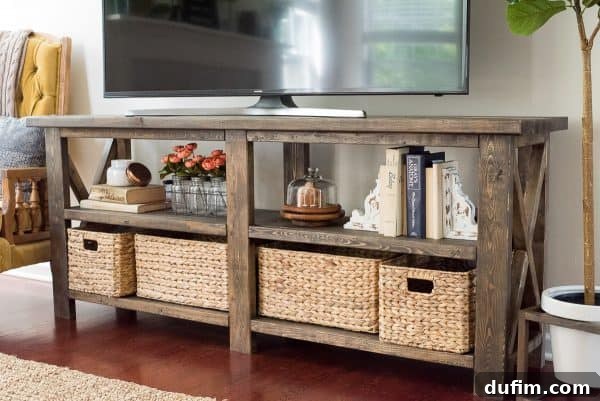
Are you feeling inspired to create your own bespoke furniture? Take the leap and start building your very own rustic farmhouse console table today! You’ll find the comprehensive online plan I utilized from Ana White right here. Happy building!