
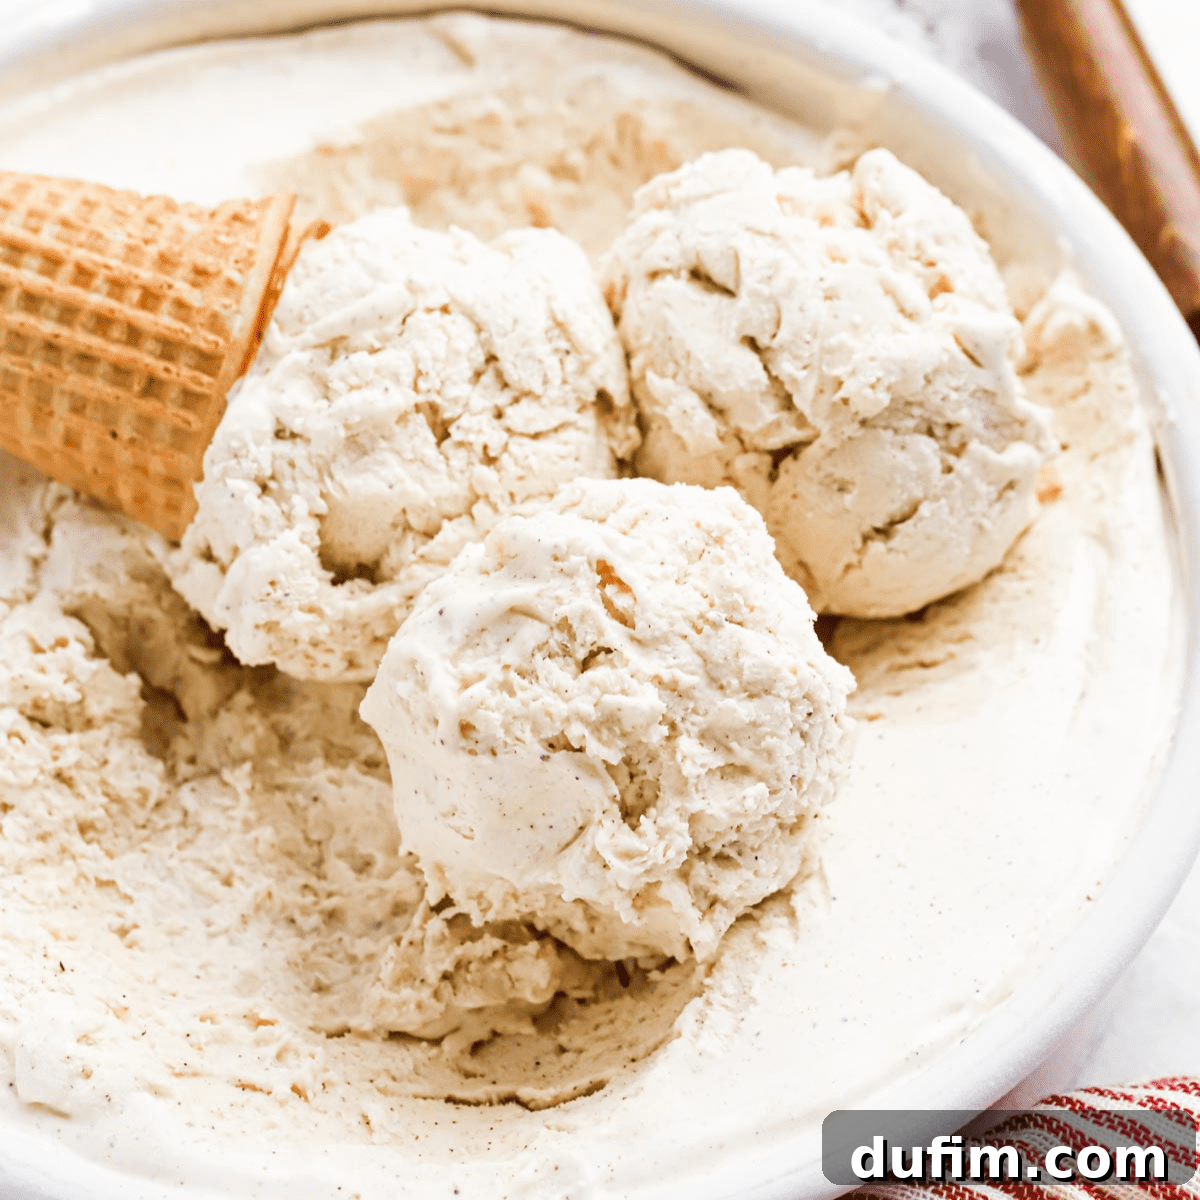
Transform your holiday dessert table with a show-stopping treat that’s both effortless and utterly delicious: no-churn eggnog ice cream! This rich, creamy, and perfectly spiced festive dessert requires only 6 simple ingredients and a mere 10 minutes of active prep time. Forget complicated machinery or lengthy processes; this recipe delivers homemade ice cream bliss with minimal fuss, making it an ideal choice for enchanting your guests this holiday season.
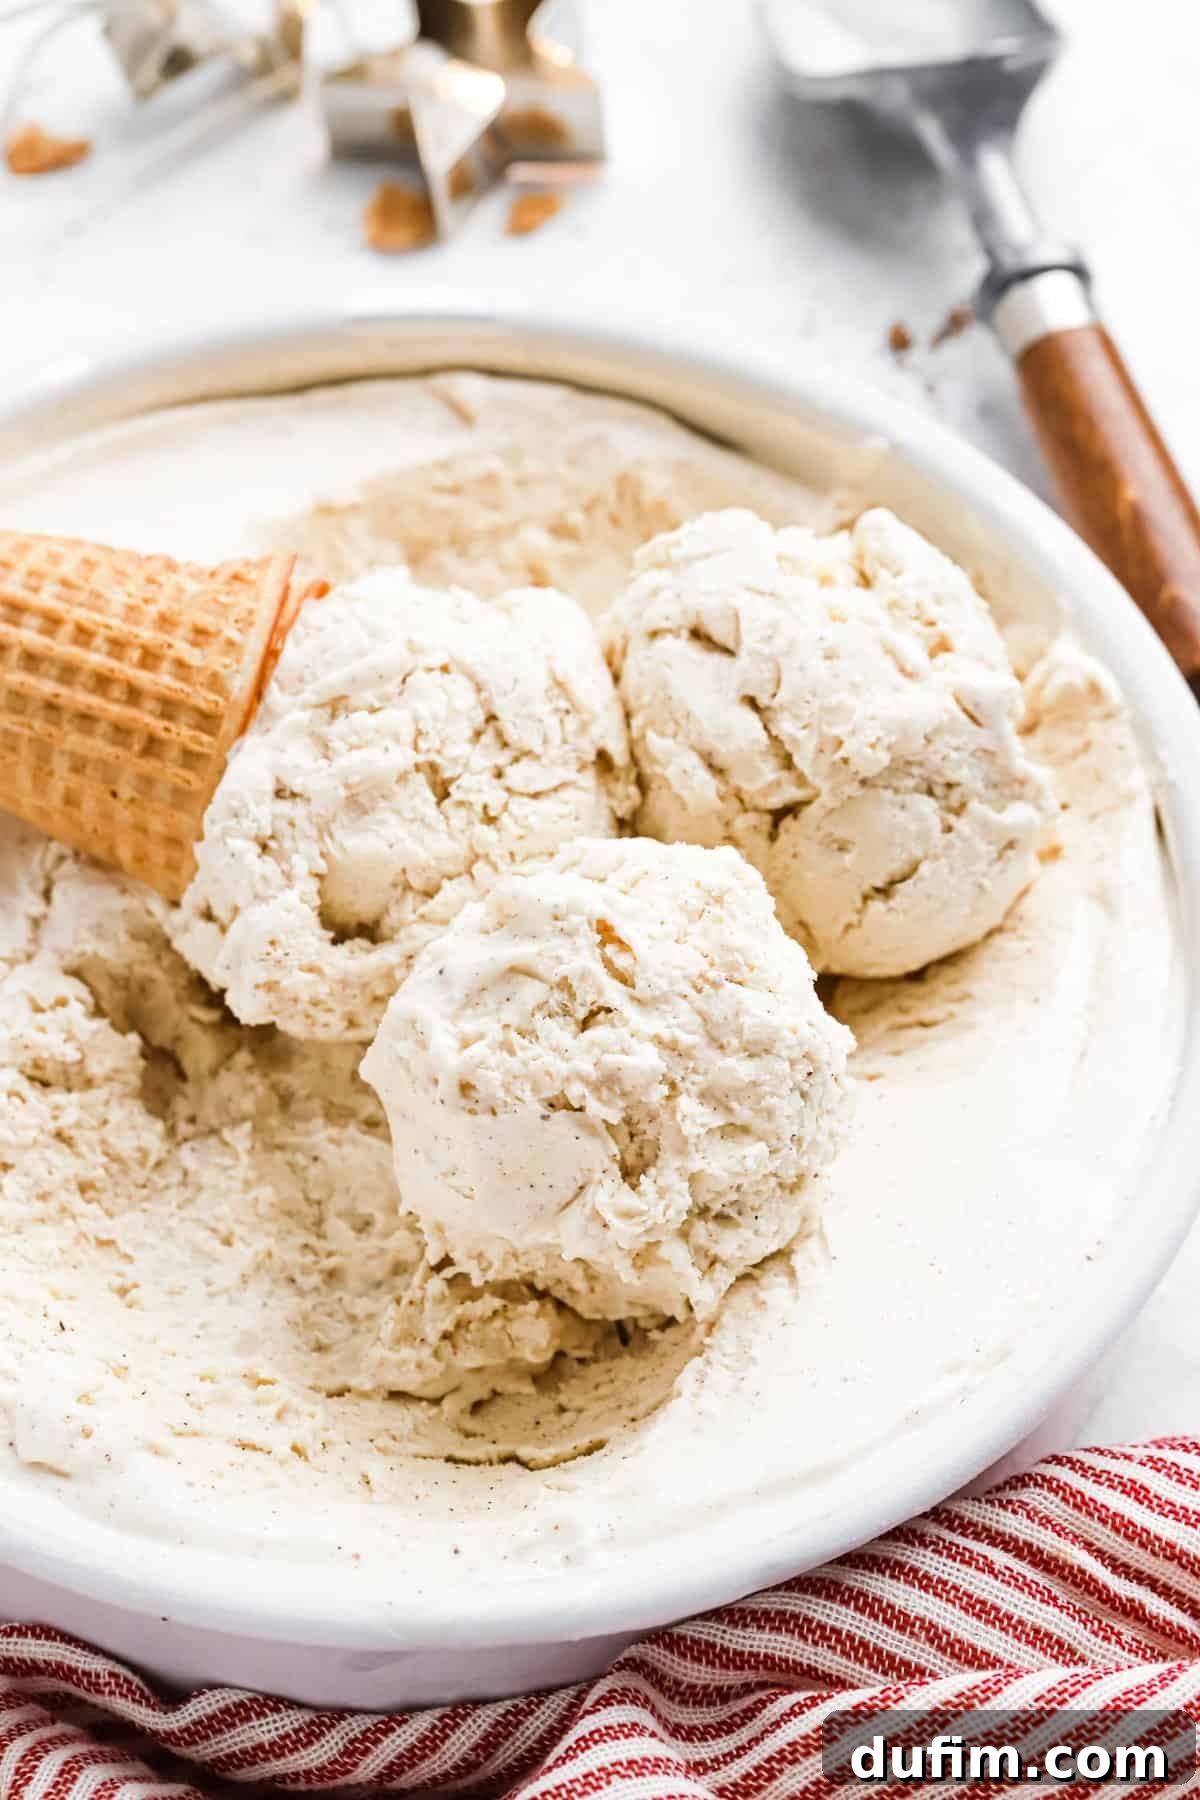
Indulge in the Ultimate Holiday Treat: Easy No-Churn Eggnog Ice Cream
The holiday season simply wouldn’t be complete without the warm, inviting flavors of eggnog. For many, eggnog isn’t just a drink; it’s the very essence of winter comfort, much like pumpkin spice captures the spirit of autumn. As the days grow shorter and the festive lights twinkle, there’s a unique joy in embracing seasonal ingredients, and eggnog stands out as a true star.
Building on the beloved flavors of my eggnog pie, this latest creation takes that rich, perfectly spiced profile and transforms it into an incredibly decadent frozen dessert. Given that eggnog is only available for a few precious months each year, it’s a delightful opportunity to infuse its distinctive taste into every possible holiday treat.
This homemade eggnog ice cream is undoubtedly one of my favorite eggnog recipes to date. It’s a no-churn marvel, meaning you don’t need an ice cream maker, raw eggs, or any complex custard bases. Crafted with just 6 readily available ingredients, it achieves a sublime richness and creaminess. Each scoop is beautifully laced with just the right amount of classic eggnog spices – cinnamon and nutmeg – creating a truly irresistible holiday dessert.
The generous amount of real eggnog in the base ensures an authentic, deep flavor that eggnog enthusiasts will adore. It’s a guaranteed crowd-pleaser that we’ll be enjoying on repeat throughout the entire holiday season. This recipe proves that homemade ice cream doesn’t have to be complicated to be utterly spectacular. You’re just a few simple steps away from this luxurious, festive dessert!
The Magic of No-Churn: Effortless Homemade Goodness
One of the greatest advantages of this eggnog ice cream recipe is its “no-churn” nature. This means you don’t need any specialized equipment like an ice cream machine or ice cream maker to achieve a perfectly creamy texture. The magic happens through the combination of heavy whipping cream and sweetened condensed milk, which when whipped together and frozen, create a remarkably smooth and decadent base.
This method eliminates the need for tempering egg yolks, simmering custard bases, or constantly monitoring a churner. It significantly simplifies the process, making homemade ice cream accessible to everyone, regardless of their kitchen setup or culinary expertise. The no-churn technique is particularly well-suited for busy holiday seasons, allowing you to whip up a gourmet-quality dessert in minutes, freeing up valuable time for other festivities.
Whether you’re looking to use up leftover eggnog or simply craving a festive treat, this recipe is incredibly forgiving and yields consistently delicious results. It’s the perfect solution for satisfying those sweet cravings without the fuss, and the rich, authentic eggnog flavor is guaranteed to impress both eggnog aficionados and those new to its charm.
Essential Eggnog Ice Cream Ingredients
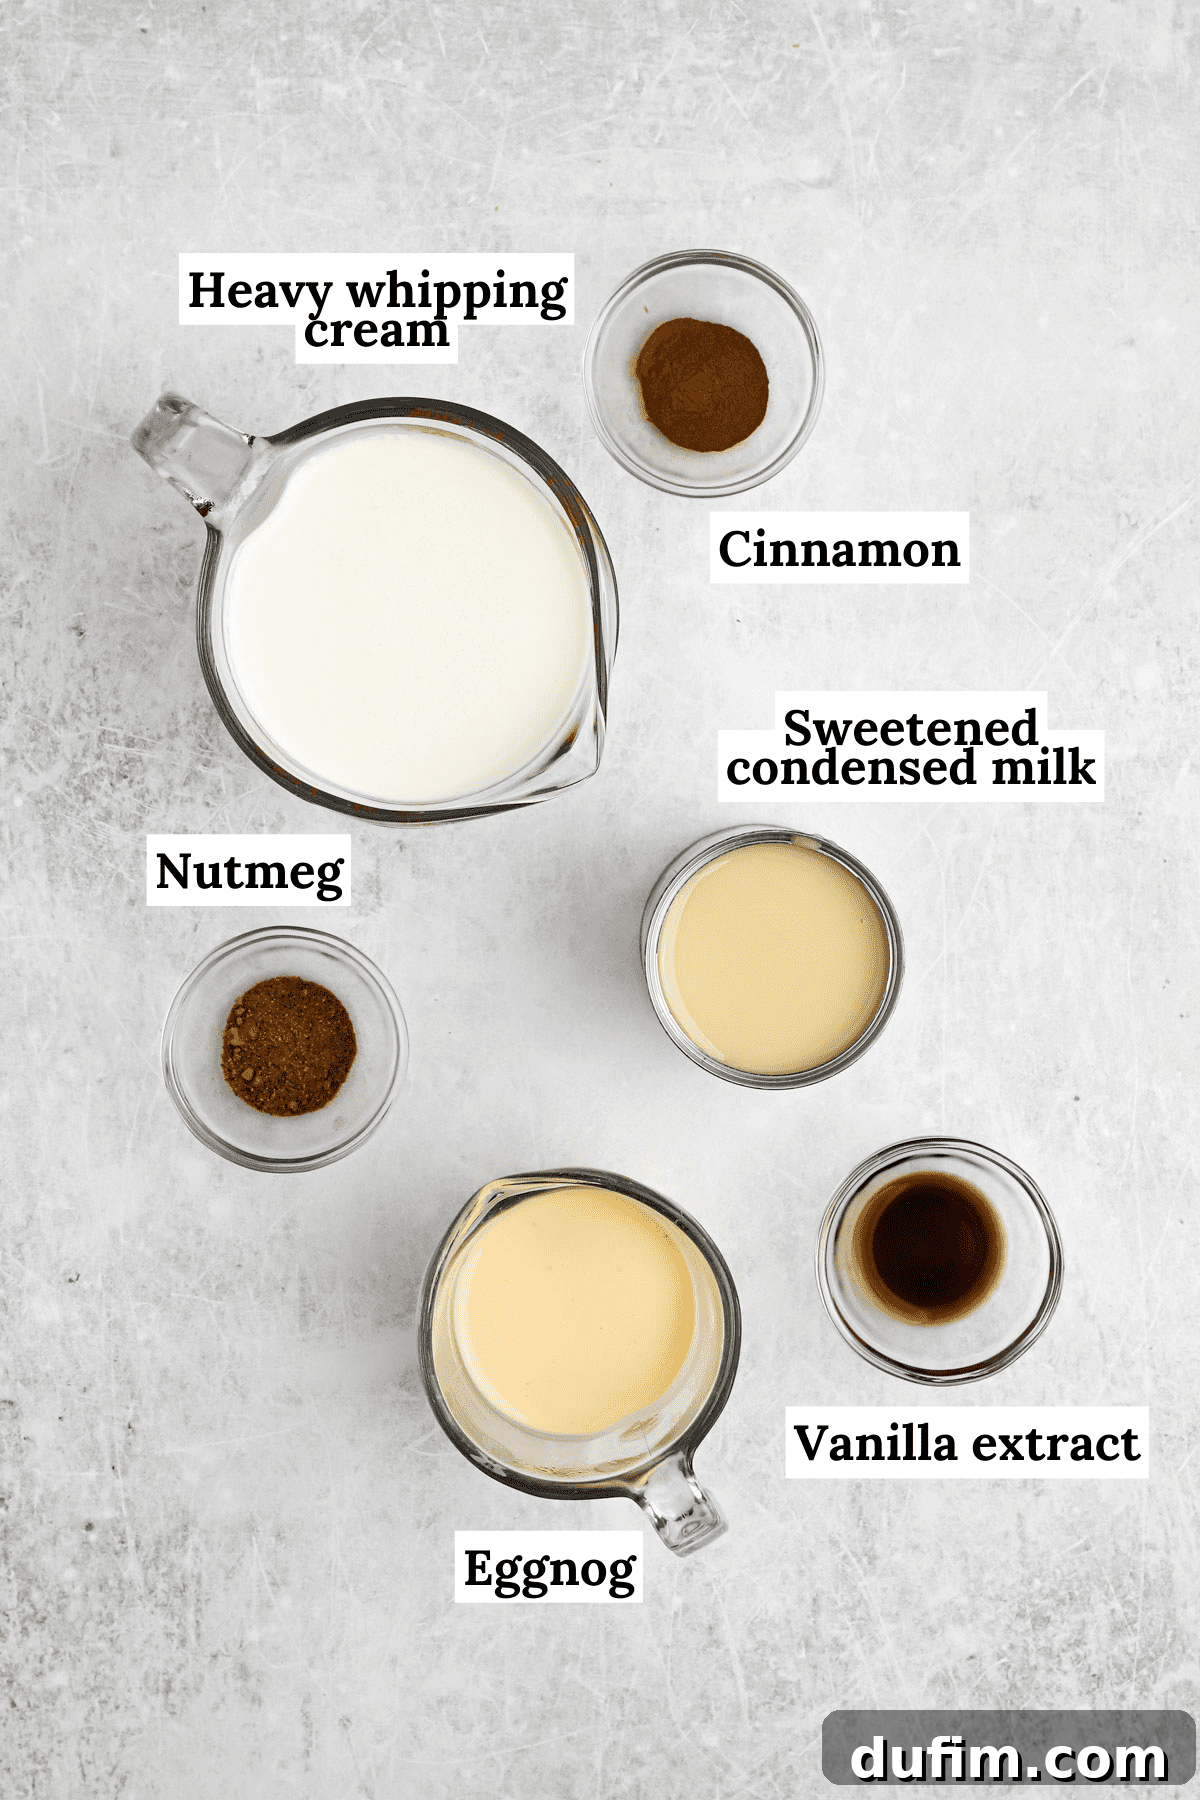
Achieving this unbelievably rich and creamy homemade ice cream requires just 6 key ingredients. Each component plays a crucial role in creating the perfect texture and flavor profile. Below, we delve into why each ingredient is essential. For precise measurements, please refer to the recipe box at the end of this post.
- Heavy Whipping Cream: This is the cornerstone of any no-churn ice cream. When beaten, heavy cream incorporates air, creating a light, fluffy base that freezes into a wonderfully smooth, scoopable ice cream texture. Its high fat content is vital for preventing ice crystals and ensuring that rich mouthfeel. There are no direct substitutions for heavy whipping cream in this recipe; half-and-half or whole milk will not achieve the necessary consistency.
- Eggnog: The star flavor! You can use either high-quality store-bought eggnog or your favorite homemade recipe. Just ½ cup is needed to infuse the entire batch with that unmistakable holiday spirit. Ensure you choose a full-fat variety for the best results, as lower-fat options can lead to a less creamy and more icy texture.
- Nutmeg & Cinnamon: These classic spices are fundamental to eggnog’s traditional flavor. They add warmth, depth, and that distinct holiday aroma that makes this ice cream so inviting. Freshly grated nutmeg offers an unparalleled aromatic kick, but pre-ground spices work beautifully too.
- Vanilla Extract: A touch of pure vanilla extract enhances the overall sweetness and complexity of the eggnog and spices, rounding out the flavors perfectly. Opt for a good quality extract for the best taste.
- Sweetened Condensed Milk: This magical ingredient serves multiple purposes. It acts as the primary sweetener, eliminating the need for granulated sugar, and it also contributes significantly to the ice cream’s creamy texture. Its thick consistency and high sugar content help to keep the ice cream soft and pliable even when frozen, making it easy to scoop. It is crucial not to confuse this with evaporated milk, as they are very different products and not interchangeable in this recipe.
A Note on Eggnog Selection: For the ultimate creamy and delicious eggnog ice cream, I strongly advise against using low-fat or lactose-free (lactaid) eggnog options. These variations tend to have a thinner consistency which will result in an icy, rather than creamy, ice cream. If you’re using homemade eggnog, ensure it’s made with a full-fat base and high-quality ingredients to guarantee the best possible outcome.
Minimal Equipment for Maximum Flavor
One of the many joys of making no-churn eggnog ice cream is that you don’t need a pantry full of specialized kitchen gadgets. This recipe is designed to be accessible and straightforward, relying on just a few basic tools you likely already own. Forget about bulky ice cream makers or complex machinery – simplicity is key here!
- Large Mixing Bowl: A spacious bowl is essential for whipping the heavy cream. Make sure it’s deep enough to prevent splatters as the cream expands.
- Electric Mixer (Stand or Handheld): This is your most important tool for achieving stiff peaks with the heavy cream. A stand mixer with a whisk attachment makes the job effortless, but a handheld electric mixer works just as well.
- Spatula: A flexible spatula will be handy for scraping down the sides of the bowl and gently folding ingredients together.
- Loaf Pan or Freezer-Safe Container: An 8 or 9-inch loaf pan is ideal for freezing the ice cream, providing a good surface area for even freezing. Any other freezer-safe container with a tight-fitting lid will also work perfectly.
- Plastic Wrap or Lid: Essential for covering the ice cream during freezing to prevent ice crystals and freezer burn.
Elevate Your Dessert: Homemade Eggnog Ice Cream Mix-ins & Toppings
While this creamy homemade eggnog ice cream is undeniably rich, smooth, and perfectly spiced to enjoy all on its own, it also serves as a fantastic canvas for additional flavors and textures. Before transferring the mixture to your loaf pan, or just before serving, you can easily stir in a little something extra to customize each batch. Here are a few delectable ideas to elevate your festive treat:
- Decadent Drizzles: A generous swirl of warm caramel sauce, rich chocolate syrup, or even a spiced rum glaze can add another layer of indulgence.
- Crunchy Nuts: Incorporate finely chopped pecans, walnuts, or almonds for a delightful textural contrast. Toasted nuts will amplify their flavor even further.
- Graham Cracker Crumbs: Mix in graham cracker crumbs for a subtle, buttery crunch that complements the creamy ice cream beautifully.
- Gingersnap Cookie Pieces: Crushed gingersnap cookies add a wonderful spicy warmth and chewy texture, pairing exquisitely with the eggnog flavor.
- Freshly Grated Nutmeg: For an extra aromatic touch, grate a little fresh nutmeg directly over each scoop before serving. It enhances the signature eggnog spice profile.
- Crushed Oreos: For a twist, fold in crushed Oreo cookies for a classic cookies and cream experience with a holiday spin.
- Mini Chocolate Chips: Tiny chocolate chips or white chocolate chunks can add sweet pockets of flavor throughout the ice cream.
- Candied Ginger: Finely diced candied ginger offers a delightful chew and a zesty, spicy kick that’s surprisingly harmonious with eggnog.
Experiment with your favorite additions to create your signature holiday eggnog ice cream!
How to Make Eggnog Ice Cream: A Simple Step-by-Step Guide
This no-churn eggnog ice cream recipe truly redefines simplicity. You’ll be amazed at how quickly and easily you can whip up this luxurious dessert. Follow these straightforward steps to create your perfect holiday treat:
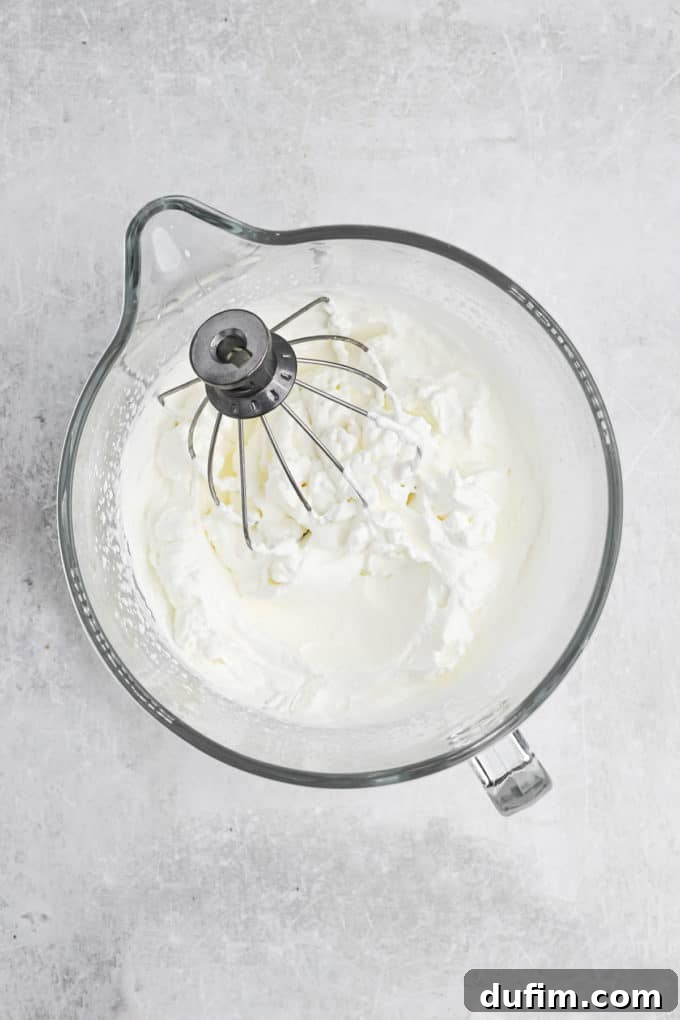
- Beat the Heavy Cream: In a large mixing bowl, using either a stand mixer with a whisk attachment or a handheld electric mixer, beat the cold heavy whipping cream on high speed. Continue beating until stiff peaks form. Stiff peaks mean that when you lift the beaters from the cream, the peaks stand straight up without collapsing or folding over. This step is crucial for the light and airy texture of your ice cream.
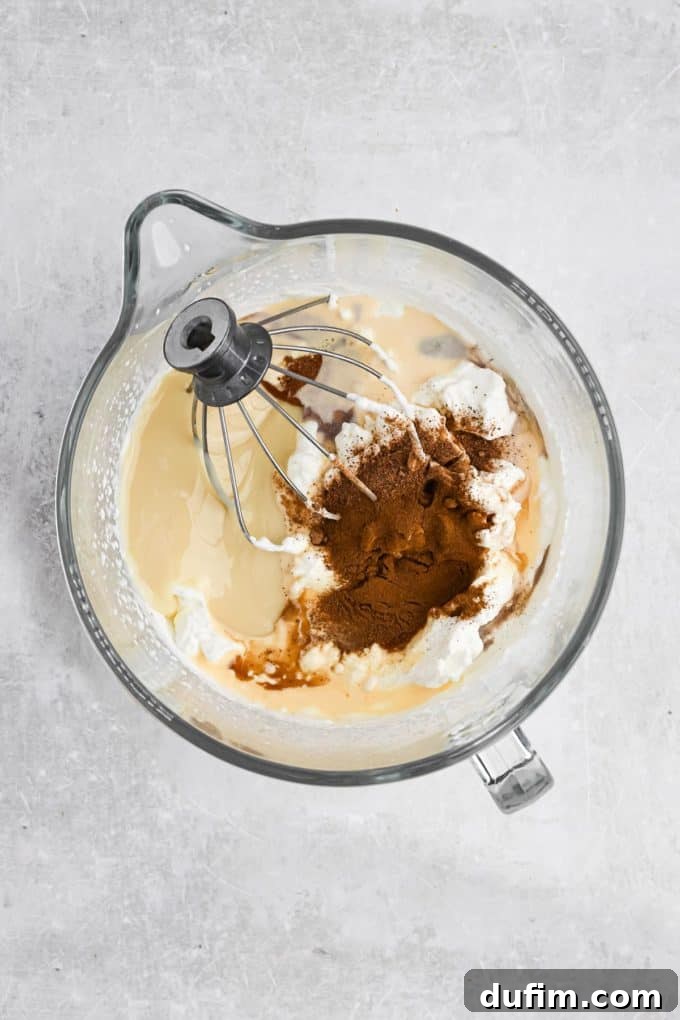
- Combine Remaining Ingredients: Once your heavy cream has reached stiff peaks, gently add the remaining ingredients to the bowl: eggnog, nutmeg, cinnamon, vanilla extract, and the entire can of sweetened condensed milk. Begin mixing on the lowest speed until all ingredients are just combined. Overmixing at this stage can deflate the whipped cream. You’ll notice the mixture will become slightly more liquidy, but don’t worry, this is completely normal.
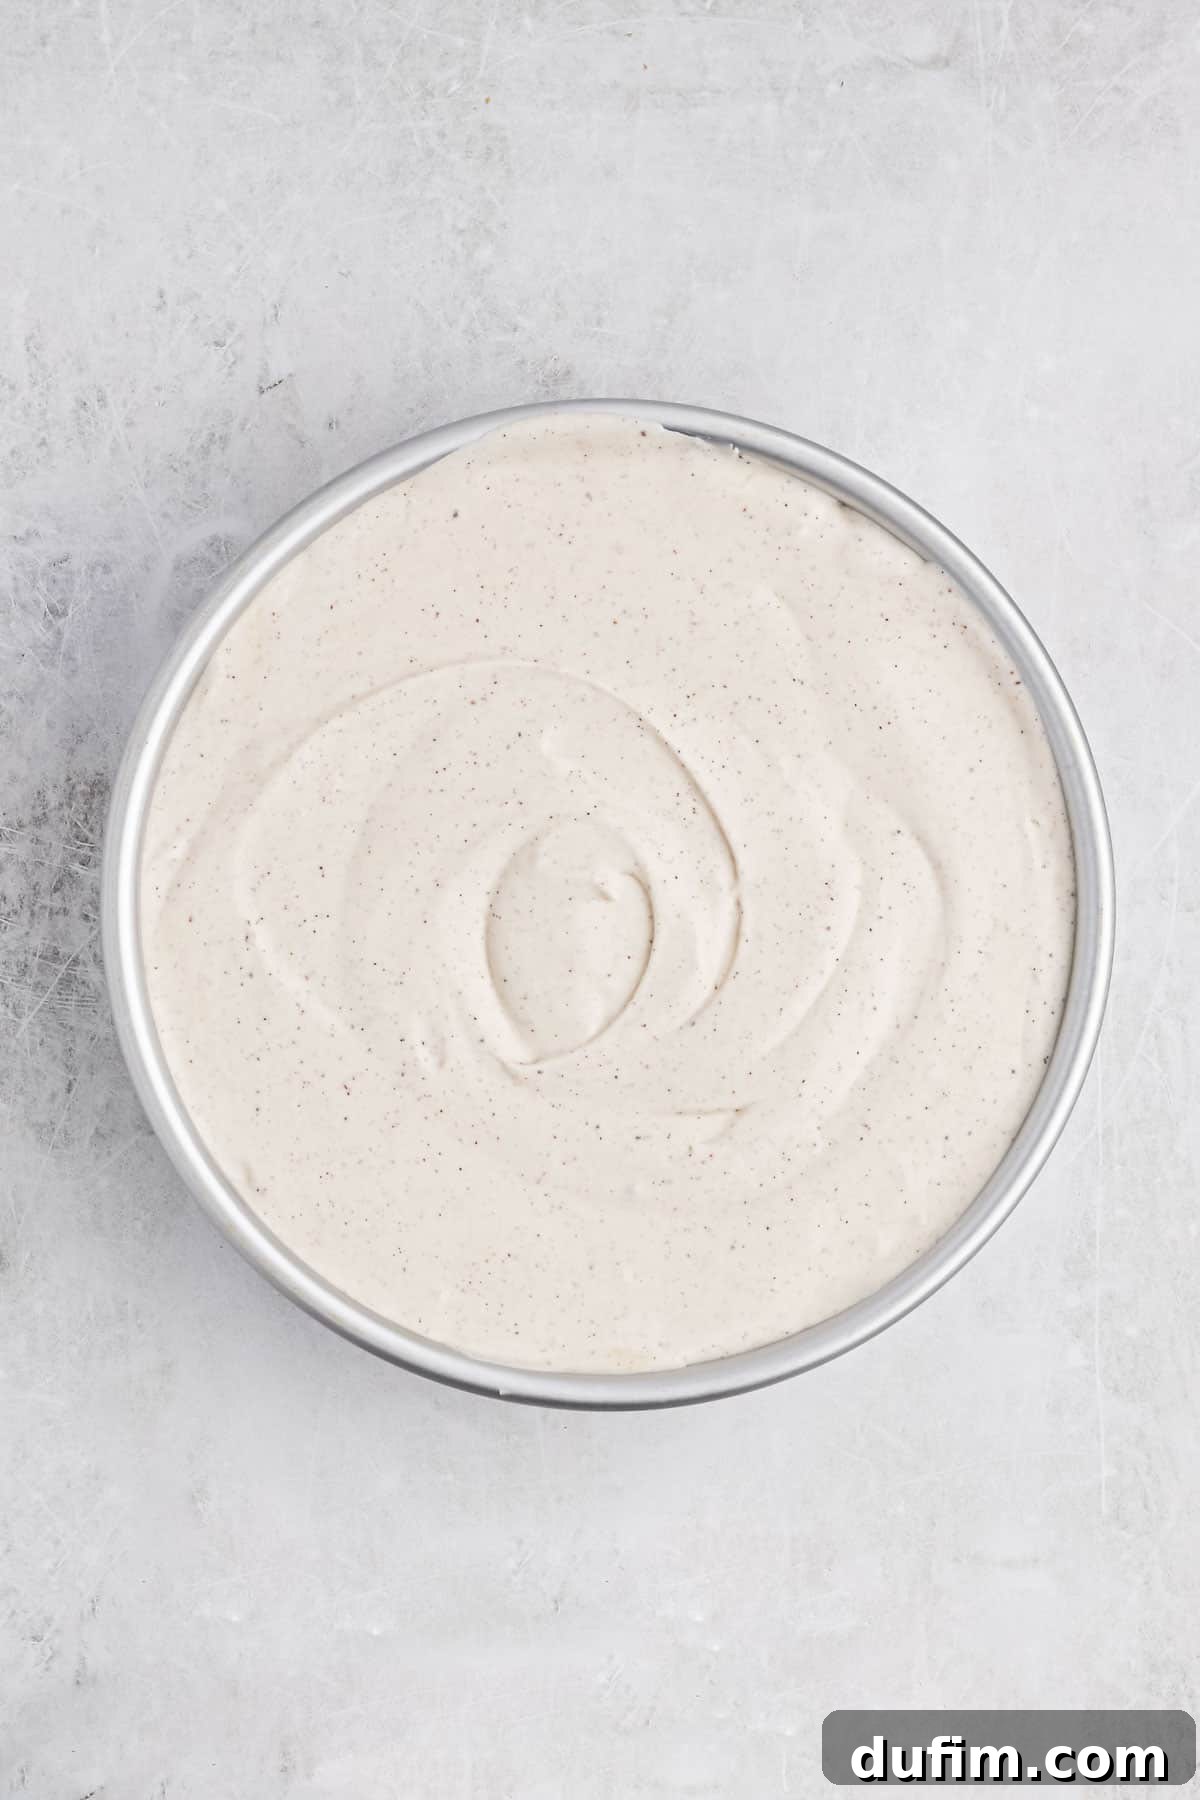
- Freeze to Perfection: Carefully transfer the combined ice cream mixture into an 8 or 9-inch loaf pan, an 8-inch cake pan, or any other suitable freezer-safe container. Ensure the pan is not overfilled. Cover the surface of the ice cream tightly with plastic wrap, pressing it directly onto the surface to prevent ice crystals from forming. Alternatively, use an airtight lid if your container has one. Place the covered pan in the freezer for a minimum of 6 hours. For the absolute best texture, freezing overnight is highly recommended.
Pro Tips for Perfect Eggnog Ice Cream
To ensure your homemade eggnog ice cream turns out perfectly rich, creamy, and irresistible every time, keep these valuable tips in mind:
- Overnight Freezing is Best: While you can certainly enjoy this delightful ice cream after the minimum 6 hours of freezing, for optimal texture and firmness, I strongly recommend freezing it overnight. This allows the flavors to meld beautifully and the ice cream to set completely, resulting in a much creamier and more scoopable consistency.
- Achieve Stiff Peaks: This step is non-negotiable for successful no-churn ice cream. Stiff peaks mean that when you lift your beaters out of the heavy cream, the peaks stand tall and hold their shape without wilting. If your cream is too soft, the final ice cream will be less airy and more icy. For best results, ensure your heavy cream is very cold before you start whipping. Chilling your mixing bowl and beaters in the freezer for 10-15 minutes beforehand can also help achieve stiff peaks faster.
- Fold, Don’t Stir: When combining the whipped cream with the other ingredients and any desired mix-ins, resist the urge to vigorously stir. Instead, use a gentle folding motion with a spatula. This preserves the air you’ve incorporated into the heavy cream, which is crucial for the light, creamy texture of no-churn ice cream. Stirring too much can deflate the mixture, leading to a denser, icier end product.
- Use Full-Fat Ingredients: As mentioned, opt for full-fat heavy whipping cream and full-fat eggnog. The fat content is essential for creating that luxurious, smooth consistency and preventing unwelcome ice crystals.
- Cover Tightly: Always cover your ice cream pan tightly with plastic wrap, pressing the wrap directly onto the surface of the ice cream. This creates a barrier against air and moisture, which are the main culprits behind freezer burn and the formation of large ice crystals.
Homemade Eggnog Ice Cream Serving Suggestions
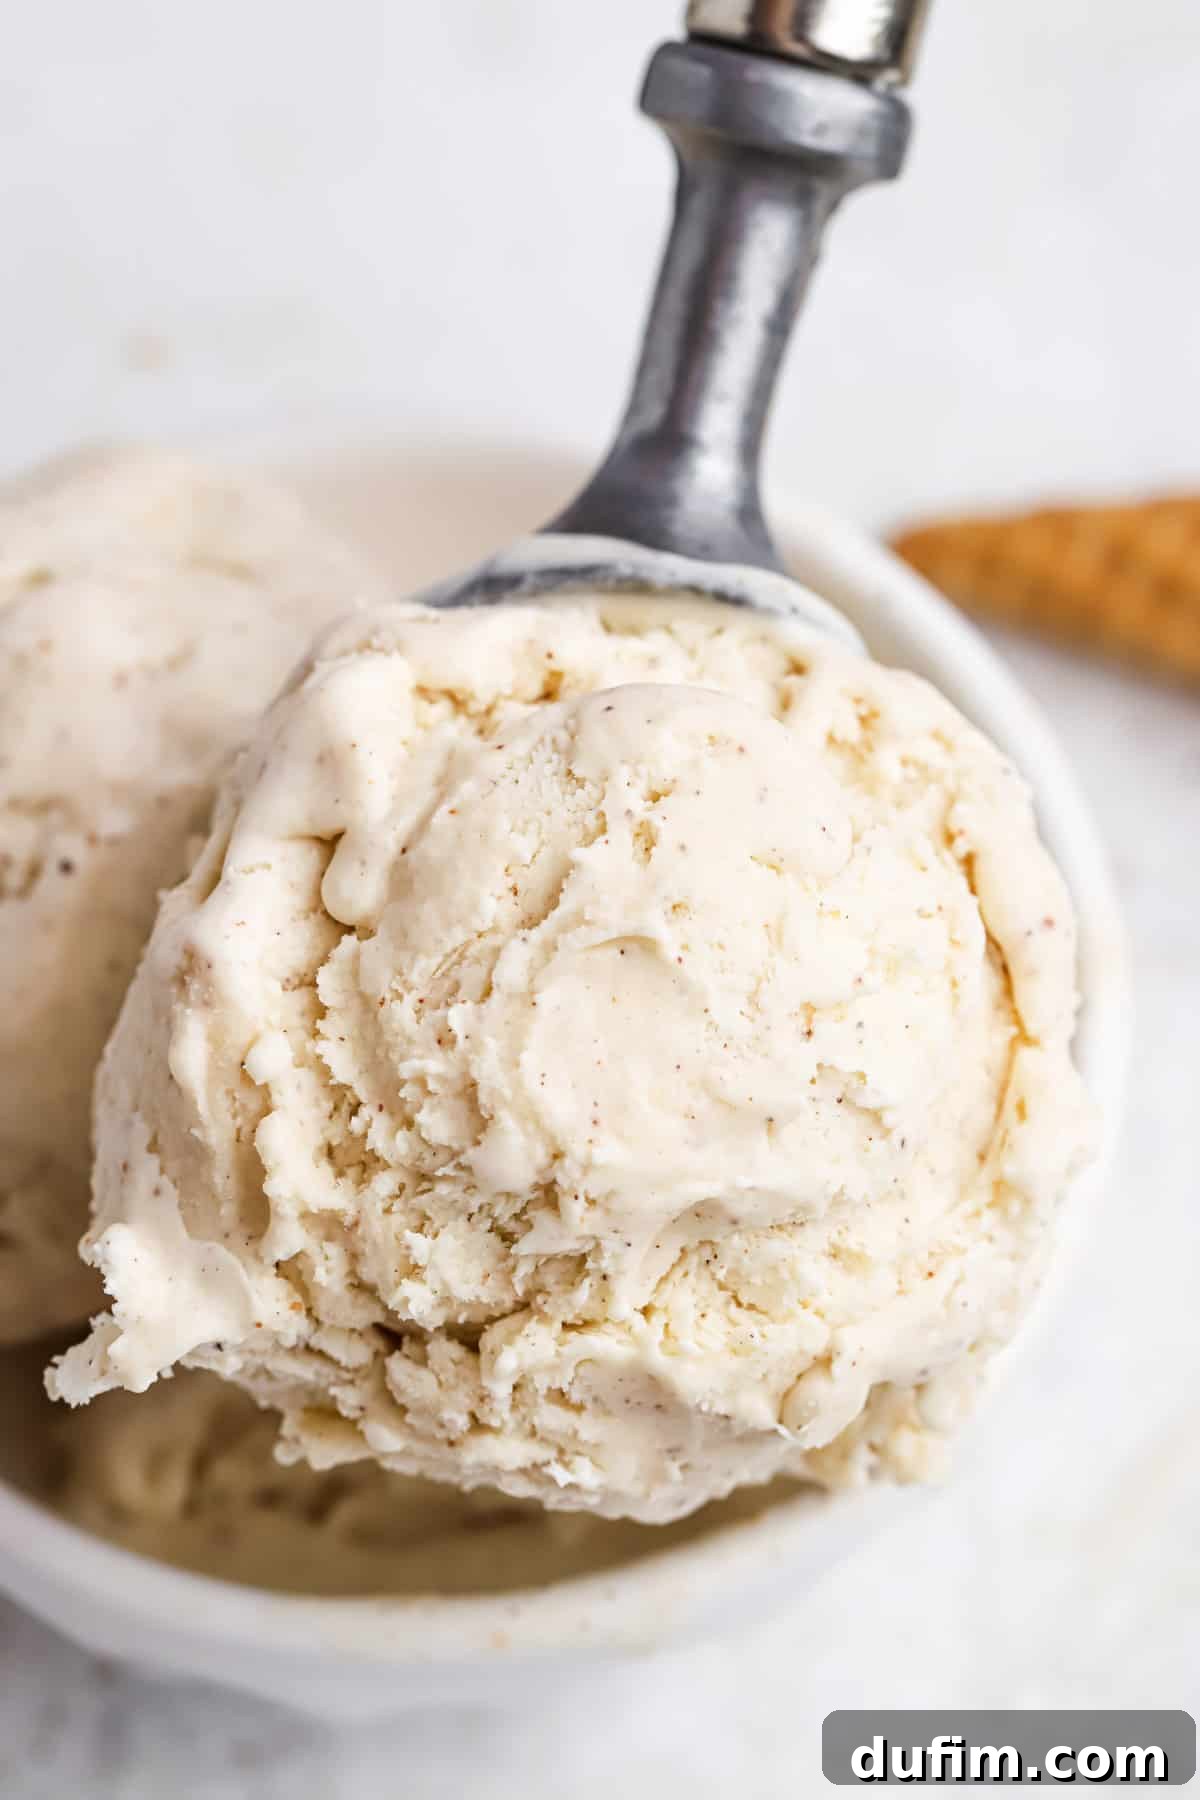
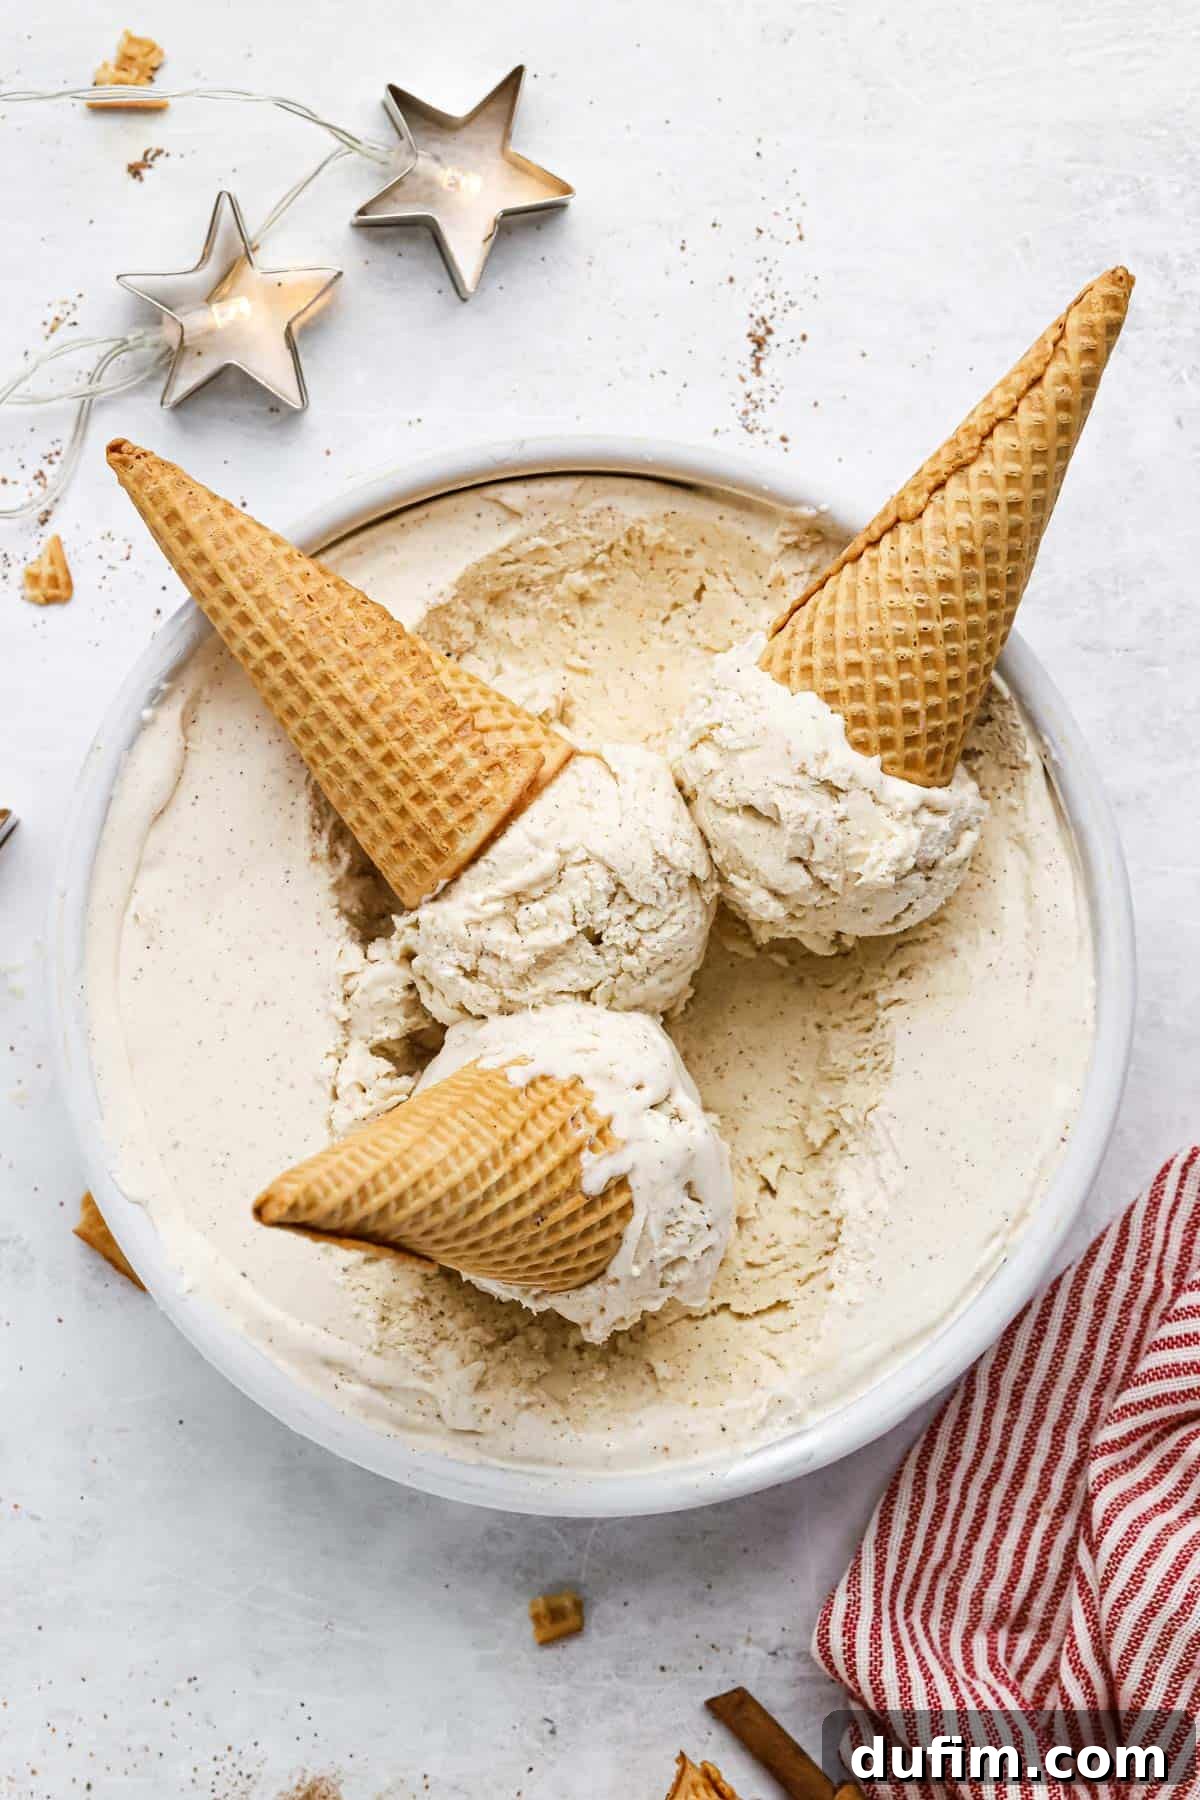
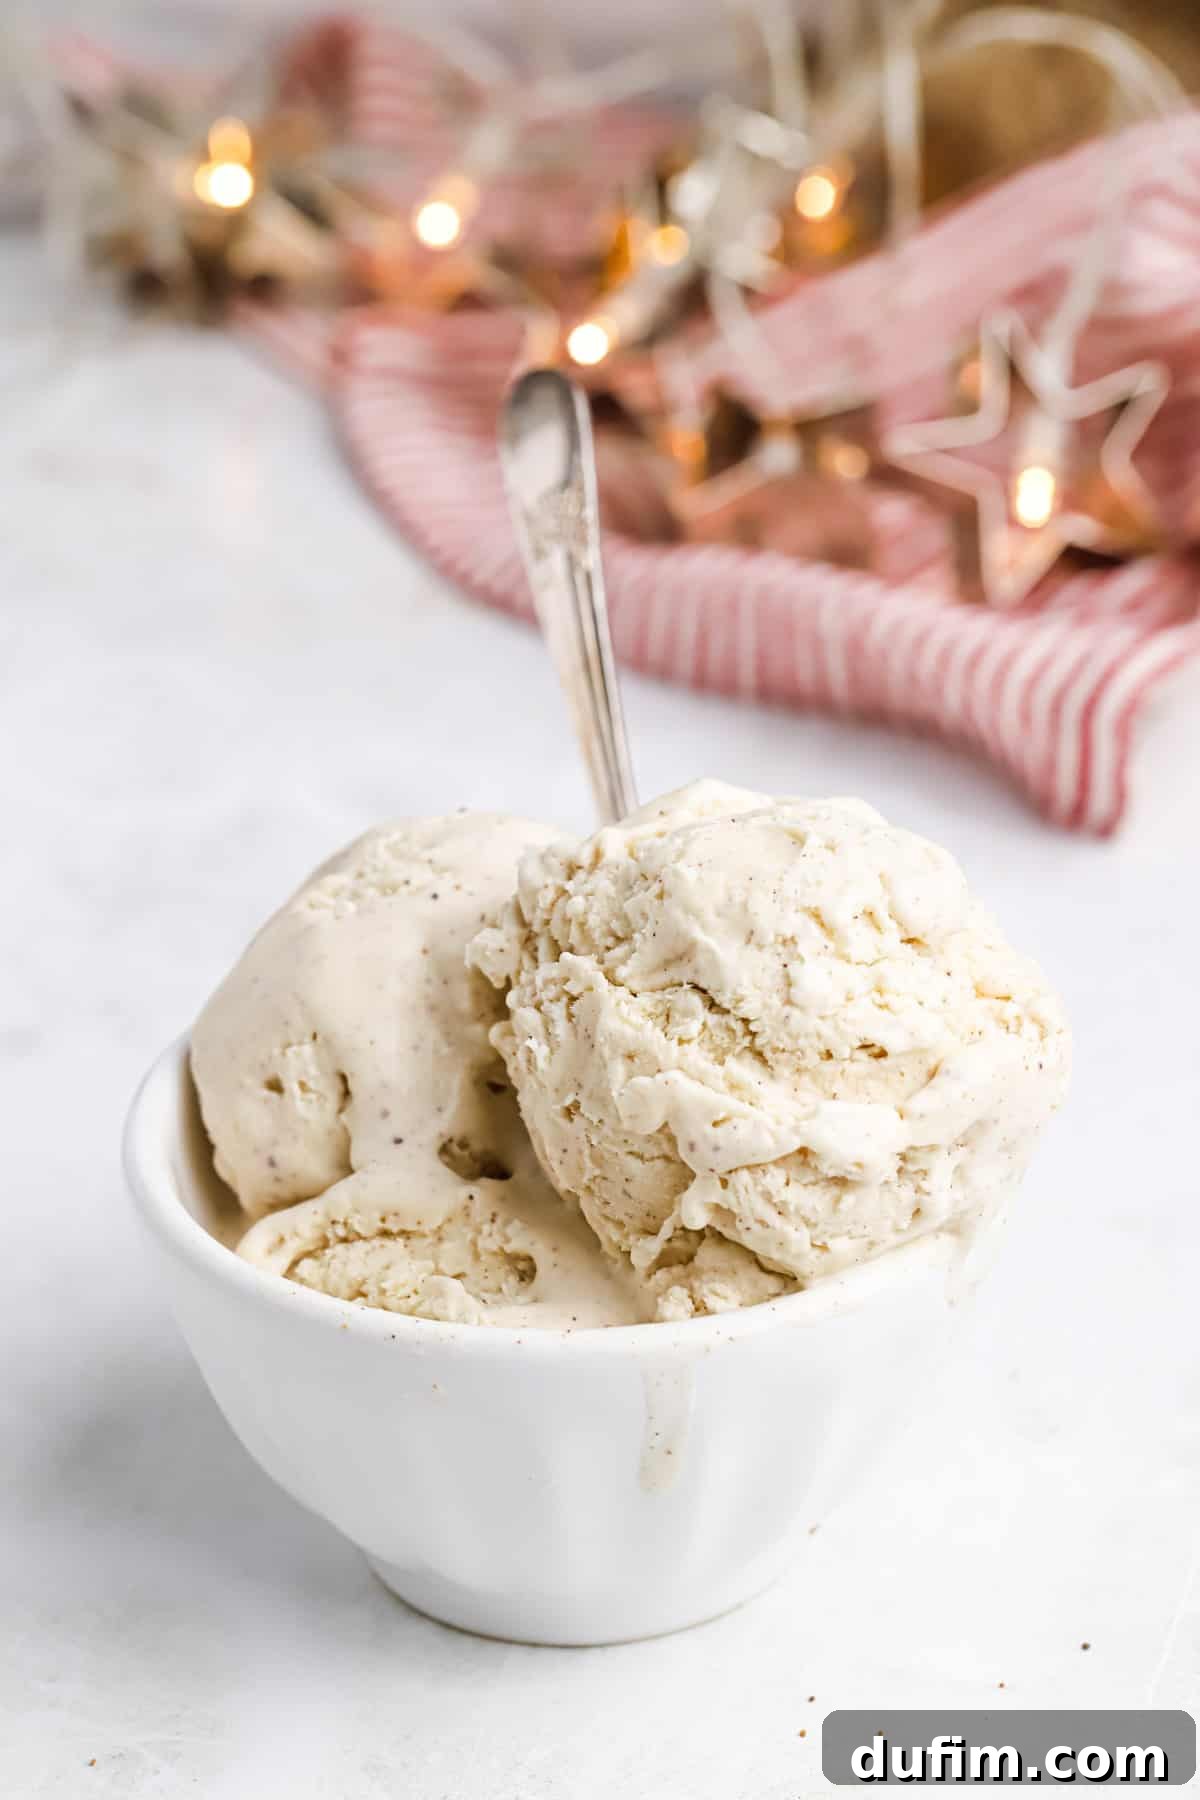
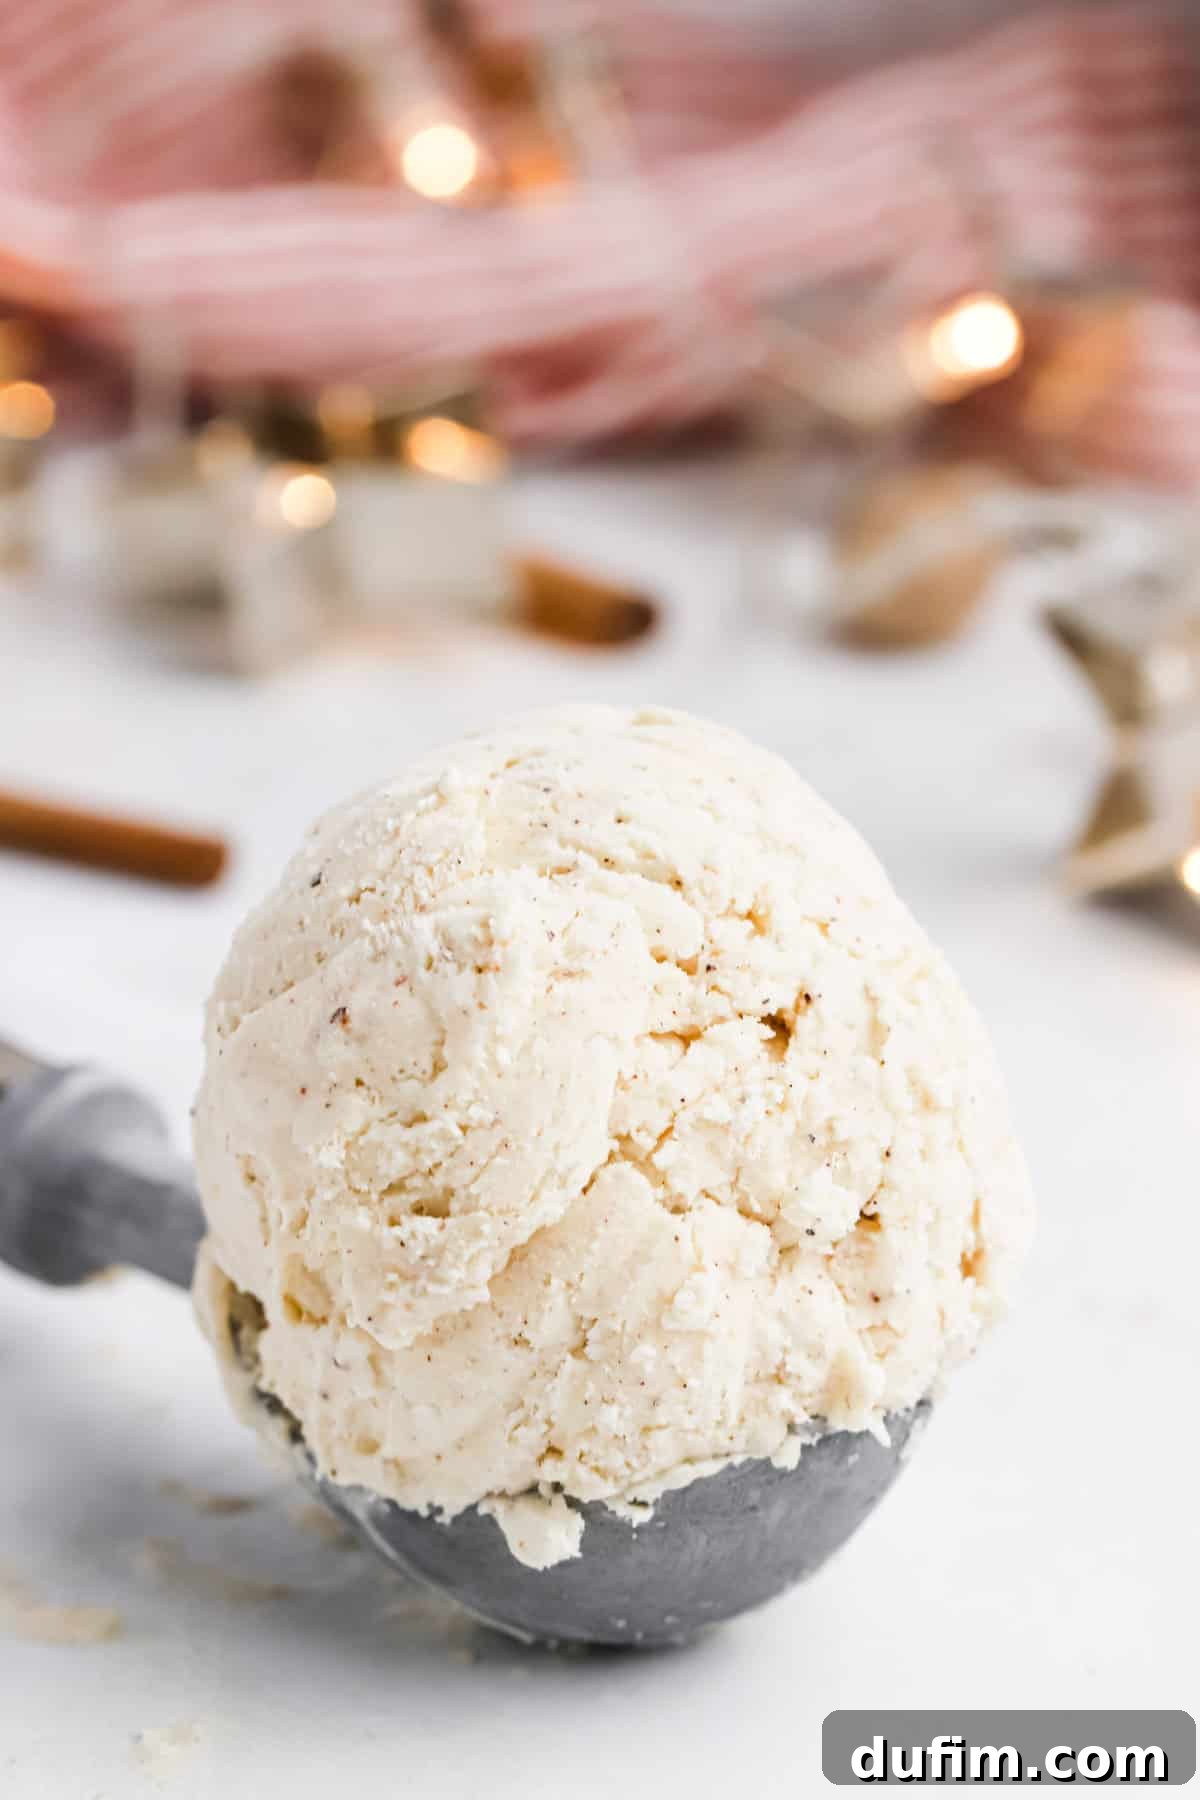
Once your homemade eggnog ice cream is perfectly frozen and ready, serving it creatively can make the experience even more special. For the most delightful scoopable texture, I recommend allowing the ice cream to sit on the counter for 5-10 minutes before serving. This brief resting period softens it just enough to glide your scoop through effortlessly.
Scoop generous portions into elegant dessert bowls, or for a classic touch, pile it high into your favorite waffle cones or sugar cones. The crunch of a waffle cone perfectly complements the creamy sweetness of the ice cream. To truly elevate this festive treat, consider turning it into an irresistible sundae by drizzling with warm chocolate or caramel syrup, or a sprinkle of additional graham cracker crumbs for texture. For a sophisticated dessert, serve a scoop alongside a slice of warm apple pie or gingerbread cake. You can even take it up a notch by transforming it into delightful Christmas cookie ice cream sandwiches – talk about a burst of holiday flavor!
How to Store Eggnog Ice Cream for Lasting Freshness
Proper storage is key to maintaining the creamy texture and fresh flavor of your homemade eggnog ice cream. When stored correctly, your delicious creation can last for up to 10 days in the freezer, allowing you to enjoy the holiday spirit long after the festivities. To prevent freezer burn and keep your ice cream at its best, always ensure it is tightly covered.
A loaf pan, especially when covered with plastic wrap pressed directly onto the surface of the ice cream, is an excellent choice. This direct contact minimizes air exposure, which is the primary cause of ice crystal formation and freezer burn. Old, clean ice cream containers with airtight lids are also perfect for storage, as they are specifically designed for this purpose. Alternatively, any freezer-safe container with a snug-fitting lid will work. Just make sure there’s minimal air space above the ice cream to protect it from the harsh freezer environment. This simple step ensures every scoop remains as delightful as the first!
Eggnog Ice Cream Recipe FAQs
No, eggnog is not merely melted ice cream. Eggnog is a traditional, rich holiday beverage, typically made from a creamy mixture of milk or cream, beaten eggs, sugar, and often flavored with warm spices such as nutmeg, cinnamon, and vanilla. While its consistency can be thick and decadent, resembling a melted shake, its ingredients and preparation method are distinct from conventional ice cream. Our eggnog ice cream recipe, however, takes the beloved flavors of eggnog and transforms them into a frozen dessert.
While traditional eggnog itself contains eggs (as the name implies), our specific no-churn eggnog ice cream recipe does not call for additional raw eggs as a separate ingredient. The eggs are already part of the eggnog you use from the store or your homemade batch. The beauty of no-churn ice cream lies in its simplicity, relying on whipped heavy cream and sweetened condensed milk for its creamy base, thus bypassing the need for tempering egg yolks or cooking a custard as often found in traditional churned ice cream recipes.
Eggnog can indeed be frozen, but careful storage is essential to maintain its quality and prevent spoilage. When freezing liquid eggnog, it’s crucial to leave some headspace in the container, as liquids expand when frozen, which could otherwise damage the container. Always use an airtight, freezer-safe container. Be aware that freezing can sometimes alter the texture and flavor of eggnog upon thawing. It might separate slightly or become grainier. Stirring or shaking the thawed eggnog vigorously can often help restore a more uniform consistency. For best results in recipes like this ice cream, it’s generally recommended to use fresh eggnog.
Yes, you can! For an adult-friendly holiday treat, a small amount of alcohol can be added to the ice cream base. A tablespoon or two of rum, brandy, or bourbon (traditional eggnog spirits) can enhance the flavor. However, be cautious not to add too much, as alcohol has a lower freezing point than water and can prevent the ice cream from fully firming up, leading to a softer, almost slushy consistency. Start with a small amount and adjust to your preference.
More Irresistible Ice Cream Recipes to Explore
If you’ve fallen in love with the ease and deliciousness of homemade no-churn ice cream, there’s a whole world of flavors waiting for you to discover! Expanding your ice cream repertoire is a fantastic way to impress friends and family year-round. Here are some other fantastic ice cream recipes that are just as simple to make and promise to be equally delightful:
- Classic Chocolate Chip Ice Cream
- Decadent Strawberry Cheesecake Ice Cream
- Rich Peanut Butter Ice Cream
- Fun-Filled Cookie Monster Ice Cream
Each of these recipes offers a unique flavor adventure, proving that homemade ice cream is not only achievable but incredibly rewarding. Enjoy experimenting and creating your next favorite frozen treat!
★
★
★
★︎
Tap stars to rate!
Homemade Eggnog Ice Cream
Rate
Equipment
-
Glass Mixing Bowl
-
KitchenAid 9-Speed Mixer
-
My favorite spatula!
Ingredients
- 2 cups (473ml) heavy whipping cream, 1 pint
- ½ cup (118ml) eggnog
- 1 tsp nutmeg
- 1 tsp cinnamon
- 2 tsp vanilla extract
- 14 oz can sweetened condensed milk
Instructions
-
In a stand mixer or using a handheld mixer, beat the heavy whipping cream until stiff peaks form.2 cups (473ml) heavy whipping cream
-
Add in the eggnog, nutmeg, cinnamon, vanilla extract and sweetened condensed milk, beating on low until combined. The mixture will become slightly more liquid-y.1/2 cup (118ml) eggnog, 1 tsp nutmeg, 1 tsp cinnamon, 2 tsp vanilla extract, 14 oz can sweetened condensed milk
-
Transfer the ice cream to a loaf pan, 8 inch cake pan, or similar container. Cover the pan with plastic wrap or a lid and freeze for at least 6 hours, overnight is preferred.
Nutrition
Nutrition Disclosure
All nutritional values are approximate and provided to the reader as a courtesy. Changing ingredients and/or quantities will alter the estimated nutritional calculations.
Like this recipe? Rate and comment below!