
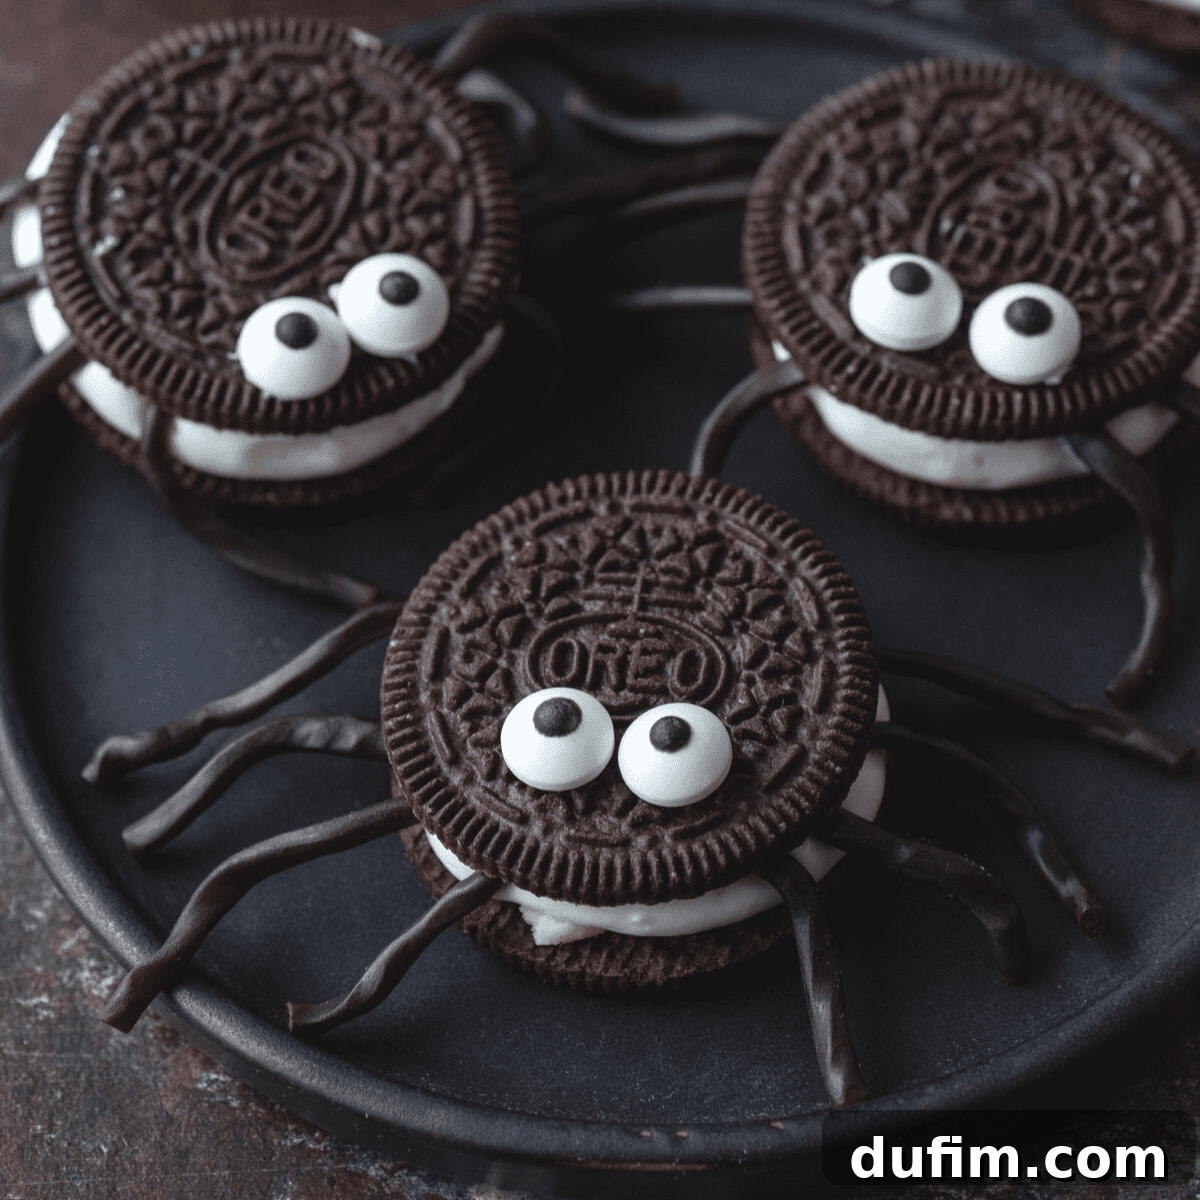
Spooktacularly Simple Oreo Spiders: The Ultimate No-Bake Halloween Treat for All Ages
Get ready to weave some magic this Halloween with our incredibly easy and utterly adorable Oreo Spiders! This isn’t just a dessert; it’s a fun, family-friendly activity that culminates in a delightful, spooky treat. Requiring absolutely no baking or cooking, these charming arachnids are perfect for busy ghouls and goblins of all ages. With just four simple ingredients and a few minutes of assembly, you’ll transform classic Oreo cookies into the cutest creepy-crawlies, ready to impress at any Halloween party or simply as a festive snack.
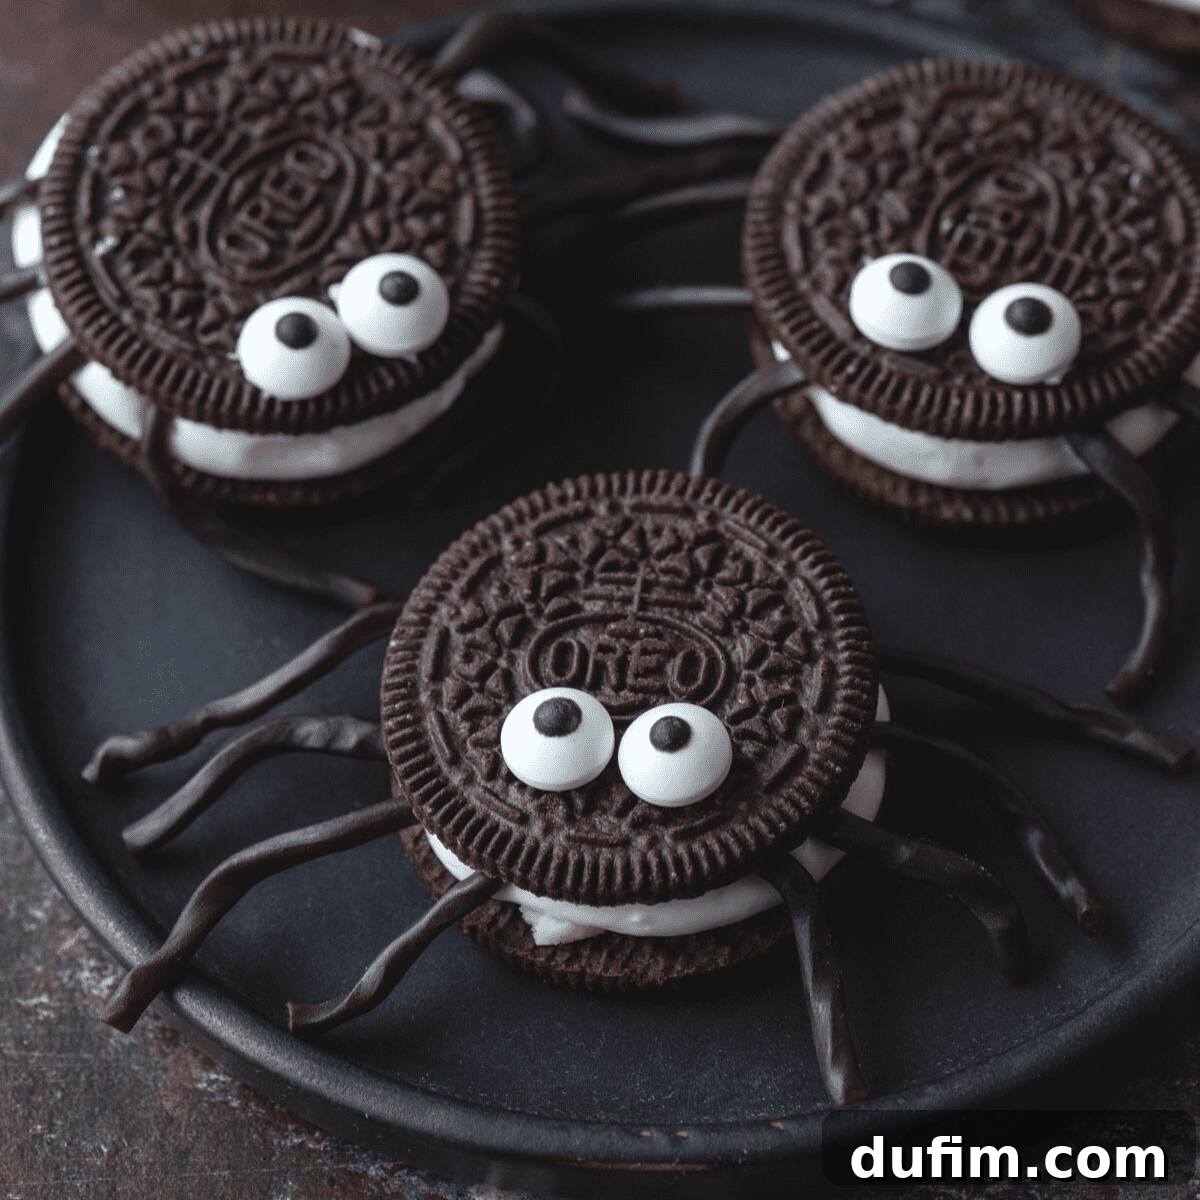
Halloween treats should be all about fun, and these Oreo spiders deliver exactly that, with a generous sprinkle of cuteness! Forget the stress of ovens and hot stovetops; this recipe champions simplicity and speed. It’s an ideal project for little hands eager to help in the kitchen, offering a safe and engaging way for kids to get creative without any risk of touching hot surfaces or sampling raw ingredients. From twisting open Oreos to carefully placing candy eyeballs, every step is designed for maximum enjoyment and minimal fuss. These edible spiders are not only a feast for the eyes but also a delicious indulgence that everyone will love.
Looking for more enchanting Halloween recipes that kids can easily participate in? Explore other fantastic no-bake or simple assembly ideas like Ghost Popcorn Balls, spooky Bubbling Witch’s Cauldrons, and the ever-popular Peanut Butter Spider Cookies. These recipes are guaranteed to add a magical touch to your Halloween festivities and create lasting memories with your family.
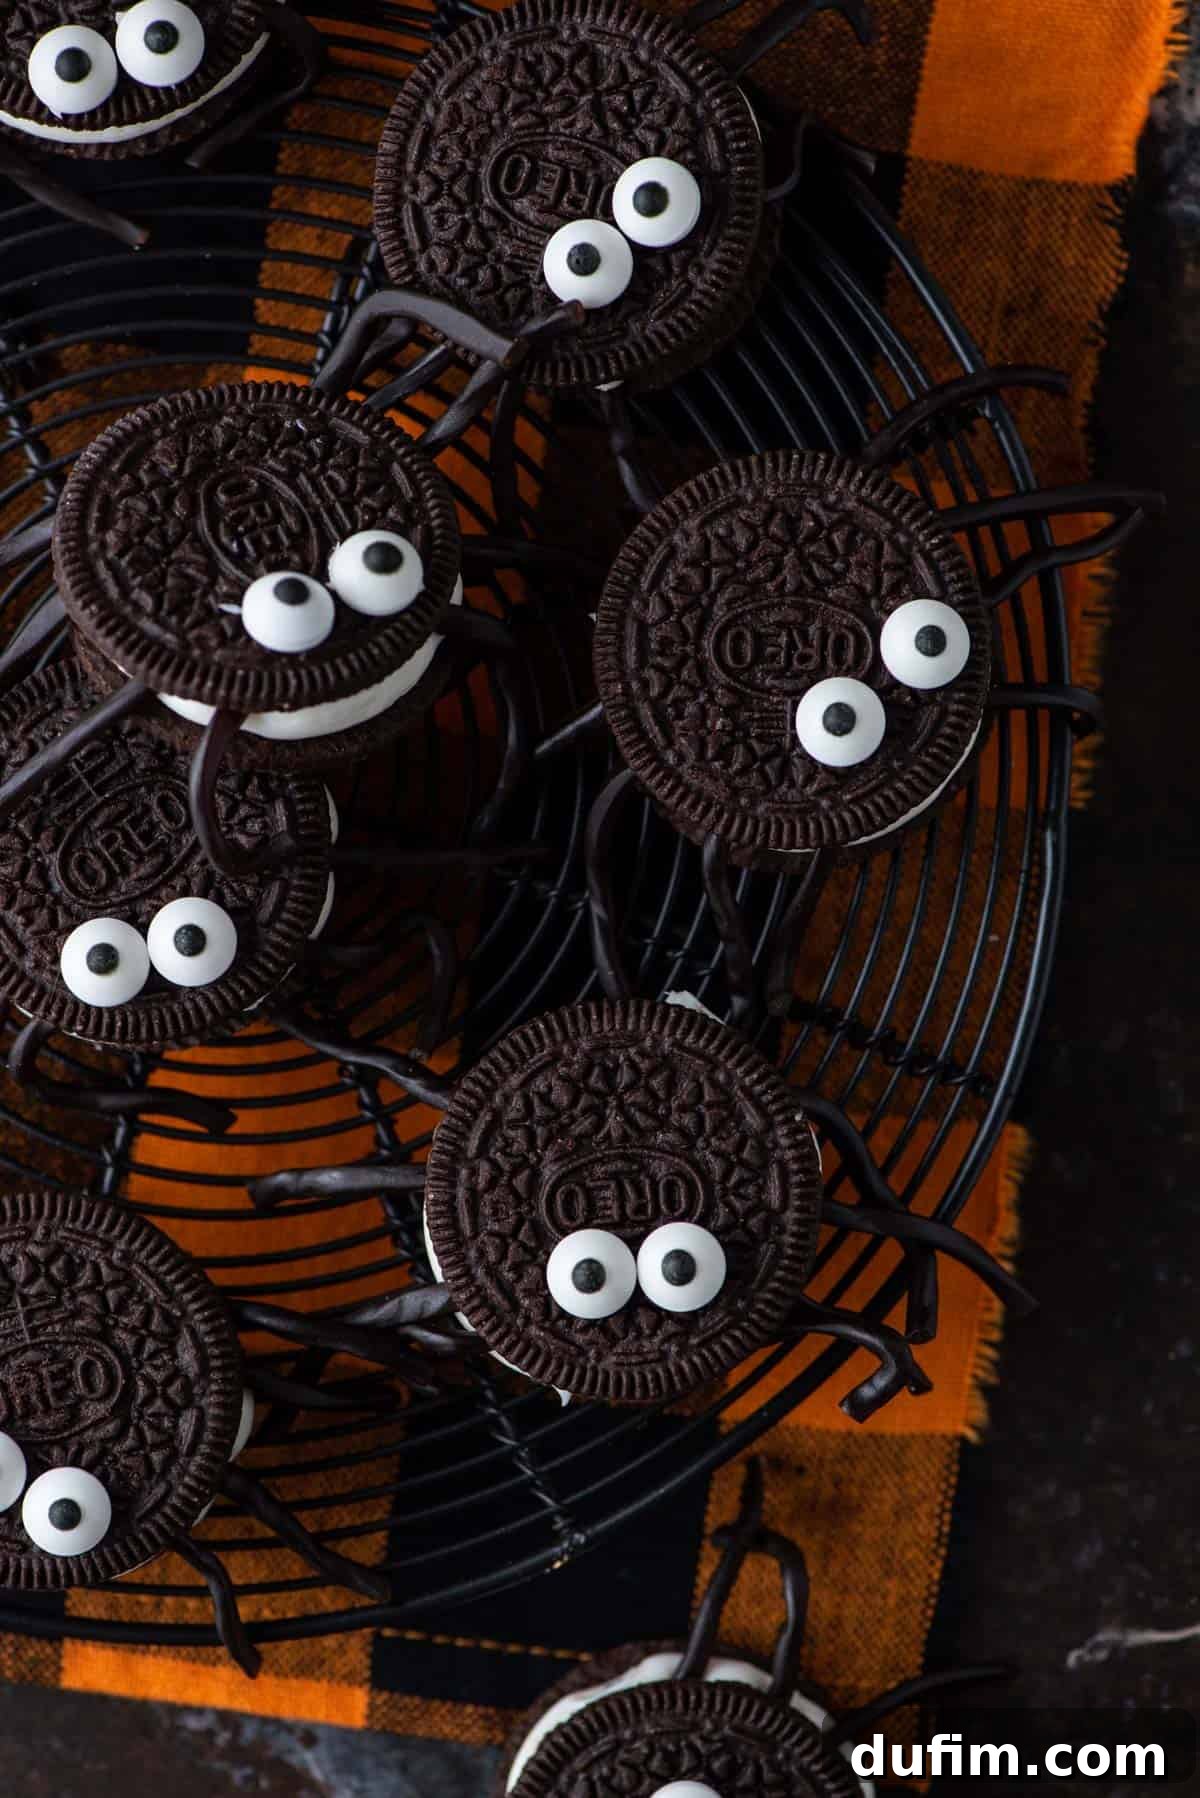
Why You’ll Adore These Halloween Cookies
While the sheer charm of these Oreo Spiders is reason enough to make them, there are countless practical and delicious reasons why they’ll become a staple in your Halloween repertoire:
- No Cooking or Baking Required: This is arguably the biggest selling point! Say goodbye to preheating ovens, monitoring baking times, and dealing with hot pans. These Oreo spiders are 100% no-bake, making them perfect for scorching hot days, busy schedules, or when you just want a quick, delicious win.
- Just 4 Simple Ingredients: You won’t need an extensive grocery list or to rummage through your pantry for obscure items. This recipe relies on readily available ingredients that are likely already staples in your home, making it incredibly convenient and budget-friendly.
- Fantastic for Parties and Gatherings: If you’re brainstorming Halloween party food ideas that are both adorable and devoured quickly, look no further. These charming spider cookies are a guaranteed hit with guests of all ages, creating a playful and spooky atmosphere without any complex culinary effort.
- Ready in Under 10 Minutes: Time is precious, especially during the festive season. The assembly process for these cookies is remarkably quick and straightforward. In approximately 10 minutes, you can have a batch of two dozen delightful spider cookies ready to serve, allowing you more time to enjoy the Halloween fun!
- Perfectly Kid-Friendly Fun: Involving children in the kitchen can be a joy, and this recipe is tailor-made for it. Without any hot appliances or sharp tools, even the youngest helpers can safely participate in untwisting Oreos, piping frosting, and placing the candy eyes, fostering creativity and a love for cooking.
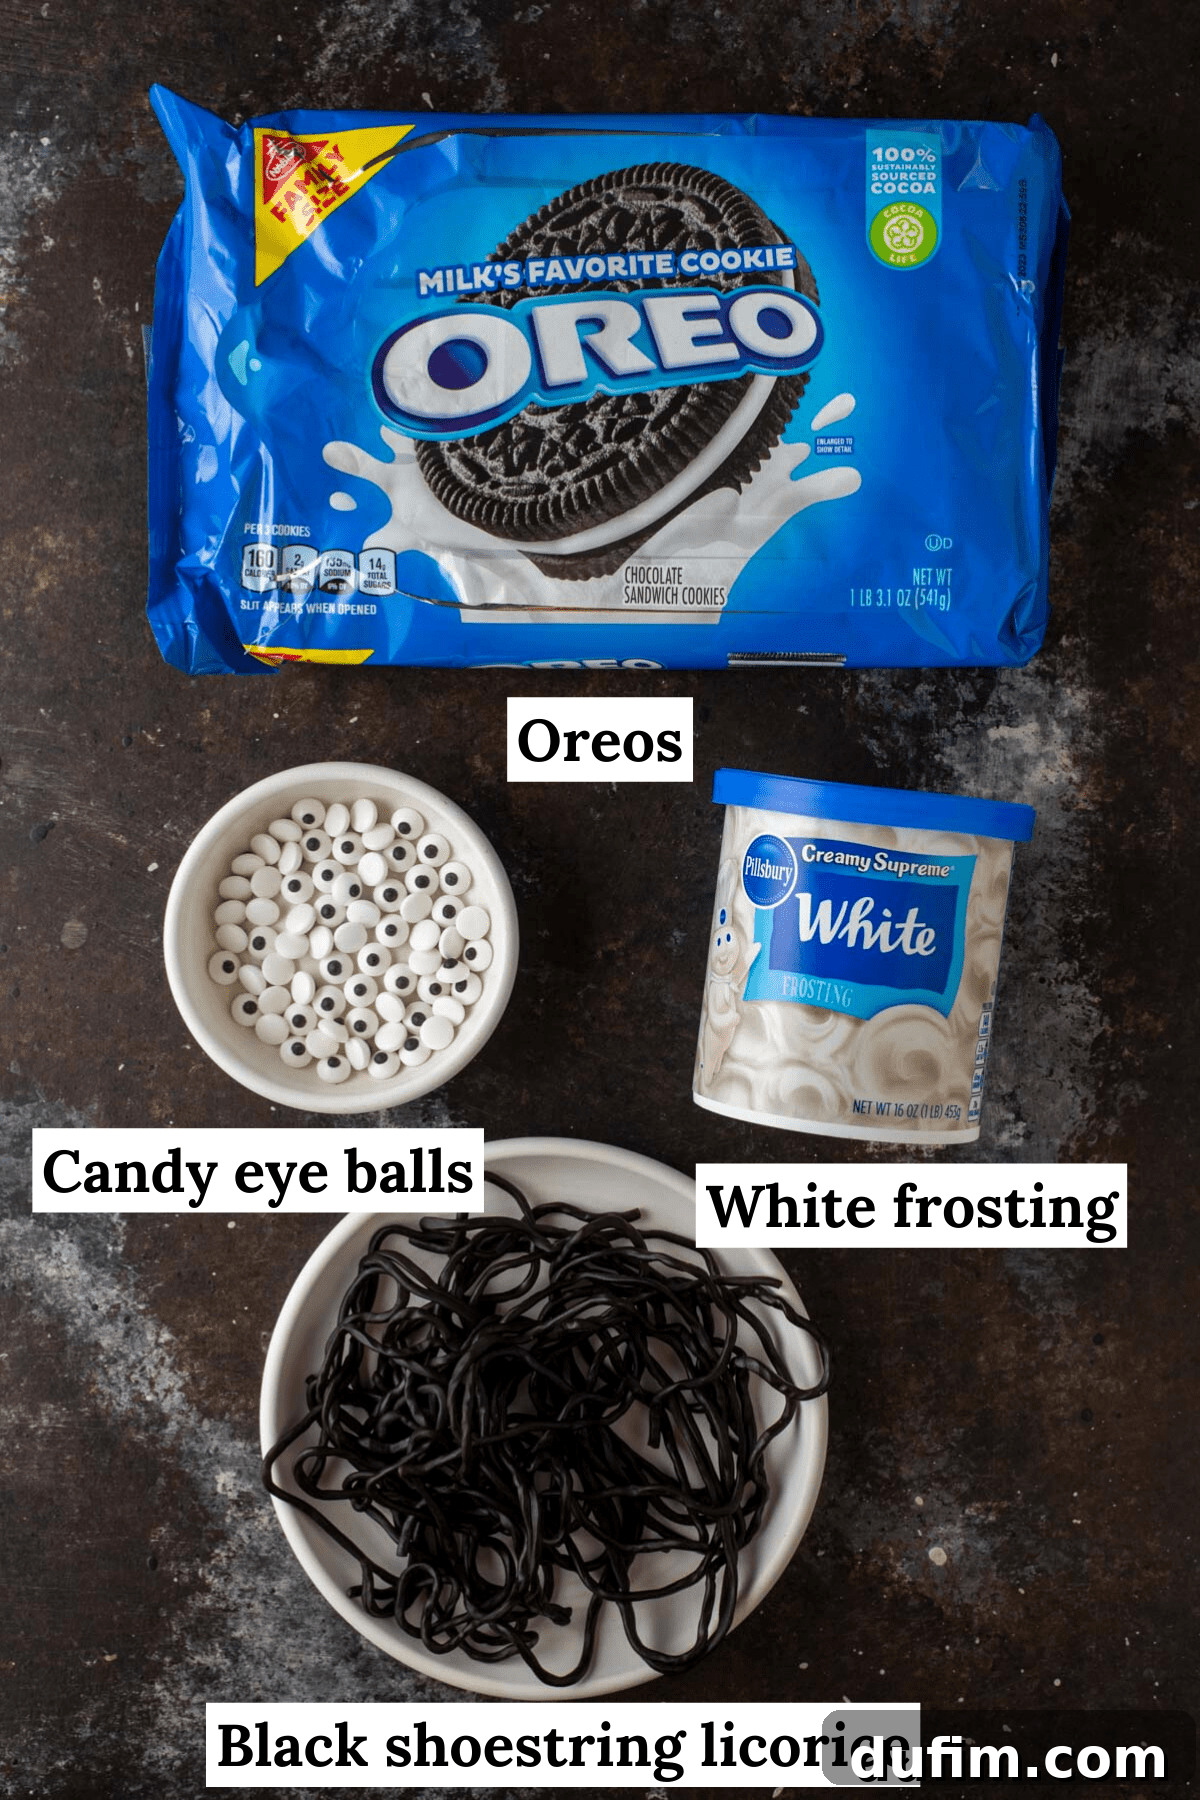
Gather Your Simple Supplies: What You’ll Need to Make Spider Cookies
The beauty of these easy Oreo spiders lies in their minimal ingredient list. You’ll only need four key items, most of which are easily found at any grocery store. For full measurements, please refer to the recipe card below.
- Oreos: The classic chocolate sandwich cookie forms the sturdy body of our spiders. Regular Oreos work perfectly for this recipe; there’s no need for the “double-stuffed” variety, though they can be used if preferred. For an extra festive touch, keep an eye out for seasonal orange Halloween Oreos!
- White Frosting: A container of pre-made white frosting offers ultimate convenience and a consistent texture ideal for piping. However, if you prefer a homemade touch, feel free to whip up your favorite vanilla or cream cheese frosting. For an even richer flavor, consider using a homemade Oreo frosting!
- Black Shoestring Licorice: These thin, pliable strands are crucial for creating the realistic (and edible!) spider legs. You can often find them in the candy aisle of larger grocery stores or specialty candy shops. If local stores are lacking, they’re readily available online, such as from Amazon.
- Candy Eyeballs: These whimsical sugar decorations bring our spiders to life! They come in various sizes and are typically found in the baking aisle of craft stores, party supply stores, or sometimes even in the seasonal section of your local grocery store around Halloween.
What is Black Shoestring Licorice?
Shoestring licorice refers to thin, string-like pieces of licorice candy, aptly named because they resemble shoe laces. Their thin, flexible nature makes them ideal for crafting the delicate legs of our Oreo spiders. While some grocery stores stock them, they are reliably found at candy specialty stores or online retailers like Amazon.
Crafting Your Creepy-Crawly Delights: How to Make Oreo Spider Cookies
Preparing these fun Halloween cookies is an incredibly simple process, requiring no baking or cooking whatsoever. Follow these straightforward steps to assemble your adorable Oreo spiders in minutes:
Step 1: Prepare the Frosting. Transfer your white frosting into a piping bag fitted with a small round tip. This will allow for easy and precise application onto the cookies, creating a neat base for your spider body.
Step 2: Prepare the Oreos. Carefully untwist each Oreo cookie, separating the two chocolate wafers from the cream filling. You’ll be working with the cream-filled side for the next step.
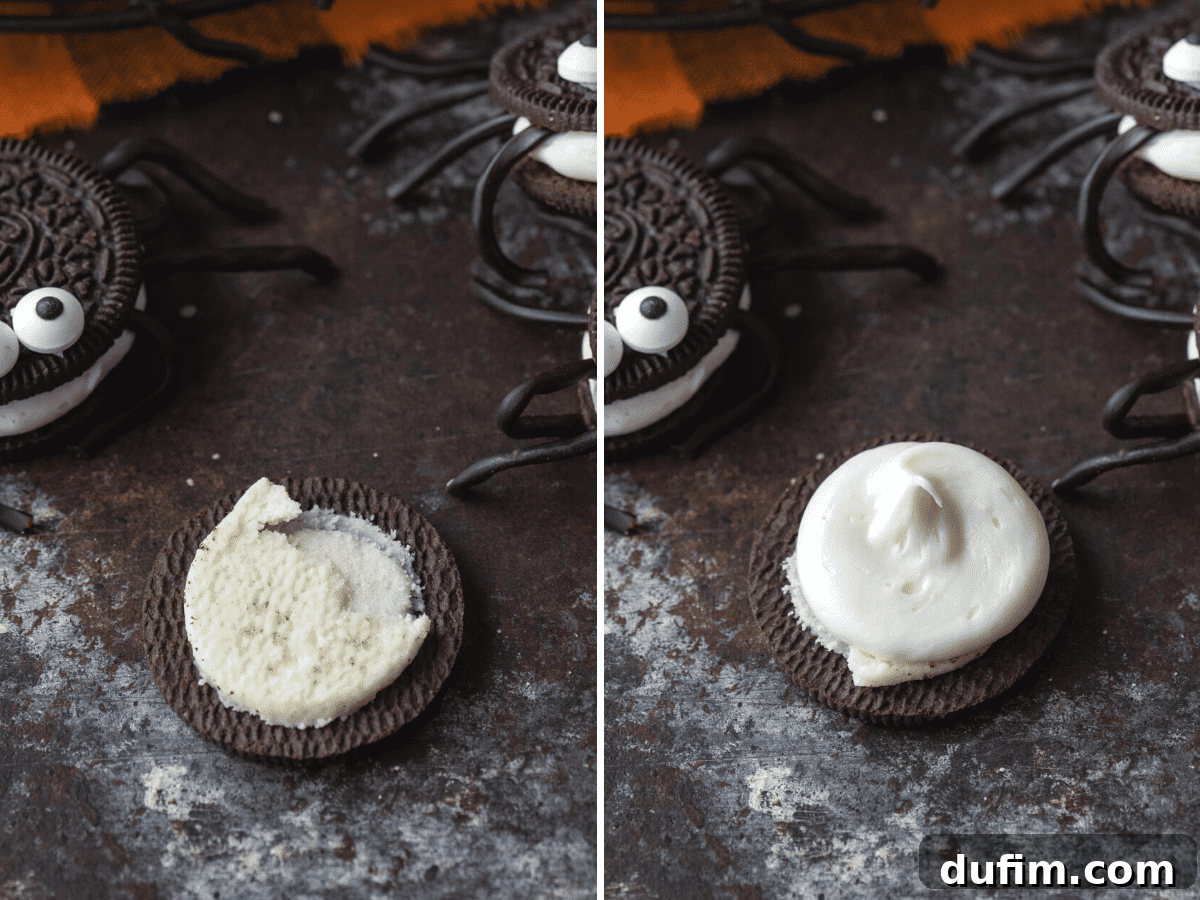
Step 3: Add the Frosting. Using your prepared piping bag, pipe a small swirl or dollop of frosting onto the cream-filled side of each Oreo. This frosting will act as the “glue” for the spider legs and also provide a bit of extra sweetness.
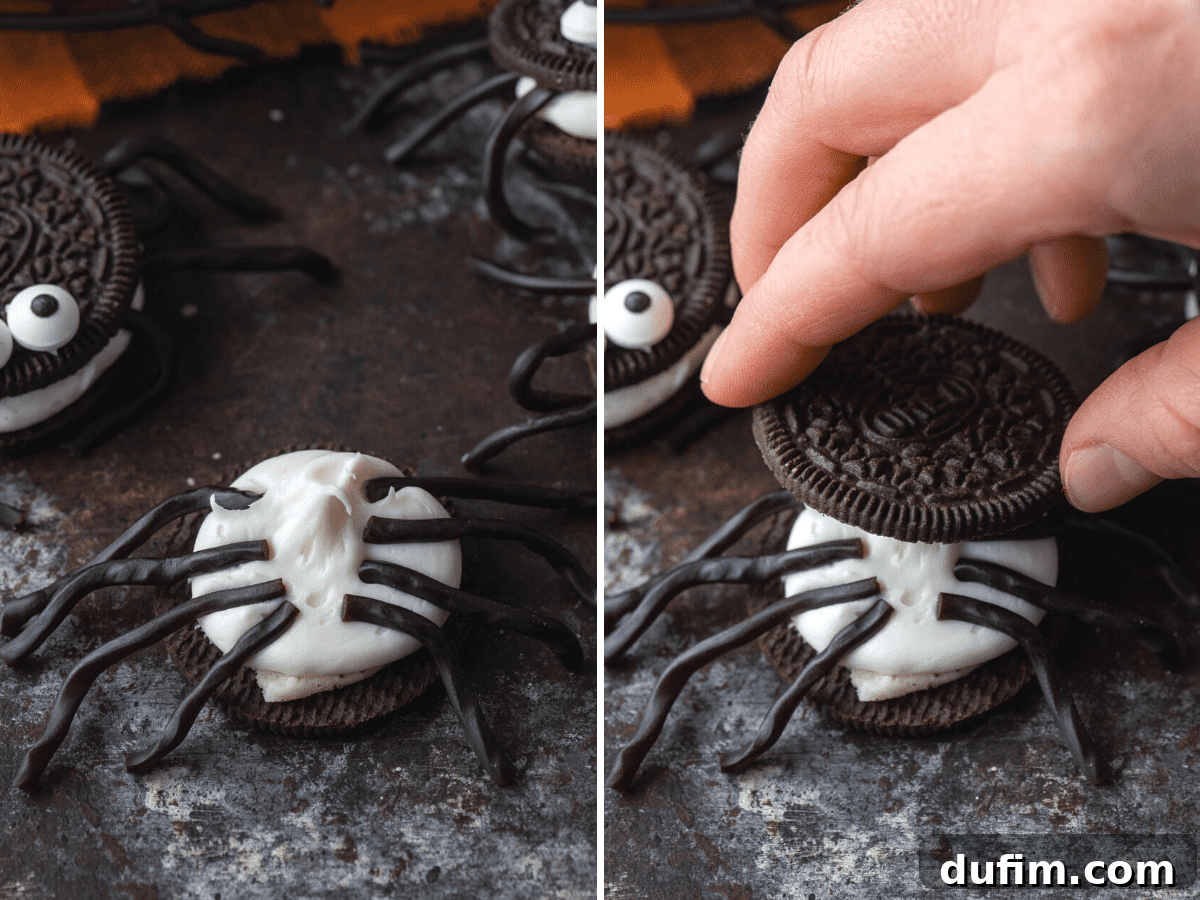
Step 4: Add the Legs. Take eight short pieces of black shoestring licorice and carefully press them into the piped frosting, four on each side of the Oreo, to resemble spider legs. Once all legs are in place, gently replace the top chocolate wafer, pressing down lightly to secure the legs and frosting in between.
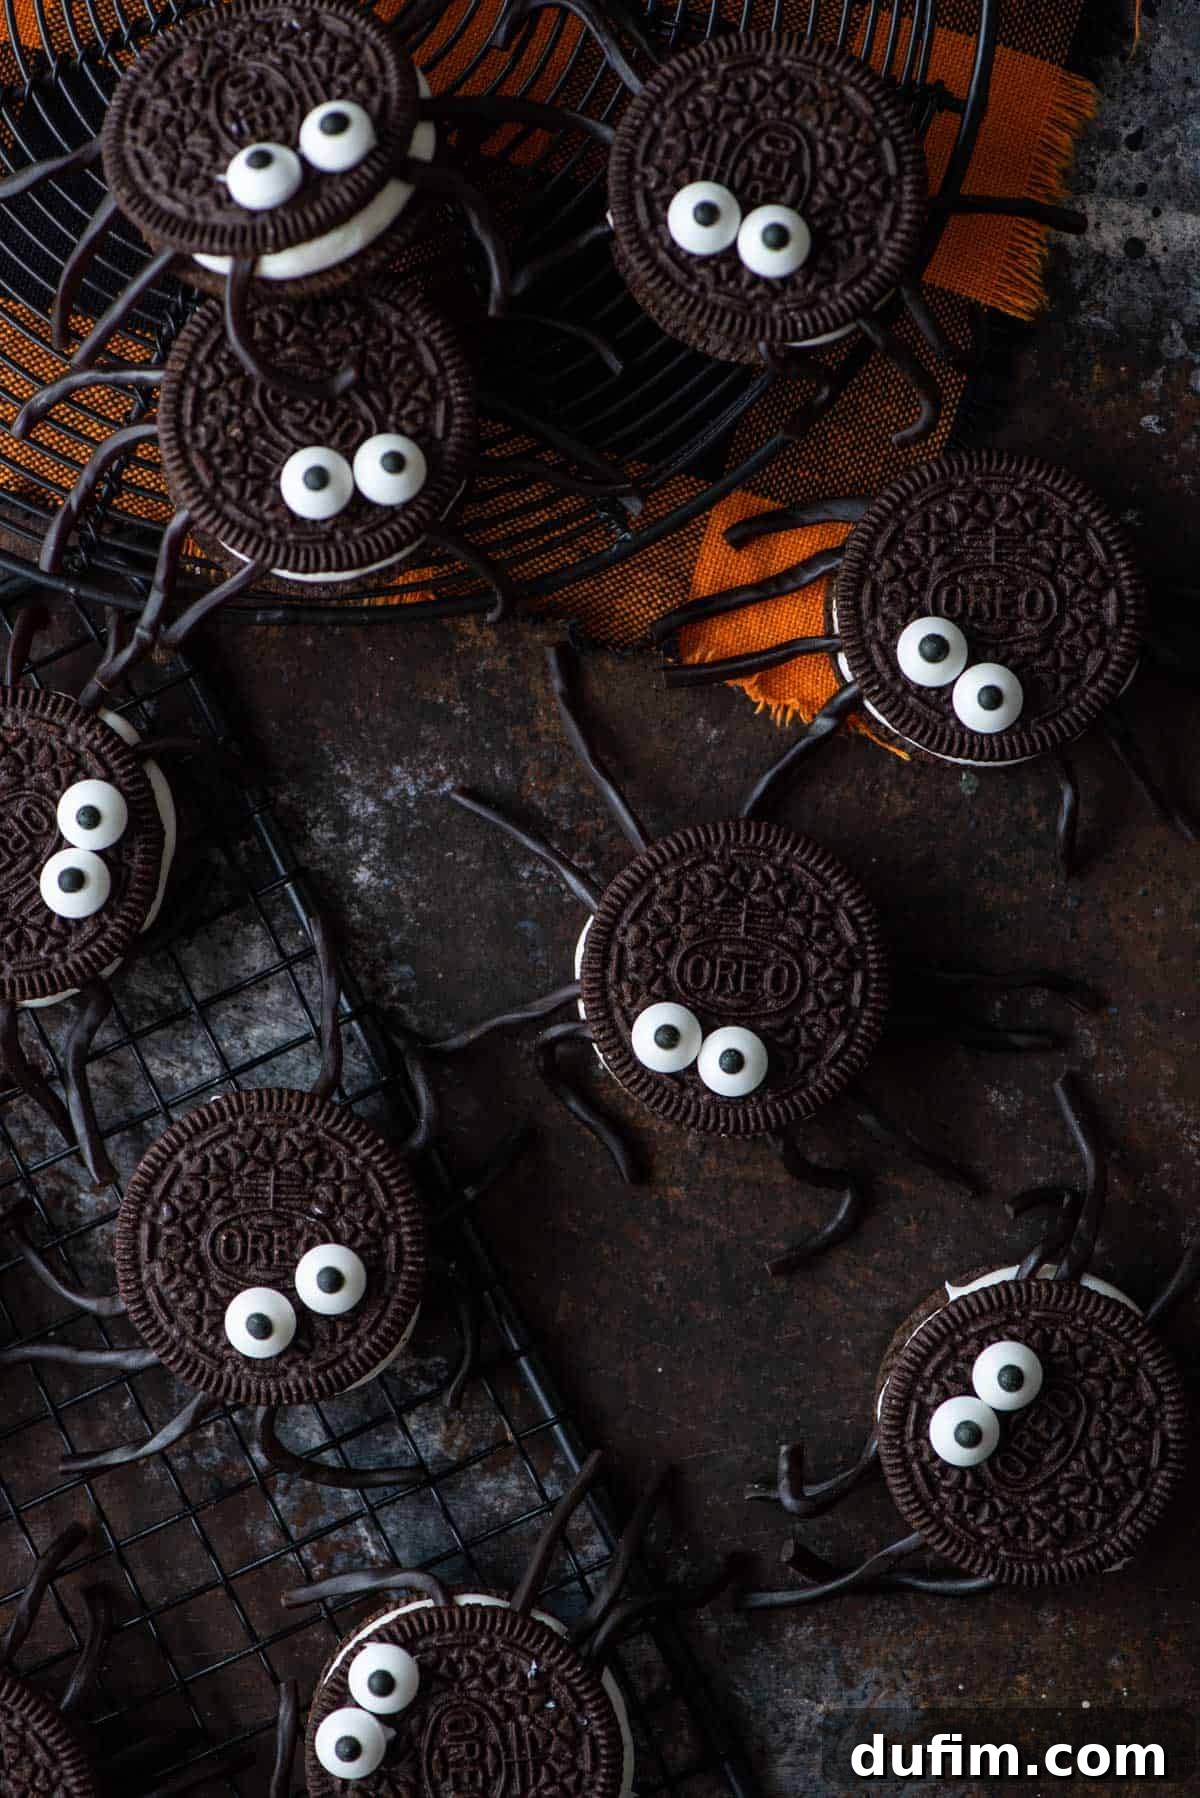
Step 5: Attach the Eyeballs. For the finishing touch, use a tiny dab of frosting (you can use your piping bag or a toothpick) to attach two candy eyeballs to the top of each “spider body” (the top Oreo wafer). Position them to give your spiders a whimsical or spooky expression. And just like that, your adorable Oreo spiders are ready to be admired and enjoyed!
Tips, Tricks, and Terrific Variation Ideas
These Oreo spiders are wonderfully customizable! Here are a few tips to ensure your treats are perfect, along with creative variations to make them uniquely yours:
- Choose the Right Frosting Consistency: For the best results, you’ll want a frosting that is thick enough to hold its shape once piped and spread. Canned frostings from the grocery store are usually ideal for this as they have a sturdy texture. If making homemade frosting, aim for a similar consistency and avoid overly soft or runny buttercreams that might struggle to keep the legs in place.
- Add a Pop of Color with Dyed Icing: While white frosting provides a great contrast, don’t hesitate to get creative with colors! Use gel food coloring to dye your white frosting orange, purple, green, or any spooky shade you desire. This instantly adds a vibrant, festive touch to your spiders.
- Give Them Spooky Teeth with Candy Corn: Want to make your spider cookies even cuter (if that’s even possible)? For a fun detail, carefully snip off the white tip of a candy corn piece and gently press it into the frosting beneath the candy eyeballs to create tiny, adorable fangs!
- Pretzels as an Alternative to Licorice Legs: Not a fan of licorice or looking for a different texture? No worries! Thin stick pretzels or pretzel sticks make an excellent crunchy alternative for the spider legs. Just break them into appropriate lengths and insert them into the frosting as you would the licorice.
- Swap the Eyeballs for Other Candies: While candy eyeballs are super convenient, feel free to experiment! Small M&M’s, mini chocolate chips (pointed side out), or even small dabs of colored frosting can be used to create the spider eyes, adding another layer of personalization.
- Experiment with Different Cookies: While Oreos are classic, consider other sandwich cookies like Nutter Butters (for peanut butter spiders without the extra step!), vanilla wafers, or even seasonal cookie flavors to mix things up.
Can I Make This Halloween Dessert in Advance?
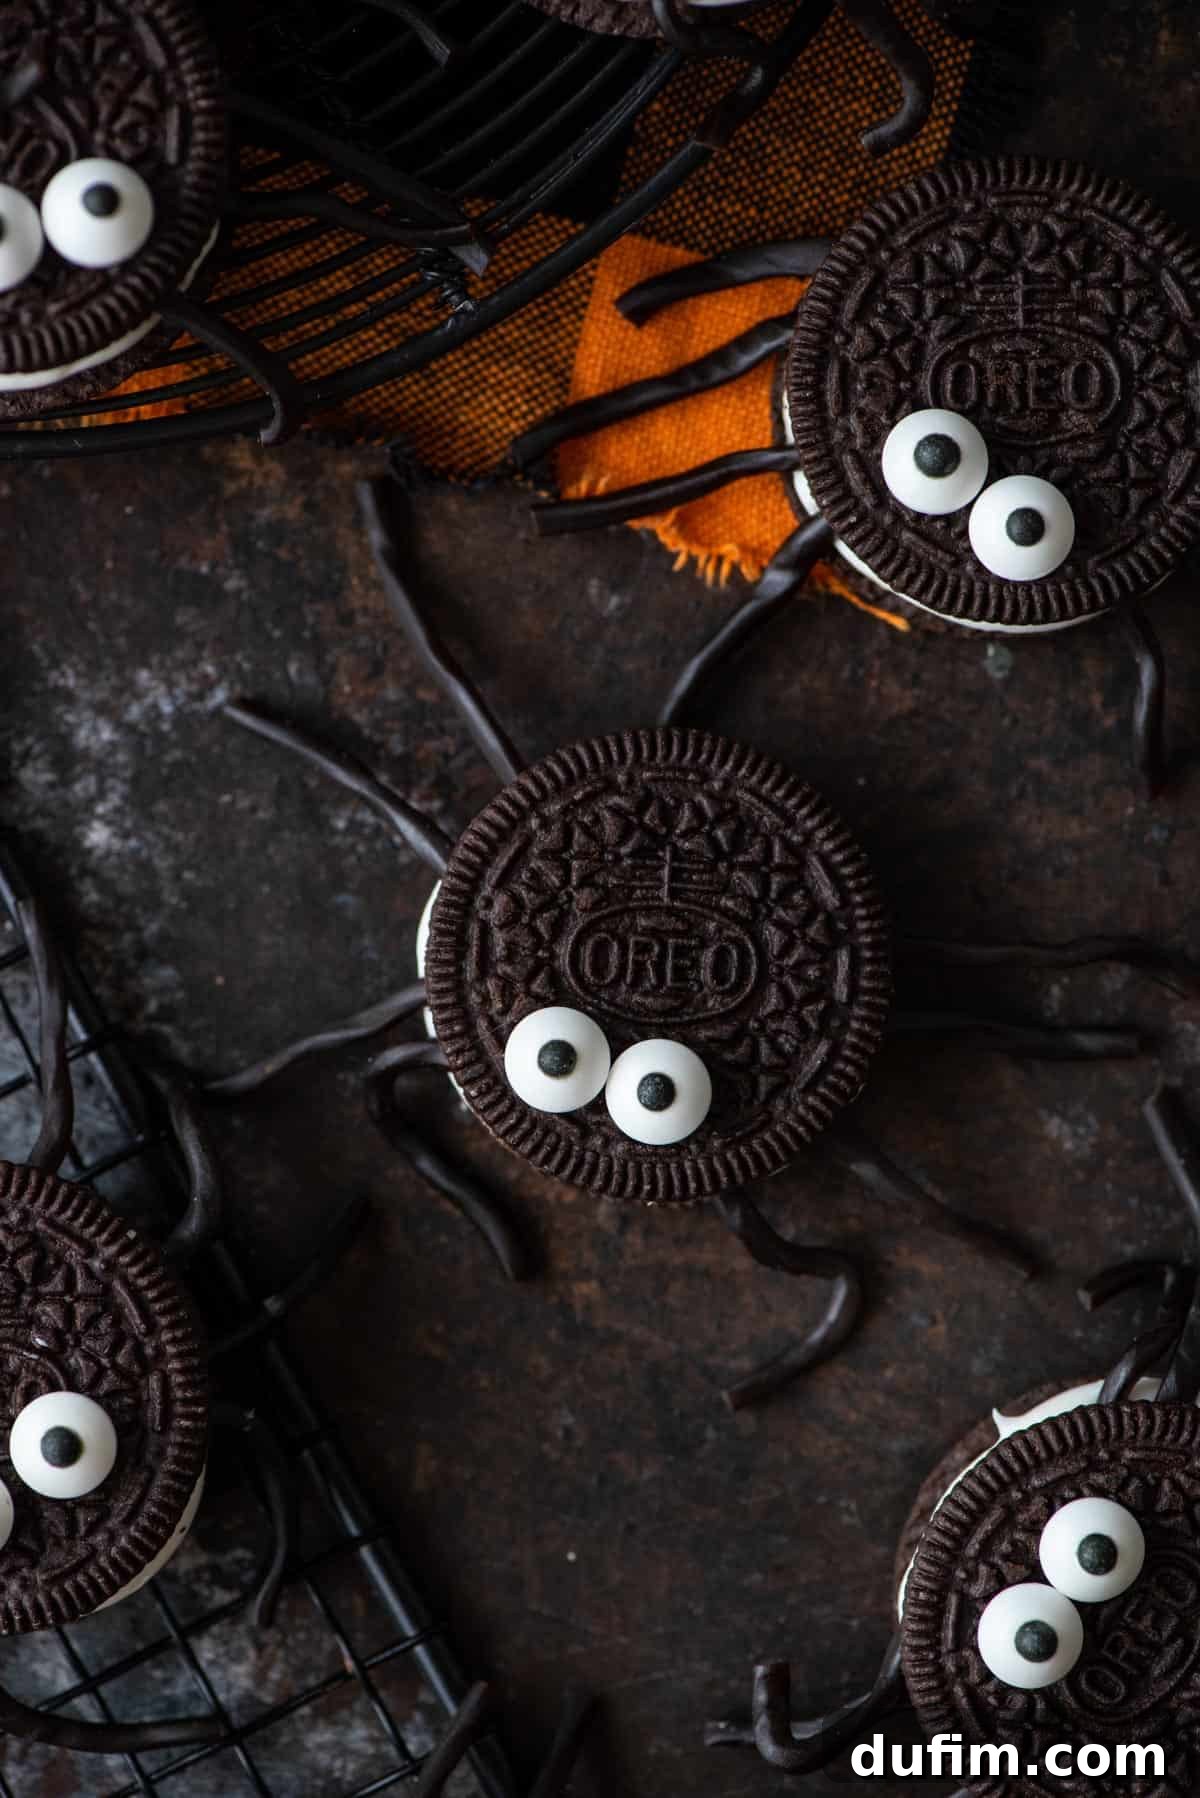
Absolutely! One of the many advantages of these no-bake Oreo spider cookies is their suitability for make-ahead preparation. You can assemble them a day or two before your event. Once completed, store them in an airtight container at room temperature. They will remain fresh and delicious on your counter for up to 5 days, making them a stress-free option for your Halloween party planning.
How Can I Make Them Even More Festive?
Beyond the variations mentioned, you can sprinkle a little orange or black sanding sugar on the frosting before adding the top cookie for extra sparkle. Arrange them on a platter with some candy corn or gummy worms for a truly spectacular Halloween display!
More Spine-Tingling Halloween Recipes
- Witch Hat Cookies
- Peanut Butter Spider Cookies
- Ghost Cupcakes
- Halloween Cookies
- Spider Cupcakes
Oreo Spiders Recipe
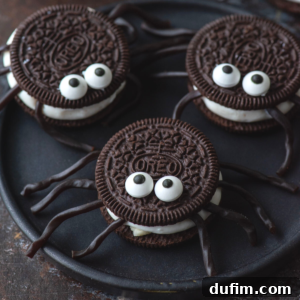
Oreo Spiders
By: Beth
Made with just 4 ingredients, these Oreo Spiders are a fun and easy Halloween dessert. No baking or cooking is required, making them a treat the entire family can enjoy making.
Equipment
- Piping Bag
Ingredients
- 1 package Oreos
- 16 ounces white frosting
- Black shoestring licorice (enough for 8 legs per cookie)
- Candy eyeballs (2 per cookie)
Instructions
- Place the white frosting in a piping bag fitted with a round tip.
- Untwist each Oreo cookie to separate the two wafers.
- Pipe a swirl of frosting onto the cream-filled half of each Oreo.
- Carefully add 8 black shoestring licorice legs to each Oreo (4 on each side), pressing them into the frosting.
- Replace the top Oreo wafers, gently pressing down to secure the legs and frosting.
- Use a small amount of frosting to attach two candy eyeballs to the top of each spider cookie.
- Display your delightful Oreo spiders and enjoy your festive, no-bake Halloween treats!
Video
Notes
Tips and Variation Ideas
Use a thick frosting. For this recipe, you definitely want a frosting that will hold its shape once spread. The ones in the container at the store are perfect but homemade can be used too, just choose one that has a similar texture. I would avoid buttercream and any soft, melty frostings.
Dye the icing. Want to give these a pop of color? Use gel food coloring to dye the white frosting orange, purple, or green.
Add teeth with candy corns. If you want to make these spider cookies even cuter, you can add teeth by cutting off the white tip of candy corn and using it to make teeth.
Use pretzels as legs. Not a fan of licorice? No worries. You can use stick pretzels as the legs instead.
Swap the eyes. Use M&M’s for eyeballs!
Nutrition
All nutritional values are approximate and provided to the reader as a courtesy. Changing ingredients and/or quantities will alter the estimated nutritional calculations.
Calories: 167kcal | Carbohydrates: 26g | Protein: 1g | Fat: 7g | Saturated Fat: 2g | Polyunsaturated Fat: 2g | Monounsaturated Fat: 3g | Trans Fat: 0.01g | Sodium: 108mg | Potassium: 51mg | Fiber: 1g | Sugar: 20g | Vitamin A: 0.4IU | Calcium: 5mg | Iron: 2mg
Like this recipe? Rate and comment below!