
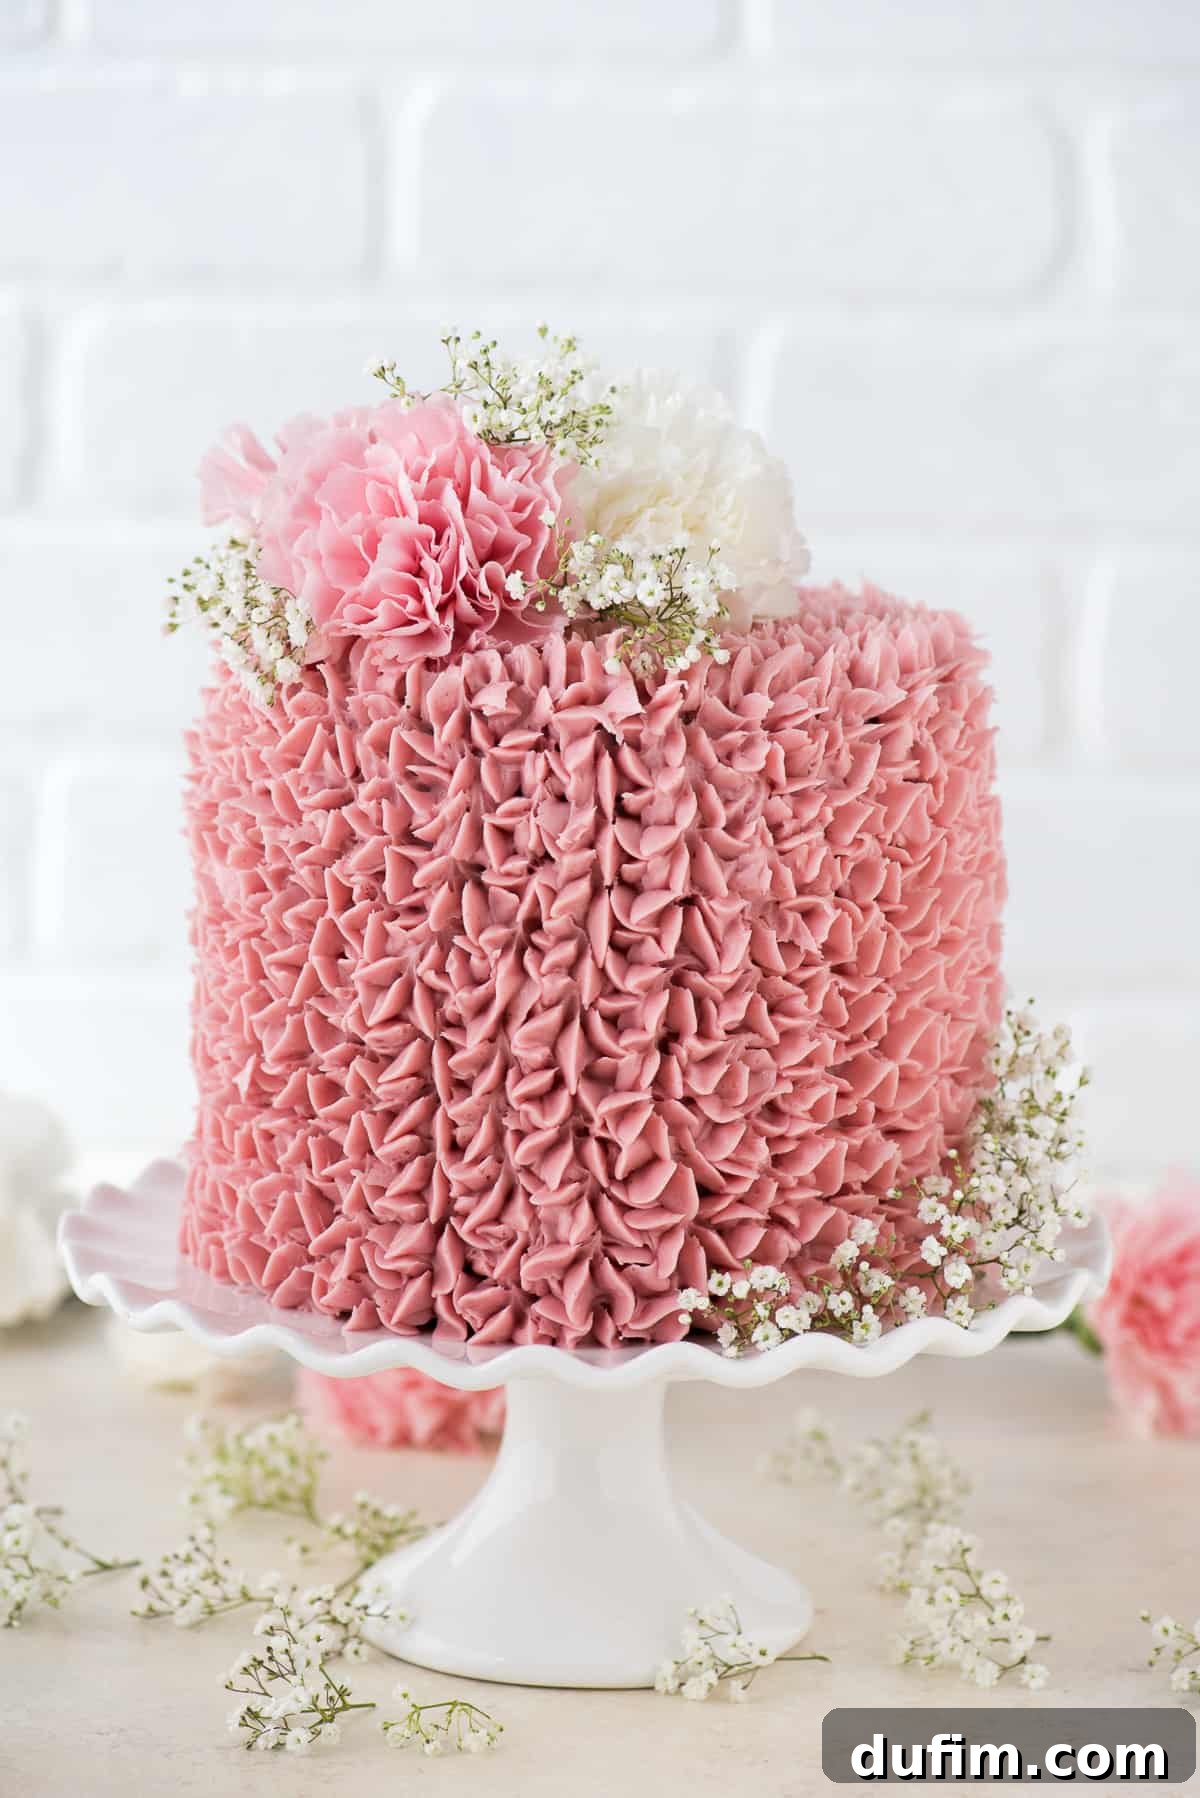
Indulge in this homemade three-layer raspberry chocolate cake! Featuring rich, classic chocolate cake layers and a luscious raspberry jam buttercream, this dessert is a true showstopper.
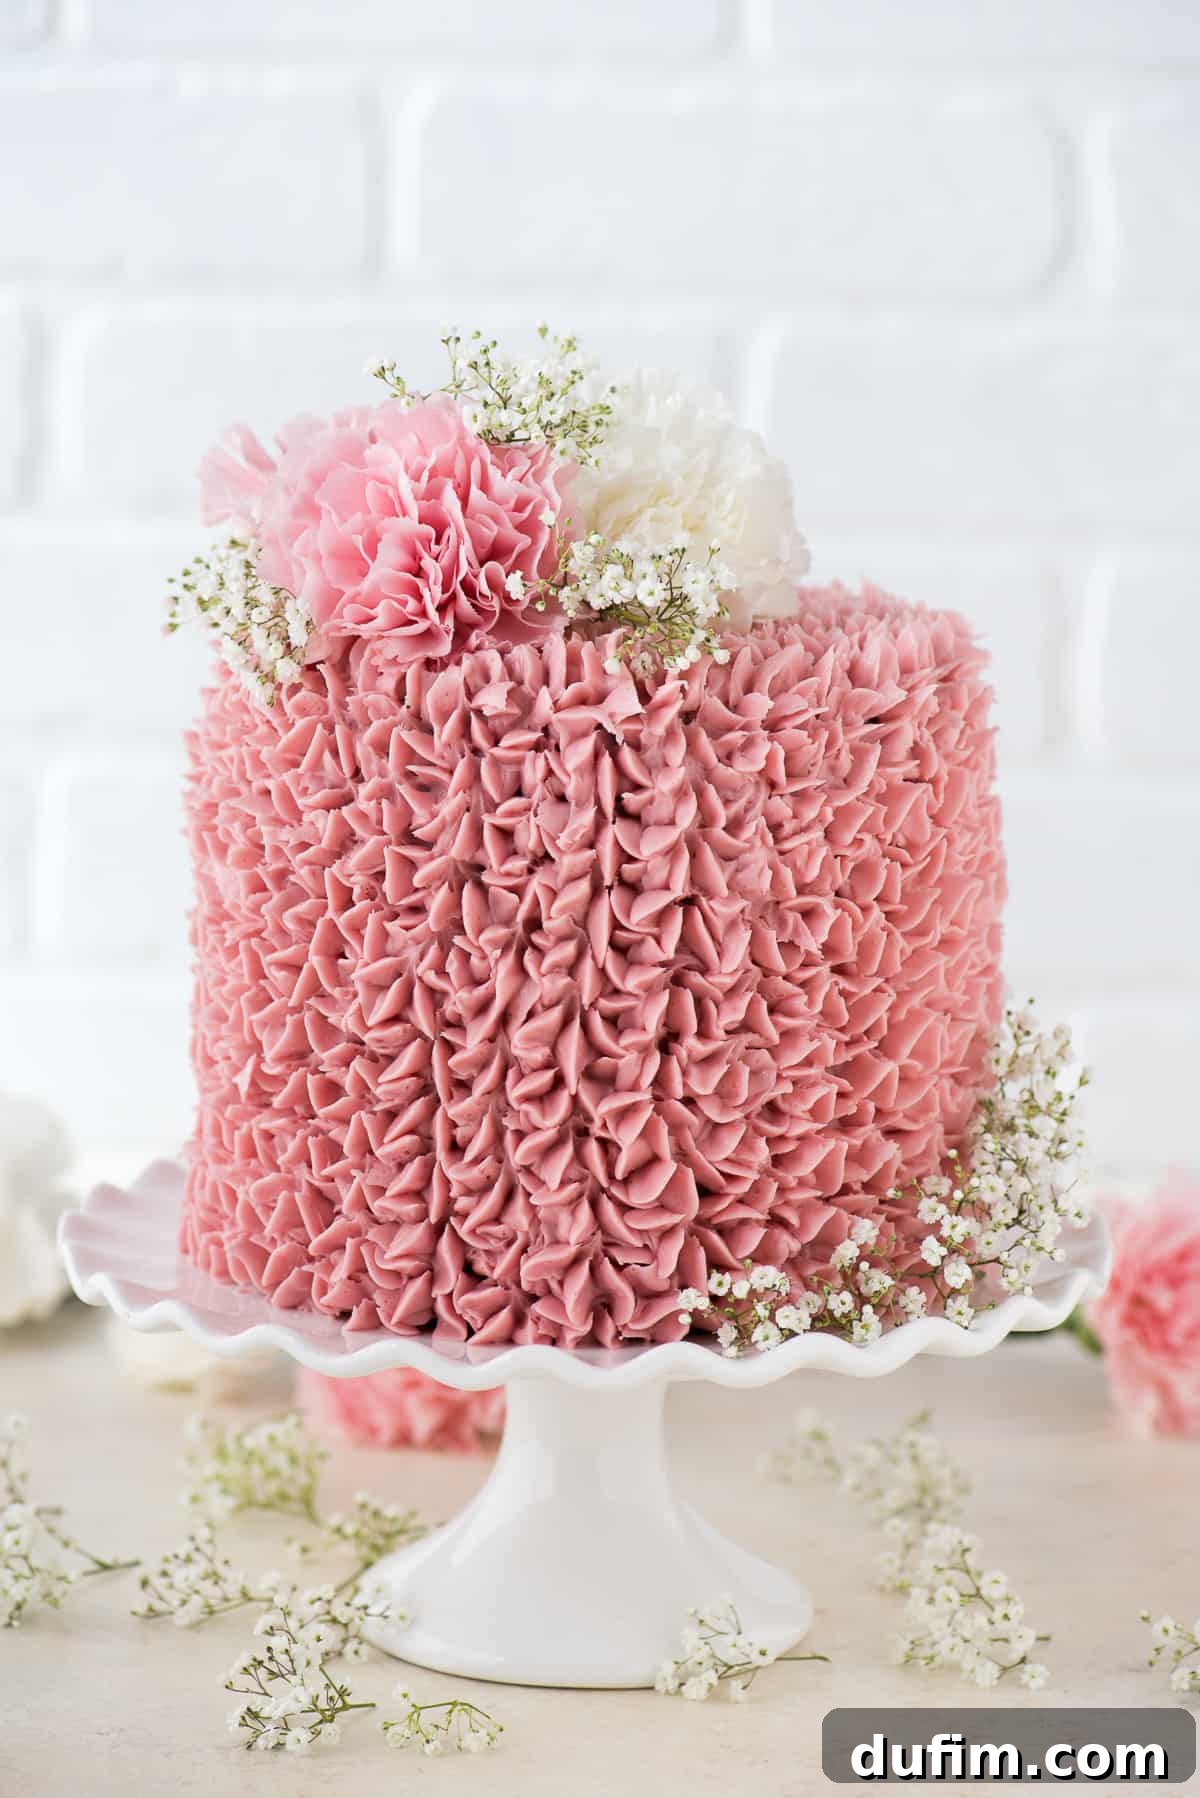
There’s an undeniable magic in creating a beautiful layered cake from scratch. It’s a process I deeply enjoy, and I’m making a conscious effort to dive deeper into the art of cake baking. Expect to see more exciting cake recipes gracing these pages in the months to come, as I hone my skills and share my favorite creations with you!
With February’s arrival, my mind naturally drifts to delightful Valentine’s Day flavors. For me, chocolate is an absolute essential – a non-negotiable component of any romantic or celebratory dessert. That’s why I chose to build this exquisite cake upon the foundation of our beloved chocolate cake recipe. Its rich, moist, and tender crumb provides the perfect canvas for a truly special flavor pairing.
But what pairs better with decadent chocolate than the bright, tangy sweetness of raspberries? This classic combination offers a delightful contrast, balancing the deep cocoa notes with a refreshing fruity burst. While the chocolate cake itself is a masterpiece, the real star that elevates this dessert to extraordinary heights is the raspberry buttercream – a truly divine creation that adds both vibrant flavor and stunning color.
The Secret to Perfect Raspberry Buttercream
Venturing into fruit-based buttercreams has been a delightful new challenge for me, as I often find myself gravitating towards the comforting familiarity of chocolate frostings. However, for this raspberry chocolate cake, a vibrant fruit buttercream was absolutely essential to achieve that perfect flavor balance.
When incorporating fresh fruit into buttercream, there’s a delicate balance to strike. Too much fresh fruit, with its high water content, can quickly lead to a runny, unmanageable frosting that simply won’t pipe or hold its shape. This is a common pitfall that many home bakers encounter. Initially, I considered using freeze-dried raspberries, which offer concentrated flavor without excess moisture, but they weren’t available at my local grocery store.
This left me with two primary options: fresh/frozen raspberries or raspberry jam. While fresh or frozen raspberries could be boiled down to a reduction, the thought of adding an extra, time-consuming step to the baking process wasn’t particularly appealing. I wanted a method that was both effective and efficient. So, I decided to take a chance on good quality raspberry jam, and the results were absolutely phenomenal!
Using seedless raspberry jam proved to be a brilliant shortcut. It provided an intense, authentic raspberry flavor without introducing excessive liquid, making it incredibly easy to achieve a stable, pipeable buttercream. What truly surprised and delighted everyone who tasted it was that this raspberry buttercream wasn’t overly sweet. It struck a beautiful chord between tart and sweet, earning rave reviews and many compliments. I’m confident that you’ll adore this easy and delicious approach to fruit buttercream as much as we do!
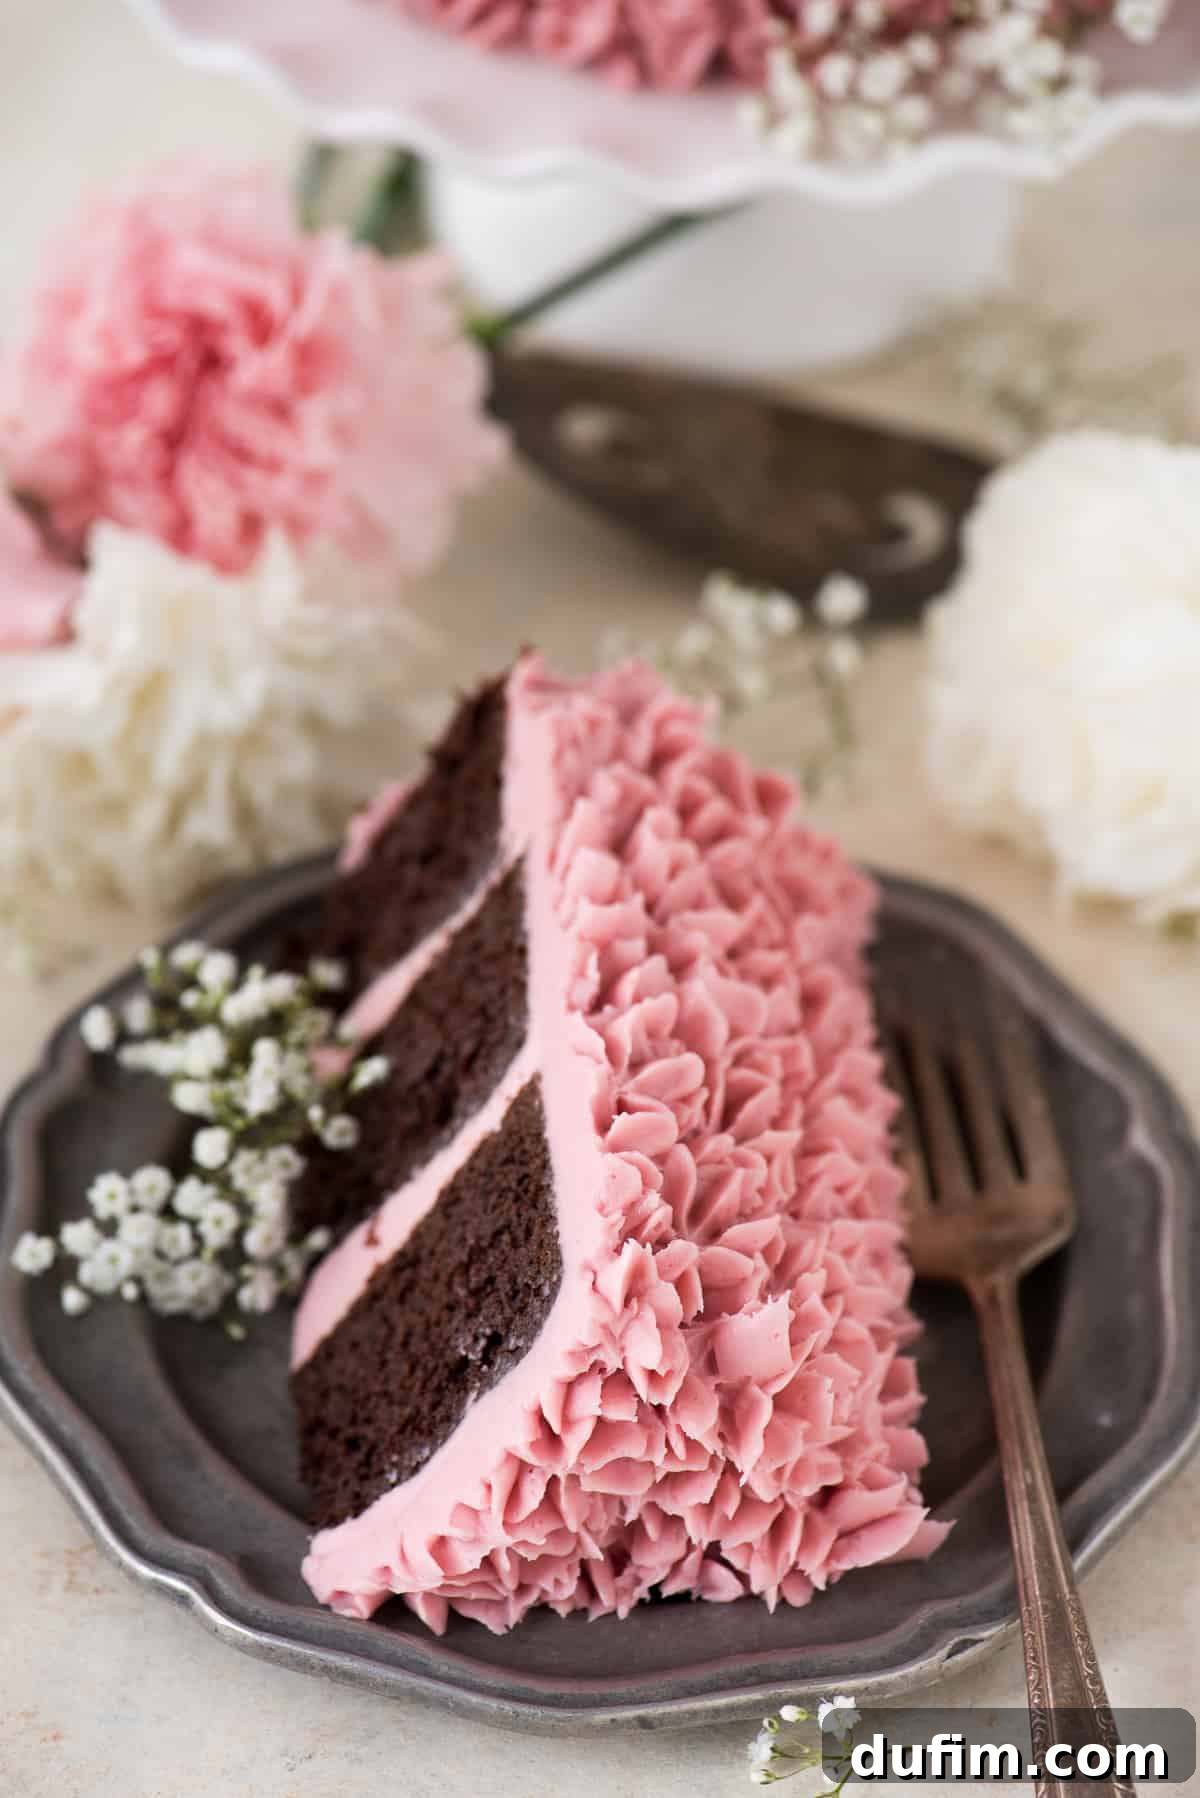
Our recipe is designed for three 6-inch cake pans, which yield beautifully tall and impressive layers. However, if you have 8-inch or 9-inch round pans, they will work perfectly too! Just remember to adjust the batter distribution accordingly: for 8 or 9-inch pans, split the batter between two pans instead of three. This will result in slightly thicker layers that you may choose to level for an even finish, or simply enjoy as a two-layer cake.
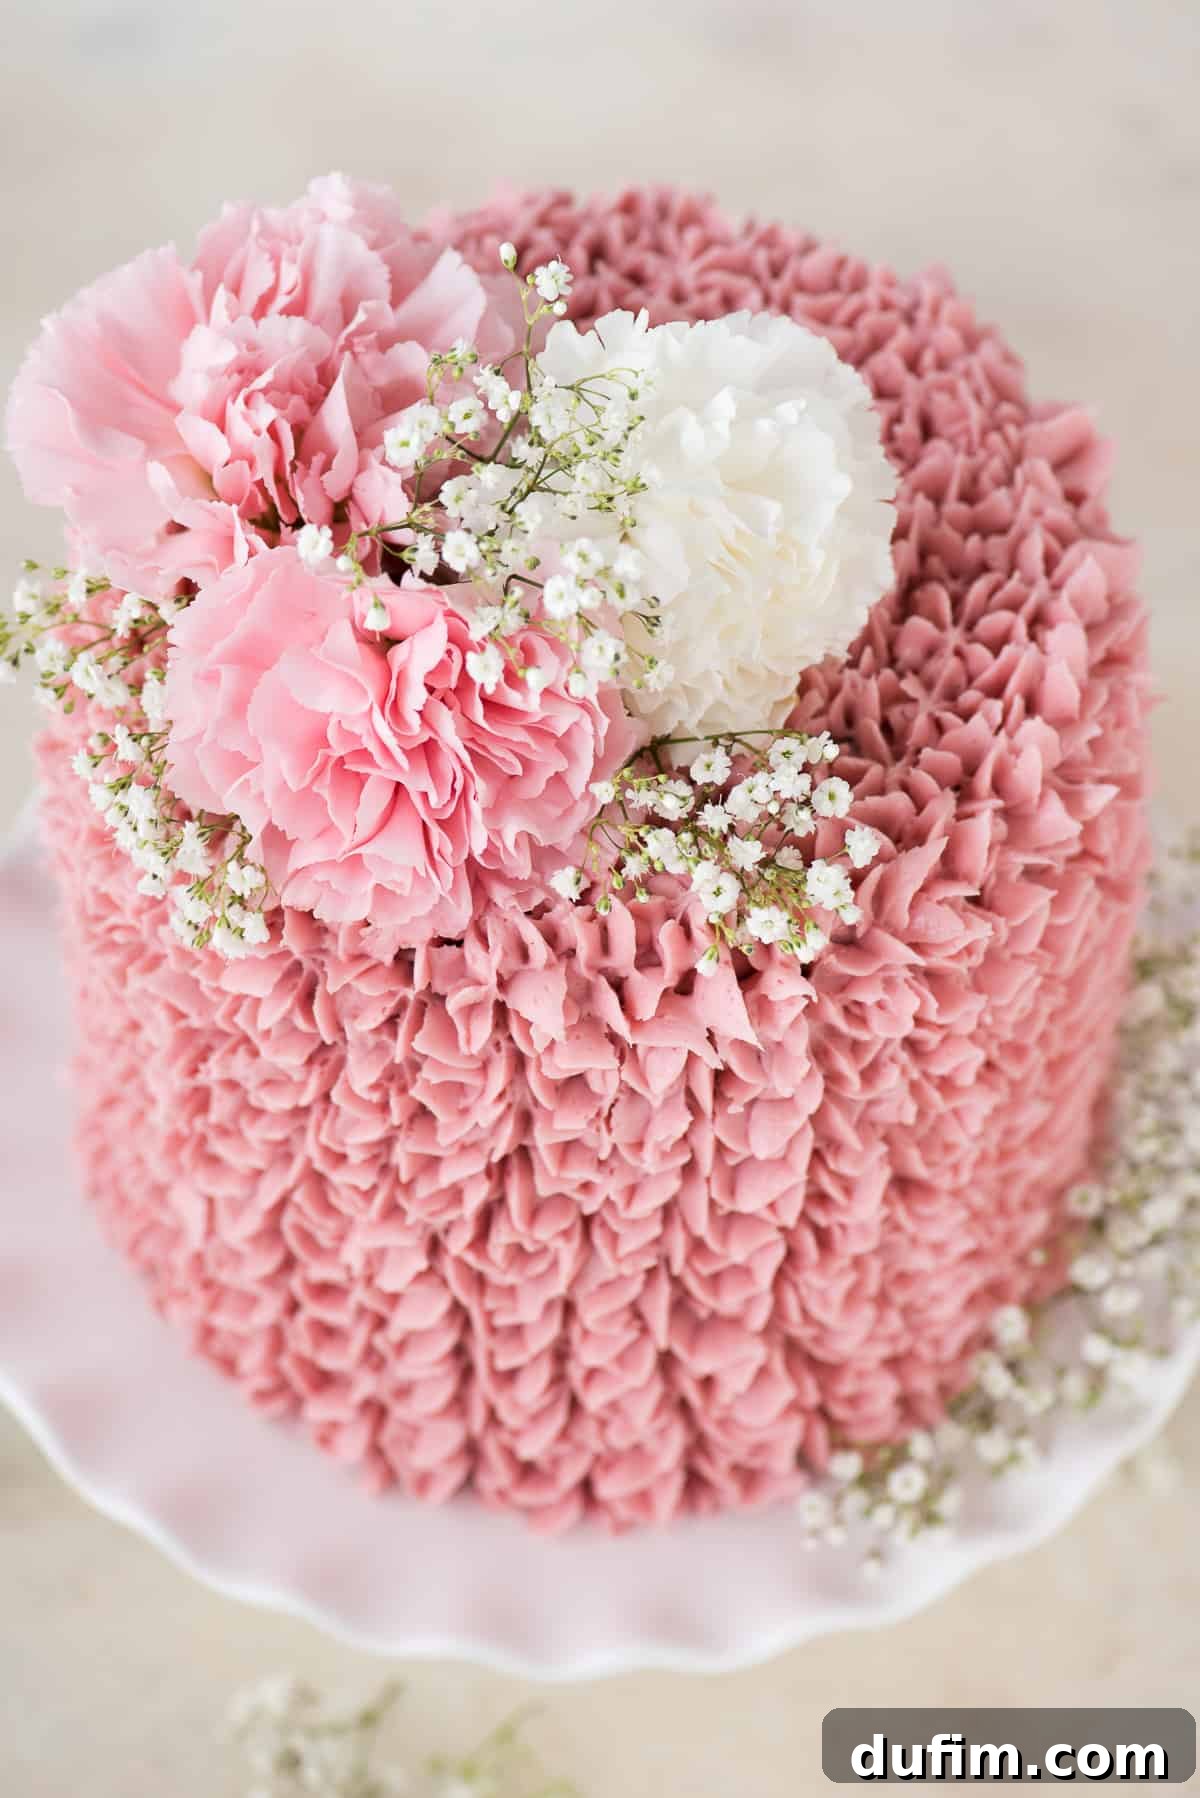
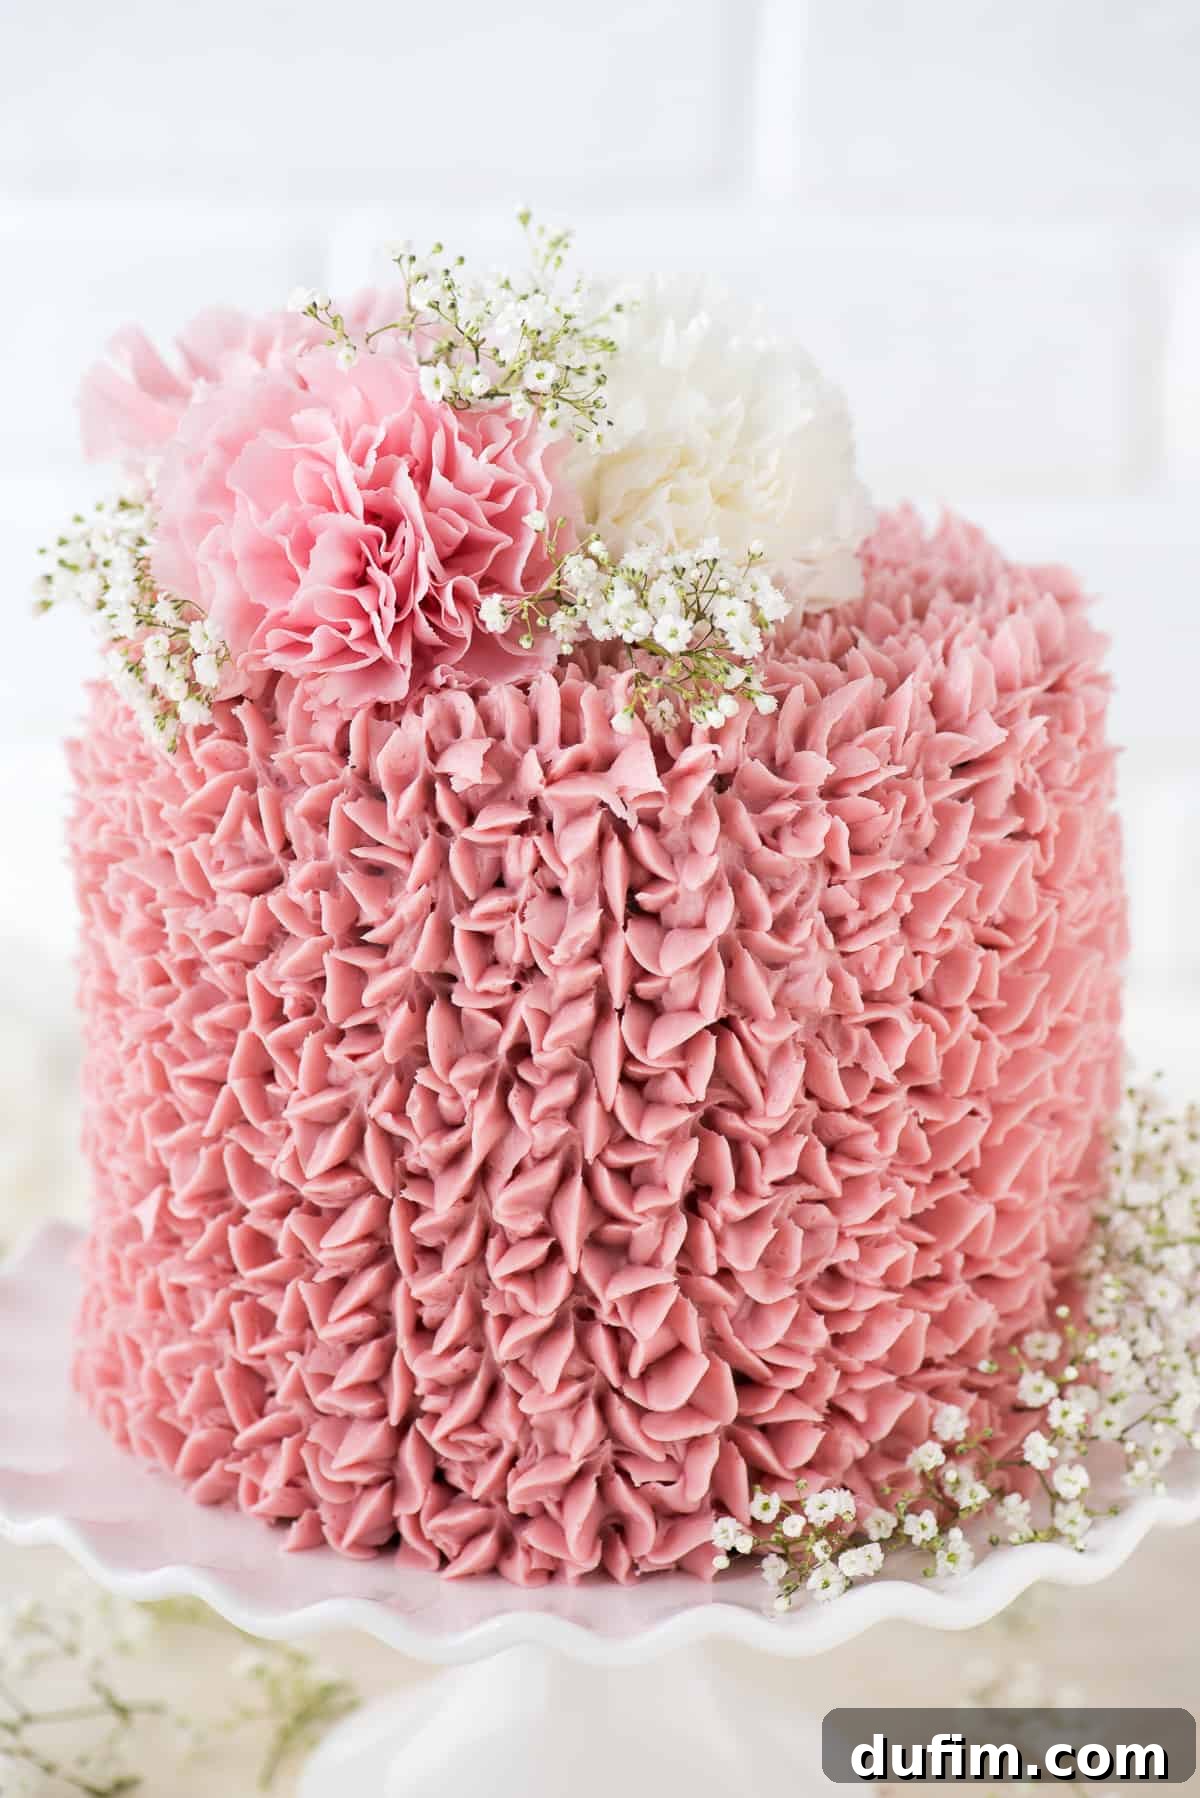
For the exterior frosting, I opted for a Wilton 1M piping tip to create a charming, almost petal-like pattern. It’s a simple technique that yields elegant results, adding a touch of sophistication to the cake. If you’re a visual learner, be sure to watch the video below to see this piping technique in action – it’s easier than you might think!
To give the cake an extra touch of glamour and a festive feel, I adorned it with a few blush pink and white carnations, complemented by delicate baby’s breath. Fresh flowers always make a stunning statement on cakes, transforming them into edible works of art. Just a friendly reminder: while beautiful, fresh flowers are for decoration only and are not edible!
Achieving Baking Perfection: How to Properly Measure Flour
Accurate ingredient measurement is the cornerstone of successful baking, and flour is no exception. Incorrectly measured flour is one of the most common culprits behind dry, dense, or crumbly cakes. The “spoon and level” method is universally recommended for a reason – it ensures you get just the right amount, every single time. Here’s how to do it correctly:
- Fluff the flour: Before you even think about scooping, take a fork and gently fluff up the flour in its container or bag. Flour tends to settle and compact over time, especially if it’s been sitting for a while. Fluffing it up aerates it, making it lighter and easier to measure accurately.
- Spoon into the measuring cup: Instead of plunging your measuring cup directly into the bag, use a spoon to gently scoop the fluffed flour into your dry measuring cup. Pile it slightly above the rim.
- Level off: Take a straight edge, like the back of a butter knife or a flat ruler, and carefully sweep it across the top of the measuring cup, leveling off any excess flour. This ensures a precise, consistent measurement.
Why is this so important? Sticking your measuring cup straight into a bag of flour can pack it down significantly, resulting in up to 25% more flour than the recipe intends. This excess flour absorbs more liquid from your batter, leading to a cake that is dry, tough, and lacks the delicate texture you’re aiming for. By taking these few extra moments to measure your flour properly, you’re setting yourself up for a perfectly moist and tender cake every time.
The Ultimate Guide to Preparing a Cake Pan for Flawless Release
There’s nothing more frustrating than a beautifully baked cake sticking to the pan. Proper pan preparation is crucial for a smooth, effortless release, ensuring your cake comes out intact and ready for frosting. While non-stick cooking sprays might seem convenient, I highly recommend using butter or shortening for greasing your cake pans; they create a more reliable barrier against sticking.
Here’s a step-by-step guide to preparing your cake pans like a pro:
- Liberally Grease the Pan: Begin by coating the entire interior surface of your cake pan – bottom and sides – with a generous layer of butter or shortening. I find butter creates a superior non-stick surface.
- Use a Barrier for Your Hands: To keep your hands clean and ensure an even application, place your hand inside a resealable plastic bag or wrap it in a paper towel. Scoop about 1/2 tablespoon of butter or shortening and thoroughly rub it across every nook and cranny of the pan.
- The Parchment Paper Secret for Easy Removal: For the absolute easiest cake removal, especially from the bottom, cut a circle of parchment paper that matches the exact size of your pan’s bottom. After you’ve buttered the pan, simply place this parchment circle onto the greased bottom. For springform pans, I find it easiest to trace the removable bottom onto the parchment, then cut it out. This creates a foolproof non-stick surface, guaranteeing your cake will lift out beautifully.
This meticulous preparation ensures that your delicate cake layers won’t tear or crumble when inverted, preserving their perfect shape for assembly. It’s a small effort that makes a huge difference in the final presentation of your homemade masterpiece.
Mastering the Art of Baking Even, Flat Cakes
Achieving perfectly flat cake layers is a game-changer for any baker, making stacking and frosting a breeze. A domed cake often means you’ll have to trim off the top, resulting in wasted cake and potentially uneven layers. Fortunately, there are simple techniques to ensure your cakes bake up beautifully level every time.
My go-to method involves using “bake even cake strips” around the outside of my springform pans. These miraculous strips, often available in a two-pack for around $10 on Amazon, work by insulating the sides of the pan. This insulation causes the cake to bake more evenly from the edges to the center, preventing the sides from setting too quickly and pushing the center upwards into a dome. They truly work every single time!
If you don’t have commercial bake-even strips, you can easily create your own homemade version. Simply cut a strip from an old, absorbent towel or a piece of cotton fabric (like an old t-shirt) to fit the circumference and height of your pan. Get the fabric thoroughly wet, then squeeze out the dripping water until it’s just damp, not soaking. Wrap this damp strip around the outside of your cake pan and secure it with a safety pin. The damp fabric serves the same insulating purpose as commercial strips, promoting even heat distribution.
Even with bake-even strips, sometimes a slight dome can still occur, or you might prefer a perfectly precise, uniform look. In such cases, a cake leveler or a long serrated knife is your best friend. After your cakes have cooled completely, you can use these tools to carefully trim any domed tops, creating perfectly flat surfaces ready for stacking. Leveling your cakes not only makes assembly easier but also contributes to a professional, polished finish.
Explore More Delicious Cake Recipes
If you’ve enjoyed baking this Raspberry Chocolate Cake, you’re in for a treat with our other popular cake creations:
- Comforting Applesauce Cake
- Classic Yellow Cake Recipe
- Rich Homemade Chocolate Cake
- Irresistible Oreo Cake
Watch the Raspberry Chocolate Cake Video Tutorial
Ready to bake this gorgeous Raspberry Chocolate Cake? This detailed recipe will guide you through every step, from preparing the luscious chocolate cake layers to creating the vibrant raspberry jam buttercream and assembling your masterpiece. Get ready to impress with this delightful dessert!
Tap stars to rate!
Raspberry Chocolate Cake
Rate
Equipment
-
Glass Mixing Bowl
-
KitchenAid 9-Speed Mixer
-
My favorite spatula!
-
Kitchen Scale
-
Bake Even Cake Strips
Ingredients
CHOCOLATE CAKE (THIS RECIPE MAKES THREE 6 INCH CAKES or TWO 8 INCH CAKES)
- ½ cup (42g) cocoa powder
- 1 ½ cups (180g) all purpose flour
- 1 ½ tsp baking powder
- 1 tsp baking soda
- ½ tsp salt
- ¾ cup (170g) butter, 1 1/2 sticks, room temperature
- 1 cup + 2 Tbsp (223g) sugar
- 3 large eggs
- 1 ½ tsp vanilla
- ⅔ cup + 1/4 cup (209g) sour cream
- 3 Tbsp semi-sweet chocolate chips, melted with a little bit of vegetable oil
Raspberry Buttercream
- 1 ½ cups (339g) unsalted butter, 3 sticks
- ½ cup (118g) vegetable shortening, can be substituted for butter
- ½ cup (170g) seedless raspberry jam
- 3 cups (339g) powdered sugar
Instructions
CHOCOLATE CAKE
-
Preheat the oven to 350º F (175°C).
-
Prepare your cake pans by generously greasing the bottom and sides of three 6-inch round cake pans or springform pans with butter. Line the bottoms with a round piece of parchment paper. To ensure even baking and flat cake tops, place a bake-even strip around the outside of each pan. You can also make your own by cutting a towel or shirt to size, wetting it thoroughly, squeezing out excess water until damp, and securing it around the pan with a safety pin. Set the prepared pans aside.
-
In a small mixing bowl, combine the dry ingredients: cocoa powder, all-purpose flour, baking powder, baking soda, and salt. Gently whisk or use a spoon to mix them thoroughly until well combined.1/2 cup (42g) cocoa powder, 1 1/2 cups (180g) all purpose flour, 1 1/2 tsp baking powder, 1 tsp baking soda, 1/2 tsp salt
-
In a larger mixing bowl, cream together the room temperature butter and sugar using an electric mixer until the mixture is light and fluffy (1-2 minutes). Beat in the eggs one at a time, followed by the vanilla extract, mixing lightly after each addition until just combined.3/4 cup (170g) butter, 1 cup + 2 Tbsp (223g) sugar, 3 large eggs, 1 1/2 tsp vanilla
-
Gently fold in the sour cream and the melted semi-sweet chocolate chips (which should be mixed with a tiny bit of vegetable oil for smoothness) by hand using a spatula until just incorporated.2/3 cup + 1/4 cup (209g) sour cream, 3 Tbsp semi-sweet chocolate chips
-
Gradually add the flour mixture to the wet ingredients. Do this in two additions. For the first half, sprinkle spoonfuls of the flour mixture over the wet ingredients, then gently fold until no flour streaks remain. Repeat with the second half of the flour mixture, folding carefully and scraping the sides and bottom of the bowl to ensure everything is fully incorporated without overmixing.
-
Evenly divide the cake batter among the three prepared 6-inch pans. Each pan should contain approximately 1 & 1/3 cups to 1 & 1/2 cups of batter.
-
Bake for 22 minutes at 350º F (175°C). After 22 minutes, loosely cover the pans with aluminum foil to prevent the tops from browning too quickly. Continue to bake for an additional 7-10 minutes, or until a wooden toothpick inserted into the center of a cake comes out clean, with no wet batter attached.
-
Once the cakes are baked, remove them from the oven and allow them to cool in their pans on a wire cooling rack for 10 minutes. After 10 minutes, carefully invert the cakes onto the cooling rack and gently remove them from the pans. If using springform pans, release the sides and bottom. Allow the cake layers to cool completely before frosting. Once cool, peel off the parchment paper rounds from the bottom of each cake. If necessary, use a cake leveler or a serrated knife to level the tops of your cake layers for a perfectly flat surface.
-
If you plan to assemble the cake later, wrap the cooled cake layers individually and tightly in plastic wrap. They can be stored in the refrigerator for up to 5 days, or frozen for longer storage.
Raspberry BUTTERCREAM
-
In a large mixing bowl, combine the unsalted butter and vegetable shortening. Using an electric mixer, beat on medium-high speed until the mixture is light, pale, and fluffy, which should take about 1-2 minutes.1 1/2 cups (339g) unsalted butter, 1/2 cup (118g) vegetable shortening
-
Add the seedless raspberry jam to the butter mixture. Continue beating with the electric mixer until the jam is fully incorporated and the mixture is smooth and evenly colored.1/2 cup (170g) seedless raspberry jam
-
Gradually begin adding the powdered sugar, 1 cup at a time. To prevent a cloud of sugar, stir it in by hand with a spatula first, then beat with the electric mixer until combined. Continue adding powdered sugar until your frosting reaches your desired consistency and sweetness. You may not need all 3 cups, or you might need a little more, depending on your preference.3 cups (339g) powdered sugar
HOW TO ASSEMBLE THE CAKE
-
To begin assembly, spread a small dab of buttercream onto a 6-inch round cardboard cake circle (or your serving plate) to help secure the cake. Place your first cooled cake layer centered on top of the cardboard. Apply a generous amount of buttercream on top of this layer and spread it as evenly as possible using an offset spatula. The amount of frosting between layers is a personal preference; I typically use about 1/3 to 1/2 cup for each layer to create a visible, delicious filling.
-
Repeat this process for each subsequent cake layer, stacking them carefully to ensure they are level and centered.
-
Next, it’s time for the crumb coat – a thin layer of frosting that seals in any loose crumbs and creates a smooth base for your final frosting layer. Using your offset spatula, apply a thin, even layer of buttercream around the sides and top of the entire cake. Don’t worry if it looks messy; its purpose is purely functional. It’s often easiest to start with a little more frosting on the cake and remove excess as you go.
-
Place the entire crumb-coated cake in the freezer for about 15-20 minutes. This chilling time allows the crumb coat to firm up, making it much easier to apply your final layer of frosting without disturbing crumbs.
-
Once the crumb coat is firm, remove the cake from the freezer. Transfer your remaining raspberry buttercream into a piping bag fitted with a Wilton 1M tip (or your preferred decorating tip). Position the cake on your desired serving plate or a rotating cake stand. Begin adding your piping decoration to the side of the cake first, working your way up, then decorate the top. To create the “petal” effect, firmly squeeze the piping bag to release frosting, then lift the bag away in a swift motion. For a clearer demonstration of this technique, refer to the video recipe.
-
Finally, adorn your beautiful cake with blush pink and white carnations and delicate baby’s breath for a stunning finish. Slice, serve, and enjoy your magnificent homemade Raspberry Chocolate Cake!
Video
Notes
For best results, ensure all cold ingredients (butter, eggs, sour cream) are at room temperature before you begin mixing. This helps them emulsify properly, creating a smoother batter and a more consistent, airy buttercream.
Leftover cake can be stored at room temperature for up to 2 days, or in the refrigerator for up to 5 days, covered loosely to prevent drying. For longer storage, individual slices can be wrapped in plastic wrap and then foil, and frozen for up to 2-3 months. Thaw in the refrigerator before serving.
Nutrition
Nutrition Disclosure
All nutritional values are approximate and provided to the reader as a courtesy. Changing ingredients and/or quantities will alter the estimated nutritional calculations.
Like this recipe? Rate and comment below!