
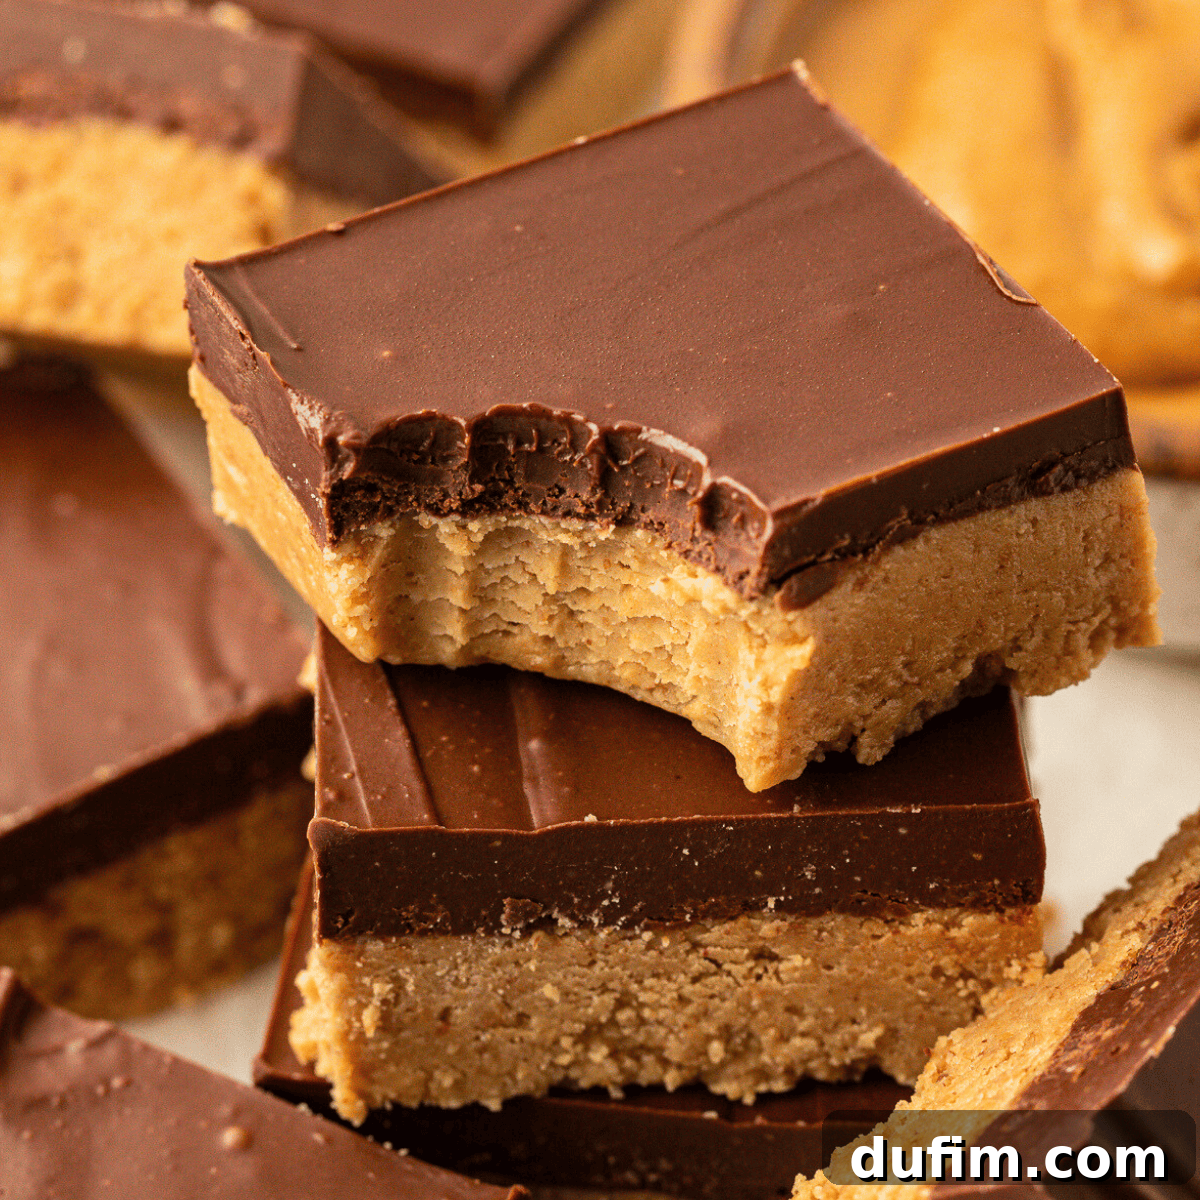
Have you ever experienced the disappointment of peanut butter bars that fall apart, leaving you with a crumbly mess instead of a perfect square? Fret no more! As a seasoned baker and peanut butter enthusiast, I’ve dedicated countless hours to perfecting the ideal no-bake peanut butter bar. This recipe guarantees a flawless blend of creamy texture and rich flavor, ensuring your bars come out perfectly firm and delicious every single time, without ever needing an oven.
“Excellent! I made a batch of these peanut butter chocolate bars, they are exceptionally creamy and flavorful! I cut and froze them, and enjoy eating them frozen. I will definitely make again.”
-Linda
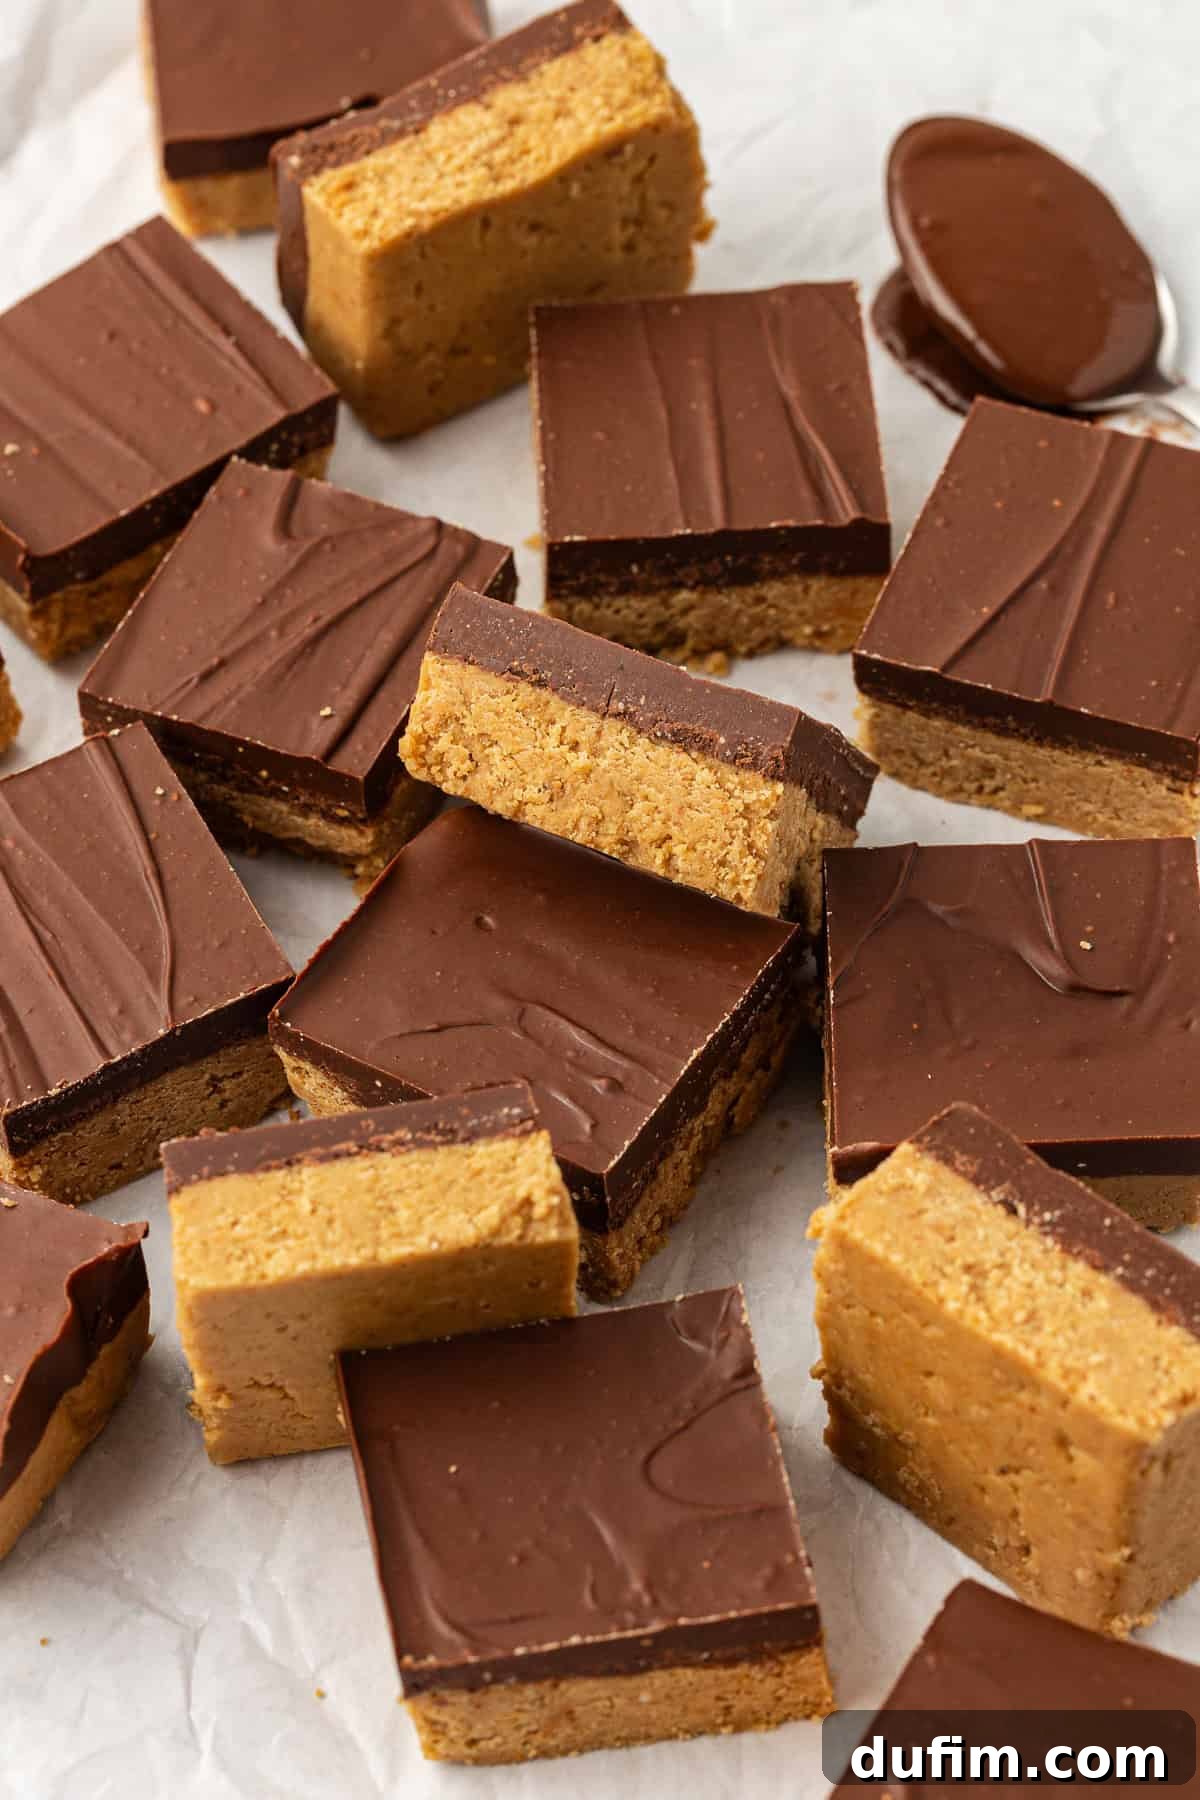
Achieving the perfect consistency for no-bake peanut butter bars can sometimes be tricky. Issues like bars being too crumbly, too soft, or having an uneven texture often stem from improper mixing or insufficient chilling. The secret to that ideal firm-yet-creamy texture and a balanced flavor lies in meticulously following ingredient ratios and allowing ample refrigeration time. But don’t worry, this recipe simplifies it all for you!
If you’ve been searching for classic peanut butter bars that hold their shape beautifully and evoke cherished memories of homemade desserts, your search ends here. You’ve discovered THE definitive recipe that nails it every single time, promising a nostalgic treat that’s impossible to resist.
These incredibly easy no-bake peanut butter bars are more than just a dessert; they’re a game-changer for anyone craving a quick and satisfying sweet treat. Imagine a rich, dense peanut butter and graham cracker base, generously topped with a silky, decadent layer of chocolate, all perfectly chilled without ever needing to touch an oven. With my straightforward instructions, you can whip up these irresistible bars in as little as 15 minutes of active prep time!
Why You’ll Fall in Love with These No-Bake Peanut Butter Chocolate Bars
What’s not to adore about these phenomenal no-bake chocolate peanut butter bars? They are unbelievably easy to prepare and so utterly delicious, you’ll wonder how you ever lived without this recipe. Prepare to find your new go-to dessert for parties, potlucks, or simply satisfying a sweet craving. Here are just a few reasons why this recipe will become a beloved staple in your kitchen:
- Effortless Preparation: No baking needed! This means no preheating ovens, no watching for golden-brown edges, and a quick cleanup. Perfect for hot days or when you want a minimal-fuss dessert.
- Incredibly Simple: With clear, concise steps and common pantry ingredients, this is a foolproof recipe even for novice bakers.
- Irresistible Flavor & Texture: Experience the perfect harmony of rich, creamy peanut butter complemented by a smooth, indulgent chocolate topping. The base offers a delightful chewiness, while the chocolate adds a satisfying snap once chilled.
- Minimal Ingredients: You likely already have most or all of the necessary items in your pantry, making this a convenient last-minute dessert option.
- Freezer-Friendly: These bars freeze beautifully, allowing you to make a large batch and enjoy them whenever a craving strikes. They’re even delicious eaten straight from the freezer!
- Customizable Portions: Easily cut these bars into any size you desire – from small bites for a crowd to larger squares for a more indulgent treat.
- Crowd-Pleaser: The classic combination of peanut butter and chocolate is universally loved, making these bars a guaranteed hit at any gathering.
Essential Ingredients for Perfect Peanut Butter Bars
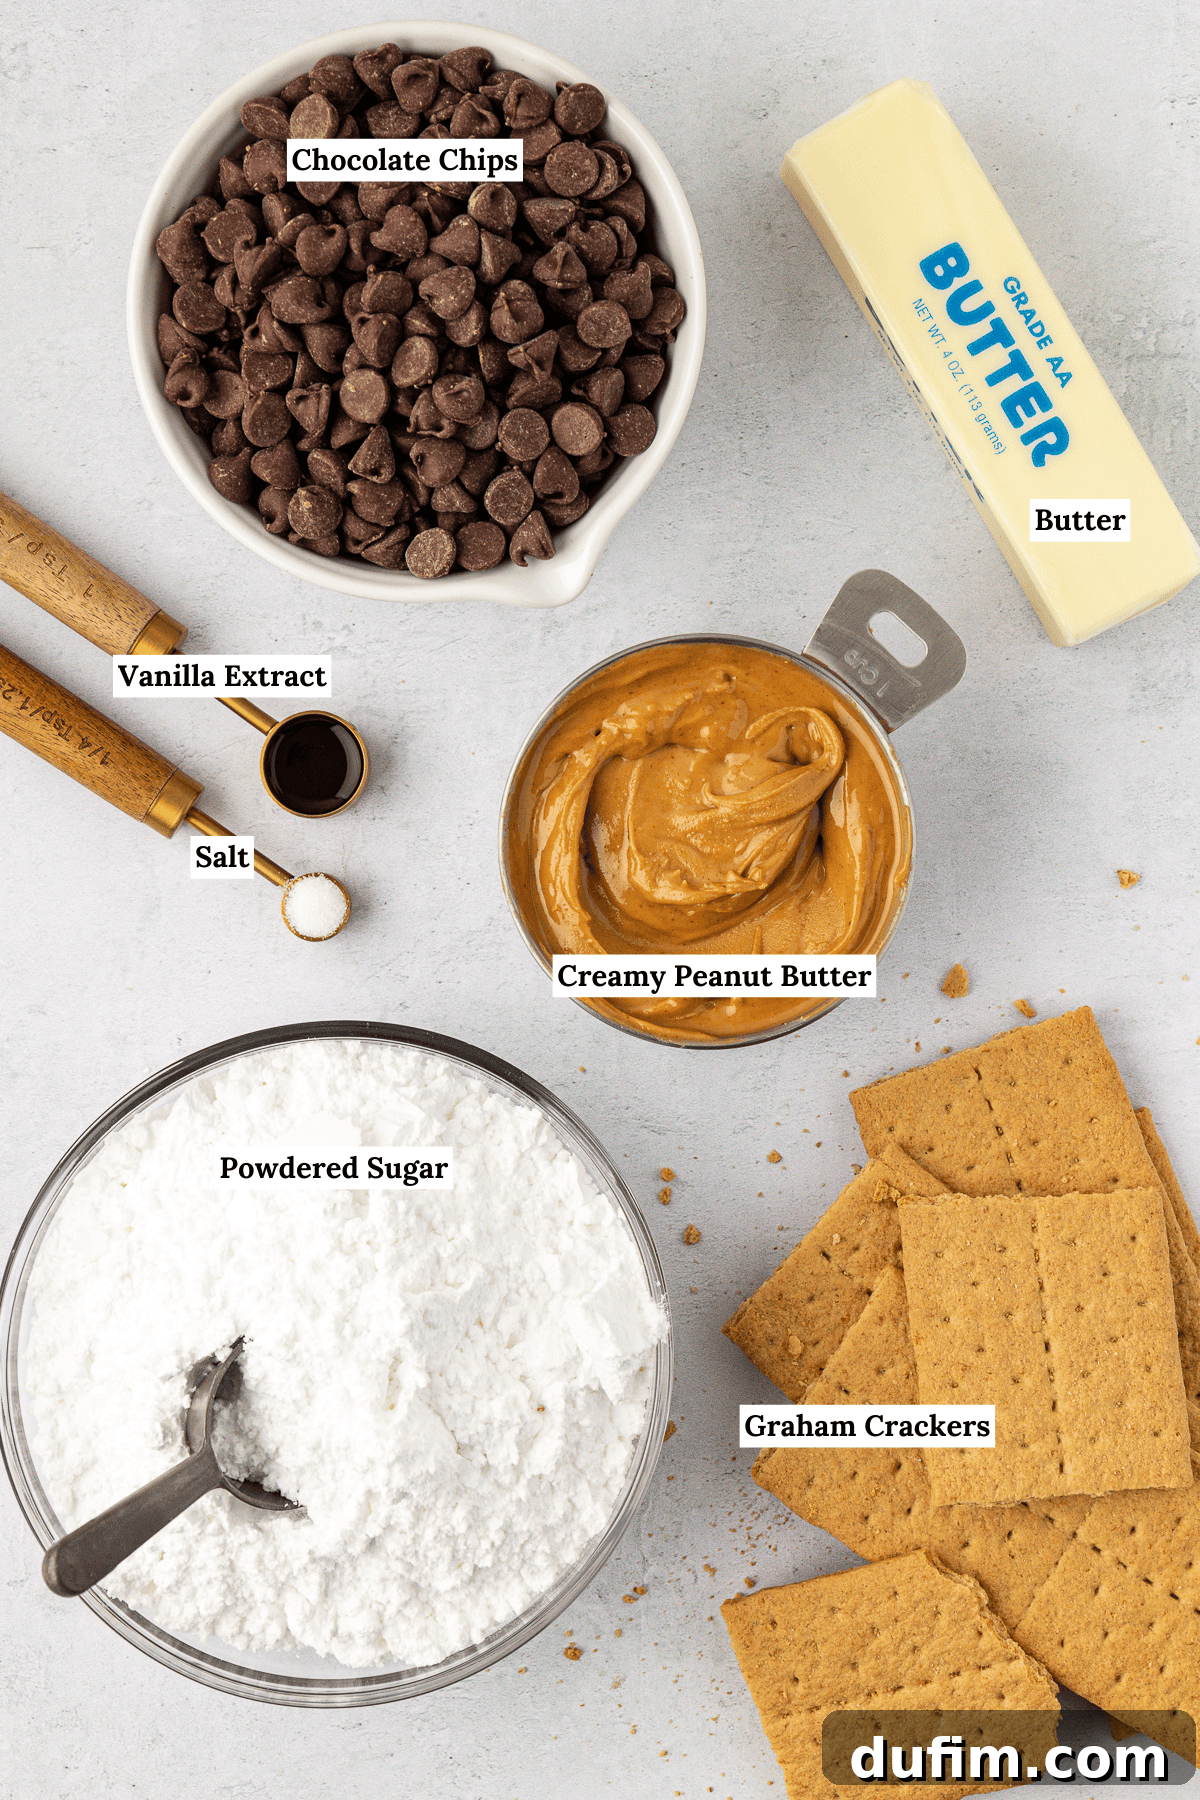
These no-bake peanut butter bars are often compared to a homemade version of Reese’s Peanut Butter Cups, but many argue they’re even better! The truly fantastic news is that you probably already have most, if not all, of these essential ingredients readily available in your kitchen. This convenience makes whipping up a batch of these crave-worthy treats incredibly simple. Read on for the full recipe details and my expert tips below. Here’s a breakdown of what you’ll need to create this indulgent dessert:
For the Rich Peanut Butter Base
- Unsalted Butter: Melted and then cooled slightly. Butter provides the necessary fat and moisture to bind the base ingredients together, giving it that wonderfully rich mouthfeel. Using unsalted butter allows you to control the overall saltiness of the bars.
- Creamy Peanut Butter: The star of the show! Opt for a smooth, processed creamy peanut butter (like Jif or Skippy) for the best texture and consistency. Natural peanut butter can be too oily and may cause the bars to be crumbly.
- Powdered Sugar (Confectioners’ Sugar): This fine sugar dissolves easily, creating a smooth, non-gritty base. It also adds the perfect sweetness to balance the richness of the peanut butter.
- Graham Cracker Crumbs: The foundational binder for our no-bake base. They add a subtle hint of honey and a pleasant texture. You can buy pre-crushed crumbs or crush your own.
- Vanilla Extract: A touch of vanilla enhances all the other flavors, adding depth and warmth to the peanut butter base.
- Salt: A small amount of salt is crucial. It perfectly balances the sweetness and intensifies the peanut butter flavor, preventing the bars from tasting overly sugary.
For the Decadent Chocolate Topping
- Semi-Sweet Chocolate Chips: These are ideal for melting into a smooth, pourable topping. Semi-sweet offers a balanced chocolate flavor that pairs perfectly with the peanut butter without being too bitter or too sweet. You could also use milk chocolate for a sweeter profile.
- Creamy Peanut Butter: A small amount of peanut butter mixed with the melted chocolate creates a ganache-like topping that’s incredibly smooth, easy to spread, and prevents the chocolate from becoming too hard or prone to cracking when cut. It also subtly enhances the overall peanut butter flavor.
Crafting the Perfect No-Bake Peanut Butter Bars: A Step-by-Step Guide
The only potential “problem” with this incredibly easy dessert, especially for all my fellow peanut butter lovers, is how often you’ll find yourself making it! Its simplicity is addictive. You’ll find the complete ingredient list in the recipe card below, but keep reading for my detailed tips and instructions to ensure your no-bake peanut butter bars turn out flawlessly every single time. Here are the simple steps to create this irresistible treat:
Preparing the Creamy Peanut Butter Base
- Prepare Your Pan: Begin by lining an 8×8 or 9×9 inch square baking pan with parchment paper. Ensure you leave a generous overhang on the sides. This thoughtful step is crucial for effortlessly lifting the entire slab of chilled bars out of the pan later, making slicing much cleaner and easier.
- Create Fine Graham Cracker Crumbs: If you’re starting with whole sheets of graham crackers, it’s essential to turn them into fine crumbs. The easiest way is to pulse them in a food processor until they resemble a fine sand-like texture. If you don’t have a food processor, place the crackers in a sturdy zip-top bag and use a rolling pin to crush them thoroughly. Fine crumbs are key for a smooth, cohesive base.
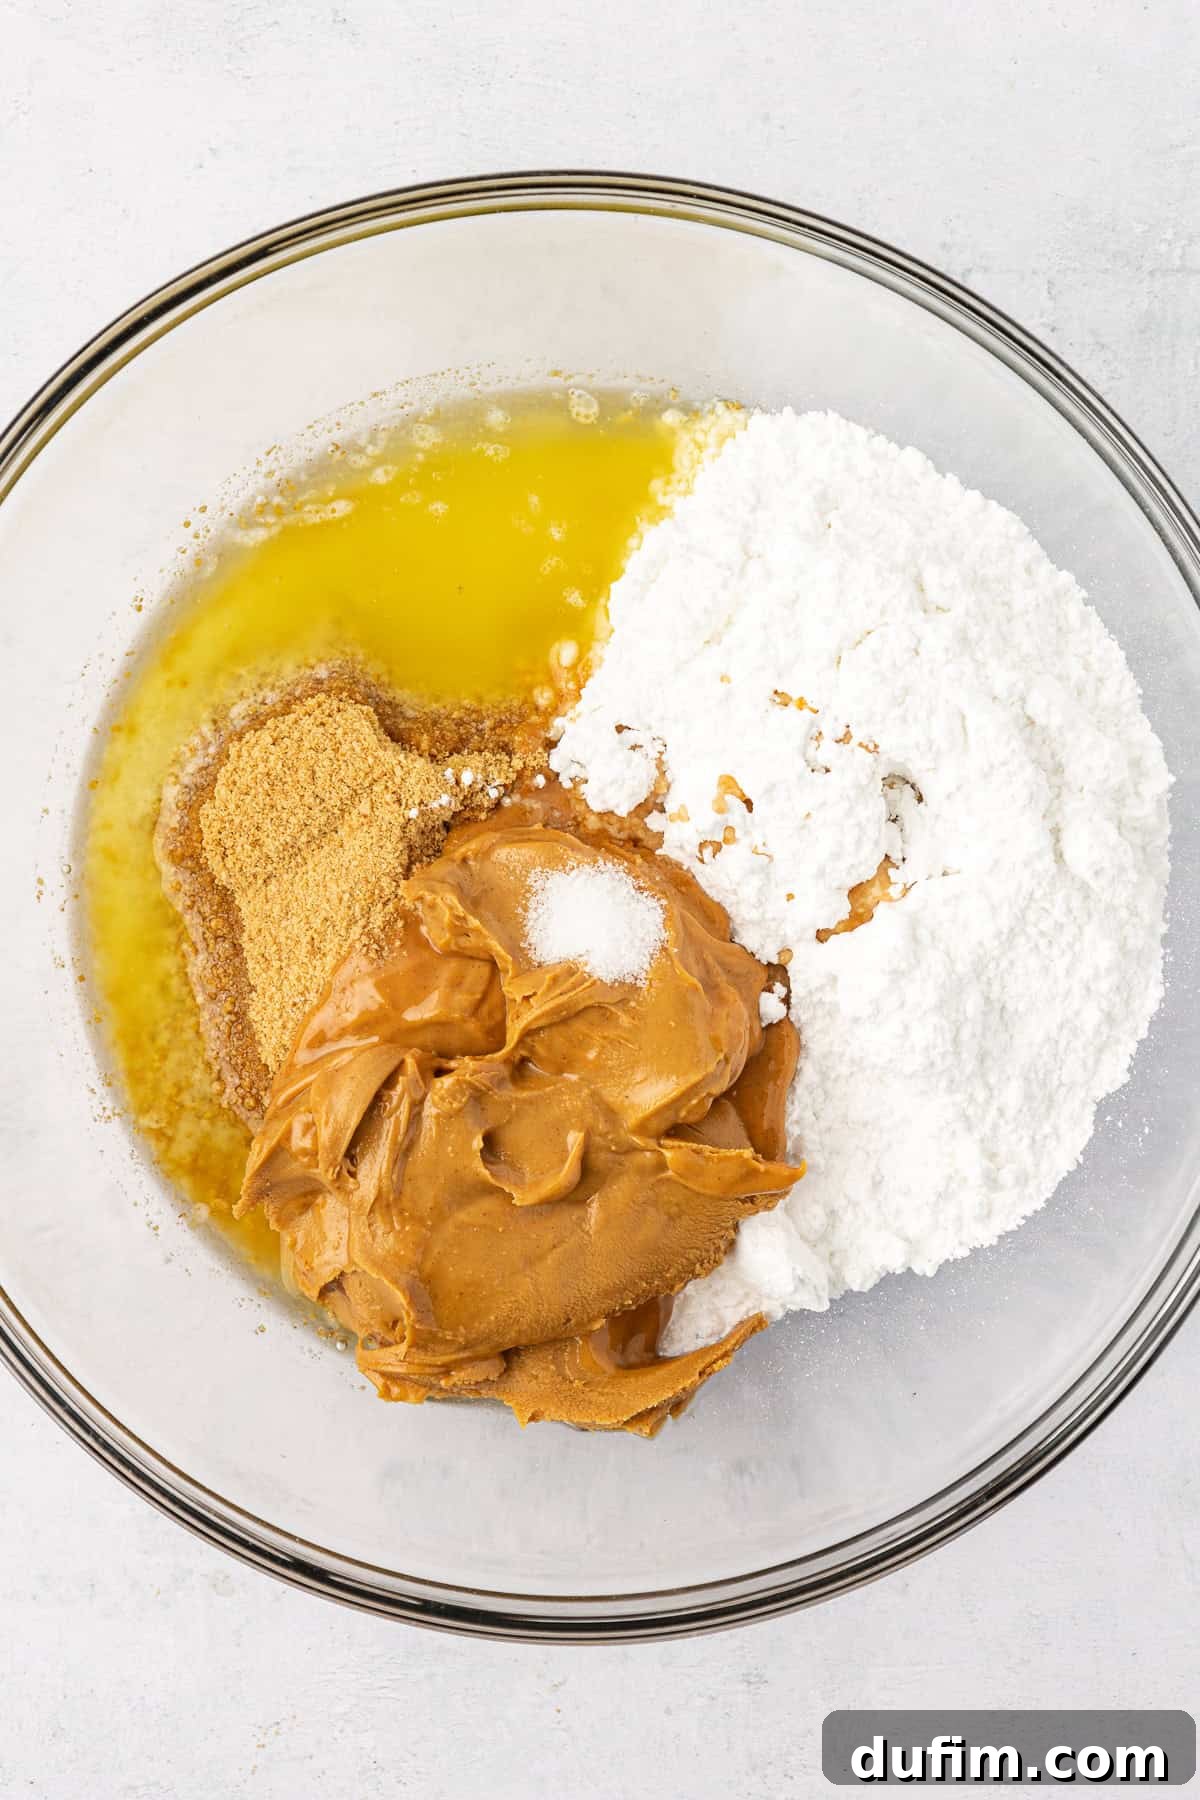
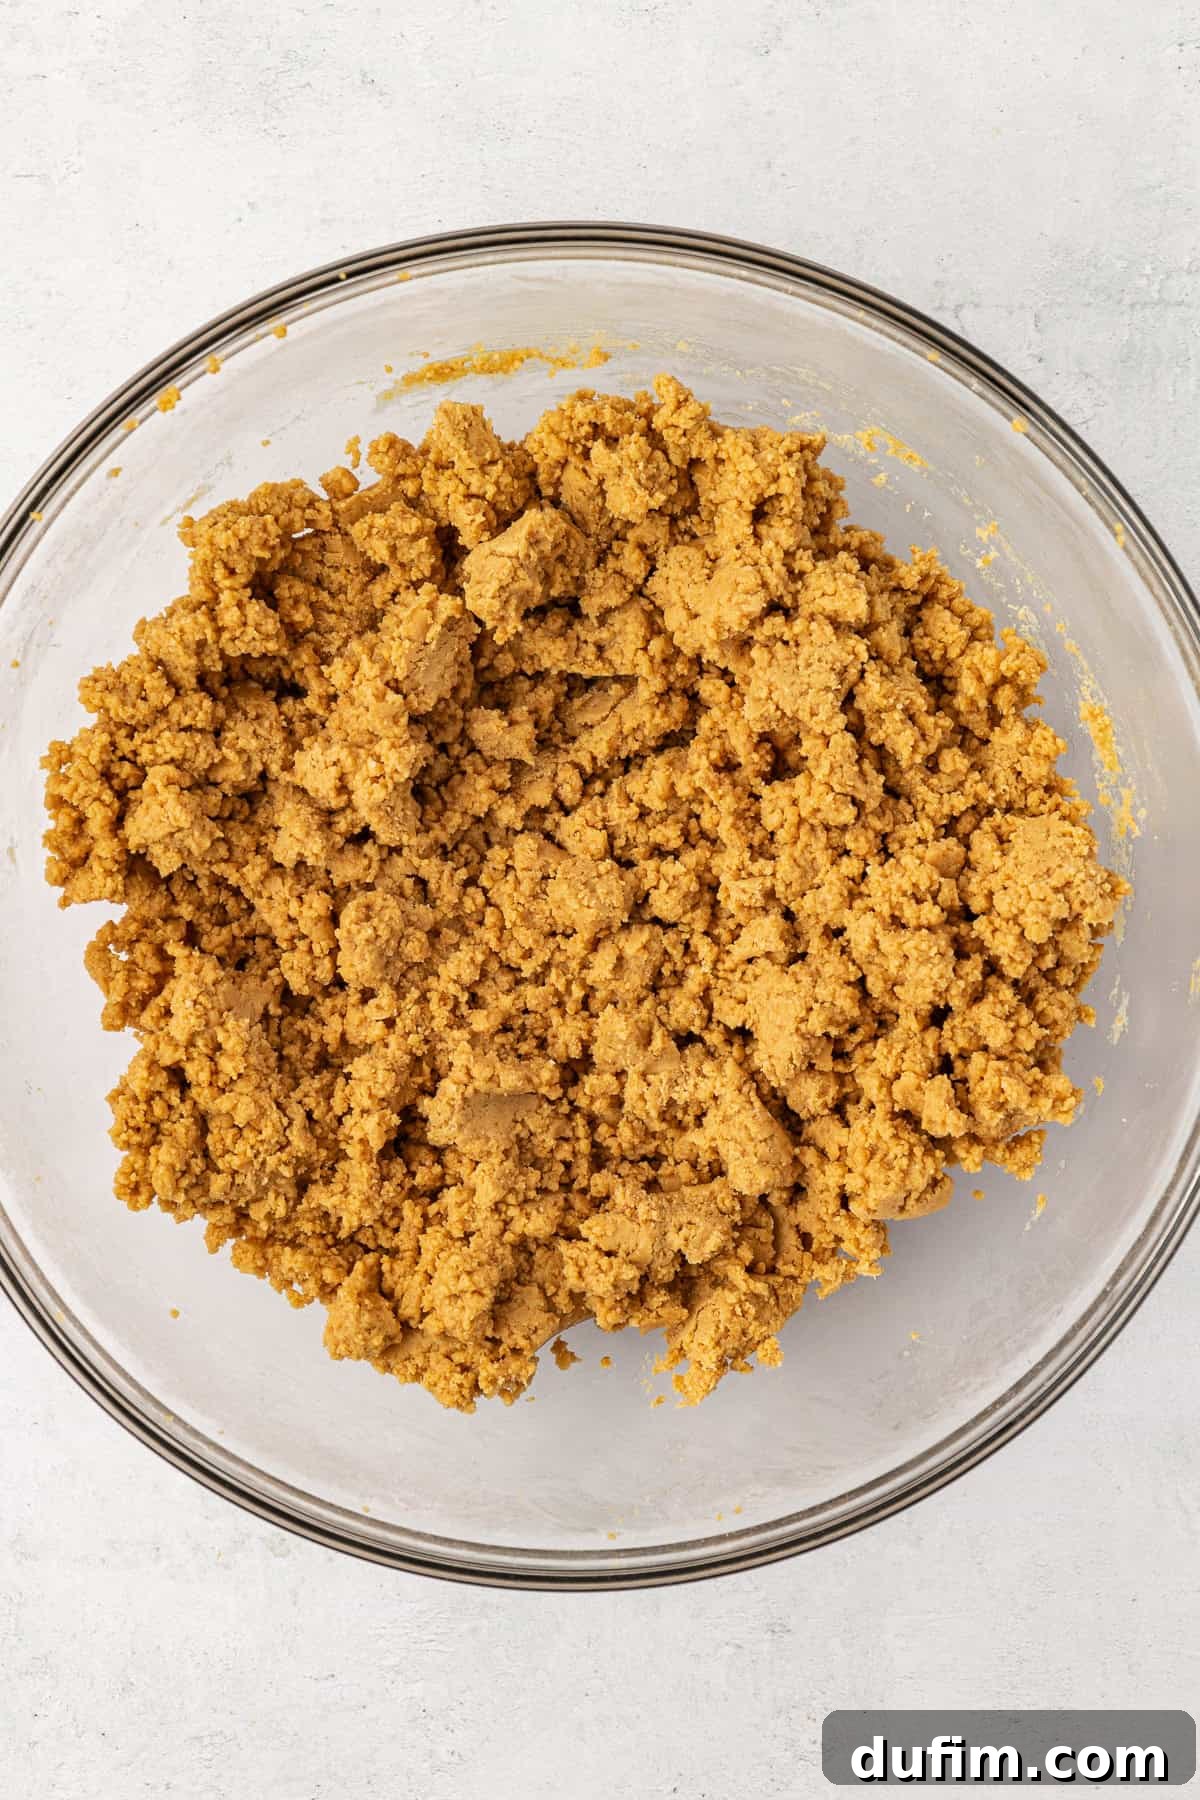
- Combine All Base Ingredients: In a large mixing bowl, combine your cooled melted butter, creamy peanut butter, powdered sugar, graham cracker crumbs, vanilla extract, and salt. Using an electric mixer on low speed, beat these ingredients together until the mixture is thick, homogenous, and well combined. Scrape down the sides of the bowl as needed to ensure everything is fully incorporated. The mixture should be dense and slightly sticky.
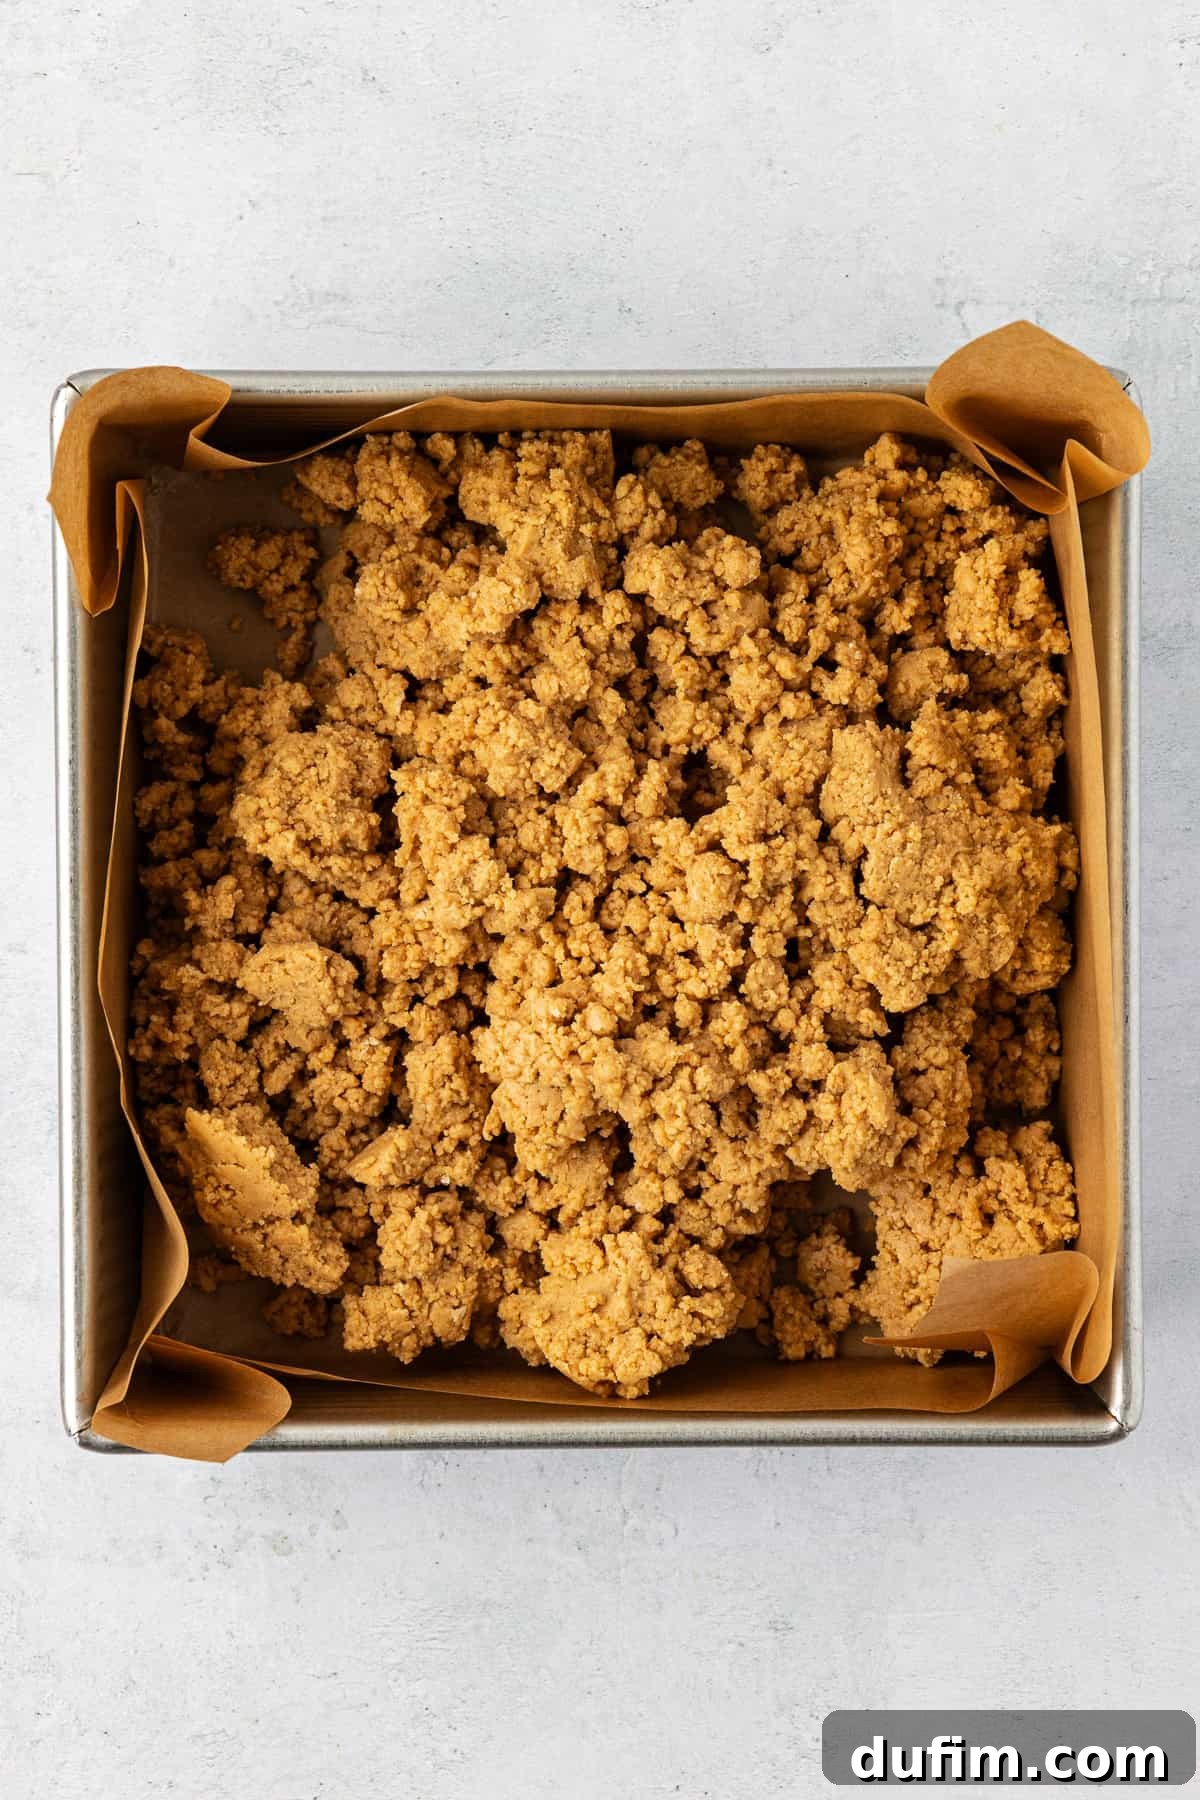
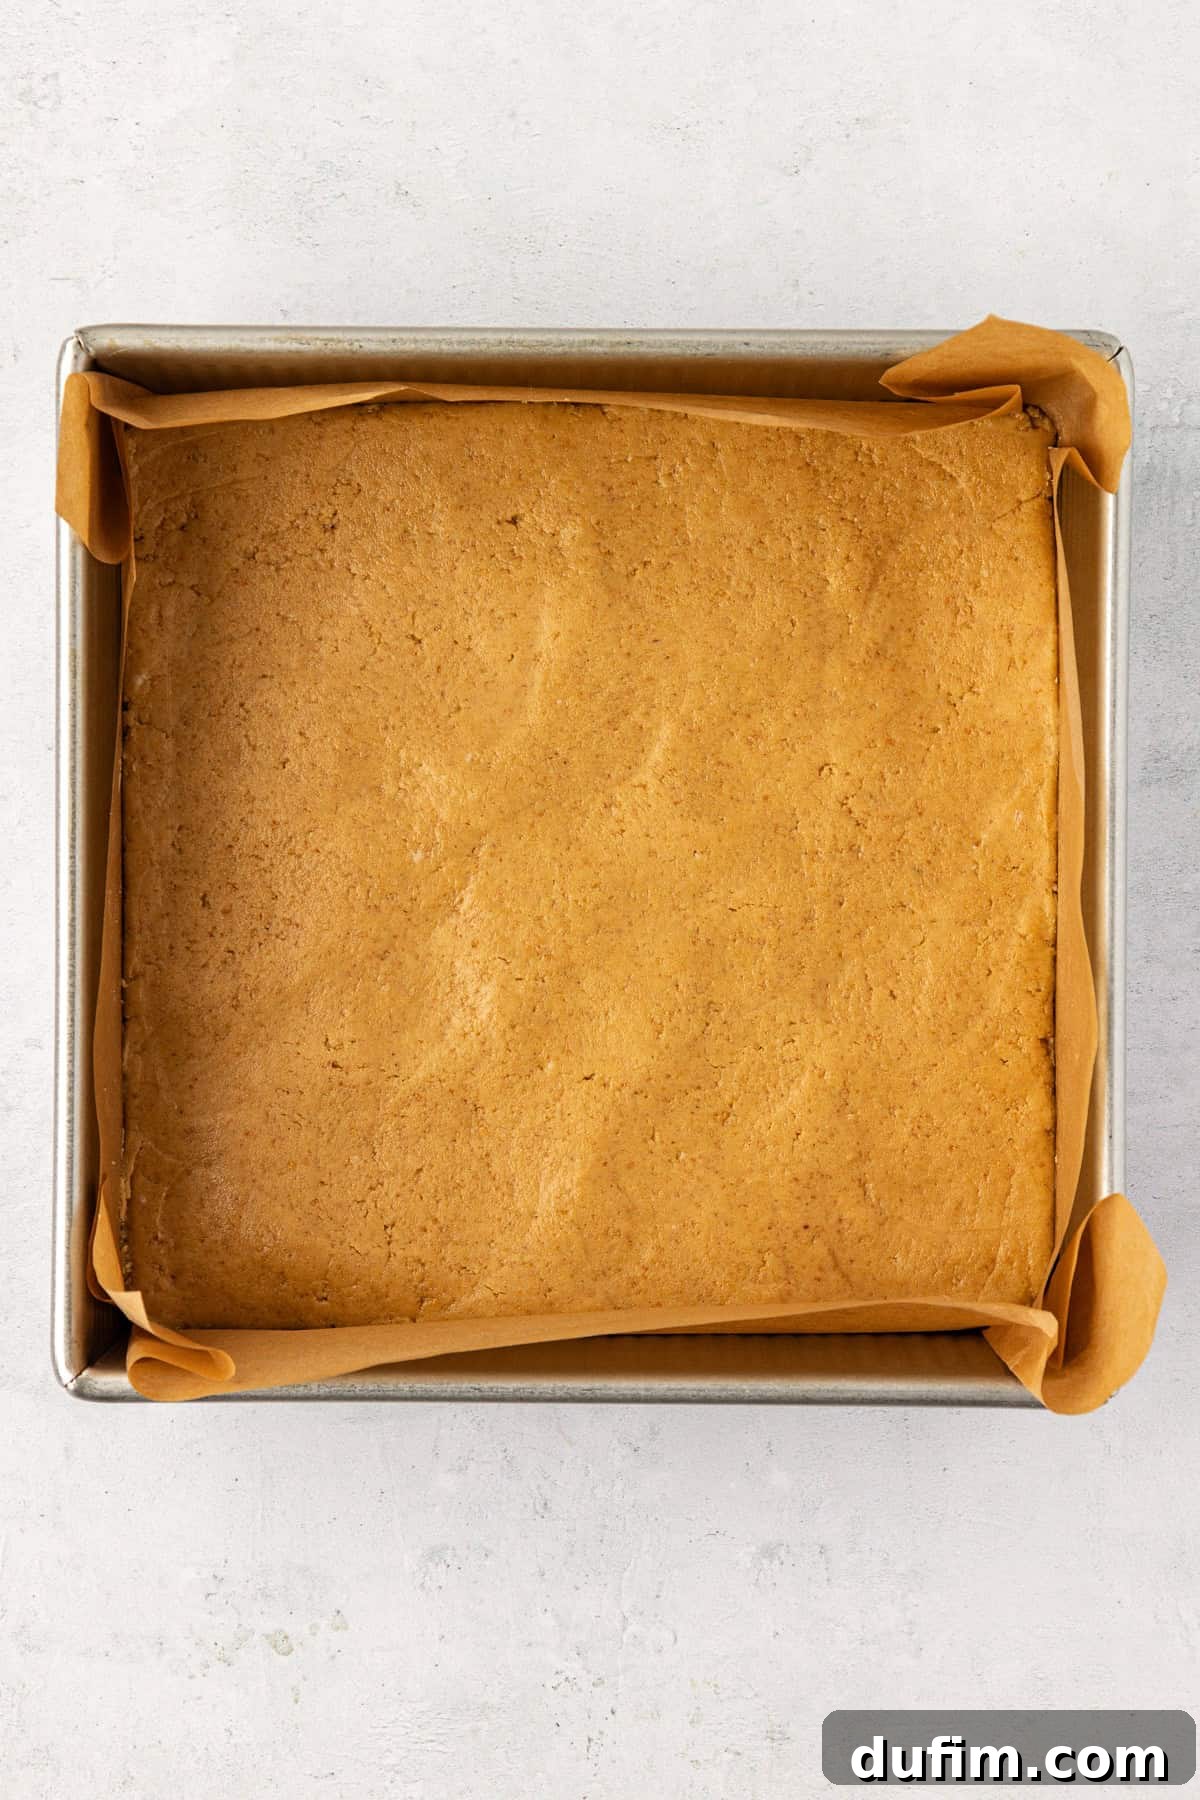
- Press Mixture into Pan: Transfer the thick peanut butter mixture into your prepared pan. This is where a little muscle comes in! Use a spatula, the back of a measuring cup, or even your hands (lightly greased if it’s too sticky) to firmly and evenly press the mixture into the bottom of the pan. The goal is to create a very smooth, compact, and consistent layer. This firm base is vital for bars that won’t crumble when cut.
Crafting the Silky Chocolate Topping
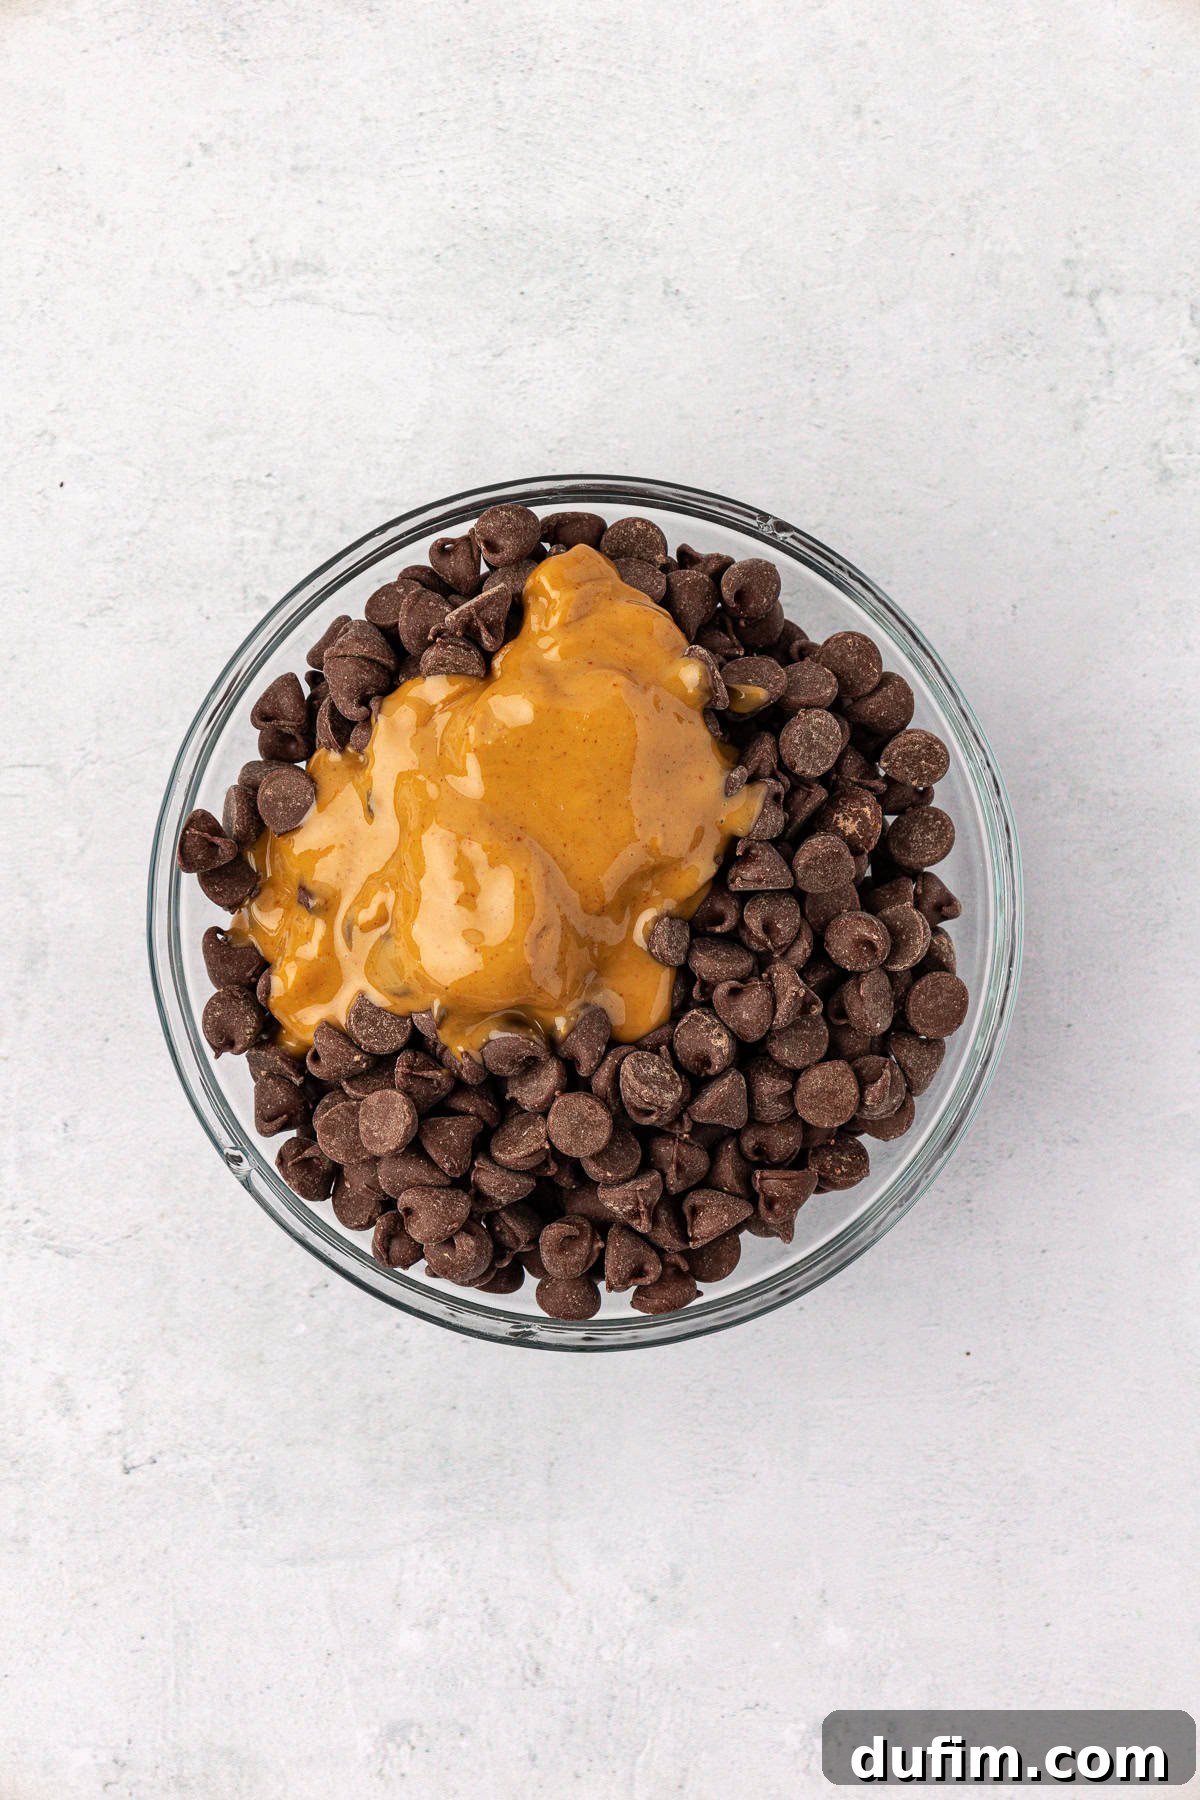
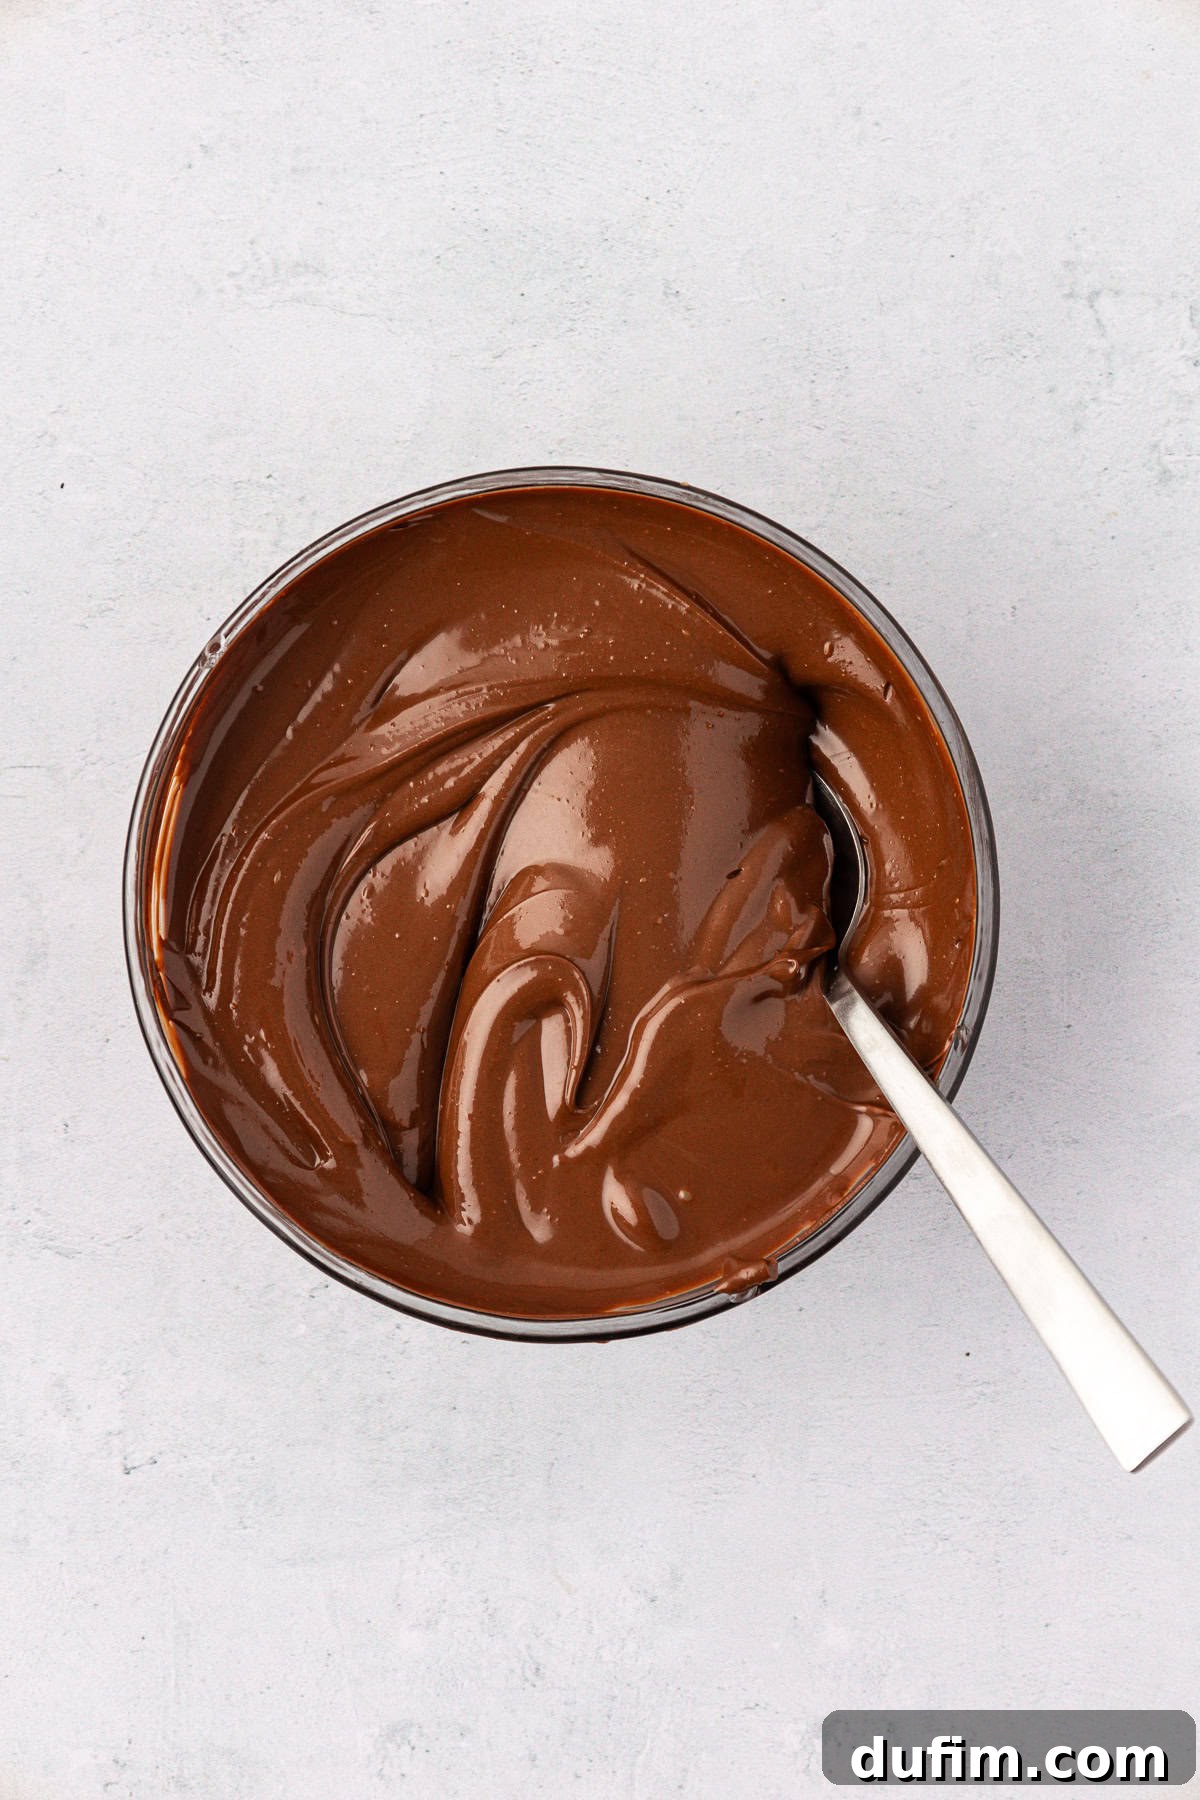
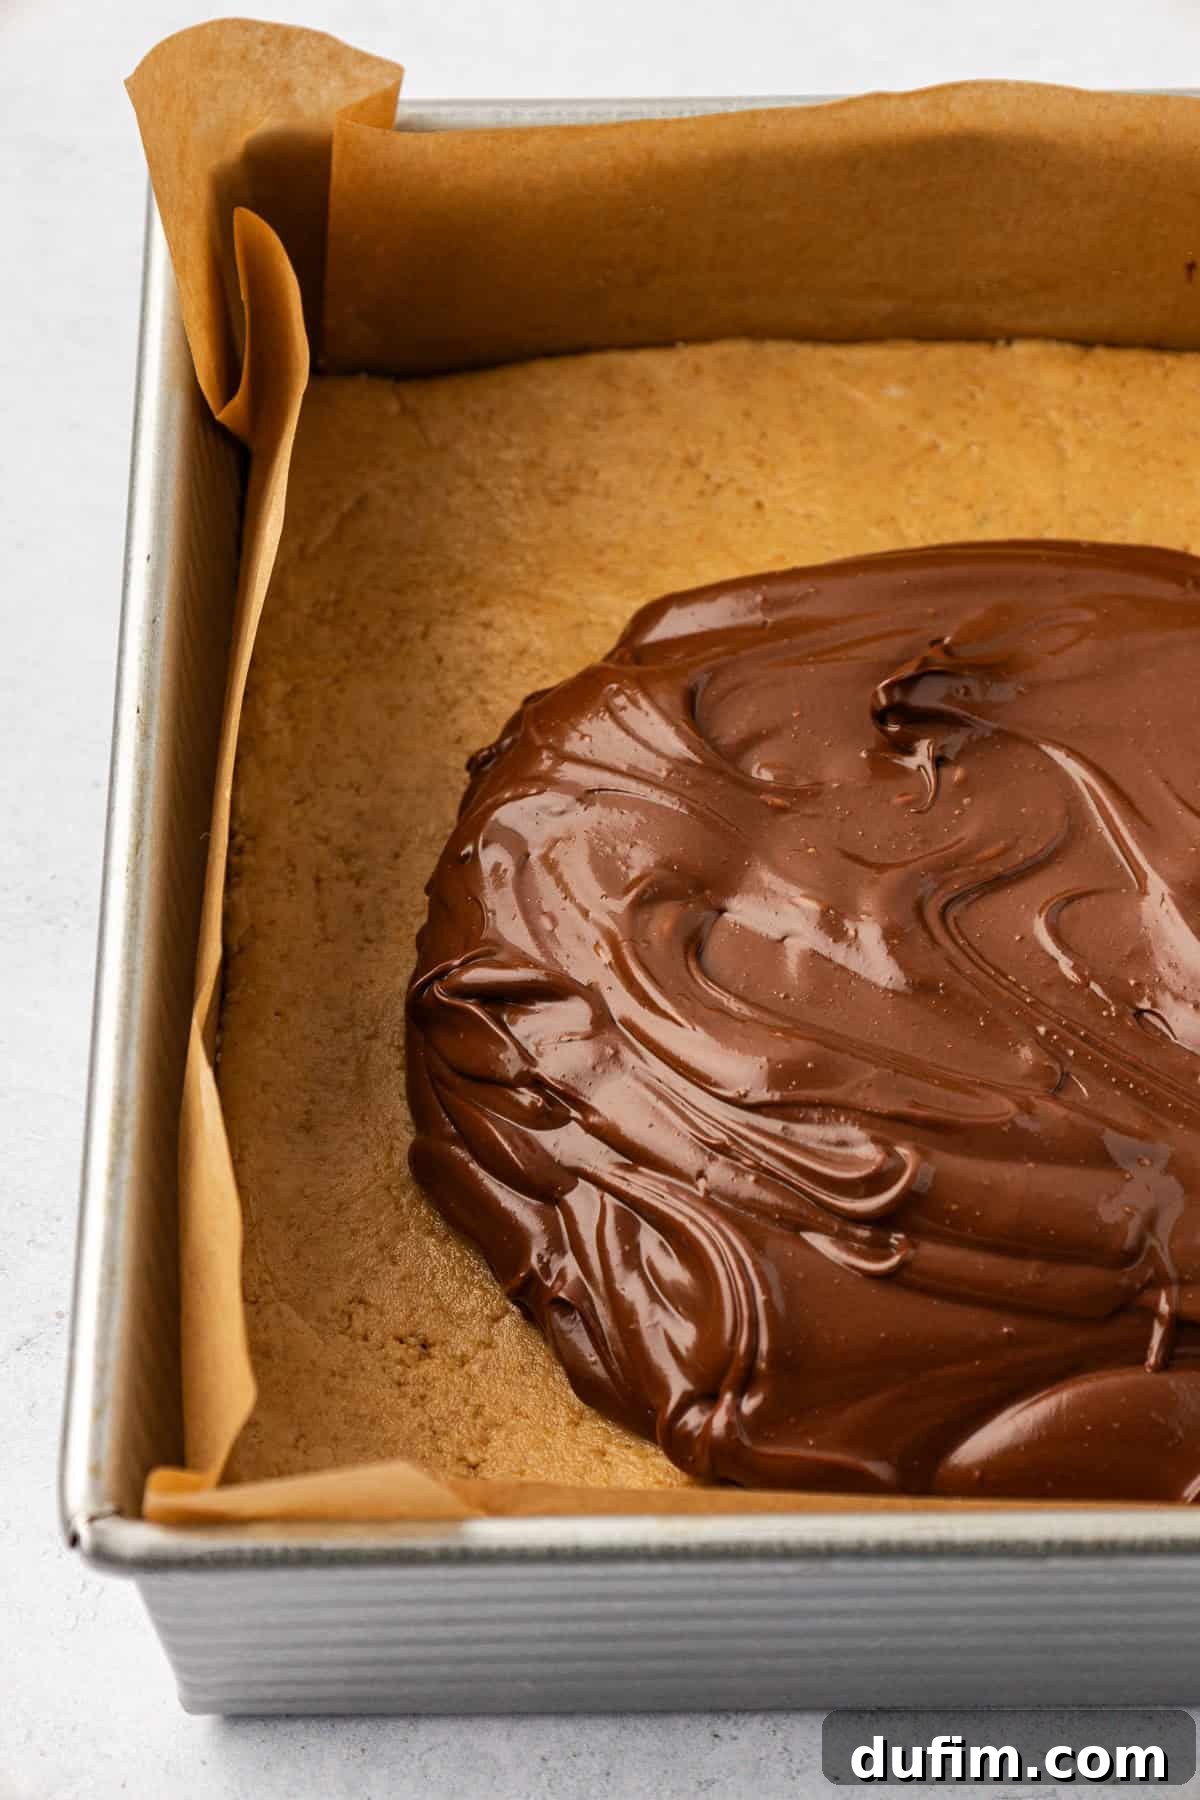
- Prepare and Add Chocolate Peanut Butter Mixture: In a microwave-safe bowl, combine your semi-sweet chocolate chips and the remaining creamy peanut butter. Microwave in short 30-second intervals, stirring thoroughly after each interval, until the chocolate chips are fully melted and the mixture is perfectly smooth and glossy. Be extremely careful not to overheat the chocolate, as it can seize or burn. Once smooth, immediately pour this luxurious chocolate mixture over the pressed peanut butter base in the pan. Use a clean spatula to gently and quickly spread it into an even, consistent layer across the entire surface.
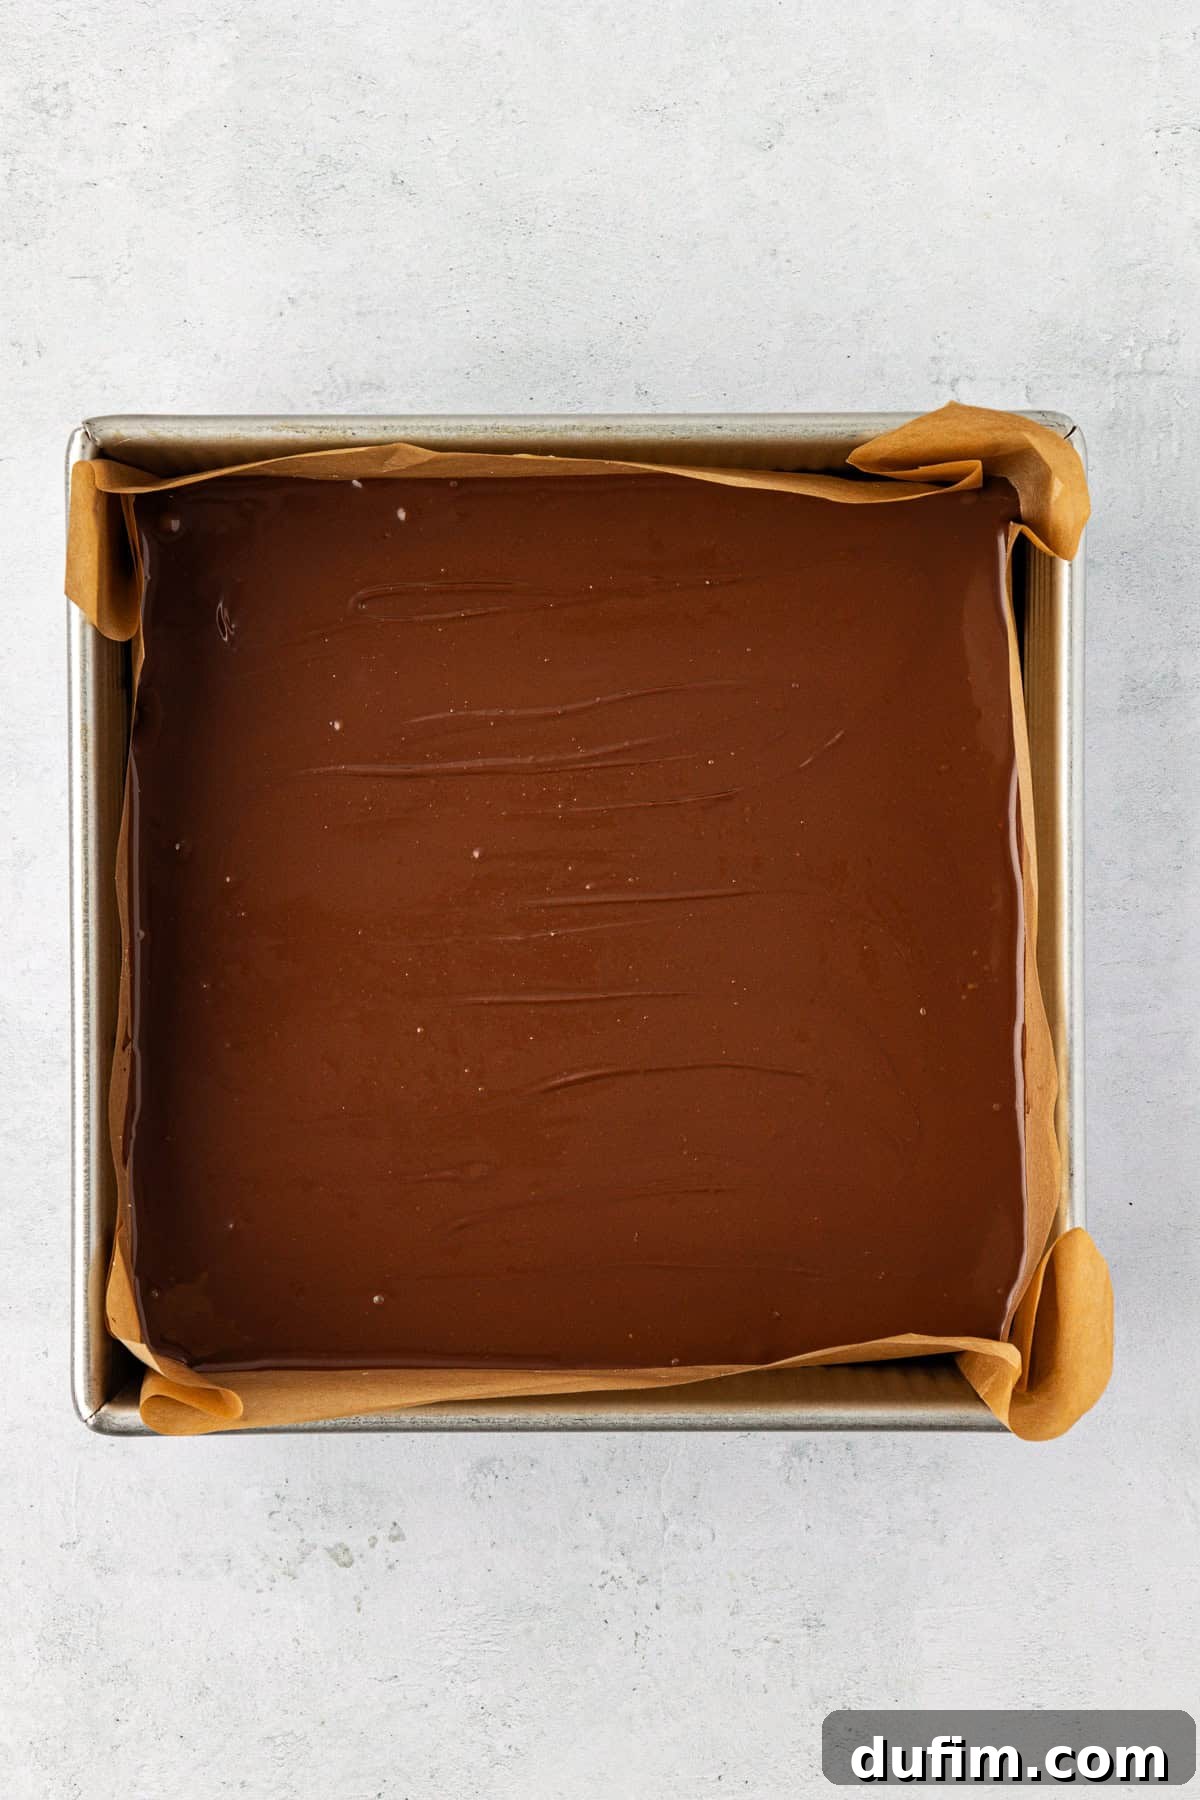
- Chill to Perfection: Carefully transfer the pan to the refrigerator. Allow the bars to chill for a minimum of 1-2 hours, or until they are completely firm and the chocolate topping has fully set. This chilling time is essential for the bars to firm up, ensuring clean cuts and a stable texture. Rushing this step will result in soft, messy bars.
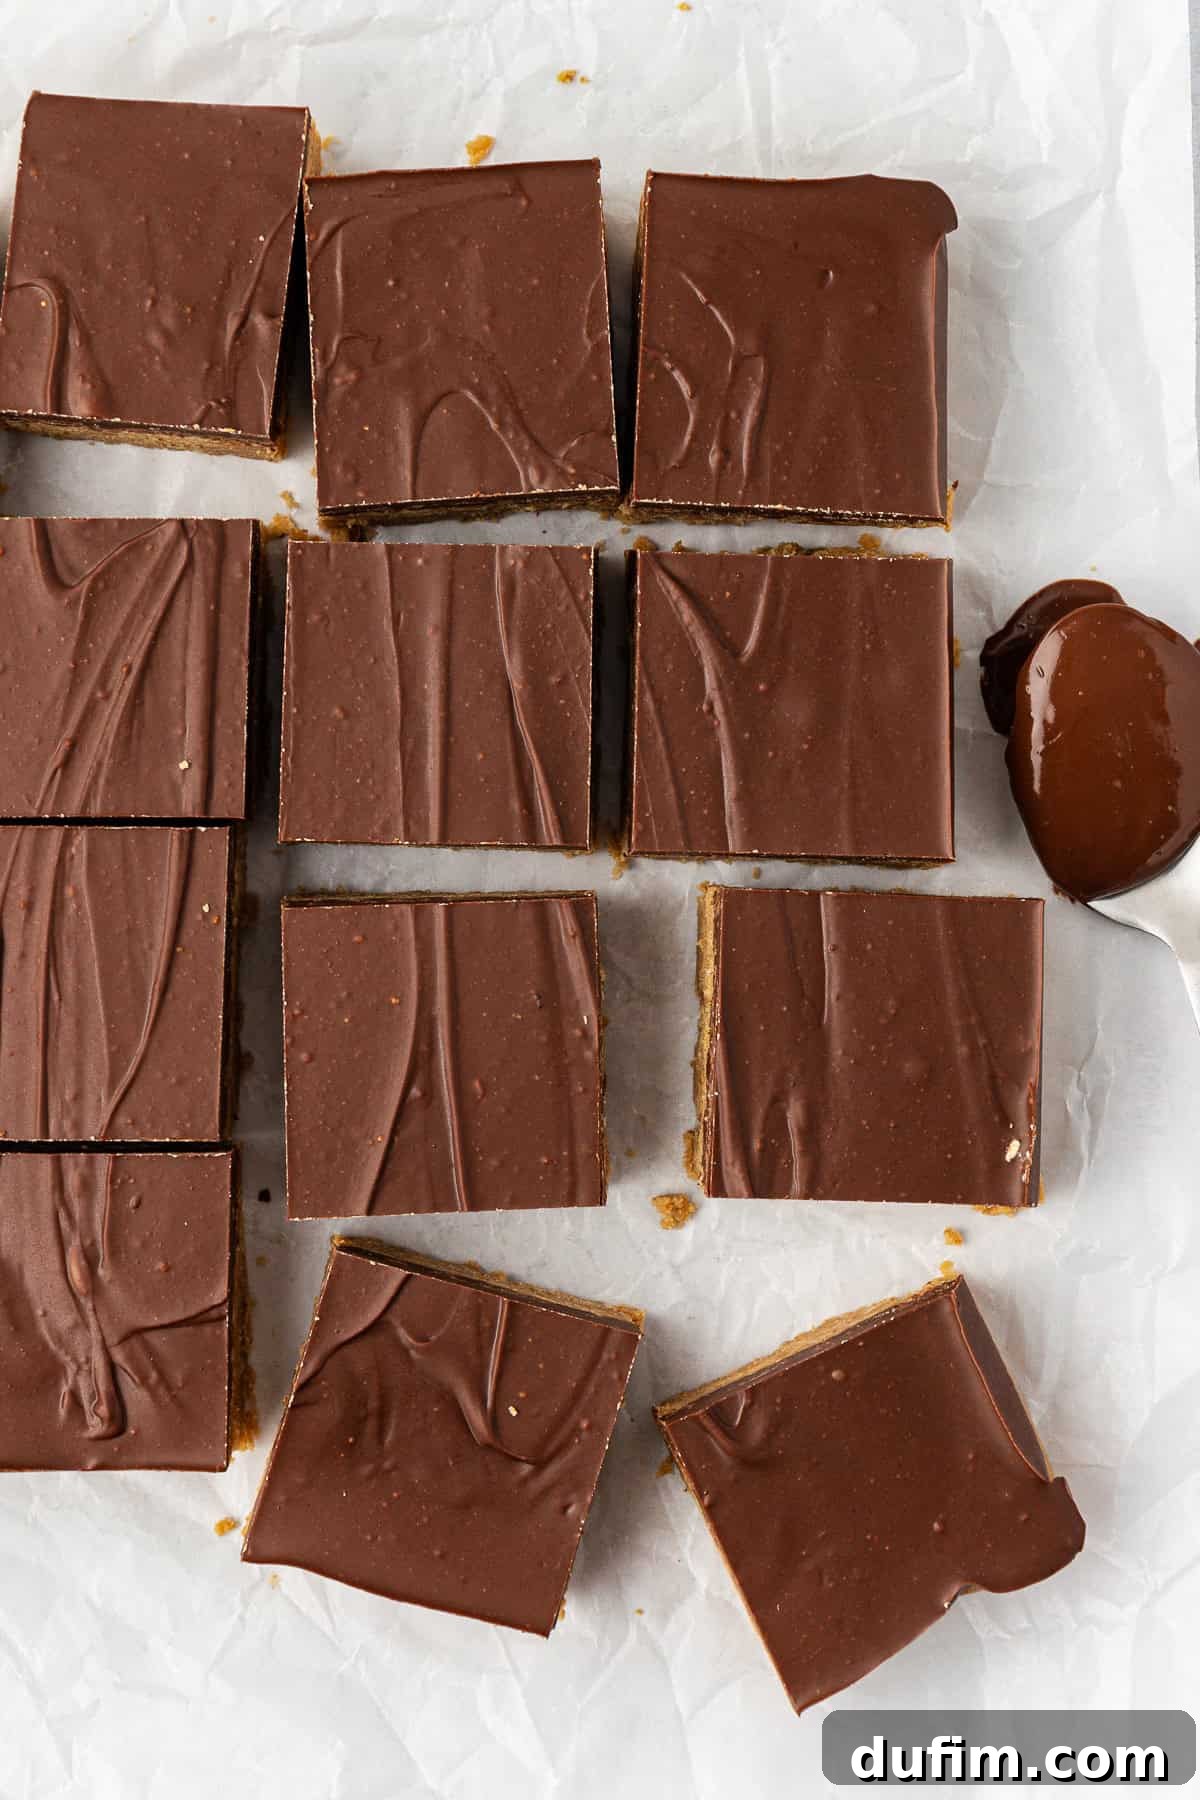
- Rest and Slice: Once fully chilled, remove the pan from the refrigerator. Let the bars rest at room temperature for approximately 10-15 minutes. This brief rest period allows the chocolate to soften just enough to prevent cracking during slicing. Using a sharp, warm knife (run it under hot water and wipe dry between cuts), carefully slice the large slab into your desired square or rectangular portions. While the bars are fine at room temperature for a couple of hours for serving, remember that the chocolate topping will soften. For optimal enjoyment and texture, it’s best to keep them chilled.
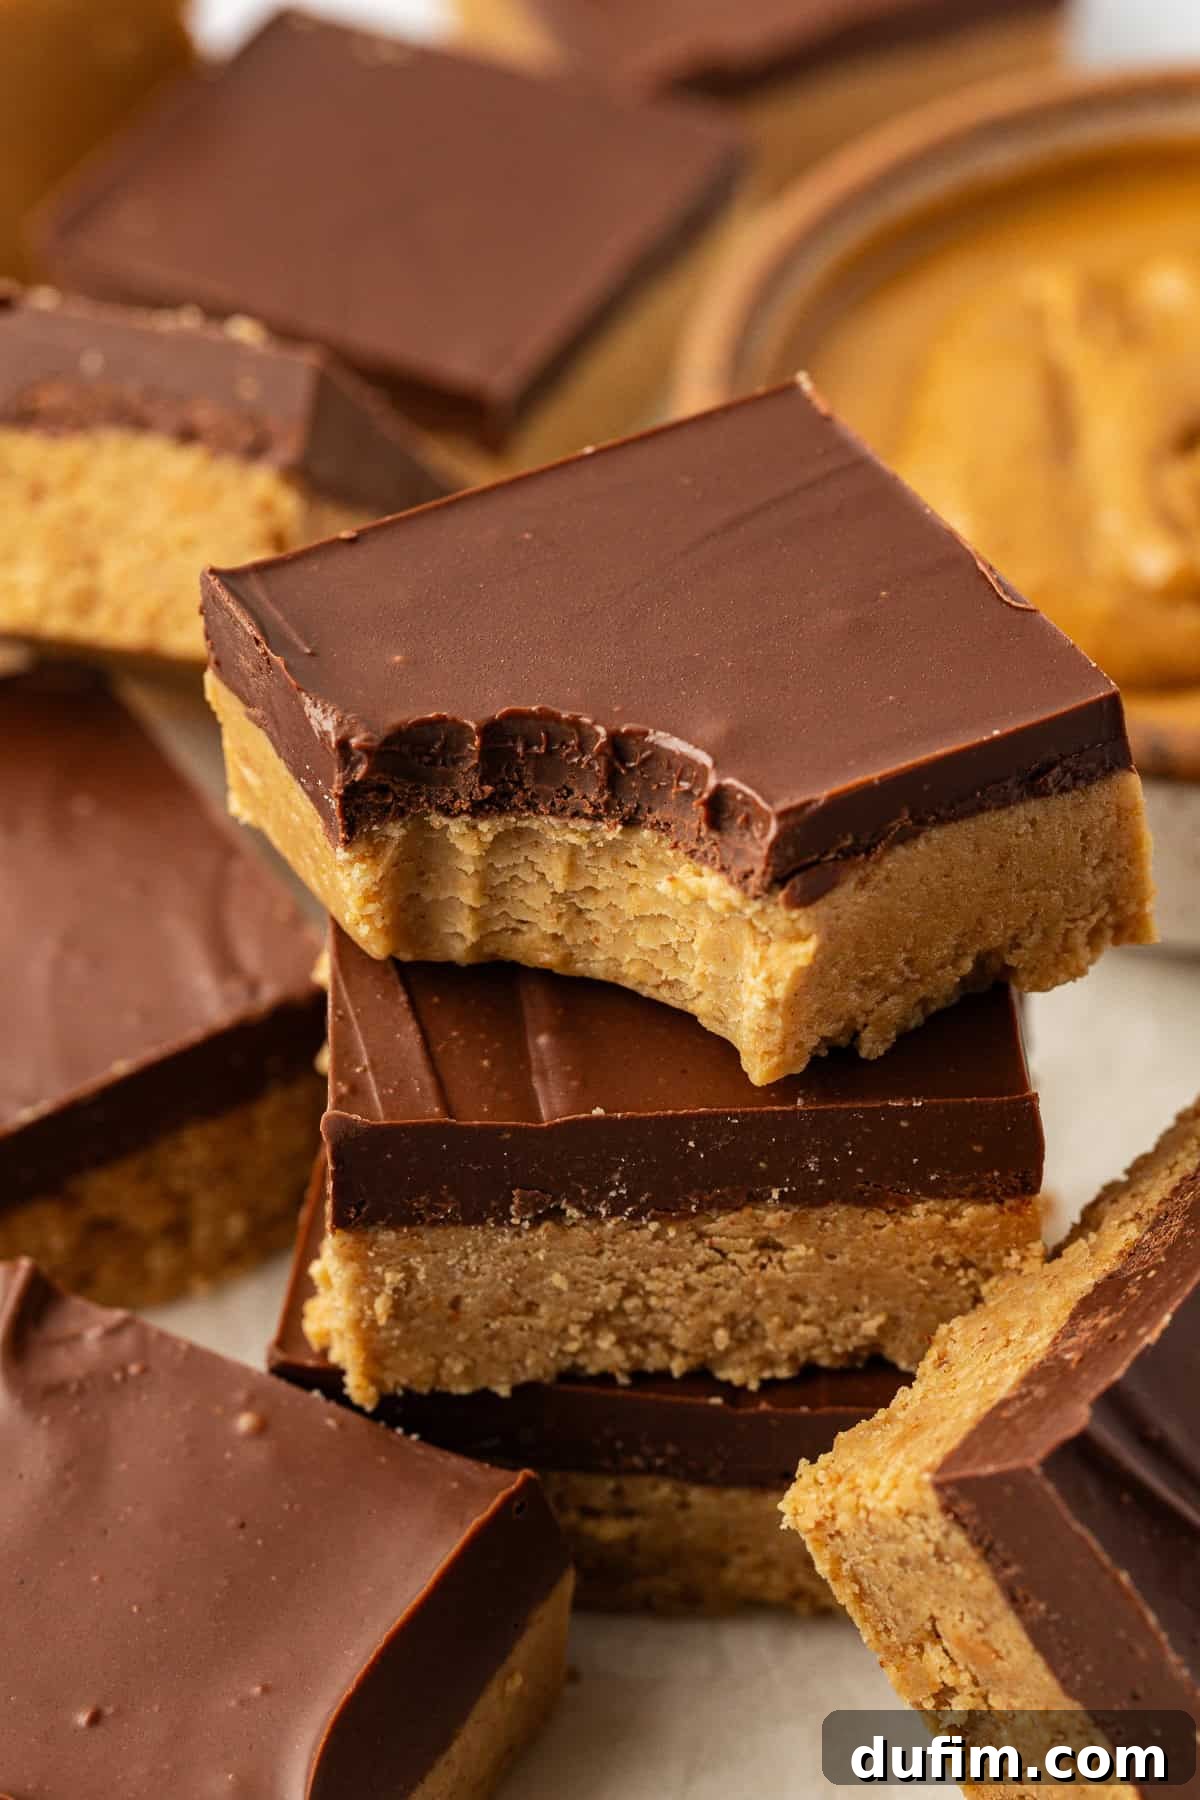
Expert Tips for Unforgettable Peanut Butter Bars
This is undeniably one of the easiest desserts you can make, requiring no oven and minimal effort. However, a few key tips can elevate your no-bake peanut butter bars from good to absolutely phenomenal:
- Always Opt for Creamy Peanut Butter: For the best results and the smoothest texture, always use creamy, processed peanut butter (like Jif or Skippy). Natural peanut butter, which often separates, tends to have a different fat content and can lead to a greasier or more crumbly base. While you *can* substitute crunchy peanut butter, be aware that it will significantly alter the final texture, adding a noticeable crunch rather than the desired smooth creaminess.
- Parchment Paper is Your Best Friend: This isn’t just a suggestion; it’s a game-changer! Lining your pan with parchment paper, making sure to leave an overhang on all sides, ensures incredibly easy removal of the entire slab of bars once chilled. This allows for clean, precise cuts and prevents any sticky situations with the pan. Foil can also work, but parchment is often easier to handle.
- Achieve Ultra-Fine Graham Cracker Crumbs: The finer your graham cracker crumbs, the smoother and more cohesive your peanut butter base will be. A food processor is ideal for this, creating a fine, sand-like texture. If you don’t have one, place the crackers in a robust freezer bag, seal it, and use a rolling pin to crush them until they are as fine as possible. Avoid large chunks, as they can make the base uneven and less compact.
- Compact the Peanut Butter Layer Firmly: This is a critical step for bars that hold their shape. After transferring the peanut butter-graham cracker mixture to the pan, don’t just pat it down gently. Use significant pressure to really pack it down. Your hands, the bottom of a flat glass, or a sturdy spatula are all excellent tools for this. A well-compacted layer ensures your bars are dense, firm, and won’t fall apart when sliced.
- Ensure an Even Chocolate Layer: When pouring the melted chocolate topping, work quickly and use a spatula to spread it into a smooth, even layer. Consistency here ensures that every bite of your bar has the perfect ratio of chocolate to peanut butter, and it also contributes to a professional, appealing finish.
- Don’t Skimp on Chill Time: Patience is key! The full 1-2 hours of chilling time in the refrigerator is non-negotiable. This allows both the peanut butter base and the chocolate topping to set completely, resulting in bars that are firm, easy to slice, and have the ideal texture.
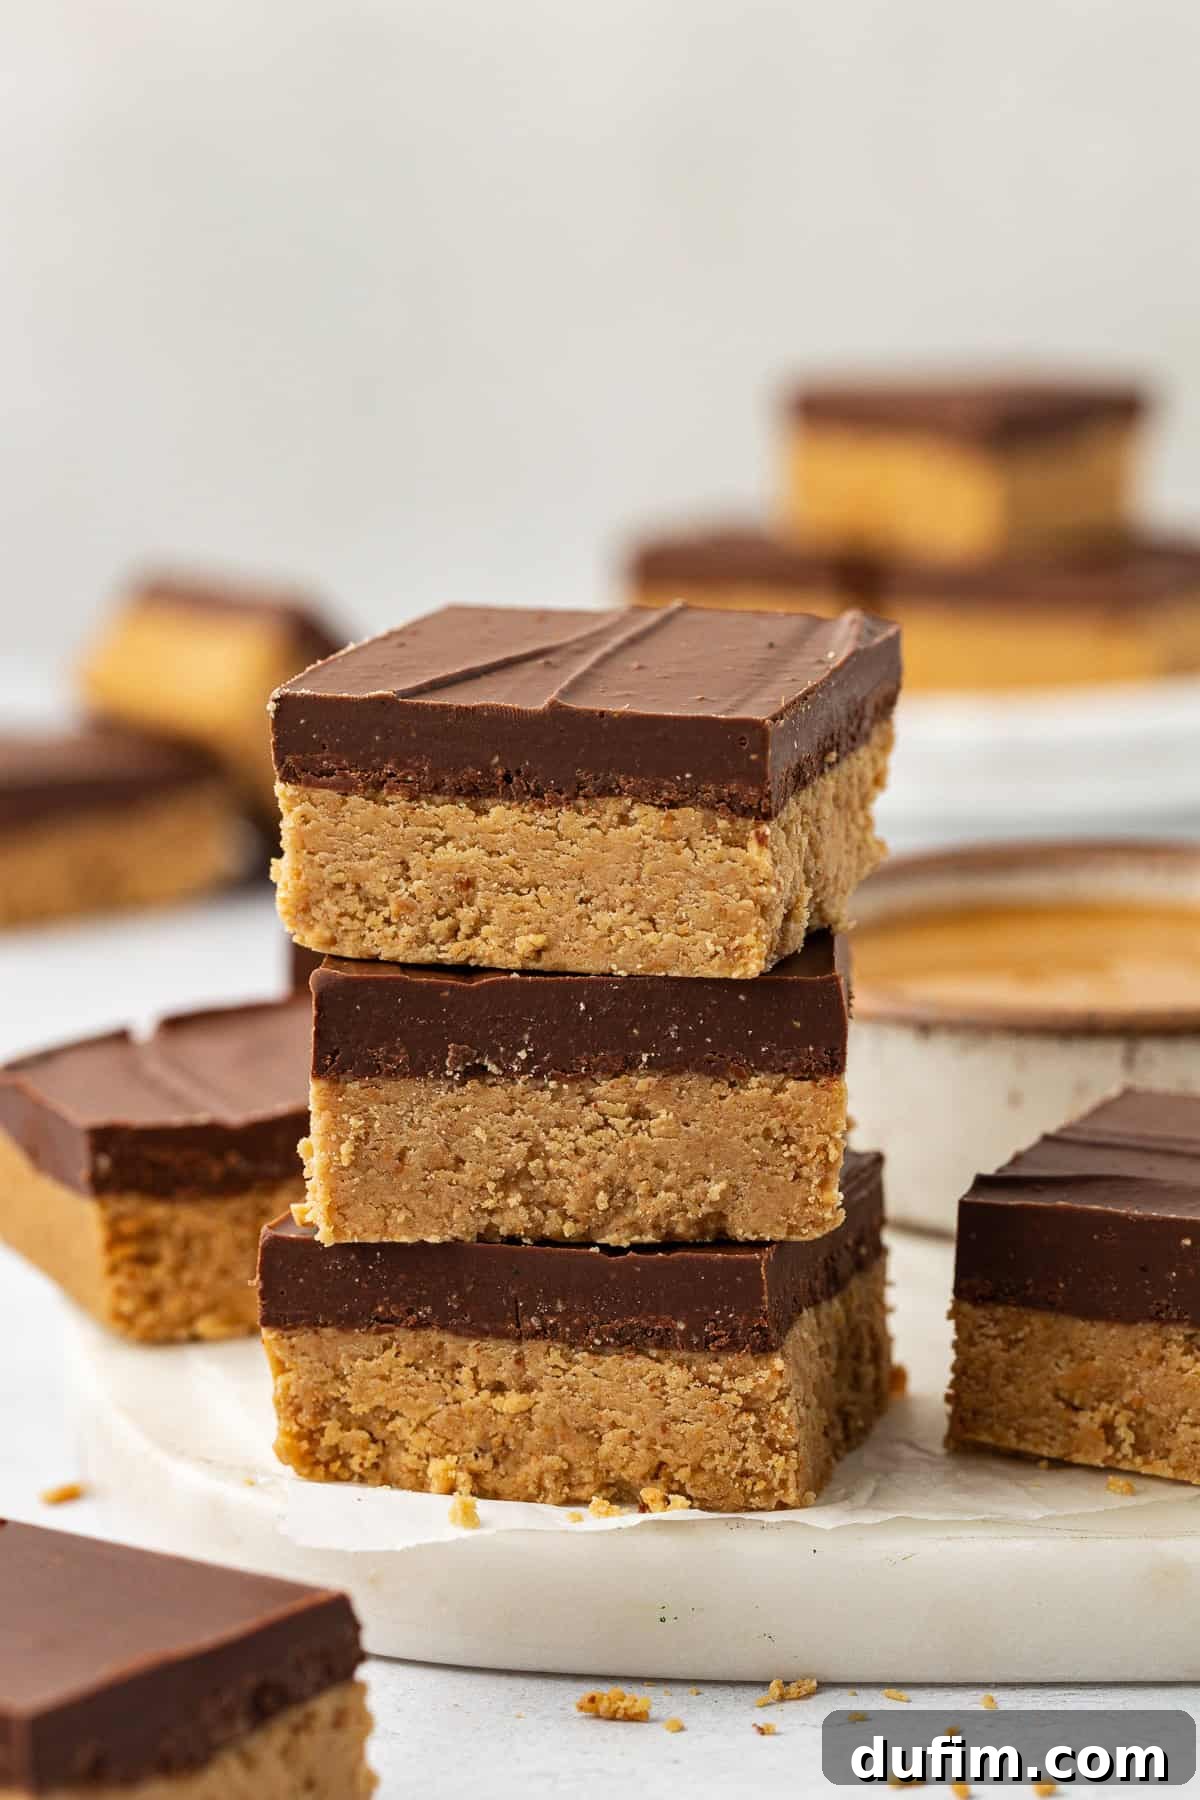
Troubleshooting Common Issues
Even with an easy recipe, sometimes things don’t go exactly as planned. Here are solutions to common problems with no-bake peanut butter bars:
- Bars are too crumbly: This usually means there wasn’t enough melted butter, or the peanut butter base wasn’t packed down firmly enough. Ensure your butter is fully melted and your creamy peanut butter is at room temperature. When pressing the base into the pan, apply firm, even pressure across the entire surface.
- Bars are too soft/greasy: Too much butter or using natural, oil-separated peanut butter can cause this. Make sure your butter is measured precisely and is only slightly cooled, not fully solidified. If using natural peanut butter, ensure it’s very well stirred before measuring. Insufficient chilling can also lead to soft bars, so allow adequate time in the refrigerator.
- Chocolate topping cracking when cut: This often happens if the bars are too cold when you try to slice them. Let them sit at room temperature for 10-15 minutes before cutting. Using a very sharp knife that has been warmed under hot water (and wiped dry!) will also help achieve clean cuts.
- Chocolate topping not setting: Ensure you’re using chocolate chips or baking chocolate, not cocoa powder or chocolate syrup. The small amount of peanut butter mixed in helps with texture but doesn’t prevent setting if the chocolate itself is faulty. Make sure the bars are thoroughly chilled.
Creative Variations & Customizations
While these peanut butter bars are perfect as is, they also serve as a fantastic canvas for your creativity. Here are a few ideas to customize them:
- Different Chocolate Types: Experiment with milk chocolate chips for a sweeter topping, dark chocolate for a richer, more intense flavor, or even white chocolate for a creamy contrast.
- Add-ins for the Base: Stir in mini chocolate chips, finely chopped peanuts, or a sprinkle of toasted coconut flakes into the peanut butter base for extra texture and flavor.
- Decorative Toppings: Before the chocolate topping sets, sprinkle with sea salt flakes (to enhance the chocolate flavor), colorful sprinkles for a festive touch, more graham cracker crumbs, or a drizzle of melted white chocolate for a marbled effect.
- Nut-Free Version: For those with peanut allergies, sunflower seed butter (SunButter) can be a fantastic substitute for peanut butter. Ensure all other ingredients are also nut-free.
Storing Your Delicious Peanut Butter Chocolate Bars
These incredibly tempting bars have a way of disappearing quickly! However, if you happen to have any leftovers, proper storage is key to maintaining their fresh taste and perfect texture. You can wrap them tightly in plastic wrap or aluminum foil, or store them in an airtight container. When stored correctly in the refrigerator, these peanut butter chocolate bars will stay fresh and delicious for up to one week. While they can be left out at room temperature for a couple of hours when serving at an event, for the best flavor and consistency, they are definitely best enjoyed when served chilled.
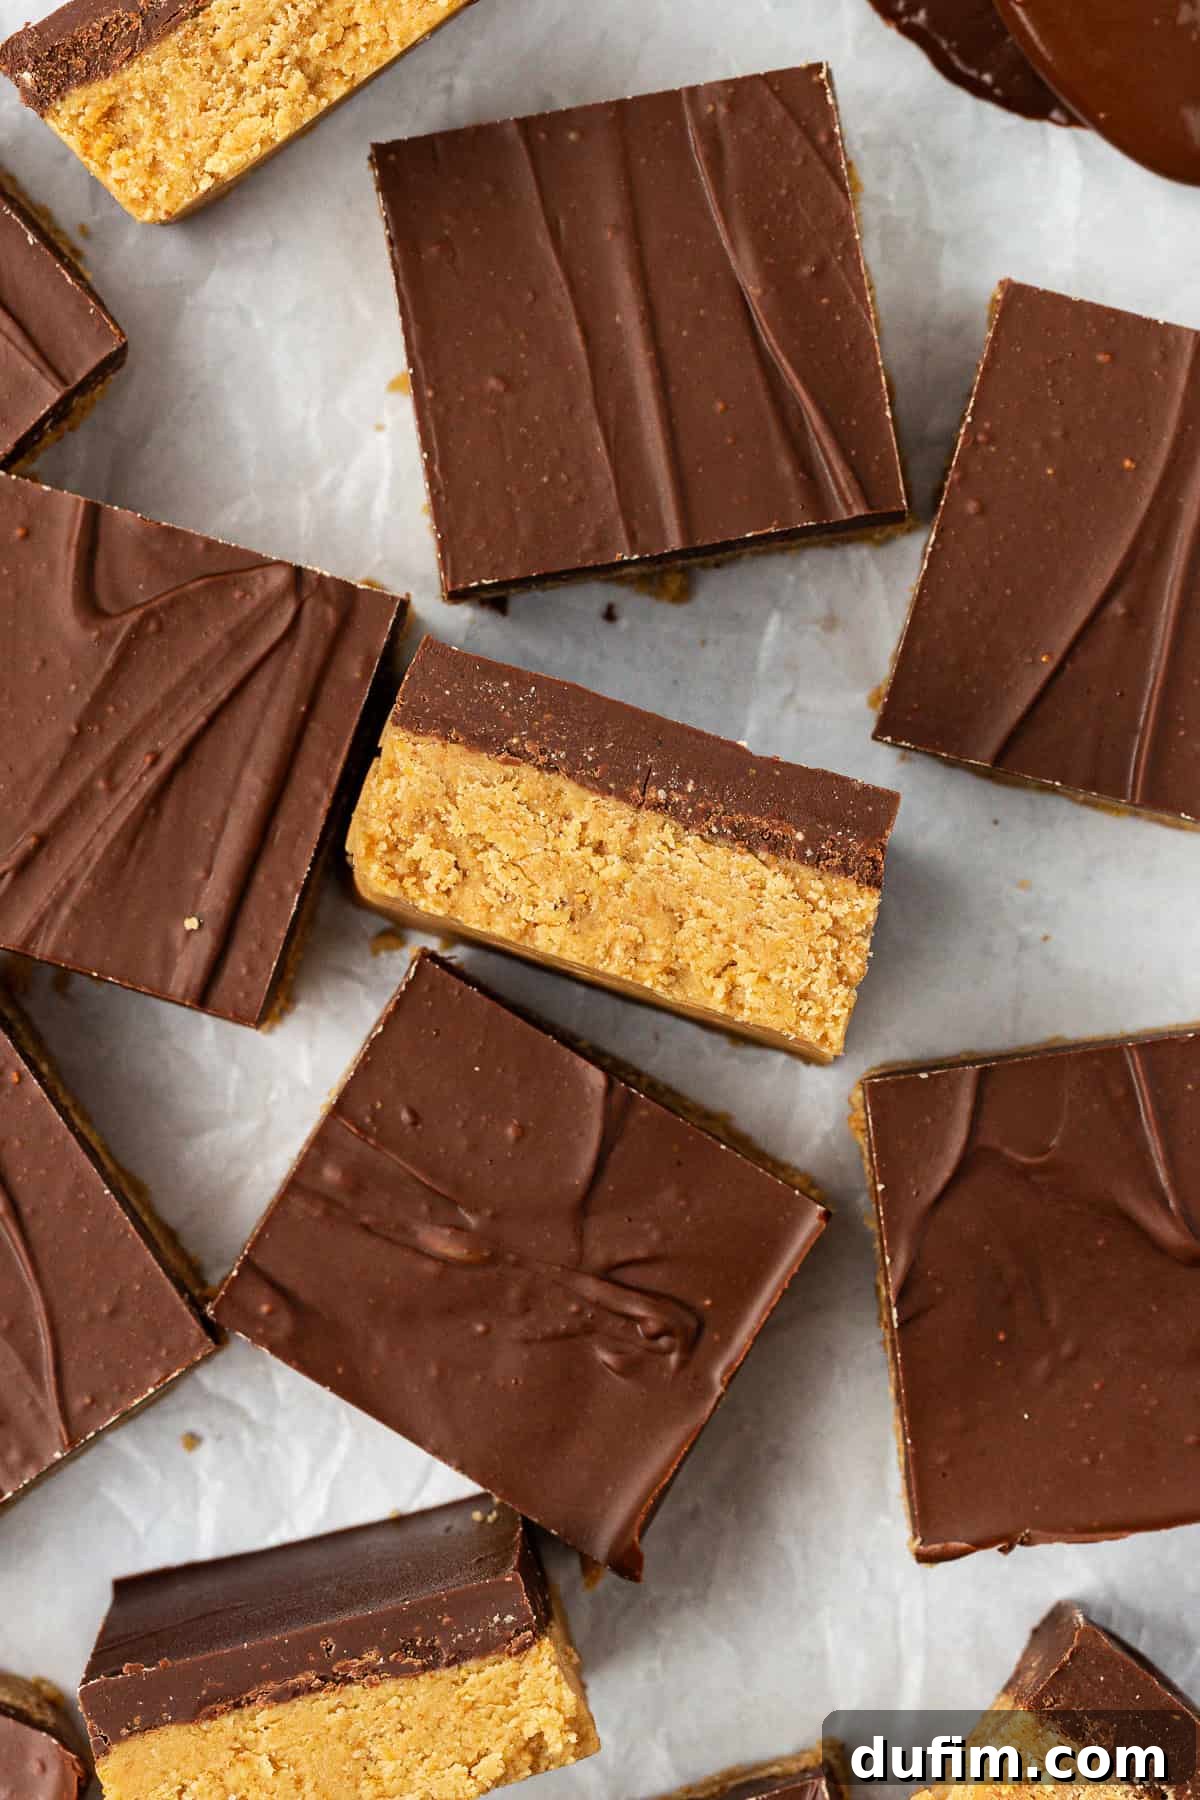
Can Chocolate Peanut Butter Bars be Frozen?
Absolutely! For extended storage, these versatile bars freeze exceptionally well for up to 3 months. You have a couple of options: you can freeze the entire slab uncut, or you can freeze the individual sliced squares. If you choose to freeze individual cut squares, make sure to place a small piece of parchment paper between each layer to prevent them from sticking together. When you’re ready to enjoy them, simply transfer the frozen bars to the refrigerator and allow them to thaw overnight. This makes them a perfect make-ahead dessert for busy weeks or unexpected guests!
More Irresistible Peanut Butter Desserts to Explore
If you’re a true peanut butter connoisseur, then these no-bake peanut butter bars are just the beginning! Dive deeper into the world of delicious peanut butter treats with these other fan-favorite recipes:
- Classic Peanut Butter Sheet Cake: A moist and flavorful cake perfect for a crowd, topped with a rich peanut butter frosting.
- Soft & Chewy Peanut Butter Cookies: The quintessential classic, offering that perfect balance of sweet and savory peanut butter goodness.
- Peanut Butter Blossoms: A holiday favorite featuring tender peanut butter cookies crowned with a chocolate kiss.
- Homemade Peanut Butter Buckeyes: These delectable peanut butter balls dipped in chocolate are a delightful bite-sized treat, reminiscent of their namesake candy.
Tap stars to rate!
Peanut Butter Bar Recipe
Rate
Equipment
-
Glass Mixing Bowl
-
My favorite spatula!
-
Kitchen Scale
Ingredients
Base
- ½ cup (113g) unsalted butter, melted and cooled, 1 stick
- 1 cup (270g) creamy peanut butter
- 2 cups (227g) powdered sugar
- 1 cup (100-120g) graham cracker crumbs, this is about 7-8 sheets of graham crackers
- 1 tsp vanilla extract
- ¼ tsp salt
Chocolate Topping
- 1 ½ cup (255g) semi-sweet chocolate chips
- 2 Tbsp creamy peanut butter
Instructions
Peanut Butter Base
-
Line an 8×8 or 9×9 inch baking pan with parchment paper, leaving some overhang on the sides for easy removal later.
-
If using full sheets of graham crackers, pulse or blend the crackers into fine crumbs.
-
In a large mixing bowl, combine melted butter, creamy peanut butter, powdered sugar, graham cracker crumbs, vanilla extract and salt. Beat with an electric mixer on low until thick and combined.1/2 cup (113g) unsalted butter, 1 cup (270g) creamy peanut butter, 2 cups (227g) powdered sugar, 1 cup (100-120g) graham cracker crumbs, 1 tsp vanilla extract, ¼ tsp salt
-
Transfer the peanut butter mixture into the pan. Use a spatula or your hands to evenly press the mixture into the bottom of the pan, creating a smooth and compact layer.
Chocolate Topping
-
In a microwave-safe bowl, combine semi-sweet chocolate chips and creamy peanut butter. Microwave in 30-second intervals, stirring in between, until the chocolate chips are melted and the mixture is smooth. Be careful not to overheat. Pour the chocolate over the peanut butter base, using a spatula to spread it into an even layer.1 ½ cup (255g) semi-sweet chocolate chips, 2 Tbsp creamy peanut butter
-
Place the pan in the refrigerator and chill for at least 1-2 hours, or until the bars are firm and the chocolate topping is set.
-
Let the bars rest at room temperature for 10-15 minutes before slicing. Use a sharp knife to cut the bars into squares or rectangles. It’s fine to leave them at room temperature for a couple of hours, but the chocolate will soften.
Video
Nutrition
Nutrition Disclosure
All nutritional values are approximate and provided to the reader as a courtesy. Changing ingredients and/or quantities will alter the estimated nutritional calculations.
Love this recipe? Rate and leave a comment below!