
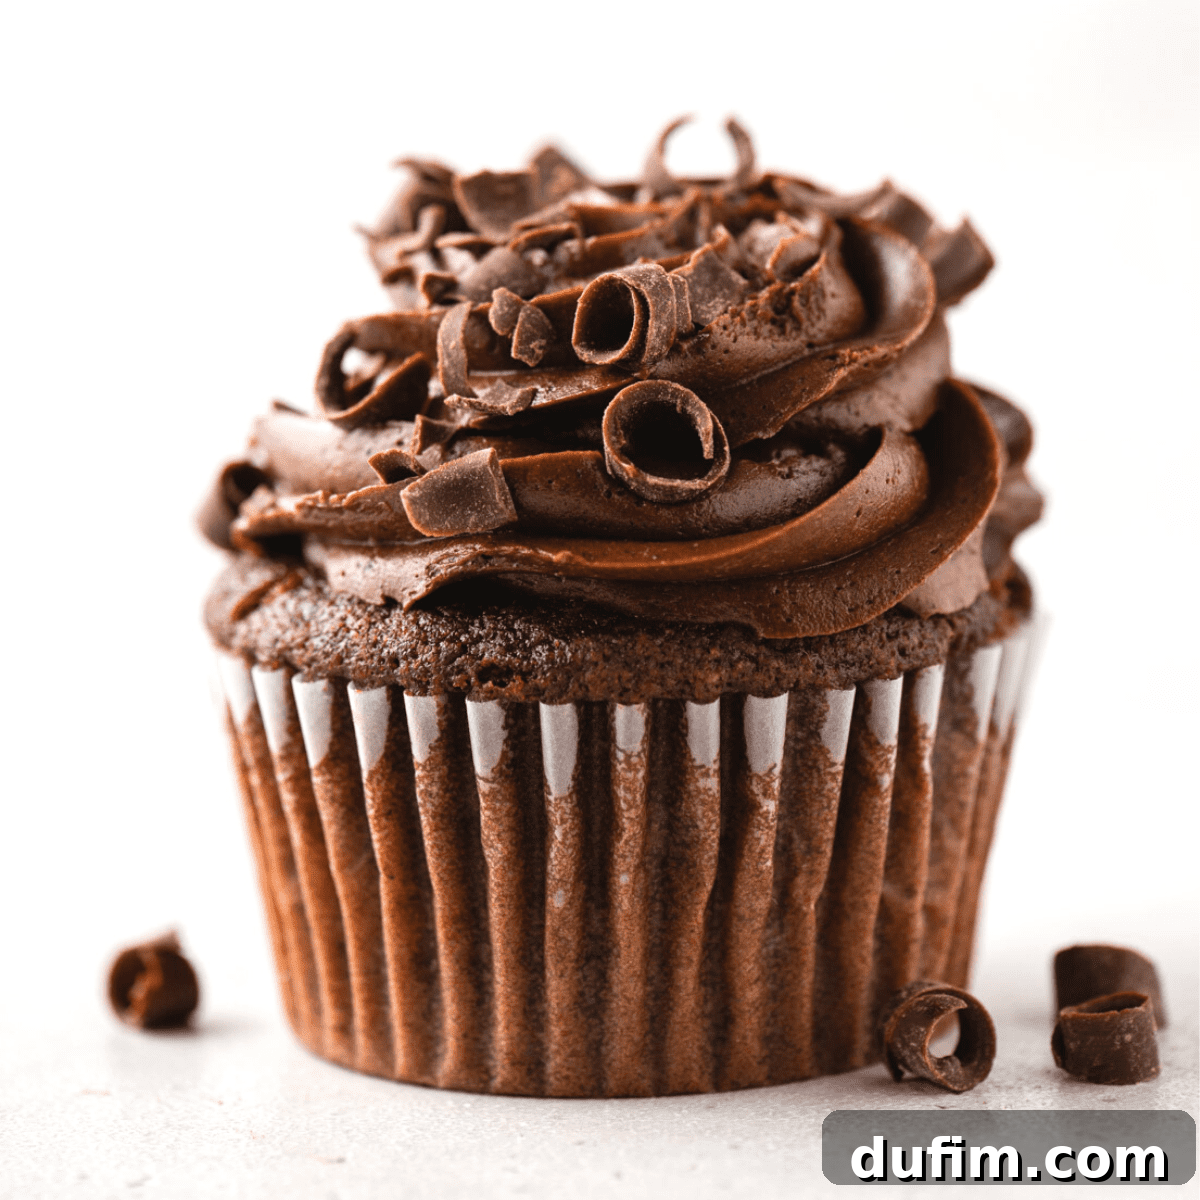
Welcome to your new favorite recipe for gluten-free chocolate cupcakes! Forget everything you thought you knew about gluten-free baking – these aren’t your typical dry, crumbly, or overly dense alternatives. This recipe delivers a truly exceptional chocolate cupcake that rivals any traditional version, offering a delightfully light, incredibly moist texture, and a deep, satisfying chocolate flavor. Crowned with a luxurious homemade chocolate frosting, these cupcakes are a dream come true for any chocolate enthusiast, whether you follow a gluten-free diet or not. Prepare to impress everyone with these unbelievably delicious and perfectly balanced treats.
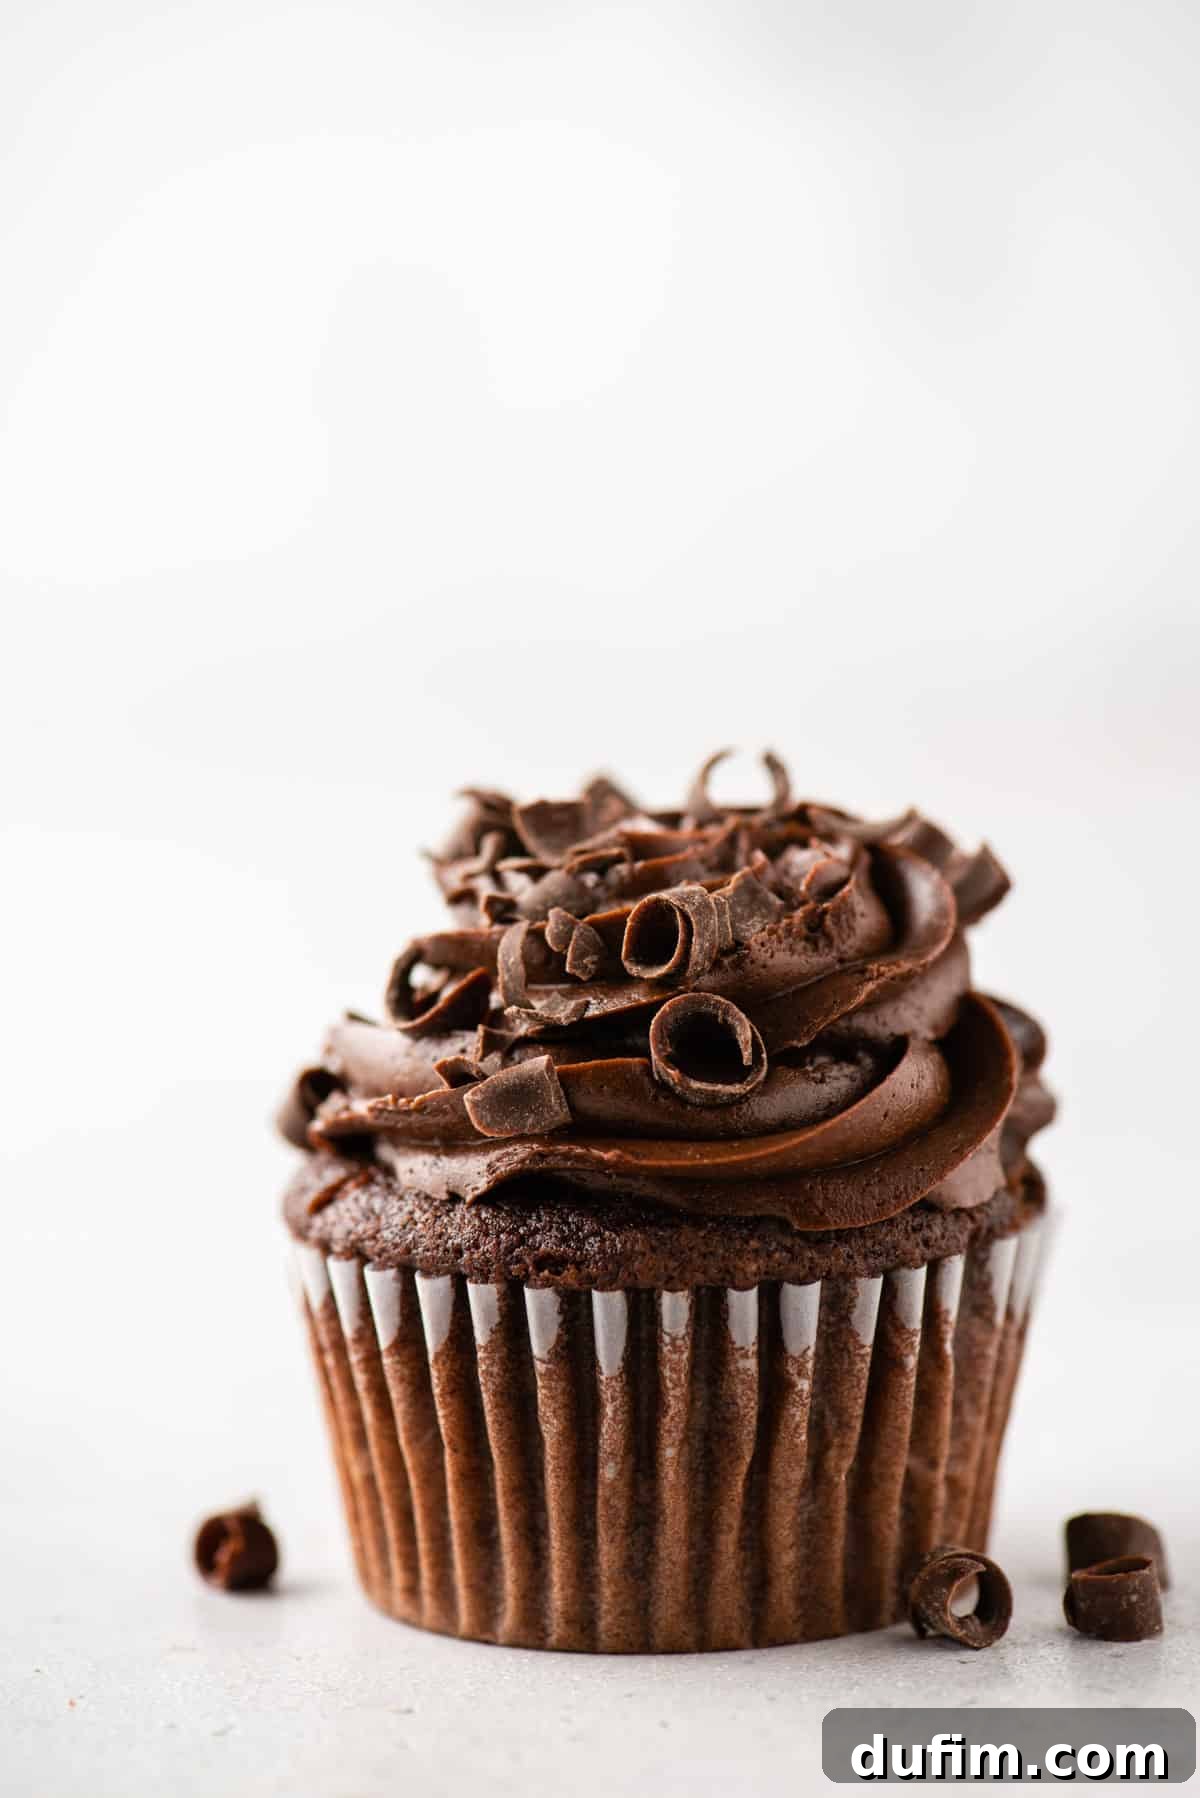
“Oh my gosh, this recipe is awesome, so moist! I can’t believe they’re gluten-free.”
-Marg
For those navigating a gluten-free lifestyle, finding a truly satisfying cupcake can often feel like an endless quest. Many gluten-free baked goods fall short, often resulting in textures that are either unpleasantly dry and crumbly or excessively gummy and heavy. These experiences can leave you longing for the tender crumb and rich flavor of a classic cupcake.
However, this definitive recipe for gluten-free chocolate cupcakes is designed to put an end to those culinary disappointments. Much like our acclaimed gluten-free vanilla cupcakes, this chocolate version promises a wonderfully tender crumb, a flawless texture, and absolutely no “off” flavors that sometimes plague gluten-free creations. They are so remarkably good and indistinguishable from their wheat-based counterparts that you can confidently serve them at any gathering, and your guests will be none the wiser.
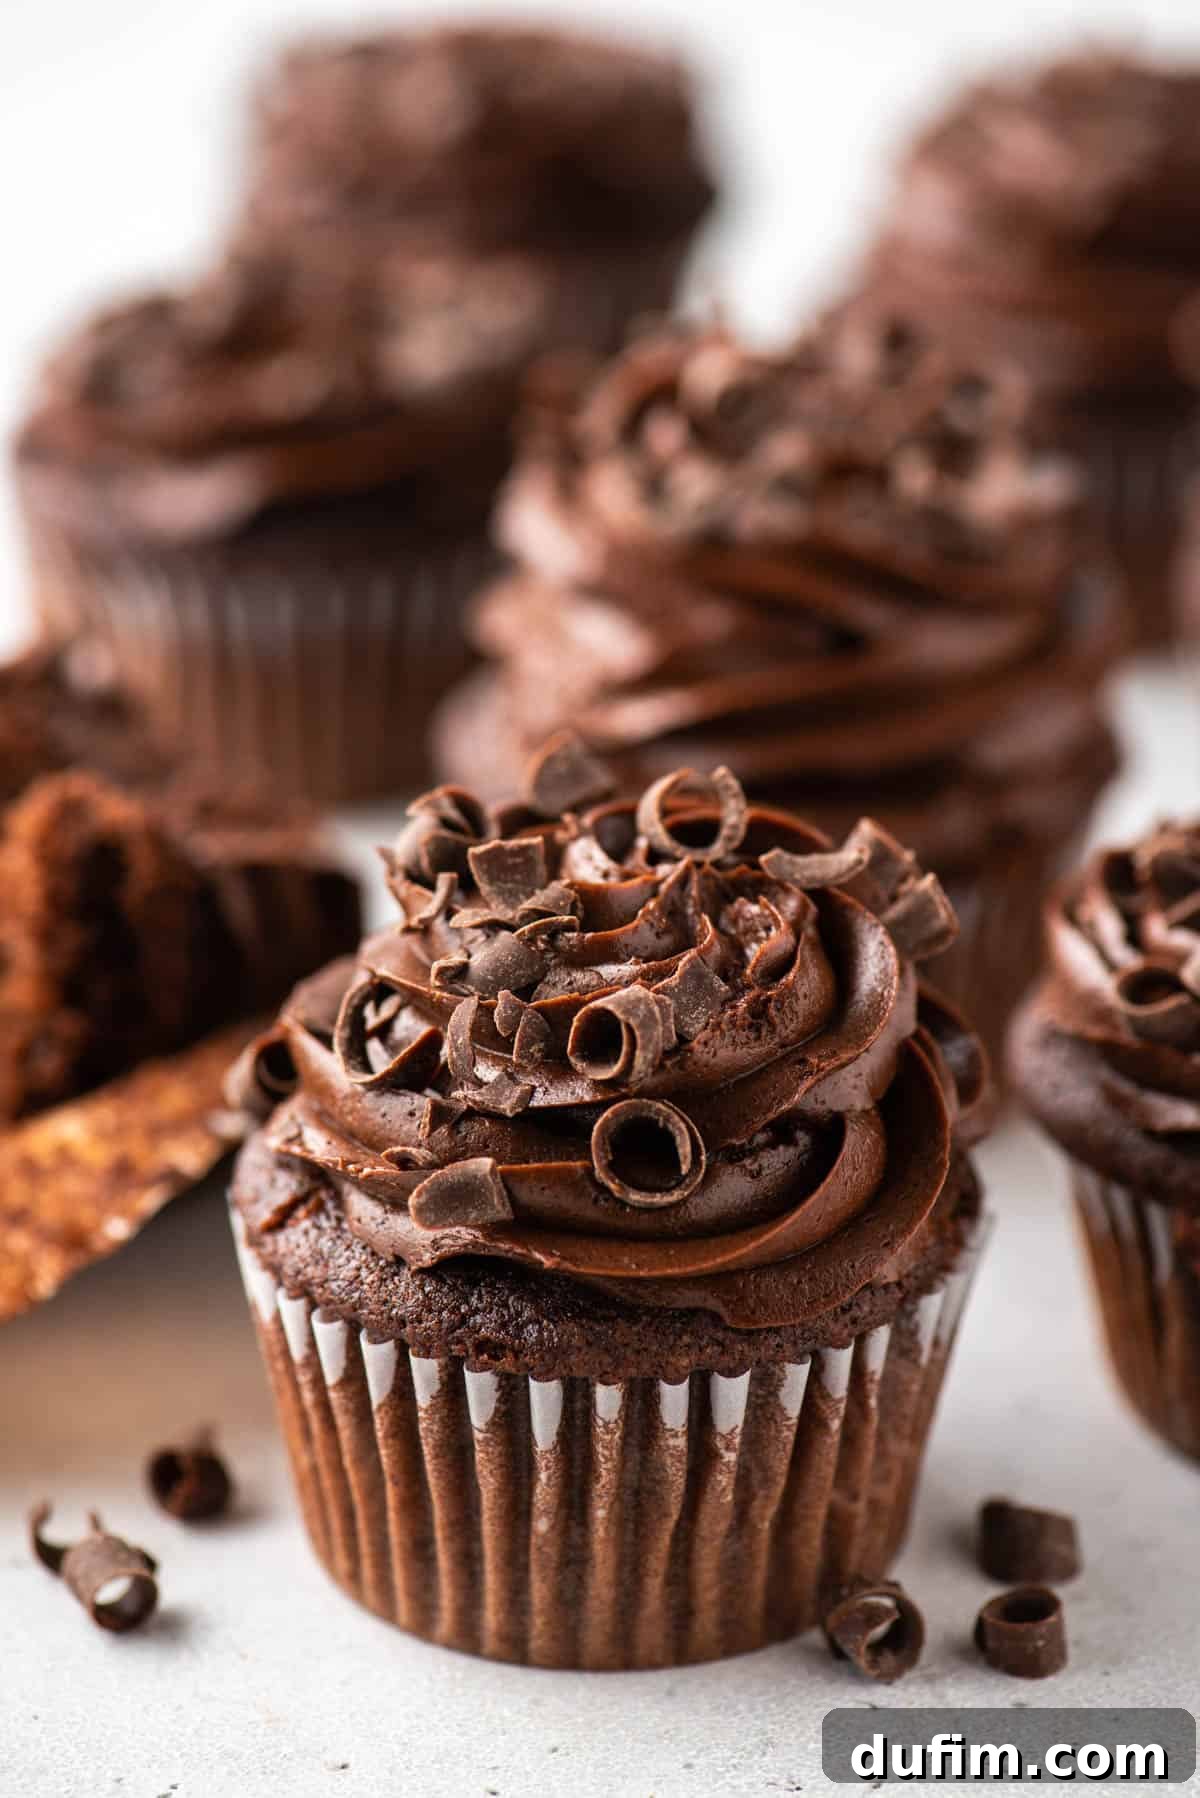
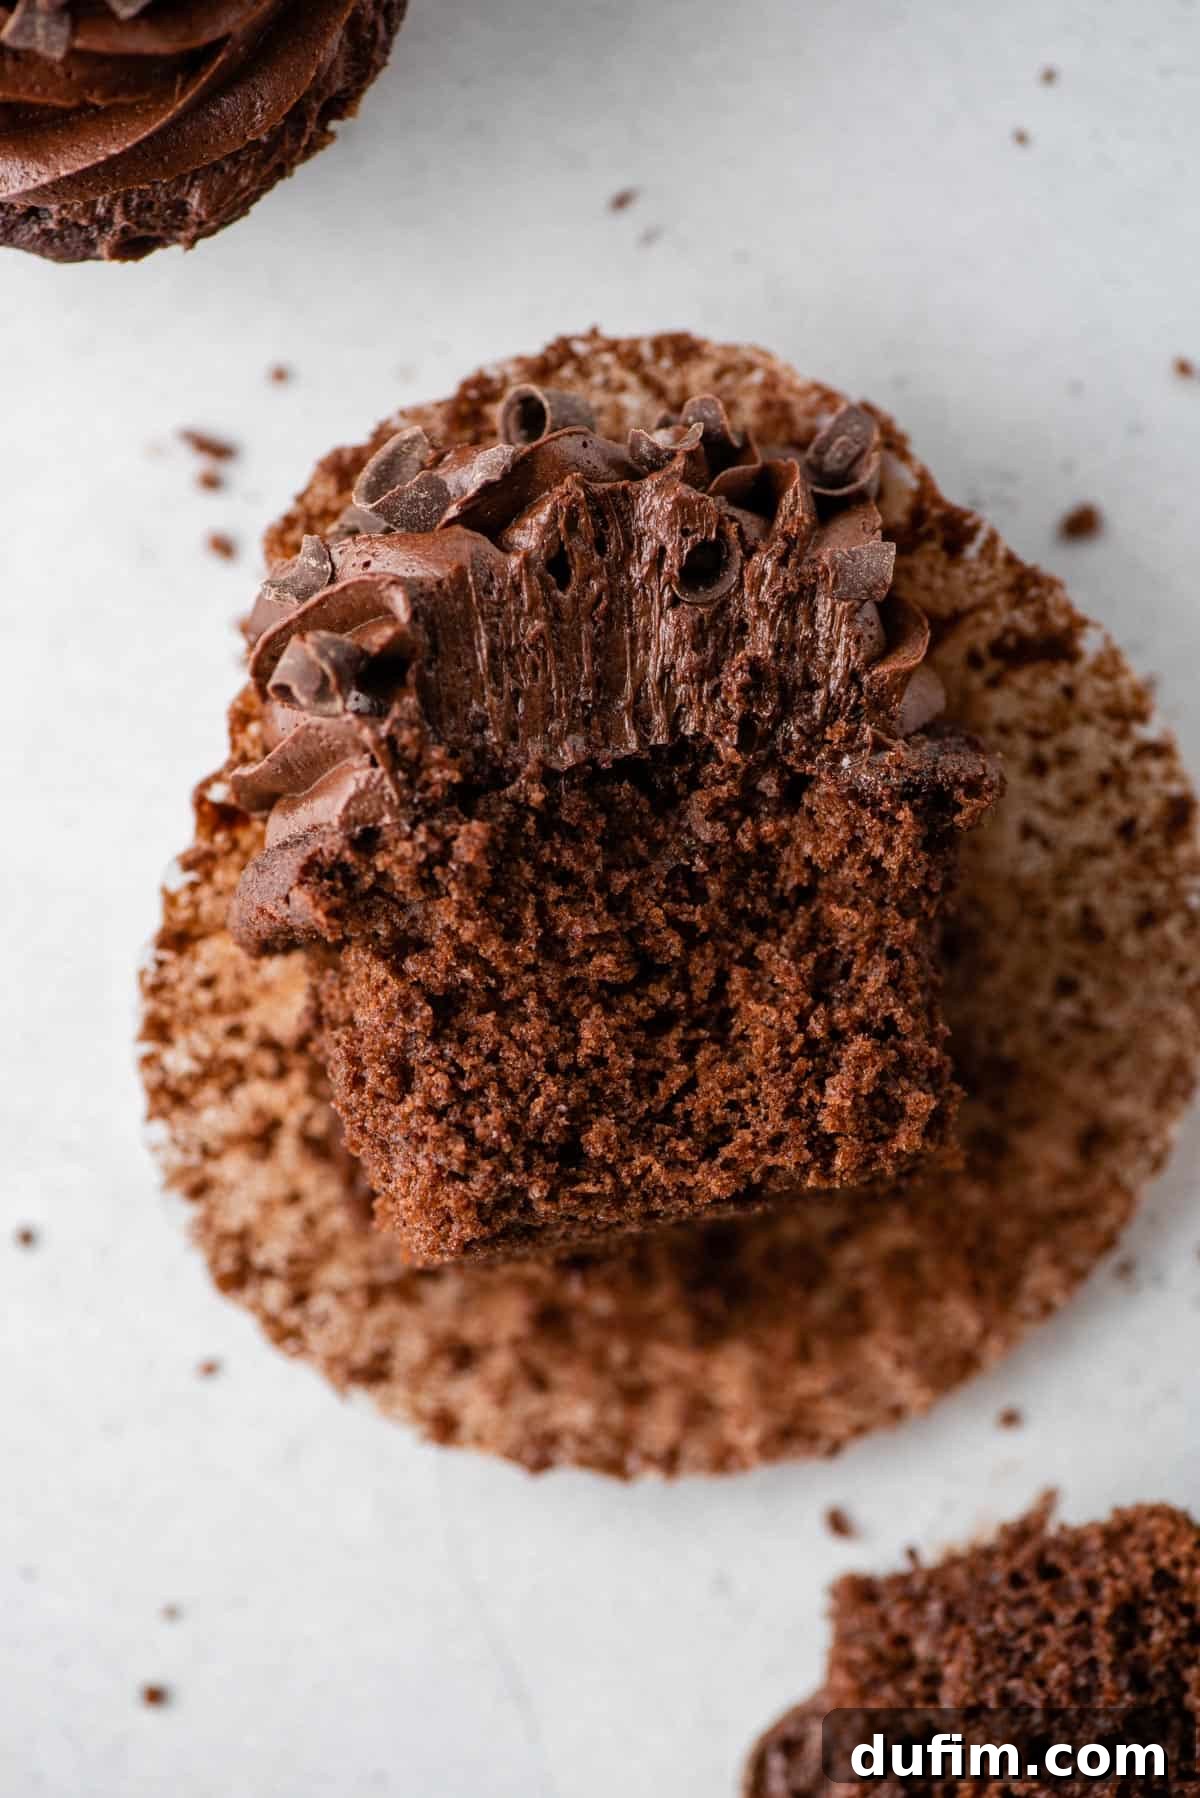
Imagine a light, airy chocolate cake, generously crowned with a majestic swirl of rich, homemade chocolate frosting. Add a sprinkle of delicate chocolate curls or your favorite garnishes, and you’ll be treated to an extraordinary dessert. These aren’t just gluten-free cupcakes; they are simply the best chocolate cupcakes you’ve ever had, guaranteed to delight your palate and become a cherished recipe in your baking repertoire.
Essential Ingredients for Perfect Gluten-Free Chocolate Cupcakes
Crafting these exceptional gluten-free chocolate cupcakes begins with selecting the right ingredients. Each component plays a crucial role in achieving the moist texture and rich flavor that makes this recipe stand out. Below, you’ll find a detailed list of what you’ll need, along with helpful notes to ensure your baking success. For precise quantities and step-by-step instructions, please refer to the comprehensive recipe card located further down this page.
For the Decadent Cupcakes:
- Gluten-free All-Purpose Flour: This is the cornerstone of our gluten-free cake. We highly recommend using King Arthur’s Gluten-Free All-Purpose Flour blend. It consistently provides excellent results, mimicking the structure and texture of traditional wheat flour without compromise. It’s crucial to use a measure-for-measure or all-purpose blend, as single-ingredient flours like almond or coconut flour will not yield the same results in this recipe.
- Unsweetened Natural Cocoa Powder: For that rich, deep chocolate flavor. Natural cocoa powder is slightly acidic, which reacts perfectly with the baking soda to create a light and airy crumb.
- Baking Soda: A leavening agent that works with the acidic ingredients (like cocoa and buttermilk) to help the cupcakes rise, contributing to their tender texture.
- Baking Powder: Another leavening agent that provides an initial lift, ensuring your cupcakes are beautifully domed and light.
- Salt: Essential for balancing the sweetness and intensifying the chocolate flavor, making every bite more complex and satisfying.
- Unsalted Butter: Ensure your butter is at room temperature before you begin. Softened butter creams beautifully with sugar, incorporating air into the batter for a lighter cake structure.
- Bittersweet Chocolate Baking Bar: Look for a high-quality bar with a cacao percentage around 70%. Melting this into the batter adds an intense, sophisticated chocolate depth that powdered cocoa alone cannot achieve.
- Granulated Sugar: Provides sweetness and moisture, contributing to the soft texture and helping to achieve that beautiful golden crust.
- Eggs: Large eggs, preferably at room temperature, bind the ingredients together, add richness, and contribute to the cake’s structure and moisture.
- Buttermilk: The secret ingredient for an exceptionally moist and tender crumb. Its acidity reacts with baking soda, creating a fluffy texture. If you don’t have store-bought buttermilk, you can easily make your own by adding a tablespoon of lemon juice or white vinegar to a liquid measuring cup, then filling it to the one-cup mark with whole milk. Stir gently and let it sit for 5 minutes until it slightly thickens and curdles.
- Hot Tap Water: Helps to bloom the cocoa powder, enhancing its flavor and creating a smoother, more fluid batter.
For the Silky Chocolate Frosting:
- Unsalted Butter: Just like for the cupcakes, your butter for the frosting should be at room temperature. This allows it to whip up into a wonderfully light and creamy consistency, creating a smooth and pipeable frosting.
- Unsweetened Natural Cocoa Powder: Provides the rich chocolate flavor for the frosting. Sifting it is key to avoiding lumps.
- Powdered Sugar (Confectioners’ Sugar): The base of the frosting, giving it sweetness and body. Sifting is crucial here for a silky-smooth texture.
- Heavy Cream: Adds richness and helps achieve the desired consistency for a fluffy, spreadable, or pipeable frosting.
- Salt: A pinch of salt cuts through the sweetness and enhances the overall chocolate flavor of the frosting.
- Vanilla Extract: A splash of pure vanilla extract complements the chocolate beautifully, adding an extra layer of aromatic complexity.
Choosing the Right Gluten-Free Flour for Baking Success
The quest for the perfect gluten-free cupcake often hinges on one critical component: the flour blend. After extensive testing with various options available on the market, our top recommendation for achieving an ideal texture and flavor in these chocolate cupcakes is unequivocally King Arthur Gluten-Free All-Purpose Flour. This particular blend is expertly formulated to perform reliably in a wide range of baking applications, delivering results that are consistently light, moist, and wonderfully tender.
If King Arthur’s blend is not accessible, the most important advice is to opt for a “measure-for-measure” or “cup-for-cup” gluten-free all-purpose flour substitute. These blends are specifically designed to be swapped directly for wheat flour in recipes, making them the most forgiving and successful option for gluten-free baking. It is vital to understand that this recipe, and most baking recipes calling for all-purpose flour, will not work with single-ingredient gluten-free flours such as almond flour, coconut flour, or oat flour. These flours have vastly different absorbency rates, protein structures, and fat contents, which would fundamentally alter the chemistry and outcome of the cupcakes, leading to disappointing results. Stick to a high-quality, pre-blended all-purpose gluten-free flour for the best possible experience and a truly delightful cupcake.
Step-by-Step: How to Make Irresistible Gluten-Free Chocolate Cupcakes
Ready to transform simple ingredients into extraordinary gluten-free chocolate cupcakes? Follow these detailed instructions to ensure a perfect batch every time. The process is straightforward, ensuring even novice bakers can achieve professional-quality results.
Crafting the Moist Chocolate Cupcakes:
1. Prepare Your Baking Station: Begin by preheating your oven to 350ºF (175ºC). This consistent temperature is crucial for even baking. Next, line a standard muffin pan with 12 paper liners. For this recipe, you’ll likely need two muffin pans or to bake in two batches to accommodate 24 cupcakes.
2. Melt and Cool the Chocolate: Roughly chop your bittersweet chocolate baking bar into small, uniform pieces. Place these pieces in a microwave-safe bowl. Microwave on 50% power for 2 minutes. Remove and stir thoroughly. Continue heating in 30-second intervals at 50% power, stirring after each, until the chocolate is completely smooth and melted. Set the bowl aside to cool to room temperature. It’s important that the chocolate is not hot when added to the batter, as this could scramble the eggs.
3. Combine the Dry Ingredients: In a medium mixing bowl, whisk together the gluten-free all-purpose flour, unsweetened natural cocoa powder, baking soda, baking powder, and salt. Whisking ensures these ingredients are evenly distributed, which is vital for proper leavening. Set this bowl aside.
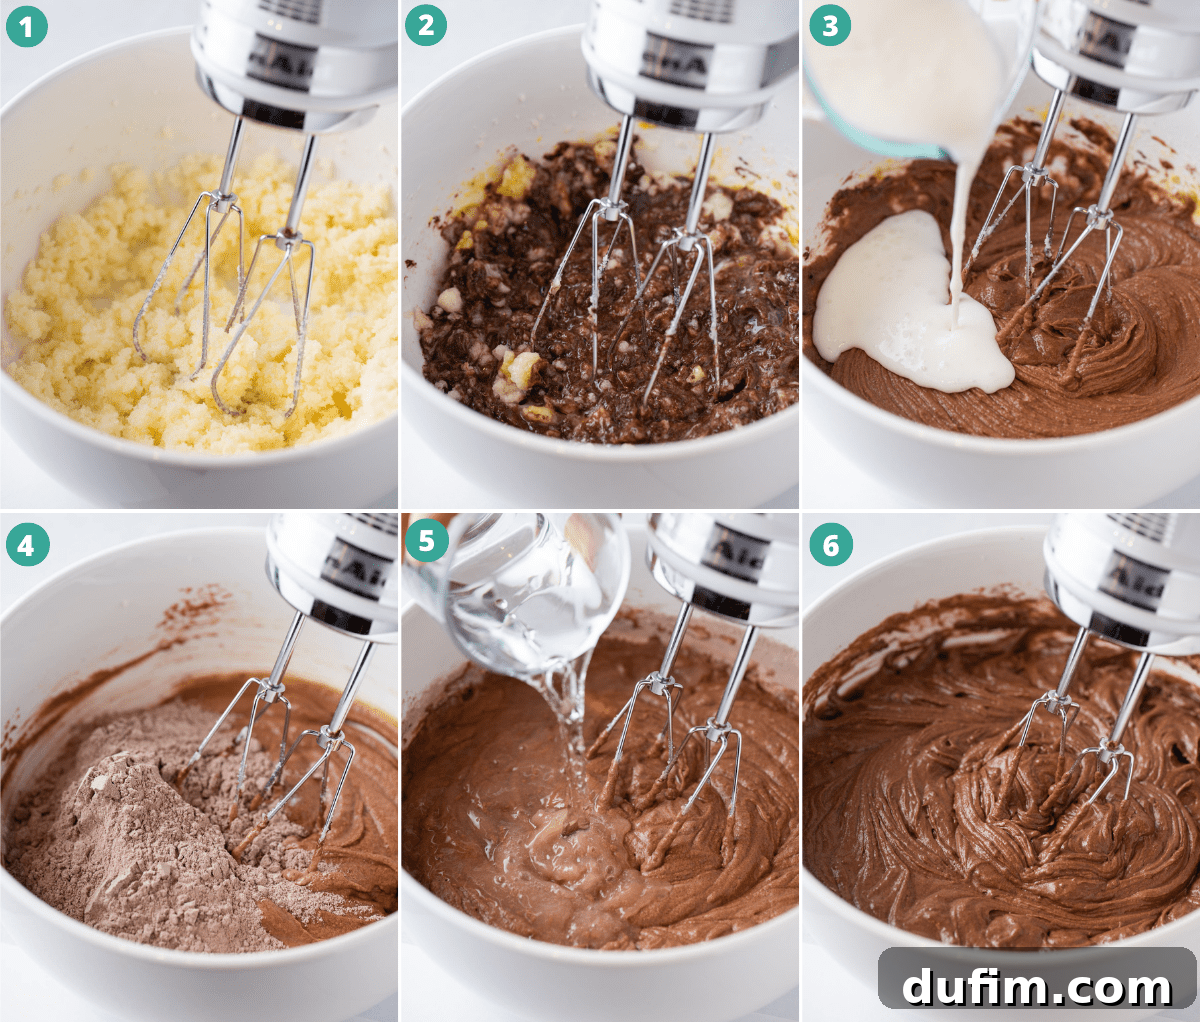
4. Cream the Wet Ingredients: In a separate, larger mixing bowl, using an electric mixer (stand mixer or hand mixer) fitted with the paddle attachment, cream the room-temperature unsalted butter and granulated sugar together on medium-high speed for approximately 2 minutes. Continue beating until the mixture is visibly pale and fluffy, indicating that sufficient air has been incorporated. Reduce the speed to low, then beat in the room-temperature eggs one at a time, followed by the cooled melted chocolate. Mix for an additional 30 seconds until just combined. Scrape down the sides of the bowl as needed.
5. Finish the Batter in Alternating Additions: With the mixer on low speed, add half of the buttermilk to the wet mixture and beat for about 20 seconds, just until incorporated. Next, add half of the dry ingredient mixture and beat on low until mostly combined. Then, pour in the remaining buttermilk and the hot tap water, mixing just until the liquids are incorporated. Finally, add the remaining dry ingredients. Beat on the lowest speed until the batter is just smooth and no dry streaks remain. Be careful not to overmix, as this can lead to tough cupcakes.
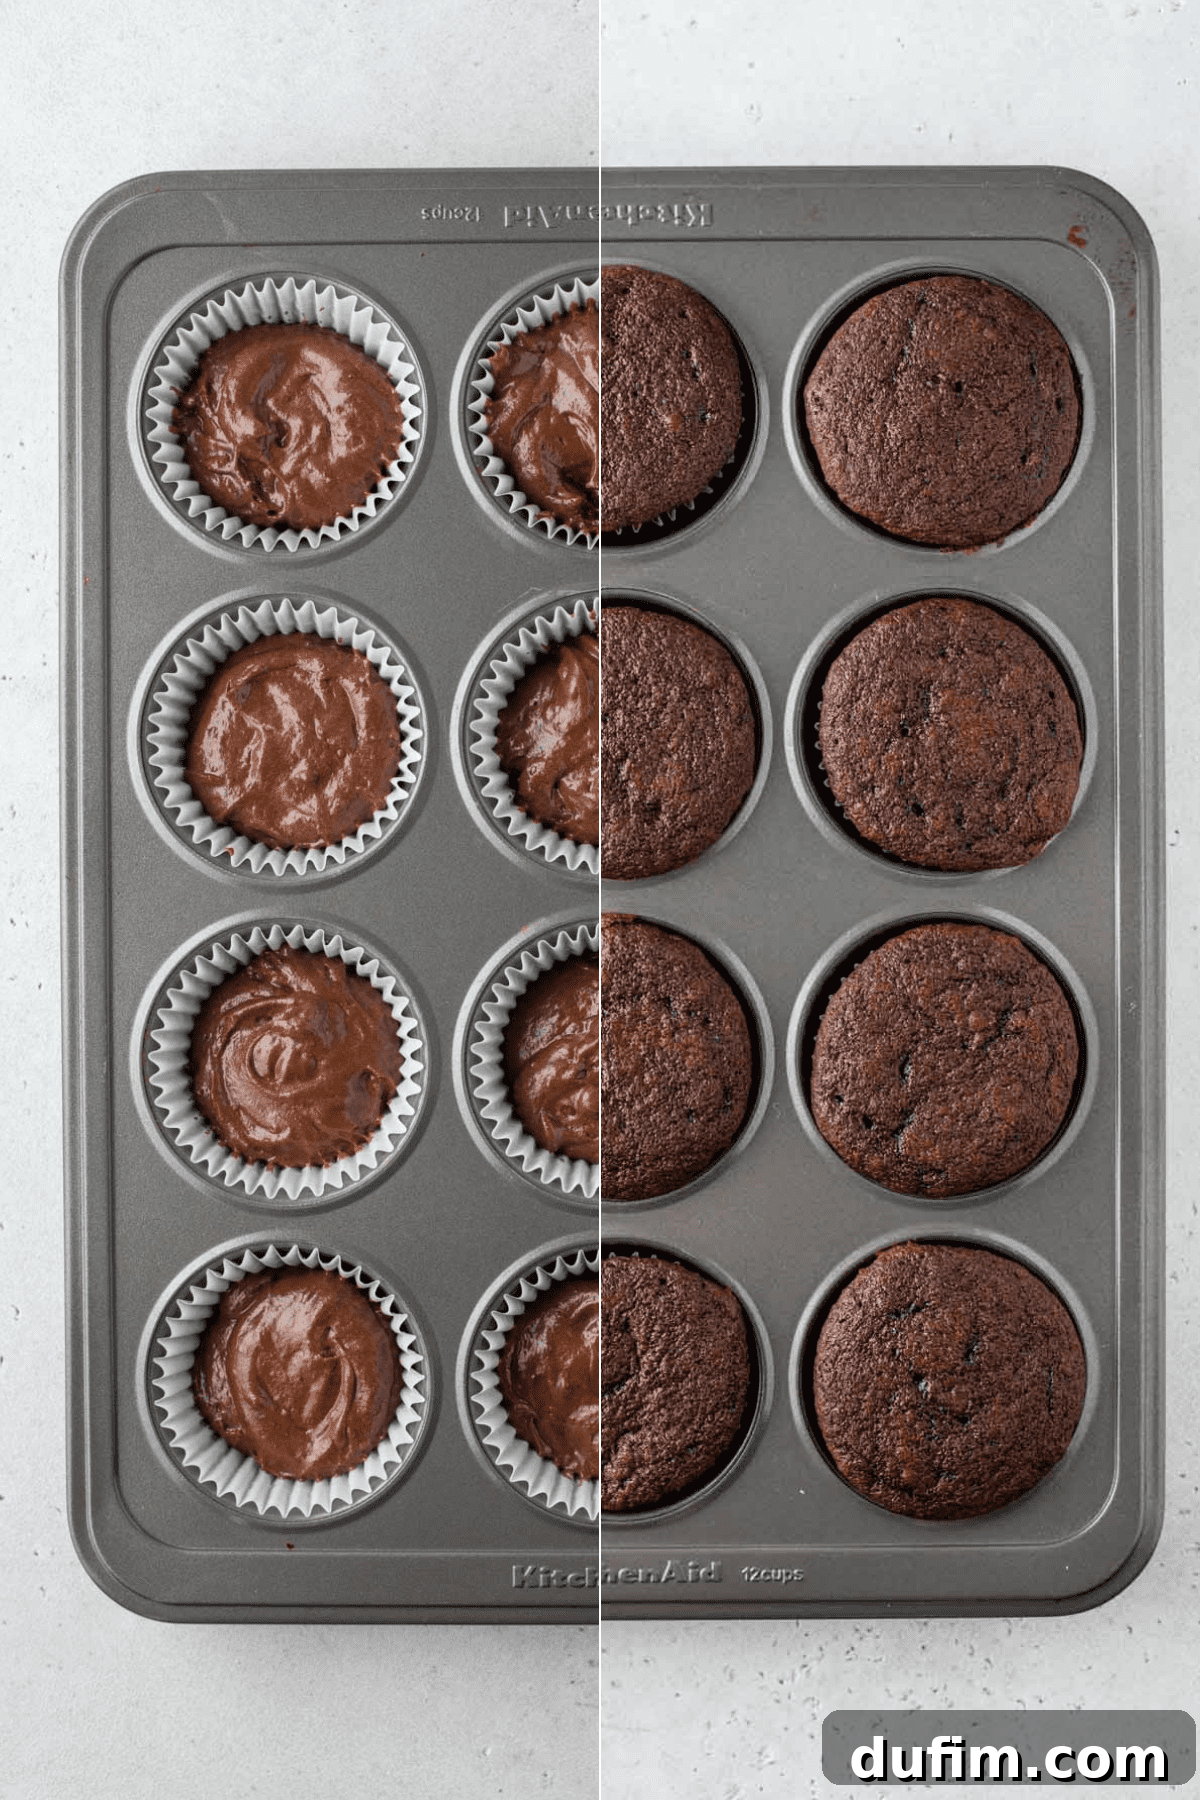
6. Bake to Perfection: Using an ice cream scoop or spoon, fill each muffin liner halfway full with the prepared batter. Overfilling can cause the cupcakes to overflow and bake unevenly. Bake for 17 to 19 minutes, or until a toothpick inserted into the center of a cupcake comes out with a few moist crumbs attached. Avoid baking until completely clean, as a few moist crumbs indicate a perfectly tender and moist cupcake. Rotate the pan halfway through baking if your oven bakes unevenly.
7. Cool Completely: Once baked, remove the muffin pan from the oven and let the cupcakes cool in the pan for 5-10 minutes. Then, transfer them to a wire rack to cool completely. This step is crucial; frosting warm cupcakes will result in melted, messy frosting.
Preparing the Rich Chocolate Frosting and Assembling the Cupcakes:
1. Whip the Butter: In a clean mixing bowl, preferably with an electric mixer, place the room-temperature unsalted butter. Beat on high speed for at least 3 minutes, or until the butter is exceptionally light, fluffy, and noticeably paler in color. This step is vital for creating a light and airy frosting.
2. Incorporate Dry Ingredients: Reduce the mixer speed to low. Sift in the unsweetened natural cocoa powder and 3 cups of the powdered sugar. Sifting is a non-negotiable step here; it prevents lumps and ensures your frosting is incredibly smooth and silky. Beat on low speed until all the dry ingredients are fully incorporated into the butter and the frosting begins to thicken.
3. Add Liquids and Flavorings: With the mixer still on low, beat in 3 tablespoons of heavy cream, the vanilla extract, and the salt. Mix until just combined.
4. Adjust Consistency with Remaining Sugar: Gradually add the remaining 1 to 2 cups of powdered sugar, mixing on low speed until your desired consistency is reached. If the frosting appears too thick, beat in additional heavy cream, one tablespoon at a time, until it is perfectly smooth and pipeable. If it’s too thin, add a little more powdered sugar.
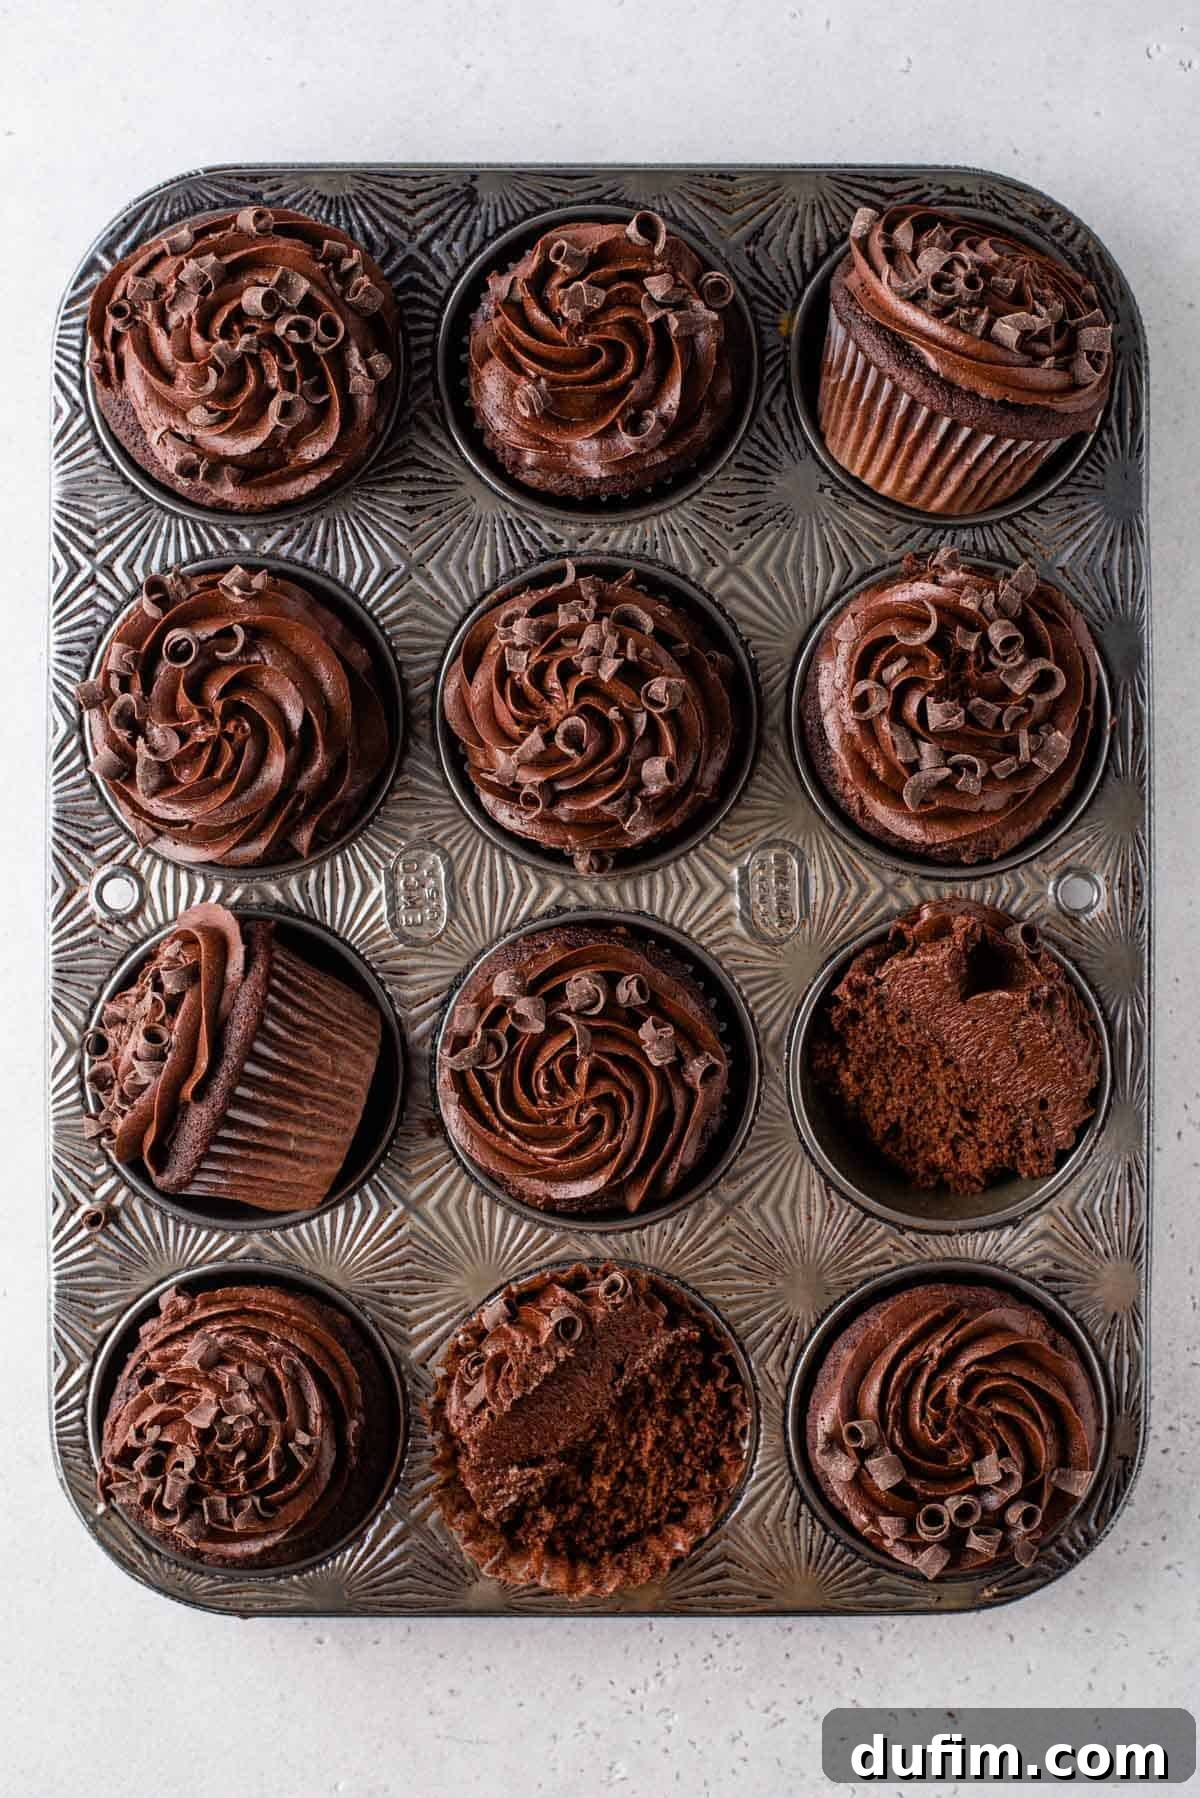
5. Frost and Decorate: Fit a piping bag with your preferred piping tip (a Wilton 1M star tip is excellent for classic swirls). Fill the bag about three-quarters full with the prepared chocolate frosting. Pipe the frosting generously onto each completely cooled cupcake. For an elegant touch, garnish with chocolate curls, colorful sprinkles, or any of the delightful decoration ideas listed below.
Creative Decoration Ideas for Your Gluten-Free Chocolate Cupcakes
While a simple sprinkle of chocolate curls adds a touch of classic elegance, don’t hesitate to get creative with your gluten-free chocolate cupcakes! Here are some additional ideas to make your treats even more special and visually appealing, perfect for any occasion:
- Chopped Candy Bar Topping: Crush your favorite gluten-free candy bars (like Snickers, Reese’s, or Heath) and sprinkle them generously over the frosting for added texture and flavor.
- White Chocolate Accents: Instead of dark chocolate curls, try delicate white chocolate shavings. The contrast in color and flavor is both beautiful and delicious.
- Fresh Fruit Burst: A whole, perfectly ripe strawberry or a few fresh raspberries placed artfully on top provides a lovely tart counterpoint to the rich chocolate.
- S’mores Inspired: For a delightful twist, top with a toasted marshmallow and a sprinkle of gluten-free graham cracker crumbs. A mini chocolate square tucked in alongside completes the s’mores experience.
- Nutty Crunch: Sprinkle with finely chopped nuts such as pecans, walnuts, or almonds for an inviting crunch and earthy flavor.
- Flavorful Frosting Swaps: While our chocolate frosting is divine, don’t be afraid to experiment! Consider topping your chocolate cupcakes with Peanut Butter Frosting for a classic pairing, a sophisticated swirl of Salted Caramel Frosting, or an invigorating dollop of Coffee Frosting. Each offers a unique and delicious flavor profile that complements chocolate wonderfully.
- Rainbow Sprinkles: For a festive and playful look, especially for birthdays or celebrations, colorful gluten-free sprinkles are always a hit.
Expert Tips for Gluten-Free Cupcake Success
Baking gluten-free doesn’t have to be daunting. With a few key techniques and careful attention, you can consistently achieve perfect results. Beyond the detailed instructions, here are some invaluable tips to help you master these gluten-free chocolate cupcakes:
- Accurate Flour Measurement is Paramount: Gluten-free flours absorb liquids differently than wheat flour, so precise measurement is critical. Always use the “spoon-and-sweep” method. This involves using a spoon to lightly fluff and then transfer the flour into your dry measuring cup, ensuring it’s not packed down. Once filled, level off the top with a straight edge (like a knife). Never scoop flour directly from the container with your measuring cup, as this compacts the flour and can add up to 25% more flour than intended, leading to dry, dense cupcakes.
- Do Not Over-fill Cupcake Liners: A common mistake that can lead to messy baking and uneven cupcakes. For beautifully domed tops and to prevent batter overflow, ensure you fill each liner no more than halfway. This allows ample space for the cupcakes to rise gracefully during baking.
- Sift Dry Ingredients for Frosting: To achieve that incredibly smooth, lump-free, and pipeable frosting, sifting both the cocoa powder and powdered sugar is absolutely essential. This step breaks up any clumps that may have formed, ensuring a velvety texture that’s a joy to work with and a delight to eat. Skip sifting, and you might end up with grainy frosting that’s difficult to pipe and less appealing visually.
- Room Temperature Ingredients Matter: For both the cake batter and the frosting, ensure butter and eggs are at room temperature. Room temperature ingredients emulsify more effectively, creating a smoother, more uniform batter and a creamier, lighter frosting.
- Avoid Overmixing the Batter: While gluten-free batters don’t develop gluten like wheat batters, overmixing can still lead to tough or dense cupcakes. Mix just until ingredients are combined and no dry streaks remain.
- Check Oven Temperature: Ovens can vary. Consider using an oven thermometer to ensure your oven is truly preheated to 350°F (175°C) for optimal baking.
- Don’t Rush Cooling: Patience is a virtue, especially when it comes to cooling cupcakes. Ensure they are completely cool before frosting. This prevents the frosting from melting and sliding off, preserving the beautiful presentation of your hard work.
How to Properly Store Your Gluten-Free Chocolate Cupcakes
To enjoy your delicious gluten-free chocolate cupcakes at their peak freshness, it’s generally recommended to consume them on the day they are baked. However, they can maintain their delightful taste and moist texture for a few days with proper storage. Place the frosted cupcakes in an airtight container to protect them from drying out and absorbing other fridge odors. Alternatively, if they’re unfrosted, you can loosely cover them on a plate. They will stay fresh at room temperature for 2 to 3 days. For longer storage, refrigeration can extend their life, but be aware that the cake texture might firm up slightly when chilled. Always bring them back to room temperature before serving for the best experience.
If you find yourself with extra homemade chocolate frosting, it’s a treasure not to be wasted! Transfer any leftover frosting into an airtight container and store it in the refrigerator for up to a week. Before you plan to use it again, allow the frosting to come to room temperature on the counter for an hour or two, then give it a quick whip with an electric mixer to restore its creamy, fluffy consistency.
Can These Gluten-Free Cupcakes Be Frozen?
Absolutely! These gluten-free chocolate cupcakes are excellent candidates for freezing, making them perfect for meal prep or saving for future indulgence. Freezing them can help preserve their freshness and flavor for an extended period.
Here’s the best way to freeze them, whether frosted or unfrosted:
- Flash Freeze (Frosted Cupcakes): If your cupcakes are already frosted, arrange them in a single layer on a baking sheet. Place the baking sheet in the freezer, uncovered, for about 1 to 2 hours, or until the frosting is completely frozen solid. This “flash freezing” step prevents the frosting from sticking to the plastic wrap and getting smudged. If the cupcakes are unfrosted, you can skip this step.
- Wrap Individually: Once the frosting is firm (or if unfrosted), individually wrap each cupcake tightly in plastic wrap. Ensure the plastic wrap covers the entire cupcake, creating an airtight seal to prevent freezer burn.
- Container for Protection: Place the individually wrapped cupcakes into a freezer-safe bag or an airtight container. This provides an additional layer of protection against freezer odors and physical damage.
- Freeze: Store the cupcakes in the freezer for up to 3 months.
- Thawing: When you’re ready to enjoy them, remove the desired number of cupcakes from the freezer. Unwrap them and let them thaw at room temperature for several hours (typically 2-4 hours, depending on ambient temperature) before serving. This gradual thawing helps to maintain their moist texture. Avoid thawing in the microwave, as this can alter the texture of the cake and frosting.
Tap stars to rate!
Gluten-Free Chocolate Cupcakes
Rate
Equipment
-
Large Mixing Bowls (2)
-
Electric Mixer (Stand or Handheld)
-
Rubber Spatula
-
Muffin Pan (12-cup, possibly 2)
-
Paper Cupcake Liners
-
Piping Bag and Tip (e.g., Wilton 1M)
Ingredients
For the Cupcakes:
- 2 ½ cups (300g) gluten-free all purpose flour, I recommend King Arthur’s Gluten Free All Purpose Flour (see tips for substitutes)
- ⅓ cup (28g) unsweetened natural cocoa powder
- ½ tsp baking soda
- 1 tsp baking powder
- 1 tsp salt
- ½ cup (113g) unsalted butter, 1 stick, room temperature
- 3 oz bittersweet chocolate baking bar, melted & cooled (approx. 70% cacao)
- 1 ½ cups (297g) granulated sugar
- 2 large eggs
- 1 cup (236ml) buttermilk, room temperature (or homemade: 1 tbsp lemon juice/vinegar + milk to 1 cup)
- ½ cup (118ml) hot tap water
For the Rich Chocolate Frosting:
- 2 cups (452g) unsalted butter, 4 sticks, room temperature
- 1 cup (84g) unsweetened natural cocoa powder
- 4-5 cups (454-567g) powdered sugar, sifted
- 3-4 Tbsp heavy cream
- ¼ tsp salt
- 1 tsp vanilla extract
Instructions
For the Cupcakes:
-
Preheat your oven to 350ºF (175ºC). Line a standard 12-cup muffin pan with paper liners. Repeat for a second pan if making all 24 at once, or prepare for two batches.
-
Roughly chop the bittersweet chocolate baking bar into smaller pieces. Place them in a microwave-safe bowl and microwave for 2 minutes on 50% power. Stir thoroughly, then continue heating in 30-second bursts at 50% power, stirring after each, until the chocolate is fully melted and smooth. Set aside to cool completely to room temperature.
-
In a medium mixing bowl, combine the gluten-free all-purpose flour, unsweetened natural cocoa powder, baking soda, baking powder, and salt. Whisk well to ensure all dry ingredients are evenly distributed. Set aside.2 ½ cups (300g) gluten-free all purpose flour, ⅓ cup (28g) unsweetened natural cocoa powder, ½ tsp baking soda, 1 tsp baking powder, 1 tsp salt
-
In a separate, larger mixing bowl, using an electric mixer, beat the room-temperature unsalted butter and granulated sugar together for 2 minutes on medium-high speed until the mixture is light, pale, and fluffy. Reduce speed to low. Beat in the eggs one at a time, followed by the cooled melted chocolate. Mix for 30 seconds until just combined. Scrape down the bowl as needed.½ cup (113g) unsalted butter, 1 ½ cups (297g) granulated sugar, 2 large eggs, 3 oz bittersweet chocolate baking bar
-
With the mixer on low speed, add half of the buttermilk and beat for approximately 20 seconds until just incorporated. Next, add half of the dry ingredient mixture and beat until mostly combined. Then, add the remaining buttermilk and the hot tap water, mixing just until the liquid is fully mixed in. Finally, add the remaining dry ingredients and beat on the lowest speed until the batter is smooth and uniform, being careful not to overmix.1 cup (236ml) buttermilk, ½ cup (118ml) hot tap water
-
Fill each muffin liner about 1/2 full with the cupcake batter. Bake for 17-19 minutes at 350ºF (175ºC), or until a toothpick inserted into the center comes out with a few moist crumbs. Let the cupcakes cool in the pan for 5-10 minutes before transferring them to a wire rack to cool completely. It is crucial for the cupcakes to be entirely cool before applying frosting.
For the Rich Chocolate Frosting:
-
In a mixing bowl, beat the room-temperature butter on high speed for 3 minutes until it is very light, fluffy, and pale. This aeration is key to a wonderful frosting texture.2 cups (452g) unsalted butter
-
Reduce the mixer speed to low. Sift in the cocoa powder and 3 cups of the powdered sugar. Sifting is highly recommended here to prevent any clumps and ensure a smooth, silky frosting. Beat on low speed until all dry ingredients are fully incorporated into the butter and the frosting is thick.1 cup (84g) unsweetened natural cocoa powder, 4-5 cups (454-567g) powdered sugar
-
Mix in 3 tablespoons of heavy cream, the vanilla extract, and the salt. Beat until thoroughly combined and smooth.3-4 Tbsp heavy cream, ¼ tsp salt, 1 tsp vanilla extract
-
Gradually add the additional powdered sugar (1-2 cups) as needed, mixing on low speed until the frosting reaches your desired consistency for piping or spreading. If the frosting is too thick, beat in an additional tablespoon of heavy cream at a time until it’s perfect.
Assembly & Decoration:
-
Fit a piping bag with your preferred piping tip (a Wilton 1M star tip is recommended for elegant swirls). Fill the bag about three-quarters full with the prepared chocolate frosting. Pipe generous swirls of frosting onto each completely cooled cupcake. Decorate with chocolate curls, sprinkles, fresh fruit, or any of your desired garnishes as outlined in the “Decoration Ideas” section. Enjoy your magnificent gluten-free chocolate cupcakes!
Notes
Nutrition
Nutrition Disclosure
All nutritional values are approximate and provided to the reader as a courtesy. Changing ingredients and/or quantities will alter the estimated nutritional calculations.
Like this recipe? Rate and comment below!