
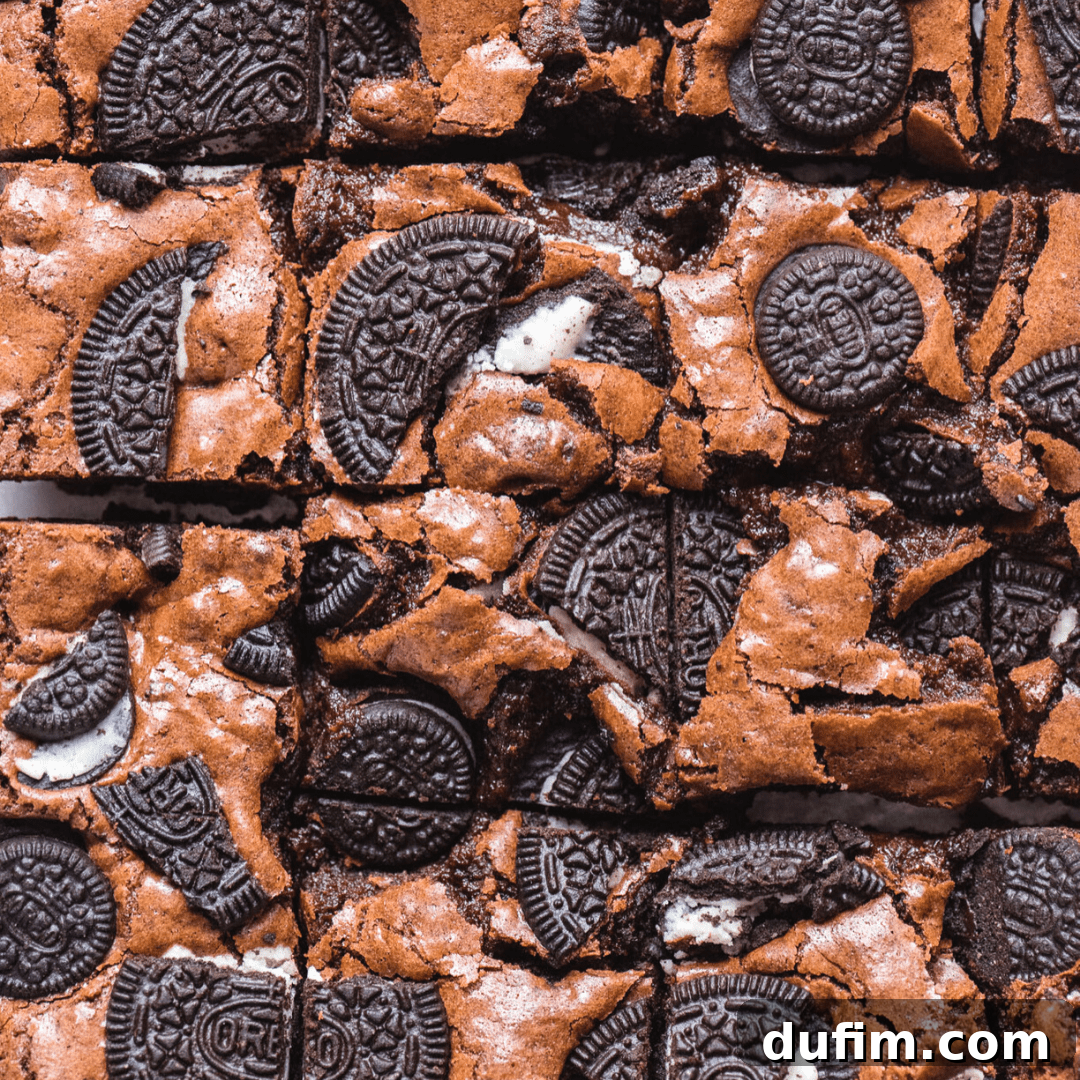
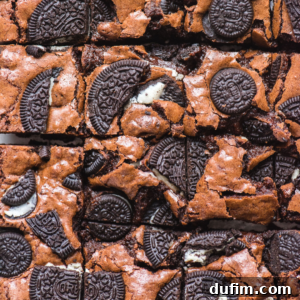
Welcome to your new favorite dessert! I’m thrilled to share my family’s cherished recipe for homemade Oreo brownies. These aren’t just any brownies; they are the epitome of fudgy, intensely chocolatey, and perfectly chewy goodness, all made from scratch. What’s even better? You can whip them up with just 10 minutes of active prep time, making them an ideal treat for busy bakers and dessert enthusiasts alike. Get ready to experience brownie perfection, elevated by the irresistible crunch of America’s favorite cookie!
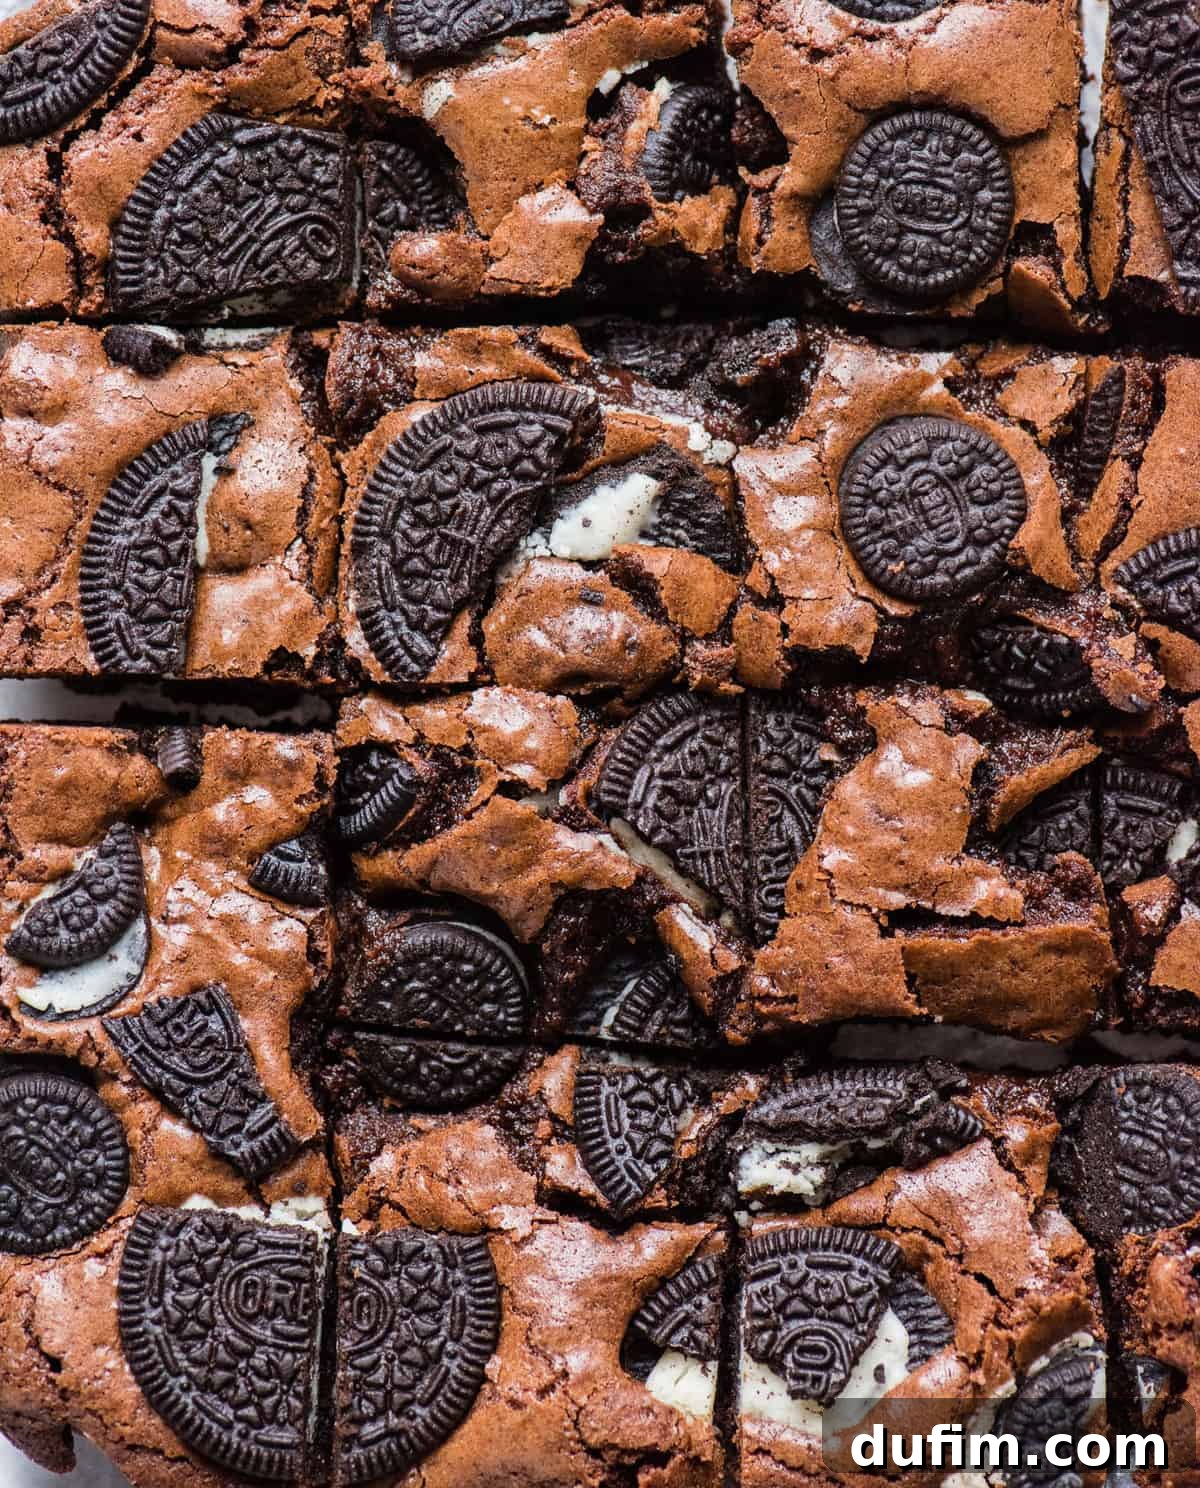
These were fantastic and really easy to make! The whole house smelled soooo good! Will be making these again! Thanks, Beth!!!
-Kate
Why You’ll Fall in Love with This Oreo Brownie Recipe
There are countless reasons to adore these cookies and cream brownies, but here are the highlights that make them an absolute stand-out:
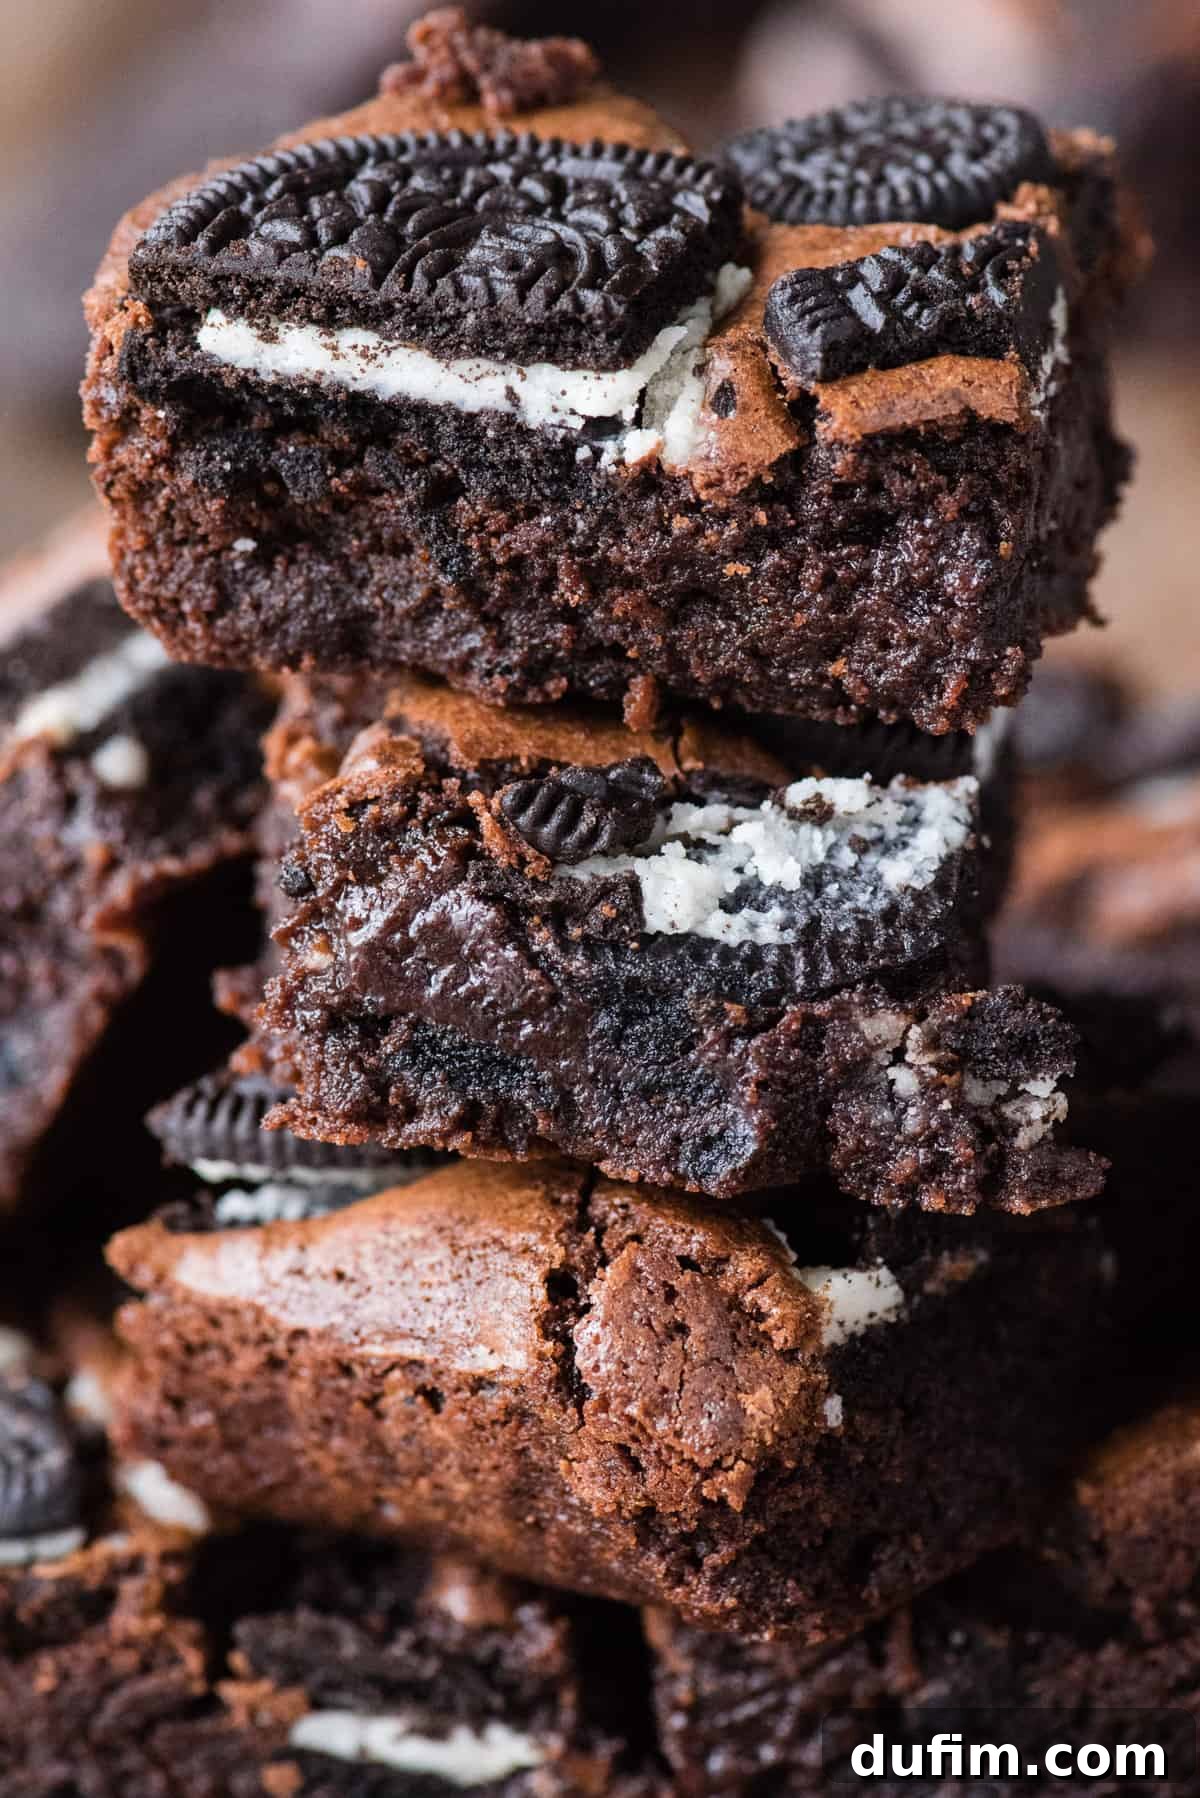
- Unbelievably Fudgy: Each bite delivers a rich, dense, and moist texture that truly melts in your mouth, defining the essence of a perfect fudgy brownie.
- Perfectly Crispy Edges: For those who love a slight crunch, the edges bake up beautifully crispy, offering a delightful contrast to the soft interior.
- Delightfully Chewy: Achieving that ideal balance between fudgy and chewy, these brownies offer a satisfying bite that keeps you coming back for more.
- Decadent Chocolate Flavor: Crafted with both unsweetened chocolate and cocoa powder, these brownies boast a deep, complex chocolate profile that’s truly irresistible.
- Loaded with Oreo Cookies: Generous amounts of crushed Oreo cookies are folded into the batter and sprinkled on top, ensuring every piece is packed with that iconic cookies and cream taste and texture.
This recipe isn’t just about combining chocolate and Oreos; it’s about creating a harmonious blend of textures and flavors that will impress even the most discerning dessert connoisseurs. It’s truly a celebration of two classic treats in one glorious package.
Essential Ingredients for Your Ultimate Oreo Brownies
Creating truly spectacular brownies starts with quality ingredients. Here’s what you’ll need, along with a brief explanation of each component’s role in achieving brownie bliss:
- All-Purpose Flour: The foundation of our brownies, providing the necessary structure without making them tough. Proper measurement is key for the perfect texture.
- Salt: A crucial ingredient that balances the sweetness, enhances the rich chocolate flavors, and prevents the brownies from tasting flat.
- Unsweetened Natural Cocoa Powder: Contributes to the deep chocolate flavor and helps create that signature fudgy texture without adding extra sweetness.
- Unsweetened Chocolate Bar: This is where the real depth of chocolate flavor comes from. Melting it with butter ensures a silky, rich base for our brownies.
- Unsalted Butter: Adds incomparable richness and flavor, contributing significantly to the brownies’ luxurious texture. Using unsalted butter allows you to control the total salt content in the recipe.
- Granulated Sugar: Essential for sweetness, but also plays a vital role in the texture, contributing to both fudginess and chewiness, and helping to create those coveted crackly tops.
- Eggs plus Additional Egg Yolk: Eggs bind the batter, provide structure, and contribute to the moistness. The extra egg yolk is a secret weapon for an even fudgier and chewier brownie, adding richness without making them cakey.
- Vegetable Oil: While butter adds flavor, vegetable oil contributes moisture and helps achieve a delightfully chewy texture that can be difficult to get with butter alone.
- Vanilla Extract: A flavor enhancer that beautifully complements the chocolate, adding a warm, aromatic depth that makes the brownies even more irresistible.
- Oreo Cookies: The star of the show! Both crushed Oreos folded into the batter and larger pieces scattered on top deliver that iconic cookies and cream flavor and satisfying crunch. Feel free to use classic, double-stuffed, or even flavored Oreos for a twist!
Butter vs. Oil in Brownies: The Secret to Perfect Texture
The debate between butter and oil in brownies is a classic one, and for good reason! Both contribute unique qualities to the final product. For my ideal brownie, I’ve found that a thoughtful combination of both yields the best results. Butter is unmatched for its ability to enhance the natural chocolate flavor, lending a rich, complex taste to the brownies. On the other hand, vegetable oil is fantastic for producing a chewier texture. Unlike butter, which contains water and milk solids, oil is 100% fat, which interferes less with gluten development, resulting in a more tender and chewy crumb. This strategic blend ensures your Oreo brownies are both intensely flavorful and wonderfully chewy, a truly winning combination!
Crafting Perfection: How to Make Brownies with Oreos
My journey to the perfect brownie has involved much experimentation, focusing on the delicate balance between fudginess and chewiness. Initially, I leaned heavily on melted chocolate for ultimate fudginess. While delicious, I discovered that to achieve a more satisfyingly chewy texture, a slight adjustment was needed.
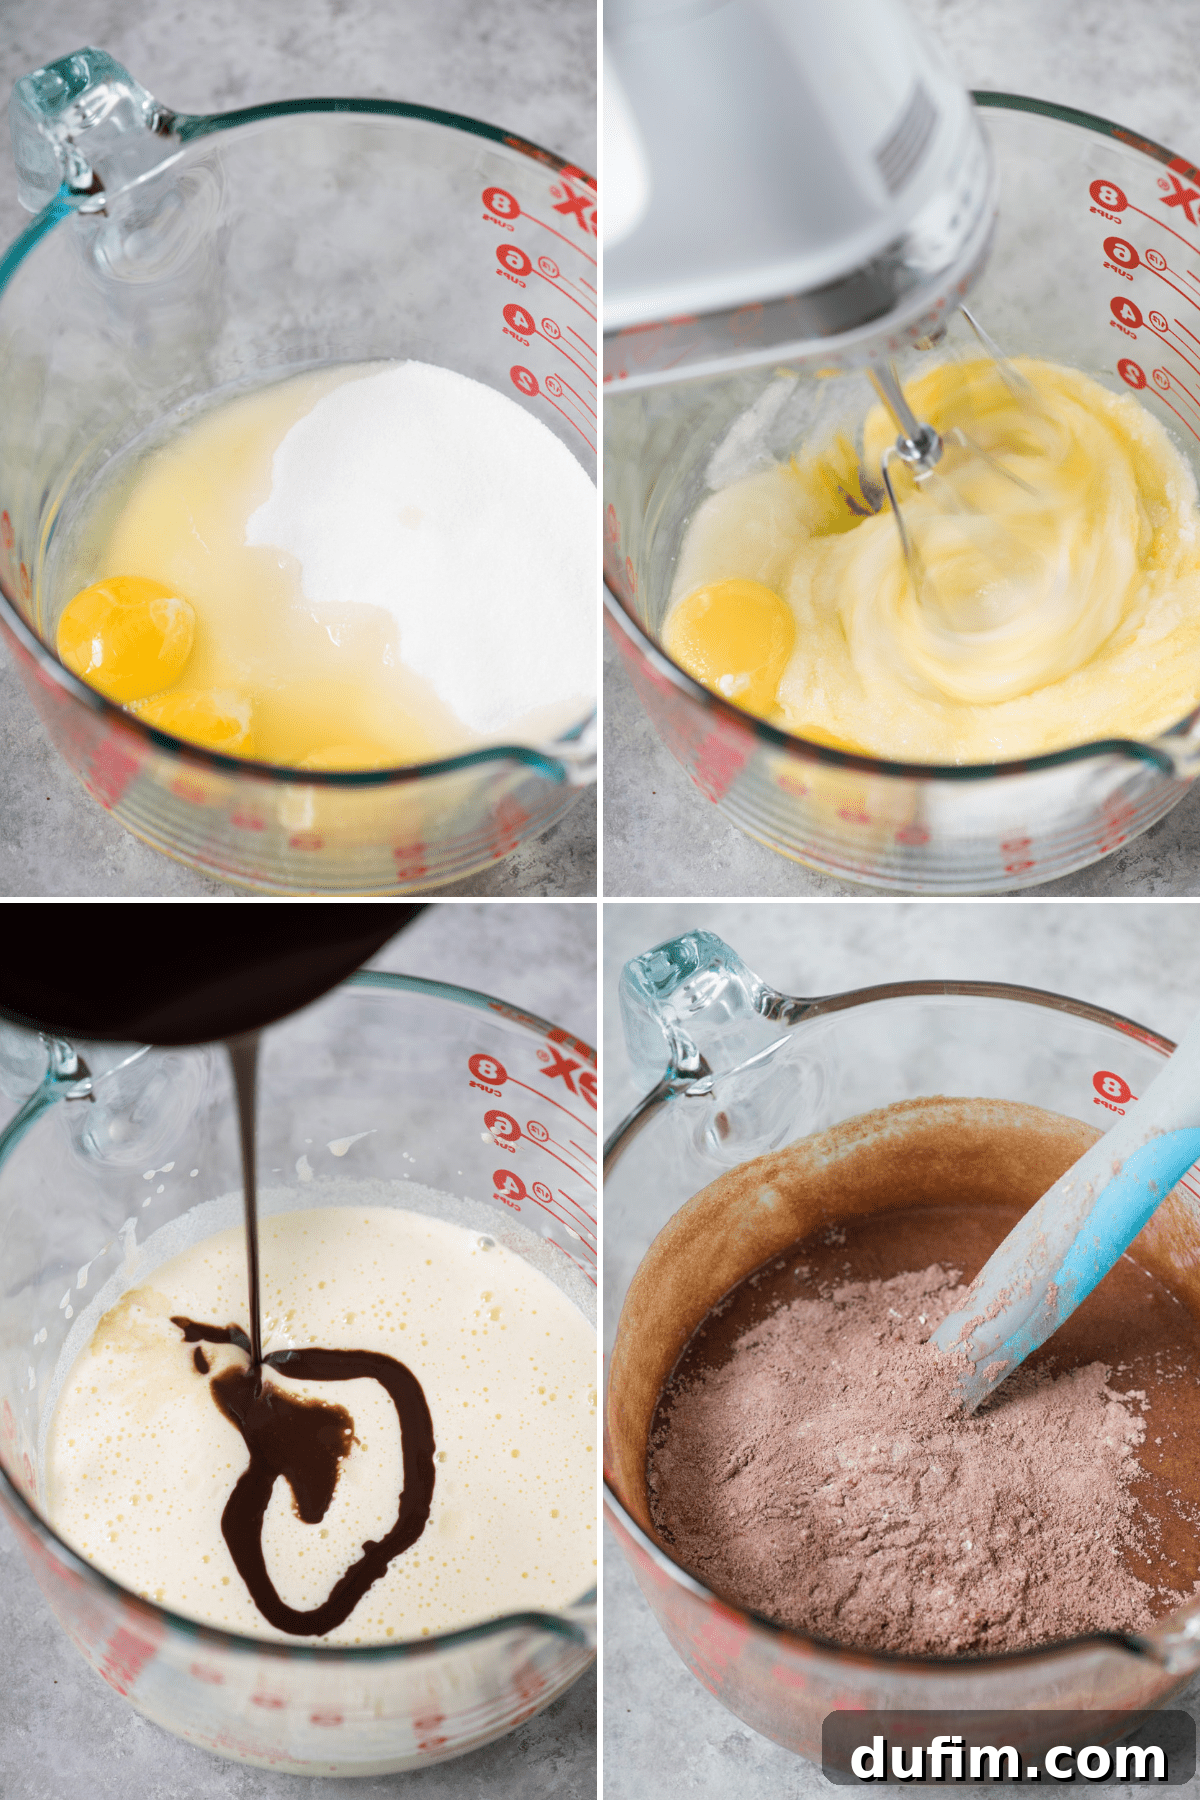
The key was to slightly reduce the amount of melted chocolate and increase the cocoa powder. This tweak allows the brownies to maintain their deep chocolate flavor and fudgy interior, but with an added chewiness that makes them truly irresistible. The process is straightforward, ensuring that even novice bakers can achieve professional-quality results. Follow these steps for brownies that will become your new benchmark:
Making Your Oreo Brownies Gluten-Free
Good news for our gluten-sensitive friends! This fantastic Oreo brownie recipe can easily be adapted to be gluten-free without sacrificing taste or texture. I’ve personally made this recipe multiple times using King Arthur’s Gluten-Free Measure for Measure Flour, always with outstanding success. This particular blend is formulated to be a direct 1:1 substitute for regular all-purpose flour, making the conversion incredibly simple.
When making gluten-free brownies, ensure you measure the flour accurately, preferably using a kitchen scale for the most precise results. Furthermore, don’t forget to use gluten-free Oreo cookies. It’s wonderful that Oreo now offers a gluten-free version, making this delicious adaptation possible for everyone to enjoy!
Total Time Required for These Incredible Oreo Fudge Brownies
One of the best features of this recipe is its efficiency. You won’t spend hours in the kitchen, but the cooling time is crucial for perfect slicing!
- Prep Time: A mere 10 minutes to gather and combine ingredients.
- Bake Time: Approximately 35-40 minutes if using a glass pan, or 27-32 minutes for a metal pan.
- Cooling Time: A minimum of 30 minutes, but ideally longer, for the brownies to set and become perfectly sliceable.
From start to finish, you’re looking at about 1 hour and 20 minutes (including cooling), making these a relatively quick and highly rewarding baking project!
Expert Tips for Baking the Perfect Oreo Cookie Brownies
Achieving brownie perfection is easier than you think with these simple tips:
- Measure Flour Properly: Always use the “spoon and level” method. Spoon flour into your measuring cup until it overflows, then level it off with a straight edge. This prevents over-measuring, which can lead to dry brownies.
- Line Your Baking Pan: Lining your pan with parchment paper or aluminum foil, leaving an overhang on the sides, is a game-changer. It creates handles, allowing you to easily lift the cooled brownies out of the pan for neat, effortless cutting.
- Bake in the Middle: For even baking and consistent results, always place your brownie pan in the middle rack of your oven. This ensures optimal heat circulation around the pan.
- Monitor Bake Time Closely: Brownies can go from perfectly fudgy to overly dry very quickly. Keep a close eye on them, especially towards the end of the suggested baking window. Remember that glass pans retain heat more, often requiring an extra 5 minutes compared to metal pans. Test with a toothpick inserted into the center – it should come out with moist crumbs, not wet batter, and not completely dry.
- Don’t Overmix: Once you add the dry ingredients to the wet, mix just until no streaks of flour remain. Overmixing develops gluten, which can lead to tough, cakey brownies rather than fudgy ones.
- Use Room Temperature Eggs: Room temperature eggs incorporate better into the batter, creating a smoother, more emulsified mixture, which contributes to a superior texture.
How to Cut Oreo Cookie Brownies Neatly
There’s nothing more satisfying than perfectly cut brownie squares. To achieve those clean, sharp edges, here’s my absolute best trick:
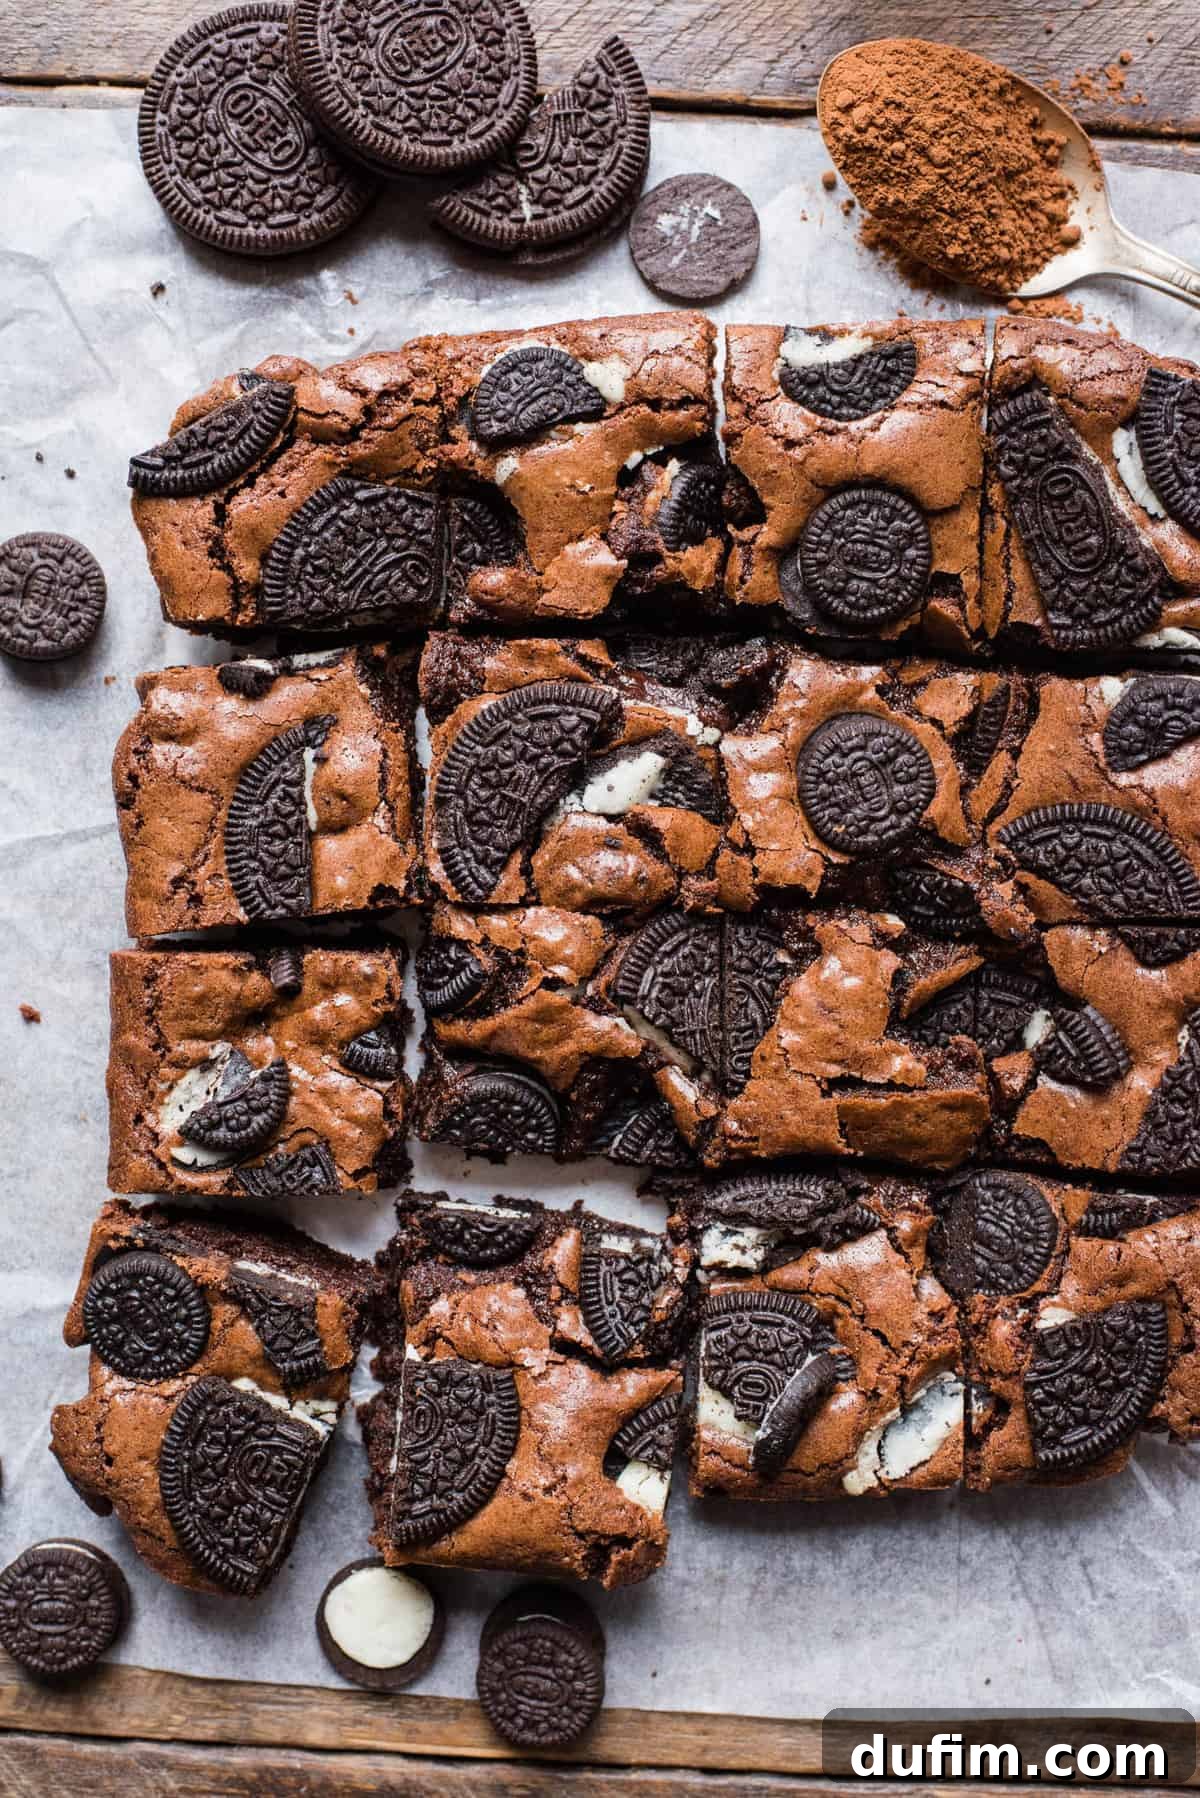
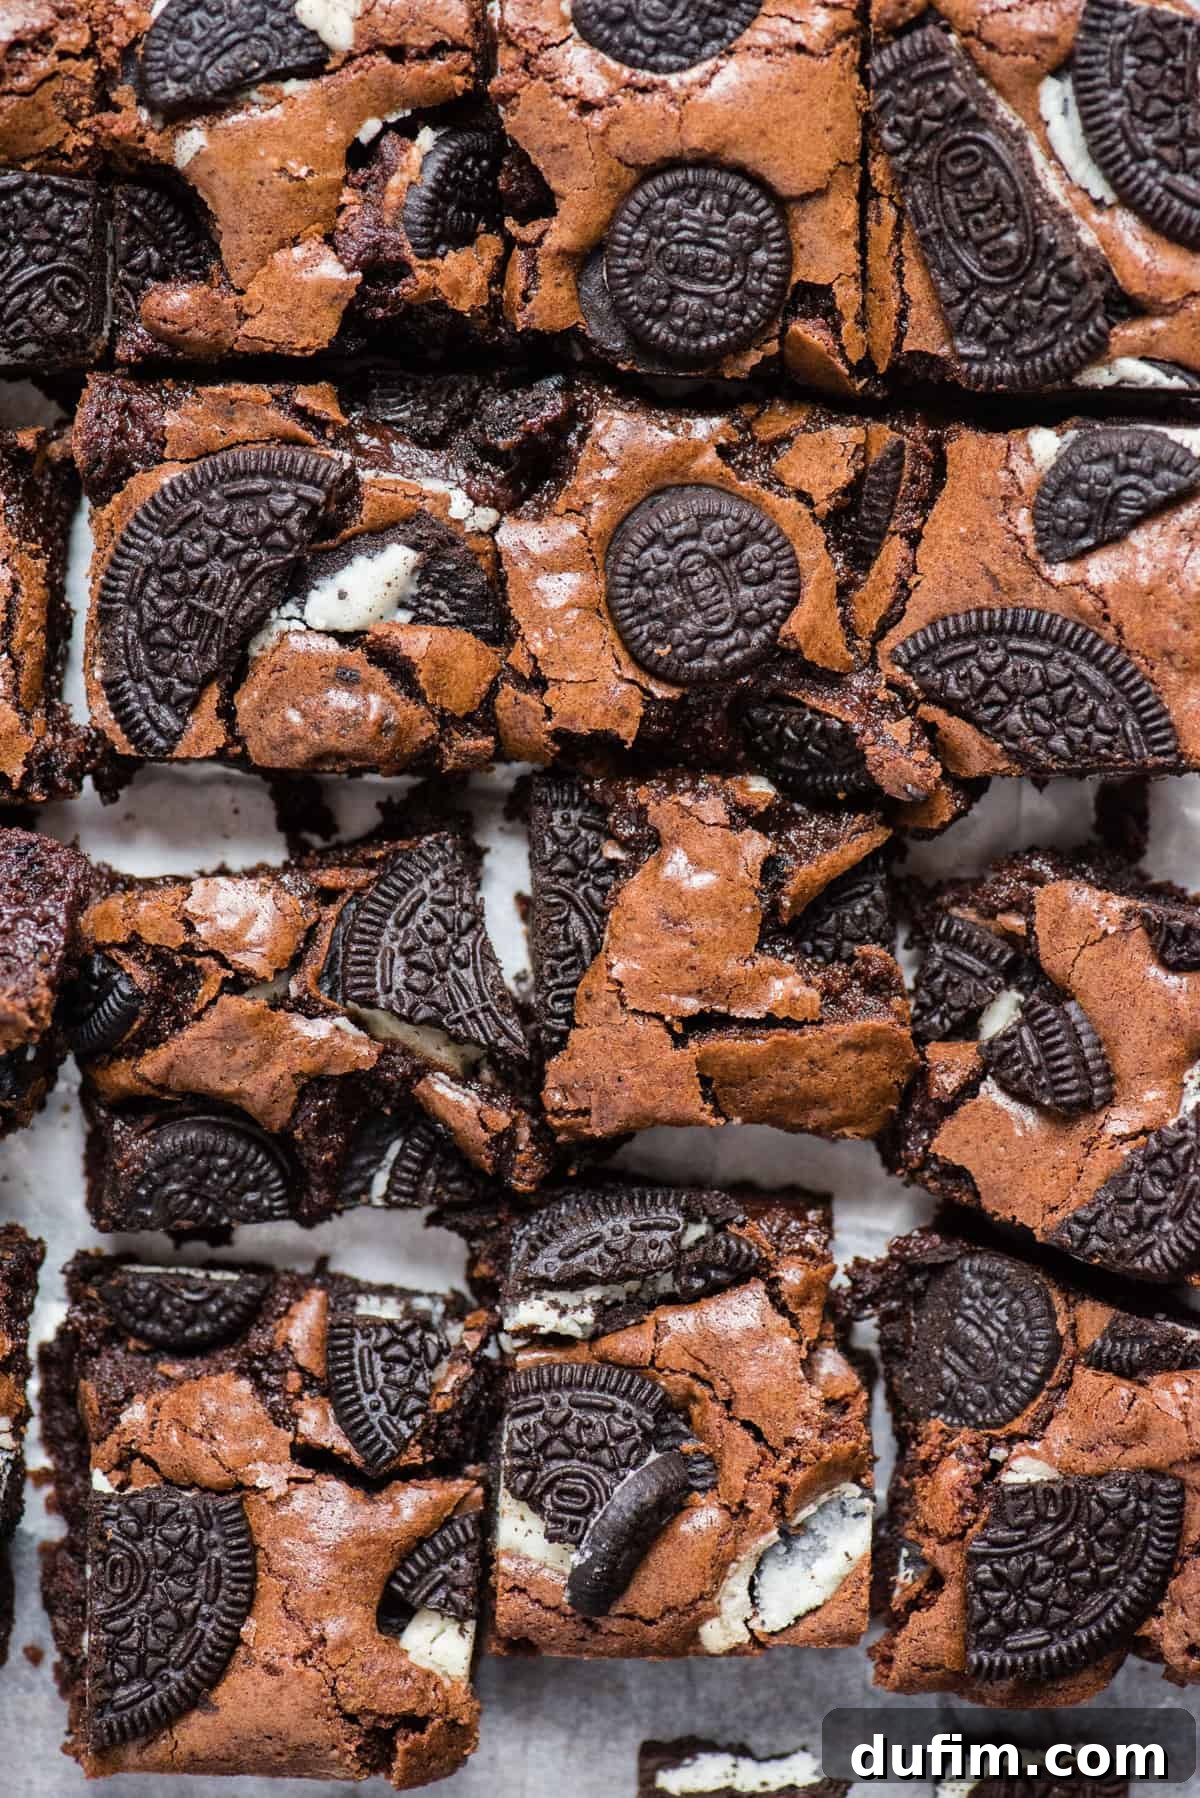
First, allow your brownies to cool completely, then refrigerate them for at least 30 minutes (or even an hour) before cutting. Chilling the brownies firms them up, making them much easier to slice without crumbling or dragging the fudgy interior. Once chilled, use a long, sharp 8-inch chef’s knife. And here’s the most important tip: **wipe the knife CLEAN between each cut!** Yes, it might seem a bit annoying and time-consuming, but this simple step prevents crumbs and sticky residue from transferring to the next slice, resulting in beautifully pristine squares every single time. Try it once, and you’ll never go back!
Storing and Freezing Brownies with Oreos
These brownies are so delicious, they might not last long enough to need long-term storage! However, if you’re lucky enough to have leftovers, or if you’re planning ahead, here’s how to properly store and freeze your Oreo brownies to maintain their freshness and flavor:
Storage at Room Temperature:
Once cooled and cut, store the brownies in an airtight container at room temperature for up to 3-4 days. Placing a piece of parchment paper between layers can prevent sticking.
How to Freeze Brownies:
Freezing these cookies and cream brownies is a fantastic way to enjoy them later. First, ensure the brownies are completely cooled. Cut them into your desired size squares. For best results, wrap individual brownies or a small row of brownies tightly in plastic wrap, then encase them in aluminum foil. This double layer of protection helps prevent freezer burn. Place the wrapped brownies inside a freezer-safe ziplock bag or airtight container. They can be frozen for up to 3 months without significant loss of quality.
To Thaw: Simply remove the desired number of frozen brownies and place them on the counter at room temperature for 30-60 minutes, or until fully thawed. You can also gently warm them in the microwave for a few seconds for that fresh-baked feel.
Craving More Oreo Desserts?
If you’re an Oreo aficionado, these brownies are just the beginning! Explore more delicious ways to incorporate your favorite sandwich cookie into spectacular desserts:
- Decadent Oreo Cheesecake
- Fluffy Oreo Angel Food Cake
- Irresistible Cookies and Cream Cupcakes
Oreo Cookie Brownie Recipe FAQs
I typically use a glass 8×8 inch baking pan because that’s what I have readily available in my kitchen, and it yields excellent results. Glass pans tend to heat up slower but retain heat more consistently, which can lead to a more evenly baked interior. If you opt for a metal pan, which heats up faster and can contribute to slightly chewier edges, I recommend decreasing the baking time by about 5 minutes. Always keep an eye on your brownies, as oven temperatures can vary.
The best way to check for doneness is to insert a toothpick into the center of the pan. For fudgy brownies, you want the toothpick to come out with moist crumbs attached, but not wet batter. If it comes out completely clean, your brownies might be slightly overbaked and less fudgy. If it’s covered in wet batter, they need more time. Remember, brownies continue to set as they cool.
This recipe is designed for an 8×8 or 9×9 inch pan. Using a larger pan (e.g., a 9×13 inch) will result in thinner brownies and a reduced baking time. Conversely, a smaller pan will yield thicker brownies and require a longer baking time. If adjusting pan size, be sure to monitor the brownies closely for doneness and adjust baking time accordingly to prevent over or under-baking.
Using a combination of both unsweetened chocolate and cocoa powder is the secret to a multi-dimensional chocolate flavor profile. Melted unsweetened chocolate provides richness, body, and a luxurious texture, contributing to the fudginess. Cocoa powder, on the other hand, delivers an intense, pure chocolate flavor and helps create those coveted crackly tops, adding to the overall chewiness. This blend ensures your brownies are deeply flavored and perfectly textured.
Tap stars to rate! (Rating system removed due to JS restriction)
Brownies with Oreos
Beth
10 minutes
40 minutes
30 minutes (cooling)
1 hour 20 minutes
12 servings
Rate
Equipment
-
Glass Mixing Bowl
-
Favorite Spatula
-
Kitchen Scale
-
8×8 or 9×9 inch baking pan
-
Electric mixer (handheld or stand mixer)
Ingredients
- ¾ cup (90g) all-purpose flour
- ½ tsp salt
- ⅓ cup (28g) unsweetened natural cocoa powder
- 2 oz unsweetened chocolate bar, chopped
- ½ cup (113g) unsalted butter, cubed, 1 stick
- 1 ¼ cups (248g) granulated sugar
- 2 large eggs
- 1 large egg yolk
- ¼ cup (59ml) vegetable oil
- 1 tsp vanilla extract
- 8 whole Oreos crushed, for the batter
- 10 Oreos broken into pieces for the top of the brownies (regular and mini Oreos work great)
Instructions
-
Preheat your oven to 350º F (175°C). Line an 8×8 or 9×9 inch baking pan with aluminum foil or parchment paper, leaving an overhang on two sides for easy removal. Lightly spray the lined pan with non-stick cooking spray.
-
In a medium mixing bowl, combine the properly measured all-purpose flour, salt, and unsweetened natural cocoa powder. Use a spoon to stir these dry ingredients together thoroughly until well mixed. Set this bowl aside.¾ cup (90g) all-purpose flour, ½ tsp salt, ⅓ cup (28g) unsweetened natural cocoa powder
-
In a small saucepan, melt the chopped unsweetened chocolate bar and cubed unsalted butter together over low heat. Stir occasionally with a spatula to ensure even melting and prevent scorching. This process should take about 5 minutes until the mixture is completely smooth and glossy. Remove from heat once melted.2 oz unsweetened chocolate bar, ½ cup (113g) unsalted butter, cubed
-
While the chocolate and butter are melting, move to a larger mixing bowl. Add the granulated sugar, two large eggs, and the additional large egg yolk. Using an electric mixer (handheld or stand mixer), beat the mixture on medium-high speed for approximately 1 minute. Continue beating until the mixture turns pale yellow, thickens, and has noticeably doubled in volume. This step is crucial for achieving a crackly top!1 ¼ cups (248g) granulated sugar, 2 large eggs, 1 large egg yolk
-
Once the chocolate and butter mixture is fully melted and slightly cooled (so it doesn’t scramble the eggs), carefully pour it into the beaten egg and sugar mixture. Next, add the vegetable oil and vanilla extract. Use a spatula to gently fold and stir all the ingredients together until they are just combined and smooth.¼ cup (59ml) vegetable oil, 1 tsp vanilla extract
-
Gradually spoon the dry flour mixture into the wet ingredients. Add the 8 crushed Oreos (for the batter). Using a spatula, mix gently until just combined. The key here is not to overmix; stop stirring as soon as you no longer see streaks of dry flour, to ensure fudgy rather than cakey brownies.8 whole Oreos crushed
-
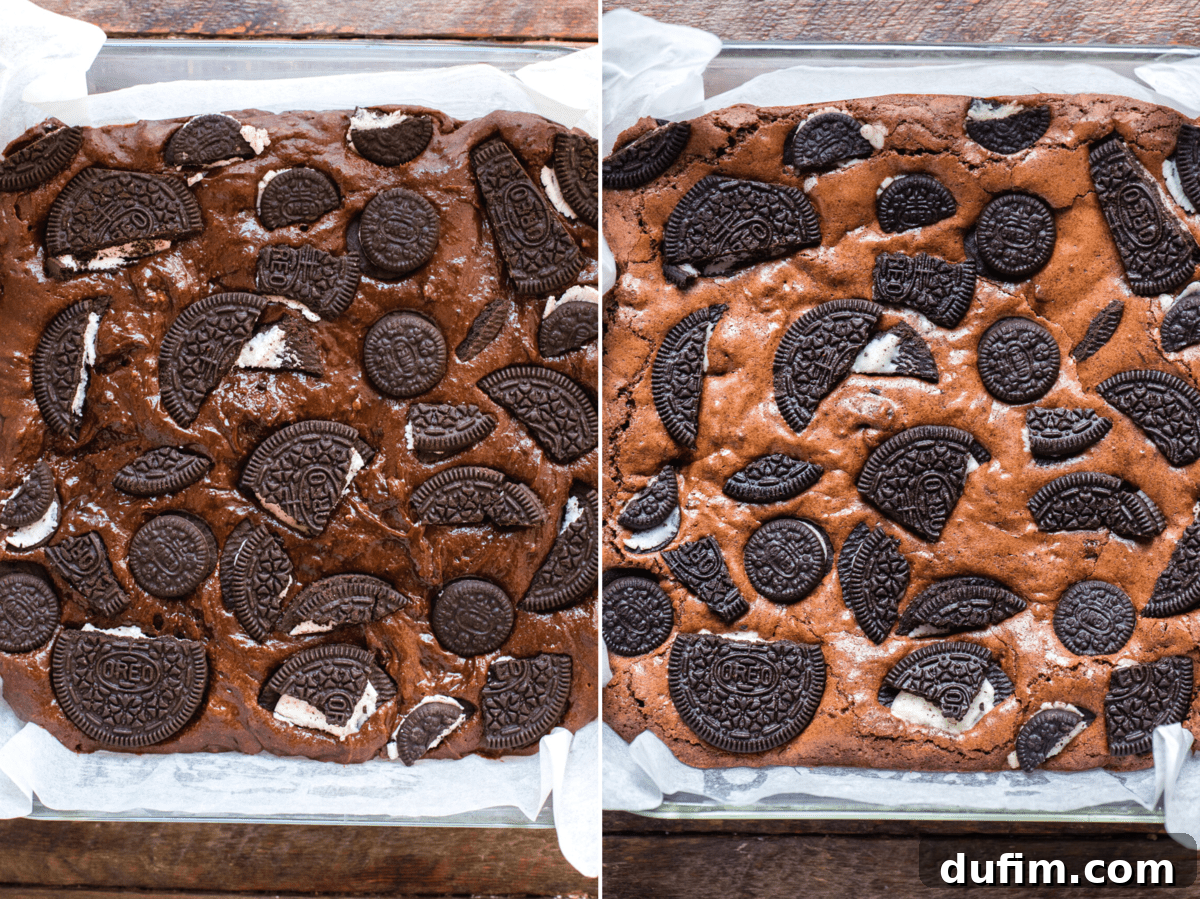
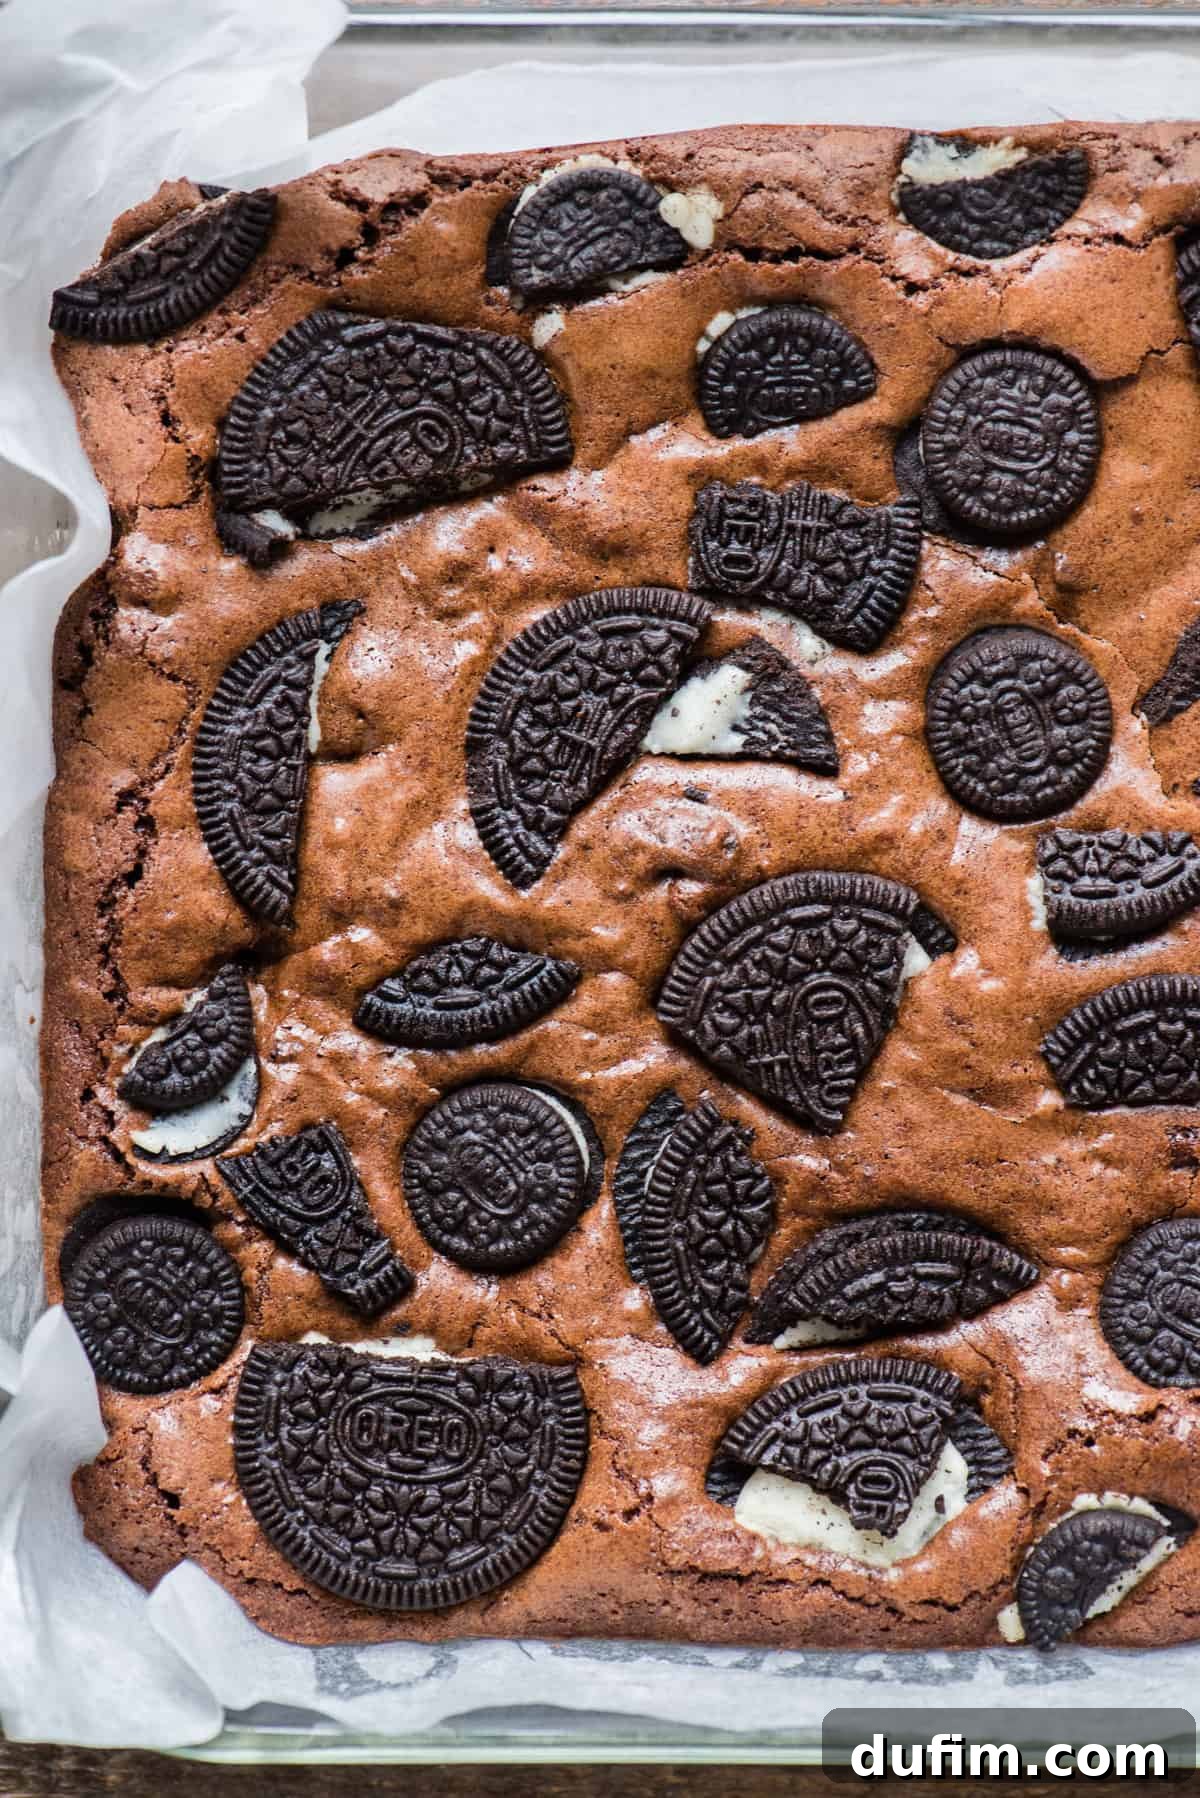
Pour the thick brownie batter into your prepared baking pan, spreading it evenly with the spatula. Take the remaining 10 Oreos, broken into pieces, and press them gently into the top of the batter, ensuring they are partially submerged for maximum visual appeal and flavor. Bake for 35-40 minutes if using a glass pan, or 27-32 minutes for a metal pan. Test for doneness by inserting a toothpick into the center; it should come out with moist crumbs, not wet batter. Once baked, allow the brownies to cool completely in the pan before lifting them out using the parchment paper overhang and slicing them.10 Oreos broken into pieces for the top of the brownies
Notes
How To Cut Brownies Neatly
To get really nice clean brownie squares, I like to refrigerate my brownies for at least 30 minutes before cutting. Then I use a long 8-inch chef’s knife to cut them. But here’s the MOST IMPORTANT TIP 👉 wipe the knife CLEAN between each cut. Yes, it’s annoying, but it works!
How to Make Gluten-Free Oreo Brownies
I have made this recipe multiple times with King Arthur’s Gluten-Free Measure for Measure Flour with great success. You can also try another brand of gluten-free all-purpose flour. Be sure to measure the flour properly. Be sure to use gluten-free Oreos as well.
Nutrition (Approximate per Serving)
Carbohydrates: 42g |
Protein: 4g |
Fat: 15g |
Saturated Fat: 8g |
Polyunsaturated Fat: 1g |
Monounsaturated Fat: 5g |
Trans Fat: 1g |
Cholesterol: 67mg |
Sodium: 192mg |
Potassium: 137mg |
Fiber: 2g |
Sugar: 28g |
Vitamin A: 301IU |
Calcium: 22mg |
Iron: 3mg
Nutrition Disclosure
All nutritional values are approximate and provided to the reader as a courtesy. Changing ingredients and/or quantities will alter the estimated nutritional calculations.
Loved this recipe? Share your thoughts below!
Your feedback helps us improve and inspires others.