
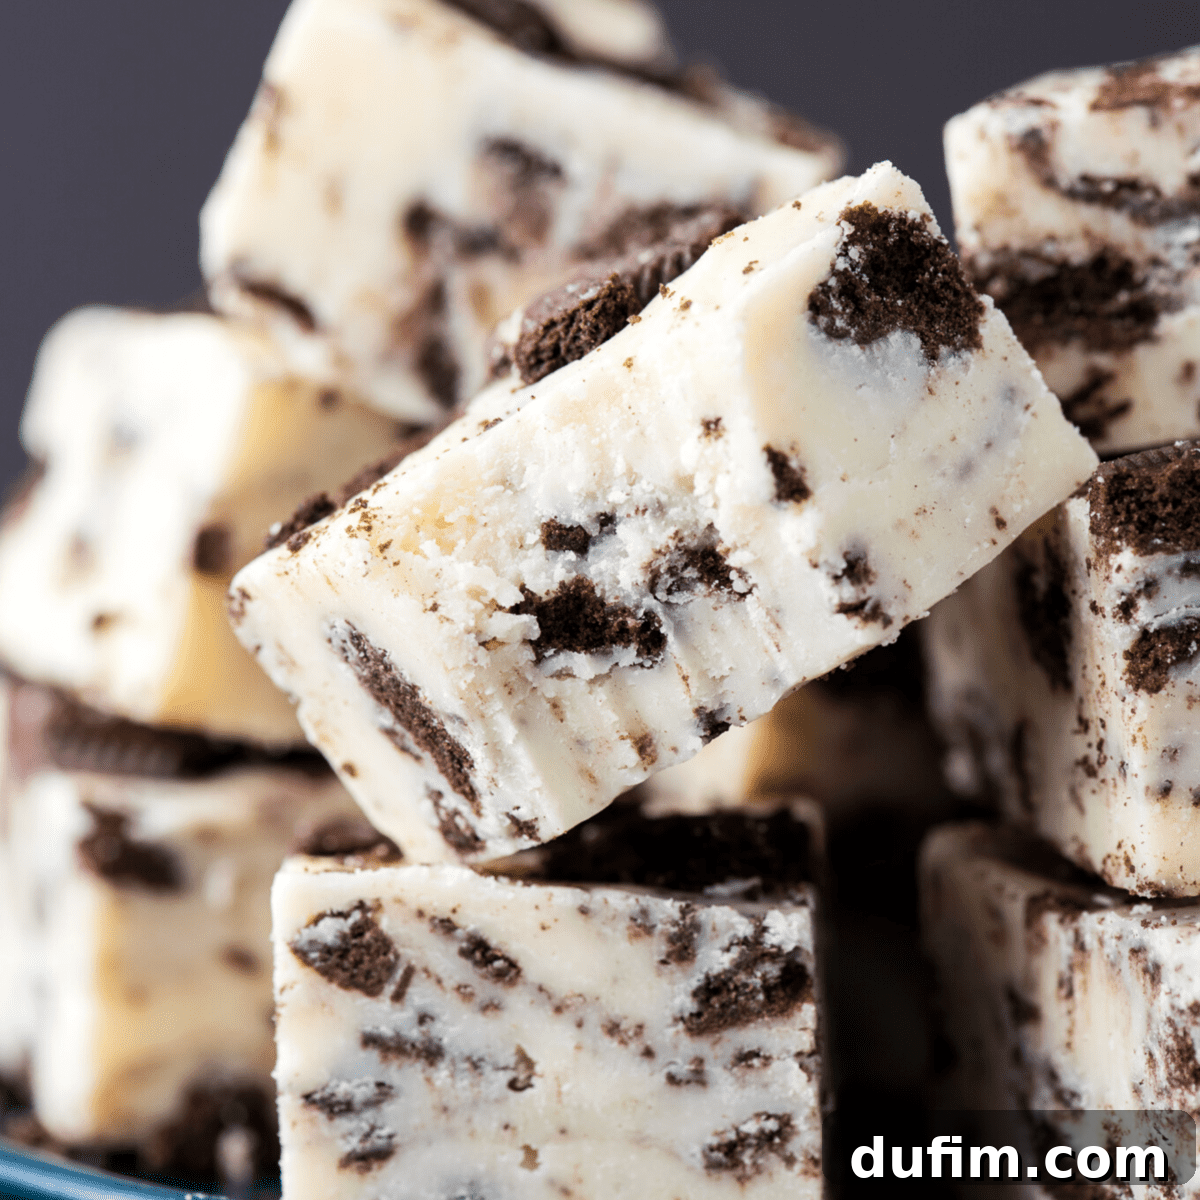
Welcome to the world of effortless indulgence! This **5-minute Oreo fudge recipe** is an absolute game-changer, transforming simple ingredients into a creamy, dreamy cookies and cream delight that’s perfect for any time of year, especially the festive holiday season.
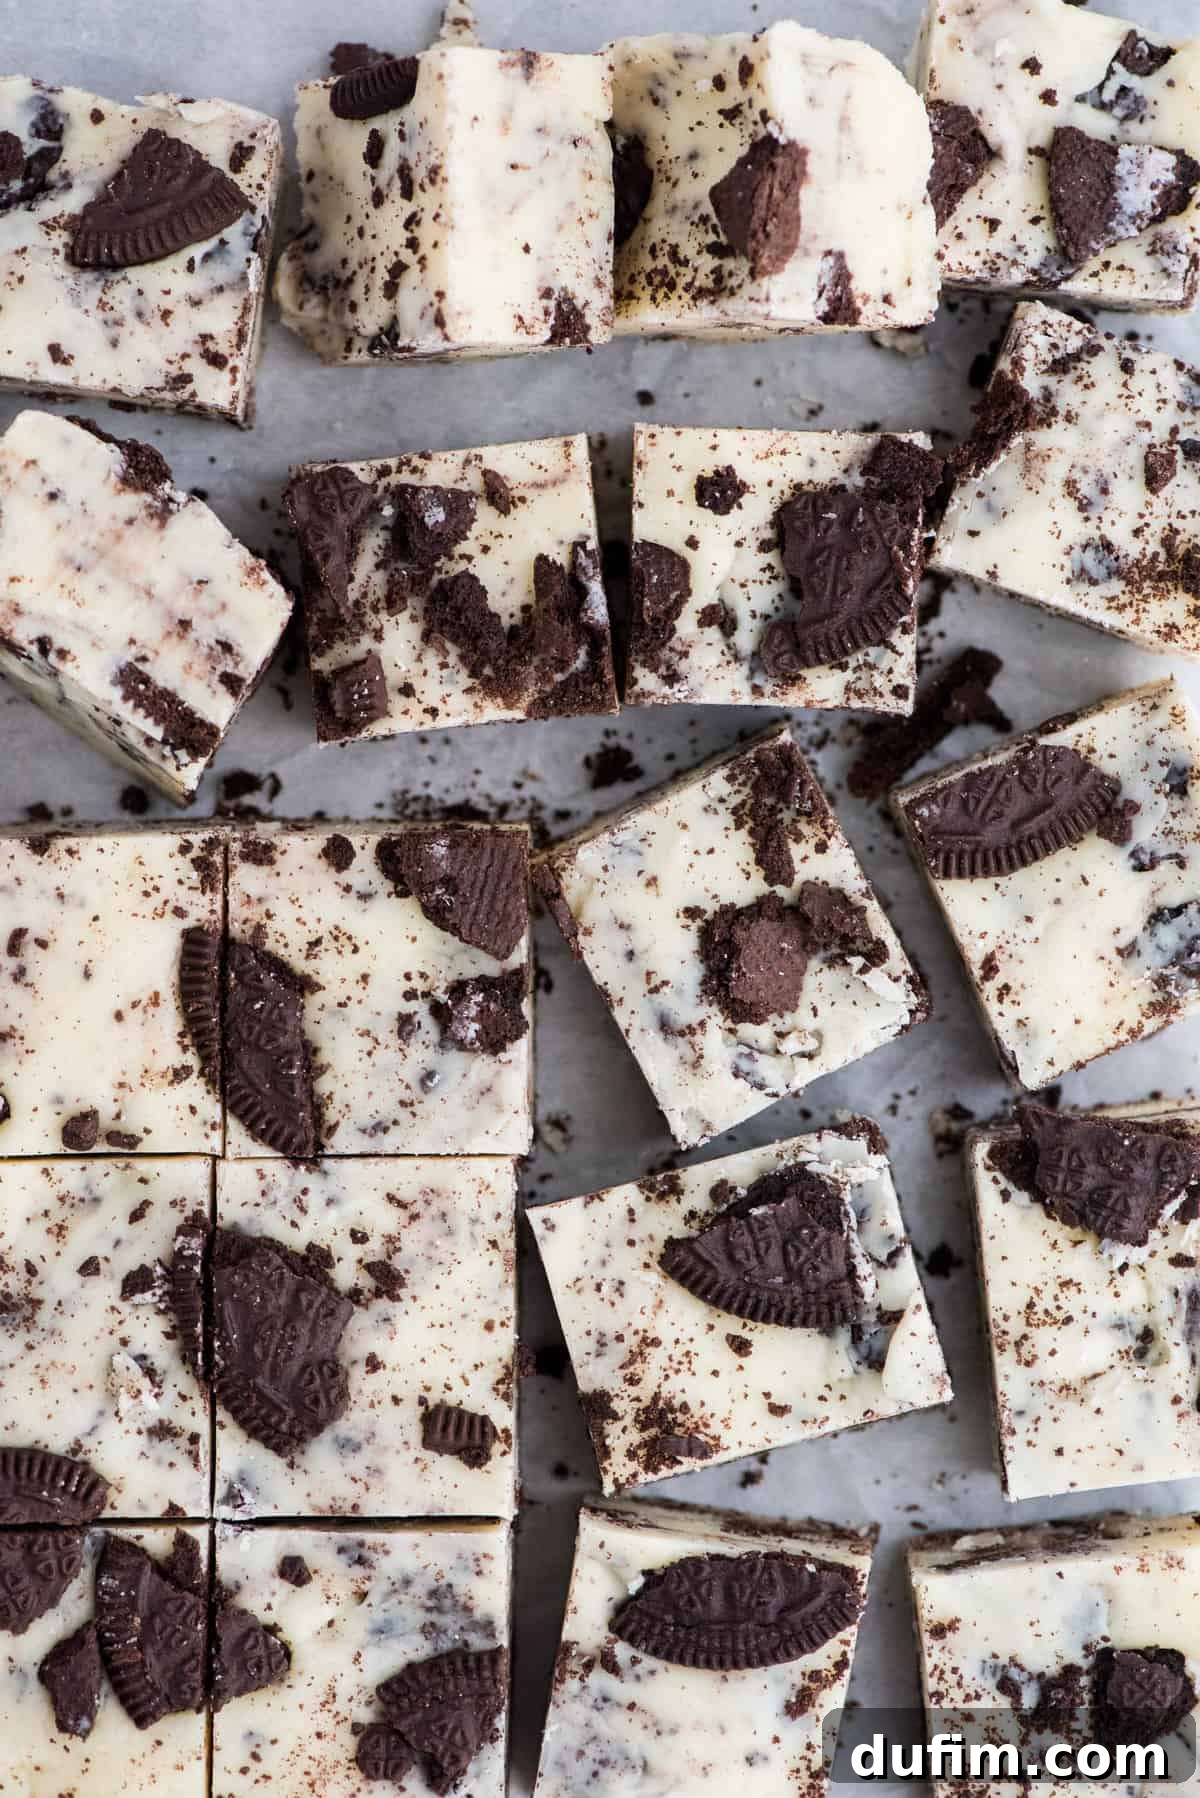
This recipe was so easy to make and everyone who ate it couldn’t believe it was homemade with only a handful of ingredients! I will definitely be making this again and again!
— Nicole
Are you a devoted fudge enthusiast who enjoys this sweet treat all year round, or do you reserve it as a special indulgence for the holiday season? While homemade fudge tends to become a staple in our kitchen during Christmas, the sheer simplicity and irresistible flavor of this cookies and cream variation make it a welcome addition to any celebration, anytime!
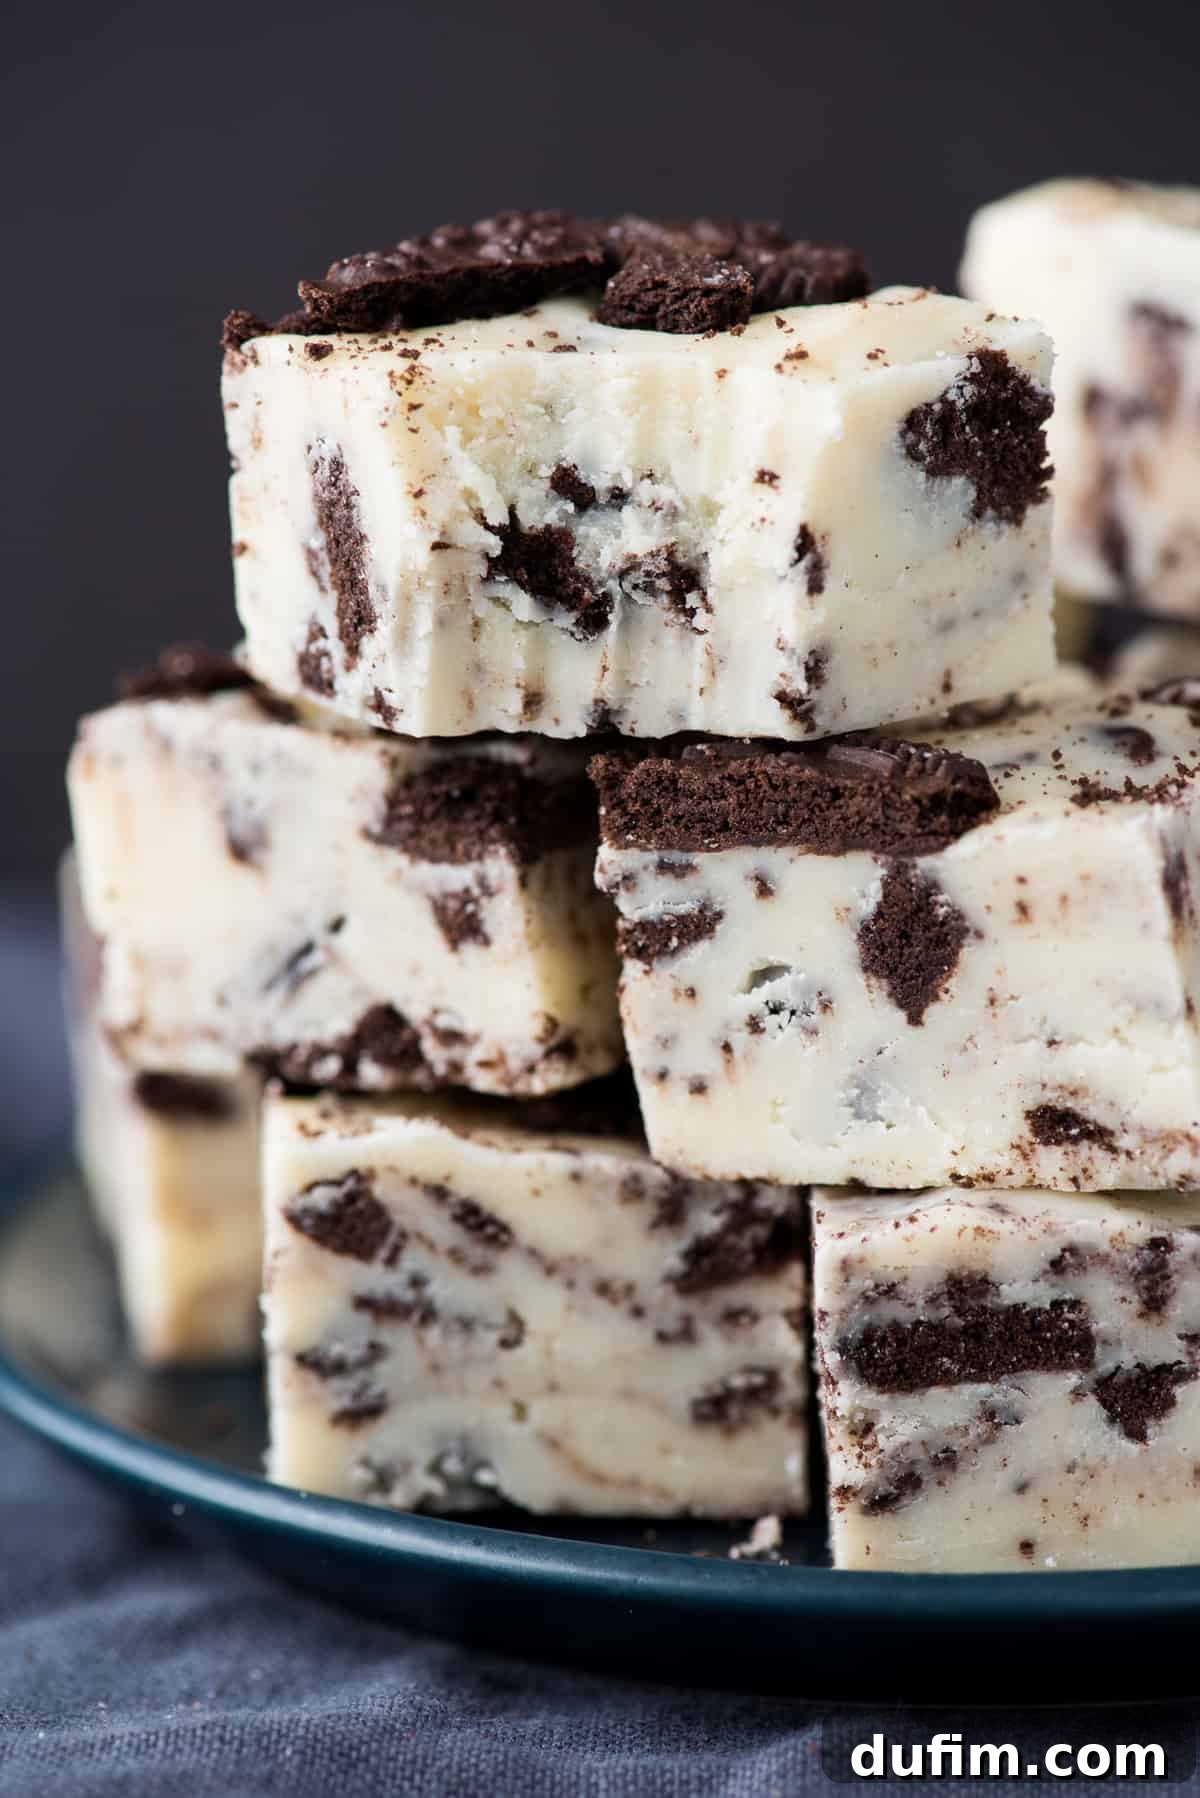
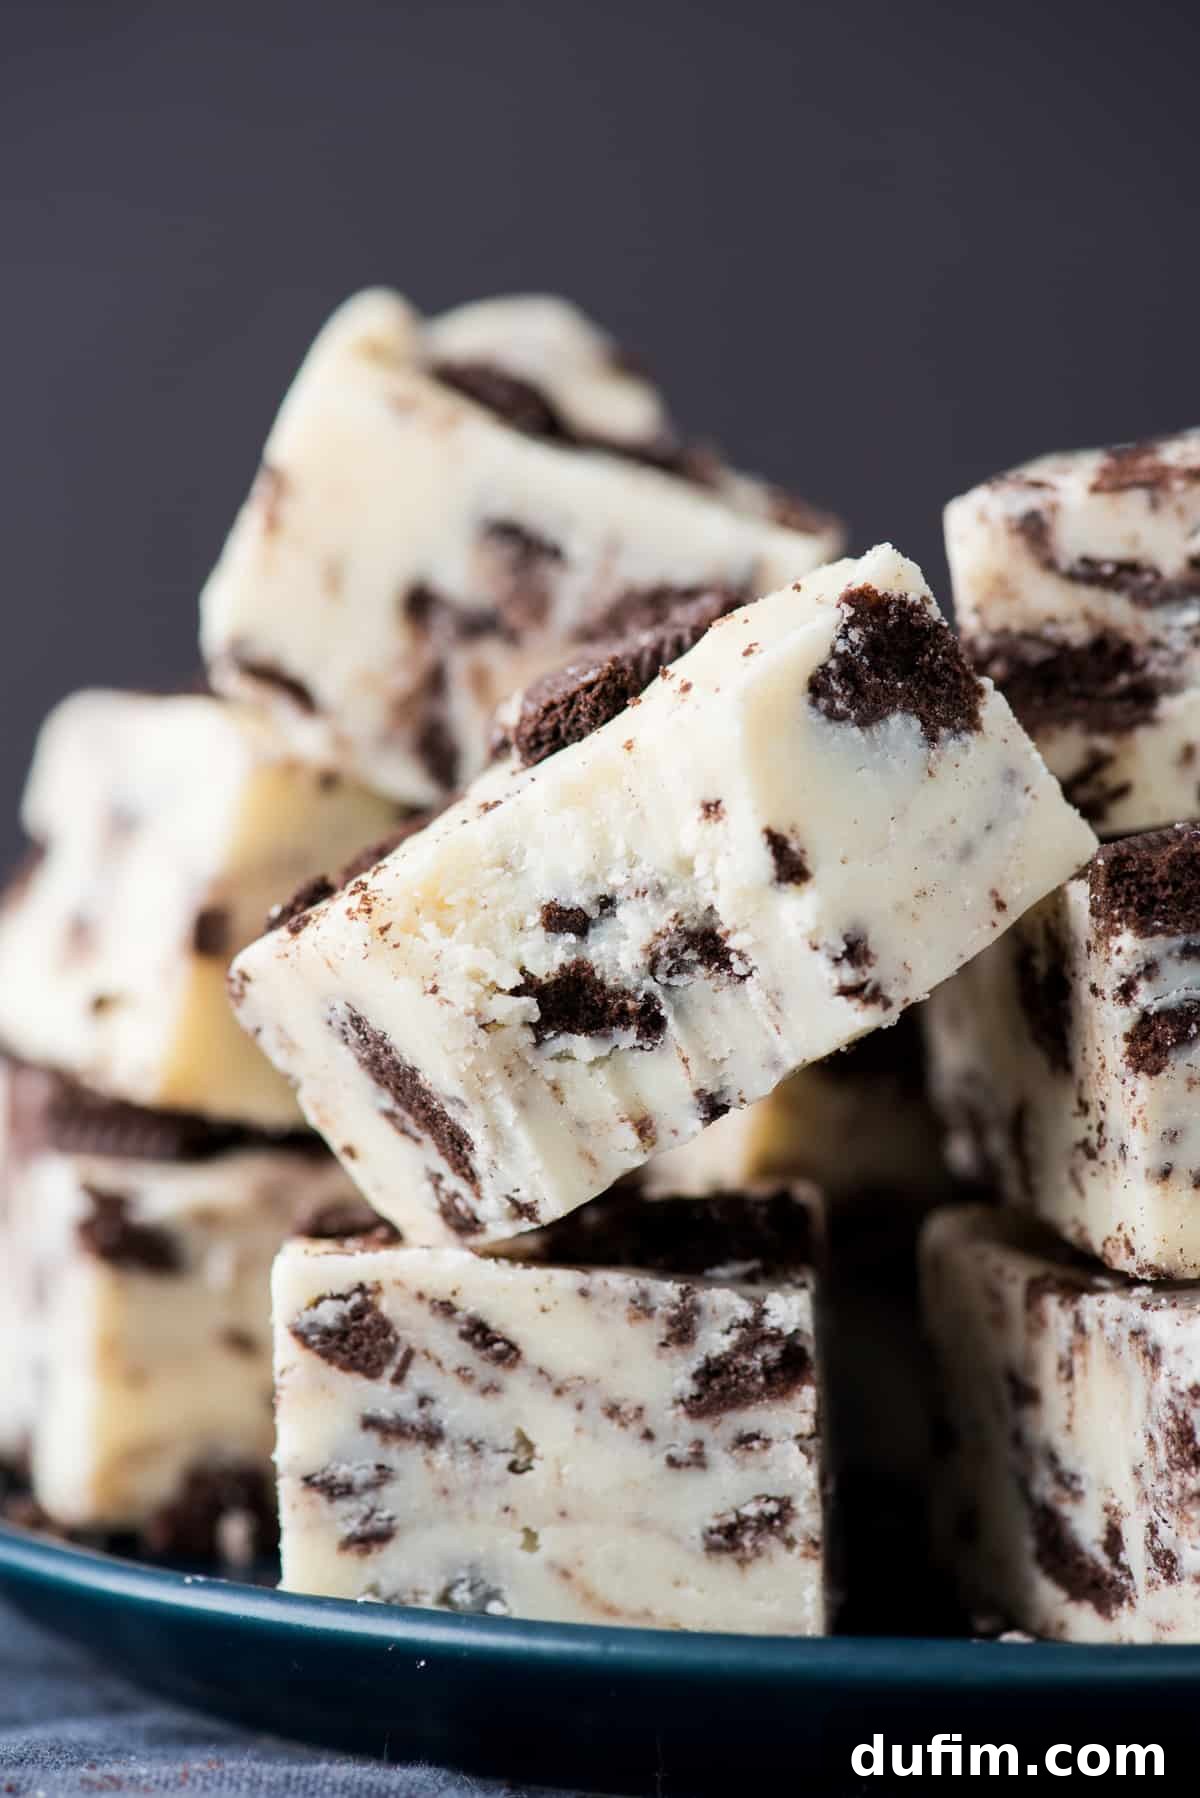
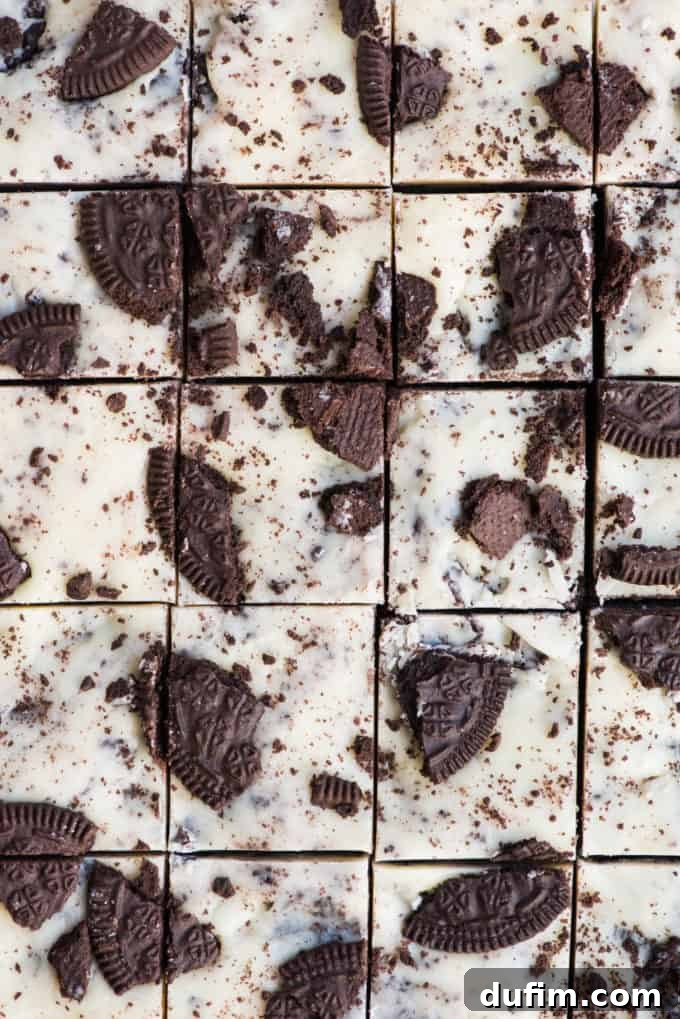
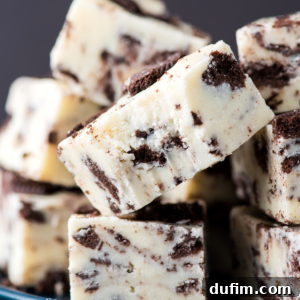
We’ve taken America’s beloved cookie, the classic OREO, and folded its iconic chocolatey goodness into a rich, velvety white chocolate fudge base. The result is a spectacular cookies and cream fudge that boasts an incredibly smooth texture, generously studded with delightful chunks of Oreo in every bite. It’s a harmonious blend of creamy sweetness and satisfying crunch that will leave everyone craving more.
What makes this Oreo fudge recipe truly exceptional is its minimal ingredient list and unparalleled ease of preparation. It comes together with just five core ingredients – though many would argue that vanilla extract and salt are essential flavor enhancers rather than separate items to count! Best of all, this entire process is done in the microwave, eliminating the need for any complicated candy thermometers or meticulous stovetop stirring. It’s a foolproof method designed for busy bakers and novice confectioners alike.
Why You’ll Fall in Love with This Oreo Fudge
This isn’t just another fudge recipe; it’s a ticket to quick and easy dessert heaven. Here’s why this Oreo fudge will become your new go-to sweet treat:
- Unbelievably Quick: It truly lives up to its name, ready to go into the pan in just 5 minutes of active prep time. Perfect for last-minute cravings or unexpected guests.
- Minimal Ingredients: With only 5 essential ingredients, you likely have most of what you need in your pantry already. No obscure specialty items required!
- No Candy Thermometer Required: Forget the stress of achieving precise temperatures. Our microwave method makes professional-quality fudge accessible to everyone.
- Perfect for Gifting: This delightful Oreo fudge is an ideal addition to Christmas cookie tins, holiday dessert platters, or as a thoughtful homemade gift for friends and family. Its festive look and irresistible taste make it a guaranteed crowd-pleaser.
- Irresistible Flavor & Texture: The creamy white chocolate base combined with crunchy Oreo bits creates a cookies and cream experience that’s simply divine.
Crucial Fudge-Making Secret: The Art of Not Overheating
When crafting fudge using sweetened condensed milk, there is one golden rule that stands above all others: **do NOT overheat the mixture while microwaving!** This is the single most important factor determining the success of your fudge’s texture.
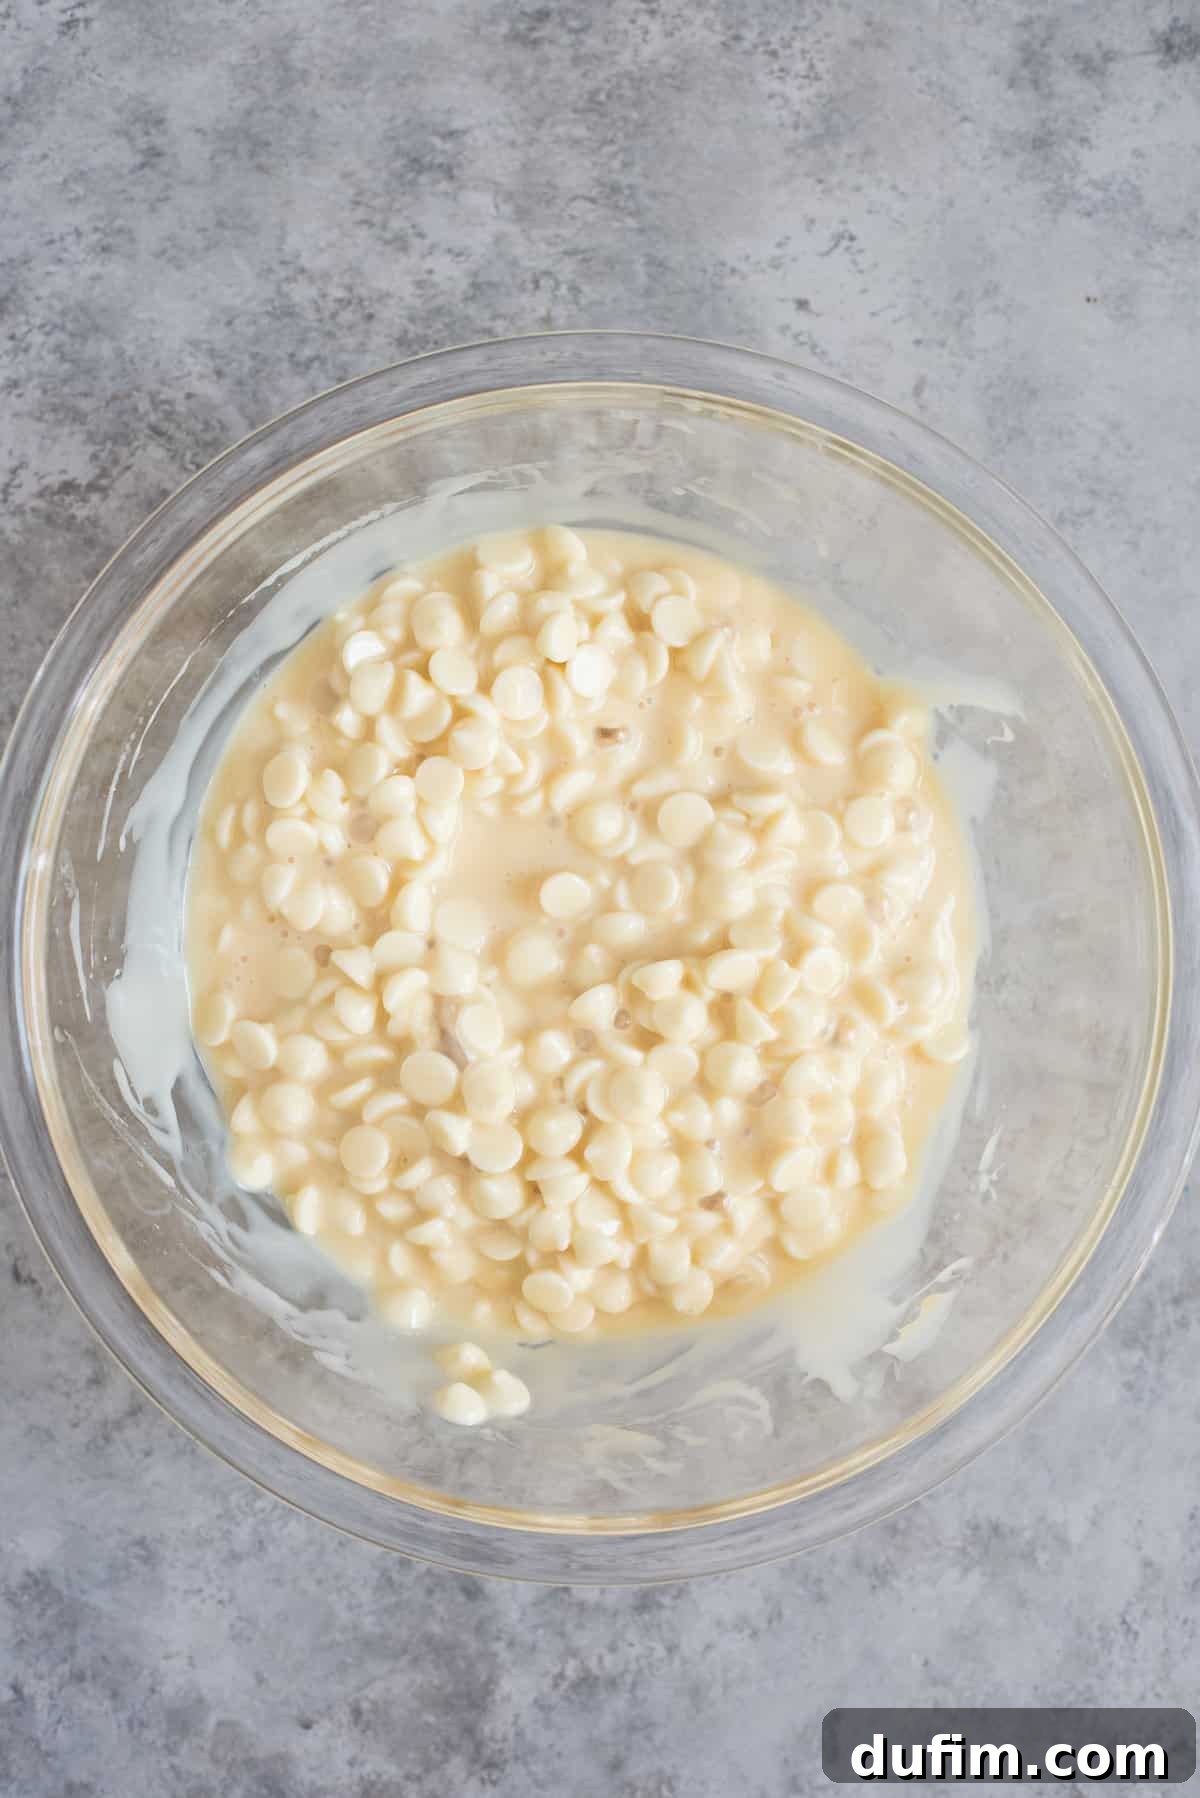
For this specific recipe, you’ll combine the white chocolate chips and sweetened condensed milk and microwave them for precisely 1 minute on full power. It’s vital to resist the urge to microwave longer, even if the chocolate chips don’t appear fully melted when you first pull the bowl out. Trust the process! The residual heat within the mixture, combined with vigorous stirring, will continue to melt the chocolate chips completely, creating a perfectly smooth and unified fudge base.
Why is this so important? Overheating fudge, especially with sweetened condensed milk, initiates a process called sugar crystallization too quickly or improperly. This results in a dry, crumbly, and often grainy fudge that cannot be salvaged. The delicate balance of sugar and fat in the condensed milk, when subjected to excessive heat, loses its ability to bind into a smooth, pliable confection. By adhering strictly to the 1-minute microwave time and relying on stirring, you ensure a gorgeously creamy, melt-in-your-mouth texture every time.
Essential Ingredients for Your Oreo Fudge
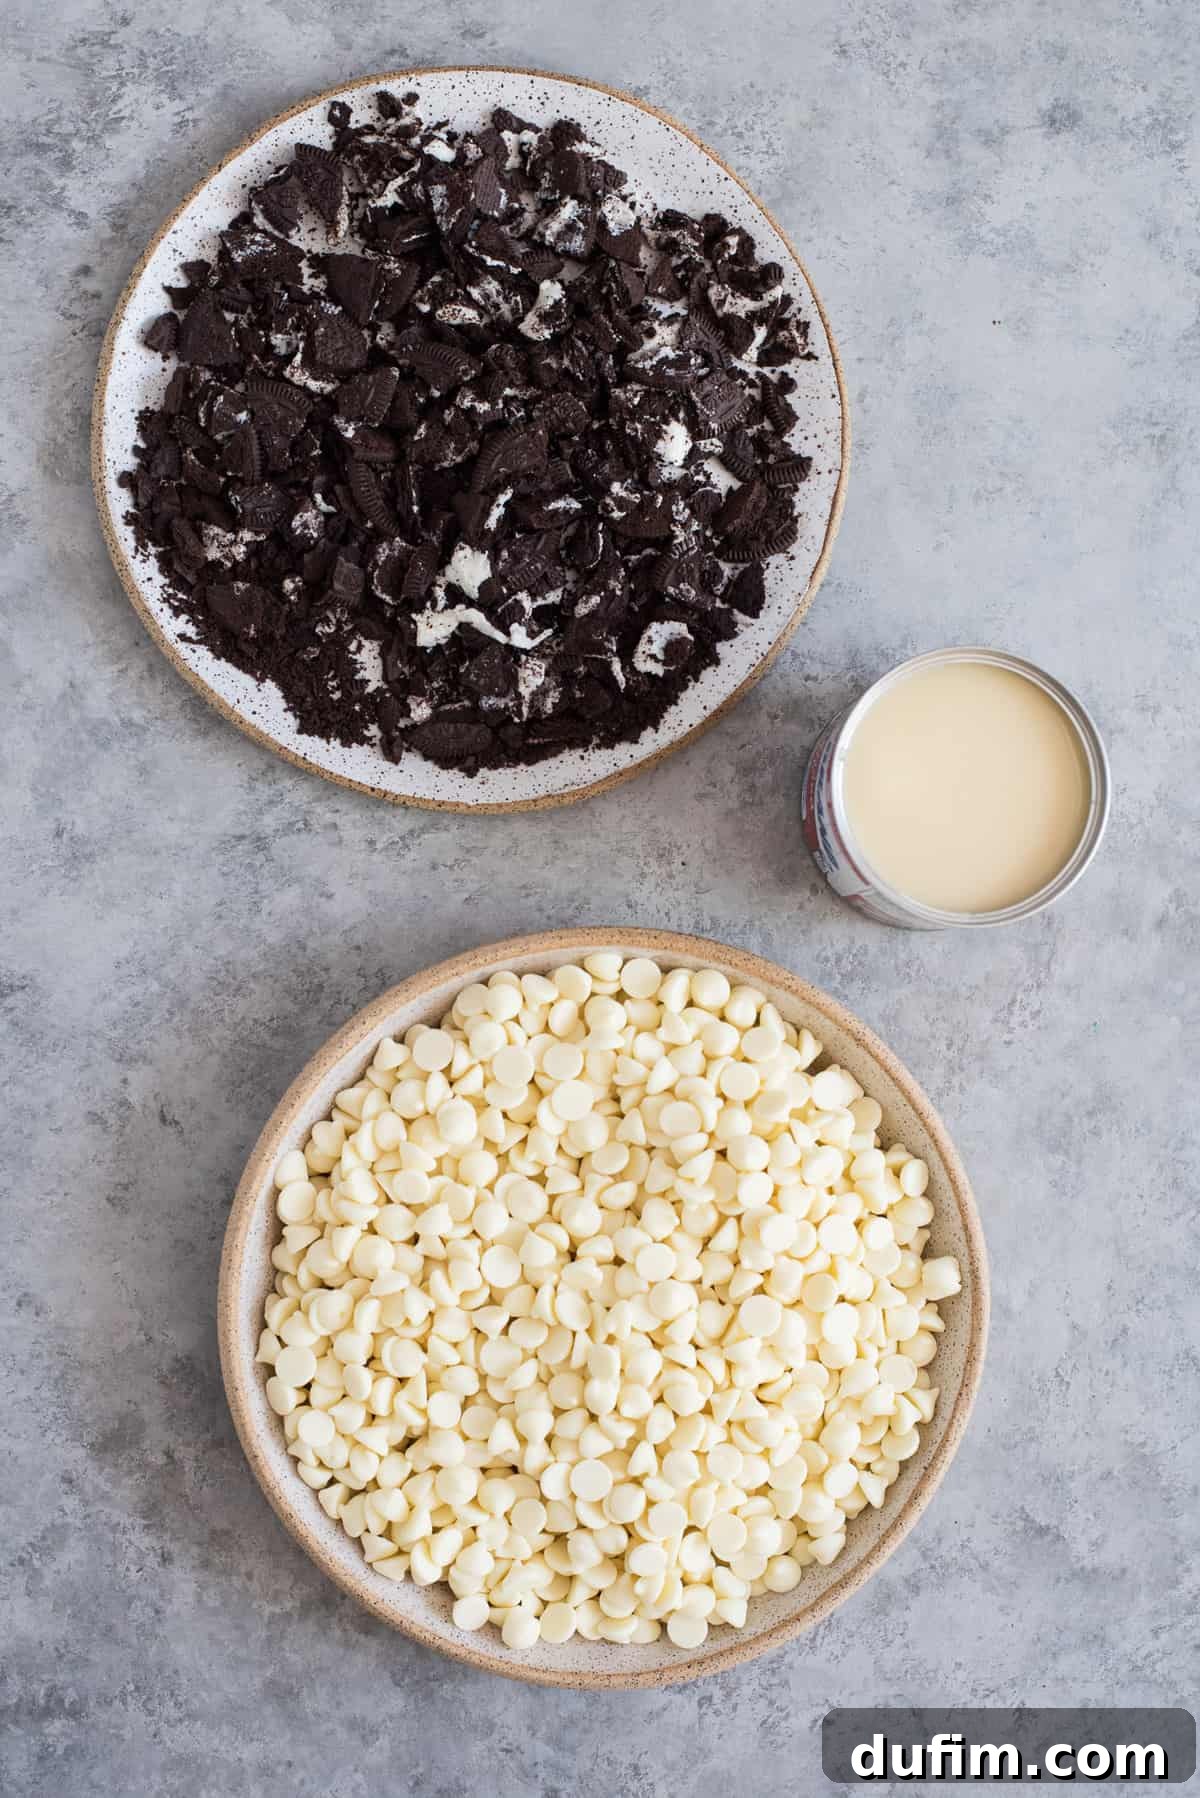
Gathering the right ingredients is the first step to creating this delightful treat. Here’s a closer look at what you’ll need and why each component is crucial:
- Sweetened Condensed Milk: This is the foundation of our creamy fudge. Use one standard 14 oz can. It’s important to use *sweetened condensed milk*, not evaporated milk, as the sugar content and thickness are entirely different and essential for the fudge to set correctly.
- White Chocolate Chips: The quality of your chocolate truly makes a difference here. For the best flavor and smoothest melt, opt for a higher-quality brand like Ghirardelli or Guittard. Lower quality chocolate can sometimes seize or melt unevenly, affecting the final texture of your fudge.
- Oreos: The star of the show! You’ll want to rough chop them into varying sizes – some smaller crumbs, some larger pieces – to ensure a delightful texture contrast throughout the fudge. There’s no need to remove the cream filling; it adds to the cookies and cream experience! Consider using different Oreo flavors for unique variations.
- Vanilla Extract: A splash of pure vanilla extract elevates the overall flavor profile, adding a warm, aromatic depth that complements the sweetness of the white chocolate and Oreos.
- Salt: A tiny pinch of salt might seem counterintuitive in a sweet recipe, but it plays a crucial role. It balances the intense sweetness of the fudge, enhancing the other flavors and preventing it from being cloyingly sweet.
How to Make Oreo Fudge: A Simple Guide
Making this delightful Oreo fudge is incredibly straightforward. Follow these steps for a perfectly creamy and delicious batch every time:
- Prepare Your Pan: Begin by lining an 8 or 9-inch square baking dish with aluminum foil or parchment paper. Make sure the foil extends up and over the sides of the pan; this creates “handles” that will allow for easy removal of the set fudge later. Lightly grease the foil with cooking spray or butter for extra insurance against sticking. Set the prepared pan aside.
- Combine Ingredients: In a large, microwave-safe glass bowl, combine the entire can of sweetened condensed milk with the white chocolate chips. Use a sturdy spatula to stir them together briefly until they are just combined. Don’t worry if they don’t look perfectly mixed at this stage; the microwave will handle the initial melting.
- Microwave and Stir: Place the bowl in the microwave and heat on full power for exactly 1 minute. It is critical *not* to microwave for longer than 60 seconds at this stage. Once the minute is up, remove the bowl from the microwave. The mixture may not look fully melted, but immediately begin to stir vigorously with your spatula. The residual heat will continue to melt the chocolate chips, and the mixture will transform into a smooth, glossy, uniform fudge base as you stir. Continue stirring until all the chocolate chips are completely dissolved and no lumps remain. Over-microwaving is the primary cause of dry, crumbly fudge, as it can scorch the chocolate and cause the sugar to crystallize improperly.
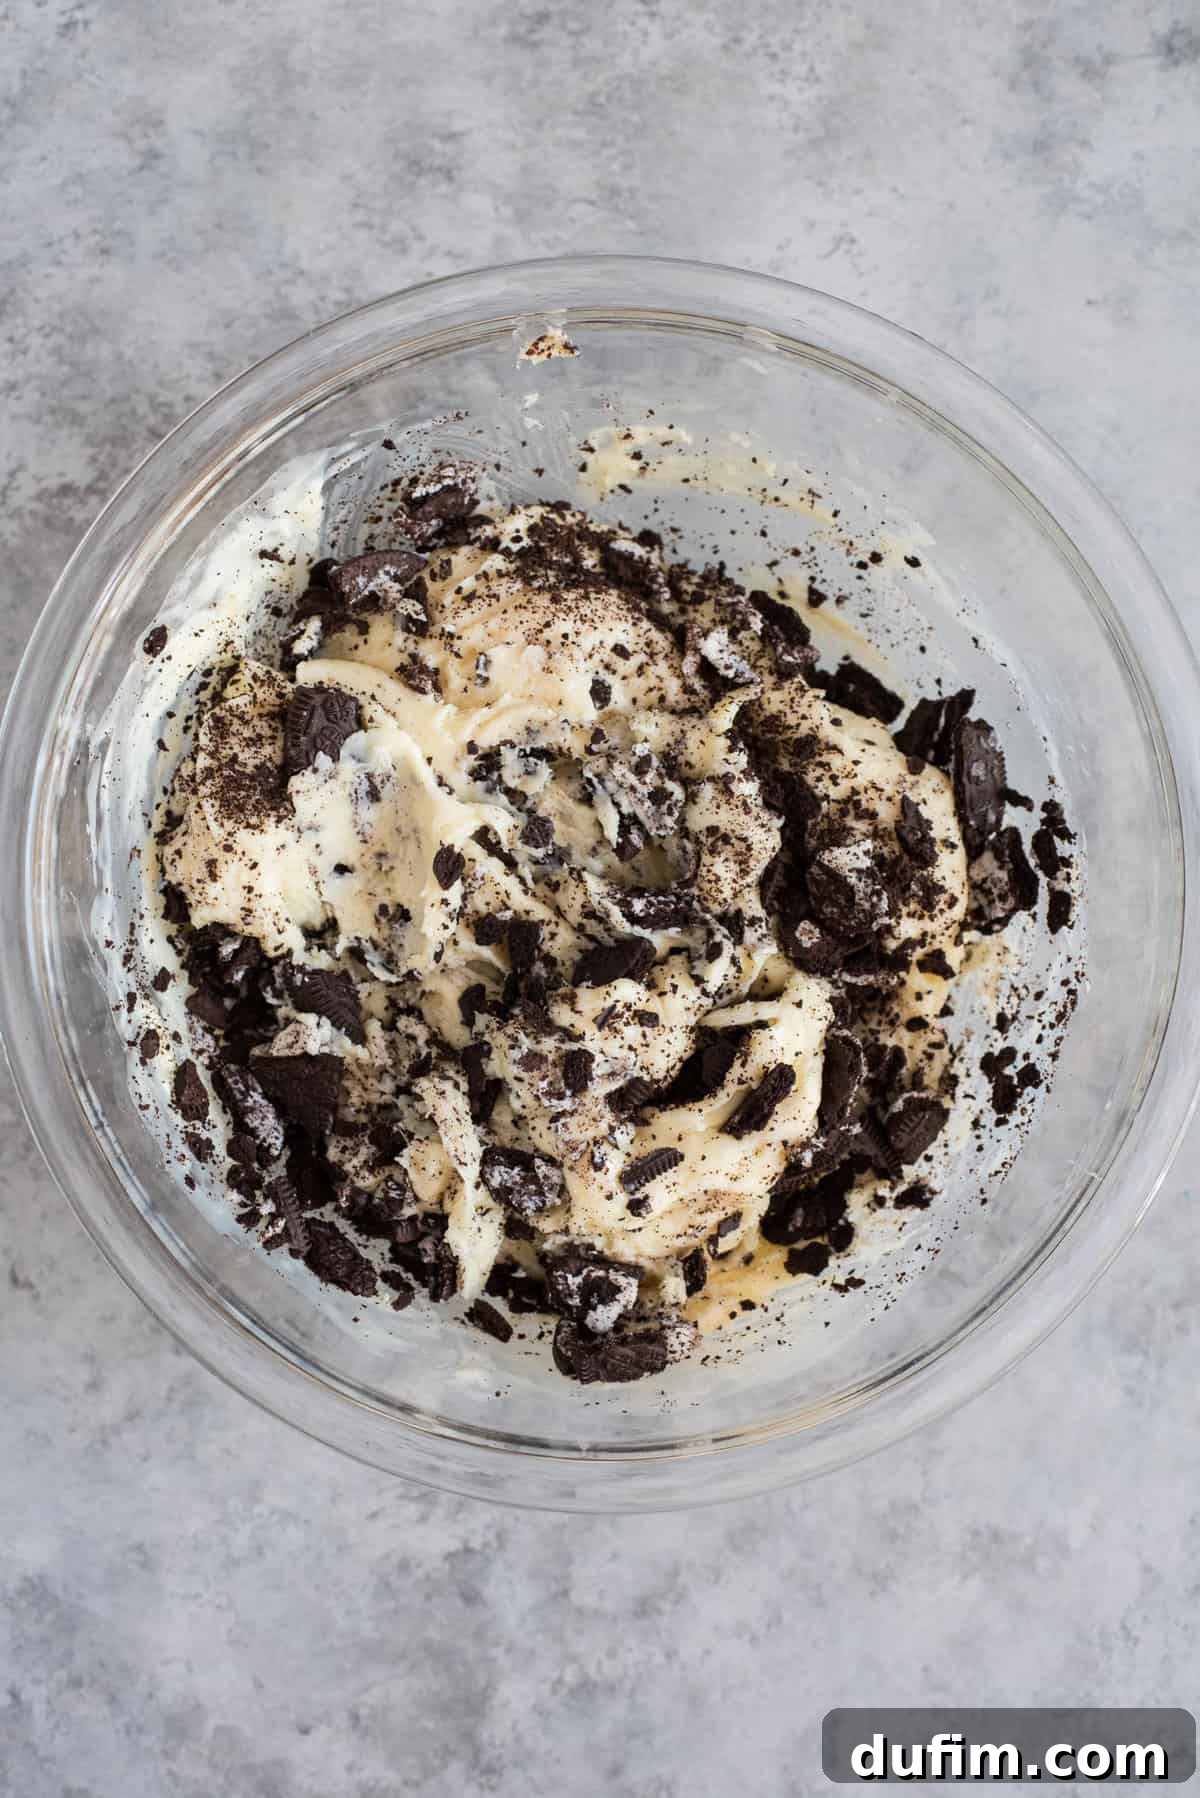
- Incorporate Flavor and Texture: Once your white chocolate base is smooth, quickly stir in the roughly chopped Oreos, the pinch of salt, and the vanilla extract. Mix until the Oreos are evenly distributed throughout the fudge.
- Transfer and Set: Pour the warm fudge mixture into your prepared baking dish. Use your spatula to spread it into an even thickness across the bottom of the pan. If desired, press a few additional broken Oreo pieces onto the top of the fudge for an appealing garnish.
- Cool and Patience: Allow the fudge to set on your kitchen counter at room temperature for at least 4 hours. For best results and optimal firmness, leaving it overnight is highly recommended. You can loosely cover the top of the fudge with aluminum foil to protect it during the cooling process. Avoid refrigerating the fudge to speed up cooling, as this can lead to a grainy texture.
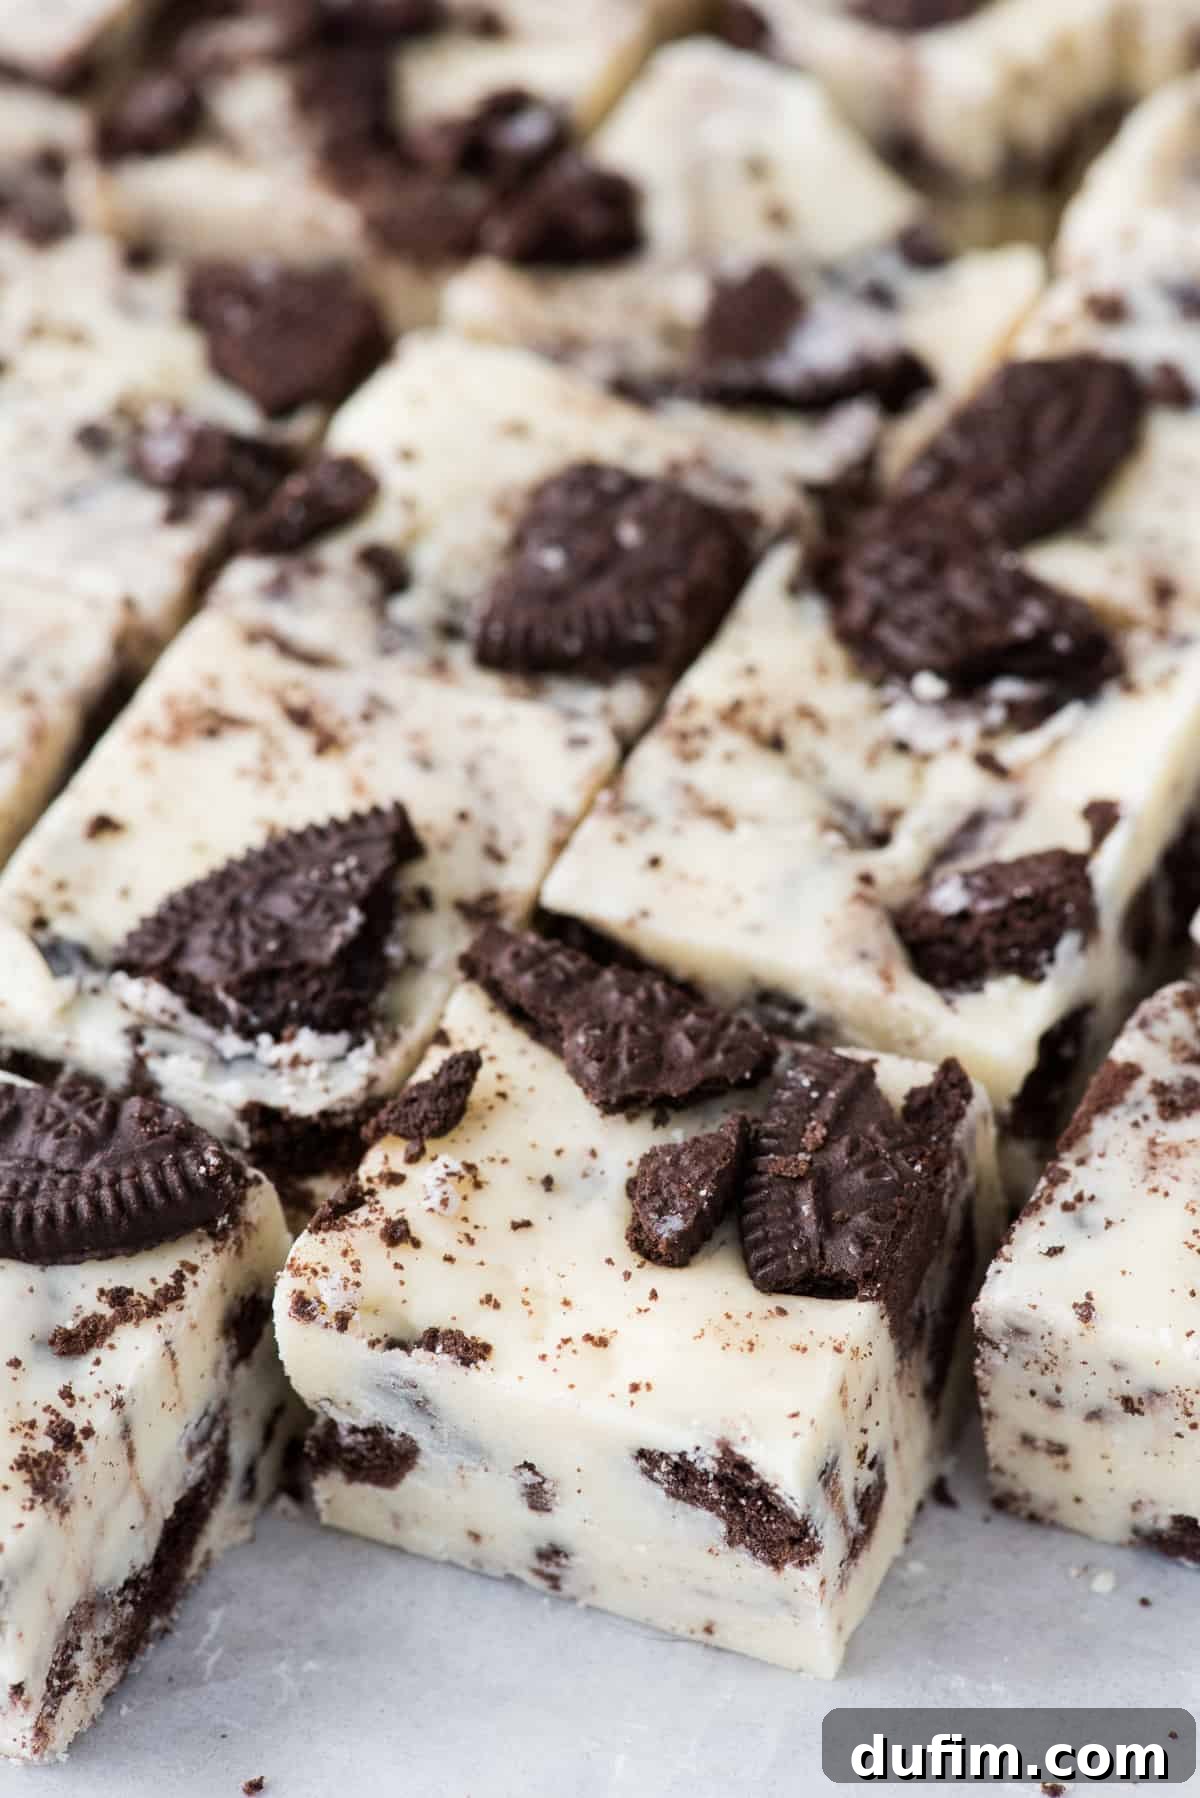
- Cut and Store: Once the fudge is completely set and firm, use the foil “handles” to lift it out of the pan. Carefully peel away the foil. Using a sharp knife, cut the fudge into desired squares. For perfectly uniform pieces, you can lightly score the surface with a ruler before cutting. Store the finished Oreo fudge in an airtight container at room temperature on the counter for up to 1-2 weeks.
Troubleshooting: Why Is My Fudge Dry and Crumbly?
The texture of fudge is fundamentally about controlling sugar crystallization. When fudge turns out dry, crumbly, or grainy instead of smooth and creamy, the primary culprit is almost always **overheating** or overcooking the fudge mixture.
In microwave Oreo fudge, the precise timing of heating is paramount. Microwaving for too long or at too high a power can cause the sugar crystals in the sweetened condensed milk to form too rapidly and become too large. Once this happens, unfortunately, there’s no reliable way to salvage overcooked fudge. It’s often best to start fresh.
To prevent this, always use a good quality, microwave-safe glass bowl, as glass heats more evenly than plastic. Stick strictly to the directed microwave time (1 minute for this recipe) and trust that the thorough stirring *after* microwaving will complete the melting process. Resist the temptation to add additional microwave time, even if the chocolate isn’t fully melted at first glance. Patience and thorough stirring are your best friends for achieving that perfect, smooth fudge consistency.
How To Cool Fudge for the Best Texture
The cooling process is just as important as the cooking process when it comes to achieving perfect fudge. We strongly recommend allowing your Oreo fudge to cool and set on the counter at room temperature.
This slow and gradual cooling allows the sugar crystals to form slowly and evenly, resulting in an incredibly smooth, creamy, and non-grainy texture. If you’re tempted to place the fudge in the refrigerator or freezer to speed up the setting process, resist! The rapid change in temperature can shock the sugar solution, causing the sugar to crystallize too quickly and leading to an undesirable grainy or crumbly texture. While the fudge might set faster, the quality will be compromised. Patience truly is a virtue for delicious fudge!
How To Store Your Delicious Oreo Fudge
Proper storage is key to keeping your homemade Oreo fudge fresh and delightful for as long as possible. Once the fudge has fully set and been cut into squares, transfer it to an airtight container. Stored this way, your Oreo fudge will maintain its optimal freshness and texture at room temperature on the counter for 1 to 2 weeks. Ensure the container is truly airtight to prevent the fudge from drying out or absorbing unwanted odors.
If you live in a particularly warm or humid climate, you may opt to store your fudge in the refrigerator. However, be aware that refrigeration can sometimes alter the texture slightly, making it firmer. If refrigerating, always bring the fudge back to room temperature before serving for the best experience.
Creative Variations to Customize Your Oreo Fudge
While the classic Oreo fudge is a treat in itself, don’t hesitate to get creative and customize it with these delightful variations:
- Mint Oreo Fudge: For a refreshing twist, add 1/4 teaspoon of mint or peppermint extract along with the vanilla. This gives the fudge a cool, invigorating flavor that pairs beautifully with the chocolate cookies. A fantastic option for winter holidays!
- Peanut Butter Oreo Fudge: Introduce a nutty richness by stirring in 1/4 cup of creamy peanut butter when you’re melting the chocolate chips and sweetened condensed milk. Ensure it’s fully incorporated for a smooth, marbled peanut butter and Oreo delight.
- Mix Up the Oreos: Don’t limit yourself to just classic Oreos! Experiment with different flavors like Golden Oreos for a vanilla-on-vanilla experience, Red Velvet Oreos for a vibrant color and distinct flavor, or even seasonal varieties like Pumpkin Spice or Peppermint Bark Oreos when they’re available. A combination of two different Oreo flavors can also be exciting!
- Festive Dyed Fudge: To make your fudge truly shine for special occasions, add a few drops of gel food coloring to the melted white chocolate base. Dye it red or green for Christmas, blue for Hanukkah, or vibrant pastels for Easter. Add the coloring before stirring in the Oreos.
- Sprinkle Fun: For an extra festive touch, stir in some colorful Christmas sprinkles or themed sprinkles before transferring the fudge to the pan. You can also sprinkle them generously on top of the fudge while it’s still warm for a beautiful finish.
- Nutty Crunch: Add about 1/4 cup of finely chopped toasted pecans, walnuts, or almonds along with the Oreos for an extra layer of crunch and flavor.
- Chocolate Drizzle: Once the fudge is set, melt a small amount of dark or milk chocolate and drizzle it decoratively over the top for an elegant touch and an added layer of chocolate flavor.
How To Freeze Fudge for Long-Term Storage
If you’ve made a large batch of delicious cookies and cream fudge or simply want to enjoy it later, freezing is an excellent option for long-term storage. You can freeze the fudge as a large slab (before cutting) or after it’s been cut into individual pieces.
For either method, the key is to prevent freezer burn. Wrap the fudge very tightly in several layers of plastic wrap, ensuring no air pockets remain. Then, place the tightly wrapped fudge inside a heavy-duty zip-top freezer bag or an airtight freezer-safe container. This double layer of protection is essential for maintaining its texture and flavor. Fudge can be stored in the freezer for up to 3 months.
To thaw your frozen fudge, simply transfer it from the freezer to the refrigerator and allow it to slowly defrost for about 24 hours. Once thawed, let it come to room temperature on the counter before serving for the best creamy consistency.
Pro Tips for Fudge-Making Success
Achieving perfect fudge every time is easy when you follow a few simple guidelines. Keep these expert tips in mind for consistently delicious results:
- Opt for High-Quality Chocolate: The quality of your white chocolate chips significantly impacts the flavor and texture of your fudge. Using a premium brand ensures a smoother melt and richer taste.
- Line Your Pan Properly: Always line your baking dish with aluminum foil or parchment paper, ensuring there’s an overhang on the sides. This creates convenient “handles” that allow you to easily lift the entire slab of fudge out of the pan once it’s set, making cutting effortless and mess-free.
- Patience is Key for Setting: Do not rush the cooling and setting process. Allow the fudge to set completely at room temperature for at least 4 hours, or ideally, overnight. Attempting to cut the fudge before it’s fully firm will result in sticky, messy, and misshapen pieces.
- For Perfect Squares: Once the fudge is firm, use a sharp, warm knife for clean cuts. For perfectly uniform squares, consider using a ruler to lightly score the fudge surface before slicing. Wiping your knife clean between cuts can also help achieve crisp edges.
- Do Not Overheat in Microwave: As stressed before, this is the most critical tip. Stick to the 1-minute microwave rule and rely on stirring. Overheating leads to dry, crumbly fudge.
- Measure Accurately: While this recipe is forgiving, accurate measurements, especially for the chocolate chips, will ensure the correct consistency. Use a kitchen scale for precision if possible.
Frequently Asked Questions About Oreo Fudge
When stored in an airtight container at room temperature on the counter, Oreo fudge will typically last for 1 to 2 weeks. For longer storage, see our freezing instructions.
Absolutely! Oreo fudge freezes beautifully. You can freeze it as a large slab or once it’s been cut into individual pieces. Ensure it’s wrapped tightly in plastic wrap and then placed in a freezer-safe bag or container to prevent freezer burn. It will last in the freezer for up to 3 months. To thaw, simply transfer it to the refrigerator for 24 hours.
While this recipe is specifically designed for white chocolate to create the classic cookies and cream aesthetic, you can experiment with milk chocolate or dark chocolate chips. Be aware that the flavor profile will be significantly different, and you might need to adjust the amount of sweetened condensed milk slightly, as different types of chocolate have varying melting properties and sweetness levels. The cooking time might also vary slightly.
Yes, you can! To make this fudge on the stovetop, combine the sweetened condensed milk and white chocolate chips in a heavy-bottomed saucepan over low heat. Stir continuously until the chocolate is fully melted and the mixture is smooth. Be very careful not to let the mixture come to a boil or scorch. Once smooth, remove from heat and proceed with stirring in the Oreos, salt, and vanilla extract, then transfer to your prepared pan.
Yes, this recipe can be easily doubled! If you’re doubling, use a larger microwave-safe bowl and a larger baking dish (e.g., a 9×13-inch pan). You might need to microwave the mixture in slightly longer increments (e.g., 90 seconds instead of 60) or two separate 1-minute intervals with stirring in between, to ensure proper melting, as a larger volume takes longer to heat. Always prioritize careful stirring over additional microwave time.
More Delicious Fudge Recipes to Try
If you’ve enjoyed making this easy Oreo fudge, be sure to explore our other fantastic fudge recipes for more sweet inspiration:
- Classic Chocolate Fudge
- Effortless Microwave Peanut Butter Fudge
- Seasonal Caramel Apple Fudge
- Refreshing Microwave Mint Chocolate Fudge
Oreo Fudge Recipe
By: Beth
Recipe Rating: 4.5/5 (Based on 73 ratings)
Prep Time: 5 minutes
Total Time: 5 minutes
Servings: 25 pieces
This incredibly easy 5-minute Oreo fudge is the perfect cookies and cream treat for the holiday season or any time you need a quick, delicious dessert!
Like this recipe? Rate and comment below!
Equipment
- Glass Mixing Bowl
- Spatula
- 8 or 9-inch Square Baking Dish
- Aluminum Foil or Parchment Paper
Ingredients
- 1 can (14 oz) sweetened condensed milk
- 2 ¾ cups (468g) white chocolate chips (approximately 1.5 bags, be sure to measure)
- 10 Oreos, roughly chopped (plus a few additional broken Oreos for the top)
- ⅛ tsp salt
- ½ tsp vanilla extract
Instructions
- Line a square 8 or 9-inch baking dish with aluminum foil, ensuring the foil extends up the sides of the pan for easy removal. Set aside.
- In a glass microwave-safe bowl, combine the sweetened condensed milk and white chocolate chips. Stir with a spatula until just combined.
- Microwave on full power for 1 minute. Do not microwave longer. The mixture will continue to melt and come together as you stir. Stir vigorously until the chocolate chips are fully melted and combined into a smooth mixture. Over-microwaving can cause the chocolate to scorch and the fudge to become crumbly. Stir in the chopped Oreos, salt, and vanilla extract until well distributed.
- Transfer the fudge mixture to the prepared pan and spread it into an even thickness. If desired, press extra broken Oreos into the top for garnish.
- Allow the fudge to set at room temperature on the counter for at least 4 hours, or preferably overnight, for best results. You can loosely cover the top with foil while it sets.
- Once the fudge is completely set, lift it out of the pan using the foil. Cut into squares using a sharp knife. Store in an airtight container on the counter for up to 1-2 weeks.
Nutrition Information
Calories: 180 kcal | Carbohydrates: 24g | Protein: 3g | Fat: 9g | Saturated Fat: 5g | Polyunsaturated Fat: 1g | Monounsaturated Fat: 3g | Trans Fat: 1g | Cholesterol: 10mg | Sodium: 72mg | Potassium: 126mg | Fiber: 1g | Sugar: 22g | Vitamin A: 48IU | Vitamin C: 1mg | Calcium: 85mg | Iron: 1mg
Nutrition Disclosure
All nutritional values are approximate and provided to the reader as a courtesy. Changing ingredients and/or quantities will alter the estimated nutritional calculations.