
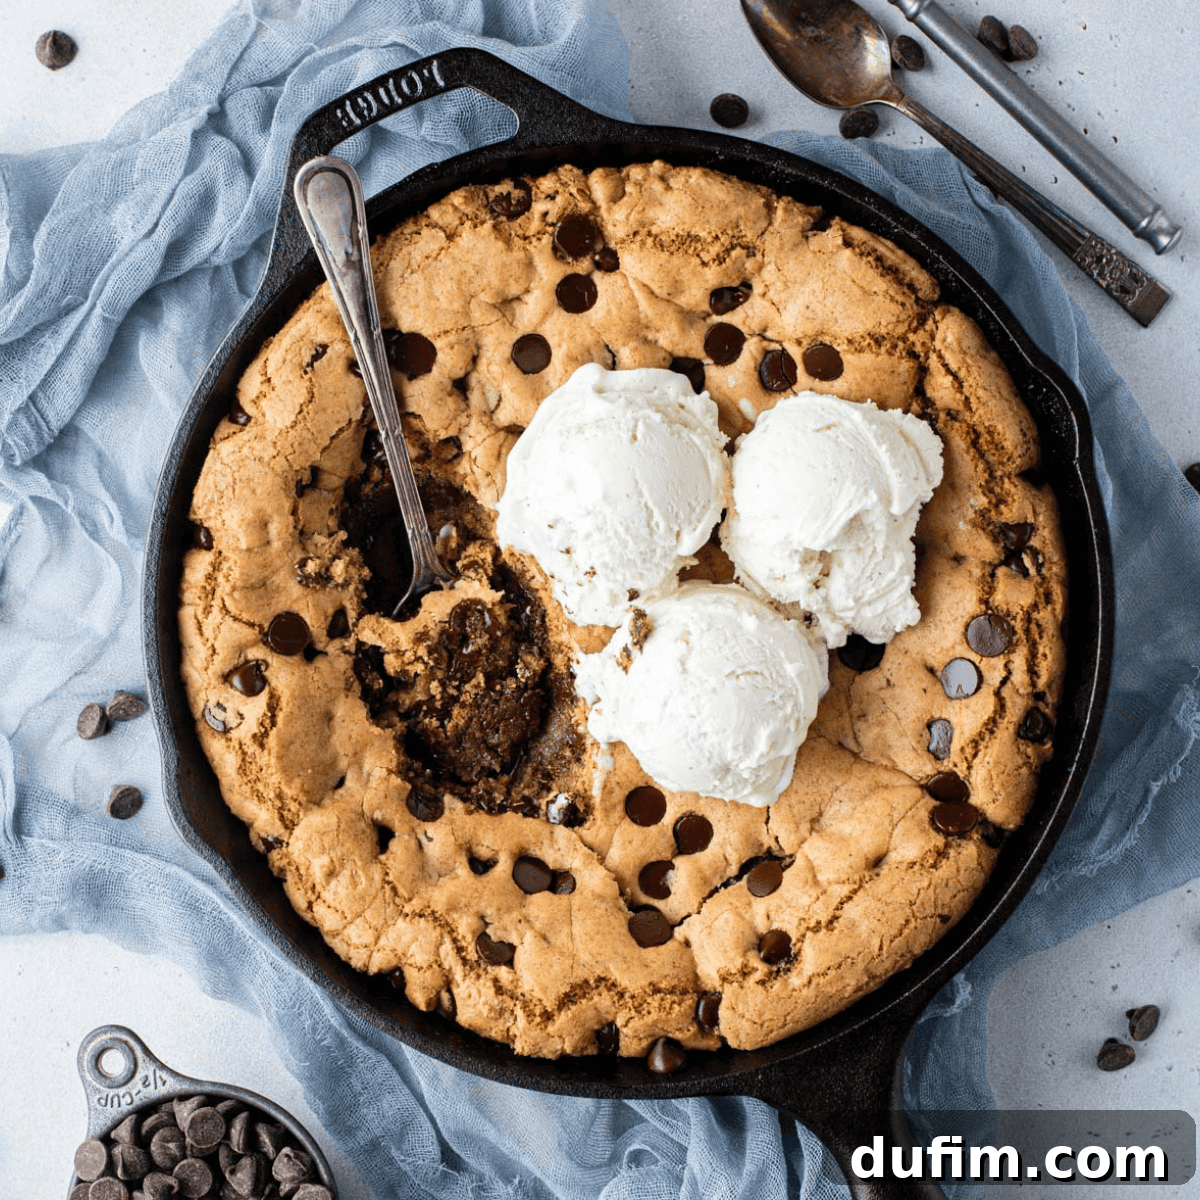
Imagine a dessert that perfectly balances a molten, gooey center with delightfully crispy edges, all infused with a harmonious blend of chocolate chip and rich butterscotch flavors. This is the essence of the perfect pizookie, a dessert renowned for its signature chewy texture. After countless hours of experimentation and dedicated kitchen work, I’ve refined every element of this beloved skillet cookie. This guide ensures you can create a flawless pizookie on your very first attempt, eliminating all guesswork and delivering an unforgettable culinary experience.
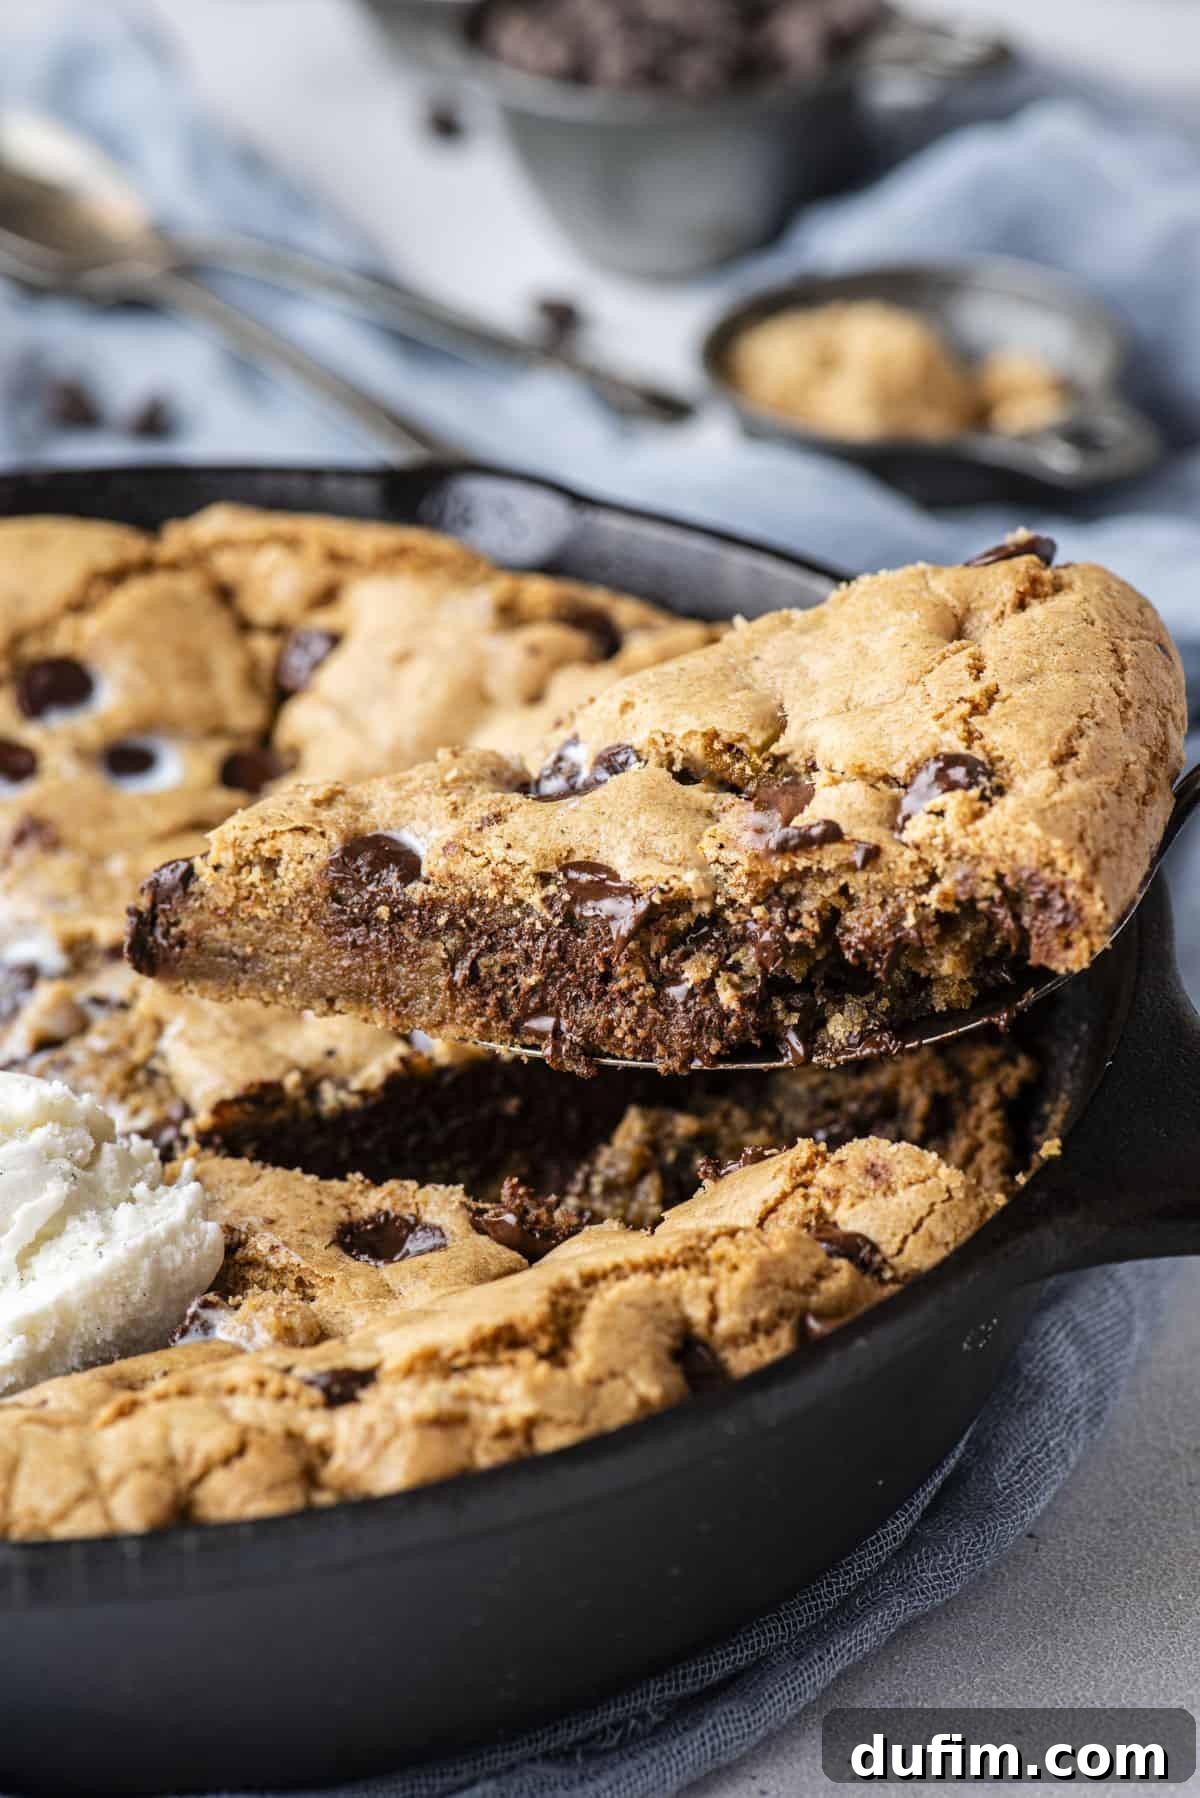
Indulge in This Heavenly Pizookie Dessert
Let’s talk about the magic of pizookies, a dessert that truly captures the heart of cookie lovers. Many home bakers often face challenges: either their pizookie turns out too underbaked and doughy in the middle, or the edges become unpleasantly burnt. Rest assured, I’ve navigated these common hurdles through extensive trial and error. This perfected recipe provides the precise baking time and temperature required to achieve that coveted balance of an ideally gooey center and beautifully crispy edges.
Beyond texture, flavor harmony is paramount. A common issue can be a dessert where either the cookie or the ice cream dominates, disrupting the overall experience. Our recipe ensures a balanced flavor profile, where the rich chocolate and subtle butterscotch notes of the cookie perfectly complement a scoop of cold vanilla ice cream. Furthermore, achieving the quintessential chewiness in a skillet cookie is crucial, and I’ve unlocked the insider secret: cornstarch. This humble ingredient is key to developing that satisfying chew without compromising the delightful crispiness of the edges. I’ve meticulously fine-tuned ingredient proportions and techniques so you can confidently bake this magnificent giant cookie to perfection from the very beginning.
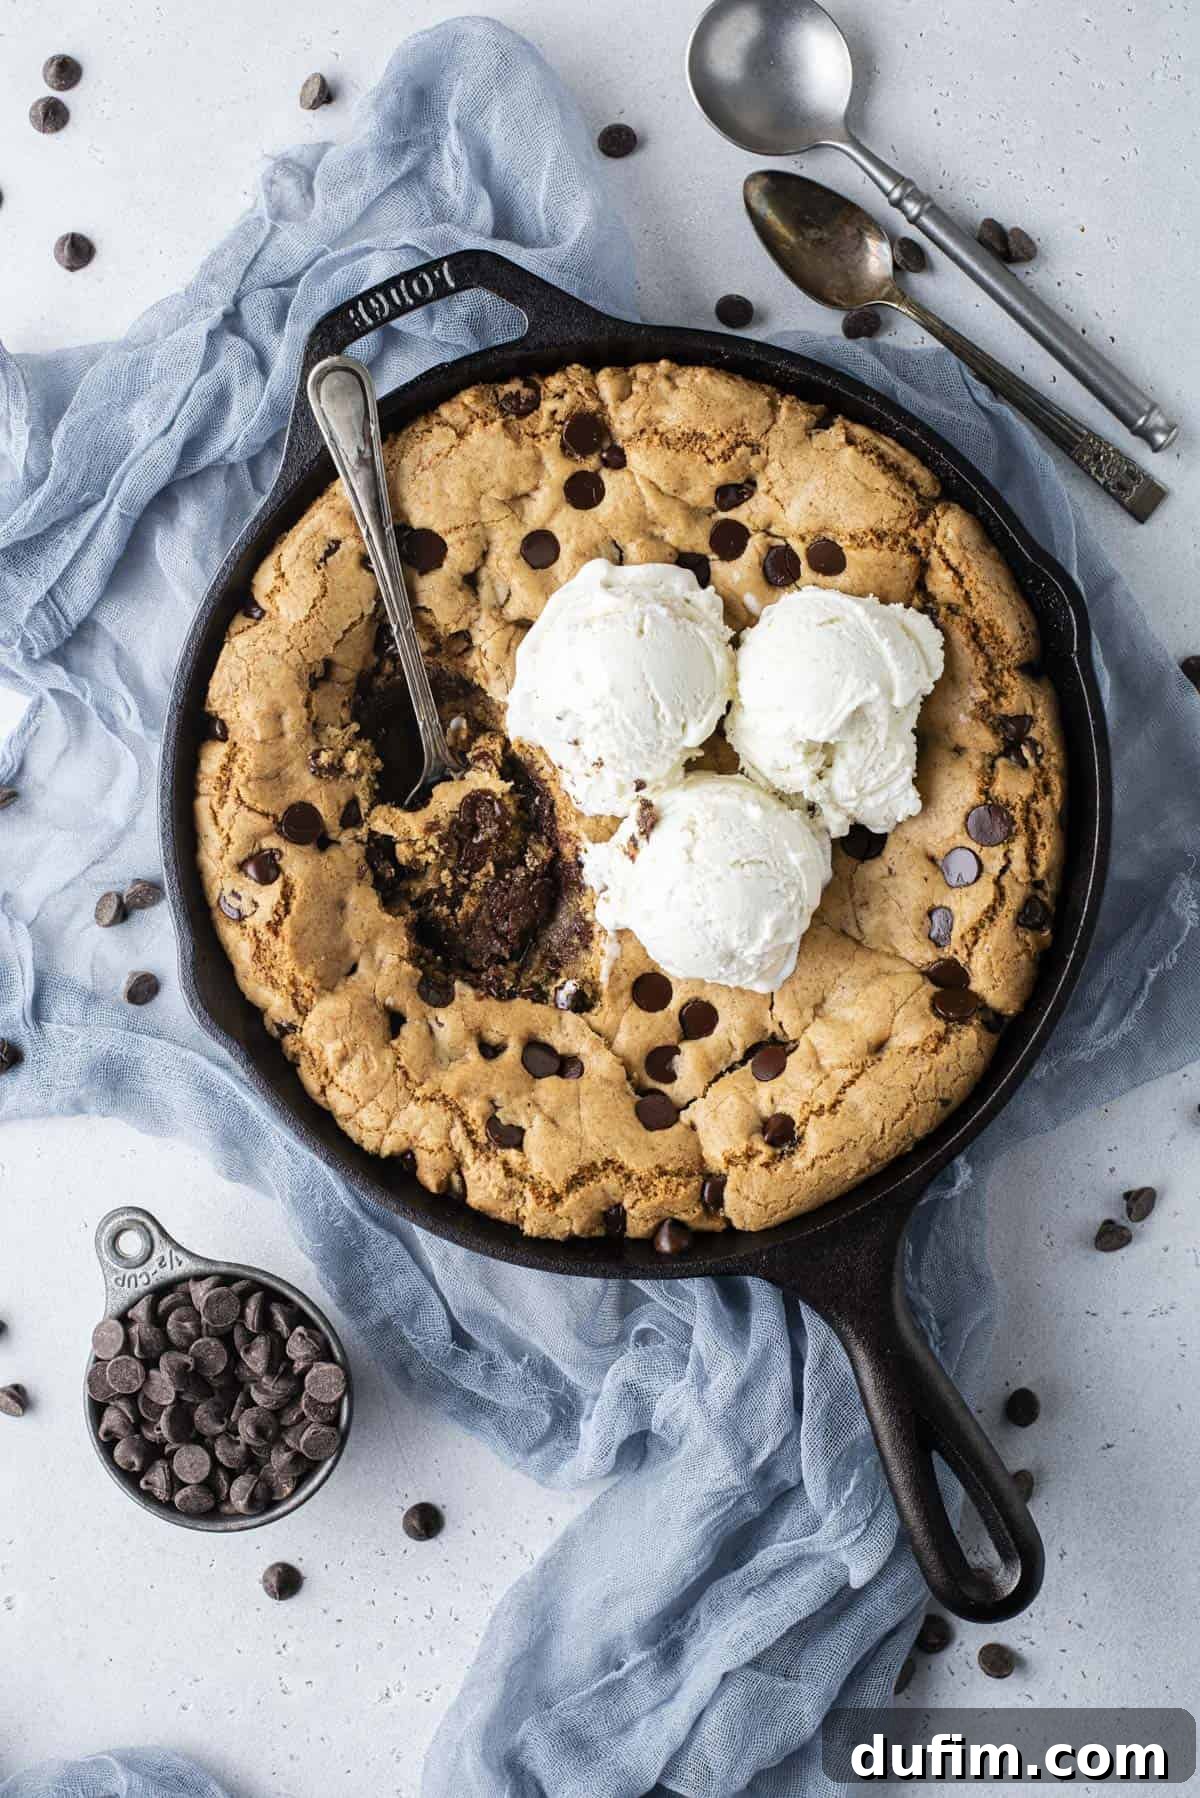
My Secret Ingredient for Unbeatable Texture: Cornstarch
Incorporating cornstarch into the dry ingredients of your cookie dough is a game-changing technique I wholeheartedly endorse. It’s the silent hero for achieving that flawless pizookie texture – those coveted crispy edges that gently yield to a gloriously soft and slightly gooey center. Trust me, this simple addition elevates your pizookie from merely good to truly irresistible, ensuring every bite is a textural masterpiece.
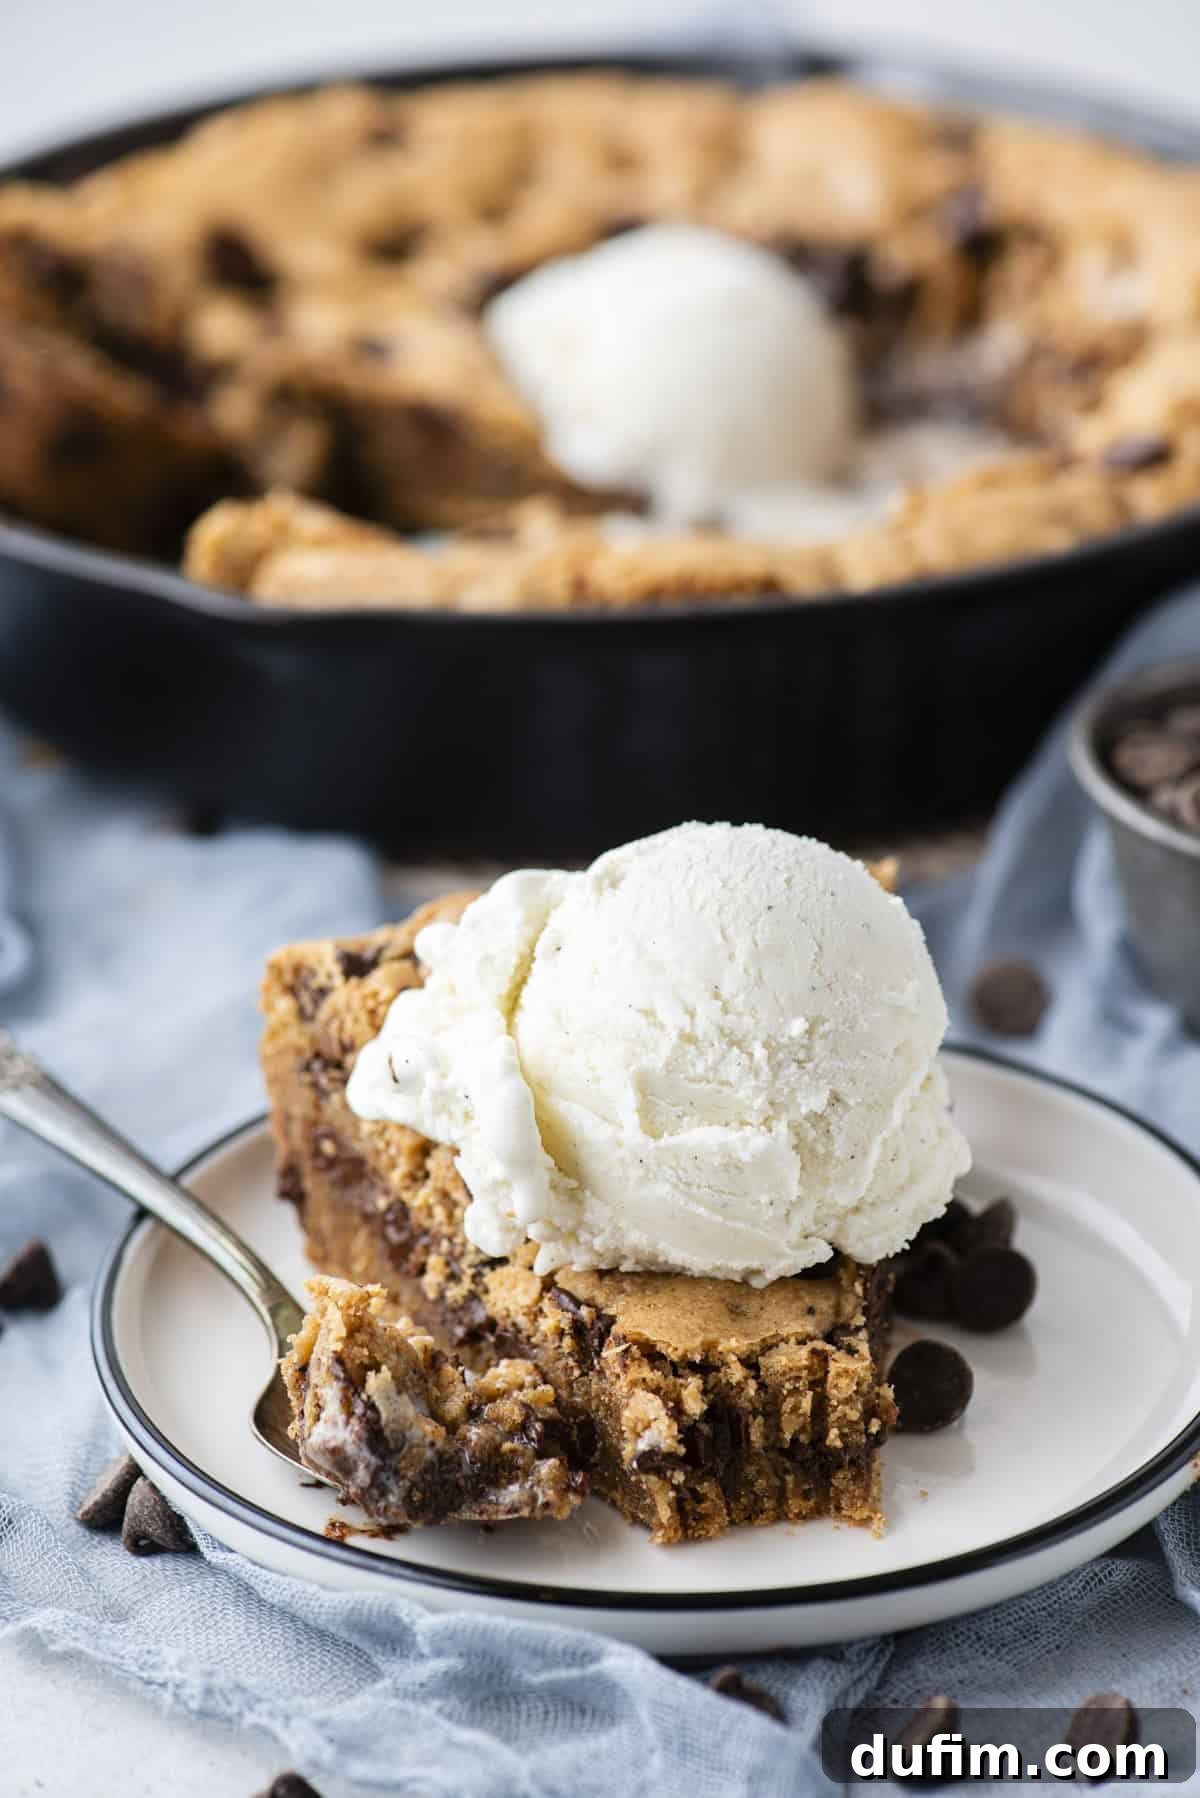
What Exactly is a Pizookie?
The term “pizookie” is a playful portmanteau of “pizza” and “cookie,” perfectly describing this indulgent dessert. Traditionally, it’s a large-format chocolate chip cookie baked in a skillet, served warm straight from the oven and famously topped with scoops of melting ice cream. My signature version takes this classic concept to new heights by incorporating the nutty, complex flavor of browned butter and the aforementioned secret ingredient, cornstarch. These additions work in synergy to deliver an unparalleled texture and depth of flavor, transforming a simple dessert into an extraordinary treat.
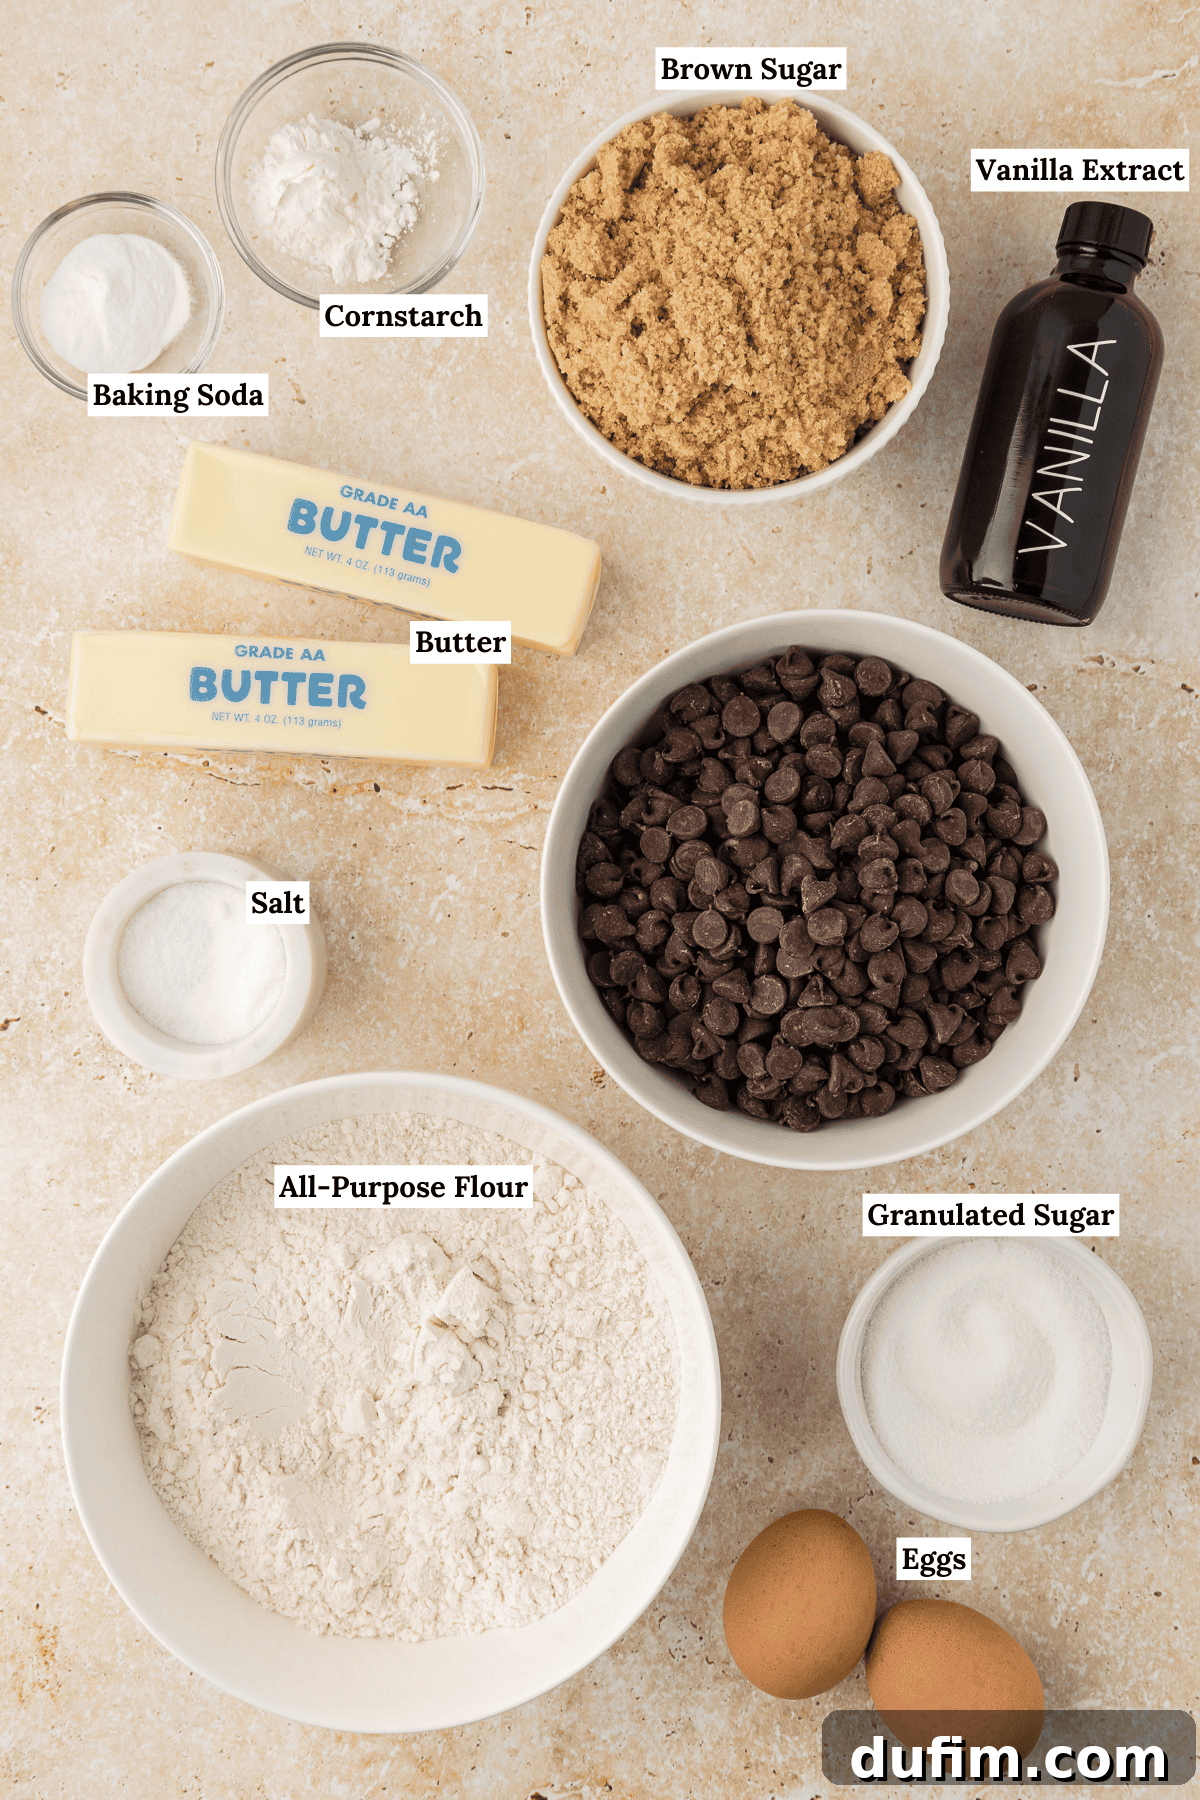
Essential Pizookie Recipe Ingredients for a Crowd-Pleasing Dessert
This easy-to-make dessert consistently earns rave reviews and is an absolute showstopper for any gathering. Crowned with a few scoops of creamy vanilla ice cream, it becomes the ultimate dessert to share. What makes it even better is that it relies on simple, staple ingredients you likely already have in your pantry. Below is a comprehensive list of what you’ll need, along with insights into their role in creating your perfect pizookie. For precise measurements and step-by-step instructions, please refer to the detailed recipe card at the end of this article.
- Unsalted butter: Crucial for browning, adding a rich, nutty depth of flavor. Ensure it’s at room temperature for optimal creaming.
- Brown sugar: Provides moisture, chewiness, and that distinctive molasses flavor that pairs beautifully with chocolate.
- Granulated sugar: Contributes to the crispiness of the edges and helps achieve the ideal sweetness.
- Eggs: Act as a binder, provide structure, and add richness. Room temperature eggs emulsify better with the other ingredients.
- Vanilla extract: A fundamental flavor enhancer that elevates the overall taste profile of the cookie.
- All-purpose flour: The structural backbone of our cookie, providing the necessary body and crumb.
- Cornstarch: Our secret weapon! It ensures an incredibly tender, soft interior and prevents the cookie from becoming too crumbly.
- Baking soda: A leavening agent that helps the cookie spread and contributes to its chewy texture.
- Salt: Essential for balancing the sweetness and enhancing all the other flavors in the dough.
- Semi-sweet chocolate chips: The classic choice, melting into pockets of pure chocolate bliss throughout the cookie. Feel free to adjust the quantity to your preference for ultimate chocolatey indulgence.
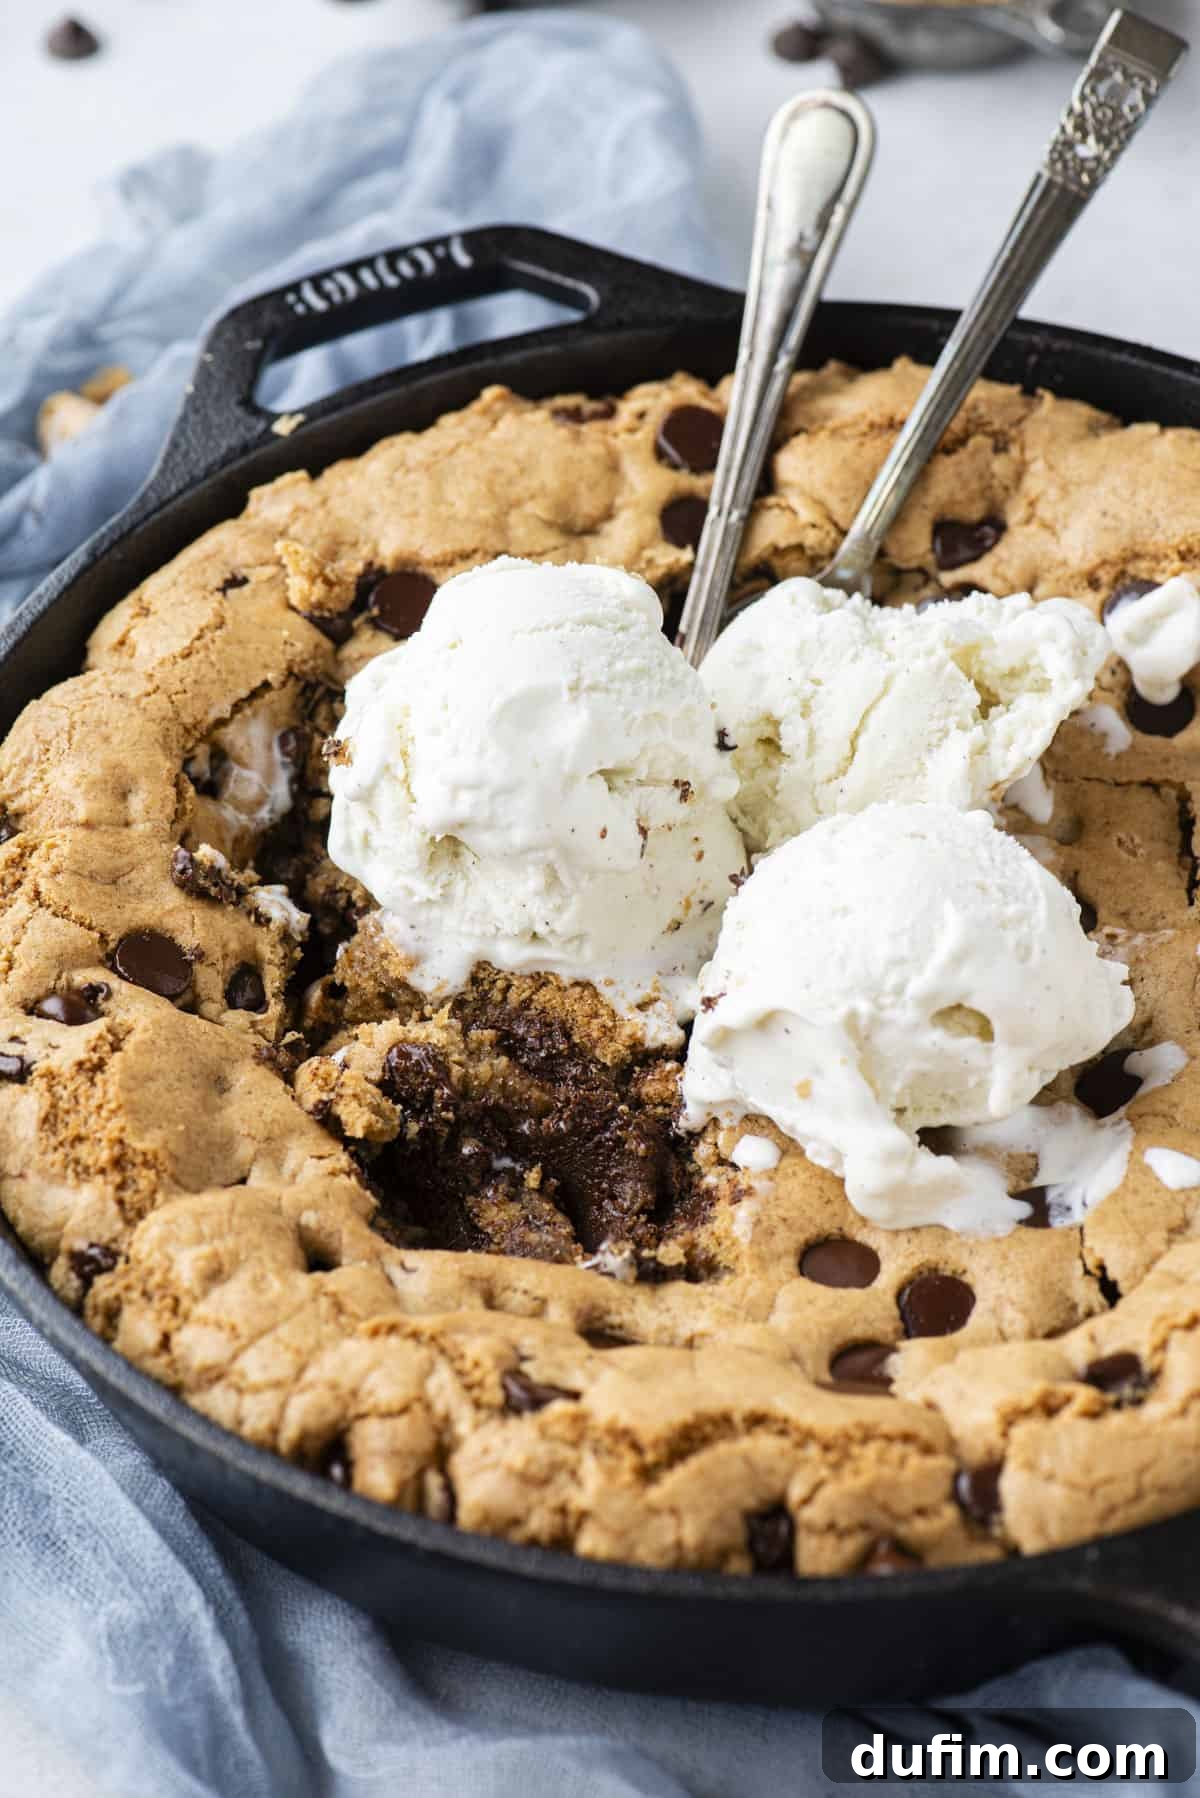
Essential Tools for Crafting This Deep-Dish Pizookie
The star of the show for this deep-dish cookie is undoubtedly a cast-iron skillet. I personally achieved fantastic results using a 10.25-inch skillet. While this recipe is optimized for that size, you can certainly use anything between 9 and 12 inches. Do keep in mind, however, that the baking times will vary depending on your skillet’s diameter and depth. A smaller skillet will yield a thicker pizookie, potentially requiring a longer bake, while a larger, shallower skillet might bake faster. Consult the notes in the full recipe card below for estimated bake times tailored to different skillet sizes, ensuring your pizookie achieves that perfect balance of gooey and crispy.
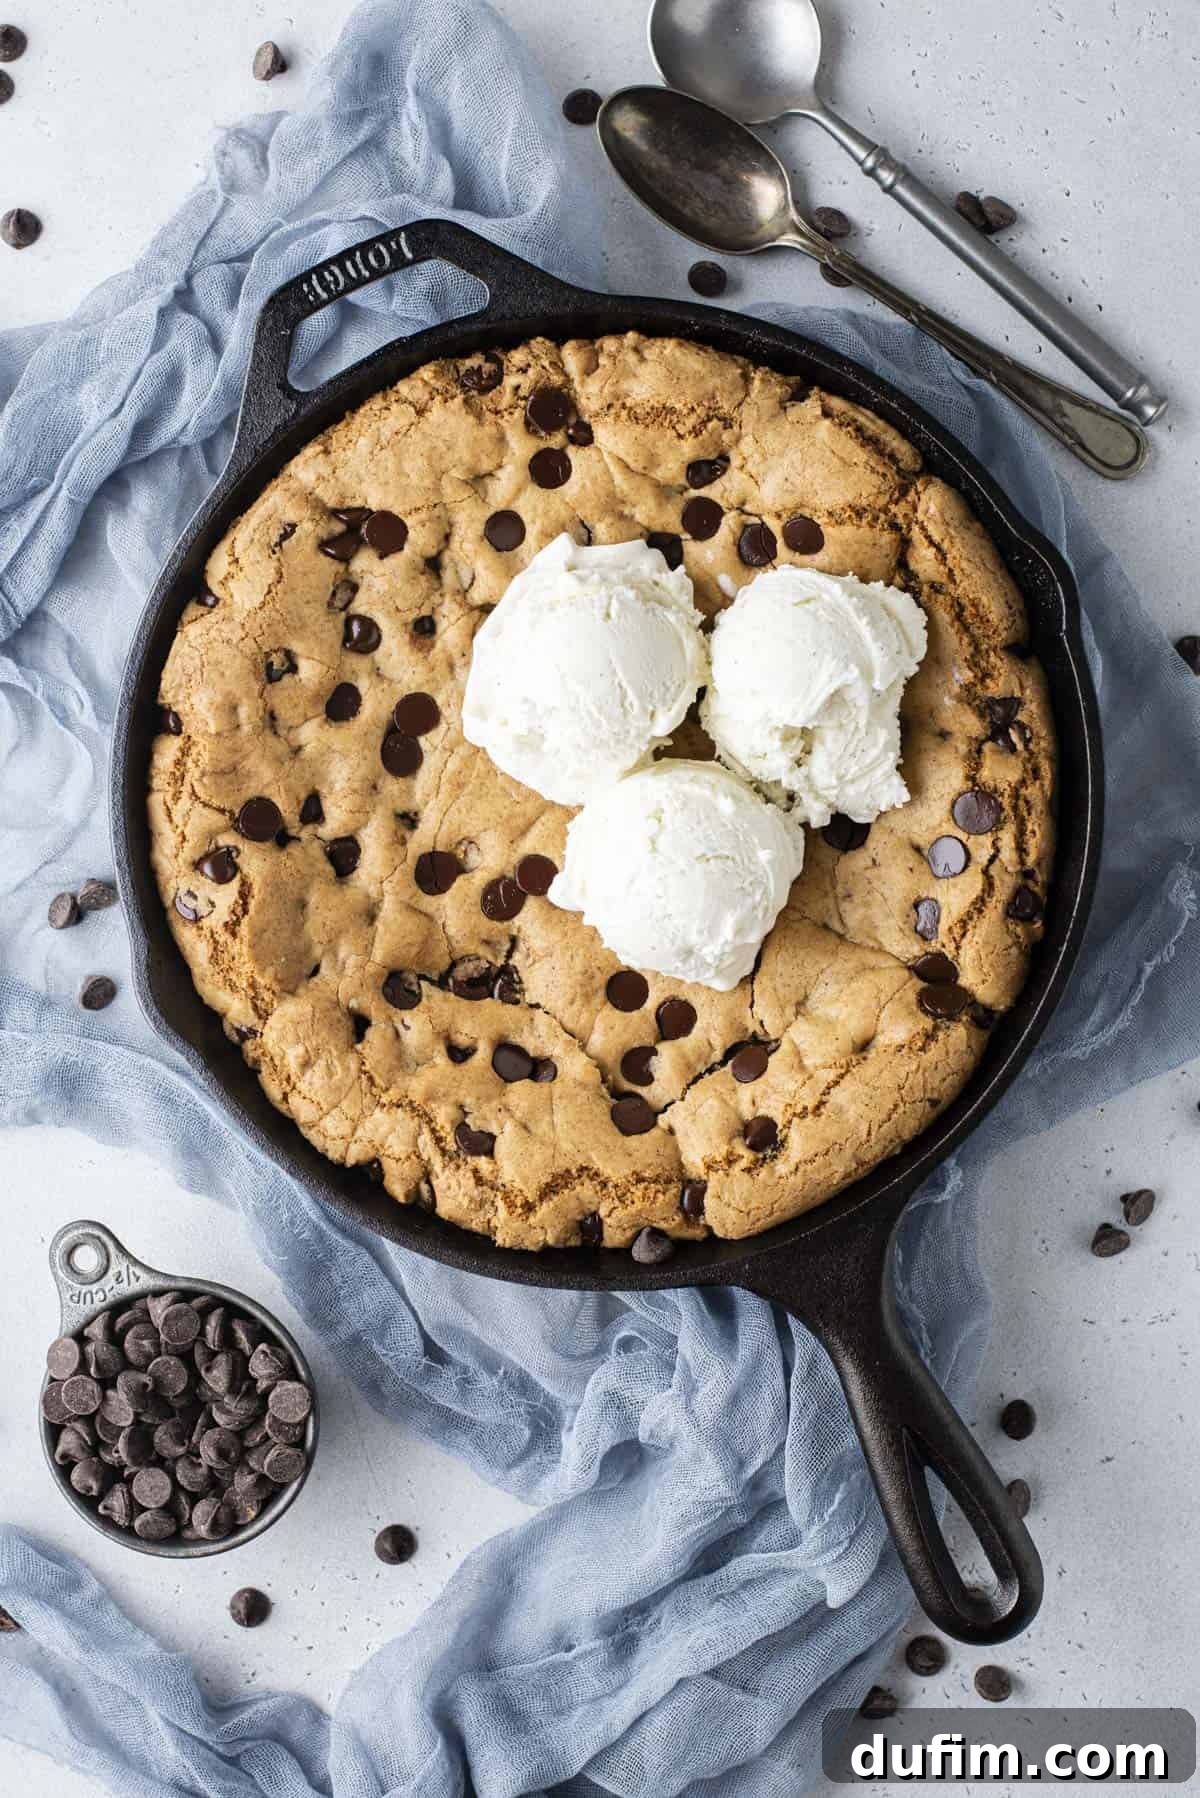
Mastering the Art of Pizookie Making: A Step-by-Step Guide
This brown butter pizookie recipe is surprisingly simple to create, requiring only about 10 minutes of active preparation time to yield a profoundly delicious, perfectly gooey dessert. The secret lies not just in the ingredients, but in careful execution, particularly when browning the butter. Follow these easy step-by-step instructions, and refer to the complete recipe card below for all the essential details and additional expert tips.
Step 1: The Magic of Browning the Butter
- Melt and Monitor: Begin by melting your unsalted butter in a small, heavy-bottomed saucepan over medium heat. The heavy bottom is crucial here, as it helps distribute heat evenly and prevents the butter from burning too quickly. Maintain a consistent medium heat to encourage gradual, even browning. Stir the butter constantly with a whisk or a heat-resistant spatula for approximately 6 to 8 minutes. This continuous stirring prevents the milk solids from sticking to the bottom of the pan and burning, which could impart an undesirable bitter taste to your final product.
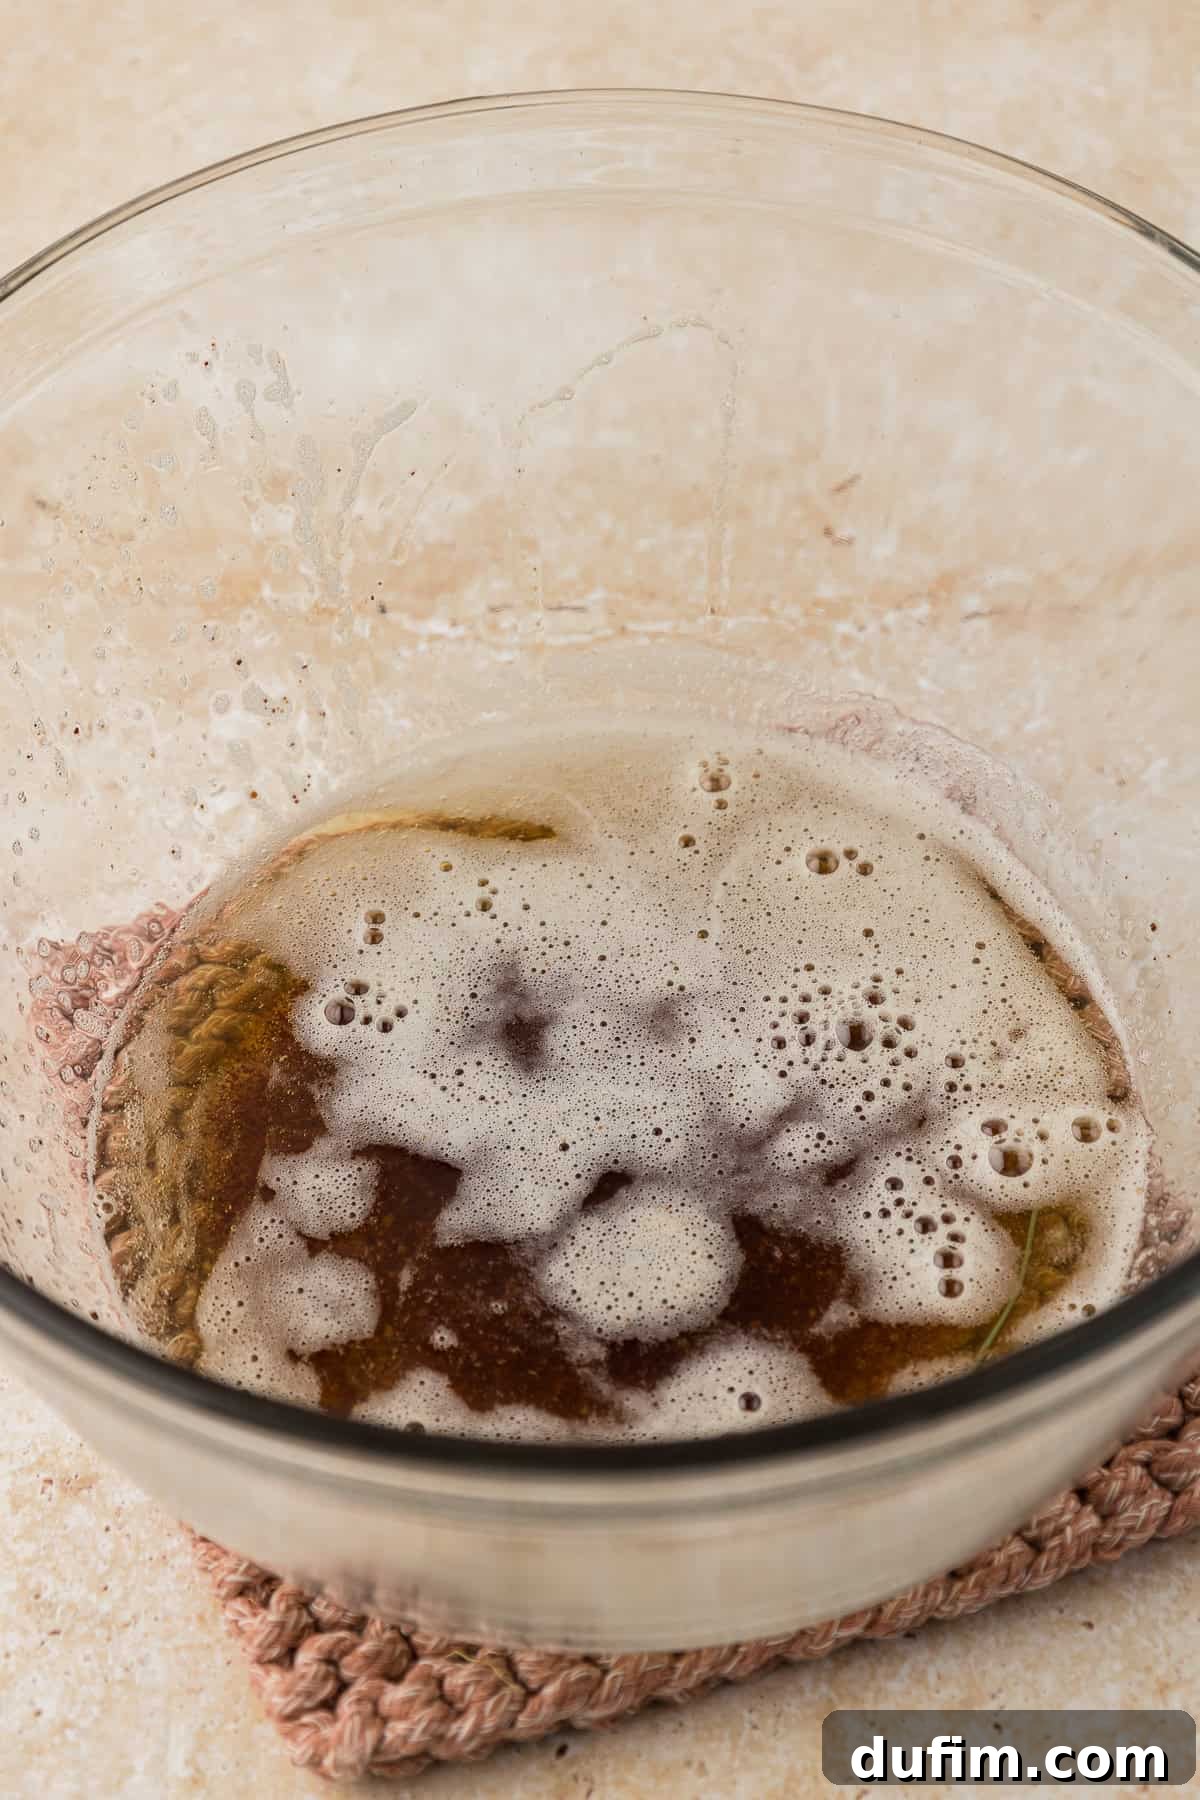
- Observe and Aromatize: As the butter melts and heats, you’ll notice small bubbles forming. These bubbles are your first indicator that the browning process has begun. Continue stirring diligently. The butter will transform from a pale yellow to a beautiful golden brown color. If the bubbling becomes too vigorous, briefly lift the saucepan off the heat to accurately assess the color without risking over-browning. You’ll also be delighted by a rich, nutty aroma, reminiscent of toasted graham crackers or warm hazelnuts, signaling that the butter is developing its characteristic depth of flavor.
- Cool and Preserve: The moment you observe distinct golden-brown specks amidst the rich, amber butter, remove the saucepan from the heat immediately. Swiftly transfer the browned butter to a heatproof bowl. This step is critical because residual heat in the saucepan can cause the butter to continue cooking and potentially burn. Allowing it to cool in a separate bowl stops the cooking process and preserves that perfect nutty flavor. Set the beautifully browned butter aside to cool slightly while you prepare the remaining cookie dough ingredients.
Step 2: Assembling Your Perfect Pizookie
- Prepare Your Oven: Start by preheating your oven to 325ºF (160ºC). This lower temperature is ideal for baking a thick skillet cookie, allowing it to cook through evenly without burning the edges too quickly, ensuring that delightful gooey center.
- Combine Dry Ingredients: In a medium mixing bowl, whisk together the all-purpose flour, cornstarch (our secret weapon for chewiness!), baking soda, and salt. Stir in 1 ½ cups of your semi-sweet chocolate chips. Set this dry mixture aside.
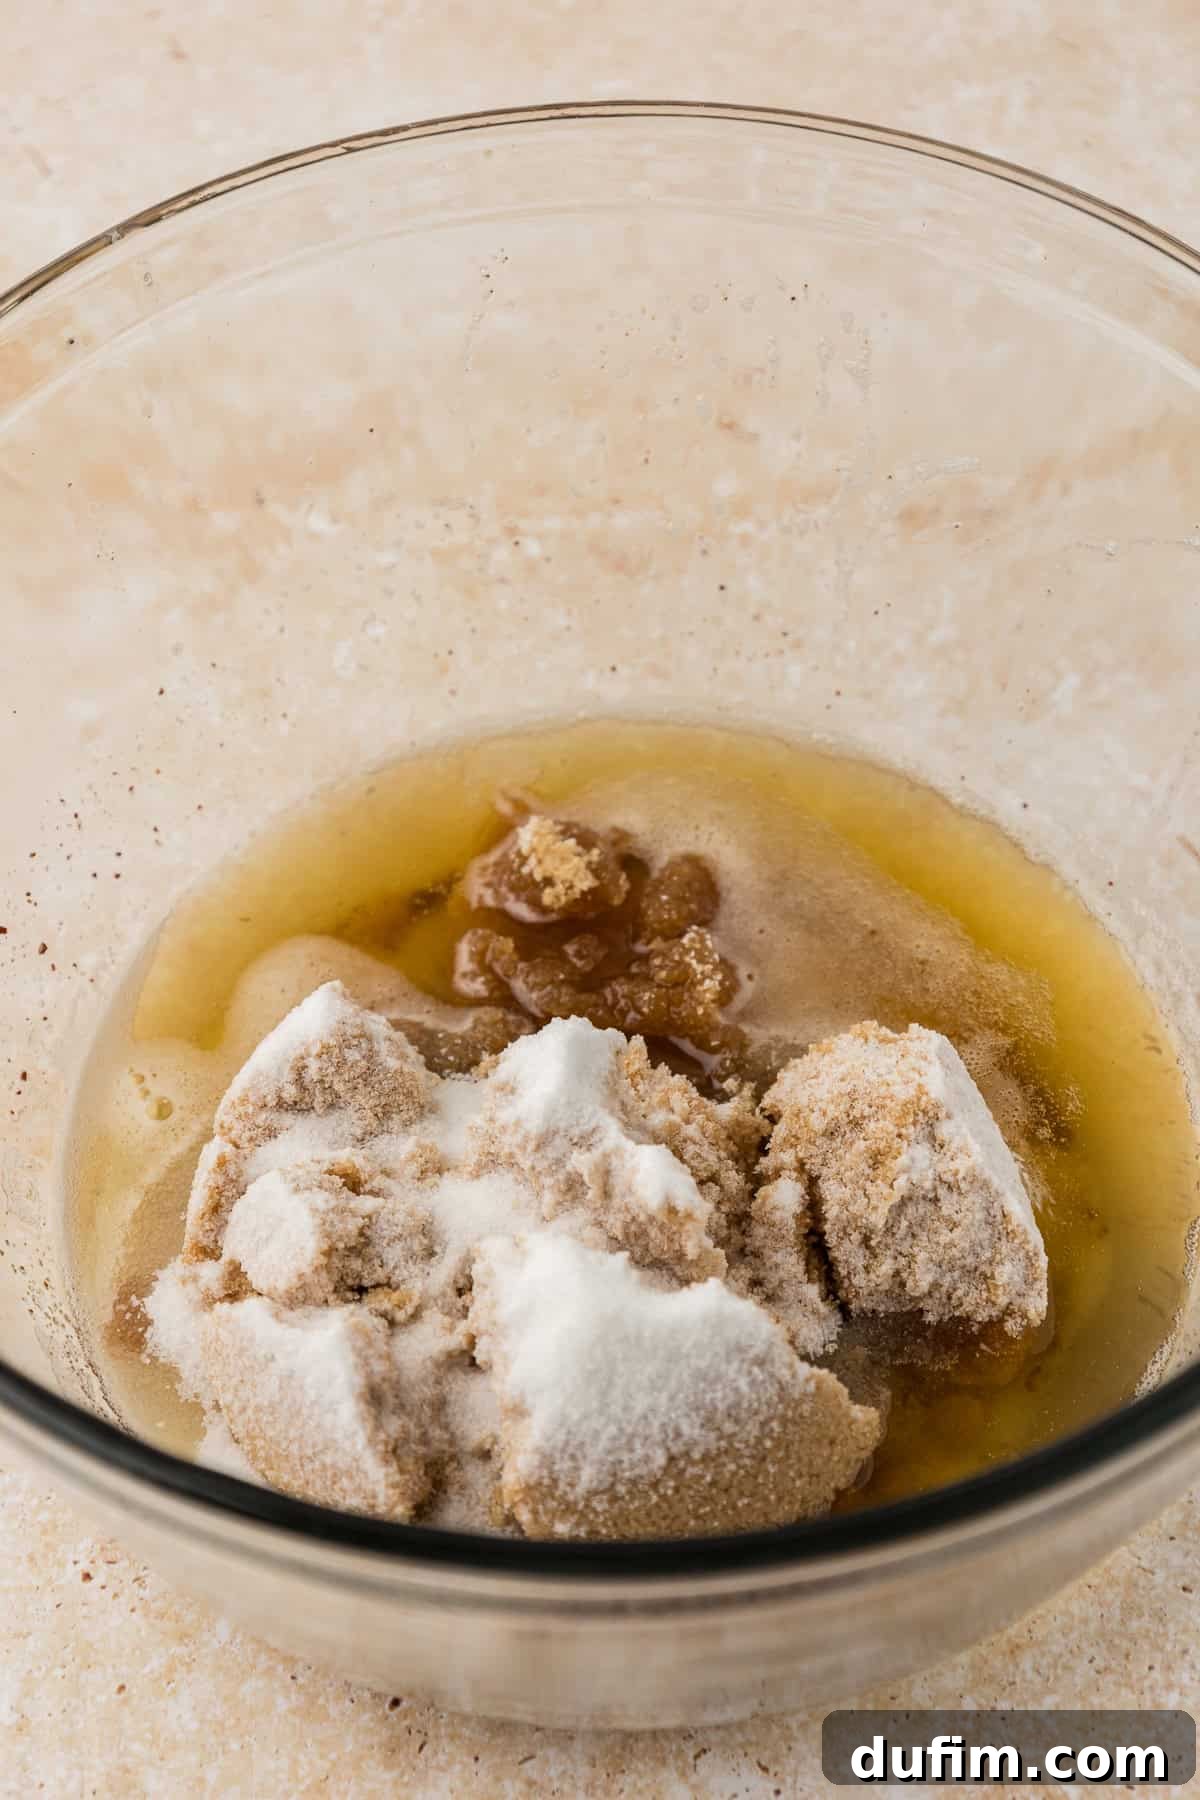
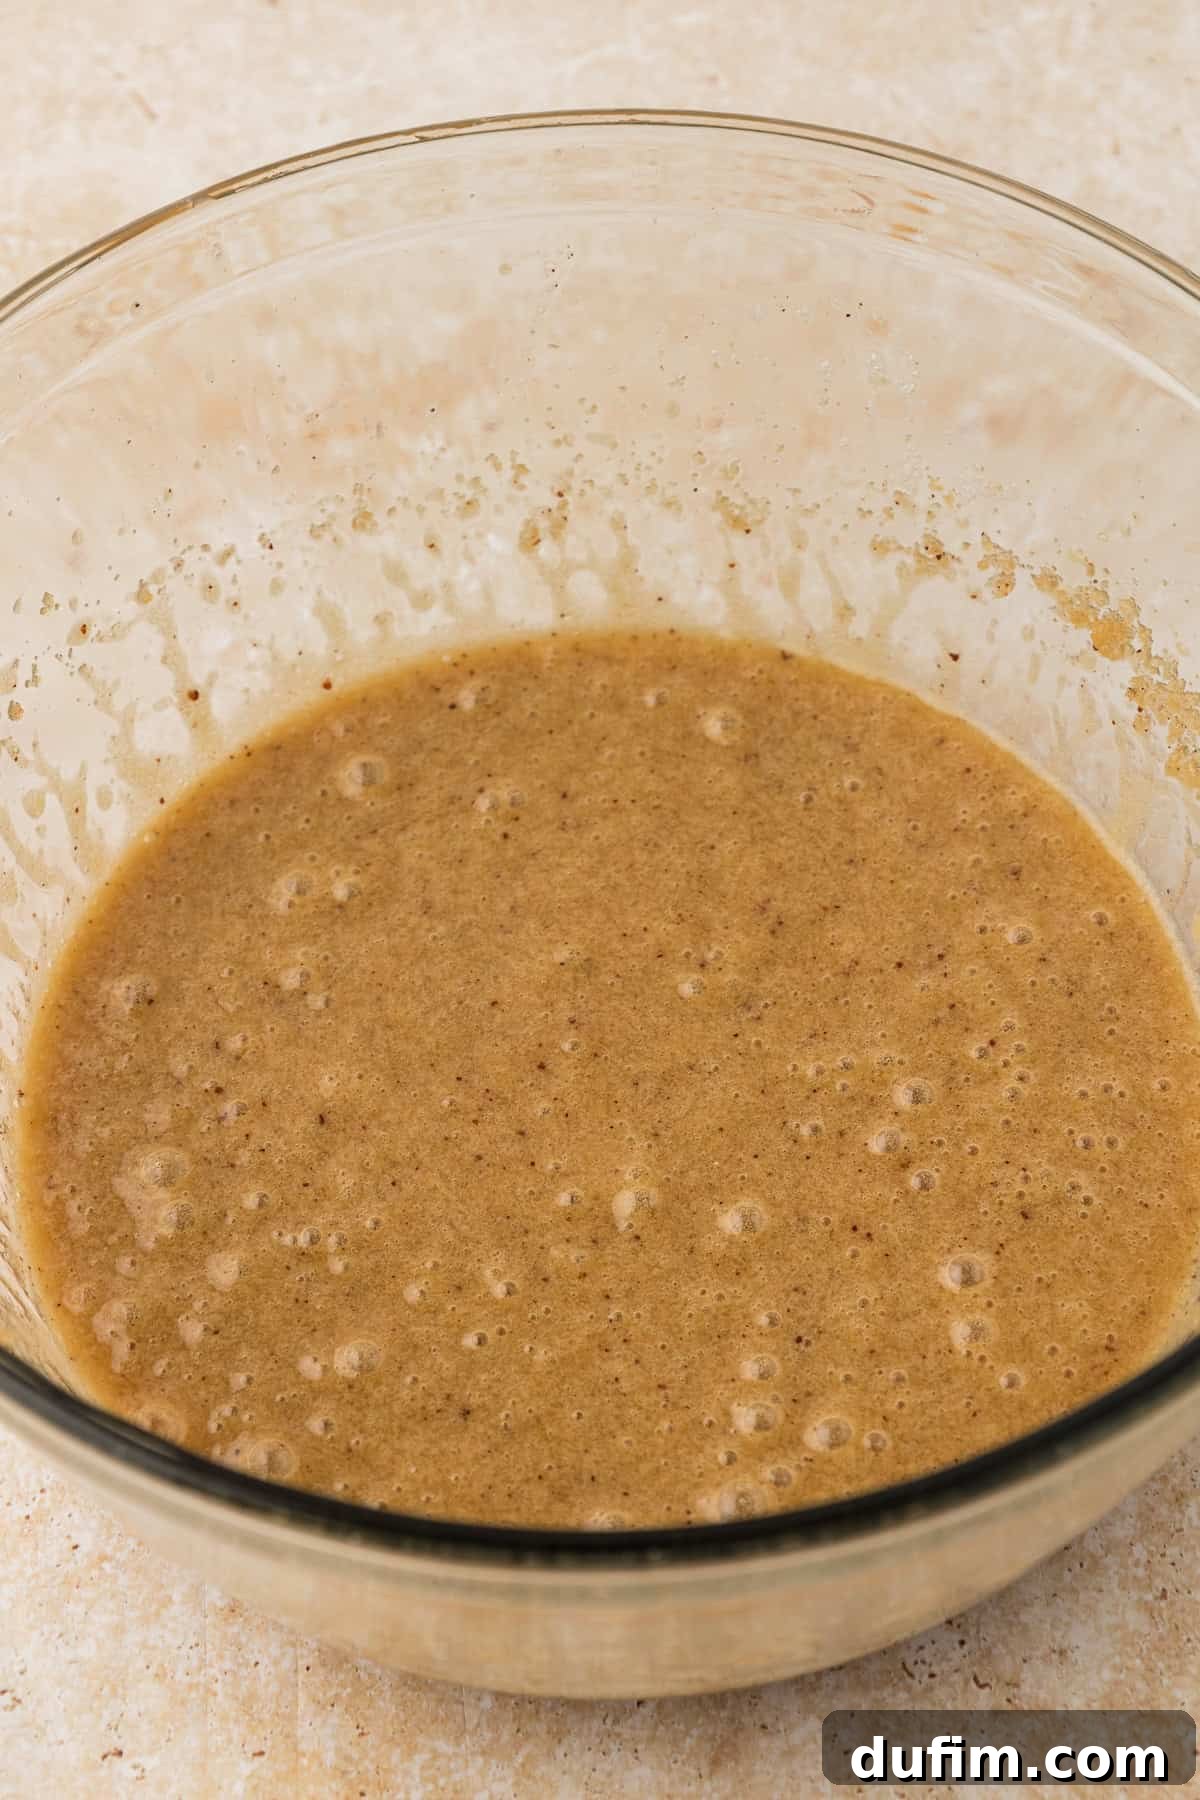
- Cream Butter and Sugars: In a large mixing bowl, combine your cooled browned butter with the brown sugar and granulated sugar. Using an electric mixer (or stand mixer), beat on medium speed for a full 60 seconds. This step is vital for incorporating air, which contributes to the cookie’s light yet chewy texture. The mixture should become light, fluffy, and well-combined.
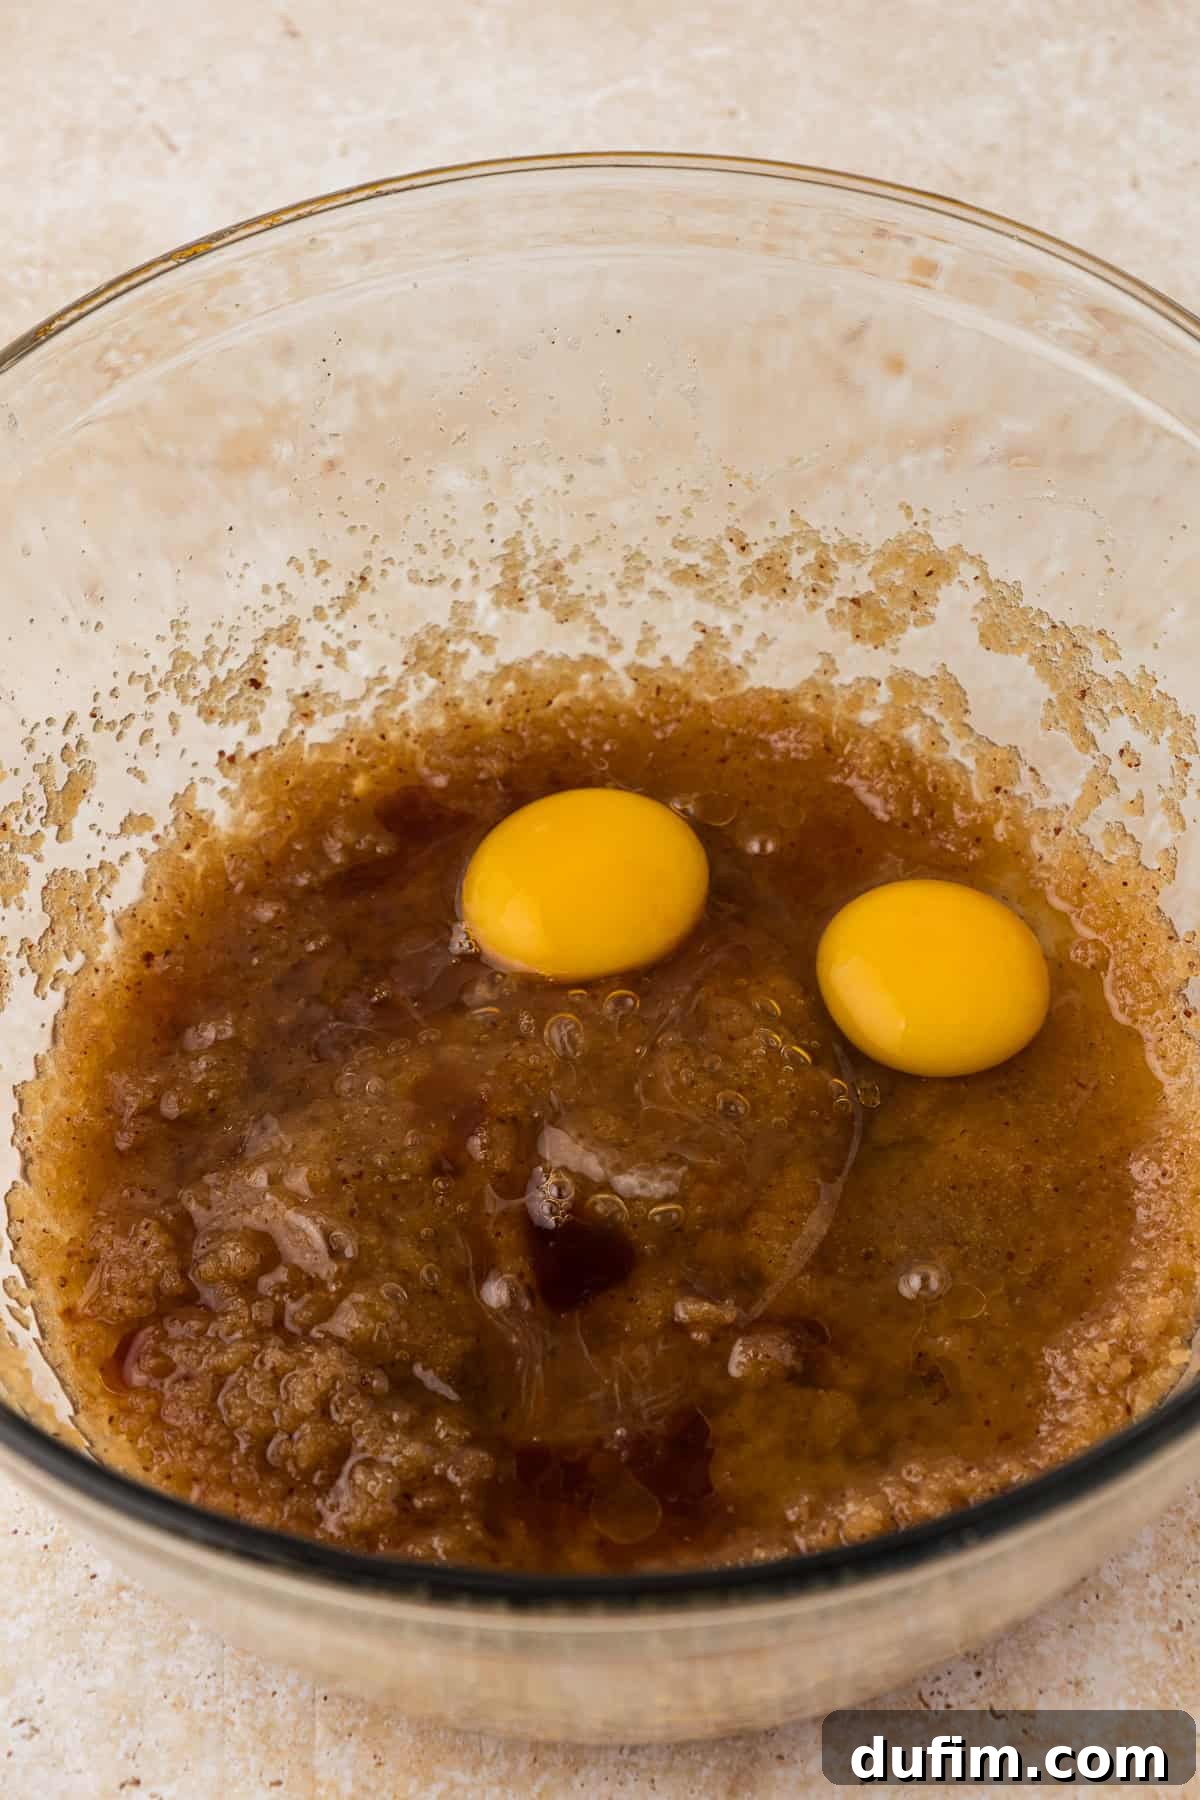
- Incorporate Wet Ingredients: Add the room temperature eggs one at a time, followed by the vanilla extract. Beat the mixture for another 30 seconds until everything is thoroughly combined and smooth. Ensure the eggs are fully incorporated into the butter-sugar mixture.
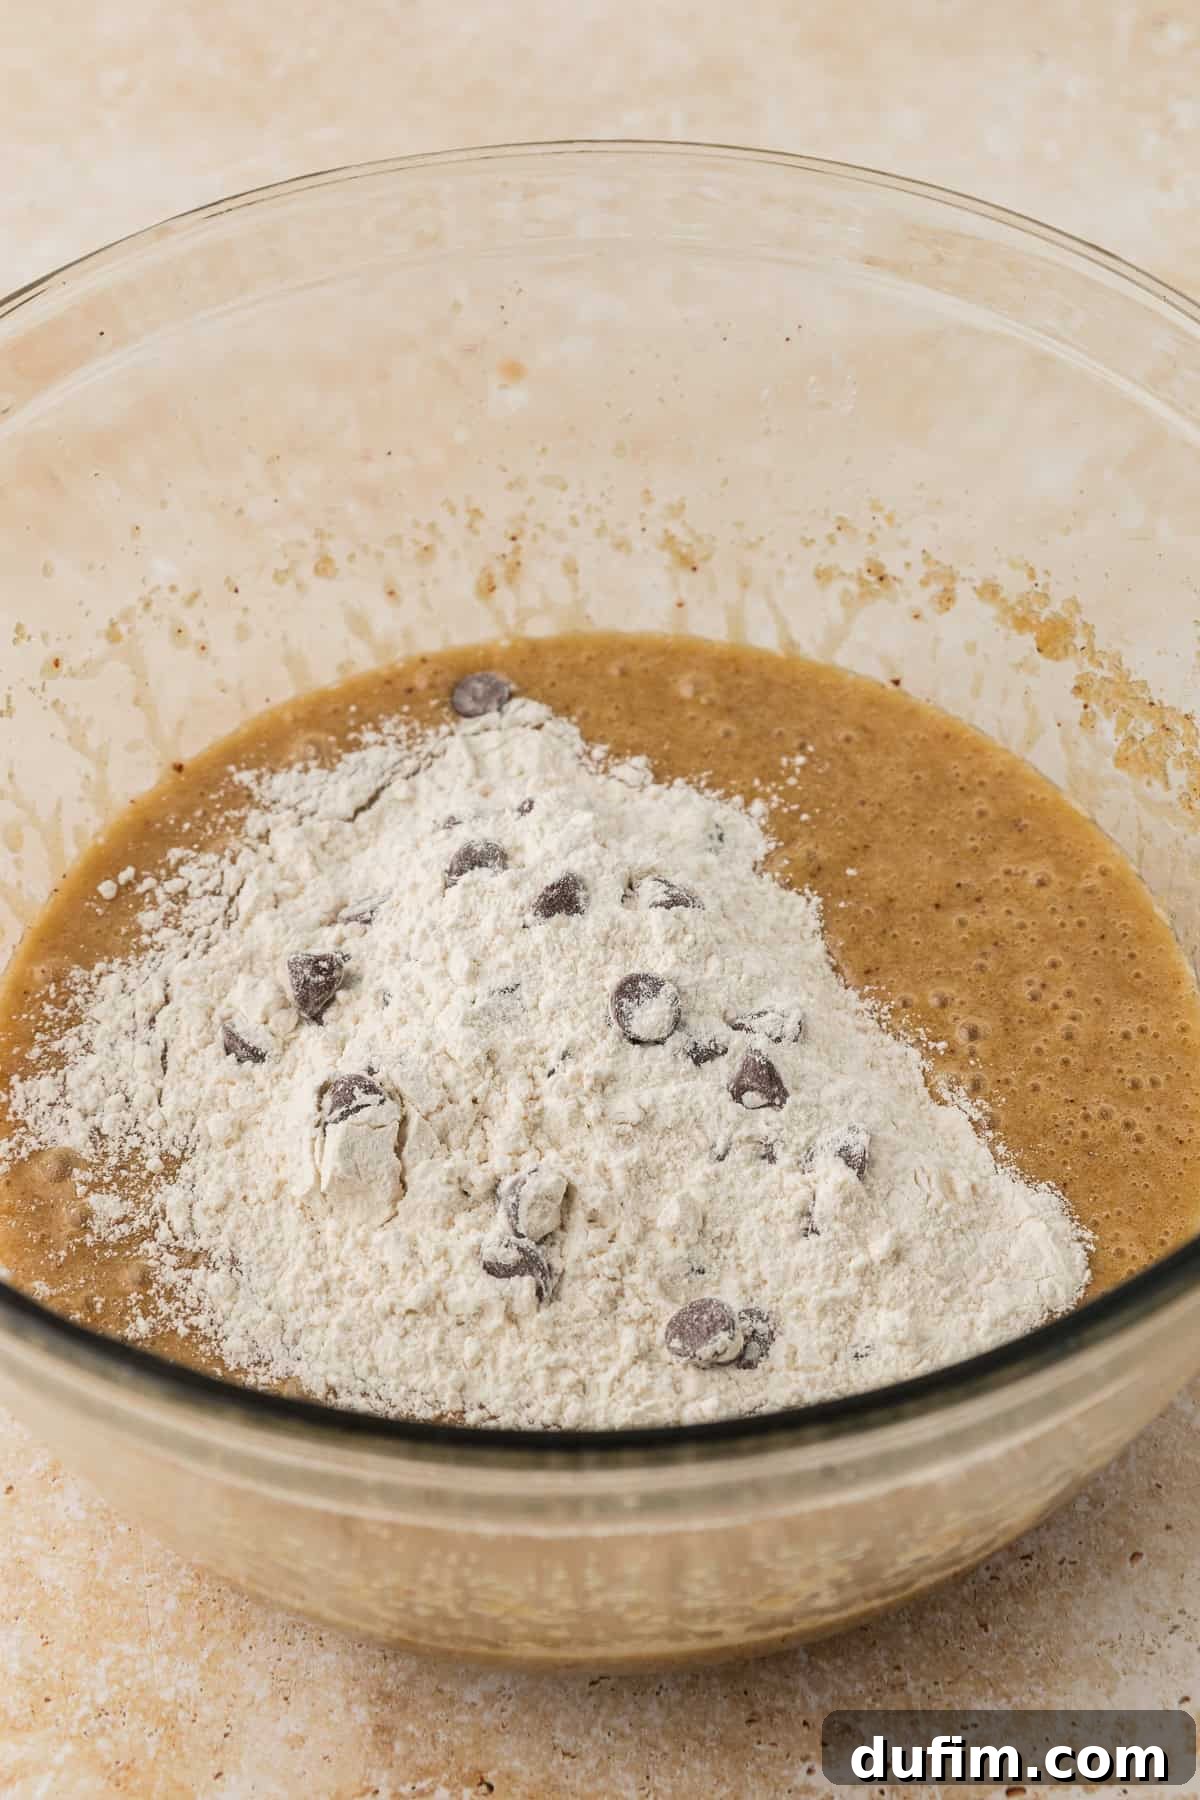
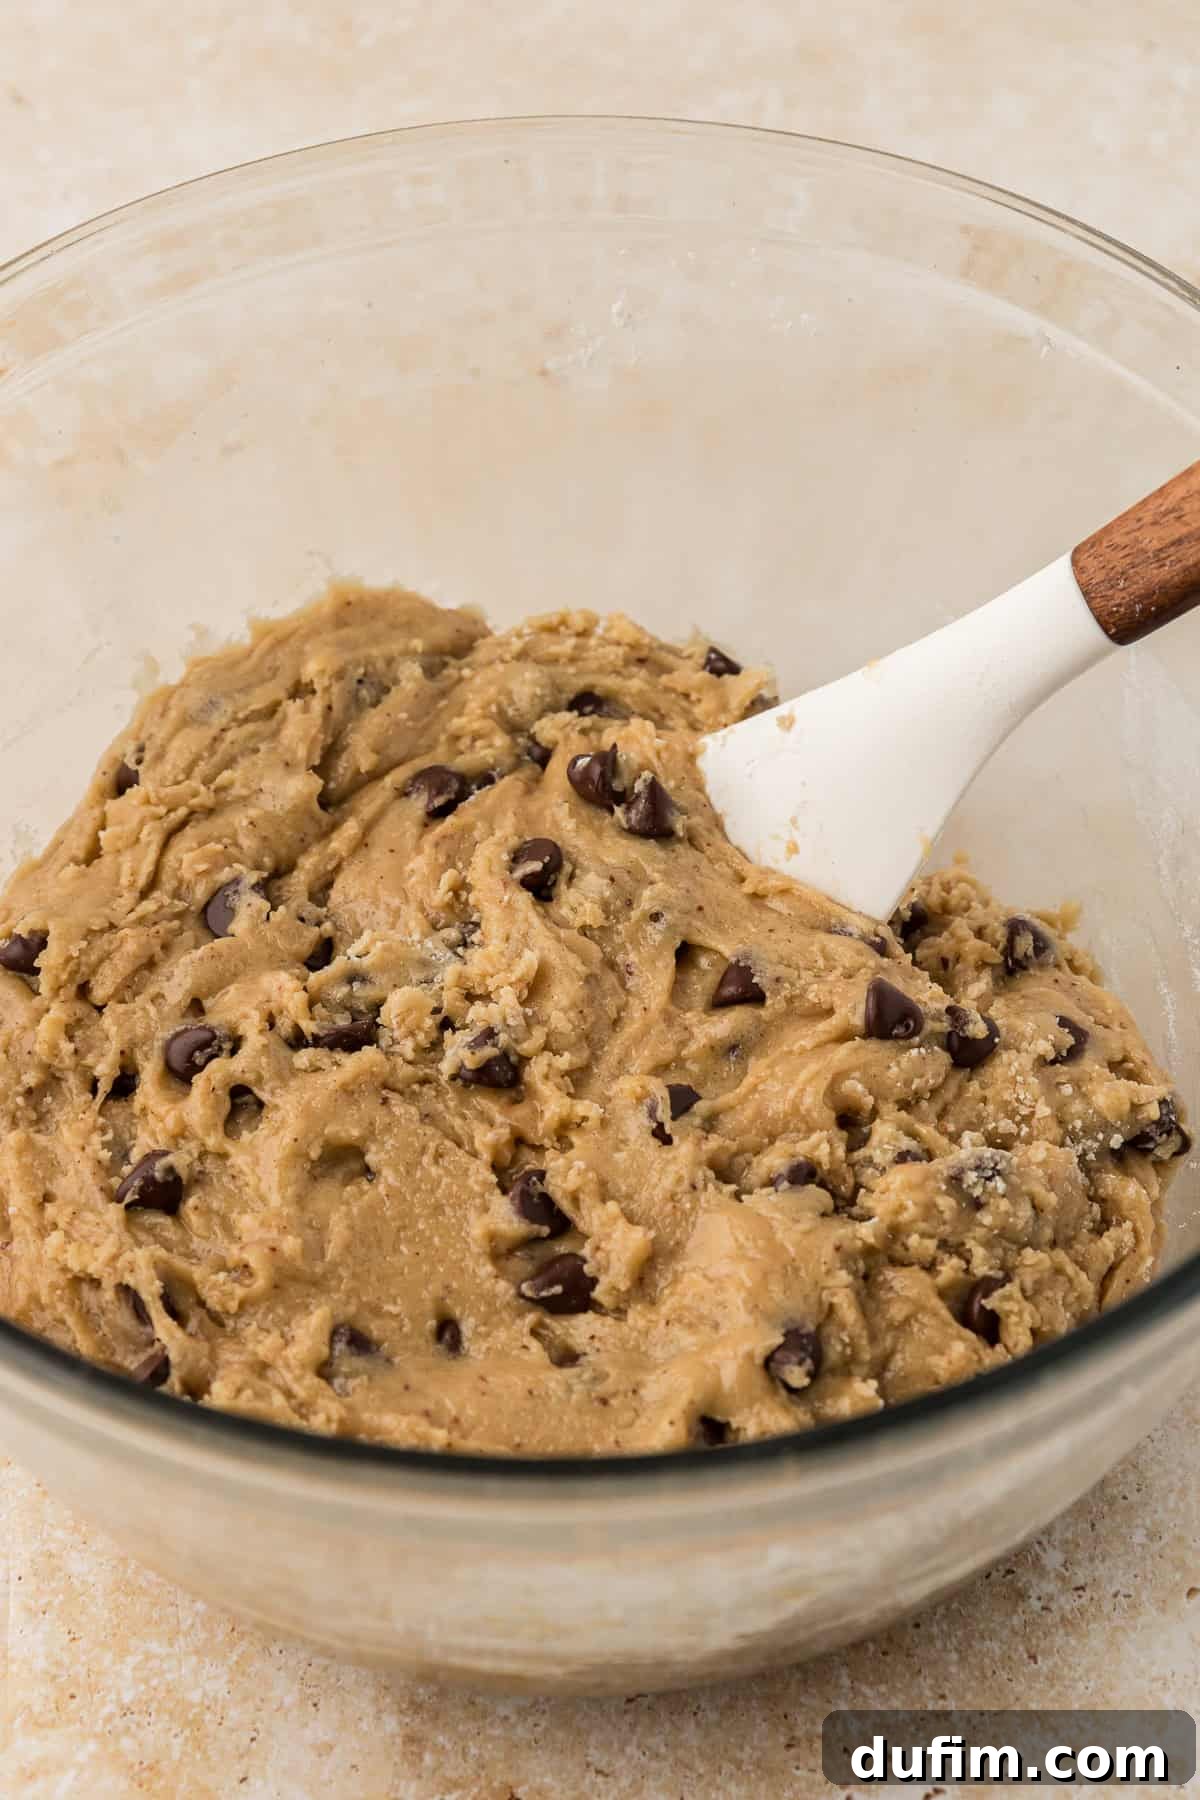
- Combine Wet and Dry: Gradually add the dry ingredients mixture to the wet ingredients, mixing on low speed. Mix just until combined; overmixing can lead to a tough cookie. The resulting dough will be notably thick and slightly stiff, which is exactly what you want for a substantial skillet cookie.
- Transfer to Skillet: Carefully press the thick cookie dough into an even layer at the bottom of your well-seasoned cast iron skillet. A 10.25-inch skillet works beautifully for this recipe. As mentioned, a 9-12 inch skillet will also work, but be prepared to adjust your baking time accordingly – a smaller skillet means a thicker cookie, and a larger skillet means a thinner one.
- Top with More Chocolate Chips: For an extra dose of chocolatey goodness and an appealing visual, press the remaining ½ cup of chocolate chips evenly over the surface of the pizookie dough. These will melt beautifully as the cookie bakes, creating irresistible pools of chocolate.
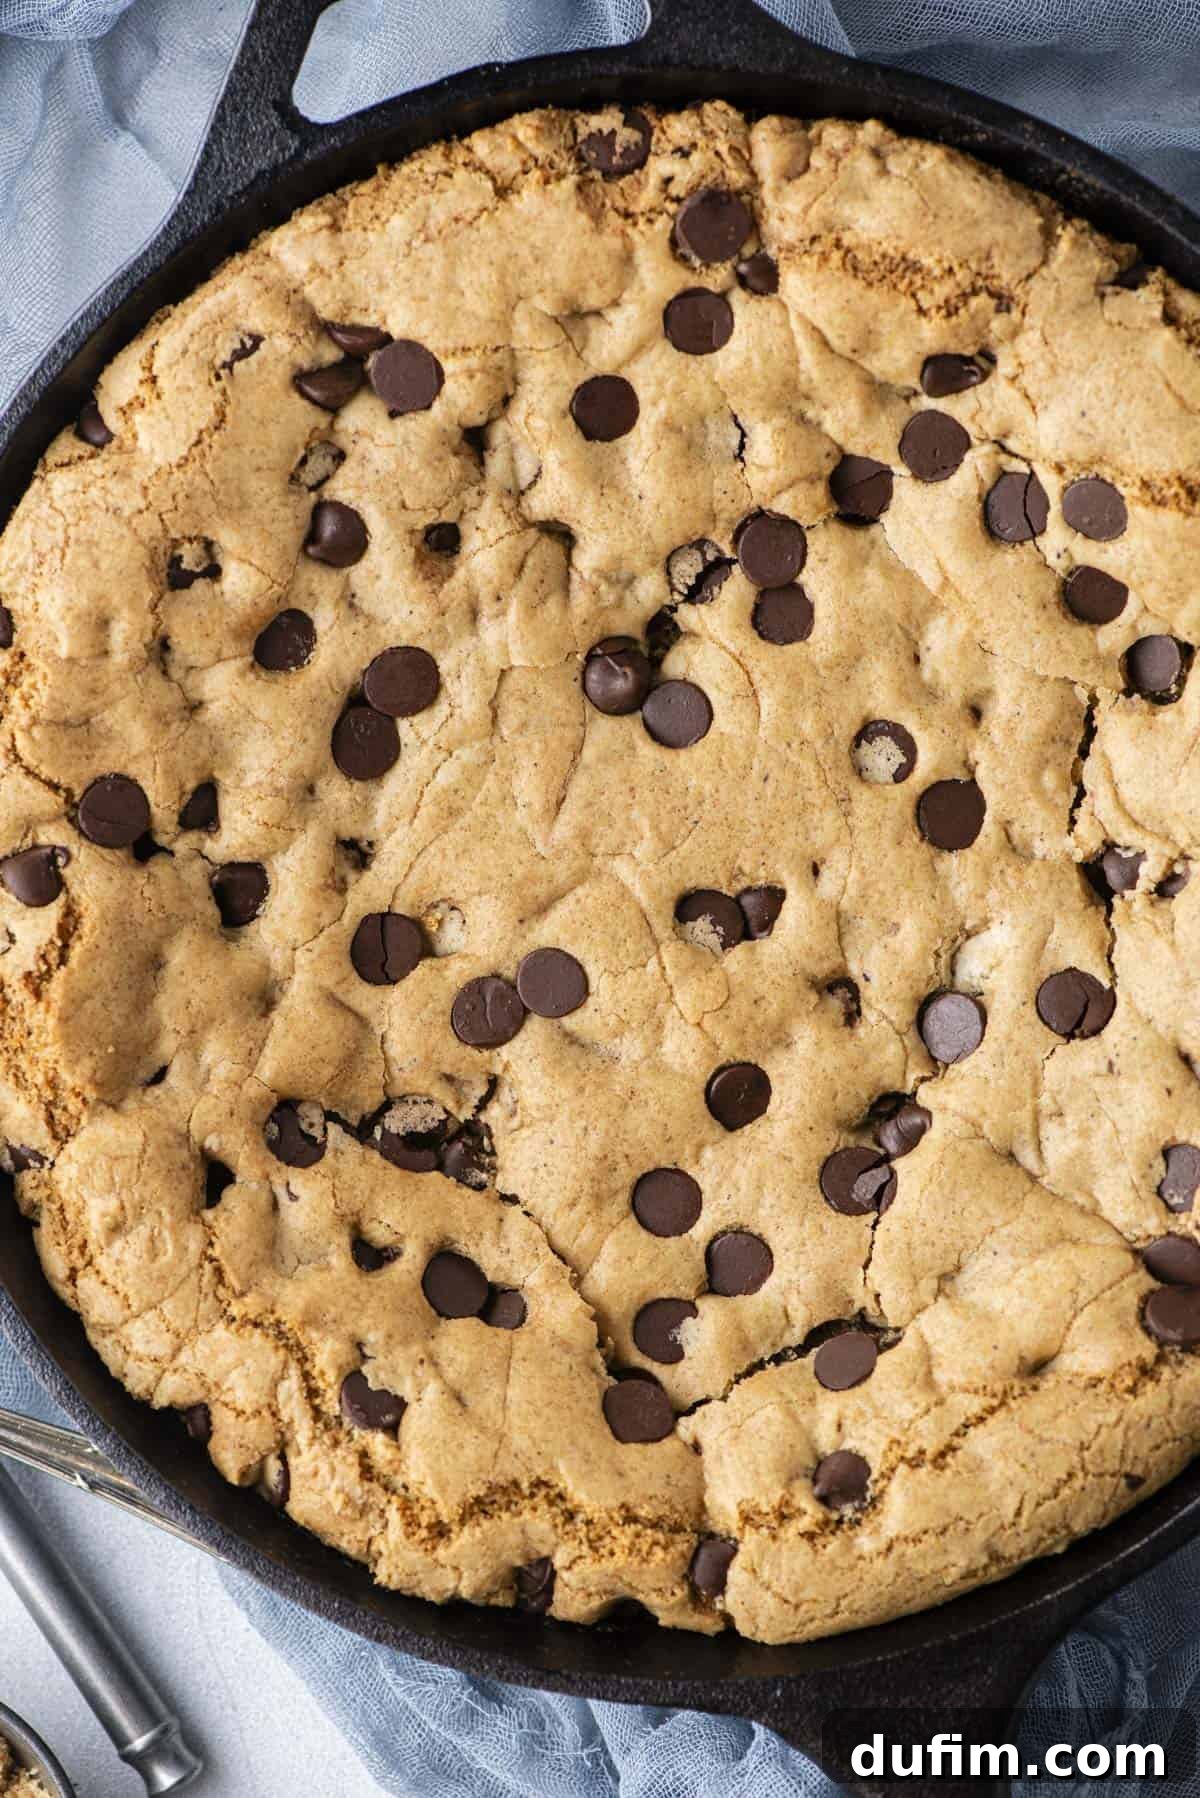
- Bake to Perfection: Place the skillet in the center rack of your preheated oven. For a 10.25-inch skillet, bake for approximately 30-35 minutes, or until the edges are golden brown and set, while the center still retains a slight wobble, indicating its delicious gooeyness. Here are estimated bake times for other skillet sizes:
- 9-10 inch skillet: 30-40 minutes
- 11-12 inch skillet: 25-36 minutes
Keep a close eye on the cookie, as oven temperatures can vary. The key is golden edges and a slightly soft center.
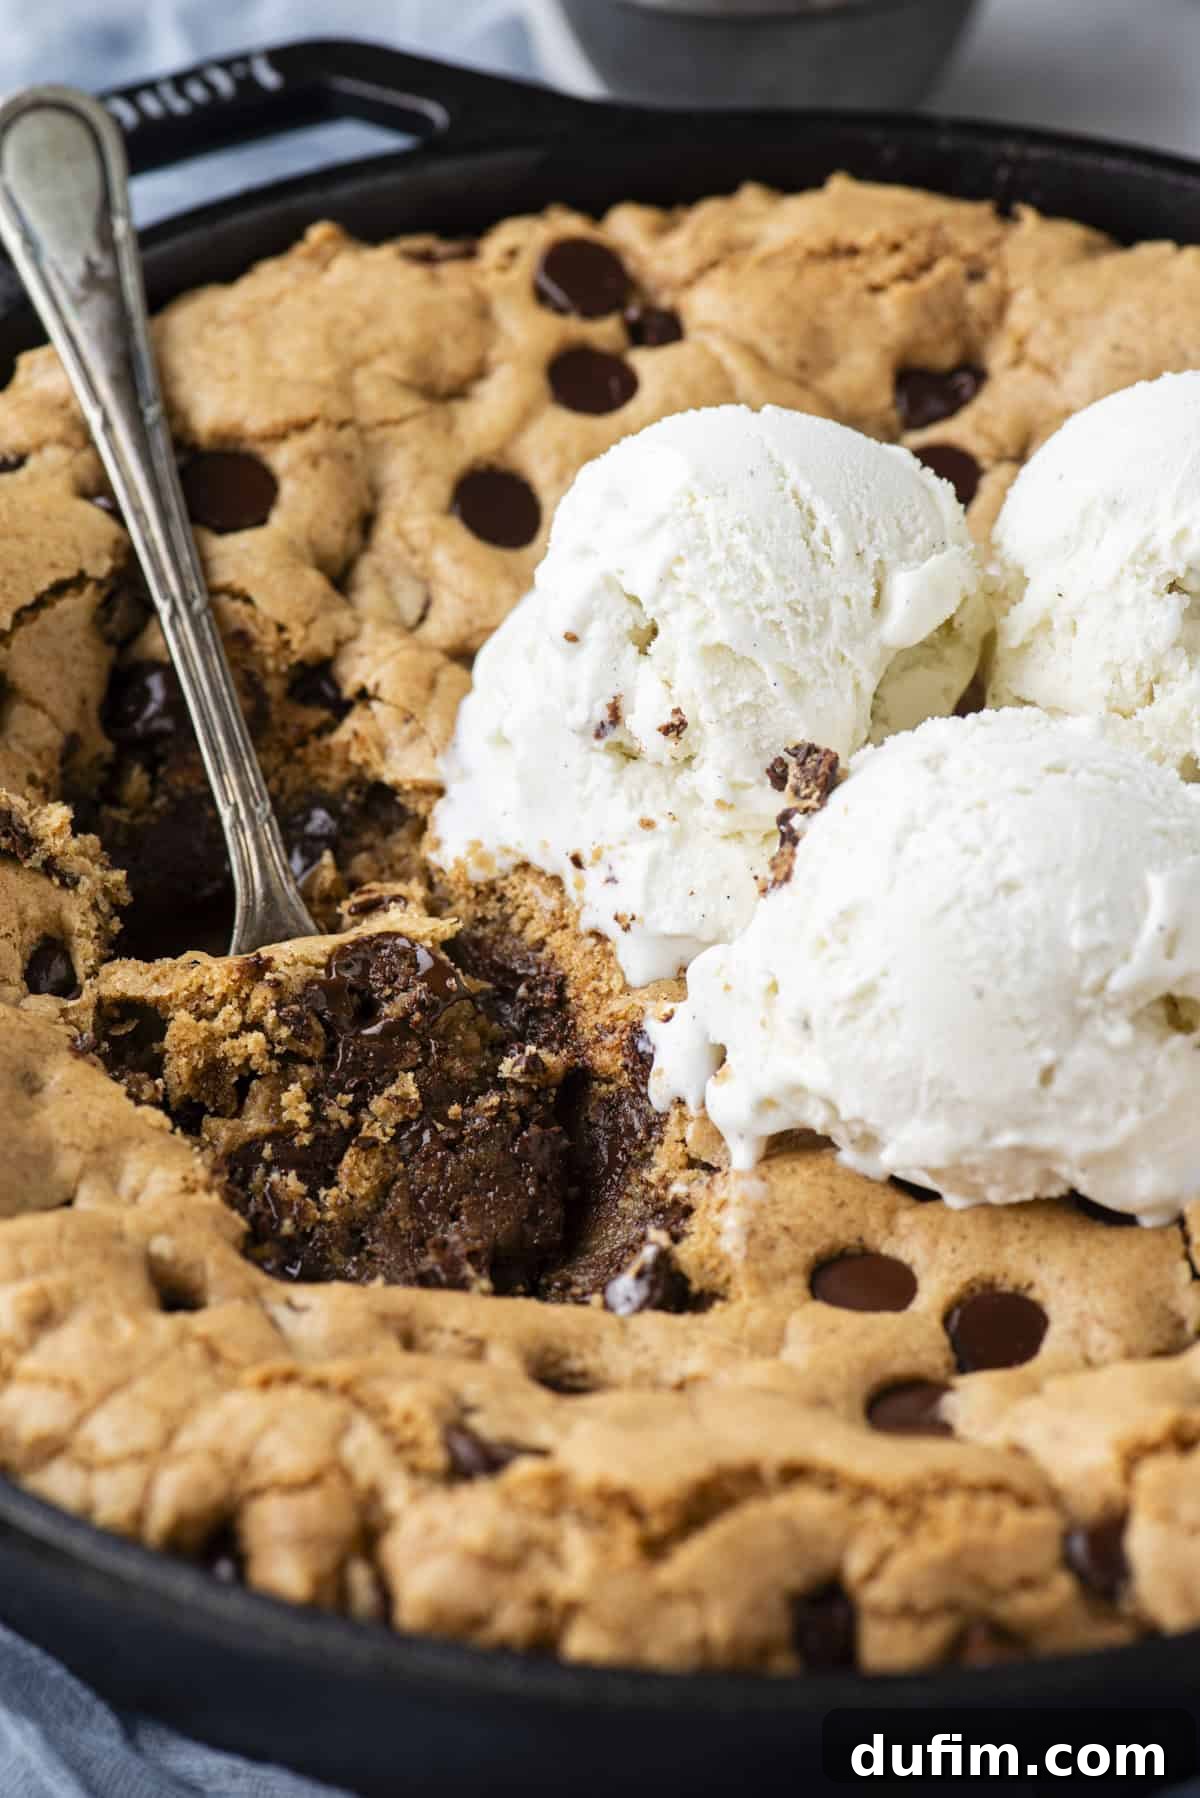
- Cool and Serve: Once baked, remove the pizookie from the oven. Allow it to cool in the skillet for 5-10 minutes before serving. This brief cooling period helps the cookie set and allows the molten center to firm up just enough for easier serving while still remaining wonderfully warm and gooey. Top with your favorite ice cream and enjoy immediately!
Exciting Homemade Pizookie Variations and Topping Ideas
While the classic chocolate chip pizookie is undeniably delicious, this versatile dessert offers a canvas for endless creativity. Feel free to customize your pizookie with a range of delightful swaps and toppings to suit any craving or occasion. Here are some fantastic ideas to inspire your next skillet cookie adventure:
- Decadent Topping Ideas: Elevate your pizookie experience with a lavish array of toppings. Drizzle with homemade hot fudge sauce, a rich caramel sauce, or a dollop of fluffy homemade whipped cream. Add playful sprinkles, crunchy toffee bits, or crushed Oreo cookie pieces for added texture and flavor. A sprinkle of sea salt can also beautifully cut through the sweetness.
- Creative Ice Cream Options: Although pizookie is traditionally paired with classic vanilla ice cream, don’t shy away from experimenting with other flavors! Imagine the delightful combination of a warm pizookie with a scoop of Oreo ice cream, the nutty richness of peanut butter ice cream, or the double chocolate goodness of chocolate chip ice cream. Mint chocolate chip, coffee, or even a berry swirl ice cream could offer a refreshing contrast.
- Gluten-Free Pizookie Alternative: For those with dietary restrictions, transforming this recipe into a gluten-free delight is simple. Substitute the all-purpose flour with a high-quality gluten-free all-purpose flour blend. I highly recommend King Arthur’s gluten-free all-purpose flour, which performs exceptionally well as a one-to-one substitute without compromising on taste or texture.
Unleash New Pizookie Flavors with Different Mix-ins
The flavor of your pizookie can be entirely transformed by simply swapping out the semi-sweet chocolate chips for other exciting mix-ins. Consider these tantalizing alternatives to create a unique skillet cookie experience:
- White chocolate chips: For a sweeter, creamier profile that melts beautifully.
- Peanut butter chips: A delightful choice for lovers of the classic chocolate and peanut butter combination.
- Dark chocolate chunks or chips: For a more intense, less sweet chocolate experience.
- M&Ms: Adding a fun pop of color and a satisfying candy shell crunch.
- Crushed bits of Oreo cookies: Infusing your pizookie with that beloved cookies-and-cream flavor and extra texture.
- Butterscotch chips: Enhancing the subtle butterscotch notes already present from the browned butter for a truly indulgent treat.
- Combination of nuts (walnuts, pecans): For added crunch and earthy flavor.
- Dried fruit (cherries, cranberries): Introducing a tart counterpoint to the sweet cookie.
Storing and Reheating Your Pizookie for Lasting Enjoyment
Should you find yourself with the rare occasion of leftover pizookie, fear not! It stores beautifully, much like traditional chocolate chip cookies, allowing you to savor its deliciousness for days to come. For optimal freshness, place any remaining pizookie in an airtight container at room temperature for 3-5 days. While it’s delightful at room temperature, a pizookie is truly best enjoyed warm, with its gooey center reactivated. To reheat, simply pop a slice into the microwave for 20-30 seconds at a time until warmed through, or place the entire skillet in an oven preheated to 325ºF (160ºC) for about 10 minutes.
For longer storage, pizookie freezes exceptionally well. Wrap it tightly in plastic wrap, then encase it in aluminum foil, or store it in a freezer-safe airtight container. It will keep fresh in the freezer for up to 3 months. When you’re ready to enjoy it again, allow it to come to room temperature first, then reheat using either the microwave or oven method described above. This ensures you can enjoy a perfect, warm pizookie whenever the craving strikes!
Explore More Delectable Cookie Recipes
If you’ve loved mastering the art of the pizookie, you’ll be thrilled to discover more irresistible cookie creations. Expand your baking repertoire with these other fantastic recipes, each offering its own unique flavors and textures:
- Classic Monster Cookies: A vibrant, chewy cookie packed with oats, peanut butter, and M&Ms.
- Rich Chocolate Cookies: Deep, dark, and wonderfully fudgy cookies for the ultimate chocolate lover.
- Indulgent S’Mores Cookies: Capture the essence of a campfire treat with gooey marshmallows, melted chocolate, and graham crackers.
- Bright Lemon Sugar Cookies: Zesty, soft, and perfectly sweet, offering a refreshing citrus twist.
Tap stars to rate!
Homemade Pizookie
Rate Recipe
Print Recipe
Equipment
-
Glass Mixing Bowl
-
Kitchen Scale
-
Electric Hand Mixer or Stand Mixer
-
Heavy-Bottomed Saucepan
-
Cast Iron Skillet (9-12 inches)
Ingredients
- 1 cup (226g) unsalted butter, room temperature, 2 sticks
- 1 ¼ cups (266g) packed brown sugar
- ¼ cup (50g) granulated sugar
- 2 large eggs, room temperature
- 1 tsp pure vanilla extract
- 2 ½ cups (300g) all-purpose flour
- 2 tsp cornstarch
- 1 tsp baking soda
- ½ tsp fine sea salt
- 2 cups (340g) semi-sweet chocolate chips, divided
Instructions
Brown the Butter
-
Start by melting butter in a small, heavy saucepan over medium heat. Make sure it doesn’t burn by using a thick-bottomed saucepan. Keep the heat at medium to ensure even browning, stirring constantly with a whisk or spatula for about 6 to 8 minutes to prevent milk solids from sticking.1 cup (226g) unsalted butter
-
As the butter melts, bubbles will appear, signaling the start of the browning process. Keep stirring until the butter turns golden brown. If the bubbling gets too intense, briefly take it off the heat to check the color accurately. You’ll notice a scent resembling toasted graham crackers or nuts.
-
Once you see golden-brown specks in the butter, take it off the heat immediately and transfer it to a heatproof bowl to stop the cooking. Remember, the butter will continue to brown even off the heat, so it’s better to be cautious. Set the butter aside to cool while you prep the cookie dough.
Pizookie
-
Preheat the oven to 325ºF (160ºC).
-
In a mixing bowl, combine the flour, cornstarch, baking soda, salt, and 1 ½ cups of chocolate chips. Set aside.2 ½ cups (300g) all-purpose flour, 2 tsp cornstarch, 1 tsp baking soda, ½ tsp salt, 2 cups (340g) semi-sweet chocolate chips (1 ½ cups for dough)
-
In a large mixing bowl, combine the cooled browned butter, brown sugar, and granulated sugar. Beat on medium speed for 60 seconds until light and fluffy.1 ¼ cups (266g) brown sugar, ¼ cup (50g) granulated sugar
-
Add in the eggs and vanilla extract, beat for 30 seconds until well combined.2 large eggs, 1 tsp vanilla extract
-
Gradually mix in the dry ingredients, mixing on low speed until just combined. The dough will be thick.
-
Press the cookie dough into an even layer in your cast iron skillet. I used a 10.25 inch skillet. I recommend anything between 9-12 inches, although the bake times will vary.
-
Press the remaining ½ cup of chocolate chips on top of the pizookie dough for extra melty chocolate goodness.
-
Place in the center of the oven and bake a 10.25 inch skillet for 30-35 minutes or until the edges are golden brown and the center is still slightly soft. Estimated bake times: 30-40 mins for 9-10 inch skillet, 25-36 for 11-12 inch skillet.
-
Remove from the oven and allow the pizookie to cool for 5-10 minutes in the skillet before serving with ice cream, if desired. This resting period helps the cookie set without losing its gooey charm.
Nutrition
Nutrition Disclosure
All nutritional values are approximate and provided to the reader as a courtesy. Changing ingredients and/or quantities will alter the estimated nutritional calculations.