
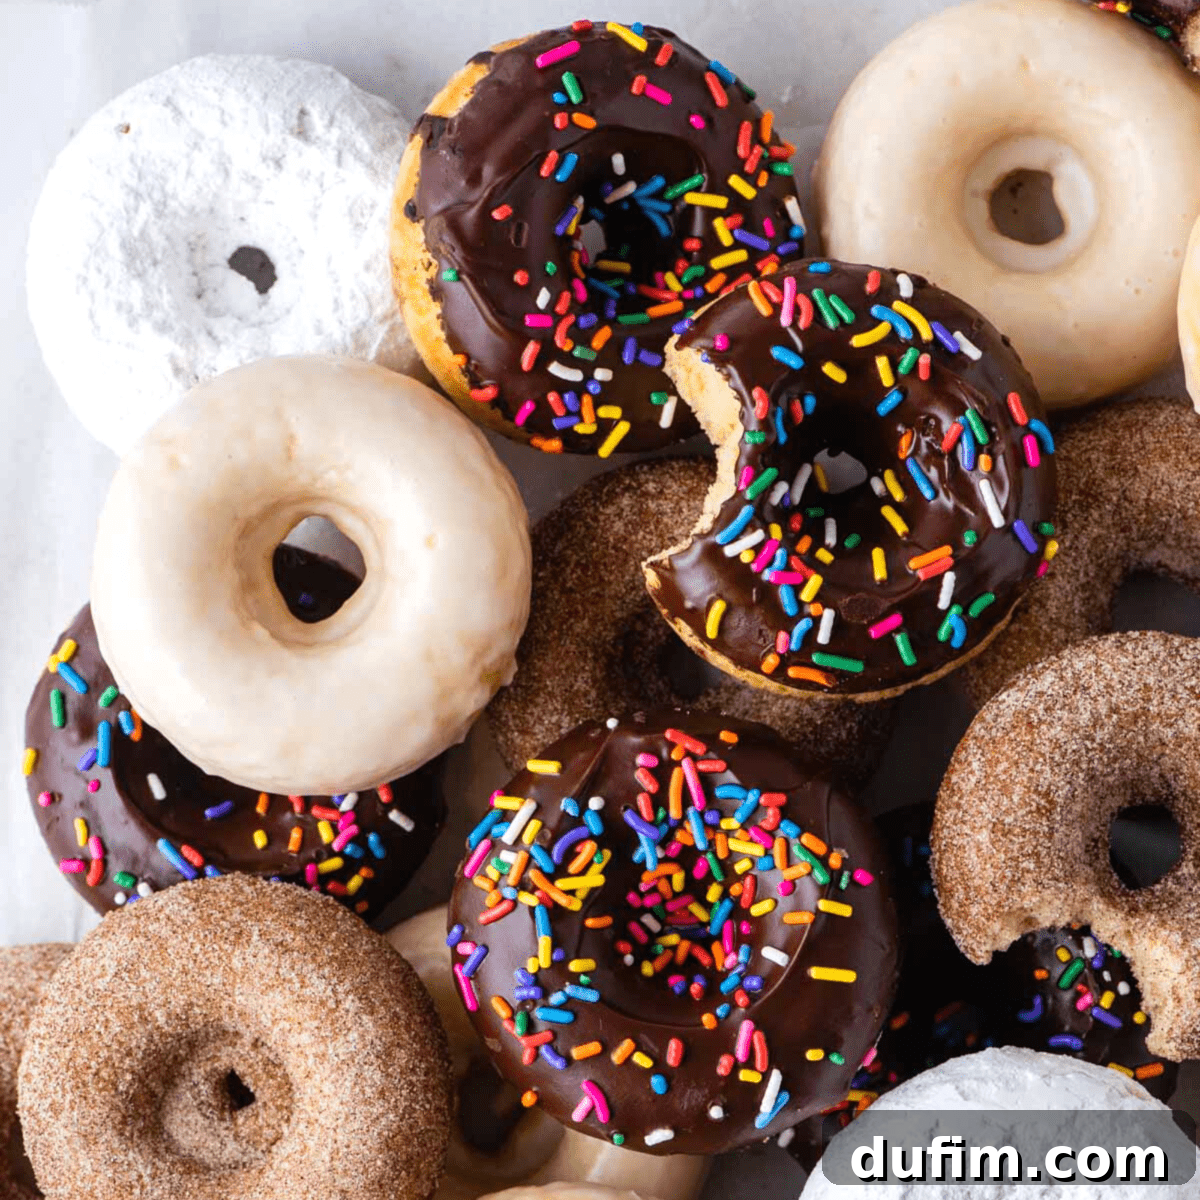
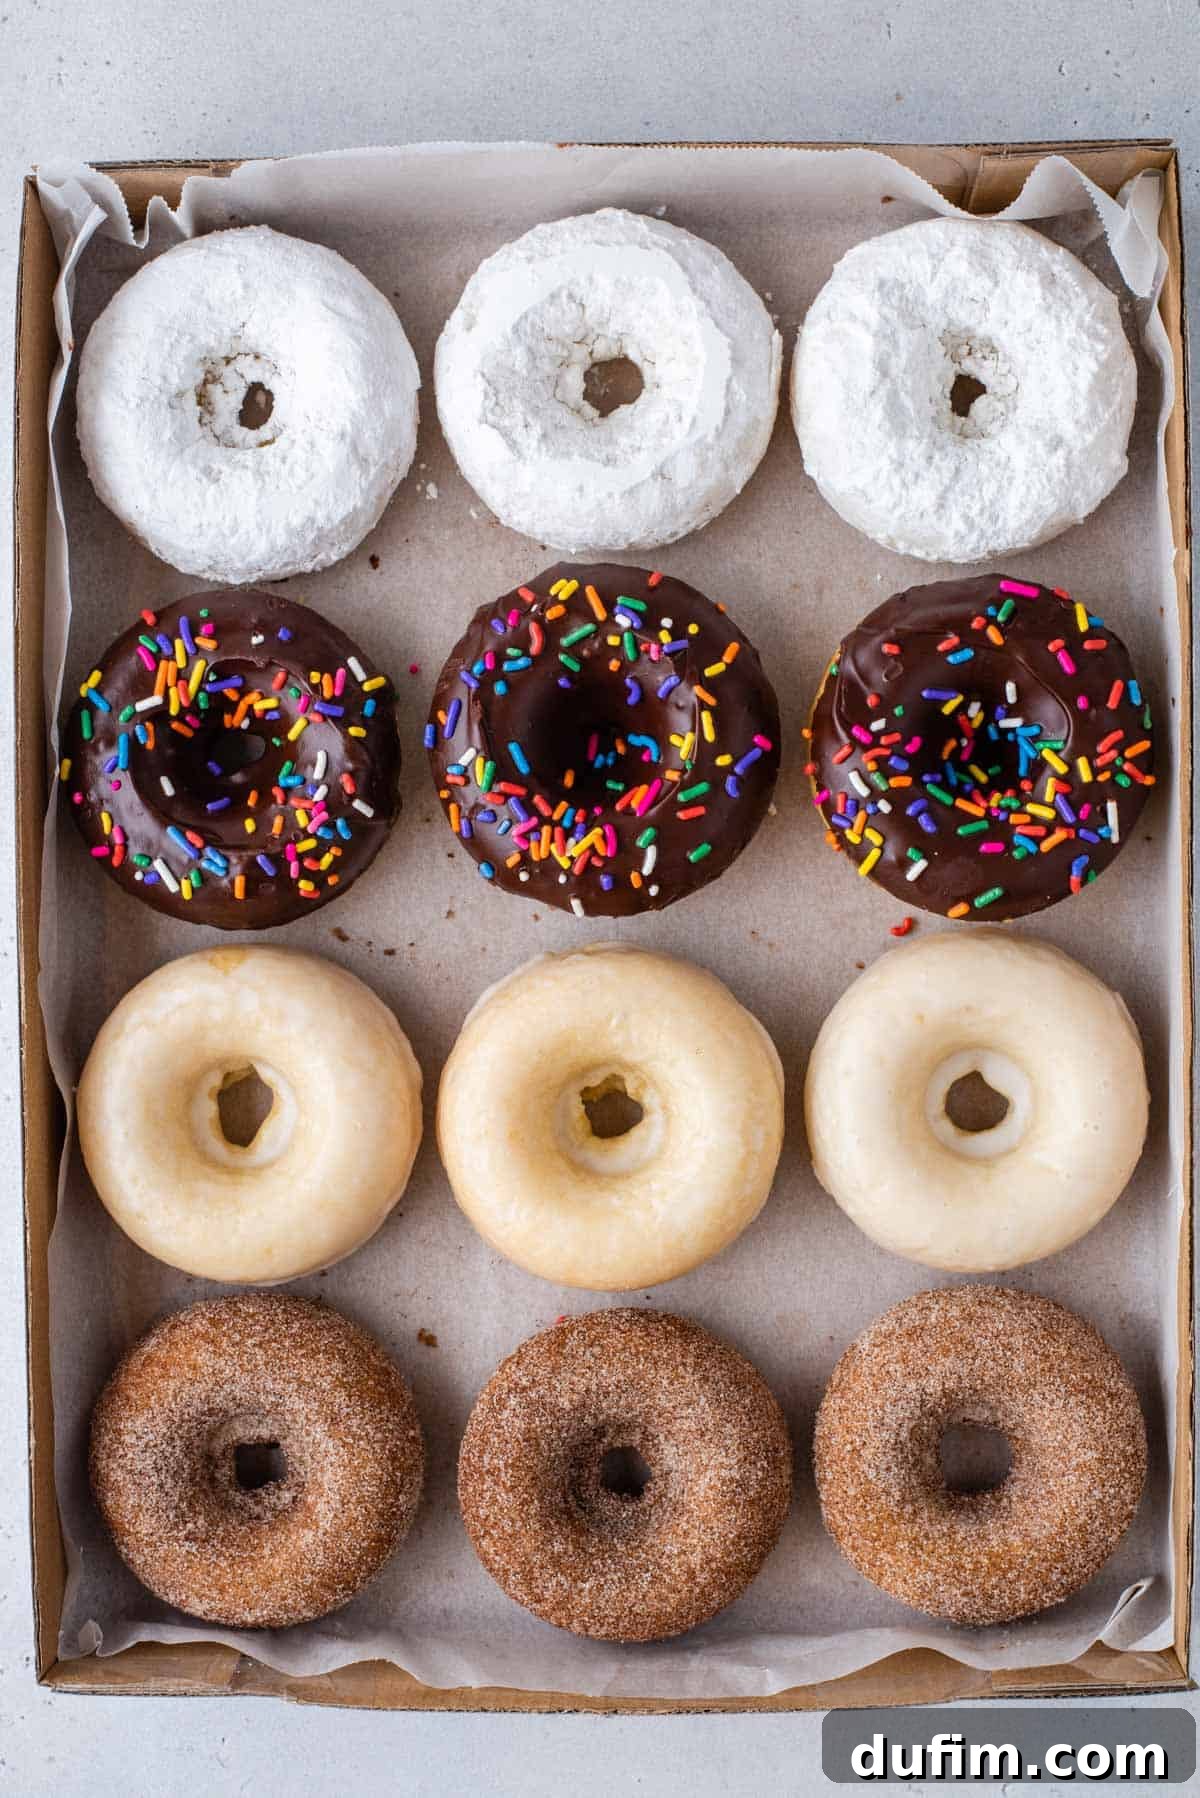
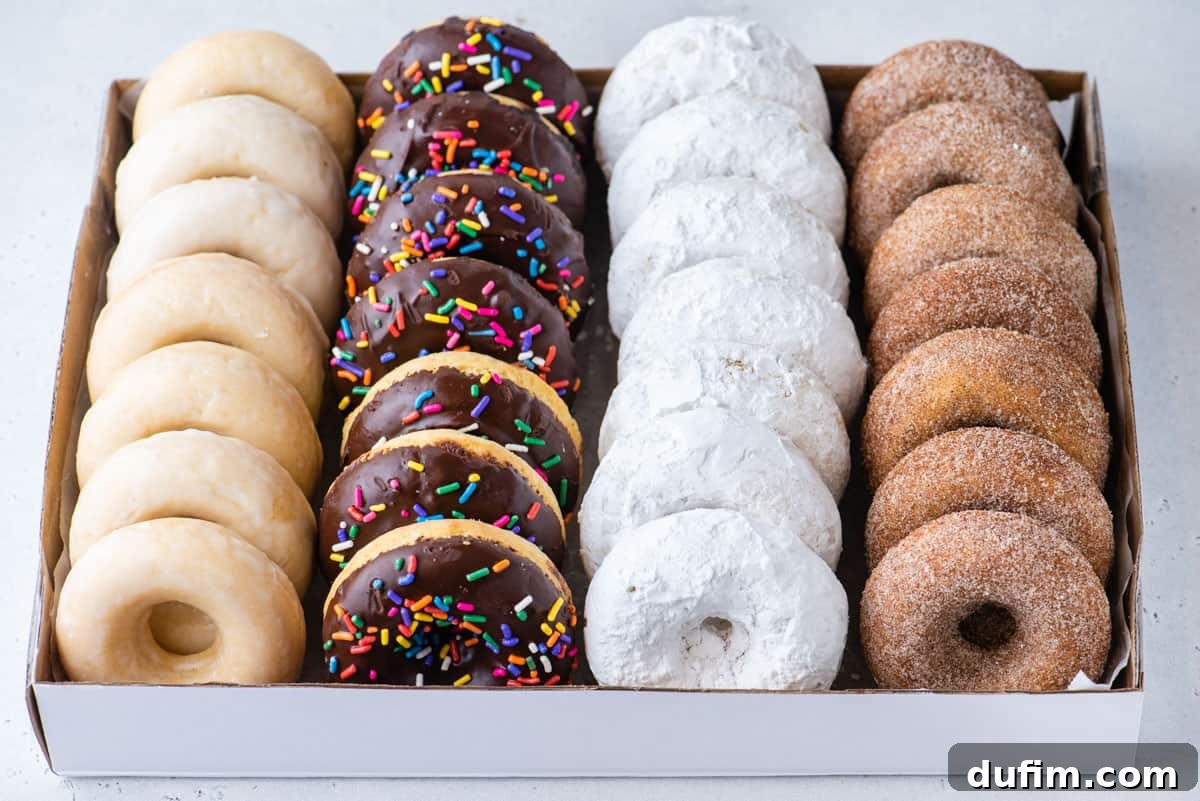
Craving a warm, fluffy donut but sticking to a gluten-free diet? Look no further! These Gluten Free Donuts are an absolute game-changer. Imagine sinking your teeth into a perfectly baked cake donut that’s incredibly moist, full of flavor, and ready in just 30 minutes. Forget the hassle of deep-frying; these beauties are baked for a healthier, less messy treat. What’s even better? This versatile recipe allows you to choose from four irresistible toppings: rich chocolate, classic glazed, simple powdered sugar, or aromatic cinnamon sugar – or why not make a batch of each to delight everyone!
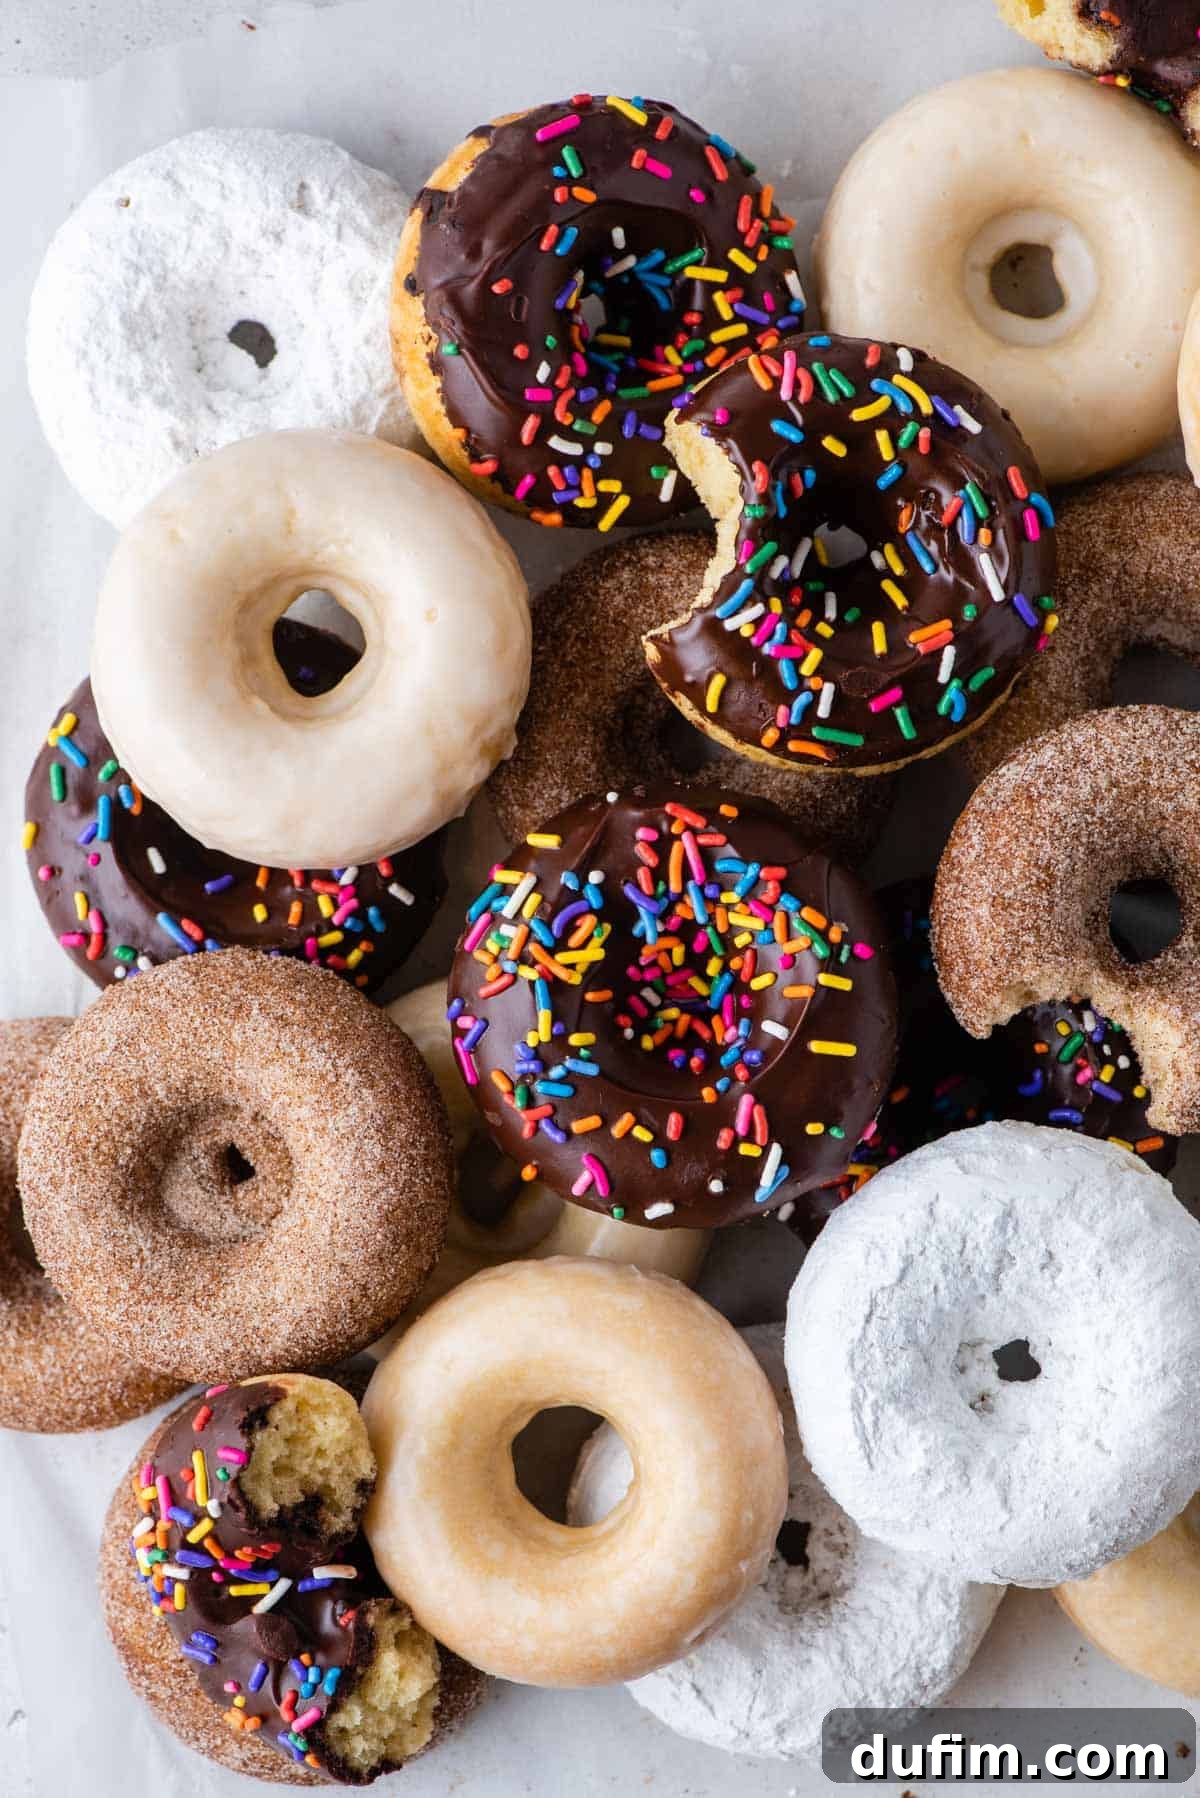
My 10-year-old granddaughter just made a batch of these. Gluten-free for years, and these are the best GF donuts I’ve had. Thanks for a great recipe!
-Mary
I share Mary’s enthusiasm for donuts! Whether it’s chocolate donuts, pumpkin donuts, cinnamon sugar donuts, or festive Christmas donuts, my love for them knows no bounds. However, while I’ve delighted in sharing many beloved homemade donut recipes on this blog, I recognized a crucial omission: a fantastic gluten-free option. This recipe fills that void beautifully, offering moist, flavorful baked cake donuts crafted in under 30 minutes, completely free of gluten.
Navigating donut shops can be a challenge when you’re adhering to a gluten-free diet. The allure of those fluffy yeast donuts can be incredibly tempting! That’s precisely why I developed this recipe – to ensure the gluten-free community doesn’t miss out on enjoying their favorite indulgent treat. And because deciding on a single favorite glaze is nearly impossible, I’ve generously included four distinct options for you to explore. Feel free to try them all or simply pick the one that speaks to your sweet tooth the most; the choice is entirely yours!
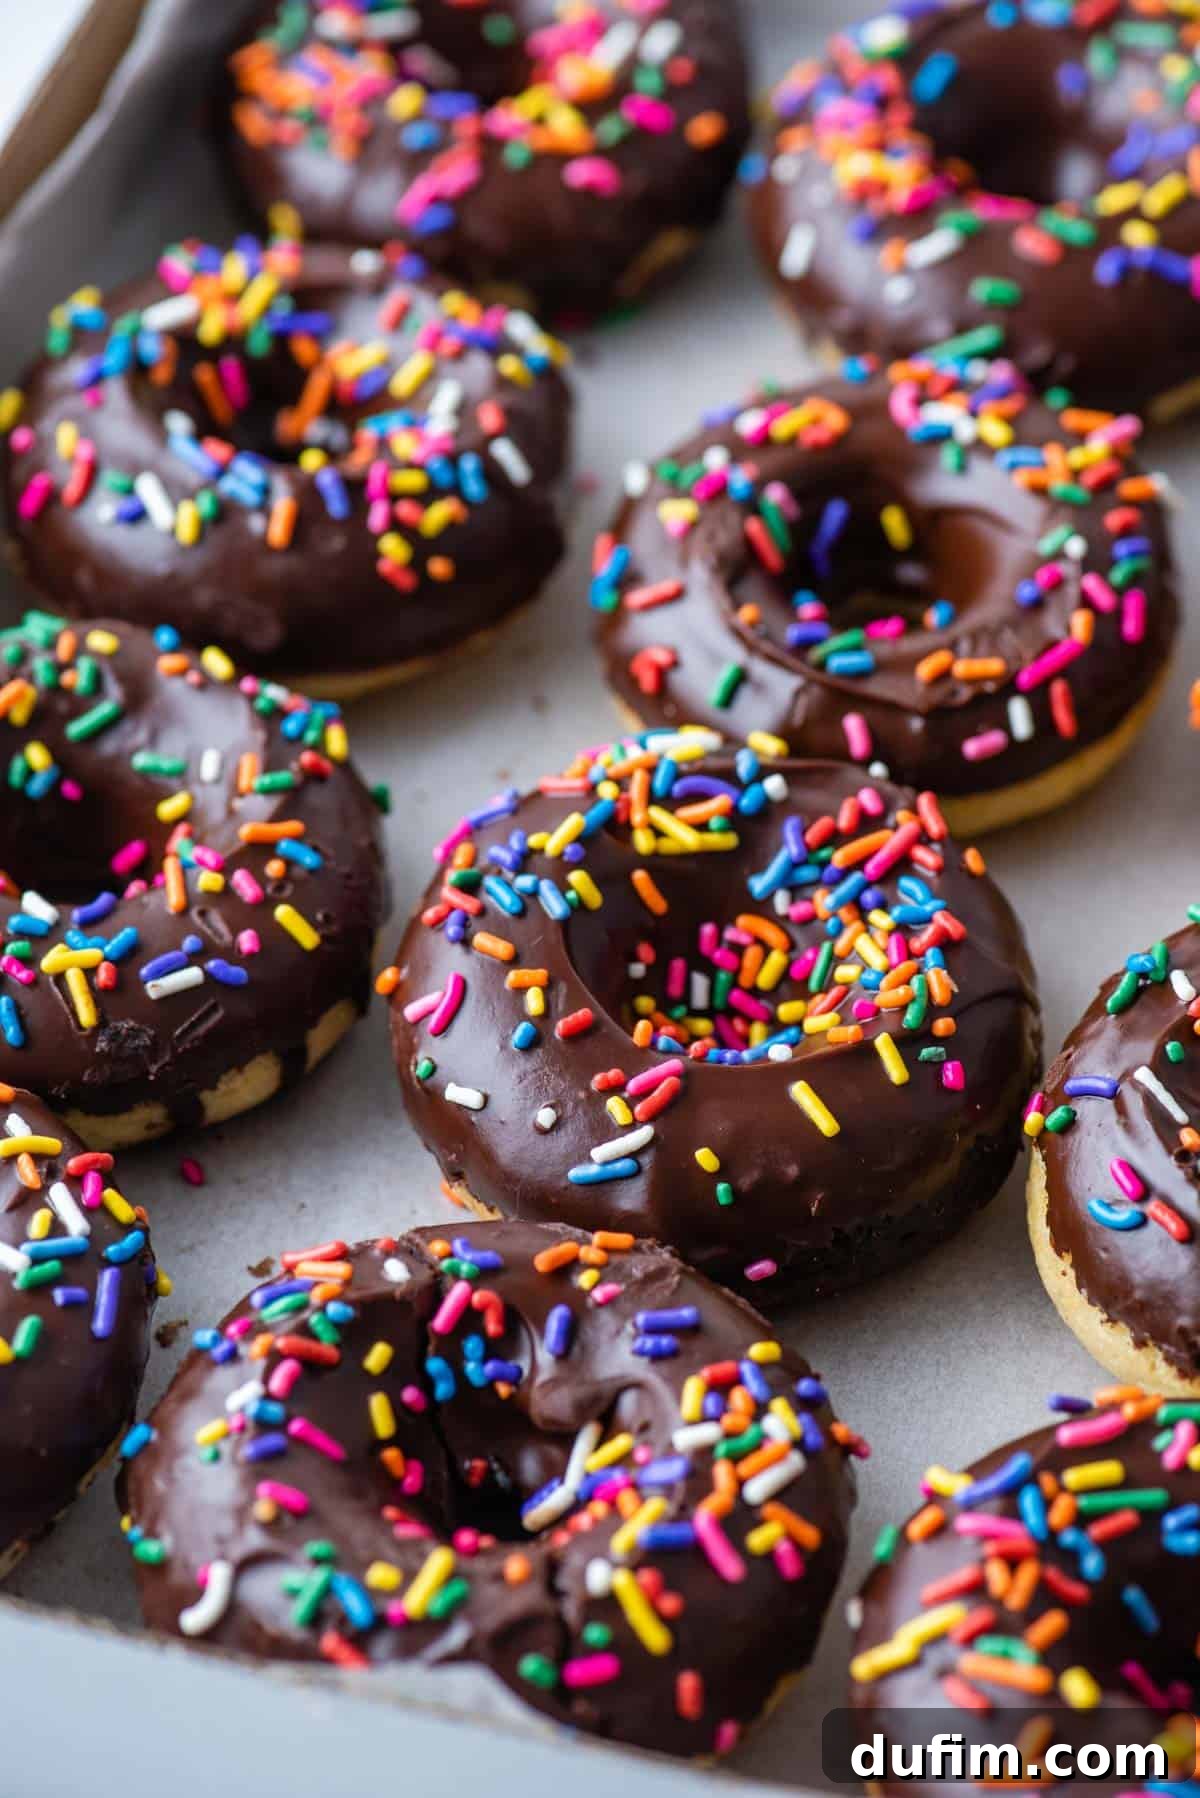
Why You’ll Adore These Gluten-Free Donuts!
There are countless reasons to fall in love with these homemade gluten-free donuts. They’re not just a substitute for their gluten-filled counterparts; they’re a delicious treat in their own right, offering convenience, versatility, and incredible flavor:
- Effortlessly Simple: Say goodbye to complicated recipes! These baked donuts require just about 10 minutes of active prep time. There’s no need for hot oil deep-frying, nor does it demand a bulky stand mixer. All you truly need is a standard donut pan and a few basic kitchen tools.
- Pantry-Friendly Ingredients: The beauty of this recipe lies in its straightforward ingredient list. You’ll likely find most, if not all, of the necessary items already in your pantry or fridge, saving you an extra trip to the grocery store.
- A World of Flavor Options: Why settle for one flavor when you can have four? I couldn’t pick a favorite, so I’ve included diverse options that cater to every craving. Indulge in a classic Krispy Kreme-inspired glaze, a simple powdered sugar coating, a comforting cinnamon sugar dusting, or a rich chocolate glaze for your gluten-free donuts.
- Perfectly Baked, Not Fried: Enjoy all the deliciousness of a donut without the added grease. Baking ensures a tender, cake-like texture that’s lighter and healthier, making them a guilt-free indulgence.
- Consistently Moist and Flavorful: These donuts are designed to be incredibly moist and packed with a delightful vanilla and nutmeg flavor that truly shines through, no matter which topping you choose.
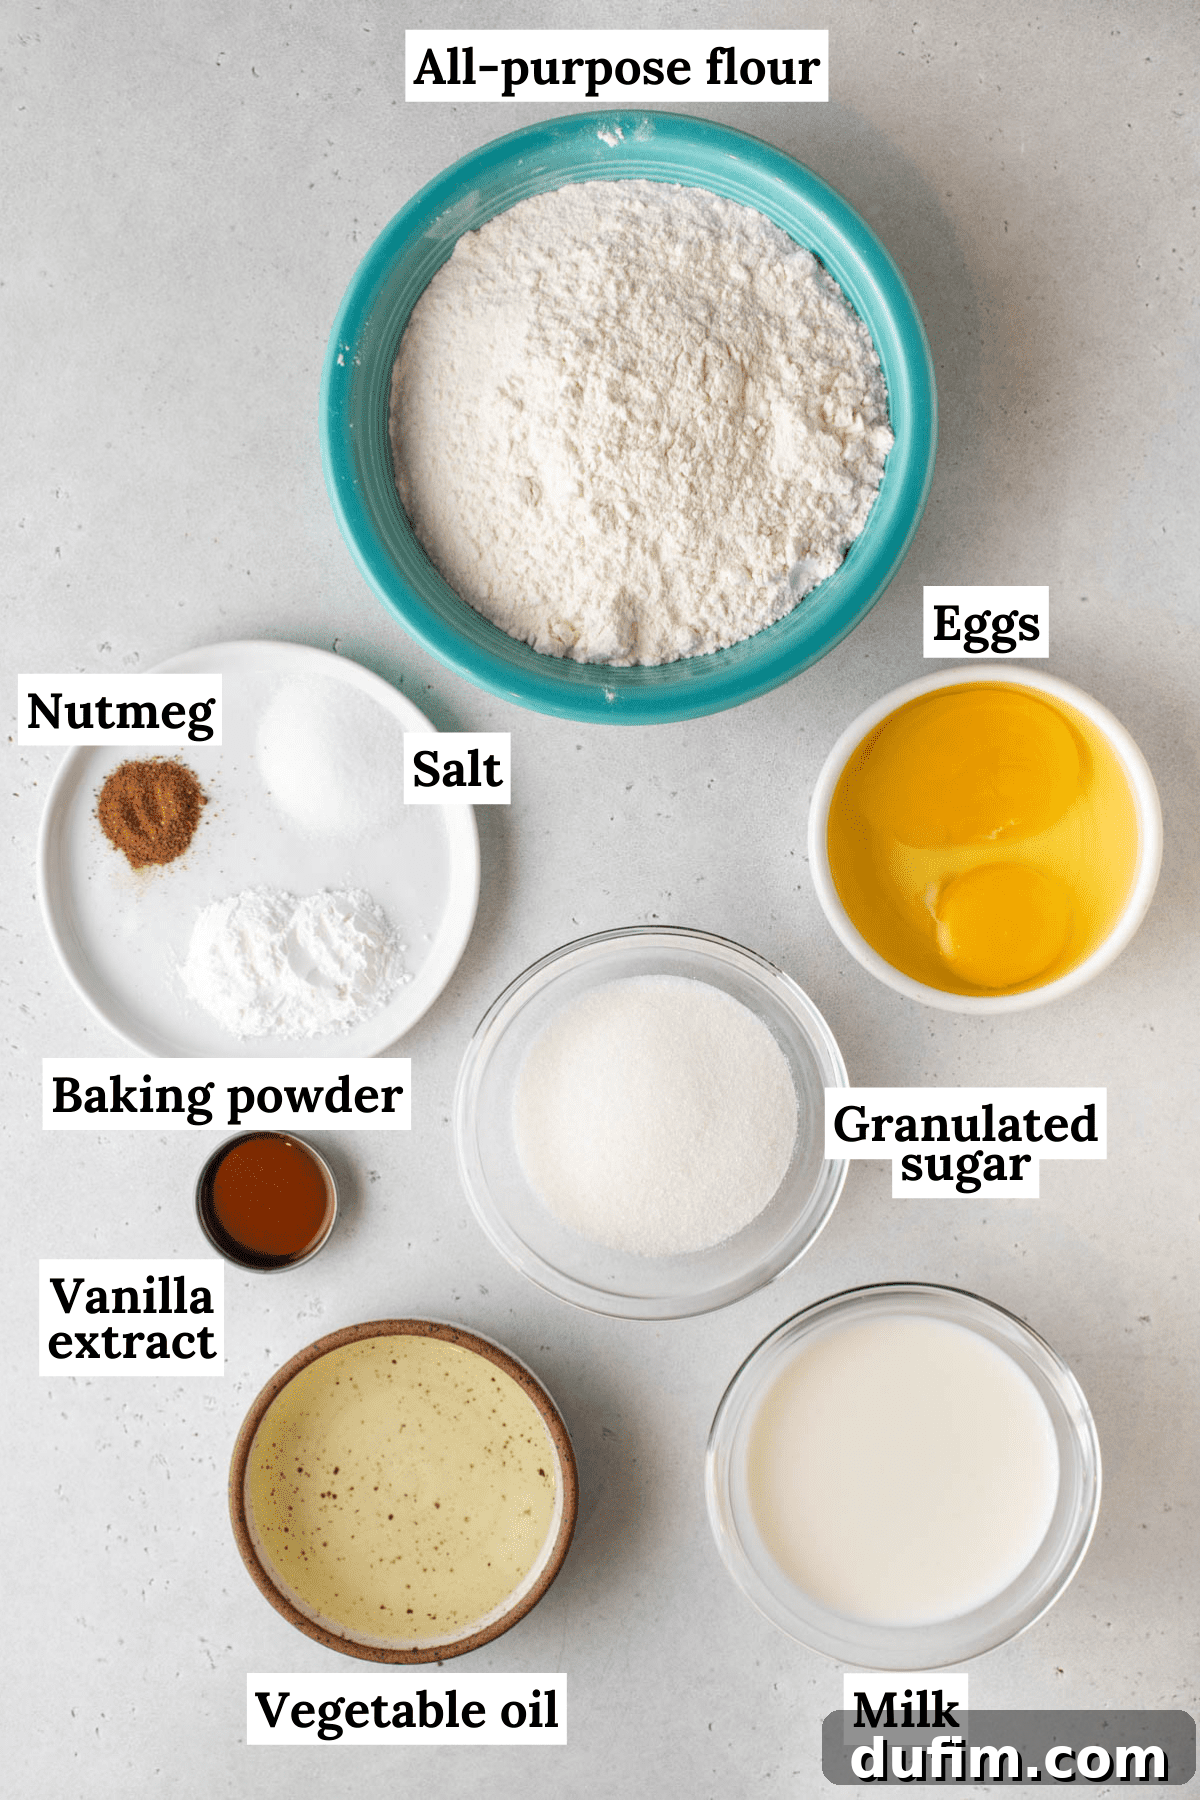
Essential Gluten-Free Donut Recipe Ingredients
Crafting these delectable gluten-free donuts requires fewer than 10 core ingredients. You’ll then add an extra one or two for your chosen glaze or coating. For precise measurements, please refer to the recipe details below.
- All-purpose gluten-free flour: The foundation of our gluten-free magic! For consistent and excellent results, I highly recommend using King Arthur’s Measure for Measure Gluten Free Flour blend.
- Ground Nutmeg: This spice is often the secret to that classic, warm, and inviting donut shop flavor, adding a subtle depth that truly elevates the taste.
- Granulated Sugar: Provides sweetness and helps achieve that desirable tender crumb in baked goods.
- Baking Powder: Our primary leavening agent, ensuring your donuts rise beautifully and have a light, airy texture.
- Salt: A crucial ingredient that balances the sweetness and enhances all the other flavors in the donut.
- Milk: I prefer whole milk for its richness, which contributes to a more tender and flavorful donut. However, 2% milk will also work well. For a dairy-free option, unsweetened almond or oat milk can be used.
- Eggs: Act as a binder, provide structure, and add moisture and richness to the donut batter.
- Vanilla Extract: A staple in baking, vanilla enhances the overall sweetness and provides a delightful aromatic base flavor.
- Vegetable Oil: Essential for keeping the donuts wonderfully moist and tender. Light-tasting oils like canola or sunflower oil are also good alternatives.
Understanding Gluten-Free Flour Blends
As someone with gluten sensitivity, I’ve experimented with numerous gluten-free flours over the past 15 years, and King Arthur’s All-Purpose Measure for Measure Gluten Free Flour consistently stands out. Its carefully crafted blend typically includes white rice flour, whole grain brown rice flour, tapioca starch, potato starch, and, importantly, xanthan gum. This combination is designed to mimic the properties of traditional wheat flour, providing excellent structure and texture without the gluten.
Using a pre-mixed gluten-free flour blend like this is incredibly convenient and truly the best gluten-free flour experience I’ve had. It eliminates the need to purchase multiple individual flours (like tapioca flour, coconut flour, or brown rice flour) and meticulously measure each one. This blend simplifies the baking process, ensuring reliable results every time.
Choose Your Perfect Donut Topping!
One of the best parts about making homemade donuts is customizing them! Here are four fabulous ways to finish your gluten-free donuts, each offering a unique flavor and texture profile. Remember, each glaze recipe is designed to cover a dozen donuts, so if you plan to try multiple flavors on a single batch, simply halve the glaze recipes as needed.
Decadent Chocolate Glaze Ingredients
- Semi-sweet chocolate chips: For the best flavor, opt for a high-quality brand of chocolate chips.
- Unsalted butter: Adds richness and helps create a smooth, glossy glaze.
- Light corn syrup: This is the secret ingredient for that beautiful, professional-looking shine on your chocolate glaze.
- Rainbow sprinkles: Completely optional, but who can resist a donut with colorful sprinkles? Any brand will work wonderfully.
Classic Krispy Kreme Style Glaze Ingredients
- Powdered sugar: The essential base for this iconic, sweet, and milky glaze.
- Milk: Whole milk provides the best consistency and richness.
- Vanilla extract: A touch of vanilla adds a subtle, comforting depth to the glaze’s flavor.
Simple Powdered Sugar Coating Ingredients
- Powdered sugar: That’s it! The ultimate easy topping for a soft, melt-in-your-mouth finish.
Warm Cinnamon Sugar Coating Ingredients
- Granulated sugar: Provides the crunchy, sweet texture.
- Ground Cinnamon: The star of this coating, offering a fragrant and spicy warmth.
How to Bake Homemade Gluten-Free Donuts (Step-by-Step)
Making these delicious homemade gluten-free vanilla donuts is much simpler than you might imagine. Follow these steps for perfect results:
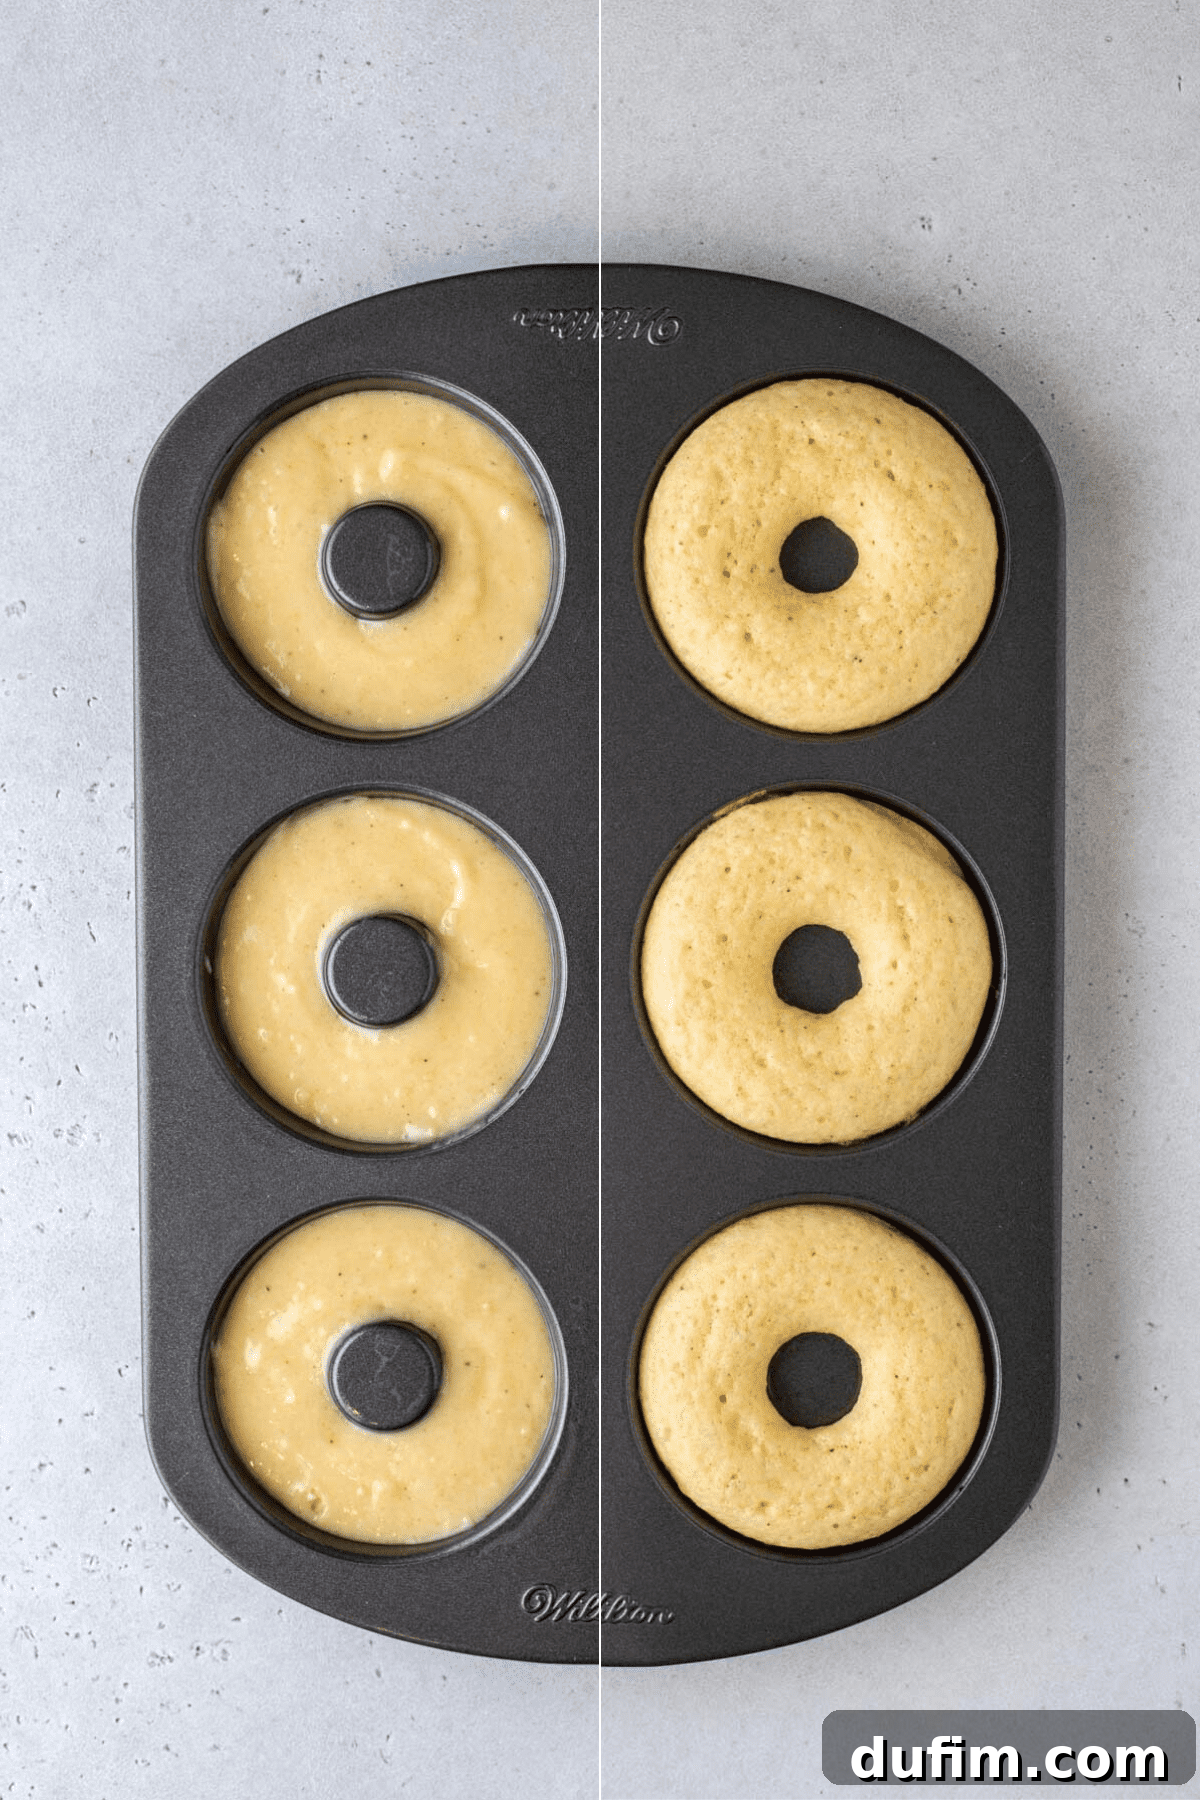
- Prepare Your Donut Pan: Begin by preheating your oven to 350°F (175°C). Generously spray your donut pan with non-stick cooking spray. Then, use a paper towel to thoroughly and evenly coat the entire inside of each donut well. This step is crucial for preventing sticking and ensuring easy release.
- Combine Dry Ingredients: In a medium-sized bowl, whisk together the gluten-free flour blend, ground nutmeg, granulated sugar, baking powder, and salt until they are well combined. Set this mixture aside.
- Prepare the Wet Batter: In a separate, larger mixing bowl, combine the milk, eggs, vanilla extract, and vegetable oil. Whisk these wet ingredients together until they are smooth and fully incorporated.
- Mix Wet and Dry: Gradually add the dry flour mixture to the wet ingredients. Mix by hand with a spatula, stirring just until the ingredients are combined and no dry streaks of flour remain. Be careful not to overmix, as this can lead to tough donuts.
- Fill the Donut Pan: Transfer the donut batter into a large Ziploc bag. Snip off one corner of the bag to create a piping tool. Carefully pipe the batter into the prepared donut wells, filling them about ½ to ¾ full. Alternatively, you can use a cookie scoop to drop dollops of batter into the wells and gently spread them with a small spatula if needed.
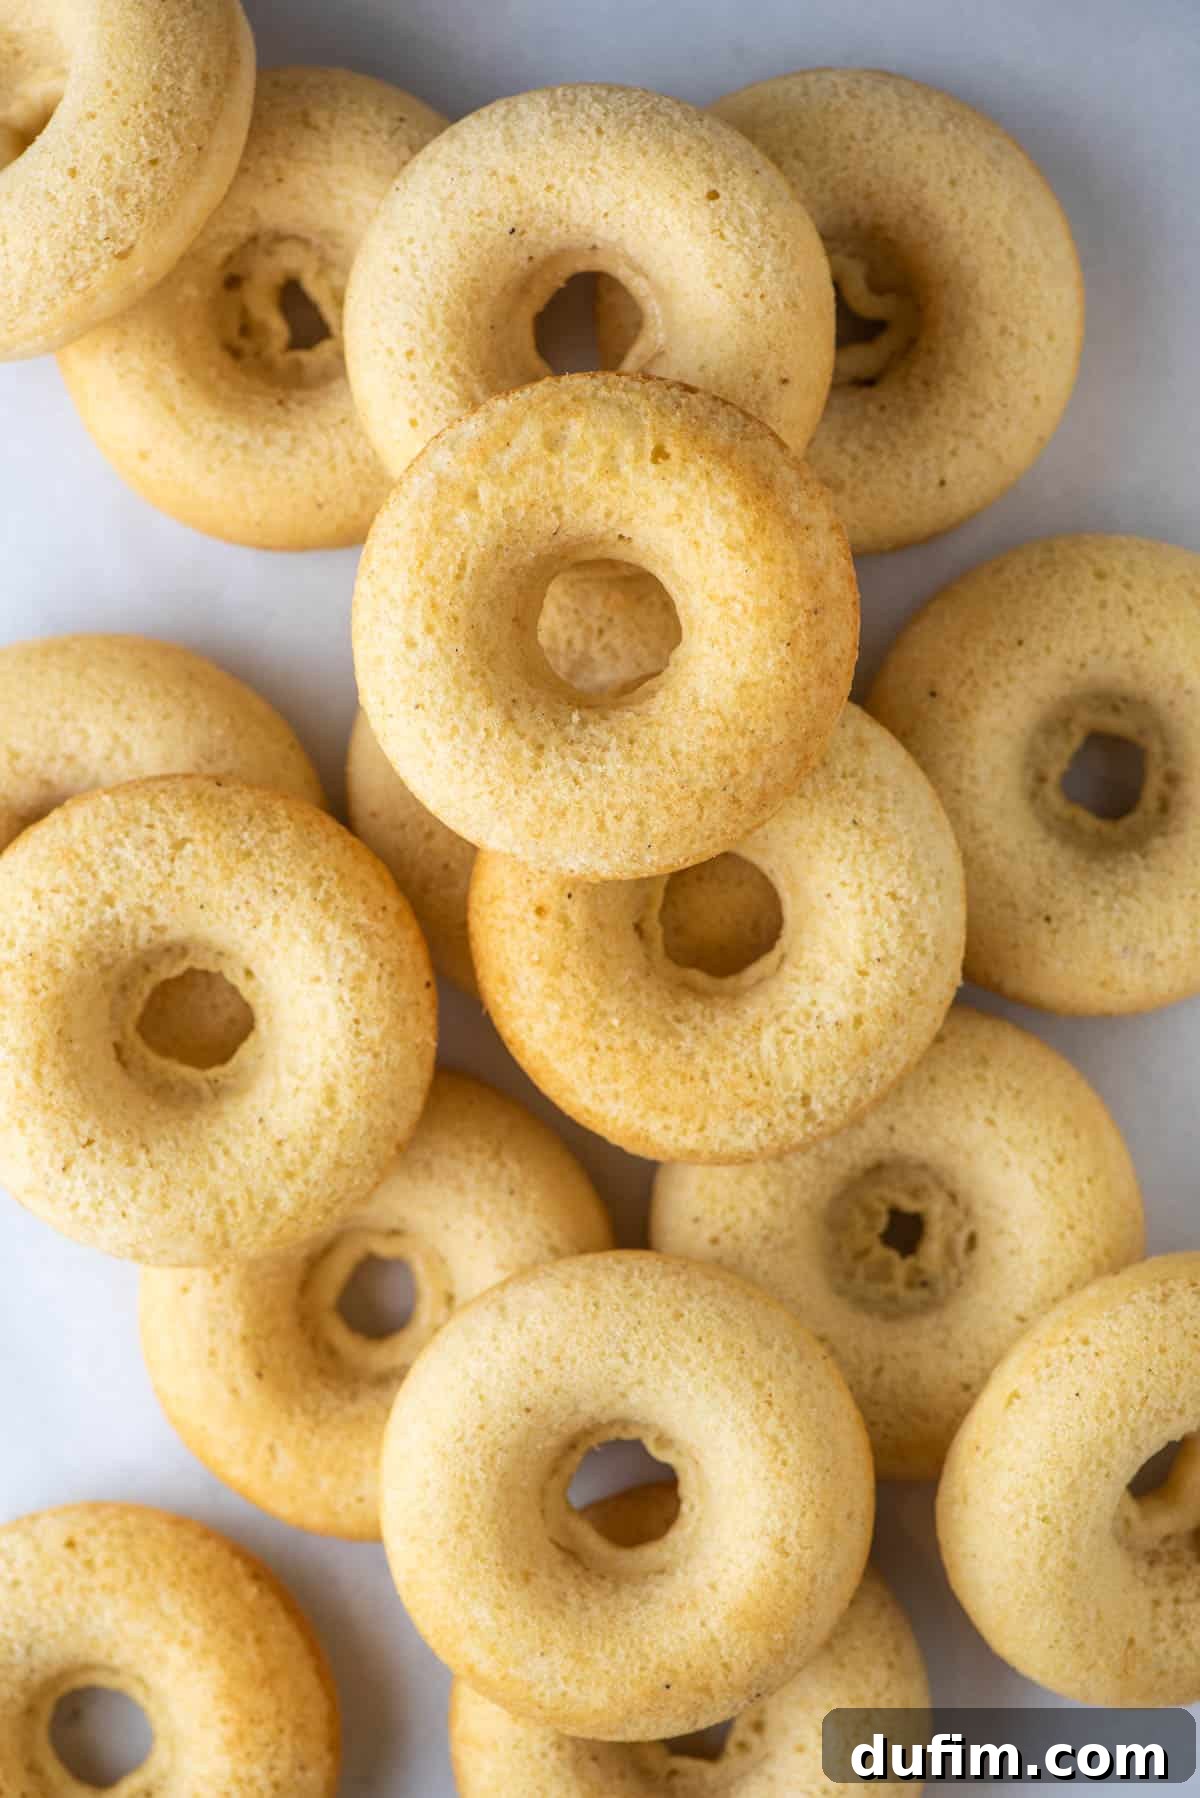
- Bake to Perfection: Bake the donuts for 10 to 11 minutes, or until a toothpick inserted into the center of a donut comes out clean. The edges should appear lightly golden. Allow the baked donuts to cool in the pan for about 10 minutes. Then, invert the pan onto a wire rack and gently tap it a few times to release the donuts.
- Decorate as Desired: Once the donuts are slightly cooled (or fully cooled for glazed options), it’s time to add your chosen toppings!
Delicious Gluten-Free Donut Topping Instructions
Here are the step-by-step instructions for preparing and applying each of the four delightful topping options. Remember, each topping recipe makes enough for a dozen donuts, so if you’re planning to feature multiple flavors, consider halving the topping recipes!
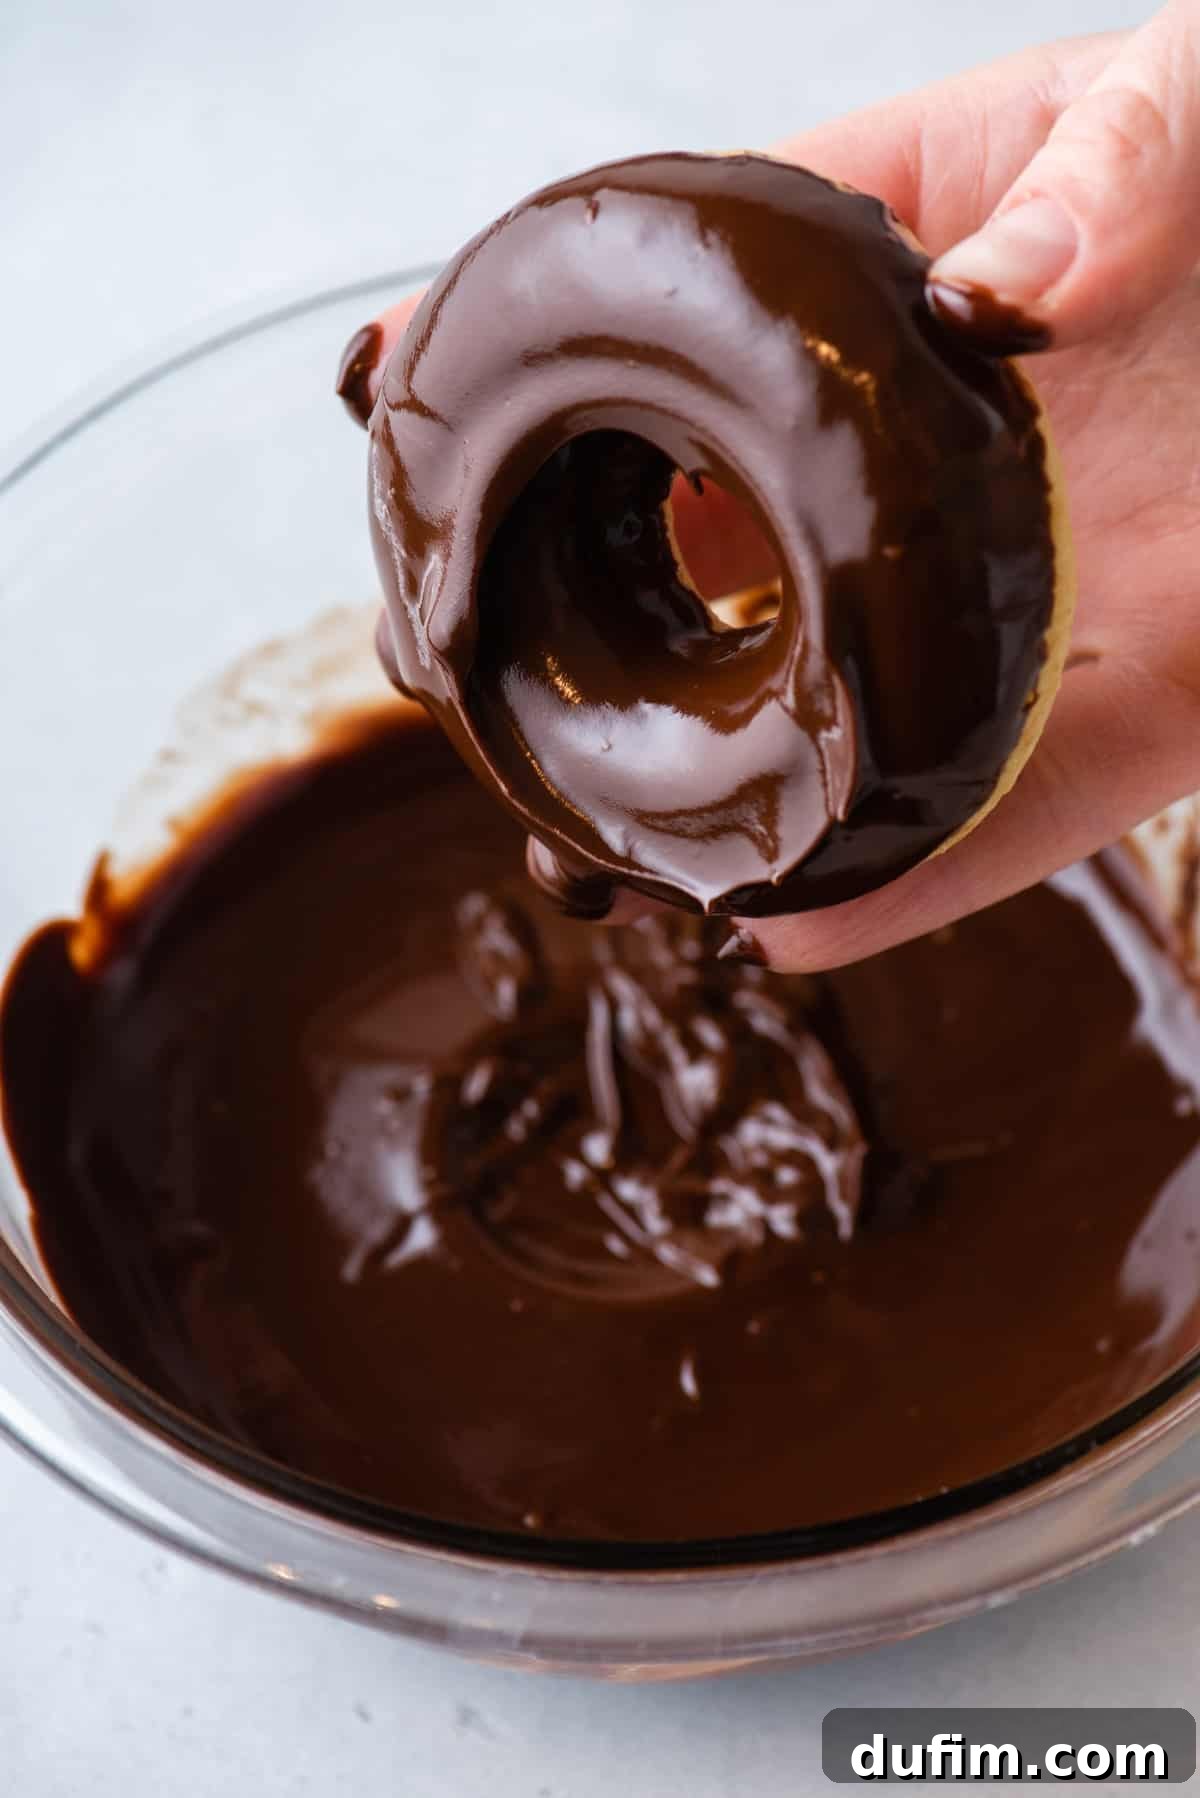
How to Make Chocolate Glaze
- Melt the Chocolate: In a microwave-safe bowl, combine the semi-sweet chocolate chips, unsalted butter, and light corn syrup. Microwave on 50% power for 60 to 90 seconds, stirring every 30 seconds, until the mixture is completely melted and smooth.
- Dip and Decorate: Transfer the warm chocolate glaze to a shallow dish. Dip each cooled donut, one at a time, into the glaze, allowing any excess to drip back into the bowl. Place them on a wire rack. For an extra festive touch, add rainbow sprinkles immediately after dipping, while the glaze is still wet. Allow the glaze to set for 1 to 2 minutes.
- Tip: For a delightful variation, swap out the semi-sweet chocolate chips for white chocolate chips to create a beautiful white chocolate glaze!
How to Make Krispy Kreme Style Glaze
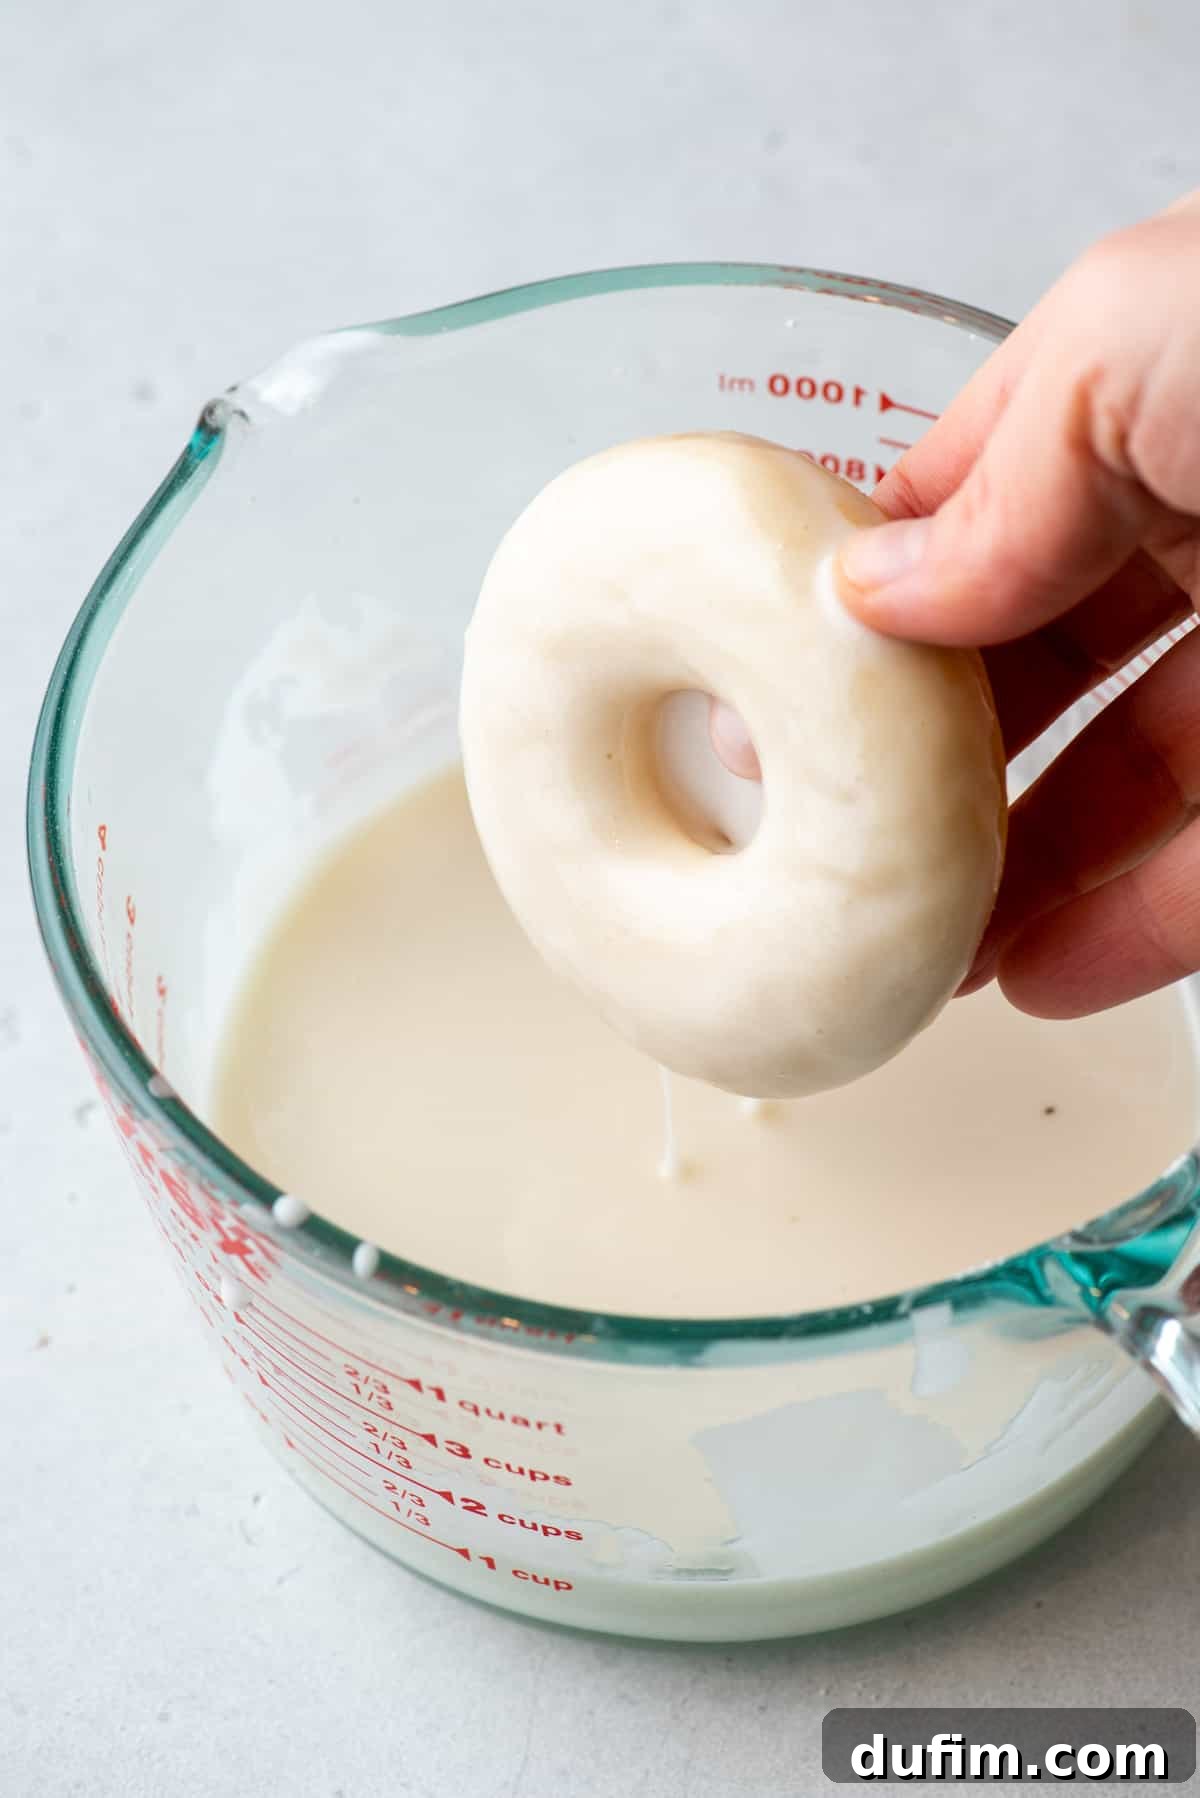
- Combine Ingredients: In a small bowl, whisk together the powdered sugar, milk, and vanilla extract until you achieve a smooth, pourable consistency. If the glaze is too thick, add a tiny bit more milk, a teaspoon at a time. If it’s too runny, whisk in a bit more powdered sugar until it reaches your desired thickness.
- Dip for Perfection: Pour the glaze into a shallow dish. Dip each cooled donut into the glaze, allowing the excess to drip off. For an even thicker, more decadent coating, you can double-dip the donuts, allowing about 15 minutes between each dip for the first layer to partially set.
How to Apply Powdered Sugar Coating
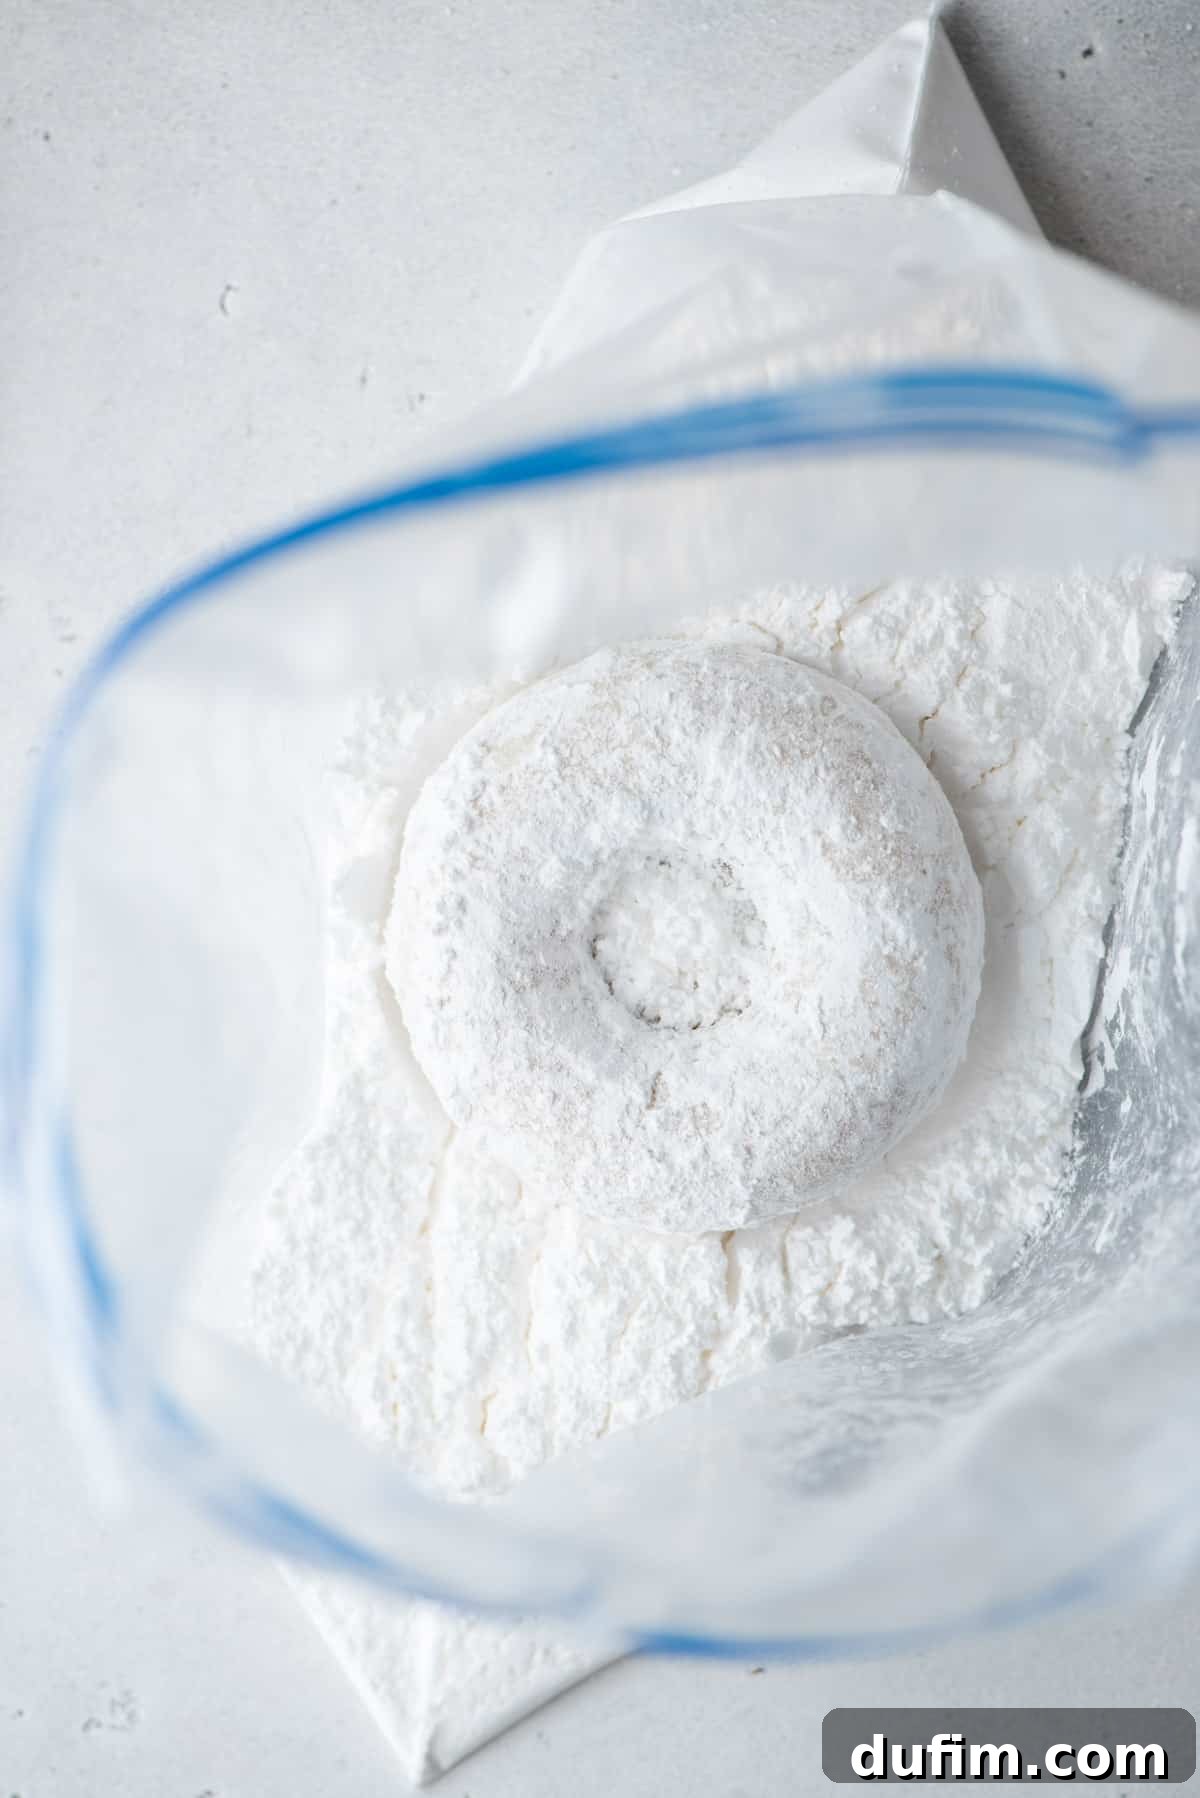
- Simple Coating: Pour the powdered sugar into a large Ziploc bag. Add one cooled donut at a time to the bag, seal it, and gently shake until the donut is completely coated. Remove and repeat with the remaining donuts.
How to Apply Cinnamon Sugar Coating
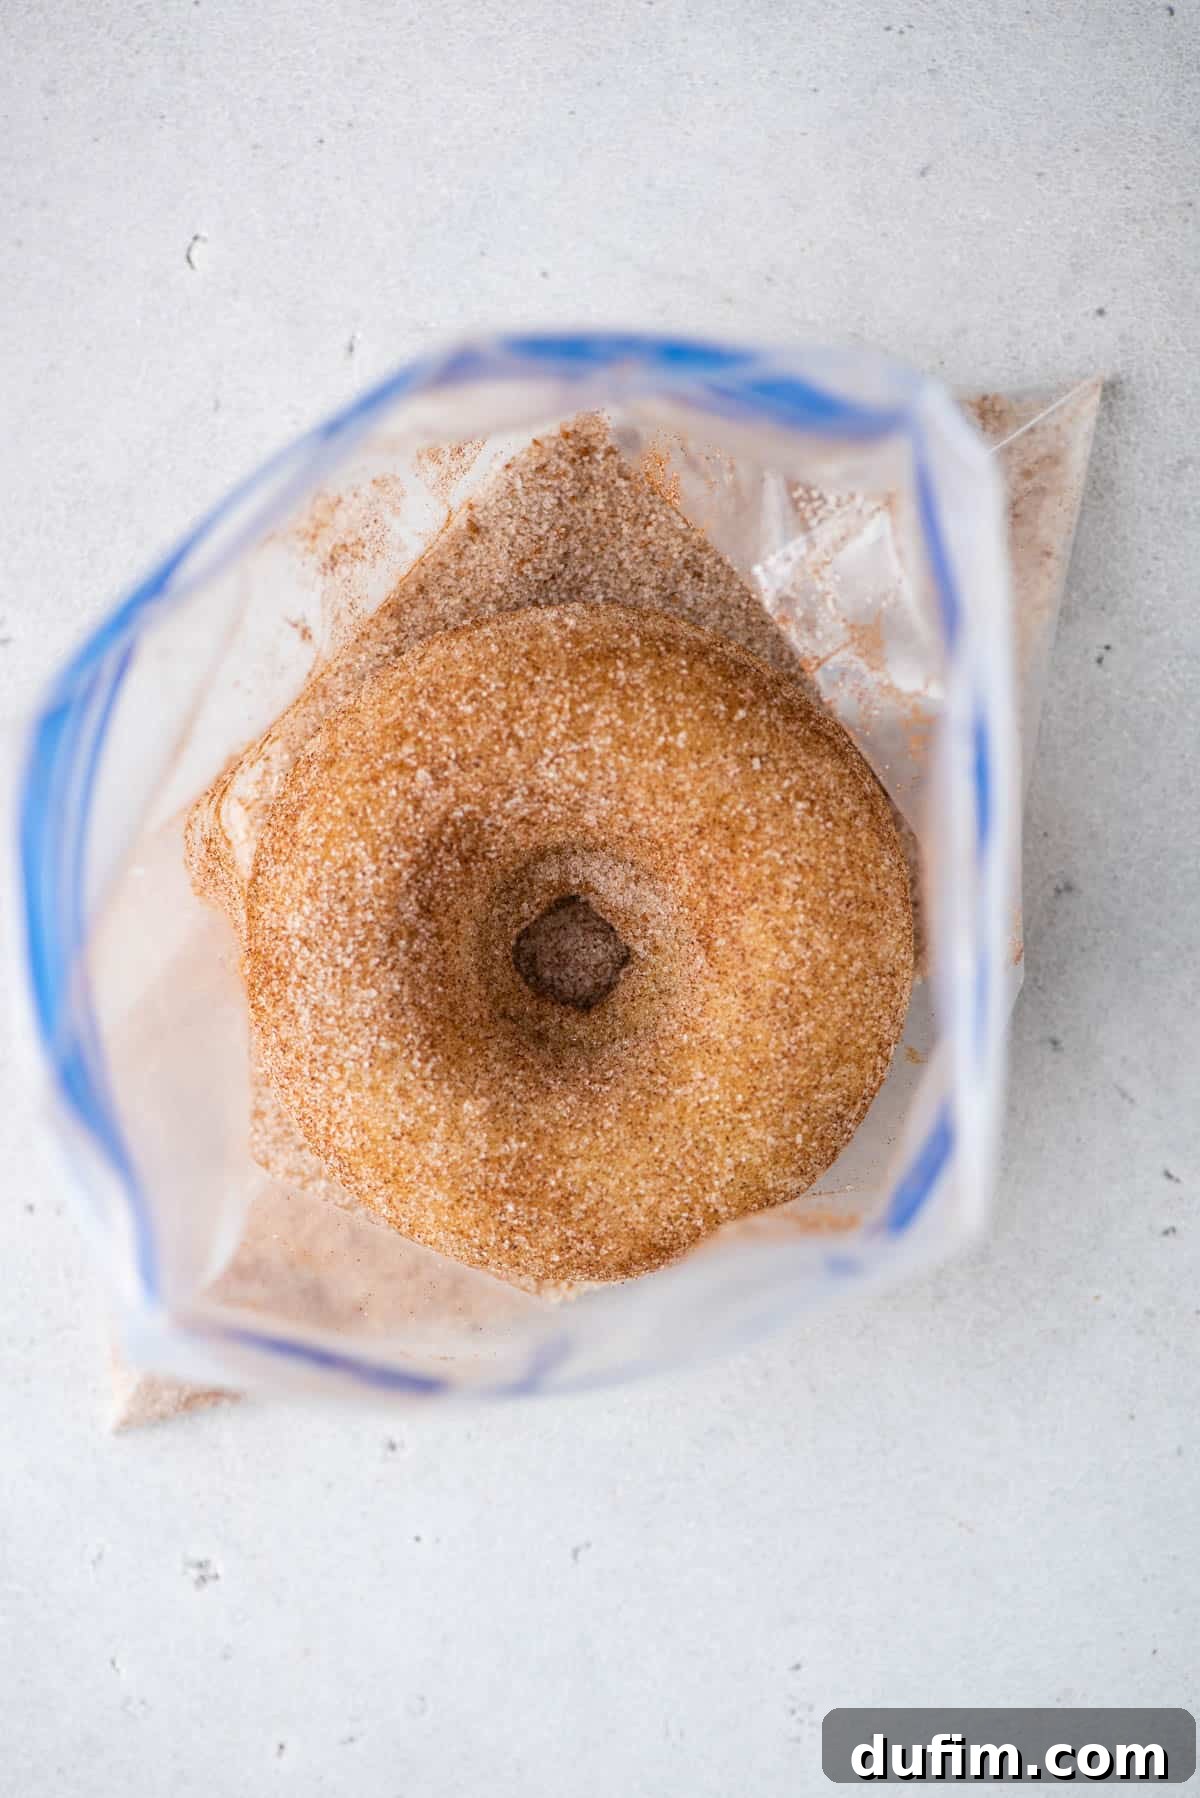
- Combine and Coat: In a Ziploc bag, combine the granulated sugar and cinnamon. Seal the bag and shake well to mix thoroughly. Add one cooled donut at a time, seal the bag, and shake until the donut is evenly coated with the cinnamon sugar mixture.
Expert Tips for Perfect Gluten-Free Donuts Every Time
Achieving bakery-quality gluten-free donuts at home is easier than you think, especially with these helpful tips:
- Measure Flour Accurately: This is perhaps the most critical tip in gluten-free baking. Too much flour can result in dry, dense, or crumbly donuts, while too little can make them too wet or flat. Always use the “spoon and level” method: spoon flour into your measuring cup and then level it off with a straight edge, rather than scooping directly from the bag.
- Master Donut Pan Filling: For the neatest and easiest way to fill your donut pan, transfer the batter into a large Ziploc bag, snip off one corner, and pipe it directly into the wells. If you don’t have a piping bag or prefer an alternative, a cookie scoop works well; just use a small spatula to gently spread the batter evenly in the wells.
- Recognizing Doneness in Baked Donuts: The simplest and most reliable way to check if your baked donuts are ready is to insert a toothpick into the center of one. If it comes out clean, your donuts are perfectly baked and ready to be removed from the oven.
- Ensure Toppings Stick: If you’re applying powdered sugar or cinnamon sugar and find it’s not adhering well to the donuts, a quick trick can help. Lightly brush the warm (but not hot) donuts with a little melted unsalted butter before shaking them in the sugar mixture. This creates a slightly sticky surface for the toppings to cling to.
- Avoid Overmixing the Batter: Just like with regular cake donuts, overmixing gluten-free batter can lead to a tough texture. Mix only until the ingredients are just combined and no dry flour streaks remain. A few small lumps are perfectly fine.
- Cool Properly: Allow your donuts to cool in the pan for about 10 minutes before transferring them to a wire rack to cool completely. This helps them set and prevents them from sticking. Glazed donuts should be fully cooled before dipping to prevent the glaze from melting or becoming too thin.
How to Store Homemade Gluten-Free Doughnuts
Proper storage is key to keeping your homemade gluten-free donuts fresh and delicious:
- Room Temperature Storage: These gluten-free donuts are best enjoyed fresh, but they can be stored at room temperature for 2 to 3 days. Ensure they are kept in an airtight container to prevent them from drying out. It’s crucial that the donuts cool completely before storing, as any residual warmth can create condensation and make them mushy.
- Freezing for Longer Shelf Life: For extended enjoyment, you can easily freeze these donuts. Once they have completely cooled and any glaze or coating has fully set, wrap each donut individually in plastic wrap. Then, place the wrapped donuts in an airtight freezer-safe bag or container. They can be frozen for up to 3 months. When you’re ready to enjoy, simply thaw them on the counter at room temperature. For a fresh-baked feel, you can gently warm them in the microwave for a few seconds or in a toaster oven.
More Irresistible Gluten-Free Desserts to Explore
If you’re loving these gluten-free donuts, you’ll be thrilled to discover more delicious gluten-free treats that are just as easy to make and equally satisfying. Perfect for any occasion or just a sweet craving!
- Gluten-Free Pumpkin Bread: A comforting and spiced quick bread, perfect for fall or any time of year.
- Easy Gluten-Free Blueberry Muffins: Fluffy, fruity, and bursting with fresh blueberries – an ideal breakfast or snack.
- Gluten-Free Chocolate Chip Cookies: The classic comfort cookie, perfectly chewy and loaded with chocolate chips, without the gluten.
- Gluten-Free Sugar Cookies: A delightful recipe for crisp yet tender sugar cookies that are perfect for decorating for any holiday.
Other Delicious Recipes You’ll Love
Beyond gluten-free delights, explore more culinary creations from our kitchen, ranging from decadent desserts to comforting baked goods and refreshing drinks. There’s something here for every taste and occasion!
- Homemade Pumpkin Cheesecake from Scratch
- Orange and Cranberry Scones
- Fresh Squeezed Lemonade Recipe
- Easy Pumpkin Bread Recipe
- Individual Cheesecakes
- Pecan Cheesecake Pie Recipe
- Classic Scone Recipe
- No-Bake Oreo Cookie Pie Recipe
- Easy Royal Icing Recipe
- Christmas Sugar Cookies Recipe
Gluten Free Donuts Recipe
Yields: 12 donuts
Prep time: 10 minutes | Cook time: 10-11 minutes | Cooling time: 10 minutes | Total time: Approximately 30-35 minutes
Equipment You’ll Need:
- Donut Pan
- Glass Mixing Bowl
- Kitchen Scale (optional, but recommended for accurate flour measurement)
- Whisk or Spatula
- Large Ziploc Bag (for piping)
Main Donut Ingredients:
- 2 cups (240g) all-purpose gluten-free flour (King Arthur’s Measure for Measure recommended)
- ½ tsp ground nutmeg
- ½ cup (99g) granulated sugar
- 2 tsp baking powder
- 1 tsp salt
- ½ cup + 2 tbsp (148ml) milk (whole milk preferred)
- 2 large eggs
- 1 tsp vanilla extract
- ¼ cup plus 2 tbsp (89ml) vegetable oil
Chocolate Glaze Ingredients:
- ½ cup (85g) semi-sweet chocolate chips
- 2 Tbsp unsalted butter
- 2 tsp light corn syrup
- Rainbow sprinkles (optional)
Krispy Kreme Style Glaze Ingredients:
- 1 ½ cups (169g) powdered sugar
- 1-2 Tbsp milk (whole milk preferred)
- 1 tsp vanilla extract
Powdered Sugar Coating Ingredients:
- 1 cup (113g) powdered sugar
Cinnamon Sugar Coating Ingredients:
- ⅔ cup (133g) granulated sugar
- 2 tsp ground cinnamon
Instructions:
For the Donuts:
- Preheat Oven & Prep Pan: Preheat your oven to 350ºF (175°C). Liberally spray a donut pan with non-stick cooking spray, then use a paper towel to ensure the entire donut well is evenly coated.
- Combine Dry Ingredients: In a medium bowl, whisk together the gluten-free flour, nutmeg, granulated sugar, baking powder, and salt until thoroughly combined. Set aside.
- Prepare Wet Batter: In a separate large mixing bowl, combine the milk, eggs, vanilla extract, and vegetable oil. Whisk until smooth.
- Mix Batter: Gradually add the dry flour mixture to the wet ingredients. Mix by hand with a spatula just until combined. Be careful not to overmix the batter.
- Fill Donut Pan: Transfer the donut batter into a large Ziploc bag. Snip off one corner of the bag and pipe the batter evenly into the prepared donut wells, filling each about ½ to ¾ full. Alternatively, use a cookie scoop and gently spread the batter if needed.
- Bake & Cool: Bake for 10-11 minutes, or until a toothpick inserted into the center of a donut comes out clean. Allow the donuts to cool in the pan for 10 minutes before carefully inverting the pan onto a wire rack to release them.
For the Chocolate Glaze:
- Melt Ingredients: In a microwave-safe bowl, combine the chocolate chips, butter, and corn syrup. Microwave on 50% power for 60-90 seconds, stirring midway, until fully melted and smooth.
- Dip Donuts: Transfer the glaze to a shallow dish. Dip one cooled donut at a time into the glaze, allowing any excess to drip back into the bowl. Place on a wire rack. If using sprinkles, add them immediately. Allow glaze to set for 1-2 minutes.
For the Krispy Kreme Style Glaze:
- Mix Glaze: In a small bowl, combine the powdered sugar, milk, and vanilla extract. Whisk until smooth and pourable. Adjust consistency by adding more powdered sugar if too thin, or more milk if too thick.
- Dip Donuts: Transfer the glaze to a shallow dish. Dip one cooled donut at a time into the glaze, letting excess drip off. For a thicker coating, dip twice, allowing about 15 minutes between dips for partial setting.
For the Powdered Sugar Coating:
- Coat Donuts: Place the powdered sugar in a large Ziploc bag. Add one cooled donut at a time to the bag, seal, and gently shake to coat completely. Remove and repeat.
For the Cinnamon Sugar Coating:
- Prepare Mixture: Combine the granulated sugar and cinnamon in a Ziploc bag. Seal and shake well to mix.
- Coat Donuts: Add one cooled donut at a time to the bag, seal, and shake gently to coat thoroughly with the cinnamon sugar mixture.
Nutrition Information (Approximate Per Donut, Varies by Topping)
Please note: All nutritional values are approximate and provided as a courtesy. Changing ingredients and/or quantities will alter the estimated nutritional calculations. These values reflect the basic donut recipe with one of the four topping options.
- Calories: 386kcal
- Carbohydrates: 65g
- Protein: 4g
- Fat: 13g
- Saturated Fat: 4g
- Polyunsaturated Fat: 4g
- Monounsaturated Fat: 3g
- Trans Fat: 0.1g
- Cholesterol: 34mg
- Sodium: 283mg
- Potassium: 78mg
- Fiber: 3g
- Sugar: 49g
- Vitamin A: 125IU
- Vitamin C: 0.01mg
- Calcium: 83mg
- Iron: 1mg