
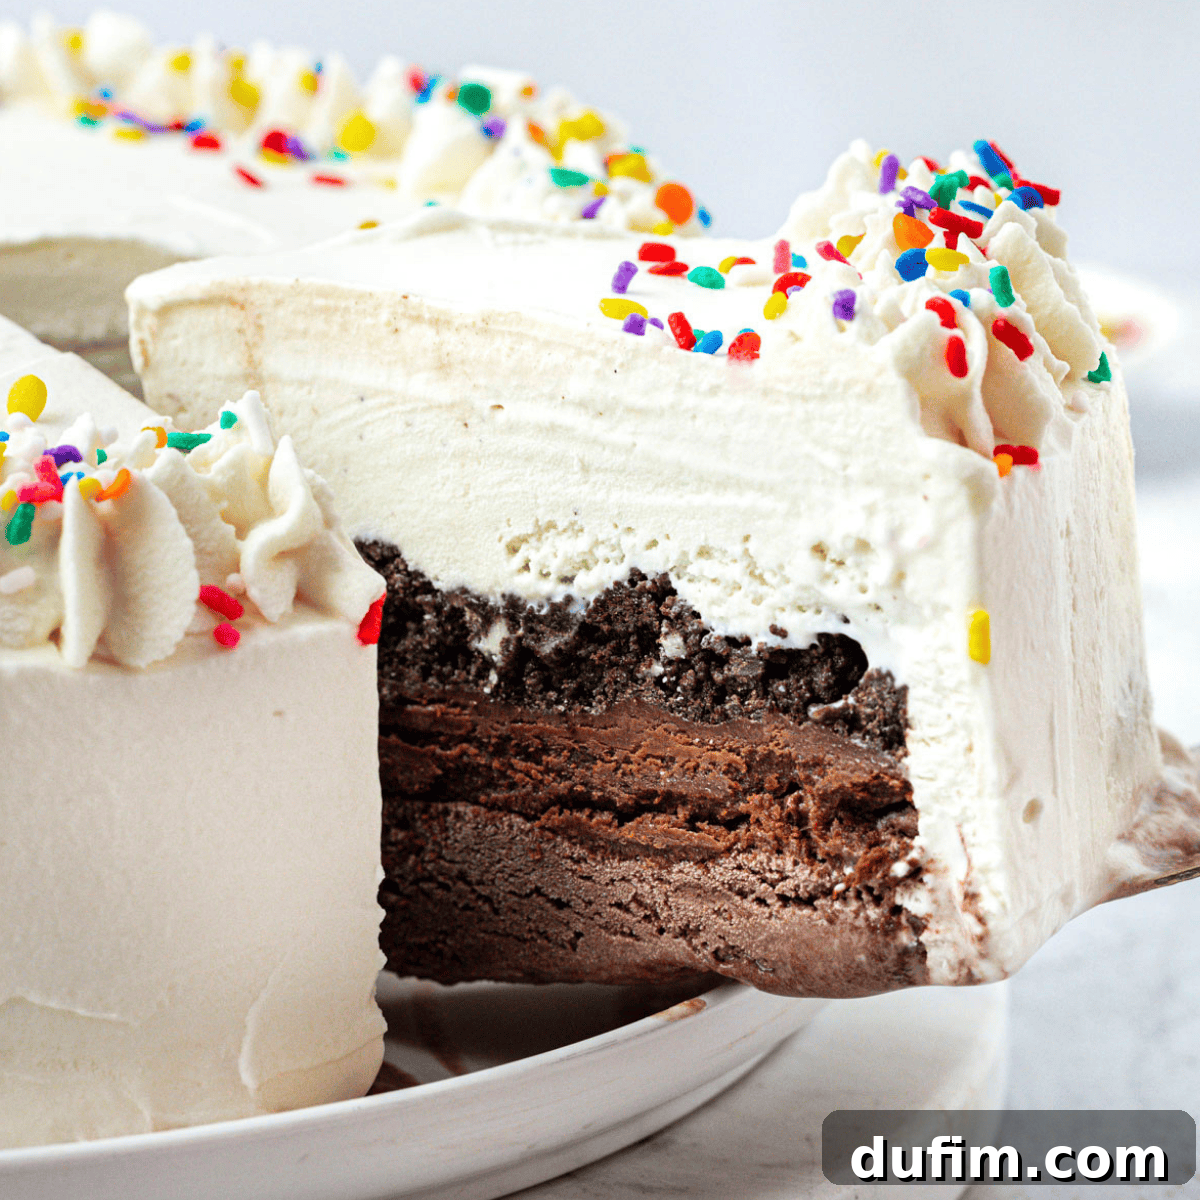
There’s something truly magical about a homemade ice cream cake. It evokes memories of childhood parties, sun-drenched summer afternoons, and joyful celebrations. This isn’t just *any* ice cream cake recipe; it’s a time-tested, perfected formula that guarantees success every single time. I’ve spent countless hours in my kitchen, experimenting with different techniques and ingredients, to master the art of creating an ice cream cake that defies common issues like melting, cracking, or uneven layers.
If you’ve ever dreamt of serving a show-stopping dessert that leaves everyone asking for the recipe, you’re in the right place. My comprehensive, step-by-step guide is designed to make the process incredibly easy, even for novice bakers. You’ll be amazed at how simple it is to craft your own gourmet ice cream cake that consistently delights a crowd and makes every occasion feel extra special.
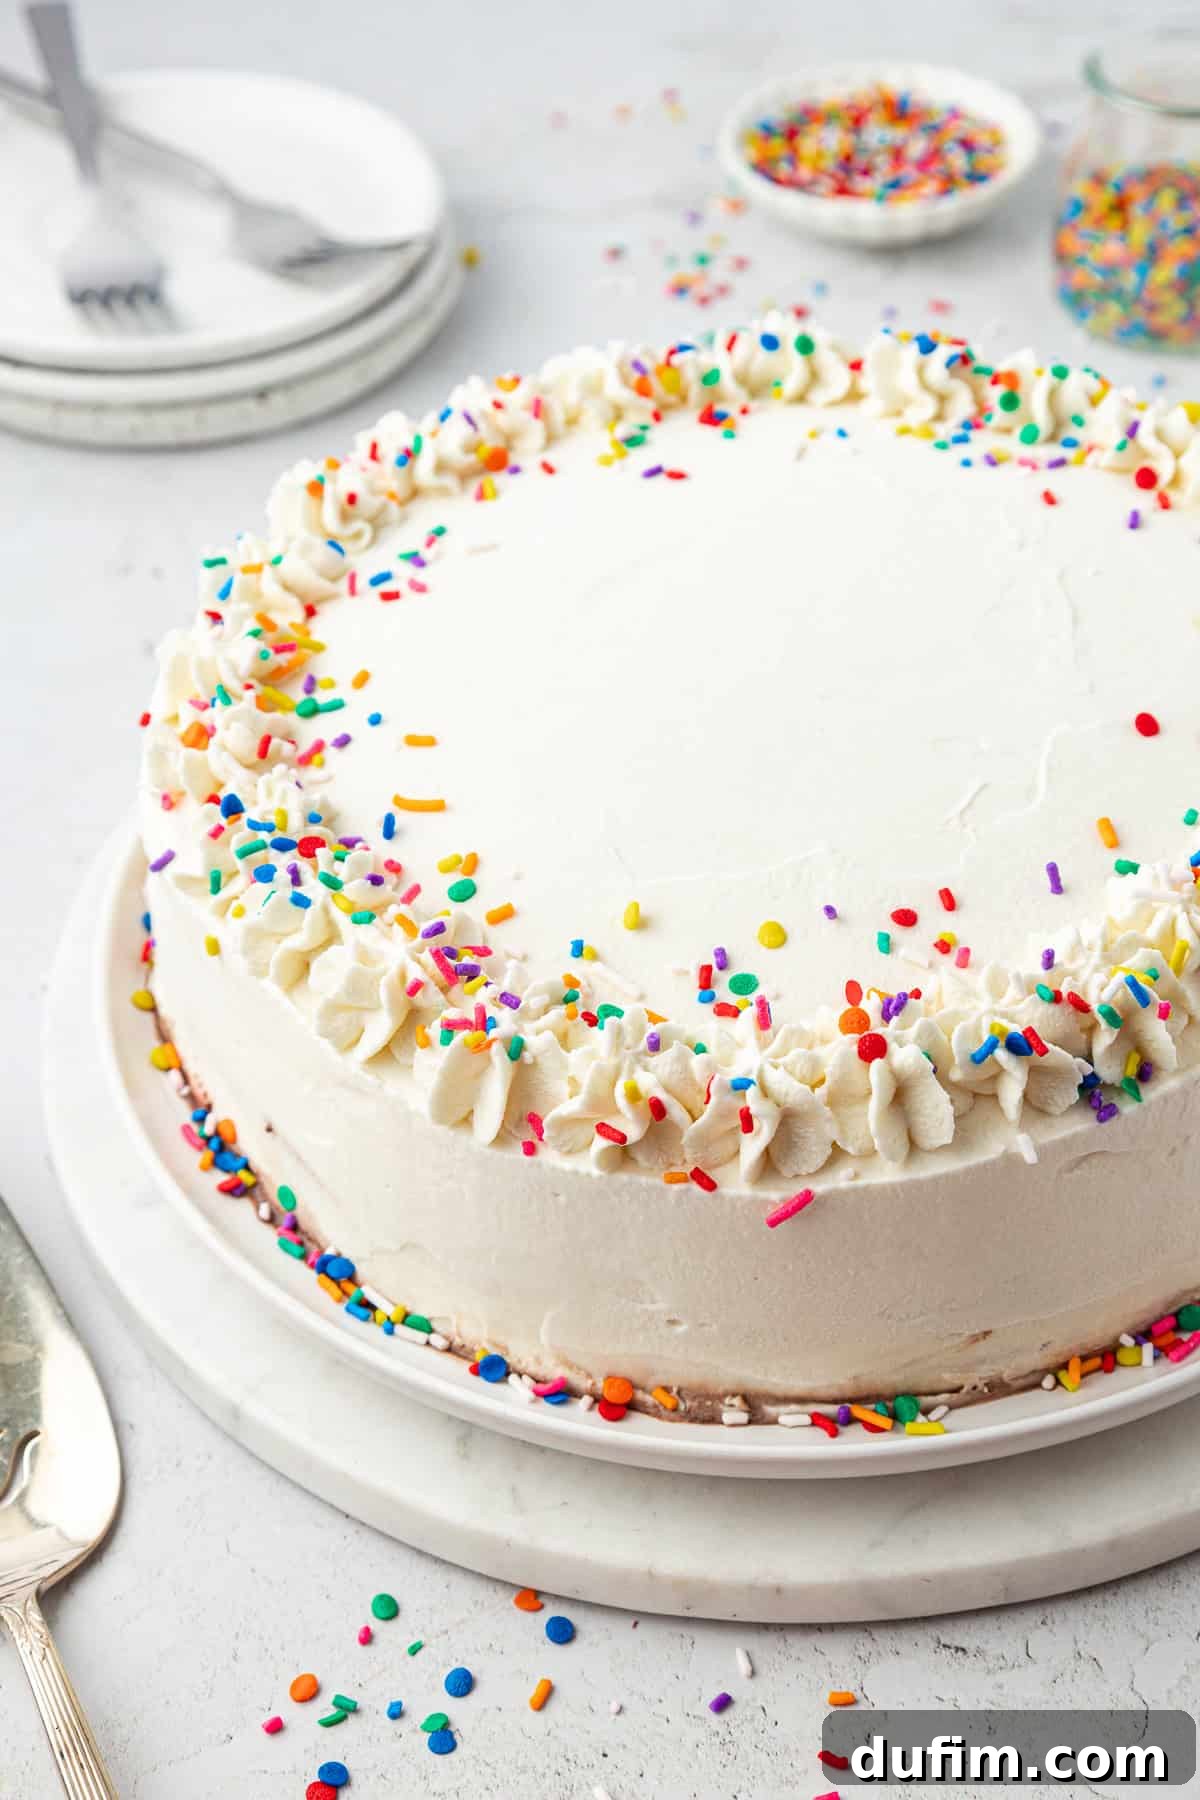
This tastes just like the DQ cake–you could do so many different combinations of cookies and ice cream!
– Judy
Elevate Your Celebrations with this Homemade Ice Cream Cake!
Imagine layers of rich, creamy ice cream, decadent chocolate fudge ganache, and a delightful chocolate crunch, all crowned with fluffy whipped cream and vibrant sprinkles. This homemade ice cream cake recipe focuses on creating the ultimate texture and flavor experience without relying on a traditional cake layer. Why skip the cake, you ask? A frozen cake layer often becomes soggy or develops an unappealing texture once chilled. Instead, our ingenious combination of smooth, rich chocolate ganache and crispy Oreo crunch delivers an explosion of taste and texture that truly elevates this dessert, ensuring every bite is pure bliss.
Through years of trial and error, I’ve encountered and conquered every common pitfall in ice cream cake creation. From layers that refuse to set to cakes that crack upon serving, I’ve learned the secrets to a flawless finish. Now, I’m sharing all my accumulated wisdom with you. Forget the frustration of melting layers, uneven distribution, or the dreaded freezer burn. This guide will walk you through 10 easy steps, transforming you into an ice cream cake pro on your very first attempt. You’ll gain the confidence to create a stunning dessert that not only looks professional but tastes absolutely divine.
Essential Ingredients for Your Dream Ice Cream Cake
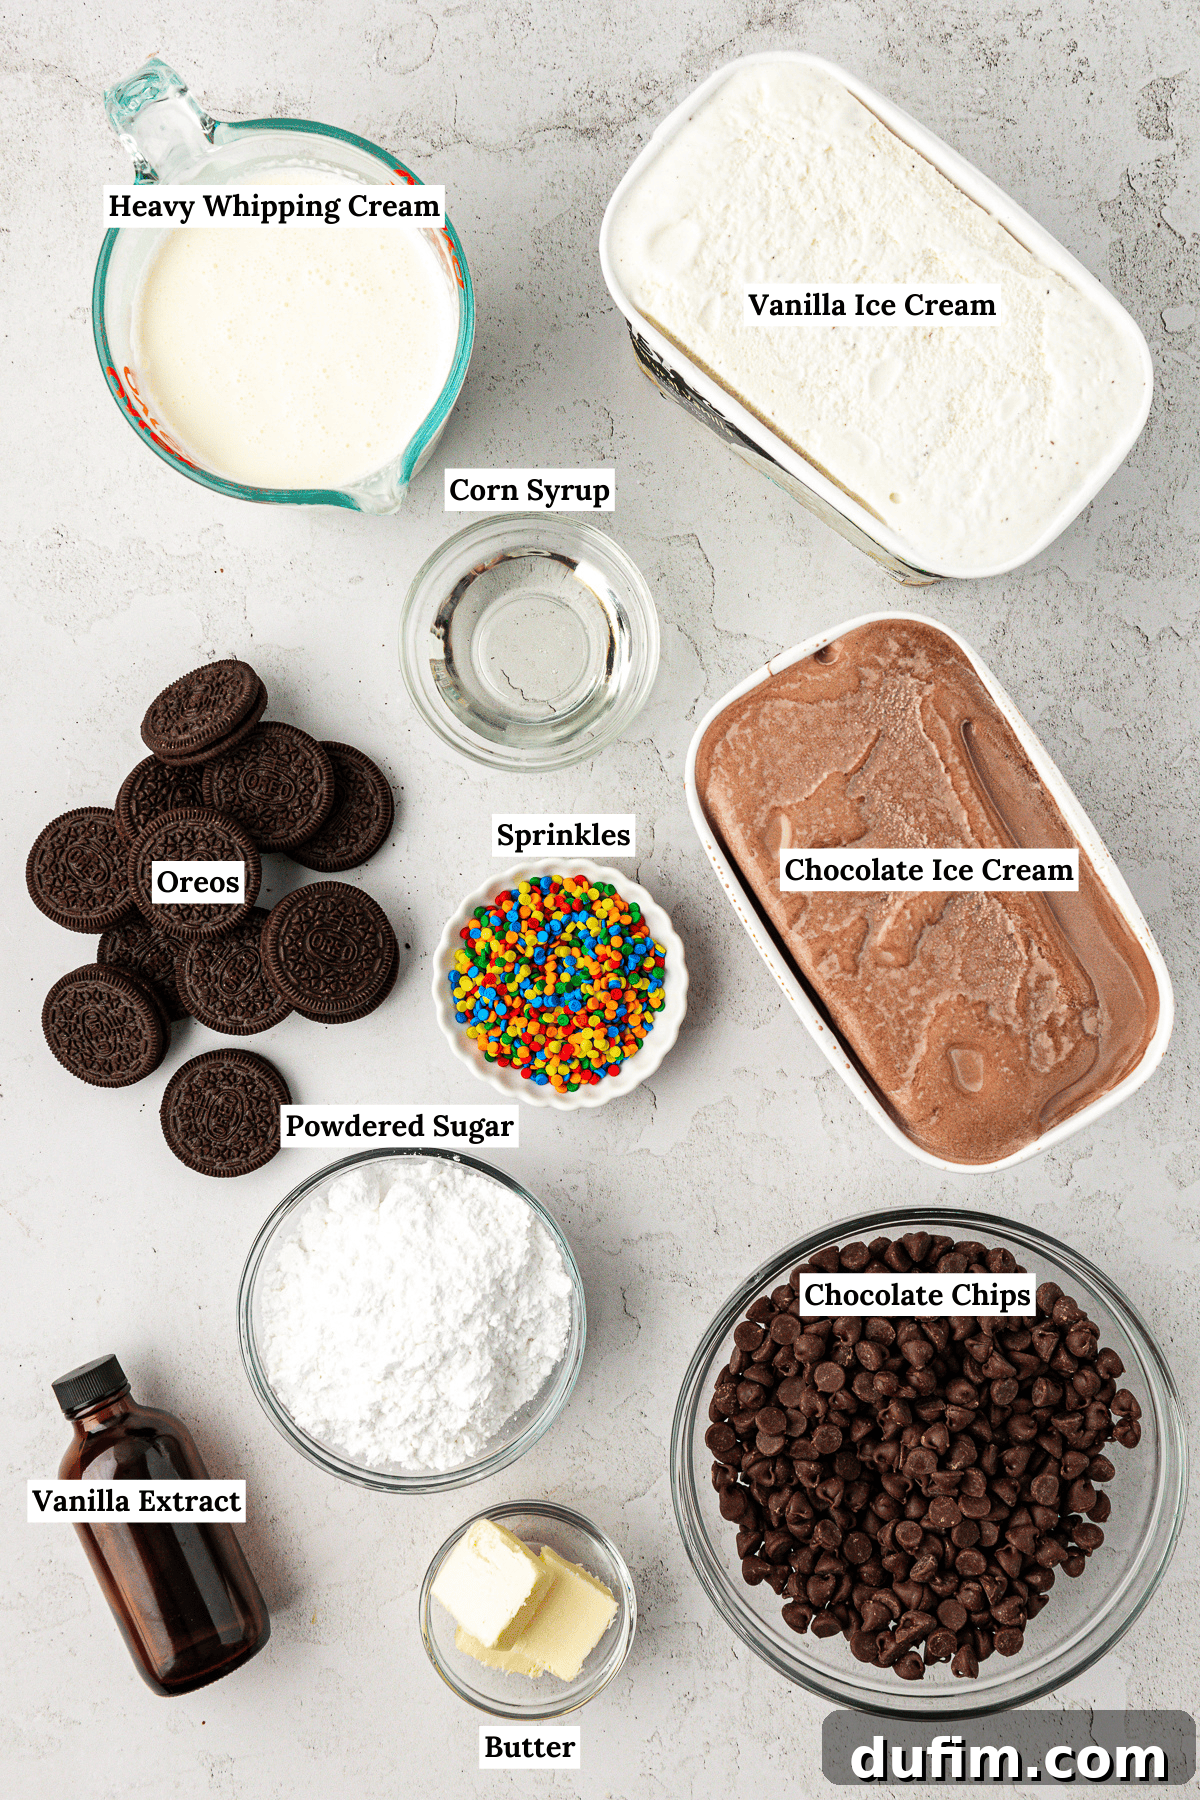
For many of us, the taste of ice cream cake instantly transports us back to joyful childhood memories, particularly cherished birthday celebrations. There’s a certain nostalgia wrapped in every creamy, crunchy bite! This particular recipe is designed to bring that nostalgic joy right into your home with an easy-to-follow approach. While the full, precise measurements and detailed instructions are provided in the recipe card below, here’s a comprehensive overview of the key ingredients you’ll need to create this irresistible Oreo ice cream cake. Sourcing quality ingredients is paramount to achieving the best flavor and texture, so choose your favorite brands for each component.
Layer 1 – Decadent Chocolate Ice Cream
- Chocolate Ice Cream: The foundation of our cake. Opt for a high-quality, full-fat chocolate ice cream for the richest flavor and creamiest texture. You can choose your favorite store-bought brand or, if you’re feeling adventurous, make your own for an extra personal touch. Ensuring it’s slightly softened before spreading is crucial for an even layer.
Layer 2 – Silky Chocolate Fudge Ganache
- Heavy Whipping Cream: This is the base for our rich ganache. Its high-fat content ensures a luscious, smooth consistency when combined with chocolate.
- Semi-Sweet Chocolate Chips: The star of the ganache. Using semi-sweet chocolate is essential here; it provides the perfect balance of sweetness and deep chocolate flavor, and its composition helps achieve the ideal, slightly firm-but-still-smooth texture once chilled. Avoid milk chocolate as it might be too sweet and less stable.
- Light Corn Syrup: A secret ingredient for a perfectly pliable ganache! Just a touch of light corn syrup helps prevent the ganache from freezing into a solid, unyielding block. It keeps it soft and fudgy, creating that irresistible texture that truly melts in your mouth.
Layer 3 – Irresistible Chocolate Crunch
- Oreo Cookies (with cream): The quintessential ingredient for our chocolate crunch layer. Crushing them with their cream filling adds an extra layer of flavor and helps bind the crumbs. This layer provides a delightful contrast to the smooth ice cream and ganache.
- Unsalted Butter (melted): Acts as the binding agent for the Oreo crumbs. Using unsalted butter allows you to control the overall saltiness of the cake.
Layer 4 – Creamy Vanilla Ice Cream
- Vanilla Ice Cream: A classic complement to the chocolate layers. Like the chocolate ice cream, choose a premium vanilla for the best flavor. Allow it to soften slightly for easy spreading and to ensure an even, beautiful layer.
The Perfect Finishing Touch: Whipped Cream Topping
No ice cream cake is complete without a crown of freshly whipped cream and a festive scattering of sprinkles. For this delightful topping, you’ll need:
- Heavy Whipping Cream: Must be very cold to whip up properly into light, airy peaks.
- Powdered Sugar: Sweetens the whipped cream and helps stabilize it, ensuring it holds its shape beautifully.
- Vanilla Extract: Enhances the flavor of the cream, adding a subtle warmth.
- Sprinkles: For that essential pop of color and celebratory feel! Choose your favorite variety to personalize your cake.
Essential Equipment for Homemade Ice Cream Cake Success
Having the right tools can make all the difference in ensuring a smooth and enjoyable baking (or rather, assembling!) experience. Here’s the key equipment you’ll need to create your magnificent layered ice cream cake:
- 8 or 9-inch Springform Pan: This is non-negotiable for easy removal of your layered cake without damaging its delicate structure. A springform pan allows the sides to be released, leaving your beautifully crafted cake intact.
- Plastic Wrap: Abundantly used for lining the pan and covering the cake during freezing. It’s crucial for preventing freezer burn and aiding in cake removal.
- Piping Bag: Optional, but highly recommended for decorating the cake with professional-looking whipped cream borders or rosettes.
- Star Tip (e.g., Ateco tip 844, Wilton 1M, 2D): If using a piping bag, a large star tip creates elegant, classic decorations that instantly elevate the cake’s presentation.
- Small Saucepan: For preparing the rich chocolate fudge ganache.
- Heat-Proof Spatula or Whisk: To stir the ganache until smooth.
- Mixing Bowls: Several bowls will be useful for combining ingredients and whipping cream. For the whipped cream, a metal or glass bowl that can be chilled is ideal.
- Electric Mixer (handheld or stand mixer): Essential for whipping the heavy cream into stiff peaks quickly and efficiently.
- Spatulas (offset and regular): For spreading the ice cream layers and ganache evenly, and for frosting the cake with whipped cream.
- Baking Sheet & Parchment Paper/Silicone Mat: For baking the Oreo crunch layer.
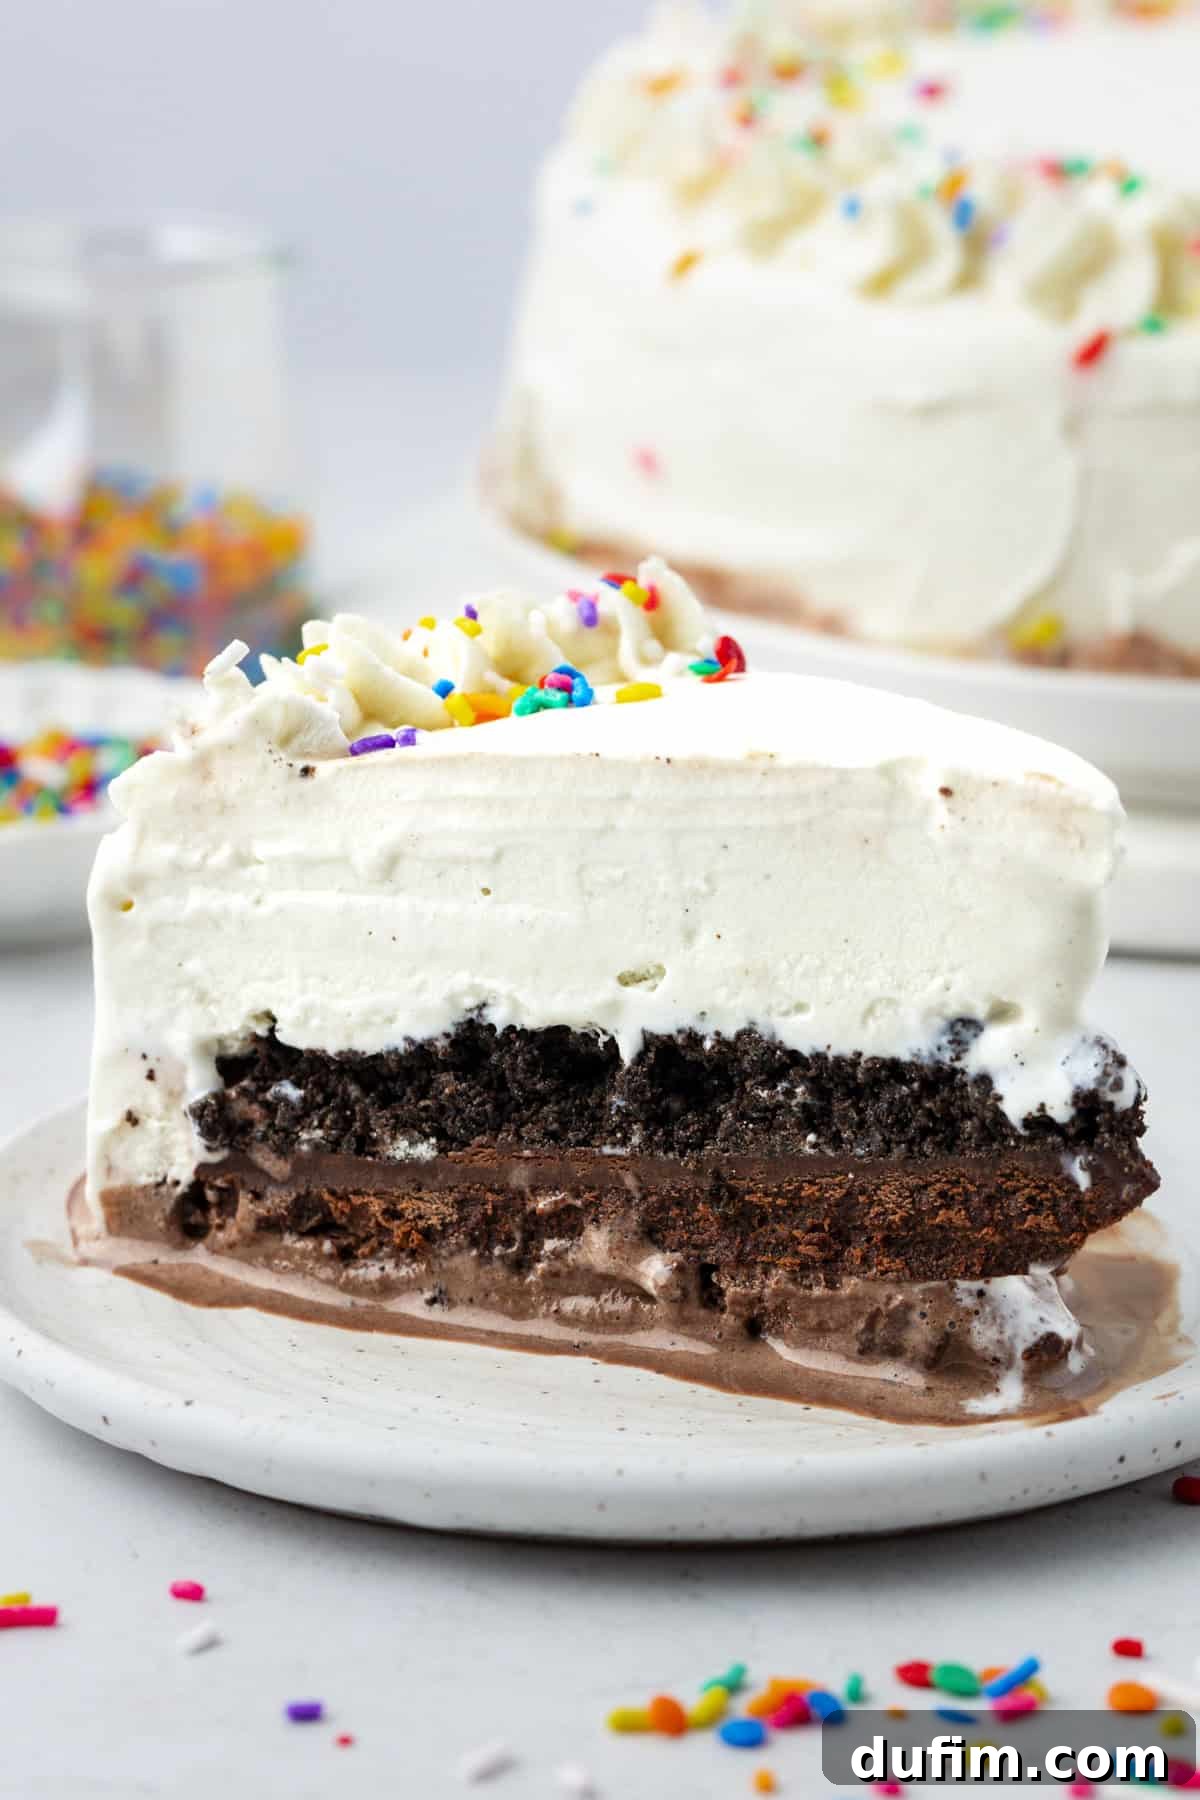
Crafting Your Masterpiece: A Step-by-Step Guide to Homemade Ice Cream Cake
Get ready to assemble a truly irresistible dessert! This recipe brings together creamy ice cream, luscious chocolate fudge sauce, and crispy cookie crumbles to create a harmonious blend of textures and flavors. Follow these 10 straightforward steps to achieve a perfectly layered, crowd-pleasing ice cream cake:
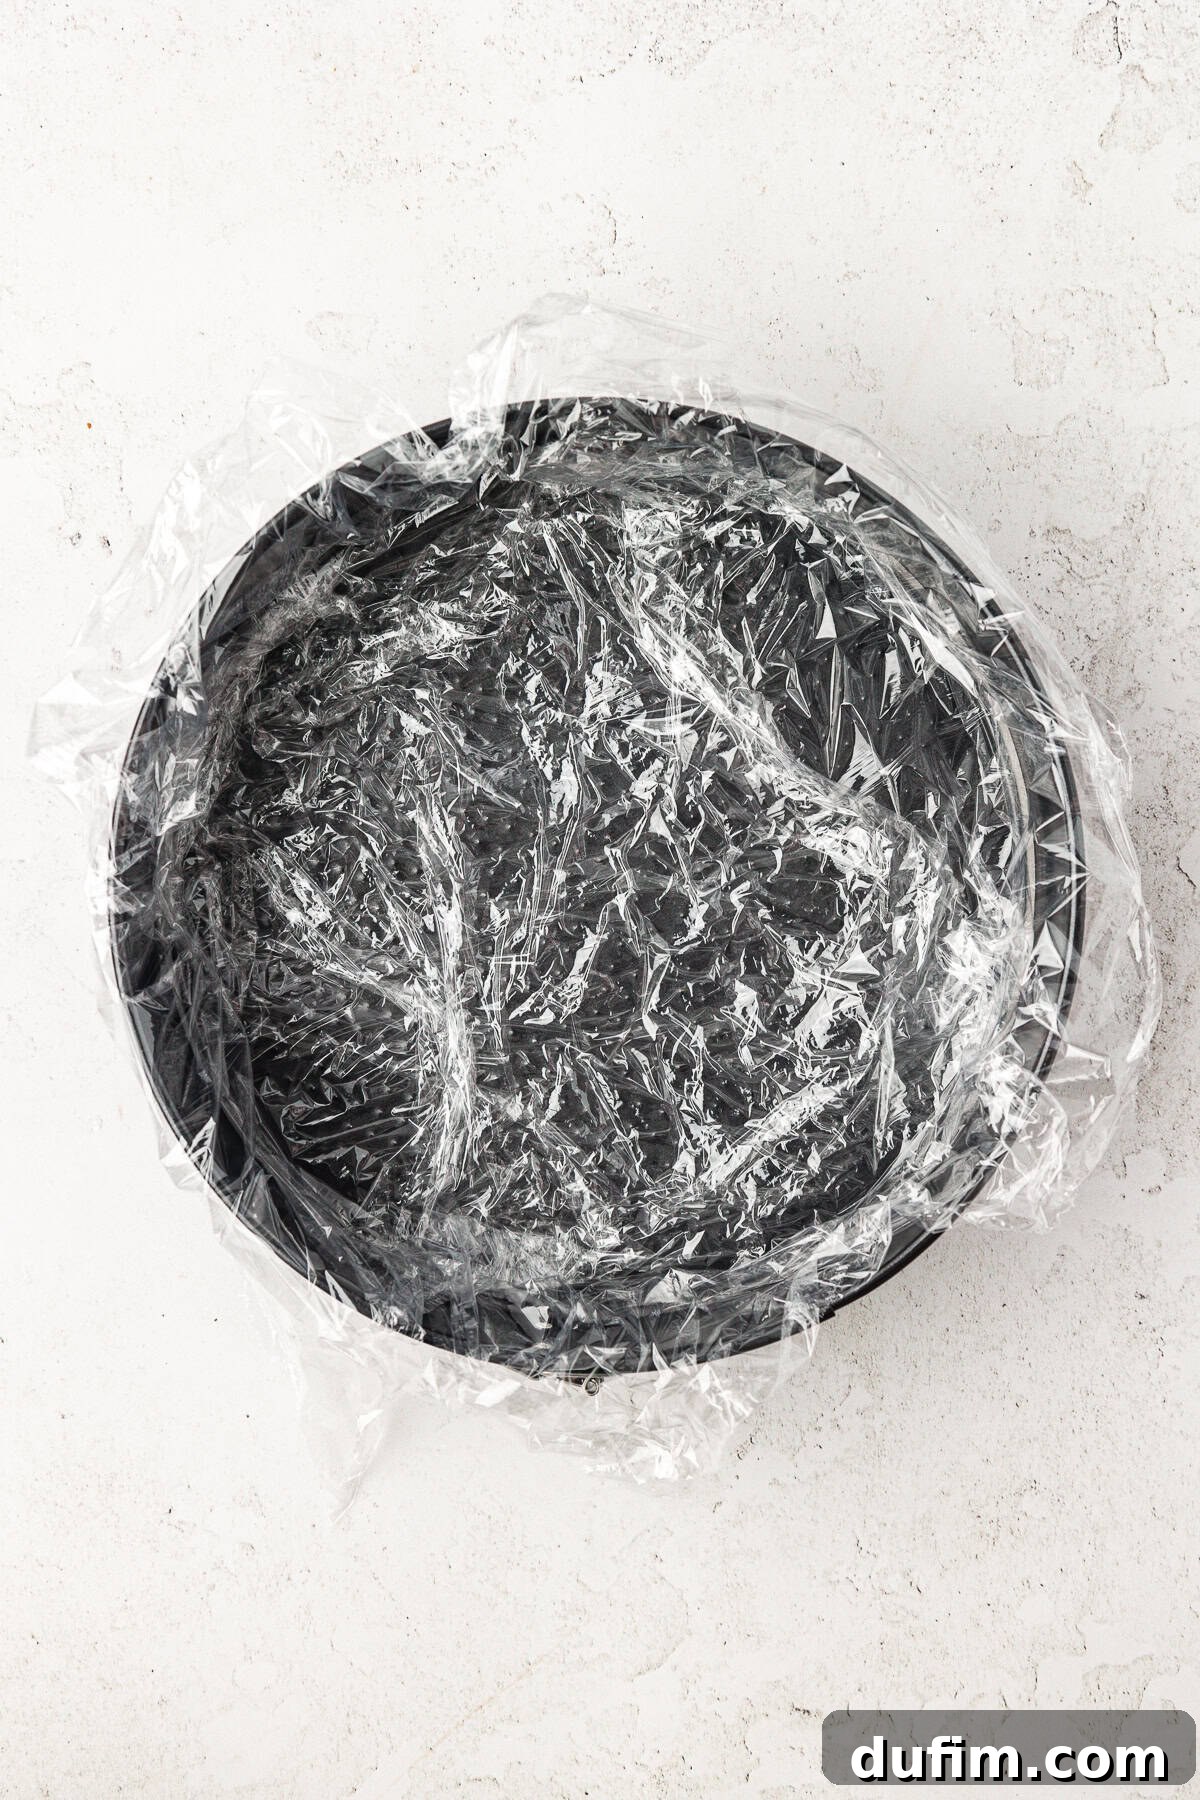
- Prepare the Springform Pan: This crucial first step ensures your beautiful cake can be easily removed. Line the bottom and sides of an 8 or 9-inch springform pan generously with plastic wrap. Make sure there’s plenty of overhang on the sides – this excess plastic wrap will serve as “handles” later, making the cake transfer process much smoother.
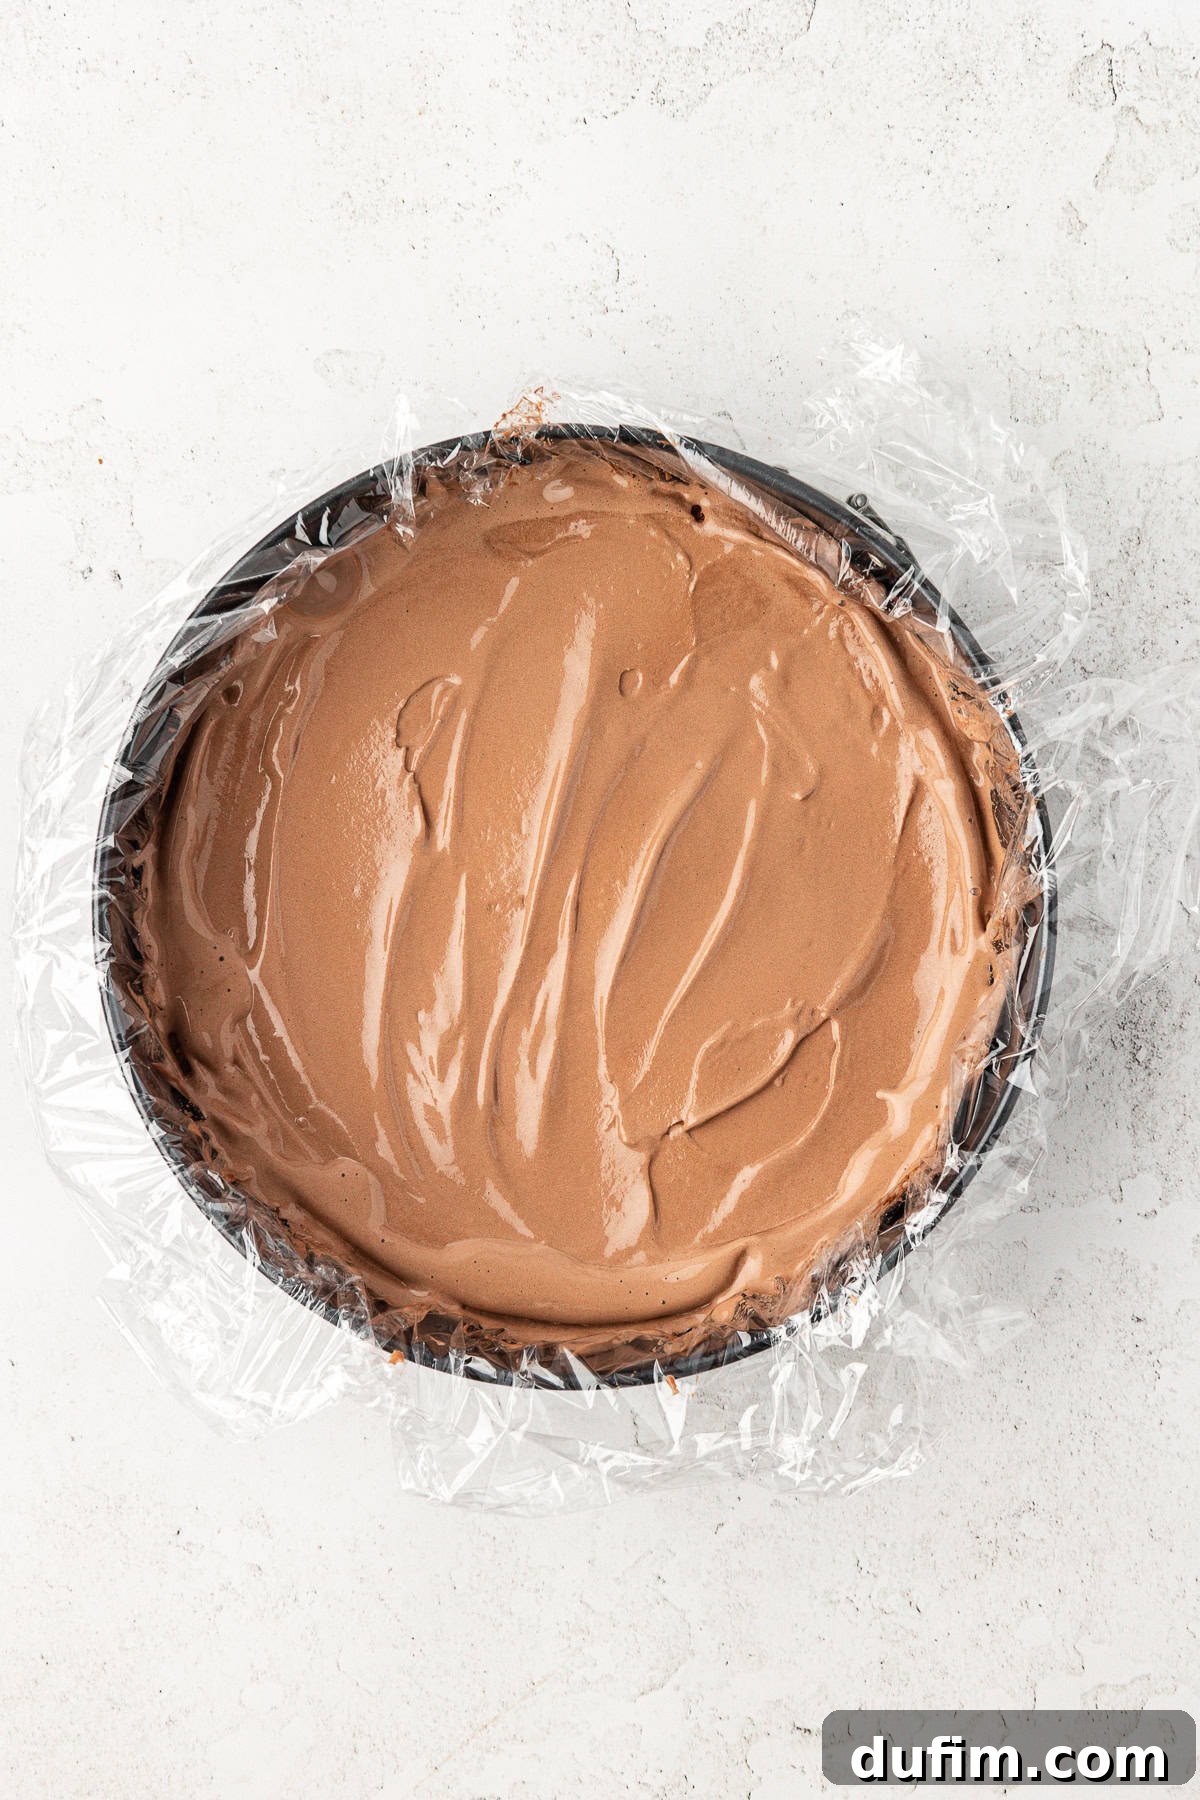
- Layer 1 – Chocolate Ice Cream Foundation: Take your chocolate ice cream out of the freezer and let it soften at room temperature for about 10-15 minutes. The goal is for it to be pliable enough to spread, but not completely melted. Once it reaches the desired consistency, scoop it into the bottom of your prepared springform pan. Using an offset spatula, spread it into an even, uniform layer, pressing gently to eliminate any air pockets. A smooth, flat surface is key for subsequent layers. Place the pan in the freezer for 30-60 minutes to allow this layer to firm up while you prepare the next delicious component.
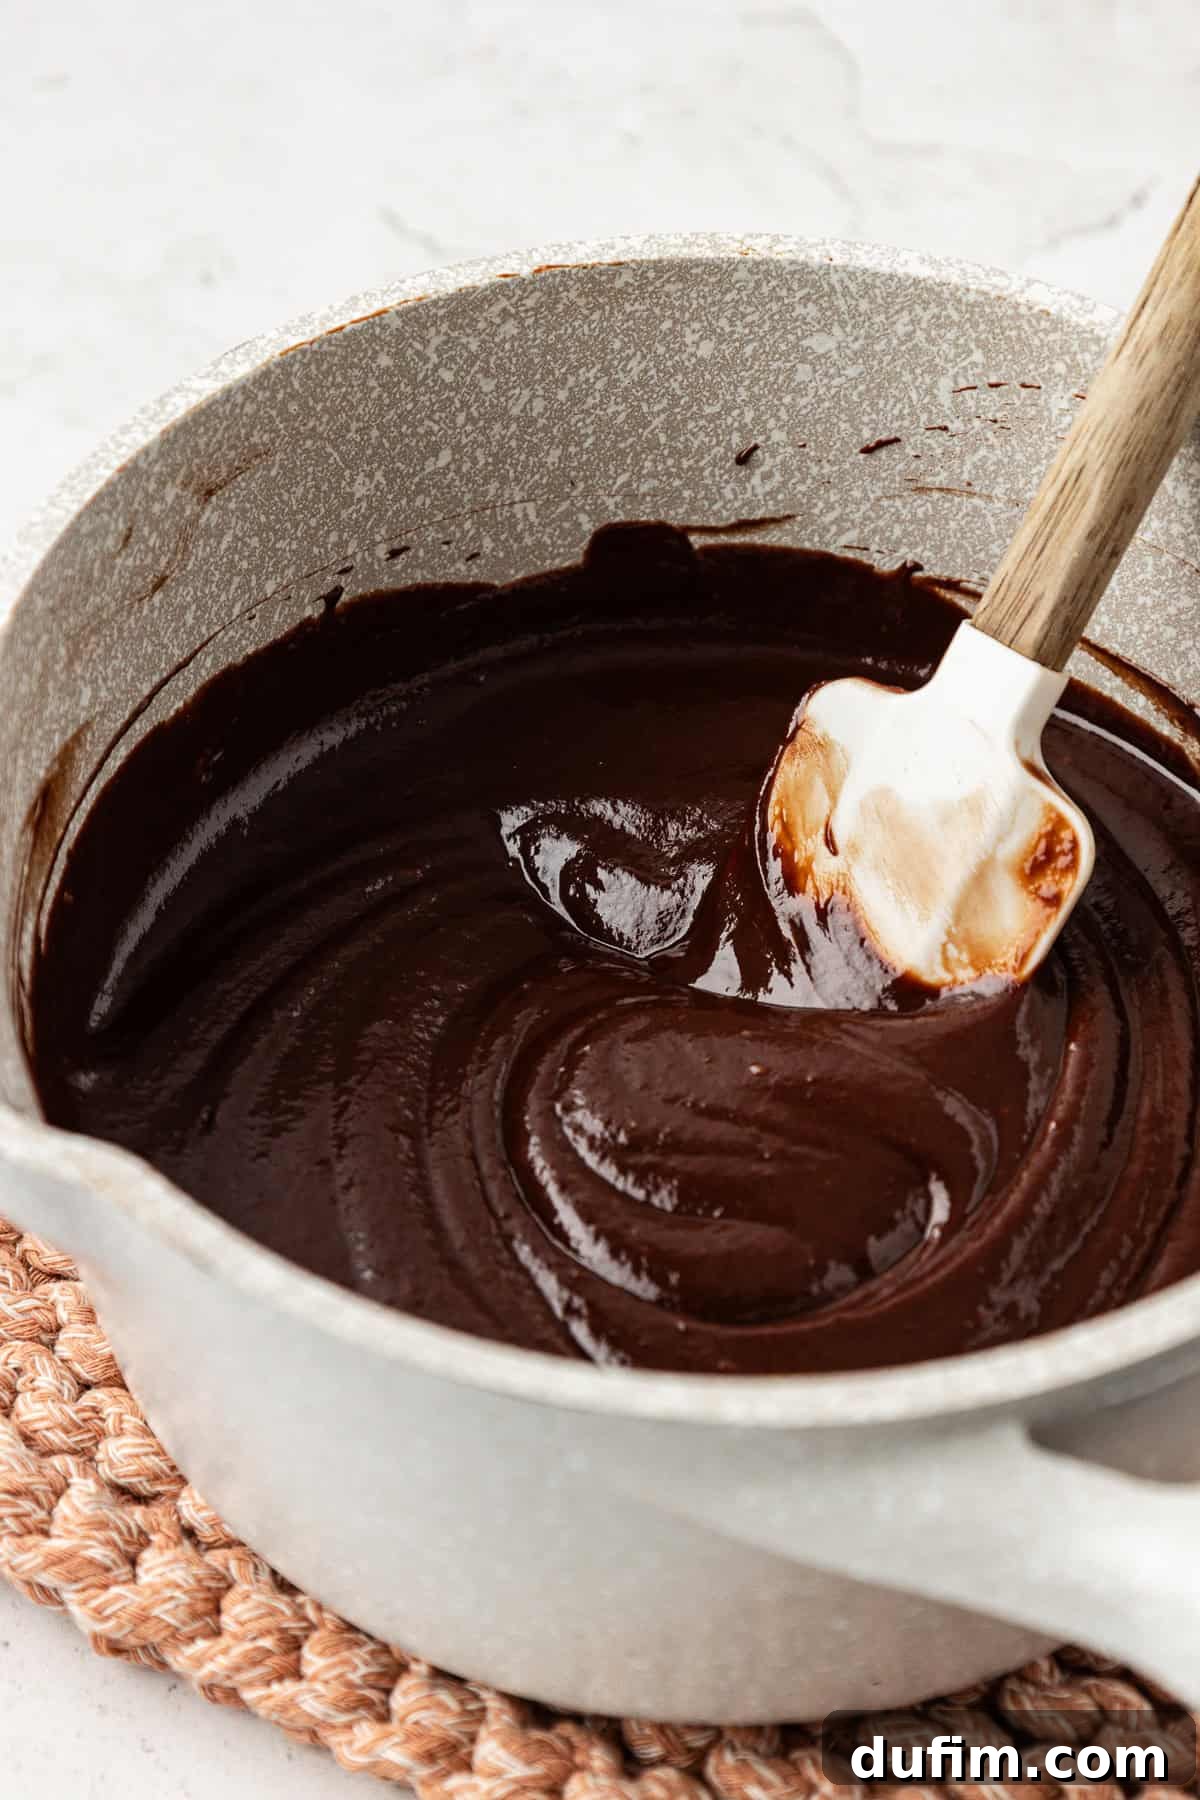
- Layer 2 – Crafting the Chocolate Fudge Ganache: In a small, heavy-bottomed saucepan, heat the heavy whipping cream over medium heat. Watch it carefully and remove it from the heat just as it begins to simmer around the edges – don’t let it boil vigorously. Immediately add the semi-sweet chocolate chips and the light corn syrup to the hot cream. Let the mixture sit undisturbed for one minute; this allows the chocolate to melt thoroughly. Then, gently stir with a spatula or whisk until the ganache is completely smooth, glossy, and well combined. It should be thick and rich. Crucially, allow the ganache to cool completely to room temperature before using it. You want it to be thick enough to spread but still pourable, not hot, as a hot ganache will melt your ice cream layer. While it cools, you can begin preparing the chocolate crunch layer.
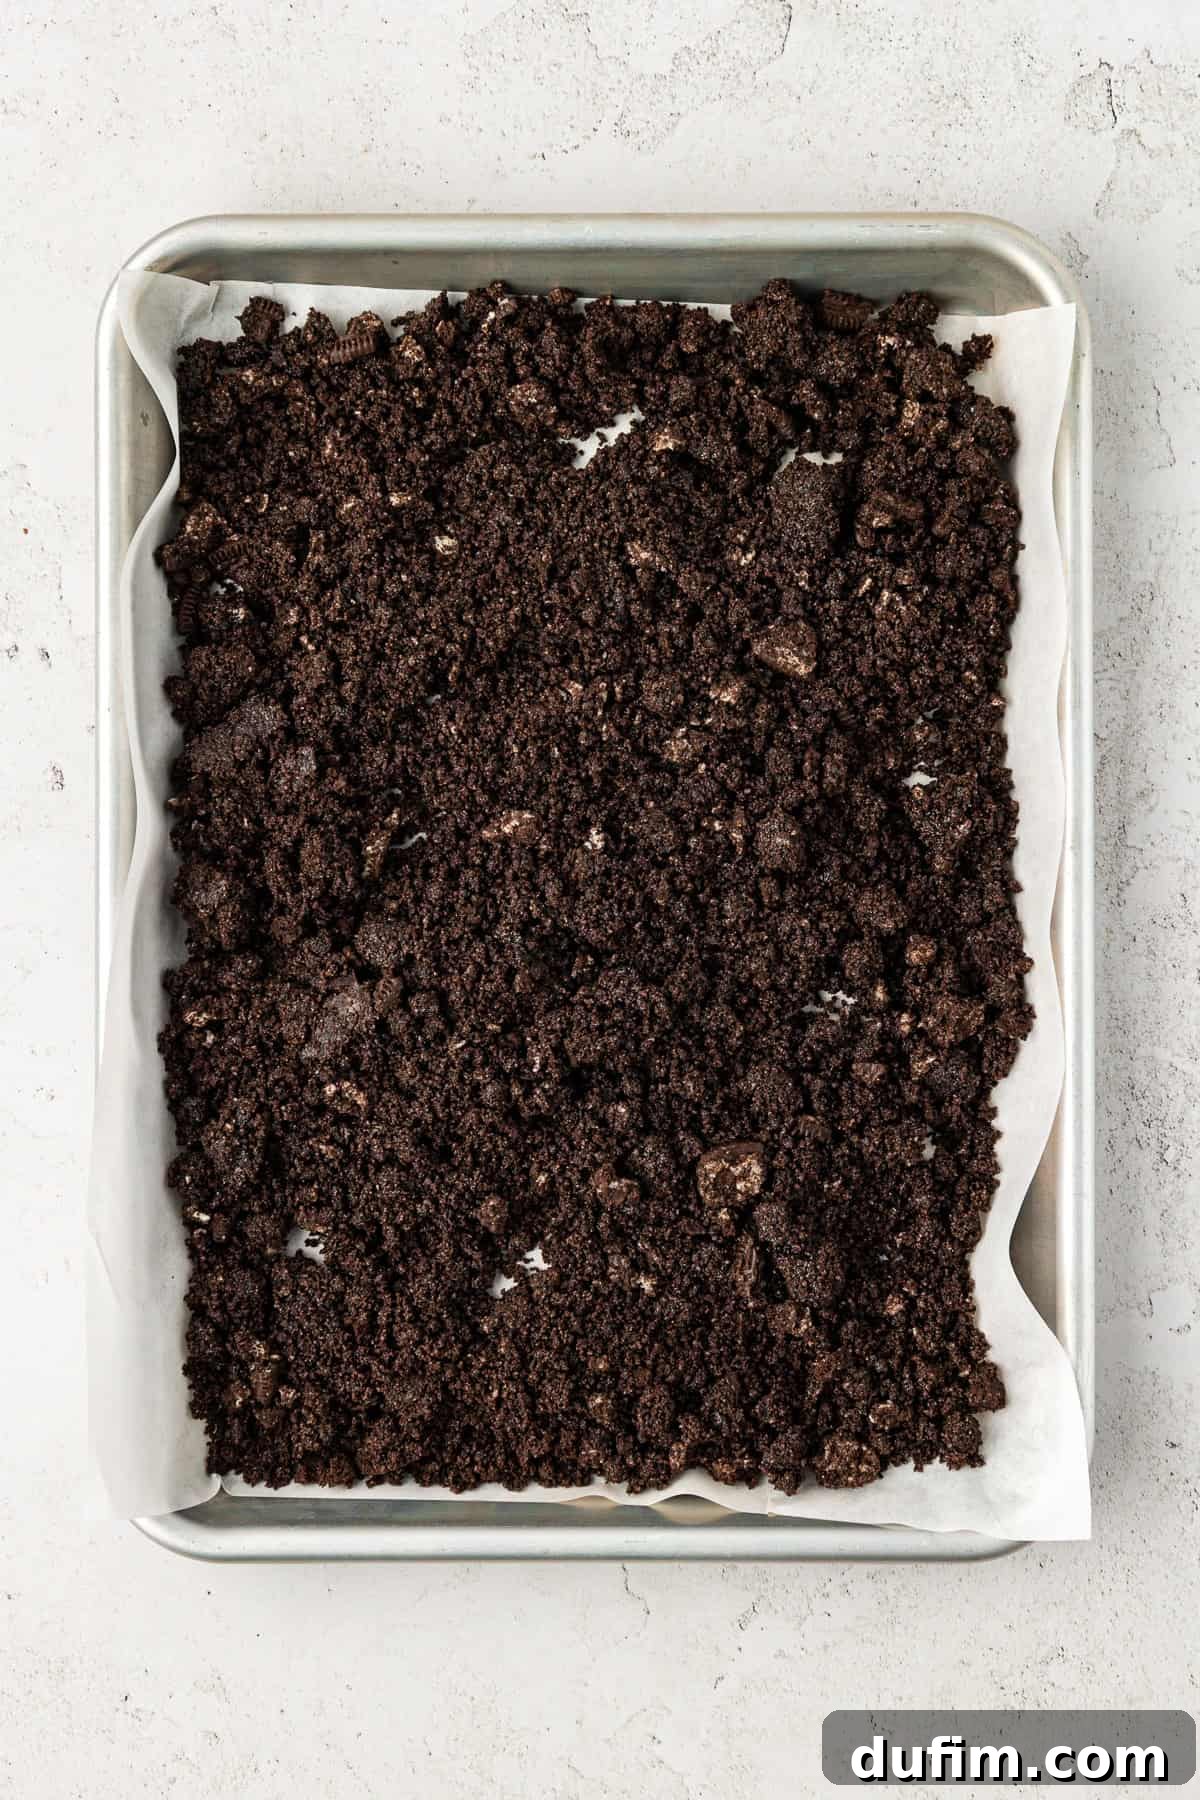
- Layer 3 – Preparing the Chocolate Crunch: In a medium bowl, combine the crushed Oreo cookies (cream filling included) with the melted unsalted butter. Mix thoroughly until all the crumbs are moistened and resemble wet sand. Spread this mixture evenly onto a baking sheet lined with a silicone mat or parchment paper. Baking the crumbs is a game-changer; it toasts them slightly, enhancing their flavor and ensuring they remain crispy even when frozen. Bake in a preheated oven at 350ºF (175ºC) for 8-10 minutes, or until the crumbs are lightly toasted and fragrant. Remove from the oven and allow them to cool completely. This step is vital – warm crumbs will melt your ice cream layers!
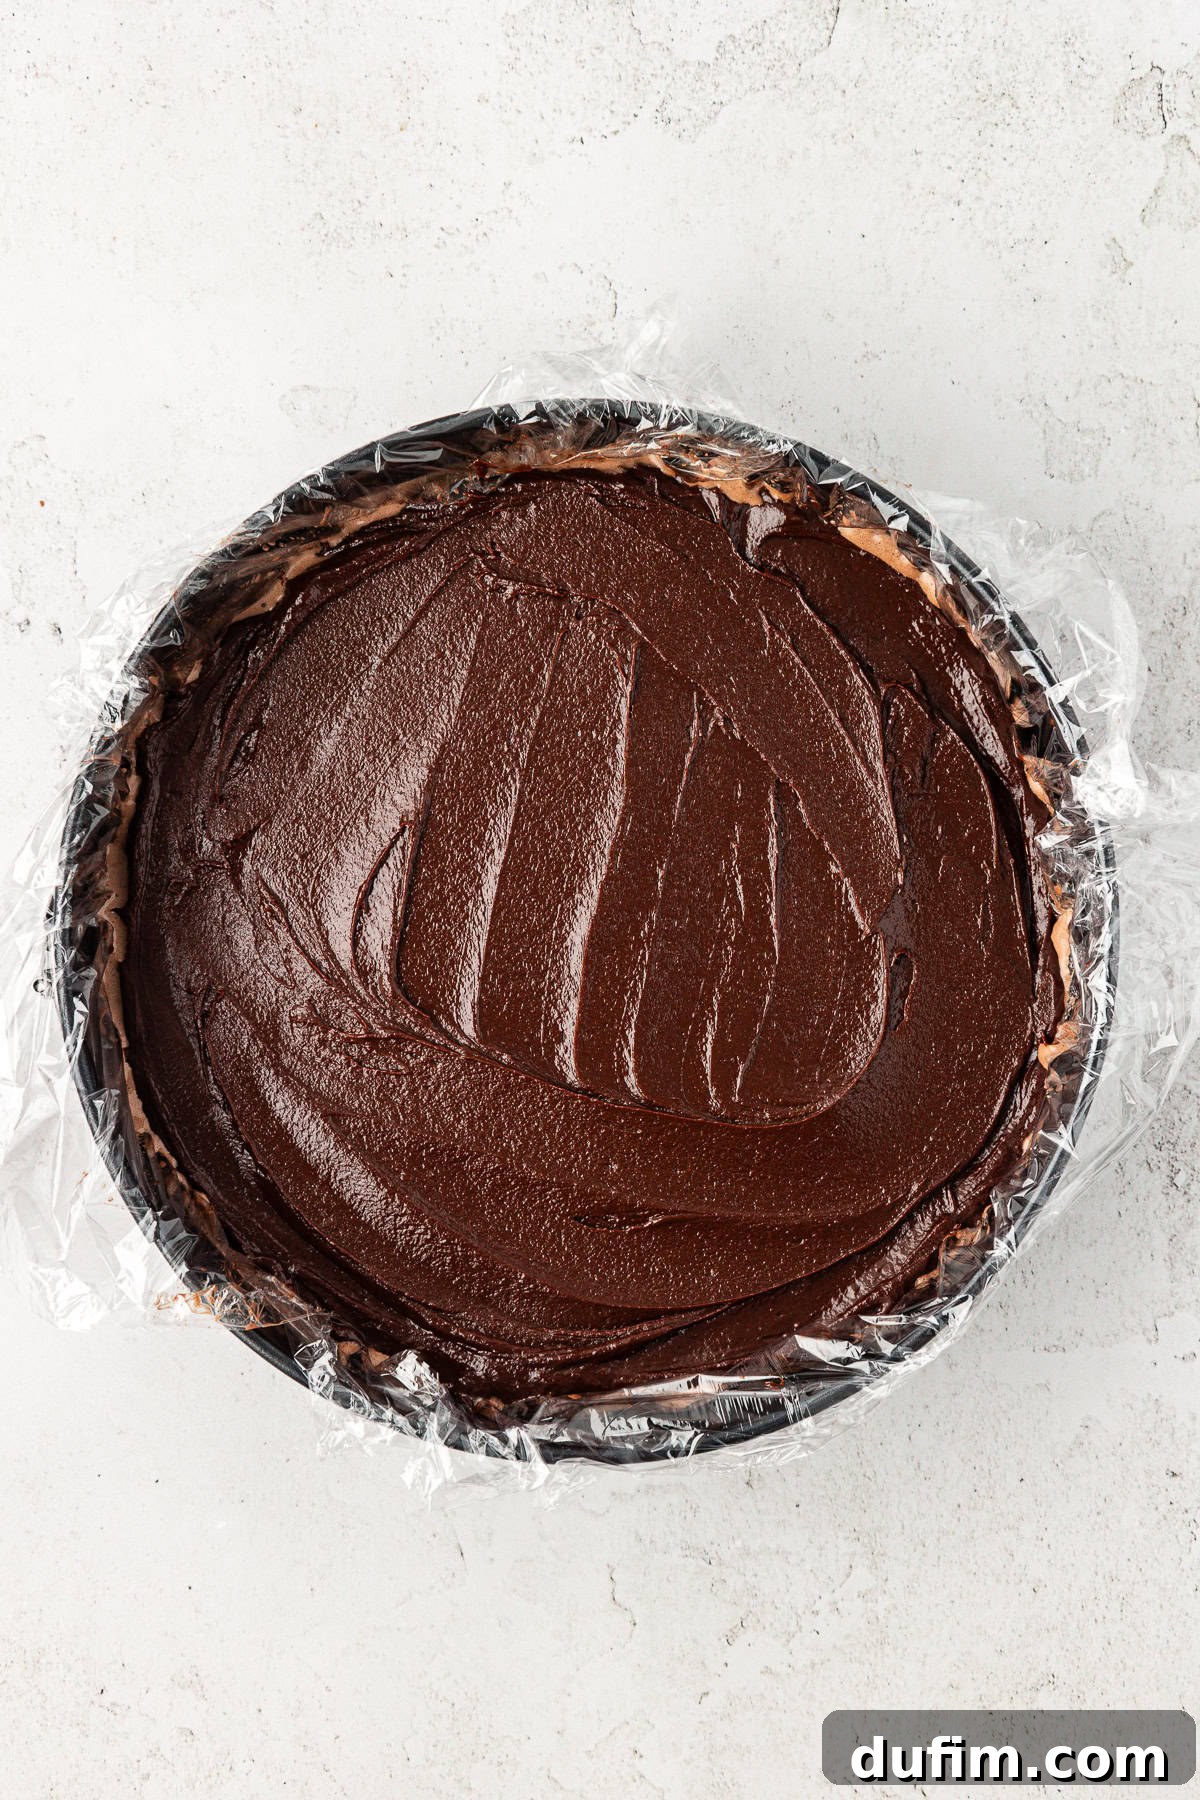
- Completing Layer 2 – Applying the Chocolate Fudge Ganache: Once your chocolate ice cream layer is firm from the freezer and the ganache has cooled to room temperature and thickened, carefully pour or spread the ganache evenly over the chocolate ice cream. Use a spatula to gently smooth the surface, ensuring a consistent layer across the entire cake. Work relatively quickly to minimize the time the ice cream is out of the freezer.
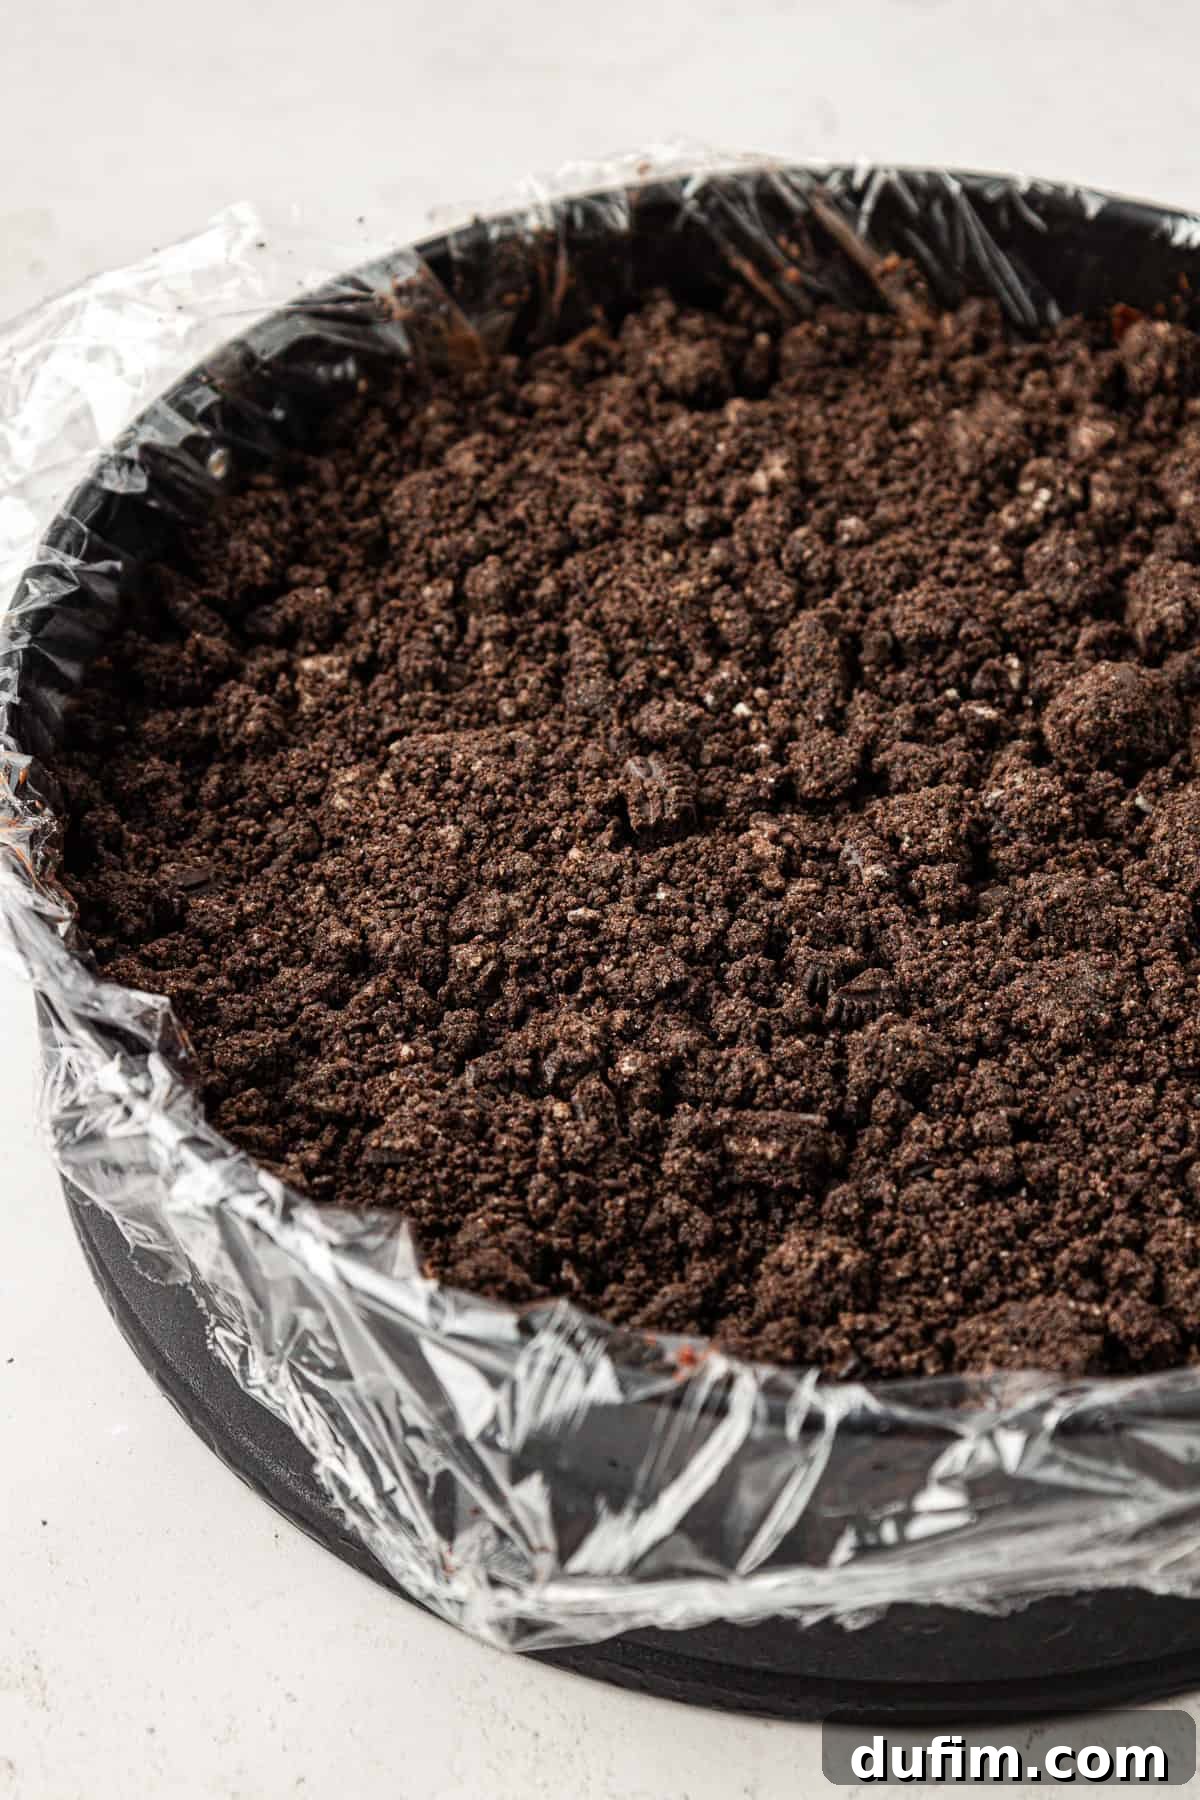
- Completing Layer 3 – Adding the Chocolate Crunch: Now, evenly sprinkle the cooled chocolate crunch mixture over the newly applied chocolate fudge ganache layer. Gently press it down with the back of a spoon or your hand to ensure it adheres to the ganache. Cover the pan tightly with plastic wrap and return it to the freezer for a minimum of 2 hours. This freezing time is critical for the layers to set properly, preventing them from mixing when the next layer is added.
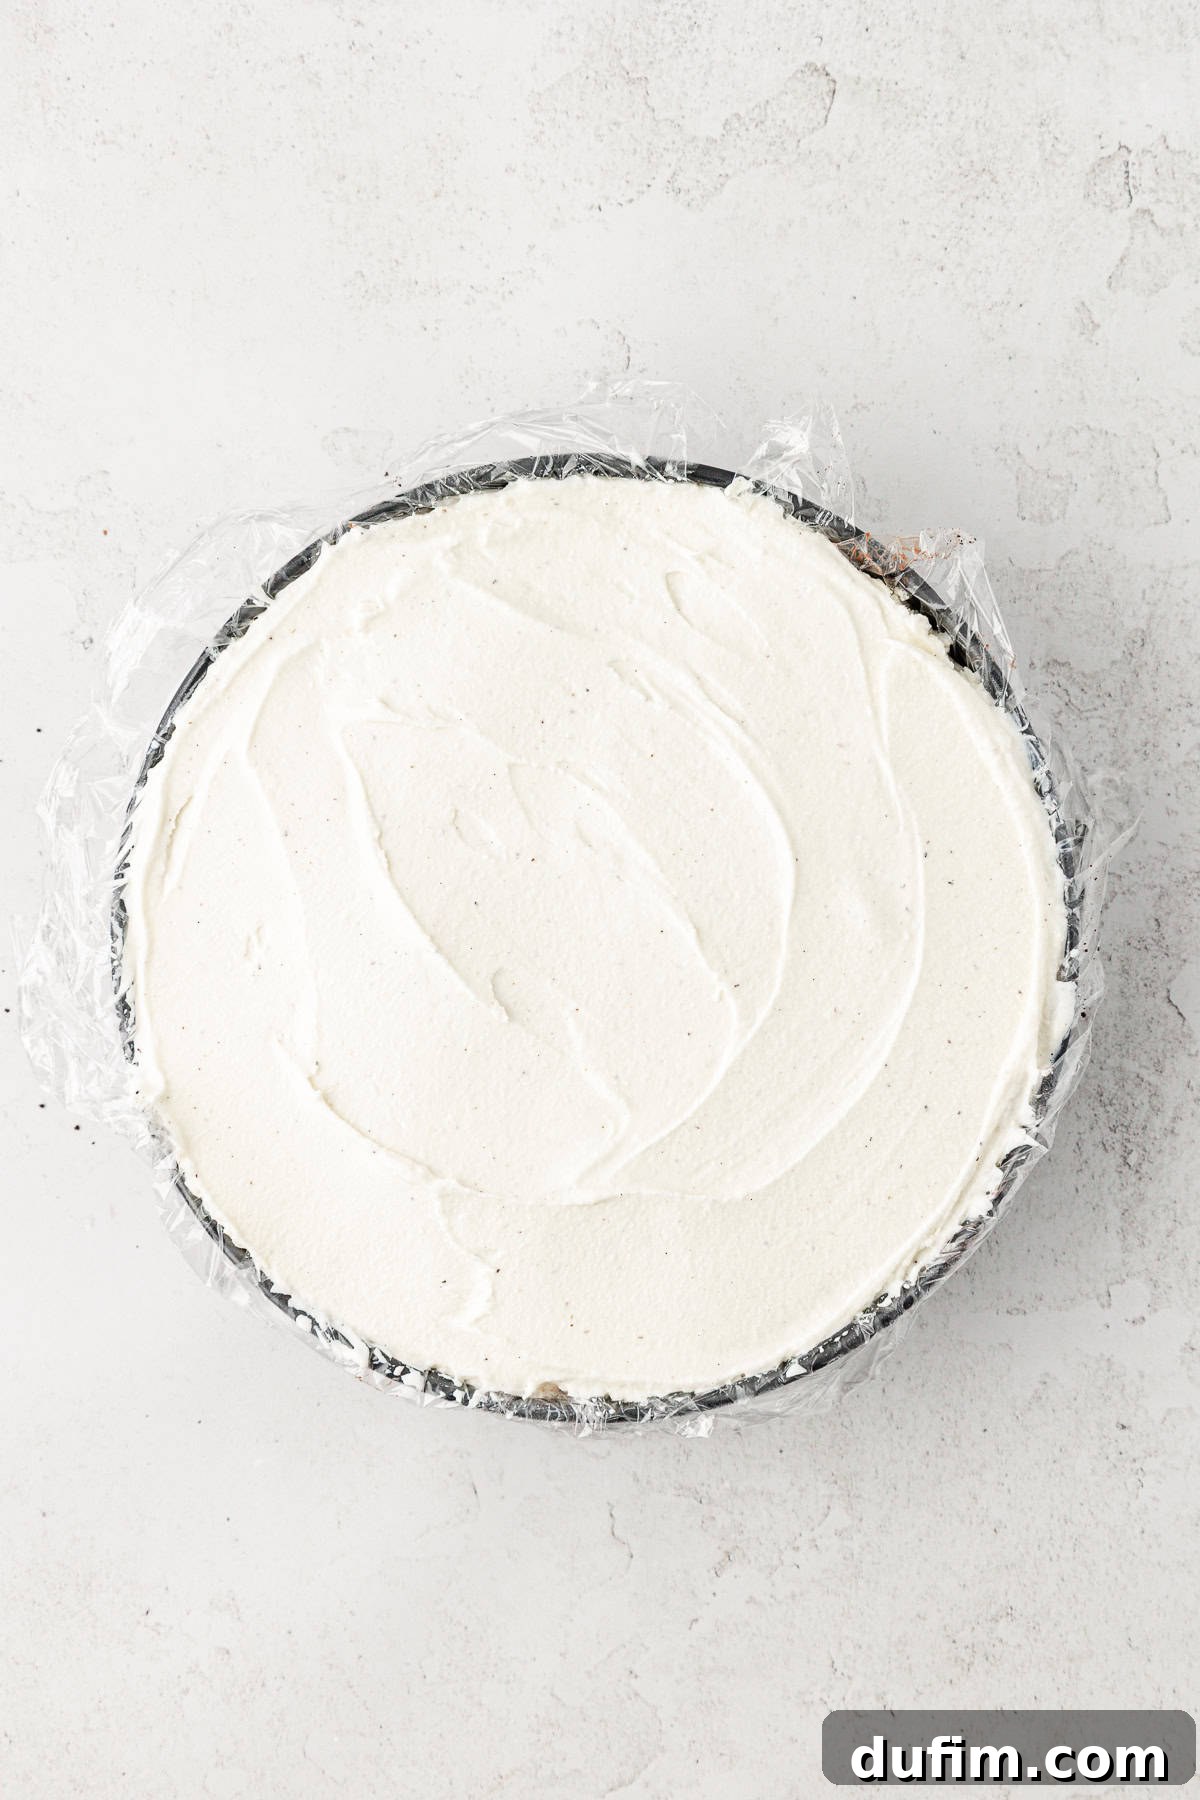
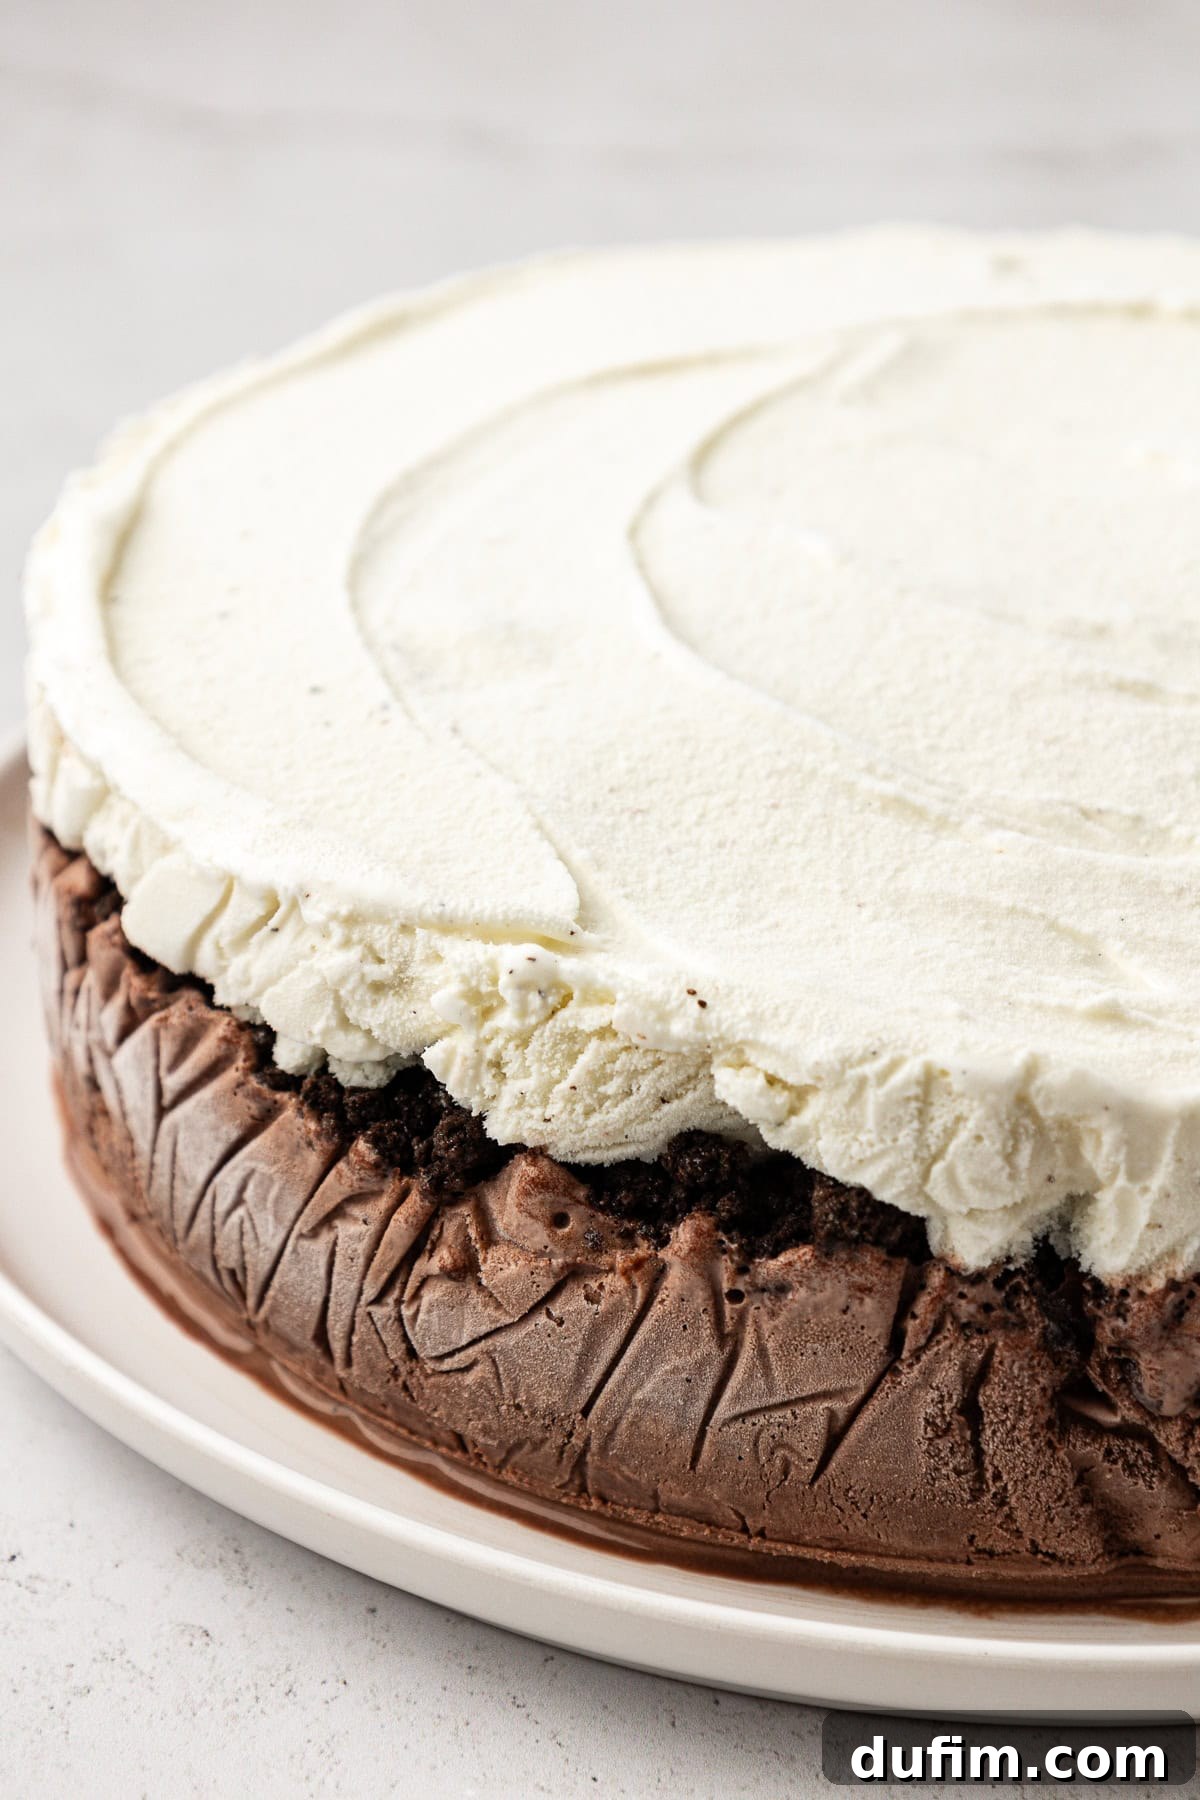
- Layer 4 – The Creamy Vanilla Ice Cream Top: Remove the vanilla ice cream from the freezer and allow it to soften at room temperature for 10-15 minutes, just as you did with the chocolate ice cream. It should be soft enough to spread easily but not liquid. Carefully spread the softened vanilla ice cream evenly over the firm chocolate crunch layer. Use your spatula to create a smooth, appealing top surface. Once spread, cover the pan again with plastic wrap and return the cake to the freezer. This is the longest freezing period, allowing the entire cake to become completely solid and structurally sound. Ideally, freeze for at least 4-6 hours, or even better, overnight. Patience here is rewarded with a perfect cake!
- Releasing the Cake: Once the cake is completely frozen solid, remove it from the freezer. Carefully unlatch the springform pan and gently remove the outer ring. Use the overhanging plastic wrap to lift the cake from the base of the springform pan. Transfer the cake onto a sturdy cardboard cake circle or your chosen serving plate. Immediately return the cake to the freezer while you prepare the final, beautiful whipped topping. This ensures the cake stays frozen and firm.
- Creating the Fluffy Whipped Topping: For the best whipped cream, start by chilling a metal or glass mixing bowl and your electric mixer beaters in the freezer for about 15 minutes. This helps the cream whip up faster and holds its shape longer. Remove the chilled bowl and beaters from the freezer. Pour in the cold heavy cream, powdered sugar, and vanilla extract. Beat with an electric mixer on high speed for 4-5 minutes, or until stiff peaks form and the whipped cream is scoopable and holds its shape without collapsing. Using an offset spatula, frost the entire cake (sides and top) with a generous layer of this delicious whipped cream. For an extra touch of elegance, transfer some whipped cream to a piping bag fitted with a star tip and decorate the edges of the cake with beautiful rosettes or a decorative border. Finally, scatter your favorite sprinkles generously over the top. Return the decorated cake to the freezer for an additional 1-2 hours to allow the whipped cream to set and firm up before serving.
- Serve and Enjoy! When you’re ready to serve your magnificent homemade ice cream cake, take it out of the freezer and let it sit at room temperature for about 5-10 minutes. This brief thawing period will slightly soften the ice cream, making it much easier to slice into clean, beautiful portions. Then, cut, serve, and bask in the compliments!
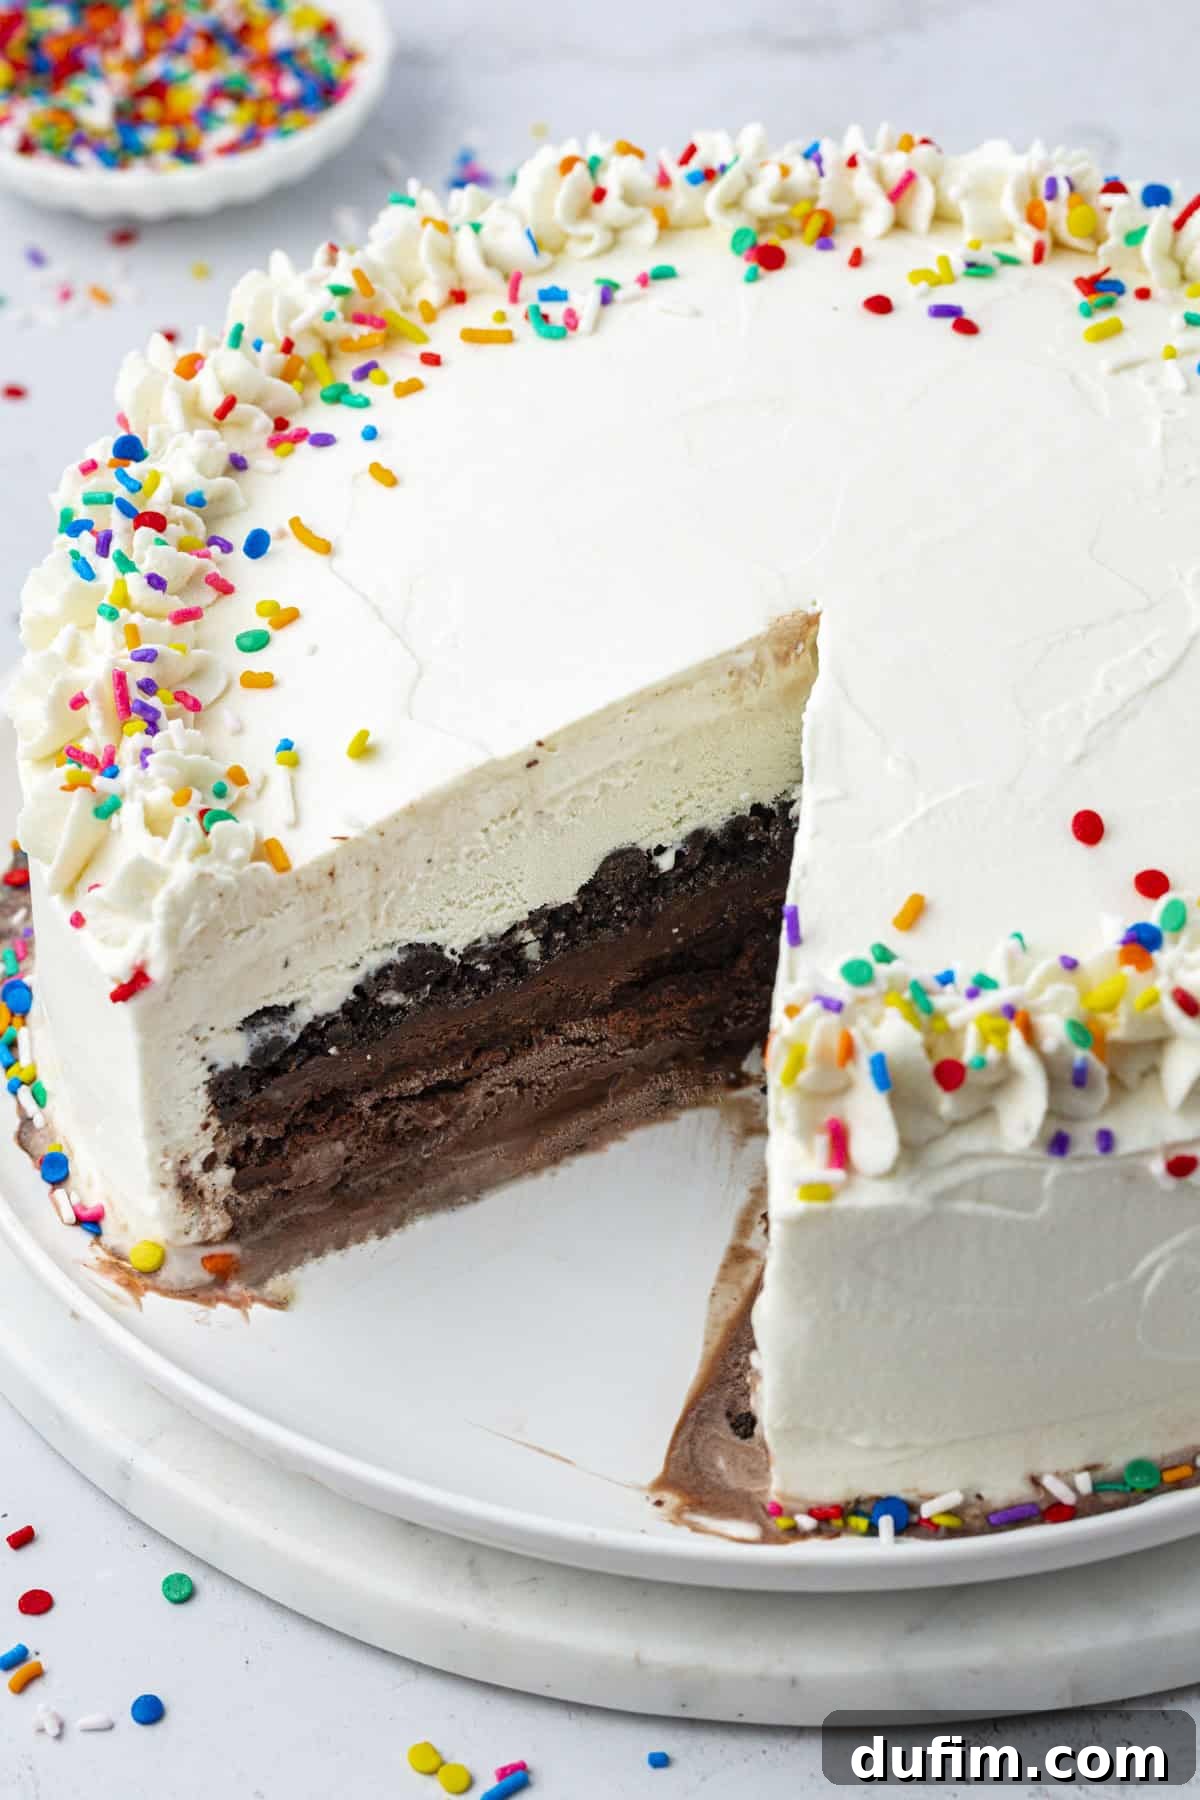
Expert Tips for a Flawless Homemade Ice Cream Cake
Through countless iterations of this recipe, I’ve gathered a collection of tips and tricks that will ensure your ice cream cake is a resounding success every single time. Paying attention to these details will help you avoid common issues and achieve a professional-looking and tasting dessert:
- Optimal Kitchen Environment: Temperature is your biggest ally (or enemy!) when making an ice cream cake. Plan to make your cake when your kitchen is cool. If you’ve just been baking or cooking, allow your kitchen to cool down significantly. A colder environment means the ice cream will soften slower, giving you more time to work without it melting excessively. Also, ensure you have ample space cleared in your freezer beforehand, as you’ll be returning the cake to freeze between each layer.
- Generous Pan Lining is Key: Don’t skimp on the plastic wrap! When lining your springform pan, let the plastic wrap extend several inches over the sides. These generous overhangs will act as convenient “handles” later, allowing you to easily lift the entire cake out of the pan and transfer it to a serving plate without any fuss or risk of breakage.
- Perfectly Softened Ice Cream: The consistency of your ice cream layers is critical. If it’s too hard, it will be impossible to spread evenly without damaging previous layers. If it’s too soft or melted, your layers will blend and won’t set cleanly. Aim for a consistency similar to soft-serve ice cream. Typically, 10-15 minutes at room temperature is sufficient, but this can vary based on your kitchen temperature and the initial hardness of the ice cream. Use an offset spatula for the smoothest finish.
- Cool the Chocolate Crunch Completely: This is a non-negotiable step! After baking your Oreo crunch layer, allow it to cool entirely to room temperature. Adding warm or even slightly warm crumbs to your ice cream or ganache layers will cause them to melt, ruining the distinct layering and potentially creating a messy outcome. Patience here ensures that delightful crunchy texture.
- Achieving Clean Slices: For presentation-perfect slices, take the cake out of the freezer and let it rest at room temperature for 5-10 minutes before cutting. This slight thaw makes the ice cream easier to cut through. For truly clean cuts, dip a sharp knife into hot water, wipe it dry, and then slice. Repeat this process for each cut. This technique warms the knife just enough to glide through the frozen layers cleanly.
- Proper Storage for Longevity: To prevent dreaded freezer burn, which can compromise both the texture and flavor of your ice cream cake, ensure it is wrapped extremely tightly. After the whipped cream has set, wrap the entire cake in several layers of plastic wrap, pressing out as much air as possible. For extra protection, you can then place it in an airtight container or a large freezer bag. Proper wrapping seals out air, keeping your cake fresh and delicious for weeks.
- Work Quickly Between Layers: While softening ice cream and cooling ganache are important, once you start assembling, work as efficiently as possible. Minimize the time the cake spends out of the freezer to maintain the integrity of each layer and prevent unnecessary melting.
- Leveling is Important: Use a flat spatula to ensure each layer of ice cream and ganache is as level as possible. This creates a visually appealing cake with distinct, uniform layers.
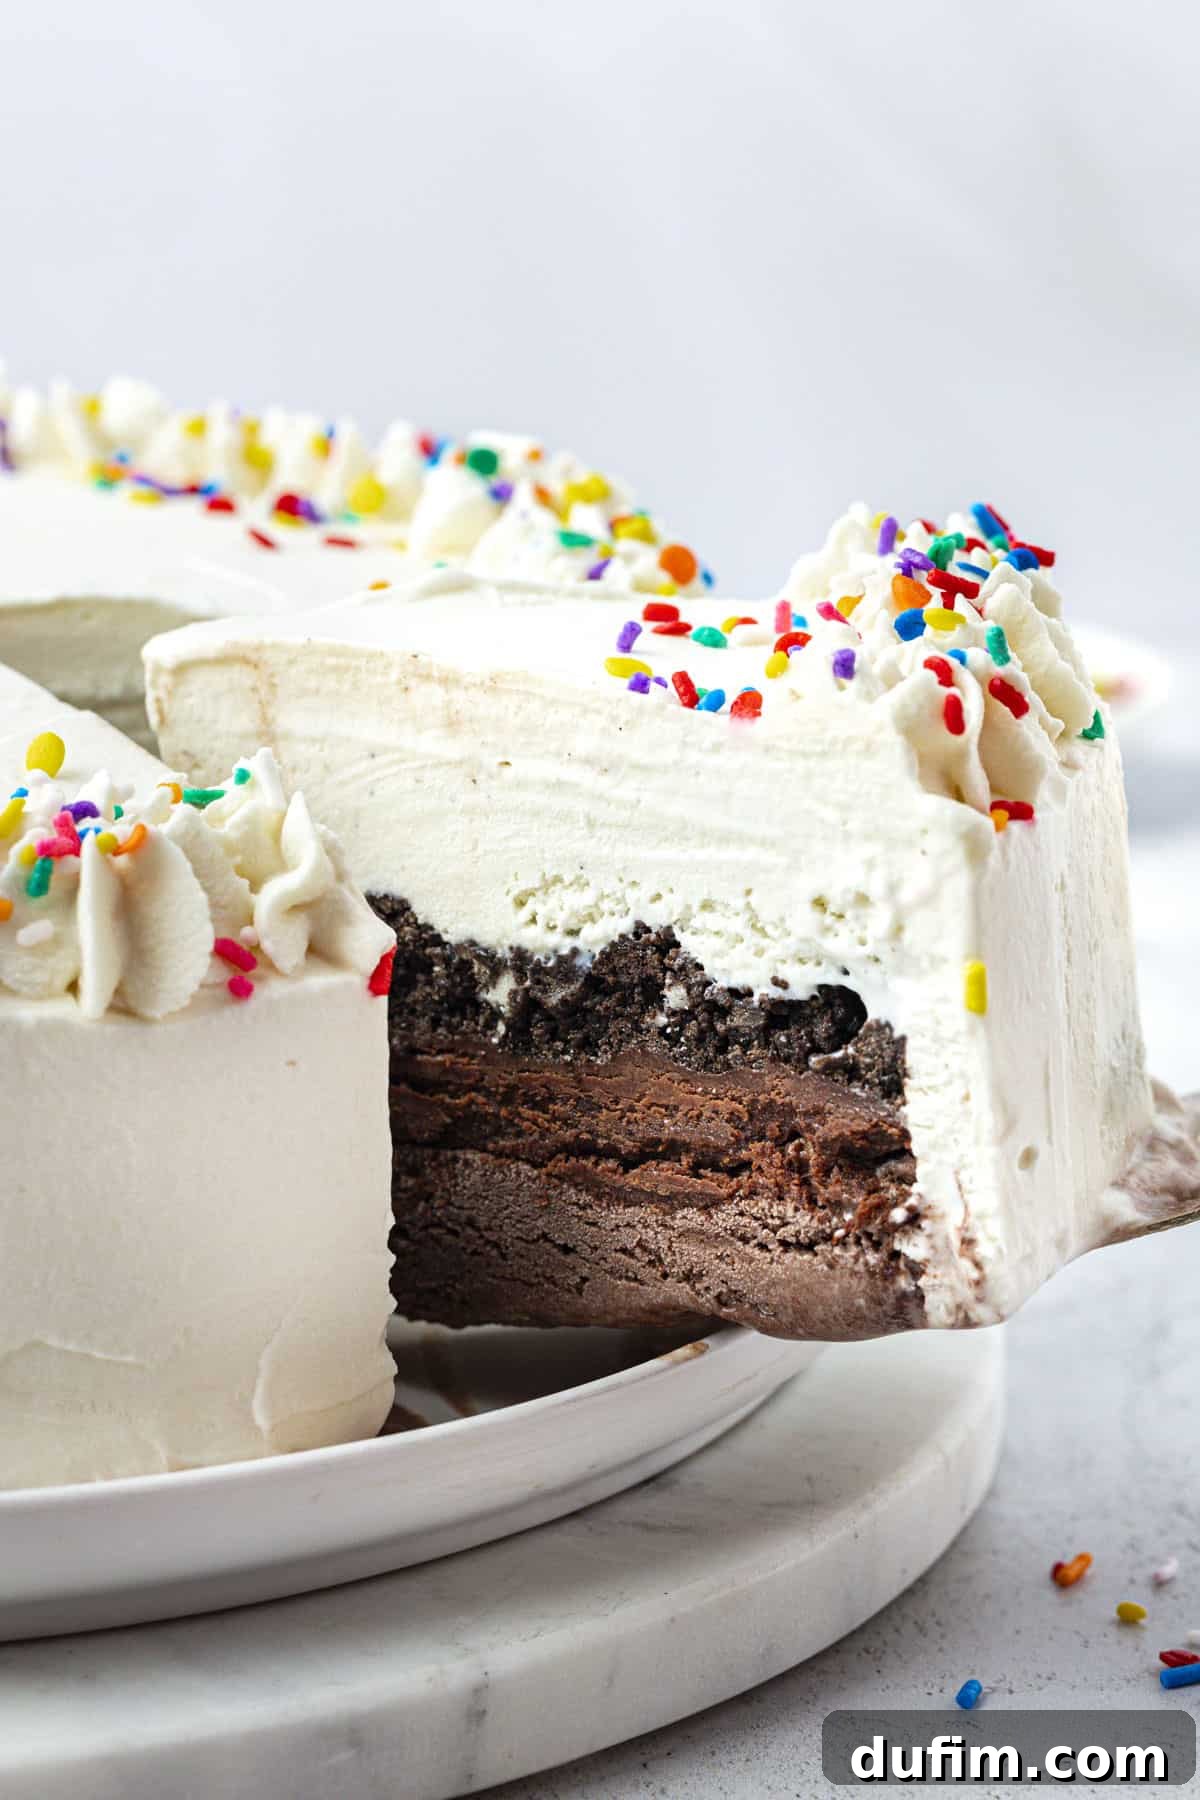
Exciting Variations for Your Ice Cream Cake
One of the joys of making desserts at home is the freedom to customize and experiment! This ice cream cake recipe serves as a fantastic base for endless flavor combinations. Here are some creative ideas to inspire your next ice cream cake adventure, allowing you to tailor it to any taste preference or occasion:
- Explore a World of Ice Cream Flavors: The beauty of this recipe lies in its adaptability. Instead of classic chocolate and vanilla, let your imagination run wild! Use any of your favorite store-bought ice cream flavors. Think beyond the ordinary – mint chip, strawberry swirl, coffee, or even pistachio. If you’re keen on making your own, check out my recipes for birthday cake ice cream, cookie monster ice cream, or strawberry cheesecake ice cream for unique homemade options.
- Introduce a Traditional Cake Layer: While this recipe intentionally omits a cake layer to prevent sogginess, some prefer the classic combination. If you’re among them, you can easily adapt! Bake a 9-inch layer of your favorite cake (chocolate, vanilla, or even red velvet would be divine) and use it as the very bottom layer in your springform pan. Then, proceed with the chocolate fudge ganache layer and the rest of the steps as written. Just be mindful of potential texture changes when frozen.
- Innovative Cookie and Sauce Swaps: The chocolate fudge ganache and Oreo crunch are undeniably delicious, but they’re just starting points! The middle layers are ripe for creative substitutions. Here are some fantastic ideas to completely transform your cake’s flavor profile:
- Crumbled Chocolate Chip Cookies: For a comforting, classic cookie flavor.
- Crushed Reese’s Peanut Butter Cups: If you love the chocolate-peanut butter combo, this is a must-try.
- Crumbled Peanut Butter Cookies: A delightful nutty crunch.
- Crushed/Chopped Brownies: For an extra fudgy, cake-like texture in the middle.
- Crumbled Thin Mint Cookies: Perfect for a refreshing mint-chocolate twist.
- Butterscotch Sauce: A rich, buttery alternative to chocolate ganache.
- Caramel or Salted Caramel Sauce: Adds a sophisticated, sweet-and-salty depth.
- Pretzels: For a salty-sweet crunch that pairs wonderfully with chocolate.
- Graham Cracker Crumbs: A classic base that can mimic a cheesecake crust.
- Chopped Nuts: Pecans, walnuts, or almonds for added texture and flavor.
- Seasonal Themes: Adapt your ice cream cake for holidays! Use red and green ice cream for Christmas, or pastel colors for Easter. Incorporate seasonal fruits (like berries in summer) into a layer, or use themed sprinkles.
- Dairy-Free/Vegan Options: With the increasing availability of plant-based ice creams, heavy creams, and cookies, you can easily make this recipe suitable for dietary restrictions. Ensure all components are certified dairy-free or vegan.
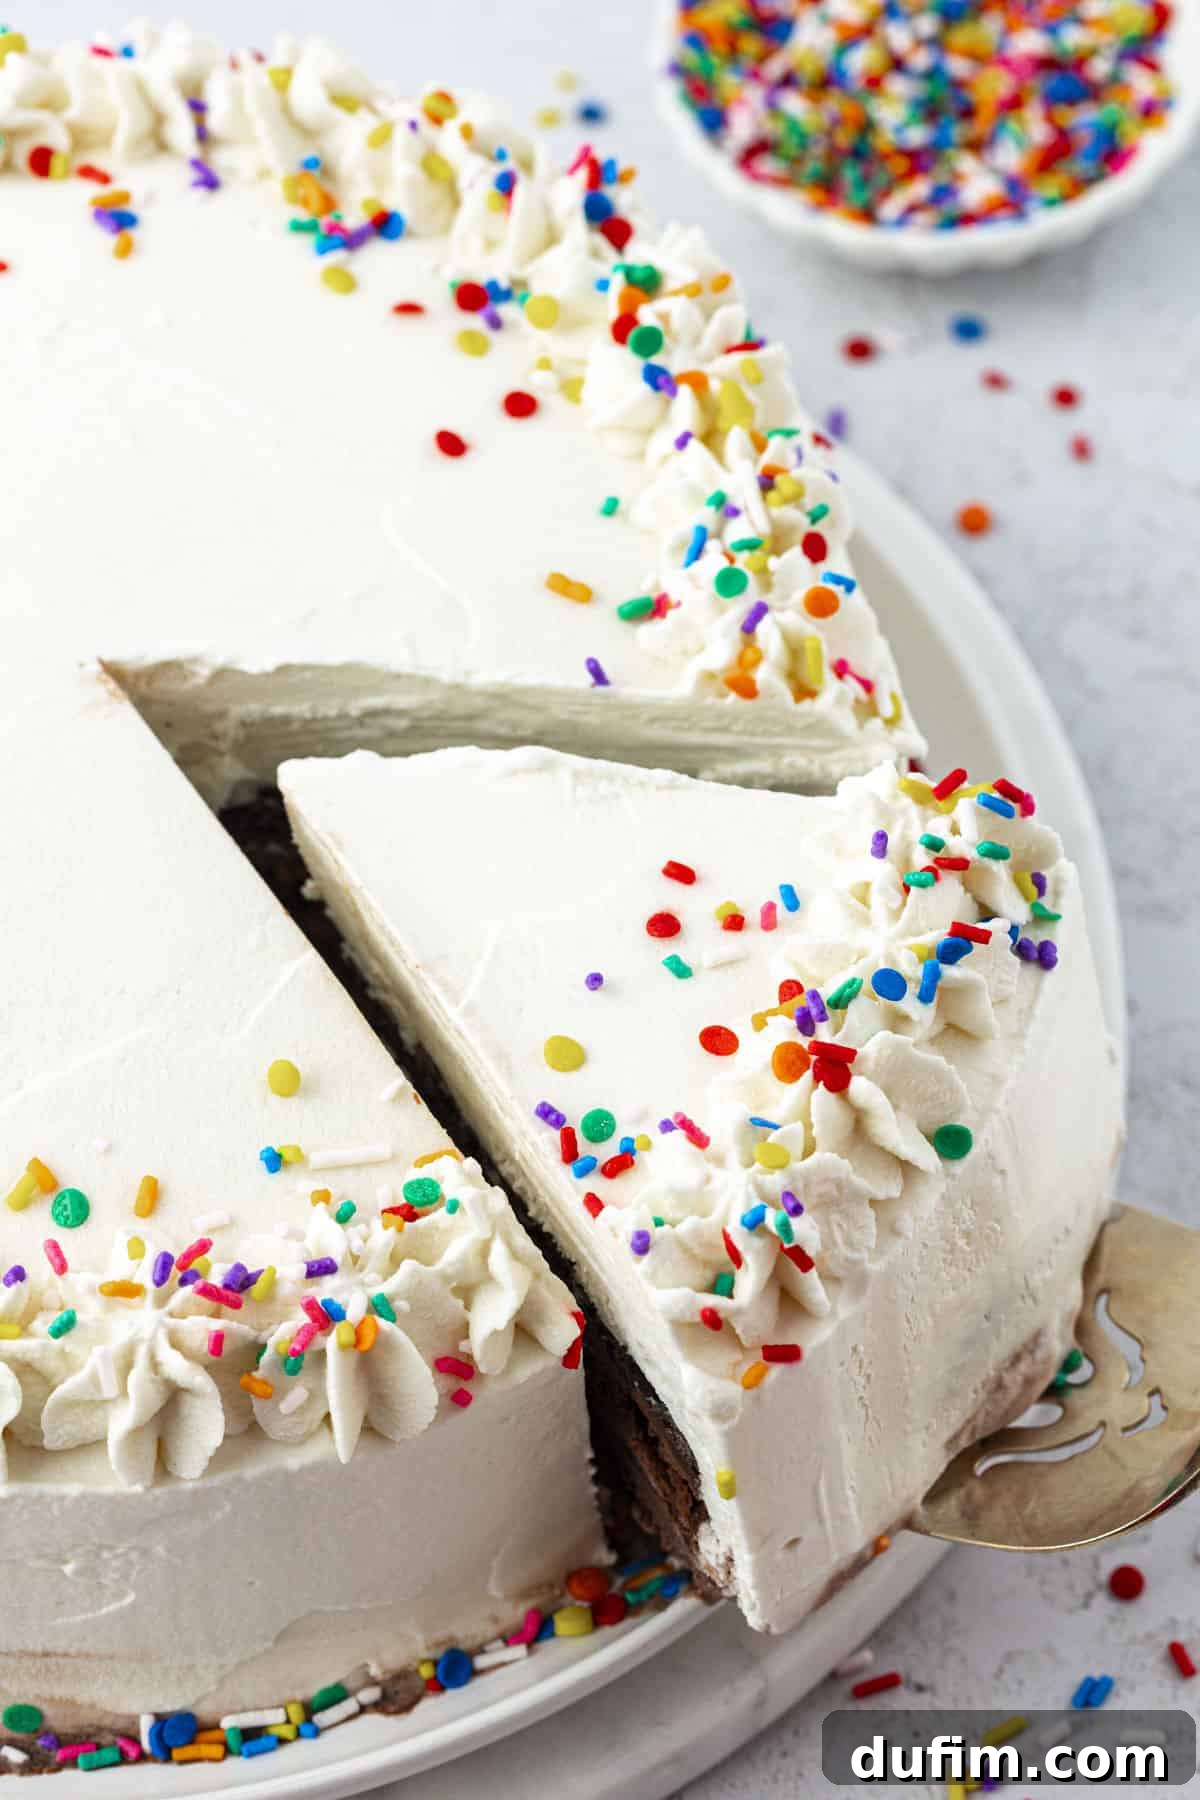
Storing Your Homemade Ice Cream Cake for Future Enjoyment
Proper storage is essential to maintain the quality, flavor, and texture of your homemade ice cream cake. With a few careful steps, you can enjoy slices of this delicious dessert for an extended period, making it perfect for preparing ahead of time or enjoying leftovers.
Once your ice cream cake is fully assembled and frozen (including the whipped topping), it needs to be protected from freezer burn. Freezer burn occurs when air comes into contact with the frozen food, causing ice crystals to form and leading to a dry, unappealing texture and diminished flavor. To prevent this, tightly wrap the entire cake in several layers of plastic wrap. Ensure the plastic wrap adheres closely to the cake’s surface, eliminating any air pockets. For an extra layer of protection, you can then wrap it in aluminum foil or place the entire wrapped cake into an airtight freezer-safe container or a large freezer bag.
Stored correctly, your homemade ice cream cake can last beautifully in the freezer for up to 3 months. Beyond this period, even with the best wrapping, ice crystals may begin to form more noticeably, and the consistency of the cake might start to change. While still edible, it might not offer the same peak enjoyment.
When you’re ready to serve a slice (or the whole cake), remember the crucial thawing step. Take the frozen cake out of the freezer and let it thaw at room temperature for 15-30 minutes. This brief period allows the ice cream and ganache layers to soften just enough to be easily sliced and enjoyed without being rock hard. Adjust the thawing time based on your kitchen’s temperature and how soft you prefer your ice cream. For individual slices, you might only need 5-10 minutes.
Common Questions About Homemade Ice Cream Cake
The delightful crunchy layer in many ice cream cakes, including this recipe, is typically a combination of crushed chocolate cookies (like Oreos) mixed with melted butter and often baked briefly to enhance their crispness. When paired with a chocolate fudge ganache, this creates an irresistible texture contrast that is often a favorite part of the cake!
It’s generally not recommended to use traditional buttercream or other types of frosting on an ice cream cake. Regular icing often contains ingredients that can become extremely hard, crack, or change consistency dramatically once frozen. We specifically use whipped cream for the topping in this recipe because it freezes exceptionally well, maintaining its light and fluffy texture even at freezer temperatures, and thaws beautifully for serving.
This homemade ice cream cake is an excellent make-ahead dessert! You can prepare the entire cake, including the whipped topping and sprinkles, up to 3 months in advance. Just be sure to wrap it very tightly in plastic wrap and aluminum foil before placing it in the freezer to prevent any freezer burn and maintain its freshness.
A good quality 8 or 9-inch non-stick springform pan is ideal. Ensure it has a tight seal to prevent any melted ice cream from leaking. The springform mechanism allows for easy release of the frozen cake without needing to flip it or damage the delicate layers.
Discover More Delicious Ice Cream Creations
If you love this ice cream cake, you’ll surely enjoy exploring other creative and delightful ice cream-inspired recipes. Here are some favorites from my collection that are perfect for any dessert lover:
- Ice Cream Cone Cupcakes: A whimsical treat where cupcakes are baked directly into ice cream cones, then topped with frosting to look like soft-serve ice cream. Fun for kids and adults alike!
- Ice Cream Waffles: A delightful fusion of warm, fluffy waffles and cold, creamy ice cream. Perfect for a decadent breakfast, brunch, or dessert.
- Homemade Fried Ice Cream: Recreate the magic of your favorite restaurant dessert at home! This recipe guides you to make crispy, crunchy fried ice cream balls without a deep fryer.
- 4th of July Ice Cream Pie: A festive and refreshing dessert, perfect for summer holidays, featuring vibrant red, white, and blue layers of ice cream in a delicious crust.
Easy Homemade Ice Cream Cake Recipe
By: Beth
This homemade ice cream cake recipe is truly a gem! I’ve fine-tuned it over many batches, ensuring that common problems like melting, cracking, or uneven layers are a thing of the past. Follow my clear, detailed guide, and you’ll be astonished by how simple it is to create your own ice cream cake that consistently impresses everyone!
Equipment
- 8 or 9-inch Springform Pan
- Plastic Wrap
- Piping Bag
- Star Tip (like Ateco tip 844, Wilton 1M, 2D)
- Glass Mixing Bowl (for whipped cream)
- Small Saucepan
- Spatulas (offset and regular)
- Electric Mixer
- Baking Sheet & Parchment Paper or Silicone Mat
Ingredients
Layer 1 – Chocolate Ice Cream
- 48 oz chocolate ice cream
Layer 2 – Chocolate Fudge Ganache
- ½ cup (118ml) heavy whipping cream
- 2 cups (340g) semi-sweet chocolate chips (must be semi-sweet for the correct texture)
- 2 Tbsp light corn syrup (helps prevent the ganache from freezing into a solid)
Layer 3 – Chocolate Crunch
- 20 Oreo cookies (with the cream, crushed into crumbs)
- 3 Tbsp (43g) unsalted butter (melted)
Layer 4 – Vanilla Ice Cream
- 48 oz vanilla ice cream
Topping – Frost cake with whipped cream
- 2 cups (473ml) cold heavy whipping cream (1 pint)
- 1 cup (113g) powdered sugar
- 1 tsp vanilla extract
- Sprinkles (for decorating)
Instructions
- Prepare the Springform Pan: Line the bottom and sides of an 8 or 9-inch springform pan with plastic wrap, leaving ample overhang. This will help when removing the ice cream cake.
- Layer 1 – Chocolate Ice Cream: Allow 48 oz chocolate ice cream to soften slightly at room temperature for about 10-15 minutes. Once softened, spread it evenly into the bottom of the prepared springform pan. Smooth the surface with a spatula. Place the pan in the freezer to firm up for 30-60 minutes while you prepare the next layer.
- Layer 2 – Chocolate Fudge Ganache: In a small saucepan, heat ½ cup (118ml) heavy whipping cream over medium heat until it just begins to simmer. Remove from heat and add 2 cups (340g) semi-sweet chocolate chips and 2 Tbsp light corn syrup. Let it sit for a minute, then stir until smooth and well combined. Allow the ganache to cool completely to room temperature until it thickens. While it cools, prepare the chocolate crunch layer.
- Layer 3 – Chocolate Crunch: In a bowl, combine 20 crushed Oreo cookies and 3 Tbsp (43g) melted unsalted butter until well mixed. Spread the mixture evenly onto a baking sheet lined with a silicone mat or parchment paper. Bake at 350ºF (175ºC) for 8-10 minutes until the crumbs are slightly toasted. Remove from the oven and let them cool completely.
- Finish Layer 2 – Chocolate Fudge Ganache: Pour/Spread the cooled, thickened ganache over the firm chocolate ice cream layer in the springform pan, spreading it evenly with a spatula.
- Finish Layer 3 – Chocolate Crunch: Sprinkle the cooled chocolate crunch layer evenly over the chocolate fudge layer. Gently press down. Cover the pan and return to the freezer for 2 hours to set.
- Layer 4 – Vanilla Ice Cream: Allow 48 oz vanilla ice cream to soften slightly at room temperature for about 10-15 minutes. Spread the softened vanilla ice cream evenly over the chocolate crunch layer. Smooth the surface with a spatula. Place the pan back in the freezer and allow the cake to freeze completely, preferably for at least 4-6 hours or overnight.
- Release and Prepare for Topping: Carefully undo the springform pan and use the plastic wrap to gently lift the cake from the pan, transferring it onto a cardboard cake circle or serving plate. Return it to the freezer while you prepare the whipped topping.
- Whipped Topping: Place a metal or glass mixing bowl and beaters in the freezer for 15 minutes. Remove the bowl from the freezer. Add 2 cups (473ml) cold heavy whipping cream, 1 cup (113g) powdered sugar, and 1 tsp vanilla extract. Beat with an electric mixer for 4-5 minutes on high speed, or until stiff peaks form and the whipped cream holds its shape. Frost the entire cake (sides and top) with the whipped cream frosting using a spatula. For decoration, use a piping bag and star tip to decorate the edges of the cake with whipped cream if desired. Decorate with sprinkles as desired. Return the cake to the freezer for 1-2 hours, or longer, to allow the topping to set.
- Serve and Enjoy! When ready to serve, let the ice cream cake sit at room temperature for a few minutes (5-10 minutes) to slightly soften for easier slicing.
Video
For a visual guide on assembling this delightful ice cream cake, watch the video below:

(Video unavailable in this HTML representation due to JavaScript removal. Please refer to the step-by-step instructions and images.)
Nutrition Information (Approximate per slice)
All nutritional values are approximate and provided as a courtesy. Changes to ingredients and/or quantities will alter the estimated nutritional calculations. This information is based on 16 servings.
- Serving: 1 slice
- Calories: 856 kcal
- Carbohydrates: 107 g
- Protein: 10 g
- Fat: 44 g
- Saturated Fat: 25 g
- Polyunsaturated Fat: 2 g
- Monounsaturated Fat: 14 g
- Trans Fat: 0.1 g
- Cholesterol: 87 mg
- Sodium: 435 mg
- Potassium: 610 mg
- Fiber: 5 g
- Sugar: 73 g
- Vitamin A: 981 IU
- Vitamin C: 1 mg
- Calcium: 193 mg
- Iron: 4 mg
Nutrition Disclosure: All nutritional values are approximate and provided to the reader as a courtesy. Changing ingredients and/or quantities will alter the estimated nutritional calculations.
We hope you enjoy crafting and sharing this delightful homemade ice cream cake. It’s truly a labor of love that brings joy to every gathering. Don’t forget to leave a comment below if you try this recipe – your feedback is always appreciated!