
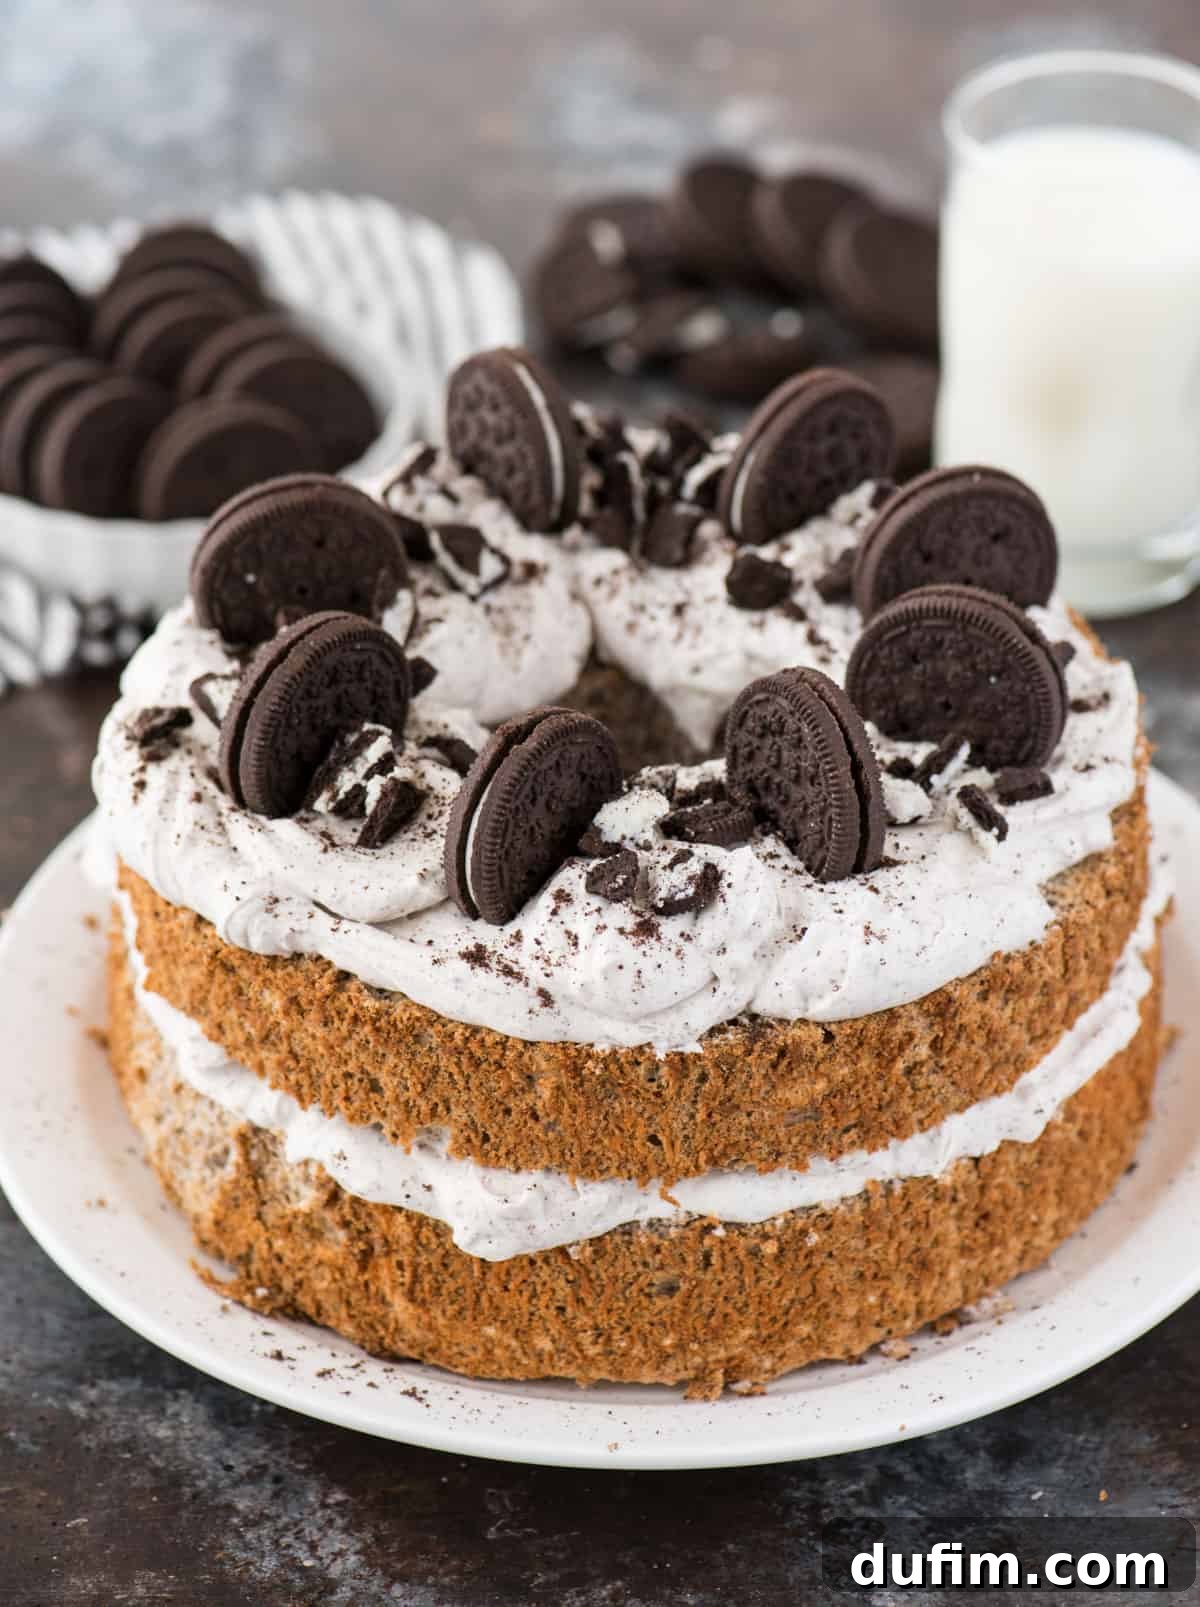
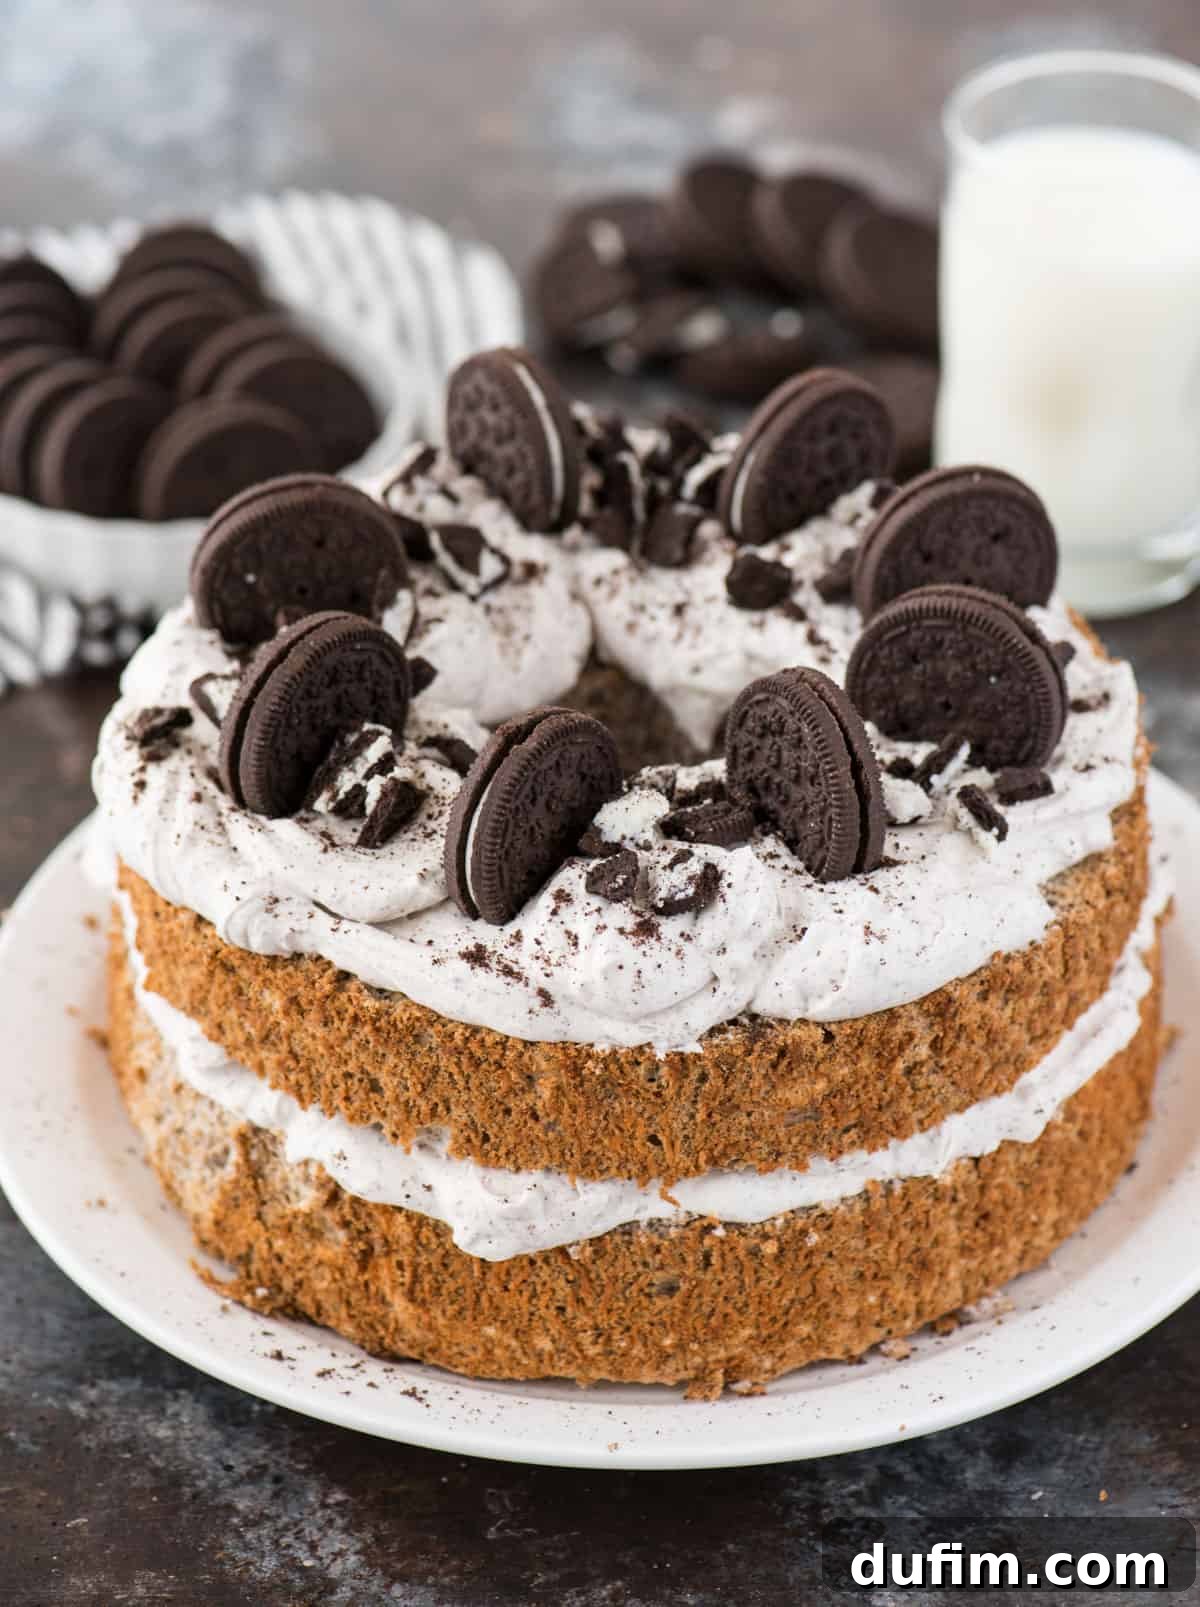
Prepare to elevate your dessert game with the **Ultimate Oreo Angel Food Cake** – an absolutely epic combination that marries the delicate, cloud-like texture of classic angel food cake with the universally adored flavor of Oreo cookies. Imagine a cake so light it practically floats, infused with rich chocolate sandwich cookie crumbs, then crowned with a luxurious Oreo whipped cream and a generous sprinkle of more crushed Oreos. It’s a cookies and cream dream come true, offering a surprisingly delightful twist on a traditional favorite that usually boasts fruity profiles.
This comprehensive guide will not only walk you through crafting this sensational dessert but also equip you with invaluable baking knowledge. We’ll demystify how to achieve that perfect angel food cake consistency without needing special cake flour, share seven expert tips for baking success every time, and even provide instructions for a delicious gluten-free version. Get ready to impress everyone with this innovative and incredibly delicious treat!
The Magic of Angel Food Cake Meets Oreo
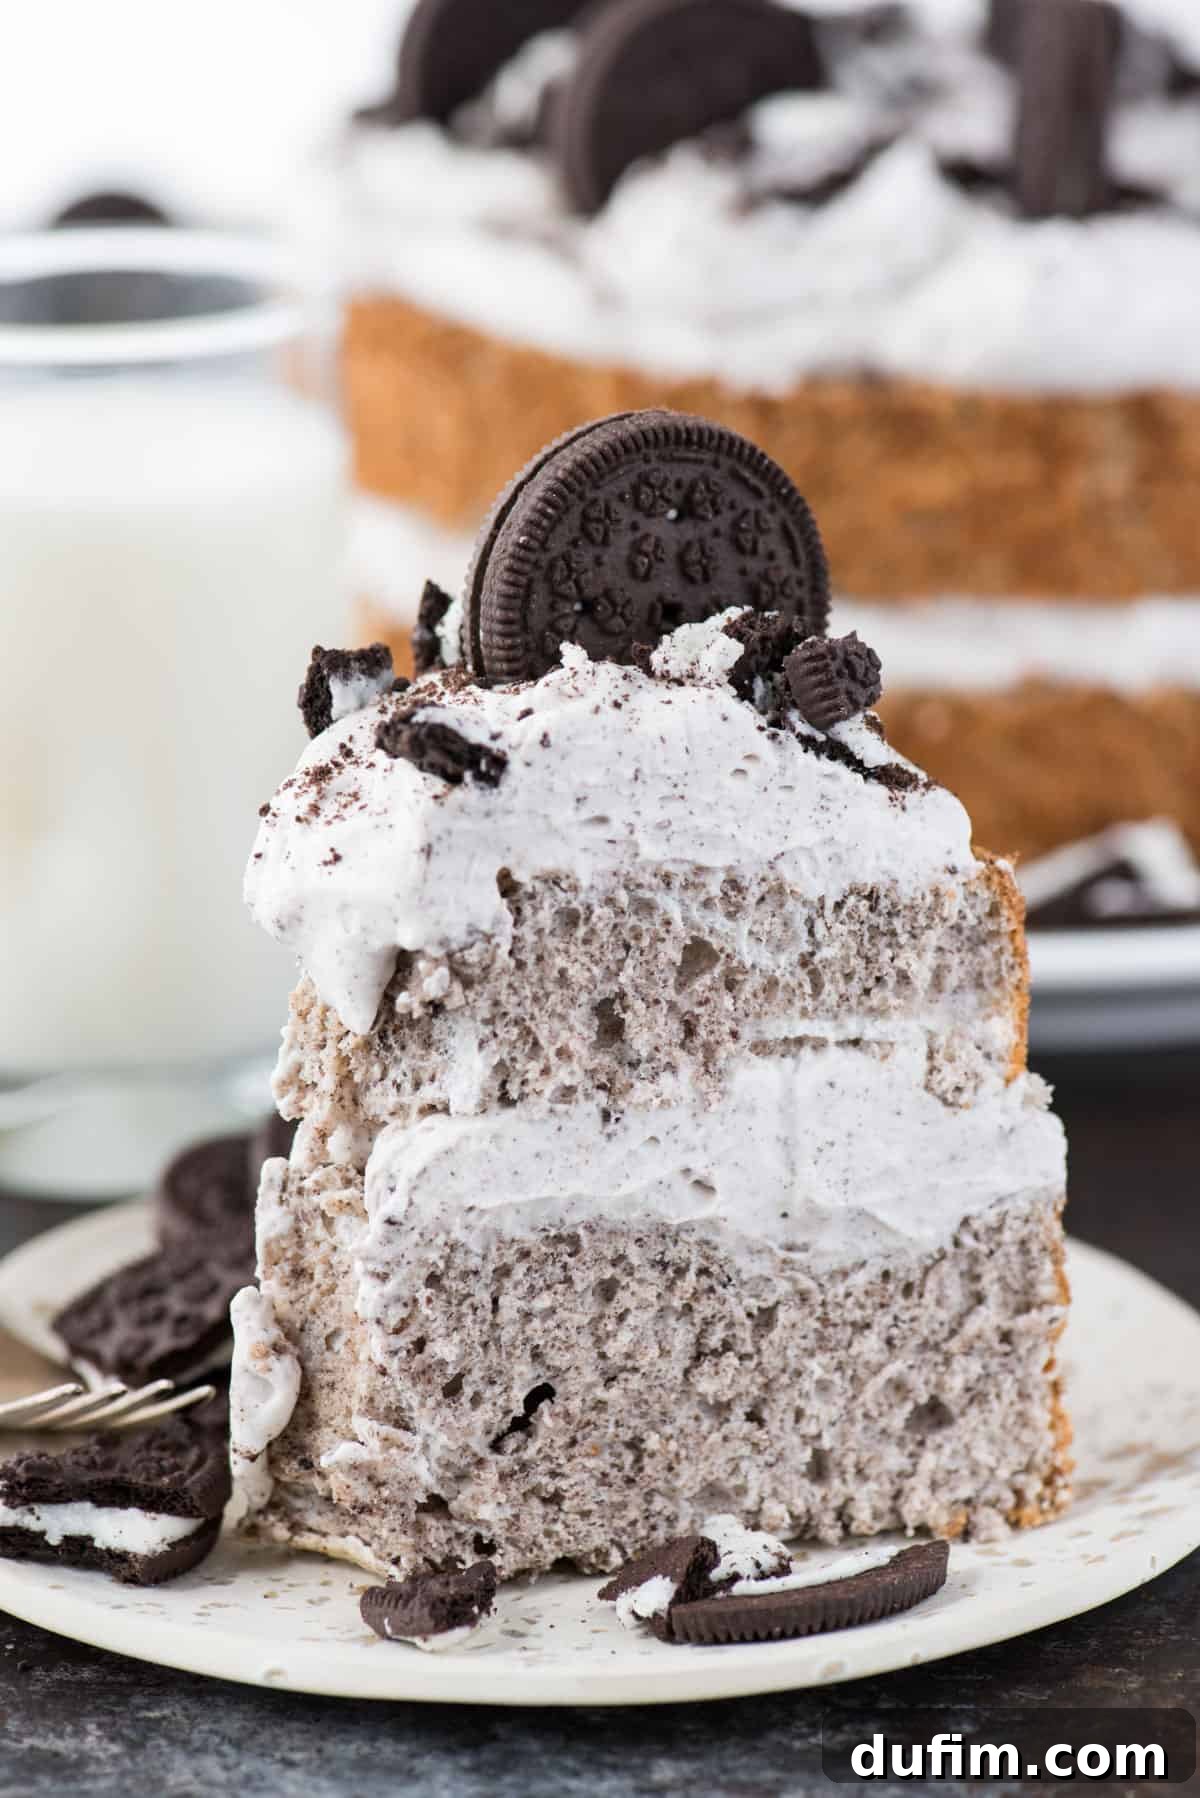
Angel food cake is renowned for its ethereal lightness and airy texture, traditionally serving as a delightful canvas for fresh berries and fruit compotes. But who knew that pairing it with the bold, chocolatey goodness of Oreos would create such an extraordinary harmony? This recipe transforms the classic into a decadent cookies and cream delight that’s both familiar and excitingly new. The delicate crumb of the angel food cake provides the perfect foundation, absorbing the subtle notes of Oreo, while the whipped cream topping intensifies the cookies and cream experience. It’s a dessert that truly feels like eating a cloud, but with an irresistible crunch and depth of flavor from your favorite chocolate sandwich cookies.
Mastering Angel Food Cake Without Cake Flour
Many bakers might shy away from angel food cake recipes because they often call for cake flour, a specialized ingredient with a lower protein content and finer grind than standard all-purpose flour. This unique composition is crucial for achieving the cake’s signature tender and delicate texture. However, we understand that not everyone keeps cake flour in their pantry, and buying it for just one recipe can be inconvenient. That’s why we’ve developed an incredible homemade angel food cake method that ingeniously bypasses the need for store-bought cake flour, allowing you to create a perfect cookies and cream masterpiece with readily available ingredients. Our technique ensures that your cake will still boast that desirable airy structure and melt-in-your-mouth texture.
Crafting Your Own Cake Flour at Home
The secret to making angel food cake without commercial cake flour lies in a simple yet effective homemade substitute. You only need two common pantry staples: all-purpose flour and cornstarch. This clever combination mimics the low-protein, finely textured qualities of traditional cake flour, resulting in an impeccably light and fluffy cake. The key to success with this method is thorough sifting. You will need to sift the all-purpose flour and cornstarch together a remarkable five times. This extensive sifting process is not just for mixing; it’s essential for aerating the flour and cornstarch, ensuring they are perfectly incorporated and as light as a cloud. This meticulous step breaks up any clumps and infuses the mixture with air, directly contributing to the incredibly tender and airy crumb that defines a truly exceptional angel food cake.
A Guide to Gluten-Free Oreo Angel Food Cake
For all our gluten-free friends, rejoice! This decadent cookies and cream angel food cake can absolutely be made gluten-free without sacrificing flavor or texture. We’ve thoroughly tested this recipe using both traditional all-purpose flour and a gluten-free flour blend, with fantastic results. When selecting a gluten-free flour, we highly recommend King Arthur Gluten Free Measure for Measure Flour. This particular brand is excellent for a one-for-one substitution in this recipe, making the transition to gluten-free baking incredibly straightforward. Remember, for a truly gluten-free experience, it’s crucial to also use gluten-free Oreo cookies. With these simple adjustments, everyone can indulge in a slice of this magnificent, fluffy, and flavor-packed Oreo Angel Food Cake!
7 Essential Tips for a Perfect Homemade Oreo Angel Food Cake
Achieving the perfect, lofty angel food cake can seem daunting, but with these seven expert tips, you’ll master the art of baking this delightful dessert, complete with its Oreo twist:
- Sift, Sift, Sift! Do not underestimate the power of sifting. This isn’t just a suggestion; it’s a critical step for achieving the incredibly light and fluffy texture that angel food cake is famous for. Sifting the all-purpose flour, cornstarch, and especially the fine Oreo powder together multiple times ensures that all ingredients are thoroughly combined, aerated, and free of any lumps, which directly translates to a superior cake crumb.
- Room Temperature Egg Whites are a Must: The temperature of your egg whites significantly impacts their whipping ability. Egg whites at room temperature incorporate more air and achieve greater volume and stability when beaten. If you forget to set them out in advance, a quick trick is to place the egg whites in a container or Ziploc bag and submerge it in a bowl of warm (not hot) water for about 10 minutes. This will bring them to the ideal temperature for whipping.
- Whip Egg Whites to Stiff Peaks with Patience: Whipping egg whites until they form stiff, glossy peaks is the backbone of any successful angel food cake. This process can take anywhere from 10 to 15 minutes, depending on your mixer, but patience is absolutely key. Stiff peaks mean that when you lift the beater, the mixture holds its shape firmly and doesn’t droop or fall back on itself. This robust meringue structure is what gives angel food cake its incredible height and airy texture.
- Gentle Folding is Non-Negotiable: Once your egg whites are perfectly whipped, the next crucial step is incorporating the dry ingredients. Sift the flour mixture into the whipped egg whites in several small batches (about 3 or 4). Use a spatula and a gentle folding technique – cutting down through the center of the batter, then sweeping up the side and over – to combine them. This preserves the precious air you’ve whipped into the egg whites, which is vital for the cake’s light texture. Avoid vigorous stirring, which can deflate the meringue.
- Never Grease Your Angel Food Cake Pan: This is a common mistake for first-time angel food cake bakers. Unlike most cakes, angel food cake batter needs to “climb” the sides of the pan as it bakes to achieve its characteristic towering height. If the pan is greased, the batter won’t have anything to cling to, resulting in a shorter, denser cake. Leave that pan completely un-greased!
- Use the Right Pan: An Angel Food Cake Pan: While a Bundt pan might seem similar, it is not suitable for baking angel food cake. An authentic angel food cake pan typically has a removable bottom and sometimes small “feet” on top, allowing it to be inverted easily for cooling. The straight, un-greased sides are essential for the cake to climb and hold its structure. Using a Bundt pan will not yield the same light and airy result.
- Invert Immediately After Baking: As soon as your cake comes out of the oven, it must be inverted upside down. This prevents the delicate, hot cake from collapsing under its own weight as it cools. A clever trick is to place the center tube of your angel food cake pan over the neck of a bottle, a mug, or a can of beans. Allow the cake to cool completely in this inverted position for 2 to 3 hours before attempting to release it. Once fully cooled, run a thin spatula or knife around the edges and the center tube to gently loosen the cake from the pan.
Knowing When Your Oreo Angel Food Cake is Perfectly Baked
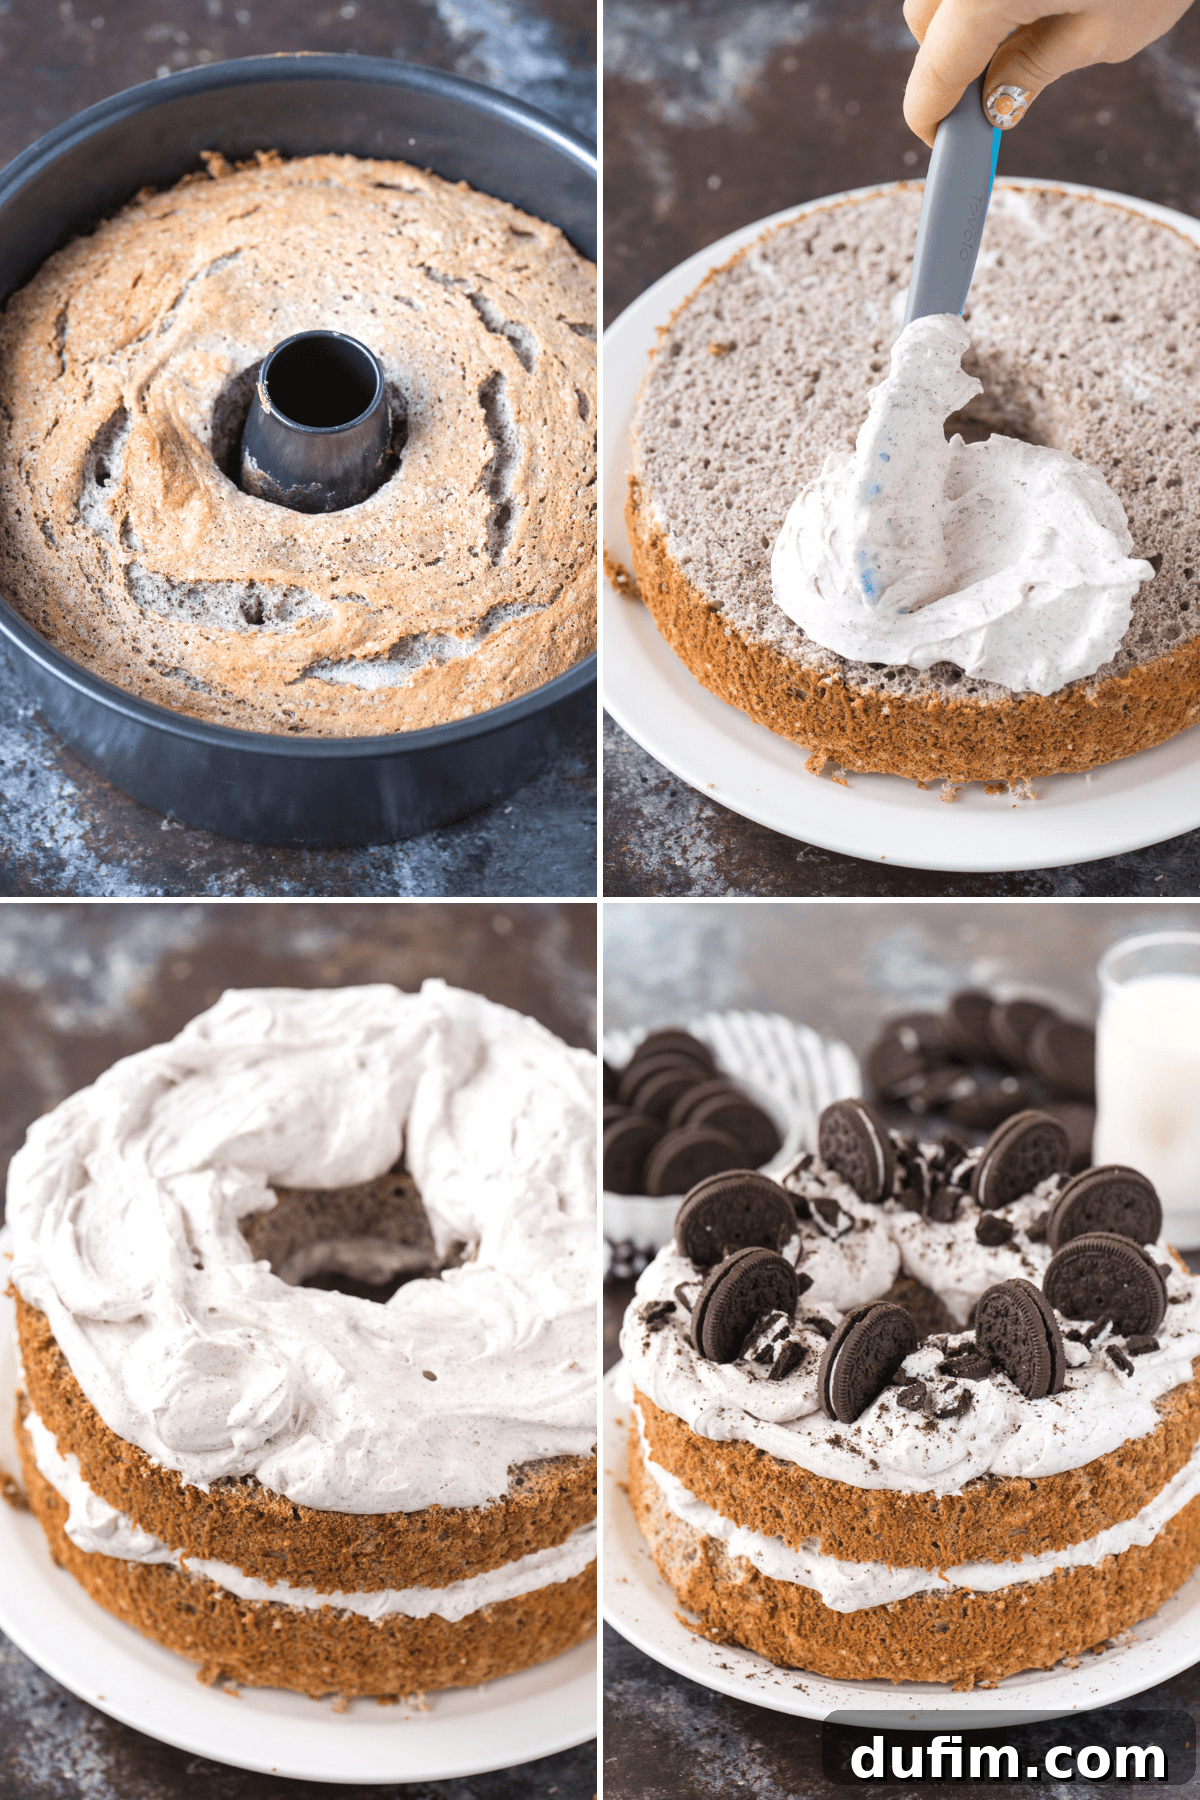
Determining the doneness of an angel food cake is crucial for its structure and texture. While baking times can vary slightly, a reliable method is the classic clean skewer test. I like to use a thin wooden kabob skewer or a long popsicle stick. Insert it into the center of the cake, making sure it goes deep without hitting the bottom of the pan. If the skewer comes out completely clean, with no wet batter or moist crumbs attached, your cake is done. Additionally, the cake’s surface should be golden brown and spring back lightly when gently pressed. Trust your instincts and these visual cues for a perfectly baked, light-as-air dessert.
Optimal Cooling for Angel Food Cake
Once baked, the cooling process for an angel food cake is just as important as the baking itself. It’s imperative to leave the cake inverted (upside down) until it has completely cooled. This typically takes about 2 to 3 hours. The inverted position prevents the delicate cake structure from compressing and sinking as it cools, ensuring it retains its impressive height and airy volume. Rushing this step will result in a shorter, denser cake. Patience during cooling is a virtue that will be rewarded with a beautifully light and tall angel food cake.
Storing and Freezing Your Delectable Angel Food Cake
Planning ahead or have leftovers? Here’s how to properly store your Oreo Angel Food Cake to maintain its freshness:
- **Counter Storage:** An unfrosted angel food cake can be stored in an airtight container on your kitchen counter for 1-2 days. If frosted with whipped cream, it’s best to store it in the refrigerator.
- **Refrigerator Storage:** For longer freshness, lightly wrap the angel food cake (especially if unfrosted) in plastic wrap and then place it in an airtight container. It will stay fresh in the fridge for up to 5 days. Ensure it’s well-sealed to prevent it from drying out or absorbing other food odors.
- **Freezing for Later:** Angel food cake freezes beautifully! Once the cake is completely cool, wrap it tightly in aluminum foil, ensuring no air gaps. Then, place the foil-wrapped cake inside a freezer-safe Ziploc bag or an airtight freezer container. It can be stored in the freezer for up to 3 months. When you’re ready to enjoy it, simply allow the cake to defrost overnight in the refrigerator.
Elevating Your Oreo Angel Food Cake with Elegant Presentation
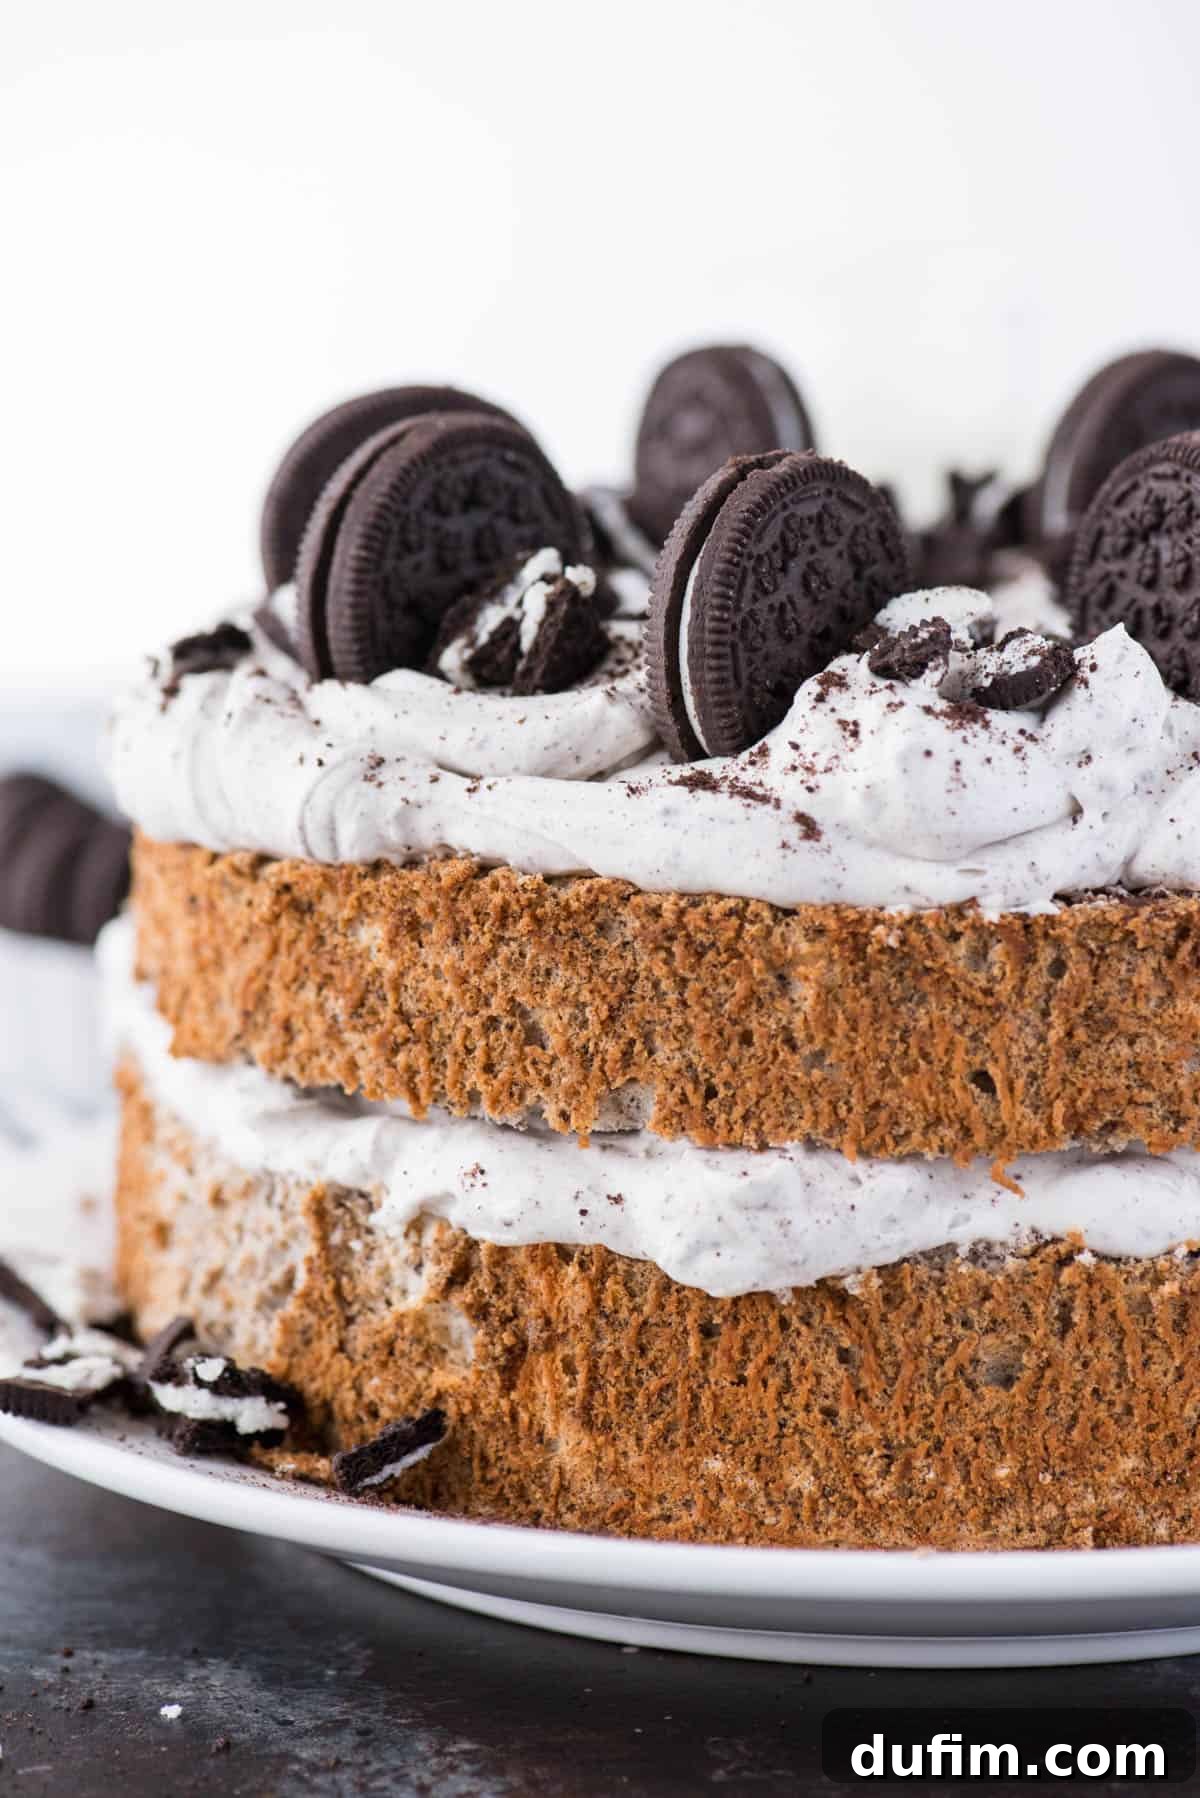
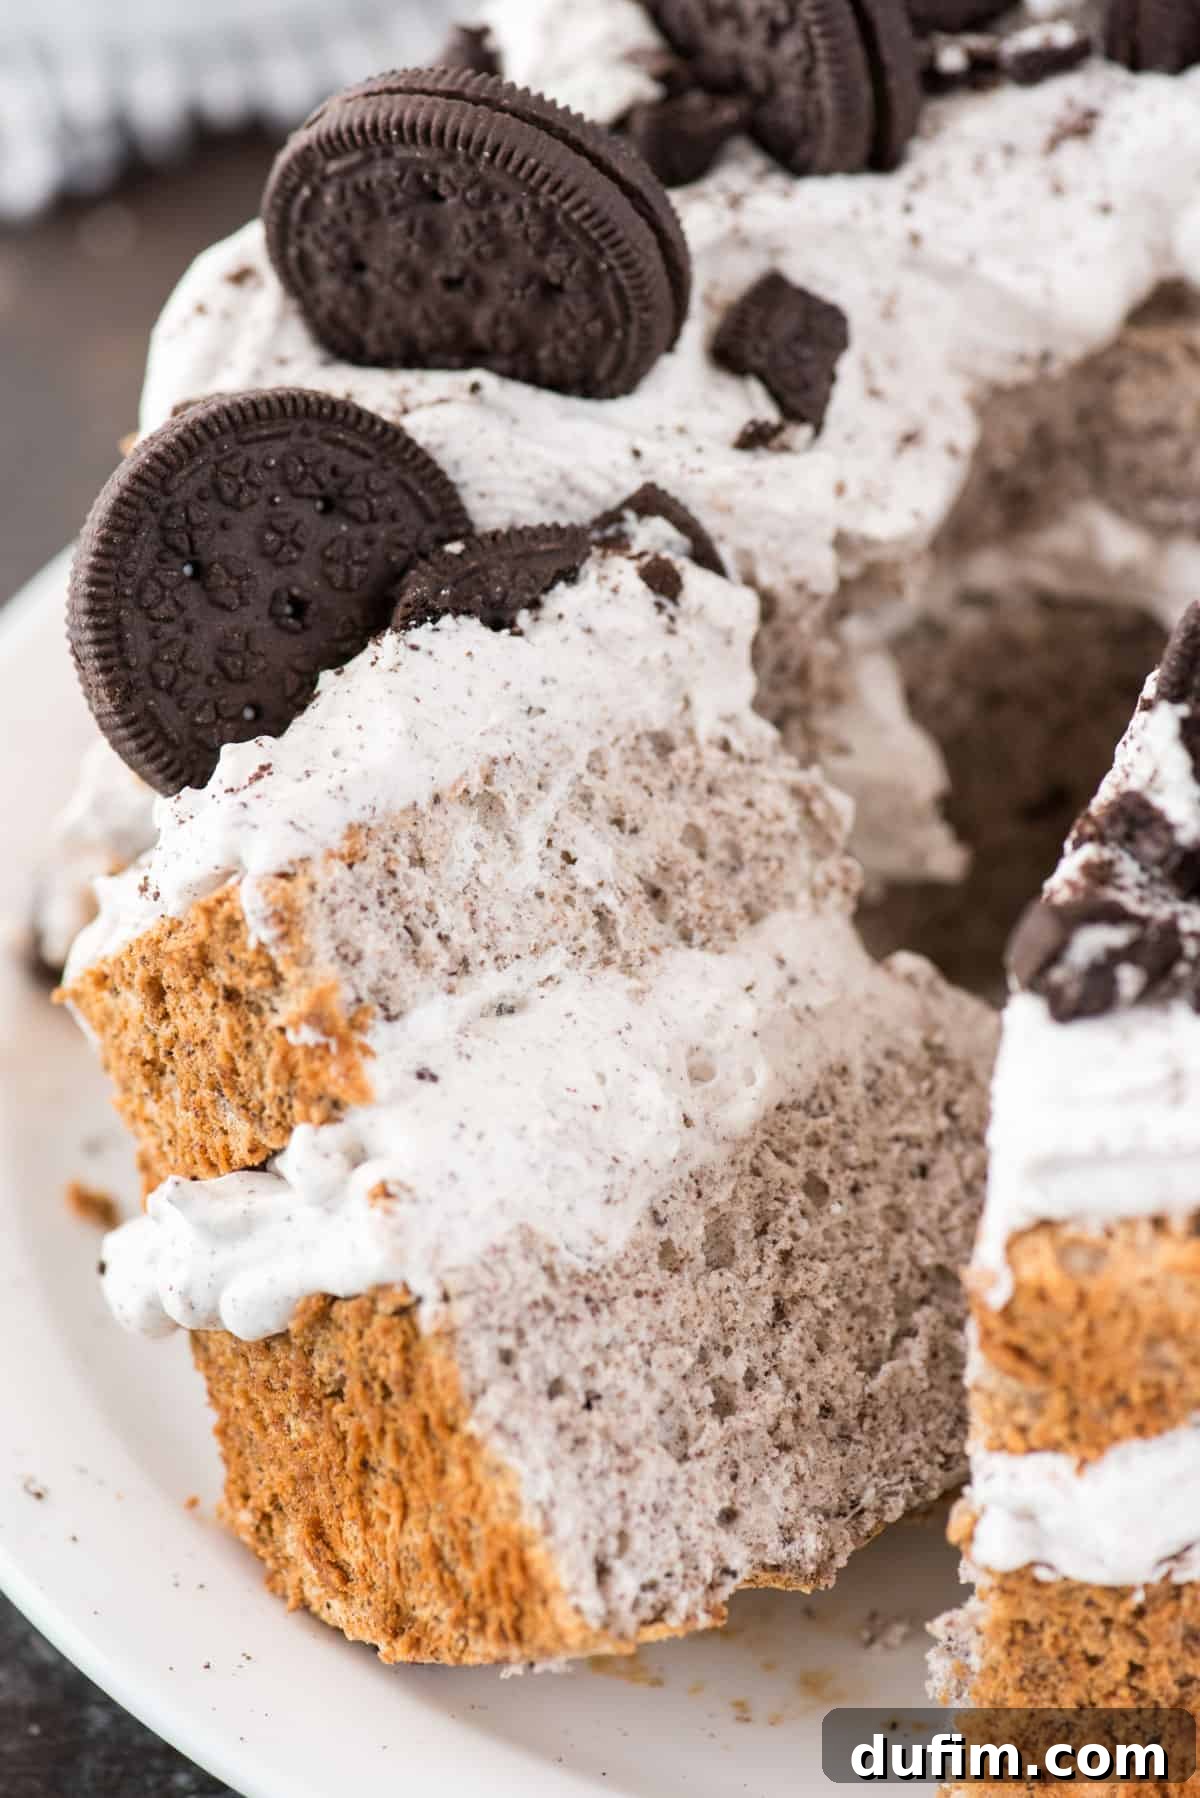
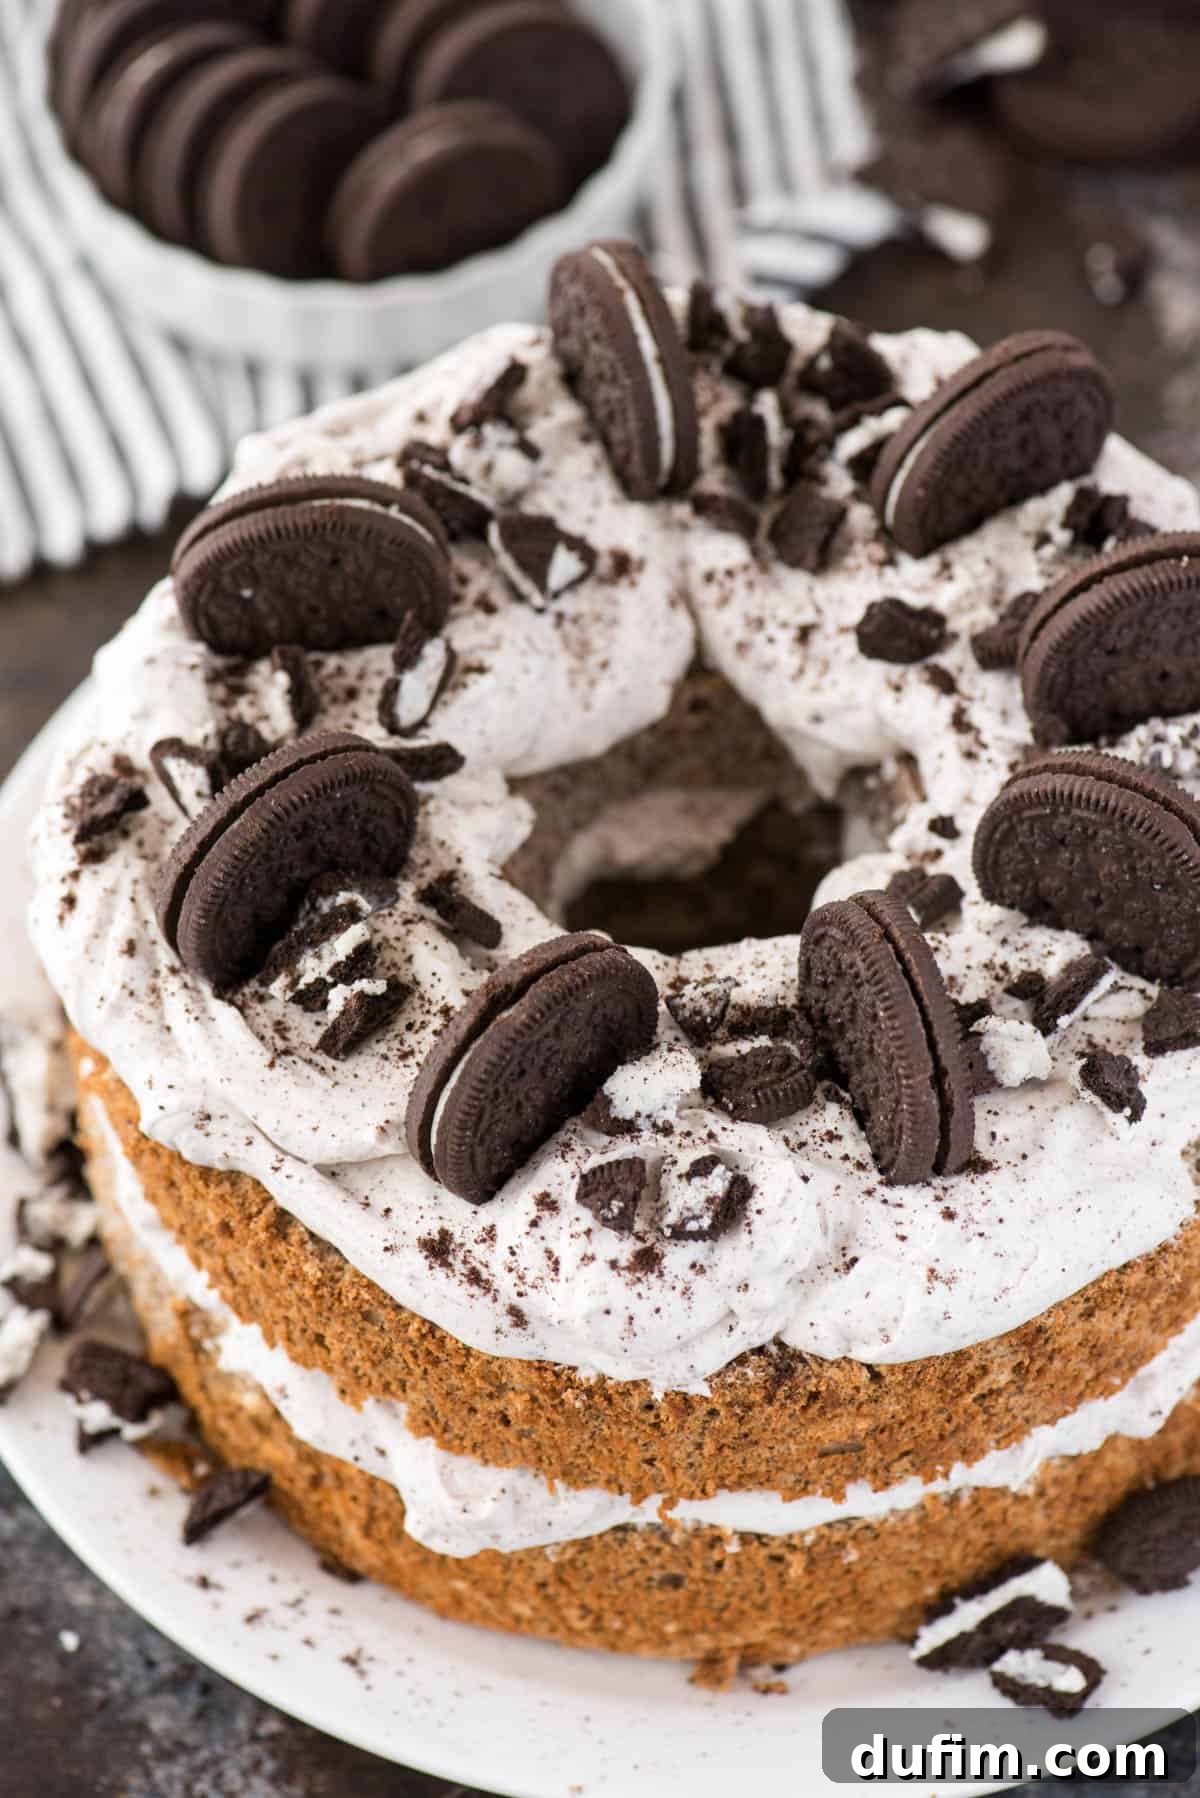
While the taste of this Oreo Angel Food Cake is undeniably fantastic on its own, a thoughtful presentation can transform it into a show-stopping dessert. To take your cake to the next level, consider a layered approach. Carefully slice the cooled angel food cake horizontally into two or three even layers using a sharp serrated knife or a cake leveler. Spread a generous layer of homemade Oreo whipped cream between each cake layer, adding a sprinkle of crushed Oreo pieces for extra texture and flavor. Reassemble the layers, then lavishly frost the top and sides with the remaining whipped cream. Finish by garnishing with more crushed Oreos, or even whole Oreo cookies for a truly impressive display. A drizzle of chocolate syrup could also add an extra touch of decadence. This presentation not only looks magnificent but also ensures every bite is packed with that delightful cookies and cream experience.
Explore More Angel Food Cake Variations
If you’ve fallen in love with the light and airy texture of angel food cake, you’ll be thrilled to know that its versatility extends far beyond just Oreos! Once you master the basic technique, a world of flavor combinations awaits. Here are a few other delightful angel food cake recipes to inspire your next baking adventure:
- Homemade Classic Angel Food Cake: Start with the foundation – a pure and simple angel food cake, perfect for any occasion.
- Lemon Blueberry Angel Food Cake: A bright and zesty option, perfect for spring and summer gatherings.
- Strawberry Angel Food Cake: Sweet, fresh, and irresistibly fruity – a timeless favorite.
Tap stars to rate!
Oreo Angel Food Cake
Rate
Equipment
-
Angel Food Cake Pan
-
KitchenAid Stand Mixer
-
Glass Mixing Bowl
Ingredients
Oreo Angel Food Cake
- ½ cup + 2 Tbsp (75g) oreo dust, this is about 9 cookie sandwiches WITH the cream REMOVED (use GF oreos if making gluten free!
- 1 cup minus 2 Tbsp (105g) all purpose flour OR gluten free all purpose flour
- 2 Tbsp cornstarch
- 1 ½ cups (297g) granulated sugar, divided into 3/4 cup
- ¼ tsp salt
- 12 large egg whites, room temperature
- 1 ½ tsp cream of tartar
- ½ tsp vanilla extract
Whipped Cream
- 2 cups (473ml) heavy whipping cream
- ½ cup (56g) powdered sugar
- 2 Tbsp oreo dust
Garnishes
- Chopped oreos
Instructions
Instructions
-
Remove the cream filling from 9 Oreo cookie sandwiches, as the cream is not needed for this recipe. Blend the cookies in a food processor or blender until you achieve a fine “oreo dust.” Measure out ½ cup of this oreo dust into one bowl and 2 tablespoons into another. Set both aside for later use.
-
Preheat your oven to 350°F (175°C). In a medium bowl, measure 1 cup of all-purpose flour. Remove 2 tablespoons of this flour and return it to the flour bag. Add 2 tablespoons of cornstarch and the ½ cup of oreo dust (from the first measurement) to the remaining flour. Sift this mixture five times. This meticulous sifting process is crucial for creating your homemade “cake flour” substitute, ensuring all ingredients are well incorporated and as light as a cloud, which is key to a fluffy angel food cake.1 cup minus 2 Tbsp (105g) all purpose flour OR gluten free all purpose flour, 2 Tbsp cornstarch, 1/2 cup + 2 Tbsp (75g) oreo dust
-
To the flour mixture, add ¾ cup of granulated sugar and the salt. Sift this combined mixture an additional two times. Set aside.1 1/2 cups (297g) granulated sugar, 1/4 tsp salt
-
In the bowl of a stand mixer fitted with the whisk attachment, begin beating the room-temperature egg whites on medium speed for about 2 minutes. Then, add the cream of tartar and vanilla extract. Continue to beat the mixture for another 2-3 minutes, gradually increasing the speed to medium-high.12 large egg whites, 1 1/2 tsp cream of tartar, 1/2 tsp vanilla extract
-
Once the egg whites are foamy, gradually add the remaining ¾ cup of granulated sugar, about 1 tablespoon at a time. Allow 10-15 seconds between each addition of sugar. Continue to beat the mixture on high speed until stiff, glossy peaks form. The meringue will be brilliant white, airy, and hold its shape firmly when the whisk is lifted. This entire beating process can take between 10-13 minutes.1 1/2 cups (297g) granulated sugar
-
Carefully remove the bowl from the stand mixer. Gradually sift the prepared flour and Oreo mixture into the whipped egg whites in 3-4 batches. After each addition, use a spatula to gently FOLD the mixture together. Use a delicate motion to preserve as much air as possible in the egg whites. Do your best to avoid overmixing, which will cause the egg whites to deflate.
-
Pour the angel food cake batter into an un-greased angel food cake pan. Gently run a butter knife or thin spatula through the batter in a circular motion to release any large air bubbles that may be trapped.
-
Place the pan in the preheated oven and bake for 40-43 minutes, or until a wooden popsicle stick or kabob skewer inserted into the center of the cake comes out completely clean. The cake surface should be golden brown and springy to the touch.
-
Immediately after baking, invert the angel food cake pan. To do this, I recommend placing the center tube of the pan over the neck of a bottle, a sturdy mug, or a can of beans to keep it elevated. Allow the cake to cool completely in this inverted position for 2-3 hours. During this cooling period, place a metal mixing bowl and your beaters in the freezer in preparation for making the whipped cream. Once fully cooled, use a small spatula or thin knife to go around the sides and the center tube of the pan to help release the cake.
-
Carefully transfer the cooled angel food cake to a serving plate.
Whipped Cream
-
Ensure your metal mixing bowl and beaters have been in the freezer for at least 15 minutes to chill thoroughly. This helps the cream whip up faster and hold its shape better.
-
Remove the chilled bowl from the freezer. Add the heavy whipping cream, powdered sugar, and the remaining 2 tablespoons of oreo dust to the bowl. Beat with an electric mixer on high speed for 4-5 minutes, or until stiff peaks form and the whipped cream is thick, airy, and holds its shape beautifully.2 cups (473ml) heavy whipping cream, 1/2 cup (56g) powdered sugar, 2 Tbsp oreo dust
Assemble the cake
-
Using a sharp, serrated knife or a cake leveler, carefully cut the angel food cake horizontally in half. Gently lift off the top half of the cake. Spread half of the prepared Oreo whipped cream evenly over the bottom layer, then sprinkle generously with chopped Oreo pieces. Carefully place the top cake layer back on. Spread the remaining whipped cream over the top of the cake and scatter more chopped Oreo pieces for garnish. Cut with a bread knife and serve immediately to enjoy this spectacular cookies and cream cloud!Chopped oreos
Video
Notes
Nutrition
Carbohydrates: 35g |
Protein: 4g |
Fat: 12g |
Saturated Fat: 7g |
Polyunsaturated Fat: 1g |
Monounsaturated Fat: 4g |
Trans Fat: 1g |
Cholesterol: 41mg |
Sodium: 119mg |
Potassium: 132mg |
Fiber: 1g |
Sugar: 25g |
Vitamin A: 437IU |
Vitamin C: 1mg |
Calcium: 24mg |
Iron: 1mg
Nutrition Disclosure
All nutritional values are approximate and provided to the reader as a courtesy. Changing ingredients and/or quantities will alter the estimated nutritional calculations.
Like this recipe? Rate and comment below!