
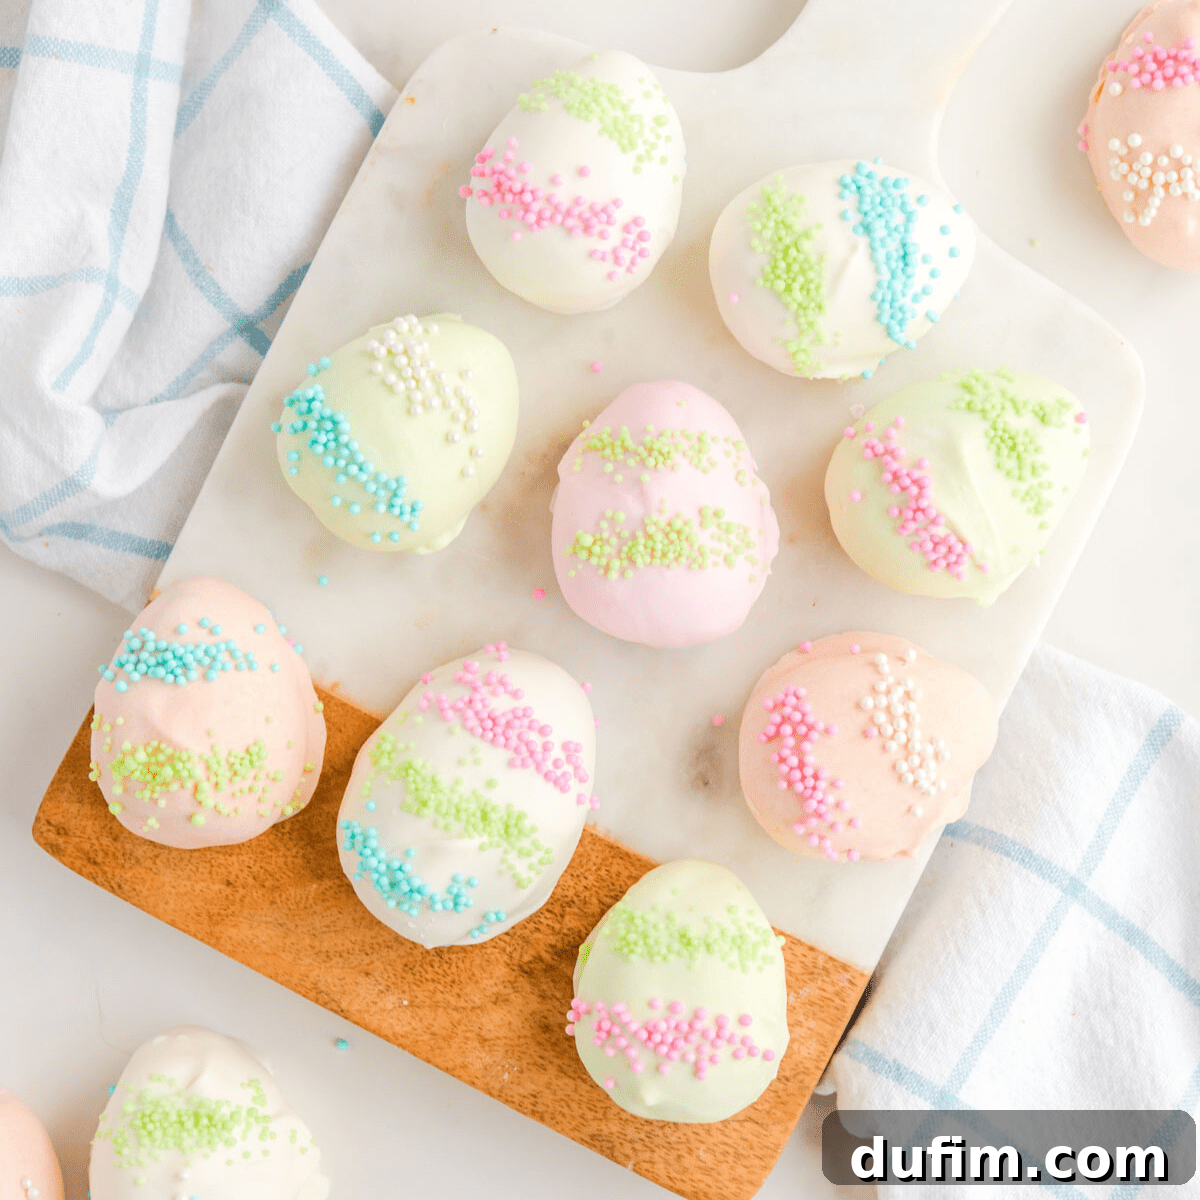
Delightful Easter Egg Truffles: Your Ultimate No-Bake Recipe Guide
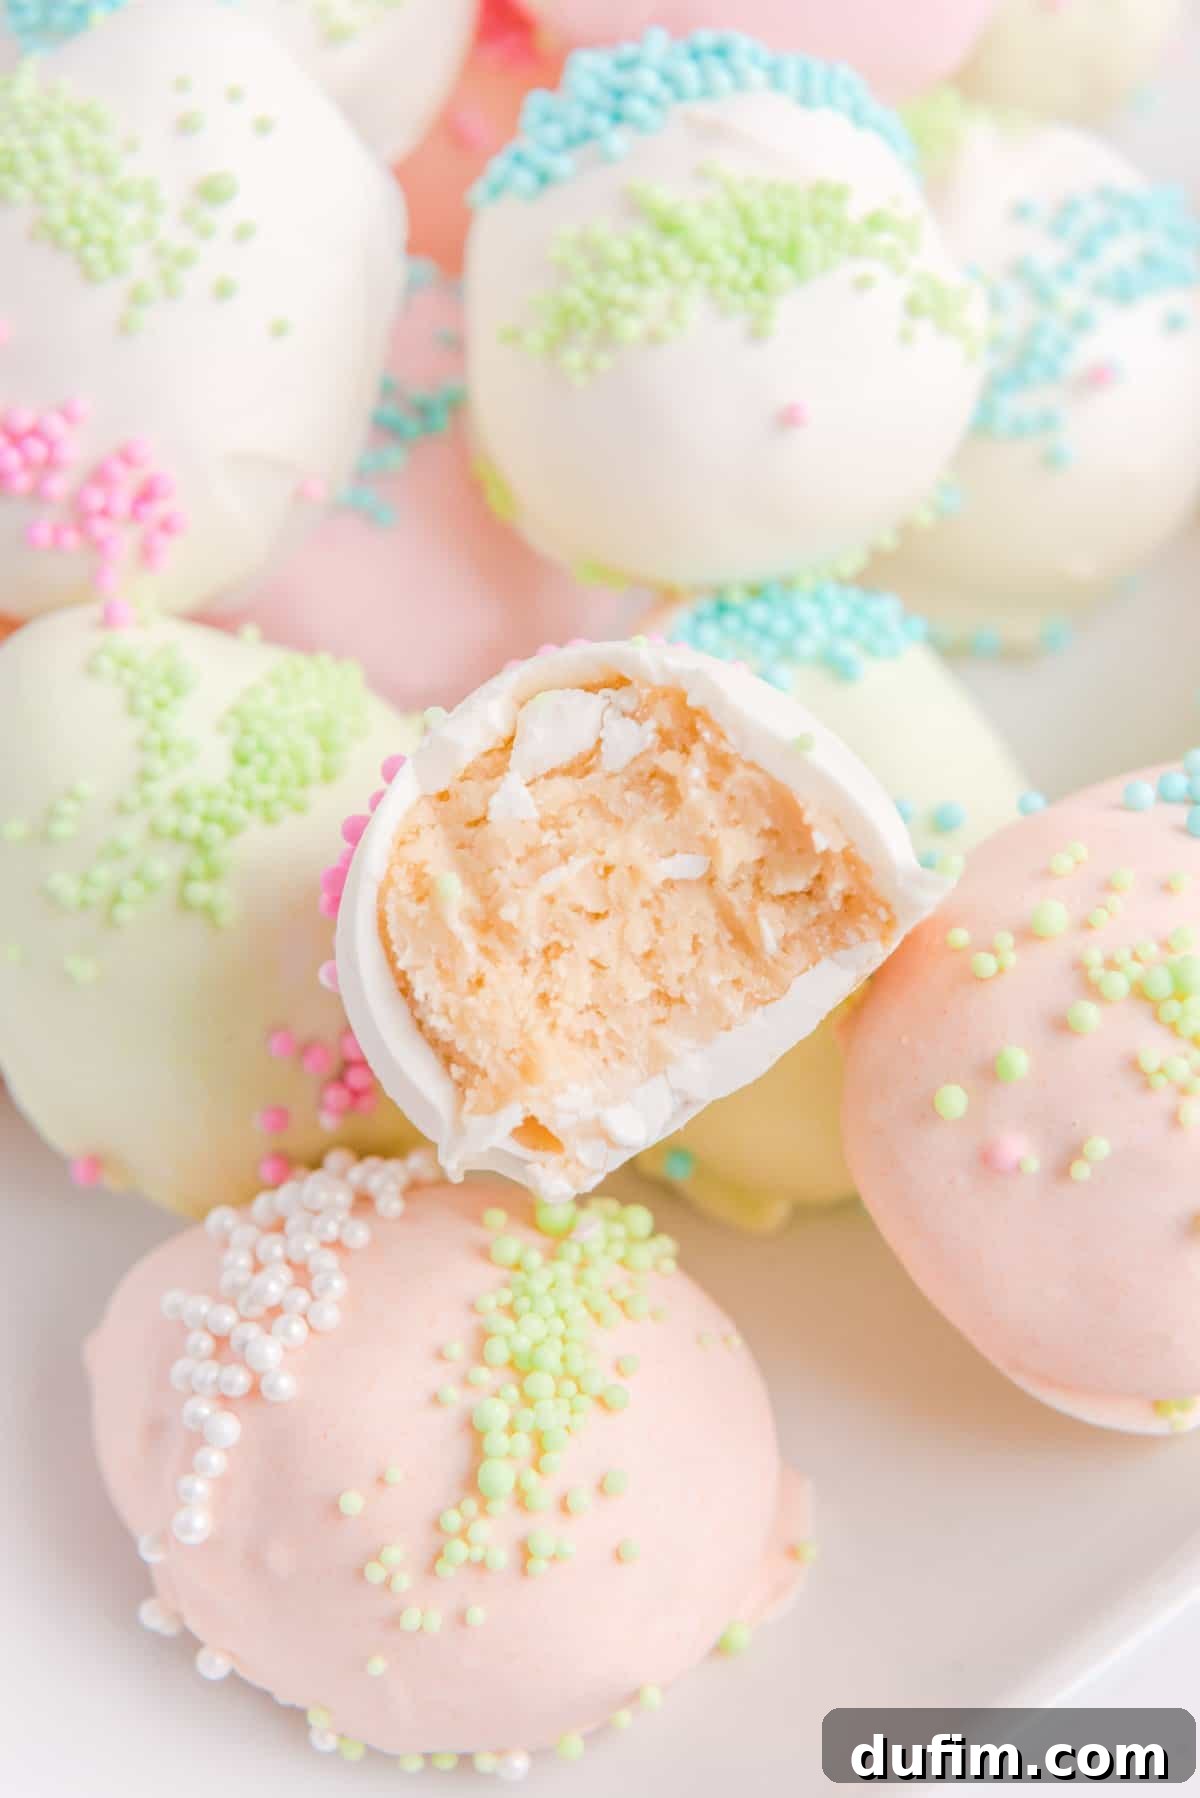
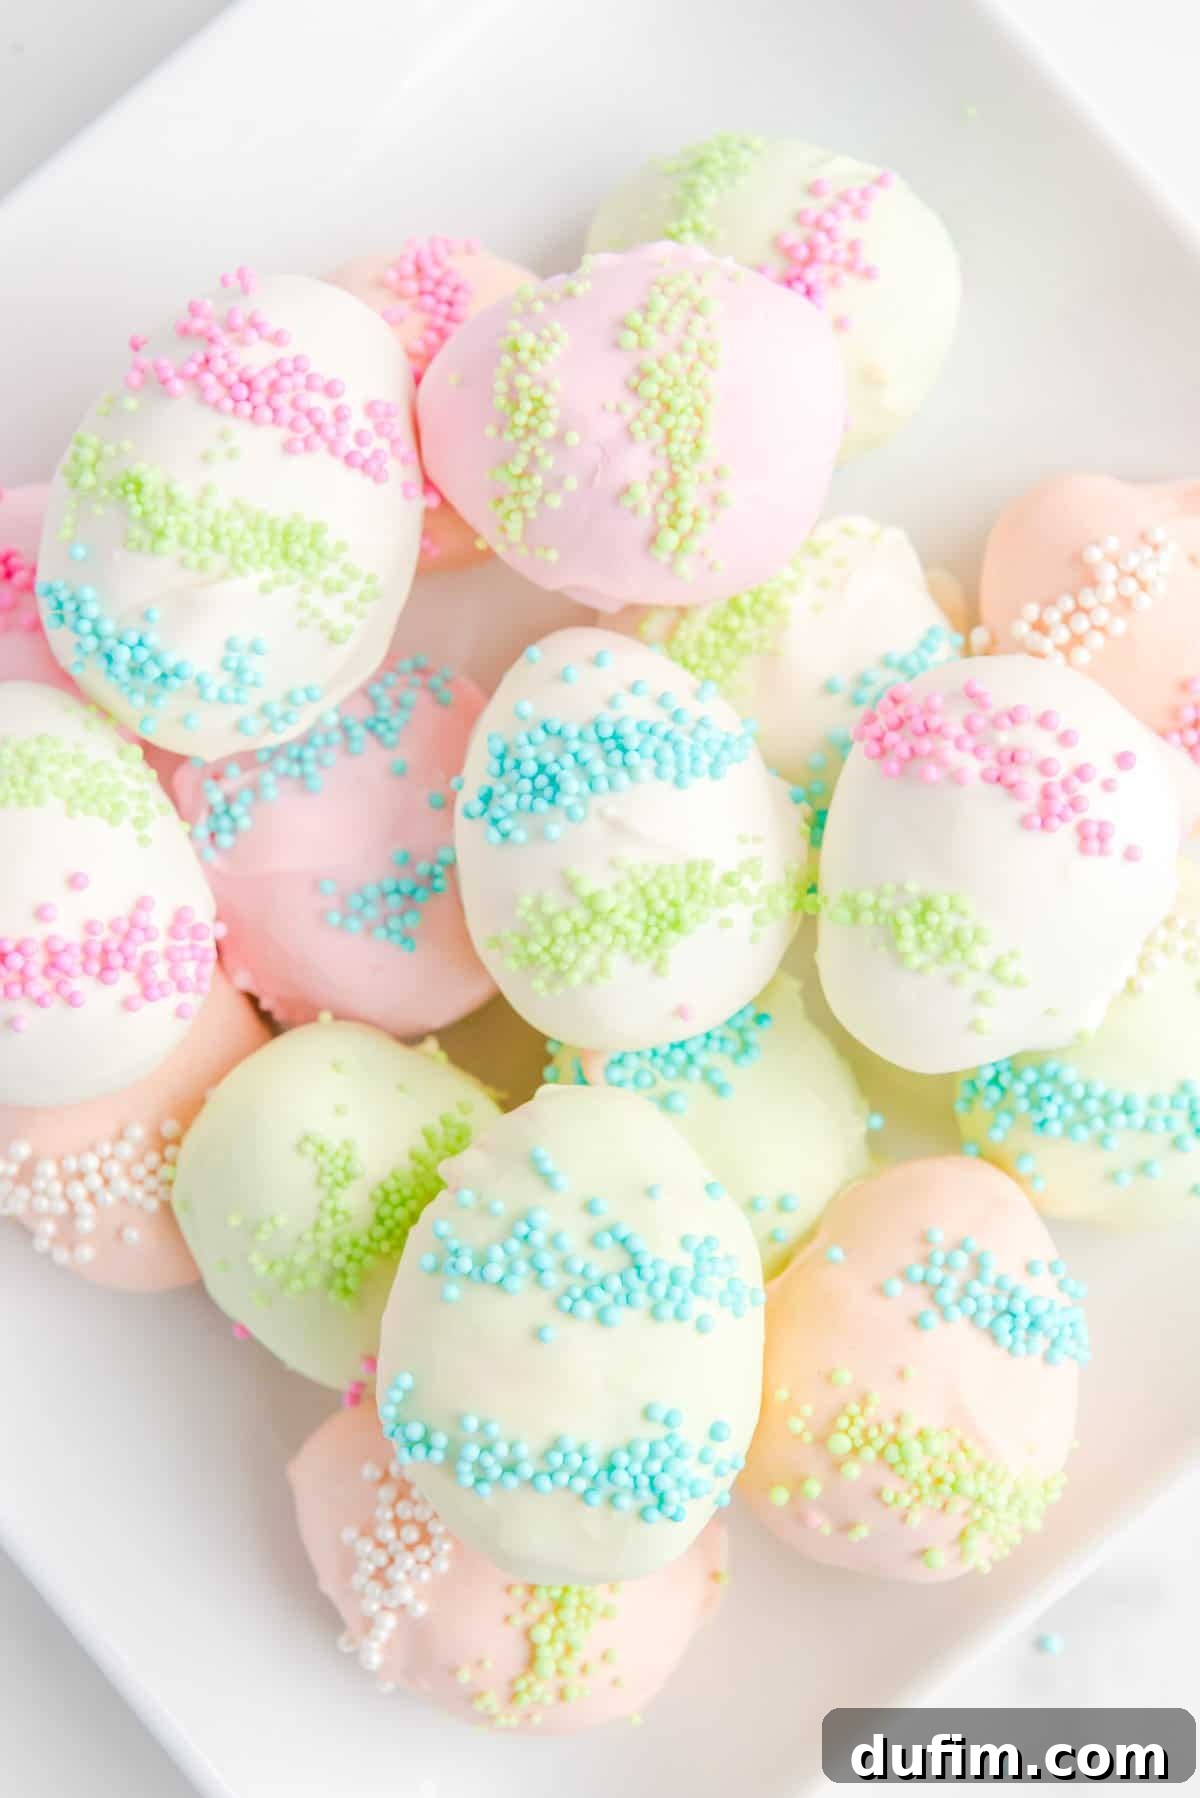
Prepare to be enchanted by these delightful Easter Egg Truffles! Imagine a luscious blend of golden Oreo cookies and rich cream cheese, expertly shaped into charming Easter eggs, then enveloped in a vibrant coating of melted chocolate, and finally adorned with an array of festive sprinkles. Much like everyone’s beloved classic Oreo cookie balls, these truffles bring a joyful, holiday-themed twist that is simply irresistible.
These no-bake treats are not just incredibly delicious but also a joy to make, perfect for adding a touch of homemade charm to your Easter celebrations. They are guaranteed to be a hit with both children and adults, making them an ideal centerpiece for your holiday dessert table or a thoughtful, edible gift for loved ones.
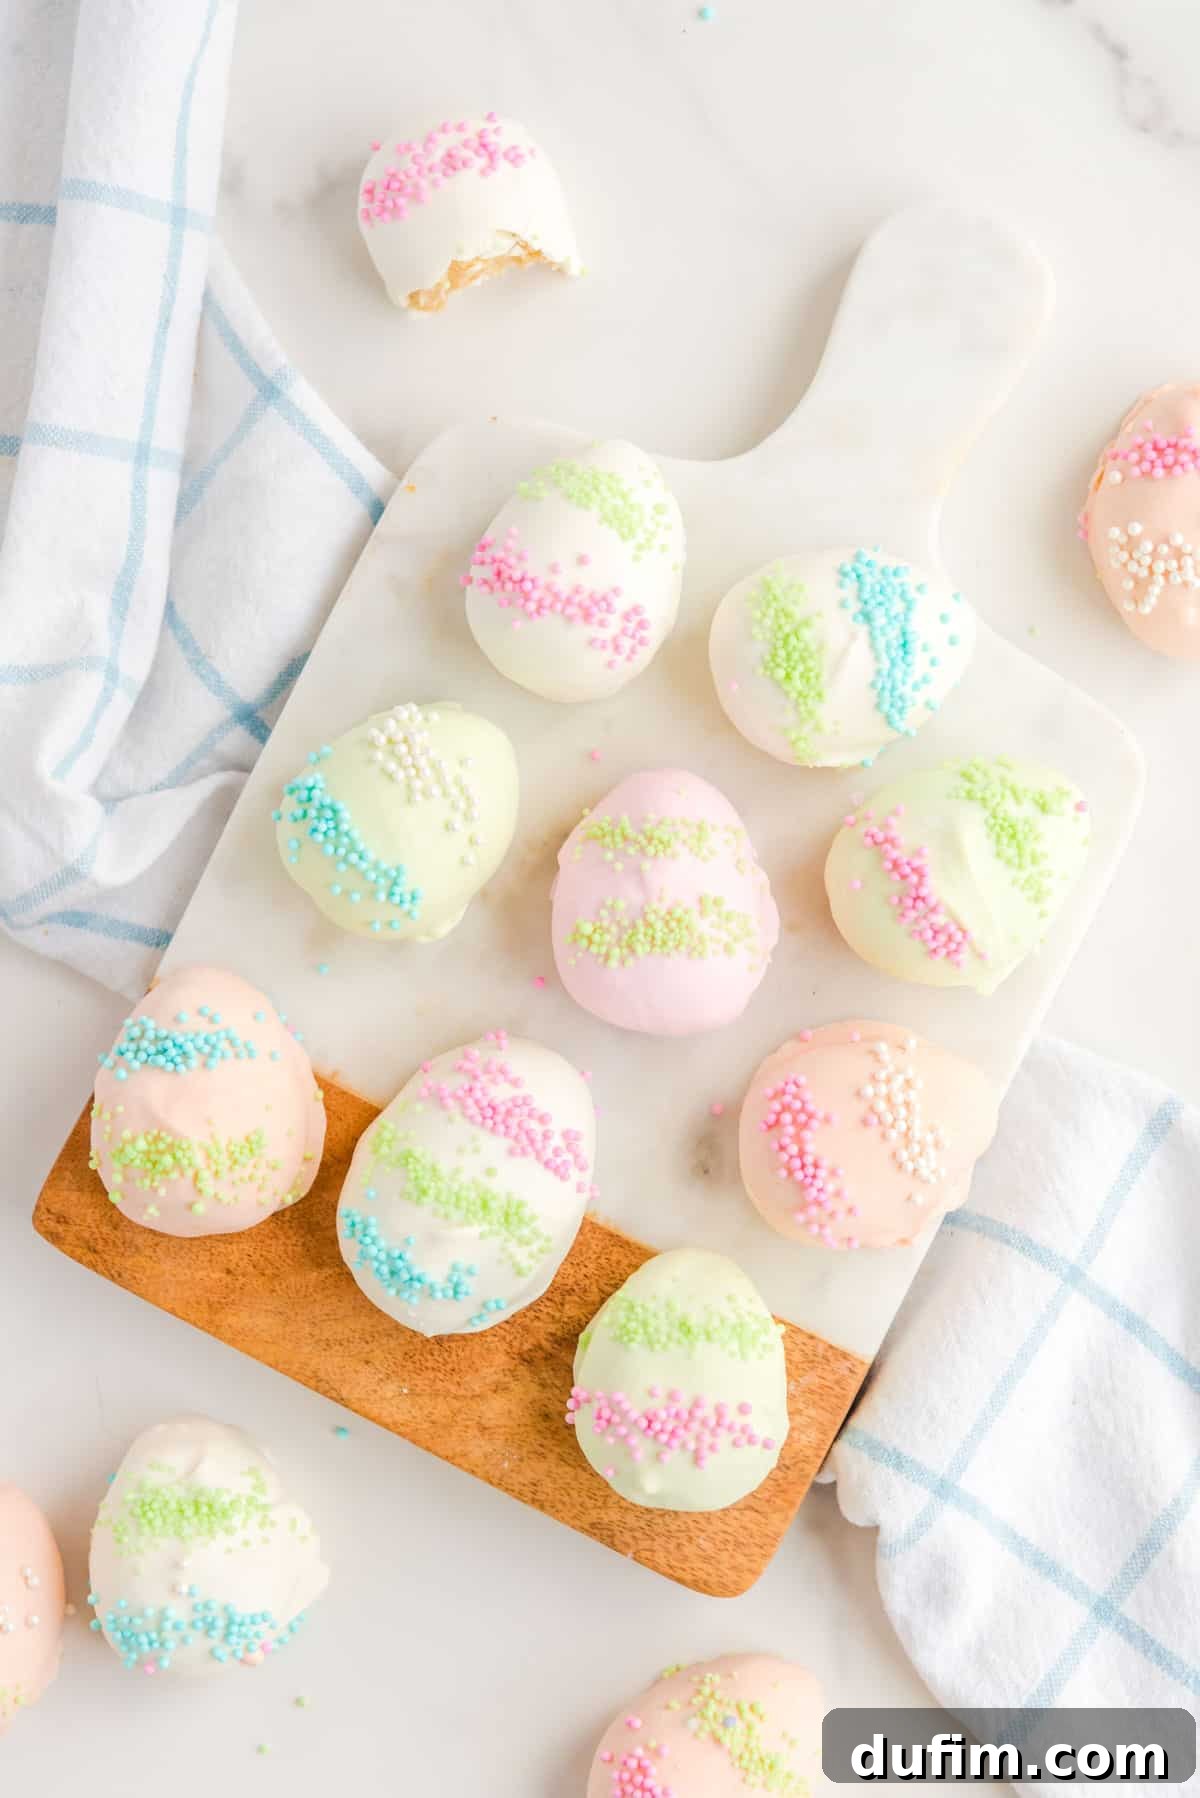
Oreo cookie balls have long been one of my go-to desserts for any special occasion, and for good reason! The foundational recipe is incredibly simple, making it a fantastic canvas for endless customization. You can easily adapt these treats to suit any holiday or theme by altering their shape, experimenting with various toppings, or playing with different colors of chocolate coating. This versatility means you’re never far from creating a unique and memorable dessert.
I’ve personally created delightful versions of these truffles for numerous occasions, transforming them into game day delights, festive Christmas presents, cozy Fall treats, and sparkling New Year’s Eve indulgences. The possibilities are truly boundless!
Unleashing Creativity with Shape and Style
Did you know that you can mold these cookie dough truffles into virtually *any* shape your heart desires? This incredible adaptability is another reason why they make such a delightful holiday treat! For example, I use cookie cutters to craft whimsical candy cane Oreo balls. However, for these charming Easter egg cookie dough truffles, we’ll be using our hands to gently form them into the iconic egg shape. This method is surprisingly simple and much easier than you might anticipate. Don’t worry, I’ll guide you through each step of the shaping process below, ensuring your truffles turn out perfectly.
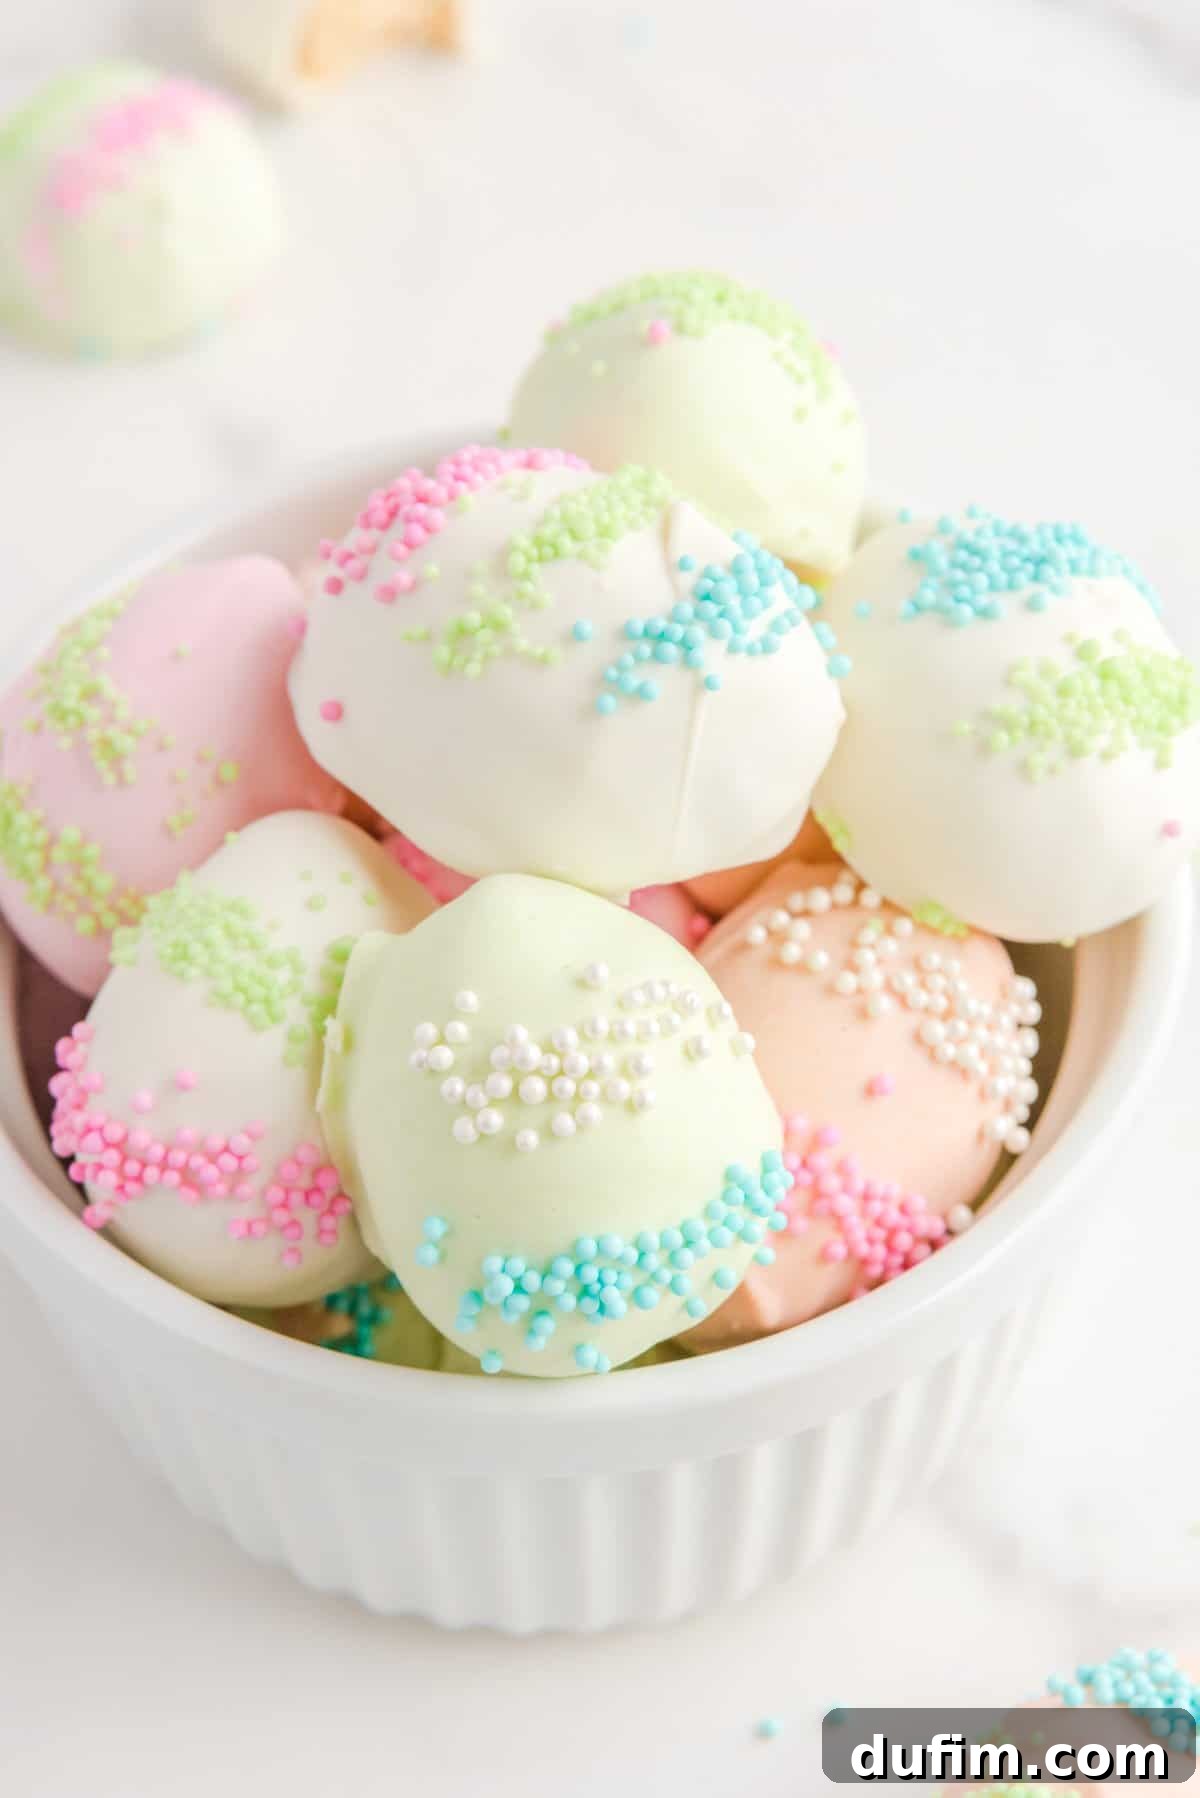
Why You’ll Fall in Love with These Easter Egg Truffles
These Golden Oreo truffles are more than just a dessert; they’re an experience waiting to happen. Here’s why they’re sure to become a cherished part of your Easter traditions:
- No Baking Required: Say goodbye to hot ovens and complicated baking schedules. This no-bake recipe is a dream come true for quick, effortless dessert making, especially when you’re short on time or prefer to keep the kitchen cool.
- Simple, Accessible Ingredients: You won’t need a pantry full of exotic items for these truffles. The ingredient list is straightforward, featuring common components that are easy to find at any grocery store.
- A Family-Friendly Activity: This recipe is designed for shared enjoyment! The entire family, from the youngest helpers to seasoned home cooks, can participate in the fun of mixing, shaping, and decorating. It’s a wonderful way to create lasting memories together.
- Perfect for Easter Gifts: Handmade treats always carry a special charm. These beautifully decorated truffles make exquisite, personalized Easter gifts for friends, neighbors, or teachers, showing you care with a delicious touch.
- Easily Customizable: Whether you prefer milk chocolate, dark chocolate, or a rainbow of pastel coatings, these truffles can be tailored to your exact preferences. Experiment with different sprinkles, drizzles, or even flavored extracts to make them uniquely yours.
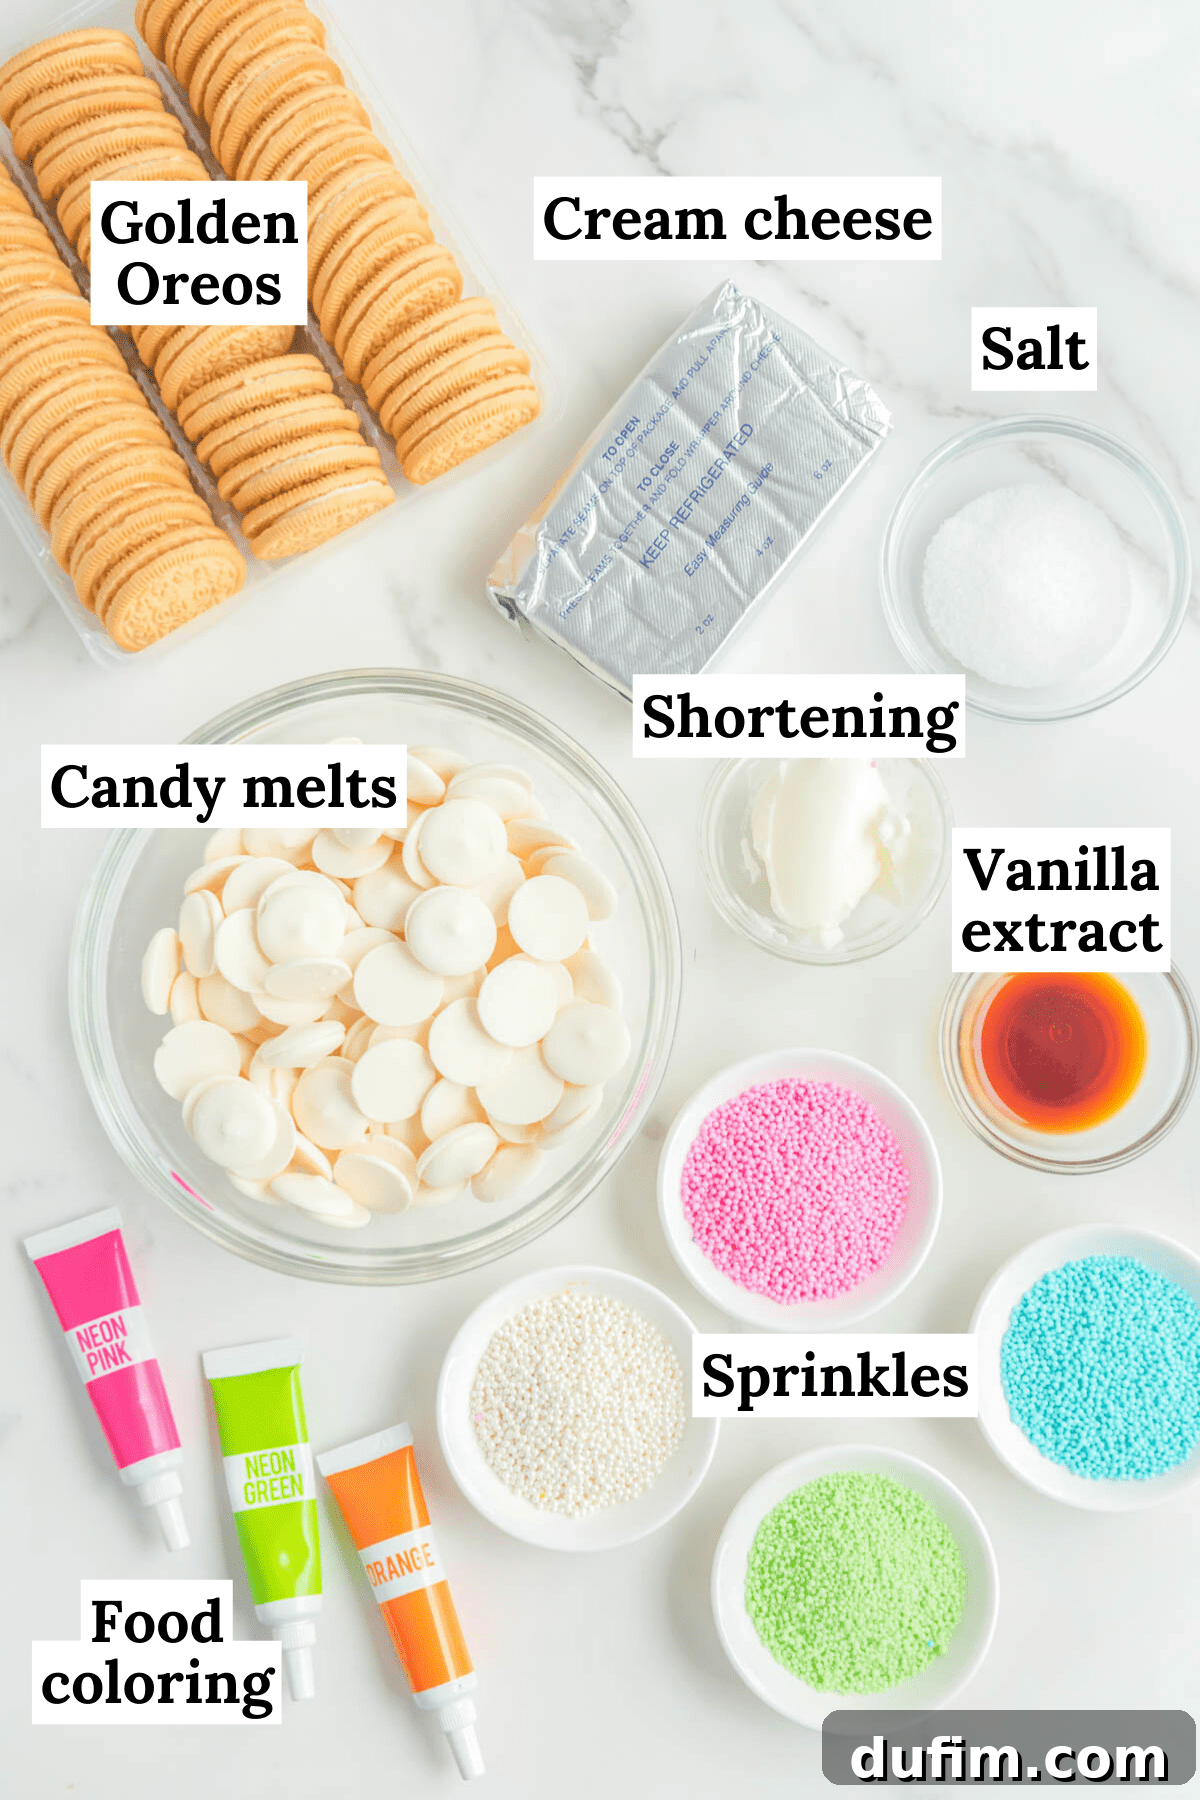
Essential Ingredients for Your Easter Egg Oreo Truffles
Gathering your ingredients is the first exciting step towards creating these delightful homemade Easter candies. The best part? This recipe invites your whole family to join in the fun of preparation and decoration!
Below is a concise list of what you’ll need. For precise measurements, please refer to the detailed recipe card at the end of this guide.
- Golden Oreos: The star of our show, providing that signature sweet, vanilla-flavored cookie base.
- Cream Cheese: Crucial for binding the cookie crumbs into a smooth, decadent truffle mixture. Remember to let it soften at room temperature beforehand for optimal blending!
- Vanilla Extract: Enhances the overall sweetness and adds a warm, aromatic depth to the truffles.
- Salt: Just a pinch balances the sweetness and elevates all the other flavors.
- White Candy Wafer Melts: These create the perfect smooth, dippable coating. White almond bark can be used as an excellent alternative if preferred.
- Shortening: A small amount helps to thin out the melted candy wafers, ensuring a perfectly smooth and easy-to-dip consistency.
- Easter-Colored Gel Food Coloring: Opt for lovely pastel shades like pink, blue, yellow, and green to truly capture the essence of Easter. Gel colors provide intense hues without altering the chocolate’s texture.
- Easter-Colored Sprinkles of Your Choice: The fun part! Choose an assortment of spring-themed sprinkles to give your truffles that extra festive flair. Nonpareils work particularly well for a classic look.
Crafting Your Own Easter Oreo Balls: A Step-by-Step Guide
This incredibly simple no-bake recipe yields approximately 20 beautiful Easter white chocolate truffles, with a preparation time of just 30 minutes before chilling. Follow these easy steps, and you’ll have a batch of festive treats ready to impress!
1. Create Fine Cookie Crumbs: Begin by pulsing your golden Oreo cookies in a blender or food processor until they transform into fine, uniform crumbs. This ensures a smooth and consistent truffle base.
2. Prepare the Cookie Mixture: Transfer the finely crushed Oreo crumbs to a large mixing bowl. Add in the softened cream cheese, vanilla extract, and salt. Using an electric hand mixer or a stand mixer, blend these ingredients thoroughly until the mixture is completely smooth and well combined. It should have a dough-like consistency.
3. Ready Your Baking Sheet: Line a large baking sheet with either a silicone baking mat or parchment paper. This will prevent the truffles from sticking and make them easy to handle later.
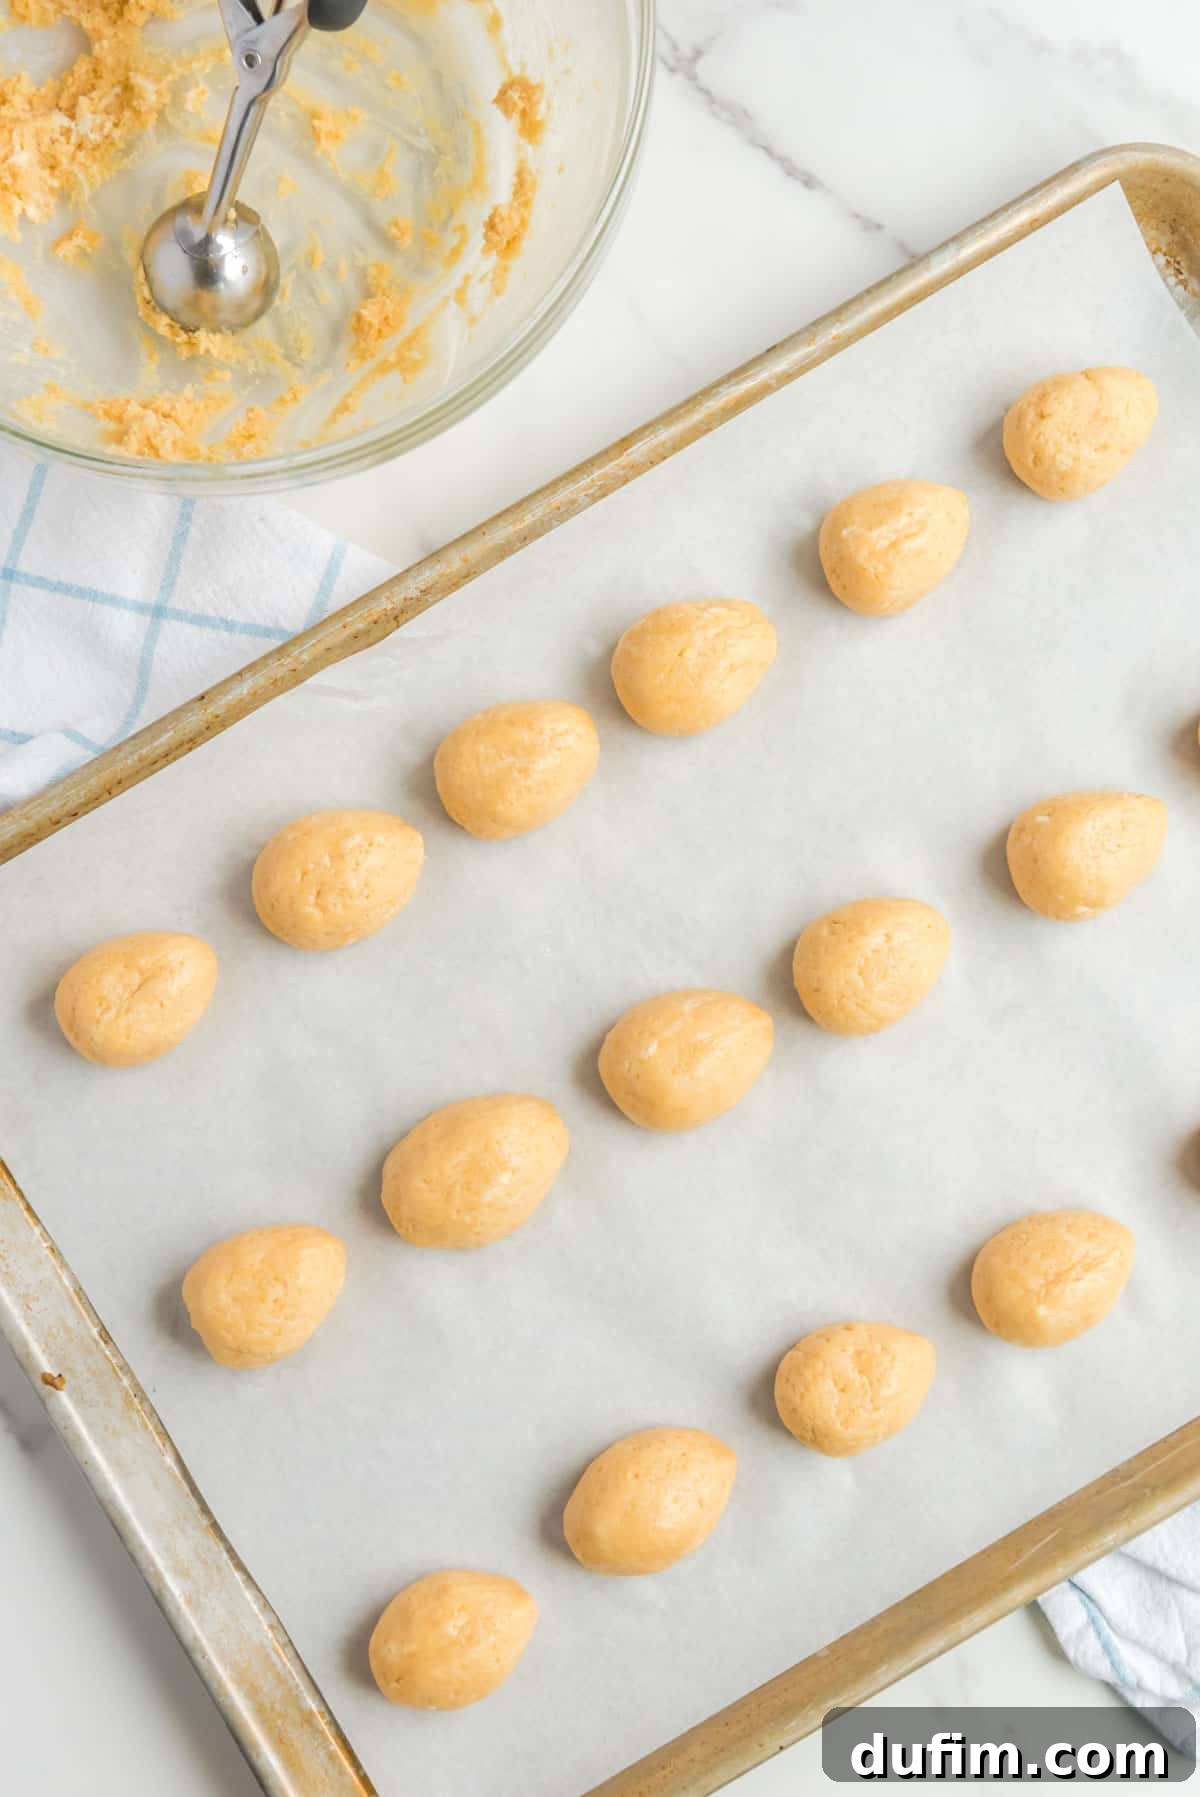
4. Form Initial Balls: Use a small cookie scoop to portion out the cookie mixture from the bowl. Roll each portion between your palms to form tight, round, and smooth balls. Arrange these balls on your prepared baking sheet, ensuring a little space between each one. Continue until all the mixture is used.
5. Shape into Easter Eggs: Now for the fun part! Gently use your fingers to transform each round ball into a distinct egg shape. Lightly flatten the ball first. Then, carefully pinch the top of the ball into a rounded point to form the narrower end of the egg. For the wider bottom portion, gently pinch and taper the opposite end to a less rounded point. Continue to pinch and smooth the sides of each ball, refining its egg shape until you’re satisfied.
6. Chill Thoroughly: Place the baking sheet with your egg-shaped truffles into the refrigerator to chill for a minimum of 1 hour. This crucial step helps them firm up, making them much easier to dip without falling apart. If you’re in a hurry, you can pop them into the freezer for about 30 minutes.
7. Melt the Candy Wafers: Towards the end of the chilling period, begin preparing your candy wafers. Place all the white candy wafers into a large, microwave-safe bowl. Microwave on 50% power (medium heat) for 1 minute. After, stir gently and add 2-3 tablespoons of shortening to help thin the mixture. Return to the microwave and heat in 30-second intervals, stirring thoroughly after each, until the chocolate is completely silky smooth. Add a little more shortening if necessary to achieve a fluid, soup-like consistency that’s ideal for dipping.
8. Color Your Chocolate: Divide the melted white chocolate evenly into four separate bowls. Add a few drops of Easter-colored gel food coloring to three of these bowls (leaving one white if desired). Mix each bowl until you achieve your desired pastel shades. The more gel you add, the deeper the color will be.
9. Dip Your Egg Truffles: Using two forks or specialized dipping tools, carefully submerge each chilled truffle into the melted chocolate, ensuring it’s completely covered. Gently tap off any excess chocolate before carefully placing the dipped truffle back onto the prepared baking sheet.
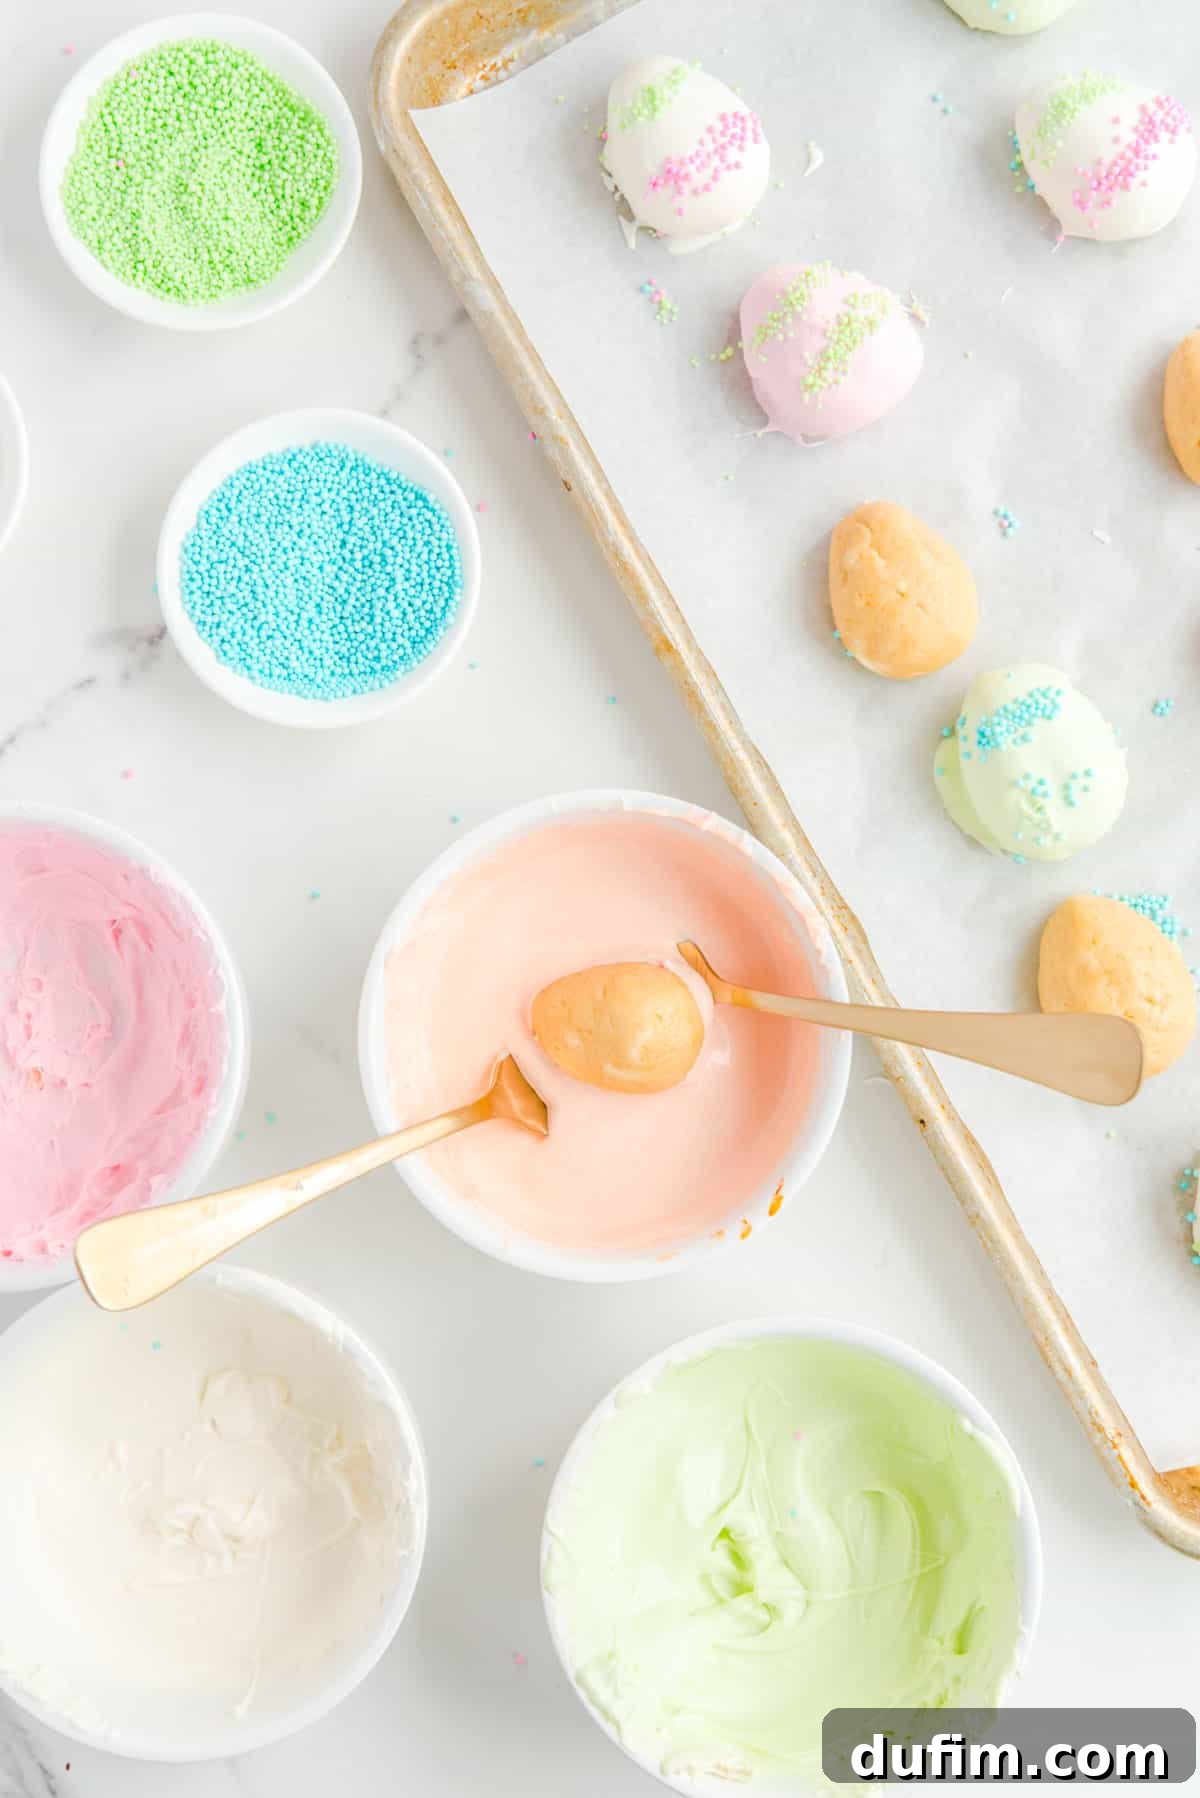
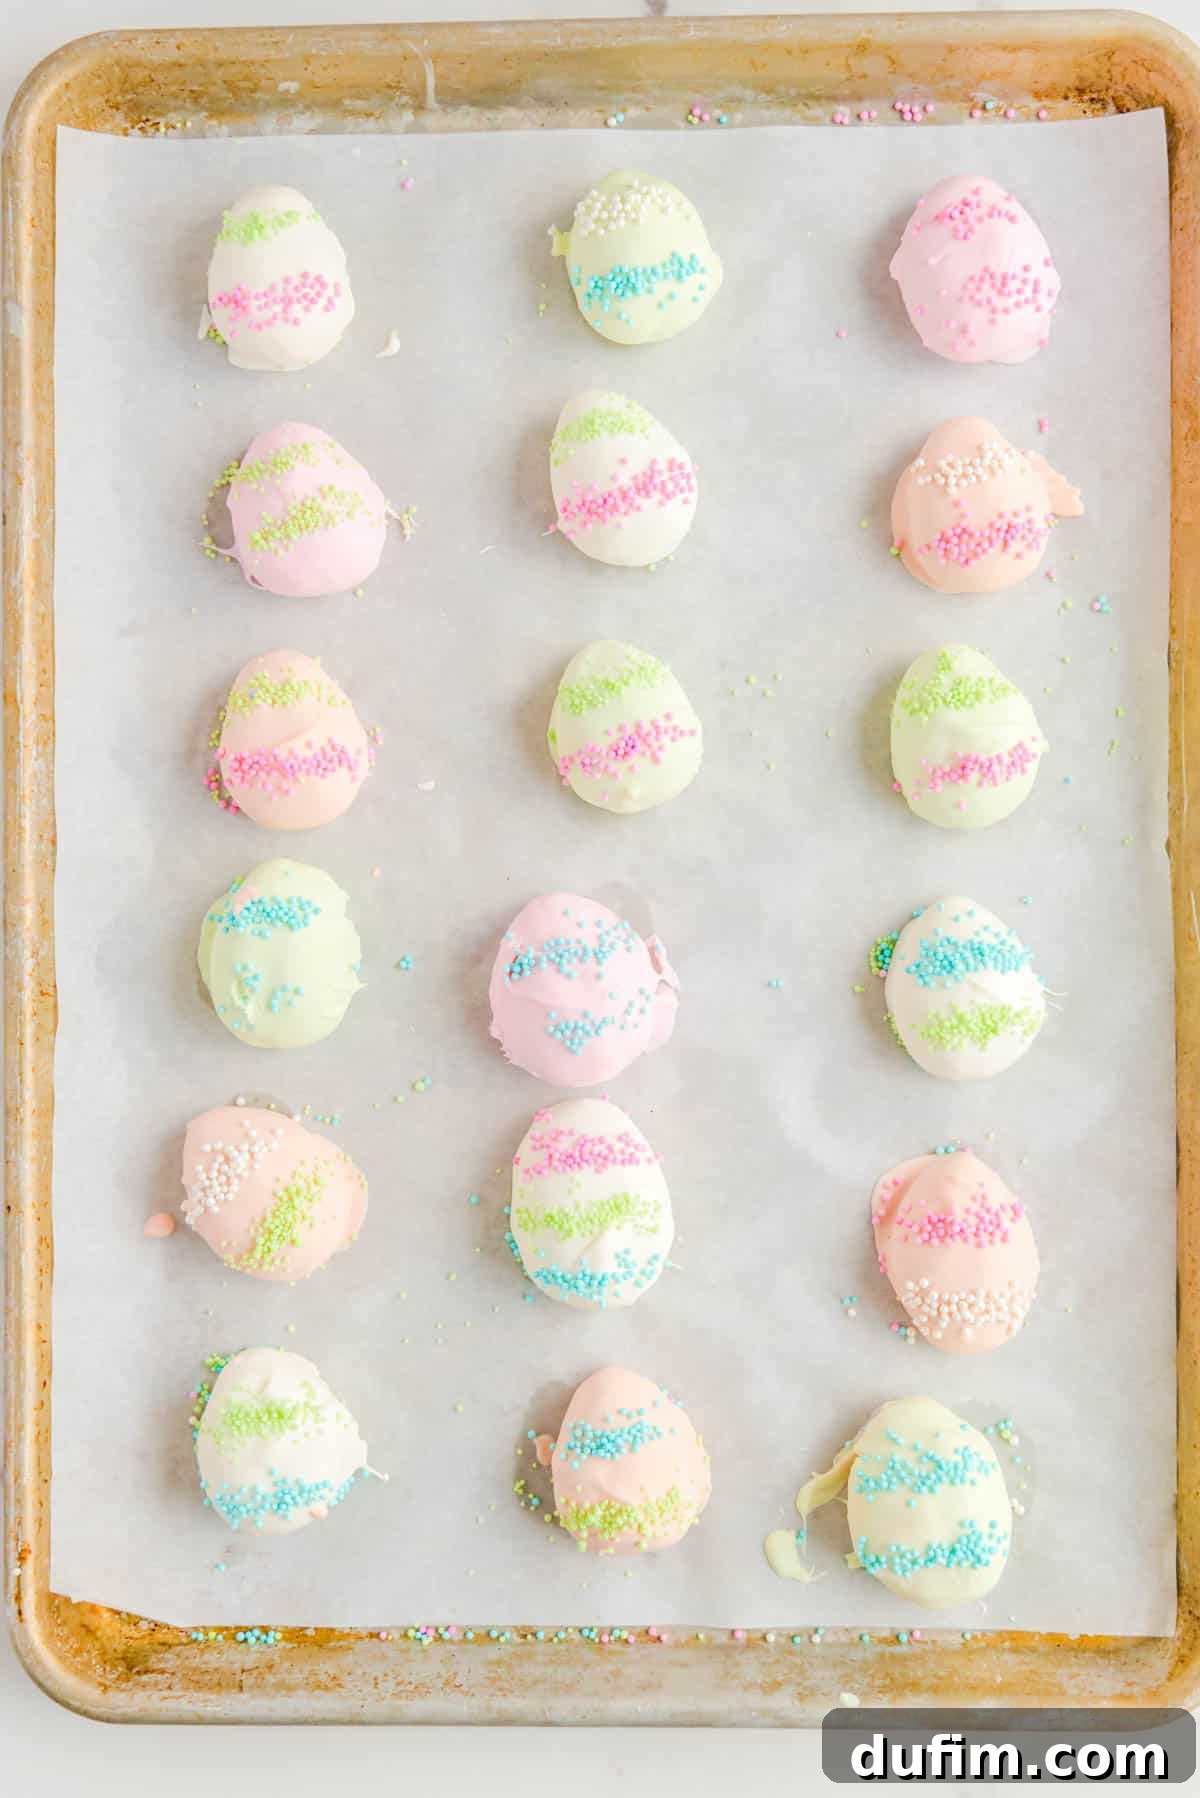
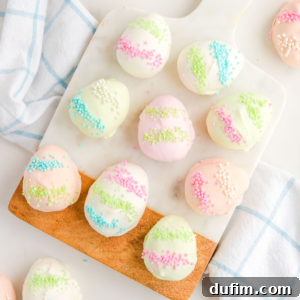
10. Decorate with Sprinkles Immediately: Timing is key here! As soon as each truffle is dipped, immediately shower it with your chosen Easter sprinkles. For a classic decorated Easter egg look, drop the sprinkles onto the truffles in horizontal lines, working from side to side.
11. Repeat and Alternate: Continue the dipping and decorating process, working one truffle at a time. Feel free to alternate between different chocolate colors and sprinkle combinations to create a vibrant and varied batch of Easter egg truffles.
12. Allow Chocolate to Set: Once all truffles are dipped and decorated, let the chocolate coating set completely at room temperature or in the refrigerator. This will ensure a firm, non-sticky finish.
13. Enjoy Your Homemade Easter Candy! Once set, your beautiful and delicious Easter egg truffles are ready to be savored. Share them with family and friends, or keep them all to yourself – we won’t tell!
Expert Tips for Crafting the Best Golden Oreo Truffles
Achieving perfectly smooth, beautifully coated, and irresistibly delicious truffles is easy with these helpful tips:
- Opt for Nonpareils Sprinkles: While any sprinkle works, nonpareils sprinkles are often the best choice for this recipe. Their small, round shape adheres wonderfully to the chocolate coating, providing a classic, uniform, and vibrant decorative finish.
- Work with One Color at a Time: For optimal results, especially with the chocolate coating, it’s highly recommended to work with one color of candy wafers at a time. The candy coating performs best when it’s silky smooth, adequately warm, and has a soup-like consistency. Maintaining this ideal texture is much simpler when you focus on a single color rather than frequently switching between different colored bowls.
- Dedicate Dipping Tools Per Color: If you do decide to alternate between various chocolate colors, ensure you have a separate set of dipping tools (two forks or specialized truffle dipping tools) for each color. This prevents color mixing and keeps your chocolate distinct and vibrant.
- Apply Sprinkles Promptly: The moment a truffle is dipped in chocolate, immediately apply the sprinkles. The chocolate sets fairly quickly, so don’t delay! Aim to add sprinkles within 2-3 minutes of dipping each truffle to ensure they adhere properly.
- Utilize a Silicone Mat: Silicone baking mats are absolute game-changers for making Oreo balls. They offer a non-stick surface that makes removing the chilled truffles incredibly easy. Place your freshly shaped Oreo truffles on a silicone mat to chill in the refrigerator before dipping. After dipping, return them to the same mat. Once the chocolate has fully set, the truffles will effortlessly peel away without sticking or breaking, ensuring a perfect finish every time!
Creative Substitutions & Delicious Variations
Part of the fun of making these Golden Oreo truffles is the freedom to get creative and customize them! Here are some fantastic ways to change up the recipe:
- Vanilla Almond Bark: If you can’t find white candy melting wafers, vanilla almond bark is an excellent and widely available substitute that will give you a similar smooth coating.
- Pre-Colored Candy Melts: Save time and effort by purchasing colored candy melts directly. These come in a wide array of vibrant shades, eliminating the need to dye white chocolate yourself.
- Different Flavored Oreos: Unleash your imagination with the vast selection of Oreo flavors! From classic chocolate to seasonal varieties like Birthday Cake, Mint, or Lemon, each one will create a unique truffle experience.
- Alternative Cream Cheese Substitute: For a slightly different flavor profile or to use what you have on hand, you can substitute 8 ounces of store-bought frosting (like cream cheese flavored or vanilla) for the softened cream cheese.
- Drizzle Decorations: Instead of or in addition to sprinkles, drizzle contrasting colored melted chocolate over the set truffles for an elegant striped effect.
- Nutty Crunch: For added texture, roll the truffles in finely chopped nuts (like pecans or walnuts) before the chocolate sets, or mix a small amount into the cookie dough itself.
Frequently Asked Questions About Easter Egg Truffles
To maintain their freshness and delicious texture, store your Golden Oreo truffles in an airtight container in the refrigerator. They will remain wonderfully fresh for up to 4 days.
Yes, Oreo balls should ideally be kept in the refrigerator until you are ready to serve them. Many people find that these truffles taste best when they are cold. However, they can be left at room temperature for a short period. According to FDA guidelines, cream cheese-containing items can typically be left out for up to 2 hours.
If your Easter Oreo balls are crumbling or falling apart, it’s likely due to an imbalance in the mixture. You may have used too many Oreo cookies or not enough cream cheese. The good news is this is easily fixed! Simply add a little more softened cream cheese to the mixture and blend again until it reaches a cohesive, workable consistency.
If your Oreo truffles appear oily, it generally indicates that they have been left out at room temperature for too long. This allows the oils from the cream cheese to slightly seep out. To remedy this, simply place them back into the refrigerator or even the freezer for a few minutes to cool down and firm up again.
More Delightful Easter Recipes to Explore
Looking for more ways to celebrate Easter with delicious treats? Check out these other festive recipes:
- Sweet & Salty Easter Pretzels
- Colorful Rice Krispies Easter Eggs
- Whimsical Swimming Peeps Jello Cups
- Adorable Peeps Bunny Pudding Cups
Tap stars to rate!
Easter Egg Truffles
Rate
Equipment
-
Glass Mixing Bowl
-
Silicone Baking Mat
-
Baking Sheet
-
KitchenAid 9-Speed Mixer
Ingredients
- 14.3 oz box Golden Oreos, 32 golden oreos
- 8 oz (226g) cream cheese, softened
- 1 tsp vanilla extract
- ½ tsp salt
- 4 cups white candy wafer melts, divided, can use vanilla almond bark
- 2-3 Tbsp shortening
- 3 Easter colored gel food coloring
- 3-4 Easter colored sprinkles of your choice
Instructions
-
Using a blender or food processor, pulse the Oreos into crumbs.14.3 oz box Golden Oreos
-
Add Oreo crumbs to a large mixing bowl. Add in the cream cheese, vanilla and salt. Using an electric hand or stand mixer, blend the mixture until smooth.8 oz (226g) cream cheese, 1 tsp vanilla extract, ½ tsp salt
-
Prepare a large baking sheet with a silicone baking mat or parchment paper.
-
Use a cookie scoop to scoop the mixture from the bowl and form it into tight, round, smooth balls. Place the balls on the baking sheet and continue until the mixture is gone.
-
Use your fingers to create the egg shape. Flatten the ball slightly. Then pinch the top of the ball into a rounded point. Gently pinch the bottom of the ball into a less rounded point (this will be the larger, bottom portion of the egg). Then pinch and shape the top and sides of each ball, refining your egg shape.
-
Place the baking sheet in the refrigerator to chill for 1 hour. Alternatively, you can put them in the freezer for 30 minutes.
-
Near the end of the chill time, begin to prep your candy wafers. Add all of the wafers to a large microwave safe bowl. Microwave on 50% power for 1 minute. After, stir gently and add shortening to thin the mixture. Return to the microwave and heat on 30-second bursts, stirring in between, until silky smooth. Add more shortening if needed to create a soup-like mixture.4 cups white candy wafer melts, 2-3 Tbsp shortening
-
Divide the melted chocolate into 4 even bowls. Add food coloring gel to three of the bowls and mix until you have the desired color.3 Easter colored gel food coloring
-
Using two forks or dipping tools, dip each truffle into the melted chocolate, covering completely. Work one truffle at a time, placing it back on the baking sheet after it’s covered.
-
Immediately top each dipped truffle with sprinkles. Drop the sprinkles onto the truffles in a line formation from side to side creating a decorated Easter Egg look.3-4 Easter colored sprinkles of your choice
-
Repeat the process, working one truffle at a time and alternating chocolate colors and sprinkle combinations.
-
Allow the chocolate to set completely.
Notes
- Use vanilla almond bark in place of the candy melting wafers.
- Buy colored candy melts instead of dying the chocolate yourself.
- Change up the flavor of Oreos. There are so many flavors!
Nutrition
Carbohydrates: 49g |
Protein: 2g |
Fat: 23g |
Saturated Fat: 17g |
Polyunsaturated Fat: 2g |
Monounsaturated Fat: 3g |
Trans Fat: 0.2g |
Cholesterol: 11mg |
Sodium: 186mg |
Potassium: 34mg |
Fiber: 0.3g |
Sugar: 42g |
Vitamin A: 152IU |
Calcium: 17mg |
Iron: 0.5mg
Nutrition Disclosure
All nutritional values are approximate and provided to the reader as a courtesy. Changing ingredients and/or quantities will alter the estimated nutritional calculations.
Like this recipe? Rate and comment below!