
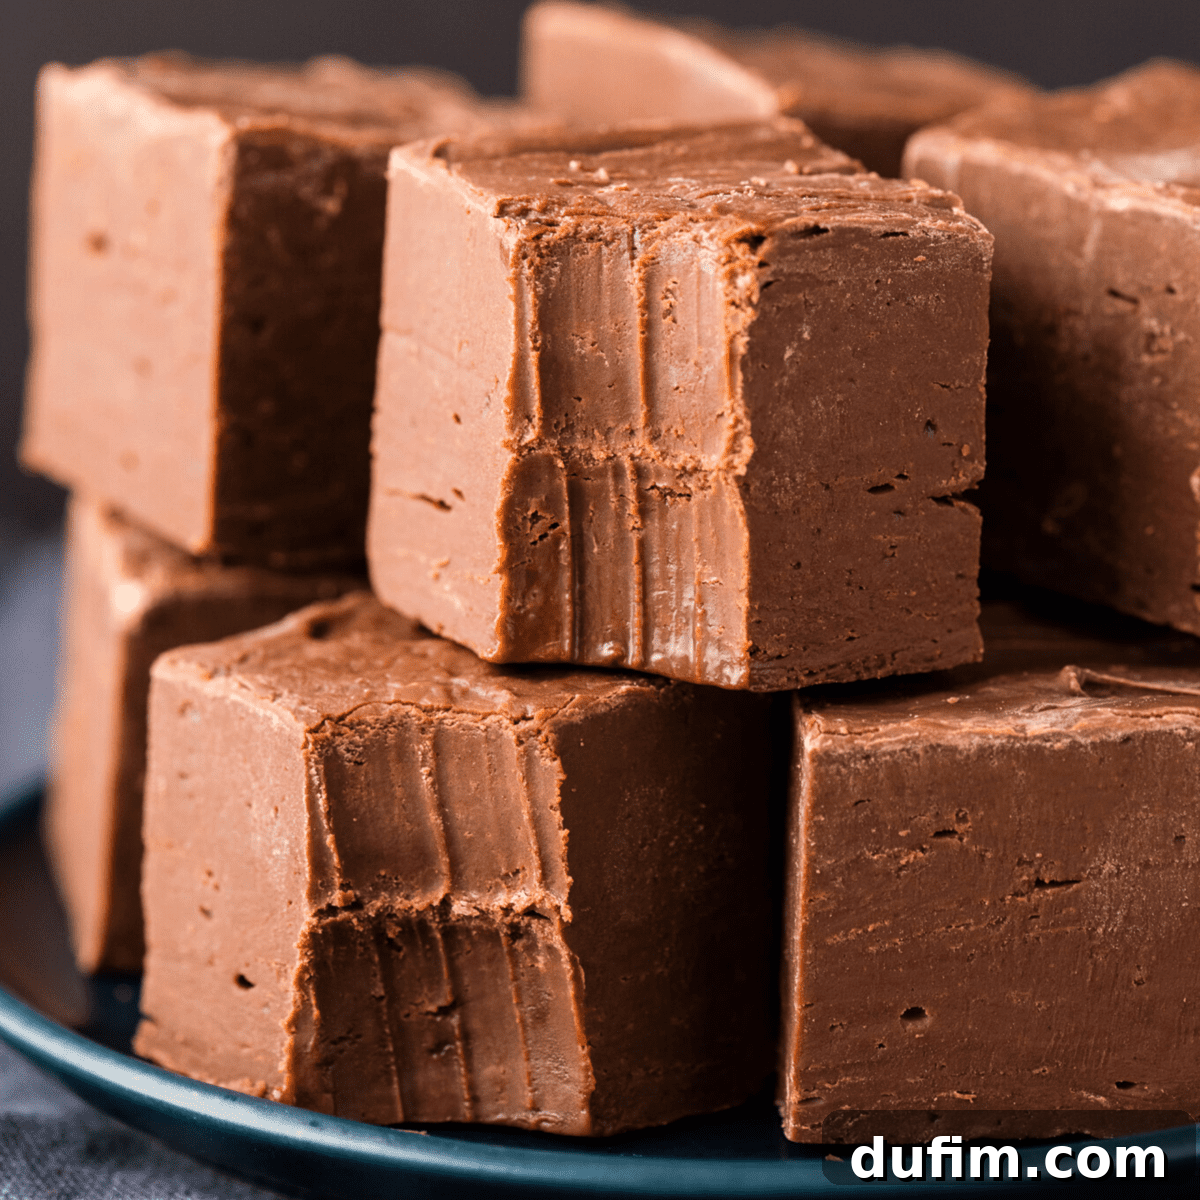
Tired of making chocolate fudge that ends up short, crumbly, or just doesn’t quite hit the mark? Say goodbye to disappointing results with our incredibly easy microwave chocolate fudge recipe! This foolproof method promises to deliver super tall, thick, and luxuriously creamy fudge that rivals any candy store delicacy, all while being deliciously homemade. Best of all, it comes together quickly in your microwave, making it the perfect stress-free treat for any occasion, especially during the busy holiday season.
One of the easiest fudge recipes I have made! Creamy and yummy. My family and co-workers loved it!
-Aubrey
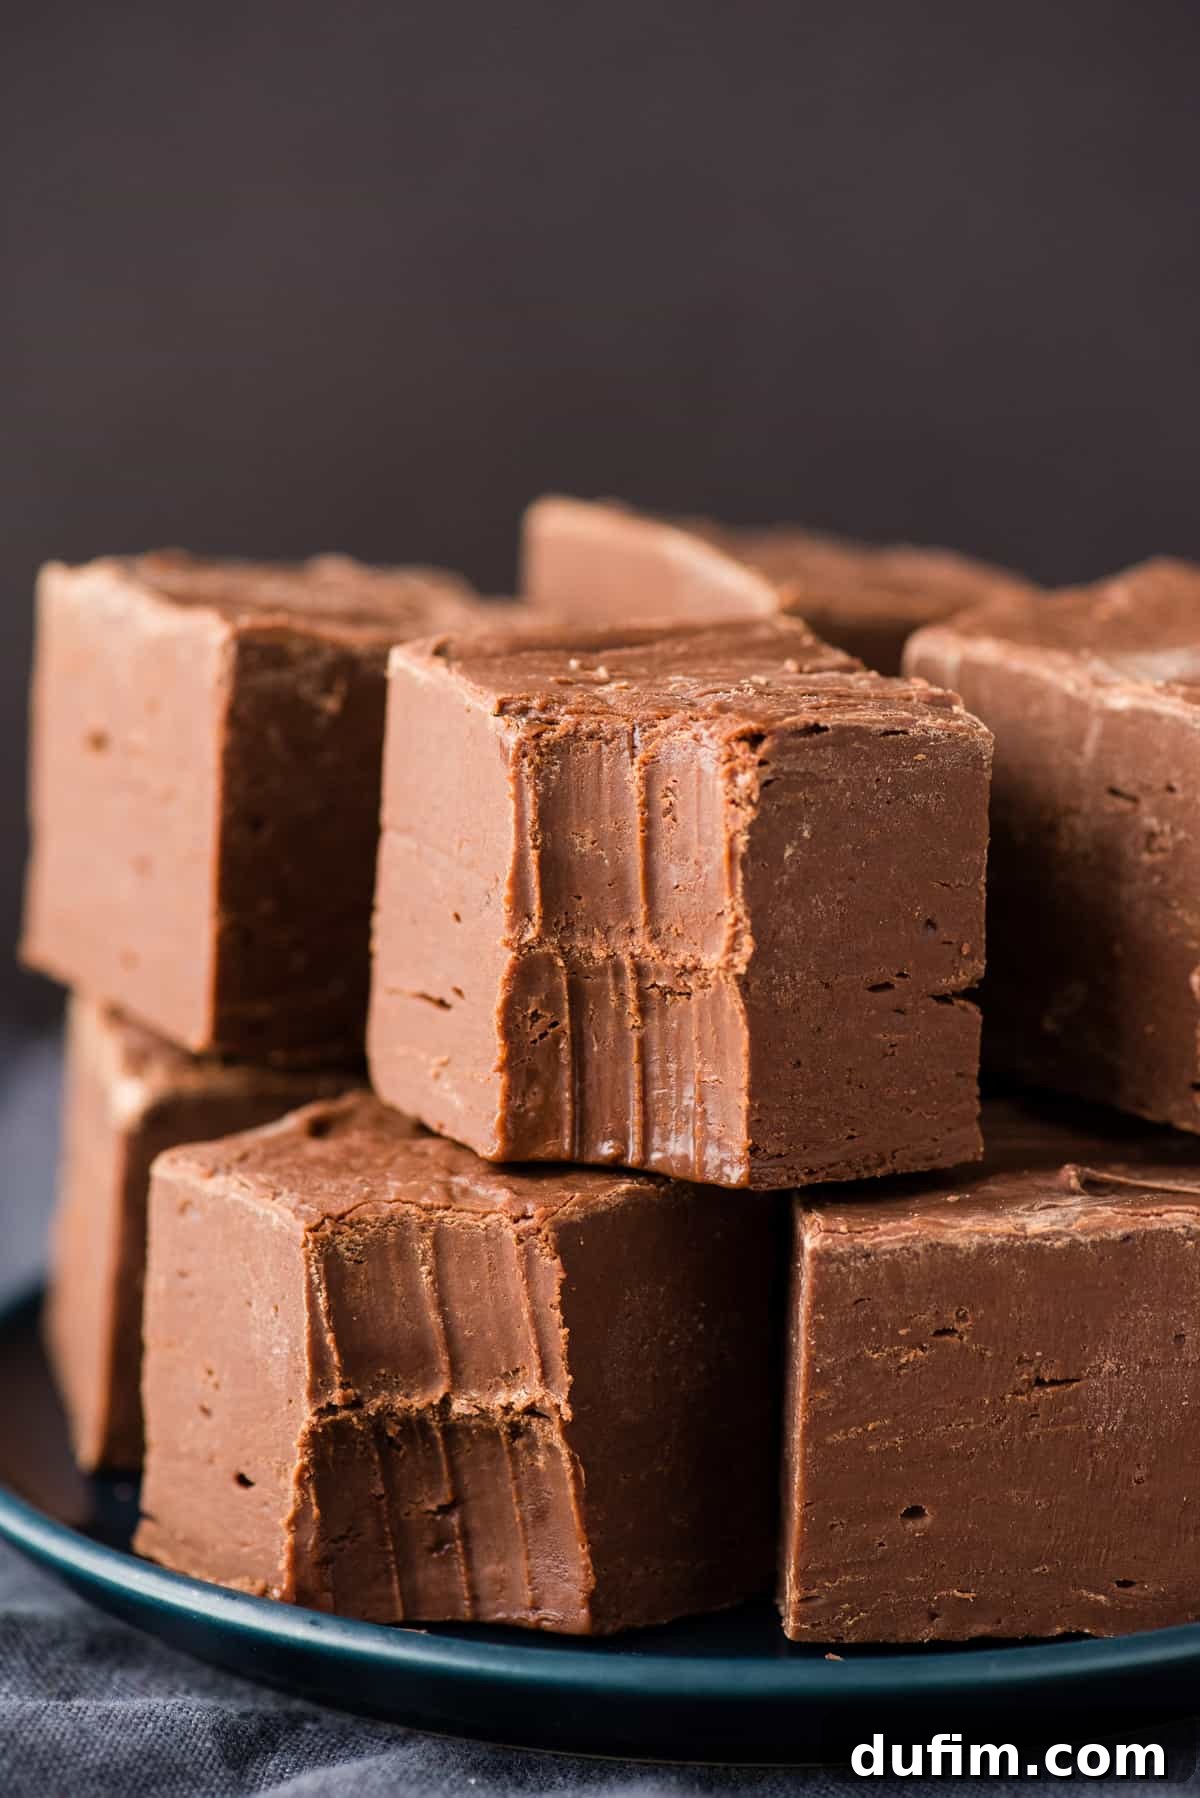
Why This Easy Chocolate Fudge Recipe is Your Holiday Must-Have
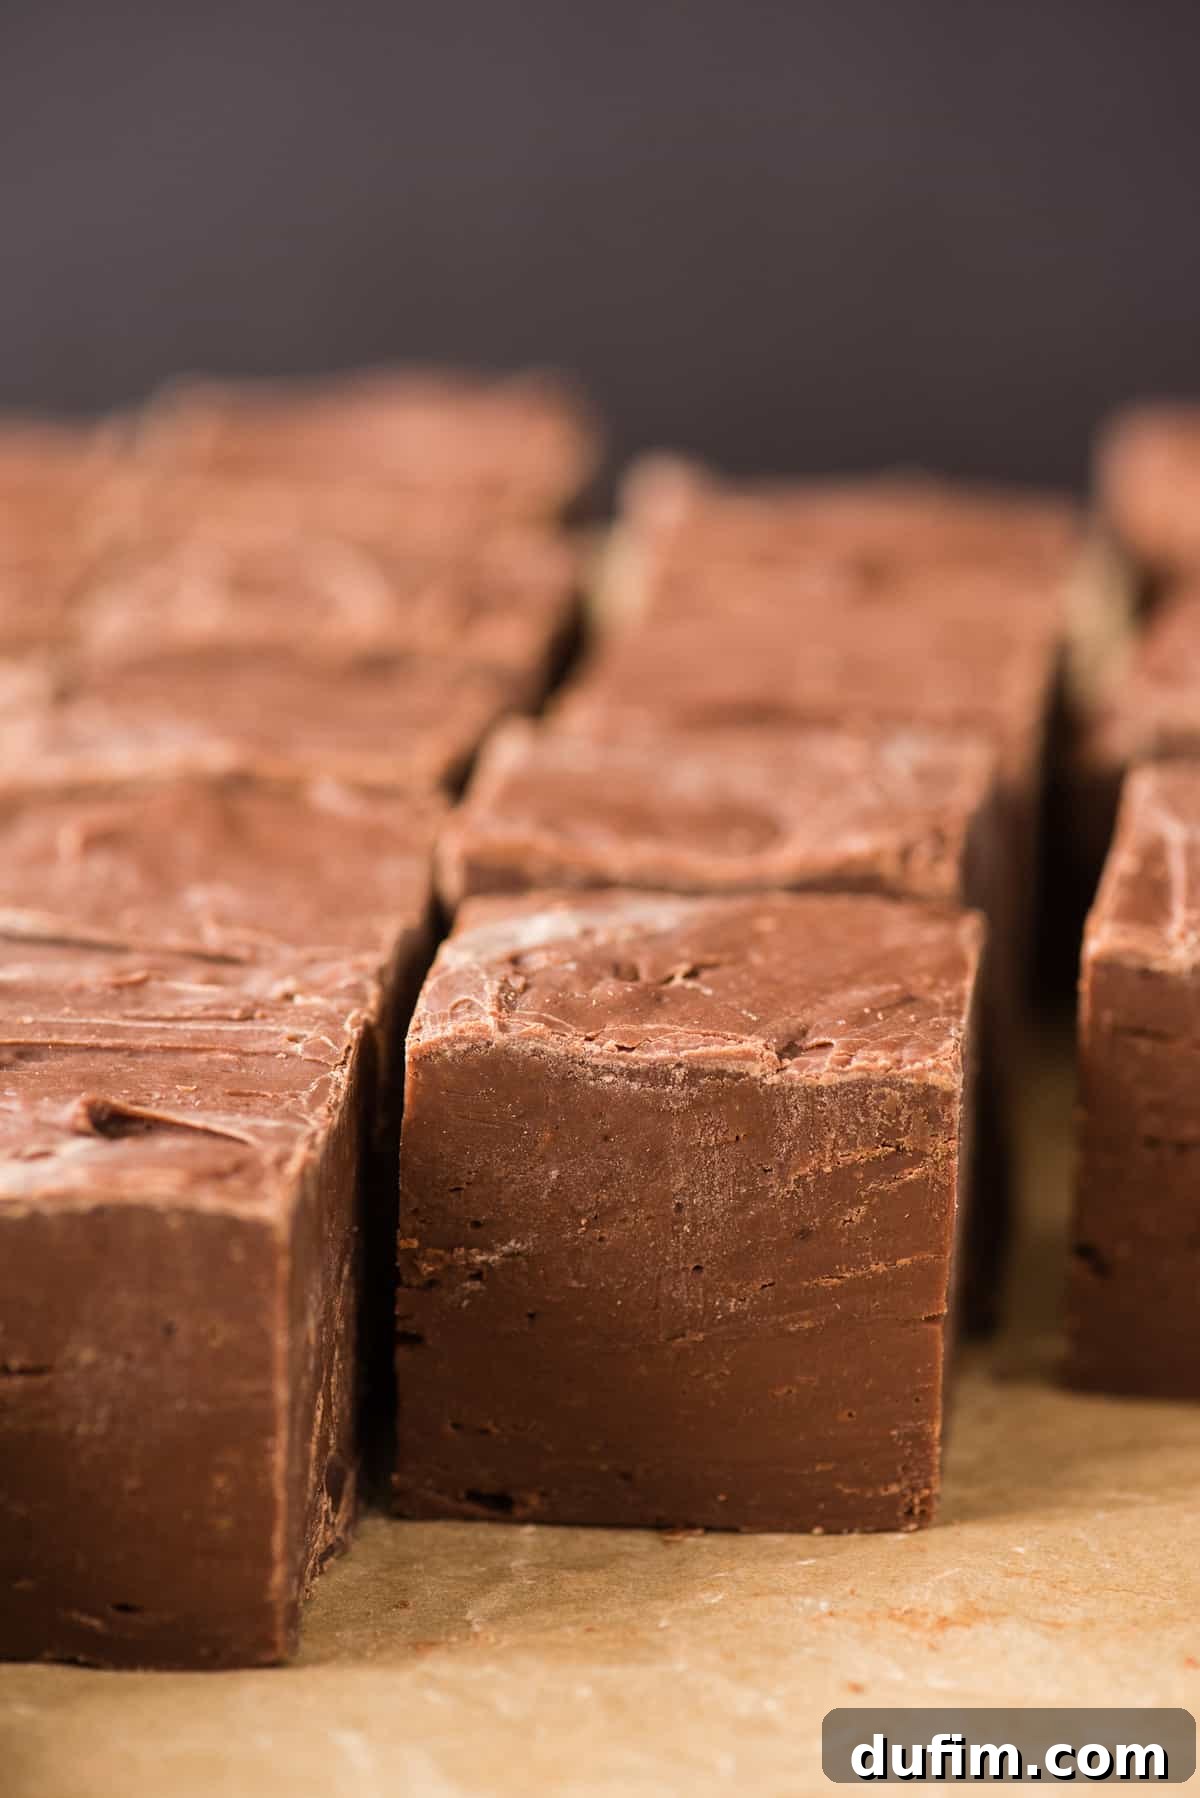
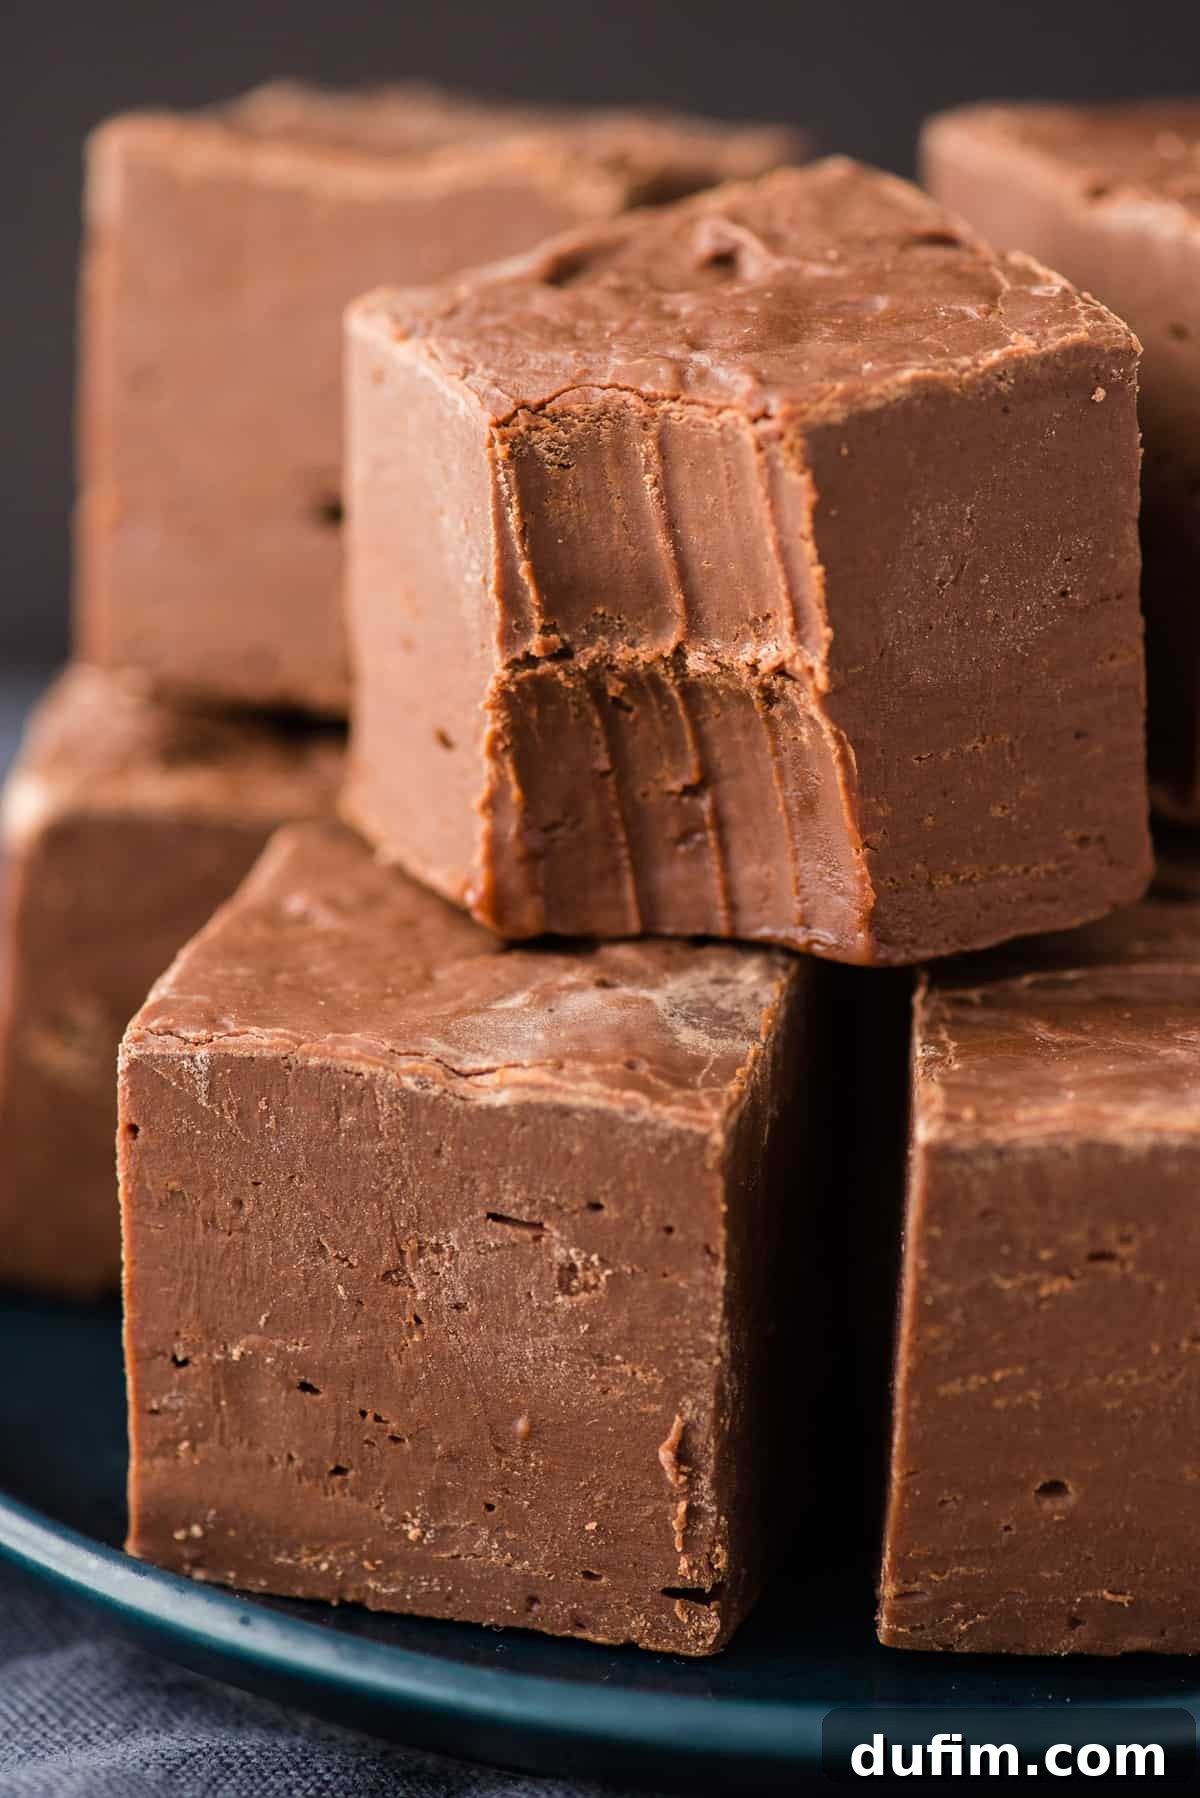
There’s something truly special about a rich, decadent piece of chocolate fudge during the holidays. Our recipe takes your festive treat game to the next level by producing impressively tall and thick fudge squares. Forget those short, thin, and often uninspiring pieces you sometimes find. This is the kind of fudge that commands attention, making it look genuinely store-bought, yet tasting infinitely better because it’s crafted with love in your own kitchen.
When it comes to creating our annual Christmas cookie tins, fudge is always a non-negotiable inclusion. Its rich flavor and satisfying texture make it a beloved addition, and its ability to be prepped in just about 5 minutes is a huge bonus for busy holiday bakers. Imagine the joy of presenting beautifully tall, luscious homemade fudge to friends and family – it’s a gift that speaks volumes. For those who enjoy a variety, our sea salt caramels are another fantastic festive candy to consider for your holiday assortments!
The Golden Rule for Perfect Microwave Fudge: Avoid Overheating
While this truly is an easy and foolproof chocolate fudge recipe, there’s one critical tip that you absolutely must heed to ensure success: **Do NOT overheat the sweetened condensed milk and chocolate mixture in the microwave!** This is the single most common pitfall when making microwave fudge, and it can sadly lead to dry, crumbly, and unfixable results.
For this specific recipe, you’ll microwave the chocolate chips and sweetened condensed milk for precisely 1 minute and 30 seconds. When you remove the bowl from the microwave, you might be tempted to put it back in because the mixture may not look completely melted or combined. **Resist this urge!** Trust the process. The residual heat from the microwaved ingredients is perfectly sufficient to fully melt the chocolate chips as you vigorously stir everything together. Overheating the fudge during the microwaving process causes the sugar to crystallize too rapidly and the chocolate to scorch, resulting in that dreaded dry, grainy, and crumbly texture that no amount of stirring can rescue. Follow this golden rule, and you’ll be rewarded with silky smooth, perfect chocolate fudge every time.
Essential Ingredients for Your Simple Homemade Fudge
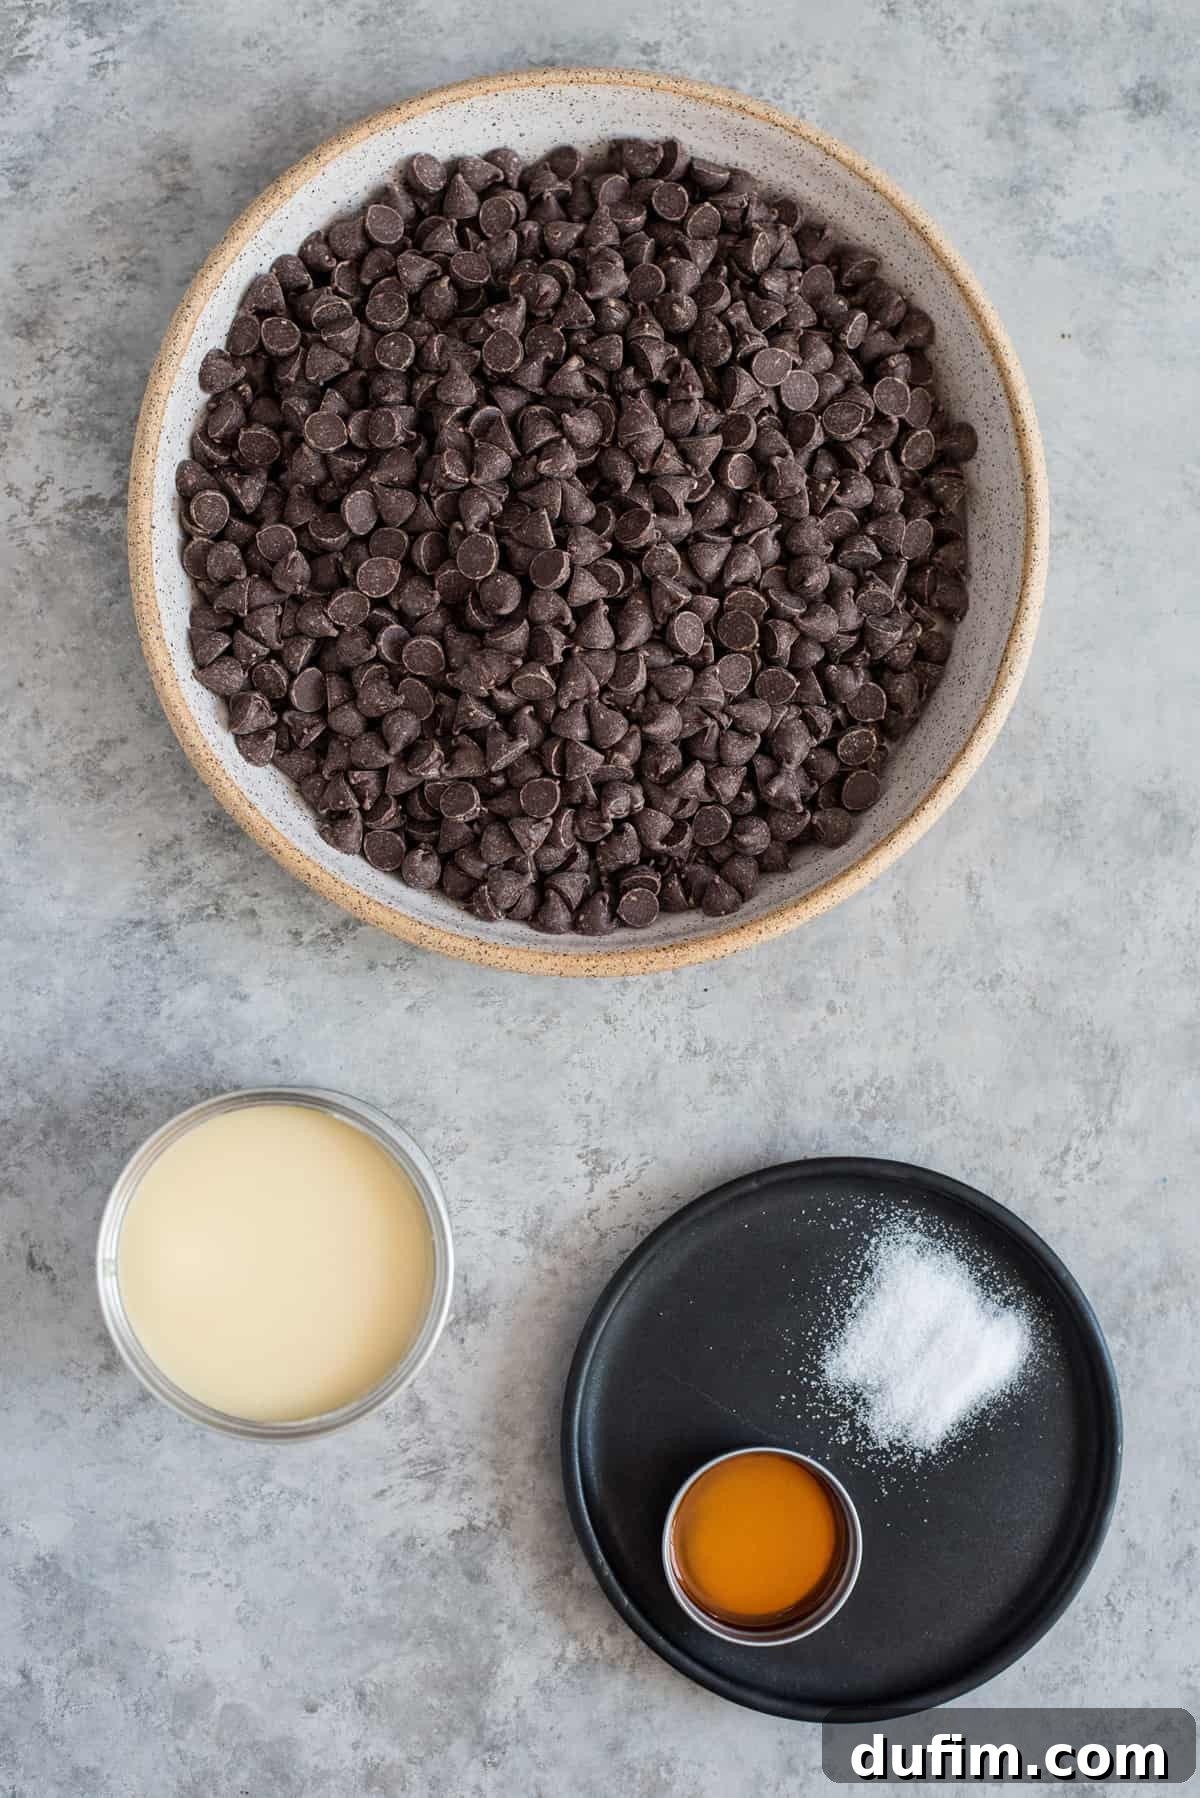
One of the beauties of this easy chocolate fudge recipe is its minimal ingredient list. With just four common items, you’re on your way to a gourmet treat. Here’s a closer look at what you’ll need and some tips for best results:
- Sweetened Condensed Milk: This is the star ingredient that provides the creamy texture and sweetness. You’ll need two 14 oz cans. Be sure to use sweetened condensed milk, not evaporated milk, as they are very different and will yield completely different results.
- Chocolate Chips: We highly recommend using a higher quality brand for the best flavor and melting consistency. Ghirardelli semi-sweet chocolate chips are a fantastic choice, offering a balanced sweetness that’s not overpowering. You can experiment with milk chocolate chips for a sweeter fudge, or dark chocolate chips for a more intense chocolate flavor, but always prioritize quality for that smooth finish.
- Vanilla Extract: A touch of pure vanilla extract elevates the chocolate flavor, adding depth and warmth to the fudge. Don’t skip this!
- Salt: A small amount of salt is crucial for balancing the sweetness of the fudge and enhancing the chocolate notes. It prevents the fudge from tasting cloyingly sweet and brings out the complexity of the flavors. Consider a pinch of sea salt flakes sprinkled on top just before it sets for a beautiful finish and an extra pop of flavor.
If you’re looking for a fudge recipe that caters to specific dietary needs, you might want to try this easy chocolate fudge recipe that is vegan, low carb, and keto-friendly.
Step-by-Step: Crafting Your Perfect Microwave Chocolate Fudge
Making this homemade chocolate fudge is incredibly straightforward. Follow these simple steps for a truly delightful and impressive dessert:
- Prepare Your Pan: Begin by lining a square 8 or 9-inch baking dish with aluminum foil. This step is essential for easy removal of your tall fudge. Ensure the foil extends up and over the sides of the pan, creating “handles” that you can use to lift the cooled fudge out. Lightly grease the foil with a bit of butter or cooking spray for extra insurance against sticking. Set this prepared pan aside.
- Combine Ingredients: In a large, microwave-safe glass bowl, combine the two cans of sweetened condensed milk and all the chocolate chips. Use a sturdy spatula to stir them together briefly until they are just coated.
- Microwave and Stir (The Crucial Step!): Place the bowl in the microwave and heat on full power for exactly 1 minute and 30 seconds. **Do not exceed this time.** Once removed from the microwave, the mixture will appear warm and possibly only partially melted. Immediately add the salt and vanilla extract to the bowl. Now, stir vigorously and continuously with your spatula. As you stir, the residual heat will work its magic, and the chocolate chips will completely melt and smoothly combine with the condensed milk. Keep stirring until the mixture is entirely uniform, glossy, and free of any visible chocolate chip pieces. Over-microwaving leads to scorched chocolate and crumbly fudge, so remember to rely on the stirring to finish the melting process!
- Set the Fudge: Quickly transfer the warm, silky fudge mixture into your prepared baking pan. Use your spatula to spread it evenly into a thick layer across the bottom of the pan. For the best texture, allow the fudge to set undisturbed on the counter for at least 6 hours, or ideally, overnight. You can loosely cover the top of the fudge with another piece of foil or plastic wrap to protect it from drying out. Avoid refrigerating at this stage, as rapid cooling can affect the texture (more on this below!).
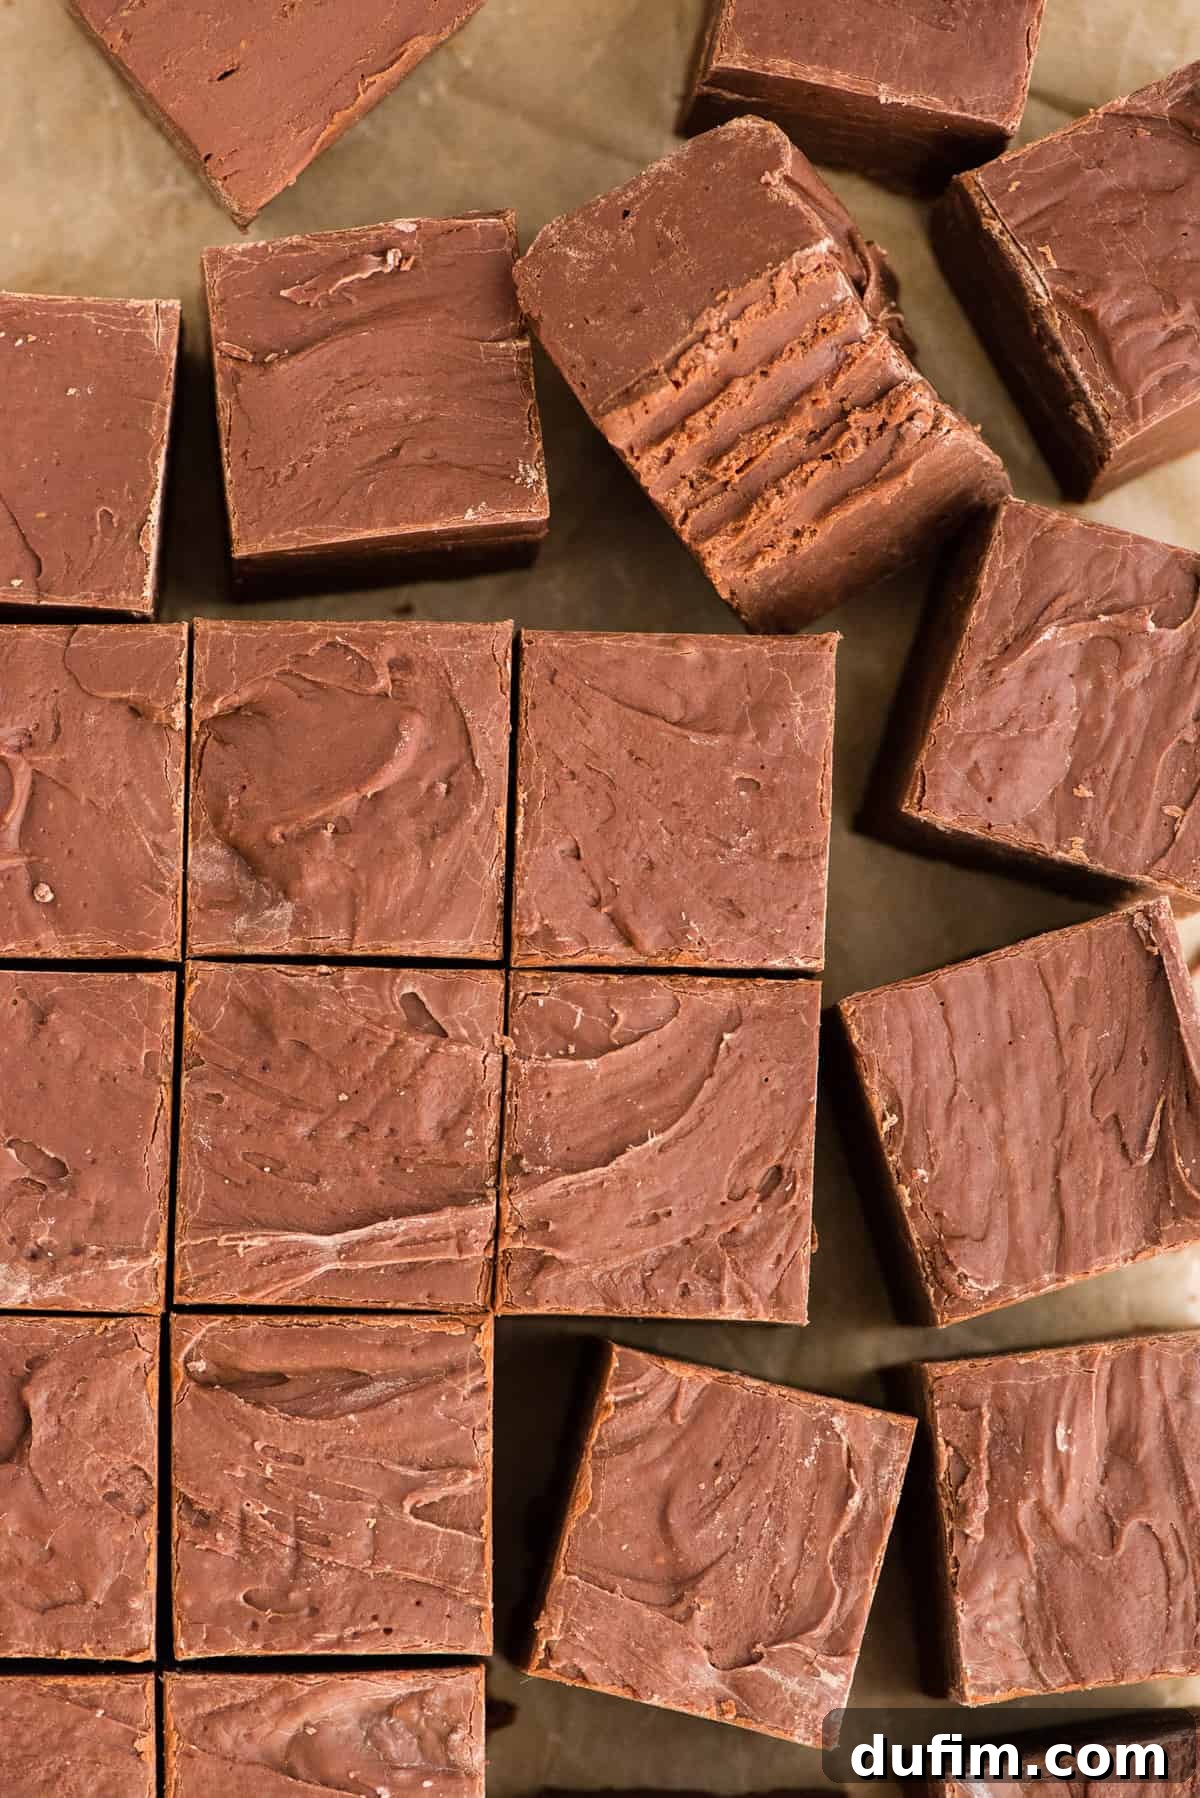
- Cut and Store: Once the fudge is completely set and firm to the touch, use the foil “handles” to carefully lift the entire slab of fudge out of the pan. Peel away the foil. Using a sharp knife, cut the fudge into your desired square sizes. For perfectly uniform pieces, you can even use a ruler as a guide! Store your finished microwave chocolate fudge in an airtight container at room temperature on the counter. It will remain wonderfully fresh and delicious for up to 1-2 weeks.
The Art of Cooling: Achieving Smooth, Silky Fudge
Proper cooling is just as important as the cooking process when it comes to achieving that desirable smooth, non-gritty texture in your homemade fudge. We strongly recommend allowing your fudge to cool and set at room temperature on the counter.
While it might be tempting to place the fudge in the refrigerator to speed up the setting process, a rapid change in temperature can actually be detrimental. This quick cooling can cause the sugar crystals within the fudge to form too quickly and unevenly, leading to a grainy or sandy texture instead of the silky smooth consistency we all crave. Cooling slowly and naturally on the counter allows the sugar crystals to develop uniformly, resulting in that perfectly creamy mouthfeel that makes this chocolate fudge so irresistible.
Keeping Your Delicious Fudge Fresh: Storage Tips
Once your easy microwave chocolate fudge is made and cut, proper storage ensures it stays fresh and delicious for as long as possible. Store your fudge in an airtight container at room temperature. This will keep it soft, moist, and prevent it from drying out or absorbing unwanted odors. Stored correctly on the counter, your homemade fudge will maintain its peak freshness for 1 to 2 weeks.
Freezing Homemade Chocolate Fudge for Later Enjoyment
One of the best things about homemade fudge is that it freezes beautifully, allowing you to prepare it in advance for holidays or enjoy it weeks later. You can freeze your fudge either as a large slab or after it’s been cut into individual pieces. For both methods, ensure the fudge is completely cooled and set.
To freeze, wrap the fudge tightly first in plastic wrap, ensuring no air can reach its surface. Then, place the plastic-wrapped fudge inside a heavy-duty zip-top freezer bag or an airtight freezer-safe container. This double layer of protection prevents freezer burn and helps maintain its wonderful flavor and texture. Fudge can be stored in the freezer for up to 3 months.
When you’re ready to enjoy it, simply transfer the frozen fudge to the refrigerator and allow it to thaw slowly for about 24 hours. Once thawed, it will be ready to serve, just as delicious as when it was first made!
Exciting Variations for Your Easy Christmas Fudge
While this classic chocolate fudge is perfect on its own, it’s also an excellent base for delicious variations. Get creative and customize your batch for different occasions or taste preferences:
- Chocolate Walnut Fudge: For a delightful nutty crunch, stir in 2 cups of chopped walnuts (or pecans, almonds) once the chocolate chips have fully melted into the sweetened condensed milk mixture.
- Peppermint Chocolate Fudge: Infuse your fudge with festive flavor by adding ½ to 1 teaspoon of peppermint extract along with the vanilla. For an extra boost of holiday cheer and texture, fold in ½ to 1 cup of crushed candy canes or peppermint pieces just before transferring the fudge to the pan.
- White Chocolate Swirl Fudge: Melt about 1 cup of white chocolate chips separately. After spreading the chocolate fudge into the pan, drizzle the melted white chocolate over the top and swirl gently with a knife or skewer for a beautiful marbled effect.
- Sea Salt Caramel Drizzle: For a sweet and salty twist, once the fudge is set, drizzle homemade or store-bought caramel sauce over the top and sprinkle with flaky sea salt.
- Spiced Holiday Fudge: Add a pinch of cinnamon, nutmeg, or a pumpkin pie spice blend to the melted chocolate mixture for a warm, comforting flavor profile.
Top Tips for Perfect Easy Chocolate Fudge Every Time
To ensure your homemade fudge turns out perfectly smooth, rich, and delicious, keep these expert tips in mind:
- Choose Quality Ingredients: The fewer ingredients you use, the more each one shines. Opt for high-quality chocolate chips for the best flavor and melting consistency.
- Proper Pan Preparation: Always line your baking pan with aluminum foil or parchment paper, allowing an overhang on the sides. This creates “handles” that make lifting the set fudge out of the pan incredibly easy and prevents any sticking.
- Patience with Setting: Allow the fudge ample time to set completely at room temperature. Rushing this step or refrigerating too early can result in a softer, less stable fudge that’s harder to cut and might have a grainy texture. At least 6 hours, or preferably overnight, is ideal.
- For Perfect Squares: Once the fudge is fully set, use a large, sharp knife to cut it. For clean, precise squares, wipe your knife clean with a damp cloth after each cut. A ruler can also be a handy tool for perfectly uniform pieces.
- Don’t Over-Microwave: As highlighted, this is the most crucial tip. Stick to the specified microwave time (1 minute 30 seconds) and rely on stirring to melt the chocolate completely.
- Use a Glass Bowl: A glass microwave-safe bowl heats more evenly than plastic, reducing the risk of hot spots that could scorch the chocolate.
Microwave Chocolate Fudge FAQs
Fudge making is largely about controlling sugar crystallization. The most common reason fudge turns out dry and crumbly is because the fudge mixture was overcooked or overheated. In the case of microwave fudge, this typically happens when the chocolate and sweetened condensed milk are microwaved for too long. Overheating causes the sugar to crystallize too quickly and in larger formations, resulting in a gritty, dry texture. Unfortunately, once microwave fudge is overcooked to this point, it’s very difficult to salvage. To prevent this, always use a glass microwave-safe bowl for even heating and strictly adhere to the microwaving times provided in the recipe; do not add additional time even if it doesn’t look fully melted before stirring.
Wrapping fudge for Christmas can transform it into a charming and delicious edible gift. Here are some creative and decorative ideas for the holiday season:
- Simple & Sweet: Wrap individual fudge pieces in small squares of parchment paper, twisting the ends like a candy wrapper. Secure with festive holiday-themed twine or ribbon for a rustic touch.
- Cellophane Bags with Cookie Cutters: Cut your fudge into festive shapes using holiday cookie cutters (e.g., stars, trees). Place a few shaped pieces in clear cellophane bags and tie with a bow. For an extra treat, attach a matching cookie cutter to the outside of the bag as a useful decoration.
- Mini Holiday Stockings or Treat Boxes: Small, decorative holiday stockings or mini gift boxes are perfect for holding a few pieces of fudge. These can be hung as edible ornaments or presented as delightful stocking stuffers.
- Layered in Tins: For larger gifts, layer various fudge flavors or other candies in a decorative tin, separating layers with parchment paper. This creates a beautiful assortment.
Remember to always keep your fudge well-protected from air to maintain its freshness and prevent it from sticking to the packaging. These creative wrapping ideas will make your Christmas fudge extra special and memorable for friends and family.
The secret to consistently smooth, non-gritty fudge lies primarily in two areas: careful heating and thorough stirring. Firstly, use a microwave-safe glass bowl and, if your microwave has adjustable power settings, consider starting at 50% power to prevent overcooking, gradually increasing if needed. Avoid cooking the fudge on high power for extended periods. Secondly, stir the fudge mixture thoroughly and evenly both before microwaving and especially after. This helps distribute the heat and ensures that all the chocolate chips melt completely into the condensed milk. Rather than relying on a single long microwave session, heat the mixture in short bursts, typically 30-second intervals (though our recipe uses 1:30 for efficiency, the principle of not overdoing it applies), stirring well after each. The key is to melt the chocolate gently and completely, allowing the sugar crystals to remain small and uniformly suspended, which gives fudge its characteristic smooth and creamy texture.
ABSOLUTELY DELICIOUS!!! So good! This recipe is a must keep. I will be making every Christmas, for sure!
-Christina
Explore More Delicious Fudge Creations
If you’ve fallen in love with how easy and delicious this chocolate fudge is, you’ll be thrilled to know there are many other delightful fudge recipes to explore. Expand your homemade candy repertoire with these fantastic options:
- Microwave Peanut Butter Fudge
- Rocky Road Fudge
- Caramel Apple Fudge
- Microwave Mint Chocolate Fudge
★
★
★
★
Tap stars to rate!
Easy Christmas Fudge
Pin
Rate
Equipment
-
Glass Mixing Bowl
-
My favorite spatula!
-
Kitchen Scale
Ingredients
- 2 cans sweetened condensed milk, 14 oz each
- 5 cups (850g) semi-sweet chocolate chips
- ¼ tsp salt
- ½ tsp vanilla extract
Instructions
-
Line a square 8 or 9 inch baking dish with aluminum foil, ensuring the foil goes up the sides of the pan. This is important for easily removing the tall fudge. Set aside.
-
In a glass microwave-safe bowl, combine the sweetened condensed milk and chocolate chips. Stir with a spatula until the chocolate chips are coated.2 cans sweetened condensed milk, 14 oz each, 5 cups (850g) semi-sweet chocolate chips
-
Microwave on full power for 1 minute and 30 seconds. **Do not microwave longer!** The mixture will continue to melt and fully combine as you stir. Immediately add the salt and vanilla extract. Stir vigorously until the chocolate chips are completely melted and the mixture is smooth and combined. Over-microwaving can scorch the chocolate and result in crumbly fudge.1/4 tsp salt, 1/2 tsp vanilla extract
-
Transfer the warm fudge mixture to the prepared pan and spread it into an even, thick layer. Allow the fudge to set at room temperature on the counter for at least 6 hours, or ideally, overnight. You can loosely cover the top of the fudge with foil or plastic wrap to prevent drying.
-
Once the fudge is fully set and firm, use the foil overhang to lift it out of the pan. Peel away the foil and cut the fudge into squares. Store in an airtight container on the counter for up to 1-2 weeks.
Video
Notes
Nutrition
Nutrition Disclosure
All nutritional values are approximate and provided to the reader as a courtesy. Changing ingredients and/or quantities will alter the estimated nutritional calculations.
Like this recipe? Rate and comment below!