
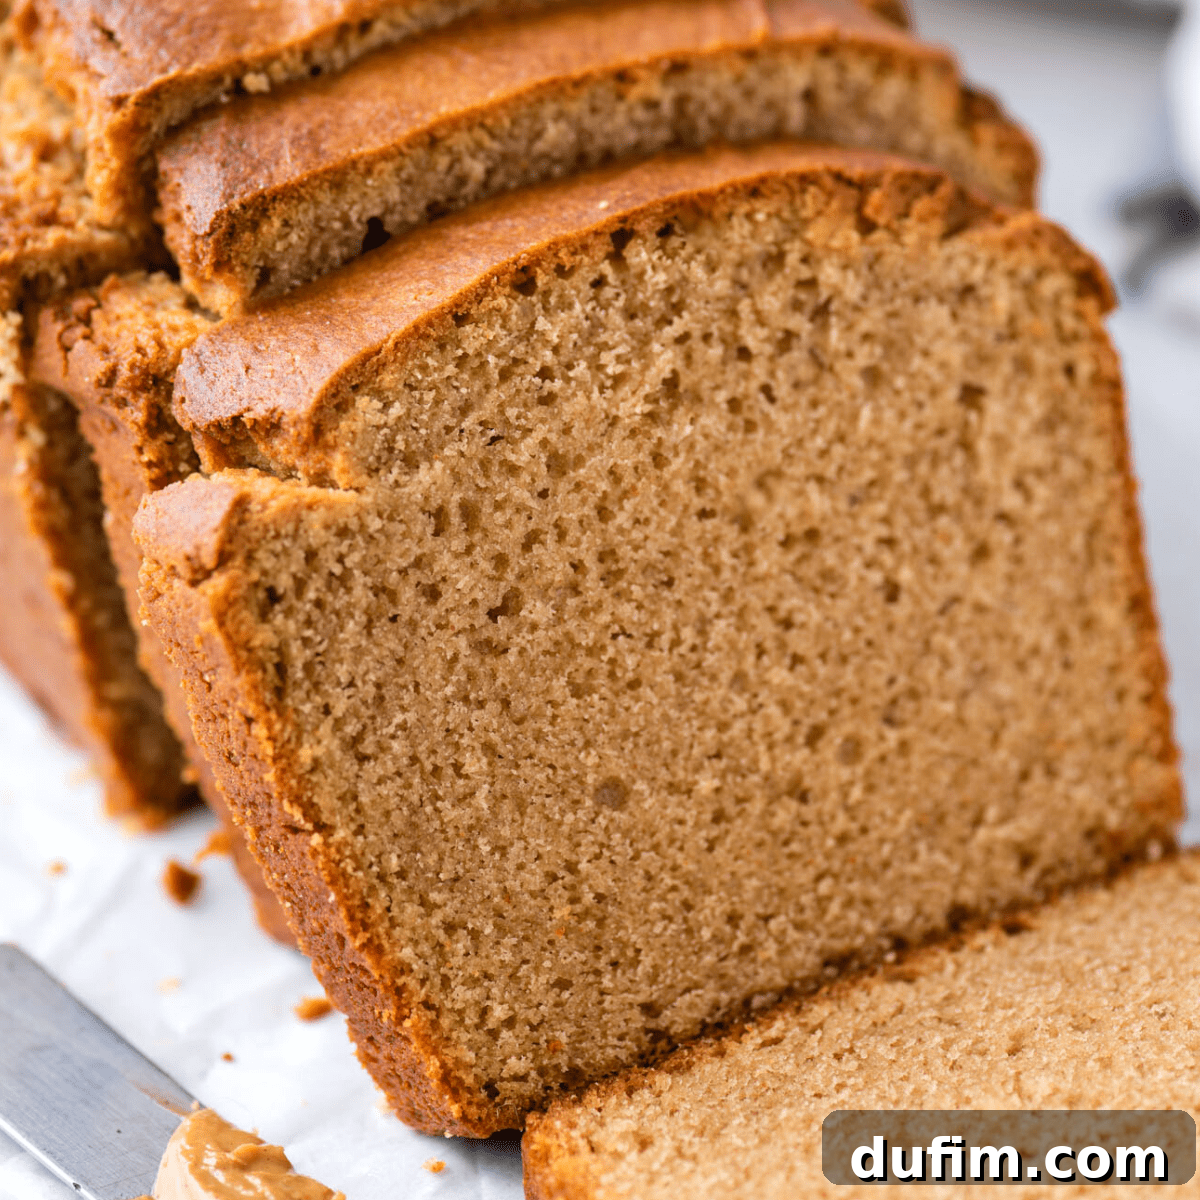
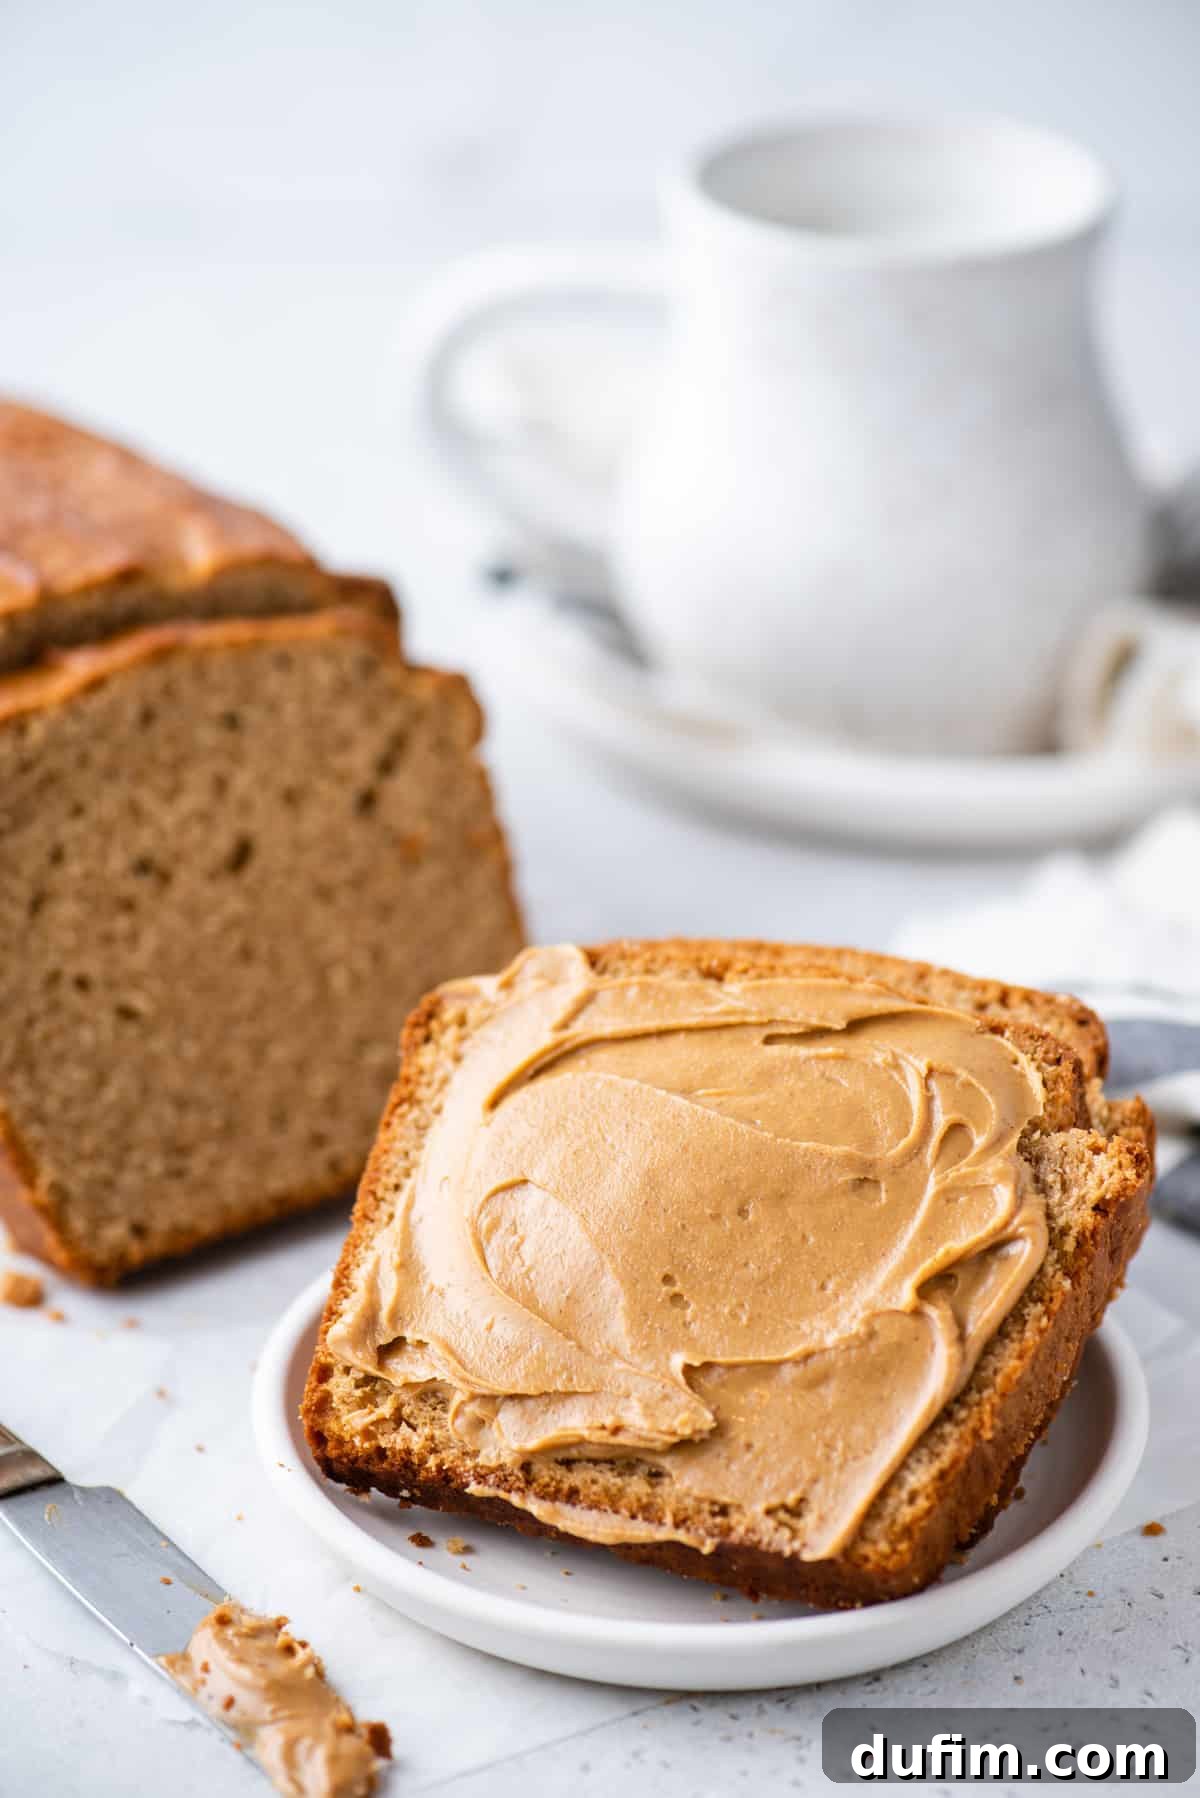
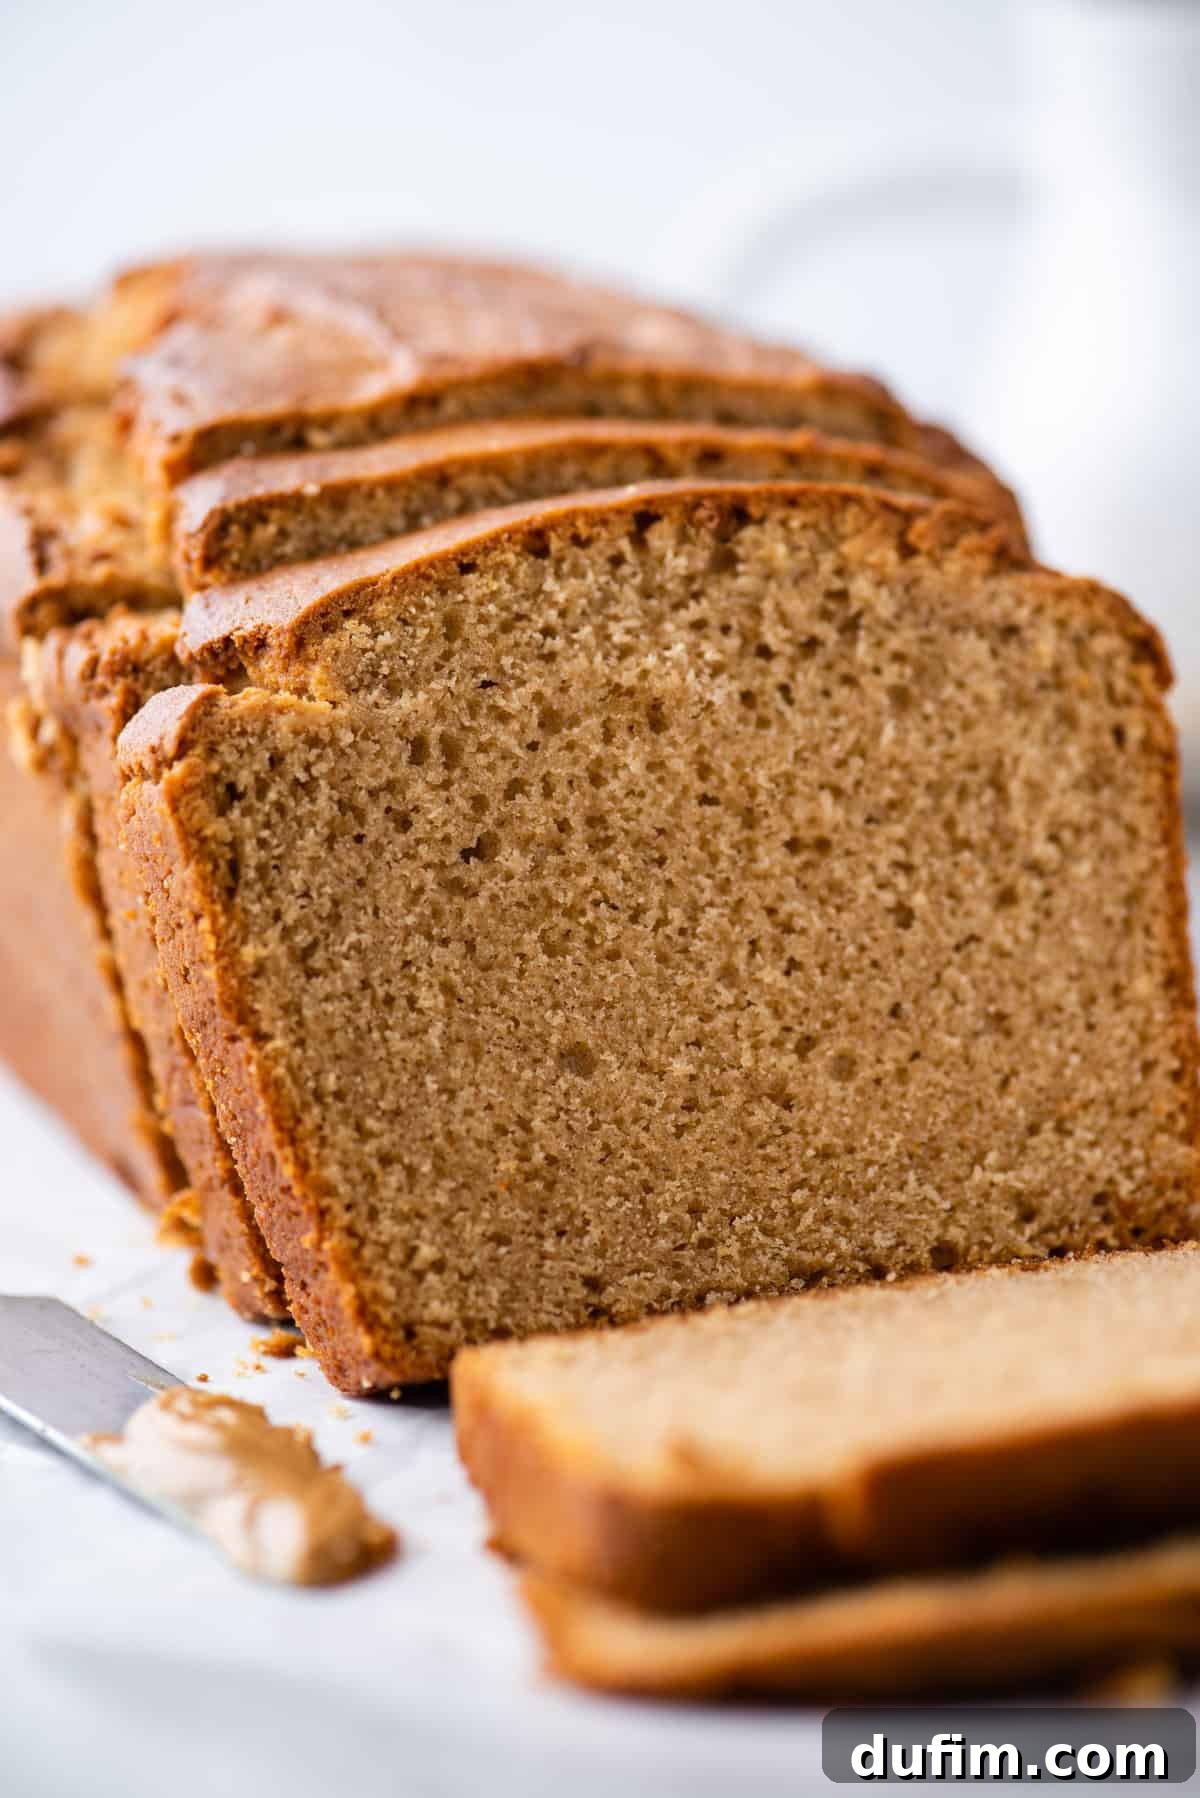
Indulge in the irresistible delight of **Peanut Butter Bread** – a perfectly moist, rich, and utterly flavorful quick bread that’s incredibly easy to make. Whether you enjoy it plain, with a dollop of extra peanut butter, or studded with melty chocolate chips, this homemade loaf is destined to become your new favorite breakfast, snack, or dessert.
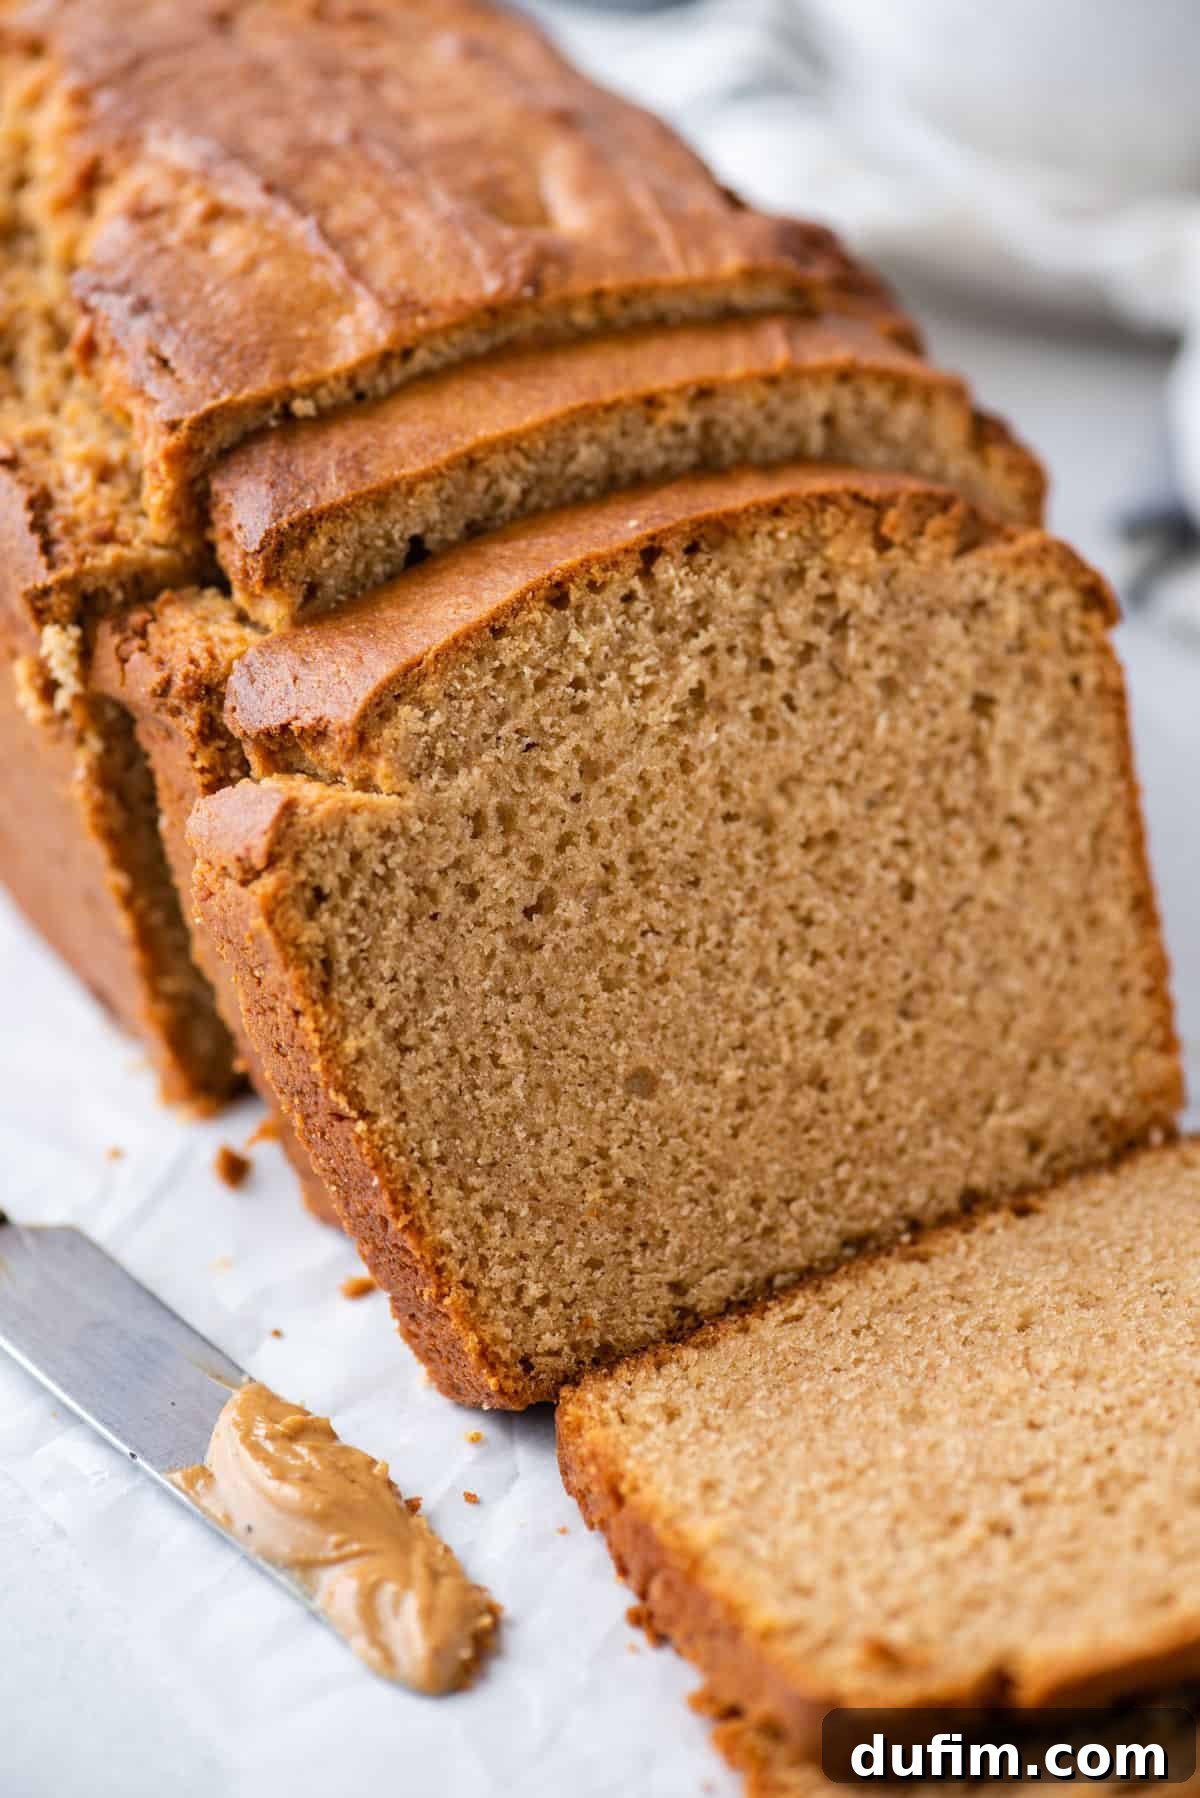
“This peanut butter bread is absolutely delicious! I added semi-sweet chocolate chip morsels, and my husband couldn’t get enough of it. I’m already planning to make this again and again – it’s a definite keeper!”
-Eileen
The Ultimate Peanut Butter Bread: A Quick Bread Sensation
For years, my baking repertoire centered around classic quick breads like banana bread, a consistent family favorite. Despite my love for baking, the concept of peanut butter bread had somehow eluded me. It wasn’t until a recent culinary experiment that I ventured into the delightful world of this unique quick bread, and what a revelation it was!
While my beloved Banana Bread holds a special place, this Peanut Butter Bread has undeniably emerged as a strong contender for the top spot. Its rich, nutty flavor and incredibly moist texture offer a comforting twist that’s hard to resist. If you’re looking to elevate this already fantastic recipe, I wholeheartedly recommend adding chocolate chips. The combination transforms each slice into something truly extraordinary, reminiscent of a giant, decadent Reese’s Peanut Butter Cup!
This recipe is designed for ease and maximum flavor, making it accessible even for novice bakers. It uses simple pantry staples to create a loaf that’s perfect for a quick breakfast, a satisfying afternoon snack, or even a delightful dessert when warmed and served with a scoop of ice cream. Get ready to experience a new quick bread obsession!
Essential Ingredients for Your Peanut Butter Loaf
Crafting the perfect peanut butter bread starts with a thoughtful selection of ingredients. Each component plays a crucial role in achieving that signature moist texture and irresistible flavor. Here’s a closer look at what you’ll need and why:
- Creamy Peanut Butter: The star of the show! Use creamy peanut butter (not natural peanut butter, which tends to separate) to provide that iconic, rich nutty flavor and contribute significantly to the bread’s moist crumb. Its stability ensures consistent texture.
- Granulated Sugar & Brown Sugar: This combination is key for balanced sweetness and depth of flavor. Granulated sugar offers sweetness and helps with browning, while brown sugar adds moisture, a subtle caramel note, and creates a more tender loaf.
- Large Eggs: Eggs are essential binders, providing structure to the batter and helping the bread rise. They also add richness and contribute to the overall texture.
- Vegetable Oil: Incorporating vegetable oil (or another neutral oil) adds necessary fat and moisture, ensuring your bread is incredibly tender and doesn’t dry out during baking.
- Buttermilk: This secret ingredient is a game-changer for quick breads. Buttermilk reacts with the baking powder, producing a light, airy, and exceptionally moist and fluffy texture. If you don’t have buttermilk, you can easily make a substitute at home (see FAQs below).
- Vanilla Extract: A touch of vanilla enhances all the other flavors, adding warmth and depth to the overall profile of the bread.
- All-Purpose Flour: The foundation of our quick bread, all-purpose flour builds the essential structure. Proper measurement is crucial for the perfect consistency.
- Baking Powder: Our primary leavening agent, baking powder works with the buttermilk to create lift and a tender, open crumb. The quantity specified is correct and necessary for a good rise.
- Salt: Just a pinch of salt is vital to balance the sweetness, preventing the bread from tasting overly sugary, and enhancing the deep flavors of the peanut butter and sugars.
Baking Your Perfect Peanut Butter Bread: Step-by-Step Guide
Creating this delicious quick bread is straightforward. Follow these simple steps for a beautifully moist and flavorful loaf:
- Prepare Your Wet Ingredients: In a large mixing bowl, combine the creamy peanut butter, granulated sugar, and brown sugar. Beat them together with an electric mixer for 1-2 minutes until they are well combined and lightened.
- Incorporate Liquids: Add the eggs, buttermilk, and vanilla extract to the peanut butter mixture. Mix briefly on low speed, just until everything is incorporated. Be careful not to overmix.
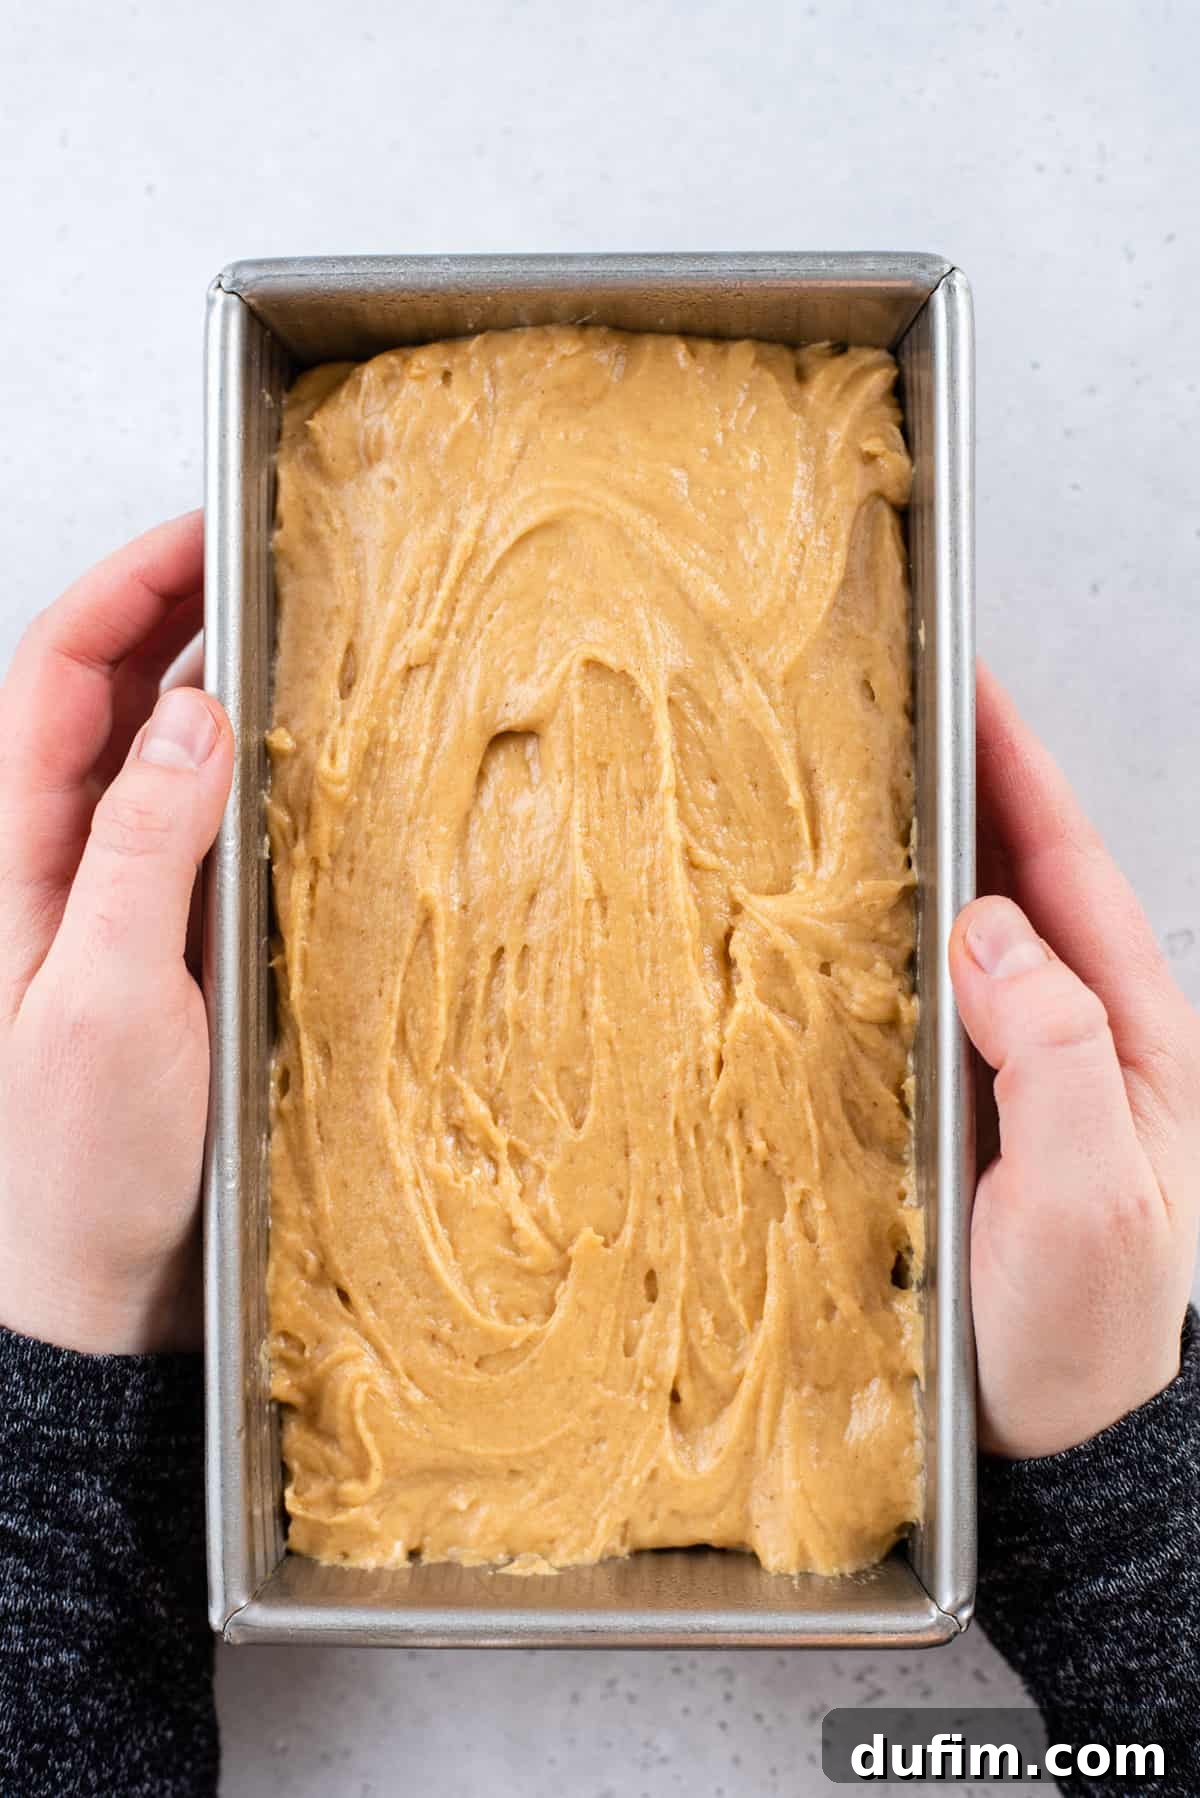
- Gently Add Dry Ingredients: Gradually introduce the all-purpose flour, baking powder, and salt to the wet mixture. Mix on the lowest speed of your electric mixer, or even better, switch to a spatula and mix by hand. Stir just until the dry ingredients are barely incorporated and no streaks of flour remain. A few lumps are perfectly fine and often preferred in quick breads!
- Bake to Perfection: Pour the luscious batter into your prepared loaf pan, spreading it evenly with a spatula. Bake in the preheated oven for the recommended time, keeping an eye on it to ensure it browns beautifully without overbaking.
- Cool and Enjoy: Once baked, allow the loaf to cool completely in the pan on a wire rack before attempting to slice it. This crucial step helps the bread set and prevents it from crumbling.
Optimal Timing for Your Delicious Peanut Butter Bread
Achieving the perfect loaf requires attention to timing, from preparation to cooling. Here’s an estimated breakdown to help you plan your baking:
- Prep Time: Expect to spend approximately 10-15 minutes preparing the batter. This includes gathering ingredients, mixing the wet components, and gently folding in the dry ones.
- Bake Time: The loaf typically bakes for 60-70 minutes at 350ºF (175ºC). However, actual baking time can vary based on your oven and the size of your loaf pan. Always check for doneness with a toothpick.
- Cooling Time: This is a crucial, often overlooked step! Allow at least 30-60 minutes for the bread to cool completely in the pan on a wire rack. This allows the internal structure to set, resulting in clean slices and a better texture.
Peanut Butter Quick Bread: Pro Baking Tips for Success
Even simple recipes benefit from a few expert tips to ensure flawless results every time. Follow these pro suggestions to make your peanut butter quick bread truly exceptional:
Tip #1 – Do Not Overmix the Batter
- This is perhaps the most critical rule for quick breads. Overmixing flour develops gluten excessively, which can lead to a tough, dense, and chewy bread instead of a tender, moist one. When combining dry ingredients with wet, mix just until the flour streaks disappear. A spatula is often better than an electric mixer for this final step, as it gives you more control. Embrace the occasional small lump – they typically bake out and don’t affect the final texture. Scrape down the sides and bottom of your bowl as you mix to ensure everything is evenly incorporated without overworking the batter.
Tip #2 – Be Careful Not to Overbake the Bread
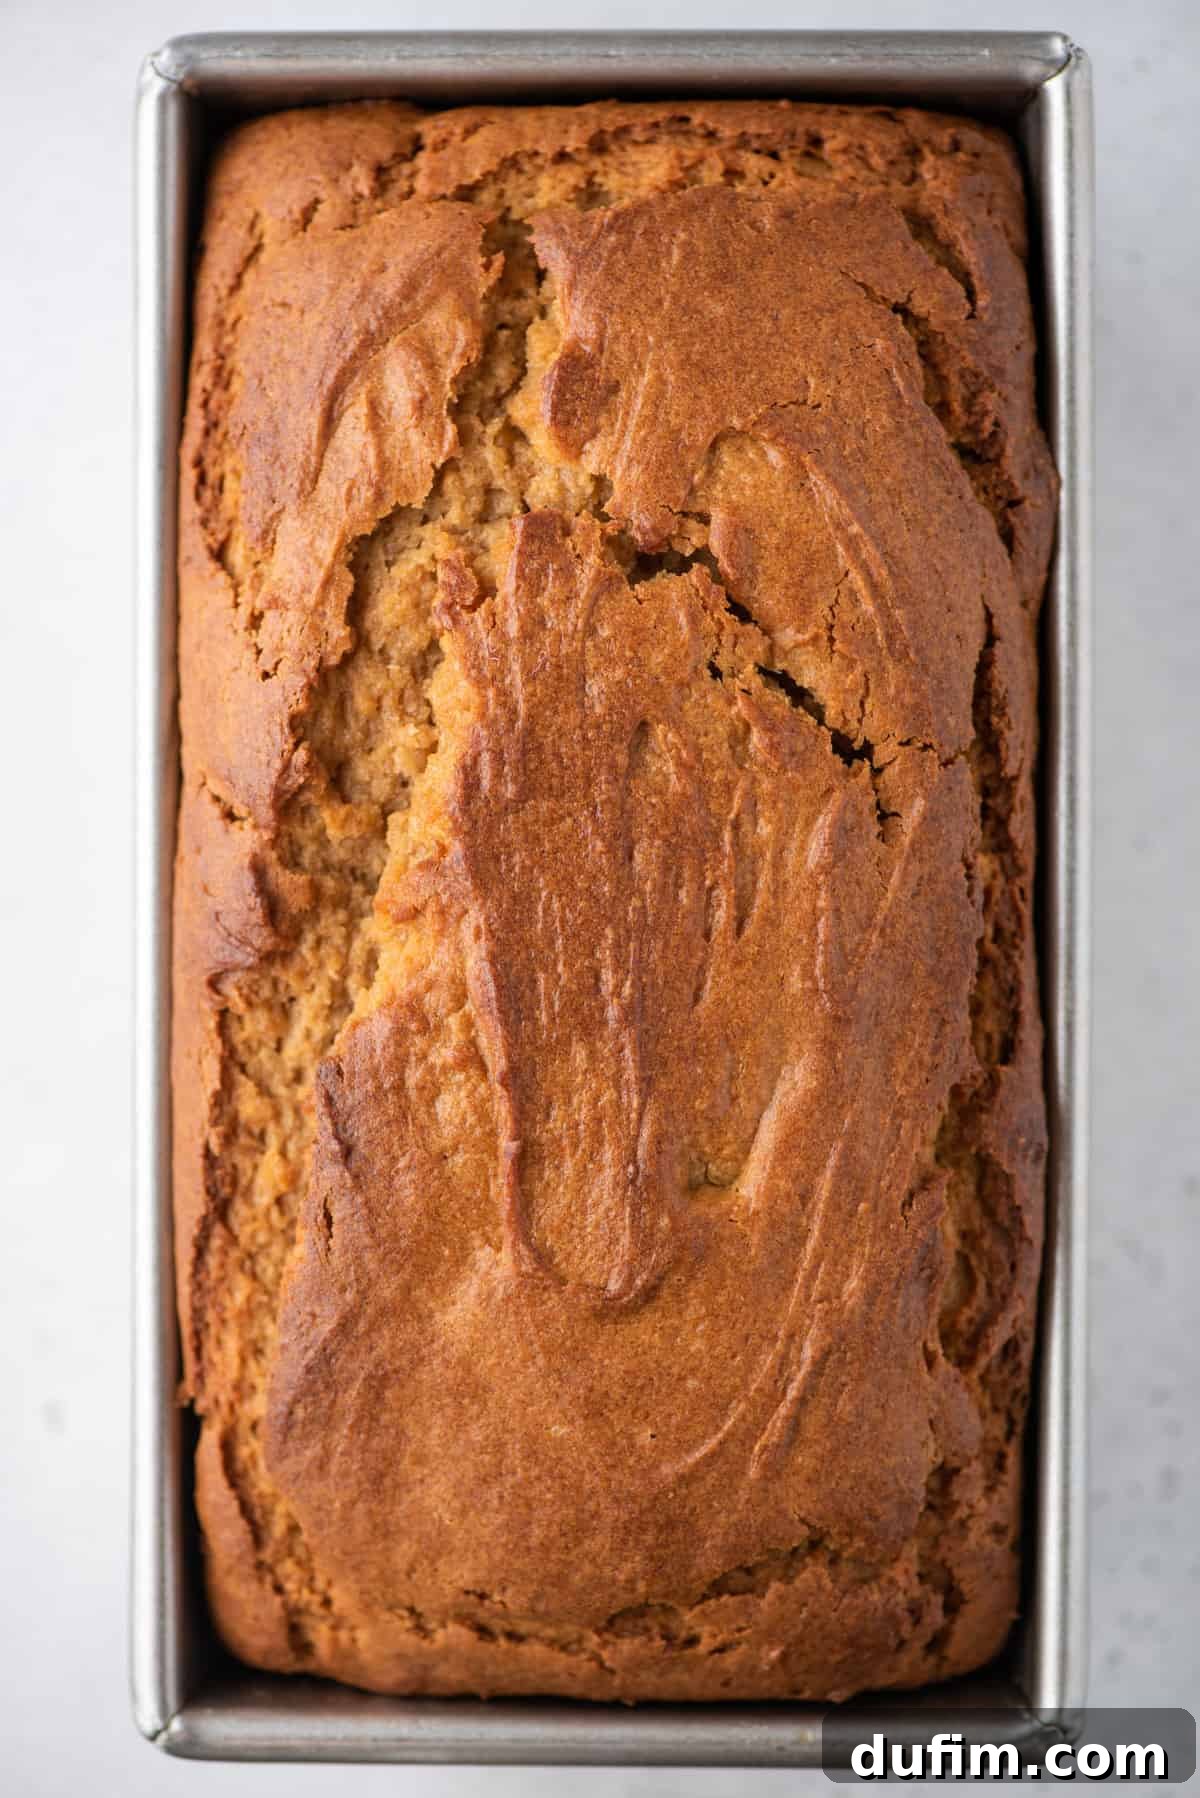
- Overbaking is a common culprit for dry, crumbly quick breads. While the outside may look beautifully golden and done, the inside can still be undercooked, or worse, completely dried out. To prevent this, start checking for doneness around the 45-50 minute mark by inserting a wooden skewer or toothpick into the center of the loaf. It should come out with moist crumbs attached, but not wet batter. If the top is browning too quickly, loosely tent the loaf with aluminum foil. This protects the crust while allowing the interior to continue baking evenly.
Tip #3 – Know What Size Loaf Pan You Have
- Loaf pan sizes can significantly impact baking time and the final appearance of your bread. The two most common sizes are 9×5 inches and 8.5×4.5 inches. While they sound similar, the 8.5×4.5-inch pan has about 15% less volume. This means it will yield a taller, more domed loaf and will generally require an additional 5-10 minutes of baking time. For a 9×5 inch pan, expect baking times between 45-60 minutes. For an 8.5×4.5 inch pan, plan for 55-65 minutes. Always adjust based on your specific oven and pan, and rely on the toothpick test for true doneness.
Achieving Perfect Consistency: How to Properly Measure Flour
Accurate flour measurement is paramount in baking, especially for quick breads, where too much flour can lead to a dense, dry, and crumbly result. Avoid simply scooping your measuring cup directly into the flour bag; this compacts the flour, adding far more than intended. Instead, follow the “spoon and level” method:
- Fluff the Flour: Before measuring, use a fork or whisk to aerate and fluff up the flour in its container or bag. This loosens any compacted flour.
- Spoon into Cup: Gently spoon the fluffed flour into your dry measuring cup. Do not pack it down.
- Level Off: Use the flat side of a butter knife or a straight edge to level off the excess flour from the top of the measuring cup. This ensures you have the precise amount needed for a perfectly moist peanut butter bread.
Following this technique will prevent you from inadvertently adding too much flour, which can lead to a noticeably dry and less enjoyable quick bread.
Exciting Peanut Butter Bread Recipe Variations
While delicious on its own, this peanut butter bread recipe is incredibly versatile and can be customized with various additions to suit your taste. Here are some fantastic ideas to inspire your next baking adventure:
- Chocolate Chip Bliss: Transform your peanut butter bread into a dream-like dessert by stirring in 1 to 1 ½ cups of your favorite chocolate chips (semi-sweet, milk, or dark) when you add the dry ingredients. The peanut butter and chocolate pairing is a classic for a reason!
- Decadent Crumb Topping: For an extra layer of texture and sweetness, add our ultimate crumb topping before baking. It creates a delightful crunchy crust that contrasts beautifully with the soft interior.
- Nutty Additions: Enhance the crunch and flavor by folding in ½ cup of chopped nuts such as walnuts, pecans, or even roasted peanuts. This adds a wonderful textural element.
- Spiced Perfection: Introduce a warm, aromatic note by adding an extra ½ teaspoon of ground cinnamon or a pinch of nutmeg to your dry ingredients. You could also stir in ½ cup of cinnamon chips for a sweet and spicy kick.
- Zesty Twist: For a surprisingly fresh and bright flavor, try adding the zest of one lemon or orange to your batter. The citrus perfectly cuts through the richness of the peanut butter, offering a delightful contrast.
- Glaze or Frosting: Once cooled, drizzle the loaf with a simple powdered sugar glaze (powdered sugar + milk/water) or a light cream cheese frosting for an extra touch of indulgence, especially if serving as a dessert.
Creating Gluten-Free Peanut Butter Bread
For those with gluten sensitivities or dietary preferences, this recipe can be easily adapted to be gluten-free without sacrificing flavor or texture. I’ve had fantastic success making this bread multiple times using King Arthur’s Gluten Free Measure for Measure Flour. This blend is designed to be a direct 1:1 substitute for traditional all-purpose flour, making conversion simple.
You can also experiment with other brands of gluten-free all-purpose flour blends. Just ensure that the blend you choose is specifically formulated for baking (often containing a mix of rice flour, potato starch, tapioca starch, and xanthan gum). Remember to measure your gluten-free flour properly using the “spoon and level” method to avoid a dry or crumbly outcome. With the right gluten-free flour, you can enjoy all the deliciousness of this peanut butter bread!
Storing Your Delicious Peanut Butter Bread for Freshness
Proper storage ensures your homemade peanut butter bread stays fresh and moist for as long as possible, allowing you to enjoy its delightful flavor over several days.
Room Temperature Storage:
Peanut butter quick bread can typically last for about 2 to 3 days when stored at room temperature. To keep it fresh, wrap the cooled loaf tightly in plastic wrap or aluminum foil, or place it in an airtight container. This prevents it from drying out and maintains its soft texture.
Refrigeration for Extended Freshness:
While peanut butter bread is generally fine at room temperature for a couple of days, refrigerating it is recommended for longer storage, especially if you live in a warm or humid climate, or if it contains additions like fresh fruit or cream cheese frosting. When refrigerated, it can last for up to a week. Make sure to wrap it tightly to prevent it from absorbing refrigerator odors or drying out. Bring it to room temperature or gently warm a slice before serving for the best texture.
Freezing Peanut Butter Bread:
Freezing is an excellent option for long-term storage, allowing you to enjoy fresh-ttasting bread whenever a craving strikes.
To freeze an entire loaf: Ensure the bread is completely cool. Wrap the whole loaf tightly in plastic wrap, then an additional layer of aluminum foil, or place it in a freezer-safe bag. It can be frozen for up to 3 months.
To freeze individual slices: Slice the cooled bread, then wrap each slice individually in plastic wrap. Place the wrapped slices in a freezer-safe bag or airtight container. This makes it easy to grab just one serving.
Thawing Frozen Peanut Butter Bread:
To thaw a whole loaf, simply transfer it from the freezer to the refrigerator overnight, then let it come to room temperature on the counter for about an hour before slicing.
For individual slices, you can leave them at room temperature until defrosted (about 30-60 minutes) or unwrap and microwave in 20-second intervals until soft and warm.
Discover More Delightful Quick Bread & Muffin Recipes
If you’ve fallen in love with this moist and flavorful Peanut Butter Bread, you’ll surely enjoy exploring other comforting quick bread and muffin recipes. Here are some of our favorites that share a similar ease of preparation and delicious appeal:
- Irresistible Blueberry Muffins: A classic, bursting with juicy blueberries and a tender crumb.
- Cozy Cinnamon Swirl Bread: Layers of sweet cinnamon goodness swirled through a soft loaf.
- Peanut Butter Banana Bread: The best of both worlds – a delightful fusion of two beloved quick bread flavors.
- Classic Chocolate Chip Muffins: Soft, fluffy muffins loaded with everyone’s favorite melty chocolate chips.
Tap stars to rate!
Quick Peanut Butter Bread
Rate
Equipment
-
Large Glass Mixing Bowl
-
Electric Mixer (handheld or stand mixer)
-
Rubber Spatula
-
Kitchen Scale (optional, for precise measurement)
-
9×5 inch or 8.5×4.5 inch Loaf Pan
-
Wire Rack (for cooling)
Ingredients
- 1 cup (270g) creamy peanut butter, not natural for best results
- ½ cup (99g) granulated sugar
- ⅓ cup (107g) brown sugar, packed
- 2 large eggs
- 1 cup (236ml) buttermilk, room temperature
- ½ cup (118ml) vegetable oil, or other neutral oil
- 1 tsp vanilla extract
- 2 cups (240g) all purpose flour, spooned and leveled
- 1 Tbsp baking powder
- ¼ tsp salt
- 1 – 1 ½ cups chocolate chips, optional
Instructions
-
Preheat your oven to 350ºF (175ºC). Lightly grease and flour (or spray with non-stick cooking spray) your chosen loaf pan (either 9×5 or 8.5×4.5 inches). In a large mixing bowl, using an electric mixer, beat together the creamy peanut butter, granulated sugar, and packed brown sugar for 1-2 minutes until the mixture is creamy and well combined.1 cup (270g) creamy peanut butter, ½ cup (99g) granulated sugar, ⅓ cup (107g) brown sugar
-
Add the large eggs one at a time, beating until just incorporated after each addition. Then, stir in the room temperature buttermilk, vegetable oil, and vanilla extract. Mix briefly on low speed until combined. In a separate bowl, whisk together the all-purpose flour, baking powder, and salt. Gradually add these dry ingredients to the wet mixture, mixing on the lowest speed or folding by hand with a spatula, just until no dry streaks of flour remain. Be careful not to overmix; a few lumps are fine. If adding chocolate chips, gently fold them in now.2 large eggs, 1 cup (236ml) buttermilk, ½ cup (118ml) vegetable oil, 1 tsp vanilla extract, 2 cups (240g) all purpose flour, 1 Tbsp baking powder, ¼ tsp salt, 1 – 1 ½ cups chocolate chips
-
Transfer the batter into your prepared loaf pan, spreading it evenly with a spatula. Place the pan in the center of the preheated oven.
-
Bake for an initial 45 minutes. After this time, check the bread to see if the top is browning too quickly. If it is, loosely tent the loaf with aluminum foil to prevent over-browning. Continue to bake for another 10-25 minutes, or until a wooden skewer or toothpick inserted into the center of the loaf comes out with moist crumbs, not wet batter.
-
The total suggested bake time varies based on your loaf pan size: for an 8.5×4.5 inch pan, bake for 55-70 minutes; for a 9×5 inch pan, bake for 45-65 minutes. Always prioritize the toothpick test for doneness, as oven temperatures can vary.
-
Once baked, remove the pan from the oven and place it on a wire rack. Allow the loaf to cool completely in the pan before attempting to remove it or slice. This is crucial for the bread’s structure and prevents it from crumbling.
Notes
For a delightful addition, fold in 1 to 1 ½ cups of your favorite chocolate chips (semi-sweet, milk, or dark) when you’re mixing in the dry ingredients.
Remember that loaf pan size impacts baking time: an 8.5×4.5-inch pan will yield a taller loaf and typically requires 5-10 minutes longer than a 9×5-inch pan. Adjust baking times accordingly and always perform the toothpick test for doneness.
If you don’t have buttermilk, you can easily make a substitute: Add 1 tablespoon of white vinegar or lemon juice to a measuring cup, then fill the rest of the cup with milk (any kind works) until it reaches the 1-cup line. Let it sit for 5-10 minutes until it slightly curdles.
Nutrition
Carbohydrates: 36g |
Protein: 9g |
Fat: 12g |
Saturated Fat: 3g |
Polyunsaturated Fat: 3g |
Monounsaturated Fat: 6g |
Trans Fat: 1g |
Cholesterol: 33mg |
Sodium: 288mg |
Potassium: 209mg |
Fiber: 2g |
Sugar: 17g |
Vitamin A: 78IU |
Calcium: 104mg |
Iron: 2mg
Nutrition Disclosure
All nutritional values are approximate and provided to the reader as a courtesy. Changing ingredients and/or quantities will alter the estimated nutritional calculations.
Like this recipe? Rate and comment below!