
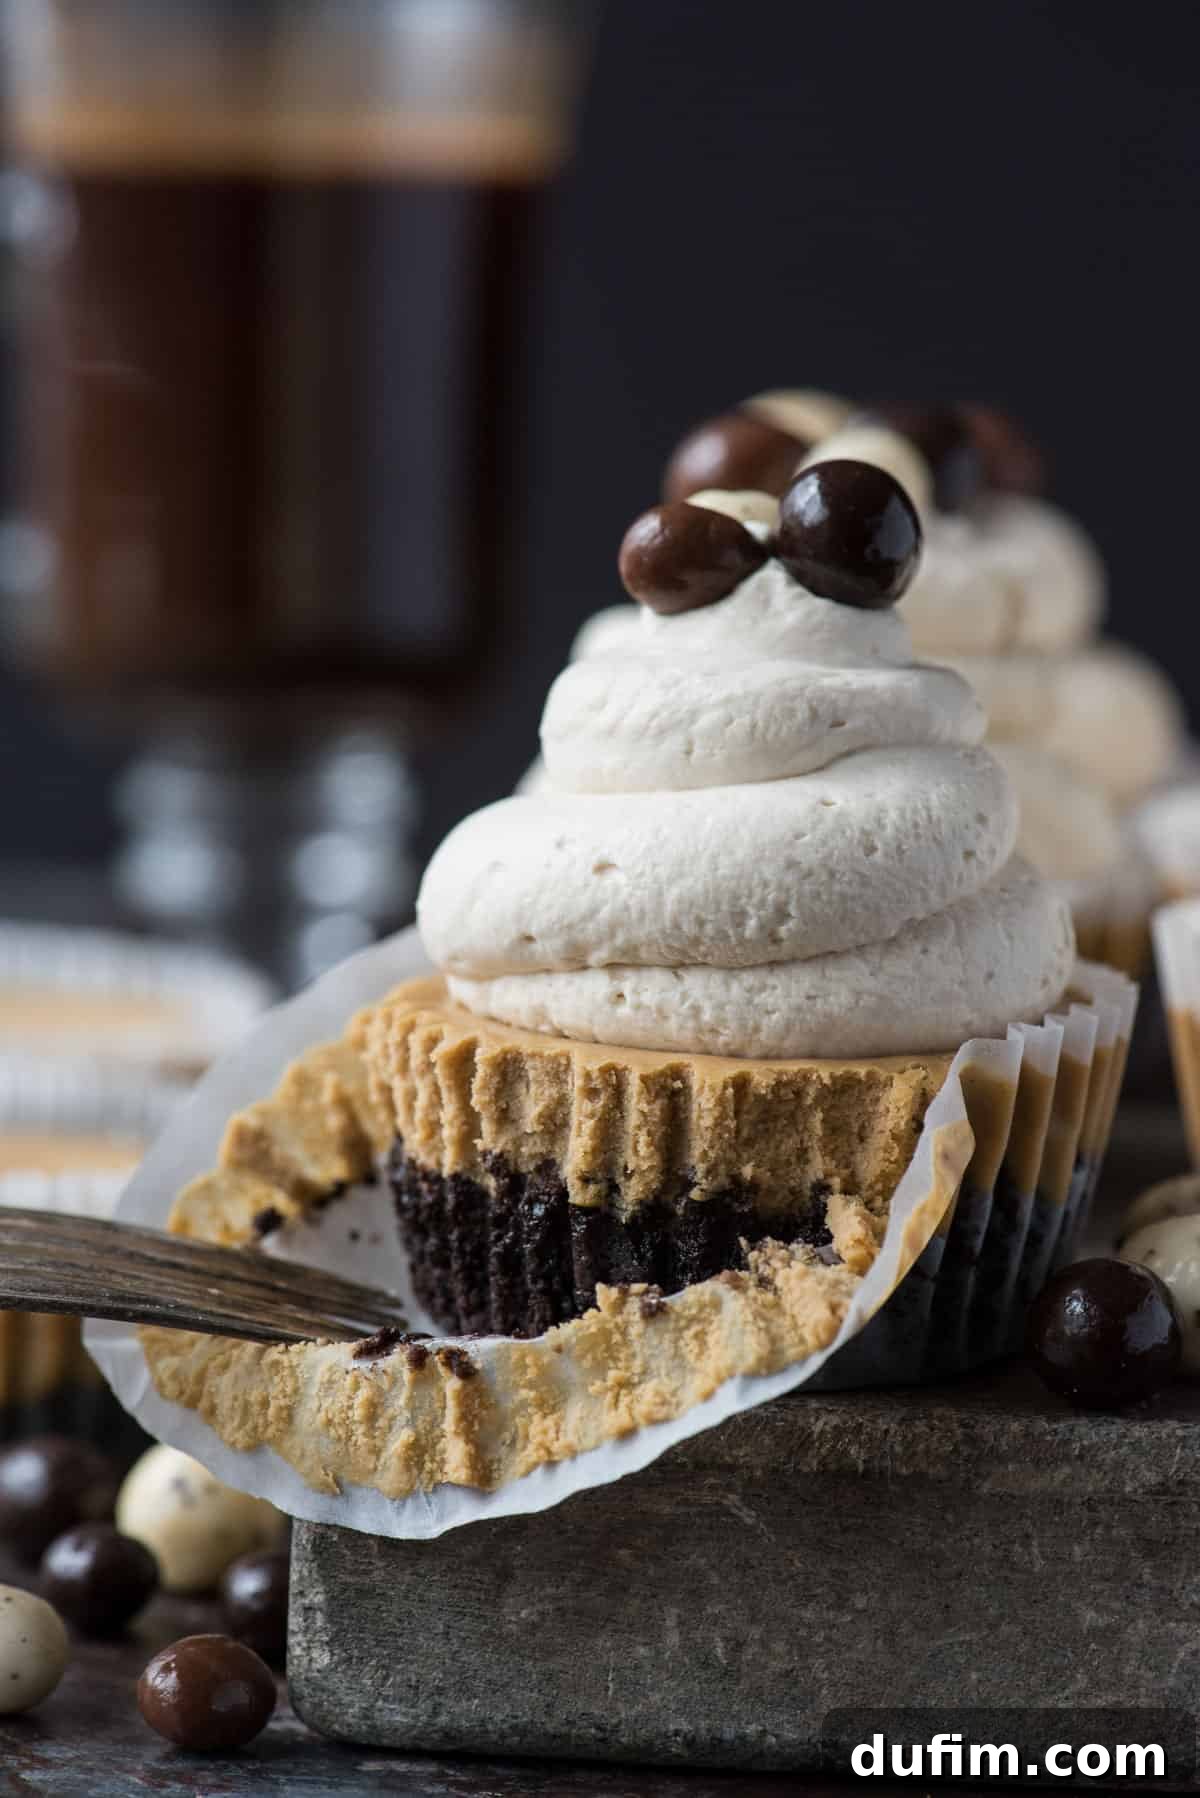
Prepare to fall in love with these irresistible mini coffee cheesecakes! This is a cherished recipe that you’ll undoubtedly find yourself making time and again. Featuring just 7 core ingredients, these delightful individual cheesecakes are conveniently baked in a standard muffin pan. Plus, you have the flexibility to choose between a classic Oreo crust or a buttery graham cracker crust to perfectly complement the rich espresso flavor of these miniature treats.
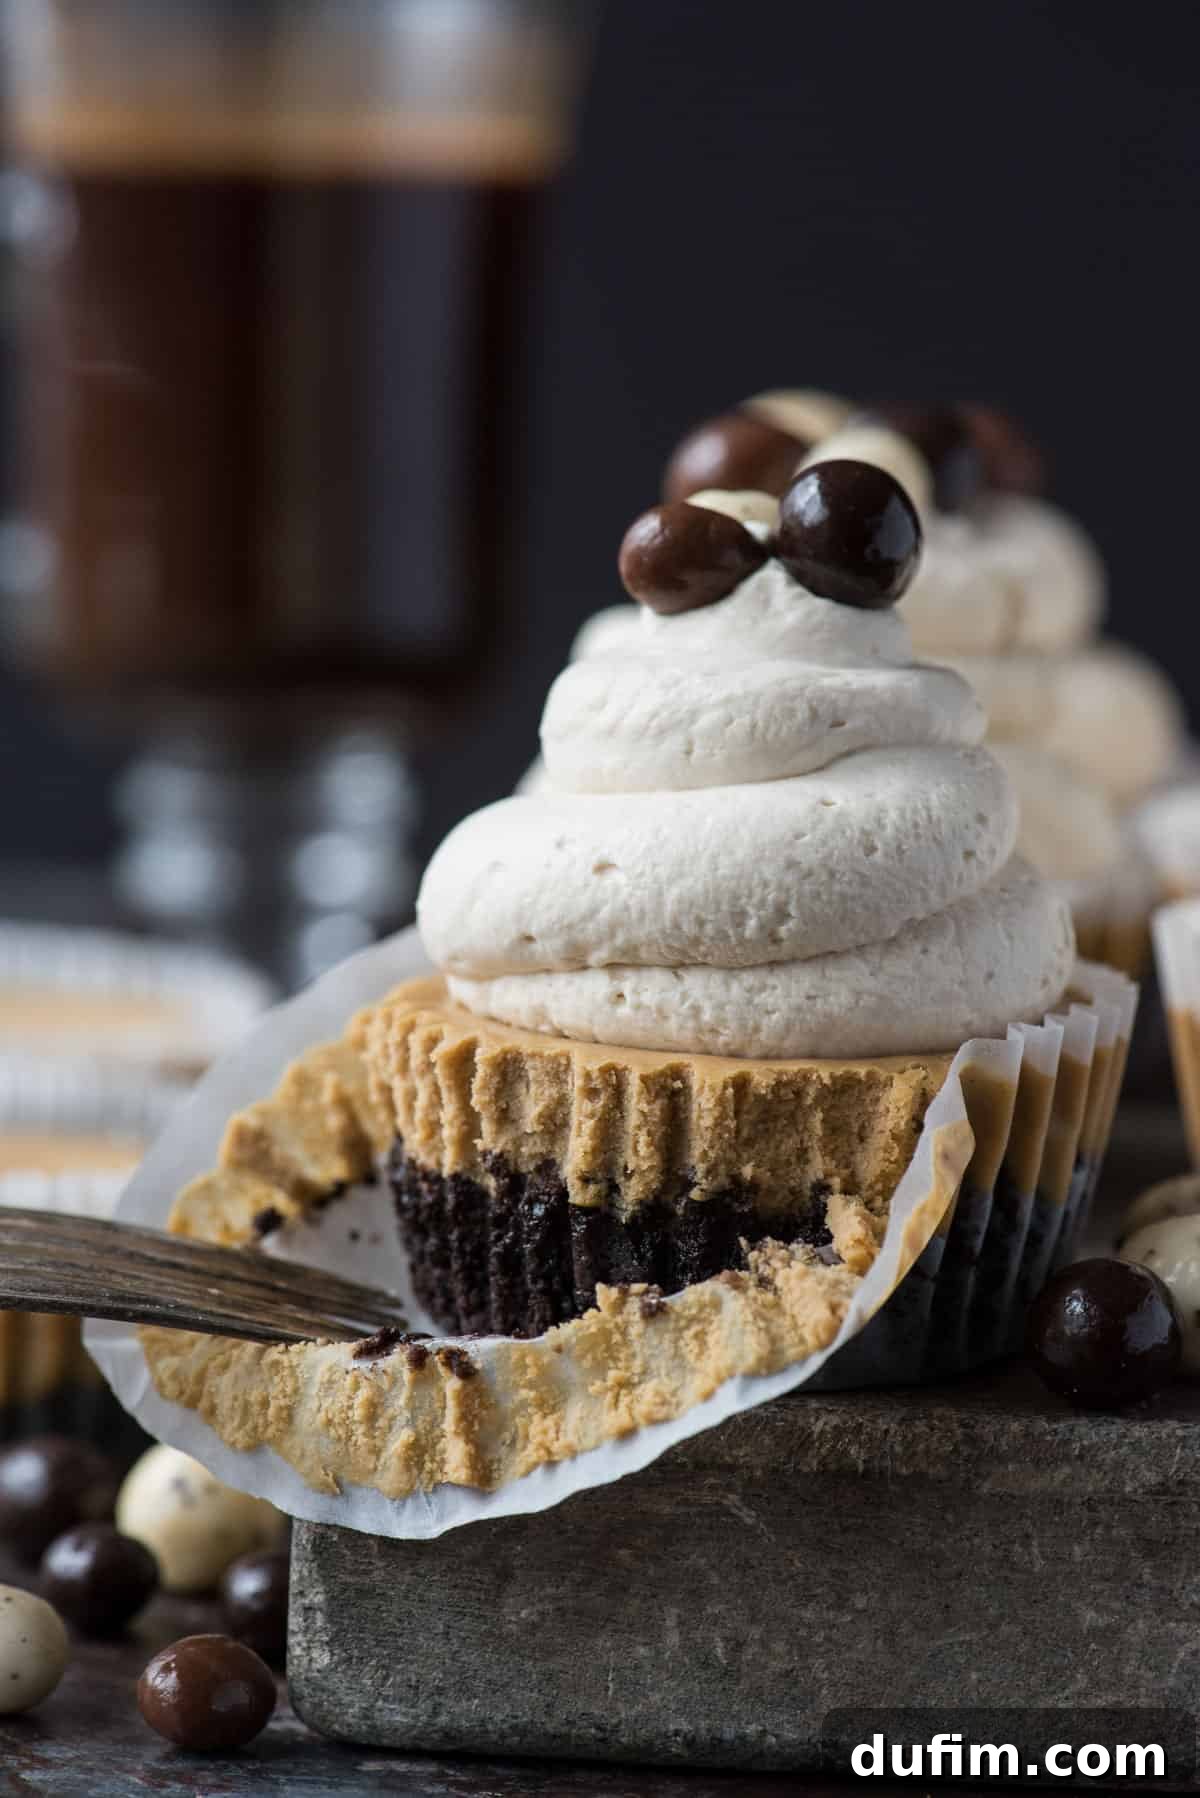
“This is an amazing recipe! I used a little vanilla caramel instant coffee in the whipped topping and it was delish! If you enjoy coffee flavor this is such an easy yummy dessert. Thank you for sharing!”
– Amanda
For those who, like me, adore the rich aroma and exquisite taste of coffee but must steer clear of caffeine, these mini coffee cheesecakes are an absolute dream come true. While my body doesn’t quite agree with even decaffeinated coffee, my palate certainly does! This is why I often seek out my coffee fix in delicious coffee-flavored treats – from creamy ice cream to decadent espresso chocolate chunk brownies and, of course, a velvety cheesecake.
This recipe takes our beloved espresso cheesecake and ingeniously scales it down into perfectly portioned mini cheesecakes, all made with ease in a regular-sized muffin pan. The result is a gourmet-level dessert that’s simple enough for any home baker.
Why Mini Cheesecakes? The Perfect Individual Dessert
Mini cheesecakes offer a multitude of advantages that make them a superior choice for many occasions:
- Effortless Portion Control: Each cheesecake is a single serving, making portioning and serving incredibly simple. No need for slicing a large cake!
- No Water Bath Required: Unlike traditional large cheesecakes, these mini versions often bake beautifully without the need for a cumbersome water bath, simplifying the process significantly.
- Faster Baking Time: Smaller desserts naturally bake quicker. You’ll be enjoying these delightful treats in less time than a full-sized cheesecake.
- Perfect for Parties & Gatherings: Their individual size makes them ideal for potlucks, parties, or any event where you want guests to easily grab a treat.
- Easy to Customize: Each mini cheesecake can be individually garnished, allowing for creative freedom and catering to different tastes.
Essential Tools for Baking Mini Cheesecakes in a Muffin Pan
You don’t need fancy equipment to whip up these delightful desserts. Here’s what you’ll need:
- Standard Size Muffin Pan: A 12-cup muffin pan is perfect for this recipe.
- Paper Muffin / Cupcake Liners: These are crucial for easy removal and serving. Choose decorative ones for an extra touch of flair!
- Mixing Bowls: A large one for the cheesecake batter and a smaller one for the crust.
- Electric Mixer: A hand mixer or stand mixer will make light work of whipping the cream cheese until smooth.
- Measuring Cups and Spoons: For accurate ingredient proportions.
- Spatula: For scraping down the sides of the bowl and mixing.
Making individual cheesecakes in a muffin pan is truly a fantastic method for scaling down a classic cheesecake recipe. The convenience, quicker baking, and elimination of the water bath make it an ideal choice for both novice and experienced bakers.
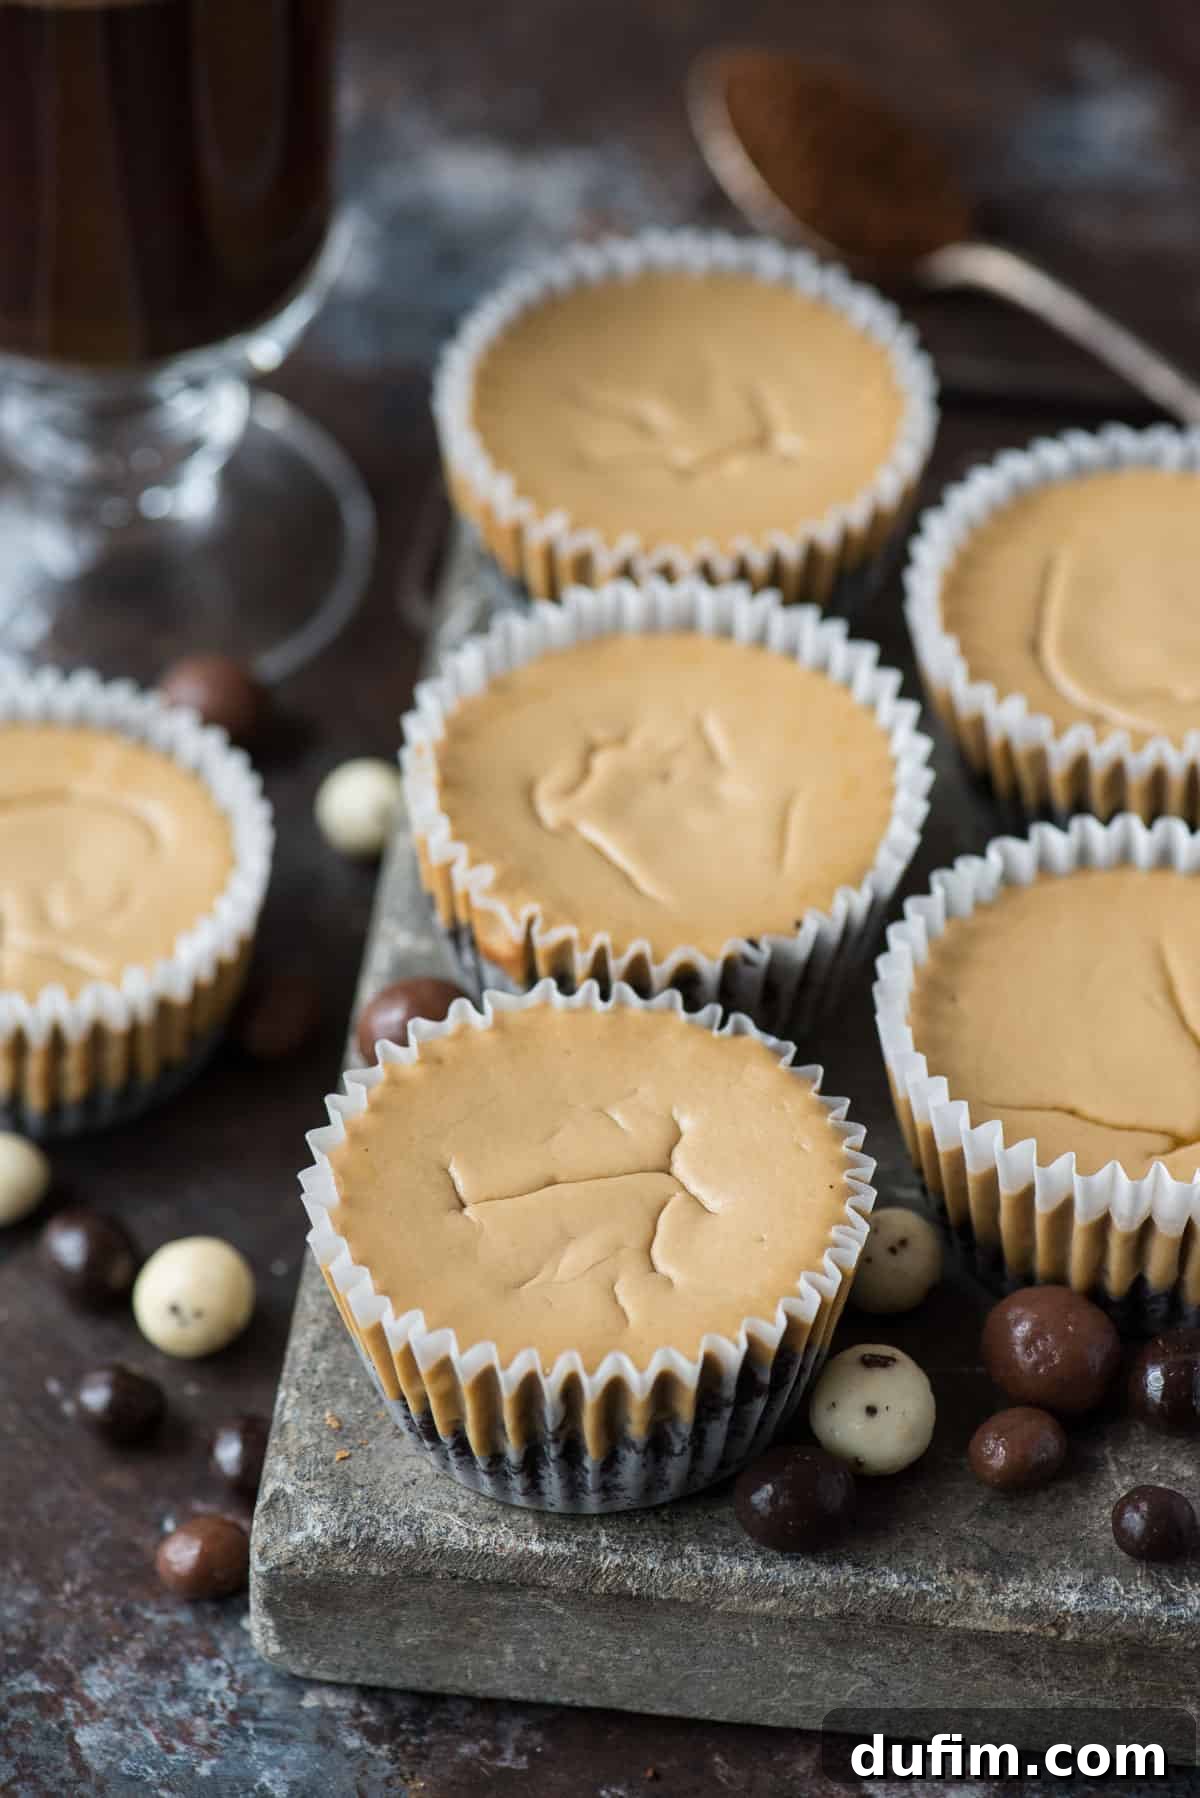
Simple Yet Flavorful: The Ingredients for Our Mini Coffee Cheesecakes
Our coffee-flavored cheesecake recipe boasts an incredibly short ingredient list, typically only calling for 5 main ingredients for the filling! Here’s what you’ll need and why each component is essential:
- Cream Cheese: You’ll need two 8 oz packages. For the best, most luxurious texture and richest flavor, always opt for full-fat cream cheese. Low-fat varieties contain more water and can lead to a less creamy, sometimes grainy, cheesecake. Ensure it’s at room temperature before you begin – this is key for a smooth, lump-free batter.
- Granulated Sugar: This balances the inherent tanginess of the cream cheese, adding just the right amount of sweetness to complement the bold coffee flavor without overpowering it.
- Vanilla Extract: Just a teaspoon of good quality vanilla extract goes a long way. It’s not just for classic cheesecake flavor; it enhances the overall depth and complexity of the coffee notes, adding a subtle warmth.
- Espresso or Coffee: This is where the magic happens and that distinctive, bold coffee flavor truly shines! For a robust coffee experience, freshly brewed espresso is ideal. An easy tip if you don’t have an espresso machine: make instant espresso by combining hot water and a high-quality instant espresso powder. You can also use strong brewed coffee if espresso isn’t available, though the flavor might be slightly milder.
- Large Eggs: Eggs act as the primary binder and give cheesecake its signature silky smooth texture. They are the last ingredient to be gently mixed into the cheesecake batter. The trick to avoiding cracks and air bubbles is to mix them in one at a time, just until the yolk breaks and they are barely incorporated. Over-beating at this stage is the number one culprit for air bubbles and surface cracks.
For the crust, you’ll simply need crushed cookies (Oreos or graham crackers) and melted butter. That’s it! Minimal ingredients, maximum flavor and enjoyment.
How to Make Mini Coffee Cheesecakes in a Muffin Pan: Step-by-Step
Creating these delightful mini coffee cheesecakes is surprisingly straightforward. Follow these steps for perfect results:
- Prepare Your Pan: Begin by lining a standard 12-cup muffin pan with paper liners. This ensures easy removal and clean-up.
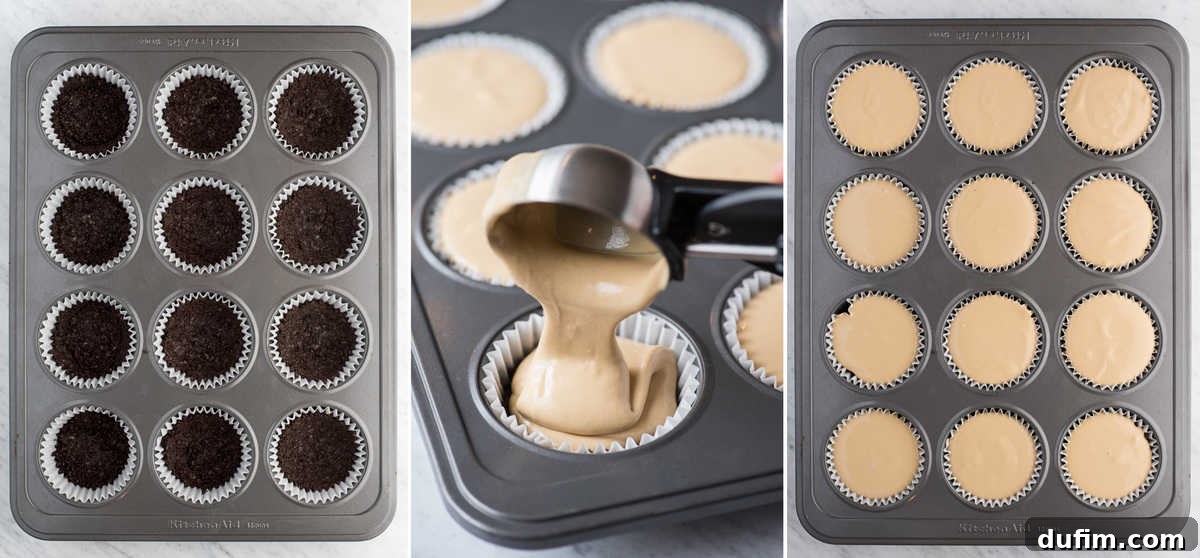
- Form the Crust: In a medium bowl, combine your choice of crushed cookies (Oreo crumbs or graham cracker crumbs) with melted butter until the mixture resembles coarse, wet sand. Place about 1 to 2 tablespoons of this crust mixture into the bottom of each lined muffin cup.
- Pack the Crust: Use the bottom of a measuring cup, a tart tamper, or even your fingers to firmly pack the crust down into an even layer in each liner. A well-packed crust forms a sturdy base.
- Pre-bake the Crust: Bake the crust in a preheated oven (350°F / 175°C) for just 5 minutes. This helps set the crust and prevents it from becoming soggy once the filling is added. Remove from the oven and let it cool slightly while you prepare the filling.
- Prepare the Cheesecake Batter: In a large mixing bowl, beat the softened cream cheese with an electric mixer until it’s completely smooth and free of lumps, usually 2-3 minutes. Then, add the sugar, vanilla extract, and brewed espresso (or strong coffee) and beat until fully combined and smooth. Finally, gently beat in the eggs, one at a time, just until the yolks break and are incorporated. Avoid over-beating the eggs to prevent air bubbles.
- Fill and Bake: Divide the prepared cheesecake batter evenly among the muffin liners, pouring it over the pre-baked crusts. Each cup should be about two-thirds full. Bake for approximately 15-20 minutes, or until the center of the cheesecake still has a slight, delicate jiggle when you gently shake the muffin pan. The edges will appear set and slightly puffed.
- Cool and Chill: Allow the baked cheesecakes to cool completely to room temperature inside the muffin pan. Once cooled, loosely cover the pan with plastic wrap and transfer it to the refrigerator to chill for at least 4 hours, or ideally, overnight. Chilling is crucial for the cheesecakes to set properly and develop their firm yet creamy texture. Patience is key here – waiting is truly the hardest part!
Total Time Required: From Prep to Perfection
One of the beauties of mini cheesecakes is their relatively quick active preparation and baking time, though chilling is essential for the perfect texture:
- Crust Preparation: 5 minutes
- Crust Pre-baking: 5 minutes
- Cheesecake Batter Preparation: 5-10 minutes (depending on how quickly cream cheese softens)
- Baking Cheesecakes: 15-20 minutes
- Cooling & Refrigeration: At least 4 hours to refrigerate before serving. For the absolute best results and firmest set, I highly recommend refrigerating them overnight. Waiting is undeniably the hardest part, but it’s worth every moment for that perfectly creamy texture!
How to Tell When Mini Cheesecakes are Done Baking: The Jiggle Test
Knowing precisely when your mini cheesecakes are perfectly baked is crucial for that ideal creamy texture. The most reliable method is the “jiggle test”:
Gently shake the muffin pan. The center of each mini cheesecake should still have a slight, delicate wobble, almost like firm jello. The edges, however, should appear set, slightly puffed, and may just begin to pull away from the liners. If the entire cheesecake still jiggles fluidly, it needs a few more minutes. If there’s no jiggle at all, it might be slightly overbaked, but still delicious! This slight jiggle ensures a creamy interior once cooled and chilled, rather than a dry or crumbly one.
The Cooling Process for Mini Coffee Cheesecakes
Proper cooling is just as vital as baking for achieving that signature cheesecake texture:
Once your mini cheesecakes have passed the jiggle test and are removed from the oven, resist the urge to move them immediately. Place the entire muffin pan on a wire rack on your counter and allow the cheesecakes to cool completely to room temperature. This gradual cooling prevents drastic temperature changes that can lead to cracking. After they’ve reached room temperature, loosely cover the muffin pan with plastic wrap (to prevent them from absorbing fridge odors) and place it in the refrigerator. For the best possible set and flavor, chilling them overnight is highly recommended. The longer they chill, the firmer and more decadent they become.
Troubleshooting: Why Did My Mini Cheesecakes Sink or Crack?
While mini cheesecakes are generally forgiving, a common issue bakers encounter is sinking centers or cracks. The primary culprit for both is often linked to air:
Over-beating the eggs is the number one cause of excessive air bubbles in your cheesecake batter. These air bubbles expand during baking, causing the cheesecake to puff up. As it cools, these air pockets collapse, leading to a sunken center or cracks on the surface. To avoid this, be sure to mix the eggs in one at a time, just until the yolk breaks and they are barely combined. Once all the eggs have been added to the cheesecake batter, beat for only an additional 30-60 seconds, or until they are fully incorporated without introducing too much air. Remember, less is more when it comes to mixing after the eggs are added!
Expert Tips for Making Flawless Mini Coffee Cheesecakes
Achieving bakery-quality mini cheesecakes at home is simple with these key tips:
- Room Temperature Ingredients are Non-Negotiable: Always allow your cream cheese and eggs to come to room temperature before you start mixing. Room temperature cream cheese creams smoothly without lumps, and room temperature eggs incorporate more evenly into the batter, preventing over-mixing.
- Gentle Egg Incorporation: As mentioned, eggs are the last ingredient. Mix them in one at a time, just until the yolk breaks and they are barely combined. This is critical for preventing too much air from entering the batter, which can lead to cracks and sinking.
- Thorough Chilling is Key: Do not rush the chilling process! Thoroughly chilling the mini cheesecakes in the fridge for at least 4 hours, or ideally overnight, is essential for them to fully set, develop their firm yet creamy texture, and for the flavors to meld beautifully.
- Don’t Overbake: Overbaked cheesecakes can be dry and prone to cracking. Rely on the “jiggle test” for doneness rather than simply following a timer.
- Choose Your Coffee Wisely: The type of coffee or espresso you use will directly impact the final flavor. A dark roast espresso will yield a bolder coffee flavor, while a medium roast will be more subtle. Instant espresso powder is a fantastic alternative for convenience and robust flavor.
- Crust Options: While Oreo crumbs provide a rich, chocolatey base that pairs perfectly with coffee, a classic graham cracker crust offers a delightful buttery contrast. Feel free to experiment with other cookie crumbs like Biscoff or chocolate chip cookies for unique variations.
How to Freeze Mini Cheesecakes for Future Enjoyment
These mini coffee cheesecakes are perfect for making ahead and freezing, ensuring you always have a delightful treat on hand. Here’s how to freeze them effectively:
- Ensure Complete Cooling: Before freezing, it’s absolutely essential that the cheesecakes are completely cooled to room temperature, and ideally, have been thoroughly chilled in the refrigerator first. Freezing warm cheesecakes can lead to condensation and ice crystals.
- Initial Freeze (Uncovered): Place the mini cheesecakes (without any garnishes like whipped cream or espresso beans, as these don’t freeze well) on a baking sheet. Make sure they are not touching each other. Place the baking sheet in the freezer until the cheesecakes are completely frozen solid. This usually takes 1-2 hours.
- Wrap for Long-Term Storage: Once frozen solid, individually wrap each cheesecake tightly in aluminum foil. This provides an extra layer of protection against freezer burn.
- Seal in a Bag: Place the foil-wrapped cheesecakes inside a heavy-duty freezer-safe ziplock bag or an airtight container. Remove as much air as possible before sealing.
- Storage Duration: They can be safely frozen for up to 4 months.
- Thawing Instructions: To thaw, simply transfer the wrapped cheesecakes from the freezer to the refrigerator and let them thaw overnight. Avoid thawing at room temperature, as this can affect their texture.
- Garnish Before Serving: Once thawed, add your desired toppings and garnishes just before serving for the freshest appearance and taste.
Delightful Serving Suggestions and Toppings
Once your mini coffee cheesecakes are perfectly chilled, it’s time to add the finishing touches that elevate them from delicious to truly spectacular. The possibilities for garnishing are endless, allowing you to tailor them to any occasion or preference.
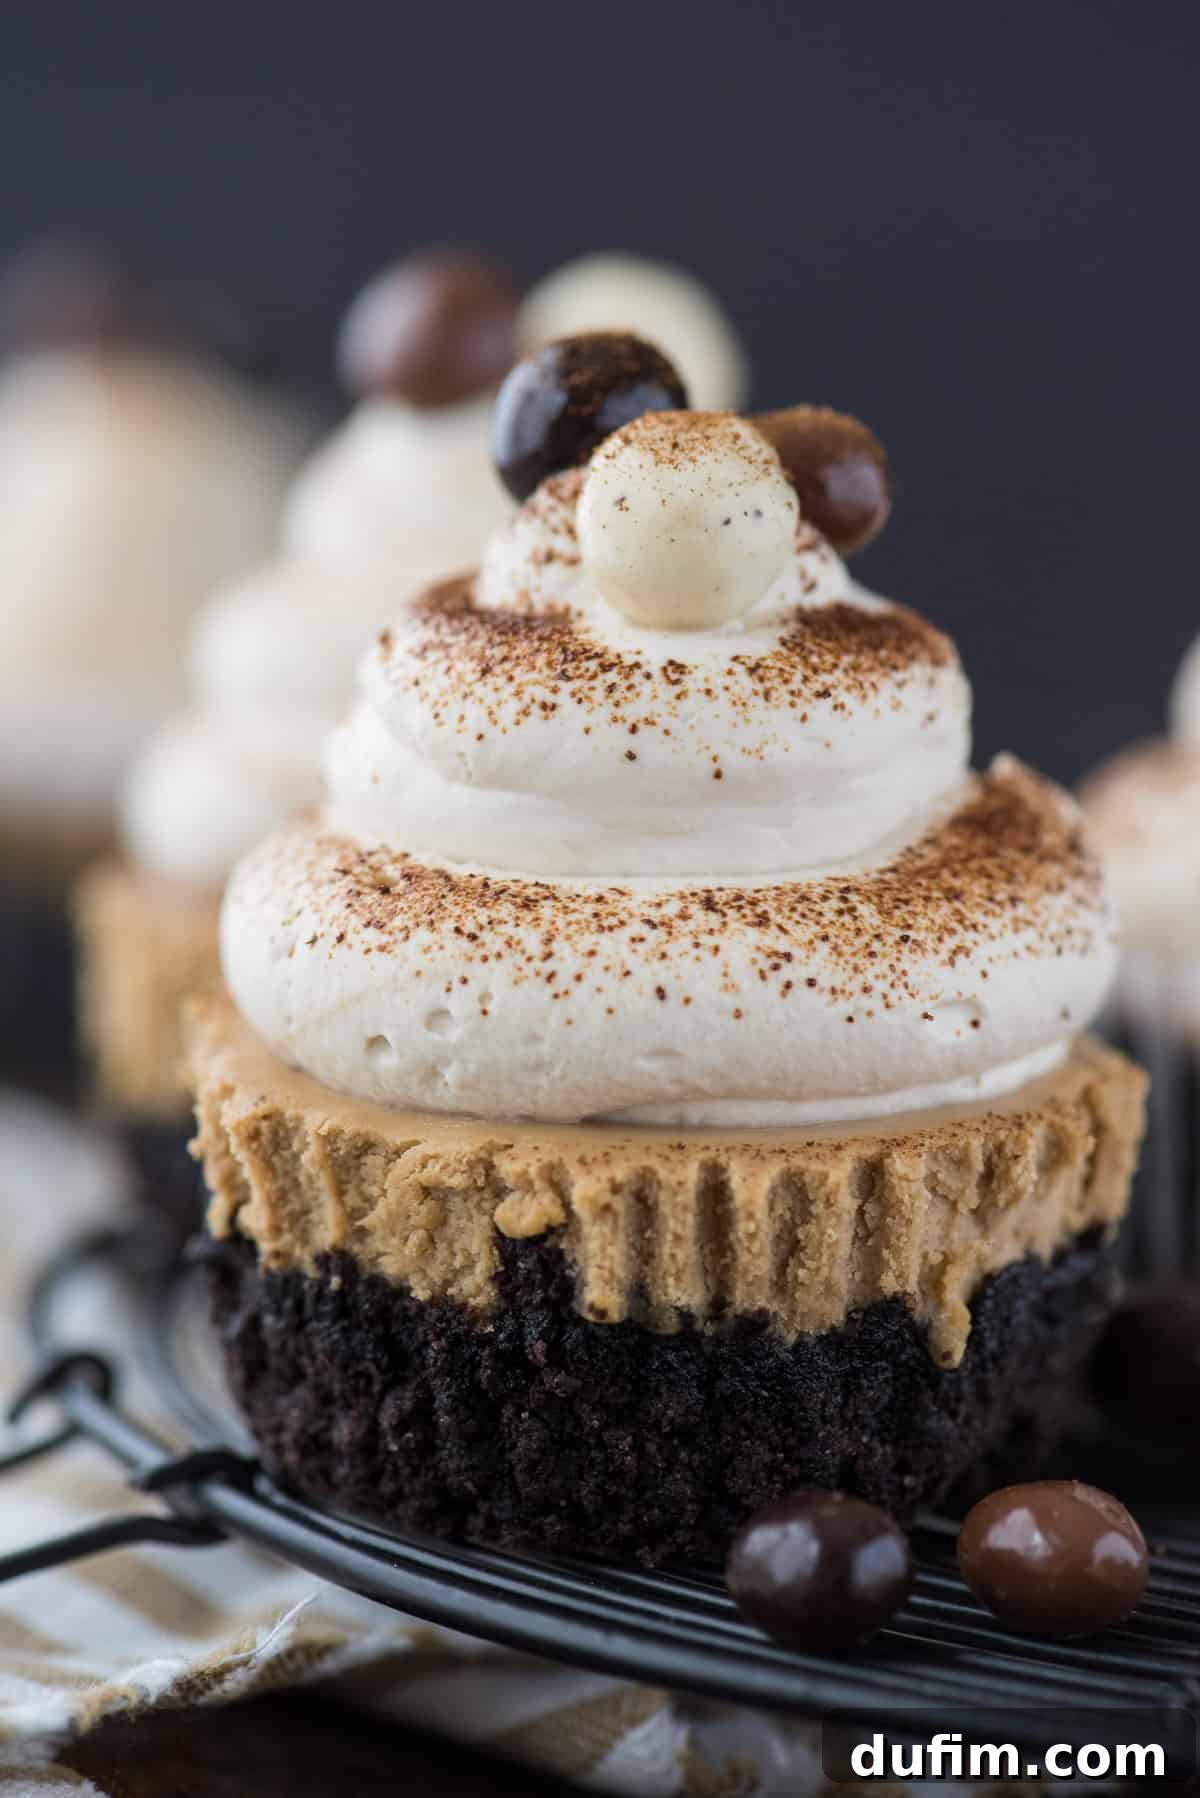
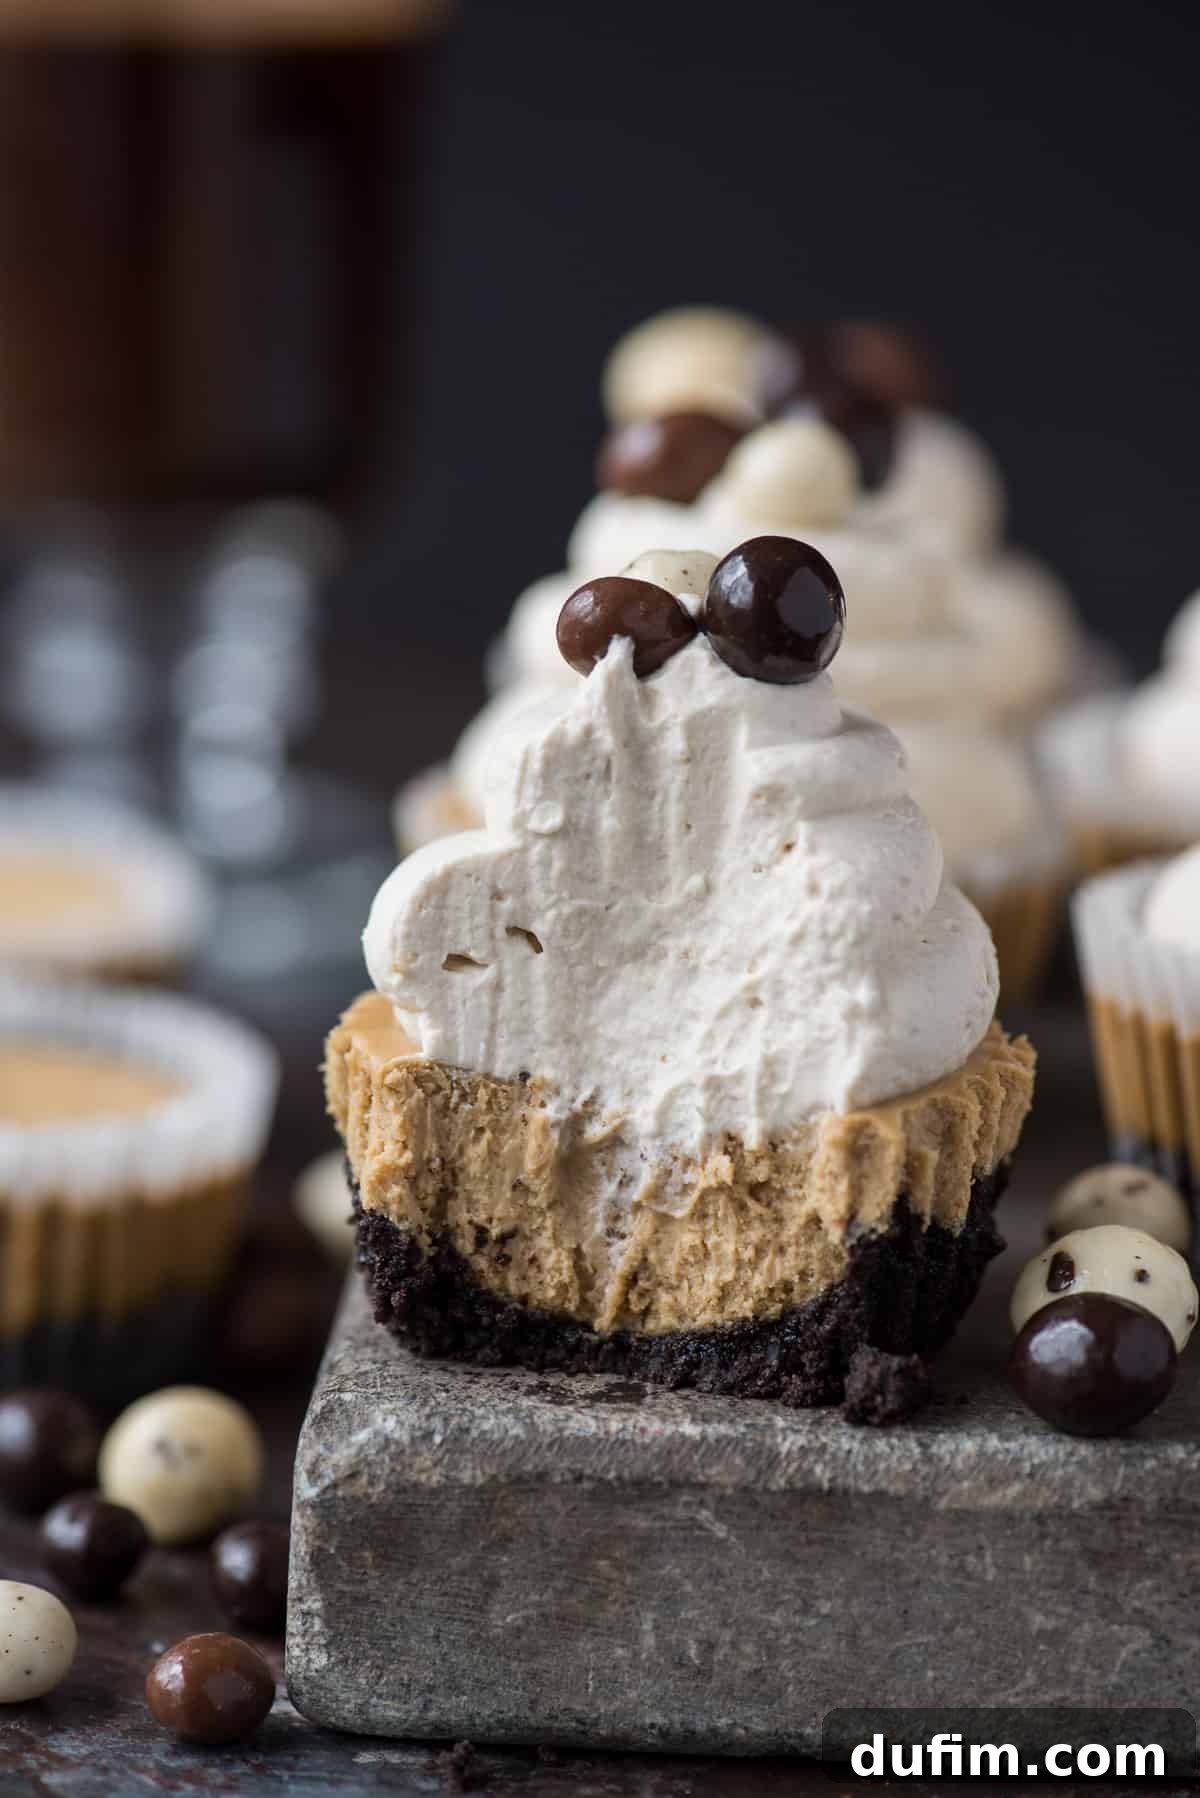
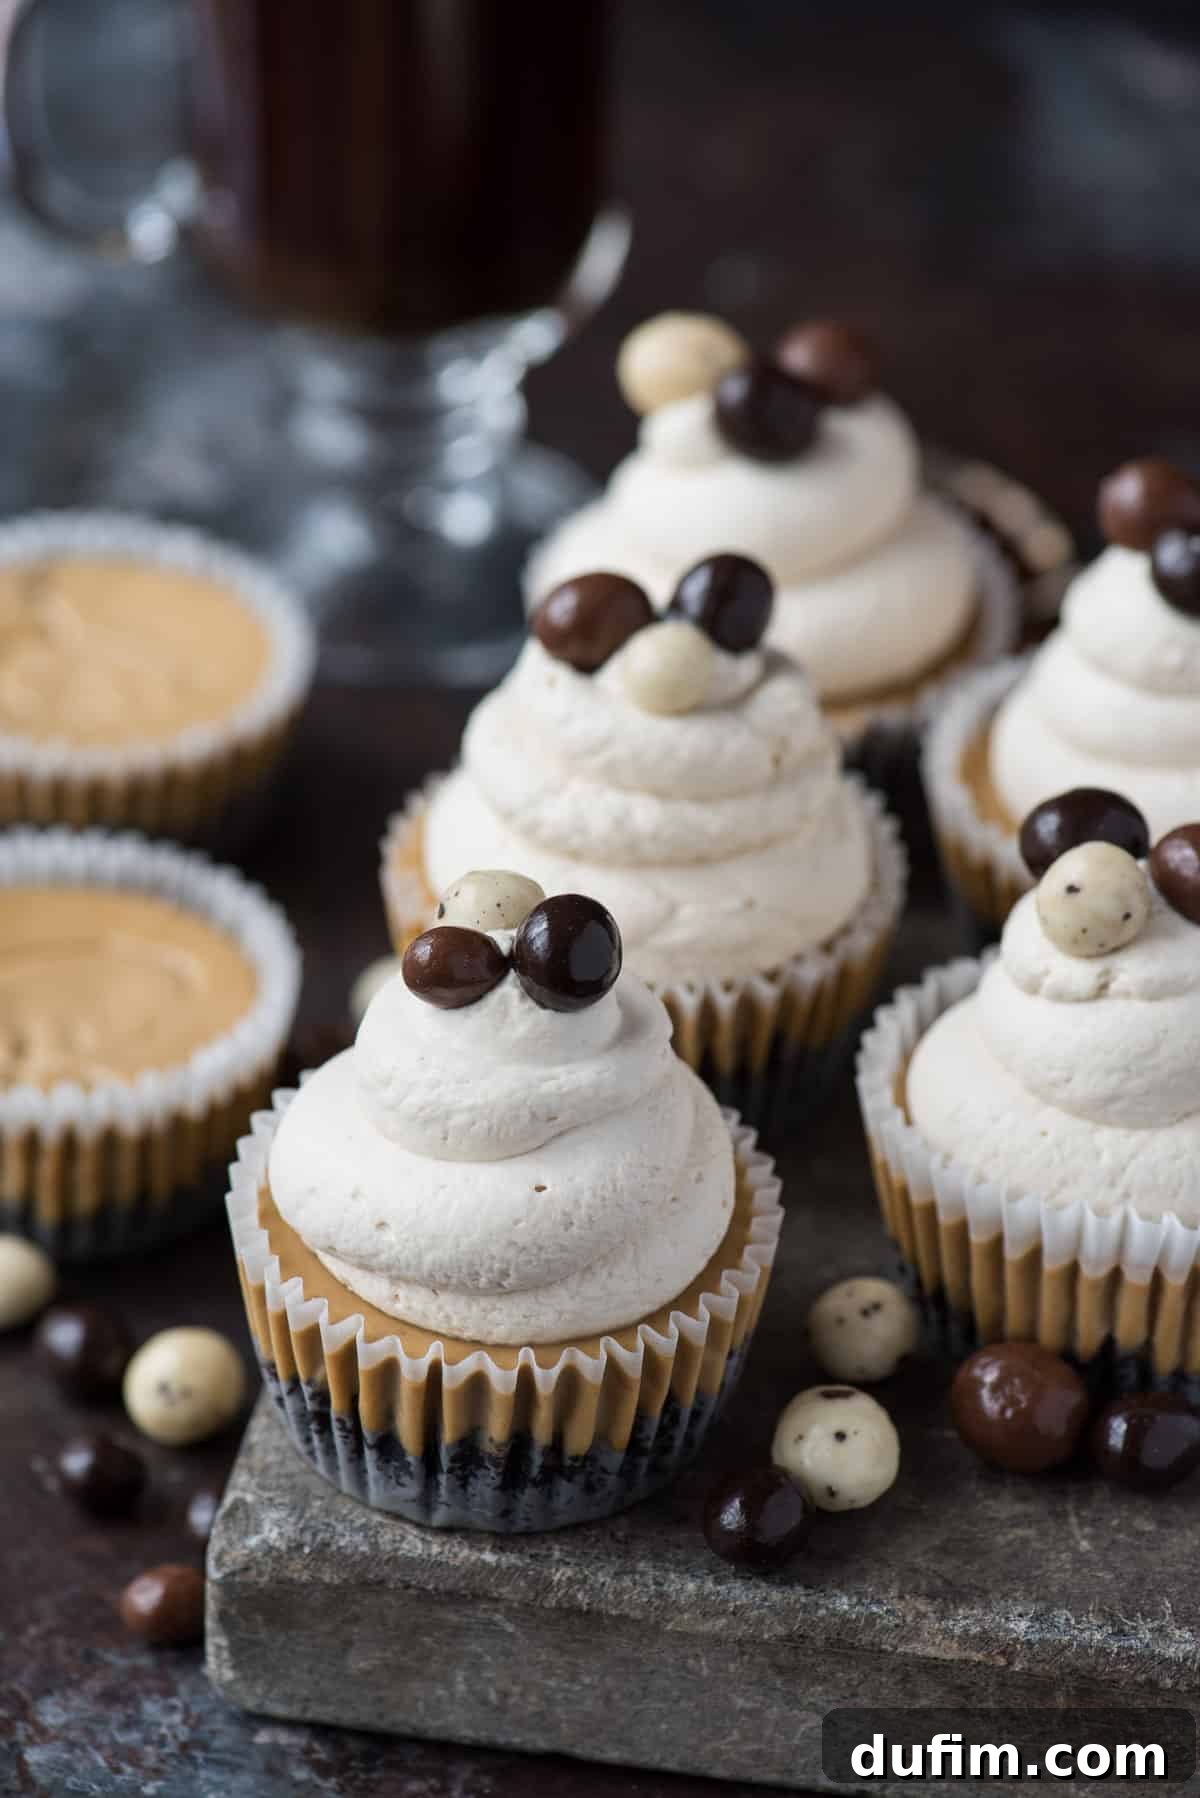
I love to top these coffee-flavored cheesecakes with a generous dollop of homemade coffee whipped cream and a sprinkle of elegant chocolate-covered espresso beans. The creamy, coffee-infused whipped cream enhances the cheesecake’s flavor, while the espresso beans provide a delightful textural contrast and an extra kick of coffee essence (for those who can handle the caffeine!).
Other fantastic topping ideas include:
- Chocolate Ganache: A glossy, rich chocolate ganache drizzle adds an intense chocolate flavor that beautifully complements coffee.
- Caramel Drizzle: A swirl of salted caramel sauce provides a sweet and slightly salty counterpoint to the espresso.
- Cocoa Powder Dusting: A simple dusting of unsweetened cocoa powder creates a sophisticated finish.
- Chocolate Shavings or Curls: A sprinkle of dark or milk chocolate shavings adds elegance and texture.
- Chopped Nuts: Toasted pecans, walnuts, or almonds can add a delightful crunch.
- Fresh Berries: A few fresh raspberries or blueberries offer a burst of freshness and color, creating a lovely balance with the rich cheesecake.
Arrange them on a beautiful platter for an impressive dessert spread that’s sure to impress your guests!
Explore More Irresistible Cheesecake Recipes
If you’ve fallen in love with these mini coffee cheesecakes, you’ll surely want to explore more of our delightful cheesecake creations. Whether you prefer classic flavors or other convenient mini versions, we have a recipe for every cheesecake craving:
- Mini Oreo Cheesecakes: A chocolate lover’s dream, featuring a rich Oreo crust and creamy filling.
- Mini Chocolate Cheesecakes: Decadent and perfectly portioned, ideal for chocolate enthusiasts.
- Classic Cheesecake: For those who appreciate the timeless elegance of a traditional, large-format cheesecake.
★★★★☆
Tap stars to rate!
Mini Coffee Cheesecakes
Rate
Equipment
-
Muffin Pan
-
Glass Mixing Bowl
-
Electric Mixer (Hand or Stand)
-
Measuring Cups & Spoons
-
Spatula
Ingredients
Crust (Choose One)
- 1 ½ cups (180g) Oreo cookie crumbs (about 15-18 cookies)
- OR 1 ½ cups (180g) Graham cracker crumbs
- 2 Tbsp (29g) melted unsalted butter
Cheesecake Filling
- 16 oz (452g) full-fat cream cheese, room temperature (2 packages)
- ⅓ cup (66g) granulated sugar
- 1 tsp vanilla extract
- 3 Tbsp brewed espresso *see note for alternatives*
- 2 large eggs
Instructions
Crust
-
Preheat your oven to 350º F (175°C).
-
Line a regular sized 12-cup muffin pan with paper cupcake liners.
-
In a mixing bowl, combine the Oreo crumbs (or graham cracker crumbs) and melted butter until the mixture resembles coarse, wet sand.1 1/2 cups (180g) Oreo crumbs, 2 Tbsp (29g) melted butter
-
Place about 1-2 tablespoons of the crust mixture in the bottom of each muffin cup.
-
Use the bottom of a 1/3 cup measuring cup (or a similar flat object) to firmly press the crumbs down into an even layer in each liner.
-
Bake the crust for 5 minutes. Remove the pan from the oven and allow it to cool slightly while you prepare the cheesecake filling.
Cheesecake Filling
-
In a large mixing bowl, using an electric mixer, beat the room temperature cream cheese until completely smooth and creamy, about 2-3 minutes. Scrape down the sides of the bowl as needed.16 oz (452g) full-fat cream cheese, room temperature
-
Add the sugar, vanilla extract, and brewed espresso. Beat on low speed until smooth and well combined, ensuring there are no lumps.1/3 cup (66g) sugar, 1 tsp vanilla extract, 3 Tbsp brewed espresso *see note*
-
Gently beat in the eggs, one at a time, just until the yolk breaks and each egg is barely incorporated into the batter. Do not overmix at this stage.2 large eggs
-
Divide the cheesecake batter evenly among the muffin cups, filling each a little more than 2 tablespoons over the pre-baked crust.
-
Bake for 15-17 minutes, or until the center of the cheesecake is only slightly jiggly when you gently shake the pan. The edges should appear set.
-
Allow the cheesecakes to cool completely to room temperature in the muffin pan. Once cool, transfer them to the fridge for at least 2 hours to chill before serving. For best results, chill overnight. If refrigerating overnight, loosely cover the cheesecakes with plastic wrap.
-
Before serving, top with coffee whipped cream and chocolate-covered espresso beans, or your favorite toppings.
Notes
Nutrition
Carbohydrates: 21g |
Protein: 5g |
Fat: 21g |
Saturated Fat: 11g |
Polyunsaturated Fat: 2g |
Monounsaturated Fat: 6g |
Trans Fat: 1g |
Cholesterol: 93mg |
Sodium: 295mg |
Potassium: 114mg |
Fiber: 1g |
Sugar: 13g |
Vitamin A: 733IU |
Vitamin C: 1mg |
Calcium: 56mg |
Iron: 1mg
Nutrition Disclosure
All nutritional values are approximate and provided to the reader as a courtesy. Changing ingredients and/or quantities will alter the estimated nutritional calculations.
Like this recipe? Rate and comment below!