
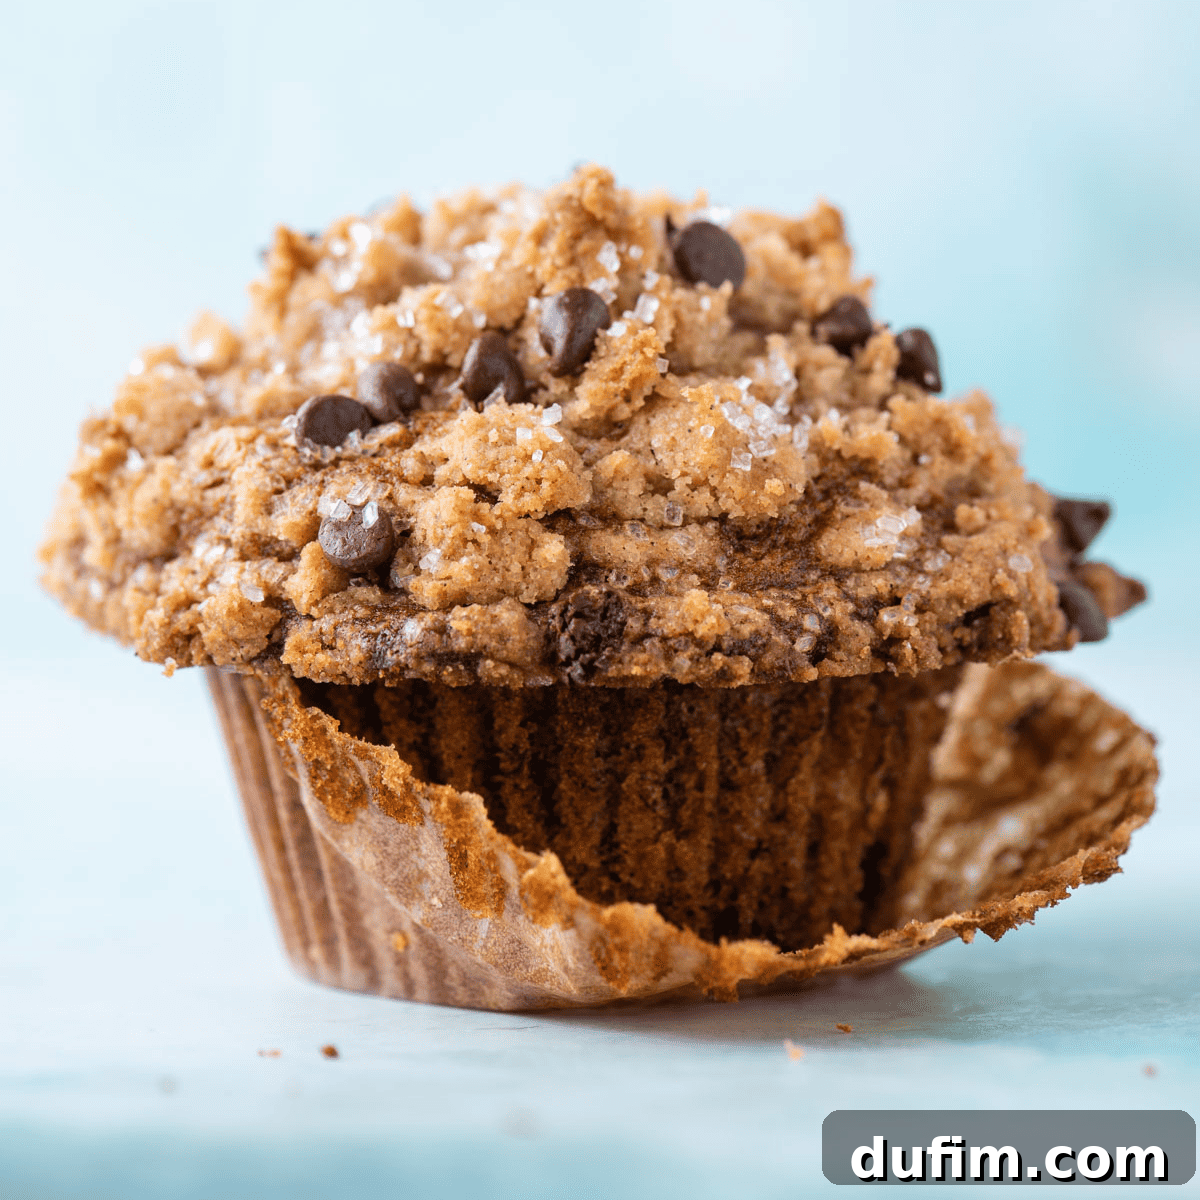
For years, I’ve been baking a myriad of delicious treats, and through countless experiments and a passion for perfection, I’ve finally mastered the art of creating the ultimate crumb topping. This perfected streusel recipe isn’t just an addition; it’s a transformation, ready to elevate any muffin, bread, cake, or pie into an extraordinary indulgence. Imagine a topping that’s perfectly sweet, wonderfully crunchy, and adds an irresistible texture to every bite. This comprehensive guide will walk you through my best tips and tricks for achieving crumb topping perfection every single time, ensuring your baked goods are always met with rave reviews.
“My new favorite crumb topping! Delicious flavor, simple to make, will be my go-to from now on.”
-Diane M
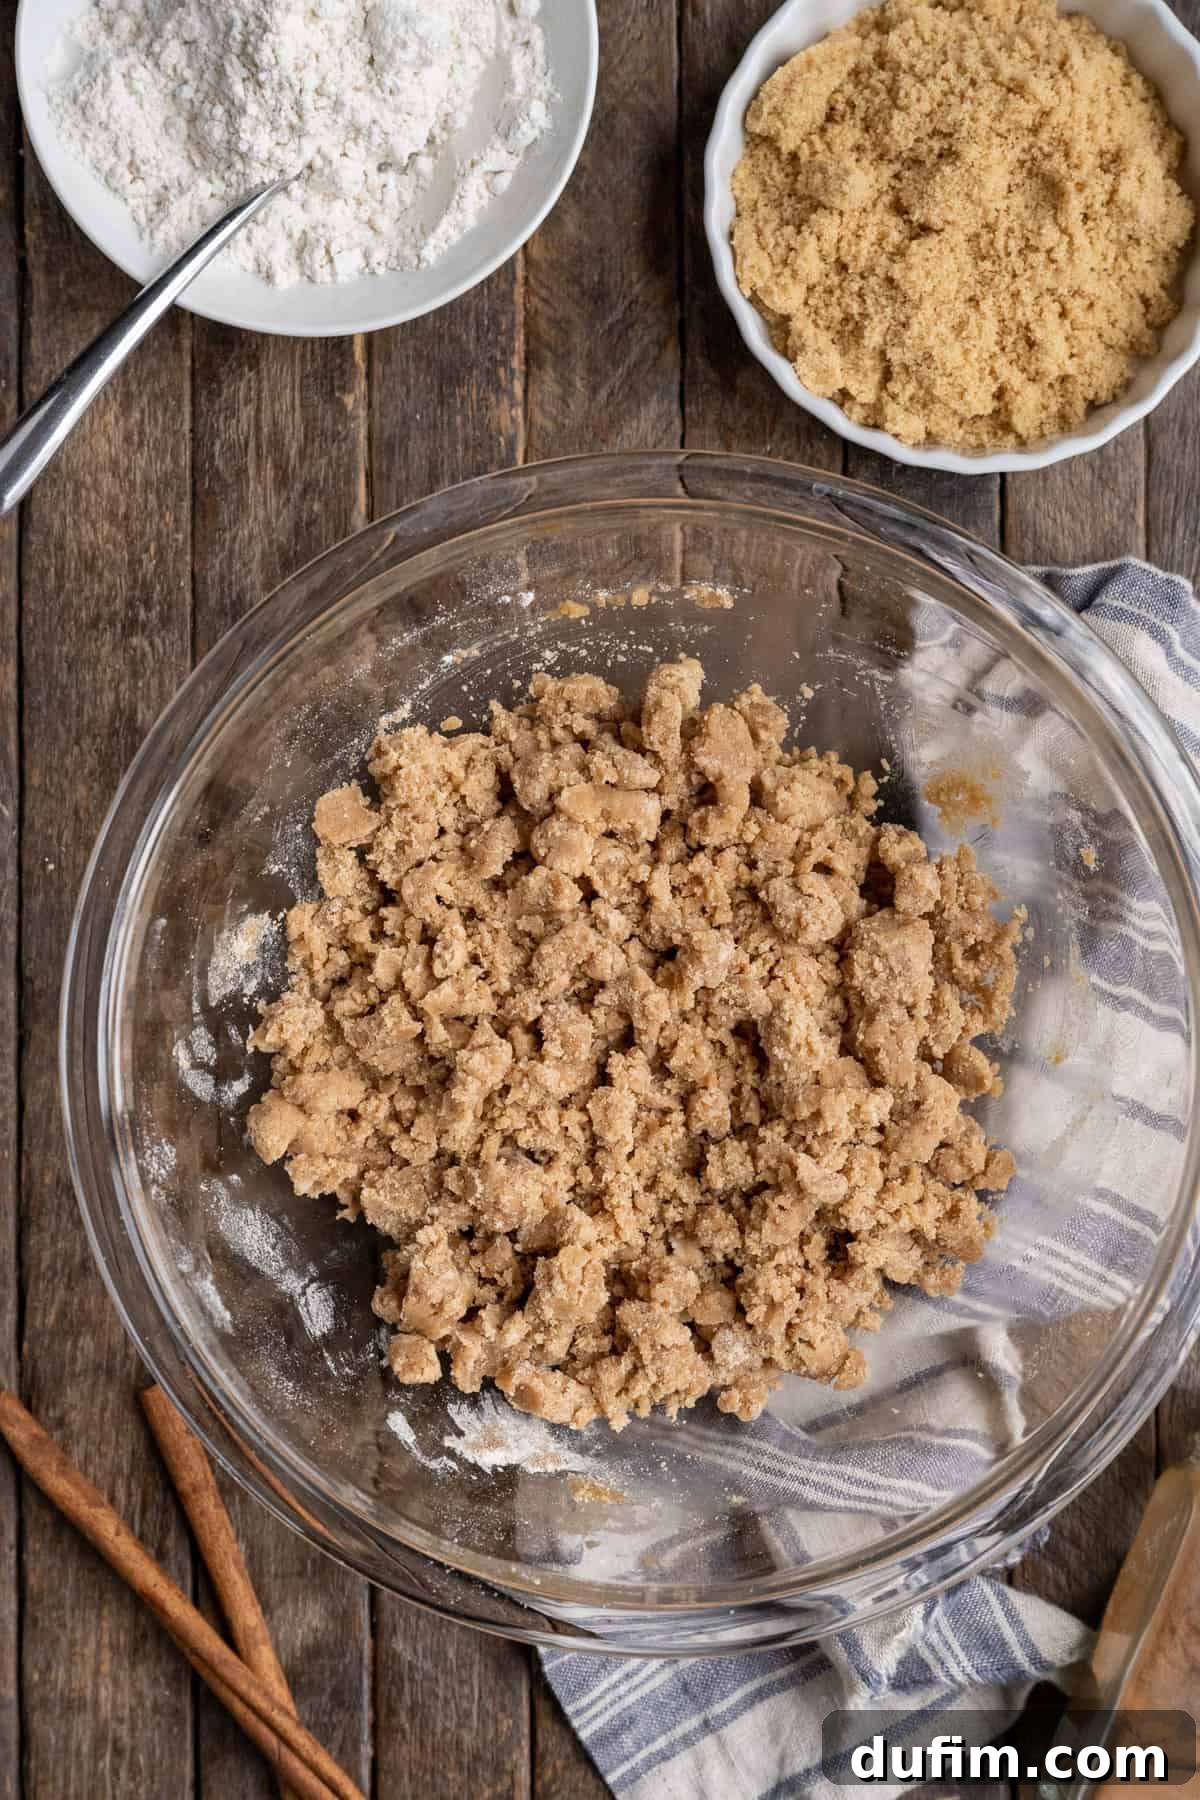
The Ultimate Sweet and Crunchy Streusel Topping Recipe
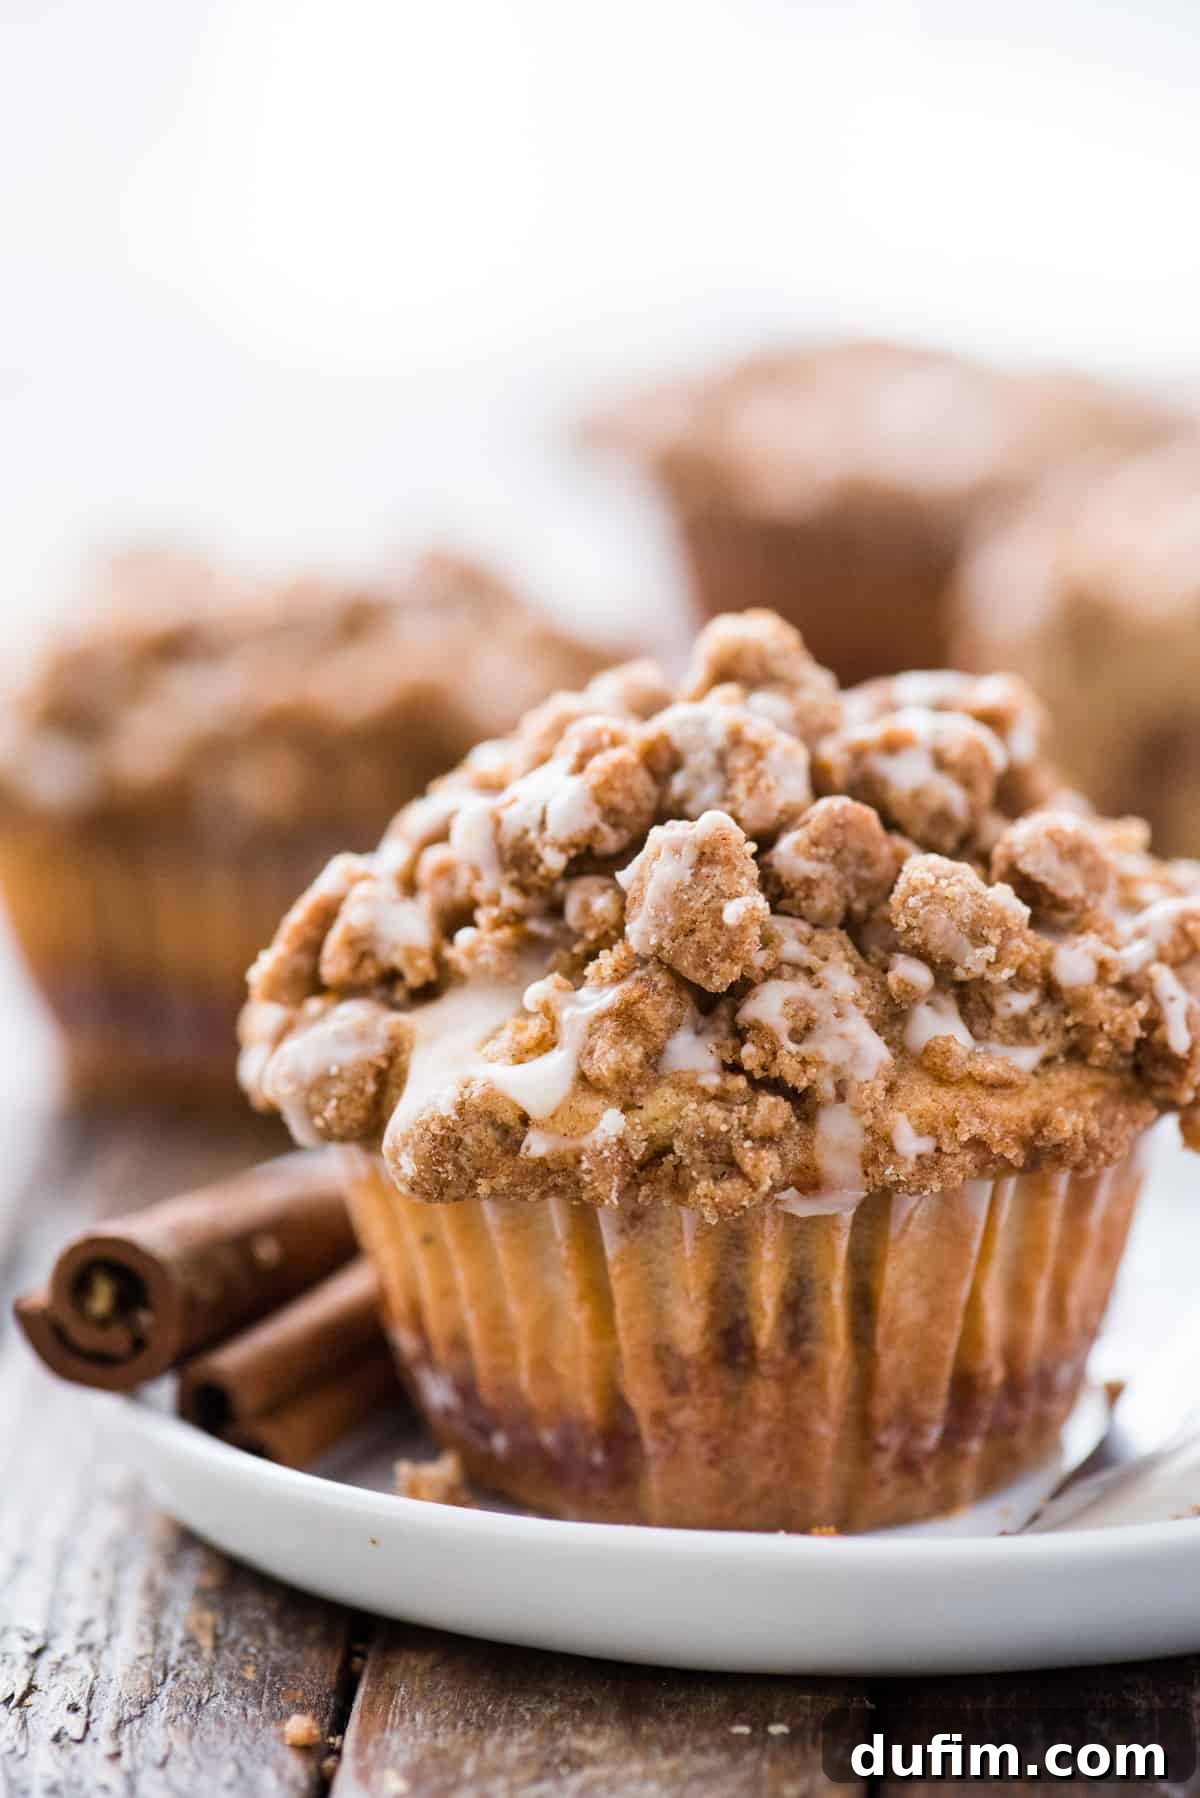
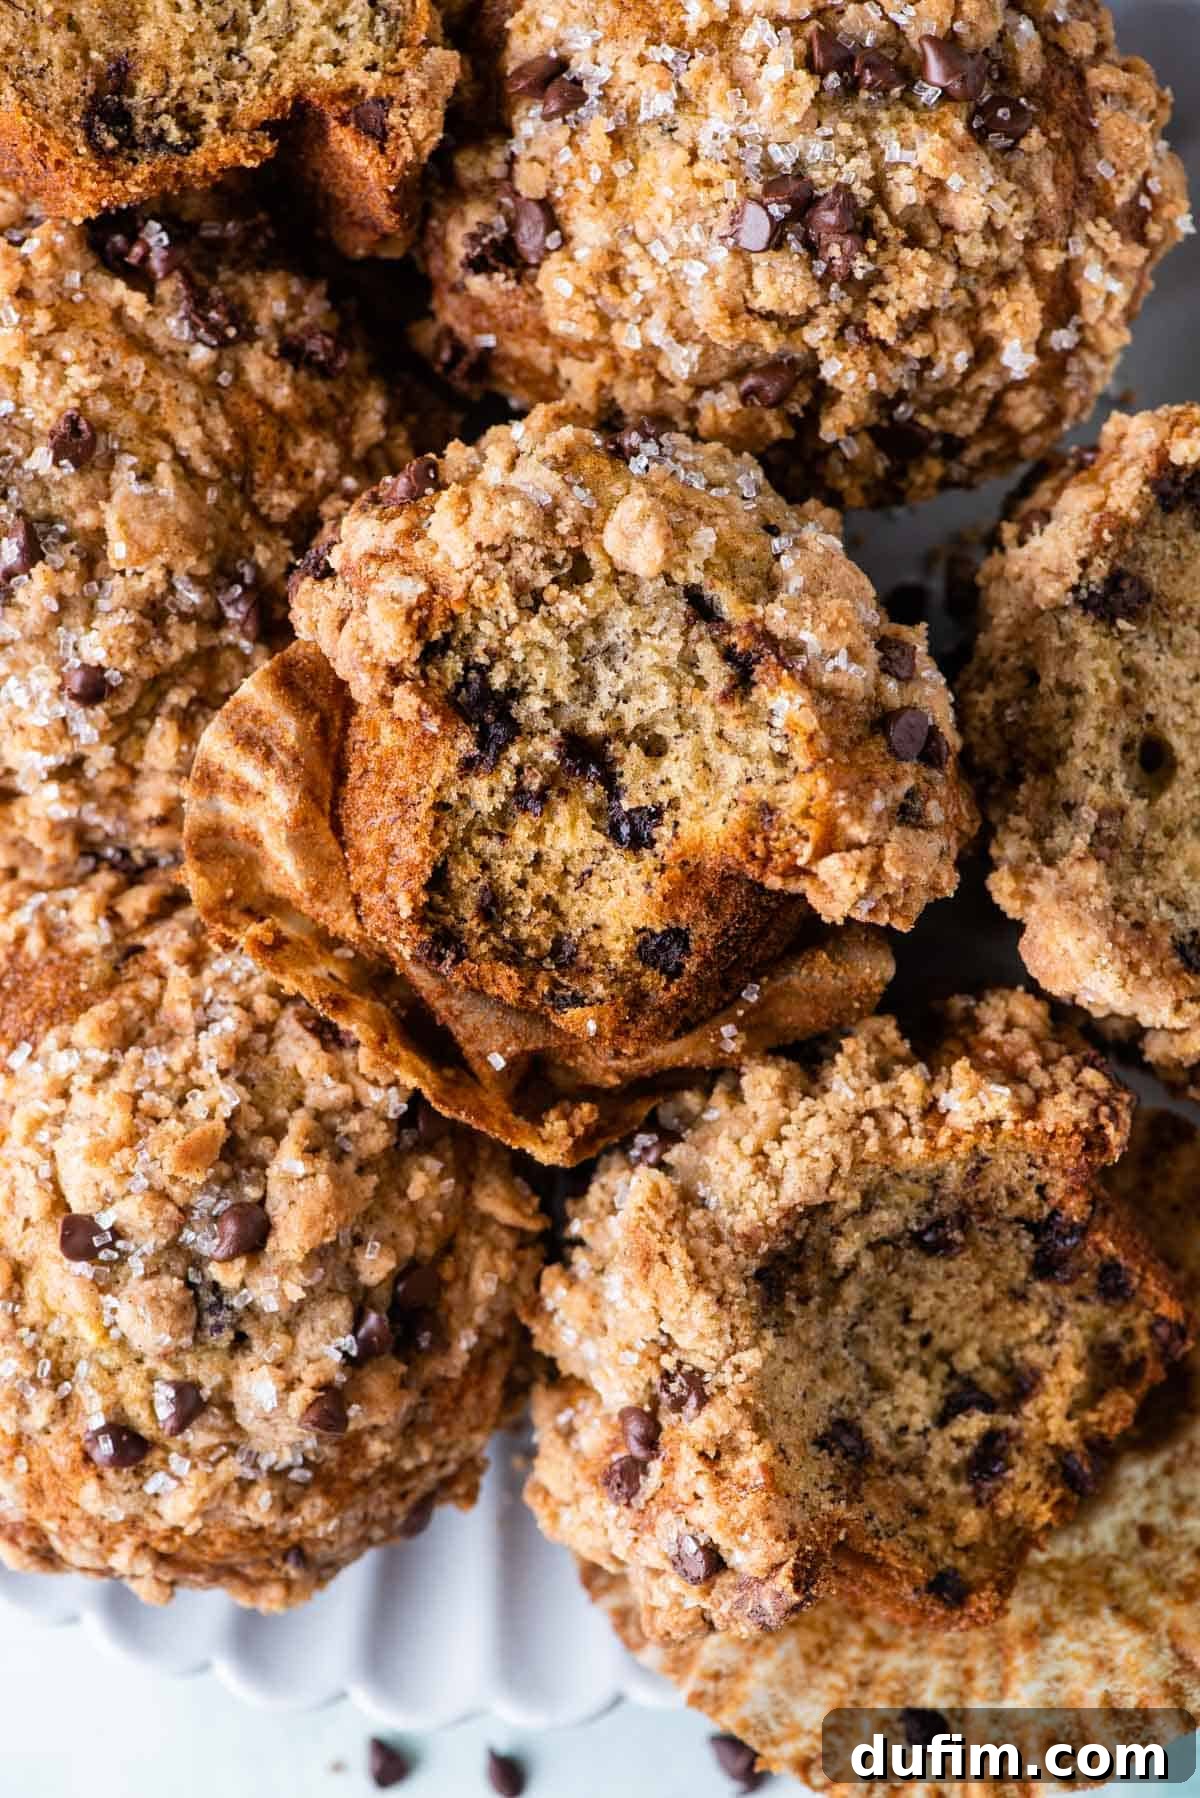
While coffee cakes are famously adorned with a generous layer of crumb topping, the versatility of streusel extends far beyond. This delightful mixture can enhance virtually any baked good, transforming a simple loaf of bread or a batch of muffins into something truly special. Envision our homemade banana bread, bursting with flavor, or our fluffy blueberry muffins, crowned with this sweet, textured delight. Even a bright lemon cake would be absolutely phenomenal with the added crunch and sweetness of this meticulously crafted crumb topping. It’s not just a garnish; it’s an integral part of the flavor and texture profile, adding depth and excitement to every bite.
Understanding Streusel: What is This Delightful Topping?
Streusel is a wonderfully crumbly topping primarily composed of a simple yet magical blend of flour, sugar, and butter. It’s renowned for its ability to impart a sweet, rich, and delightfully crunchy element to a wide array of baked goods. From tender muffins and classic cakes to rustic fruit pies and, of course, the ever-popular coffee cakes, streusel adds an undeniable charm. The term “streusel” itself is derived from the German word “streuen,” which elegantly means “to sprinkle” or “to scatter,” perfectly describing how this delicious mixture is applied to bring baked goods to life. It’s a testament to the power of simple ingredients coming together to create something truly exceptional.
Crumble vs. Streusel: Deciphering the Delicious Differences
Many home bakers often wonder about the distinction between crumble, streusel, and crumb topping. The good news is, for most practical purposes in home baking, these terms are largely interchangeable. They all refer to that wonderful, sweet, and buttery topping made from flour, sugar, and butter that you generously sprinkle over muffins, cakes, and pies before baking. The core ingredients and preparation method remain consistent across these names, all aiming to achieve that beloved crunchy texture.
However, when we delve into “crisps” and “crumbles” as standalone desserts, a subtle but notable difference often emerges. Both crisps and crumbles typically refer to baked fruit desserts topped with a crumbly mixture. The primary distinction lies in the crisp’s traditional inclusion of oats in its topping, which contributes to a more pronounced, often slightly chewier crunch compared to a crumble, which usually omits oats for a finer, more cookie-like crumb. But for the purpose of topping your favorite breakfast pastries or desserts, crumb, streusel, and crumble topping are all synonyms for the same irresistible creation.
Essential Streusel Topping Recipe Ingredients
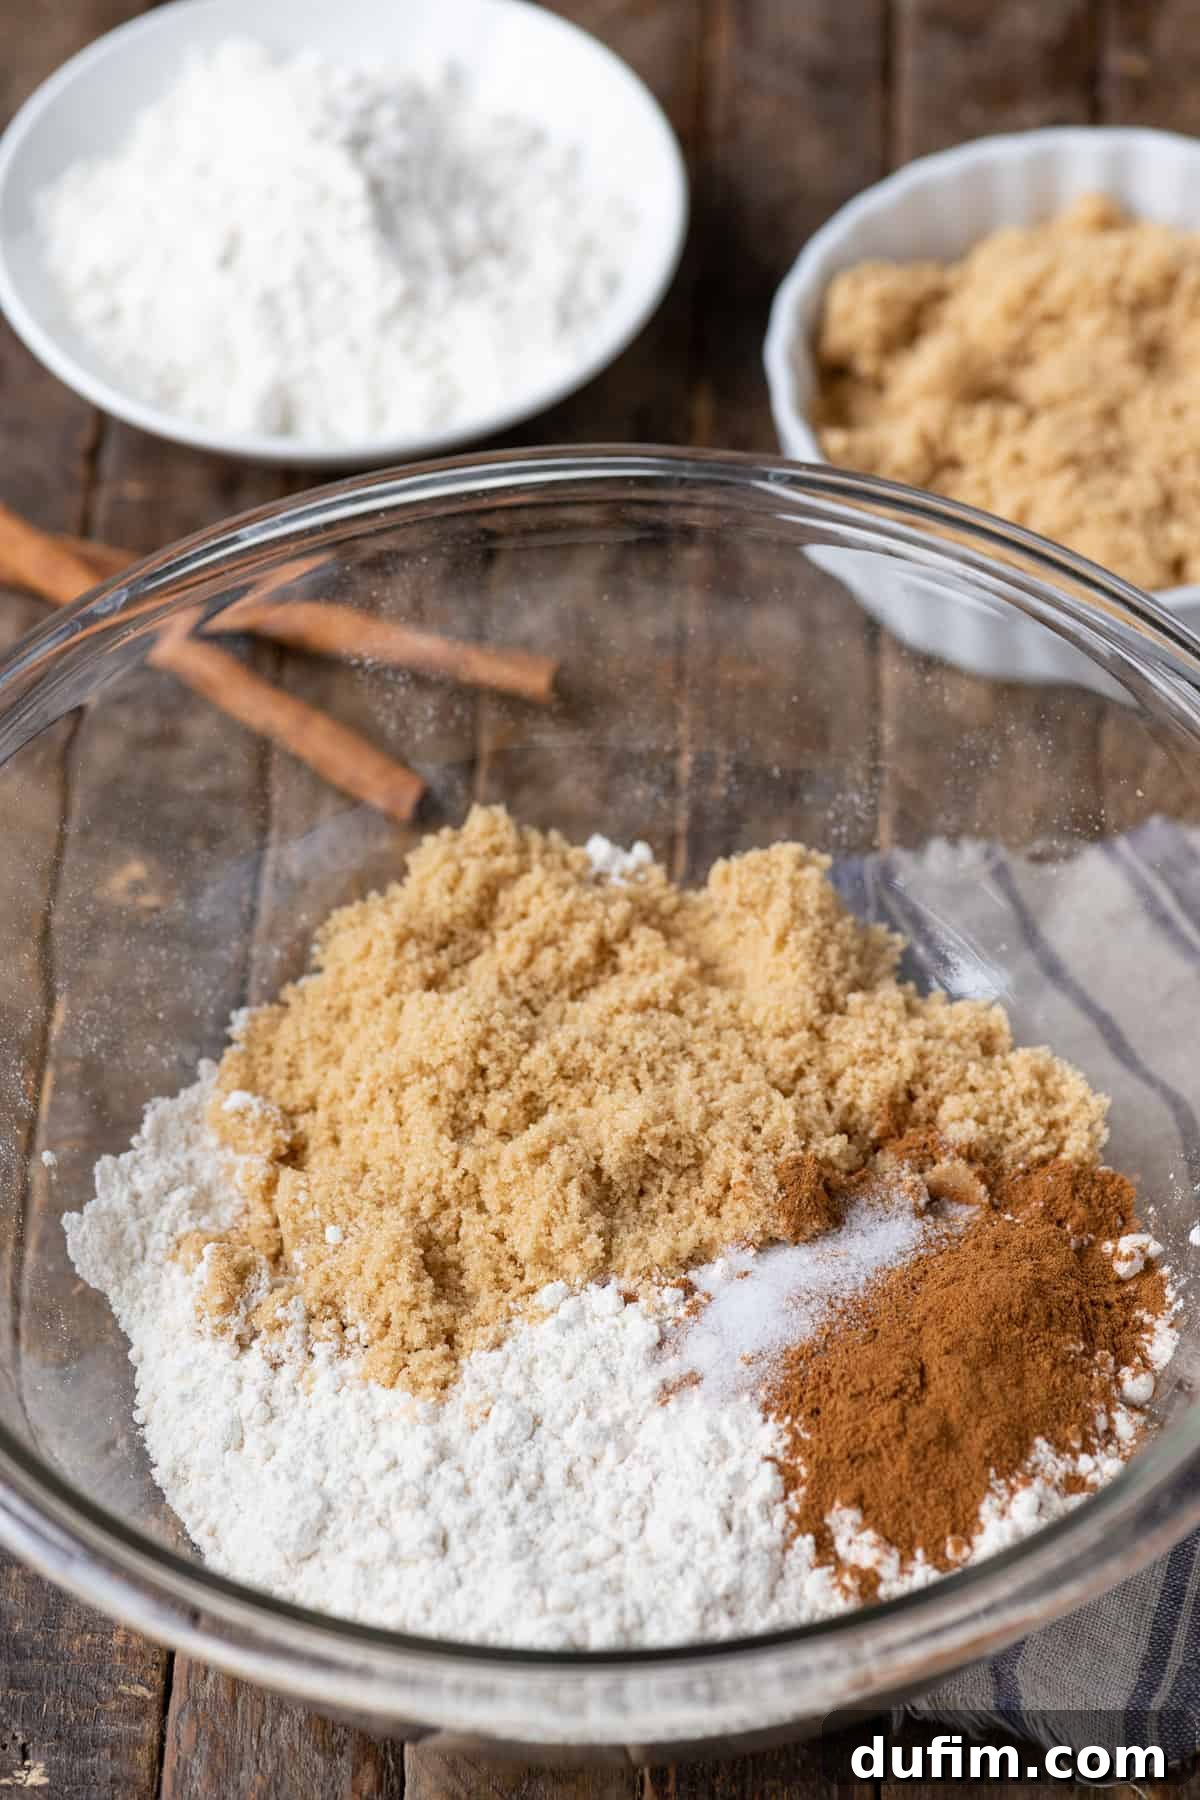
Crafting the perfect streusel topping requires just a few basic ingredients, but the quality and correct proportions of each are paramount to achieving that coveted sweet, buttery, and crumbly texture. Here’s what you’ll need:
- All-purpose flour: This forms the bulk and structure of your crumb. For those with dietary restrictions, high-quality gluten-free all-purpose flour blends also perform beautifully, allowing everyone to enjoy this delightful topping.
- Brown sugar: Essential for a rich flavor and distinct color. Brown sugar provides moisture and a depth of sweetness that granulated sugar simply can’t match, contributing to a more tender and cohesive crumb.
- Cinnamon: A touch of ground cinnamon adds a warm, inviting aroma and a classic bakery flavor that complements almost any baked good. Feel free to adjust the amount to your preference or even experiment with other spices like nutmeg or cardamom.
- Salt: Just a pinch of salt is crucial. It doesn’t make the topping salty; instead, it balances the sweetness and enhances all the other flavors, making them pop.
- Unsalted butter: The star ingredient that binds everything together and creates that irresistible richness. Using unsalted butter allows you to control the overall saltiness of your topping, and its fat content is key to achieving the perfect crumbly texture.
Crafting the Perfect Crumb Topping: A Step-by-Step Guide
Making a delectable crumb topping is surprisingly simple, requiring minimal effort for maximum impact. Follow these easy steps to create a streusel that will elevate all your baked creations:
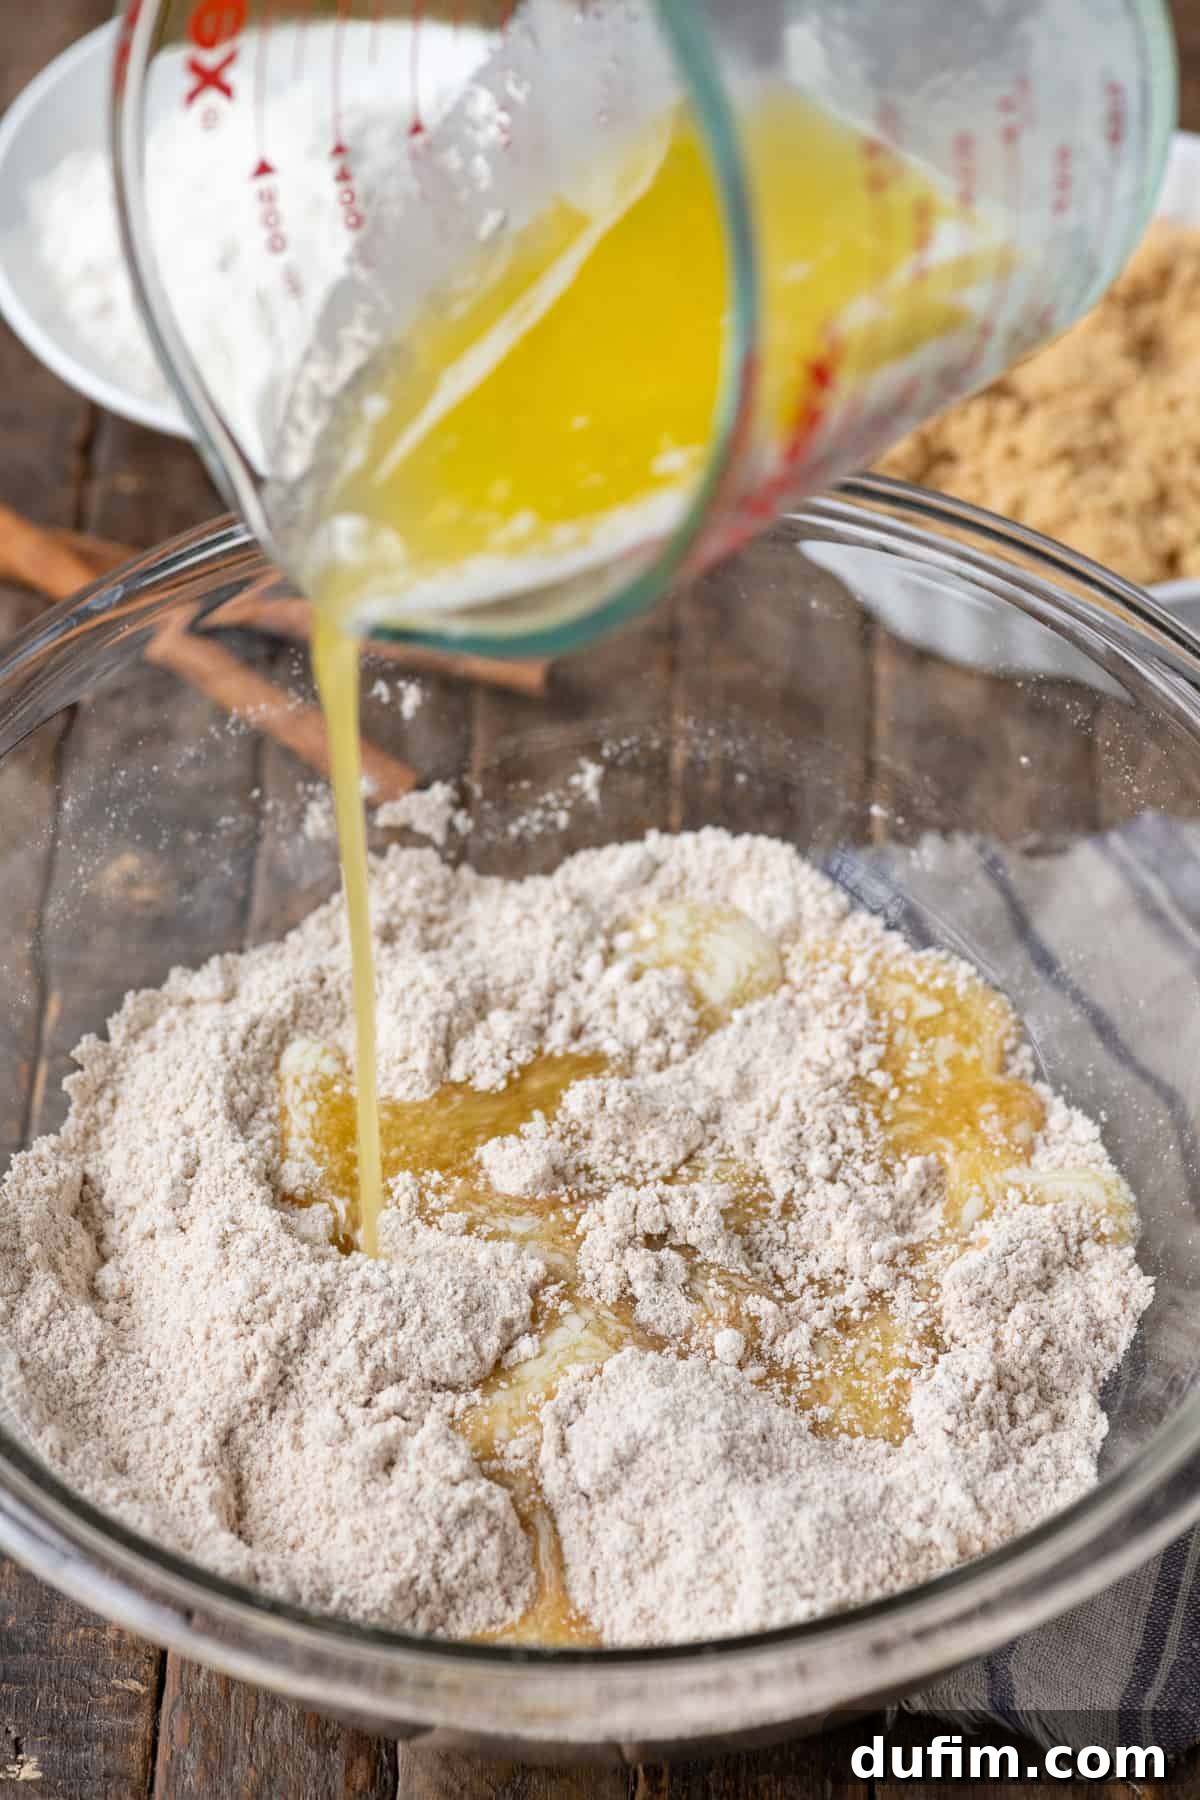
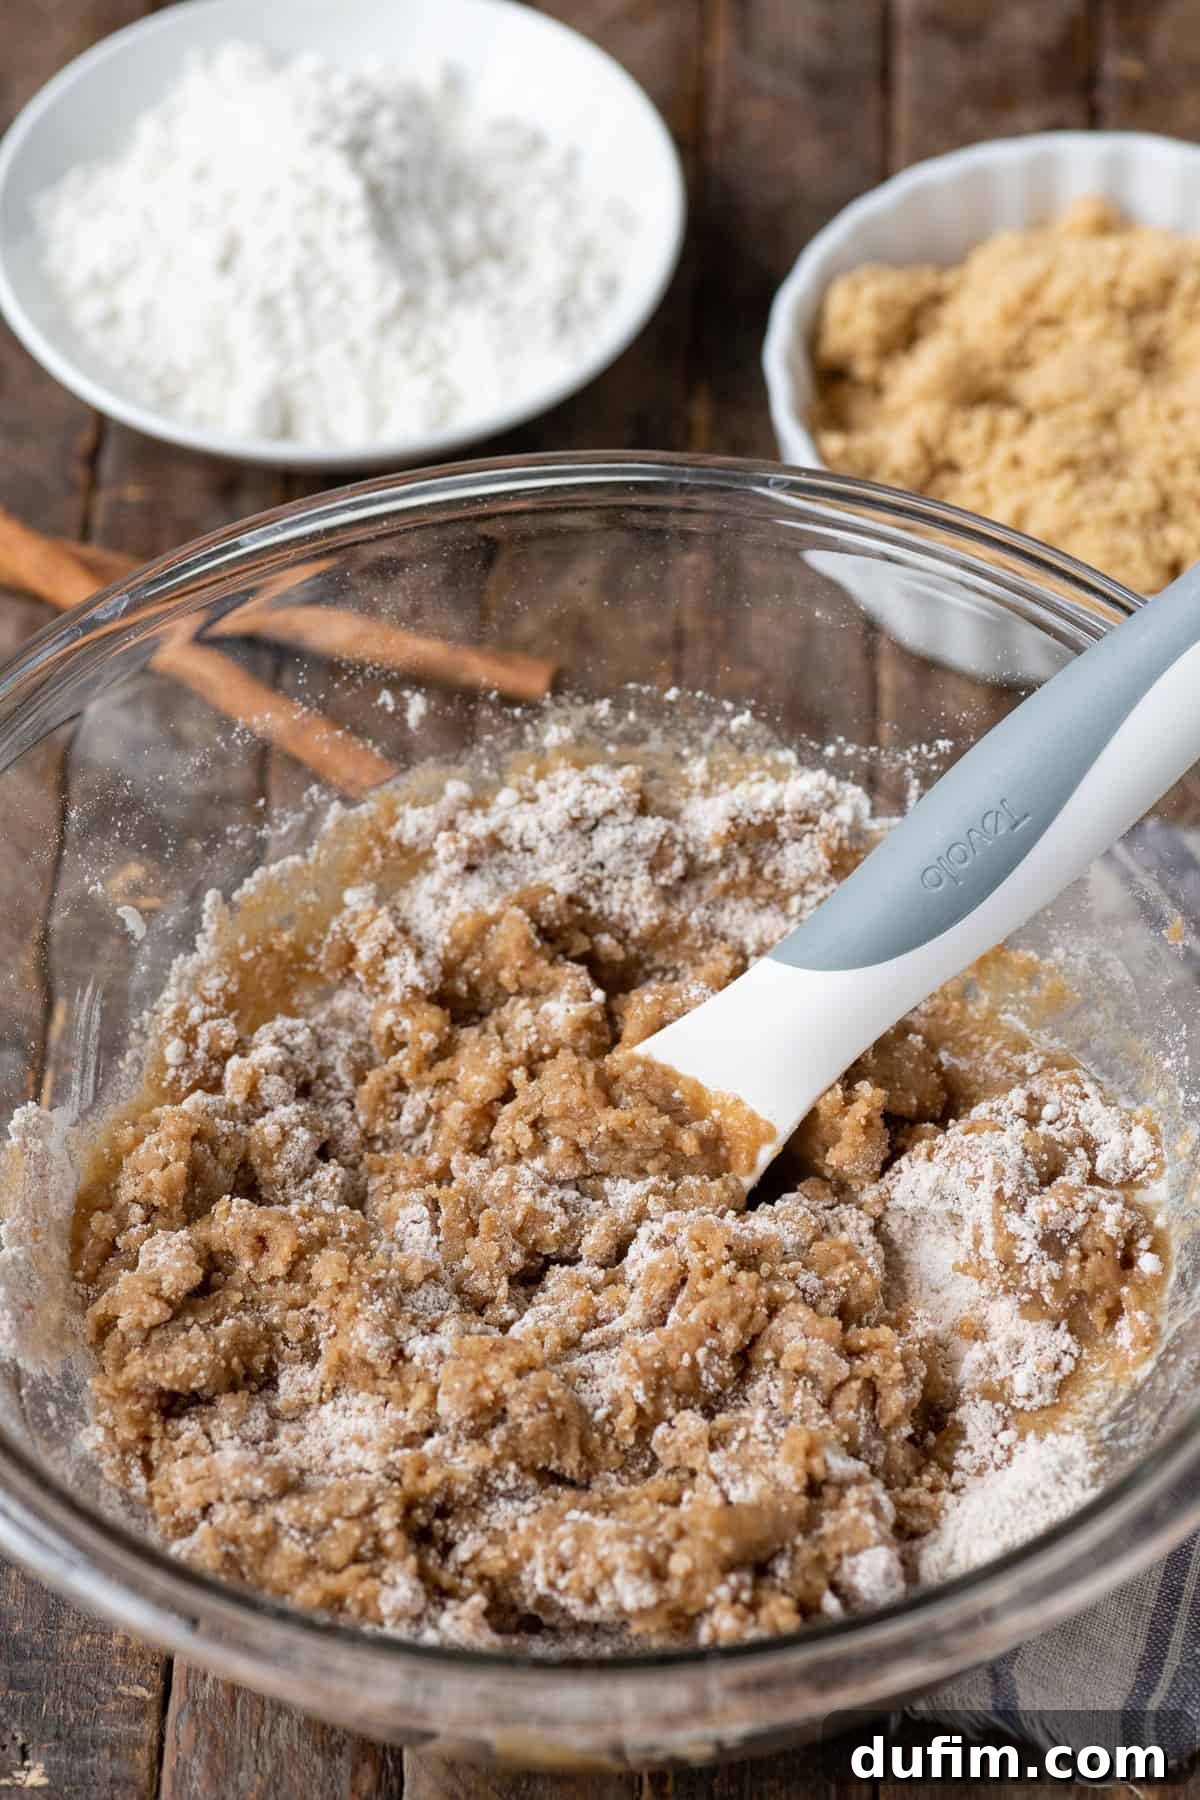
- Combine All Ingredients with Care: Begin by gathering your all-purpose flour, brown sugar, cinnamon, and salt in a medium-sized mixing bowl. Give these dry ingredients a quick whisk to ensure they are well combined and evenly distributed. Next, pour in the melted unsalted butter. Using a sturdy spatula or a wooden spoon, start mixing. At first, the mixture will be quite thick and may seem stubborn. This is where a little “elbow grease” comes in handy! You need to stir vigorously and thoroughly to ensure all the dry ingredients are fully incorporated and moistened by the butter. Continue mixing until the entire mixture takes on a consistently wet appearance.
- Achieving the Ideal Sandy-to-Clumpy Texture: Don’t be alarmed if the mixture initially has a somewhat “sandy” texture; this is perfectly normal and a sign you’re on the right track. The magic happens next: use your clean hands to actively squeeze clumps of the mixture together. The warmth from your hands will help the butter bind the flour and sugar, encouraging the formation of those desirable, substantial crumb clusters. Continue squeezing and breaking apart until you have a mixture of both fine crumbs and larger, irregular clumps – this variety in texture is what makes a truly great streusel.
- Storage and Preparation in Advance: Once your crumb topping has reached its perfect texture, set it aside until you’re ready to use it. One of the best things about this streusel topping is its make-ahead potential! You can easily prepare it in advance, which is a fantastic time-saver for busy baking days. Simply store the finished streusel in an airtight container and keep it chilled in the refrigerator for up to 3 days. This way, you always have a batch ready to sprinkle over an impromptu baking project, ensuring fresh, delicious results with minimal fuss.
Mastering Flour Measurement for Perfect Baking
Accurate flour measurement is a cornerstone of successful baking, and it’s especially critical for recipes like crumb topping where consistency is key. An improperly measured amount of flour can drastically alter the texture of your streusel, making it either too dry and crumbly or too dense and pasty.
The most precise and recommended method for measuring flour, hands down, is by using a digital kitchen scale. Weighing your flour in grams eliminates inconsistencies caused by packing or fluffing, ensuring you have the exact amount specified in the recipe every single time. This is a small investment that will dramatically improve your baking accuracy.
However, if a kitchen scale isn’t available, don’t despair! You can still achieve a reasonably accurate measurement by following the “spoon and level” method. This technique helps prevent over-packing the flour into your measuring cup, which is a common mistake that leads to too much flour in your recipe. Here’s how to do it correctly:
- Aerate the Flour: Before you even think about measuring, take a whisk or a spoon and lightly fluff up the flour in its container or bag. Flour naturally settles and becomes compact as it sits, making it denser than it should be. Aerating it is like fluffing a pillow – it lightens the flour, allowing for a more accurate scoop. This is similar to fluffing but should not be confused with sifting, which physically separates particles. Only sift if your recipe explicitly calls for it.
- Spoon into Measuring Cup: Rather than scooping directly with the measuring cup, which can compact the flour, use a spoon to gently sprinkle the aerated flour into the measuring cup until it overflows slightly. Be gentle; the goal is to keep the flour light and fluffy.
- Level Off Excess: Once your measuring cup is slightly overfilled, use the straight edge of a butter knife or a similar flat utensil to level off the excess flour. Simply scrape the knife across the top of the cup, allowing the extra flour to fall away. Do not tap the cup against the counter, as this will defeat the purpose of aerating and spooning by compacting the flour once again.
By following these steps, you’ll ensure your flour is measured as accurately as possible, contributing to the perfect consistency of your crumb topping and all your other baked goods.
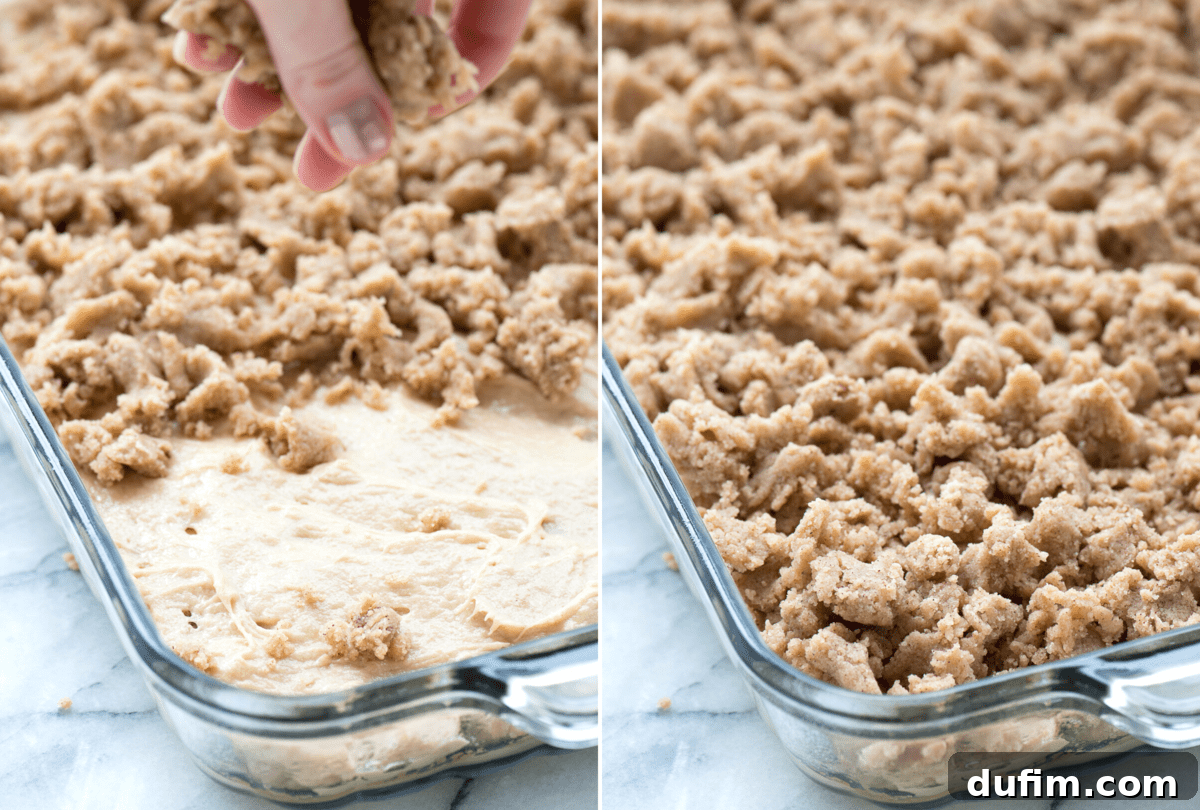
When it comes to applying this delightful crumb topping, don’t be shy! Generously pile it high onto your muffins, bread, cakes, or pies before they go into the oven. My personal technique for achieving those beautifully substantial, bakery-style crumb pieces is quite simple: I find it easiest to take a handful of the prepared crumb mixture and gently squeeze it in my hands, forming a loose ball. Then, I break off smaller, irregular pieces from this ball, lightly pressing them into the batter. This method ensures you get a wonderful variety of textures – from finer crumbs to larger, more satisfying clumps – which is the hallmark of a truly exceptional streusel. Remember, you’re aiming for significant pieces of crumb, not just a fine dusting, to maximize that sweet and crunchy experience.
The choice of sugar might seem minor, but it plays a critical role in the final flavor, color, and texture of your streusel topping. Below, we’ll dive into the intriguing debate between using granulated sugar versus brown sugar, helping you decide which is best for your baking goals.
Granulated Sugar vs. Brown Sugar: The Sweet Showdown for Your Crumb Topping
The type of sugar you choose for your crumb topping can significantly influence its appearance, texture, and overall flavor profile. While both granulated and brown sugar will yield a delicious streusel, they each bring unique qualities to the table.
When you opt for granulated sugar in your crumble topping, you’ll notice it tends to produce a paler, lighter-colored topping. This is because granulated sugar lacks the molasses content found in brown sugar, which is responsible for its rich color and deeper flavor. In terms of texture, granulated sugar often results in a crunchier topping. Without the extra moisture that brown sugar provides, the granulated sugar crystals caramelize and solidify more intensely during baking, leading to a crispier crumb.
Now, let me be clear: a crumb topping made with granulated sugar is by no means inferior! Many fantastic recipes call for it, and it produces a wonderfully light and crisp streusel that is absolutely delicious in its own right. It’s a classic choice for a reason.
However, through my personal baking journey, I discovered a strong preference for using brown sugar in my crumb topping. My primary motivation was the desire for a more distinct color contrast between the muffin or cake base and the topping. Brown sugar imparts a beautiful, richer caramel hue to the streusel, creating a more visually appealing contrast. If you use dark brown sugar, the color will be even more pronounced and deeply golden.
Beyond aesthetics, brown sugar also contributes to a different texture. Brown sugar-based crumb topping tends to hold its shape exceptionally well, forming those coveted larger clumps, while remaining delightfully tender, rather than becoming overly brittle or crunchy like some granulated sugar streusels can. The molasses in brown sugar adds a subtle chewiness and a more complex flavor profile, making the streusel incredibly satisfying.
Ultimately, there’s no “right” or “wrong” sugar to use; it all boils down to personal preference and the specific characteristics you desire in your crumb topping. Experiment with both to discover your own favorite!
Expert Tips for Crafting the Perfect Crumble Topping
Achieving a truly perfect crumble topping isn’t just about mixing ingredients; it’s about understanding the delicate balance between them. The amounts of butter and flour are particularly crucial, as they dictate the final texture and how your streusel behaves during baking. Here are my top tips for success:
The Importance of Butter Quantity:
- Too much butter: While butter is delicious, an excessive amount can lead to a crumb topping disaster. If there’s too much butter, your beautiful crumbly mixture will melt and spread excessively during the baking process. Instead of distinct clumps, you’ll end up with a greasy, flat layer that lacks the desired texture and visual appeal. It can even make your baked goods soggy.
- Too little butter: Conversely, not enough butter will leave your streusel feeling dry and unappetizingly “flour-y.” The butter is essential for binding the dry ingredients and creating those wonderful clumps. Without sufficient fat, your crumbs won’t stick together, resulting in a sandy, powdery topping that disperses rather than clings and crisps.
The Critical Role of Flour Quantity:
- Too much flour: Just like with butter, an excess of flour can throw off the balance. Too much flour will cause your crumb topping to become overly dry and excessively crumbly. It won’t form good clumps and will likely taste bland and starchy, overpowering the sweetness and spice.
- Too little flour: On the other hand, insufficient flour means your topping won’t have enough stability or structure. It will struggle to form recognizable crumbs and might melt into the baked good, becoming indistinguishable from the batter itself rather than maintaining its distinct, crunchy presence. The ratio of flour to butter and sugar is what gives streusel its characteristic crumbly yet cohesive nature.
Precision in measurement, especially with these two key ingredients, is your best friend when aiming for streusel perfection. Remember, baking is a science as much as an art!
Creative Ways to Use This Versatile Crumble Topping Recipe
This fantastic crumble topping isn’t just for coffee cake! It’s an incredibly versatile addition that can enhance a wide array of baked goods. The key is to add it to your chosen muffin, cake, or pie recipe *before* baking, allowing the flavors to meld and the topping to crisp up beautifully in the oven. Here are some specific considerations for different types of treats:
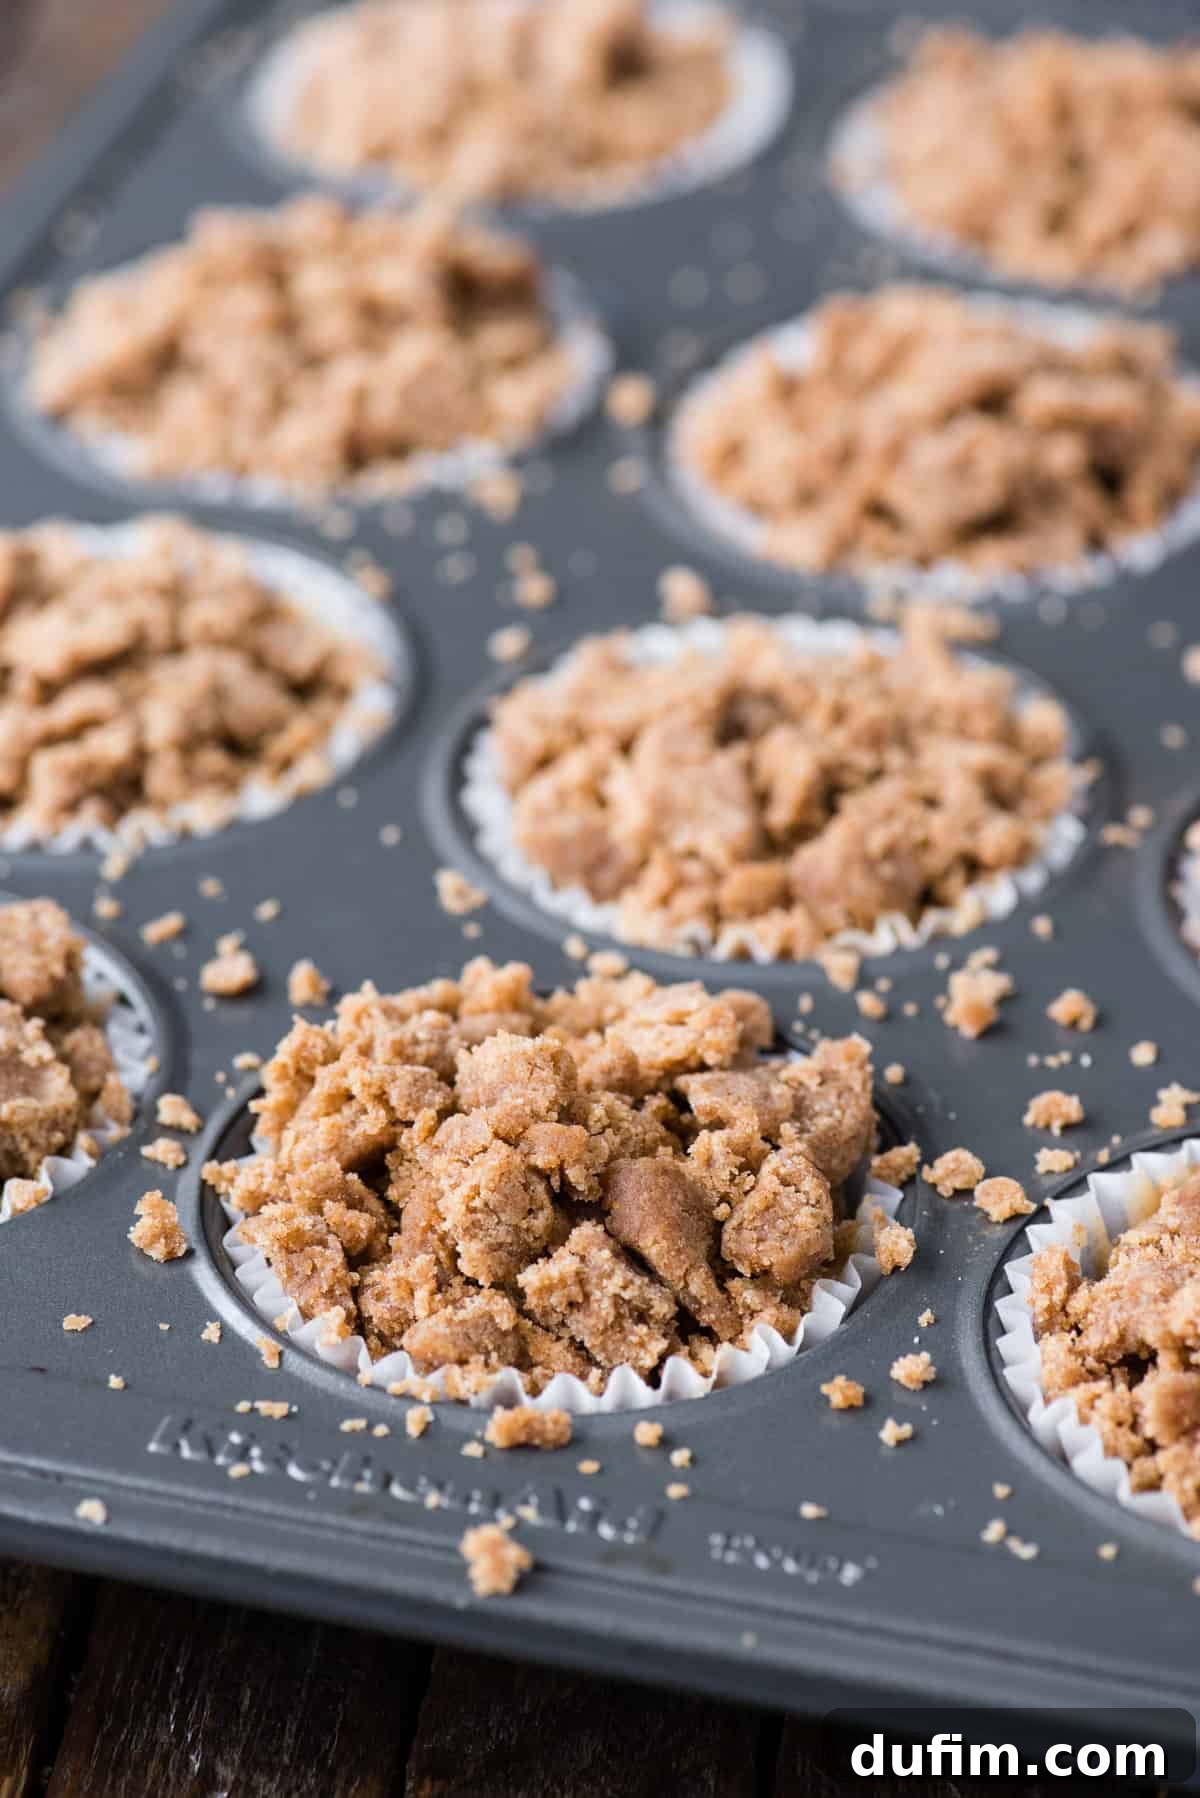
When adding to muffins: Muffins are perhaps the most common and beloved recipient of a good streusel. To ensure your crumb topping stays perfectly perched atop each muffin, it’s essential to leave sufficient space in the muffin liner. This means slightly reducing the amount of batter you spoon into each liner. This provides a stable “shelf” for the crumb topping to rest on and expand, preventing it from overflowing or sinking into the batter. For an extra touch of decadence, gently press some of the larger streusel clumps into the muffin tops before baking.
When adding to cakes: The success of crumb topping on a cake often depends on the consistency of your cake batter. This streusel recipe is best suited for thick, dense cake batters, such as those used for coffee cakes, pound cakes, or crumb cakes. These batters provide a robust foundation that will effectively support the weight of the crumble, ensuring it bakes into a beautiful top layer. If you’re working with a thin, more liquidy batter, there’s a risk that the crumble topping will sink into the cake rather than staying on top, resulting in a less than ideal texture. Always consider your cake’s consistency for best results.
When adding to pies: While apple pie is a classic, don’t limit your imagination! This crumble topping is absolutely divine on a variety of fruit pies – think peach, berry, or even rhubarb. The streusel adds a wonderful textural contrast to the soft fruit filling. Fruit pies typically have longer baking times, so it’s important to monitor your crumb topping. If you notice the streusel becoming too brown or cooking too quickly during the baking process, simply “tent” it. This involves loosely covering the pie with a piece of aluminum foil to shield the topping from direct heat, allowing the pie to finish baking without over-browning the streusel.
Embrace the endless possibilities this crumb topping offers to elevate your baking!
Streusel Topping Recipe FAQs: Your Questions Answered
The delightful crunchy texture of crumble topping comes from a harmonious interplay of its key ingredients: butter, sugar, and flour. The magic begins when cold butter is cut into the dry ingredients (flour, sugar, and often spices). This process creates small, distinct clumps or “crumbs” rather than a uniform dough. During baking, as these crumbs heat up, the butter within them melts and coats the flour and sugar particles. This fat content then creates a barrier, allowing the sugar to caramelize and the flour to crisp up, leading to that irresistible crunch. The sugar not only adds sweetness but also contributes significantly to this caramelization, forming a hardened, glistening layer. Proper baking technique, including an even spread of the topping and baking at the correct temperature, ensures that the streusel achieves peak crispiness without burning or becoming too soft.
If your streusel topping isn’t achieving that signature crumbly texture, there are several common culprits to investigate. The most frequent issues include insufficient butter, over-mixing, incorrect ingredient ratios, or using butter that’s too warm or even melted prematurely. Firstly, ensure you’ve added the correct amount of butter and that it’s evenly distributed throughout the dry ingredients; too little butter won’t allow the crumbs to form. Secondly, avoid over-mixing the streusel mixture. Over-mixing can develop the gluten in the flour, leading to a denser, more dough-like texture instead of distinct crumbs. Always check your ingredient ratios to ensure the proper balance of flour, sugar, and fat. Using cold butter, rather than melted or softened butter, is crucial for creating those distinct, desirable crumbs, as it slowly melts and coats the dry ingredients during baking. If necessary, chilling the streusel mixture for 15-30 minutes before baking can also help solidify the butter, promoting a more crumbly outcome.
Absolutely! This streusel topping is excellent for make-ahead preparation, saving you valuable time on baking day. Once you’ve mixed your streusel and formed your desired clumps, you can store it in an airtight container in the refrigerator for up to 3 days. For longer storage, the streusel can also be frozen for up to 2-3 months. If freezing, spread the crumbs in a single layer on a baking sheet to freeze solid, then transfer to a freezer-safe bag or container. When ready to use, you can sprinkle it directly onto your baked goods from frozen – no need to thaw! This convenience makes it perfect for impromptu baking.
The beauty of this crumb topping recipe lies in its incredible versatility. It’s truly a universal enhancer for almost any sweet baked good. Beyond the classic coffee cakes and muffins, consider adding it to fruit crisps or crumbles (even those with oats for an extra layer of crunch!), sweet loaves of bread like banana bread or pumpkin bread, apple or peach pies, fruit tarts, quick breads, sweet potato casseroles, or even sprinkled over yogurt parfaits for breakfast. Its sweet, crunchy texture adds a delightful contrast and an immediate upgrade to both everyday treats and special occasion desserts.
Discover More Delicious Recipes
If you’ve enjoyed mastering this perfect crumb topping, you’re in for a treat! Our kitchen is filled with more delightful recipes designed to bring joy to your baking. From comforting classics to innovative desserts, there’s always something new to discover. Explore some of our other cherished recipes that are perfect for any occasion:
- Festive Christmas Cut Out Cookies
- Decadent Oreo Cheesecake (No Bake)
- Adorable Mini Oreo Cheesecakes
- Sweet Cherry Chocolate Chip Cookies
- Rich Chocolate Cupcakes
- Fluffy Cool Whip Icing
- Refreshing Strawberry Poke Cake Icing
- Elegant Chocolate Bundt Cake Recipe
- Easy Oreo Crust
- Chewy Oreo Brownies
- Classic Vanilla Cupcakes Recipe
- Juicy Strawberry Muffin Recipe
- Zesty Orange Cake Recipe
- Hearty Bran Muffin Recipe
- Classic Fudge Sundae
Tap stars to rate!
Classic Crumble Topping Recipe
Rate
Equipment
-
Glass Mixing Bowl
-
Kitchen Scale
Ingredients
- 1 ½ cups (180g) all purpose flour
- ⅔ cup (142g) brown sugar, packed
- 1½ tsp cinnamon
- ¼ tsp salt
- ½ cup (113g) unsalted butter, melted, 1 stick
Instructions
-
In a large mixing bowl, combine the all-purpose flour, brown sugar, cinnamon, and salt. Stir these dry ingredients well to ensure they are evenly distributed. Pour in the melted unsalted butter. Using a sturdy spatula or your hands, mix the crumb thoroughly. The mixture will be thick and may require some effort to combine all the dry ingredients fully. Continue mixing and squeezing until the mixture appears consistently wet and forms various-sized clumps, from sandy textures to larger, more substantial pieces.1 ½ cups (180g) all purpose flour, ⅔ cup (142g) brown sugar, 1½ tsp cinnamon, ¼ tsp salt, ½ cup (113g) unsalted butter
-
Once prepared, set the crumb topping aside until you are ready to use it for your baking project. This streusel can be made in advance; simply store it in an airtight container in the refrigerator for up to 3 days, or freeze for longer periods.
-
To apply, generously pile the crumb topping onto your muffins, bread, cake, or pie batter before baking. Follow the specific baking instructions for your chosen base recipe. For best results and prominent clumps, I recommend squeezing some of the crumb in your hands to form loose balls, then breaking off smaller, irregular pieces to press lightly into the batter. Aim for substantial pieces of crumb to achieve that signature bakery-style texture and crunch.
Notes
Always add this delightful crumb topping to any muffin, cake, or pie recipe just before baking.
For muffins, ensure there’s enough room in the muffin liner to accommodate the topping without overflowing. This typically means filling the liners slightly less than usual.
When using on cakes, it works best with thick, dense batters. Thin or liquidy batters may cause the crumble to sink.
For fruit pies, especially those with longer baking times, consider tenting the crumb topping with foil if it starts to brown too quickly, ensuring it cooks evenly.
Make in advance:
This streusel topping is perfectly suited for advance preparation. Store it in an airtight container in the refrigerator for up to 3 days. For even longer storage, it can be frozen for several months.
Nutrition
Carbohydrates: 24g |
Protein: 2g |
Fat: 8g |
Saturated Fat: 5g |
Polyunsaturated Fat: 1g |
Monounsaturated Fat: 2g |
Trans Fat: 1g |
Cholesterol: 20mg |
Sodium: 53mg |
Potassium: 36mg |
Fiber: 1g |
Sugar: 12g |
Vitamin A: 236IU |
Vitamin C: 1mg |
Calcium: 17mg |
Iron: 1mg
Nutrition Disclosure
All nutritional values are approximate and provided to the reader as a courtesy. Changing ingredients and/or quantities will alter the estimated nutritional calculations.
Love this recipe? Share your thoughts!