
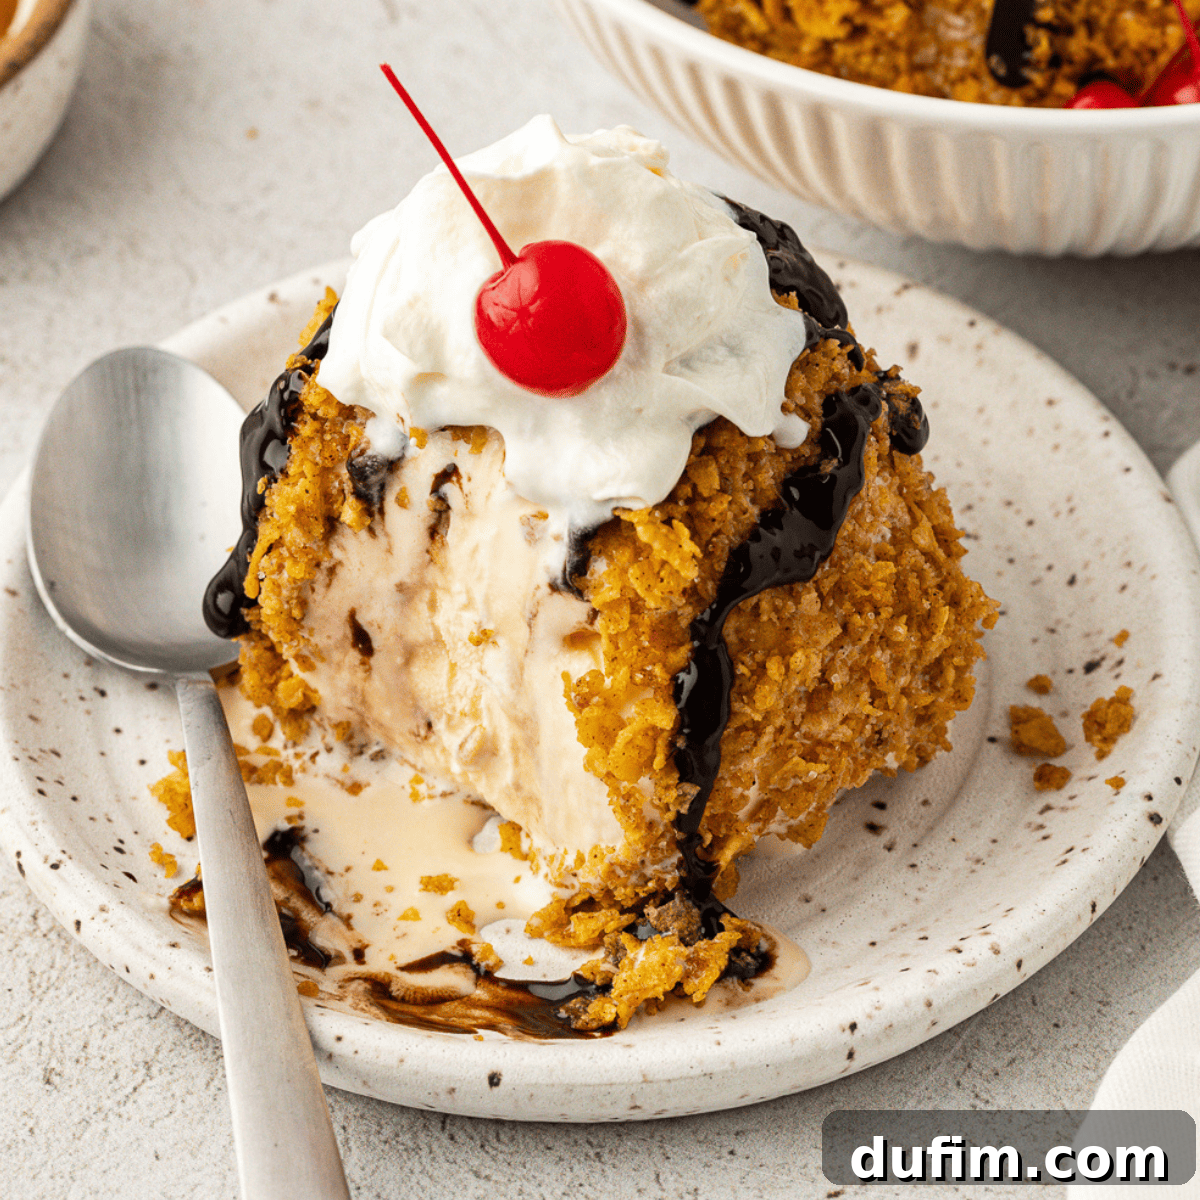
Get ready, dessert enthusiasts! This homemade fried ice cream recipe is about to revolutionize your kitchen. The incredible secret? It’s not actually deep-fried. That means you can achieve all the delightful goodness of a crispy, golden ice cream ball with significantly less mess, less effort, and no need for a deep fryer. Prepare for a truly game-changing sweet experience!
Your Ultimate Guide to Making Easy No-Fry Fried Ice Cream at Home!
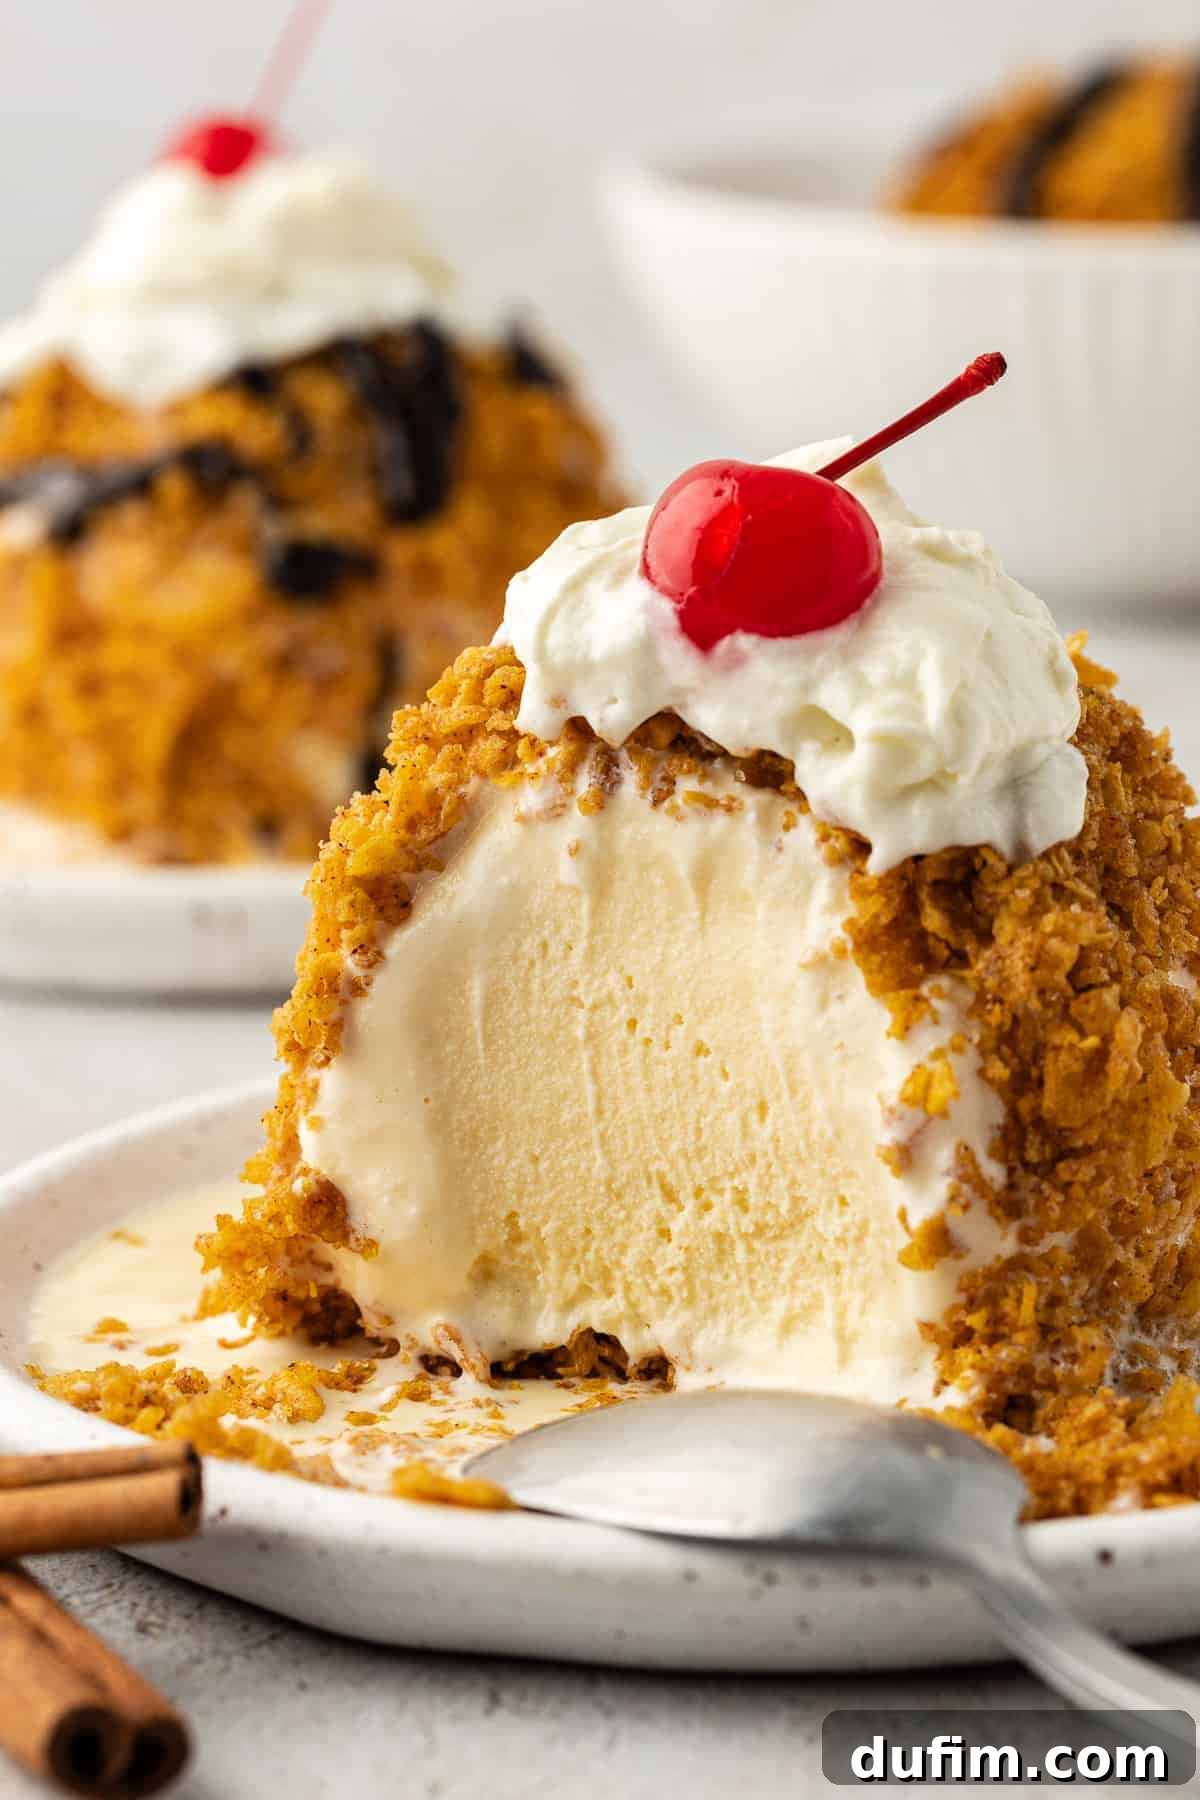
Imagine this: luscious, creamy vanilla ice cream encased in an irresistibly crunchy, sweet coating. Sounds heavenly, right? This recipe introduces you to a life-changing ice cream hack: delectable “fried” ice cream balls that achieve their signature crispy texture without a single drop of hot oil. That’s right, no deep frying required, yet the taste and texture are just as authentic and satisfying as the restaurant classic!
Our innovative approach involves taking perfectly frozen ice cream spheres and generously coating them in a specially prepared crispy shell. This magical coating is crafted from golden cornflakes, rich butter, granulated sugar, aromatic vanilla, and warm cinnamon. The result is a harmonious blend of cold, smooth ice cream and a warm, crunchy, flavorful exterior that truly has to be tasted to be believed. It’s an instant favorite that will impress your family and friends alike!
Continue reading to unlock the full recipe, along with my expert tips, ingenious tricks, and creative variations to make this dessert truly your own. Get ready to elevate your dessert game!
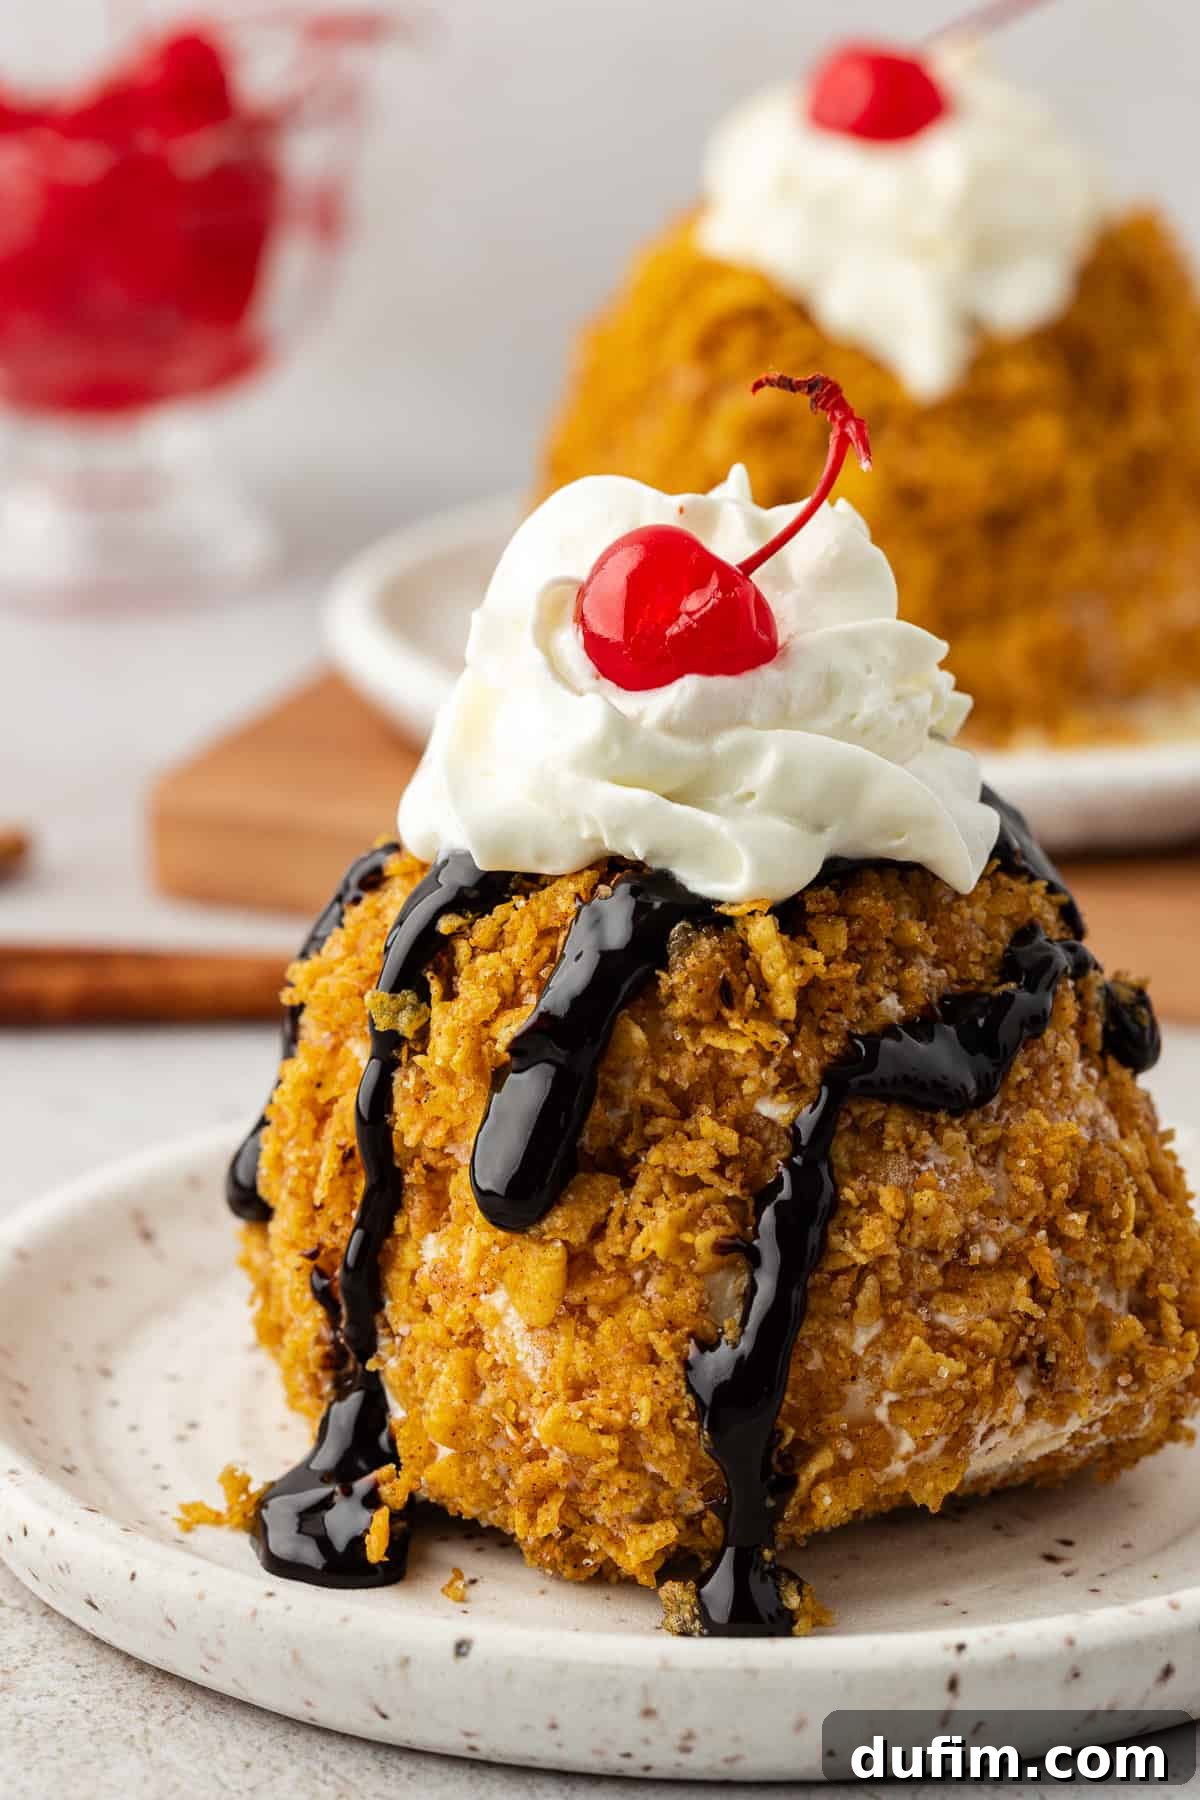
Why You’ll Fall in Love with This No-Fry Fried Ice Cream Recipe
There are countless reasons why this delightful ice cream creation will become a staple in your dessert repertoire. Here are just a few compelling highlights that make this recipe an absolute must-try:
- Minimal Active Prep Time: You’ll only need about 10 minutes of hands-on preparation. Most of the magic happens in your freezer, allowing you to relax while your dessert chills.
- Effortless No-Bake Dessert: Say goodbye to heating up your kitchen with the oven. This recipe is entirely no-bake, making it ideal for warm weather or when you simply crave a hassle-free treat.
- Healthier & Easier than Traditional Deep-Frying: By skipping the deep fryer, you create a lighter version of this beloved dessert. Plus, it eliminates the mess, danger, and cleanup associated with hot oil.
- No Special Equipment Needed: Forget about investing in a deep fryer! All you need are basic kitchen tools, making this recipe accessible to everyone.
- Perfect Textural Harmony: Experience the exquisite contrast between the intensely cold and smooth vanilla ice cream and the warm, incredibly crunchy cornflake coating. Every bite is an adventure in texture.
- Crowd-Pleasing Favorite: This dessert is a guaranteed hit at parties, family gatherings, or simply as a special weeknight treat. It’s unique, fun, and utterly delicious.
- Customizable to Your Liking: With various topping and flavor options, you can easily tailor this recipe to suit any preference or occasion.
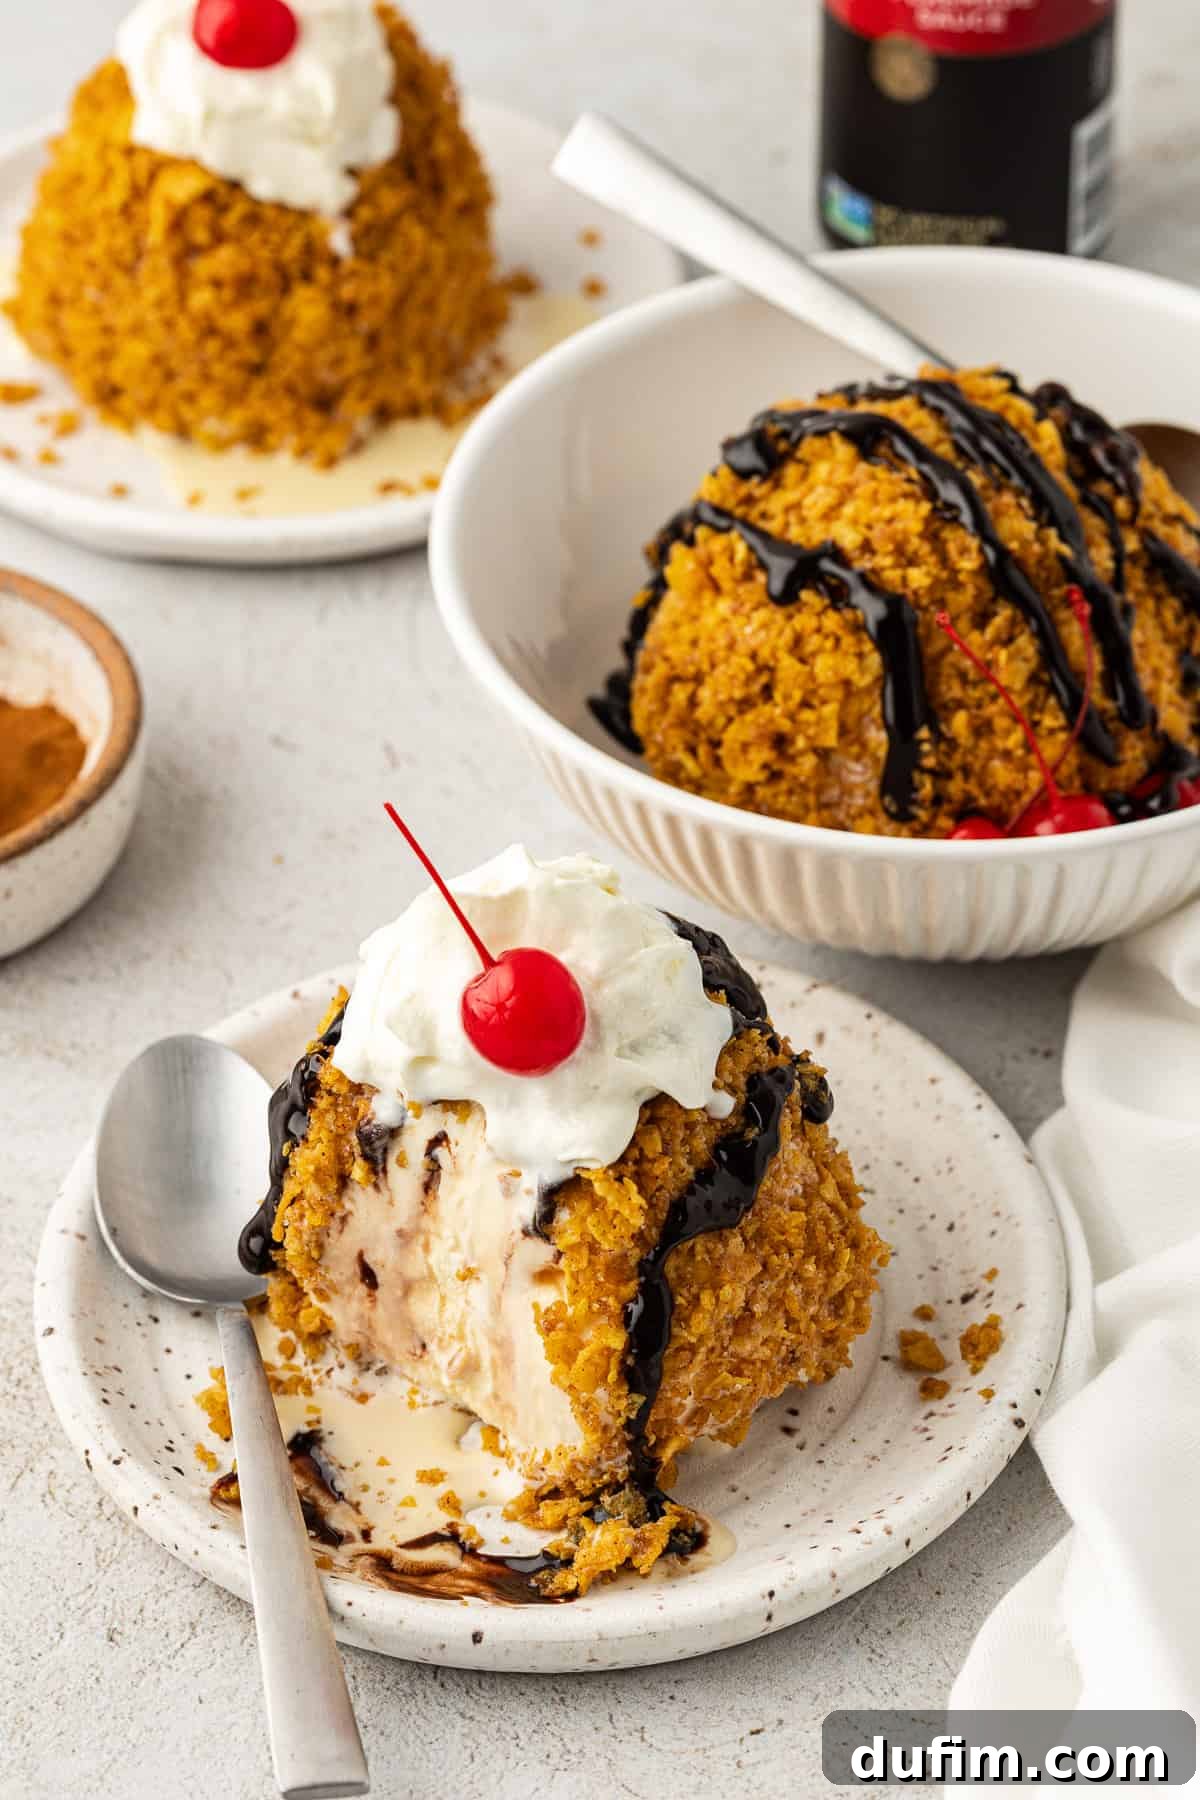
Understanding Fried Ice Cream: Traditional vs. Our No-Fry Method
Fried ice cream is a dessert celebrated for its captivating contrast: a warm, crispy exterior giving way to a surprisingly cold, creamy interior. Traditionally, it consists of a scoop of ice cream that is breaded or coated in a protective layer, then quickly deep-fried to achieve that signature crunch without melting the core. You might be familiar with this delightful treat from your favorite Mexican or Asian restaurants, where it’s often served as a grand finale to a meal.
The key to successful traditional fried ice cream lies in the extreme temperatures: the ice cream must be frozen rock-solid, and the frying process must be incredibly fast. This rapid exposure to high heat cooks only the outer coating, forming a crust, while the super-chilled interior remains delightfully frozen. Common toppings include generous drizzles of chocolate or caramel sauce, a dollop of whipped cream, or a sprinkling of fresh fruit, adding another layer of flavor and appeal.
However, in *this* revolutionary recipe, we completely bypass the deep-frying step. Instead, our perfectly portioned ice cream balls are enveloped in a meticulously crafted, cooked coating. This coating is a flavorful blend of crushed cornflakes, rich unsalted butter, granulated sugar for sweetness, warm cinnamon, a pinch of salt to balance the flavors, and a hint of vanilla extract. This innovative method delivers the same beloved textural interplay—a delightfully crispy shell around an icy, creamy center—without any of the fuss, mess, or added oil of deep frying. It’s a healthier, easier, and equally delicious alternative that you’ll be thrilled to make again and again.
Essential Ingredients for Your No-Fry Fried Ice Cream Dessert
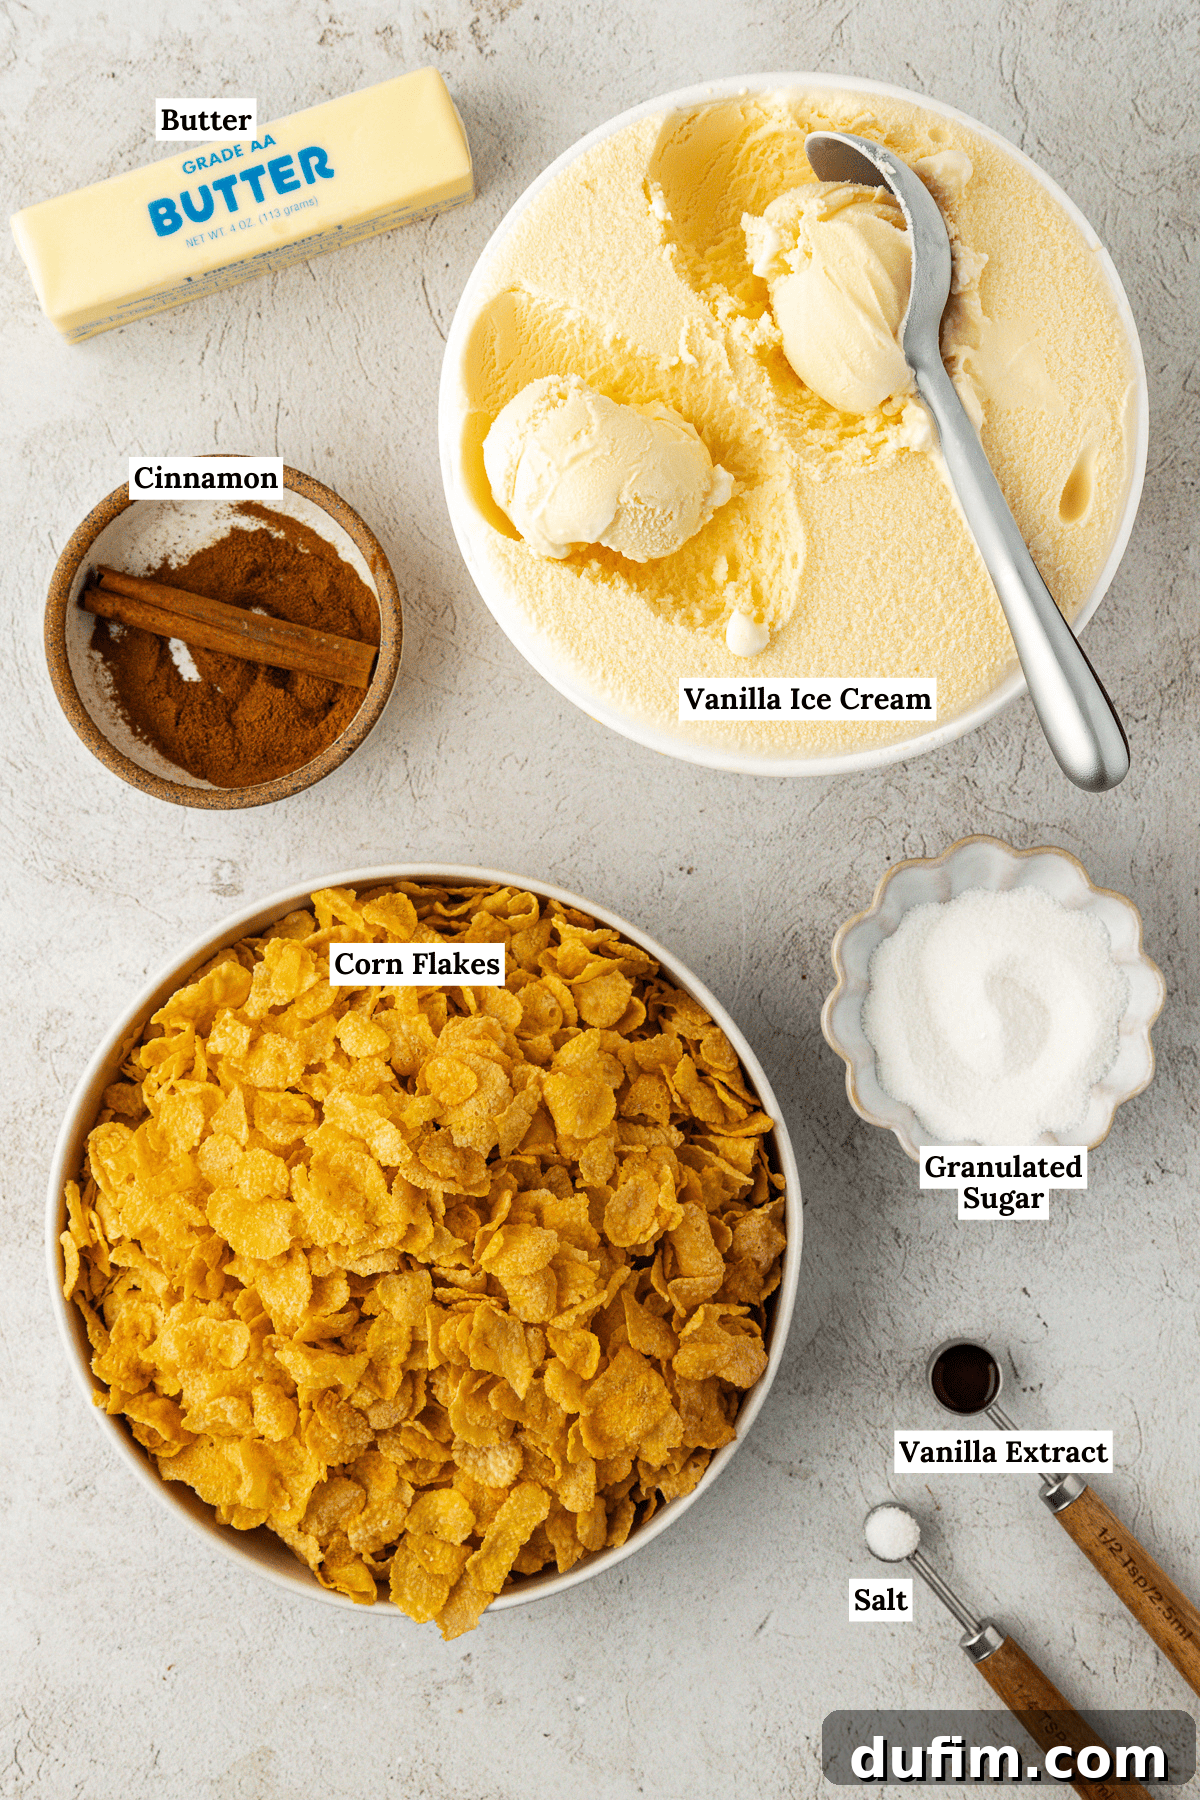
Crafting these amazing “fried” ice cream balls has never been more straightforward, and you’ll be pleased to find that all the necessary ingredients are likely already in your pantry or easily accessible at any grocery store. Of course, the star of the show is the ice cream itself! Below is a comprehensive list of what you’ll need to create this fantastic dessert. For precise measurements and step-by-step instructions, please refer to the detailed recipe card at the end of this article.
- Vanilla Ice Cream: The foundation of our dessert. A good quality, firm vanilla ice cream works best to hold its shape.
- Corn Flakes Cereal: The key to achieving that signature crispy, crunchy coating without deep frying. Choose plain corn flakes for the best results.
- Unsalted Butter: Adds richness and helps bind the coating ingredients together while contributing to a golden, toasty flavor.
- Granulated Sugar: Provides sweetness to the cornflake mixture, enhancing the overall dessert experience.
- Ground Cinnamon: A warm, aromatic spice that beautifully complements the vanilla ice cream and adds depth to the coating.
- Salt: A small pinch helps to balance the sweetness and brings out the flavors of all the ingredients.
- Vanilla Extract: Enhances the overall vanilla flavor profile of the coating, tying it in perfectly with the ice cream.
Suggested Toppings to Elevate Your Fried Ice Cream
While delicious on its own, adding toppings takes this dessert to an entirely new level. Here are some classic and delightful options:
- Chocolate Sauce: A rich, decadent drizzle that pairs perfectly with vanilla and cinnamon.
- Caramel Sauce: Sweet, buttery, and incredibly indulgent.
- Whipped Cream: Light, airy, and creamy, it adds a beautiful texture and cools the palate. Try our homemade whipped cream recipe!
- Maraschino Cherries: A vibrant pop of color and a touch of fruity sweetness for that classic sundae finish.
- Chopped Nuts: For an extra layer of crunch and nutty flavor (e.g., pecans, walnuts, peanuts).
- Fresh Berries: Strawberries, raspberries, or blueberries add a refreshing tartness and vibrant color.
Step-by-Step Guide: How to Make No-Fry Fried Ice Cream
Your entire family is going to absolutely adore this fun and unique dessert! And you, the chef, will appreciate just how wonderfully simple it is to prepare. Follow these straightforward steps to create your own homemade “fried” ice cream. Remember, the full recipe with precise measurements can be found in the recipe card below.
- Prepare Your Workspace: Begin by laying out six large, individual pieces of plastic wrap on your counter or a clean surface. These will be essential for shaping and freezing your ice cream balls.
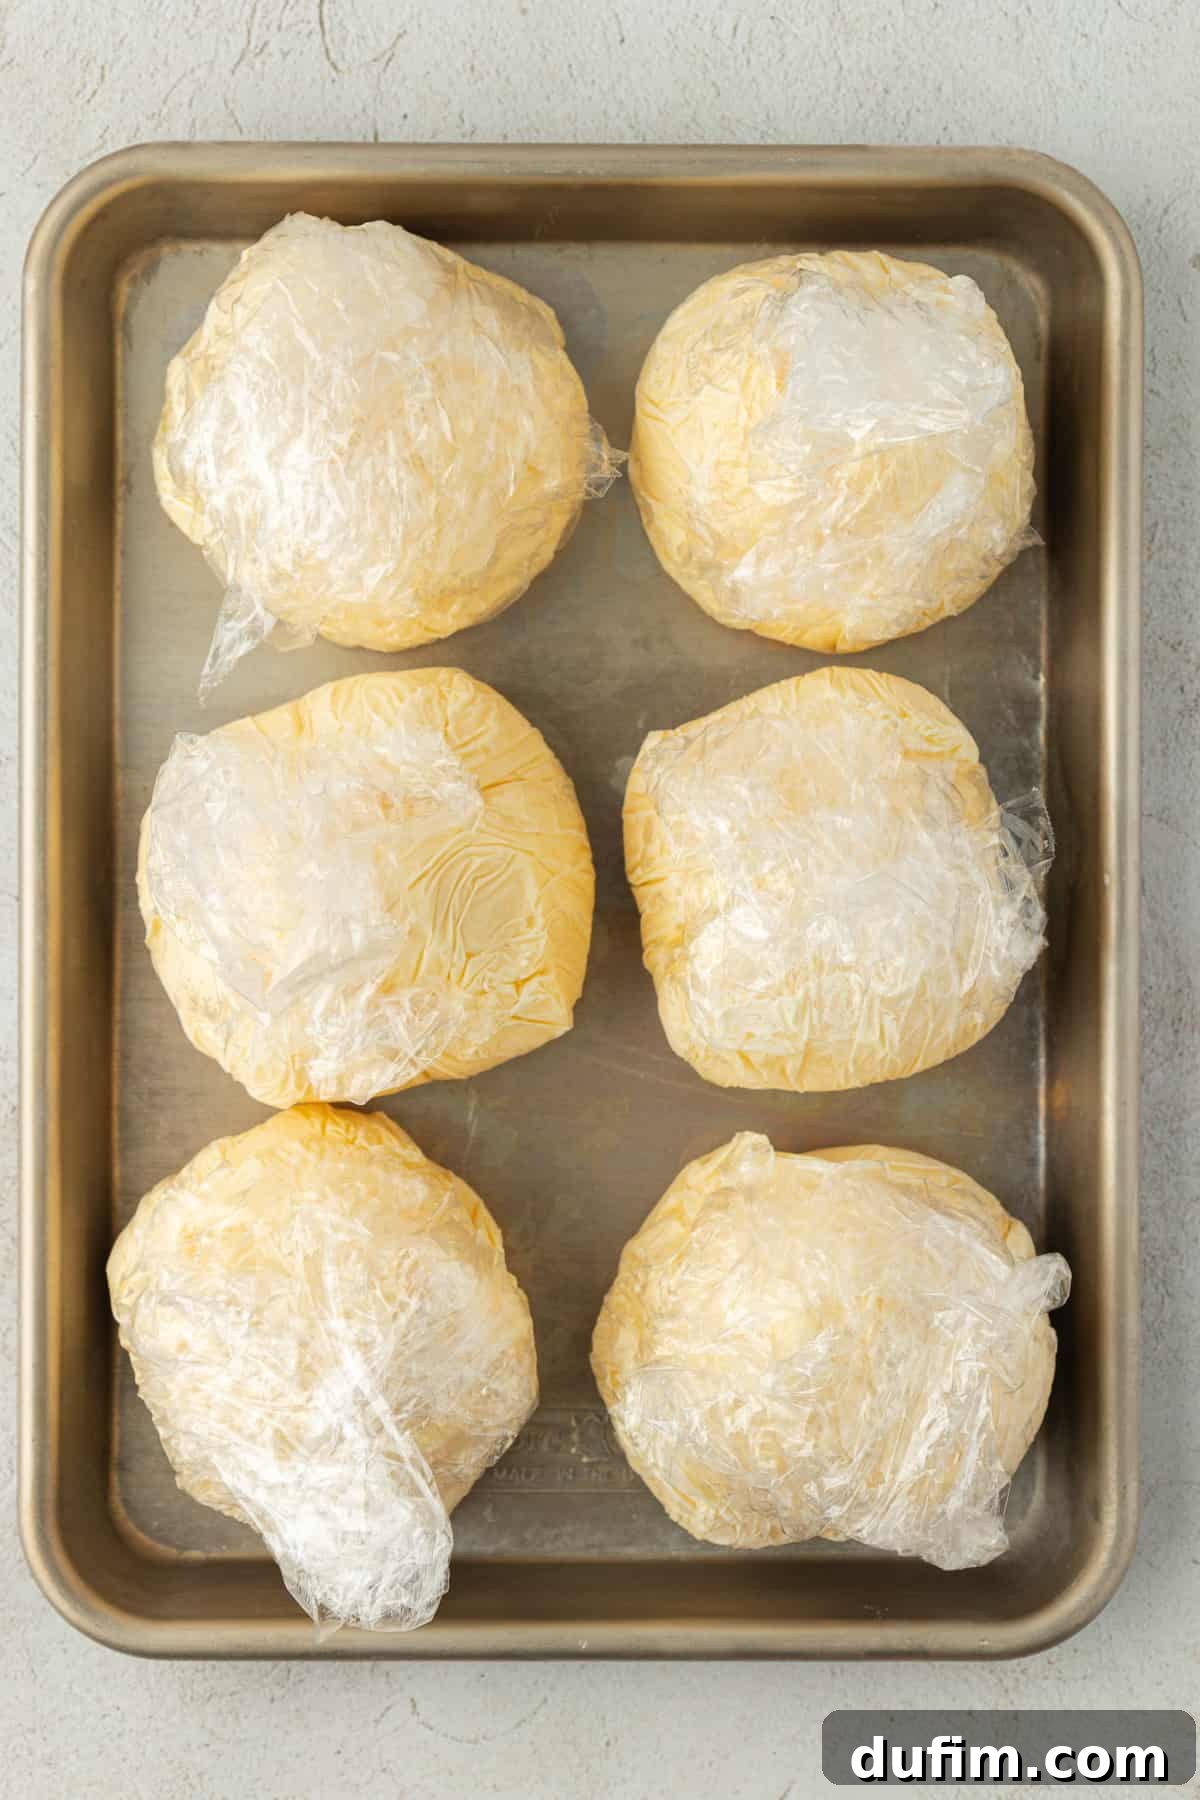
- Scoop and Freeze Ice Cream Balls: Using an ice cream scoop, portion out the vanilla ice cream onto each plastic wrap sheet. Aim for approximately 2 ½-inch mounds, which is roughly 1 ⅓ cups of ice cream per portion. Carefully wrap each mound with the plastic wrap, gently pressing and shaping them into neat, compact balls with a slightly flattened bottom for stability. If the ice cream begins to soften too quickly while you’re working, don’t hesitate to place the wrapped mounds into the freezer periodically to maintain their firmness. Once all six balls are formed and wrapped, arrange them on a baking sheet and transfer to the freezer. Freeze until they are completely solid, which typically takes around 1 hour. This crucial step ensures the ice cream won’t melt when coated.
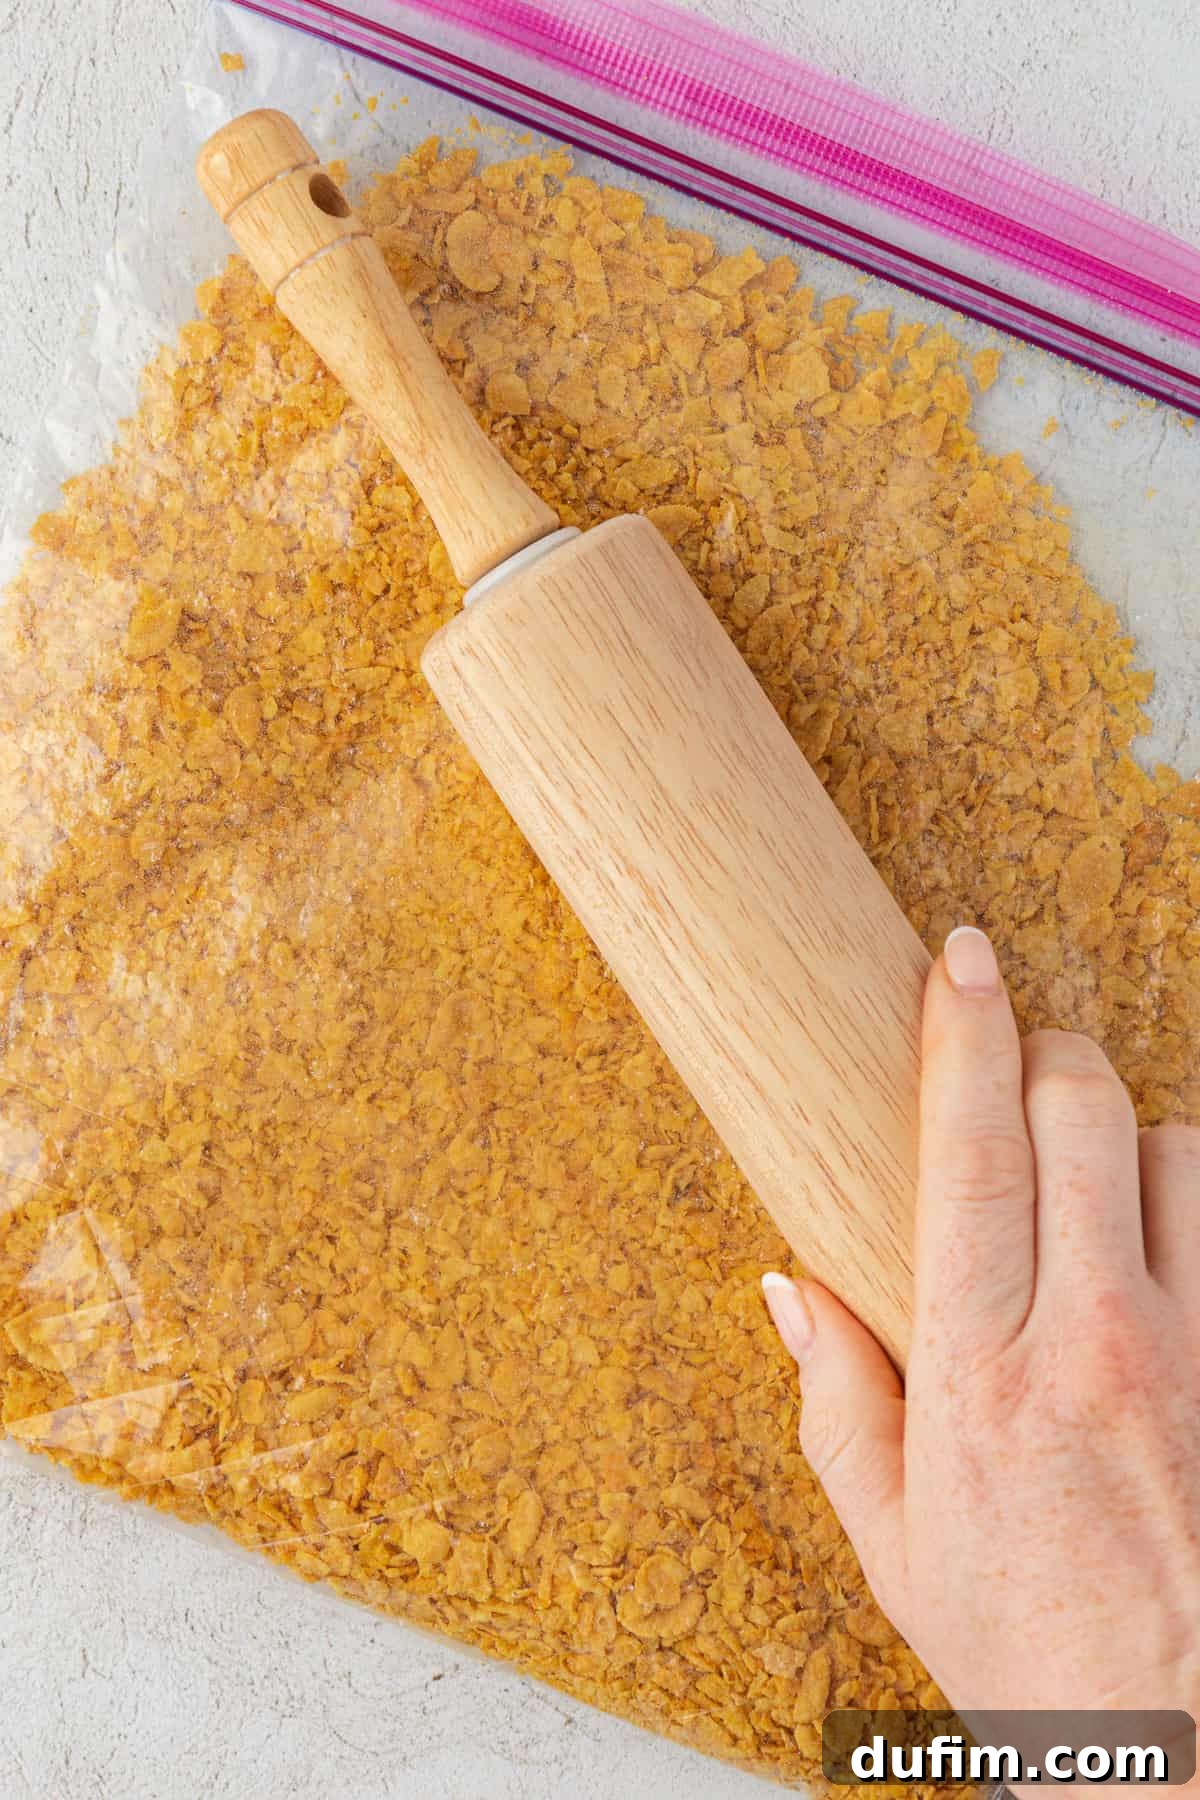
- Prepare the Cornflake Coating: Measure out your corn flake cereal. You can crush the cereal into fine pieces using one of two methods: either pulse them gently in a food processor until they form coarse crumbs, or place them in a sturdy ziploc bag and use a rolling pin to crush them. The goal is small, uniform pieces that will adhere well to the ice cream. Set the crushed cereal aside in a shallow bowl or plate.
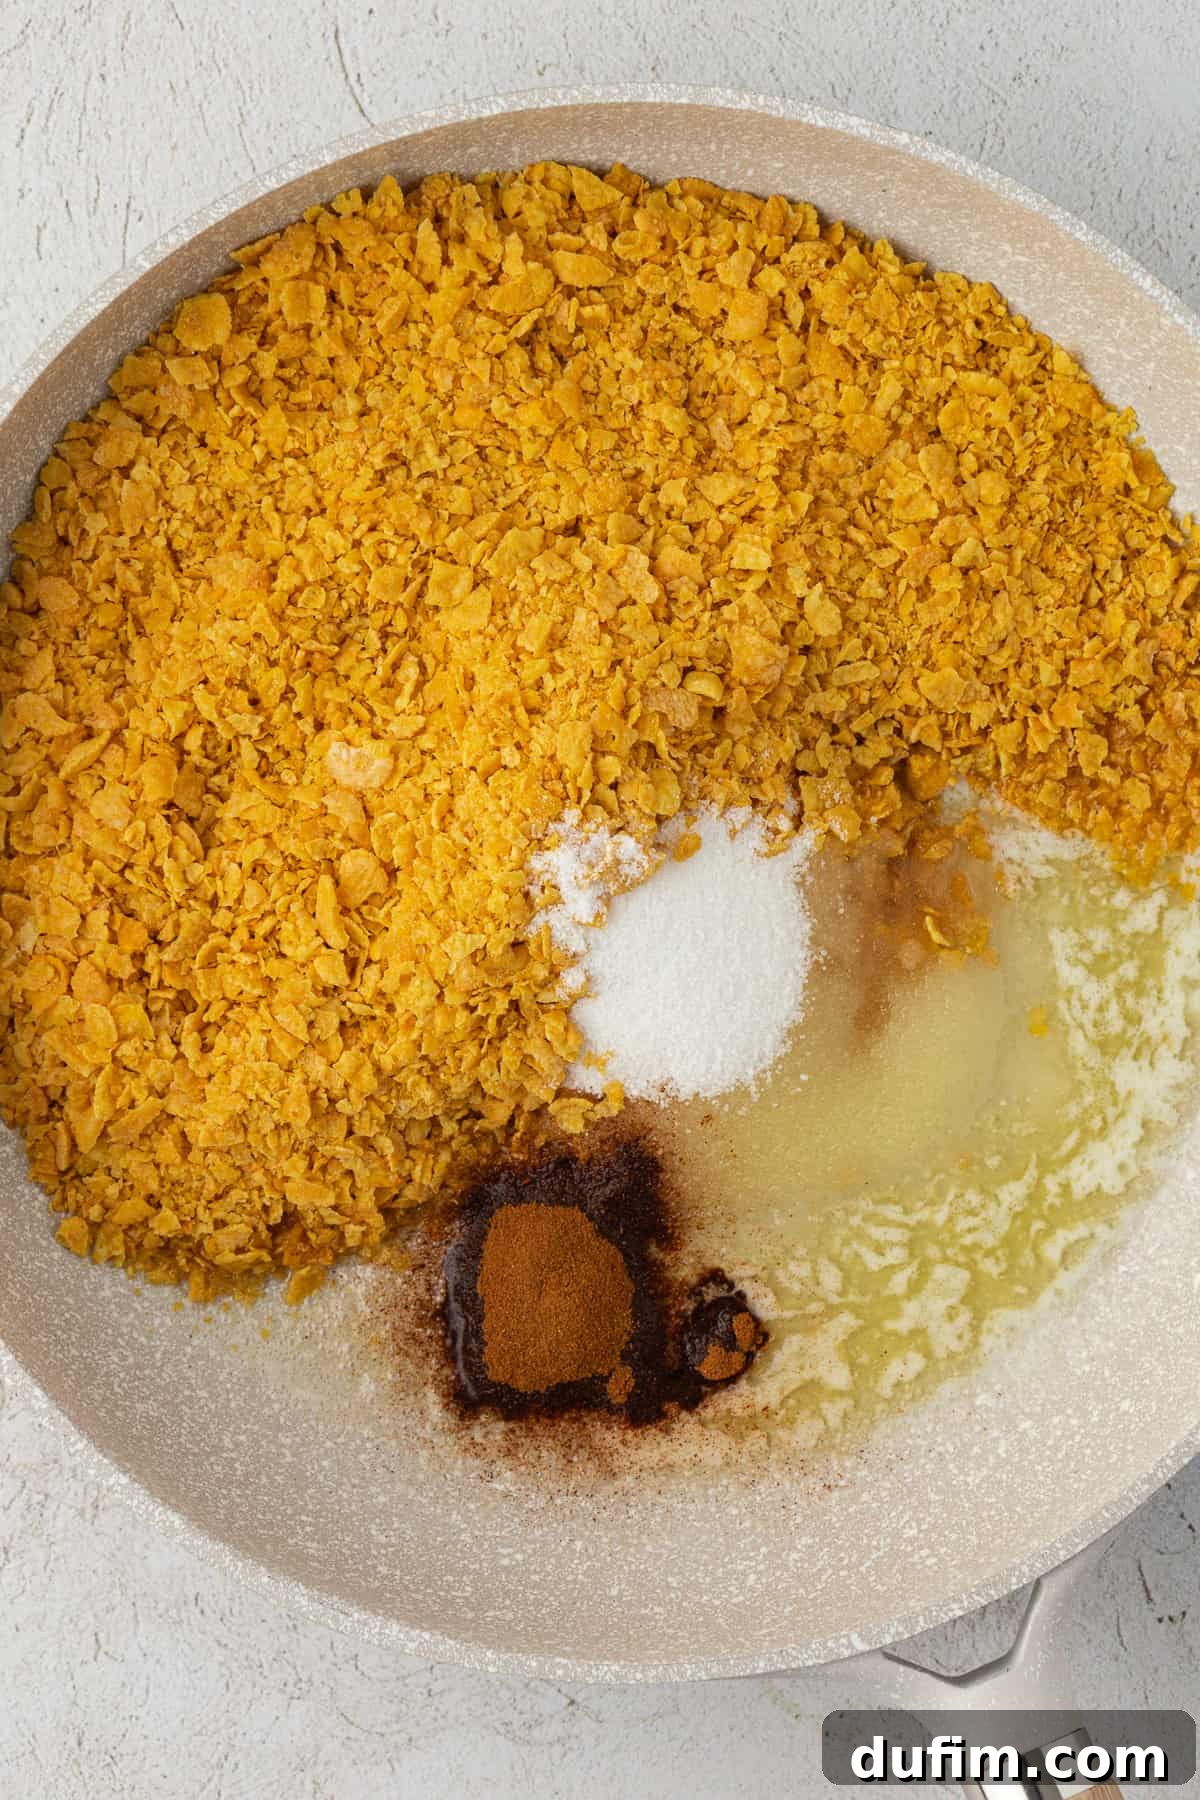
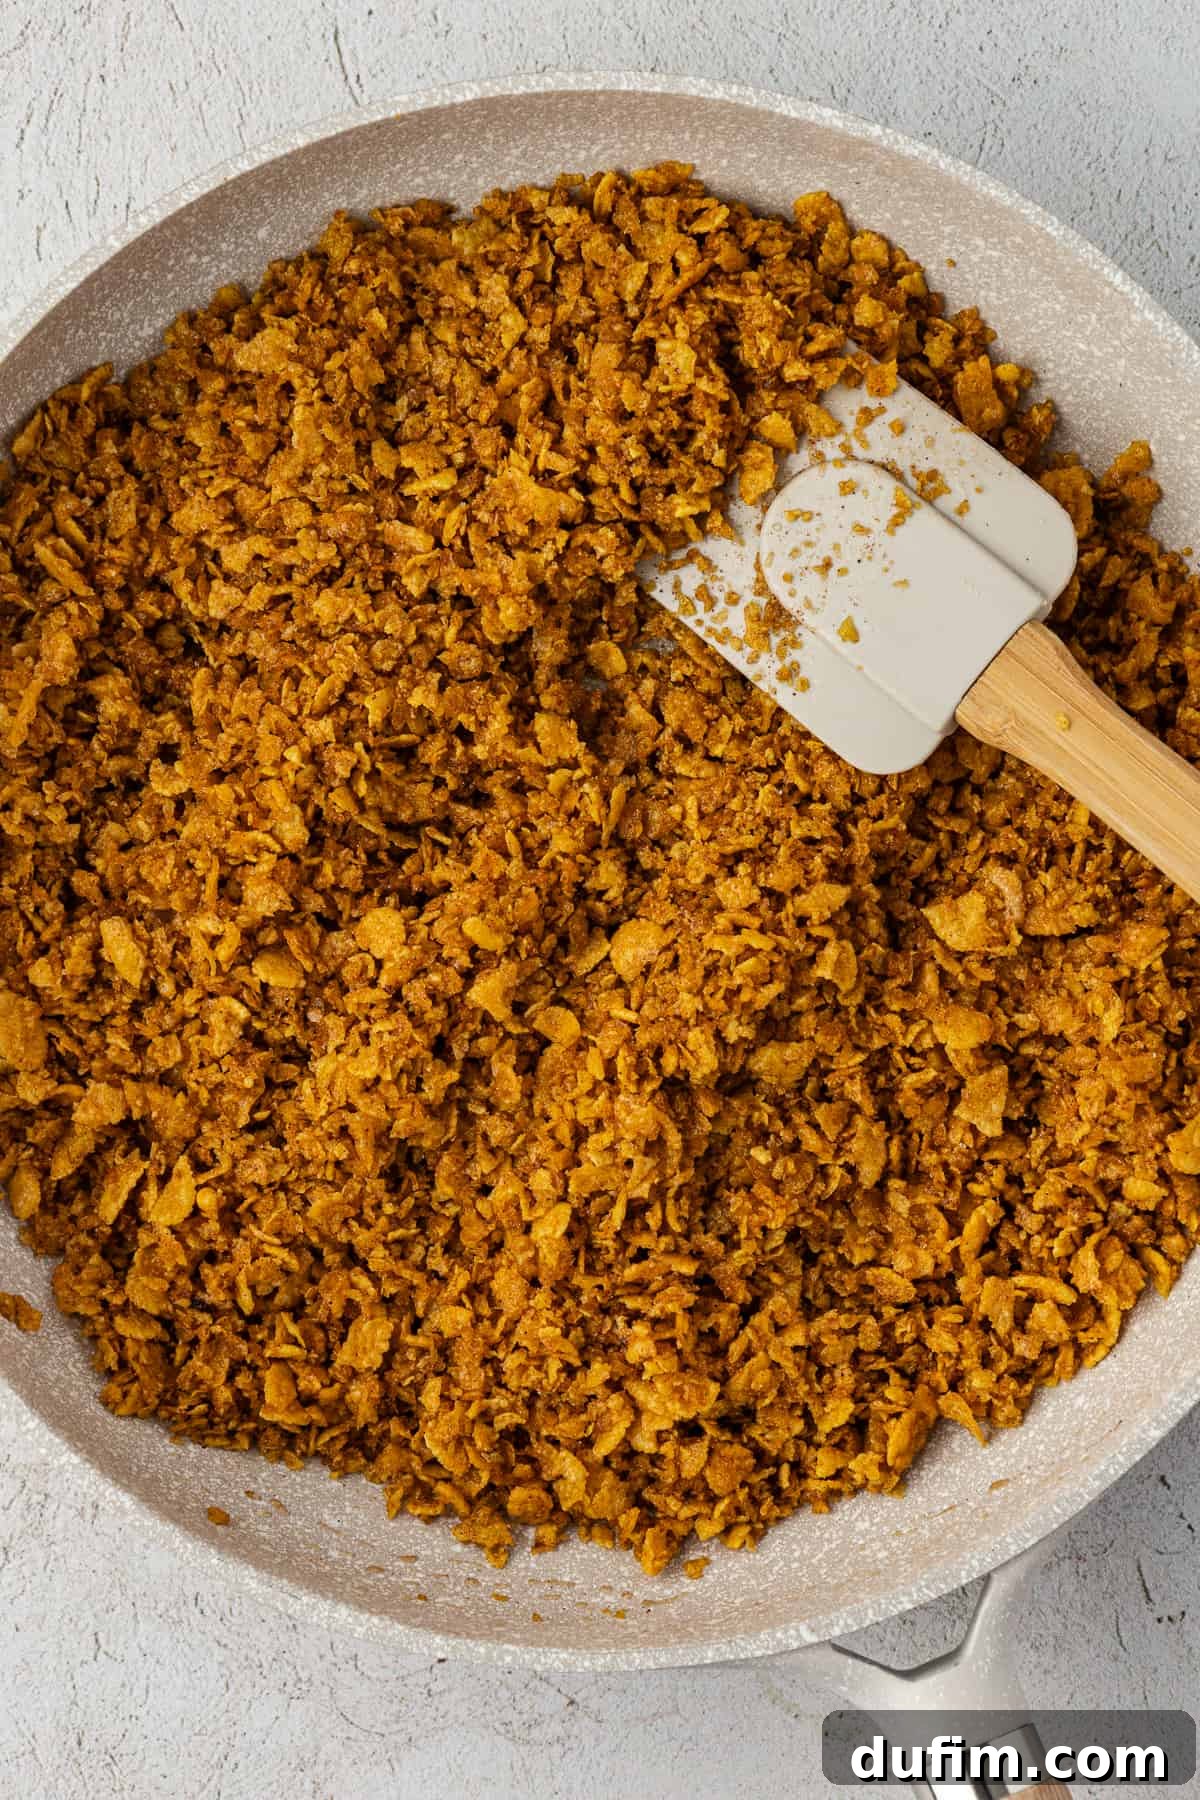
- Cook the Cornflake Mixture: Place a medium skillet over medium heat on your stovetop. Add the unsalted butter and allow it to melt completely. Once the butter is liquid, stir in the crushed cornflakes, granulated sugar, ground cinnamon, salt, and vanilla extract. Continue to stir the mixture continuously for about 2 minutes. During this time, you’ll notice the mixture deepen in color, becoming a rich golden brown, and release a wonderfully toasty, aromatic scent. This light cooking step is what gives our “fried” ice cream its exceptional flavor and crunch.
- Cool the Mixture (Optional, but Recommended): Remove the skillet from the heat immediately after cooking. Transfer the warm cornflake mixture to a shallow bowl or plate. You have the option to roll the ice cream balls in the mixture while it’s still warm, which can create a slightly stickier coating. However, for the crispiest results and easier handling, it’s often best to allow the mixture to cool completely to room temperature before proceeding to the next step.
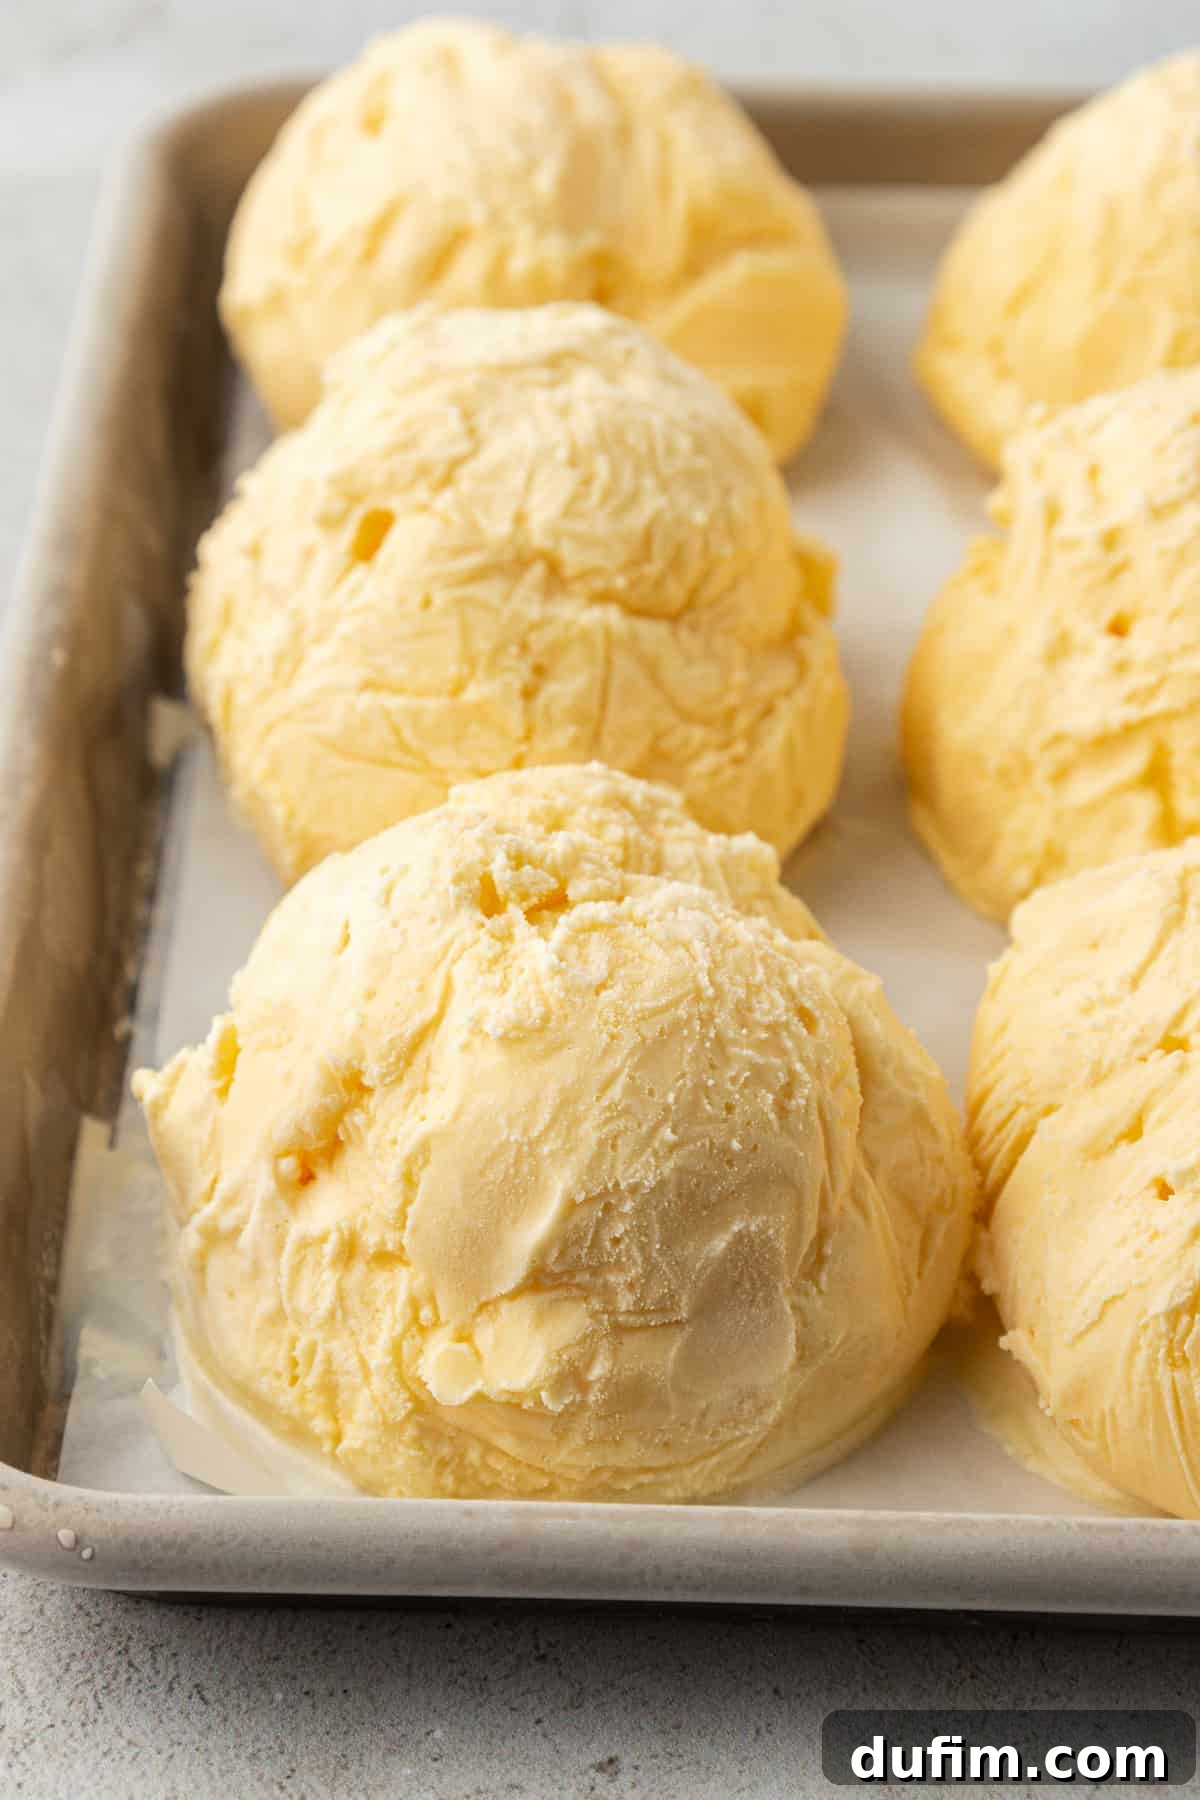
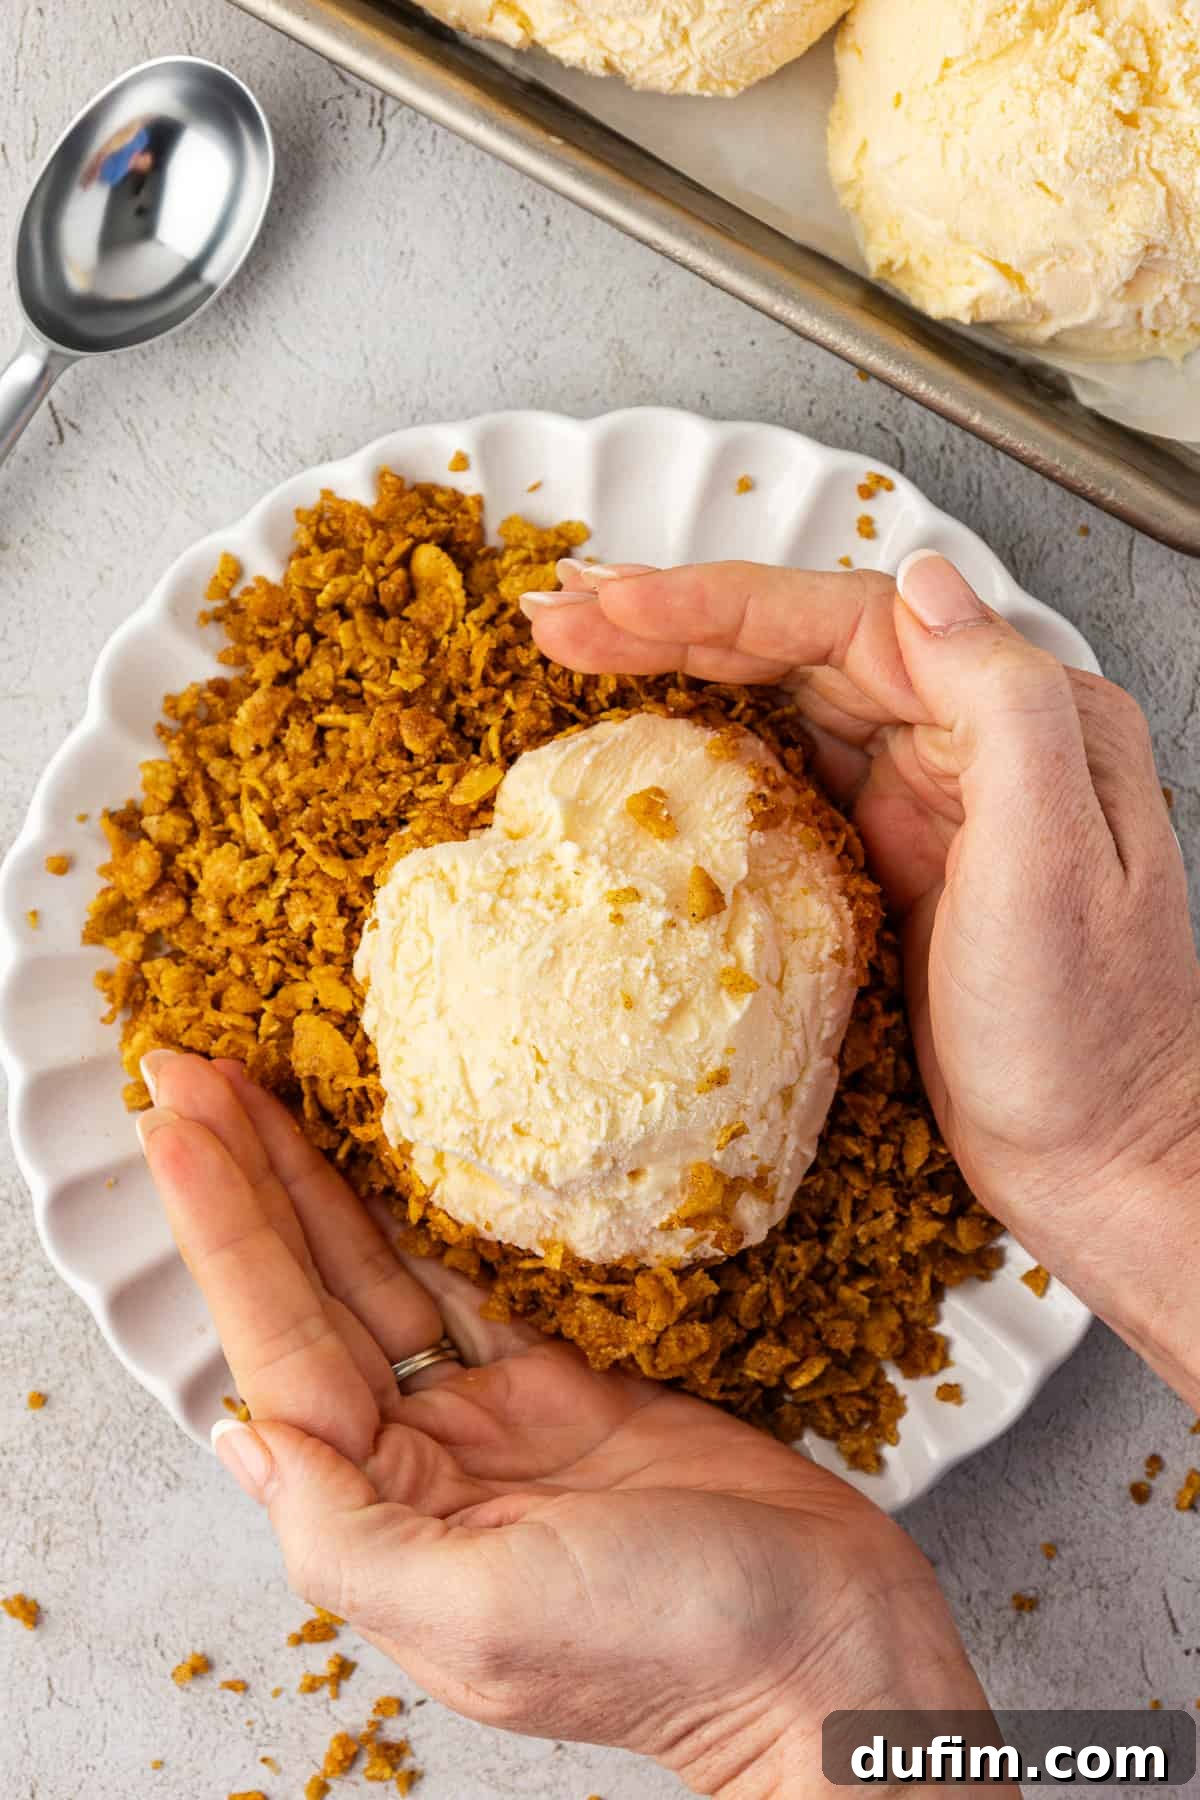
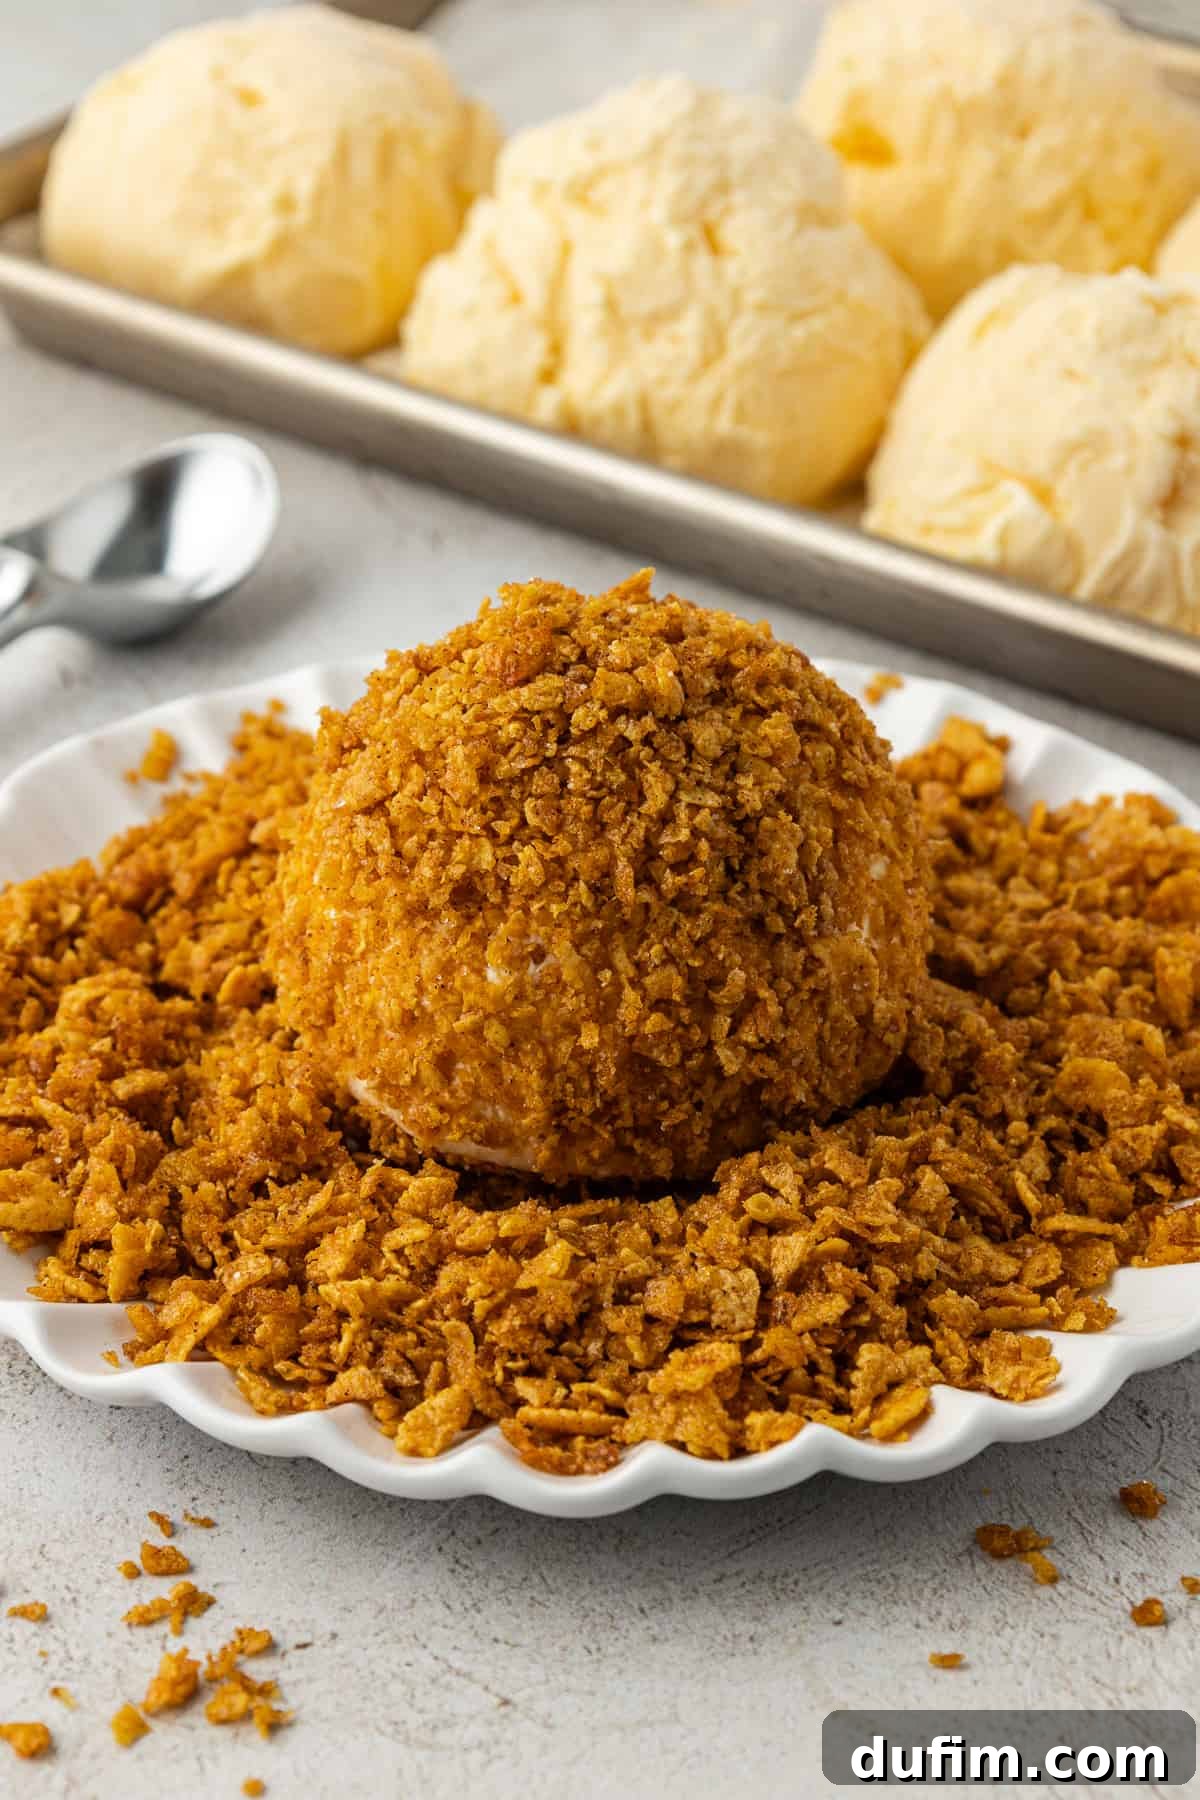
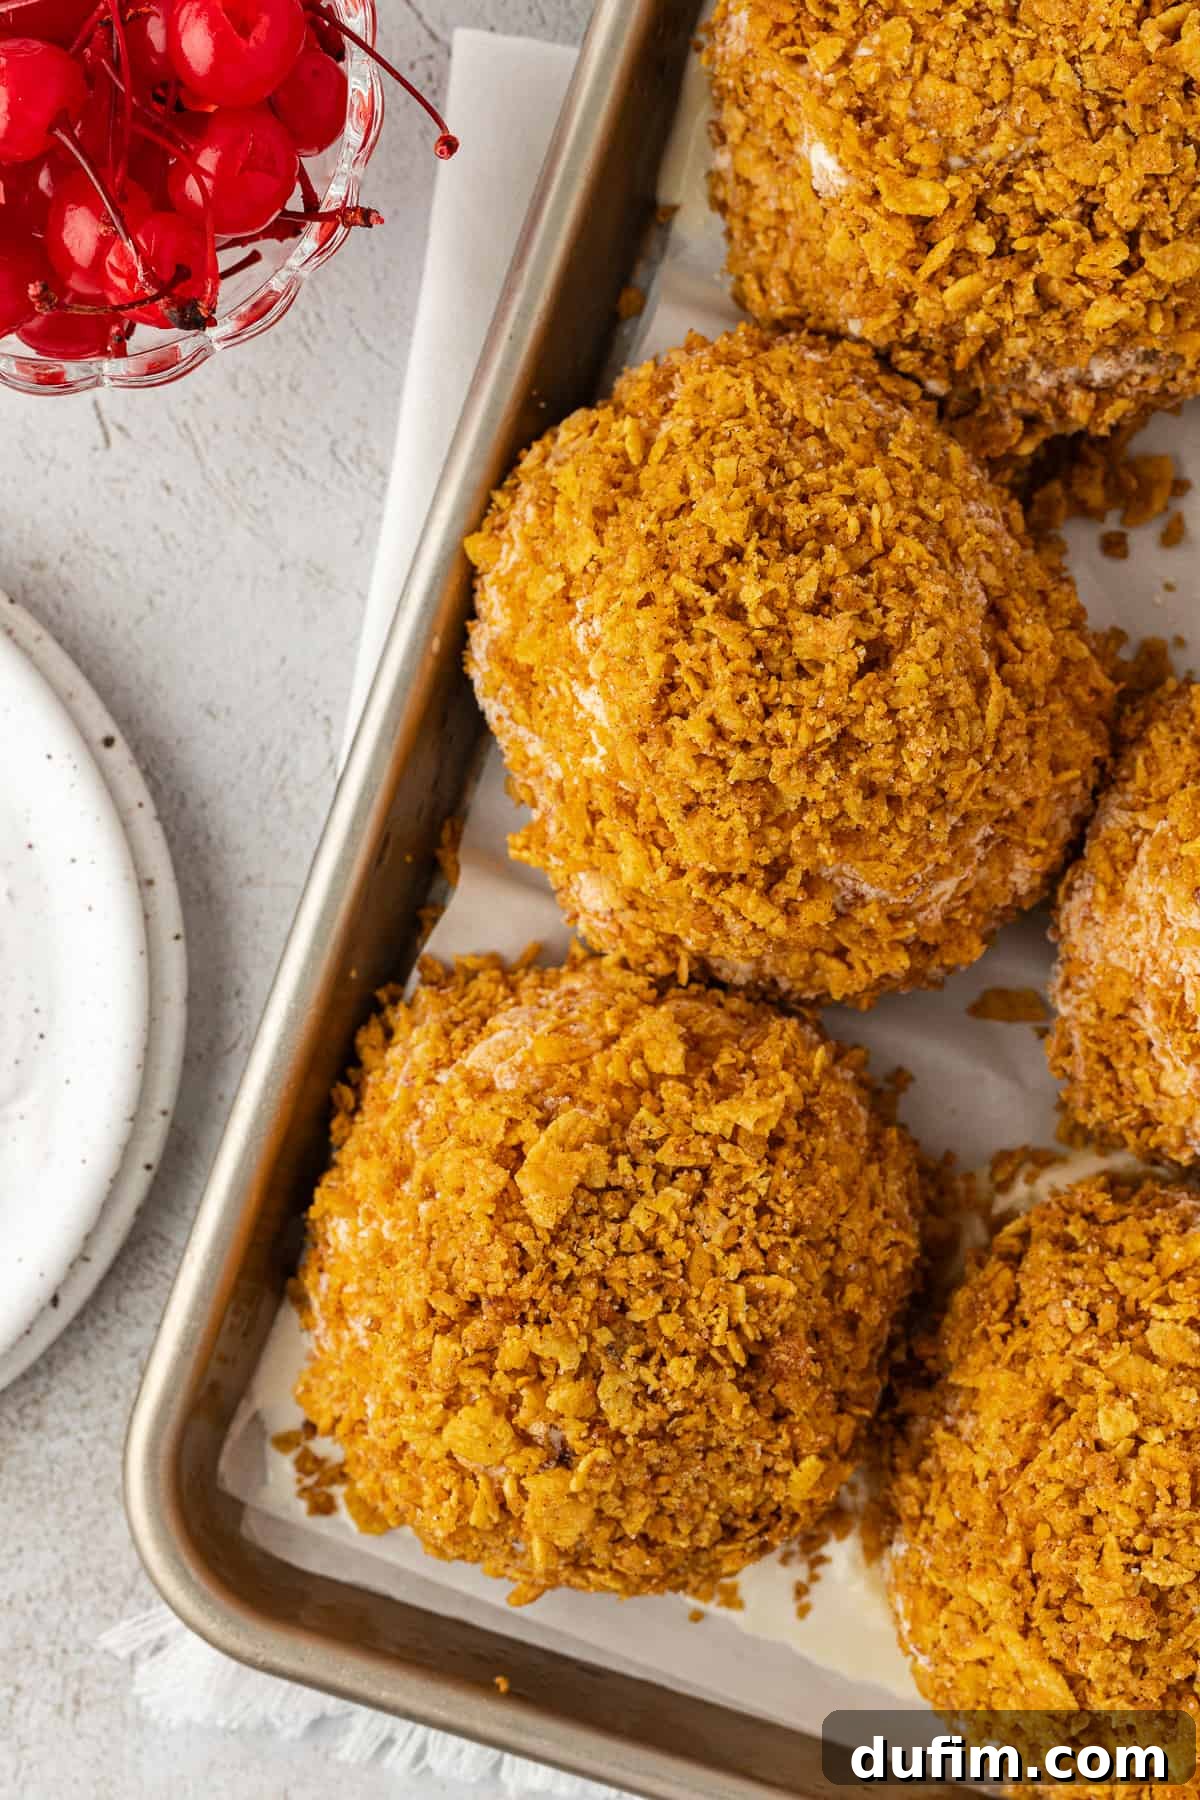
- Coat the Ice Cream Balls: Once the cornflake mixture has cooled (or if you prefer to use it warm), retrieve your solid-frozen ice cream balls from the freezer. Unwrap one ball at a time. Place it into the shallow bowl with the cornflake mixture. Using your hands, gently but firmly roll and press the mixture onto the entire surface of the ice cream ball, ensuring it is completely and evenly coated. The cold ice cream will help the mixture adhere. Place each coated ball back onto the baking sheet.
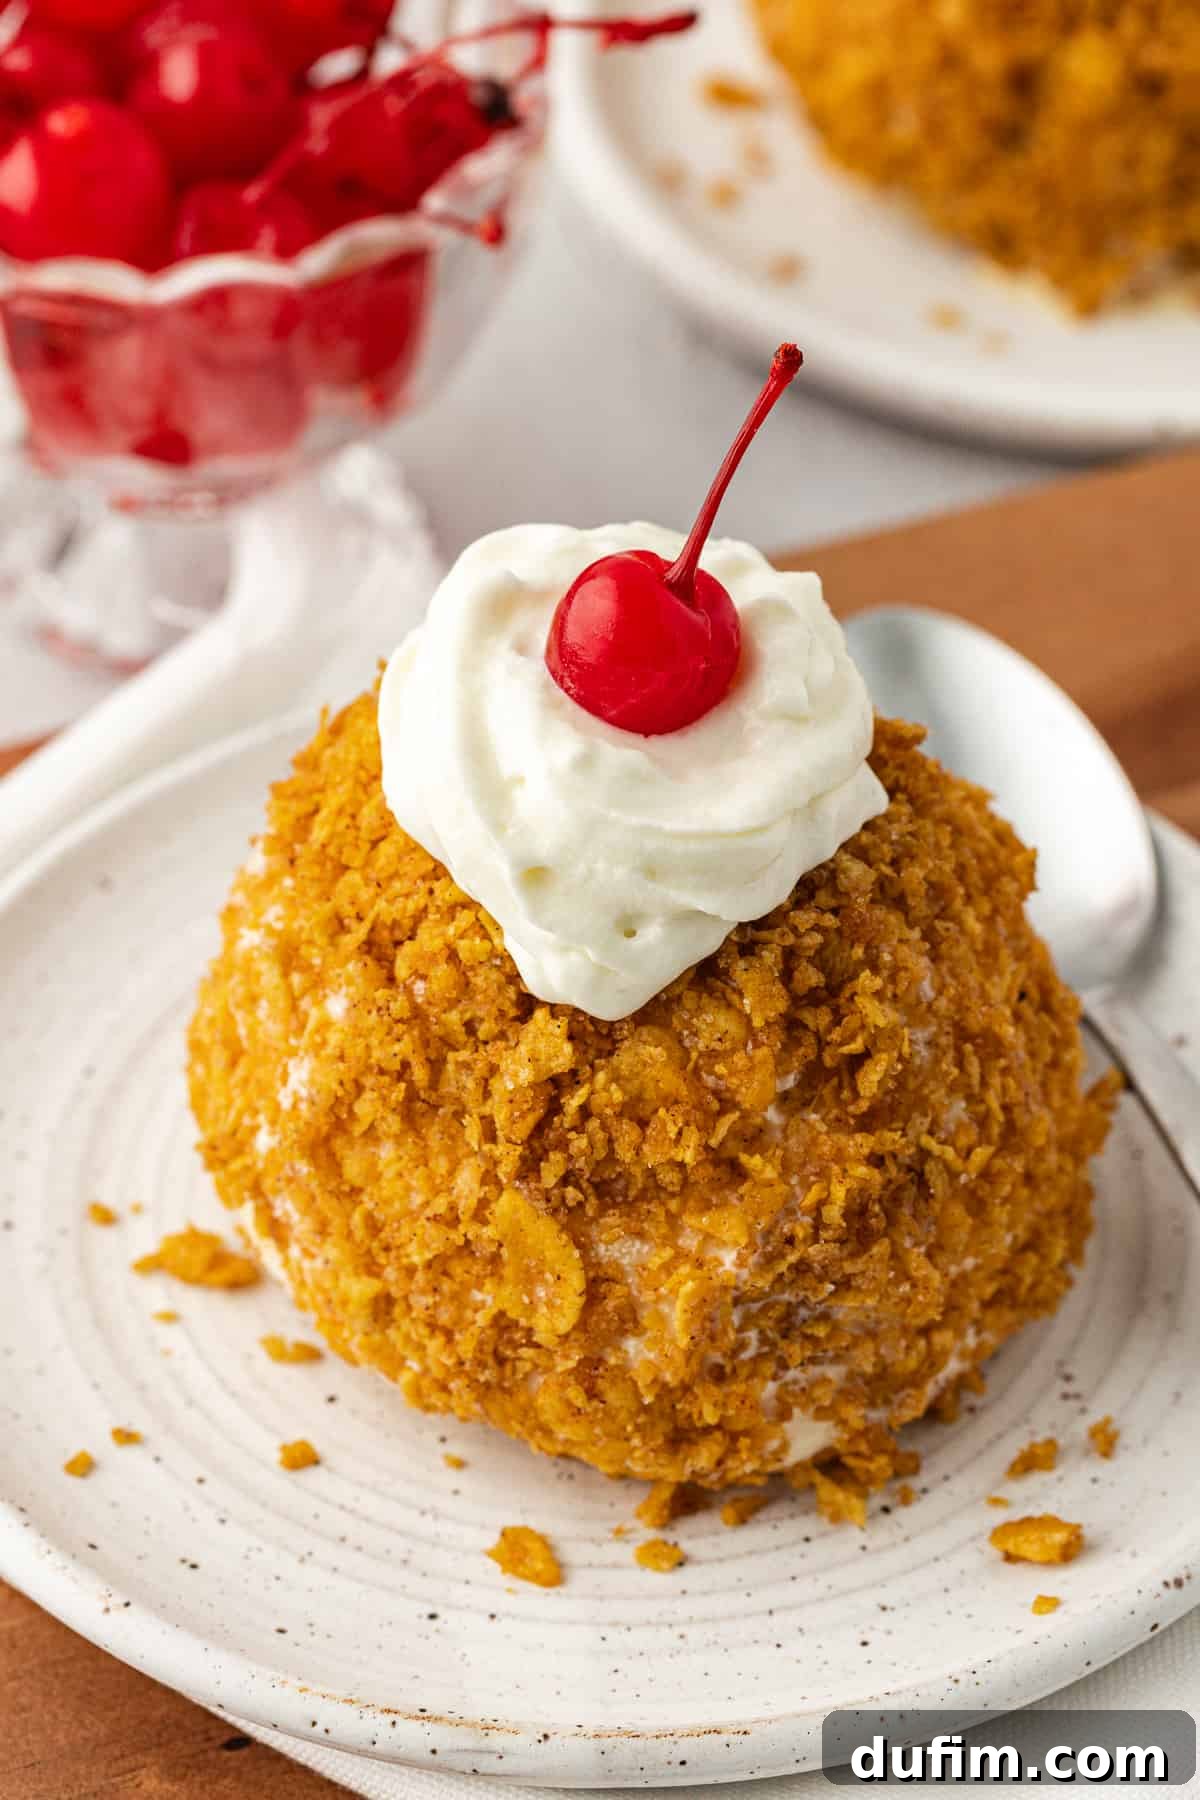
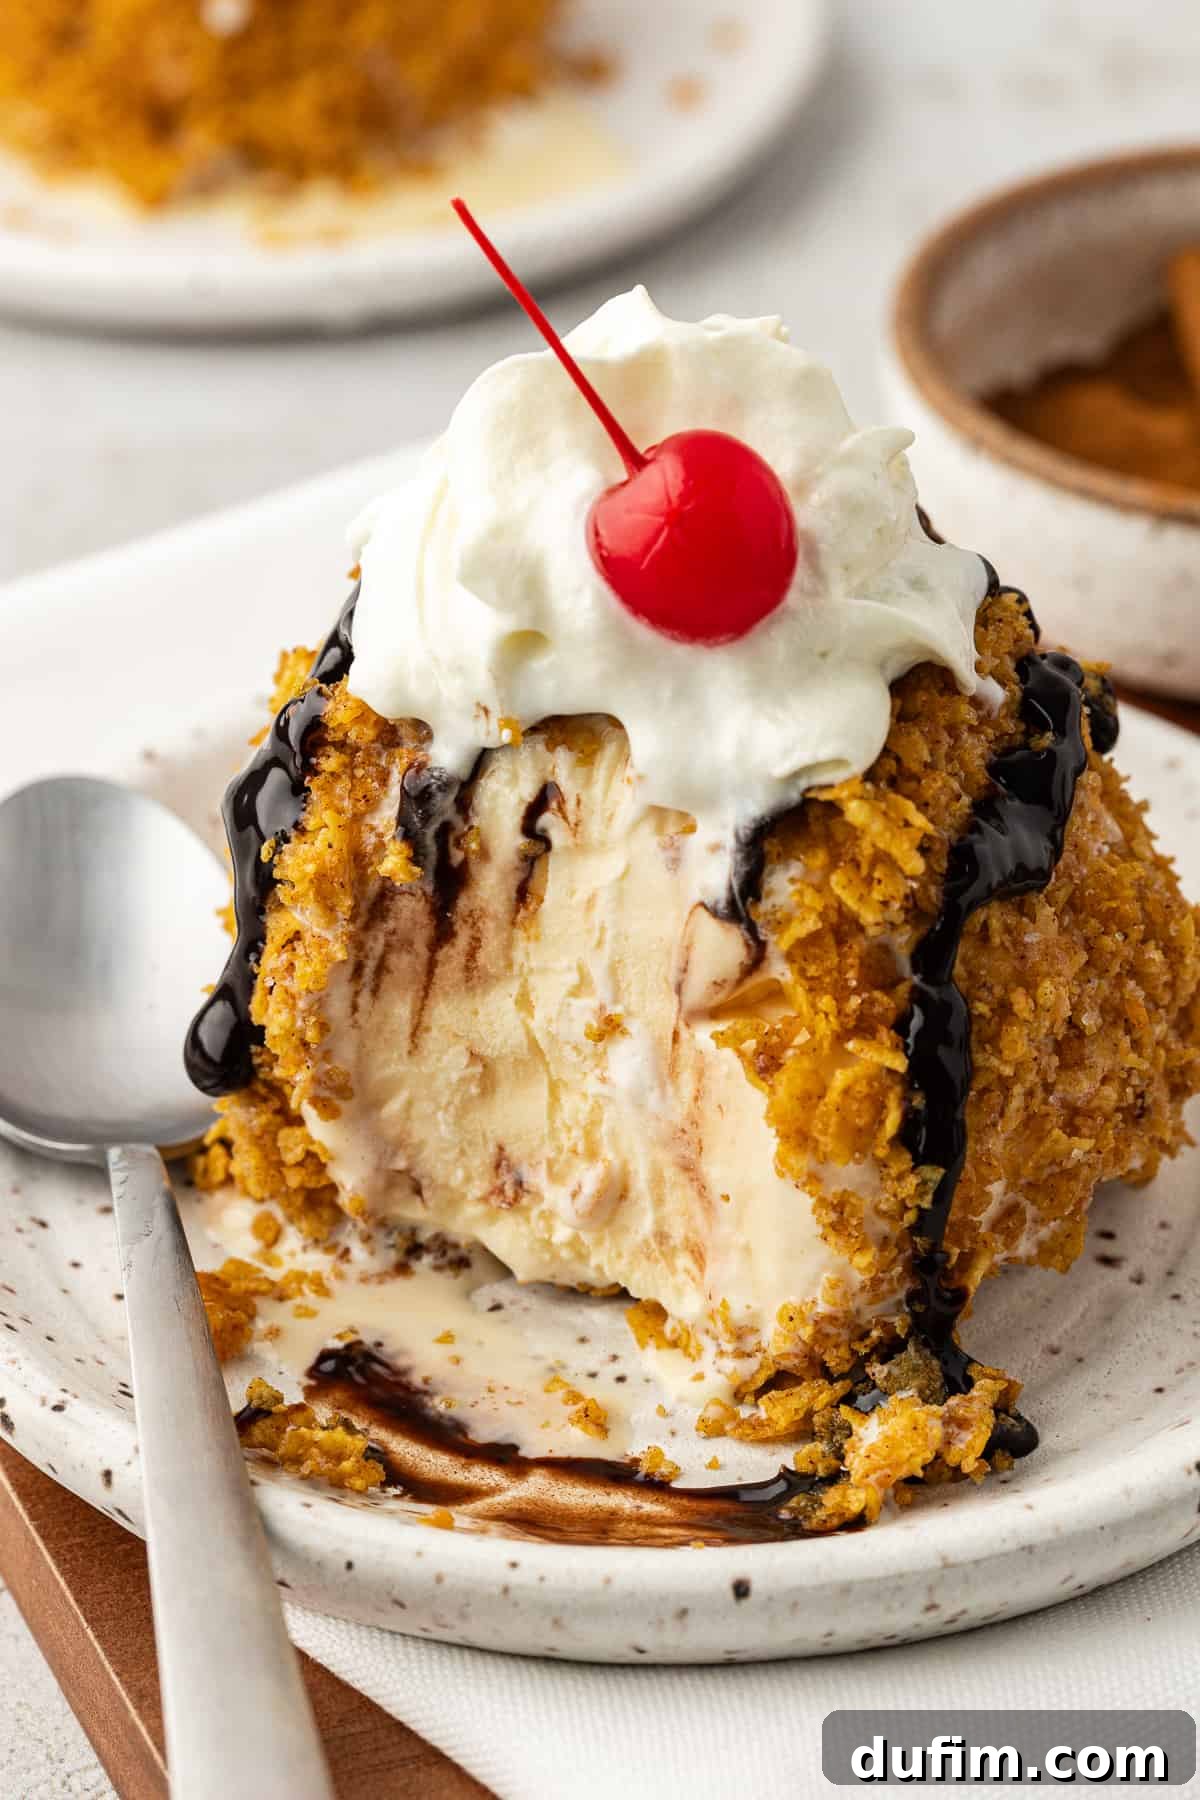
- Serve and Enjoy!: After coating all your ice cream balls, they are ready to be served immediately! Place each “fried” ice cream ball on an individual plate or in a shallow bowl. Garnish generously with your favorite toppings, such as chocolate sauce, caramel sauce, whipped cream, and a maraschino cherry. If you’re not serving them all at once, you can place the coated ice cream balls back into the freezer in an airtight container until you’re ready to enjoy them.
Preparing Your No-Fry Fried Ice Cream Dessert in Advance
This recipe offers wonderful flexibility for advance preparation, allowing you to minimize last-minute stress when entertaining. If you wish to make this dessert a few days ahead of time, the best strategy is to prepare the wrapped ice cream balls and the cornflake mixture separately. Freeze the ice cream balls until solid, as described in the instructions, and store them in an airtight container or freezer bag. Prepare the cornflake mixture and store it in a separate airtight container at room temperature. The crucial step is to wait to coat the ice cream in the cornflake mixture until you are moments away from serving. This ensures that the outer layer retains its optimal crunchy texture, preventing it from becoming soft or soggy from contact with the frozen ice cream over an extended period. When it’s time to serve, simply pull out your frozen ice cream balls, coat them, and add your favorite toppings!
Creative Variations for Your Homemade Fried Ice Cream
One of the many joys of this recipe is its adaptability. You can easily customize it to suit your personal tastes or to create exciting new flavor combinations. Here are some fantastic ideas to inspire your culinary creativity:
- Experiment with Ice Cream Flavors: While classic vanilla ice cream provides a wonderful base that pairs beautifully with the cinnamon-spiced coating, don’t limit yourself! Try this recipe with other popular ice cream flavors. Imagine strawberry ice cream for a fruity twist, chocolate ice cream for a double chocolate indulgence, coffee ice cream for a sophisticated kick, or even mint chocolate chip for a refreshing surprise. Choose your favorite, and let your palate guide you!
- Switch Up the Cereal: Cornflakes are fantastic for their neutral flavor and crisp texture, but other cereals can also create a delightful coating. Consider using crushed Cinnamon Toast Crunch for an extra boost of cinnamon and sugar (you might want to reduce or omit the added granulated sugar and cinnamon from the butter mixture in this case). Crushed graham crackers, shortbread cookies, or even finely crushed pretzels (for a sweet and salty combo!) could also work wonders.
- Add-ins and Swaps for the Coating: Elevate the texture and flavor of your crunchy mixture by incorporating additional ingredients. Mix in some shredded coconut for a tropical flair, or add finely chopped nuts like pecans, walnuts, or almonds for extra crunch and a nutty depth. A sprinkle of mini chocolate chips or cocoa powder could also be a fun addition for chocolate lovers.
- Spice It Up: Beyond cinnamon, consider adding other warm spices to your coating mixture, such as a pinch of nutmeg, a dash of cardamom, or a touch of allspice for a more complex flavor profile.
Top Tips for the Best No-Fry Fried Ice Cream Results
To ensure your homemade “fried” ice cream turns out perfectly every single time, keep these expert tips in mind:
- Freeze Ice Cream Balls Thoroughly: This is arguably the most critical step. After forming and wrapping your ice cream balls, give them ample time to freeze until they are rock-solid. This ensures they maintain their shape and don’t melt too quickly when you’re coating them, allowing the crunchy exterior to adhere properly. A minimum of 1 hour is essential, but longer is better if you have the time.
- Crush Cereal to the Right Consistency: For the best adhesion and crunch, make sure your cornflakes (or chosen cereal) are crushed into small, relatively uniform pieces. Avoid large chunks, which may not stick well, or overly fine powder, which can create a less satisfying crunch. A coarse crumb texture is ideal.
- Don’t Overcook the Cereal Mixture: When cooking the cornflake mixture on the stovetop, pay close attention. You want it to become fragrant and slightly deeper in color—toasty, not burnt. Cook it just until this stage is reached, typically around 2 minutes of continuous stirring, then remove it from the heat immediately and transfer it to a separate bowl. This stops the cooking process and prevents it from becoming bitter.
- Work Quickly When Coating: While your ice cream balls are solid, they will start to soften once out of the freezer. Work efficiently when unwrapping and coating each ball. If you find the ice cream getting too soft, pop the uncoated balls back into the freezer for a few minutes before continuing.
- Press Firmly: When rolling the ice cream balls in the cornflake mixture, use your hands to gently but firmly press the coating onto the ice cream. This ensures a thick, even layer that won’t fall off easily.
Serving Your Delicious No-Fry Fried Ice Cream
This exquisite dessert is truly at its peak when served immediately after being prepared. The contrast between the cold ice cream and the warm, crunchy coating is simply unparalleled at this point. For an appealing presentation, place each individual ice cream ball on a small serving plate or in a shallow bowl. Then, let the creativity flow with your desired toppings! A classic combination often includes a generous swirl of fluffy whipped cream, a drizzle of rich chocolate or caramel syrup, and a vibrant maraschino cherry perched on top. Don’t forget to provide a spoon, and watch as your guests delight in this unique and satisfying treat!
Storing Homemade No-Fry Fried Ice Cream
As mentioned, this “fried” ice cream is best savored right after it’s made to fully appreciate its textural perfection. The crispy coating is most prominent and delightful when freshly applied. However, if you find yourself with leftovers or wish to prepare some components in advance, here’s how to manage storage:
If you have already coated the ice cream balls and need to store them, you can place them back in the freezer in an airtight container. Be aware, though, that the outside layer will likely lose some of its initial crunchy texture over time due to moisture from the ice cream. While still delicious, the crispness may diminish.
For optimal results when storing for a few days, it is highly recommended to follow the advance preparation tip: keep the un-coated ice cream balls frozen solid and individually wrapped in plastic wrap. Prepare the cornflake mixture separately and store it at room temperature in an airtight container. Then, just before you plan to serve, retrieve the frozen ice cream balls, quickly coat them with the prepared mixture, and add your toppings. This method ensures that every serving offers the freshest, crispiest coating possible.
No-Fry Fried Ice Cream Recipe FAQs
Is Fried Ice Cream really fried?
Traditional fried ice cream is indeed deep-fried, but only for a very short duration. This rapid frying ensures the outer coating gets crispy and golden while the super-chilled interior remains perfectly frozen. However, our innovative recipe achieves a similar delightful texture contrast without any need for deep-frying, offering a healthier and easier alternative.
How do you “fry” ice cream without it melting?
The secret to keeping the ice cream from melting, whether deep-frying or using our no-fry method, is two-fold: First, ensure the ice cream inside is frozen absolutely solid before coating. This provides a thermal barrier. Second, with our no-fry method, the cooked cornflake mixture is either applied warm (allowing the exterior to lightly “set” while the interior stays cold) or, ideally, cooled completely before coating to minimize any melting.
Can I make this recipe vegan or dairy-free?
Absolutely! To make this recipe vegan or dairy-free, simply substitute the vanilla ice cream with your favorite dairy-free vanilla ice cream alternative. For the butter in the coating mixture, use a high-quality vegan butter. All other ingredients are typically vegan-friendly. Enjoy a plant-based version of this fantastic dessert!
What if my cornflake coating isn’t crunchy enough?
If your coating lacks the desired crunch, ensure that your cornflakes were crushed to the right consistency (small pieces, not powder) and that you cooked the mixture on the stovetop long enough for it to become fragrant and deepen in color. Also, letting the mixture cool completely before coating can help maintain its crispness. For best results, serve immediately after coating.
More Delicious Ice Cream Recipes to Explore
If you’re an ice cream aficionado, you’ll love these other fantastic frozen treats from our kitchen:
- Ice Cream Cupcakes: A delightful fusion of cake and ice cream, perfect for parties!
- Ice Cream Waffles: A fun and indulgent breakfast or dessert mashup.
- Homemade Oreo Ice Cream: Rich, creamy, and packed with everyone’s favorite cookie.
- Strawberry Cheesecake Ice Cream: All the flavors of a classic dessert in a scoopable form.
Easy No-Fry Fried Ice Cream
By: Beth
Prep Time: 10 minutes
Chill Time: 1 hour
Servings: 6
Indulge in this game-changing homemade fried ice cream recipe that requires no deep-frying. Enjoy a crispy, sweet coating with creamy vanilla ice cream, less mess, and all the deliciousness!
Equipment
- Baking Sheet
- Plastic wrap
- Food Processor or Ziploc bag & rolling pin
- Medium Skillet
- Shallow Bowl
Ingredients
- Half gallon vanilla ice cream
- 5 cups corn flakes cereal
- ½ cup (113g) unsalted butter, 1 stick
- 2 Tbsp granulated sugar
- 2 tsp ground cinnamon
- ⅛ tsp salt
- ¼ tsp vanilla extract
Toppings (Optional)
- Chocolate sauce
- Caramel sauce
- Whipped cream
- Maraschino cherries
Instructions
- Prep Plastic Wrap: Prepare 6 large pieces of plastic wrap, laying them flat on a clean surface.
- Wrap & Freeze Ice Cream: Scoop out approximately 1 ⅓ cups of vanilla ice cream onto the center of each plastic wrap piece, creating 2 ½-inch mounds. Wrap each mound securely with plastic wrap, gently shaping it into a ball with a flat bottom. If the ice cream softens, place wrapped mounds in the freezer as you go. Arrange all wrapped ice cream balls on a baking sheet and freeze until completely solid, about 1 hour.
- Crush Cereal: Crush the corn flake cereal into small, coarse pieces using a food processor or by placing them in a ziploc bag and rolling over them with a rolling pin. Set aside in a shallow bowl.
- Make Cornflake Mixture: In a medium skillet over medium heat, melt the unsalted butter. Once melted, stir in the crushed corn flakes, granulated sugar, ground cinnamon, salt, and vanilla extract. Stir continuously and cook for 2 minutes, until the mixture deepens in color and smells delightfully toasty.
- Cool Mixture: Remove the cornflake mixture from the heat and transfer it to a shallow bowl or plate to cool completely to room temperature. This helps achieve the crispiest coating.
- Coat Ice Cream Balls: Once the cornflake mixture has cooled, unwrap one frozen ice cream ball at a time. Roll it into the cornflake mixture, using your hands to gently press the mixture firmly onto all sides of the ice cream ball, ensuring it’s fully coated. Place the coated ball back on the baking sheet. Repeat for all ice cream balls.
- Serve Immediately: Serve your “fried” ice cream balls immediately with your favorite toppings, such as chocolate sauce, caramel sauce, whipped cream, and maraschino cherries. Alternatively, store them in an airtight container in the freezer until ready to serve, keeping in mind the coating may soften slightly over time.
Nutrition Information (Approximate)
All nutritional values are approximate and provided as a courtesy. Changing ingredients and/or quantities will alter the estimated nutritional calculations.
Serving: 1 |
Calories: 236kcal |
Carbohydrates: 24g |
Protein: 2g |
Fat: 15g |
Saturated Fat: 10g |
Polyunsaturated Fat: 1g |
Monounsaturated Fat: 4g |
Trans Fat: 1g |
Cholesterol: 41mg |
Sodium: 221mg |
Potassium: 47mg |
Fiber: 1g |
Sugar: 6g |
Vitamin A: 891IU |
Vitamin C: 5mg |
Calcium: 12mg |
Iron: 7mg