
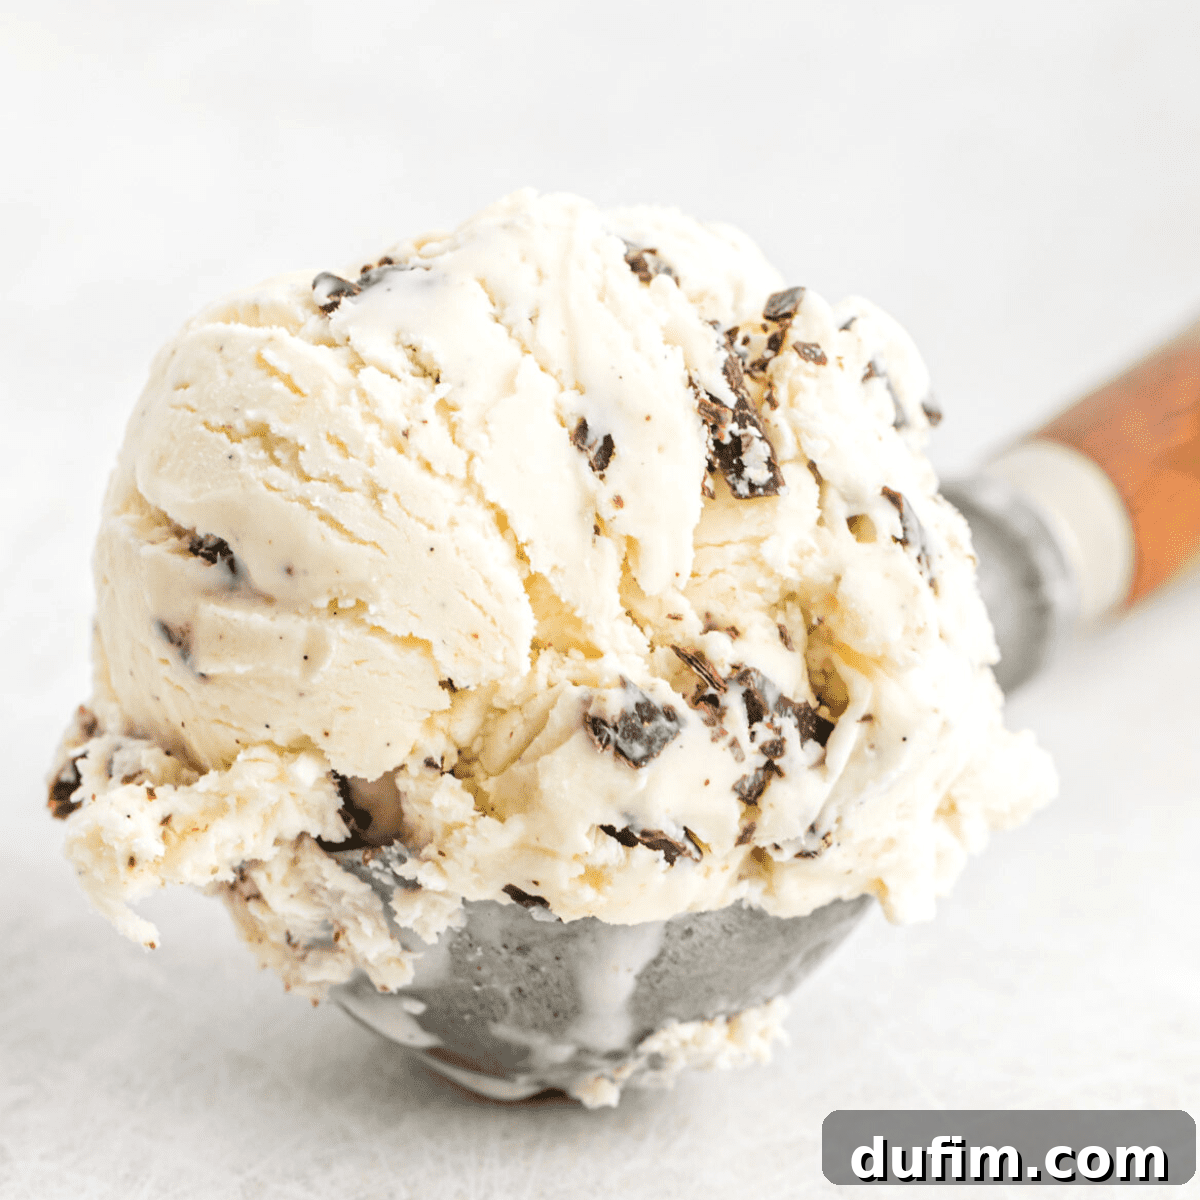
For many months, I embarked on a delightful journey into the world of homemade ice cream. This culinary adventure led me to experiment with countless recipes, ultimately refining and perfecting a method for rich, creamy ice cream that anyone can make right in their own kitchen. Among my proudest achievements during this period is this irresistible Chocolate Chip Ice Cream recipe – a true testament to the fact that you don’t need any prior experience or even an ice cream maker to create a gourmet frozen treat. Join me as I share my tested and proven secrets to crafting the ultimate no-churn chocolate chip ice cream, promising a dessert experience that will impress family and friends alike.
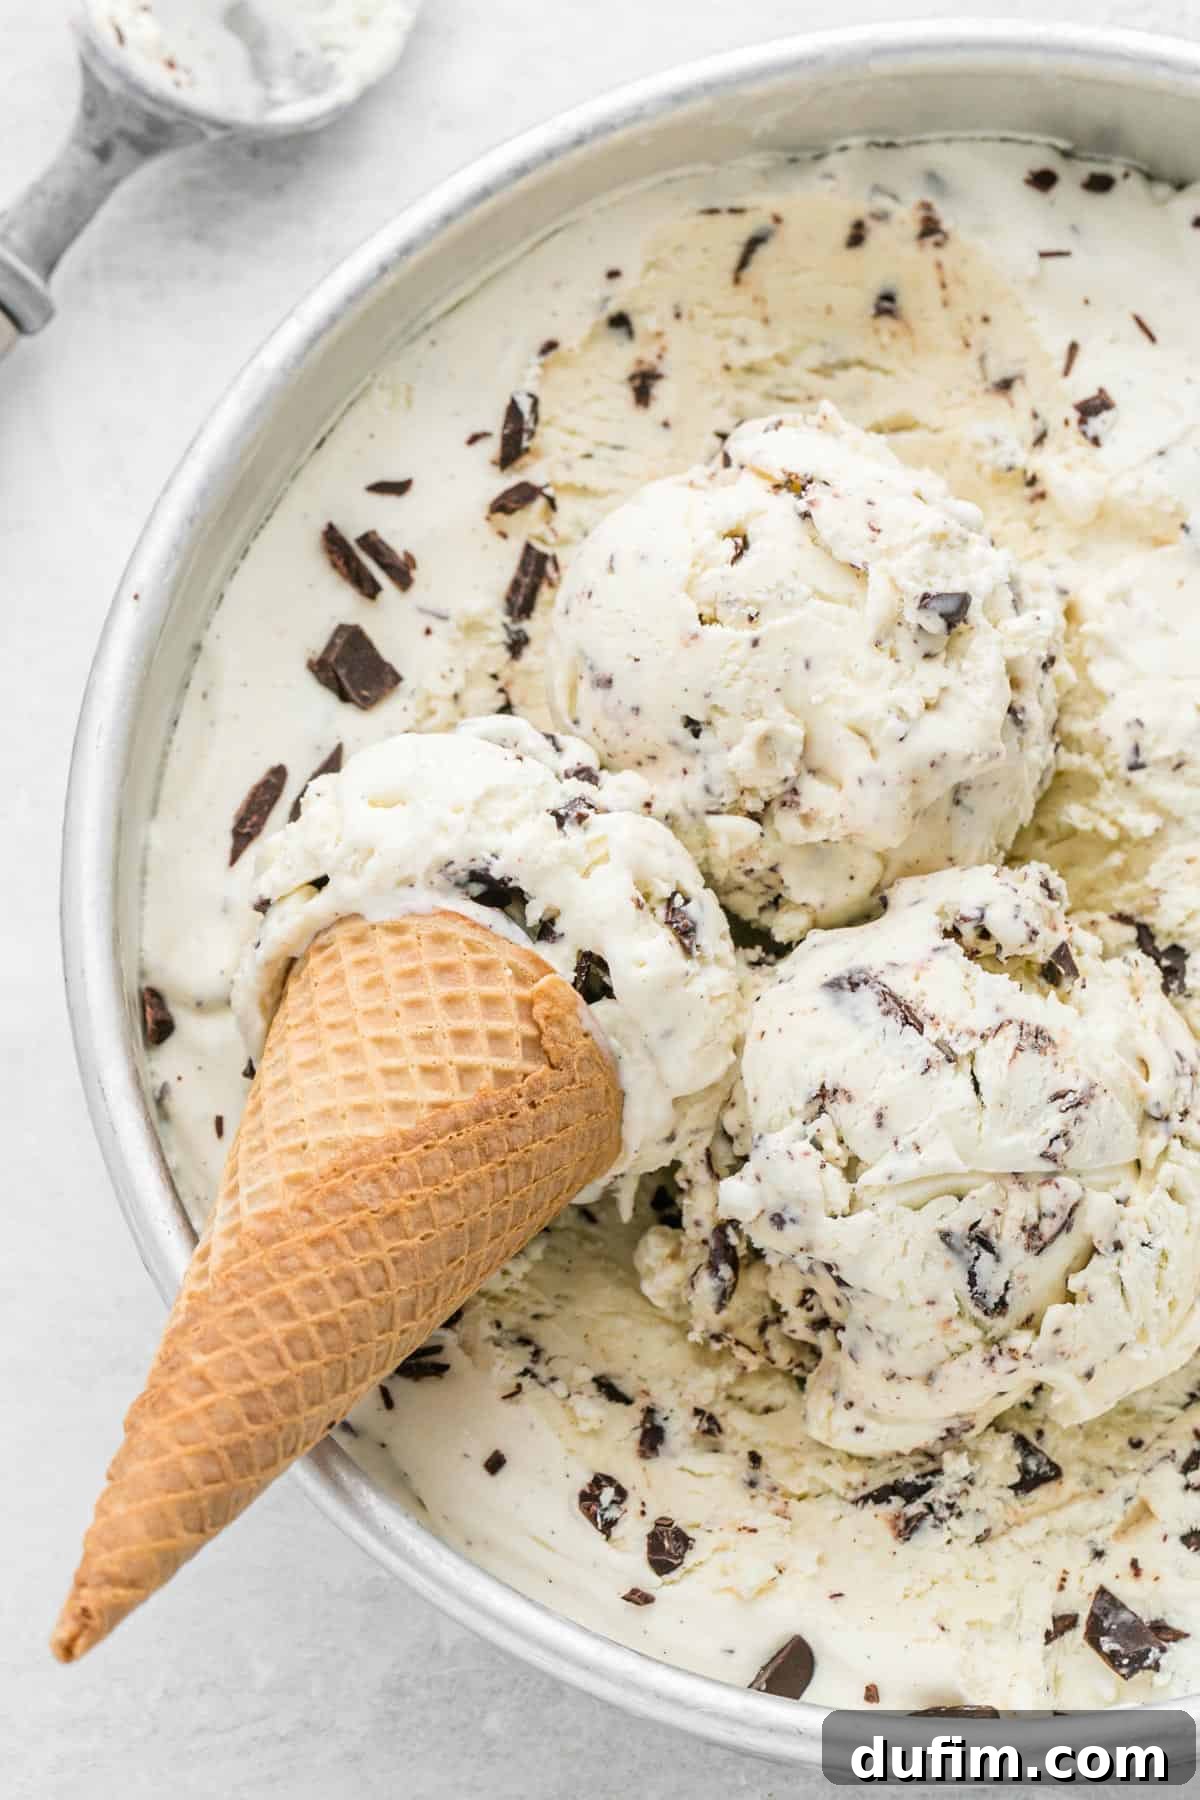
The Irresistible Charm of No-Churn Vanilla Chocolate Chip Ice Cream
Prepare to be amazed by this no-churn vanilla chocolate chip ice cream, a dessert masterpiece brimming with finely chopped chocolate and aromatic vanilla bean flecks. I’ve personally navigated through all the trial and error, painstakingly refining this recipe to bring you the absolute best homemade chocolate chip ice cream. Now, I’m thrilled to share all my insider tips, tricks, and essential guidance, empowering you to become a homemade ice cream pro from your very first attempt. Say goodbye to complicated machinery and hello to effortless, delicious frozen delights.
Just like my popular Strawberry Cheesecake Ice Cream, this exceptional Chocolate Chip Ice Cream relies on a magical combination of heavy whipping cream and sweetened condensed milk. This ingenious pairing is the secret to achieving a remarkably rich, intensely creamy ice cream without the need for an expensive ice cream maker. The process involves whipping the heavy cream to perfection, which infuses the mixture with air, resulting in a wonderfully light and fluffy texture. This elegant technique eliminates the need for constant churning or the tedious 30-minute stirring intervals often associated with other no-churn recipes, making it incredibly simple and satisfying.
If your heart truly belongs to chocolate, you’ll be delighted to explore more of my favorite creations. Be sure to try my delightfully soft chocolate chip muffins, the supremely decadent double chocolate chip cookies, or the rich and velvety chocolate fudge. Each recipe is designed to deliver maximum chocolatey goodness with minimal effort.
Essential Ingredients for the Best No-Churn Chocolate Chip Ice Cream
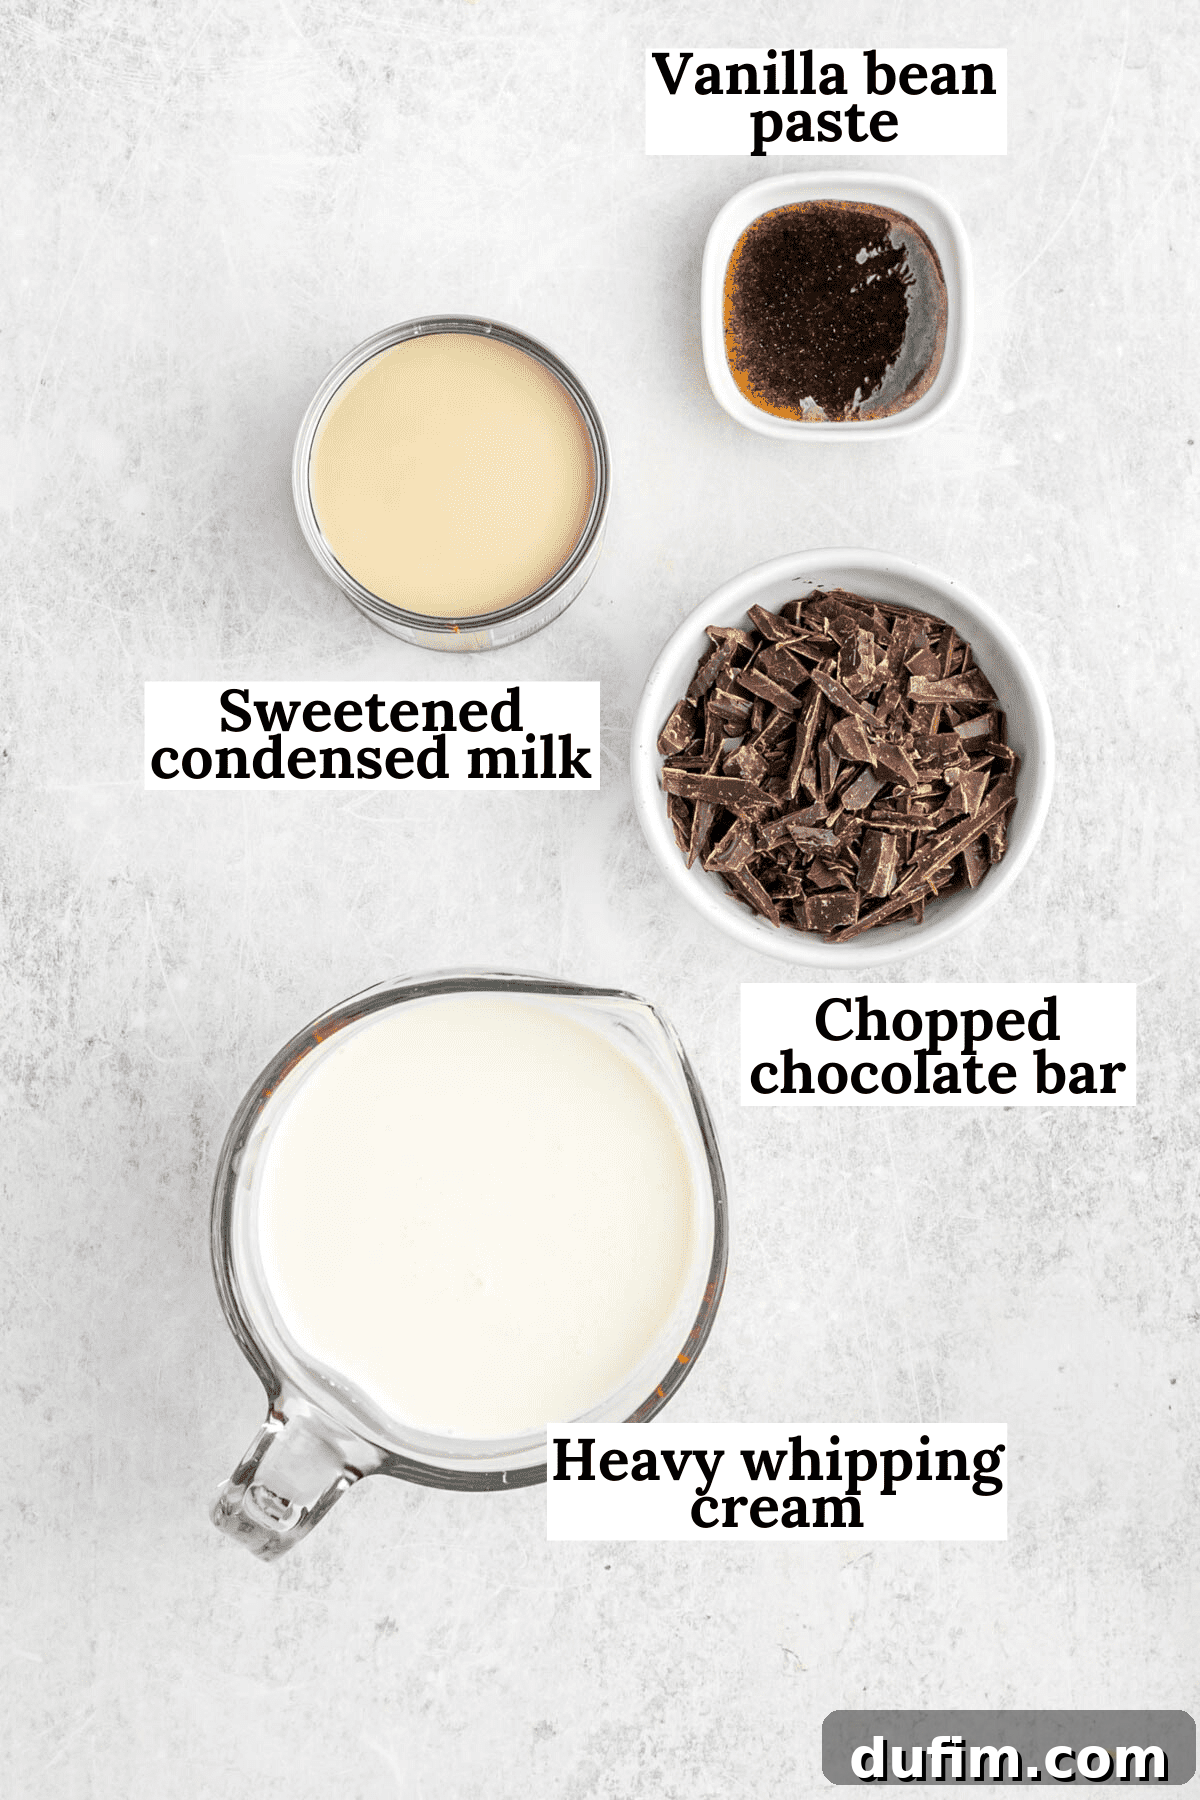
Crafting truly exceptional no-churn chocolate chip ice cream begins with selecting the right ingredients. Each component plays a crucial role in achieving that perfect creamy texture and delightful flavor. Below are the key players you’ll need for this recipe:
- Heavy Whipping Cream: This is the cornerstone of our no-churn method. It’s imperative to use heavy whipping cream (with at least 36% fat content) as its high fat concentration allows it to whip up into stable stiff peaks, incorporating the necessary air for a light and fluffy ice cream. Substitutions like half-and-half or whole milk will not yield the desired results, as they lack the fat required for proper aeration and stability. Ensure your cream is very cold for optimal whipping.
- Vanilla Bean Paste: For an unparalleled depth of vanilla flavor and those beautiful speckled aesthetics, vanilla bean paste is highly recommended. It offers a more intense and authentic vanilla taste compared to extract. Alternatively, you can use 1 scraped vanilla bean for the purest flavor, or substitute with a high-quality vanilla extract (ensure it’s pure vanilla, not imitation) if paste or beans are unavailable.
- Sweetened Condensed Milk: This magical ingredient is what sweetens our ice cream and prevents the formation of large, undesirable ice crystals, contributing significantly to its ultra-creamy, smooth texture. It’s a key emulsifier and sweetener, making an ice cream maker unnecessary.
- Semi-Sweet Chocolate Bar: The choice of chocolate is vital for a truly gourmet experience. I highly recommend using a high-quality semi-sweet chocolate bar, such as Ghirardelli or Godiva. Chopping the bar into fine shavings or irregular small chunks provides a much more satisfying texture than pre-packaged chocolate chips, which often contain stabilizers that prevent them from melting smoothly in cold environments. The varied sizes of chopped chocolate ensure a burst of rich flavor in every bite.
Condensed Milk vs. Sweetened Condensed Milk: Is there a difference?
A common question often arises regarding “condensed milk” and “sweetened condensed milk.” The good news is, for most practical purposes, particularly in recipes like this one, there is no difference! The terms are frequently used interchangeably in many parts of the world. The majority of brands you’ll find on grocery store shelves in the baking aisle will be labeled as “sweetened condensed milk.” Condensed milk, in its simplest form, is cow’s milk from which most of the water content has been removed through evaporation, resulting in a thick, creamy, concentrated liquid. Sweetened condensed milk takes this a step further by having a significant amount of sugar added to it, which acts as both a sweetener and a preservative, giving it its distinctively sweet and rich profile. So, when your recipe calls for condensed milk, sweetened condensed milk is almost certainly what it means!
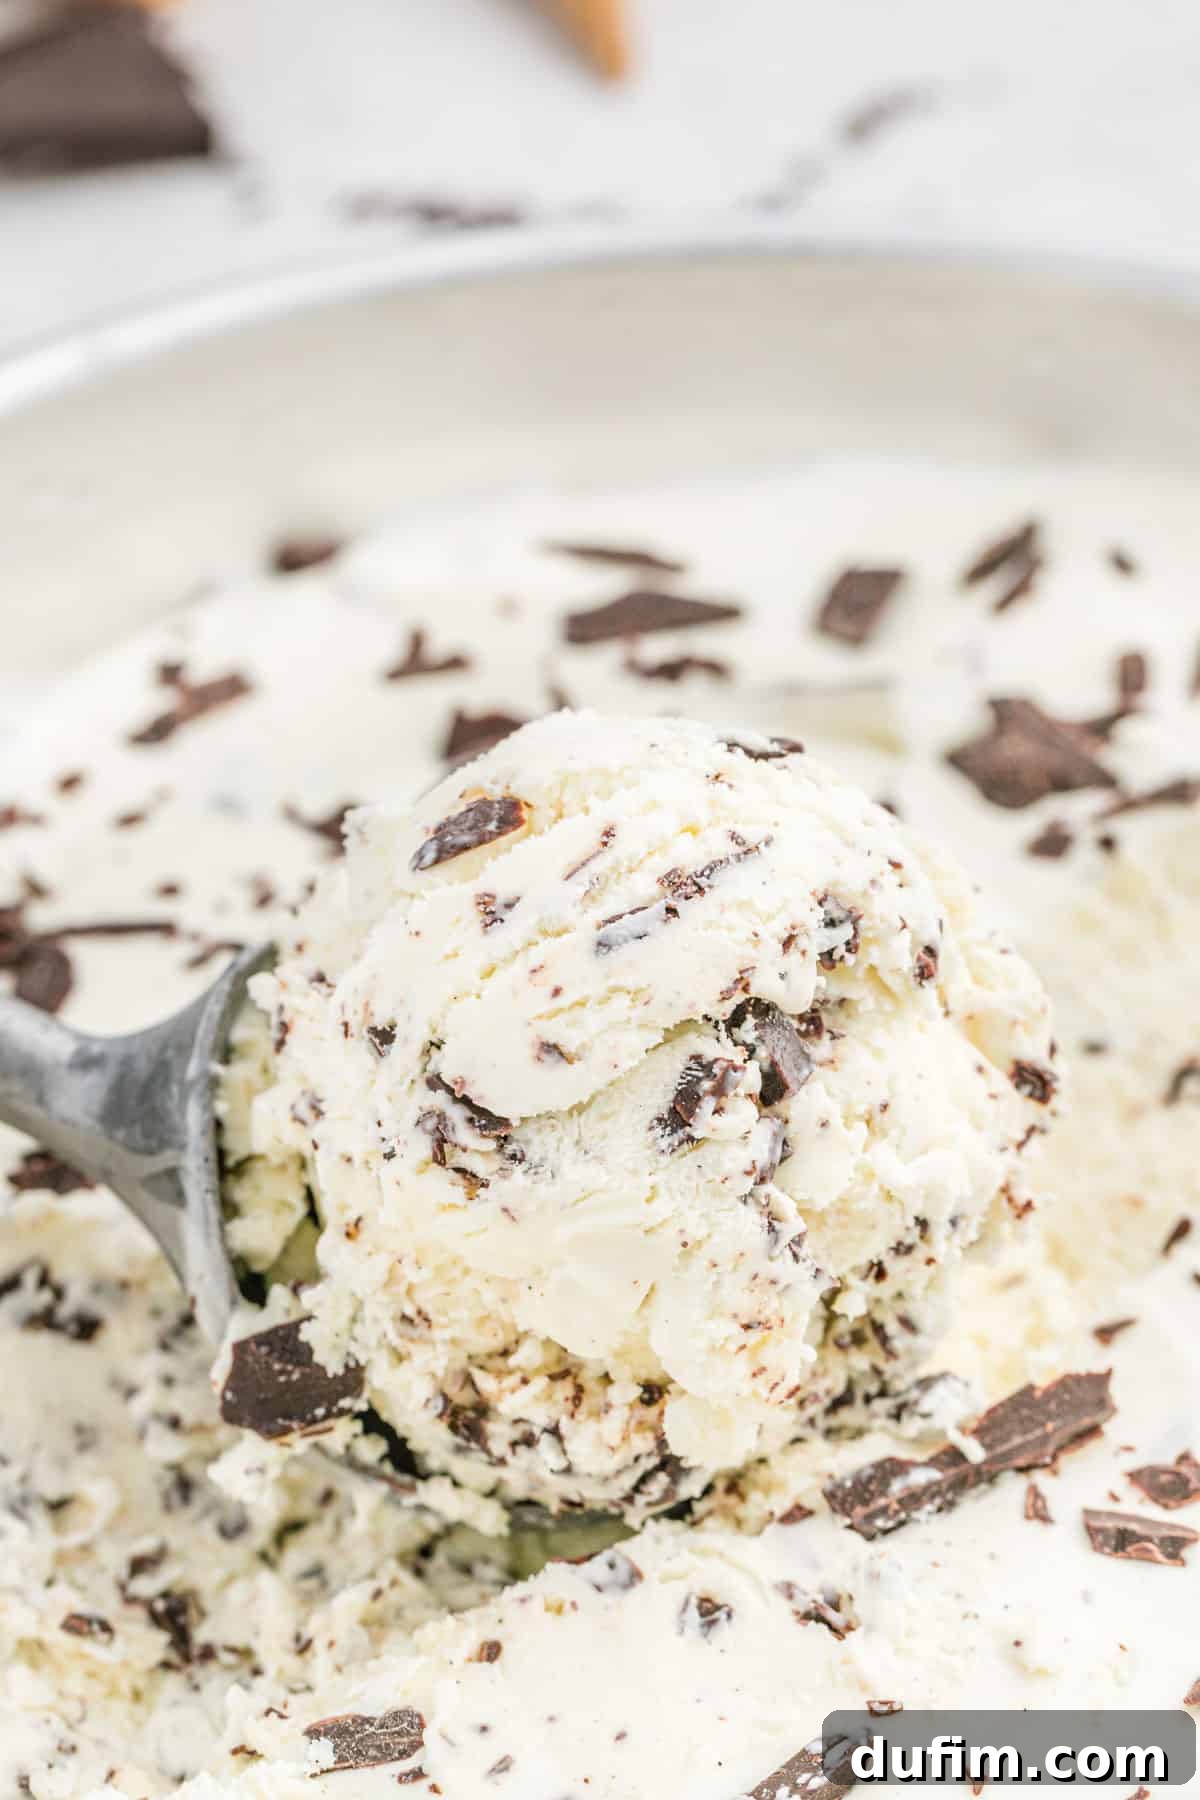
Crafting the Best No-Churn Chocolate Chip Ice Cream
One of the most appealing aspects of using the whipping cream method to create ice cream is its remarkable simplicity and minimal effort. Not only does this recipe completely eliminate the need for an ice cream churning machine, but it also frees you from the hassle of constantly checking on and stirring the ice cream every 30 minutes, a common requirement in many other no-churn recipes. This method allows you to set it and forget it, leaving you with more time to anticipate the delicious reward.
For the absolute best texture and firmness, it’s highly recommended to allow this ice cream to freeze overnight. This extended freezing time ensures optimal setting and scoopability. Therefore, be sure to factor this into your dessert planning. Here’s a detailed guide on how to prepare your delectable homemade treat:
Step-by-Step Instructions:
- Chop the Chocolate: Begin by preparing your chocolate. Using a sharp serrated knife, carefully chop your semi-sweet chocolate bar into small, irregular shavings or fine chunks. The varying sizes will add wonderful texture to the final product. Set a small portion of the chopped chocolate aside if you wish to use it as a garnish later.
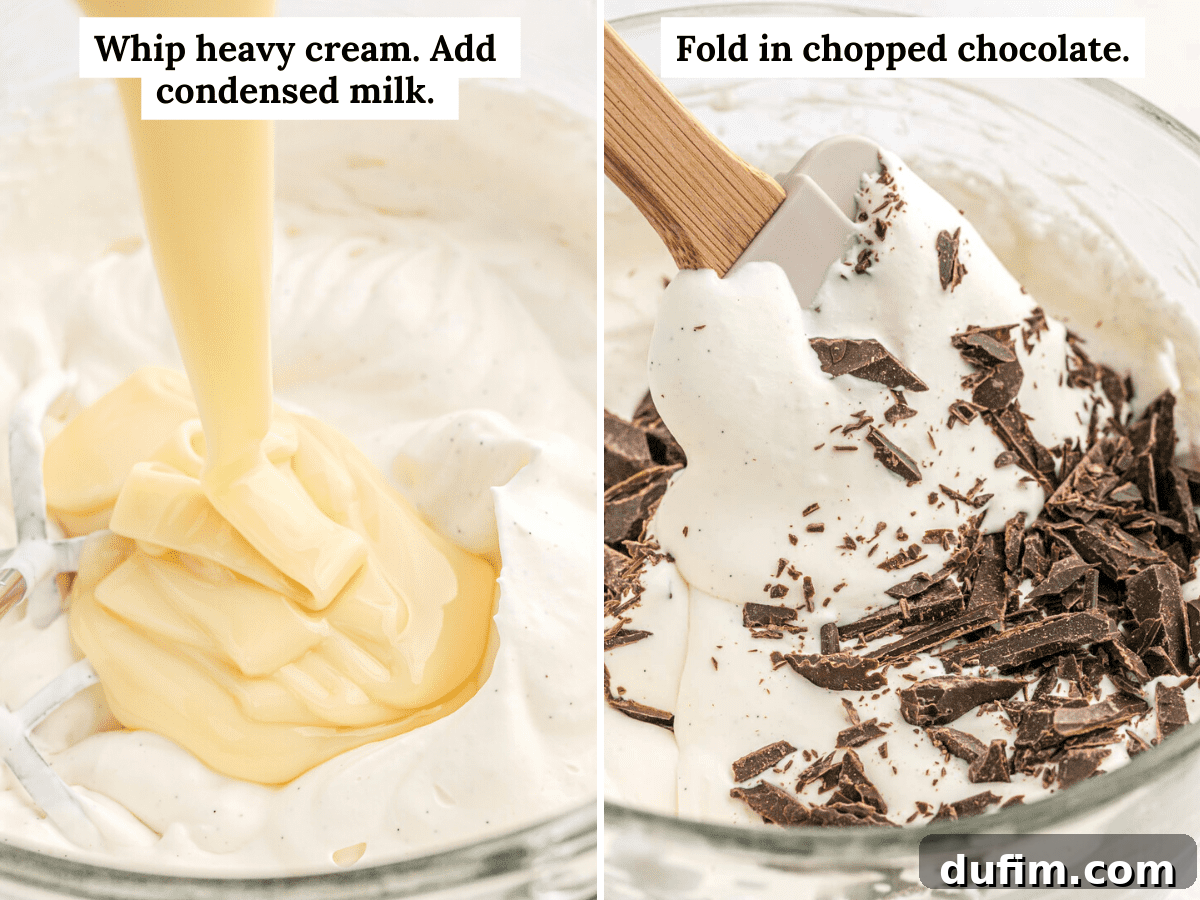
- Whip the Heavy Cream to Stiff Peaks: In a large, chilled mixing bowl, combine the very cold heavy whipping cream and vanilla bean paste (or vanilla extract). Using a stand mixer fitted with a whisk attachment, or a handheld electric mixer, beat the mixture on medium-high speed. Continue beating until the cream forms stiff peaks. You’ll know it’s ready when you lift the beaters, and the peaks stand straight up without collapsing or curling at the tips. This step is crucial for incorporating air and achieving a light, airy texture.
- Gently Fold in Remaining Ingredients: With the mixer on its lowest speed, slowly pour in the cold sweetened condensed milk. Beat just until the ingredients are thoroughly combined. Immediately turn off the mixer. Now, using a rubber spatula, gently fold in the majority of your chopped chocolate. The key here is to use a light hand, folding rather than stirring vigorously, to prevent deflating the whipped cream.
- Transfer and Freeze: Carefully transfer the ice cream mixture into your chosen freezer-safe container. A standard loaf pan, an 8-inch cake pan, or any similar airtight container works perfectly. If you reserved some chocolate, gently press the remaining shavings onto the top surface of the ice cream. Cover the pan tightly with plastic wrap, ensuring it touches the surface of the ice cream to prevent ice crystals, then secure with an airtight lid. Place the container in the freezer for a minimum of 6 hours, though freezing it overnight will yield the best, firmest results.

Time Commitment for Deliciousness
Making this incredible no-churn ice cream is surprisingly quick and simple in terms of active preparation time, making it an ideal project for any home baker or dessert enthusiast. Here’s a breakdown of the time you’ll need:
- Active Whipping Time: Approximately 5 minutes to beat the heavy cream and vanilla until it forms those crucial stiff peaks.
- Mixing Time: About 3 minutes to gently combine the sweetened condensed milk and fold in the chopped chocolate.
- Freezing Time: A minimum of 6 hours for the ice cream to set. However, for the best possible firm and scoopable texture, I strongly recommend freezing it overnight (approximately 8-12 hours).
Total active preparation time is under 10 minutes, making this a fantastic recipe for busy schedules!
Expert Tips for Perfect Vanilla Chocolate Chip Ice Cream
Achieving truly perfect homemade chocolate chip ice cream is easier than you think, especially with these insider hints and tips. Follow this advice to ensure your dessert is nothing short of sensational:
- Prioritize High-Quality Ingredients: The flavor of your ice cream is only as good as its components. Invest in a real vanilla bean or, for convenience, a premium vanilla bean paste to infuse an authentic and robust vanilla flavor. If using vanilla extract, ensure it’s a high-quality, pure extract. Similarly, for the chocolate, choose a reputable brand of semi-sweet chocolate bar, like Ghirardelli or Godiva. The superior quality of these chocolates will melt beautifully and offer a richer, more satisfying taste experience than standard chocolate chips.
- Mastering Stiff Peaks: This is arguably the most critical step for no-churn ice cream. Whipping heavy cream effectively suspends its water content within a stable scaffolding of fat. When this perfectly whipped cream is gently combined with the other ingredients, this airy structure remains, ensuring the water droplets are distributed evenly throughout the ice cream mixture. The result is a smooth, creamy texture free from icy crystals. You’ll know your cream has reached stiff peaks when you lift the beater out of the bowl, and the peaks formed by the cream stand straight up, holding their shape firmly without any tips curling or collapsing. Over-whipping can turn it grainy, while under-whipping will result in a less airy and potentially icier ice cream.
- Fold, Don’t Stir, Your Mix-Ins: Once your heavy cream is whipped and combined with the condensed milk, it’s essential to handle it delicately. When incorporating the chocolate shavings or any other desired mix-ins, always *fold* them in using a rubber spatula. Avoid vigorous stirring, which can quickly deflate the carefully whipped cream. Deflated cream means less air in your mixture, leading to a denser, heavier, and less fluffy ice cream texture. Gentle folding preserves the airy lightness, contributing to the melt-in-your-mouth quality you’re aiming for.
- Chill Your Equipment: For best results when whipping cream, place your mixing bowl and whisk attachment (or beater blades) in the freezer for 10-15 minutes before you start. Cold equipment helps the cream whip faster and achieve more stable stiff peaks.
- Don’t Skimp on Freezing Time: While 6 hours is the minimum, an overnight freeze truly allows the ice cream to firm up completely and develop its optimal texture. Patience will be rewarded with perfectly scoopable ice cream.
Optimal Storage for Homemade Chocolate Chip Ice Cream
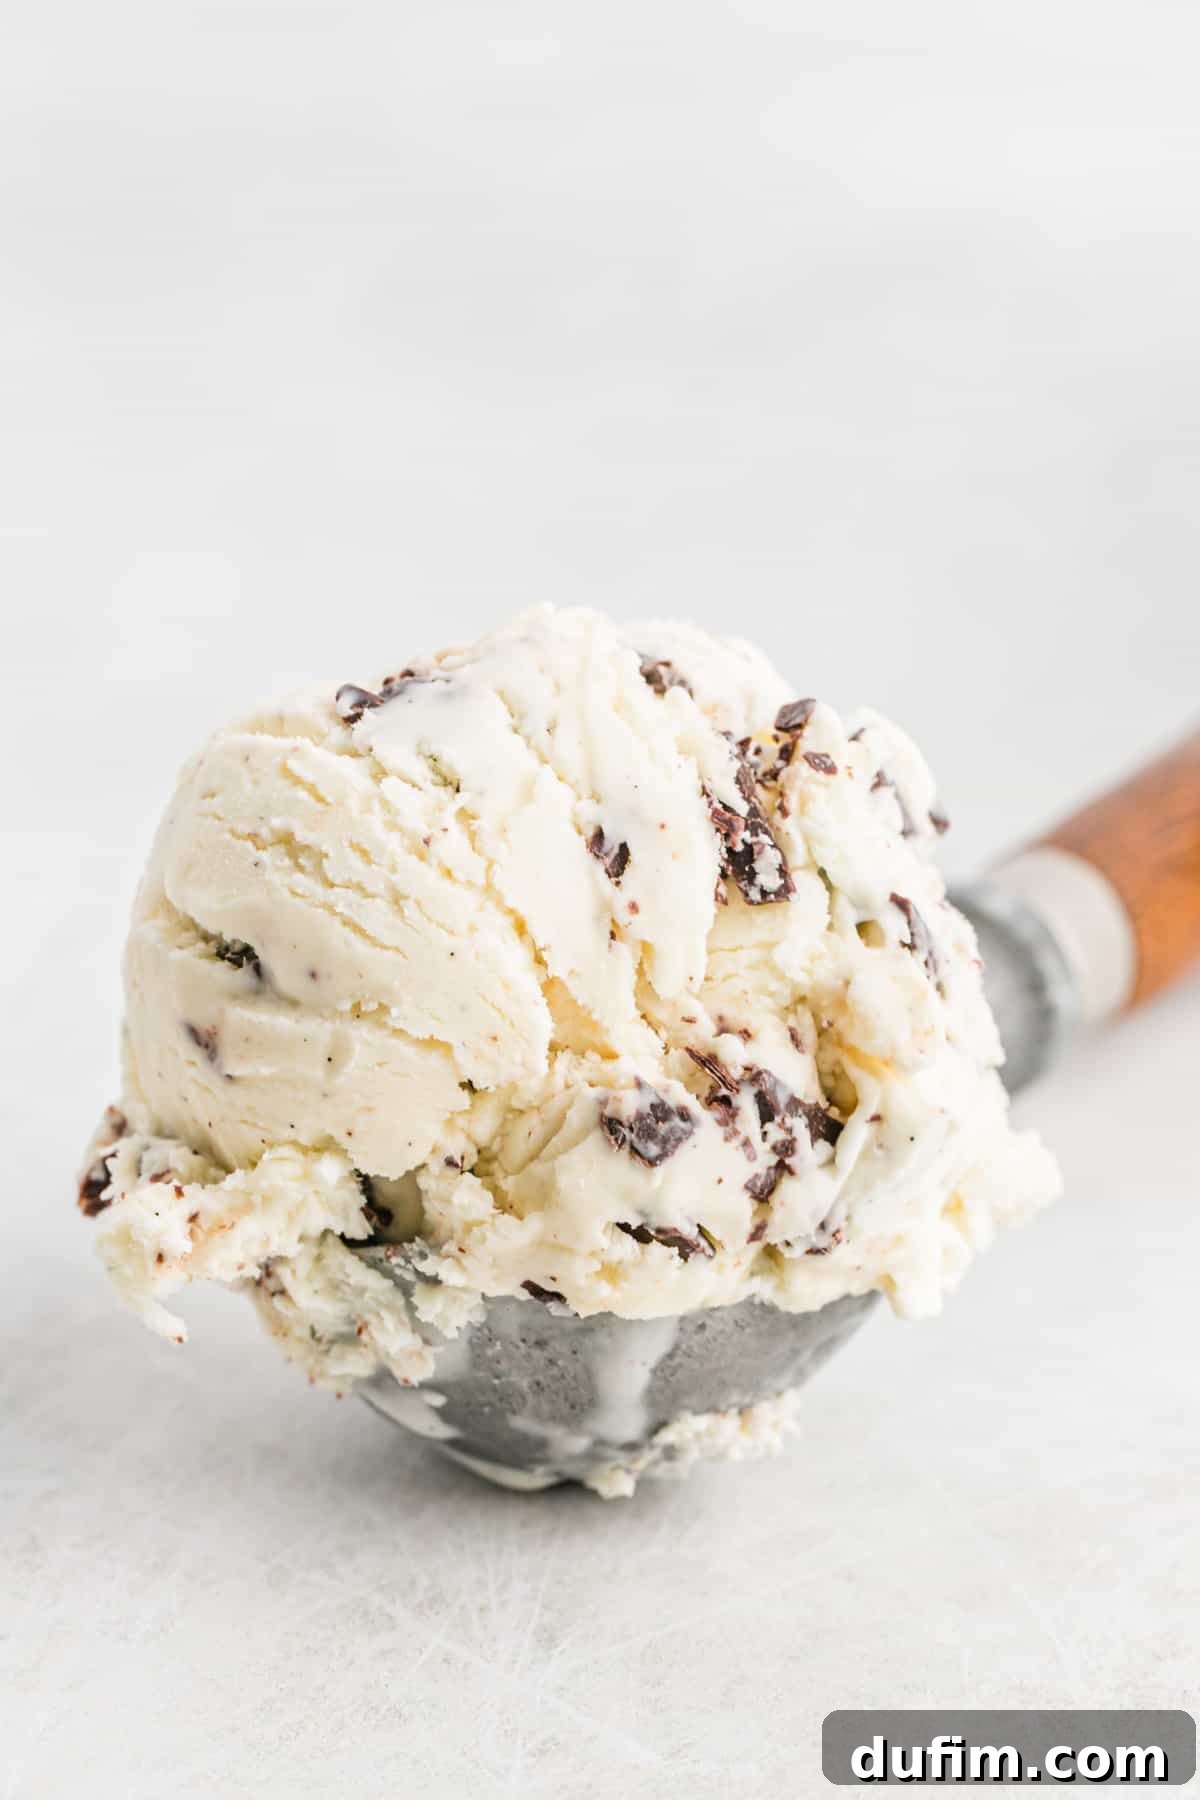
To ensure your homemade chocolate chip ice cream remains fresh, creamy, and delightful for as long as possible, proper storage is key. Store any leftover ice cream in the freezer for up to two weeks. The best way to preserve its quality and prevent dreaded freezer burn and ice crystal formation is to transfer it to an airtight container with a tight-fitting lid. If keeping it in the original loaf pan, press a layer of plastic wrap directly onto the surface of the ice cream before securing the lid. This creates a barrier against air, which is the primary cause of freezer burn.
When you’re ready to enjoy another scoop, don’t rush it straight from the deep freeze. For the perfect scoopable consistency, let the ice cream sit on the counter for about 5 to 10 minutes before attempting to scoop. This brief period allows it to soften slightly, making it much easier to portion out and enhancing its creamy texture, ensuring every spoonful is pure bliss.
Exciting Variations for Your Vanilla Chocolate Chip Ice Cream
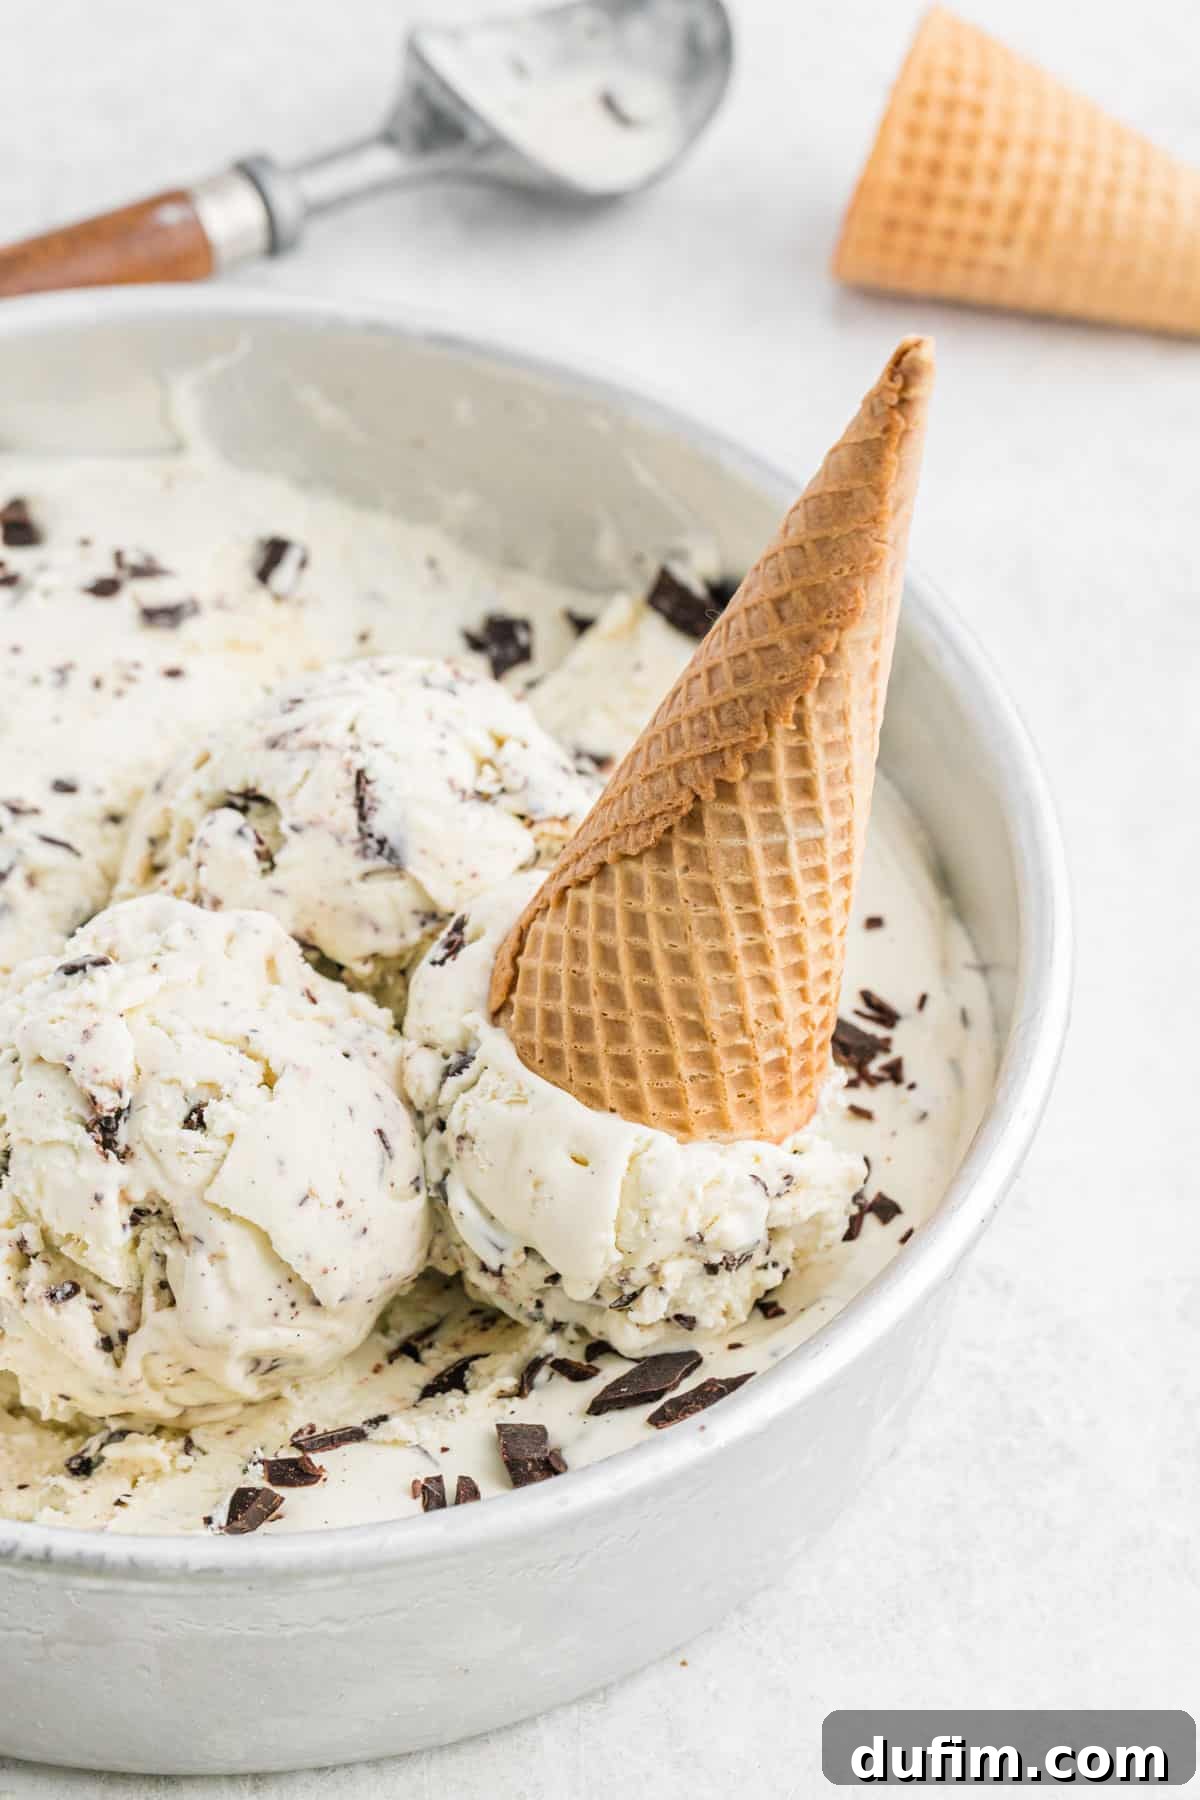
One of the most exciting aspects of this homemade Chocolate Chip Ice Cream recipe is its incredible versatility. The foundational vanilla-chocolate base serves as a perfect canvas for endless customization. Want to elevate your ice cream game or simply try something new? Experiment with these delightful ideas to create your signature frozen treat:
- Birthday Cake Ice Cream Twist: Take inspiration from my Birthday Cake Ice Cream recipe. Instead of just chocolate, fold in chunks of chocolate cake or vibrant sprinkles for a festive celebration in every spoonful.
- Candy Bar Dream: Elevate the mix-in game by folding in your favorite crushed candy. Think finely crushed Oreo cookies, chopped peanut butter cups for a nutty twist, or crumbled Butterfinger bars for a satisfying crunch. The possibilities are truly endless!
- Refreshing Mint Chocolate Chip: For a classic and invigorating flavor, simply add 2-3 teaspoons of pure mint extract to your heavy cream mixture along with the vanilla. The cool mint perfectly complements the rich chocolate, creating a refreshing dessert.
- Cookie Dough Delight: Transform your ice cream into a cookie lover’s paradise! Chop up freshly baked Chocolate Chip Cookies or indulgent Turtle Cookies into bite-sized pieces and gently fold them into the ice cream mixture. The soft cookie chunks combined with the creamy ice cream are pure heaven.
- Nutty Indulgence: Add a layer of texture and flavor by folding in toasted chopped nuts like pecans, walnuts, or almonds. For an extra treat, drizzle in some caramel or chocolate sauce before freezing.
- Espresso Infusion: For coffee lovers, dissolve 1-2 teaspoons of instant espresso powder in a tablespoon of hot water, then cool and add it to your heavy cream mixture before whipping. This creates a sophisticated coffee chocolate chip flavor.
Don’t be afraid to get creative and experiment with combinations that tantalize your taste buds. The beauty of homemade ice cream lies in its adaptability!
Vanilla Chocolate Chip Ice Cream Recipe
This rich, creamy no-churn chocolate chip ice cream is a dream come true! Made without an ice cream maker, it’s packed with high-quality chopped chocolate and exquisite vanilla bean flavor for an unforgettable dessert experience.
By: Beth
Prep Time: 10 minutes
Freezing Time: 6 hours (or overnight for best results)
Servings: 10
Print Recipe
Equipment You’ll Need:
- Large Glass Mixing Bowl
- Stand Mixer or Handheld Electric Mixer
- Rubber Spatula
- Loaf Pan, 8-inch Cake Pan, or similar freezer-safe container
- Plastic Wrap or Airtight Lid
- Serrated Knife and Cutting Board
Ingredients:
- 2 cups (473ml) heavy whipping cream, 1 pint, well-chilled
- 2 tsp vanilla bean paste, or 1 scraped vanilla bean. As an alternative, substitute with 1 tbsp high-quality vanilla extract.
- 14 oz can sweetened condensed milk, chilled
- 4 oz semi-sweet chocolate bar, such as Ghirardelli or Godiva, finely chopped into shavings or small irregular chunks.

Instructions:
- Prepare the Chocolate: Using a sharp serrated knife, finely chop the semi-sweet chocolate bar into small shavings or irregular chunks. This ensures a delightful chocolate burst in every bite. Set a small amount aside for topping, if desired.
- Whip the Cream: In a large, chilled mixing bowl, combine the very cold heavy whipping cream and vanilla bean paste (or vanilla extract). Using a stand mixer with a whisk attachment or a handheld electric mixer, beat on medium-high speed until stiff peaks form. The cream should be thick and hold its shape when the beater is lifted.
- Incorporate Condensed Milk: Reduce the mixer speed to low and gradually pour in the chilled sweetened condensed milk. Beat gently until just combined. Be careful not to overmix, which can deflate the whipped cream.
- Fold in Chocolate: Gently fold in the majority of the chopped chocolate using a rubber spatula. Use a light hand to maintain the airy texture of the whipped cream.
- Freeze: Transfer the ice cream mixture into your chosen freezer-safe container (a loaf pan or 8-inch cake pan works perfectly). Smooth the top and sprinkle with the reserved chocolate shavings. Cover the pan tightly with plastic wrap, ensuring it touches the surface of the ice cream to prevent ice crystals from forming, then secure with an airtight lid.
- Chill: Freeze for a minimum of 6 hours, though overnight freezing is highly recommended for the best firm and scoopable texture.
Recipe Notes:
For optimal freshness and taste, store your homemade chocolate chip ice cream in an airtight container in the freezer for up to two weeks. To enjoy, let it sit on the counter for about 5-10 minutes before scooping to achieve the perfect creamy consistency.
Approximate Nutrition Information (per serving):
- Calories: 360 kcal
- Carbohydrates: 29 g
- Protein: 5 g
- Fat: 25 g
- Saturated Fat: 16 g
- Polyunsaturated Fat: 1 g
- Monounsaturated Fat: 7 g
- Trans Fat: 0.003 g
- Cholesterol: 67 mg
- Sodium: 65 mg
- Potassium: 273 mg
- Fiber: 1 g
- Sugar: 26 g
- Vitamin A: 806 IU
- Vitamin C: 1 mg
- Calcium: 152 mg
- Iron: 1 mg
Nutrition Disclosure: All nutritional values are approximate and provided to the reader as a courtesy. Changing ingredients and/or quantities will alter the estimated nutritional calculations. This information is intended for general guidance only and should not be considered a substitute for professional nutritional advice.
Loved this recipe? Share your thoughts and experiences by leaving a comment below! Your feedback helps other dessert enthusiasts discover and enjoy this delicious treat.