
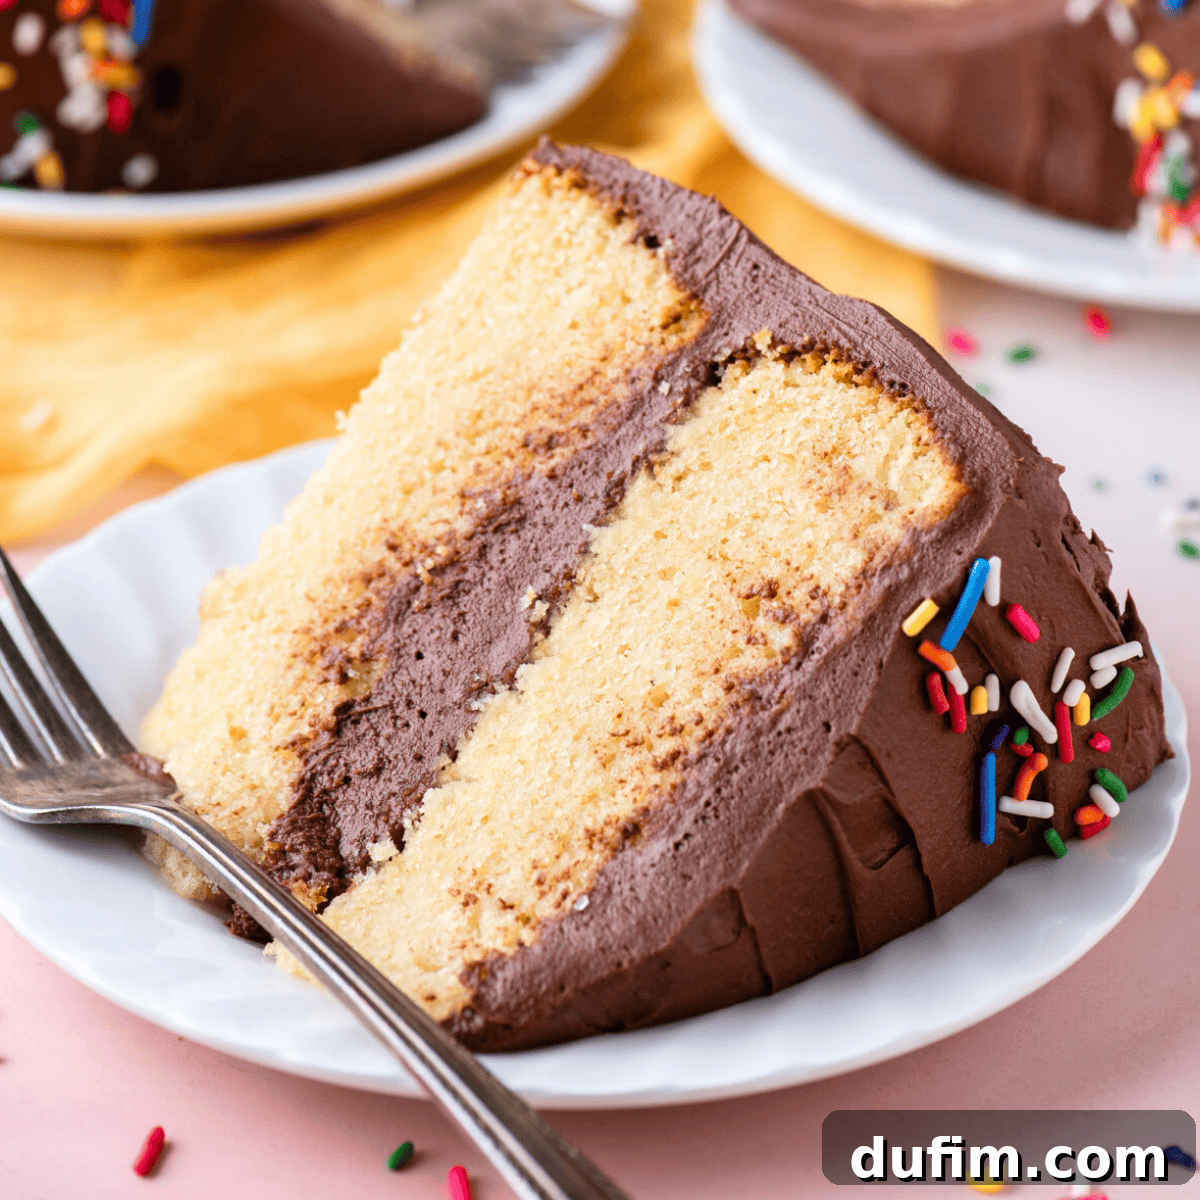
As a passionate baker who embraced a gluten-free lifestyle back in 2006, I intimately understand the unique challenges and immense rewards of gluten-free baking. Over the years, I’ve dedicated countless hours to refining and perfecting gluten-free cake recipes, transforming what can often be a tricky endeavor into a consistently delightful experience. Crafting a cake with the ideal texture—one that’s moist, tender, and rises beautifully without the elasticity of gluten—is an art I’ve tirelessly pursued. After years of experimentation and fine-tuning, I’ve finally mastered it, and now, I’m absolutely thrilled to share my ultimate gluten-free cake recipe and all my insider secrets with you!
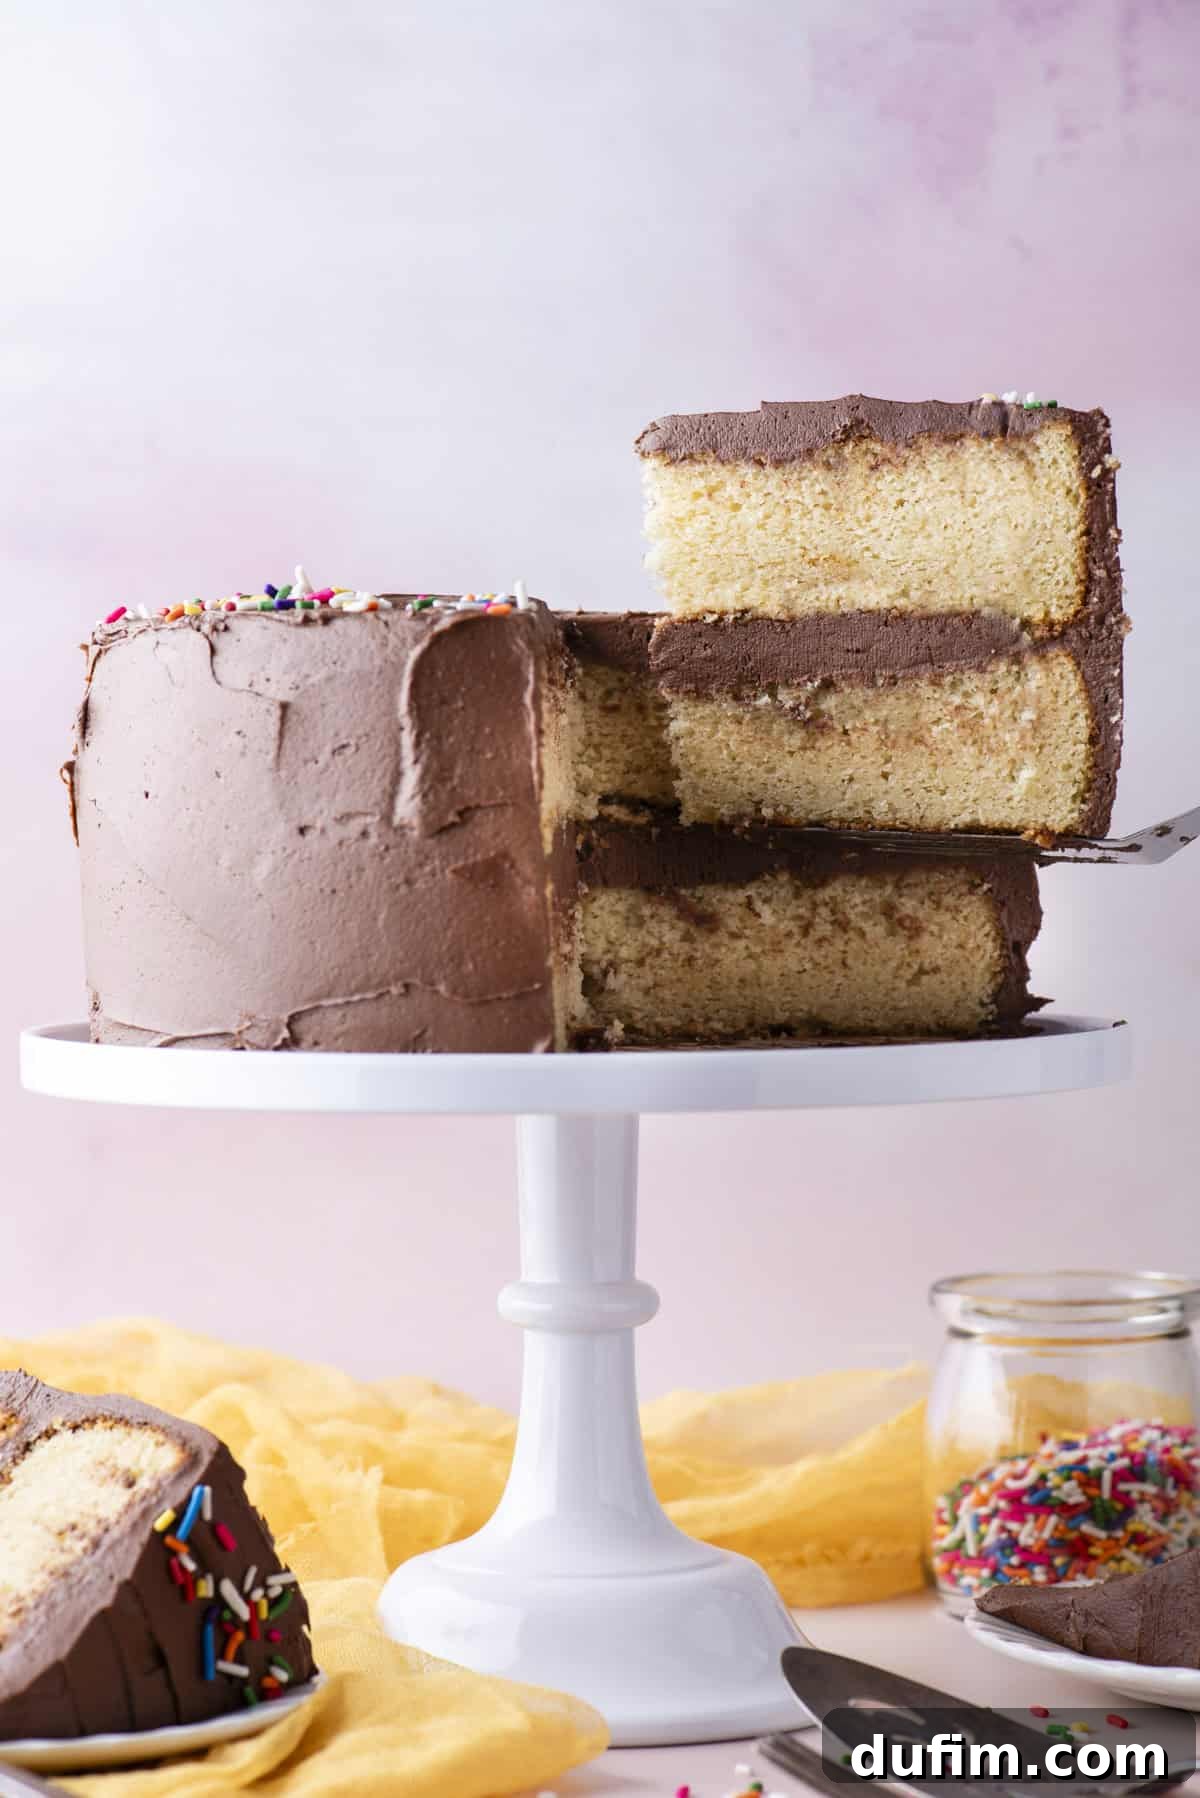
Why You’ll Adore This Gluten-Free Birthday Cake Recipe
Many aspiring gluten-free bakers have faced the frustration of cakes that turn out dense, dry, crumbly, or simply refuse to rise. These are incredibly common hurdles when navigating the world of gluten-free baking, and if you’ve experienced them, please know you are absolutely not alone! The absence of gluten, which provides structure and elasticity in traditional baking, can make achieving that perfect cake texture feel like an uphill battle. But the good news is, your quest ends here. You’ve found me, your dedicated gluten-free baking expert, ready to guide you to undeniable success.
I’m about to walk you through my meticulously tested and truly infallible recipe, arming you with all my essential tips and tricks. Prepare to create a gluten-free cake that will not only meet but exceed your expectations, becoming the best you’ve ever tasted. This recipe has been fine-tuned to deliver outstanding results every time, ensuring your gluten-free baking journey is filled with joy and deliciousness. Here’s why this recipe will quickly become your go-to for every special occasion:
- Effortless Elegance: This simple layer cake recipe is designed to be approachable, even for beginner bakers. You don’t need years of experience to achieve professional-looking and tasting results. Clear, step-by-step instructions ensure success from start to finish.
- Celebration Ready: Whether it’s a birthday, anniversary, a holiday gathering, or any cherished milestone, this cake is the perfect centerpiece. Its classic appeal and delightful flavor make it universally loved, guaranteeing smiles all around.
- Unrivaled Texture and Moisture: Forget dry, crumbly gluten-free cakes! My recipe delivers an incredibly moist and tender crumb with a delicate, fine texture that truly mimics, and often surpasses, traditional wheat-based cakes. The secret lies in a balanced blend of specific ingredients that work together to retain moisture.
- Versatile Yellow Cake Base: This classic yellow cake acts as a blank canvas, pairing flawlessly with an extensive array of frostings. Its subtle vanilla notes complement rich chocolates, tangy fruits, and creamy buttercreams alike. Explore my recommendations below to find your perfect match.
- Foolproof Results: With detailed instructions and crucial tips on ingredient temperatures, mixing techniques, and baking cues, you’ll confidently avoid common gluten-free baking pitfalls, ensuring a consistently perfect cake every time.
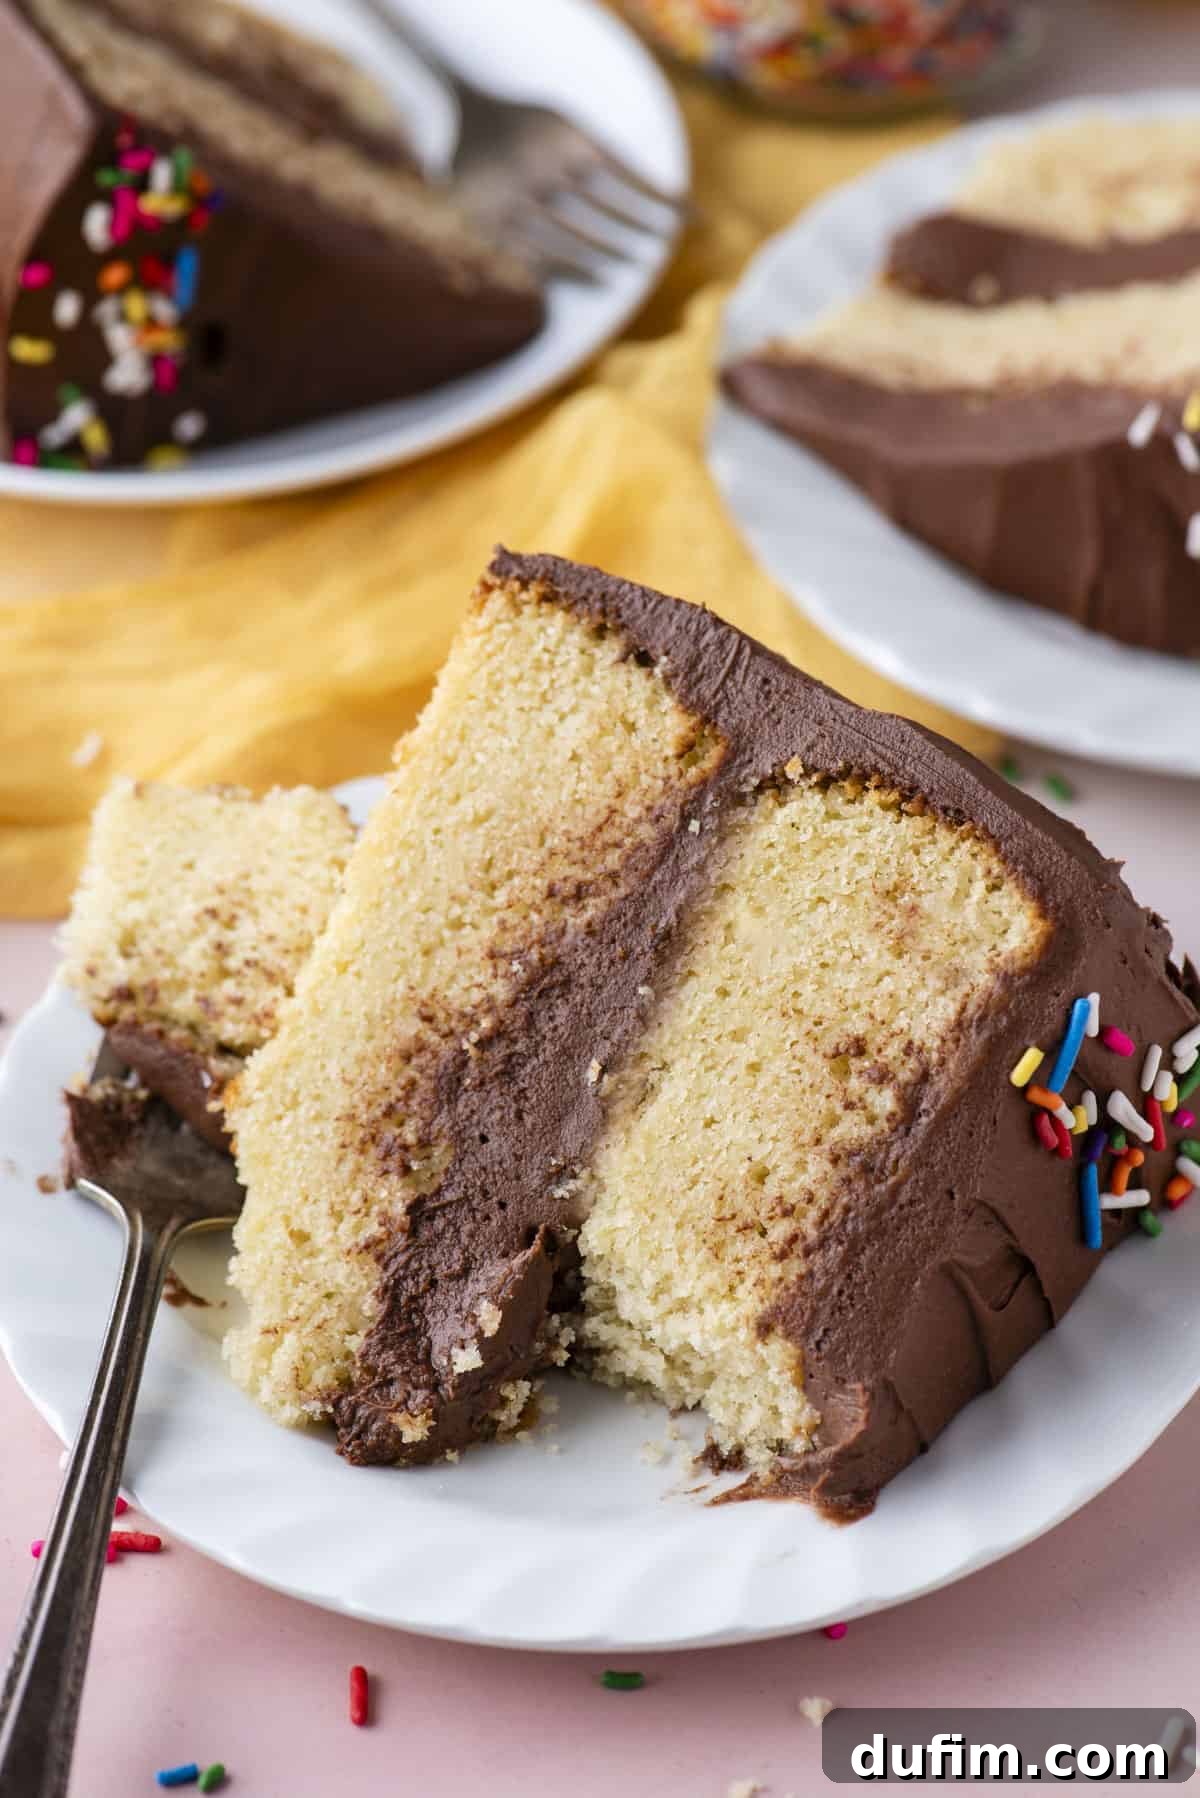
Essential Ingredients for Your Gluten-Free Cake
Crafting this phenomenal gluten-free cake involves a selection of high-quality, yet readily available, ingredients. Each component plays a vital role in achieving that sought-after moist, tender, and perfectly risen crumb. Below, you’ll find the complete list for both the cake and the irresistible vanilla frosting. Remember, for the best results, always measure your ingredients accurately, preferably with a kitchen scale for flour to ensure precision. The full, detailed recipe card with exact measurements and instructions is available further down the page.
For the Perfectly Moist Gluten-Free Cake
- Gluten-Free Measure-for-Measure Flour: This is the cornerstone of our recipe. I consistently achieve exceptional results with King Arthur’s Gluten Free Measure for Measure Flour. This blend is specifically formulated to replace wheat flour cup-for-cup, simplifying the baking process. It’s crucial that your chosen blend contains xanthan gum, as this acts as the essential binder that gluten normally provides, giving the cake structure and preventing crumbliness.
- Cornstarch: A secret weapon for tenderness! Cornstarch is crucial for creating a delicate, soft crumb that’s far from dense. It helps soften the flour blend and ensures a beautifully airy texture. Do not skip this ingredient!
- Baking Powder & Baking Soda: Our dynamic duo for lift and lightness. These leavening agents react with the acidic ingredients (like sour cream) and heat to create carbon dioxide bubbles, which expand during baking, giving the cake its beautiful rise and airy texture. Proper ratios are key for perfect leavening.
- Salt: A fundamental flavor enhancer that balances the sweetness, rounds out the overall taste, and brings out the subtle vanilla notes in the cake.
- Unsalted Butter: Ensure it’s at perfect room temperature. Softened butter creams beautifully with sugar, incorporating essential air that contributes to a lighter, fluffier cake texture. Using unsalted butter gives you control over the salt content in the recipe.
- Granulated Sugar: Beyond sweetness, granulated sugar also plays a critical role in retaining moisture in the finished cake, contributing to its tender crumb.
- Vegetable Oil: Contributes significantly to the cake’s moistness and tender texture. Unlike butter, oil remains liquid at room temperature, keeping the cake soft and preventing it from drying out, even after refrigeration.
- Eggs: Large, and at room temperature! Room temperature eggs emulsify better with other ingredients, leading to a smoother, more cohesive batter. This results in a finer crumb structure and a more even bake. If your eggs are cold, submerge them in warm water for 5-10 minutes to bring them to temperature.
- Sour Cream: A hero ingredient for moisture and a subtle tang! Sour cream adds richness, tenderizes the crumb, and helps activate the baking soda, all while preventing a dry cake.
- Milk: I recommend using whole milk for its fat content, which further enhances moisture, richness, and contributes to a luxurious texture in the finished cake.
- Vanilla Extract: Pure vanilla extract is essential for that classic, comforting yellow cake flavor. Don’t skimp on quality, as a good vanilla extract truly elevates the taste profile.
For the Irresistible Vanilla Buttercream Frosting
- Unsalted Butter: Softened to room temperature, it’s the foundation for a smooth, creamy, and spreadable buttercream.
- Vanilla Extract: To infuse the frosting with a delightful, aromatic vanilla taste that perfectly complements the cake.
- Salt: A small pinch of salt is vital to balance the intense sweetness of the powdered sugar, enhancing the overall flavor without making the frosting taste salty.
- Powdered Sugar: The base for our fluffy buttercream. Sift it if you want an extra smooth, lump-free frosting with a professional finish.
- Milk or Heavy Cream: Used to achieve the perfect consistency for your frosting. Start with a smaller amount and add more gradually, spoonful by spoonful, until you reach your desired spreadability. Heavy cream will yield a richer, thicker frosting.
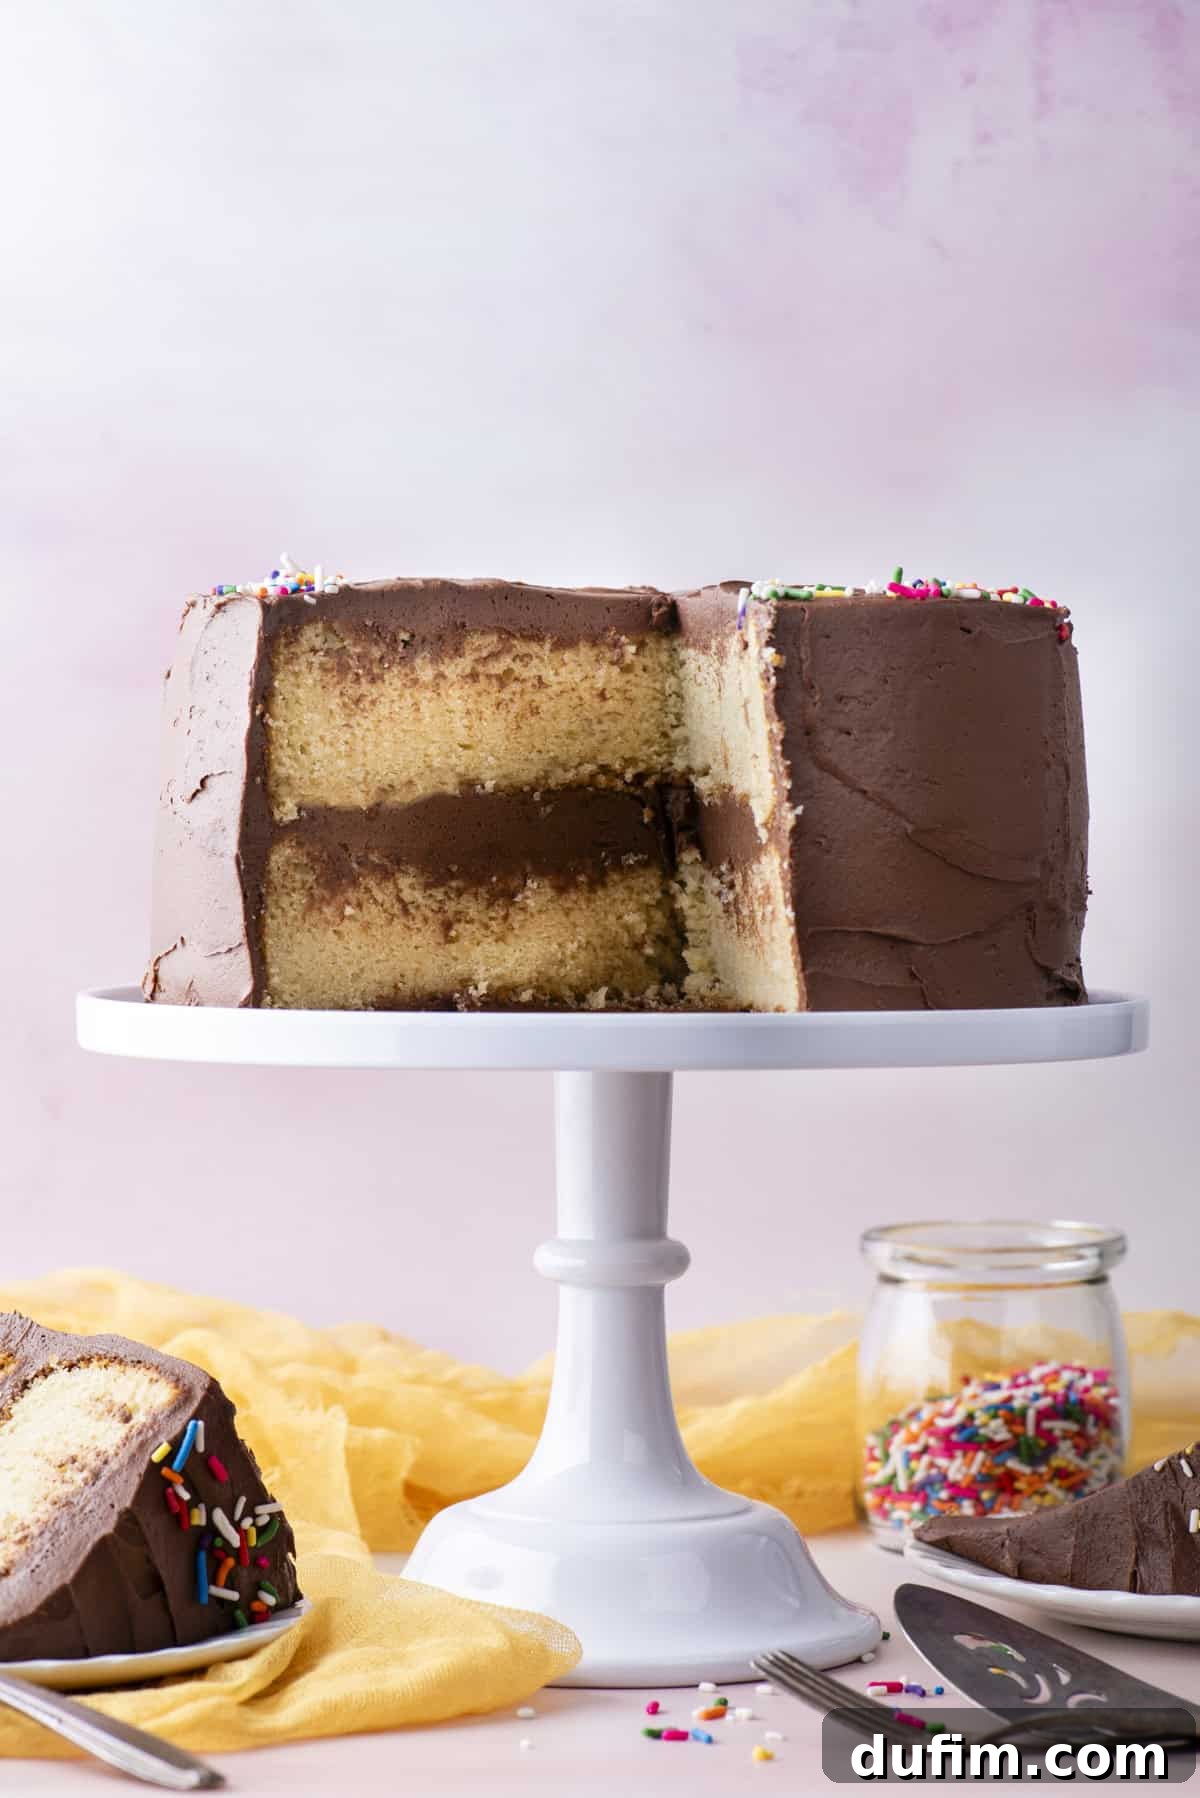
Step-by-Step Guide: Baking Your Perfect Gluten-Free Cake
Don’t be intimidated by baking a layer cake – especially a gluten-free one! This recipe breaks down the process into clear, manageable steps, ensuring a successful and enjoyable baking experience. From preparing your pans to the final frosting flourish, I’ll walk you through everything you need to know. Precision and attention to detail at each stage will guarantee you a spectacular gluten-free cake every time. For the complete recipe details, refer to the comprehensive recipe card below.
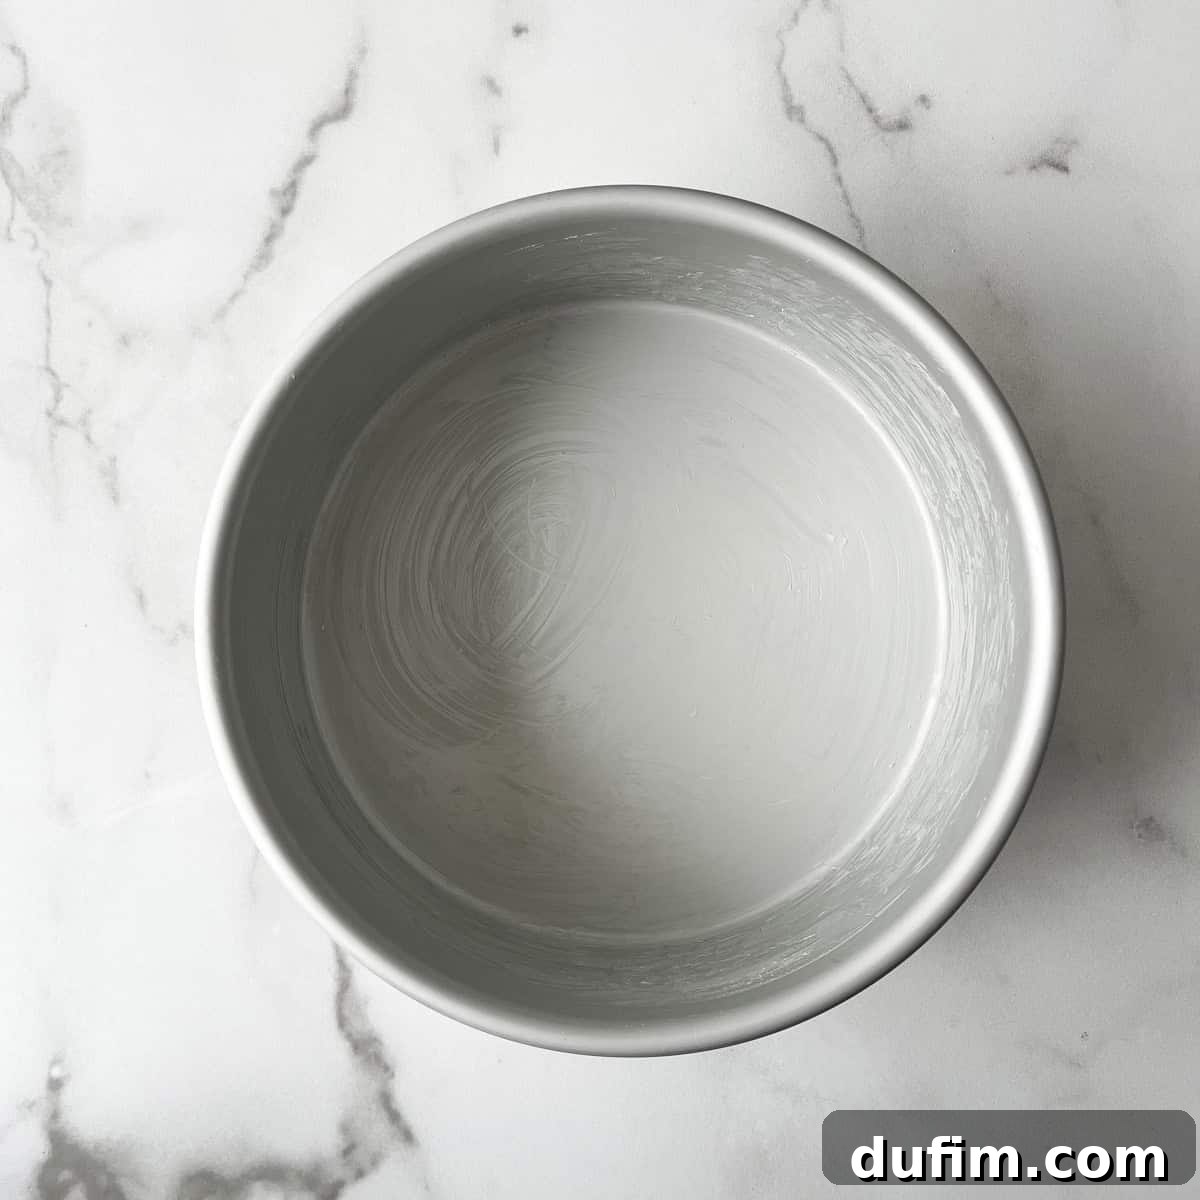
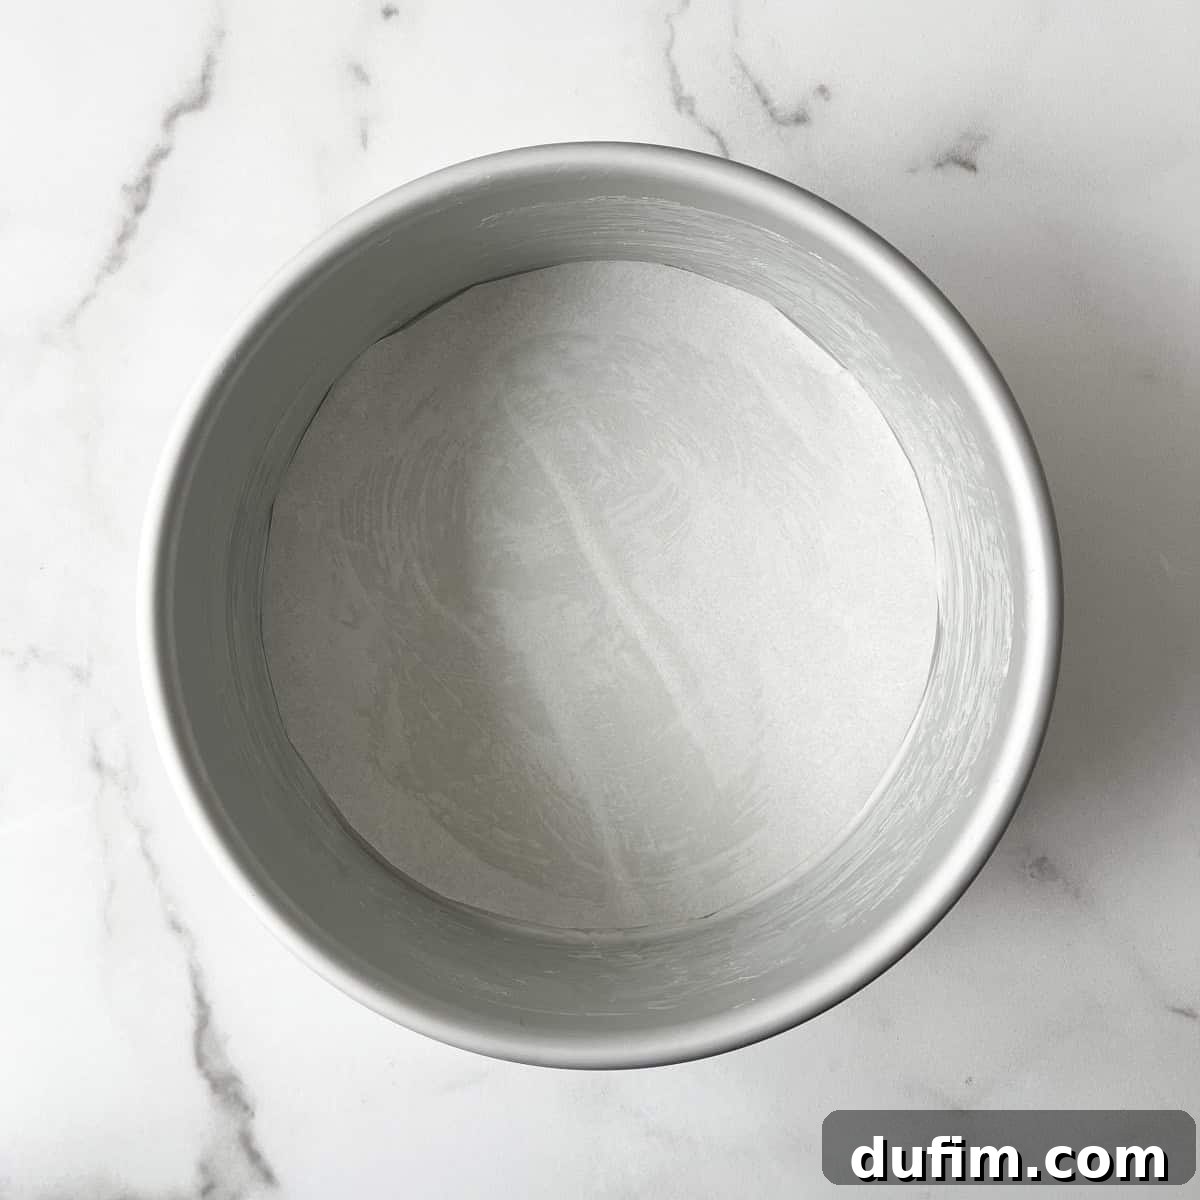
- Prepare Your Oven and Pans: Begin by preheating your oven to 350º F (175º C). This ensures the oven is at the correct temperature when your batter is ready, crucial for an even rise and proper cake structure. Thoroughly grease two or three 8-inch springform pans with unsalted butter, covering both the sides and the bottom completely. Then, for effortless cake removal and to prevent any sticking, line the bottom of each pan with a precisely cut circle of parchment paper. Set these prepared pans aside.
- Combine Dry Ingredients: In a medium mixing bowl, whisk together the gluten-free measure-for-measure flour, cornstarch, baking powder, baking soda, and salt. Whisking ensures these dry ingredients are thoroughly combined and evenly distributed throughout the mixture, which is vital for proper leavening and a uniform cake texture.
- Cream Wet Ingredients (Part 1): In a large mixing bowl, combine the softened room-temperature unsalted butter, granulated sugar, and vegetable oil. Using an electric mixer (either handheld or stand mixer), beat these ingredients together on medium speed for 1-2 minutes until the mixture is light, pale, and visibly fluffy. This creaming process incorporates essential air into the mixture, creating tiny air bubbles that contribute to a lighter, more tender cake crumb.
- Incorporate Remaining Wet Ingredients: To the fluffy butter mixture, add the room-temperature eggs, sour cream, milk, and vanilla extract. Continue beating with the electric mixer on medium-low speed until all ingredients are well combined and the mixture appears smooth and homogenous. It’s important to avoid overmixing at this stage to prevent developing the starches too much.
- Gently Combine Wet and Dry: Gradually add the whisked dry ingredient mixture to the wet ingredients. Mix on low speed, just until the flour is fully incorporated and no dry streaks remain in the batter. Be careful not to overmix the batter, as this can lead to a tougher, denser cake. A few small lumps are generally acceptable.
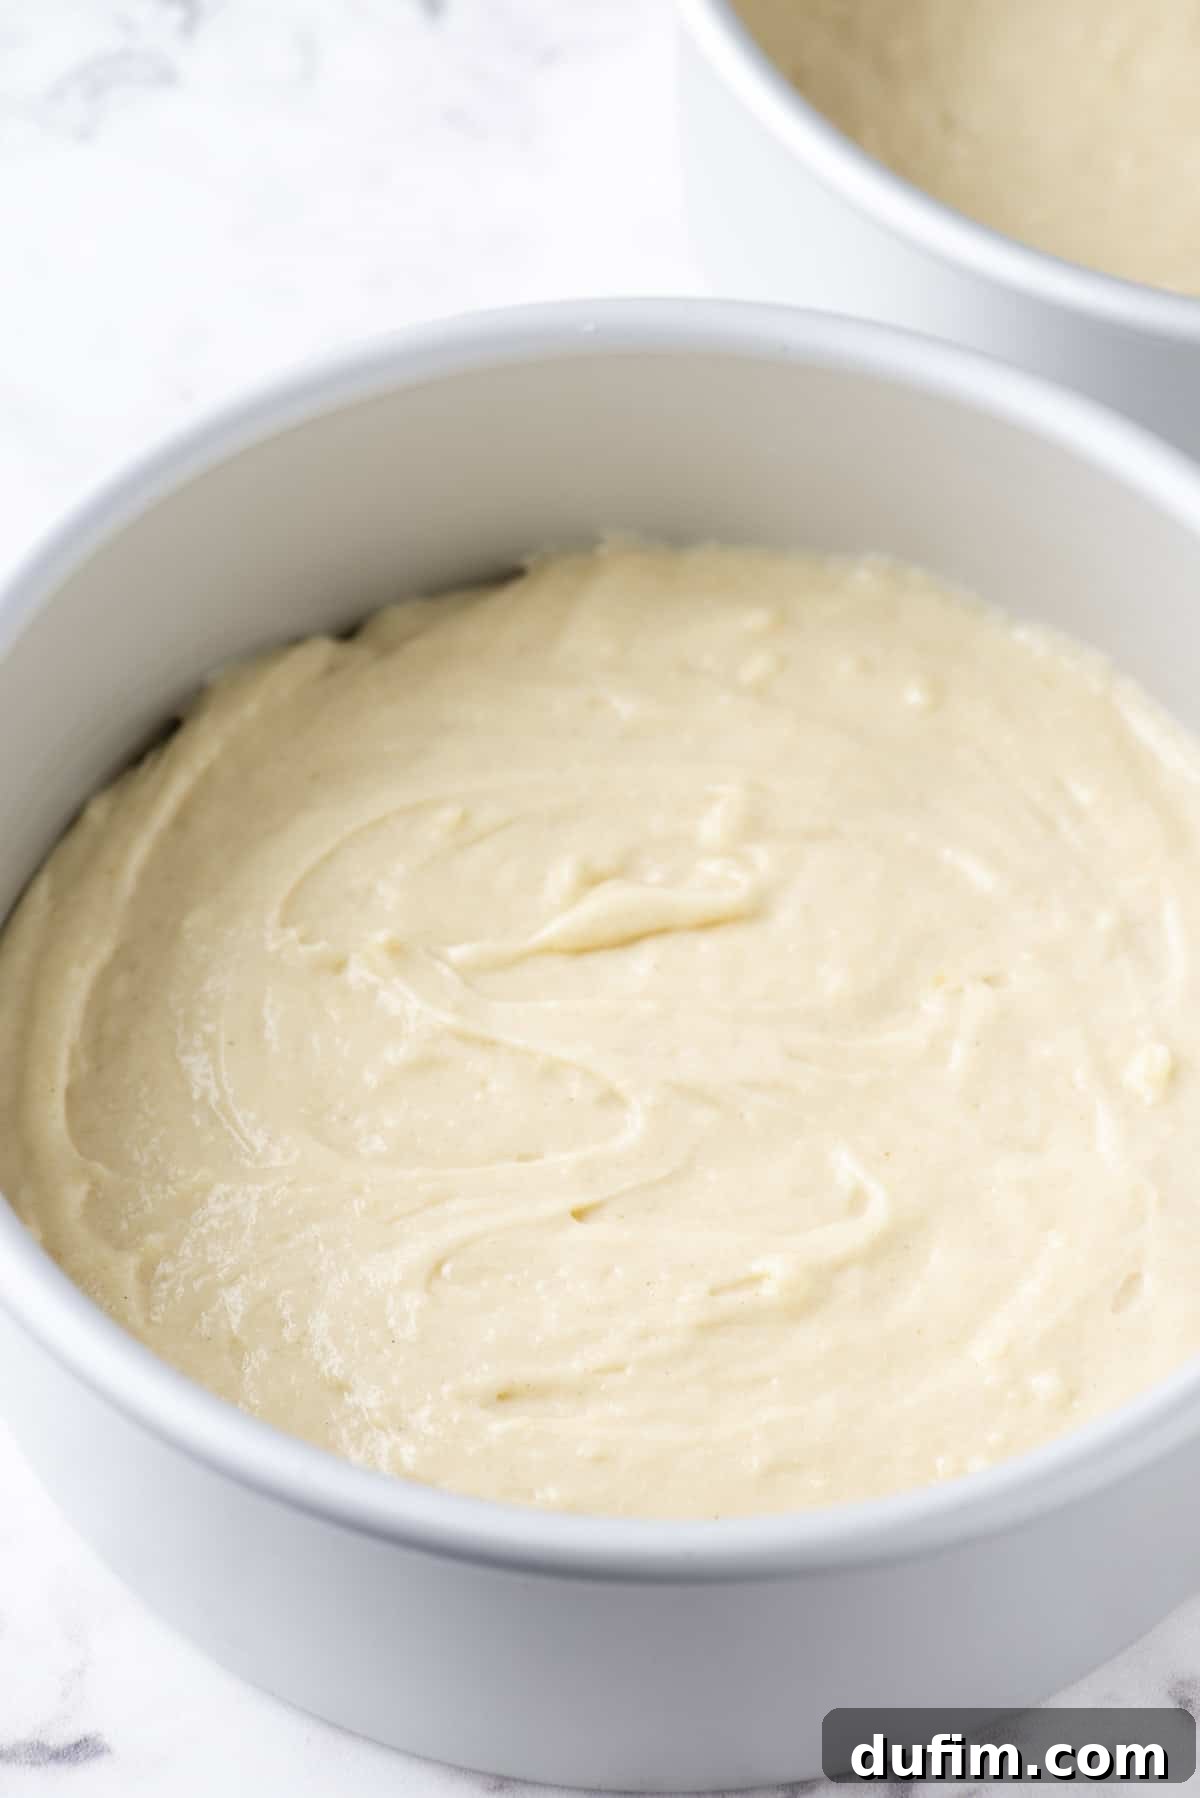
- Divide and Prepare for Baking: Evenly divide the cake batter among your prepared pans. For accurate division, using a kitchen scale is ideal, or if measuring by volume: if you are using two 8-inch pans, aim for approximately 3 cups of batter per pan. If you opt for three 8-inch pans, distribute about 2 cups of batter into each. For a perfectly flat cake top, consider securing bake-even cake strips (soaked in water) around the outside of your pans, following the product instructions.
- Bake to Golden Perfection: Place the pans in the center of your preheated oven. The baking time will vary depending on the number of layers you are making. For two layers, bake for 40-50 minutes. For three layers, bake for 32-37 minutes. The cakes are done when a wooden toothpick or thin skewer inserted into the very center comes out clean, with no wet batter attached.
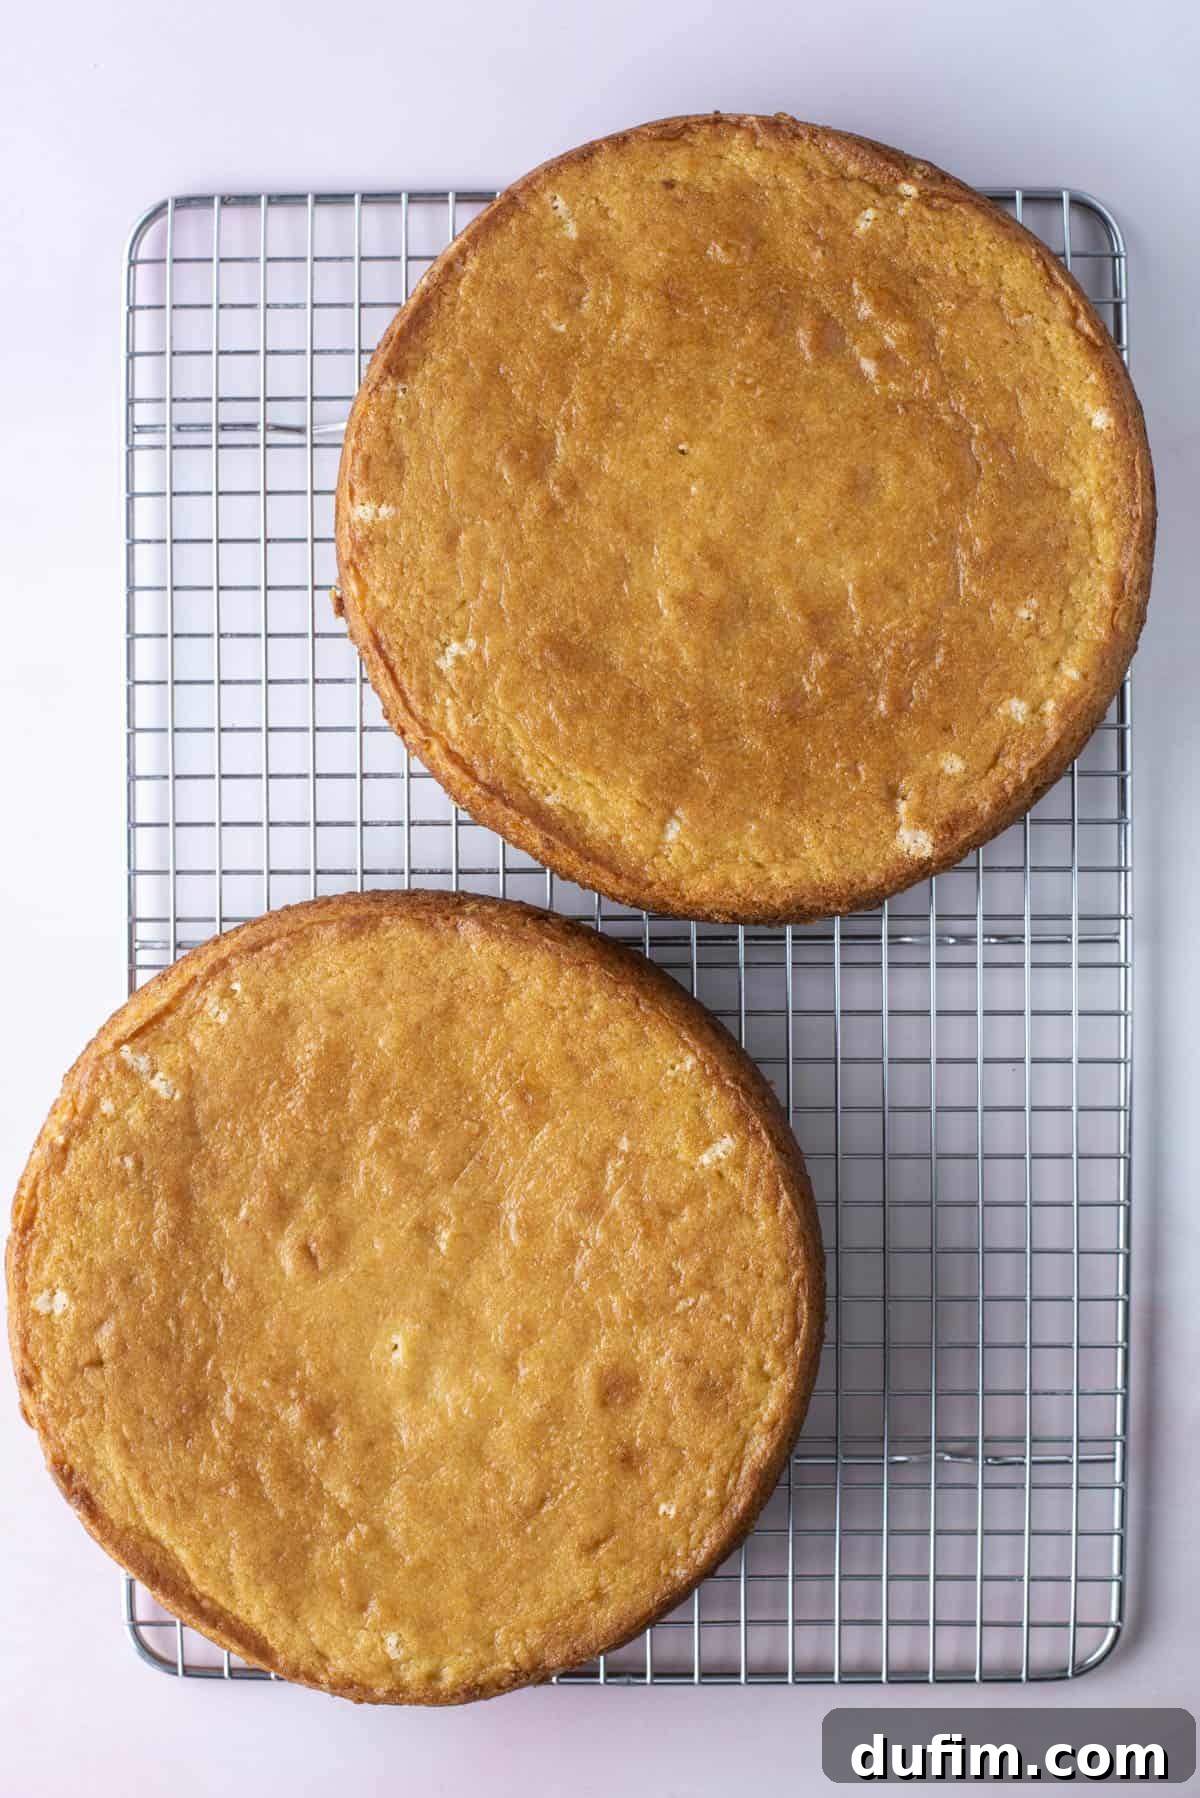
- Cool Completely: Allow the cakes to cool in their pans on a wire rack for 20-30 minutes. This resting period helps the cakes set and firm up, making them less fragile and easier to handle. After this initial cooling, use a small, thin spatula or knife to gently loosen the cake from the edges of the pan. Carefully remove the cakes from the pans and transfer them directly to the wire rack to cool completely. Ensure they are entirely cool to the touch before attempting to frost, as warm cake will cause your frosting to melt and slide right off!
Crafting the Fluffy Vanilla Buttercream Frosting
- Initial Frosting Mix: In a large mixing bowl, combine the room-temperature unsalted butter, vanilla extract, and salt. Using an electric mixer, beat these ingredients together on medium-high speed for 1-2 minutes until the mixture becomes light, creamy, and visibly fluffy. This incorporates crucial air, making the frosting wonderfully airy and easy to spread.
- Gradual Sugar Addition: With the mixer on low speed, gradually add the powdered sugar, one cup at a time, mixing until fully incorporated after each addition. Once about half the sugar is added, incorporate 3 tablespoons of heavy cream or milk. Continue adding the remaining powdered sugar gradually, mixing until smooth.
- Achieve Desired Consistency and Flavor: After all the powdered sugar is added, increase the mixer speed to medium-high and beat for another 1-2 minutes until the frosting is exceptionally light and fluffy. Taste the frosting and adjust for sweetness if desired by adding a little more powdered sugar (or a tiny pinch more salt if too sweet). If the frosting appears too thick or stiff for easy spreading, add an additional 2-4 tablespoons of milk or heavy cream, one tablespoon at a time, mixing thoroughly after each addition until you reach your preferred smooth, spreadable consistency.
Assembling Your Masterpiece
- Level Your Cake Layers: For a professional-looking cake with perfectly even layers, it’s often necessary to level the cooled cakes. Use a serrated knife or a specialized cake leveler to carefully trim any domed tops, creating flat, uniform surfaces. This step makes stacking and frosting much easier and results in a more aesthetically pleasing cake.
- Layering with Frosting: To prevent your beautiful cake from shifting or sliding, spread a small amount of frosting onto the center of your cake plate or stand; this acts as an adhesive “glue.” Carefully place your first leveled cake layer on top of this frosting base, pressing gently. Measure out ¾ to 1 cup of frosting and spread it evenly over the top surface of the first layer, extending cleanly to the edges. Gently place the second cake layer on top, aligning it carefully. Spread another ¾ to 1 cup of frosting evenly over this second layer. Finally, use the remaining frosting to generously cover the sides and top of the entire cake, smoothing it out with an offset spatula for a clean, polished finish. Decorate with sprinkles, fresh fruit, or other garnishes as desired.
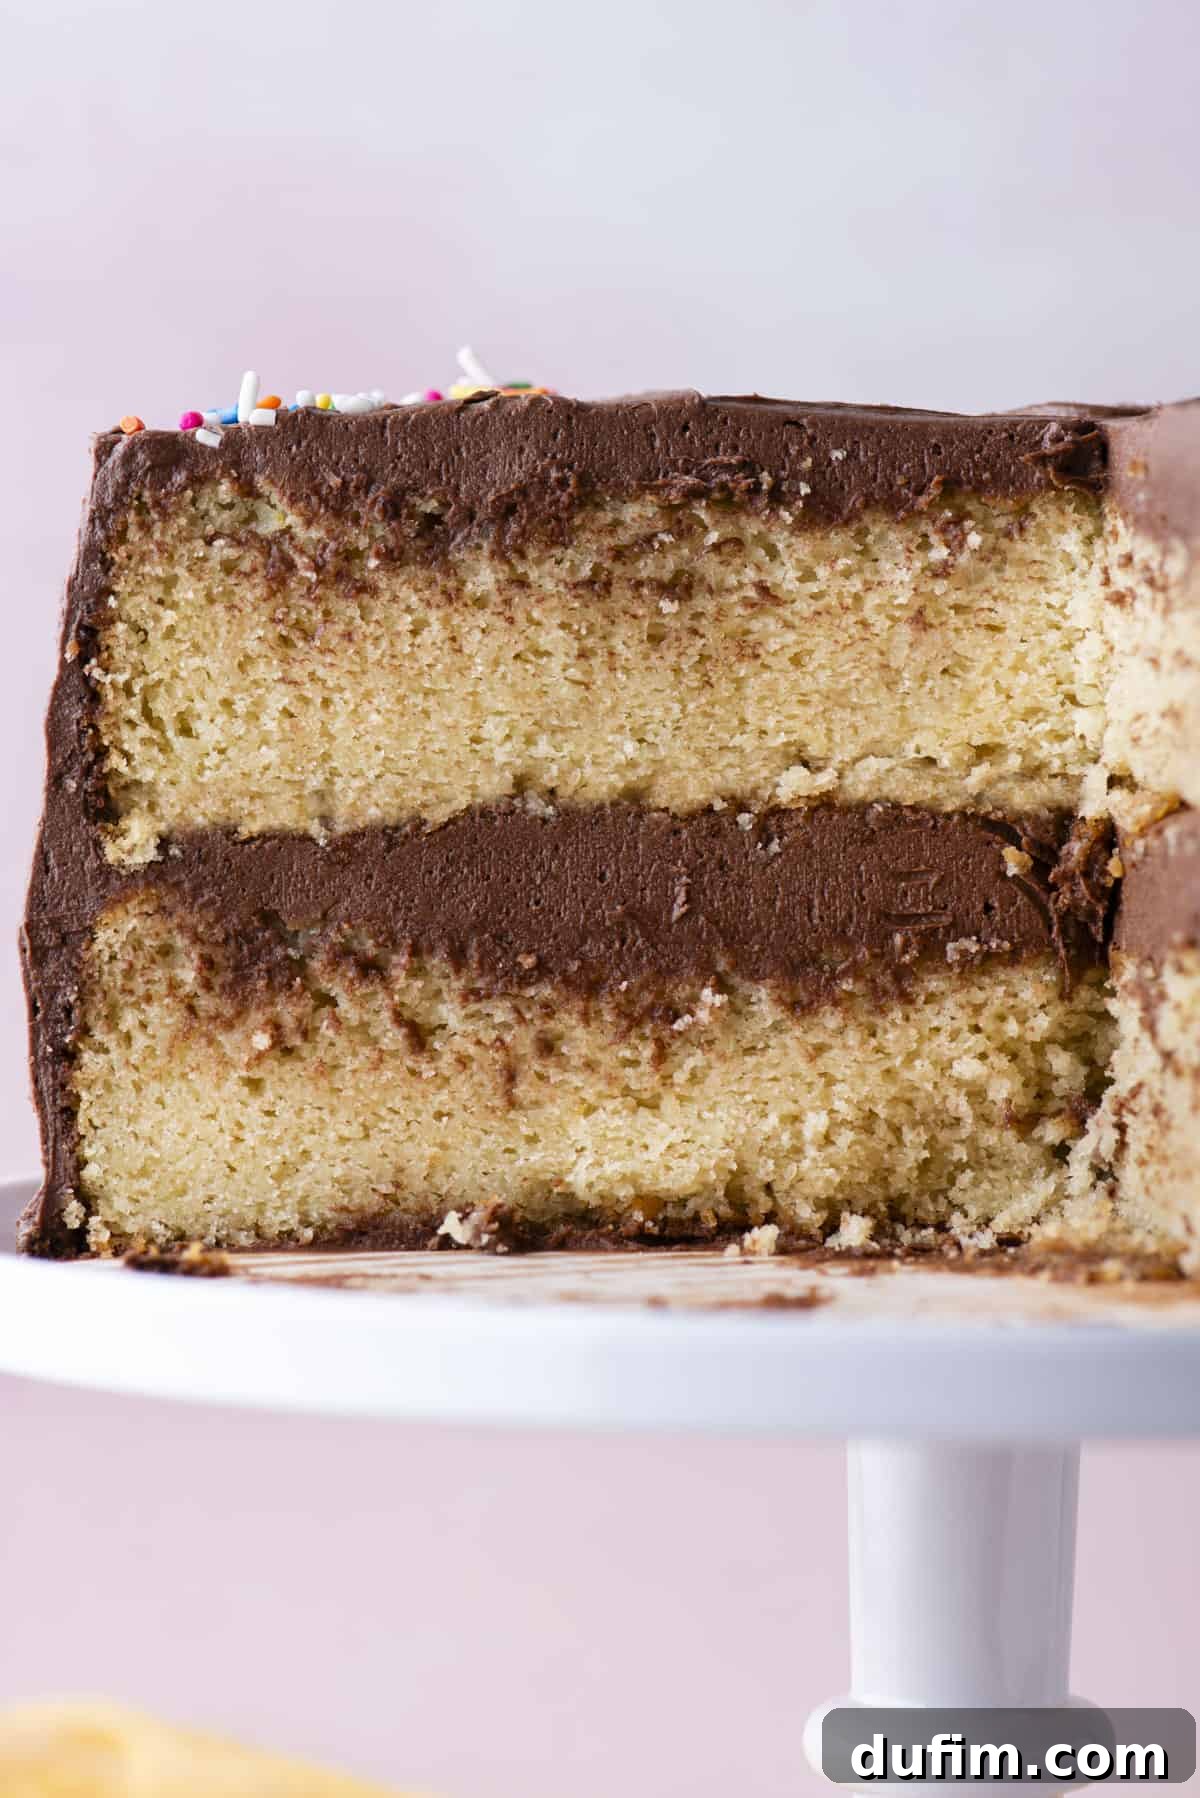
My Expert Tips for Baking the Best Gluten-Free Cake
Achieving a truly exceptional gluten-free cake goes beyond just following a recipe; it involves understanding a few crucial techniques. These tried-and-true tips, honed over years of gluten-free baking, will help you avoid common pitfalls and ensure your cake is nothing short of perfect every single time. Incorporating these practices will elevate your gluten-free baking to a new level of confidence and deliciousness.
- Select the Right Gluten-Free Flour Blend: This is perhaps the most critical component. Your chosen gluten-free flour blend MUST contain xanthan gum. Xanthan gum acts as a binder, mimicking the elasticity that gluten provides, preventing your cake from becoming crumbly and giving it a desirable chew. I cannot recommend King Arthur’s Gluten Free Measure for Measure Flour enough; it’s specifically designed for a cup-for-cup substitution in traditional recipes and delivers consistently excellent results. Be aware that different gluten-free flours (like those predominantly made from rice, corn, or bean flours) can drastically alter the flavor and texture, sometimes resulting in a gritty mouthfeel or an off-putting taste. Always opt for a high-quality, reputable brand designed for baking.
- Master the Spoon and Level Method for Flour: Accuracy in measuring gluten-free flour is paramount for the correct cake consistency. Do NOT scoop directly from the bag with your measuring cup, as this compacts the flour and can lead to using significantly too much in your recipe. Instead, gently spoon the flour into your measuring cup until it’s overflowing, then use the back of a straight knife or a flat edge to level off the excess. This ensures you have the precise, lighter amount needed for the perfect tender texture.
- Do Not Skip the Cornstarch: This seemingly small addition makes a world of difference! Cornstarch is a key ingredient for achieving that desired fluffy, tender, and delicate crumb. It softens the texture without compromising the cake’s structure, making your gluten-free cake light, airy, and truly delightful.
- Bake in the Center of Your Oven: For even heat distribution and consistent baking, always place your cake pans on the middle rack of your oven. This position minimizes the effects of hot spots at the top or bottom of the oven, preventing the edges from over-baking or the center from under-baking. An evenly baked cake ensures a uniform texture.
- Cream Butter, Sugar, and Oil Until Fluffy: This step is non-negotiable for a well-risen cake. Vigorously beating the room-temperature butter, sugar, and vegetable oil together for 1-2 minutes until light and fluffy incorporates tiny air bubbles into the mixture. These air bubbles expand during baking, providing natural lift and ensuring your gluten-free cake isn’t dense or flat, giving it a lovely airy structure.
- Use Room Temperature Eggs: Just like butter, eggs should be at room temperature. Cold eggs can shock the other ingredients (especially butter), causing the butter to seize and resulting in a lumpy, uneven batter that won’t emulsify properly. Room temperature eggs emulsify much better, creating a smooth, homogenous batter that bakes evenly and contributes to a finer crumb structure. If you forget to take them out, place them in a bowl of warm (not hot!) water for 5-10 minutes.
- Allow Cakes to Cool Completely Before Frosting: Patience is a virtue in baking, especially when it comes to cooling. Attempting to frost a warm cake is a recipe for disaster; your frosting will melt and slide right off, creating a messy situation. Ensure your cake layers are absolutely cool to the touch (this can take 1-2 hours) before you even think about applying that delicious frosting.
- Don’t Overmix the Batter: Once you add the dry ingredients to the wet, mix only until just combined. Overmixing develops the starches in gluten-free flour (even without gluten, starches can become tough), which can lead to a tougher, denser cake with less desirable texture. A few small lumps in the batter are perfectly fine and often preferred.
- Check for Doneness Accurately: While baking times are a good guide, oven temperatures can vary significantly. Always rely on the toothpick test: insert a wooden toothpick or a thin skewer into the very center of the cake. If it comes out clean or with a few moist crumbs attached, your cake is done. If there’s wet batter, continue baking for a few more minutes and re-test.
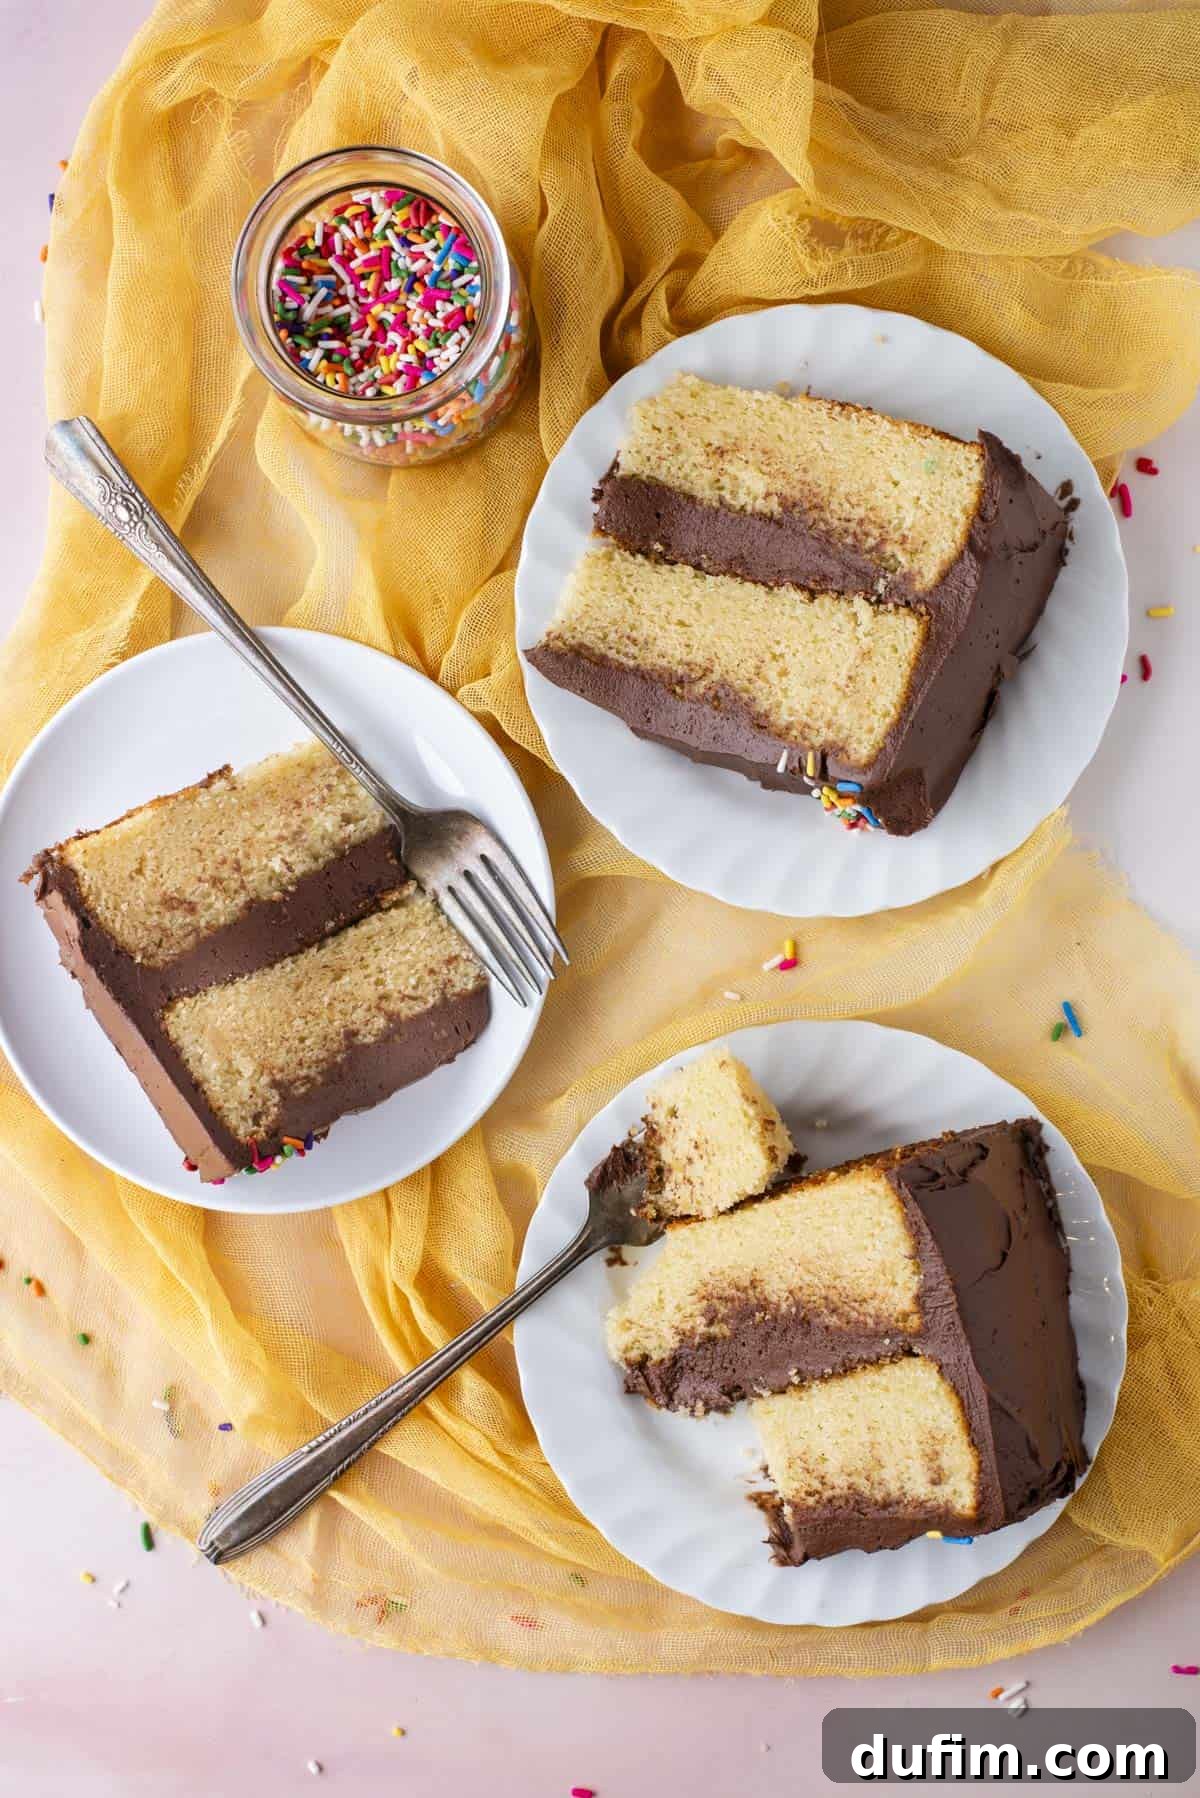
Perfect Frosting Pairings for Your Gluten-Free Birthday Cake
One of the joys of a classic yellow cake is its incredible versatility when it comes to frosting. While my recommended vanilla buttercream is always a winner and a fantastic choice, this robust and flavorful gluten-free cake pairs beautifully with almost any icing you can imagine. Its subtle sweetness and tender crumb provide a wonderful base for a myriad of flavors and textures. Feel free to get creative and choose a frosting that perfectly suits your occasion, taste preferences, or the theme of your celebration. Here are some of my top recommendations to inspire your next baking adventure:
- Classic Vanilla Frosting: A timeless and elegant choice that beautifully highlights the cake’s subtle vanilla notes without overpowering them.
- Fresh Strawberry Cream Cheese Frosting: Light, fruity, and wonderfully tangy, this frosting is perfect for spring or summer celebrations, adding a burst of fresh berry flavor.
- Decadent Oreo Frosting: A fun and indulgent option for cookie lovers! Just ensure you use certified gluten-free Oreo-style cookies for this one to keep the entire cake gluten-free.
- Tangy Cream Cheese Frosting: A rich and slightly tart frosting that adds wonderful depth, moisture, and a luxurious creamy texture to any cake.
- Creamy Peanut Butter Frosting: For the ultimate peanut butter lovers, a rich, nutty, and slightly salty complement to the sweet cake that creates a delightful flavor combination.
- Zesty Lemon Frosting: Bright, refreshing, and adds a delightful citrus zing that cuts through the sweetness and provides a lovely contrast.
- Rich Chocolate Frosting: The ultimate classic pairing that never disappoints. A deep cocoa flavor perfectly balances the vanilla cake for a universally adored dessert.
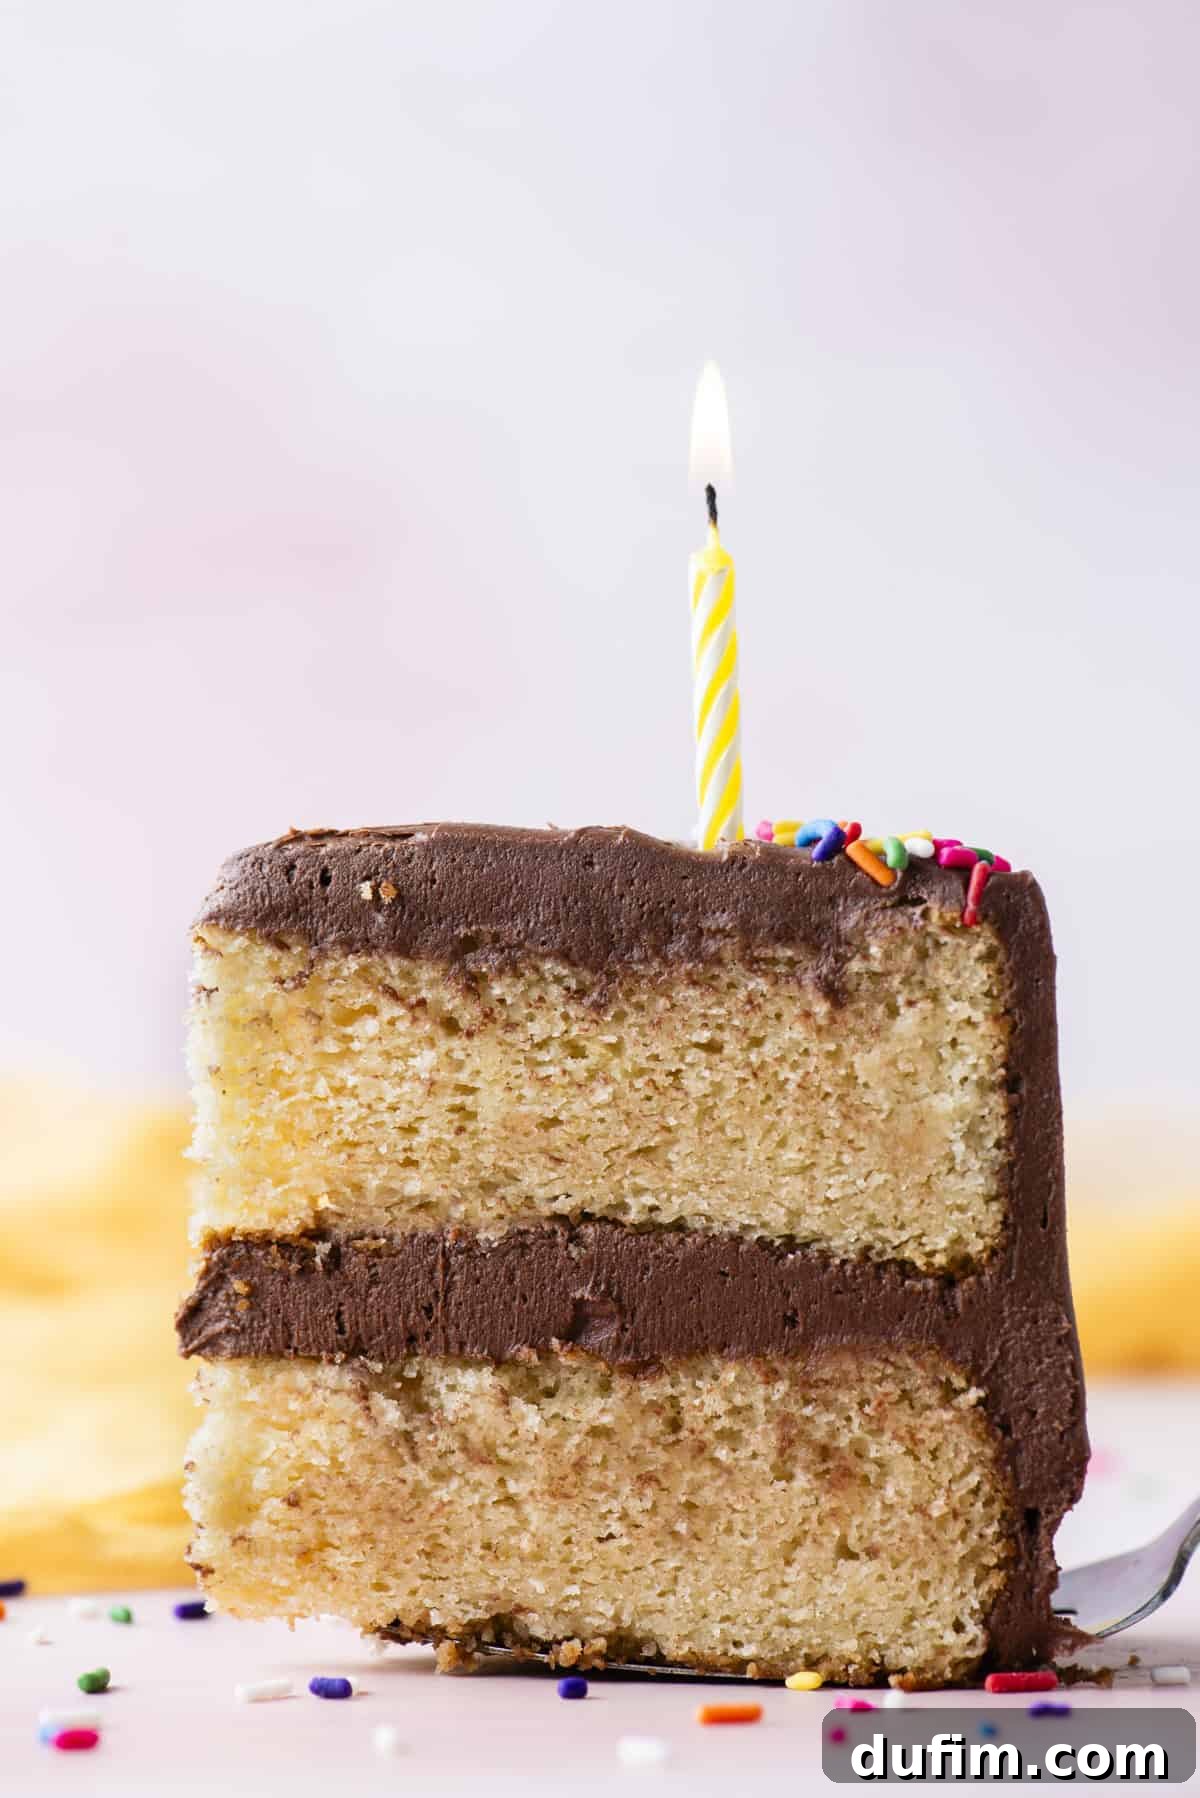
Storing Your Gluten-Free Vanilla Cake for Lasting Freshness
One of the best qualities of this gluten-free vanilla cake is how wonderfully it keeps. Proper storage ensures that every slice remains as moist and delicious as the first, making it perfect for enjoying over several days or for meal prepping your desserts. Here’s how to store your leftover cake to maximize its freshness and flavor:
For optimal results, whether the cake is whole or sliced, store any leftover cake in an airtight container. This crucial step prevents air exposure, which is the primary culprit behind dry cake and stale flavors. Place the airtight container in the refrigerator, where the cake will remain incredibly soft, moist, and flavorful for up to one week. Even when chilled, the unique blend of ingredients in this recipe, including sour cream and vegetable oil, helps the cake retain its tender crumb without drying out or becoming stiff. For an extra touch of indulgence, you can bring individual slices to room temperature for about 15-20 minutes before serving; this allows the flavors to fully bloom and the texture to soften even further, enhancing your eating experience.
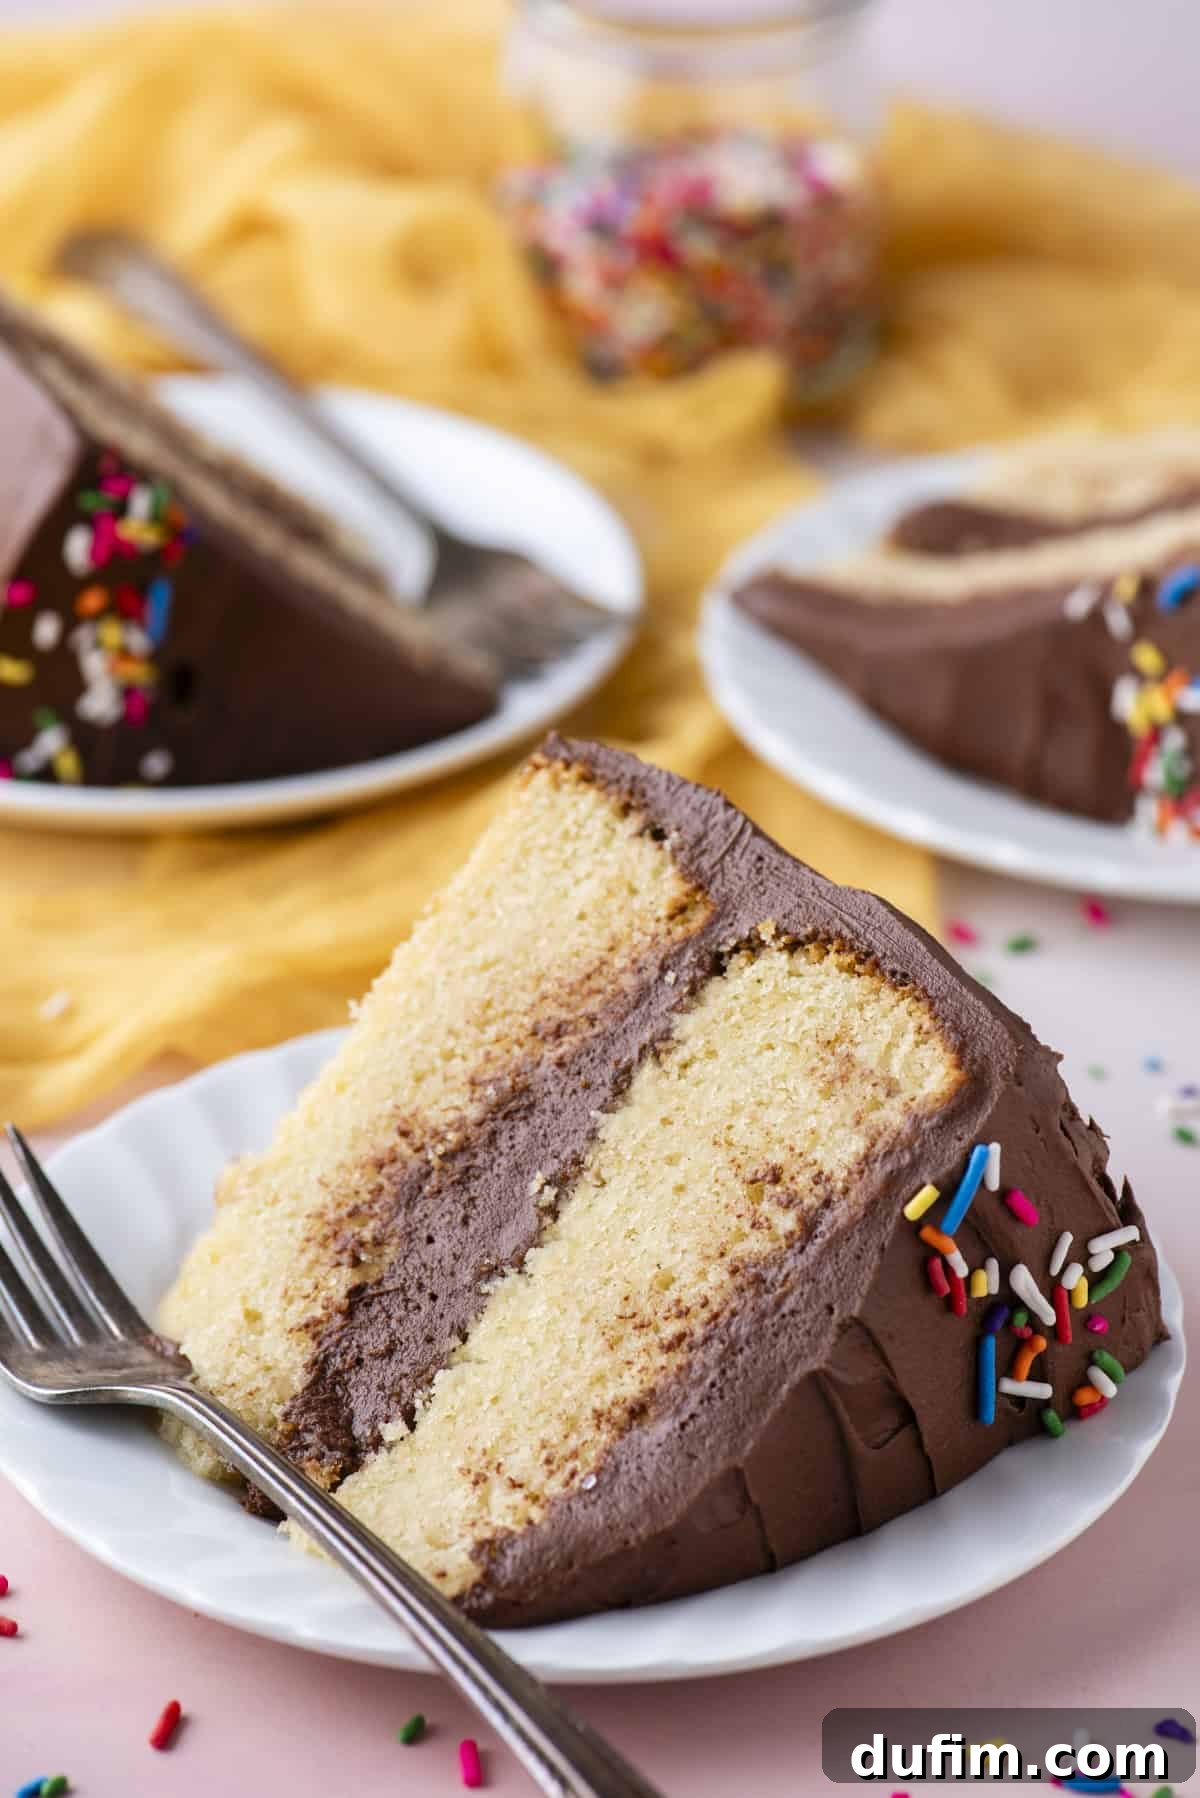
Frequently Asked Questions About Gluten-Free Vanilla Cake
While some gluten-free cakes can indeed taste different from their traditional counterparts, my primary goal in developing this recipe was to create a gluten-free cake that perfectly mirrors the beloved taste and texture of a classic vanilla cake. The result is a truly remarkable cake featuring a light, incredibly tender, and moist crumb that will satisfy even the most discerning palate. When you use a high-quality gluten-free flour blend that’s specifically designed for baking (and contains xanthan gum), you’ll find that this gluten-free cake is virtually indistinguishable from a regular cake. Many tasters wouldn’t even guess it’s gluten-free!
Keeping gluten-free cakes moist is a cornerstone of this recipe’s success! I achieve unparalleled moisture by strategically incorporating several key ingredients that are known for their hydrating properties: rich sour cream, moistening vegetable oil, and full-fat whole milk. These components work in harmony, adding fat and liquid that coat the starch molecules, preventing them from drying out and ensuring every bite of your gluten-free cake is tender, succulent, and far from dry.
The secret to a non-crumbly gluten-free cake lies in a precise balance of ingredients and careful technique. This recipe focuses on several critical elements: ensuring adequate fat content (from butter, oil, and sour cream) to bind ingredients, using the correct proportions of leavening agents (baking powder and soda) for structure, and crucially, selecting a high-quality gluten-free flour blend that includes xanthan gum. Xanthan gum acts as the “glue” that gluten provides, preventing the cake from falling apart. Additionally, the inclusion of cornstarch further enhances the cake’s structure, contributing to a fluffier, more tender, and delicate crumb that holds together beautifully.
Absolutely! This gluten-free cake is an excellent choice for making in advance, which can significantly ease party planning or allow for impromptu treats. You can bake the cake layers up to 2-3 days ahead of time. Once completely cooled, wrap each layer tightly in plastic wrap and store them at room temperature, or in the refrigerator for longer storage. For extended freshness, the unfrosted layers can also be frozen for up to 2-3 months. Just be sure to thaw them completely (preferably overnight in the refrigerator) before frosting and assembling. The assembled and frosted cake can be stored in an airtight container in the refrigerator for up to a week.
A sinking cake can be frustrating, but it’s often a common issue with clear solutions. Common culprits include opening the oven door too early (before the cake has properly set), an oven temperature that’s too low or inconsistent, or incorrect measurement of leavening agents. To prevent this, ensure your oven is accurately calibrated with an oven thermometer and resist the urge to peek during the first two-thirds of the baking time. Also, double-check your baking powder and baking soda measurements, as too much or too little can affect the cake’s delicate structure and ability to hold its rise.
While some substitutions are possible in baking, for best results with this gluten-free cake, it’s highly recommended to stick to the recipe as written, especially concerning the gluten-free flour blend and fats. Substituting different types of gluten-free flour, for example, can drastically alter the texture and moisture. For milk, you can use a dairy-free alternative like almond or soy milk, though the richness might slightly differ. If you make any substitutions, be aware that the final texture and taste might vary from the intended result.
Explore More Delicious Gluten-Free Recipes
If you’ve loved mastering this perfectly moist gluten-free cake, you’ll be delighted to discover many other fantastic gluten-free treats that are just as easy and delicious to make. Expanding your gluten-free baking repertoire is simple and exciting with these tried-and-tested recipes from my kitchen:
- Fluffy Gluten-Free Banana Muffins: Perfect for breakfast or a snack.
- Classic Gluten-Free Chocolate Chip Cookies: A timeless favorite with a perfect chew.
- Delightful Gluten-Free Sugar Cookie Cut Outs: Ideal for holidays and decorating.
- Irresistible Gluten-Free Donuts: A sweet treat to start your day or enjoy as a dessert.
- Chewy Gluten-Free Brownies: Rich, fudgy, and utterly satisfying.
- Light and Fluffy Gluten-Free Pancakes: The ultimate weekend breakfast.
- Vanilla Gluten-Free Cupcakes: All the joy of cake in a portable format.
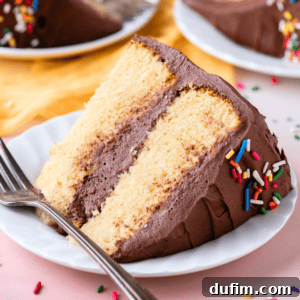
Gluten-Free Vanilla Cake Recipe
Beth
15 minutes
35-50 minutes
16 slices
Print Recipe
Equipment
-
Large Glass Mixing Bowl
-
Electric Mixer (Handheld or Stand)
-
Rubber Spatula
-
Two or Three 8-inch Springform Pans
-
Parchment Paper
-
Wire Cooling Rack
-
Serrated Knife or Cake Leveler
Ingredients
For the Gluten-Free Vanilla Cake
- 2 ½ cups (300g) gluten-free measure-for-measure flour (e.g., King Arthur’s, containing xanthan gum)
- ¼ cup (28g) cornstarch
- 2 tsp baking powder
- ½ tsp baking soda
- 1 tsp salt
- ¾ cup (170g) unsalted butter (room temperature)
- 1 ¾ cups (347g) granulated sugar
- ½ cup (118ml) vegetable oil
- 4 large eggs (room temperature)
- 1 cup (227g) sour cream
- ½ cup (118ml) milk (whole milk preferred)
- 1 Tbsp pure vanilla extract
For the Fluffy Vanilla Buttercream Frosting
- 2 ½ cups (565g) unsalted butter (room temperature, softened)
- 2 Tbsp pure vanilla extract
- ⅛ tsp salt
- 6-10 cups (681-1135g) powdered sugar (sifted for best results)
- 3-6 Tbsp milk or heavy cream (as needed to reach desired consistency)
Instructions
For the Gluten-Free Vanilla Cake
-
Prep Oven and Pans: Preheat your oven to 350º F (175º C). Generously grease two or three 8-inch springform pans with unsalted butter, ensuring the sides and bottom are well coated. Line the bottom of each pan with a circular piece of parchment paper for effortless cake release. Set aside.
-
Combine Dry Ingredients: In a small mixing bowl, thoroughly whisk together the gluten-free measure-for-measure flour, cornstarch, baking powder, baking soda, and salt until well combined.
-
Cream Butter, Sugar, and Oil: In a large mixing bowl, combine the room-temperature unsalted butter, granulated sugar, and vegetable oil. Using an electric mixer, beat on medium speed for 1-2 minutes until the mixture is visibly light and fluffy.
-
Mix in Wet Ingredients: Add the room-temperature eggs, sour cream, milk, and vanilla extract to the creamed mixture. Beat with the electric mixer on low speed until just combined and smooth.
-
Combine Wet and Dry: Gradually add the whisked dry flour mixture to the wet ingredients. Mix on low speed just until the flour is fully incorporated and the batter is smooth. Be careful not to overmix.
-
Divide Batter: Evenly divide the cake batter among your prepared pans. For 2 pans, use approximately 3 cups of batter per pan. For 3 pans, use about 2 cups of batter per pan. If using bake-even cake strips, secure them around the outside of the pans.
-
Bake: Bake in the preheated oven. For 2 layers, bake for 40-50 minutes. For 3 layers, bake for 32-37 minutes. The cake is ready when a toothpick inserted into the center comes out clean.
-
Cool: Allow the baked cakes to cool in their pans on a wire rack for 20-30 minutes. Then, gently loosen the edges with a small spatula and invert the cakes onto the wire rack to cool completely before frosting.
For the Fluffy Vanilla Buttercream Frosting
-
Begin Mixing: In a mixing bowl, combine the room-temperature unsalted butter, vanilla extract, and salt. Beat using an electric mixer until fluffy and pale, about 1-2 minutes.
-
Add Sugar and Cream: Gradually add the powdered sugar, one cup at a time, mixing on low until combined after each addition. Once half the sugar is incorporated, add 3 tablespoons of milk or heavy cream. Continue adding remaining sugar.
-
Adjust Consistency: Beat on medium-high for another 1-2 minutes until light and fluffy. Taste and add more powdered sugar if desired for sweetness. If the frosting is too thick, add 2-4 tablespoons more milk or heavy cream, one tablespoon at a time, until the desired spreading consistency is reached.
Assemble the Cake
-
Level Cakes (Optional): If necessary, use a cake leveler or a serrated knife to carefully level the cooled cake layers, ensuring flat tops for even stacking.
-
Stack and Frost: Spread a small dollop of frosting on your cake plate or stand to act as “glue.” Place one cake layer on top. Spread ¾ to 1 cup of frosting evenly over the first layer. Top with the second cake layer, and spread another ¾ to 1 cup of frosting on top. Use the remaining frosting to cover the sides and top of the entire cake, smoothing it with an offset spatula. Decorate as desired with sprinkles or other toppings!
Notes
Cornstarch is a vital ingredient in this recipe; it significantly contributes to a fluffier, more tender, and delicate cake crumb.
Ensure all cold ingredients, especially butter and eggs, are at room temperature for a smooth batter and even baking. This is critical for emulsification and texture.
Avoid overmixing the batter once the dry ingredients are added. Mix only until just combined to keep the cake tender and prevent toughness.
Nutrition Information (Approximate)
Calories: 725 kcal |
Carbohydrates: 70 g |
Protein: 3 g |
Fat: 50 g |
Saturated Fat: 27 g |
Polyunsaturated Fat: 6 g |
Monounsaturated Fat: 13 g |
Trans Fat: 2 g |
Cholesterol: 158 mg |
Sodium: 283 mg |
Potassium: 66 mg |
Fiber: 0.02 g |
Sugar: 67 g |
Vitamin A: 1363 IU |
Vitamin C: 0.1 mg |
Calcium: 74 mg |
Iron: 0.3 mg
Nutrition Disclosure
All nutritional values are approximate and provided to the reader as a courtesy. Changing ingredients and/or quantities will alter the estimated nutritional calculations.
Enjoyed this recipe? Please consider sharing it with friends and family!