
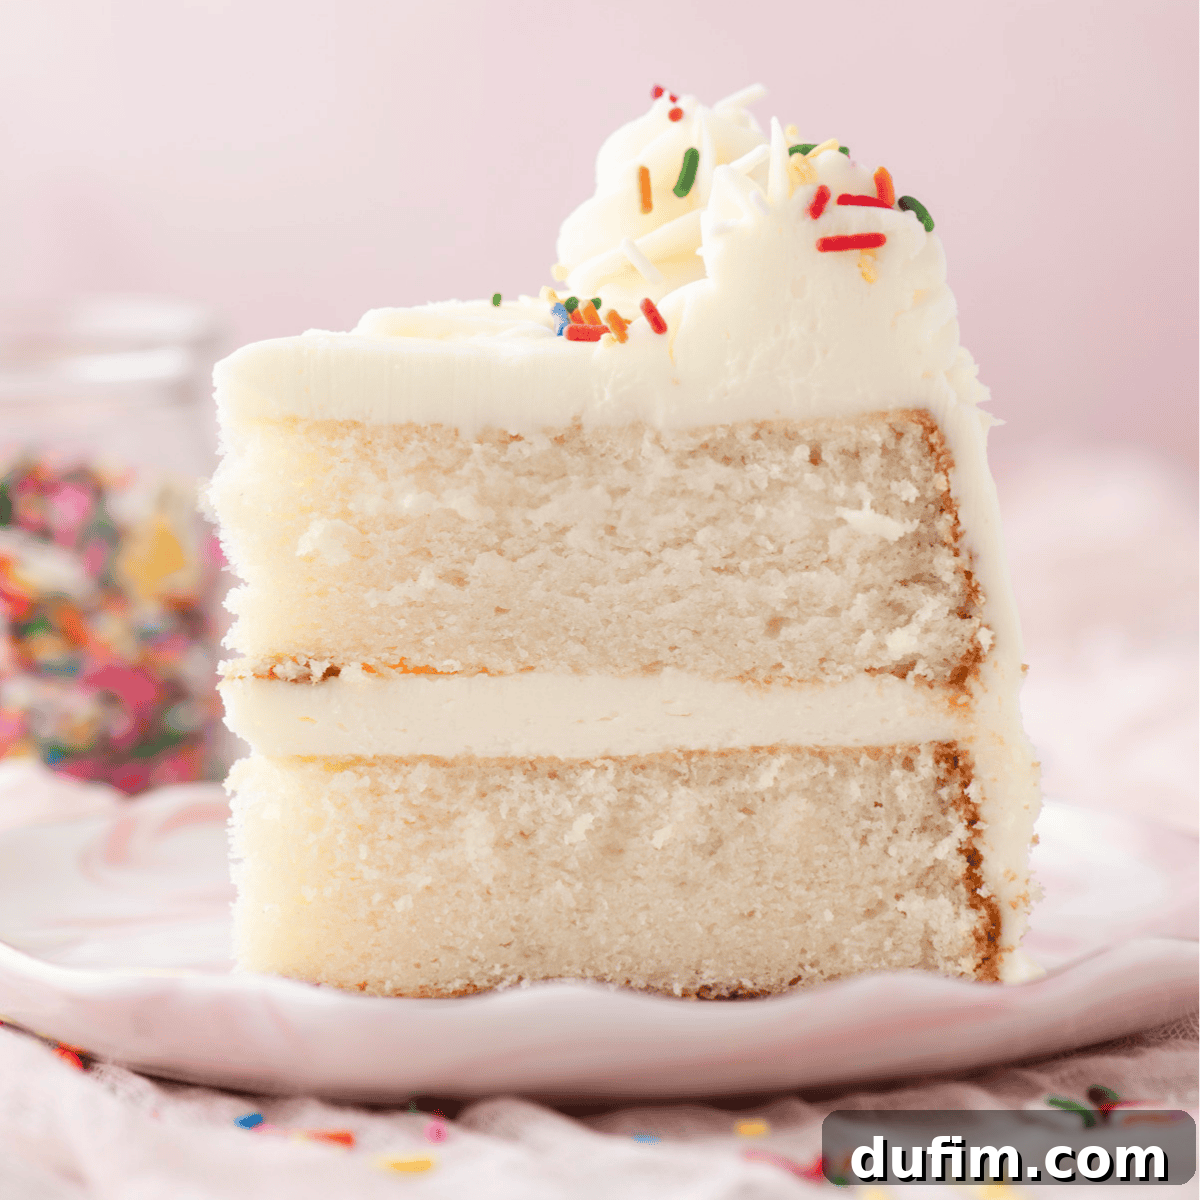
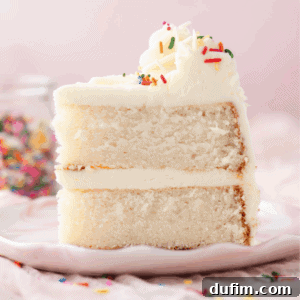
Every home baker dreams of a cake that’s not just delicious, but also visually stunning and utterly foolproof. Our journey to perfecting the classic white cake recipe began with a simple, yet profound, question from a reader: could my beloved vanilla cake transform into a pure white masterpiece? Instead of mere speculation, I embraced the challenge, heading straight to the kitchen for rigorous testing. The outcome? A magnificent, beautifully pale cake with an unbelievably light and fluffy texture, consistently baking to perfection. This recipe has undergone extensive testing, saving you the guesswork and ensuring a timeless dessert that’s cherished by all.
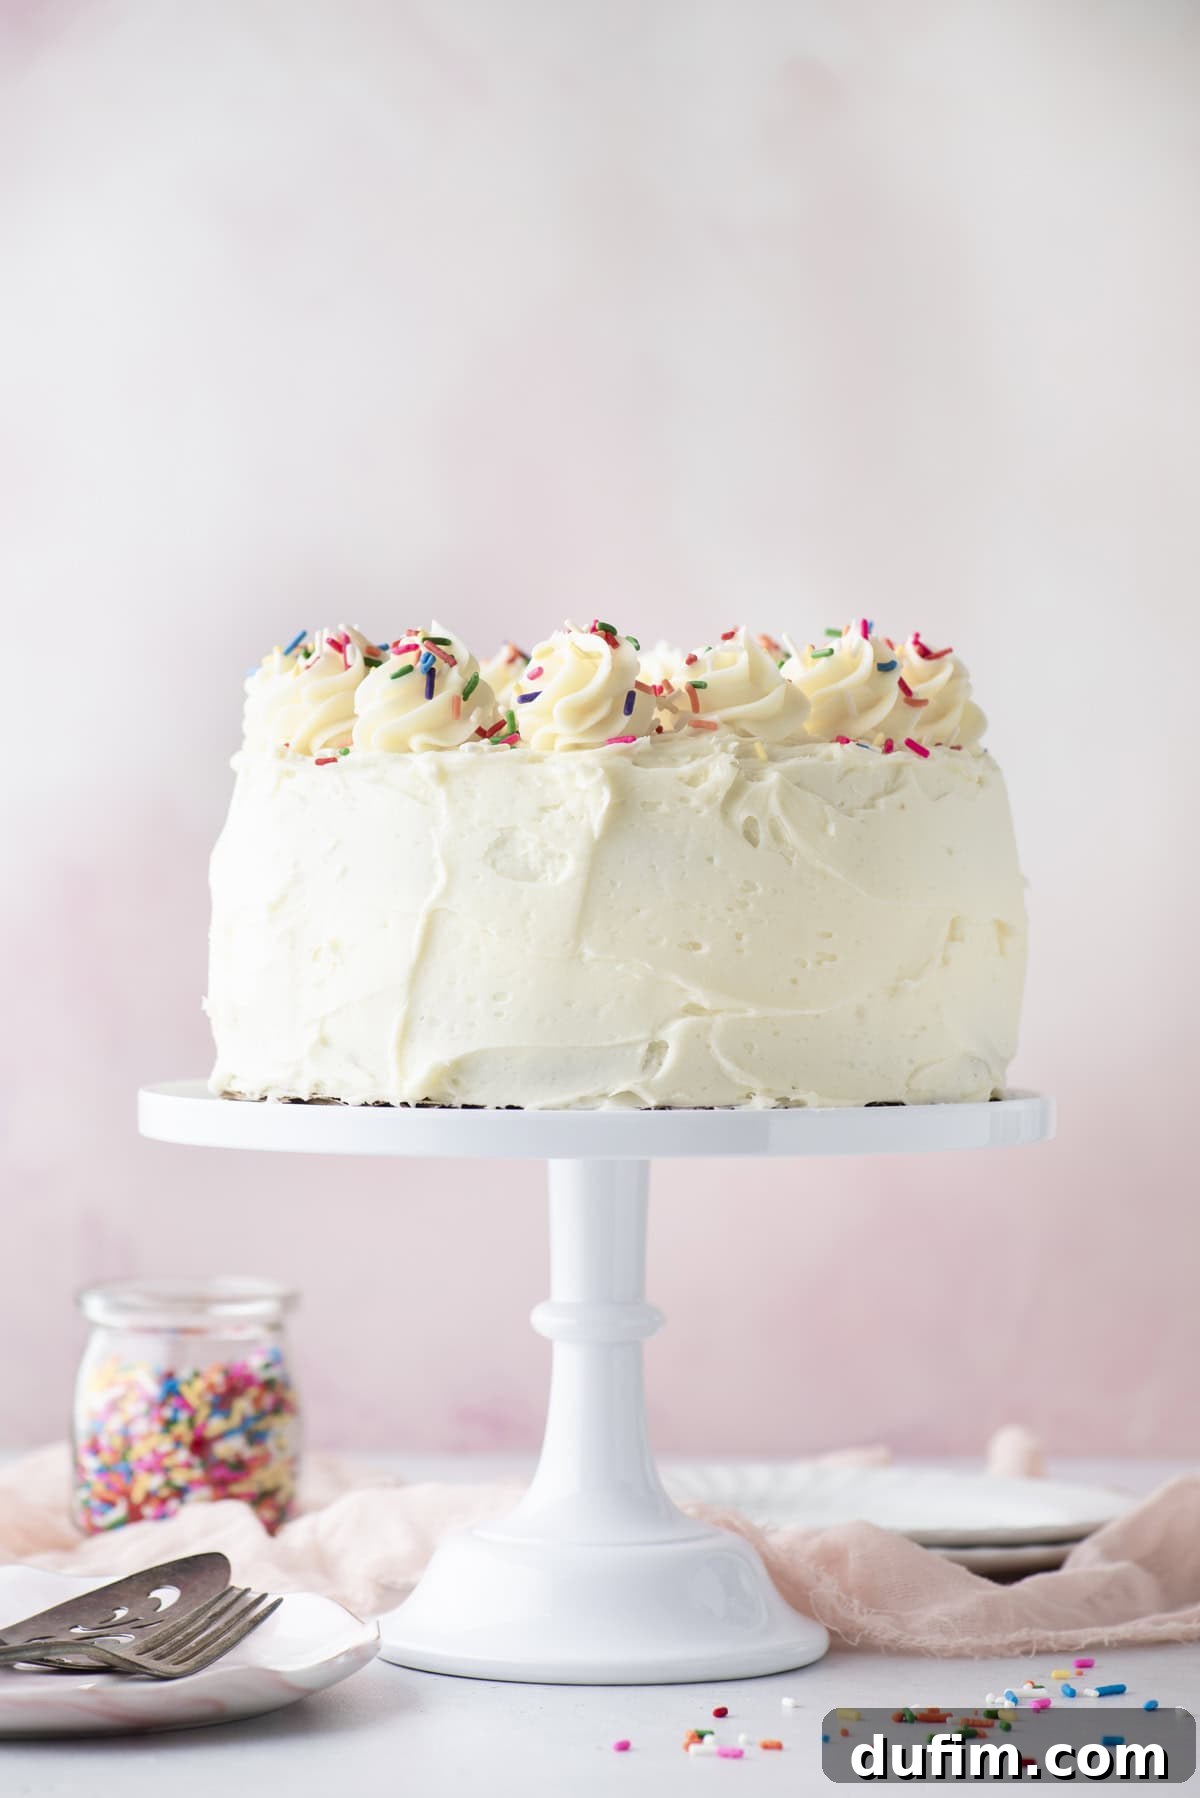
The Story Behind Our Perfect White Cake: From Curiosity to Celebration
The creation of this easy homemade white cake is a testament to the power of community and culinary curiosity. My original vanilla cake, a favorite among many, relies on four whole eggs for its rich flavor and tender crumb. To achieve the signature pale hue of a true white cake while maintaining its moist, soft structure, I embarked on a mission to substitute the yolks. After careful experimentation, I discovered that an exchange of five large egg whites for the four whole eggs yielded the ideal balance. This simple yet crucial swap preserves the cake’s volume and delicate texture without imparting any yellow tint from the yolks.
This exact method has been meticulously tested side-by-side with the traditional full-egg version, proving its superior results for a white cake. The difference is clear: a truly light, airy, and tender crumb with a clean, pure vanilla flavor that shines through. This isn’t merely a theoretical adjustment; it’s a tried, tested, and trusted recipe designed to deliver consistent excellence. Having baked countless cakes, I understand the importance of a reliable base, especially for home bakers who desire something stunning and straightforward for special occasions. This recipe is your reliable foundation for birthdays, anniversaries, graduations, and of course, a breathtaking white wedding cake.
What Defines a True White Cake? The Secrets Revealed
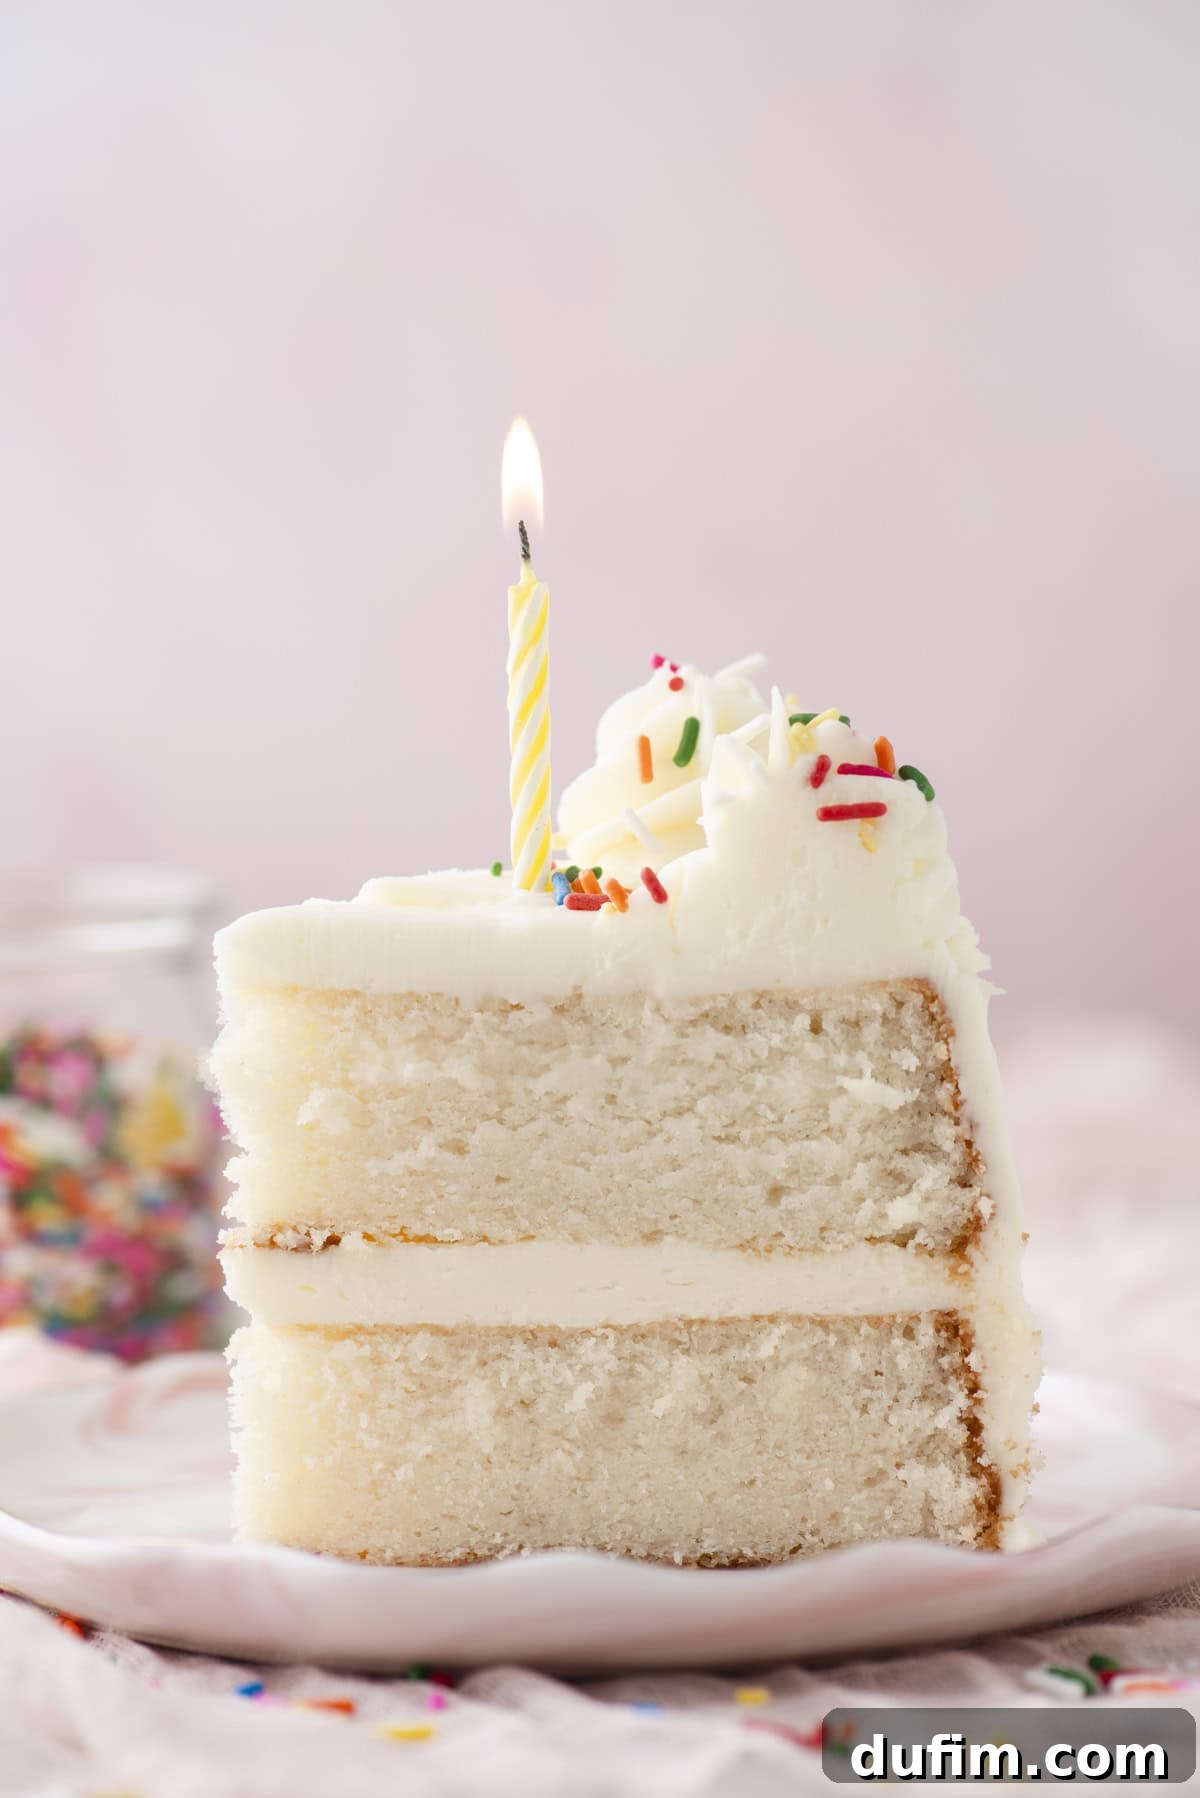
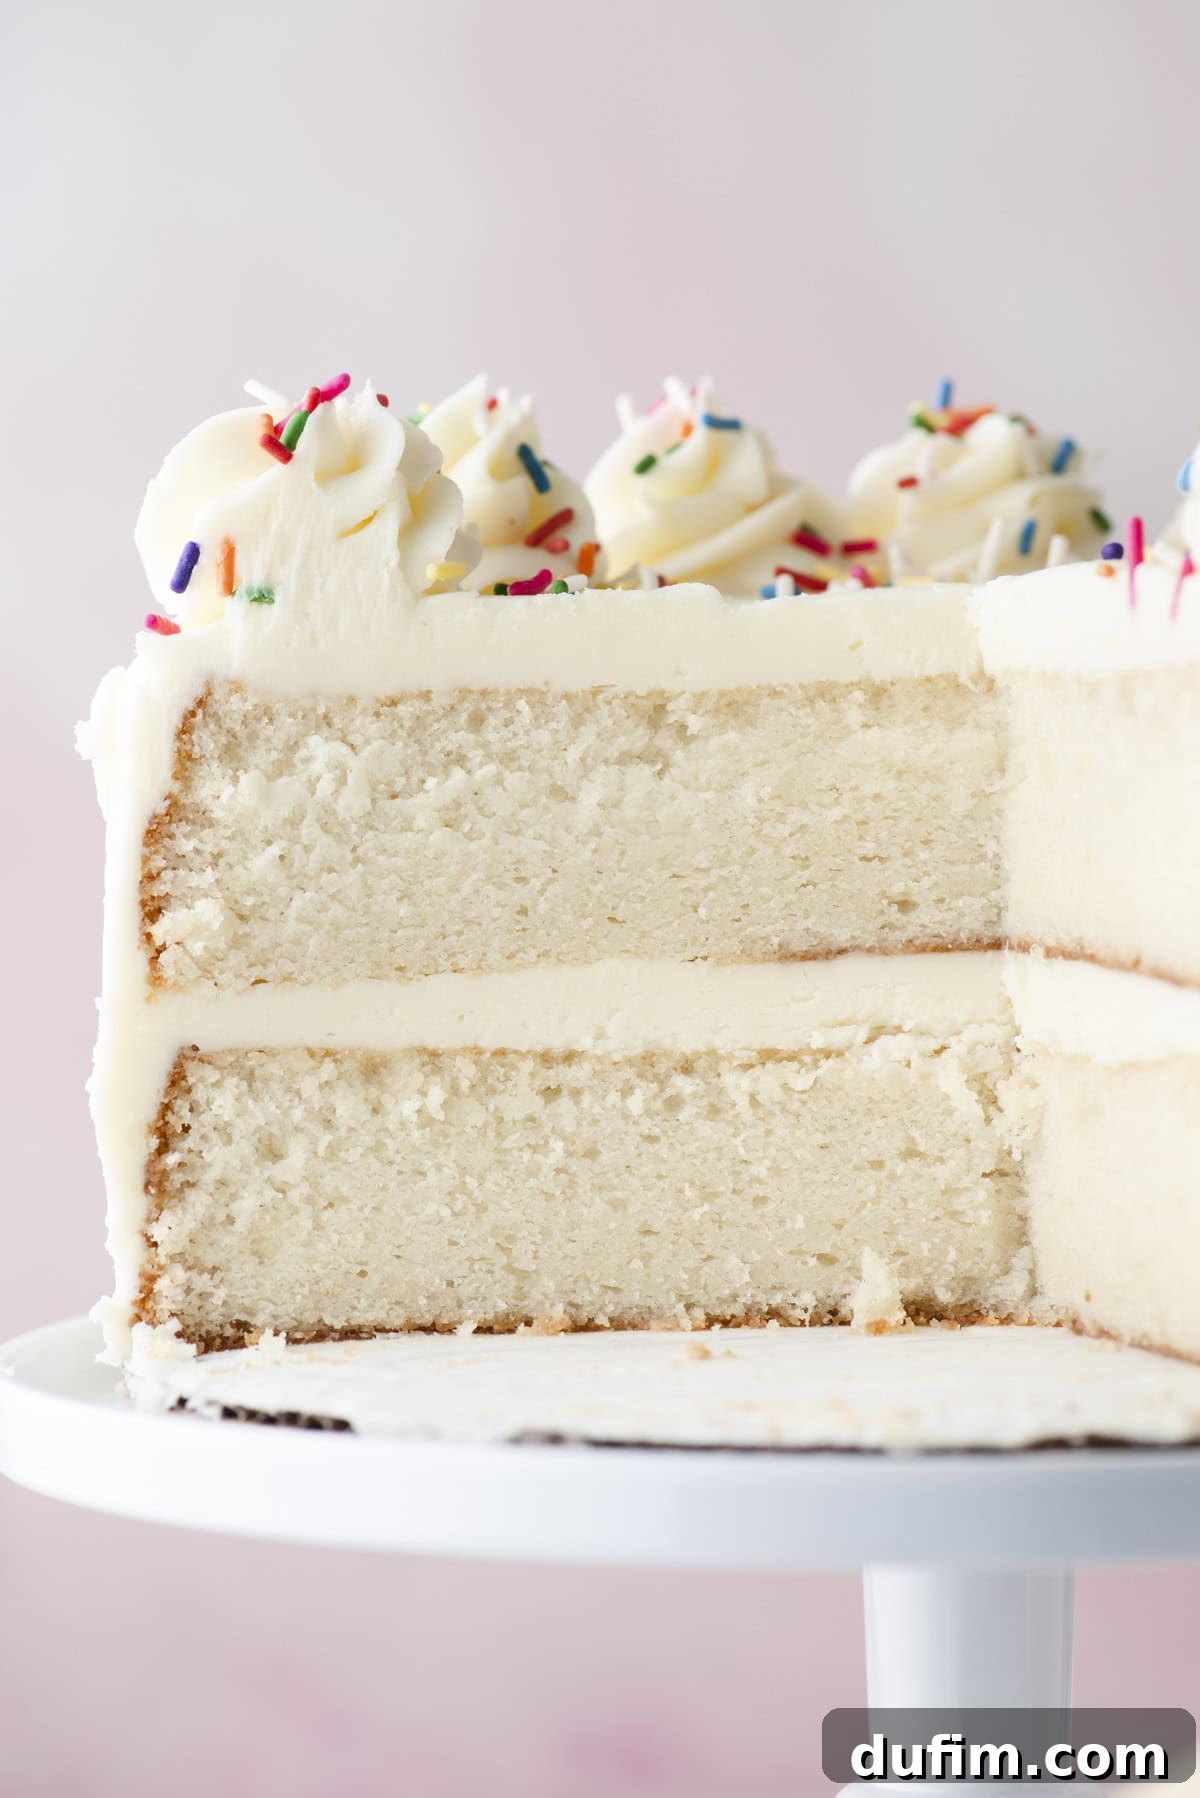
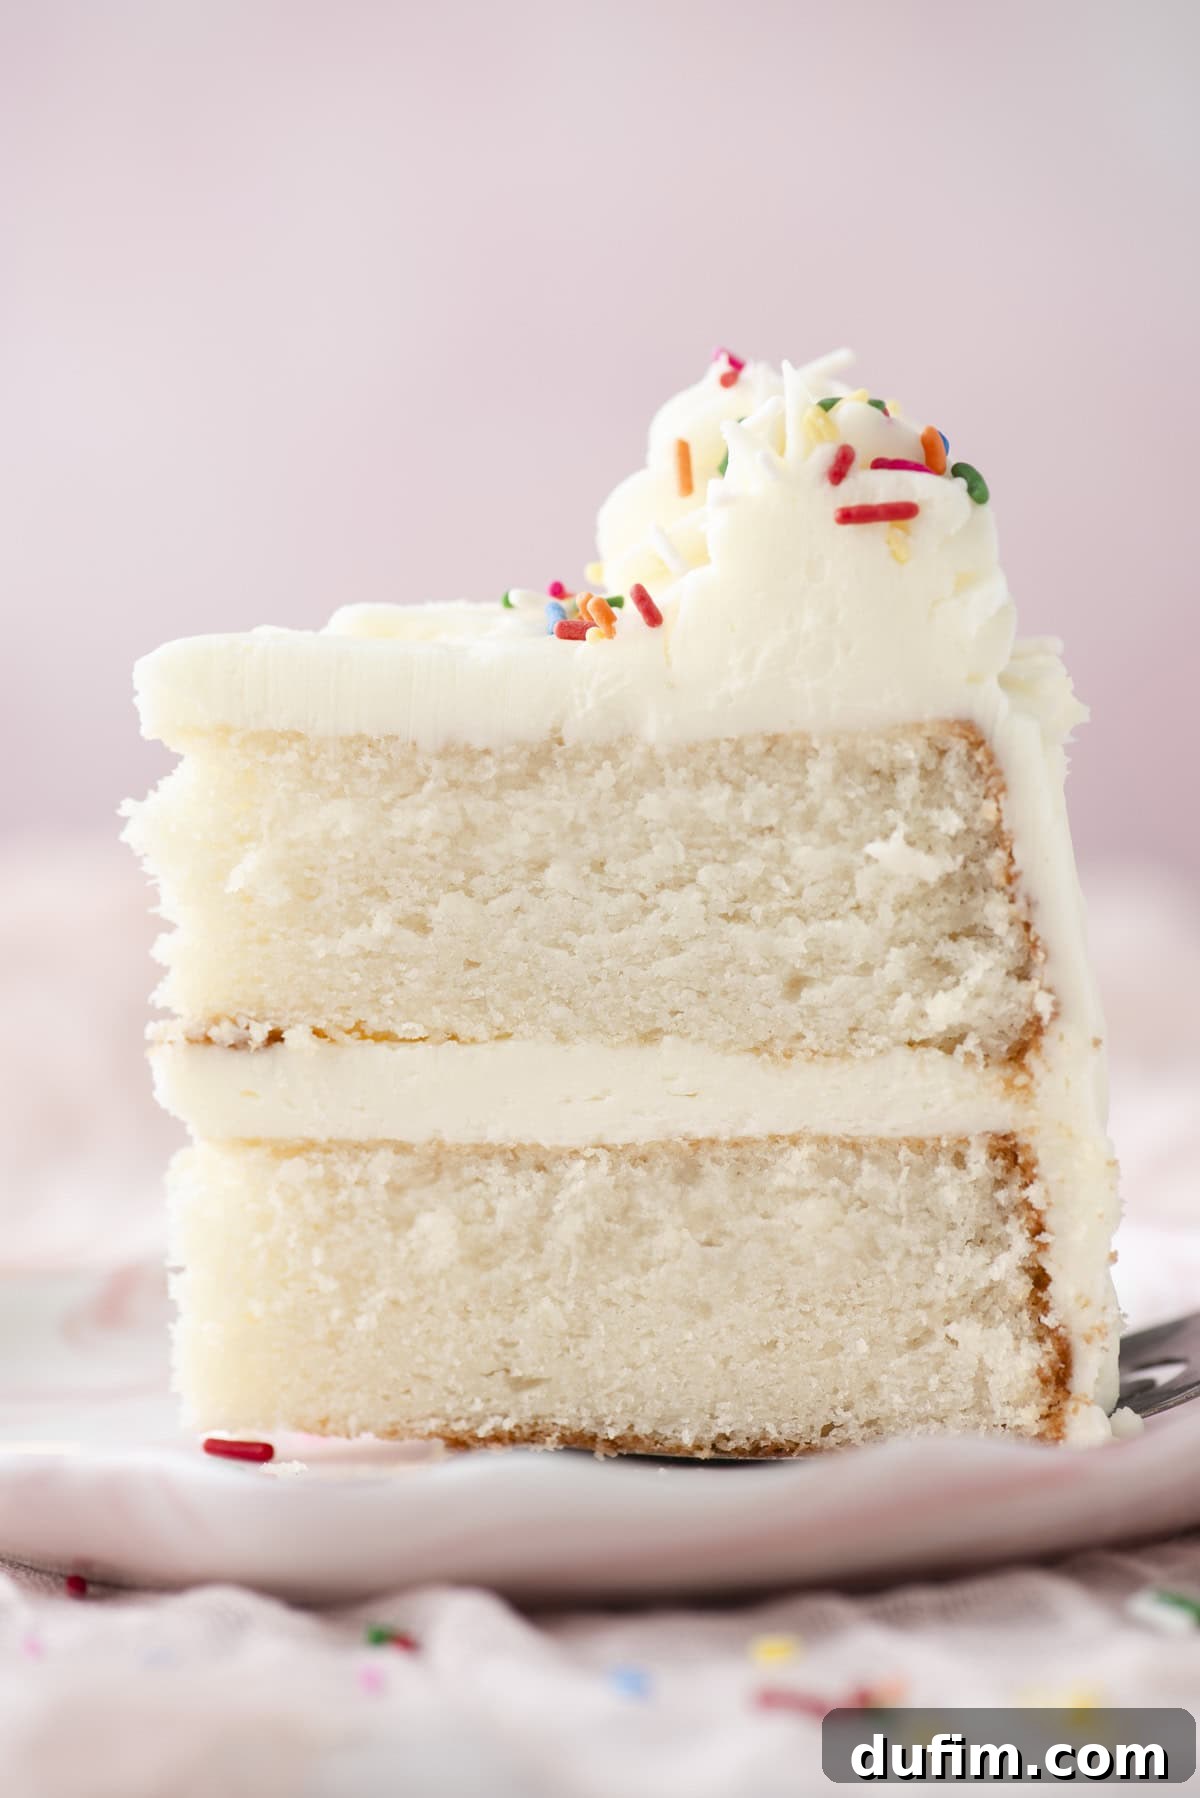
A true classic white cake is celebrated for its pristine, pale crumb and incredibly delicate texture. This signature elegance stems from a few intentional ingredient choices that differentiate it from its vanilla or yellow cake counterparts. The most significant factor is the complete absence of egg yolks. While yolks add richness and a golden hue to many cakes, white cake relies exclusively on egg whites. These provide structure and lift, resulting in an ethereal, cloud-like texture and a distinctly pale appearance. This makes it the perfect canvas for vibrant fillings and decorations.
Another subtle yet impactful detail that sets a white cake apart is the use of clear vanilla extract. Traditional vanilla extract, with its natural brown color, can subtly tint the batter. Opting for a clear extract ensures the cake remains as bright and white as possible, a crucial consideration when presentation is paramount, such as for a sophisticated wedding cake or an elegant celebration. This allows the clean vanilla flavor to shine without any visual compromise.
Beyond its appearance, a white cake offers a subtly sweet, tender profile that makes it an incredibly versatile base. It harmonizes beautifully with an array of frostings and fillings, from bright lemon curd and fresh berries to rich chocolate ganache or our silky smooth vanilla buttercream. If you’re seeking a celebration-worthy cake that is both timelessly beautiful and adaptable to any flavor combination, our fluffy white cake recipe is the answer.
How to Bake the Best White Cake Recipe: A Step-by-Step Guide
Creating this perfect homemade white cake for special occasions is an incredibly rewarding experience. Follow these straightforward, step-by-step instructions to bake a cake that looks and tastes like it came from a professional bakery.
For the Cake Layers
- Prepare Your Oven and Pans. Begin by preheating your oven to 350º F (175º C). Grease two or three 8-inch springform pans generously with butter, ensuring the sides and bottom are well-coated. For effortless cake removal, line the bottom of each pan with a circle of parchment paper. Set these prepared pans aside.
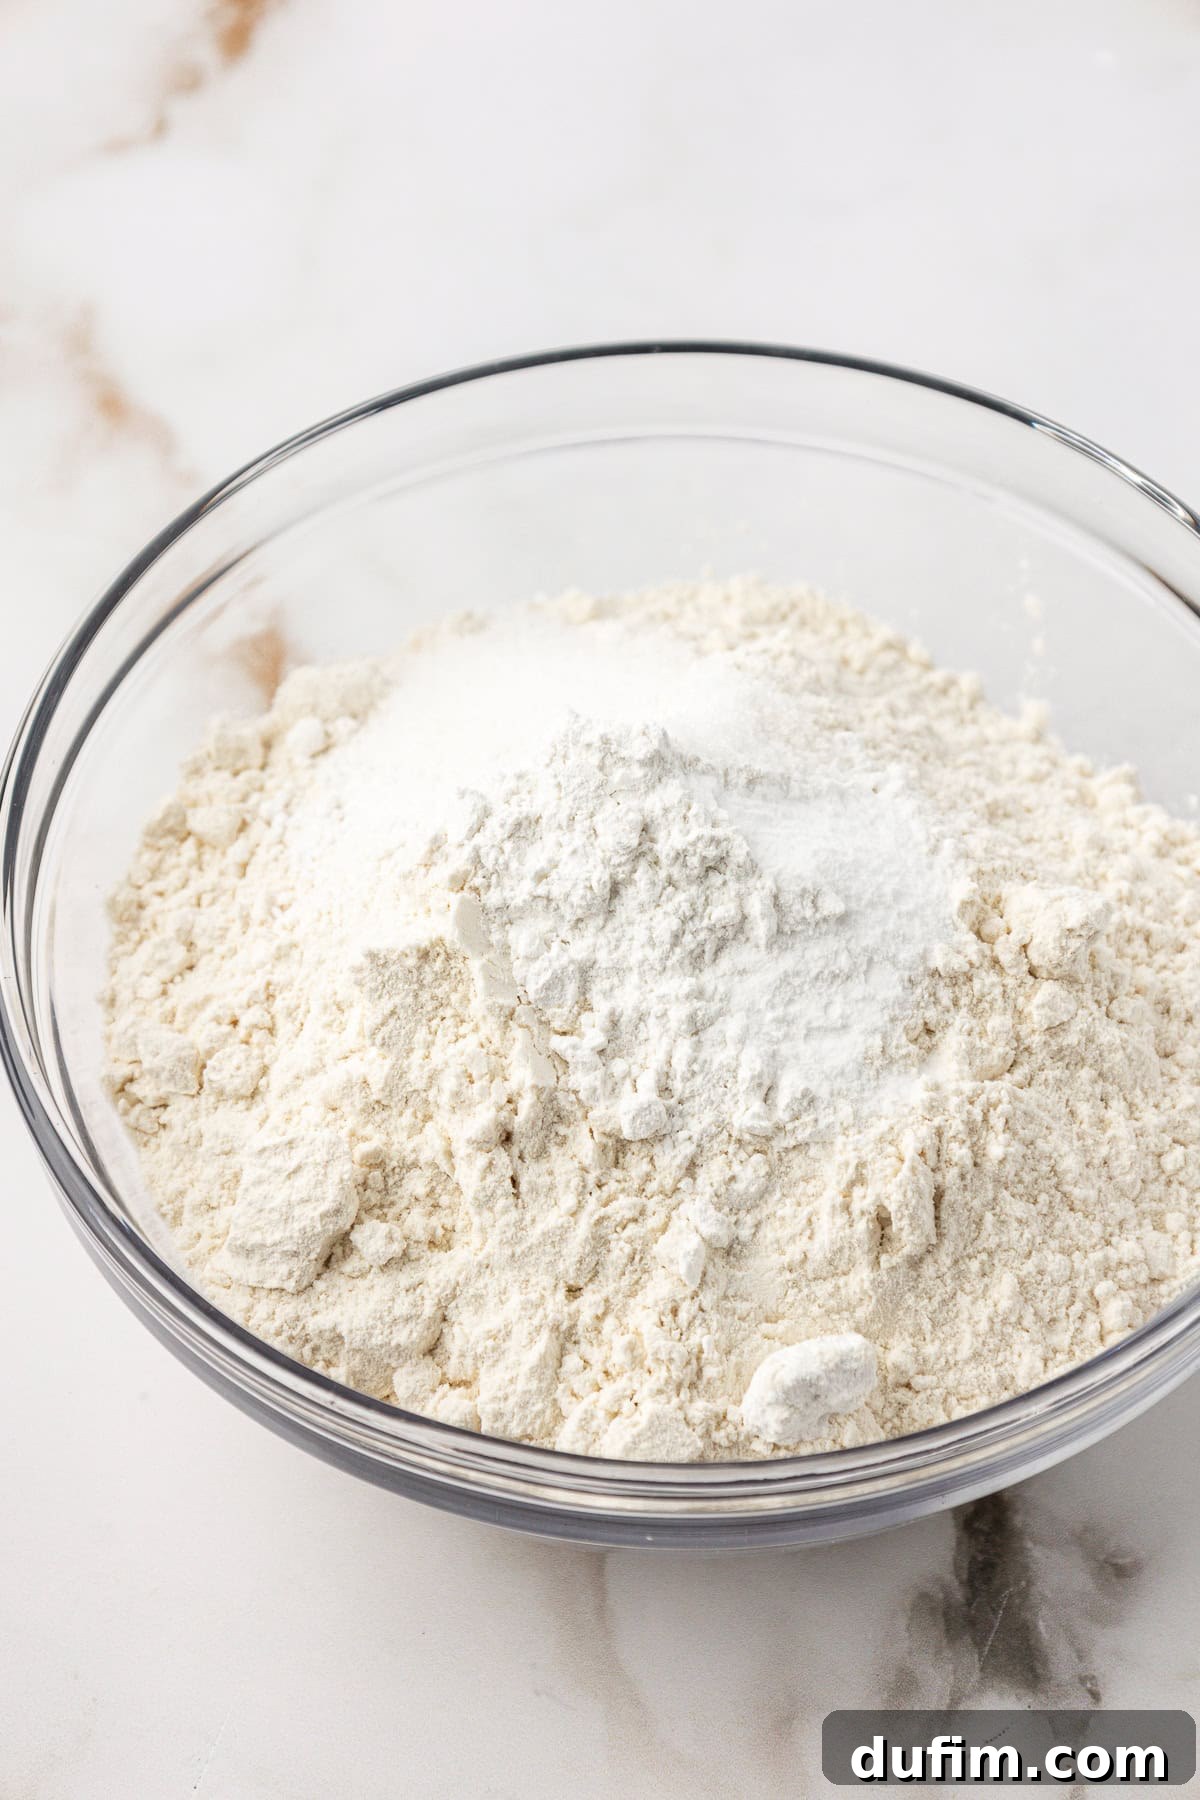
- Whisk Dry Ingredients. In a small mixing bowl, combine the all-purpose flour, baking powder, baking soda, and salt. Whisk them together thoroughly until evenly distributed. This step ensures leavening agents are properly mixed throughout the batter.
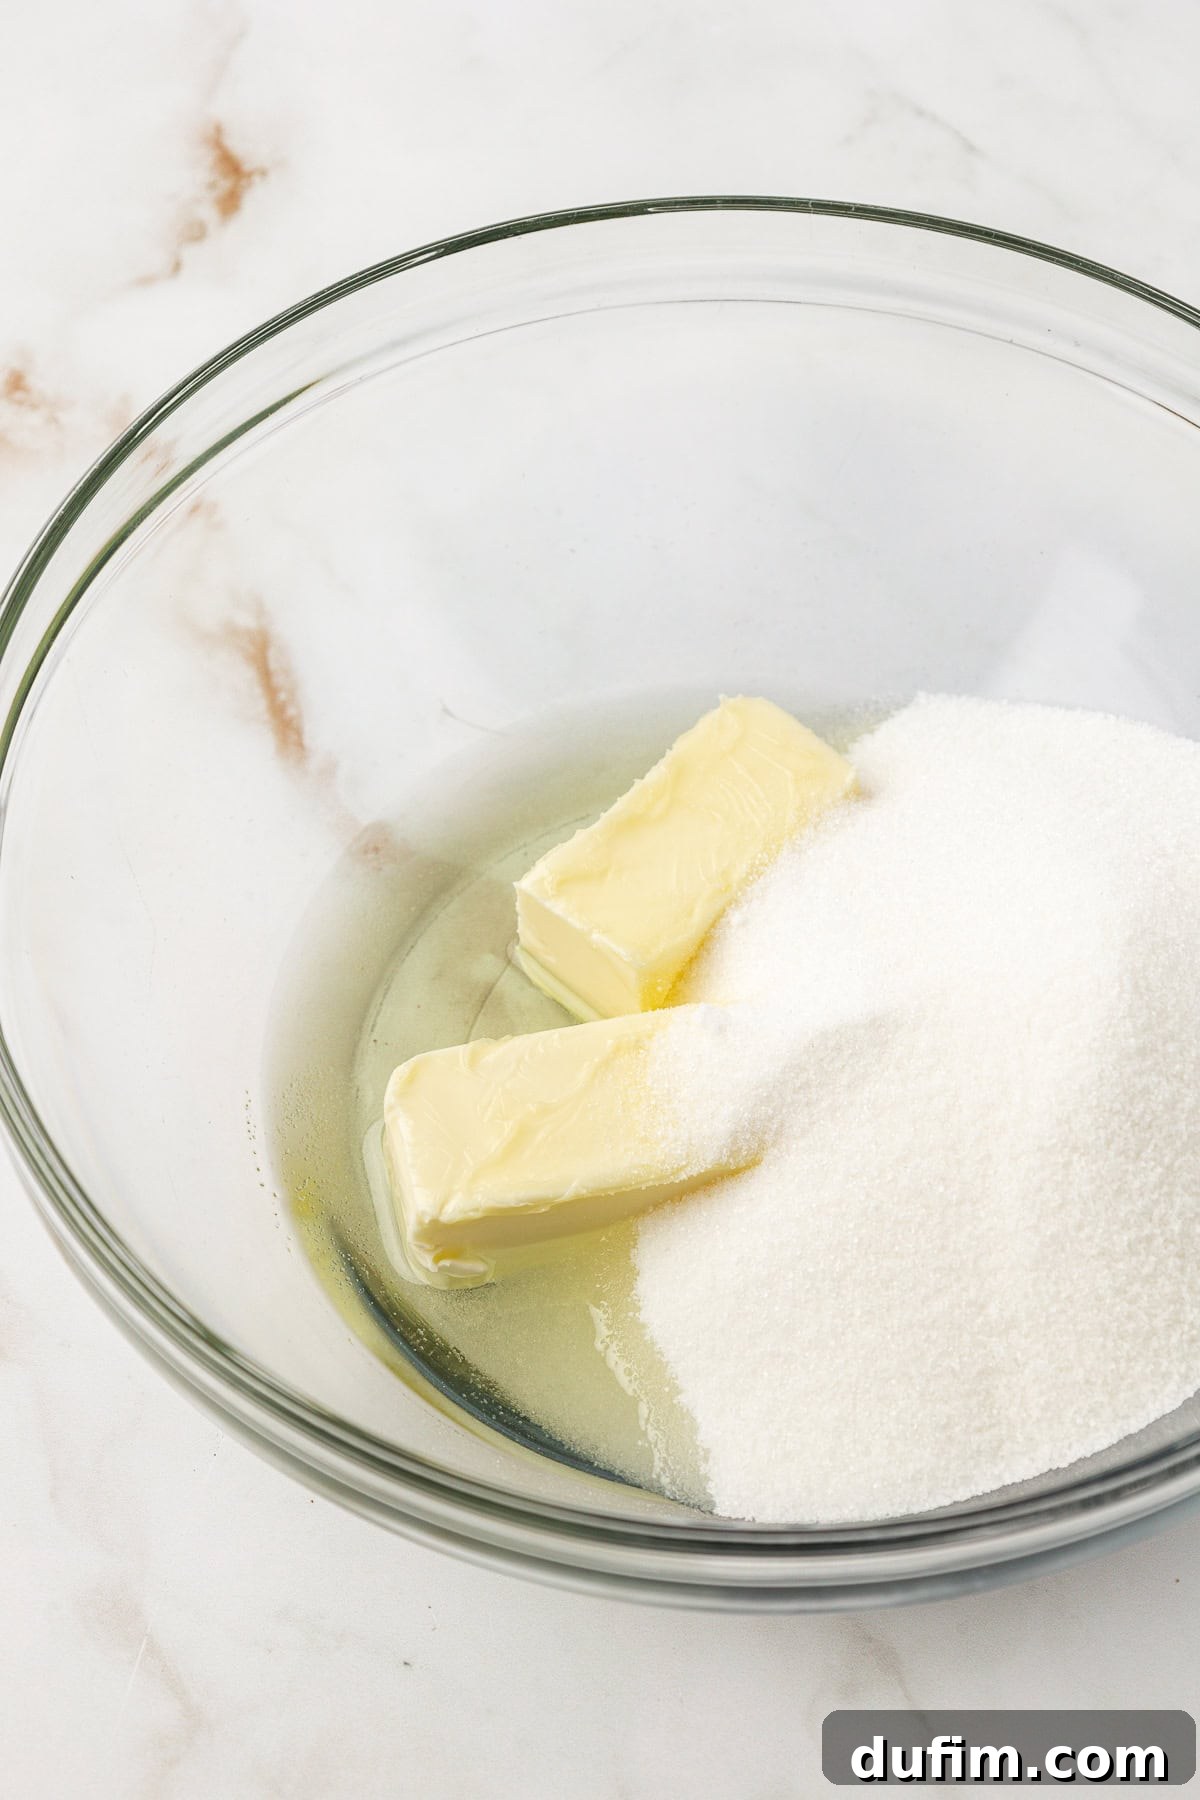
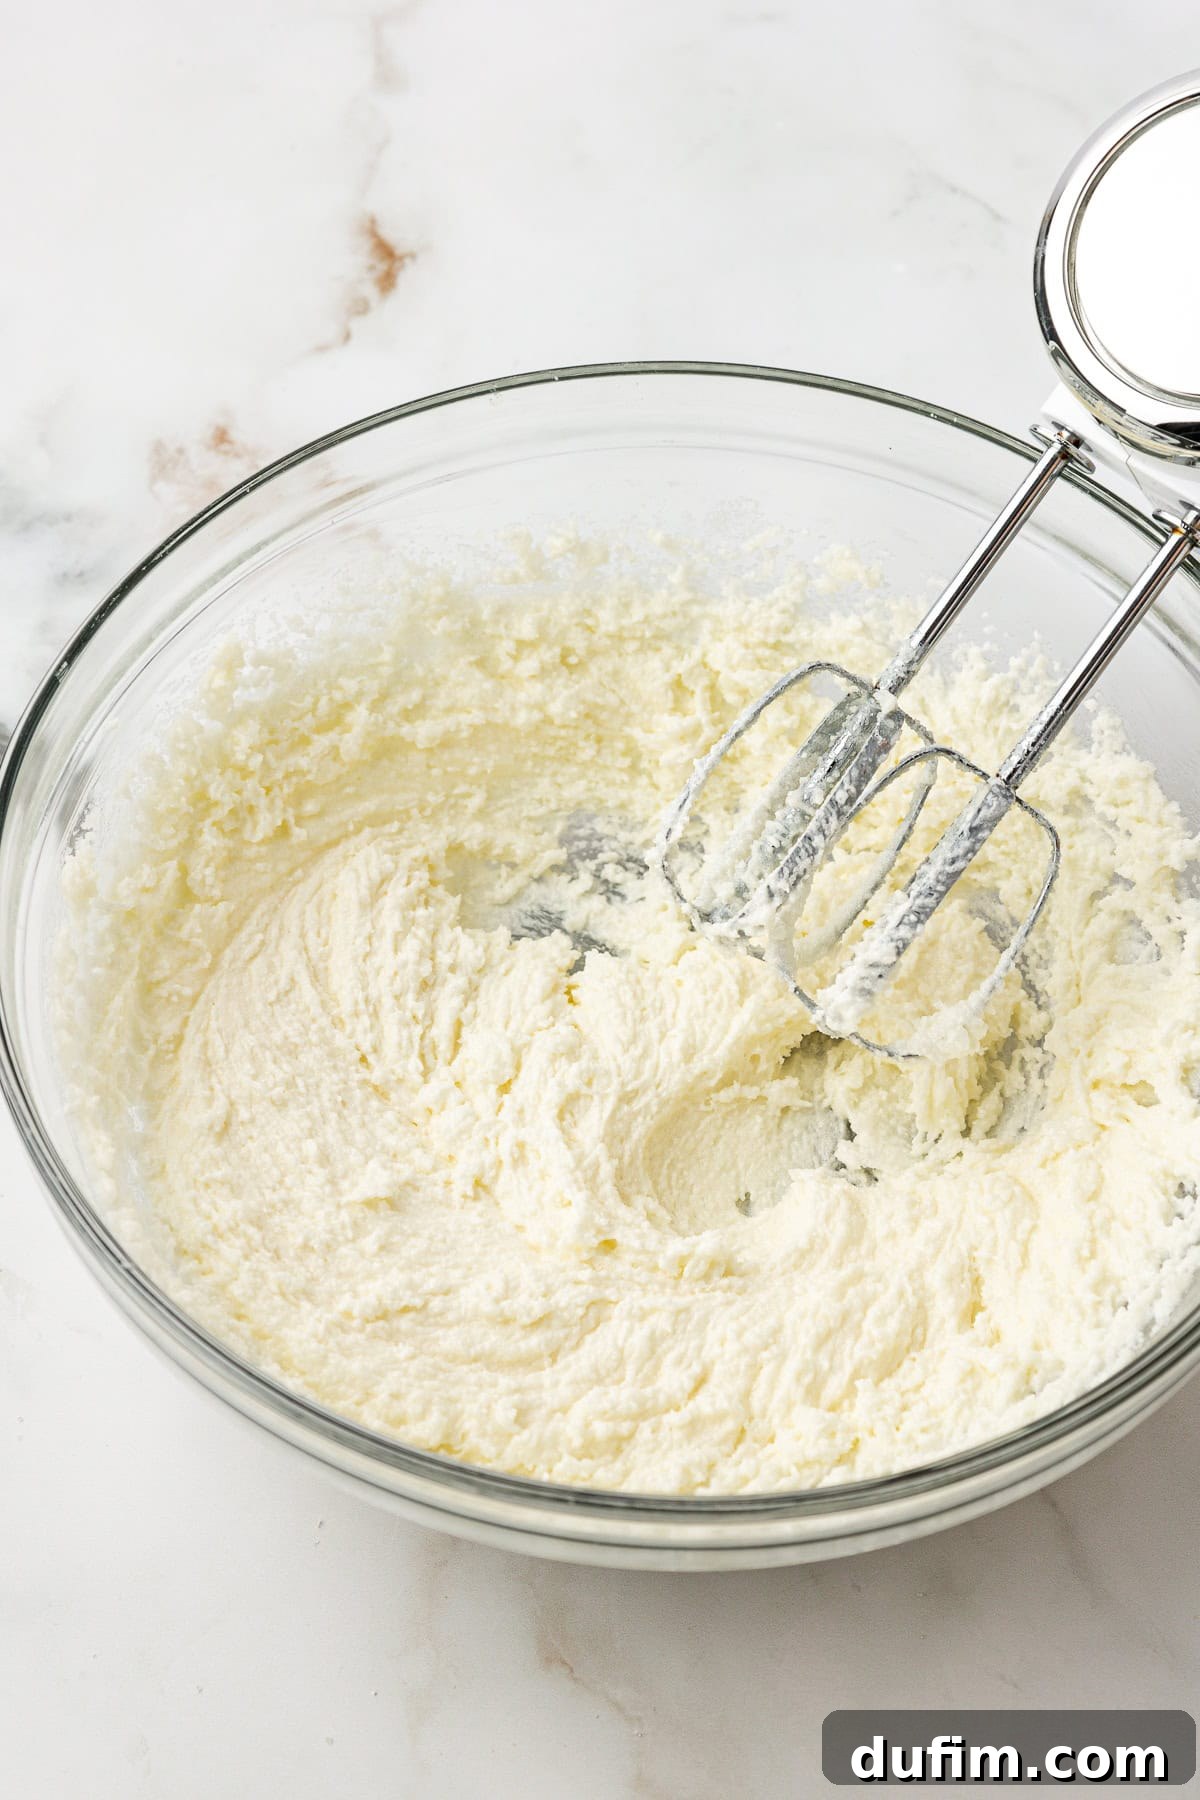
- Cream Butter, Sugar, and Oil. In a large mixing bowl, combine the room temperature unsalted butter, granulated sugar, and vegetable oil. Using an electric mixer, beat these ingredients together for 1-2 minutes until the mixture is light, pale, and fluffy. This creaming process incorporates air, crucial for a light cake.
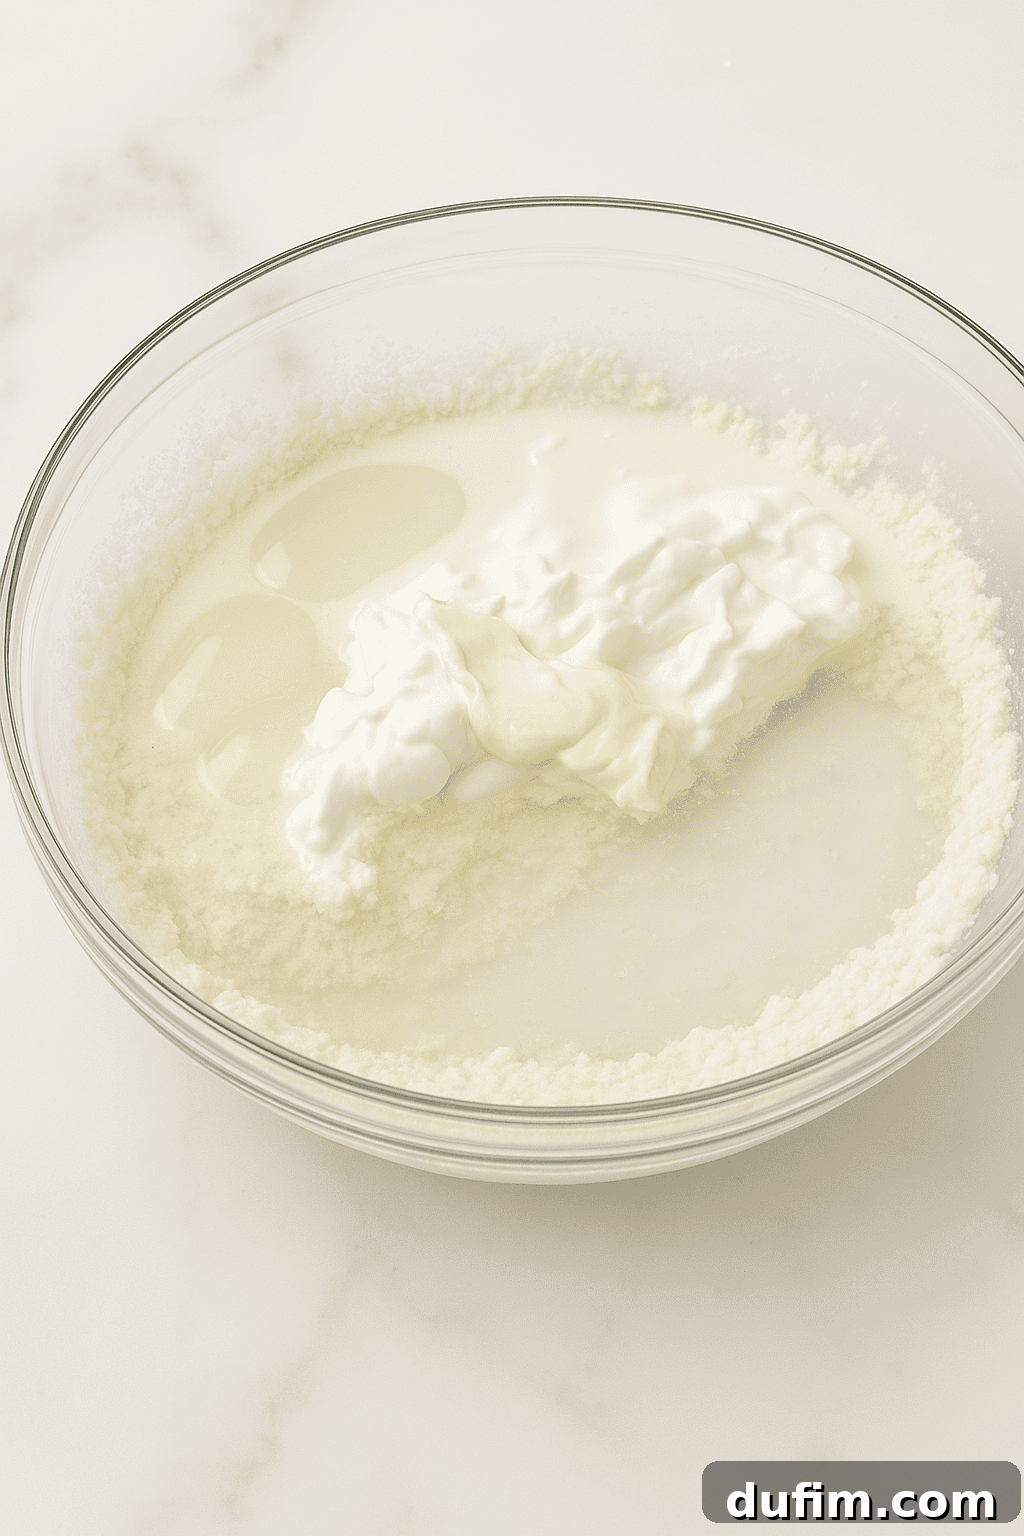
- Incorporate Wet Ingredients. Add the room temperature egg whites, sour cream, milk, and vanilla extract to the creamed butter mixture. Beat with the electric mixer until all ingredients are well combined and smooth.
- Combine Wet and Dry. Gradually add the flour mixture into the wet ingredients. Mix on low speed, just until the flour is fully incorporated and no dry streaks remain. Be careful not to overmix, as this can develop the gluten too much, leading to a dense cake.
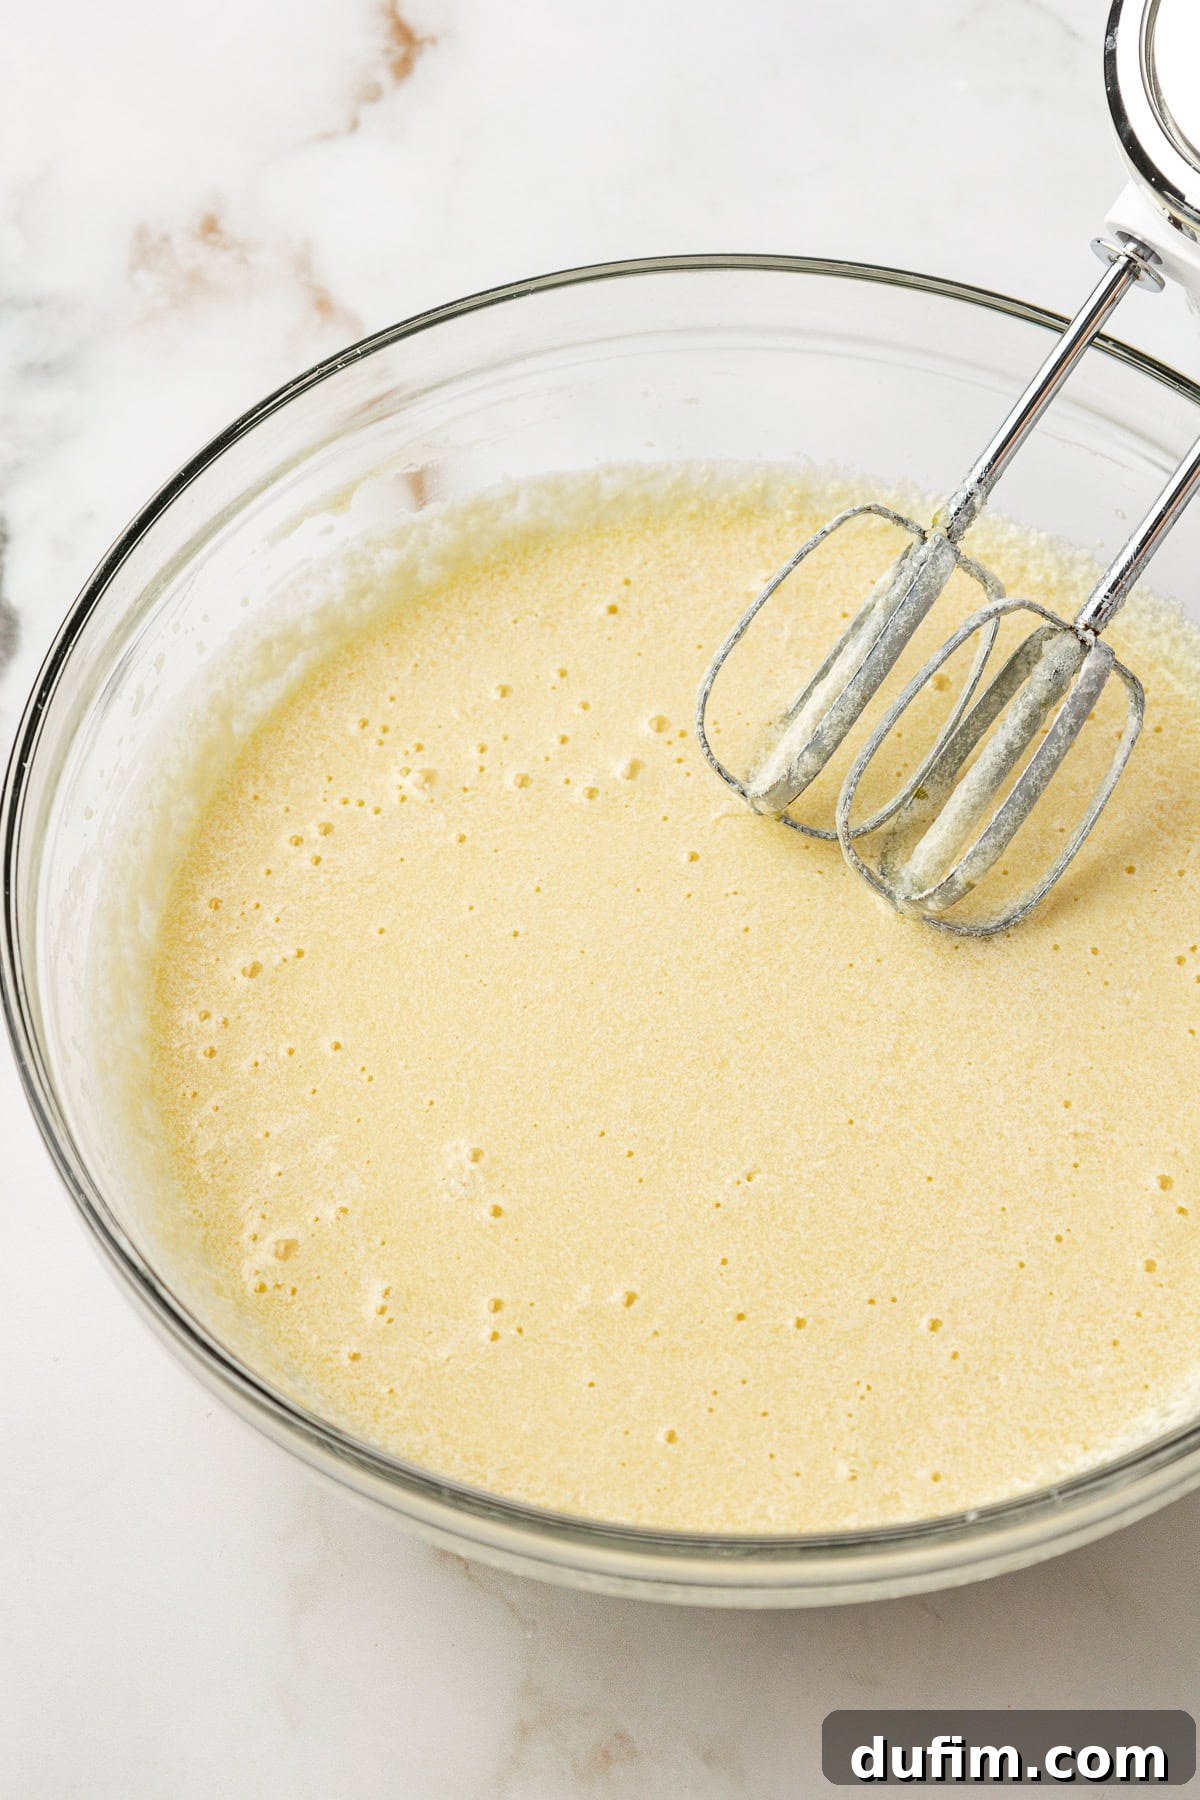
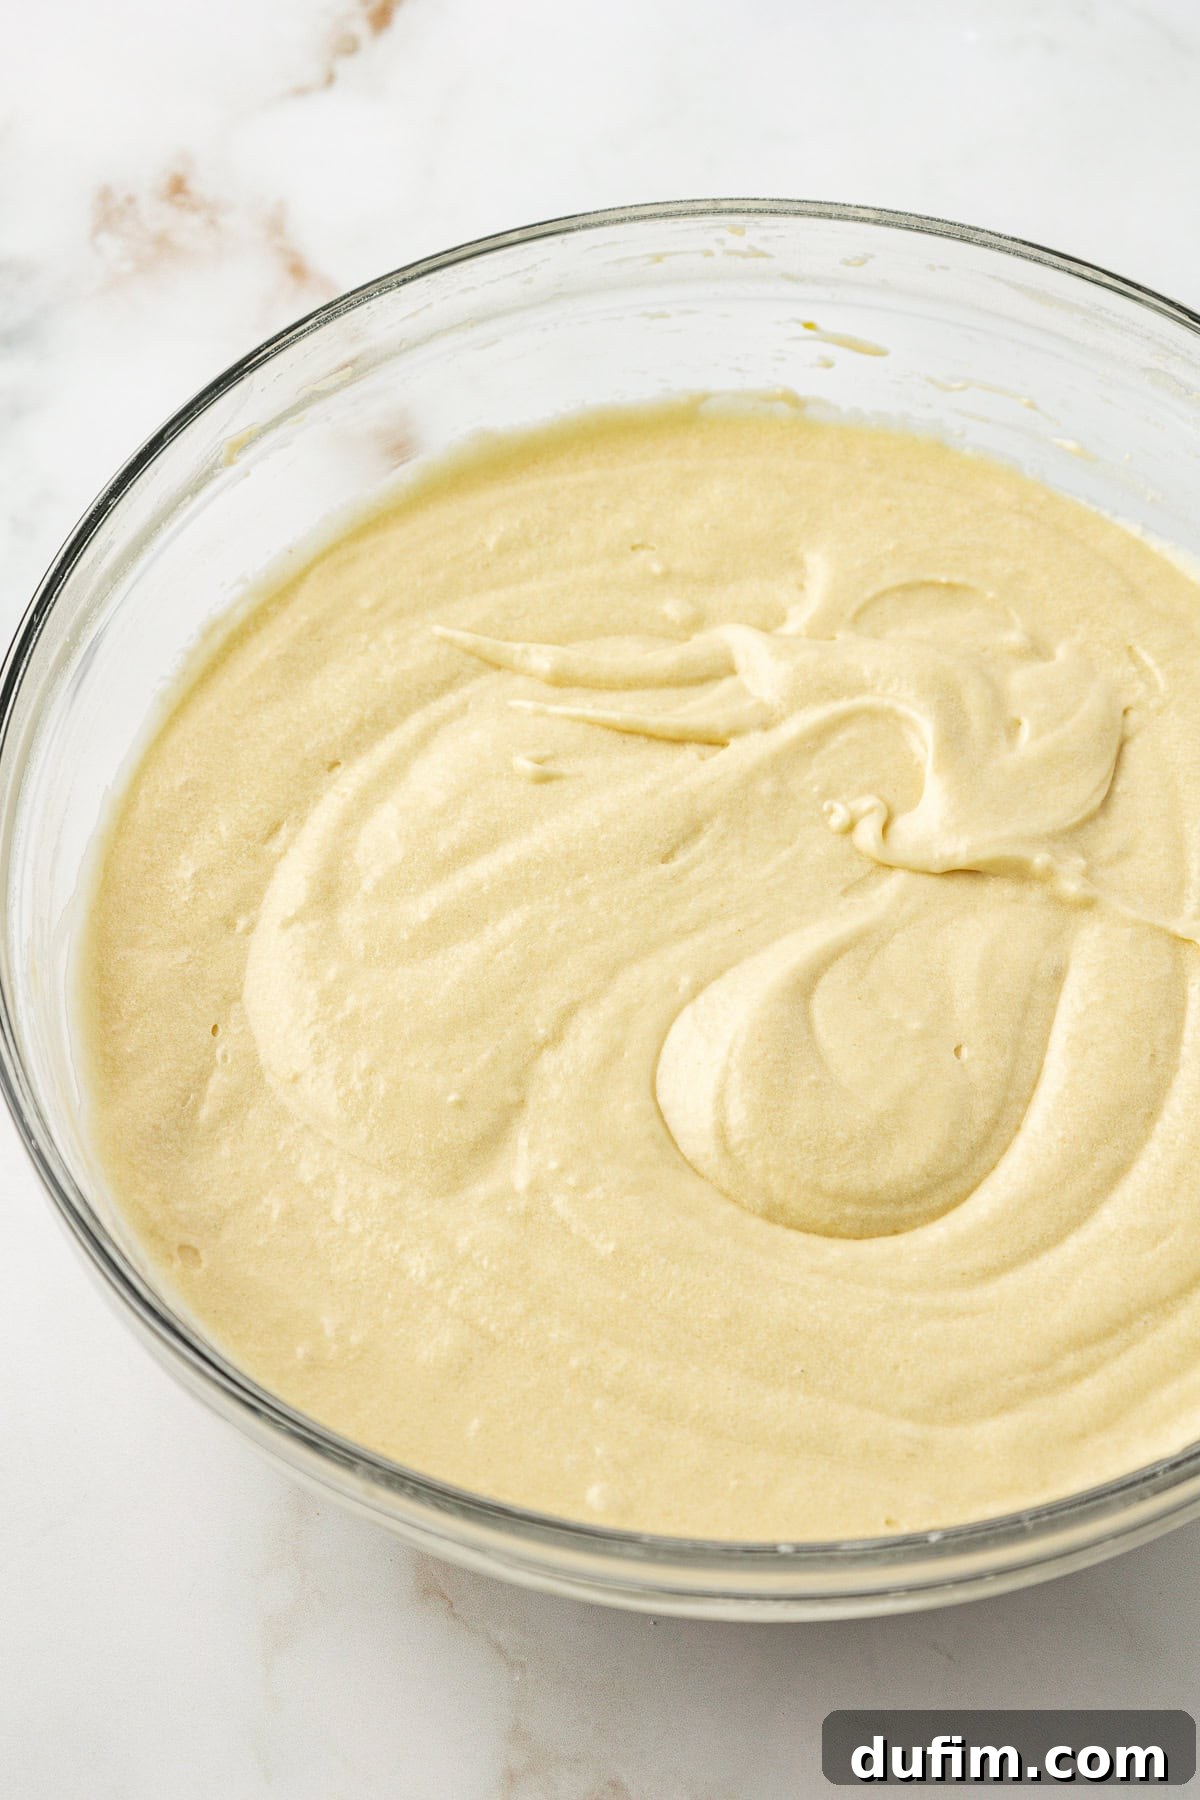
- Divide the Batter Evenly. Carefully divide the cake batter among your prepared pans. If using two 8-inch pans, aim for about 3 cups of batter per pan. For three 8-inch pans, distribute approximately 2 cups of batter into each. For truly even layers, consider using bake-even cake strips: soak them in water, then secure them around the outside of your pans before baking.
- Bake to Perfection. Place the pans in the preheated oven. Bake two pans for 40-50 minutes, or three pans for 32-37 minutes. The cakes are ready when a wooden toothpick inserted into the center comes out clean or with a few moist crumbs attached.
- Cool the Cakes. Allow the freshly baked cakes to cool in their pans for 20-30 minutes. This allows them to firm up slightly. Then, run a small offset spatula or knife around the edges to loosen them. Carefully invert and remove the cakes from the pans and transfer them to a wire cooling rack to cool completely before frosting. This prevents the frosting from melting.
For the Smooth Vanilla Frosting
- Combine Frosting Ingredients. In a large mixing bowl, combine the room temperature unsalted butter, vanilla extract (clear vanilla if you desire a bright white frosting), and salt. Beat with an electric mixer for 1-2 minutes until the butter is light and fluffy. Gradually add the powdered sugar, starting with 3 tablespoons of heavy cream, and mix on low speed until fully combined and smooth.
- Adjust Consistency and Sweetness. Taste the frosting and add more powdered sugar if you prefer a sweeter or stiffer consistency. If the frosting becomes too thick to spread easily, gradually add 2-4 additional tablespoons of milk or heavy cream, one tablespoon at a time, until you reach your desired smooth, spreadable texture.
Assemble Your Celebration Cake
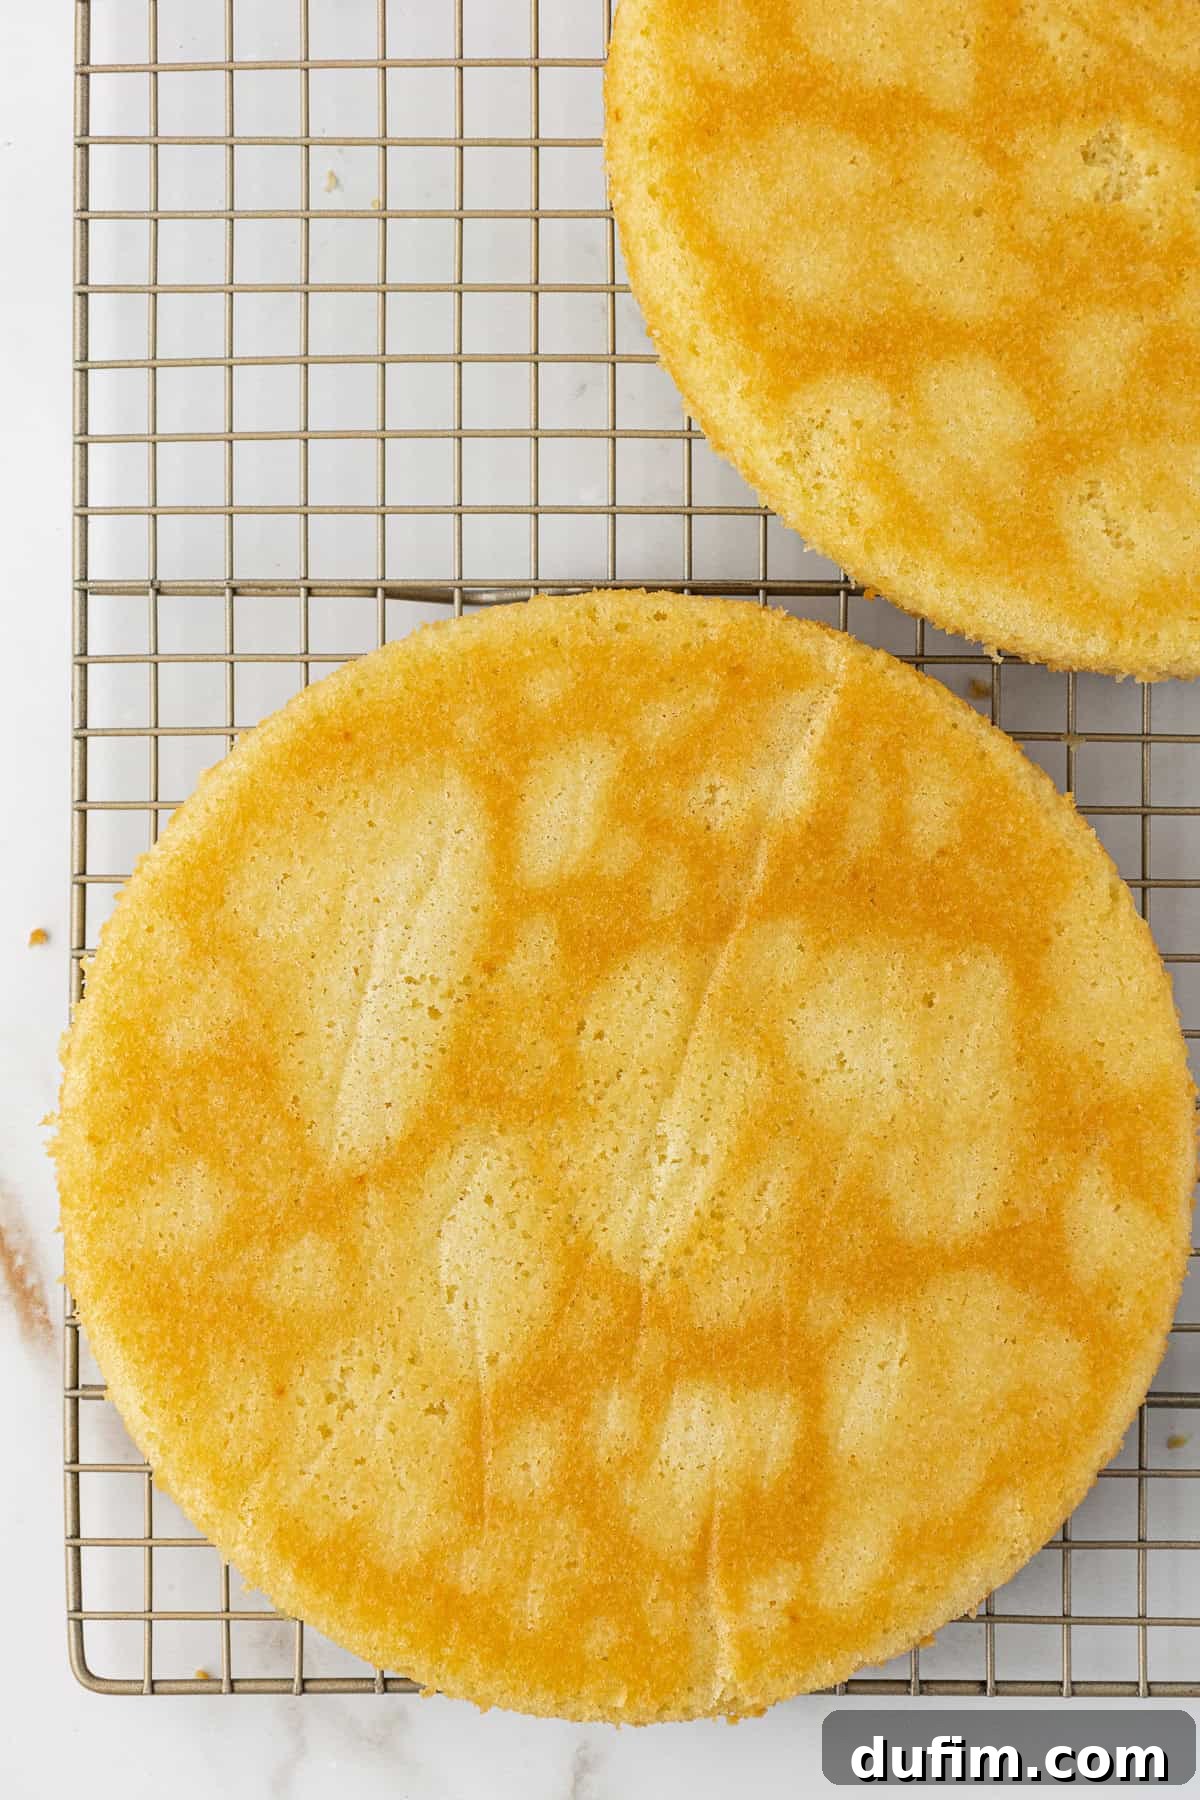
- Level Your Cake Layers. Once completely cooled, if your cake layers have developed slight domes, use a serrated knife or a specialized cake leveler to trim the tops, creating flat, even surfaces. This ensures a stable and professional-looking stacked cake.
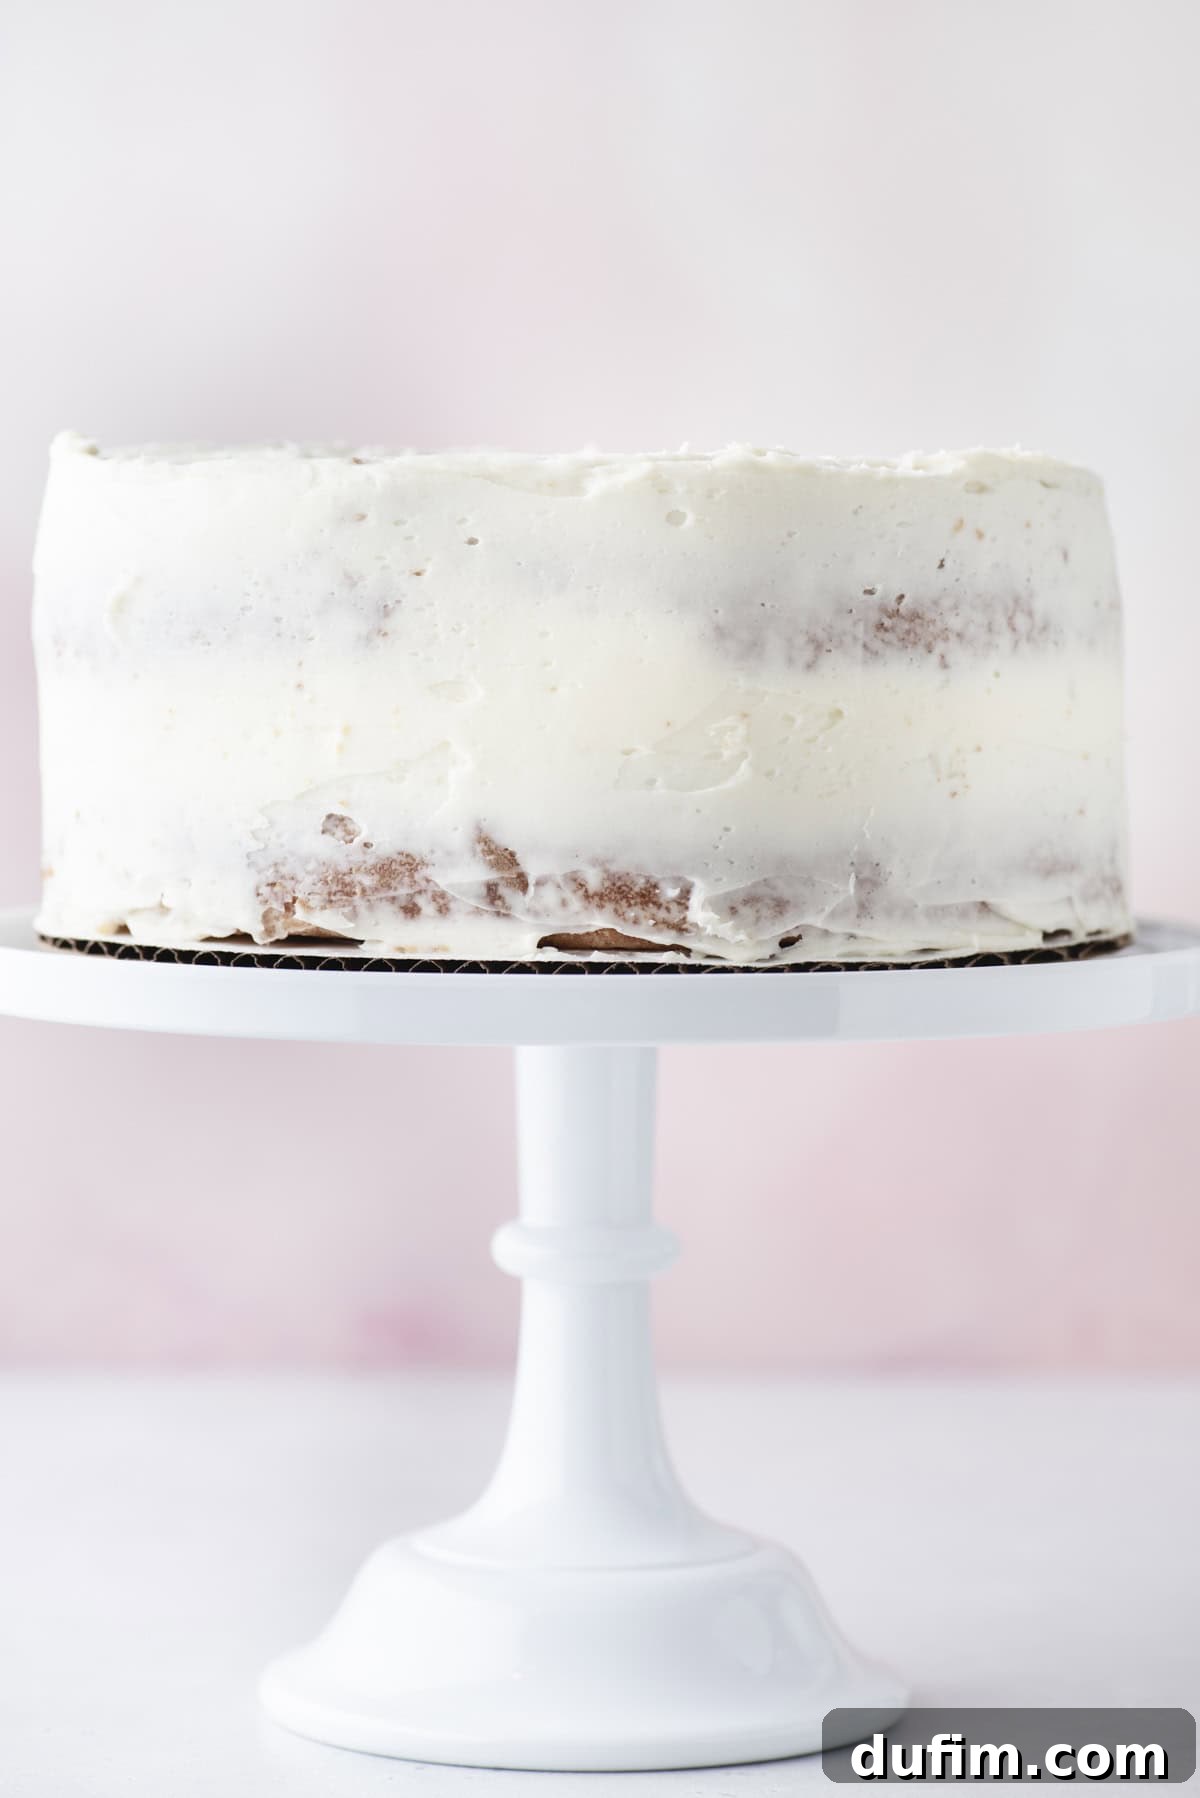
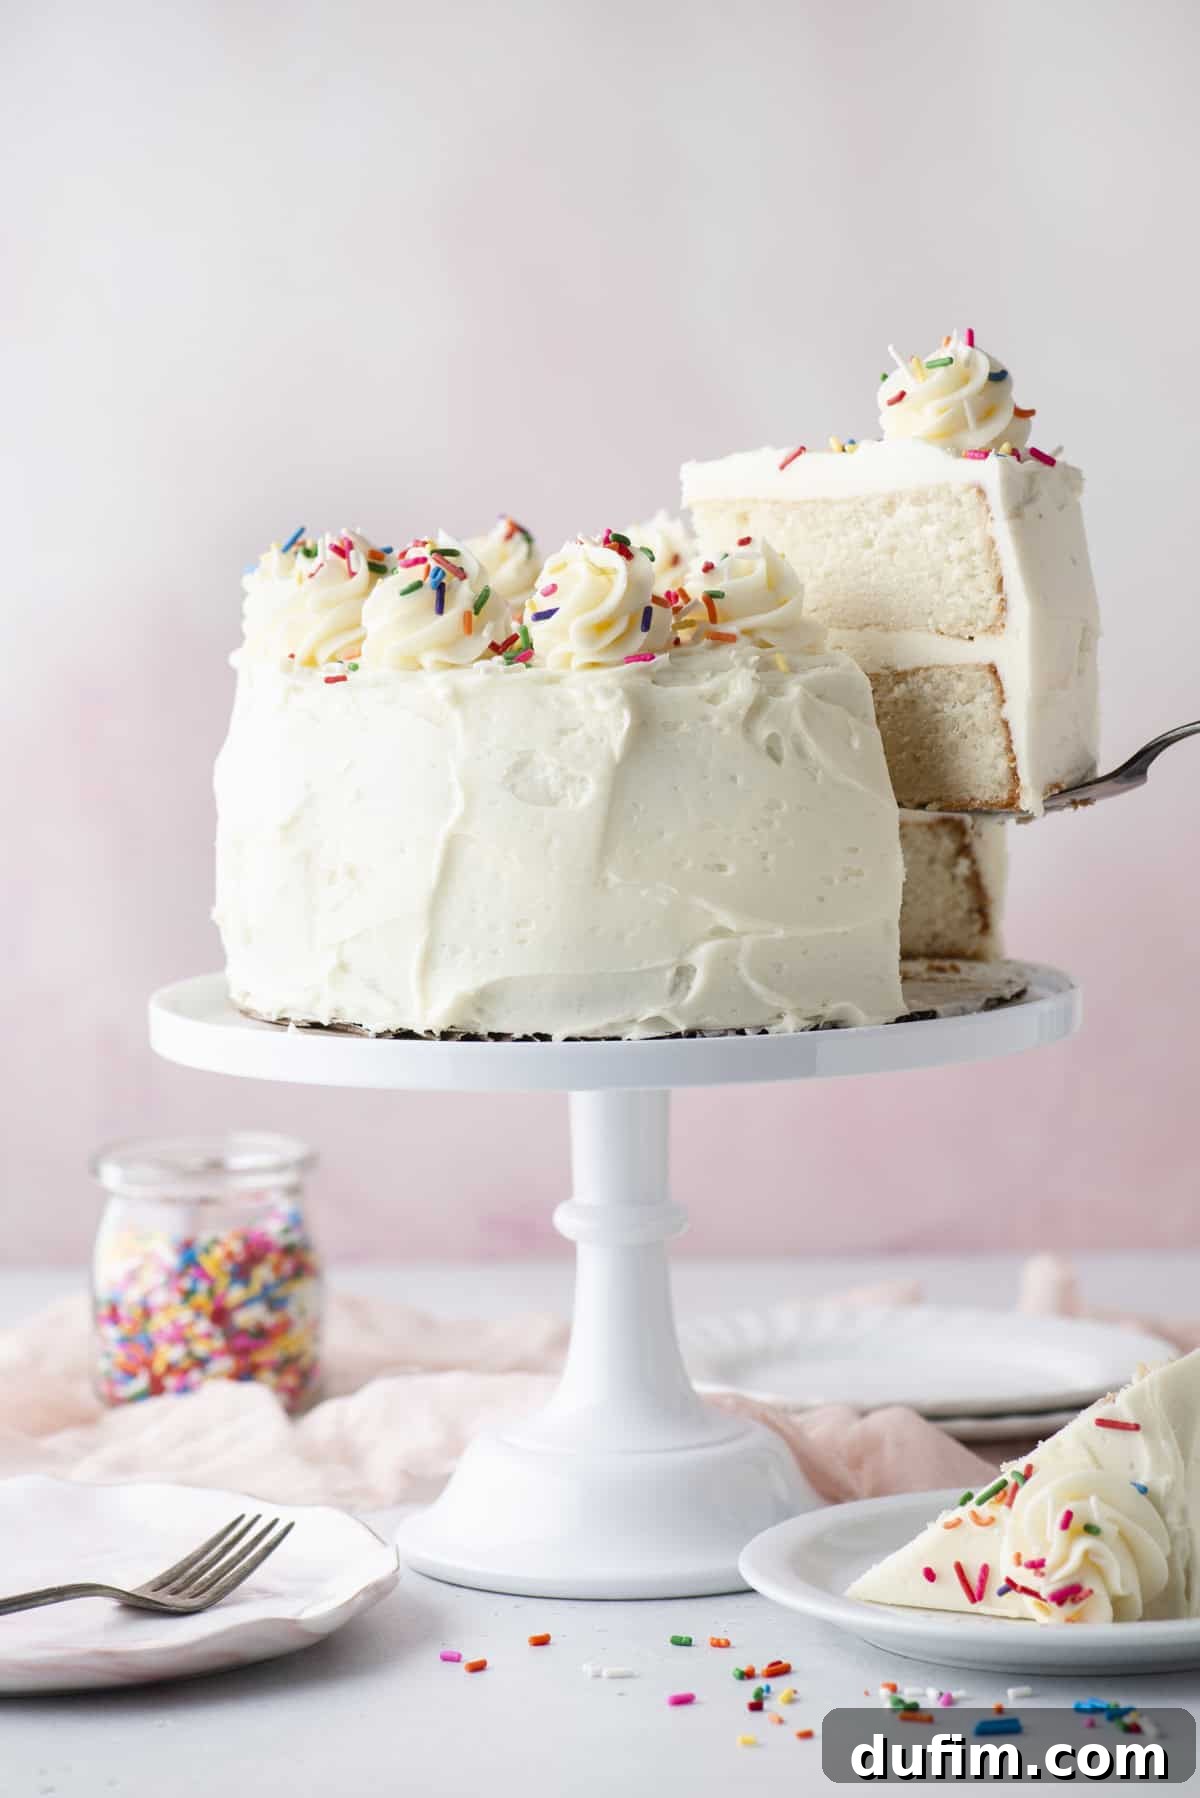
- Frost with Finesse. To prevent your cake from sliding, spread a small dollop of frosting on the center of your cake plate or stand; this acts as edible “glue.” Place your first cake layer directly on top. Measure out 3/4 to 1 cup of frosting and spread it evenly over the first layer. Carefully place the second cake layer on top, then spread another 3/4 to 1 cup of frosting over it. If you have a third layer, repeat this step. Finally, use the remaining frosting to generously cover the sides and top of the entire cake, smoothing it out for a polished finish or creating decorative swirls.
Pro Tips for the Best Homemade White Cake Every Time
Achieving a truly spectacular tender white cake is all about precision and a few insider tricks. Follow these pro tips to elevate your baking and ensure your cake is always a showstopper:
- Embrace Room Temperature Ingredients: This is a golden rule in baking! Room temperature butter, eggs, and dairy blend together effortlessly, creating a smooth, emulsified batter. This leads to a finer crumb, better texture, and a more even bake. Plan ahead and take your ingredients out 30-60 minutes before you begin.
- Sour Cream is Your Secret Weapon: Never skip the sour cream! It’s a key ingredient for this cake’s signature moist and tender crumb. Its fat content adds a luxurious richness, while its acidity works wonders by reacting with the baking soda, promoting a light and airy rise. Greek yogurt can be a good substitute if needed.
- Mix Gently and Just Enough: Over-mixing after the flour is added is a common pitfall that can lead to a tough, dense cake. Mix on low speed only until the flour streaks disappear. A few small lumps are better than an overmixed, chewy batter.
- Measure Flour with Precision: Too much flour is the quickest way to a dry cake. Always spoon the flour into your measuring cup and then level it off with the back of a knife. For ultimate accuracy, using a kitchen scale to weigh your flour (300g for 2 ½ cups) is highly recommended.
- Bake Even Layers for Easy Stacking: For perfectly flat cake layers that are a dream to stack, consider using bake-even strips. These insulated cloth strips, soaked in water and wrapped around your pans, help the edges of the cake bake slower, preventing doming and ensuring an even rise.
- Avoid the Oven Door Temptation: Resist the urge to open the oven door frequently while baking, especially during the first 20-25 minutes. Temperature fluctuations can cause cakes to sink. Trust your oven and the suggested baking times.
- Don’t Overbake Your Masterpiece: Start checking for doneness at the lower end of the recommended baking time. An overbaked cake will be dry. The cake is ready when a toothpick inserted into the center comes out clean or with just a few moist crumbs attached.
- Cool Completely Before Frosting: Patience is a virtue here! Attempting to frost warm cake layers is a recipe for disaster, as your beautiful frosting will simply melt. Ensure your cake layers are absolutely cool to the touch on a wire rack before you even think about applying frosting.
- Customize Your Frosting Consistency: Your frosting should be smooth and spreadable, yet firm enough to hold its shape. If it’s too soft, gradually beat in more powdered sugar. If it’s too stiff, add a touch more milk or heavy cream until it reaches perfection.
- Level for a Professional Look: If, despite your best efforts, your cake layers have a slight dome, use a serrated knife or cake leveler to gently even out the tops. This creates a stable base for stacking and a polished, bakery-quality appearance.
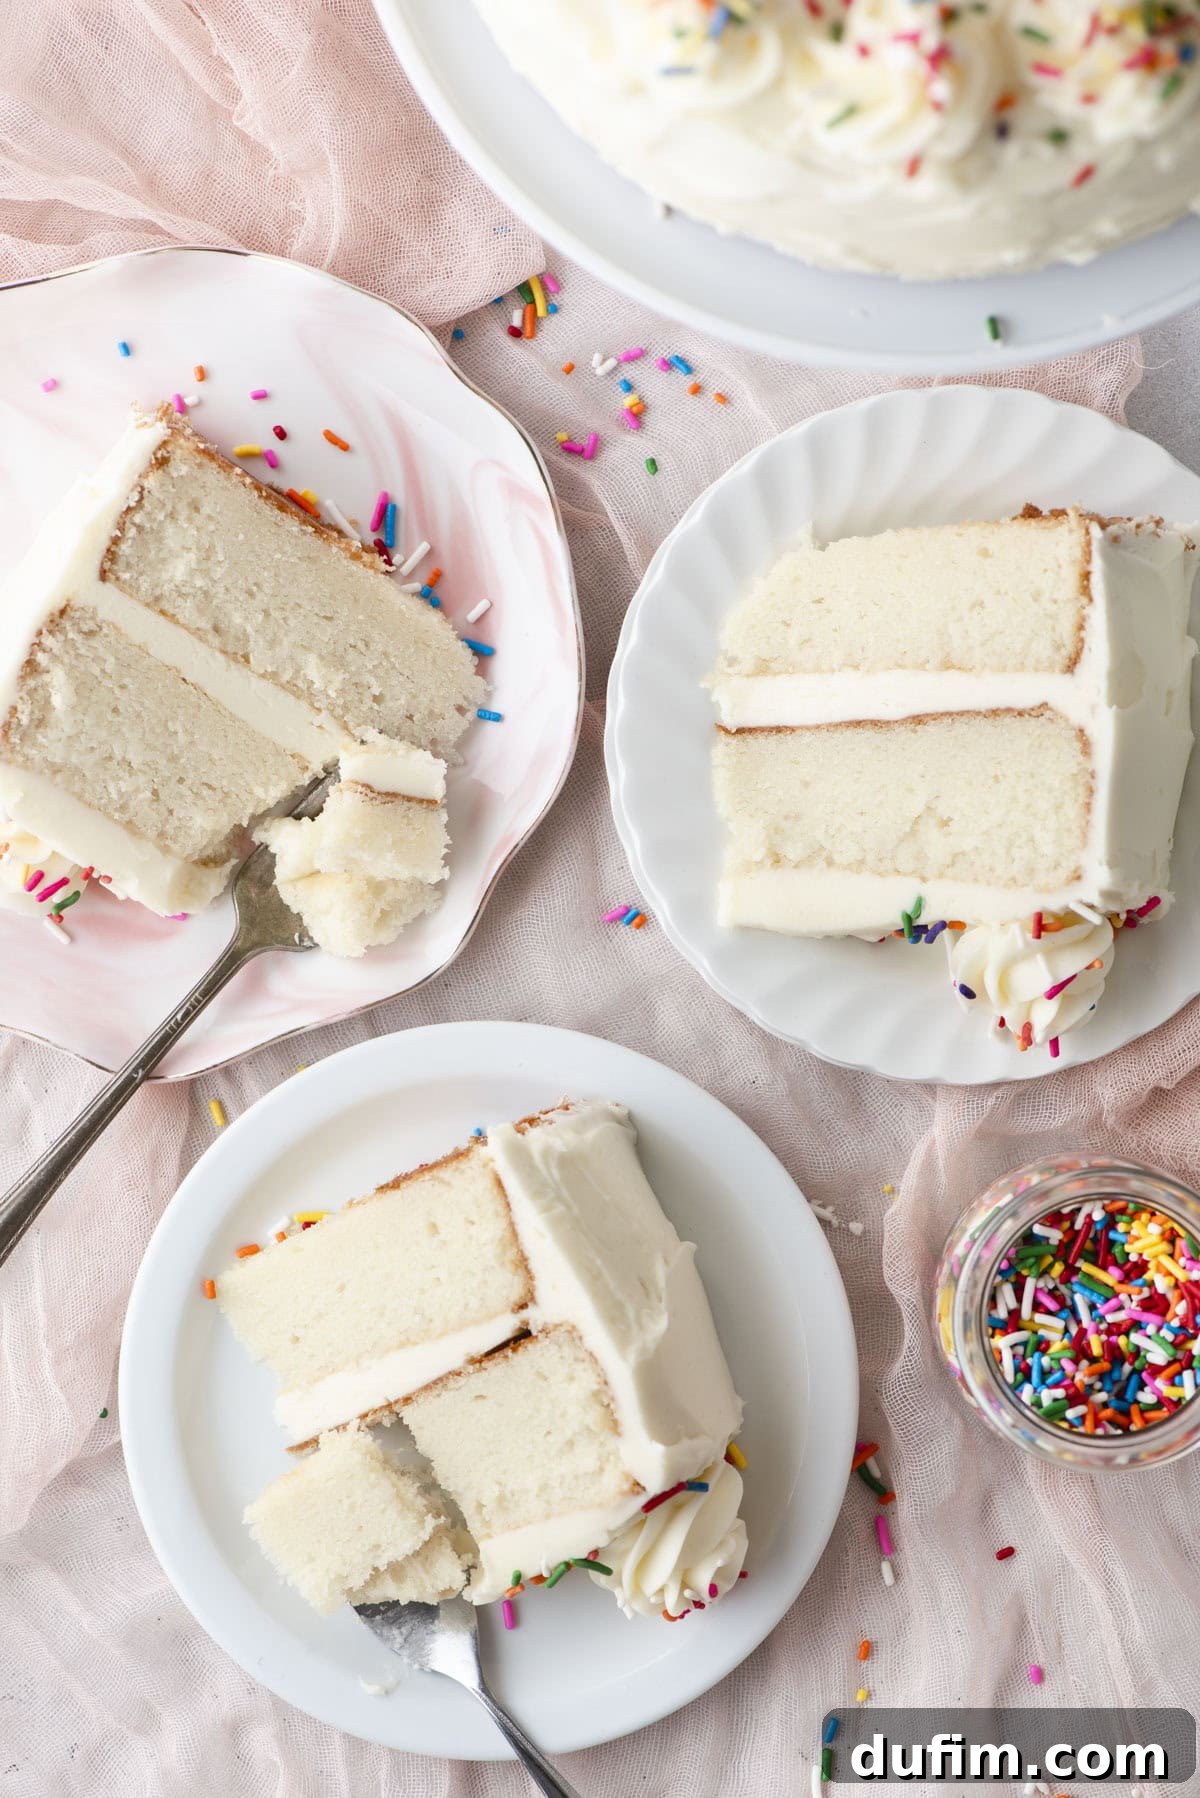
- Chill for Cleaner Slices (Optional): For the neatest, most elegant slices, consider chilling your assembled and frosted cake in the refrigerator for 20-30 minutes before serving. This allows the frosting to firm up, making it easier to cut clean portions.
White Cake Variations: Unleash Your Creativity
Our classic white cake is a versatile foundation, ready to be customized for any palate or occasion. Here are some delightful ways to add your unique touch:
- Explore Flavorful Fillings: While our vanilla frosting is divine, consider layering different flavors between your cake tiers. Bright lemon curd adds a tangy contrast, rich custard provides a comforting sweetness, or a homemade berry compote (raspberry, strawberry, or blueberry) brings a burst of fresh fruit flavor and vibrant color.
- Switch Up the Frosting: The clean taste of white cake pairs beautifully with almost any frosting. Experiment with a luscious chocolate ganache for a sophisticated touch, a tangy cream cheese frosting for a classic pairing, or a whimsical funfetti buttercream for birthdays. For unique flavor adventures, try Oreo frosting, salted caramel frosting, or a zesty lemon buttercream.
- Gluten-Free White Cake Option: For those with dietary considerations, converting this recipe to a gluten-free version is straightforward. I’ve had excellent results using King Arthur’s Gluten-Free Measure for Measure Flour. Simply substitute it for regular all-purpose flour in a direct one-to-one ratio for a delicious gluten-free fluffy white cake.
- Add Citrus Zest: For a subtle brightness, add 1-2 teaspoons of lemon or orange zest to the cake batter with the wet ingredients. It will enhance the flavor without altering the cake’s pristine white color.
- Infuse with Almond: For an elegant, sophisticated flavor profile often found in wedding cakes, add ½ to 1 teaspoon of almond extract to the cake batter and another ½ teaspoon to the frosting. This complements the vanilla beautifully.
White Cake Storage Suggestions and Freezing Tips
Proper storage is key to keeping your homemade white cake fresh and delicious. Here’s how to preserve its quality:
At Room Temperature: This cake, once frosted, can be kept at room temperature for up to three days. To keep it from drying out, cover it loosely with plastic wrap or place any leftover slices in an airtight container. Ensure it’s away from direct sunlight or heat sources.
Refrigeration: While it holds well at room temperature, if your kitchen is particularly warm or if your frosting contains ingredients that require refrigeration (like fresh cream cheese), store the cake in an airtight container in the refrigerator for up to 5 days. Allow it to come to room temperature for 30 minutes before serving for the best flavor and texture.
Freezing a Whole Frosted Cake: Freezing is an excellent option for long-term storage or preparing ahead. To freeze an entire frosted cake, first place it uncovered on a baking sheet in the freezer. Allow it to freeze until the frosting is completely firm, typically 2-3 hours. This prevents smudging. Once firm, wrap the entire cake tightly in several layers of plastic wrap, followed by a layer of aluminum foil. Return it to the freezer for up to 2-3 months.
Freezing Leftover Slices: For individual portions, leftover slices can be wrapped similarly in plastic wrap and foil, or placed in an airtight freezer-safe container or freezer bag. If stacking slices, place a small piece of parchment paper between each to prevent them from sticking together.
Thawing and Serving: When you’re ready to enjoy your frozen cake, transfer it to the refrigerator to thaw overnight. If thawing a whole frosted cake, slightly loosen the plastic wrap before refrigerating. This helps prevent the plastic from sticking to the frosting as it softens. For the freshest taste, bring the thawed cake to room temperature for about an hour before serving.
Frequently Asked Questions About White Cake
Here are some common questions we get about baking the perfect white cake:
- Can I use cake flour instead of all-purpose flour? Yes, you can! Cake flour has a lower protein content, which can result in an even more tender and delicate crumb. If using cake flour, you might need to adjust the amount slightly (usually a bit more cake flour by volume, or weigh it according to the recipe).
- Why do you use both baking powder and baking soda? Baking powder and baking soda work together to provide optimal lift and texture. Baking soda reacts with acidic ingredients (like sour cream) to create bubbles, while baking powder provides consistent leavening, ensuring a light and airy cake.
- What’s the best way to separate egg whites? For the cleanest separation, crack cold eggs and quickly separate the whites from the yolks. Cold yolks are firmer and less likely to break. However, allow the egg whites to come to room temperature before using them in the batter for best results.
- Can I make this white cake ahead of time? Absolutely! The cake layers can be baked 1-2 days in advance, cooled completely, tightly wrapped in plastic wrap, and stored at room temperature or refrigerated. You can also freeze the unfrosted layers for up to a month. The frosting can be made a day in advance and stored in the refrigerator, then re-whipped before use.
- My cake layers domed in the middle, what went wrong? Doming is often caused by the outside of the cake baking faster than the inside. Using bake-even strips can help. Also, ensure your oven temperature is accurate and avoid overfilling your pans. Leveling the cakes after cooling is always an option!
- Can I make this into cupcakes? Yes, this recipe is easily adaptable for cupcakes! Line a muffin tin with cupcake liners and fill them about two-thirds full. Bake for approximately 18-22 minutes, or until a toothpick comes out clean. Baking time will vary, so keep an eye on them.
More Delicious Cake Recipes to Try
- How to Elevate a Boxed White Cake Mix
- The Ultimate Funfetti Sheet Cake
- Bright and Zesty Lemon Sheet Cake
- Sweet and Simple Strawberry Cake
Tap stars to rate!
Classic White Cake Recipe
By: Beth
Prep Time: 15 minutes | Cook Time: 40 minutes | Total Time: 1 hour 30 minutes | Servings: 16
Our tested and trusted white cake recipe delivers a light, fluffy, and beautifully pale cake perfect for any occasion. It’s classic, foolproof, and approved by home bakers everywhere.
Ingredients
Cake
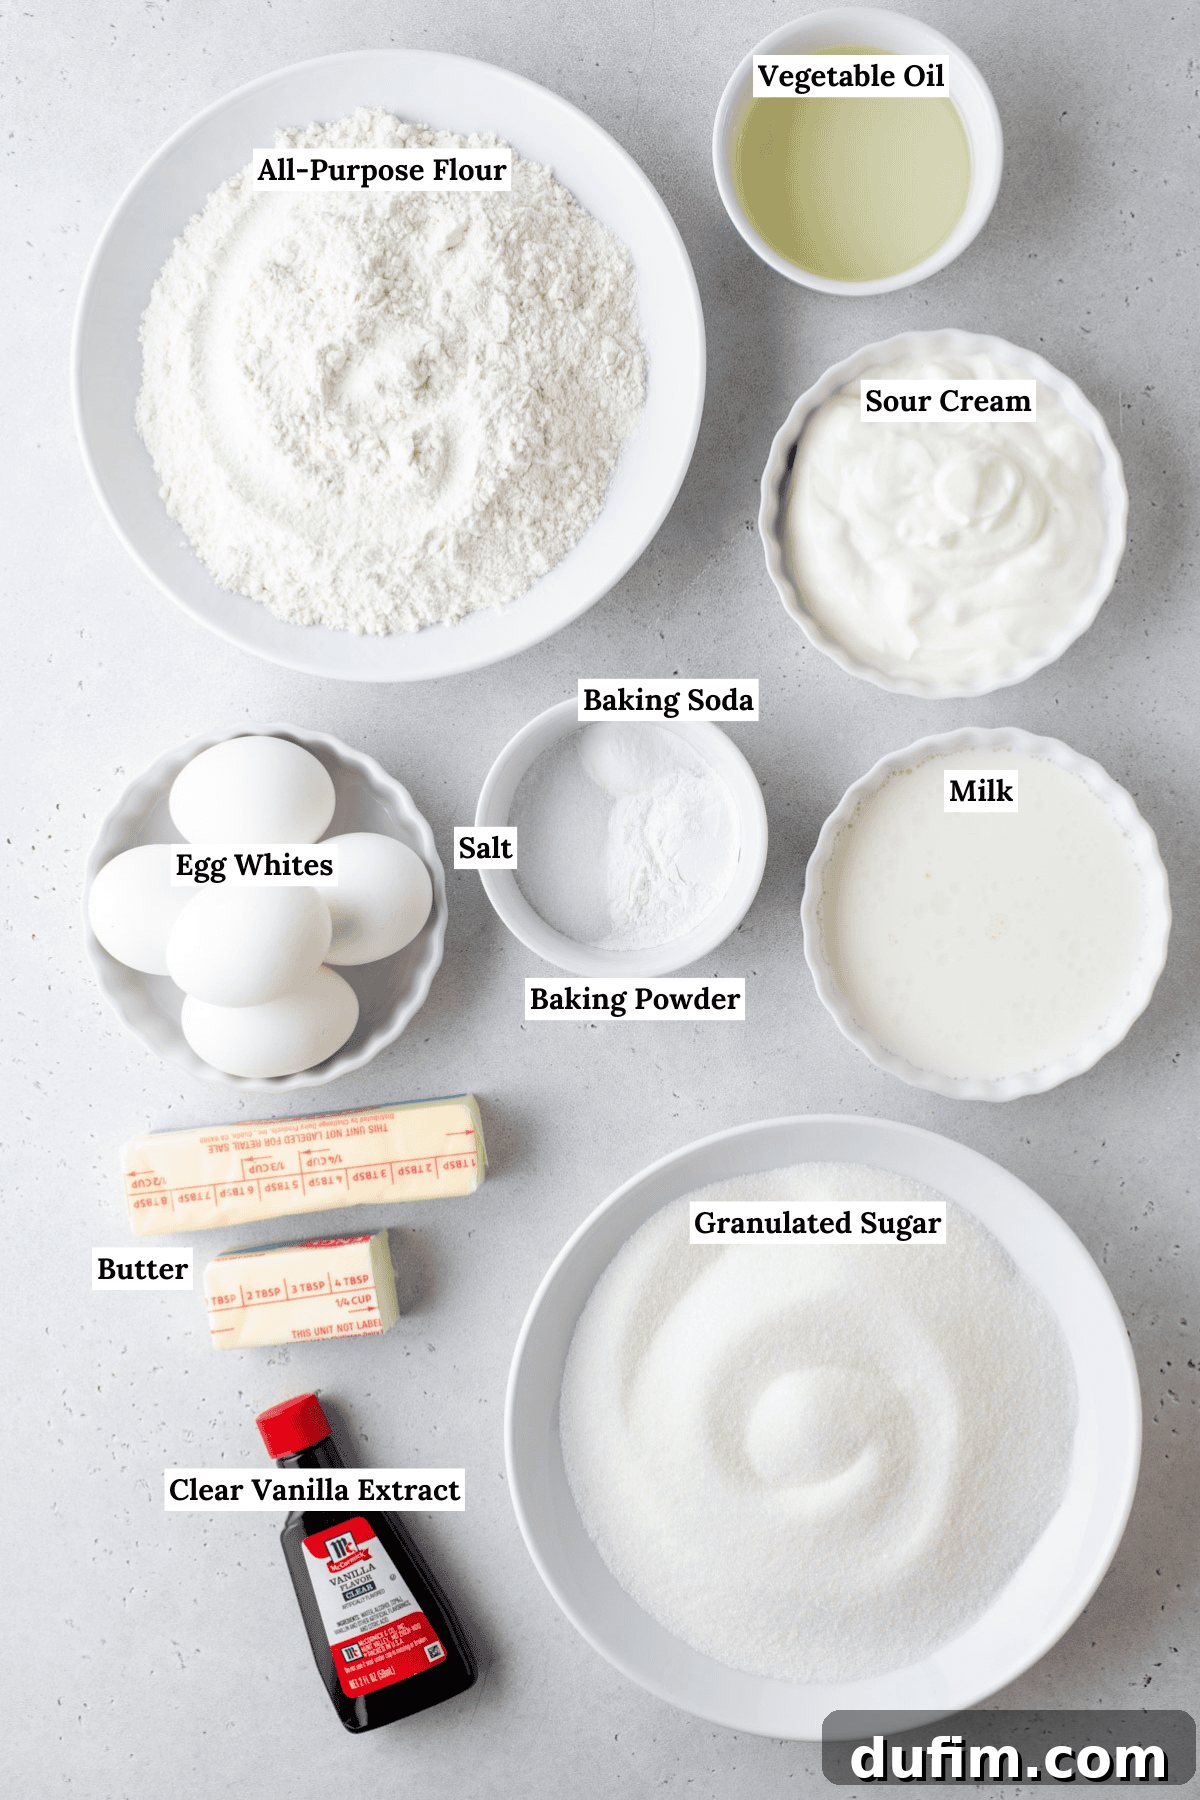
- 2 ½ cups (300g) all-purpose flour
- 2 tsp baking powder
- ½ tsp baking soda
- 1 tsp salt
- ¾ cup (170g) unsalted butter, room temperature
- 1 ¾ cups (346g) granulated sugar
- ¼ cup (59ml) vegetable oil
- 5 large egg whites, room temperature
- 1 cup (227g) sour cream
- ½ cup (118ml) milk (whole milk recommended)
- 1 Tbsp vanilla extract (clear for pure white color)
Vanilla Frosting
- 2 ½ cups (565g) unsalted butter, room temperature
- 2 Tbsp vanilla extract (clear for pure white color)
- ⅛ tsp salt
- 6-10 cups (681-1135g) powdered sugar (to taste and desired consistency)
- 3-6 Tbsp milk or heavy cream (if frosting becomes too thick)
Instructions
Cake
- Preheat oven to 350º F (175º C). Grease two or three 8-inch springform pans with butter and line the bottoms with parchment paper. Set aside.
- In a small bowl, whisk together the flour, baking powder, baking soda, and salt.
- In a large mixing bowl, combine butter, sugar, and vegetable oil. Beat with an electric mixer for 1-2 minutes until light and fluffy.
- Add egg whites, sour cream, milk, and vanilla extract. Beat until well combined.
- Gradually add the dry flour mixture to the wet ingredients, mixing just until the flour is incorporated and no dry streaks remain. Do not overmix.
- Evenly divide the batter among the prepared pans (approx. 3 cups per pan for two, 2 cups per pan for three). Use bake-even strips if desired.
- Bake for 40-50 minutes for two pans, or 32-37 minutes for three pans, or until a toothpick inserted into the center comes out clean.
- Cool cakes in pans for 20-30 minutes, then invert onto a wire rack to cool completely.
Frosting
- In a large bowl, combine butter, vanilla extract, and salt. Beat with an electric mixer until fluffy, 1-2 minutes.
- Gradually add powdered sugar and 3 Tbsp of heavy cream, mixing on low speed until combined and smooth.
- Taste and adjust sweetness if desired. If frosting is too thick, add 2-4 additional tablespoons of milk or heavy cream, one at a time, until desired consistency is reached.
Assemble the Cake
- If needed, level the cooled cake layers using a serrated knife or cake leveler for flat tops.
- Spread a small amount of frosting on your cake plate or stand to act as “glue.” Place one cake layer on top. Spread ¾ to 1 cup of frosting evenly over the layer. Repeat with subsequent cake layers. Use remaining frosting to cover the sides and top of the cake, smoothing or decorating as desired.
Nutrition
All nutritional values are approximate and provided as a courtesy. Changing ingredients and/or quantities will alter the estimated nutritional calculations.
- Serving: 1 slice
- Calories: 11807 kcal
- Carbohydrates: 1333g
- Protein: 66g
- Fat: 707g
- Saturated Fat: 414g
- Polyunsaturated Fat: 57g
- Monounsaturated Fat: 179g
- Trans Fat: 25g
- Cholesterol: 1742mg
- Sodium: 4504mg
- Potassium: 1375mg
- Fiber: 8g
- Sugar: 1077g
- Vitamin A: 20146IU
- Vitamin C: 2mg
- Calcium: 1159mg
- Iron: 16mg
Like this recipe? Rate and comment below!