
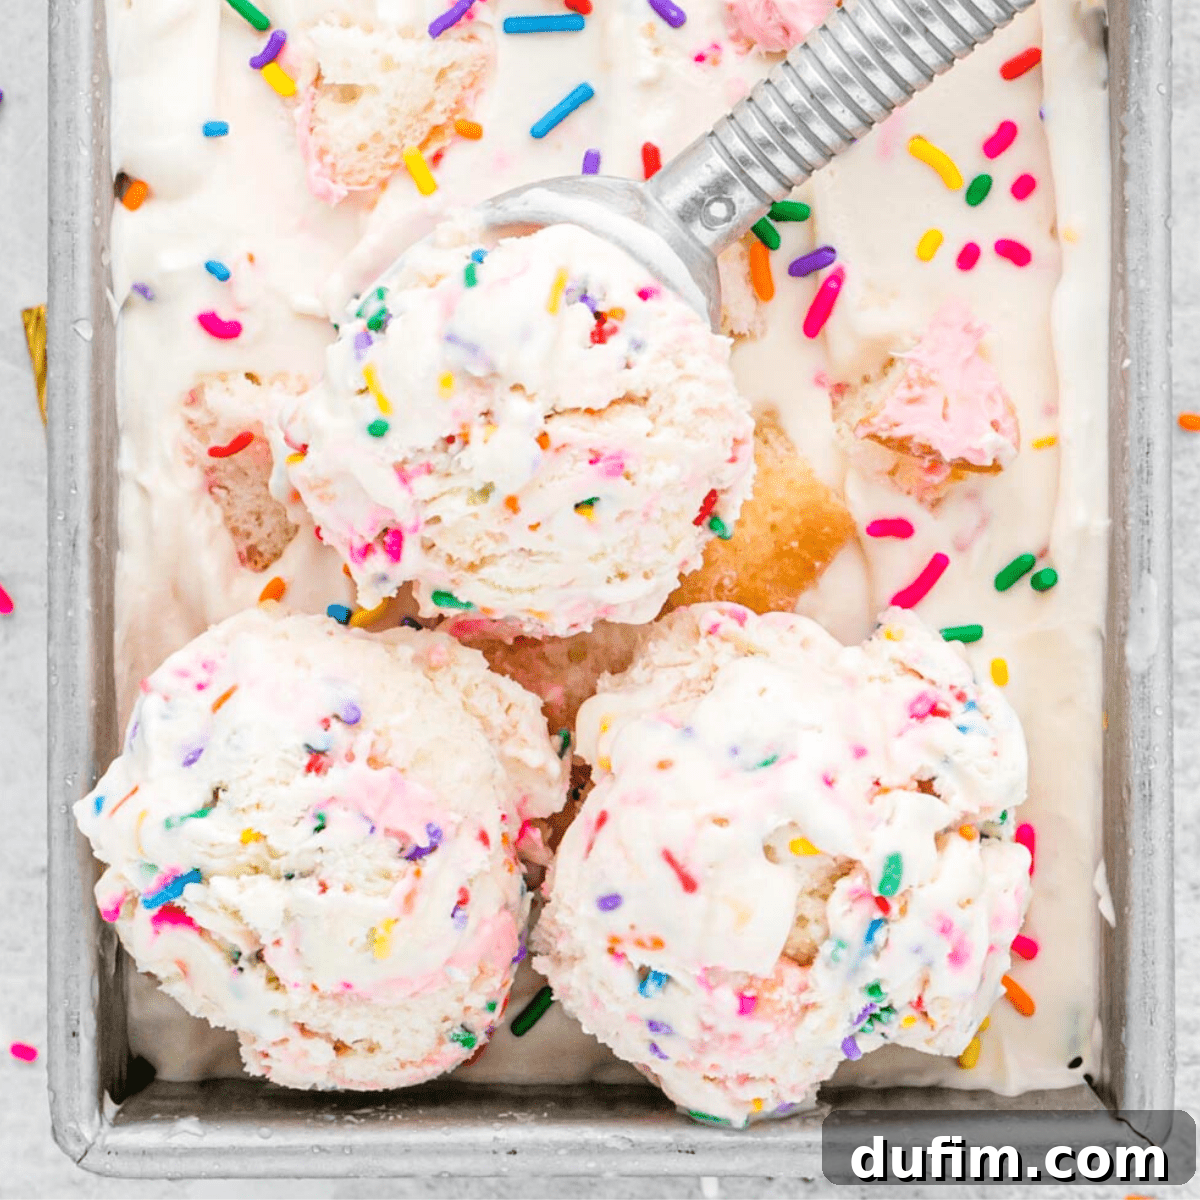
Imagine serving a delightful, homemade birthday cake ice cream that’s rich, creamy, and bursting with cake and sprinkles – all without an ice cream maker! This isn’t just a recipe; it’s the ultimate “mom hack” that I’ve perfected over the years, and I’m thrilled to share every secret and tip with you. Get ready to transform ordinary leftover cupcakes into an extraordinary frozen dessert that will impress everyone.
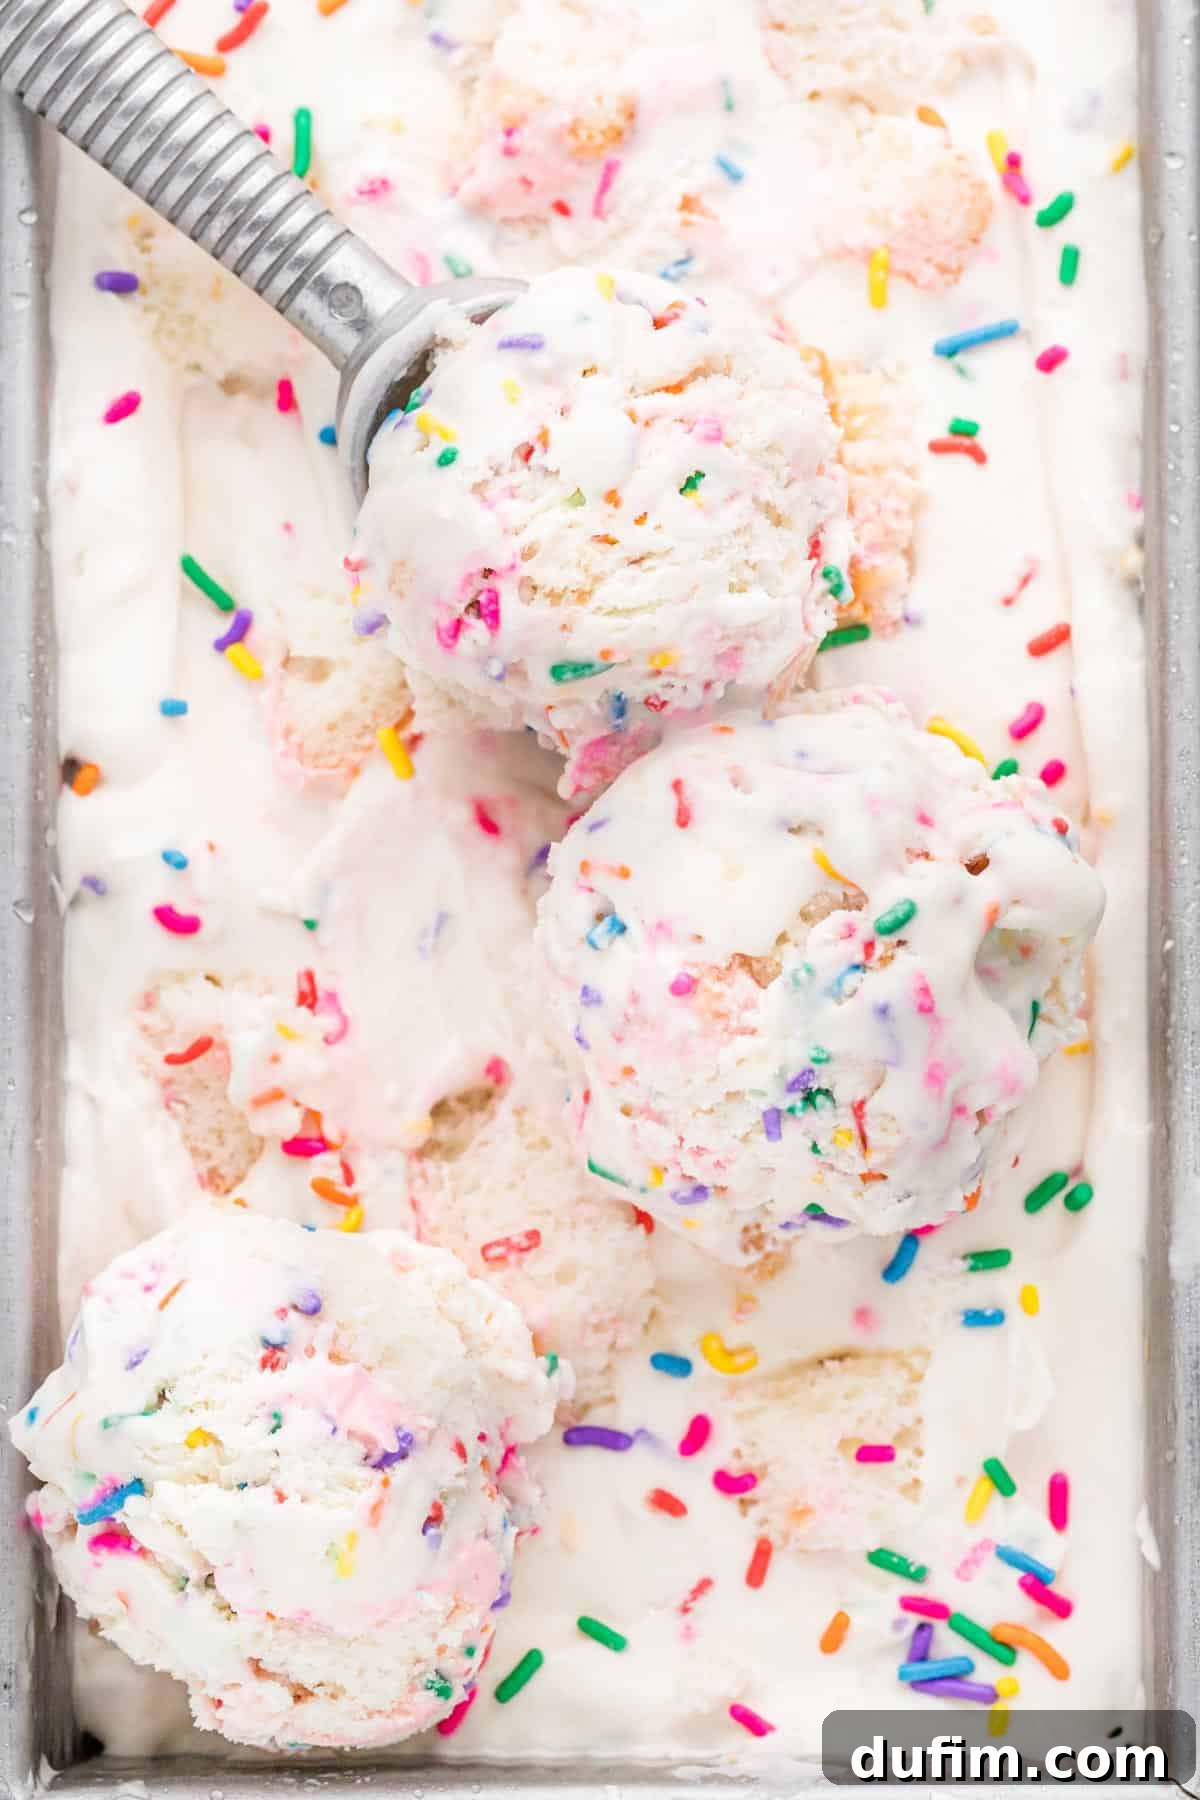
For those who might feel intimidated by making ice cream at home, relax! Consider me your culinary guide. Having crafted countless batches of homemade ice cream over the years, I’ve compiled all my tried-and-true secrets and insider tips to ensure your success. This particular no-churn birthday cake ice cream recipe is incredibly forgiving and yields consistently amazing results, making you feel like a dessert pro!
This homemade birthday cake ice cream recipe offers the perfect solution for those inevitable leftover cupcakes after a celebration. Instead of letting them go stale, transform them into a decadent, delightful dessert. By following my easy-to-understand steps and incorporating my essential tips, you’ll achieve an ice cream with an unbelievably smooth texture, an explosion of flavor, and a visual appeal that will undoubtedly be the highlight of any gathering. It’s truly a game-changer for repurposing sweet treats!
Why This No-Churn Birthday Cake Ice Cream is a Must-Try
Forget about the store-bought versions that often skimp on flavor and real cake pieces. Our homemade birthday cake ice cream elevates the experience entirely because it’s made with generous chunks of actual cake and creamy frosting. This allows for an authentic, rich “birthday cake” experience in every spoonful. The best part? You have complete control over the flavor profile!
Any flavor of frosted cupcake works wonderfully here. Whether you have classic chocolate cupcakes, timeless vanilla cupcakes, or even fun Oreo cupcakes, they all blend seamlessly into this luscious base. This versatility makes it an incredibly adaptable recipe. Furthermore, for those with dietary restrictions, this homemade version can easily be made gluten-free by simply using gluten-free cupcakes, a flexibility rarely found in commercial ice creams.
The magic of this recipe lies in its “no-churn” method. There’s no need to drag out a bulky ice cream maker or endure the tedious process of churning. Instead of an egg-based custard that requires constant monitoring and specific machinery, you’ll create a luxurious whipped cream base. This technique is brilliant because it incorporates air into the mixture, resulting in an incredibly smooth, fluffy, and scoopable texture without any churning or the hassle of stirring the ice cream every 30 minutes during freezing. It’s truly a fuss-free approach to gourmet ice cream!
While this birthday cake ice cream is always a sensational hit at parties and celebrations, its simplicity means it’s also the perfect treat to whip up anytime a craving strikes – especially when you find yourself with a few delightful leftover cupcakes. It’s a versatile dessert that brings joy whether for a crowd or a quiet evening in.
If you discover a newfound passion for crafting your own frozen delights, I highly recommend exploring my other popular creations like the whimsical Cookie Monster Ice Cream and the classic Oreo Ice Cream. Each offers a unique and delicious homemade experience!
Essential Birthday Cake Ice Cream Ingredients
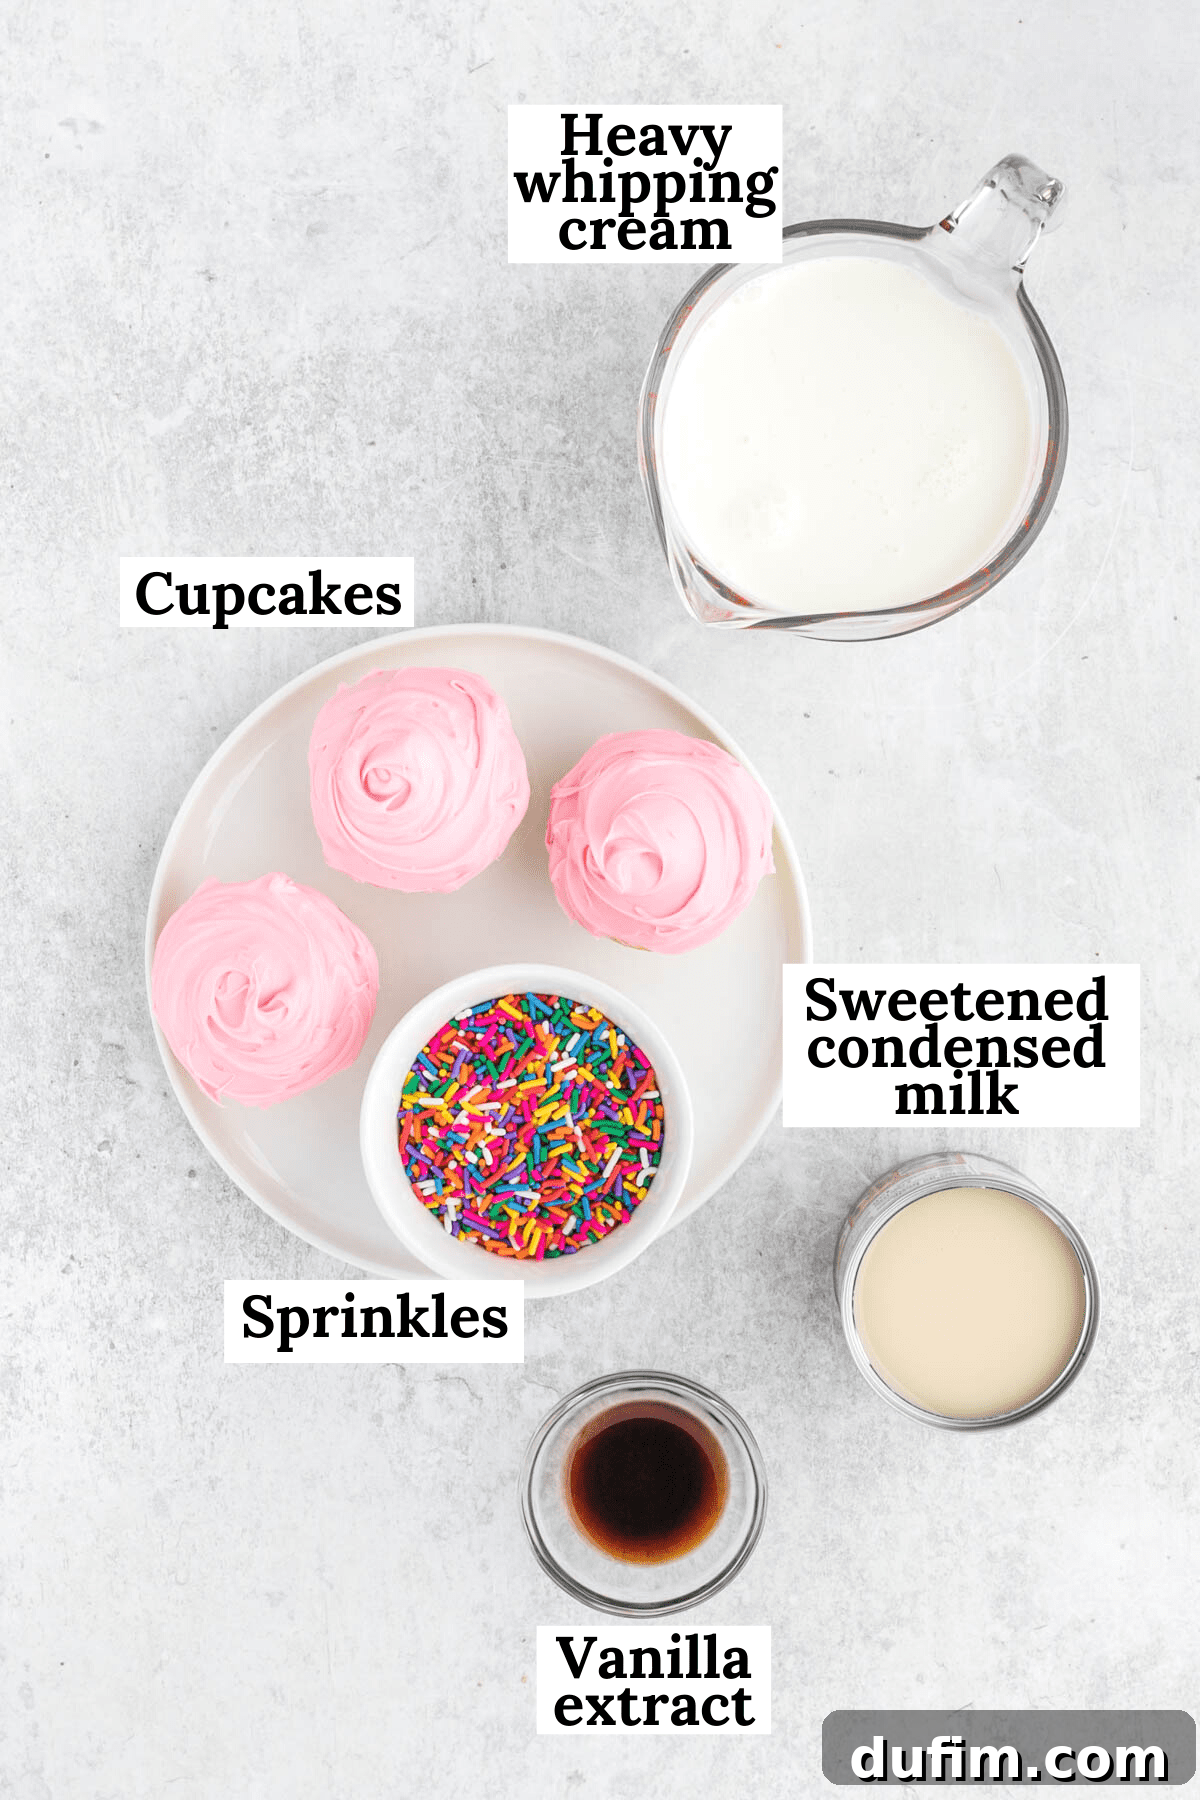
Crafting this delightful no-churn ice cream requires just a few key ingredients. Each plays a vital role in achieving that perfect creamy texture and classic birthday cake flavor. Below is a comprehensive list, but for precise quantities and detailed instructions, remember to refer to the full recipe card at the end of this post.
- Heavy Whipping Cream: This is the foundation of our no-churn ice cream. Its high fat content is crucial for whipping up into stiff peaks, which creates the light, airy, and rich base. Do not substitute with half-and-half or whole milk; they simply won’t achieve the necessary structure and creaminess for this recipe to work correctly.
- Vanilla Extract: A splash of good quality vanilla extract enhances all the other flavors, adding a warm, sweet aroma that complements the birthday cake theme beautifully.
- Sweetened Condensed Milk: This ingredient is the magic behind the “no-churn” method. It provides both sweetness and a thick, smooth consistency, preventing the ice cream from freezing into hard ice crystals. Its condensed nature means it’s already sweetened and emulsified, contributing significantly to the final creamy texture.
- Frosted Cupcakes: The star of the show! Whether they’re homemade from a recent baking session or store-bought for convenience, frosted cupcakes are essential. They add real cake texture, frosting swirls, and authentic birthday cake flavor. Cut them into small, manageable pieces to distribute throughout the ice cream.
- Rainbow Jimmies (Sprinkles): No birthday cake is complete without vibrant sprinkles! Rainbow jimmies add a festive pop of color and a delightful, subtle crunch, making every scoop a celebration.
Understanding the Difference: Evaporated vs. Sweetened Condensed Milk
This is a common question, and it’s crucial for this recipe. No, evaporated milk and sweetened condensed milk are absolutely not interchangeable. Sweetened condensed milk, as the name suggests, is heavily sweetened with sugar, which acts as a tenderizer and sweetener for our ice cream base. Evaporated milk, on the other hand, is unsweetened and much thinner. Since this recipe relies solely on the condensed milk for its sweetness and much of its smooth texture, using evaporated milk would result in a bland, icy, and ultimately disappointing dessert. Always double-check your labels to ensure you’re using sweetened condensed milk!
Step-by-Step: Crafting Your No-Churn Birthday Cake Ice Cream
Making this ice cream is surprisingly simple, but a little patience for freezing time goes a long way. If you’re preparing this for a special party or event, be sure to plan ahead and allow ample time for it to freeze completely solid. A minimum of six hours is necessary, but for the very best, perfectly scoopable consistency, chilling it overnight is highly recommended!
Step 1: Flash-Freeze the Cupcakes for Perfect Texture. Begin by cutting your frosted cupcakes into small, bite-sized pieces. Arrange these pieces in a single layer on a baking sheet lined with a silicone mat or parchment paper. Place the baking sheet in the freezer for about 20-30 minutes. This crucial “flash-freezing” step helps prevent the cake pieces from crumbling and dissolving into the ice cream base, ensuring you get distinct, delicious chunks of cake in every spoonful. It makes a significant difference in the final texture!
Step 2: Whip the Heavy Cream to Stiff Peaks. In the bowl of a stand mixer fitted with the whisk attachment, or using a powerful handheld electric mixer, combine the cold heavy whipping cream and vanilla extract. Beat on medium-high speed until the mixture transforms into light, fluffy whipped cream with stiff peaks. Stiff peaks mean that when you lift the beaters, the cream stands up straight without drooping or curling. This aeration is key to the light and creamy texture of your no-churn ice cream.
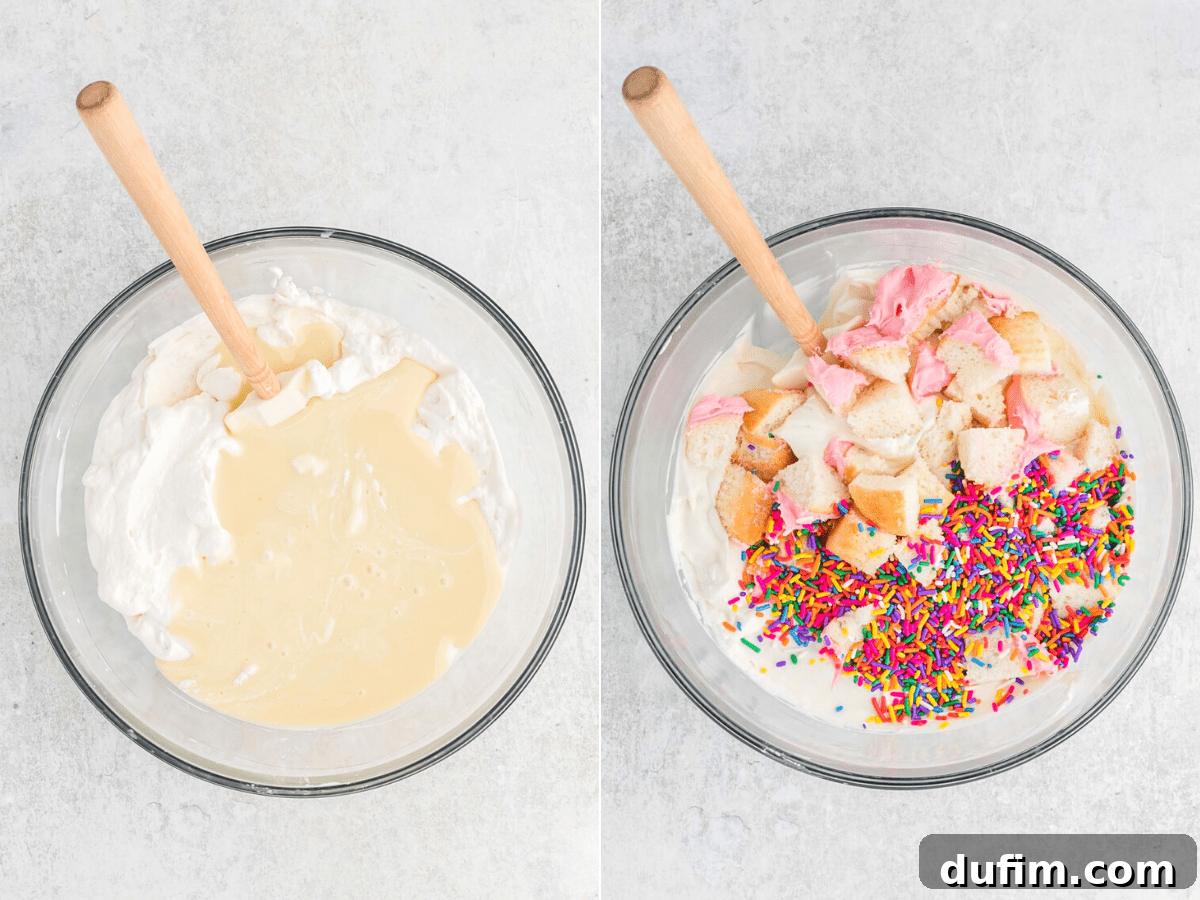
Step 3: Gently Combine with Remaining Ingredients. Once your heavy cream is perfectly whipped, slowly pour in the sweetened condensed milk. Beat on the lowest speed just until it is barely combined. Be careful not to overmix and deflate the whipped cream. Then, using a spatula, gently fold in the flash-frozen cupcake pieces and the vibrant rainbow jimmies. Reserve a small handful of both for scattering on top of the ice cream later, which adds a lovely visual appeal.
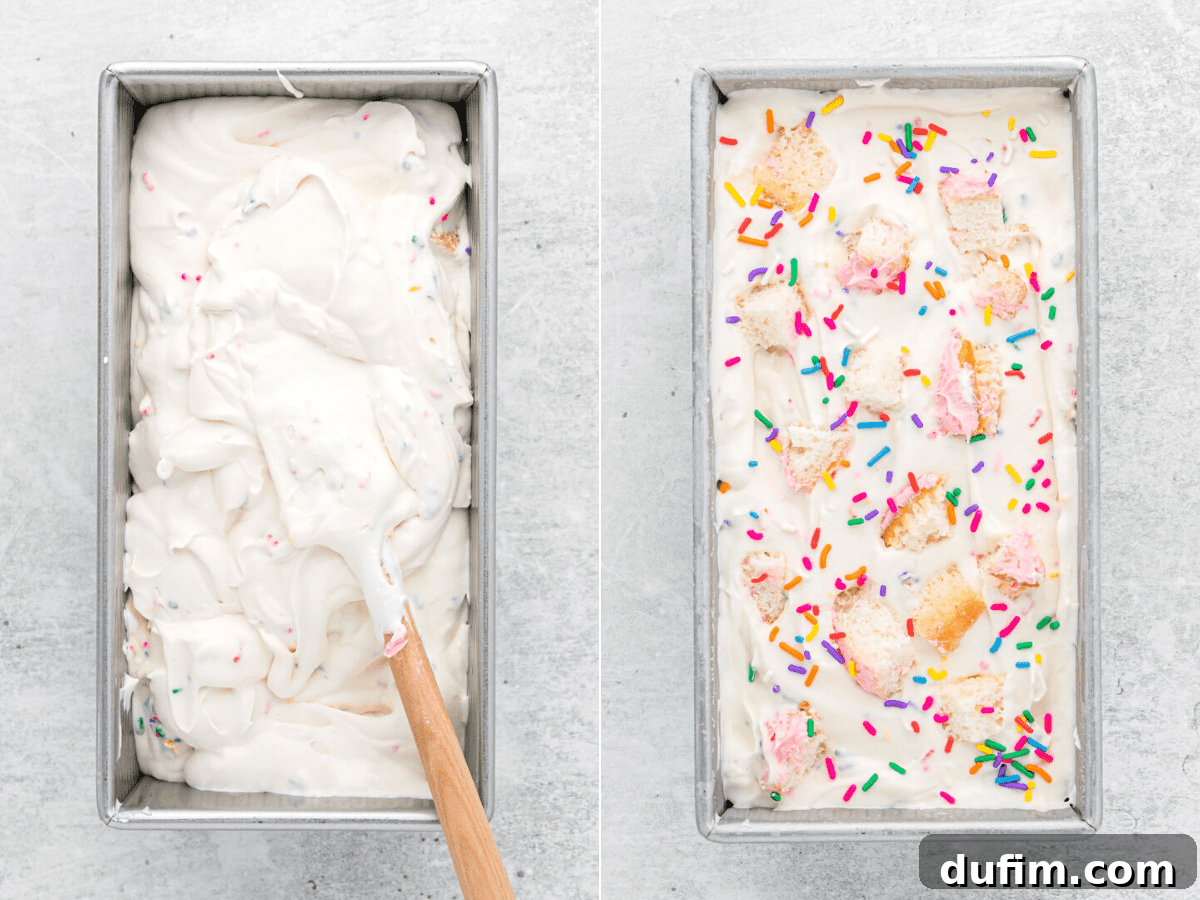
Step 4: Freeze to Perfection. Carefully transfer the creamy ice cream mixture into your chosen freezing container – a standard loaf pan, an 8-inch cake pan, or any similar freezer-safe container works perfectly. Gently smooth the top, then scatter the reserved cupcake pieces and rainbow jimmies evenly over the surface for an appealing finish. Cover the pan tightly with plastic wrap, pressing it directly onto the surface of the ice cream to prevent ice crystals from forming, or use a secure lid. Place the covered pan in the freezer for a minimum of 6 hours. For the absolute best consistency and easiest scooping, freezing it overnight is highly recommended. The longer it freezes, the firmer and more stable it will become.
Expert Tips for Perfect Homemade Birthday Cake Ice Cream
Achieving flawless no-churn ice cream is easy when you follow these simple yet crucial tips. These are the secrets to a smooth, creamy, and delightful frozen treat every single time:
- Don’t Skip Freezing the Cupcakes First: This might seem like an extra step, but it’s paramount for success. Flash-freezing the cupcake pieces before folding them into the ice cream mixture prevents them from crumbling into soggy mush. Instead, you’ll end up with beautifully distinct, tender chunks of cake throughout your ice cream, enhancing both texture and flavor. While optional, I strongly, strongly recommend it for the best results!
- Whip Heavy Cream Until Stiff Peaks Form: The consistency of your whipped cream is vital. You want it to be firm enough that when you lift the beaters from the cream, the peaks stand straight up without any curling or collapsing. Under-whipped cream will lead to an icy, less voluminous ice cream, while over-whipped cream can become grainy. Aim for that perfect stiff peak stage!
- Fold, Don’t Stir, Your Mix-Ins: When incorporating the condensed milk, and especially the cupcake pieces and sprinkles, use a gentle folding motion with a spatula. Vigorously stirring or beating these ingredients will deflate the air you’ve carefully whipped into the heavy cream. Losing that air will result in a denser, less fluffy, and potentially icier ice cream. Gentle folding preserves the airy texture that makes no-churn ice cream so delightful.
Creative Variations & Flavor Swaps for Your Birthday Cake Ice Cream
While the classic birthday cake ice cream is undeniably delicious, this recipe is incredibly versatile! Don’t hesitate to experiment with different cupcake flavors and additions to create a personalized frozen treat. Here are some exciting variations to inspire your next batch:
Chocolate Birthday Cake Ice Cream:
- Follow the base recipe but swap out vanilla or funfetti cupcakes for decadent chocolate cupcakes. The rich cocoa notes will infuse the entire ice cream.
- For an extra chocolatey indulgence, consider folding in a handful of mini chocolate chips or chocolate chunks along with the cupcake pieces.
Red Velvet Birthday Cake Ice Cream:
- Prepare the creamy ice cream base as usual, then crumble in pieces of vibrant red velvet cupcakes. The slight tanginess and cocoa undertones of red velvet cake are a perfect match.
- To capture the authentic red velvet experience, swirl in a few tablespoons of cream cheese frosting (either homemade or store-bought) before freezing.
Cookies and Cream Birthday Cake Ice Cream:
- This variation is a double delight! Along with your crumbled cupcakes (vanilla or chocolate work well), mix in crushed chocolate or vanilla sandwich cookies (like Oreos).
- For the ultimate cookies and cream twist, use actual Oreo cupcakes in the batter – it brings an incredible depth of flavor and texture.
Peanut Butter Birthday Cake Ice Cream:
- Before folding in the cupcakes, gently swirl about 1/4 to 1/2 cup of creamy peanut butter into the ice cream mixture. The nutty flavor pairs exceptionally well with chocolate or vanilla cupcakes.
- Consider adding some mini peanut butter cups for an extra layer of flavor and texture.
Mint Chocolate Chip Birthday Cake Ice Cream:
- For a refreshing twist, add a dash (about 1/2 to 1 teaspoon, to taste) of pure mint extract to the heavy cream when whipping.
- Fold in finely chopped chocolate chips or mini chocolate chips along with crumbled chocolate cupcakes for that classic mint chocolate chip experience.
Lemon Birthday Cake Ice Cream:
- Brighten up your ice cream by adding the zest of one lemon and a splash of fresh lemon juice to the base mixture.
- Use lemon-flavored cupcakes for your cake pieces to enhance the tangy, citrusy notes, creating a wonderfully refreshing dessert.
Coconut Birthday Cake Ice Cream:
- For a tropical flair, fold shredded coconut (sweetened or unsweetened, depending on preference) into the ice cream base.
- Combine with crumbled vanilla or, ideally, coconut-flavored cupcakes to deepen the coconut essence. A hint of coconut extract can also be added to the cream base.
Time at a Glance: How Long Does It Take?
One of the beauties of this no-churn recipe is the minimal active preparation time. Most of the waiting involves the freezer doing its work!
- Flash-Freezing Cupcakes: Approximately 20-30 minutes. This is a crucial inactive step.
- Whipping Heavy Cream: About 5 minutes of active beating until stiff peaks form.
- Combining All Ingredients: Roughly 3 minutes for gentle folding and mixing.
- Freezing Time: A minimum of 6 hours, but for the best, firmest results, freezing overnight (12+ hours) is ideal.
- Total Active Time: Less than 10 minutes!
- Total Inactive/Chill Time: 6+ hours.
Creative Ways to Serve Your Birthday Cake Flavored Ice Cream
Once your no-churn birthday cake ice cream is perfectly frozen and ready, the fun continues with serving! This festive dessert is a showstopper on its own, but a few thoughtful garnishes can elevate the experience even further.
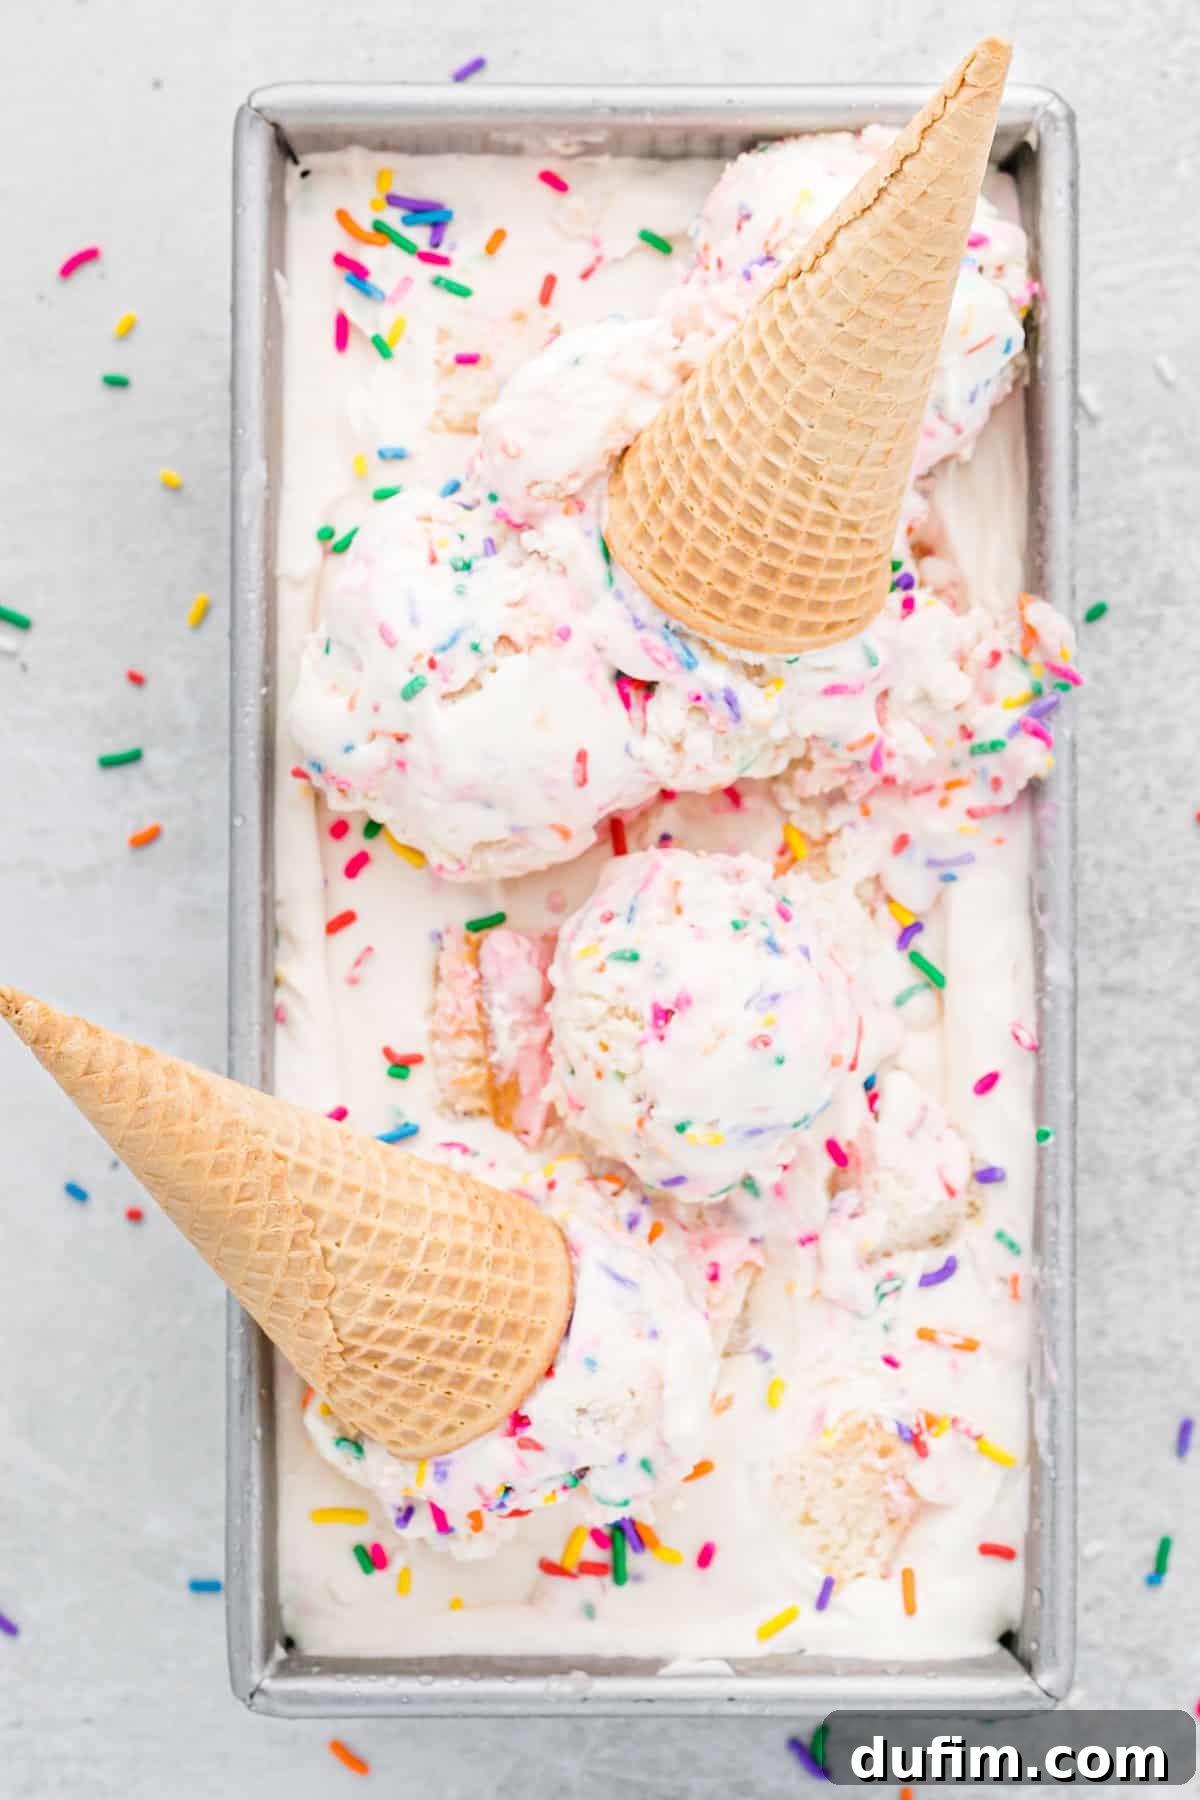
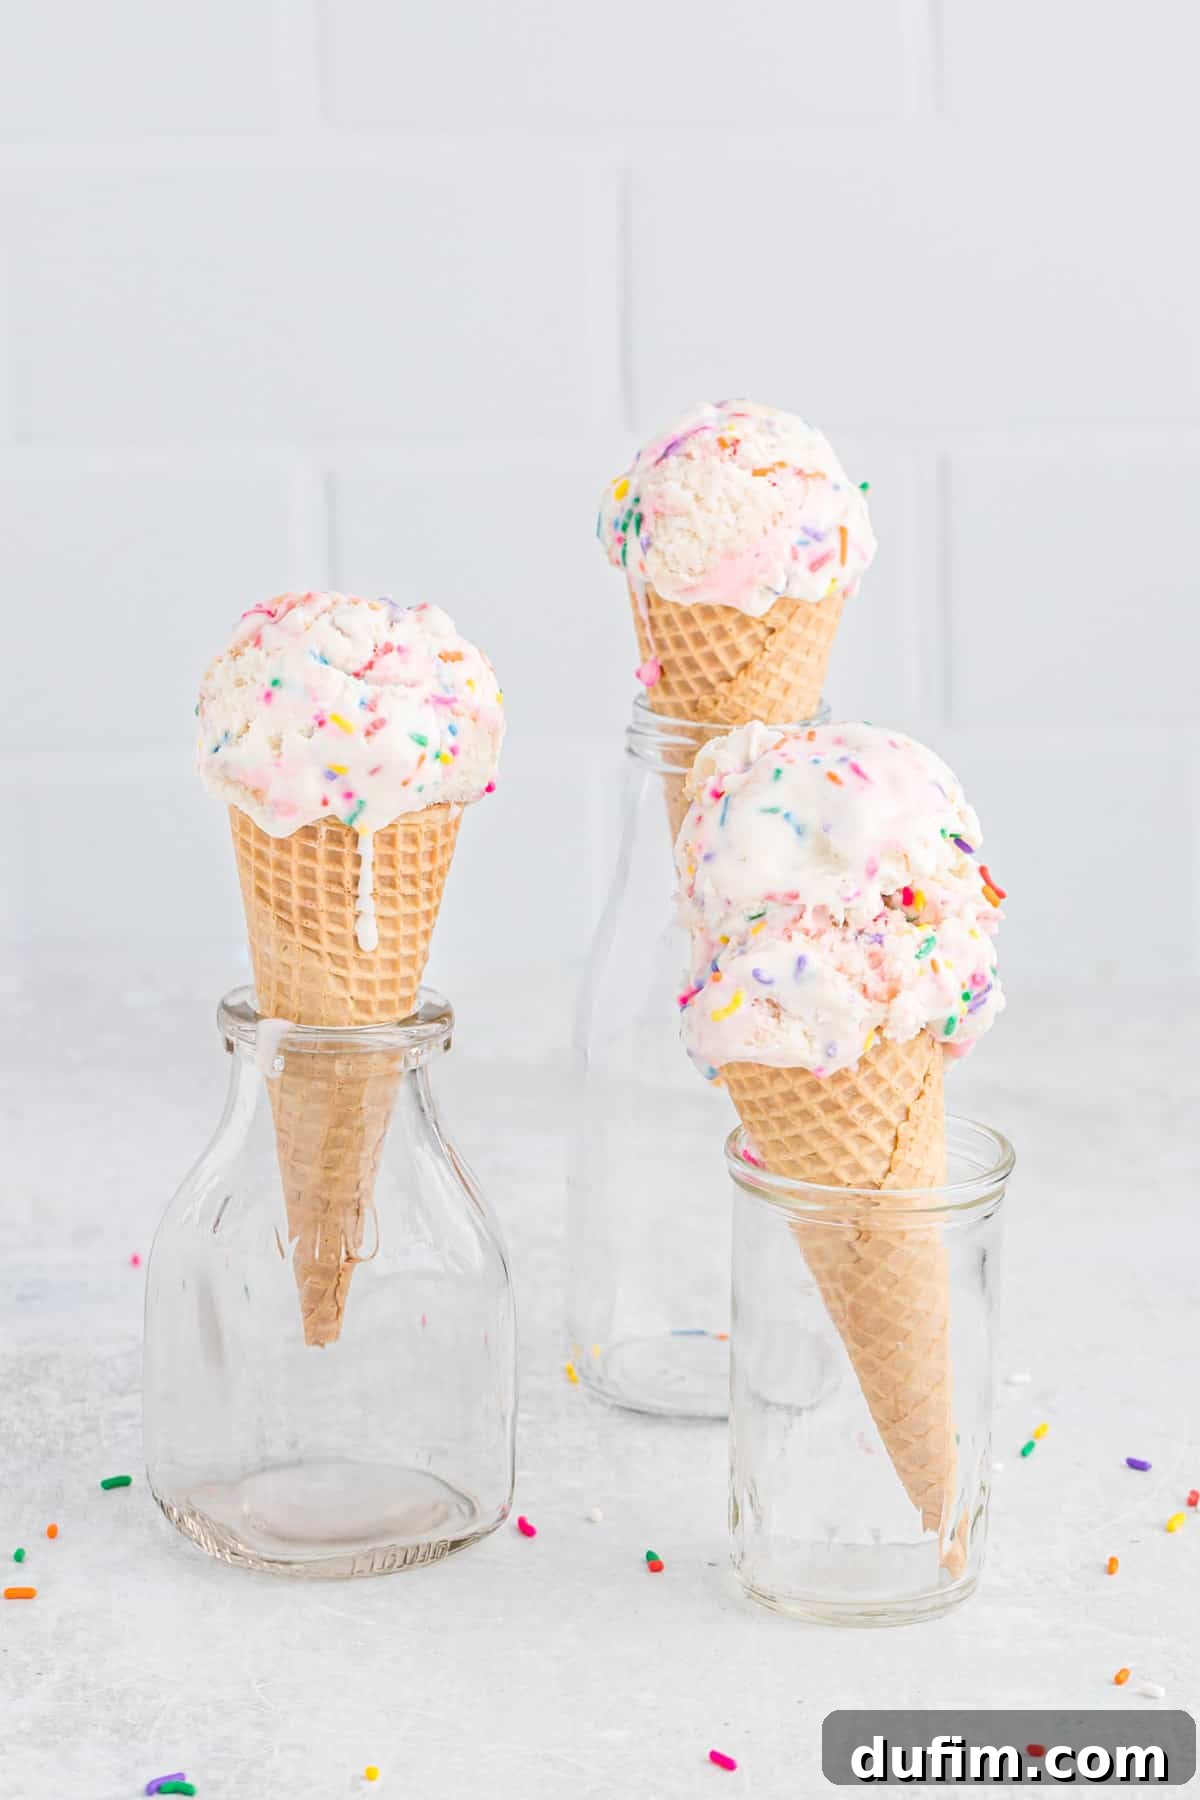
Serve generous scoops in classic ice cream bowls or crunchy cones, which are perfect for capturing all those colorful sprinkles and cake bits. For an extra touch of celebration, sprinkle a few more rainbow jimmies or some finely crushed pieces of birthday cake over the top of each serving. This adds an enticing visual appeal and a delightful textural contrast. For those who enjoy an even richer treat, consider adding a dollop of fresh whipped cream, a drizzle of warm chocolate sauce, or a luscious caramel drizzle. You could also serve it alongside a slice of actual cake (if you have any left!) for a truly decadent dessert pairing. Don’t forget a cherry on top for that classic sundae look!
Storing Your Homemade Birthday Cake Ice Cream
Proper storage is key to maintaining the creamy texture and fresh flavor of your homemade ice cream. To keep it at its best, store any leftover birthday cake ice cream in an airtight container in the freezer. If you’re keeping it in the loaf pan, ensure it’s tightly covered with plastic wrap, pressing the wrap directly onto the surface of the ice cream to prevent freezer burn and the formation of ice crystals. A lid over the plastic wrap provides even better protection. Stored correctly, your delicious ice cream will remain fresh and enjoyable for up to 2 weeks.
When you’re ready for another scoop, simply remove the container from the freezer and let it sit on the counter for about 5-10 minutes. This brief softening period will make it much easier to scoop, ensuring you get perfect, creamy portions every time.
Rate this recipe!
Homemade Birthday Cake Ice Cream Recipe
Beth
10 minutes
6 hours
6 hours 10 minutes
10 servings
Rate
Equipment
-
Glass Mixing Bowl
-
KitchenAid 9-Speed Mixer
-
My favorite spatula!
Ingredients
- 2 cups (473ml) heavy whipping cream, 1 pint
- 1 Tbsp vanilla extract
- 14 oz sweetened condensed milk
- 3 frosted cupcakes, cut into pieces and frozen, store bought or homemade
- ¾ cup rainbow jimmies
Instructions
-
Cut the cupcakes into pieces and flash freeze on a baking sheet lined with a silicone mat. Flash freeze for 20-30 minutes.
-
In a stand mixer or using a handheld mixer, beat the heavy whipping cream and vanilla extract until stiff peaks form.2 cups (473ml) heavy whipping cream, 1 Tbsp vanilla extract
-
Add in the sweetened condensed milk, beating on low until combined.14 oz sweetened condensed milk
-
Fold in the cupcakes pieces and rainbow jimmies. Transfer the ice cream to a loaf pan, 8 inch cake pan, or similar container. Add additional cupcake pieces and rainbow jimmies on top. Cover the pan with plastic wrap or a lid and freeze for at least 6 hours, overnight is preferred.3 frosted cupcakes, 3/4 cup rainbow jimmies
Video
For a visual guide, check out our tutorial video on making this delicious birthday cake ice cream!
Notes
Nutrition
Carbohydrates: 34g |
Protein: 3g |
Fat: 32g |
Saturated Fat: 20g |
Polyunsaturated Fat: 2g |
Monounsaturated Fat: 8g |
Cholesterol: 90mg |
Sodium: 92mg |
Potassium: 99mg |
Fiber: 0.2g |
Sugar: 28g |
Vitamin A: 1170IU |
Vitamin C: 1mg |
Calcium: 80mg |
Iron: 0.4mg
Nutrition Disclosure
All nutritional values are approximate and provided to the reader as a courtesy. Changing ingredients and/or quantities will alter the estimated nutritional calculations.
Like this recipe? Rate and comment below!