
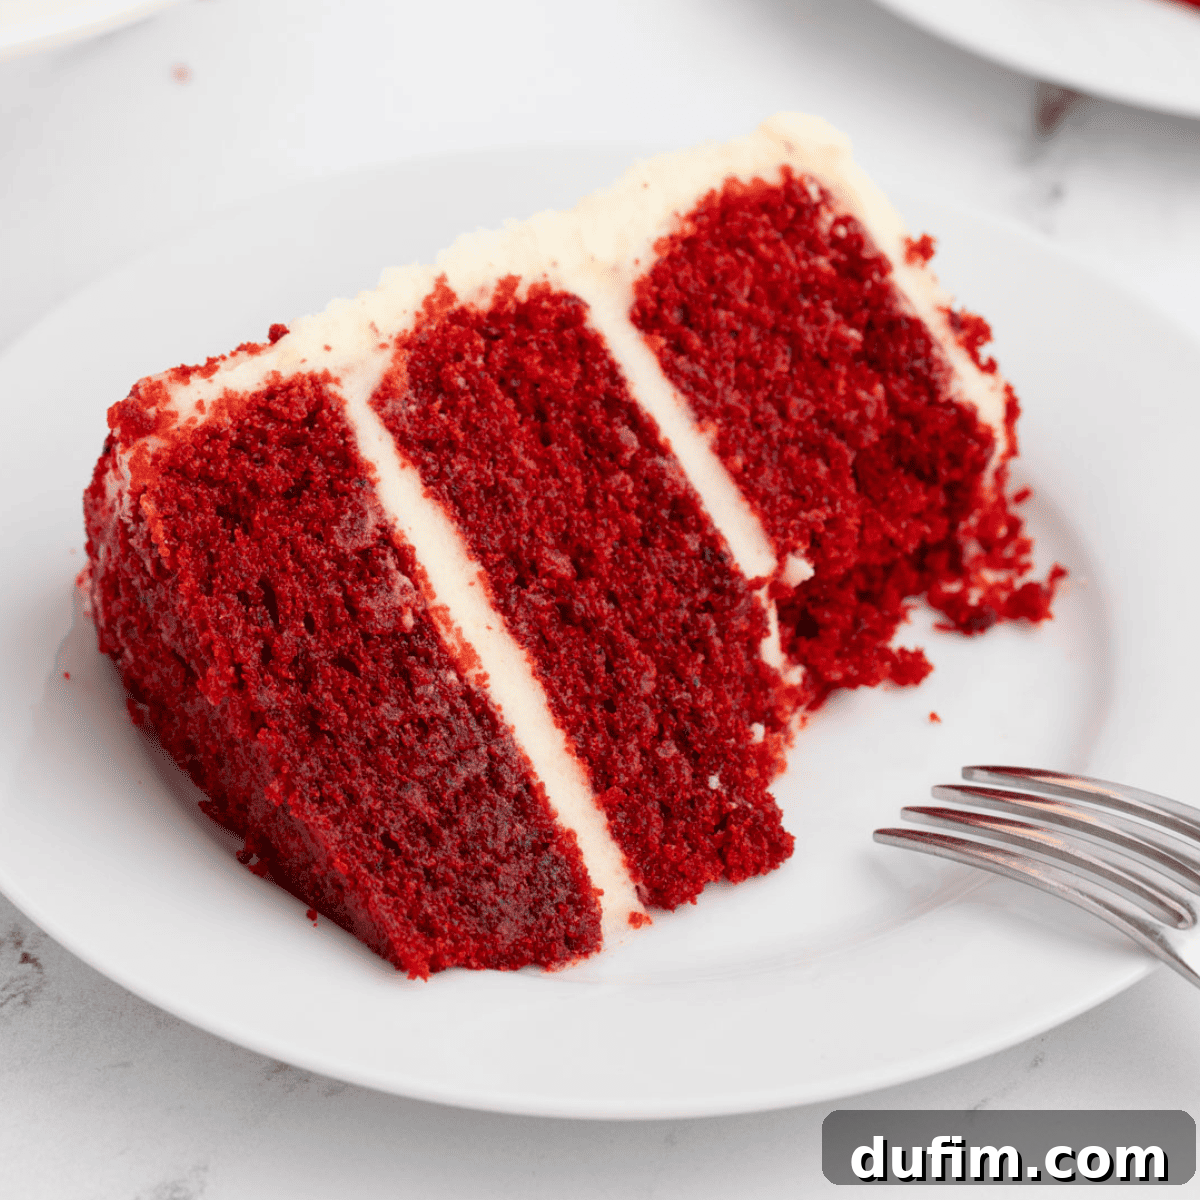
Prepare to fall in love with the most incredible, moist red velvet cake recipe you’ve ever tasted. This is the ultimate go-to recipe designed to impress any crowd, transforming an ordinary gathering into an extraordinary celebration. Imagine perfectly balanced layers of tender red velvet cake, generously frosted with a homemade, luscious cream cheese frosting, all assembled into a stunning display that looks straight out of a professional bakery.
But don’t let its impressive appearance intimidate you! My comprehensive, step-by-step guide is designed to make this culinary masterpiece accessible to every home baker. With detailed tips and tricks, you’ll navigate each stage of the baking process with confidence, eliminating guesswork and ensuring a flawless result every time. Consider me your personal baking coach, guiding you through the creation of this delightful dessert.
I made this for my 3 boys for Valentine’s day this year they devoured it. Another win from this website!! Go make it!!!
-Heather
Unveiling the Best Red Velvet Cake Recipe You’ll Ever Make
Many home bakers view layered cakes, especially one as magnificent as a red velvet cake, as tasks reserved solely for professional pastry chefs. Not anymore! With this meticulously crafted recipe, you’ll unlock the secrets to creating a bakery-quality cake right in your own kitchen.
My simple yet thorough instructions, coupled with invaluable tips and tricks, are your roadmap to baking success. We’ll start by preparing the cake batter, ensuring each ingredient is mixed precisely to achieve that signature moist crumb and tender texture red velvet is known for. Next, we’ll whisk up the irresistibly smooth and tangy homemade cream cheese frosting – a ridiculously easy and addictive component that perfectly complements the cake’s subtle cocoa notes. Finally, we’ll guide you through the assembly process, turning your individual cake layers into a true red velvet masterpiece. Get ready to bake a cake that not only looks spectacular but tastes even better, leaving everyone asking for the recipe!
Why This Simple Red Velvet Cake Recipe Will Become Your Favorite
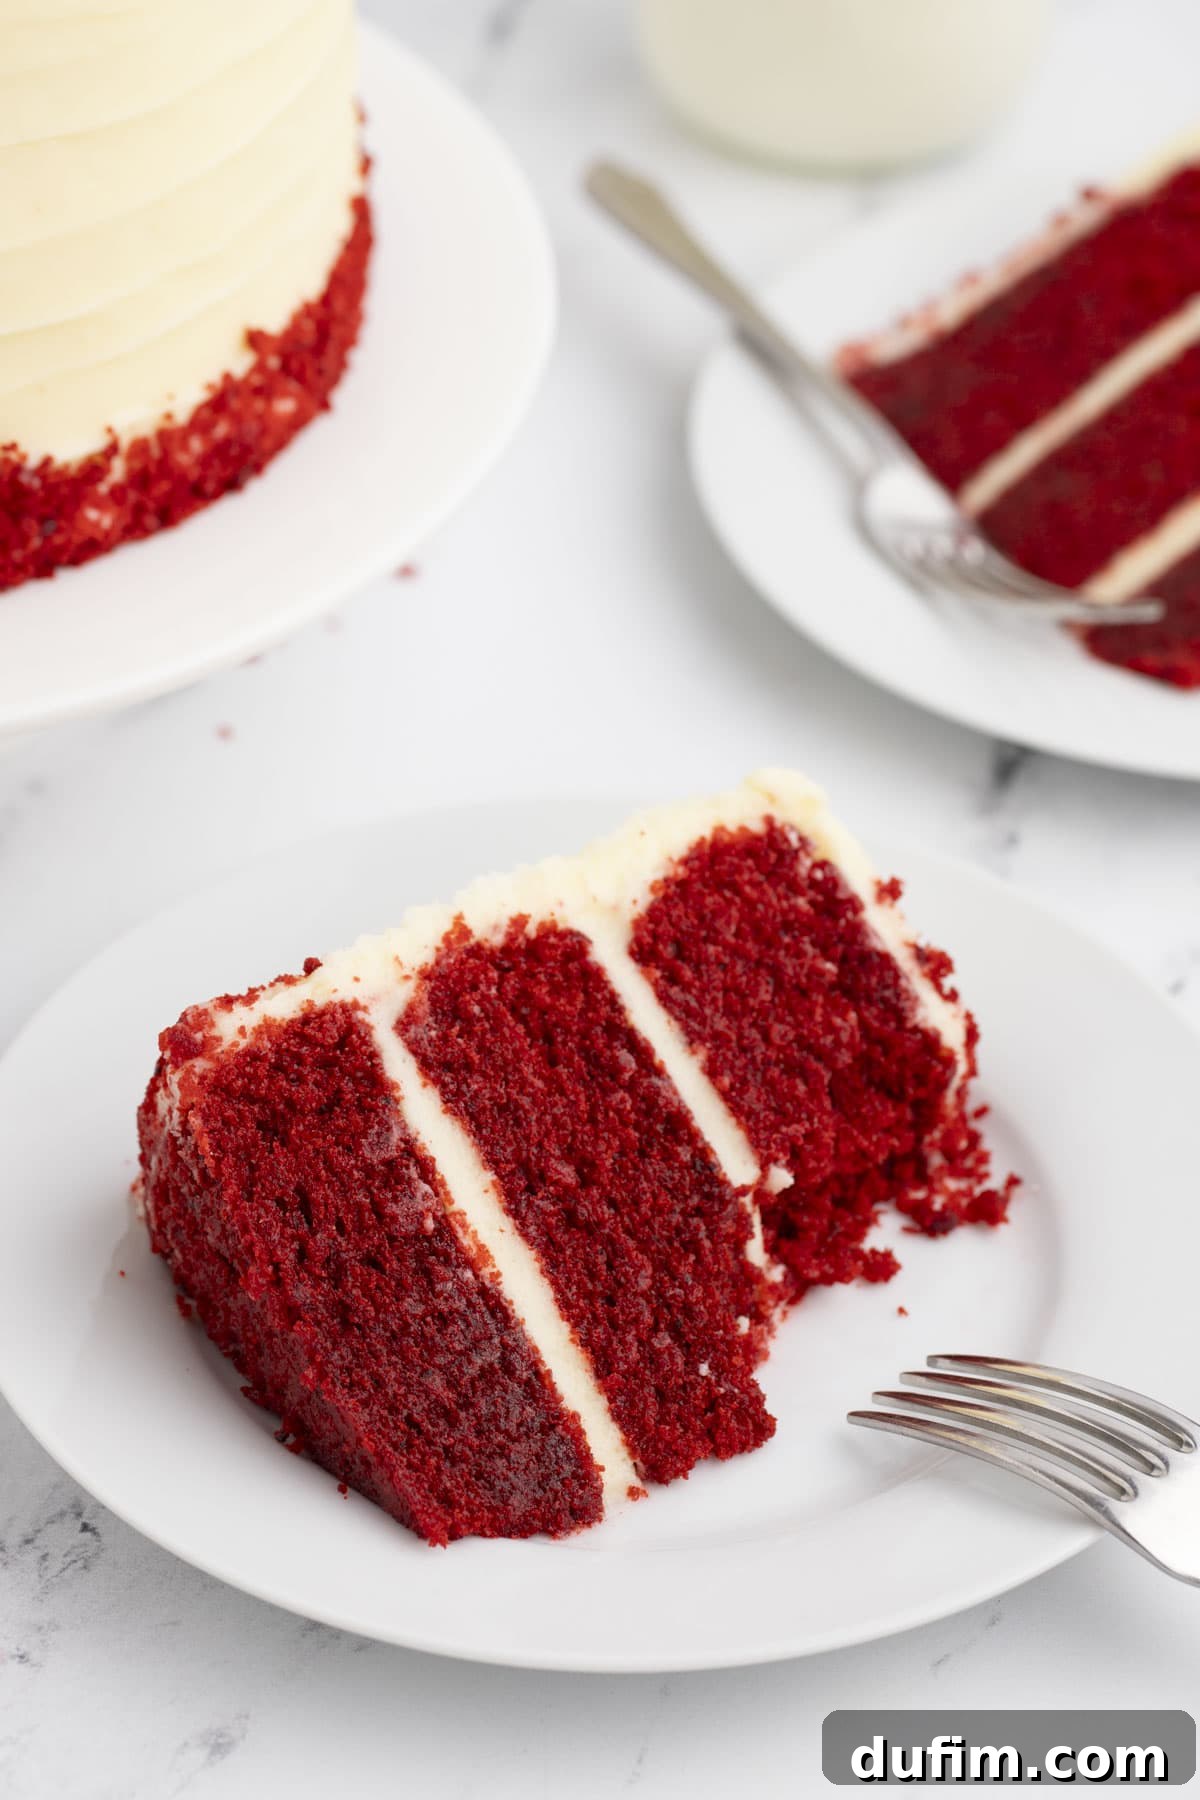
This stunning red velvet cake isn’t just for special occasions like Valentine’s Day or Christmas; it’s the perfect show-stopping dessert for any gathering where you want to dazzle your guests with both presentation and exquisite flavor. Here are just a few compelling reasons why this recipe will quickly become a cherished favorite in your baking repertoire:
- Unparalleled Moist Texture: Our recipe guarantees an incredibly moist cake with a signature velvety crumb that melts in your mouth. Say goodbye to dry, crumbly cakes!
- Addictive Flavor Profile: Experience the harmonious blend of mild cocoa and sweet vanilla, creating a uniquely irresistible taste that’s both comforting and sophisticated. The subtle tang from buttermilk and vinegar adds depth without being overpowering.
- Impressive Visual Appeal: With its vibrant red layers and elegant white frosting, this cake is a feast for the eyes. It’s guaranteed to be the centerpiece of any dessert table, making you look like a baking superstar.
- Easy Homemade Cream Cheese Frosting: Forget store-bought frostings! Our recipe for a sweet, tangy, and rich cream cheese frosting is not only ridiculously easy to make but also incredibly addictive and perfectly complements the cake’s flavor.
- Foolproof Instructions: Even if you’re a novice baker, our detailed instructions and expert tips will guide you every step of the way, ensuring a successful and delicious cake from scratch.
What Exactly is Red Velvet Cake?
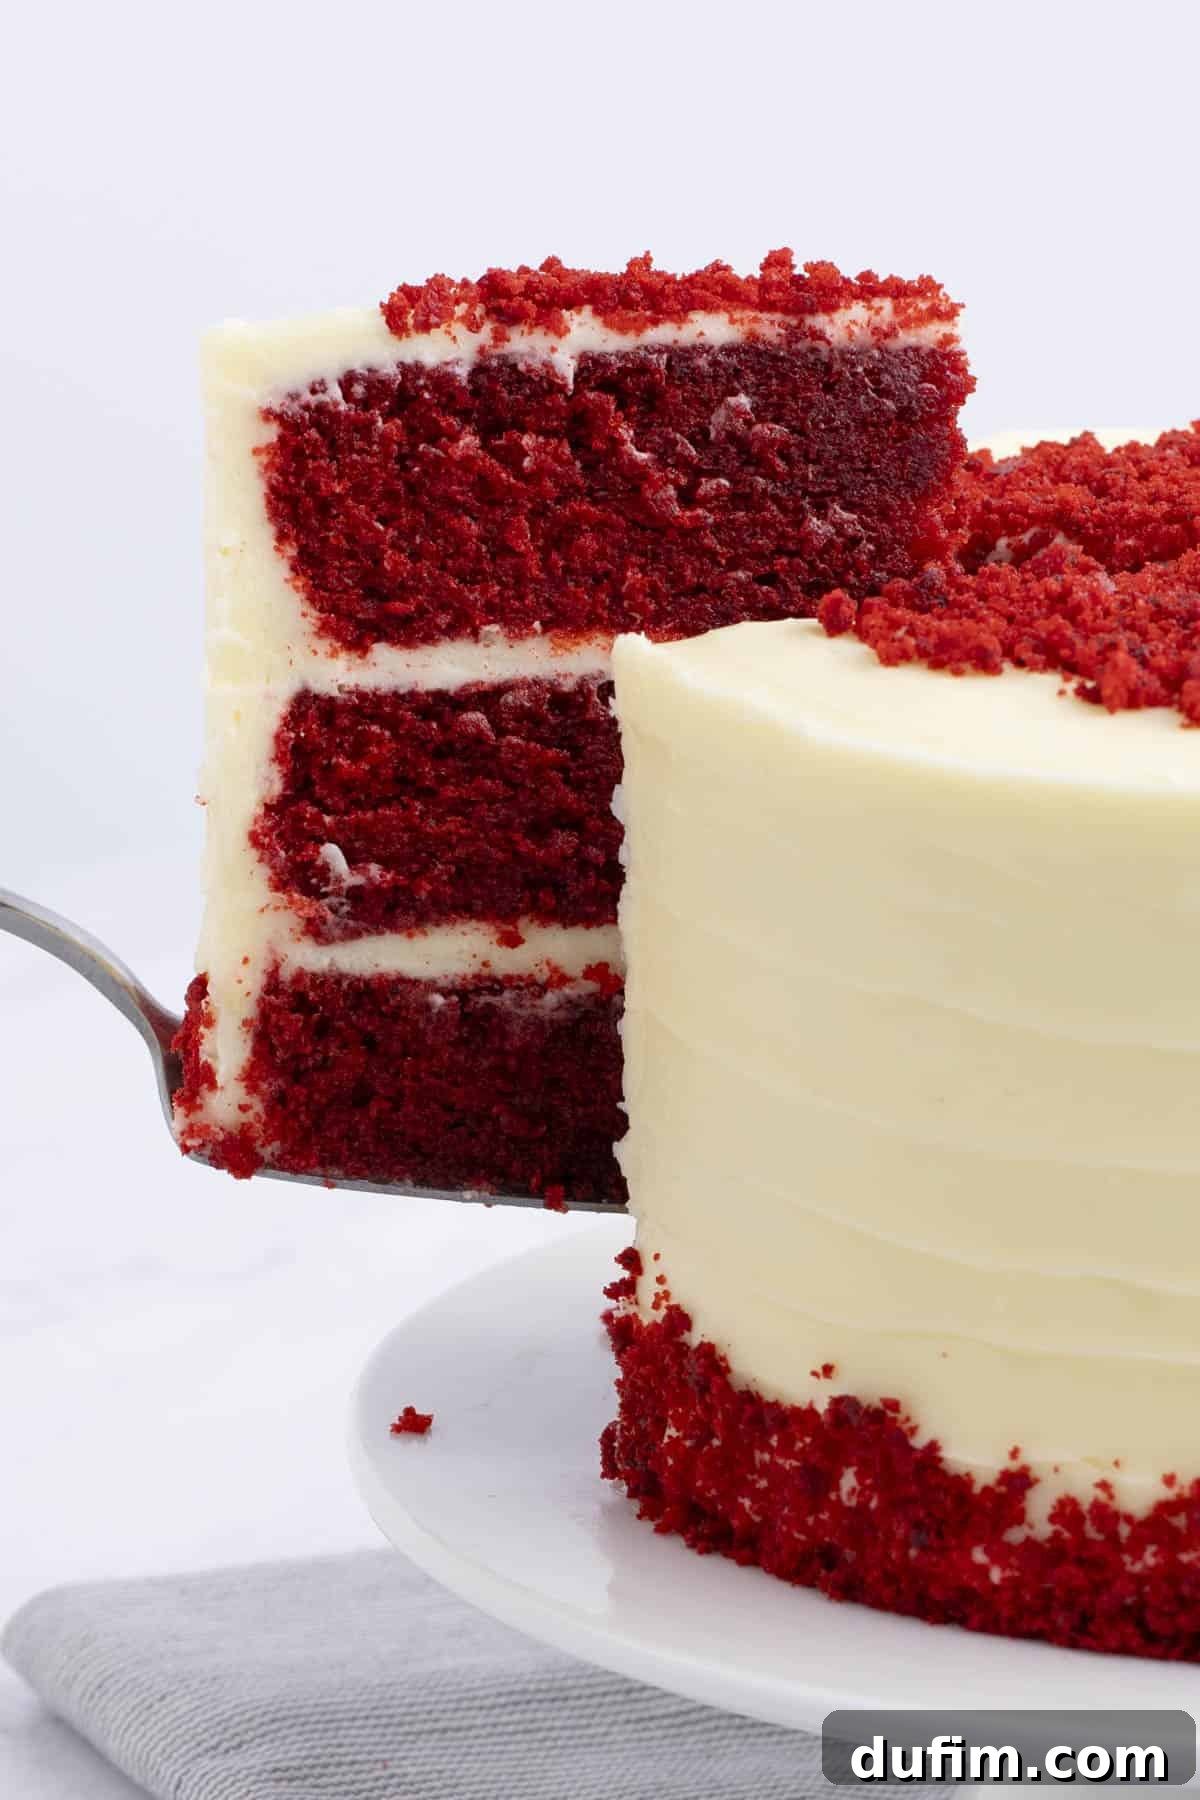
Classic red velvet cake is traditionally a majestic layer cake, distinguished by its striking red hue and delicate flavor. At its core, it features a buttermilk-based cake batter subtly flavored with a touch of cocoa powder and distilled vinegar. The interaction between these acidic ingredients and the cocoa, in older recipes, was said to naturally bring out a reddish-brown tint in the cake. Today, however, vibrant red food coloring is intentionally added to achieve the iconic, deep crimson color that makes red velvet so visually captivating. This unique cake is almost always paired with a rich, sweet, and slightly tangy cream cheese frosting, which provides the perfect counterpoint to the cake’s subtle flavors and moist texture.
What Gives Red Velvet its Signature Red Color?
While the combination of acidic buttermilk and cocoa powder in traditional recipes could sometimes yield a reddish-brown hue through a chemical reaction, modern red velvet cakes primarily owe their vibrant crimson shade to the addition of red food coloring. The intensity of the red can vary depending on the amount and type of food coloring used. For a truly deep and vivid red, as achieved in this recipe, gel food coloring is preferred over liquid options due to its concentrated pigment. This ensures your cake layers boast that unmistakable, show-stopping red that defines this beloved dessert.
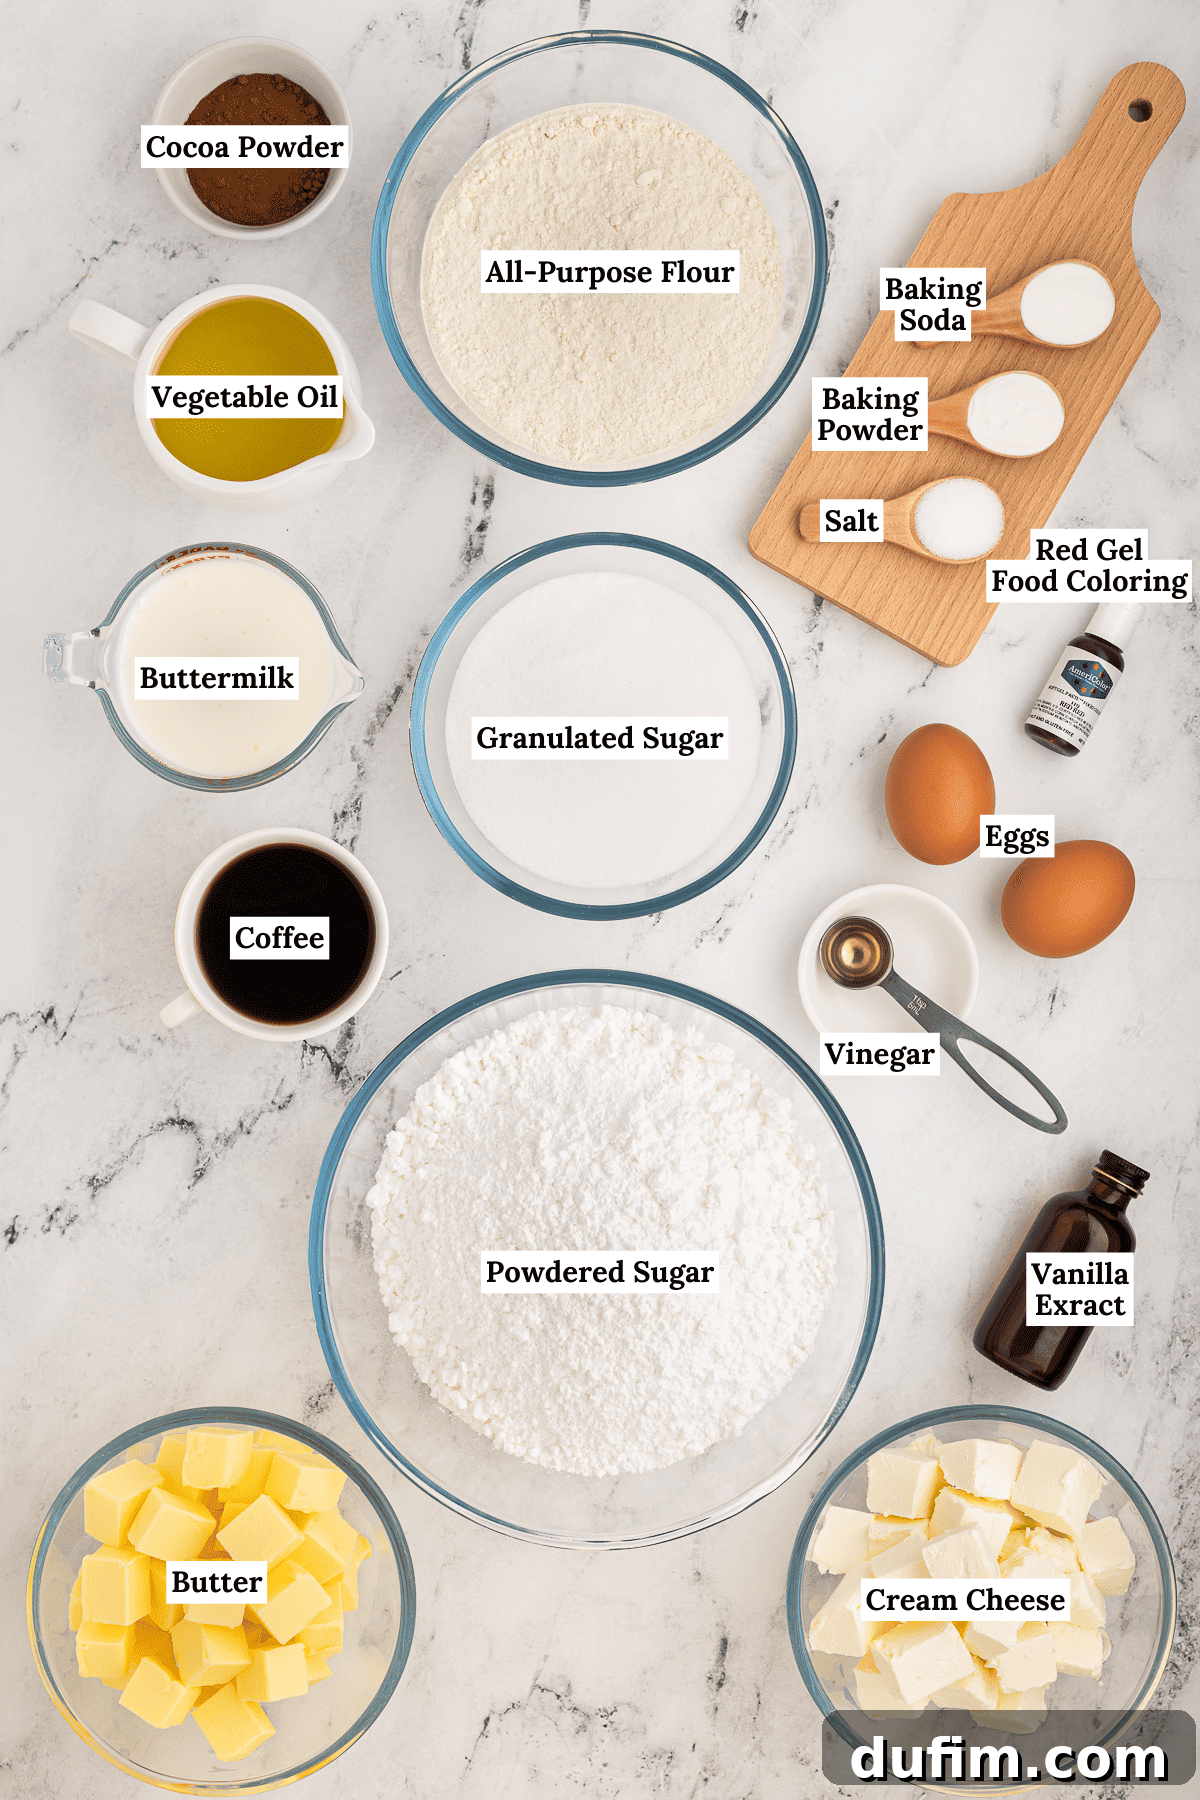
Essential Ingredients for Your Homemade Red Velvet Cake
Crafting the perfect red velvet cake requires a selection of simple, quality ingredients that come together to create its stunning color and irresistible flavor. Below is a detailed list of what you’ll need for both the cake and the luscious cream cheese frosting. For precise measurements and step-by-step instructions, please refer to the complete recipe card found further down the page.
For the Moist Red Velvet Cake
- All-purpose flour: The structural foundation of our cake, providing tender crumb.
- Dutch-processed cocoa powder: Offers a mild chocolate flavor without overwhelming the classic red velvet taste, and contributes to the red hue.
- Baking soda & Baking powder: Our leavening agents, ensuring a light and airy texture.
- Salt: Enhances all the flavors, balancing the sweetness.
- Granulated sugar: Sweetens the cake and helps retain moisture.
- Eggs: Act as binders, provide richness, and contribute to the cake’s structure.
- Buttermilk: Crucial for the signature tangy flavor and incredibly moist texture, reacting with the leavening agents.
- Vegetable oil: Ensures a beautifully moist and tender cake.
- Vanilla extract: Adds a warm, sweet aroma and flavor that’s essential to red velvet.
- Red food coloring: The key to achieving that iconic, vibrant red hue. Gel coloring is highly recommended for its intensity.
- Distilled vinegar: Reacts with the baking soda to provide lift and helps enhance the red color.
- Instant coffee granules: Dissolved in hot water, this secretly deepens the cocoa flavor without making the cake taste like coffee.
For the Decadent Cream Cheese Frosting
- Unsalted butter: Softened and diced to room temperature for a smooth, creamy frosting.
- Powdered sugar (confectioners’ sugar): Sifted to prevent lumps, providing sweetness and body to the frosting.
- Vanilla extract: Essential for that classic, comforting vanilla aroma and taste.
- Cream cheese: Diced and chilled, providing the signature tangy flavor and creamy texture that makes this frosting so beloved.
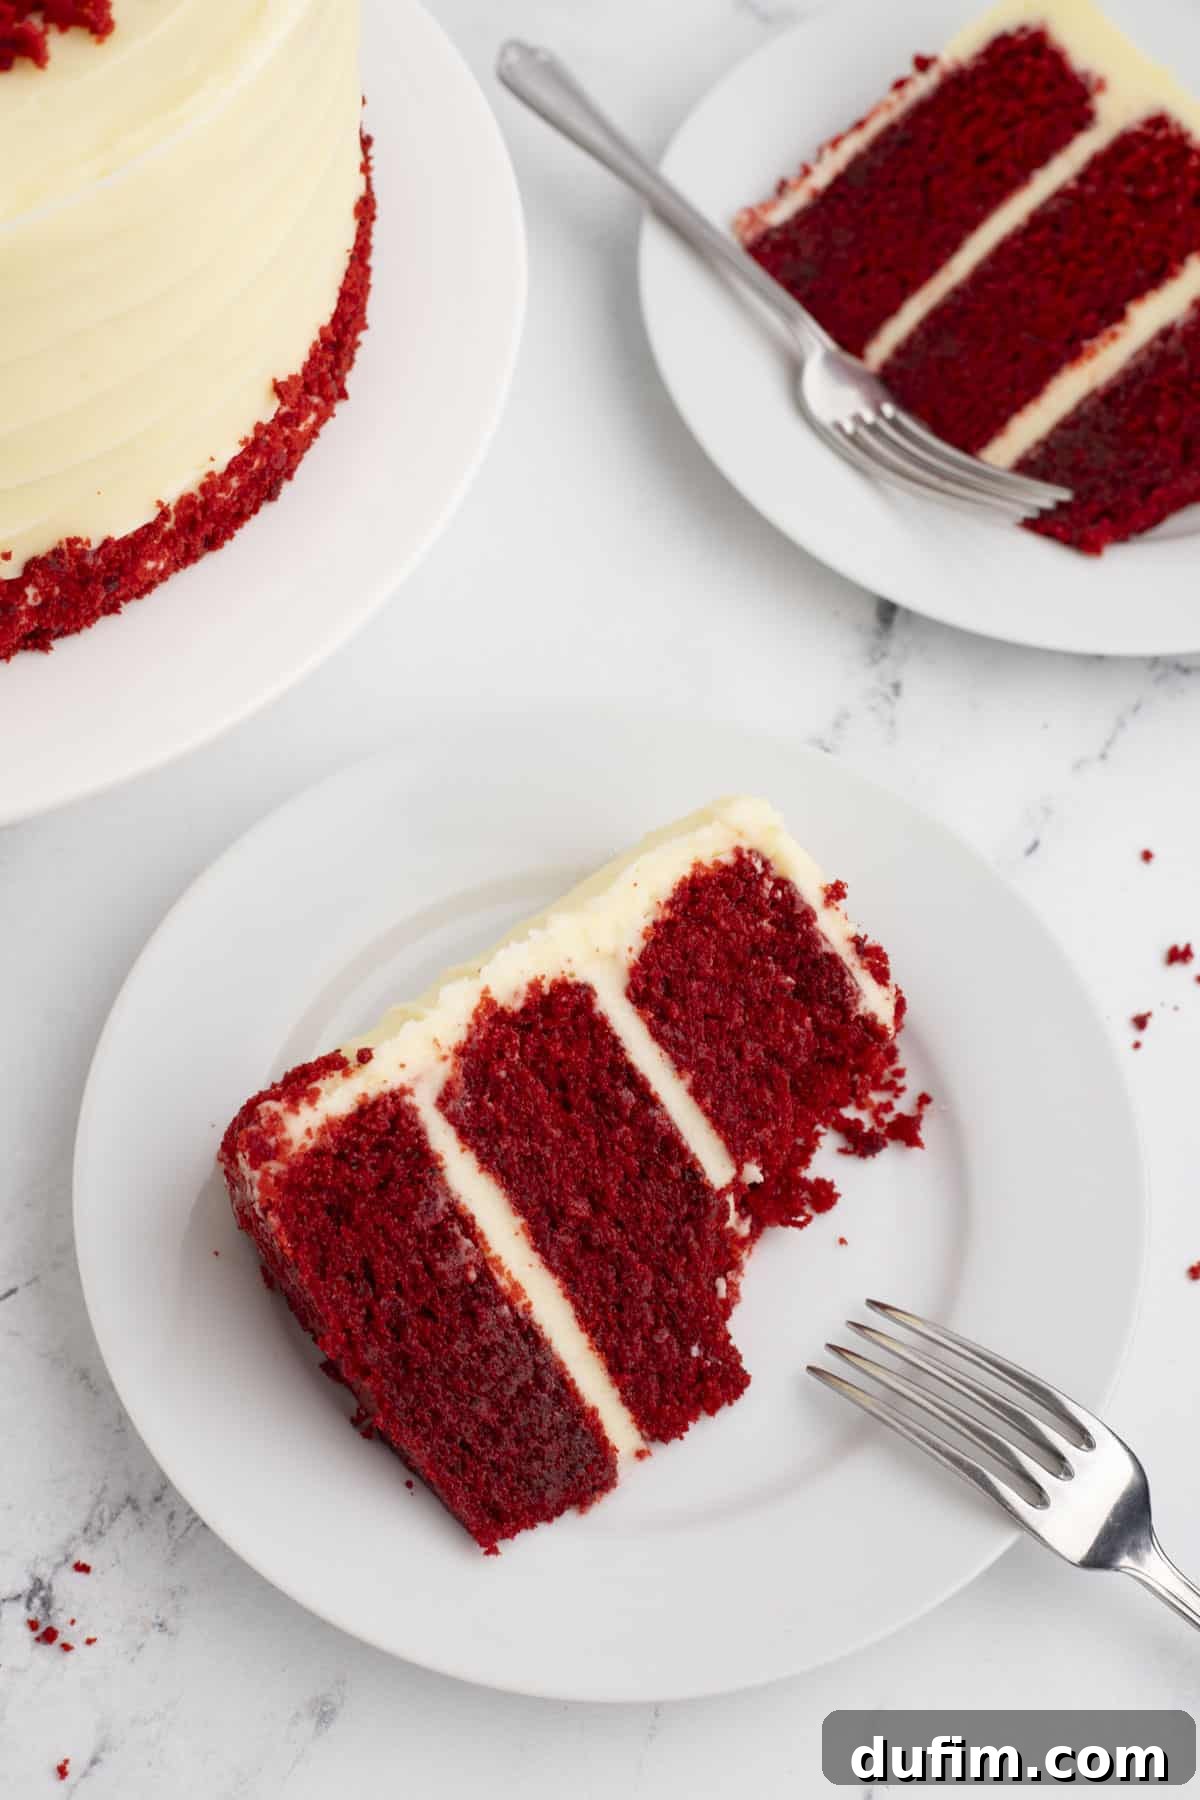
Crafting the Perfect Southern Red Velvet Cake: A Step-by-Step Guide
Follow these detailed steps, designed to eliminate any guesswork, and create a truly magnificent red velvet cake that will be the highlight of your next gathering. For a complete list of ingredients and measurements, please refer to the full recipe card below.
Baking the Moist Red Velvet Cake Layers
- Prepare Your Oven and Cake Pans: Begin by preheating your oven to 325ºF (160ºC). This lower temperature helps the cake bake evenly and stay moist. Prepare three 7-inch round cake pans or two 9-inch round cake pans by greasing their sides and bottoms thoroughly with butter. For easy cake removal and to prevent sticking, line the base of each pan with a circle of parchment paper and a strip around the sides. Set these prepared pans aside.
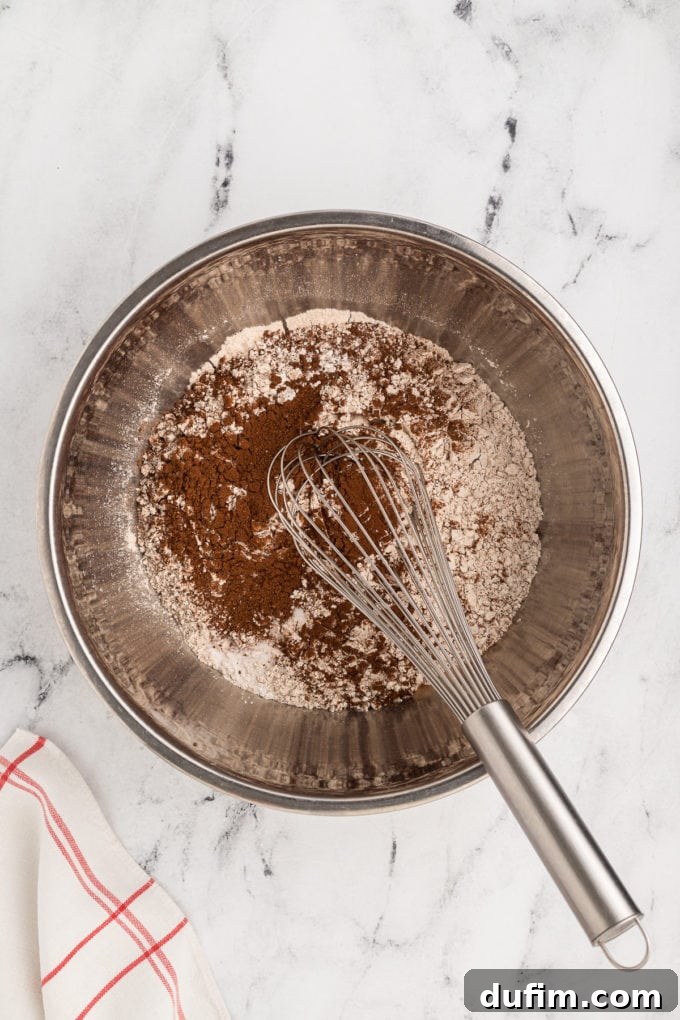
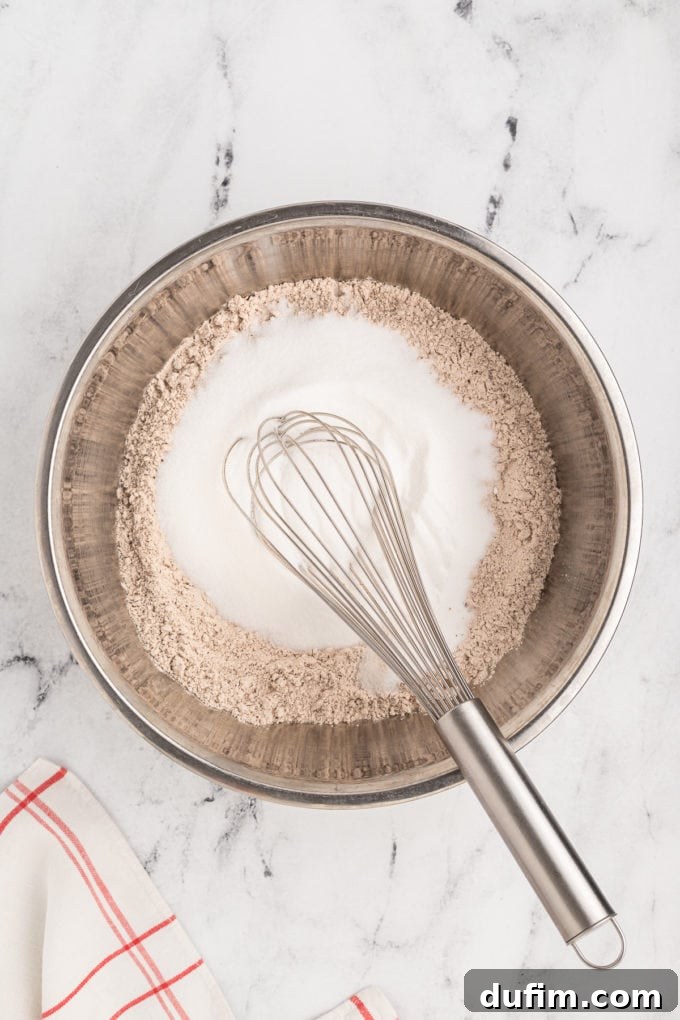
- Combine Your Dry Ingredients: In a large mixing bowl, meticulously sieve together the all-purpose flour and Dutch-processed cocoa powder. Sieving is crucial for preventing lumps and ensuring a light, airy cake. Add the baking soda, baking powder, salt, and granulated sugar to the bowl. Whisk these dry ingredients together thoroughly until well combined, then set aside.
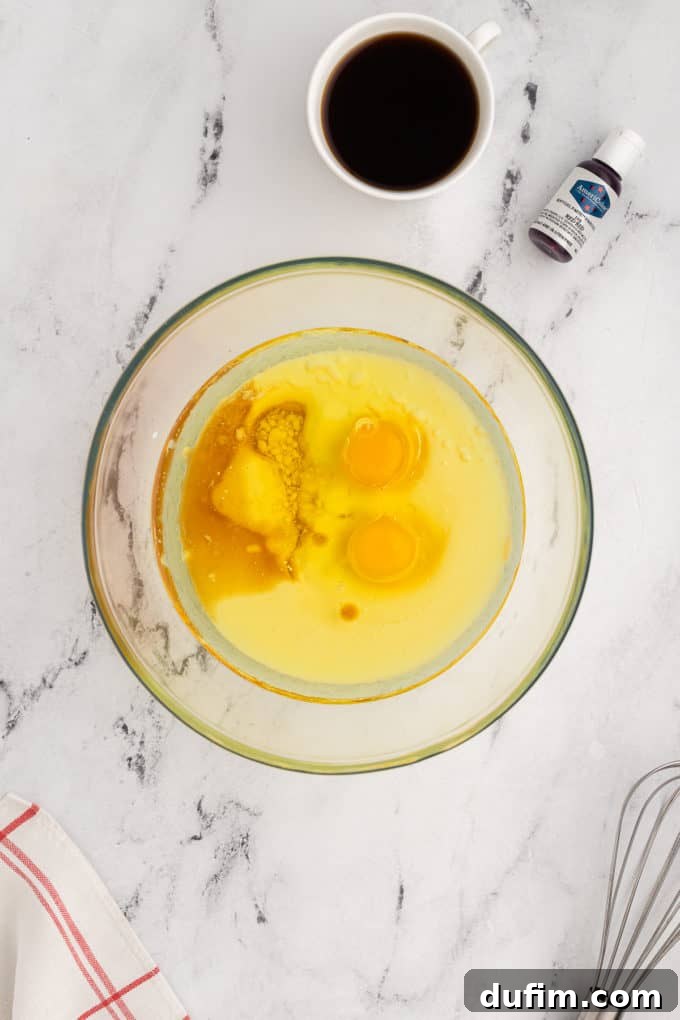
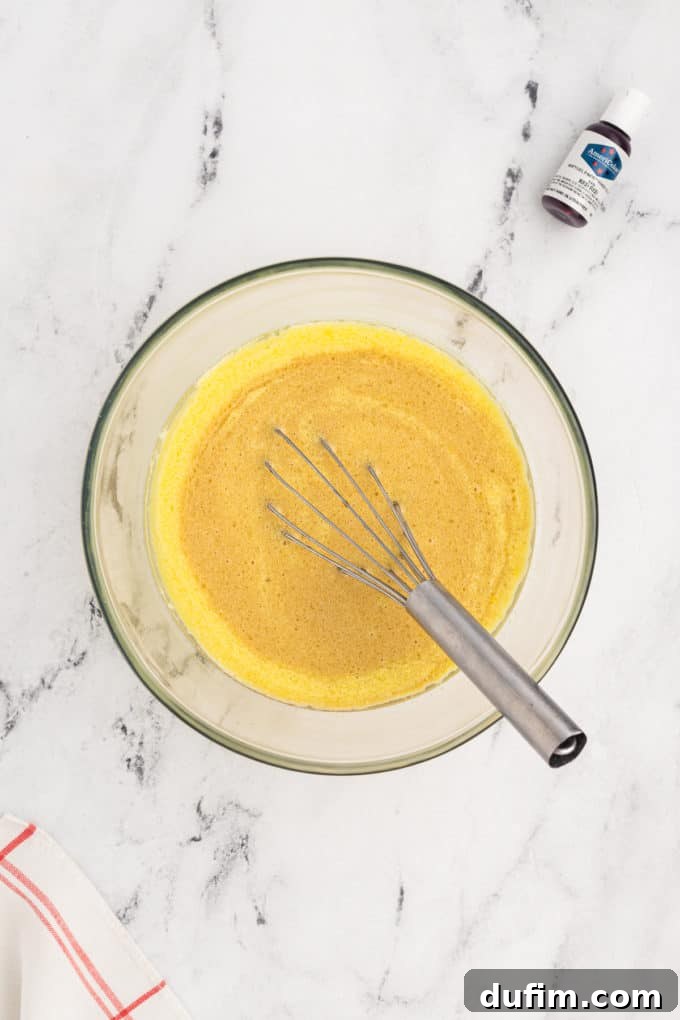
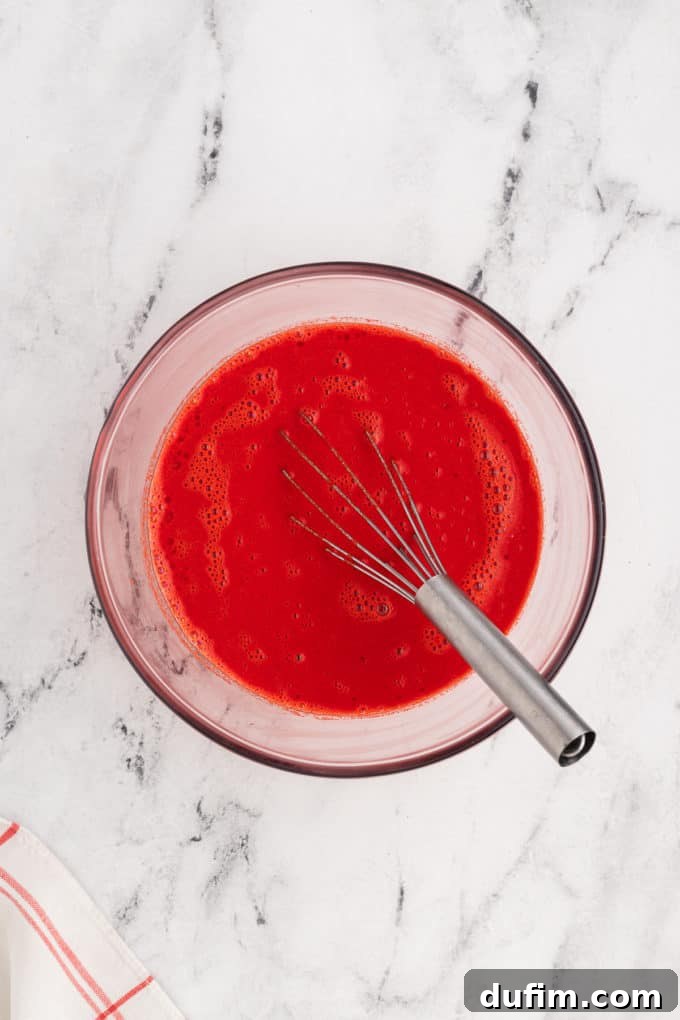
- Prepare Your Wet Ingredients: In a separate, clean mixing bowl, whisk together the eggs, vegetable oil, buttermilk, vanilla extract, red food coloring, distilled vinegar, and the dissolved instant coffee granules. For the most vibrant color, ensure the red food coloring is fully incorporated. If you notice any lumps, especially with gel food coloring, use a hand blender or a small whisk to fully emulsify the ingredients until the mixture is a uniform, deep red.
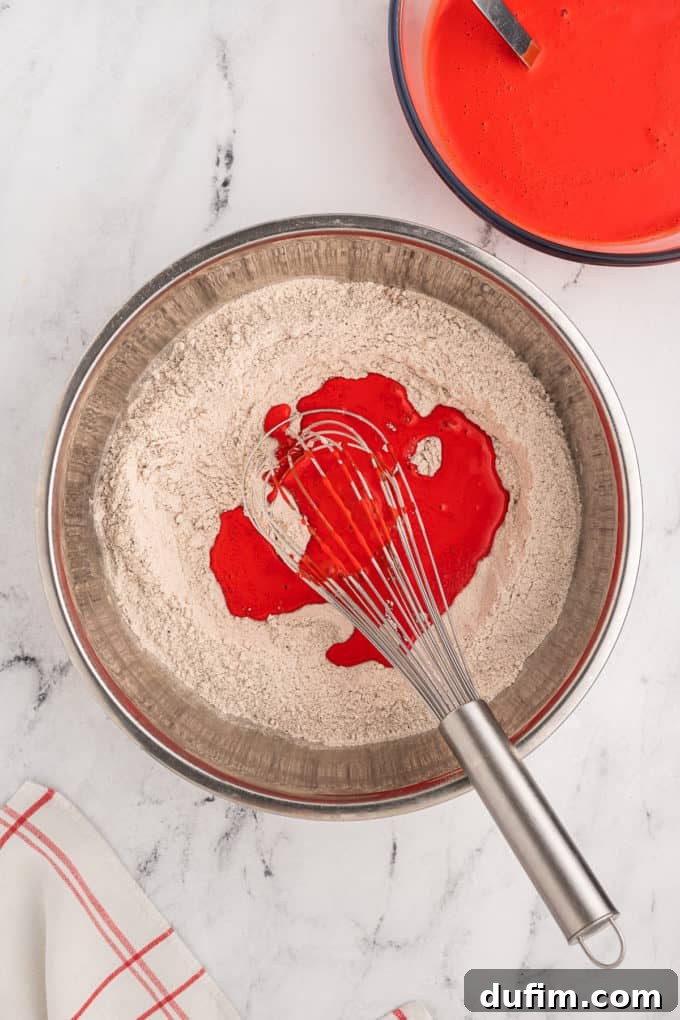
- Combine Wet and Dry Ingredients: Gradually add the wet ingredient mixture to the bowl of dry ingredients, pouring it in a little at a time. After each addition, gently whisk the batter until just combined. The key here is to avoid overmixing, which can lead to a tough cake. Mix only until the batter is smooth and free of lumps.
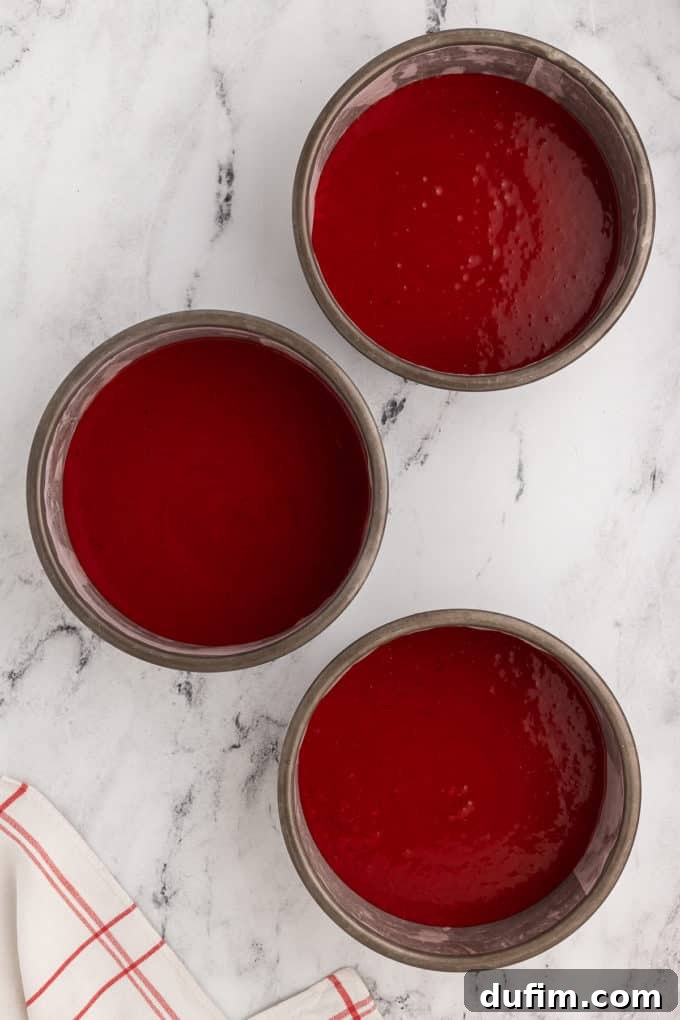
- Fill the Cake Pans Evenly: Divide the prepared cake batter evenly among your greased and lined cake pans. For professional-looking, level layers, a top tip is to weigh each empty tin first, then add the batter, aiming for approximately 520g of batter per tin. If you’re using bake-even cake strips, now is the time to soak them thoroughly in water, squeeze out any excess moisture, and secure them around the outside of your pans. These strips promote even baking and prevent doming.
- Bake to Perfection: Place the filled cake pans in the center of your preheated oven. Bake for approximately 35-40 minutes if not using bake-even strips, or 45-50 minutes if using them, for 7-inch pans. If you are using 9-inch tins, the baking time will be slightly longer: 45-50 minutes without strips, or 55-60 minutes with them. Always test for doneness by inserting a toothpick into the center of a cake; it should come out clean. Remember that baking times can vary significantly based on your oven’s calibration and the exact size of your pans.
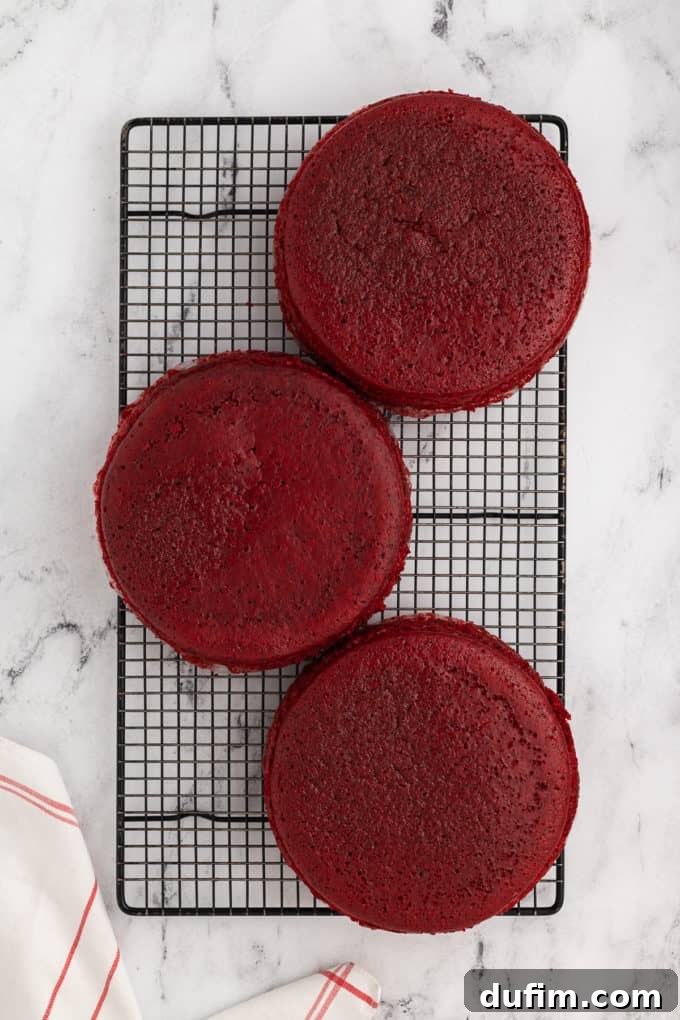
- Cool the Cakes Completely: Once baked, allow the cakes to cool in their pans for 20-30 minutes. This crucial resting period helps the cakes set and prevents them from breaking when handled. After this initial cooling, carefully invert the cakes onto a wire rack and allow them to cool completely to room temperature. Attempting to frost warm cakes will result in melted frosting and a messy situation!
Whipping Up the Dreamy Cream Cheese Frosting
- Beat the Butter: In a large mixing bowl, beat the softened, diced unsalted butter on high speed for 2-3 minutes until it becomes light, fluffy, and pale in color. This aerates the butter, creating a wonderfully smooth base for your frosting.
- Initial Powdered Sugar and Vanilla Addition: Reduce the mixer speed to low. Gradually add 2 cups of the sifted powdered sugar and the vanilla extract. Beat on low speed until these ingredients are just combined, then increase the speed slightly and beat until the frosting begins to thicken.
- Incorporate Remaining Powdered Sugar: Continue adding the remaining sifted powdered sugar, a little at a time, mixing on low speed until fully incorporated and the frosting reaches a thick, spreadable consistency.
- Prepare the Cream Cheese: In a separate mixing bowl, beat the chilled, diced cream cheese until it is smooth and lump-free. It’s important for the cream cheese to be cold but beaten until smooth to avoid a runny frosting.
- Combine Butter and Cream Cheese Mixtures: Add the beaten cream cheese to the butter and sugar mixture. Beat on low speed until just combined. Be careful not to overmix the cream cheese, as this can break down its structure and make the frosting too thin.
- Chill for Optimal Consistency: Once the frosting is prepared, cover the bowl and chill it in the refrigerator until you are ready to assemble your cake. Chilling helps the frosting firm up, making it much easier to work with.
Assembling Your Red Velvet Masterpiece
- Level Your Cake Layers: Using a sharp, serrated cake leveler or a large, long knife, carefully trim the domed tops off your cooled cake layers. Aim for each layer to be approximately 1 ¼ inches thick, ensuring a neat and level cake stack.
- Create Cake Crumb Decorations: Take the trimmed offcuts from your cake layers and crumble them into a bowl. These beautiful red crumbs will be used later for decoration. Top tip: Since red velvet cake is inherently moist and tender, using a grater can make crumbling these offcuts much easier and yield finer, more uniform crumbs. Set aside.
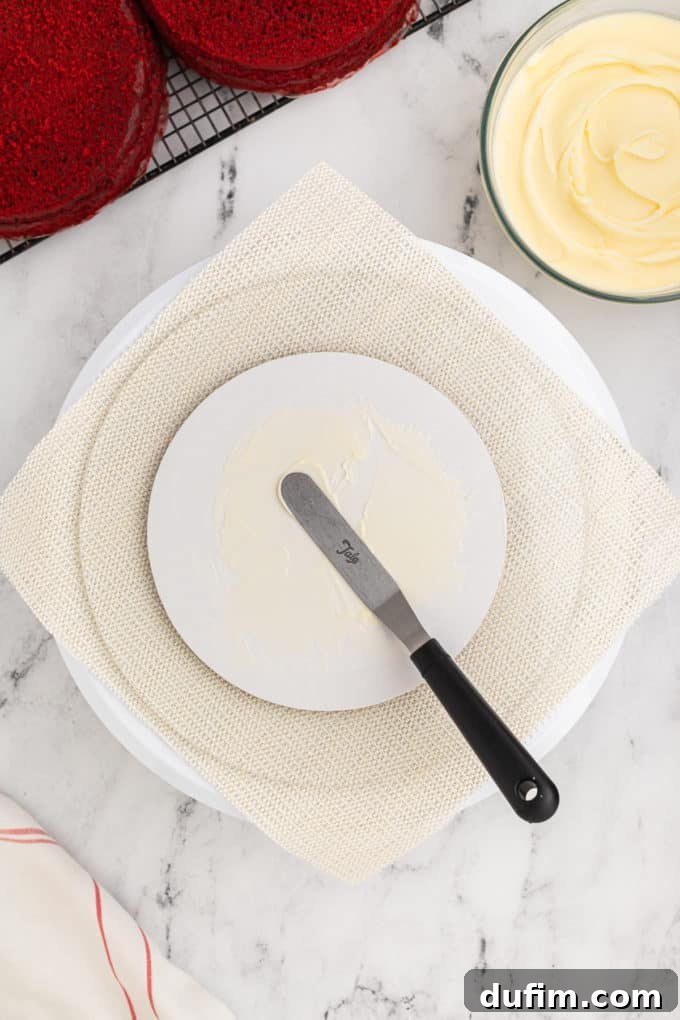
- Set Up Your Workstation: Place a 10-inch cake board onto your cake turntable. To keep it secure and prevent slipping, place a non-slip mat underneath. Center a 7-inch cake board on top of the larger board and secure it in place with a small dollop of frosting.
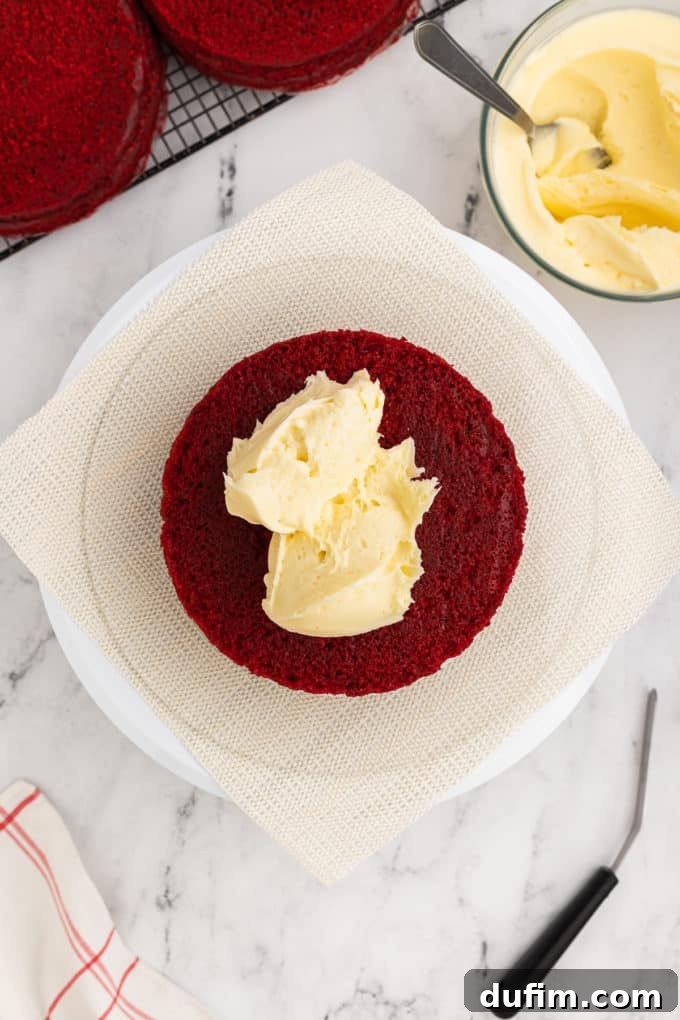
- Add the First Cake Layer: Carefully place one trimmed layer of red velvet cake onto the 7-inch board, securing it with a bit more frosting to ensure stability.
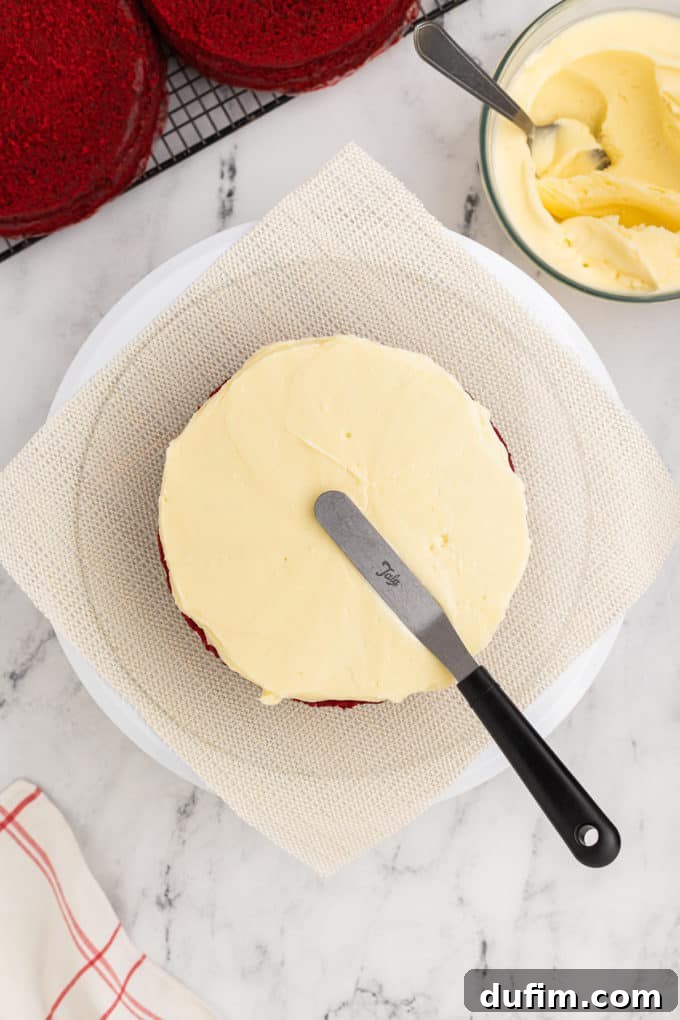
- Apply the First Layer of Frosting: Either pipe or spread a quarter-inch thick layer of cream cheese frosting evenly over the first cake layer. Pro tip for a crumb-free finish: Keep your palette knife or offset spatula in constant contact with the frosting as you spread it. Avoid lifting it up and down, which can drag crumbs into your pristine frosting layer.
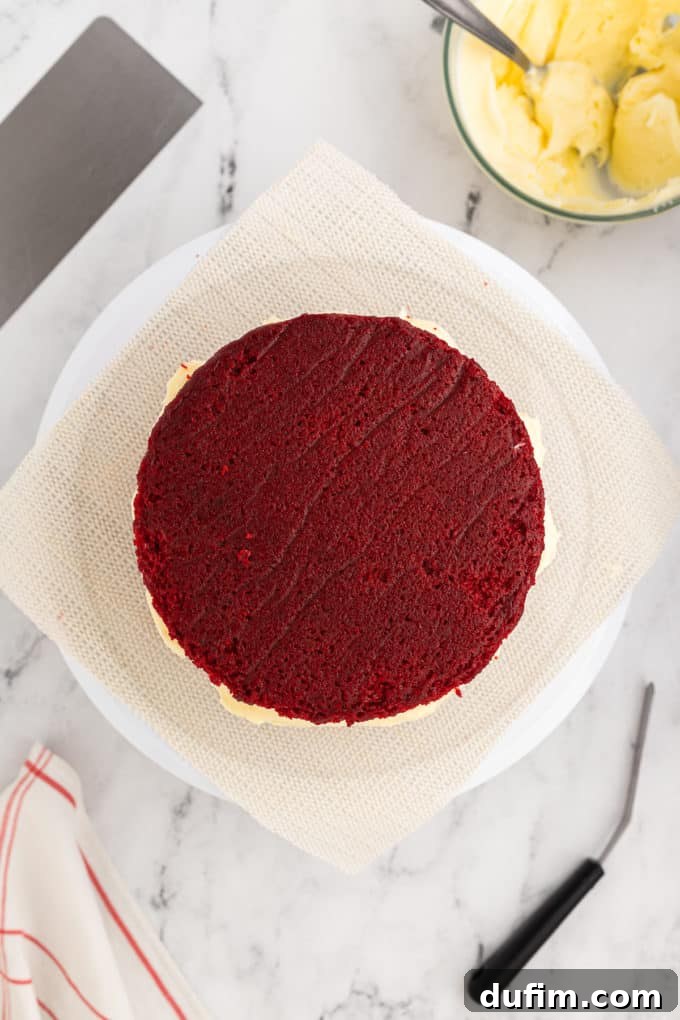
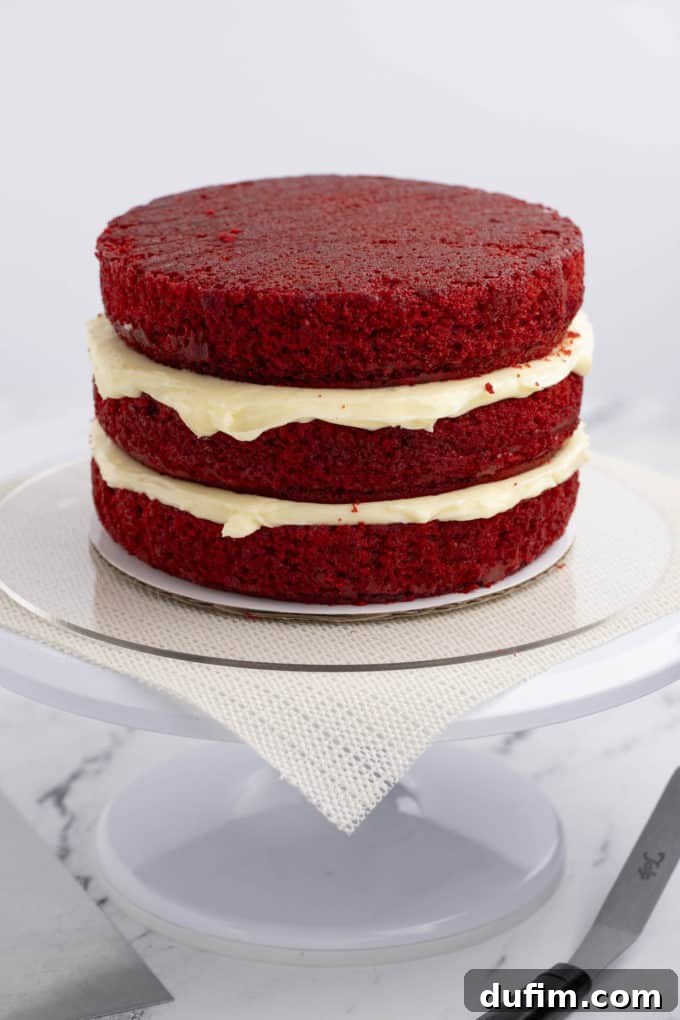
- Add Subsequent Layers: Gently place the second cake layer on top of the frosted first layer and repeat the frosting process.
- Perform the Crumb Coat: Add the third and final cake layer. Now, apply a very thin layer of frosting all over the entire cake – the top and sides. This is called a “crumb coat” and its purpose is to trap any loose cake crumbs, preventing them from mixing into your final, visible layer of frosting. Once applied, chill the cake in the refrigerator for at least 15 minutes. This firms up the crumb coat, locking the crumbs in place.
- Apply the Final Frosting Layer: Once the crumb coat is firm, cover the entire cake with a more generous ¼ inch layer of cream cheese frosting. Use a cake scraper or a long offset spatula to create a beautifully smooth, professional finish around the sides and top of the cake. Take your time for this step, as it defines the final look.
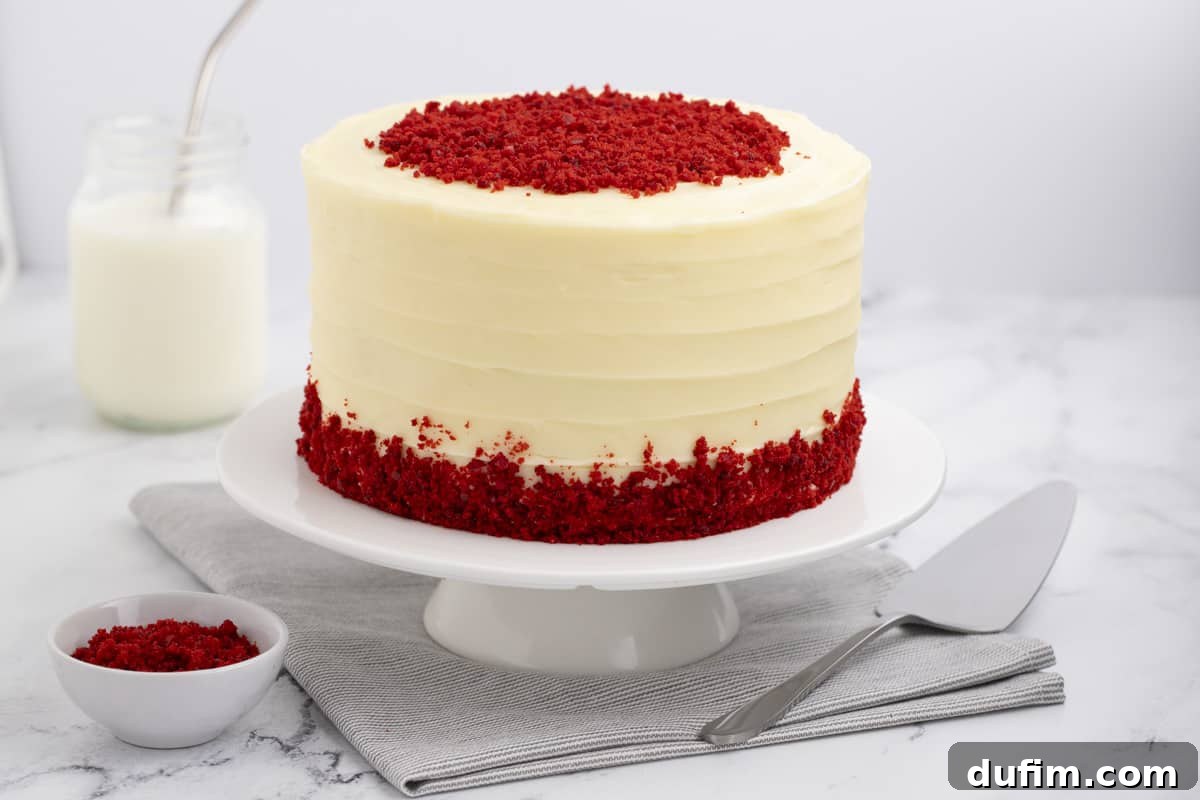
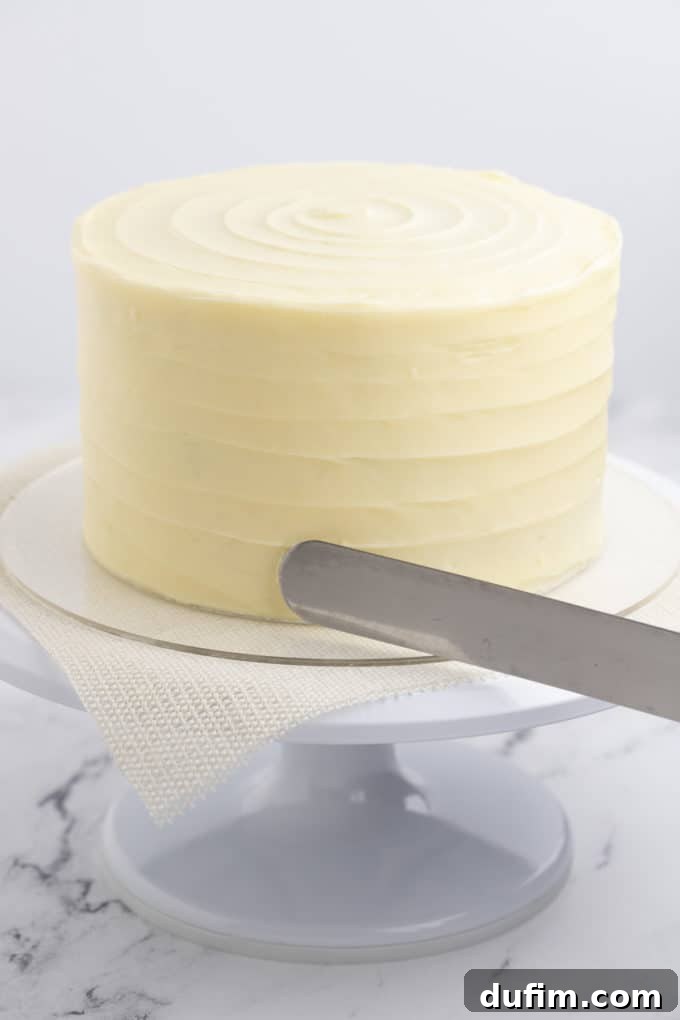
- Create a Decorative Swirl Finish: For an elegant touch, use a large palette knife to create a charming swirl design. Hold the tip of the knife gently against the bottom edge of the frosted cake and apply light pressure as you slowly turn the turntable. Gradually move the knife upwards, creating a continuous spiral until the swirl reaches the very top of the cake. Repeat this process on the top surface of the cake for a matching decorative swirl.
- Decorate with Cake Crumbs and Serve: Carefully sprinkle the reserved red velvet cake crumbs around the base and on top of the cake for a classic finish. Top tip for clean slices: Chill the entire cake in the refrigerator for at least 30 minutes before serving. This firms up the frosting and cake, making it much easier to cut neat, perfect slices. For truly impeccable cuts, dip a large, sharp knife into hot water and dry it completely before each slice. Repeat this process for every piece of cake you cut.
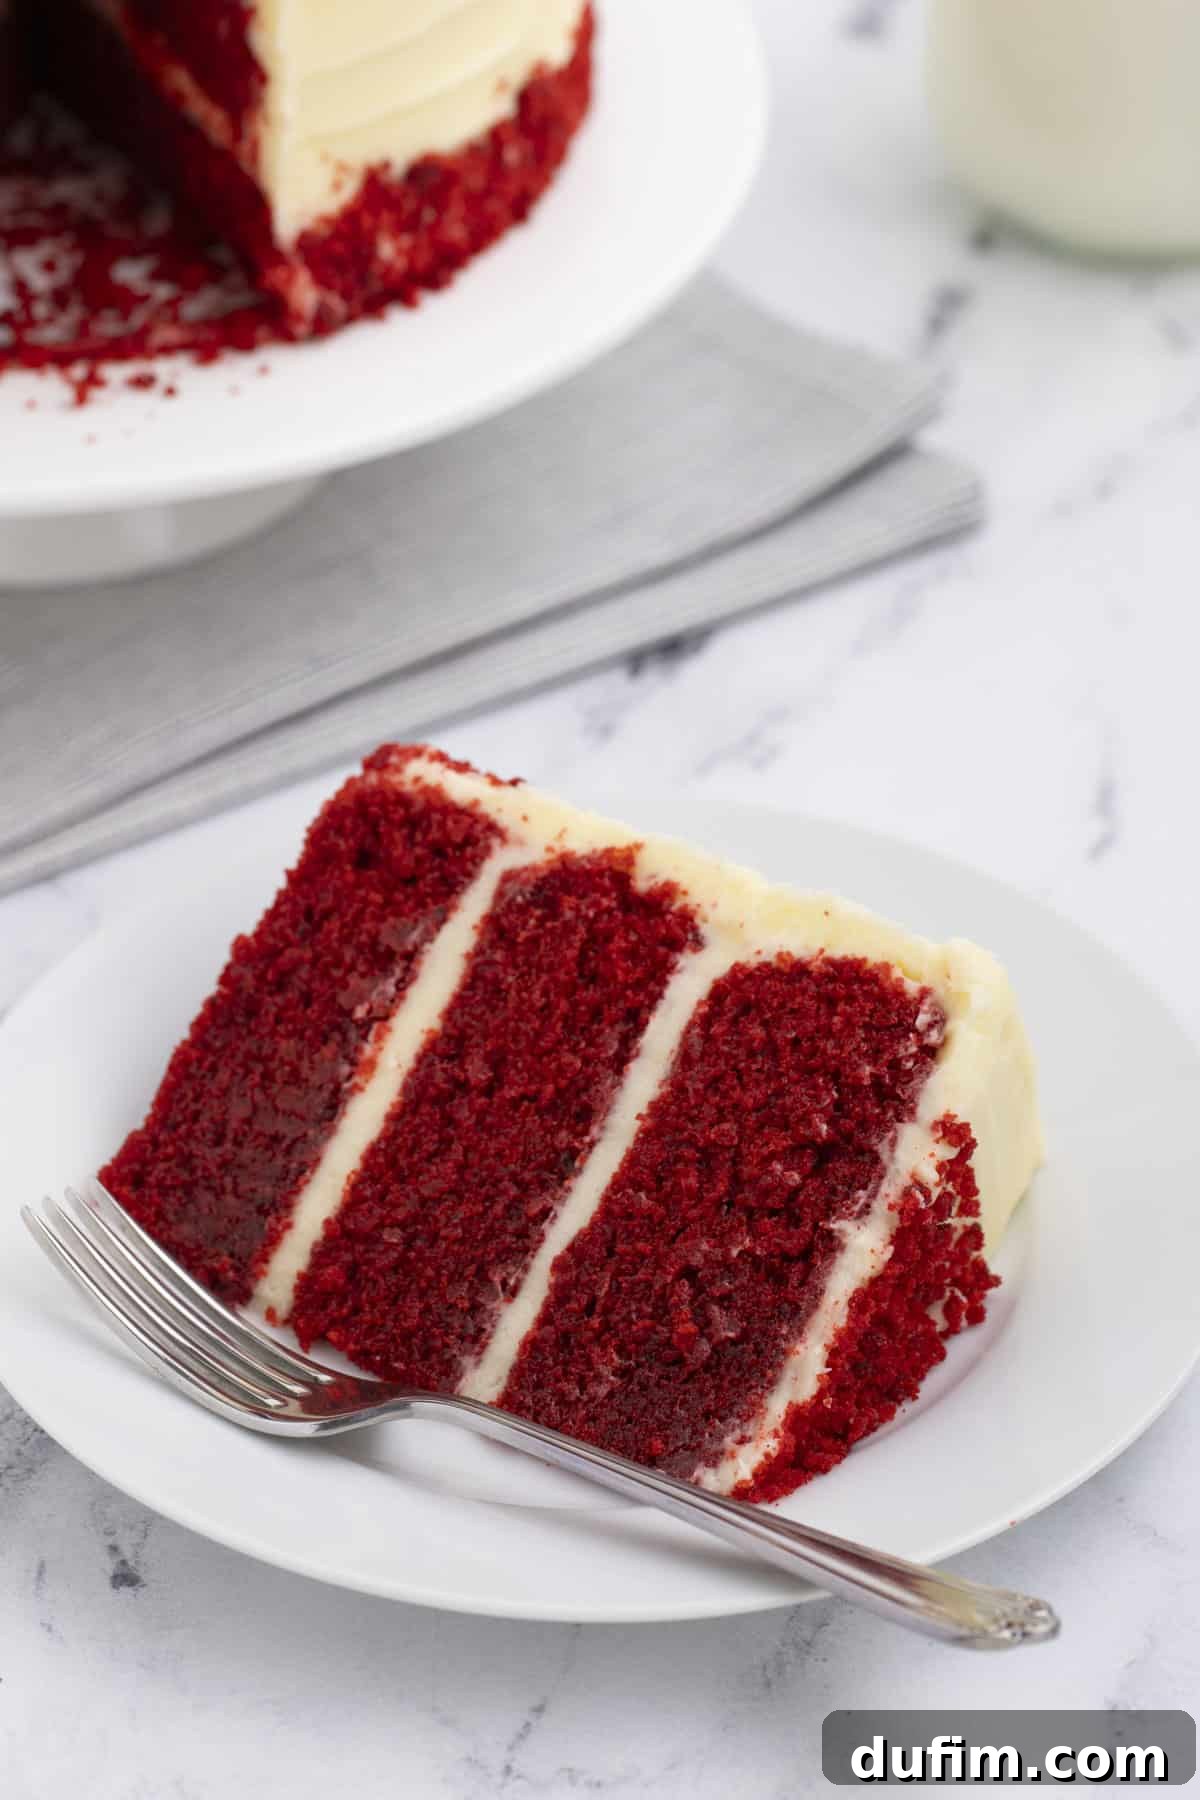
Expert Tips for Red Velvet Cake Perfection
Achieving the best results with your red velvet cake is easy when you follow these simple yet crucial tips. These insights will elevate your baking and ensure a delicious, picture-perfect dessert every time.
- Precision in Flour Measurement: Accurate flour measurement is paramount for a tender cake. The most reliable method is to use a kitchen scale to weigh your flour in grams. If you don’t have a scale, first fluff the flour in its container with a fork. Then, gently use a spoon to scoop the flour into your measuring cup. Avoid packing it down. Finally, use the straight edge of a butter knife to level off the excess flour, ensuring an exact measurement.
- Ensure Even Cake Layers: For a beautifully balanced stacked cake, it’s vital that your layers bake evenly. A clever trick is to weigh your empty cake pans before adding the batter. Then, divide the batter equally among the pans, aiming for approximately 520g of batter in each. If you’re using bake-even cake strips, remember to soak them thoroughly in water, gently squeeze out the excess, and secure them around the outside of each pan. This helps to conduct heat evenly, resulting in flatter cake tops.
- Achieve Perfect Crumble Topping: After leveling your cake layers, don’t discard the offcuts! These moist, tender scraps are perfect for making decorative crumbs for your cake’s sides and top. Since red velvet cake is wonderfully moist, using a grater is an excellent method to achieve fine, consistent crumbs quickly and easily.
- Frost Like a Professional: To maintain a clean, crumb-free final frosting layer, adopt a professional technique. When spreading the frosting, keep your knife or offset spatula in continuous contact with the frosting. Avoid repeatedly lifting the tool up and down, as this action can drag stray cake crumbs into your smooth frosting.
- Chill for Neat Slices: For impeccably clean and perfectly defined slices, always chill your frosted cake in the refrigerator for at least 30 minutes before serving. This allows the frosting to set and the cake to firm up slightly, making slicing much easier and preventing messy edges.
- Master the Art of Slicing: To achieve those pristine, bakery-worthy slices, employ a warm knife technique. Before each slice, dip a large, sharp knife into hot water, then wipe it completely dry. The warm, clean blade will glide through the cake and frosting without tearing, ensuring a beautiful presentation every time. Repeat this warming and drying process before each subsequent slice.
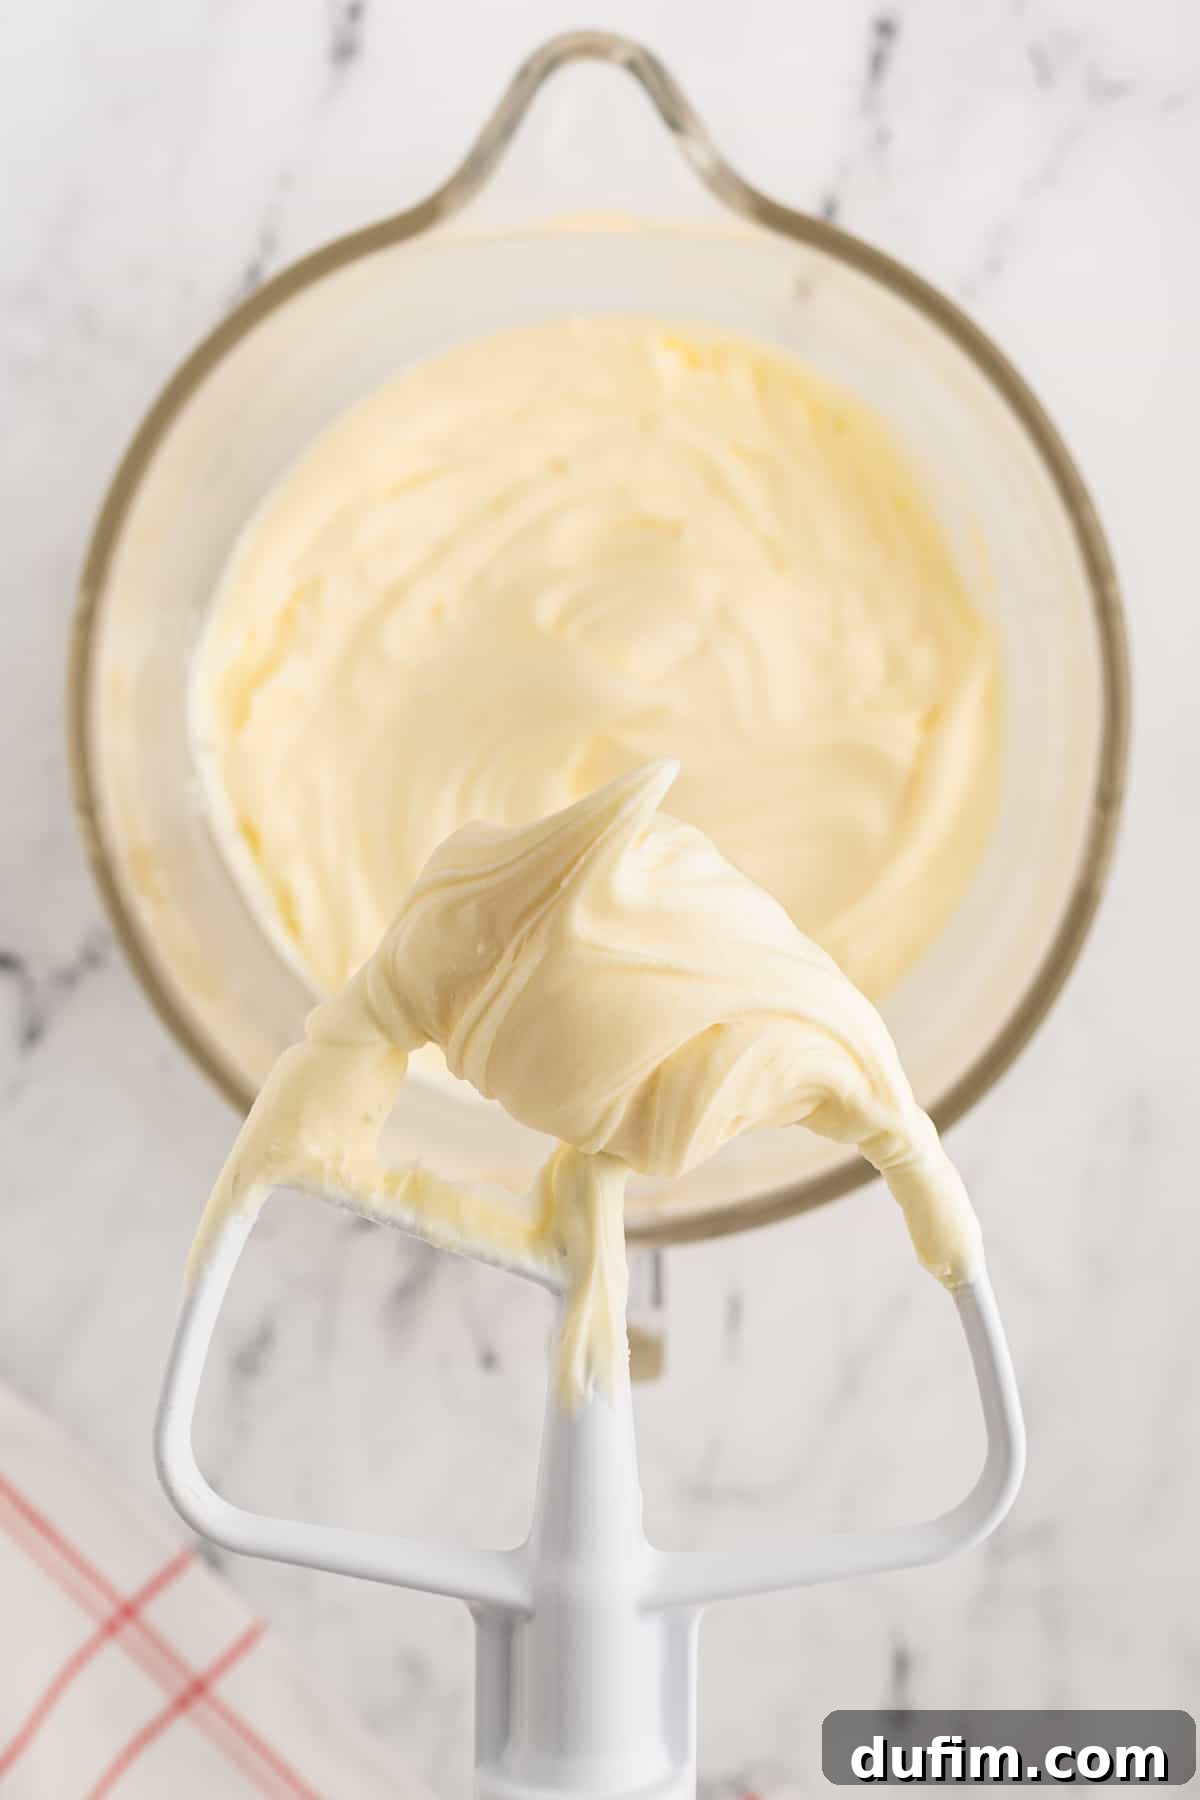
Decorating Your Red Velvet Cake with Cream Cheese Frosting
Cream cheese frosting isn’t just a topping; it’s an indispensable partner to red velvet cake. Much like classic culinary pairings such as peanut butter and jelly or macaroni and cheese, red velvet cake and cream cheese frosting are simply meant to be together. Their flavors and textures create a symphony that elevates the entire dessert experience.
For the best decorative results, after applying your crumb coat and chilling the cake, cover the entire cake with a generous 1/4 inch layer of your luscious cream cheese frosting. Utilize a cake scraper to achieve a wonderfully smooth, professional finish around the sides of the cake. To add an elegant swirl decoration, place your cake on a turntable. Using a large palette knife, hold its tip gently against the bottom edge of the frosted cake and apply light, consistent pressure as you slowly rotate the turntable. Gradually move the knife upwards, maintaining the swirl pattern, until it reaches the very top of the cake. You can then create a matching swirl on the top surface for a cohesive and sophisticated look. Finish with a sprinkle of red velvet crumbs for that authentic touch.
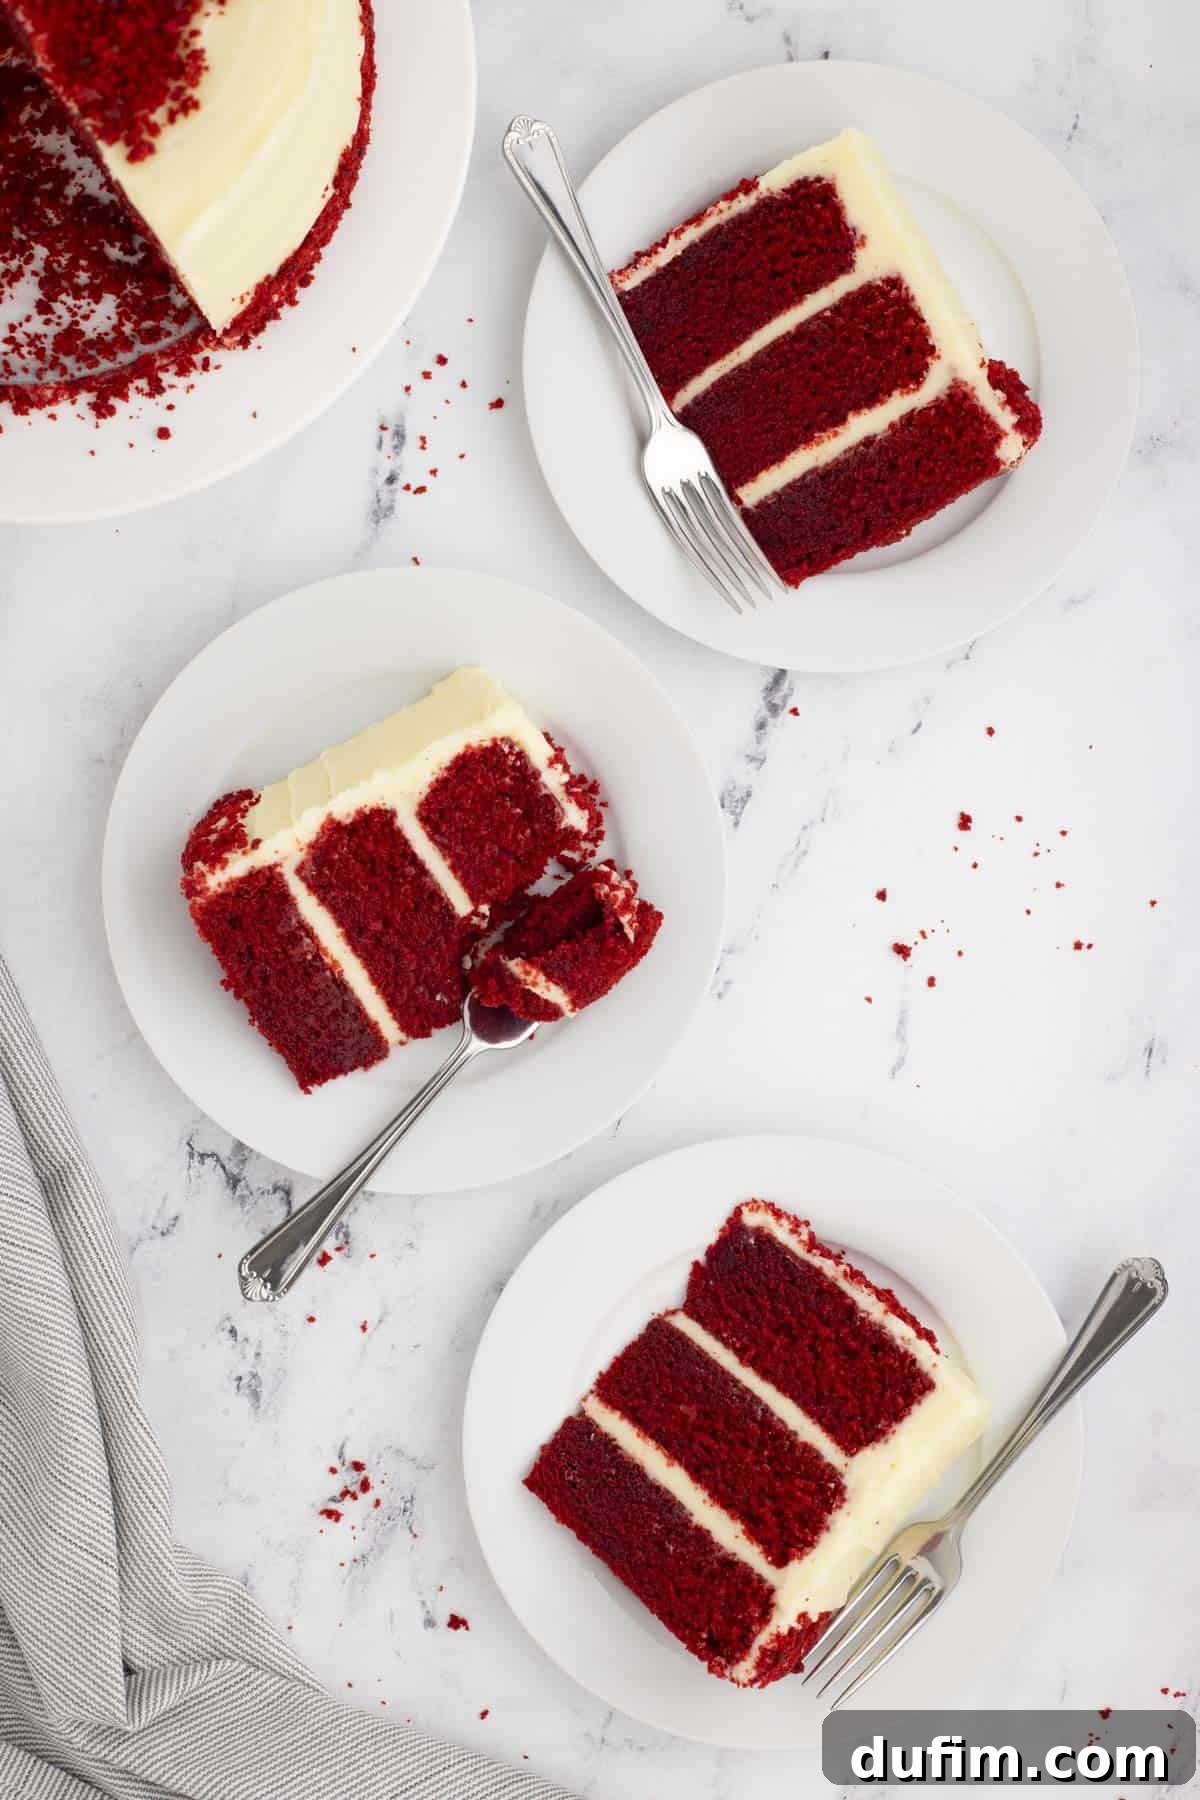
Storing Your Homemade Red Velvet Cake
Due to its generous and delectable cream cheese frosting, your red velvet cake should always be refrigerated to maintain its freshness and food safety. When you’re ready to serve, I recommend allowing the cake to come to room temperature for 1-2 hours before slicing and enjoying. This allows the cake layers to soften slightly and the frosting to become perfectly creamy, enhancing the overall taste and texture.
Can This Homemade Red Velvet Cake Be Frozen?
Absolutely! This recipe is excellent for making ahead, especially if you want to prepare the cake layers in advance. Here’s how to do it:
Freezing Cake Layers: Bake the cake layers as directed in the recipe and allow them to cool completely. Once cool, wrap each individual layer tightly in several layers of plastic wrap, ensuring no air can get in. Then, place the wrapped layers into a large freezer-safe bag or an airtight container. Frozen cake layers can be stored for up to 3 months. When ready to use, thaw them overnight in the refrigerator before unwrapping and frosting.
Freezing a Frosted Cake: You can also freeze the entire frosted cake! For best results, first allow the frosting to firm up slightly in the refrigerator. Then, wrap the entire cake tightly in plastic wrap, followed by a layer of aluminum foil. Place the wrapped cake into a large freezer-safe bag or a sturdy container. It can be frozen for up to 3 months. To enjoy, transfer the frozen cake to the refrigerator to thaw overnight. Once thawed, let it sit at room temperature for 1-2 hours before serving for optimal flavor and texture.
I used this recipe for cupcakes after my granddaughter requested them for her birthday. They turned out perfect! If you like red velvet cake, this is a must try recipe!! The frosting is beyond delicious! 😋
-Stacie
Explore More Delicious Cake Recipes
If you loved this red velvet cake, you might enjoy trying some of our other fantastic cake recipes. Each one is a guaranteed crowd-pleaser!
- German Chocolate Cake
- Chocolate Texas Sheet Cake
- Pineapple Upside Down Cake
- Strawberry Crunch Cake
Tap stars to rate!
Moist Red Velvet Cake Recipe
Beth
45 minutes
1 hour
30 minutes
16
Rate
Equipment
-
Glass Mixing Bowl
-
KitchenAid 9-Speed Mixer
-
My favorite spatula!
-
9 inch springform pan
Ingredients
Red Velvet Cake
- 2 ¾ cups (330g) all-purpose flour
- 2 Tbsp (10g) dutch-processed cocoa powder
- 1 tsp baking soda
- 1 tsp baking powder
- 1 tsp salt
- 2 ¼ cups (450g) granulated sugar
- 2 large eggs
- 1 cup (236ml) buttermilk
- 1 cup (236ml) vegetable oil
- 2 tsp vanilla extract
- Red food coloring, 21 gram bottle Americolor Red Red or 1-2 tablespoons
- 1 tsp white distilled vinegar
- 1 tsp instant coffee granules dissolved in ½ cup hot water
Cream Cheese Frosting
- 1 ½ cups (339g) unsalted butter, room temperature, 3 sticks, diced and softened
- 6 cups (750g) powdered sugar, sifted
- 1 ½ tsp vanilla extract
- 12 oz (339g) cream cheese, diced and chilled
Instructions
Red Velvet Cake
-
Preheat the oven to 325º F. Grease the sides and bottom of three 7-inch or two 9-inch pans with butter. Line the base of each pan with a parchment paper circle and a strip around the sides for easy cake removal. Set aside.
-
Sieve the all-purpose flour and unsweetened natural cocoa powder into a mixing bowl and add the baking soda, baking powder, salt, and sugar. Mix well then set aside.
-
In a separate mixing bowl whisk together the eggs, vegetable oil, buttermilk, vanilla extract, red food color, vinegar, and diluted coffee. Top tip: if the red food color is lumpy, use a hand blender to fully emulsify the ingredients.
-
Add the wet ingredients to the dry ingredients, a little at a time. Whisk after each addition to keep the batter smooth and prevent lumps forming.
-
Evenly divide the batter between the pans. Top tip: weigh the tins before adding the batter to make sure they are the same weight then add the batter. Each tin will have approximately 520g of batter. If using bake even cake strips, soak them thoroughly in water, squeeze out the excess, then secure them around the outside of the pans.
-
Bake the pans in the center of the oven for 35-40 minutes without the strips or 45-50 minutes with the strips or until a toothpick inserted in the center comes out clean. Baking times will vary depending on your oven and size of pan you’re using. The 9-inch tins will take 45-50 minutes without the baking strips, or 55-60 minutes with them.
-
Allow the cakes to cool for 20-30 minutes in the pans before removing them and allowing them to cool completely on a cooling rack.
Cream Cheese Frosting
-
In a mixing bowl, beat the butter on high for 2-3 minutes.
-
Add in 2 cups of powdered sugar and vanilla extract. Beat the frosting on low speed until combined and thick.
-
Add in the remaining powdered sugar, mix on low.
-
In a separate mixing bowl beat the cream cheese until smooth.
-
Add the cream cheese to the butter mixture until combined.
-
Chill the frosting until you are ready to use it.
Assemble the Cake
-
Use a cake leveler or large knife to trim the tops off the cakes. Each layer should be approximately 1 ¼ inch thick.
-
Crumble the offcuts into a bowl and set aside. Top tip: the cake is very moist and tender so using a grater will make this easier.
-
Place a 10-inch cake board onto the cake turntable. Use a non-slip mat underneath to keep it in place. Secure a 7-inch board onto it with a little frosting.
-
Fix one layer of red velvet cake onto the board with more frosting.
-
Pipe or spread a quarter inch layer of frosting over the layer. Top tip: to prevent cake crumbs mixing into the frosting keep your knife in contact with the frosting as you spread it around. Avoid lifting it up and down.
-
Add the second layer of cake and repeat.
-
Add the third layer and crumb coat the cake with a thin layer of frosting. Chill for 15 minutes to fix the crumbs.
-
Cover the cake with a ¼ inch layer of frosting and use a cake scraper to create a smooth finish.
-
Use a large palette knife to create a swirl finish. Hold the tip against the bottom edge and press gently into the cake as you turn the turntable. Gradually move the knife upwards until the swirl has reached the top. Create a swirl on the top in the same way.
-
Sprinkle cake crumbs around the base of the cake and onto the top. Top tip: chill the cake before serving, this will make slicing easier. Dip a large knife in hot water and dry before cutting the cake. Repeat after each slice.
Notes
Nutrition
Carbohydrates: 92g |
Protein: 5g |
Fat: 40g |
Saturated Fat: 18g |
Polyunsaturated Fat: 9g |
Monounsaturated Fat: 10g |
Trans Fat: 1g |
Cholesterol: 92mg |
Sodium: 336mg |
Potassium: 97mg |
Fiber: 1g |
Sugar: 74g |
Vitamin A: 873IU |
Calcium: 66mg |
Iron: 1mg
Nutrition Disclosure
All nutritional values are approximate and provided to the reader as a courtesy. Changing ingredients and/or quantities will alter the estimated nutritional calculations.
Like this recipe? Rate and comment below!