
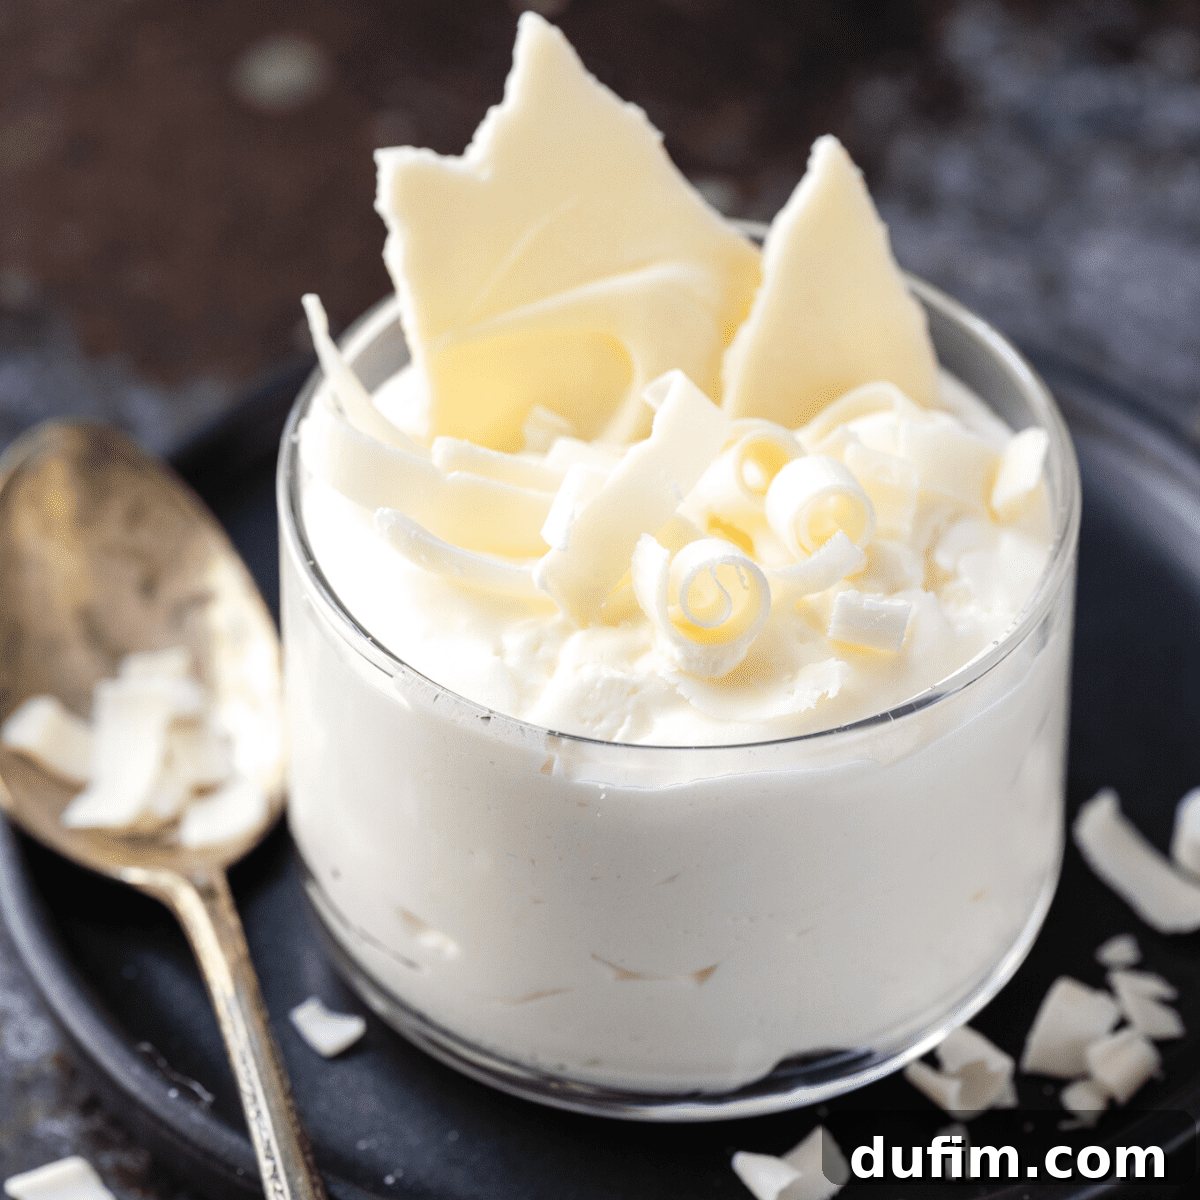
Welcome to your ultimate guide for crafting the perfect white chocolate mousse. Prepare to amaze your friends and family with an incredibly easy, two-ingredient dessert that requires no eggs and no gelatin!
This recipe is designed for simplicity, delivering a stunningly light and creamy dessert with minimal effort. Whether you’re planning for a special occasion like New Year’s Eve or Valentine’s Day, or simply indulging a sudden craving, this fuss-free white chocolate mousse promises impressive results every time.
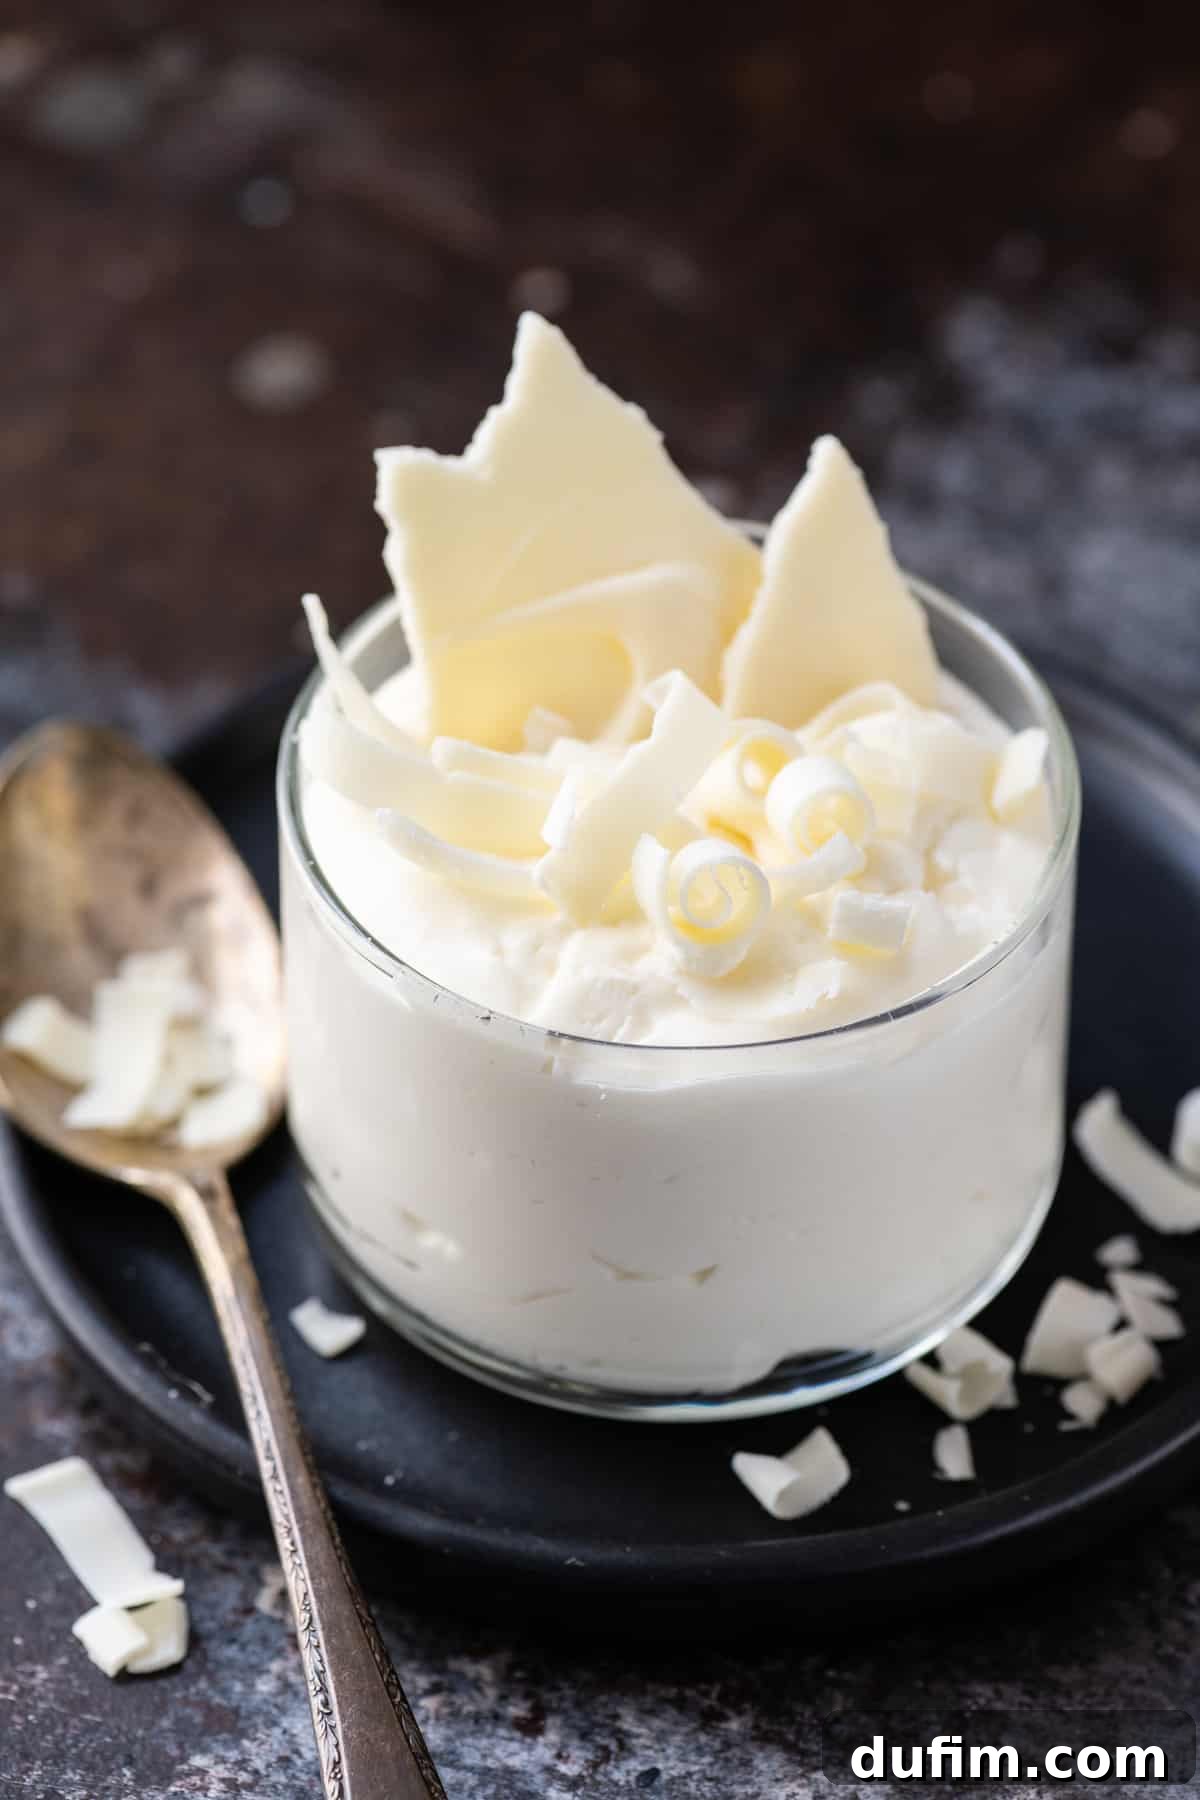
Absolutely delicious! Mine turned out wonderfully. Thank you for this incredible recipe!
– Dar
Forget complicated techniques and lengthy ingredient lists. This simple white chocolate mousse recipe sidesteps common concerns such as raw eggs, which some find off-putting, and the often-fussy process of using gelatin for setting. It truly distills the art of mousse-making down to its purest form, relying on just two key components to achieve its signature airy texture and rich flavor.
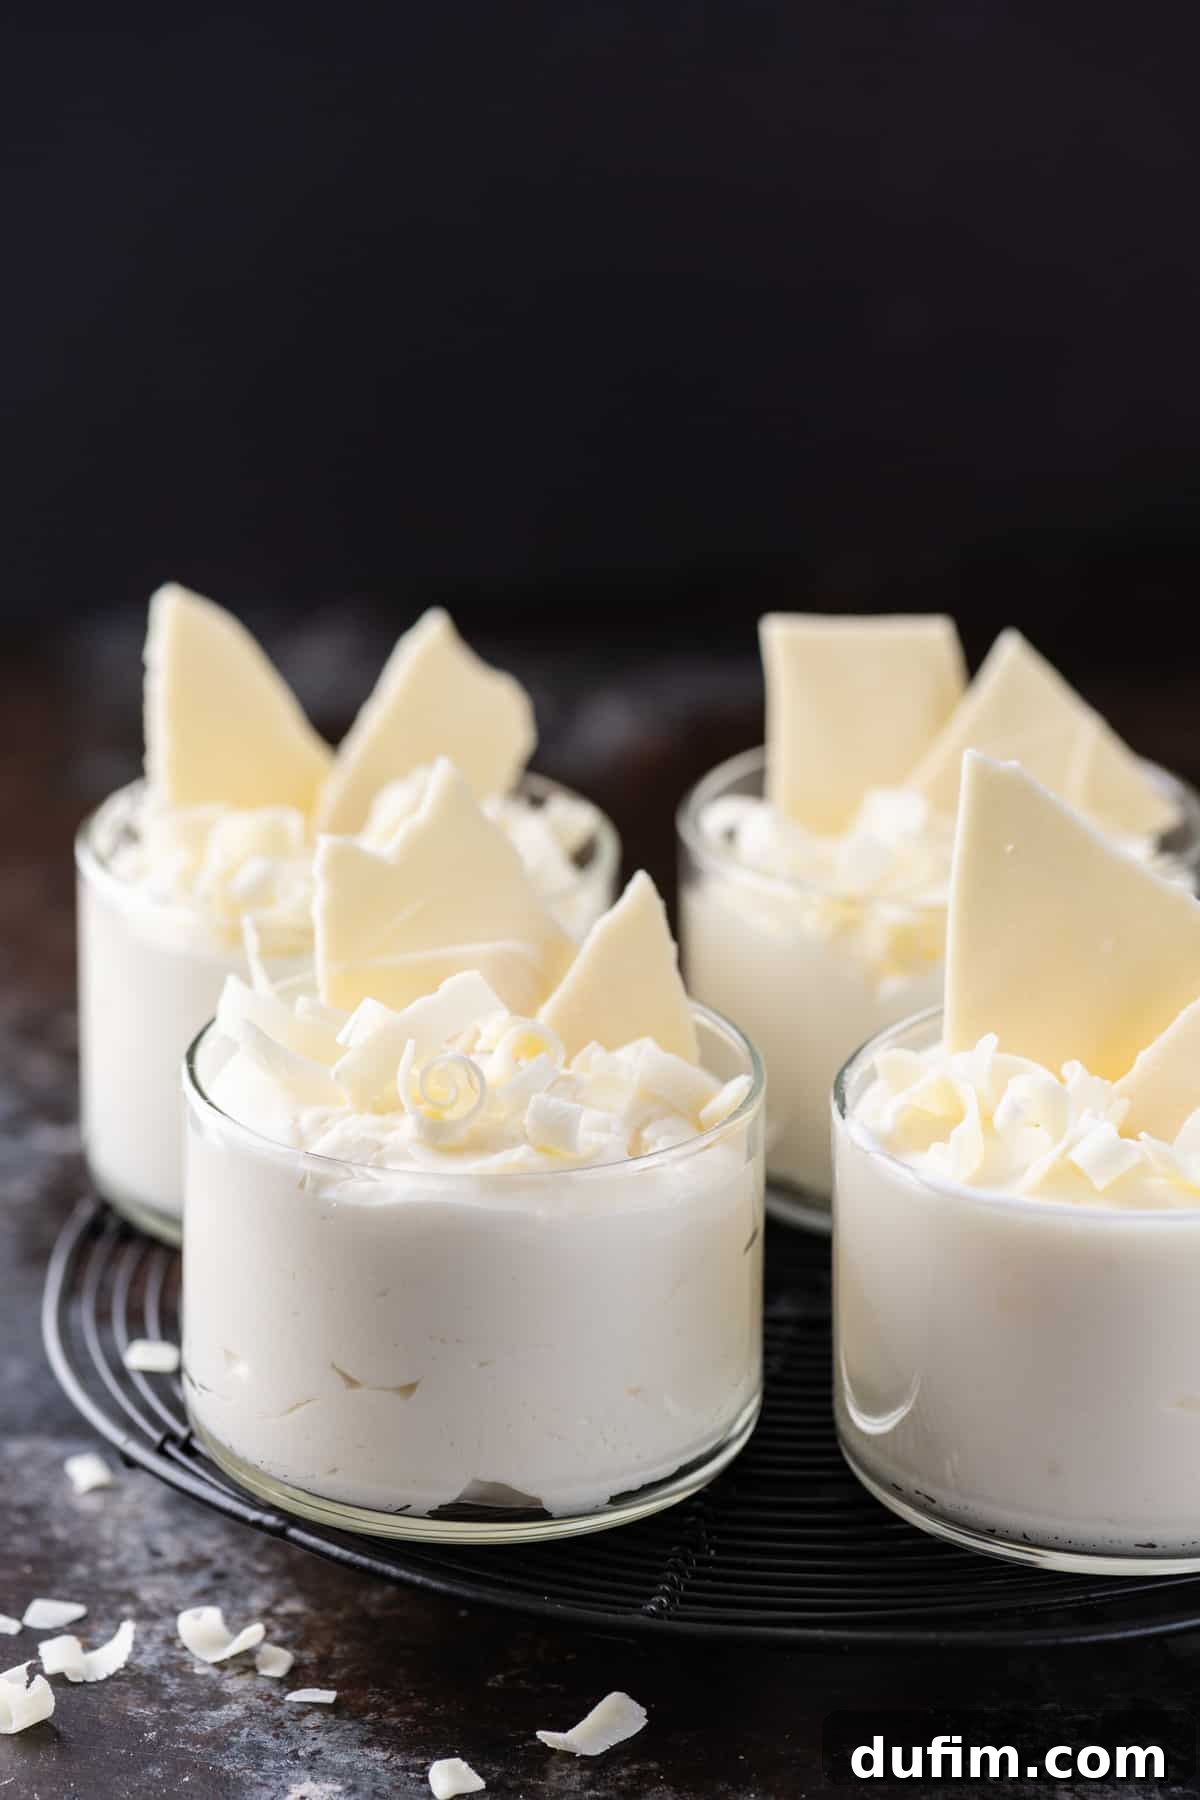
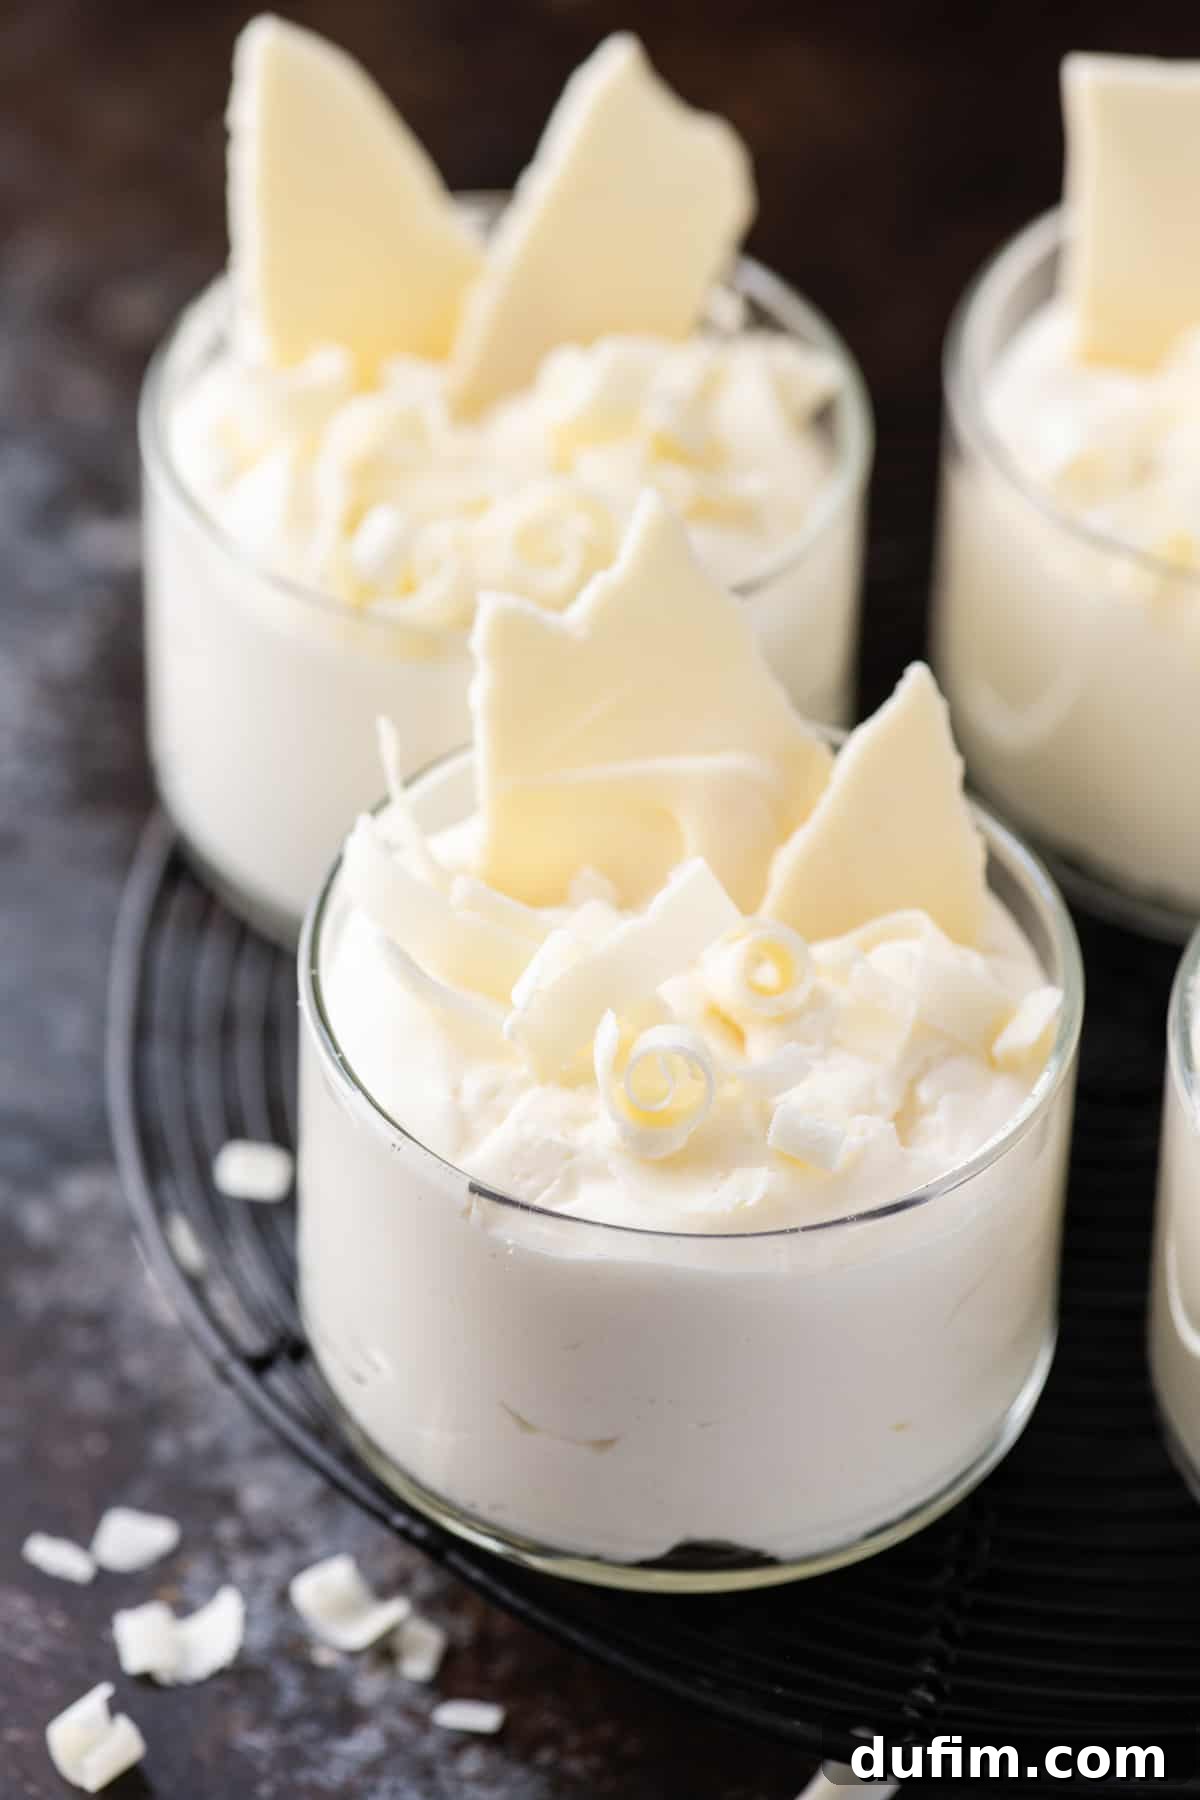
For an extra touch of elegance and varied flavor, consider layering this luscious white chocolate mousse with a contrasting dark chocolate mousse in elegant dessert glasses. This creates a beautiful visual and a delightful interplay of tastes and textures.
The Essential Ingredients: What Makes White Chocolate Mousse?
At its core, a perfect white chocolate mousse is surprisingly simple, requiring only two star ingredients:
- Heavy Whipping Cream: This forms the light and airy base of the mousse. When whipped, the fat in the cream traps air, creating the characteristic voluminous texture.
- White Chocolate Chips: These provide the sweet, creamy flavor and, crucially, help to stabilize the mousse when melted and combined with the whipped cream.
Understanding these two ingredients is key to appreciating the magic of this recipe. White chocolate, unlike dark or milk chocolate, doesn’t contain cocoa solids. Instead, it’s a delightful blend of cocoa butter, sugar, and milk solids, which gives it its distinct pale color and sweet, milky flavor profile. When melted and gently folded into stiffly whipped cream, it sets to create a dessert that is both decadent and incredibly light on the palate.
The Cold Secret: Why Chill Your Bowl for Whipped Cream
One of the most crucial, yet often overlooked, steps for achieving perfectly whipped cream is to chill your mixing bowl and beaters. I highly recommend placing a metal or glass mixing bowl, along with the beaters from your electric mixer, in the freezer for at least 15 minutes before you begin whipping the cream.
But why is this so important? Cream whips best when it’s very cold. The cold temperature of the bowl and beaters helps to maintain the cream’s low temperature throughout the whipping process. This ensures that the fat globules in the cream remain firm, allowing them to effectively trap air as they are agitated. The result is a greater increase in volume, a much more stable whipped cream, and the formation of beautifully stiff peaks. Stable whipped cream is essential for a mousse that holds its shape and maintains its airy consistency without collapsing. Skipping this step can lead to a runny or less voluminous mousse, diminishing the delightful texture we’re aiming for.
Choosing Your Chocolate: The Unexpected Best Chips for White Chocolate Mousse
When developing this recipe, I conducted several tests with different brands of white chocolate chips, and the results revealed a fascinating insight. Initially, I used premium Ghirardelli white chocolate chips, expecting superior results. However, after just a few minutes of beating, the mixture of chocolate and heavy cream surprisingly separated into an unappealing, cottage cheese-like consistency. This was certainly not the smooth, creamy texture desired for a mousse!
Frustrated, I then experimented with a generic store-brand of white chocolate chips, and to my delight, the mousse turned out absolutely perfectly. What I discovered is that many generic store-brand chips contain more stabilizers than their premium counterparts. Stabilizers, such as lecithin or polyglycerol polyricinoleate, help to keep the chocolate emulsion smooth and prevent separation, especially when combined with other liquids like heavy cream. These added stabilizers contribute to the lower cost of generic brands and, in this particular recipe, make them superior.
While I generally advocate for high-quality ingredients, this recipe is a unique exception. For the best, most stable, and easiest white chocolate mousse, you actually want to opt for the more affordable, generic white chocolate chips. Their inherent stability ensures a silky-smooth integration with the cream, preventing any undesirable curdling and guaranteeing a consistent, luscious texture.
Simple Steps to Silkiness: How To Make White Chocolate Mousse
Creating this exquisite white chocolate mousse is a straightforward process divided into two main components: preparing the melted white chocolate mixture and whipping the heavy cream, followed by their gentle combination.
- Prepare the White Chocolate Base: In a microwave-safe bowl, combine 1/2 cup of the heavy cream with your chosen white chocolate chips. Microwave this mixture for 2 minutes at 50% power. This lower power setting helps prevent the chocolate from seizing or burning. After microwaving, stir the mixture thoroughly until the chocolate is completely melted and smooth. If necessary, microwave for additional short bursts (15-30 seconds) at 50% power, stirring between each, until fully melted. Crucially, allow this melted chocolate mixture to cool completely to room temperature before proceeding. This step is vital to prevent deflating your whipped cream later.
- Whip the Heavy Cream: Retrieve your thoroughly chilled mixing bowl and beaters from the freezer. Pour the remaining 1 1/2 cups of heavy cream into the cold bowl. Using an electric mixer, beat the cream on high speed. Continue beating for approximately 3-5 minutes, or until stiff peaks form. Stiff peaks mean that when you lift the beaters from the cream, the peaks stand upright without collapsing. The cream should be thick, airy, and hold its shape firmly.
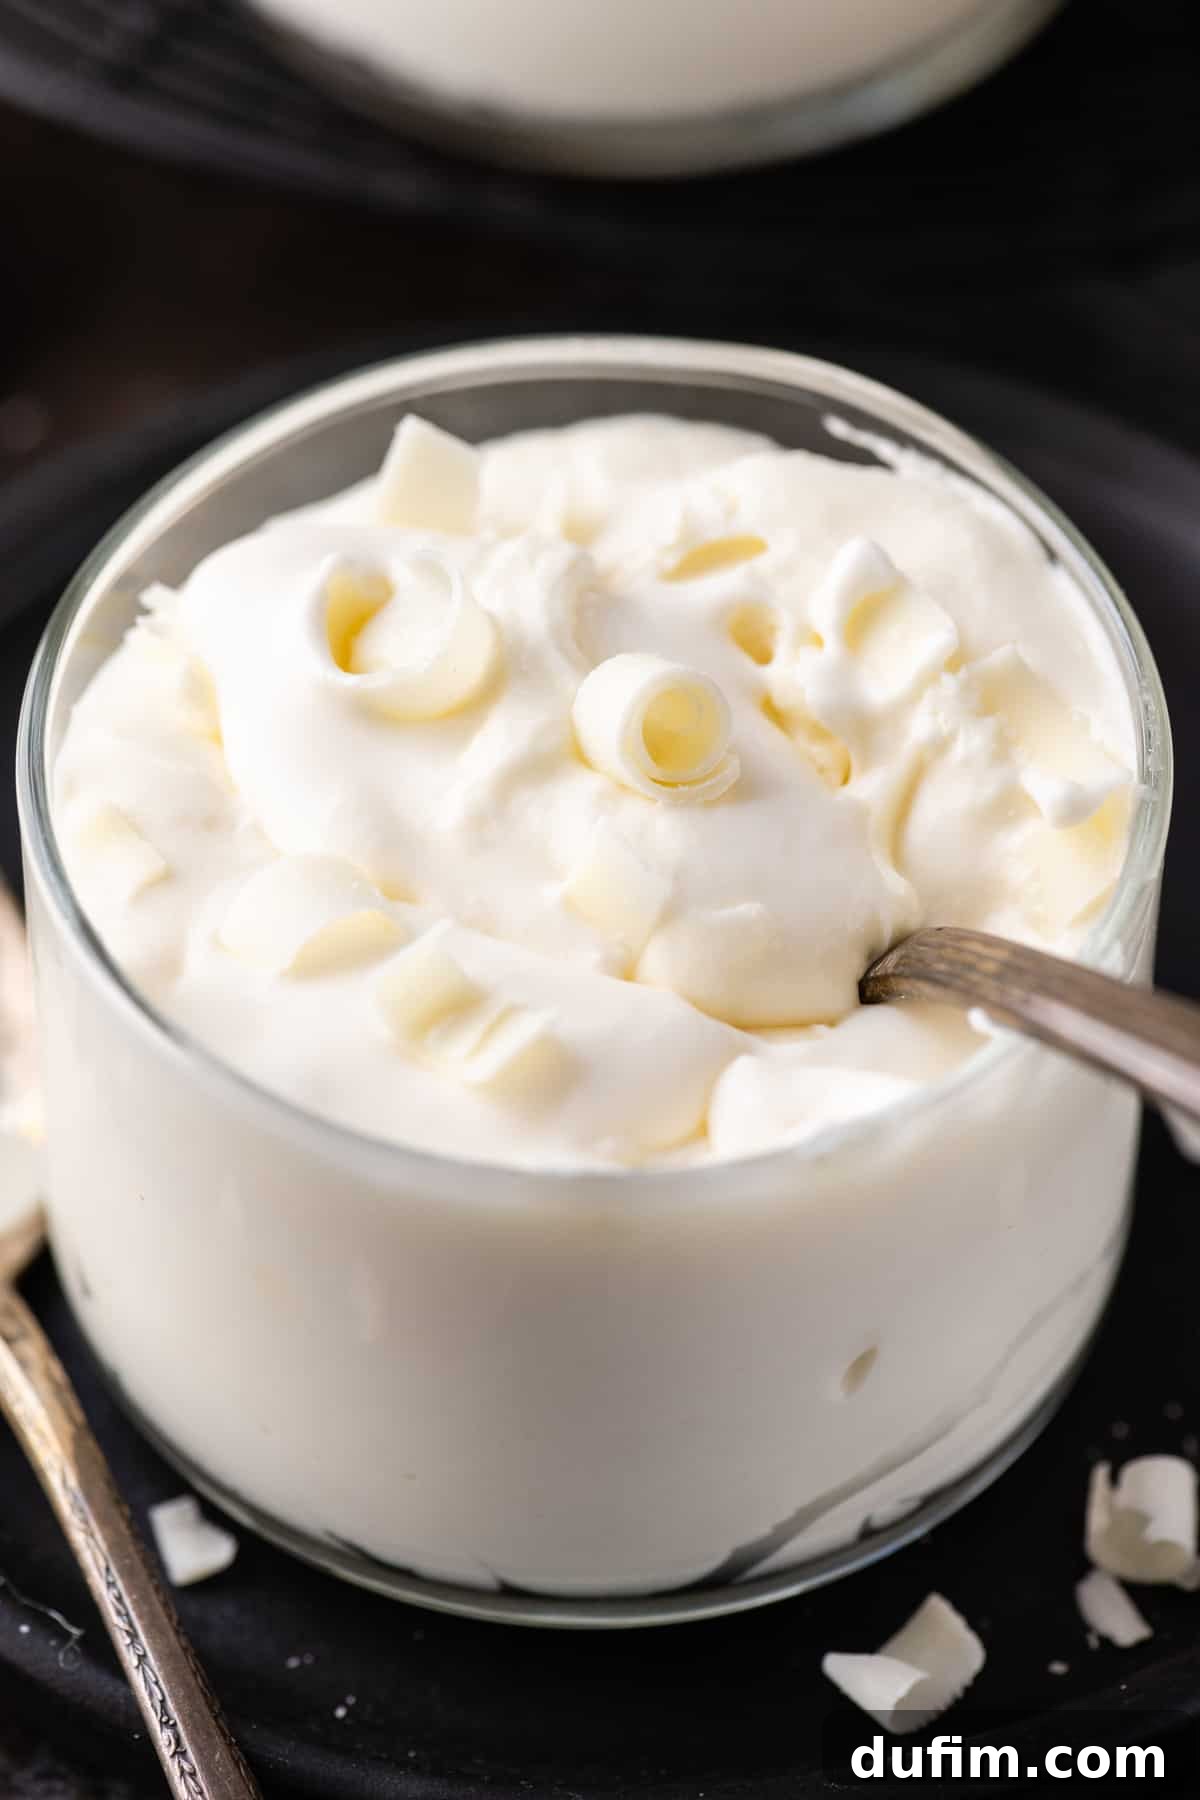
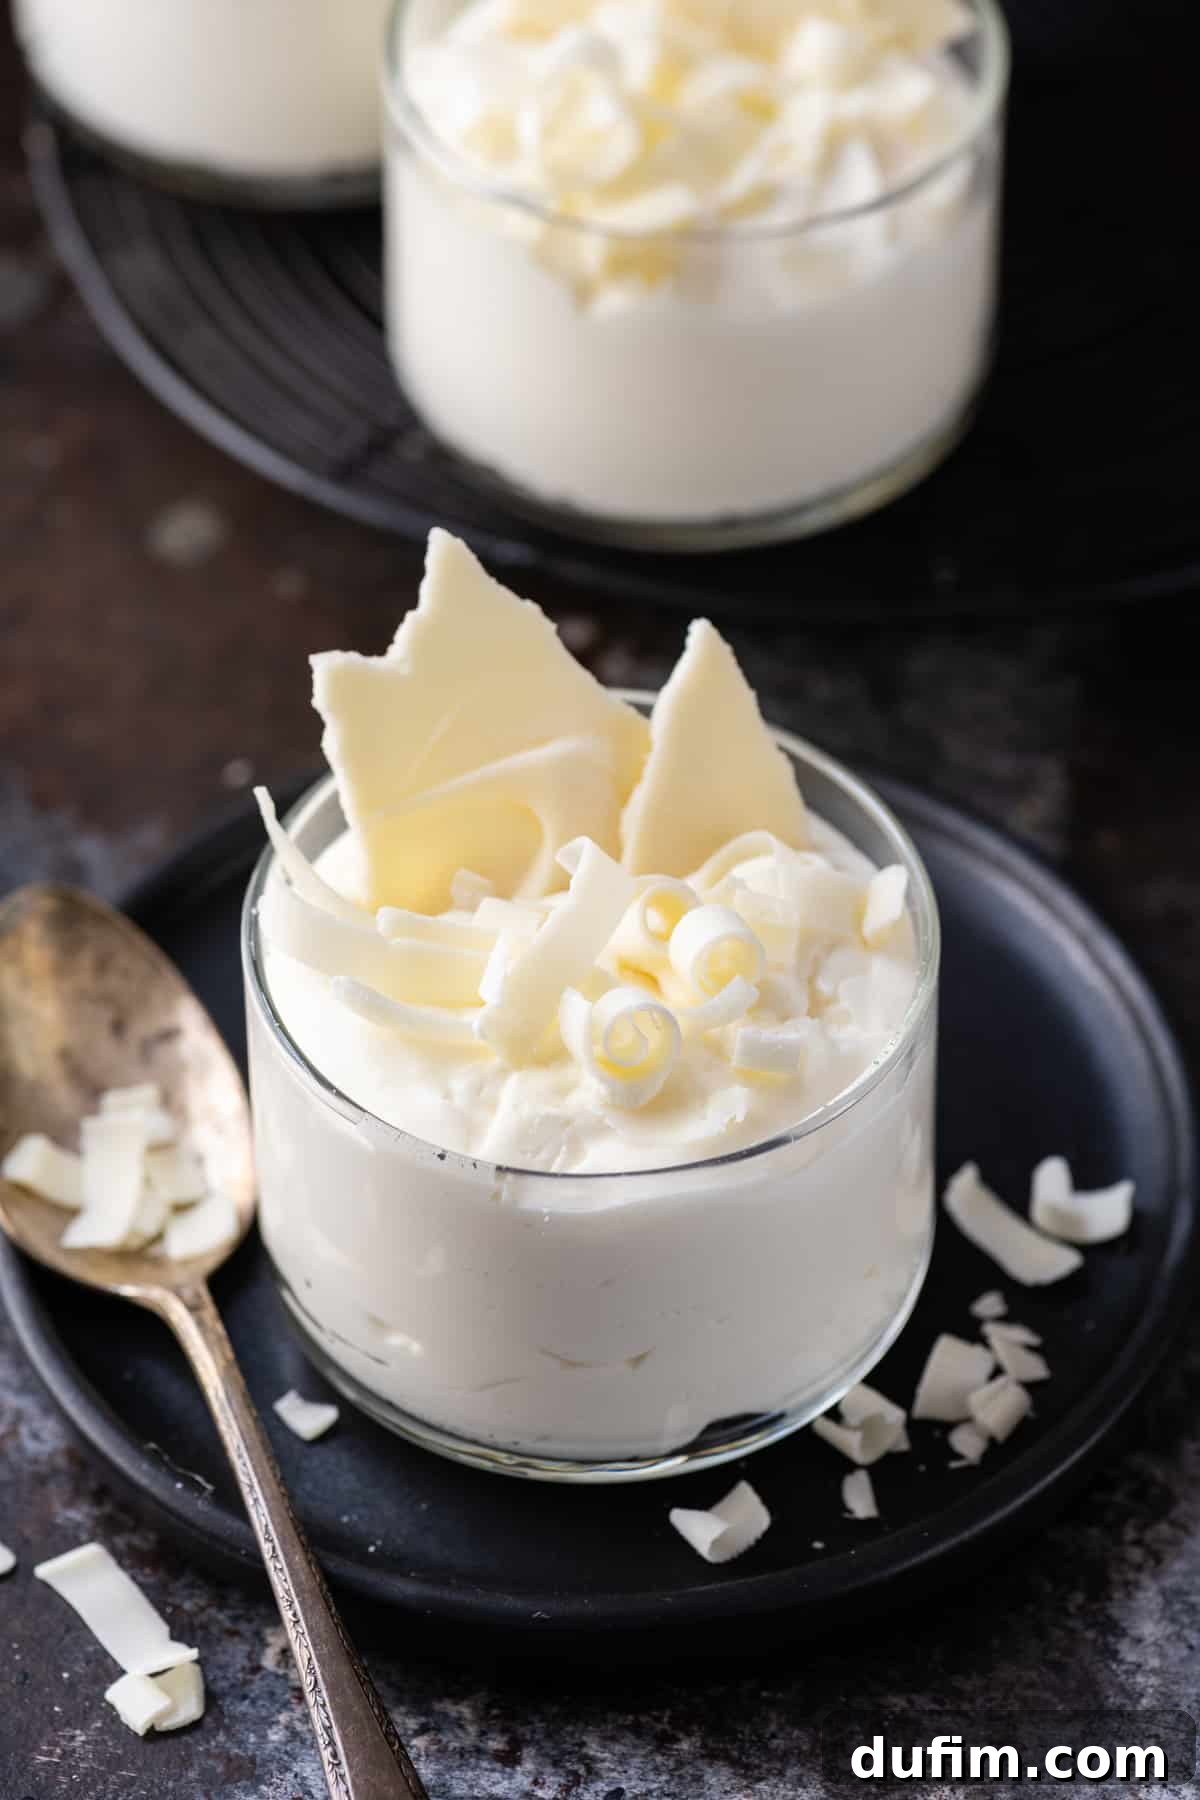
- Combine and Chill: Once the melted white chocolate mixture has cooled to room temperature, gently add it to the stiffly whipped cream. Continue beating with the electric mixer on a lower speed, just until the chocolate and cream are fully combined and there are no streaks of unmixed cream or chocolate. Be careful not to overmix at this stage, as it can cause the mousse to become dense. Divide the creamy mousse evenly into individual serving bowls or glasses. Cover each serving tightly with plastic wrap to prevent a skin from forming, and refrigerate for at least 3 hours to allow the mousse to set and develop its perfect texture. For best results, overnight chilling is often ideal.
The Art of Patience: Chilling The Mousse for Perfection
Just as chilling the mixing bowl is fundamental to successful whipped cream, the subsequent chilling of the finished mousse is equally vital for achieving its ideal consistency. Once the white chocolate and whipped cream are combined, the mousse needs time in the refrigerator to properly set and stabilize.
During this chilling period, the cocoa butter in the white chocolate and the fat in the heavy cream solidify. This process transforms the initially soft, combined mixture into a firm, yet still incredibly light and airy dessert. A properly chilled mousse will be scoopable, holding its elegant shape, while retaining that signature melt-in-your-mouth texture that is both rich and ethereal. Rushing this step can result in a mousse that is too soft or runny. Aim for at least 3 hours of refrigeration, but allowing it to chill overnight will yield an even better, more stable texture.
Expert Tips for a Flawless White Chocolate Mousse
To ensure your white chocolate mousse turns out perfectly every time, keep these essential tips in mind:
- Choose the Right Cream: Always use “heavy cream” or “heavy whipping cream.” Both terms refer to cream with a minimum fat content of 36%, which is crucial for achieving stiff, stable peaks. Be cautious of products labeled simply “whipping cream,” as these typically have a lower fat content (30-35%) and may not whip as firmly or hold their structure as well. The higher fat content is what gives the mousse its rich texture and stability.
- Yield and Servings: This recipe typically yields between 2 to 3 cups of mousse, making it perfect for intimate gatherings. I usually divide this amount among six 5.3 oz (approximately 150ml) bowls or ramekins, which provides generous individual servings. You can adjust the portion sizes based on your preferences or the occasion.
- Storage and Freshness: Once prepared, white chocolate mousse can be stored in the refrigerator for 2-3 days. To maintain its freshness, prevent it from absorbing other refrigerator odors, and keep a skin from forming on the surface, ensure that each individual serving container is tightly covered with plastic wrap. This also helps to preserve its delicate, airy texture.
- Elegant Toppings: Elevate the presentation and enhance the flavor of your mousse with simple yet elegant toppings. Consider garnishing with delicate white chocolate shards or curls/shavings. To make white chocolate shards, simply melt some white chocolate, spread it thinly on a silicone mat or parchment paper, allow it to cool and harden completely, then break it into irregular pieces. For white chocolate curls, use a vegetable peeler on the edge of a solid bar of white chocolate, shaving off beautiful, delicate curls.
Perfect Pairings: What to Serve with White Chocolate Mousse
White chocolate mousse, with its rich and creamy profile, offers a versatile canvas for a variety of complementary flavors and textures. Pairing it thoughtfully can transform a delicious dessert into an unforgettable culinary experience. Here are some inspired ideas to serve alongside your homemade white chocolate mousse:
- Coffee or Espresso: A small, strong shot of espresso or a robust cup of black coffee provides a delightful contrast to the sweetness and richness of the mousse. The slight bitterness cuts through the creaminess, cleansing the palate with each sip.
- Fresh Berries: The vibrant tartness and juiciness of fresh berries are a classic pairing for white chocolate. Strawberries, raspberries, blueberries, or mixed berries add a burst of freshness and a beautiful pop of color. Their natural acidity perfectly balances the mousse’s sweetness.
- Bright Citrus Elements: A fine grating of lemon or orange zest over the top of the mousse introduces a refreshing, zesty aroma and a subtle tang that enlivens the entire dessert.
- Crunchy Cookies or Biscuits: Offer a textural contrast by serving with crisp cookies. Crushed up shortbread, amaretti, or even chocolate wafers sprinkled on top add a delightful crunch. Alternatively, provide whole cookies for dipping, offering a buttery complement to the smooth mousse.
- Tangy Fruit Sauces: A drizzle of raspberry or passionfruit sauce provides a wonderful tart counterpoint to the sweet white chocolate. The vibrant fruitiness and acidity create a harmonious balance that prevents the dessert from being overly rich.
- Luxurious Caramel Sauce: For those who love an extra layer of decadence, a light drizzle of salted caramel sauce adds a rich, buttery depth and a touch of savory complexity that pairs beautifully with white chocolate.
- Toasted Nuts: Sprinkling chopped, toasted nuts like almonds, pistachios, or pecans over the mousse introduces a pleasant nutty flavor and a satisfying crunchy texture, offering an earthy contrast to the sweet creaminess.
- Dark Chocolate Shavings or Curls: While you can use white chocolate shavings, dark chocolate provides a wonderful bittersweet element that complements the white chocolate perfectly. It adds an extra layer of sophisticated flavor and an elegant finishing touch.
Explore More Decadent Desserts
If you loved making this easy white chocolate mousse, you might enjoy trying these other delicious dessert recipes:
- Homemade Chocolate Cake
- How to make box brownies better
- Chocolate Chip Cookies
- Cheesecake Brownies
Best White Chocolate Mousse Recipe: Your Questions Answered
Mousse separation or curdling, which often appears like a cottage cheese-like texture, is a common issue, especially when using certain types of white chocolate. In my testing, I found that premium brands like Ghirardelli, despite their high quality, lacked the stabilizers present in more generic store-brand white chocolate chips. These stabilizers are crucial for maintaining a smooth emulsion when chocolate is combined with heavy cream. If you experience separation, try using a different brand of white chocolate chips, ideally a more affordable or generic option, as they often contain more stabilizers that help prevent this problem. Ensuring your melted chocolate is cooled to room temperature before combining with whipped cream is also vital to prevent the mixture from seizing.
Yes, absolutely! Over-whipping is a common pitfall when making mousse or whipped cream. When cream is beaten for too long, the fat globules can begin to separate from the liquid, leading to a grainy, lumpy, or even curdled texture that resembles butter. Instead of the desired light and airy consistency, you’ll end up with something dense and unappealing. To avoid this, watch your cream carefully as you whip it. Stop beating as soon as the cream forms stiff peaks that hold their shape. When incorporating the melted chocolate, switch to a lower speed or gently fold it in by hand until just combined, rather than continuing to beat vigorously.
With this specific two-ingredient recipe, proper thickening relies on two key factors: using white chocolate chips that contain adequate stabilizers (often found in generic brands) and ensuring your heavy cream is whipped to stiff peaks in a very cold bowl. When these conditions are met, the mousse should naturally thicken and set beautifully in the refrigerator without the need for additional thickening agents like gelatin. If your mousse isn’t thickening as desired, revisit the type of white chocolate used and double-check that your cream was whipped to its fullest potential and properly chilled.
Absolutely! White chocolate mousse is an excellent make-ahead dessert. In fact, it requires a minimum of 3 hours of chilling to fully set, making it perfect for preparing in advance for parties or special dinners. You can comfortably make this mousse 1-2 days before you plan to serve it. Just ensure it’s kept tightly covered with plastic wrap in the refrigerator to maintain its fresh taste and light texture. The longer chilling time often results in a more stable and delicious mousse.
While the terms are often used interchangeably, there’s a subtle but important difference in fat content. Heavy cream, also known as heavy whipping cream, contains at least 36% milk fat. This higher fat content allows it to whip into very stiff, stable peaks that hold their shape well, making it ideal for mousse. Whipping cream (or light whipping cream) has a slightly lower fat content, typically between 30% and 35%. It still whips up, but its peaks will be softer and less stable, and it may not hold its volume as long. For this two-ingredient mousse, the higher fat content of heavy cream is essential for structural integrity and a rich mouthfeel.
Tap stars to rate!
Easy 2-Ingredient White Chocolate Mousse
Rate
Equipment
-
Glass Mixing Bowl
-
Electric Mixer (Handheld or Stand)
Ingredients
- 2 cups (473ml) heavy whipping cream
- 1 cup (170g) white chocolate chips (generic brand recommended for stability)
Instructions
-
Chill Equipment: Place a metal or glass mixing bowl and the beaters from an electric mixer into the freezer for 10-15 minutes. This step is crucial for achieving stiff, stable whipped cream.
-
Melt Chocolate: In a separate microwave-safe bowl, combine 1/2 cup of the heavy cream with the white chocolate chips. Microwave on 50% power for 2 minutes, then stir until smooth. If needed, microwave for additional 15-second intervals, stirring after each, until the chocolate is fully melted. Allow this mixture to cool completely to room temperature before proceeding.2 cups (473ml) heavy whipping cream, 1 cup (170g) white chocolate chips
-
Whip Cream: Pour the remaining 1 1/2 cups of cold heavy cream into your chilled bowl. Using an electric mixer, beat on high speed until stiff peaks form. This typically takes 3-5 minutes. The cream should be thick and hold its shape.
-
Combine: Gently add the cooled melted chocolate mixture to the stiffly whipped cream. Continue beating on low speed, or fold by hand, until the mixture is fully combined and smooth. Be careful not to overmix.
-
Chill: Divide the mousse into individual serving containers or glasses. Cover each container tightly with plastic wrap and refrigerate for at least 3 hours, or preferably overnight, to allow the mousse to set and firm up. The mousse will remain fresh for 2-3 days in the refrigerator.
-
Garnish (Optional): Before serving, top the mousse with elegant white chocolate shards, curls, or shavings. To make shards, melt white chocolate, spread thinly on a silicone mat, cool, then break into pieces. For curls, use a vegetable peeler on a solid white chocolate bar.
Notes
- Cream Type: Always use heavy cream or heavy whipping cream, ensuring a fat content of at least 36%. Avoid “whipping cream” with lower fat content for best results.
- Yield: This recipe makes approximately 2-3 cups of mousse, perfect for 6 servings in 5.3 oz bowls.
- Chilling is Key: Don’t skip the chilling steps for both the bowl and the finished mousse; they are essential for stability and texture.
Nutrition
Nutrition Disclosure
All nutritional values are approximate and provided to the reader as a courtesy. Changing ingredients and/or quantities will alter the estimated nutritional calculations.
Enjoyed this recipe? Share your thoughts below!