
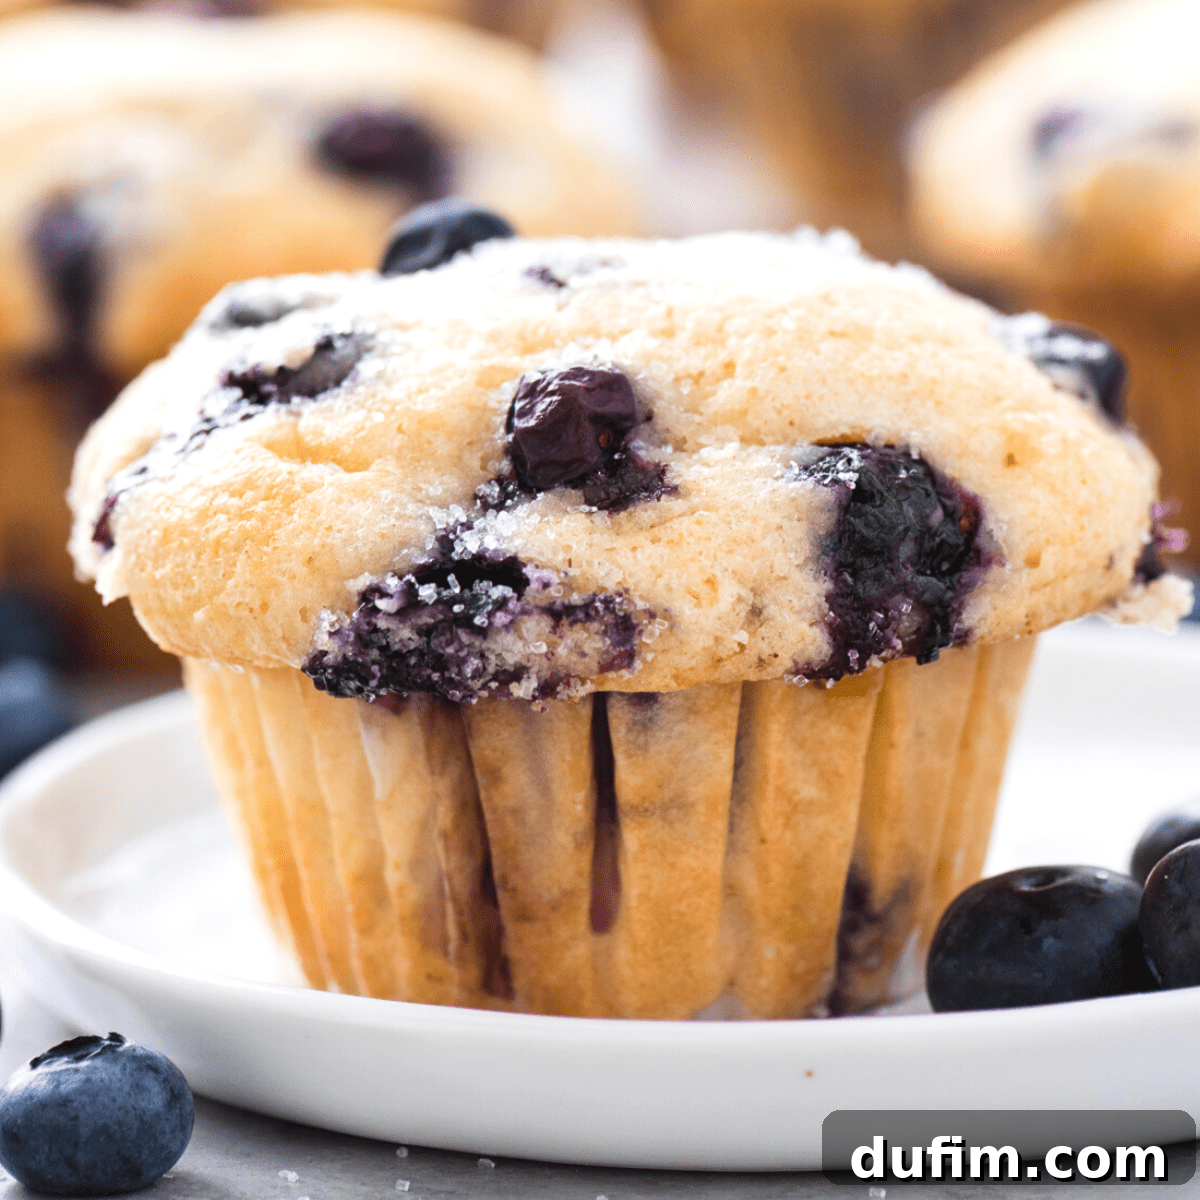
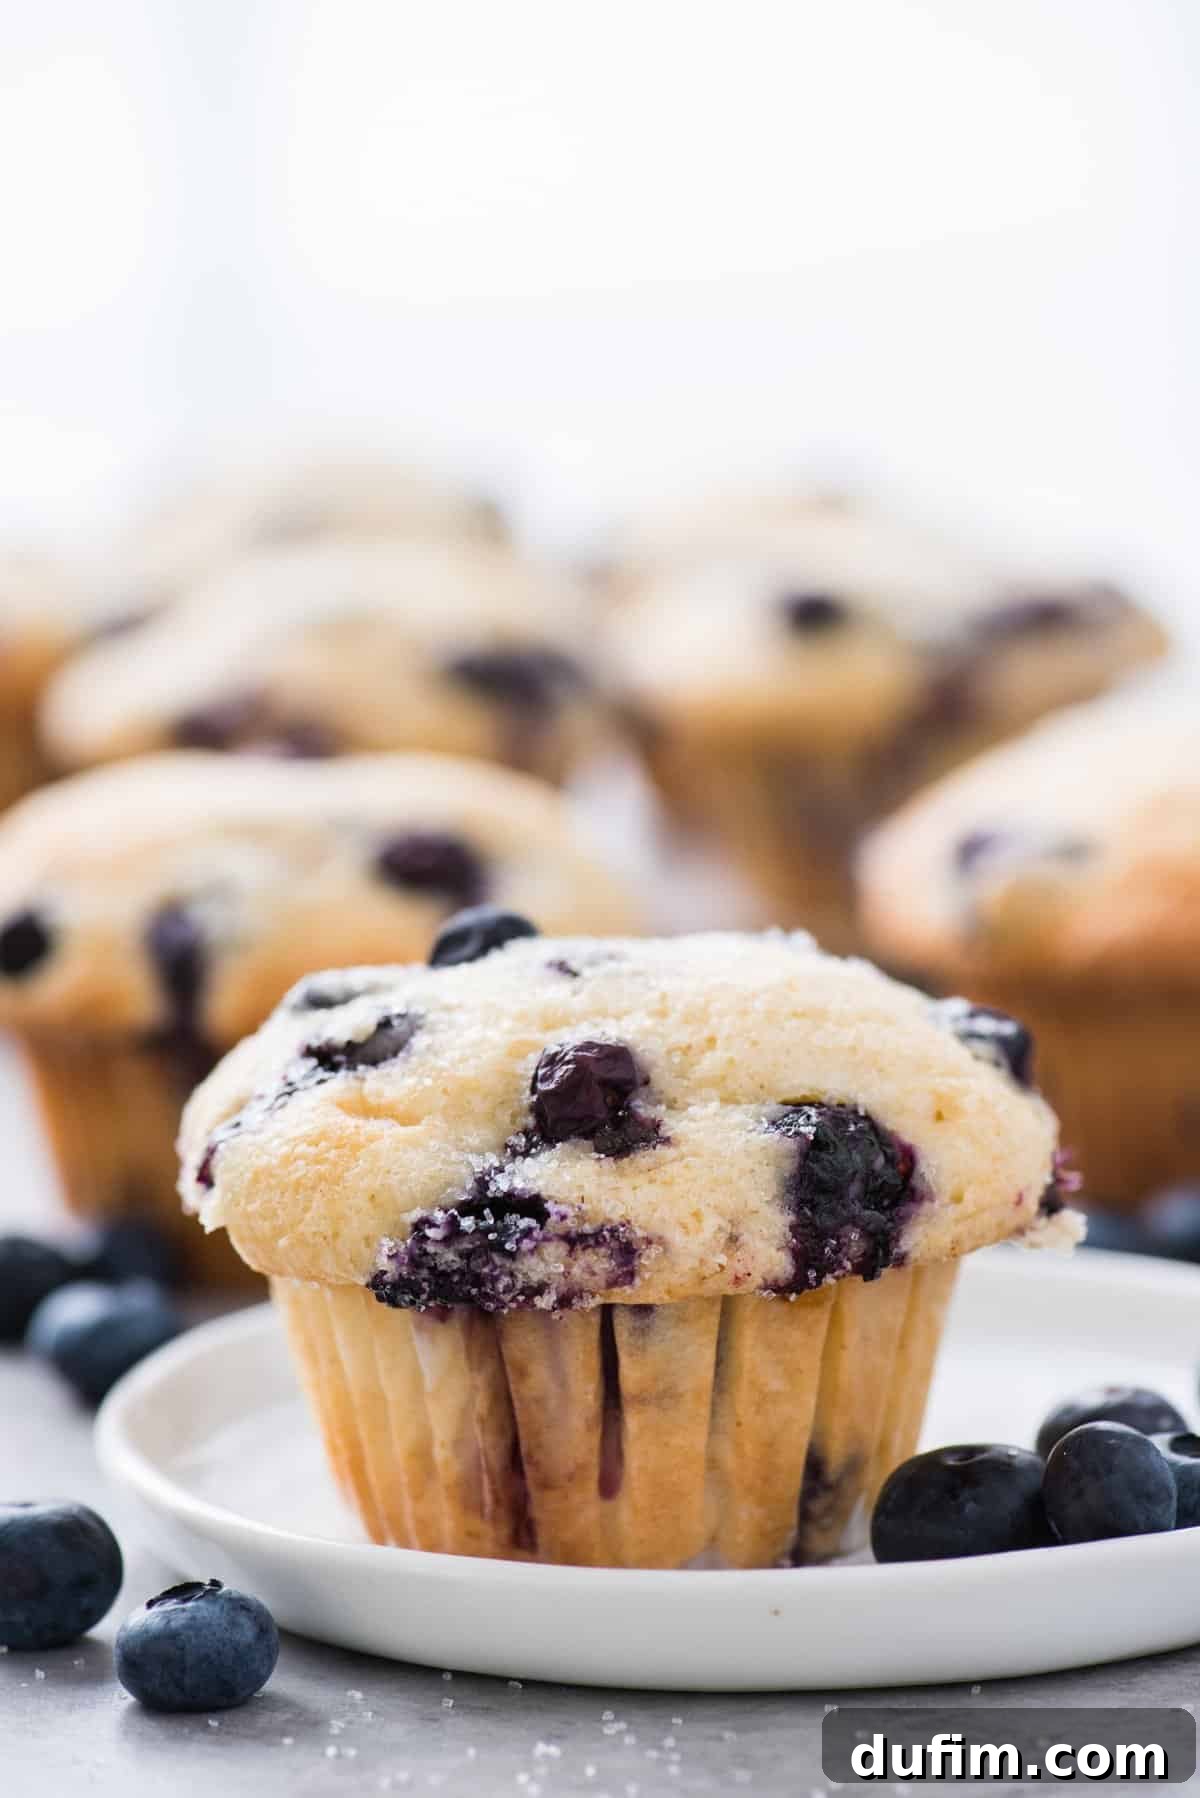
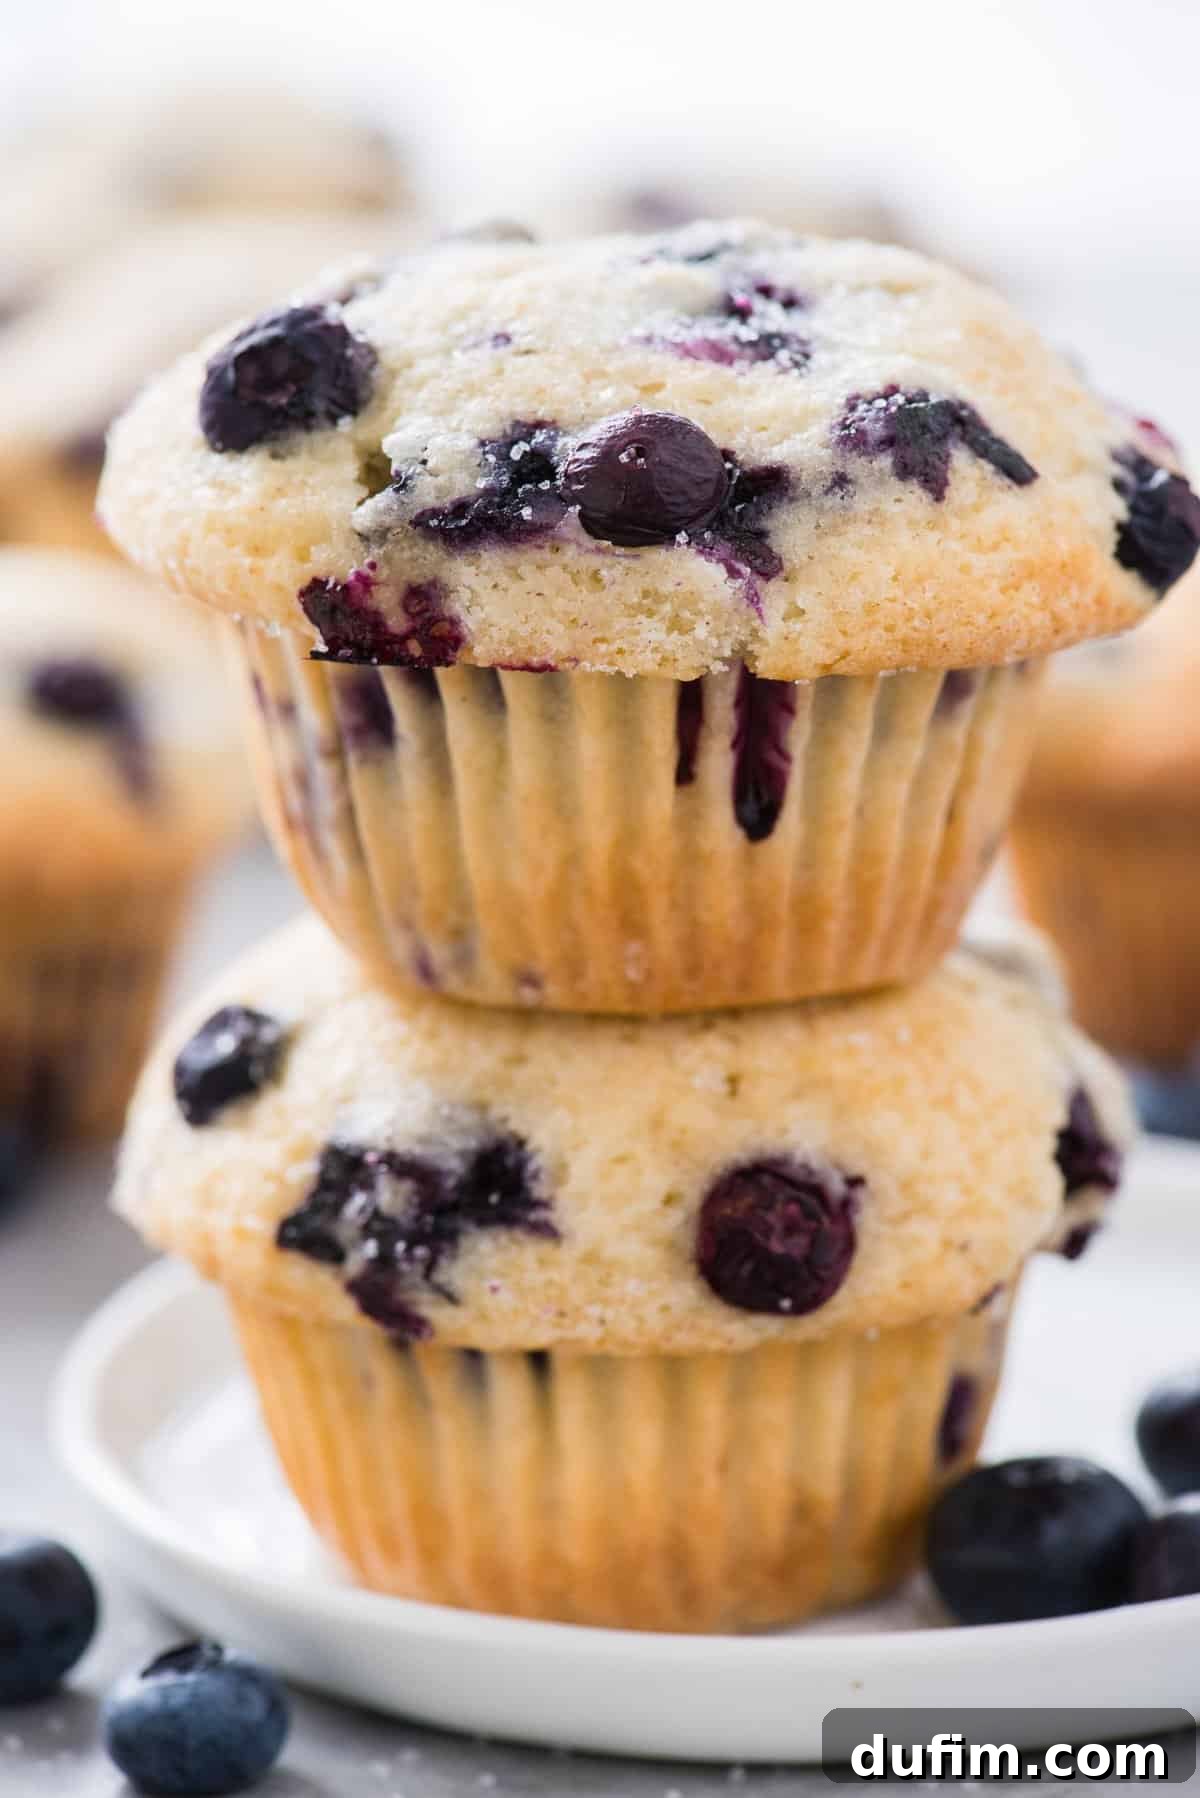
Welcome to the world of exquisite gluten-free baking! As a baker with over 15 years dedicated to mastering gluten-free recipes, I’ve poured my passion into developing what I believe are truly the ultimate gluten-free blueberry muffins. These aren’t just any muffins; they are a testament to how incredible gluten-free baking can be. Prepare to be amazed by their beautifully domed, bakery-style tops and irresistibly tender crumb, so perfect that no one will guess they’re gluten-free.
Each bite of these muffins delivers a burst of juicy blueberries, encased in a wonderfully moist and soft texture. Whether it’s the peak of summer or the chill of winter, you can enjoy these delightful treats year-round, thanks to their versatility with both fresh and frozen berries. Beyond the recipe itself, I’m excited to share my four crucial tips that guarantee you’ll achieve big, fluffy, and utterly delicious gluten-free muffins every single time. Get ready to transform your kitchen into a gluten-free bakery!
“Unbelievably great muffins! Super easy to make and absolutely delicious to eat!”
– Marney, a delighted baker
The Journey to Muffin Mastery: My Gluten-Free Baking Story
My dedication to creating the perfect muffin isn’t just a hobby; it’s a profound passion that led me to spend six intense months developing and rigorously testing recipes for my highly acclaimed Muffin Cookbook. This journey was about more than just baking; it was about cracking the code to producing truly exceptional, big, bakery-style creations that anyone can replicate in their home kitchen using a standard muffin pan. Through countless experiments and meticulous adjustments, I’ve honed techniques that consistently yield stunning results.
With my proven four key tips for achieving bakery-quality muffins at home—techniques that have now been successfully adopted and celebrated by thousands of fellow bakers—I’ve earned the proud title of “muffin expert.” My commitment extends especially to the gluten-free realm, where I’ve navigated the unique challenges of texture, flavor, and rise since 2006. This extensive experimentation with a wide array of gluten-free flours has been instrumental in discovering the secrets to gluten-free perfection, ensuring every muffin is a delight.
Choosing Your Gluten-Free Flour for Optimal Results
Over years of dedicated trial and error, I’ve found that King Arthur’s Gluten Free All Purpose Flour consistently delivers an unparalleled taste and texture in my recipes. Its carefully balanced blend of gluten-free grains provides the ideal structure and tenderness required for superior muffins. While I highly recommend it for its consistent performance, the good news is that this recipe is forgiving enough to work wonderfully with any high-quality gluten-free all-purpose flour blend you prefer or have on hand. The most crucial factor for success isn’t the specific brand, but rather the precision with which you measure your flour. Accurate measurement is the cornerstone of great gluten-free baking, ensuring your muffins achieve their signature moistness and structure.
How to Properly Measure Flour: Precision for Perfect Muffins
In gluten-free baking, precision in flour measurement is absolutely vital. Unlike traditional baking where a slight variation might be forgiving, the delicate balance of gluten-free ingredients demands accuracy to achieve the desired texture and rise. The most precise and recommended method for measuring flour is to use a kitchen scale, weighing it in grams. This eliminates inconsistencies caused by varying compaction levels in cups.
If you don’t have a kitchen scale, here’s the proper volumetric measurement method:
- **Aerate the Flour:** Before scooping, gently aerate your flour with a whisk or spoon. Flour tends to settle and become compact in its container, making it denser than intended. Aerating it—essentially fluffing it up—ensures you’re measuring a lighter, more accurate volume. This is different from sifting, so only sift if the recipe specifically instructs you to do so.
- **Spoon into Measuring Cup:** Use a spoon to carefully sprinkle the aerated flour into your dry measuring cup. Avoid directly scooping from the bag, as this compacts the flour. Do not tap the cup against the counter, as this will also compact the flour, leading to too much flour in your recipe.
- **Level Off Excess:** Once the cup is full, use the flat back of a butter knife or a straight edge to level off the excess flour, ensuring a precise, level measurement.
Following these steps will help prevent overly dense or dry gluten-free muffins, leading to a consistently perfect batch.
Looking for more gluten-free treats? Don’t miss our equally delightful gluten-free chocolate chip cookies or our wonderfully moist gluten-free banana muffins!
What Makes These GF Blueberry Muffins the Best: A Closer Look
These gluten-free blueberry muffins are more than just a recipe; they’re an experience designed to rival any traditional bakery offering. Here’s why they stand out as the absolute best:
- **Abundantly Blueberried:** We pack these muffins with a generous two cups of blueberries, ensuring every bite is bursting with juicy fruit. No skimpy berry distribution here!
- **Simple, Wholesome Ingredients:** Crafted from readily available, everyday pantry staples, this recipe proves that extraordinary gluten-free baking doesn’t require obscure or expensive ingredients.
- **Year-Round Enjoyment:** Flexibility is key! This recipe performs beautifully with either fresh, seasonal blueberries or convenient frozen berries, allowing you to indulge in these treats any time of the year. Remember, no thawing required for frozen berries!
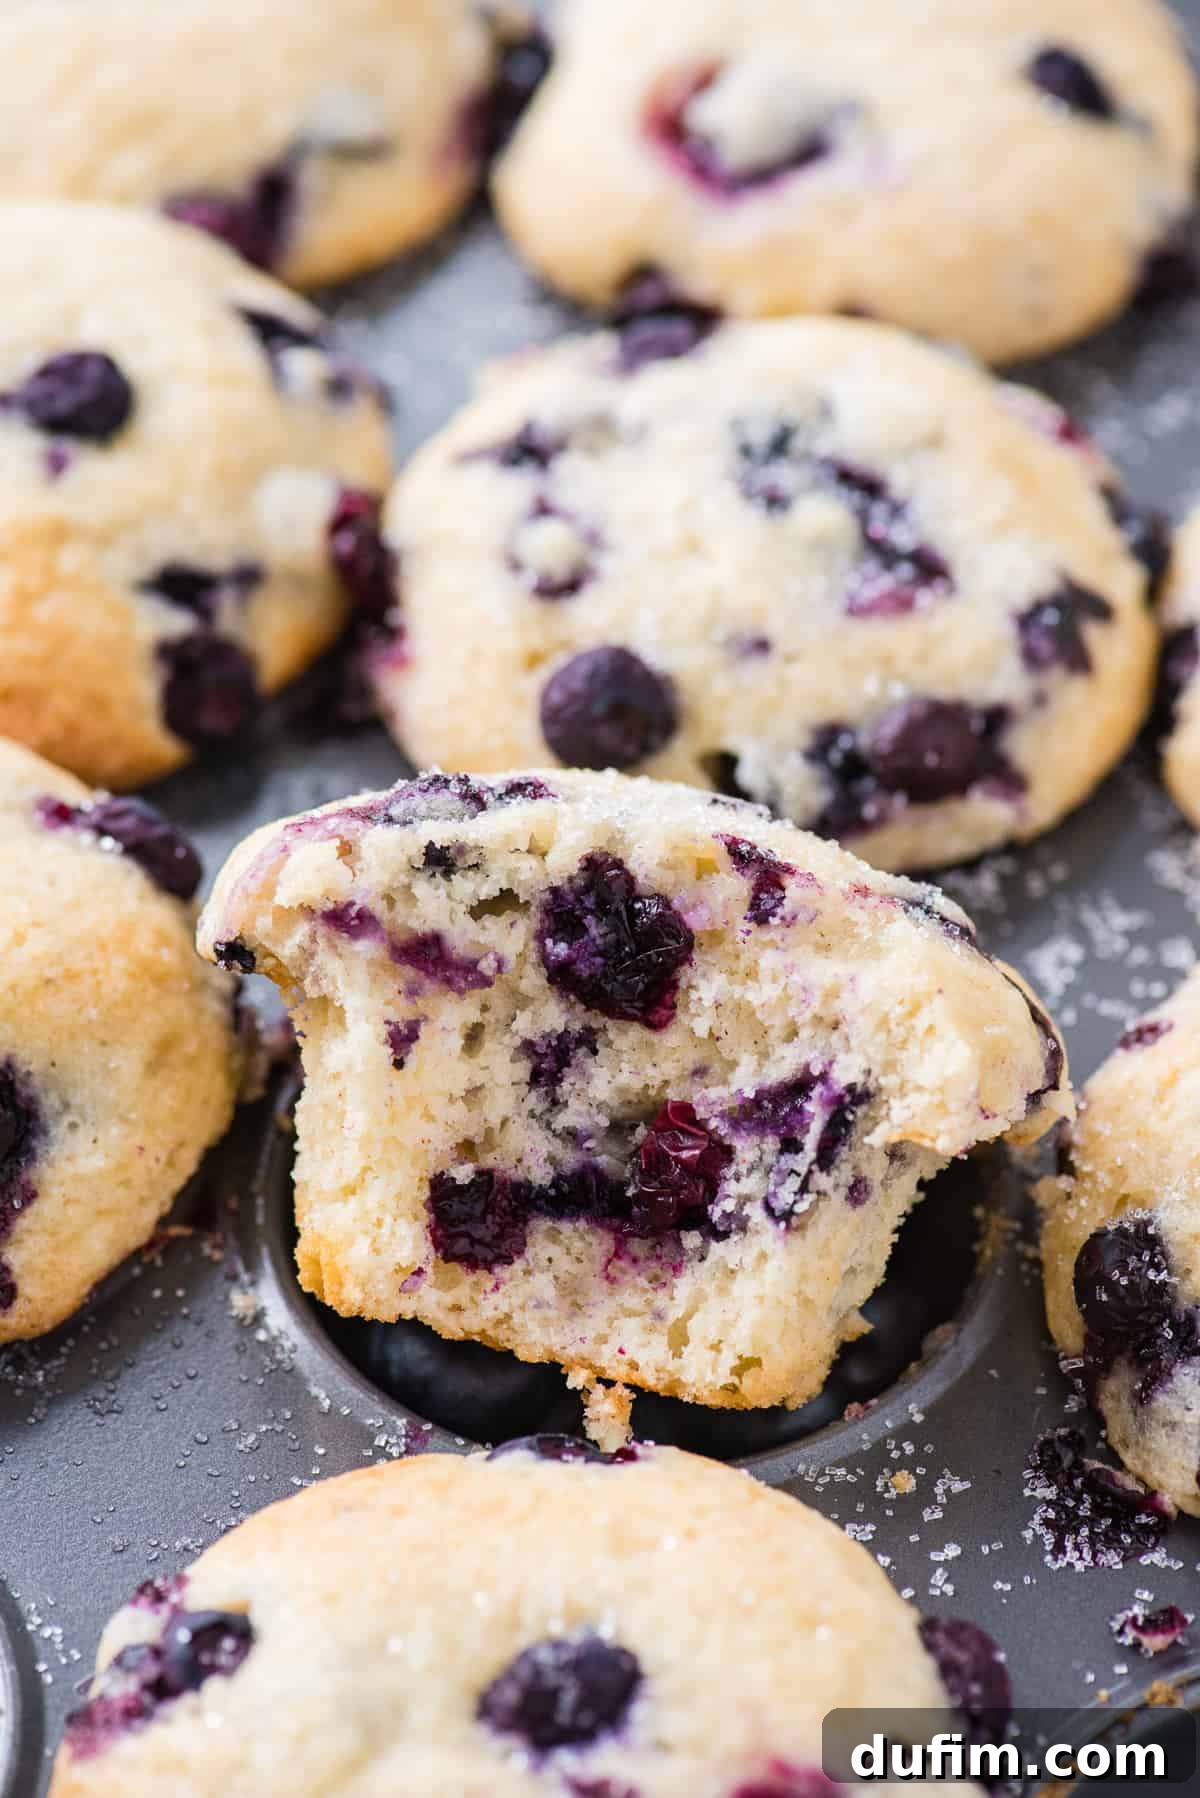
- **Unrivaled Moistness and Tender Crumb:** Say goodbye to dry, crumbly gluten-free baked goods. Our muffins boast an exceptionally moist interior and a delicate, tender crumb that melts in your mouth, challenging common perceptions of gluten-free textures.
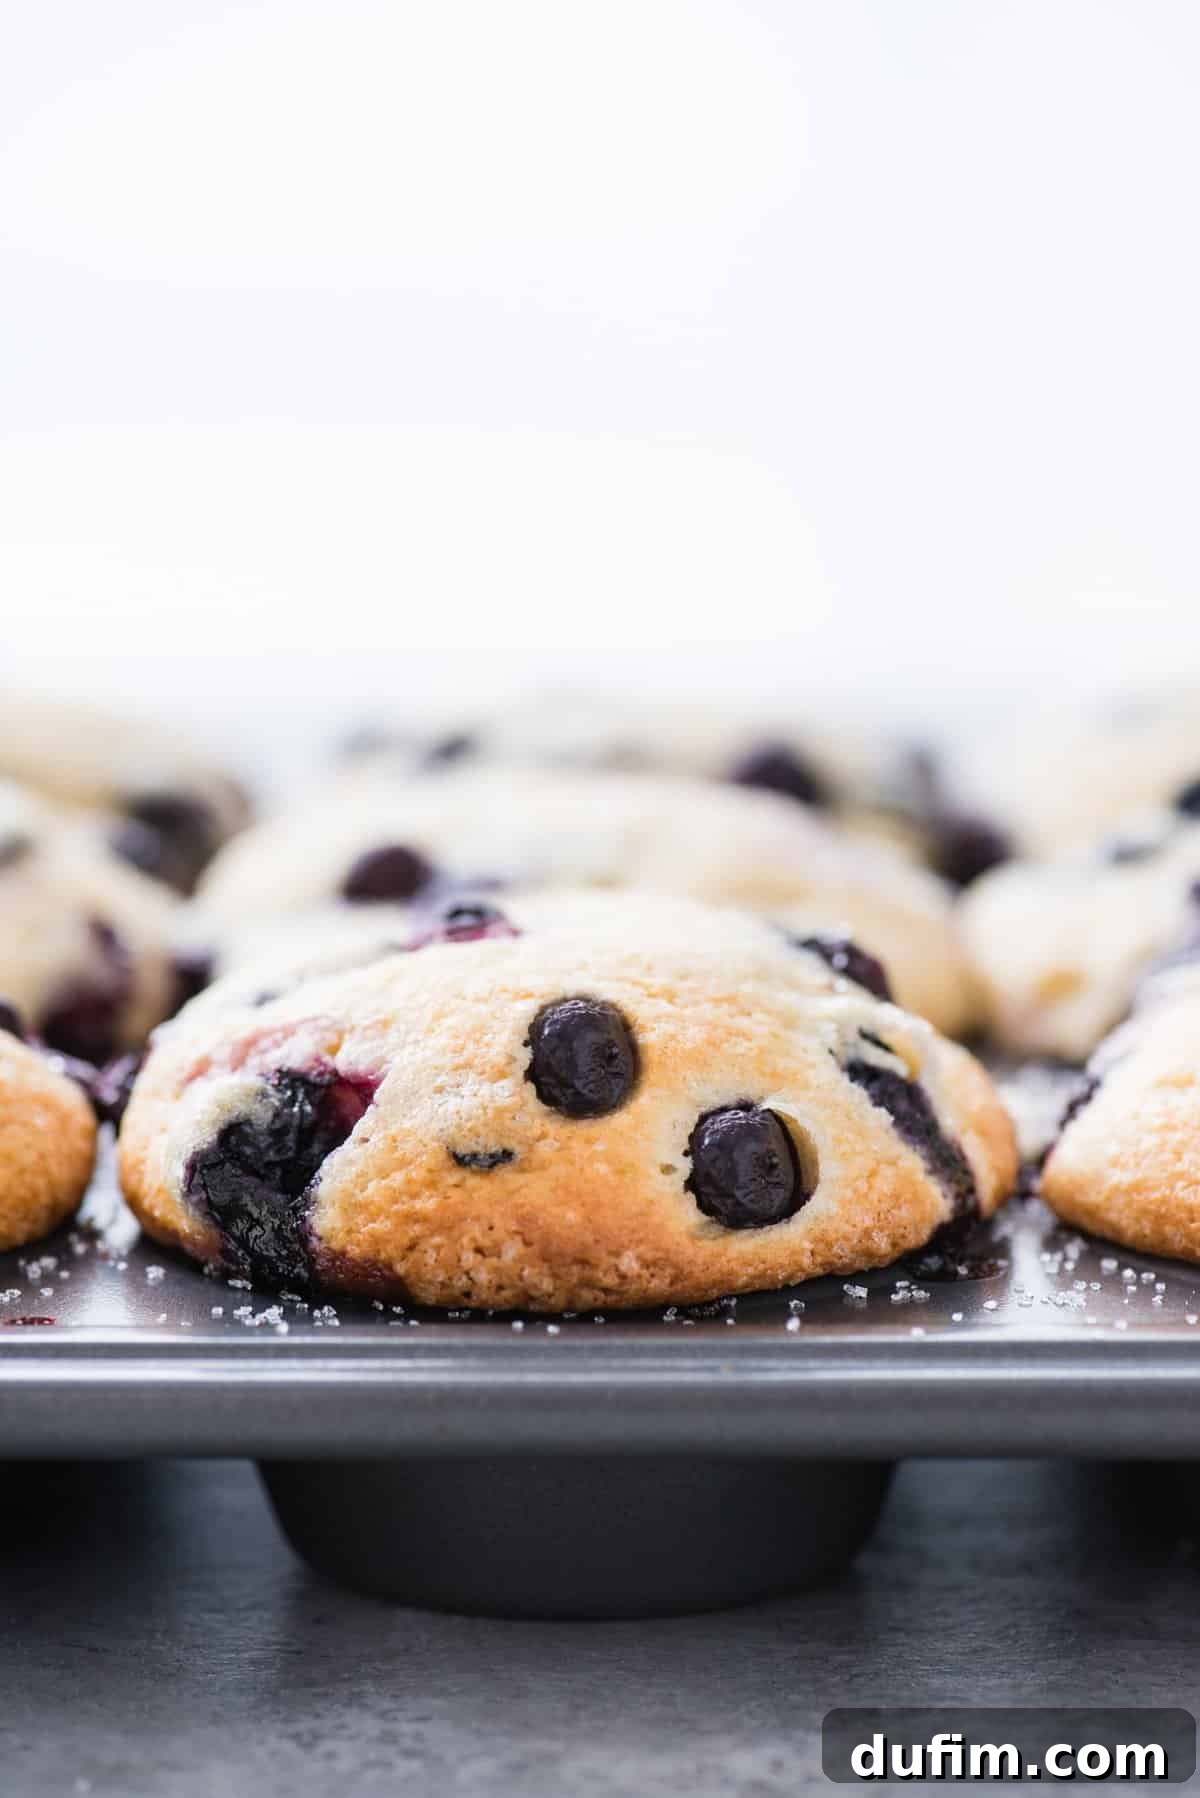
- **Spectacularly Tall, Domed Tops:** Achieving that iconic bakery-style muffin top is no longer a dream for gluten-free bakers. Our techniques guarantee impressive, sky-high domes that are visually stunning and satisfyingly textured.
Gluten Free Blueberry Muffin Ingredients: The Building Blocks of Flavor
Crafting the perfect gluten-free blueberry muffin starts with a selection of simple, yet essential ingredients, each playing a crucial role in achieving that incredible texture and flavor. Below is a list of what you’ll need. For precise measurements and detailed instructions, please refer to the comprehensive recipe card further down the page.
- Gluten-Free All-Purpose Flour: This forms the essential structure of our muffins. I highly recommend King Arthur’s Gluten Free All Purpose Flour for its consistent quality and excellent results, though any good quality GF blend will work if properly measured.
- Granulated Sugar: Provides sweetness, enhances flavor, and contributes to the muffins’ golden-brown crust and moist crumb.
- Baking Powder: The primary leavening agent that helps our muffins rise tall and creates those beautiful, domed tops. It’s crucial for the light and airy texture.
- Salt: A small but mighty ingredient that balances the sweetness and enhances all the other flavors, making them pop.
- Cinnamon / Nutmeg: Just a touch of these warm spices adds a wonderful depth and aromatic quality, complementing the sweetness of the blueberries beautifully.
- Eggs: Act as a binder, providing structure and richness to the batter, preventing the muffins from crumbling and giving them a tender chew.
- Buttermilk: A secret ingredient for moisture, tenderness, and a subtle tang that elevates the overall flavor. Its acidity also reacts with the baking powder, boosting the rise.
- Vegetable Oil: Contributes significantly to the muffins’ moistness and tenderness without adding a strong flavor, ensuring a soft, rich crumb.
- Vanilla Extract: A splash of pure vanilla extract rounds out the flavors, adding a comforting and aromatic essence that makes these muffins truly irresistible.
- Blueberries: The undisputed star of the show! We use a generous amount (2 cups for the batter, plus more for topping) to ensure a burst of fruity goodness in every single bite.
Can I use frozen blueberries in muffins? Absolutely!
Yes, absolutely! You can effortlessly make these incredible blueberry muffins using frozen blueberries. The key is to use the exact same quantity as fresh berries and, crucially, to add them to the batter while they are still frozen. There’s no need to thaw frozen blueberries; adding them frozen helps prevent them from bleeding their color into the batter and keeps them suspended throughout the muffins, ensuring a beautiful appearance and even distribution of fruit.
How to Make GF Blueberry Muffins: A Detailed Guide
Baking these gluten-free blueberry muffins is a straightforward process, but following these detailed steps carefully will ensure you achieve those coveted bakery-style results. Remember, attention to detail in baking, especially gluten-free, makes all the difference!
- **Prepare Dry Ingredients:** In a medium mixing bowl, combine your gluten-free all-purpose flour, granulated sugar, baking powder, salt, and your chosen spice (nutmeg or cinnamon). Whisk these dry ingredients together thoroughly with a spoon to ensure they are well combined and evenly distributed. Set this bowl aside.
- **Combine Wet Ingredients:** In a separate, larger mixing bowl, whisk together the eggs, buttermilk, vegetable oil, and vanilla extract until they are fully incorporated. You can use a spatula for this or an electric mixer on low speed for about 30 seconds to ensure everything is smoothly blended.
- **Gently Mix and Fold Blueberries:** Gradually add the dry ingredient mixture to the wet ingredients. Mix just until they are combined. Overmixing gluten-free batter can still lead to tough muffins, so stop as soon as no streaks of dry flour remain. Then, using a spatula, gently fold in the two cups of blueberries. If using frozen blueberries, remember to add them directly from the freezer; do not thaw them. The batter will be notably thick, which is exactly what we want to prevent the blueberries from sinking.
- **Allow Batter to Rest & Preheat Oven:** Cover your bowl of batter with a clean towel and let it rest for a minimum of 15 minutes at room temperature. This crucial resting period allows the gluten-free flour to fully hydrate, leading to a thicker batter and ultimately, taller, more tender muffins. During this rest, preheat your oven to a high temperature of 425ºF (220ºC).
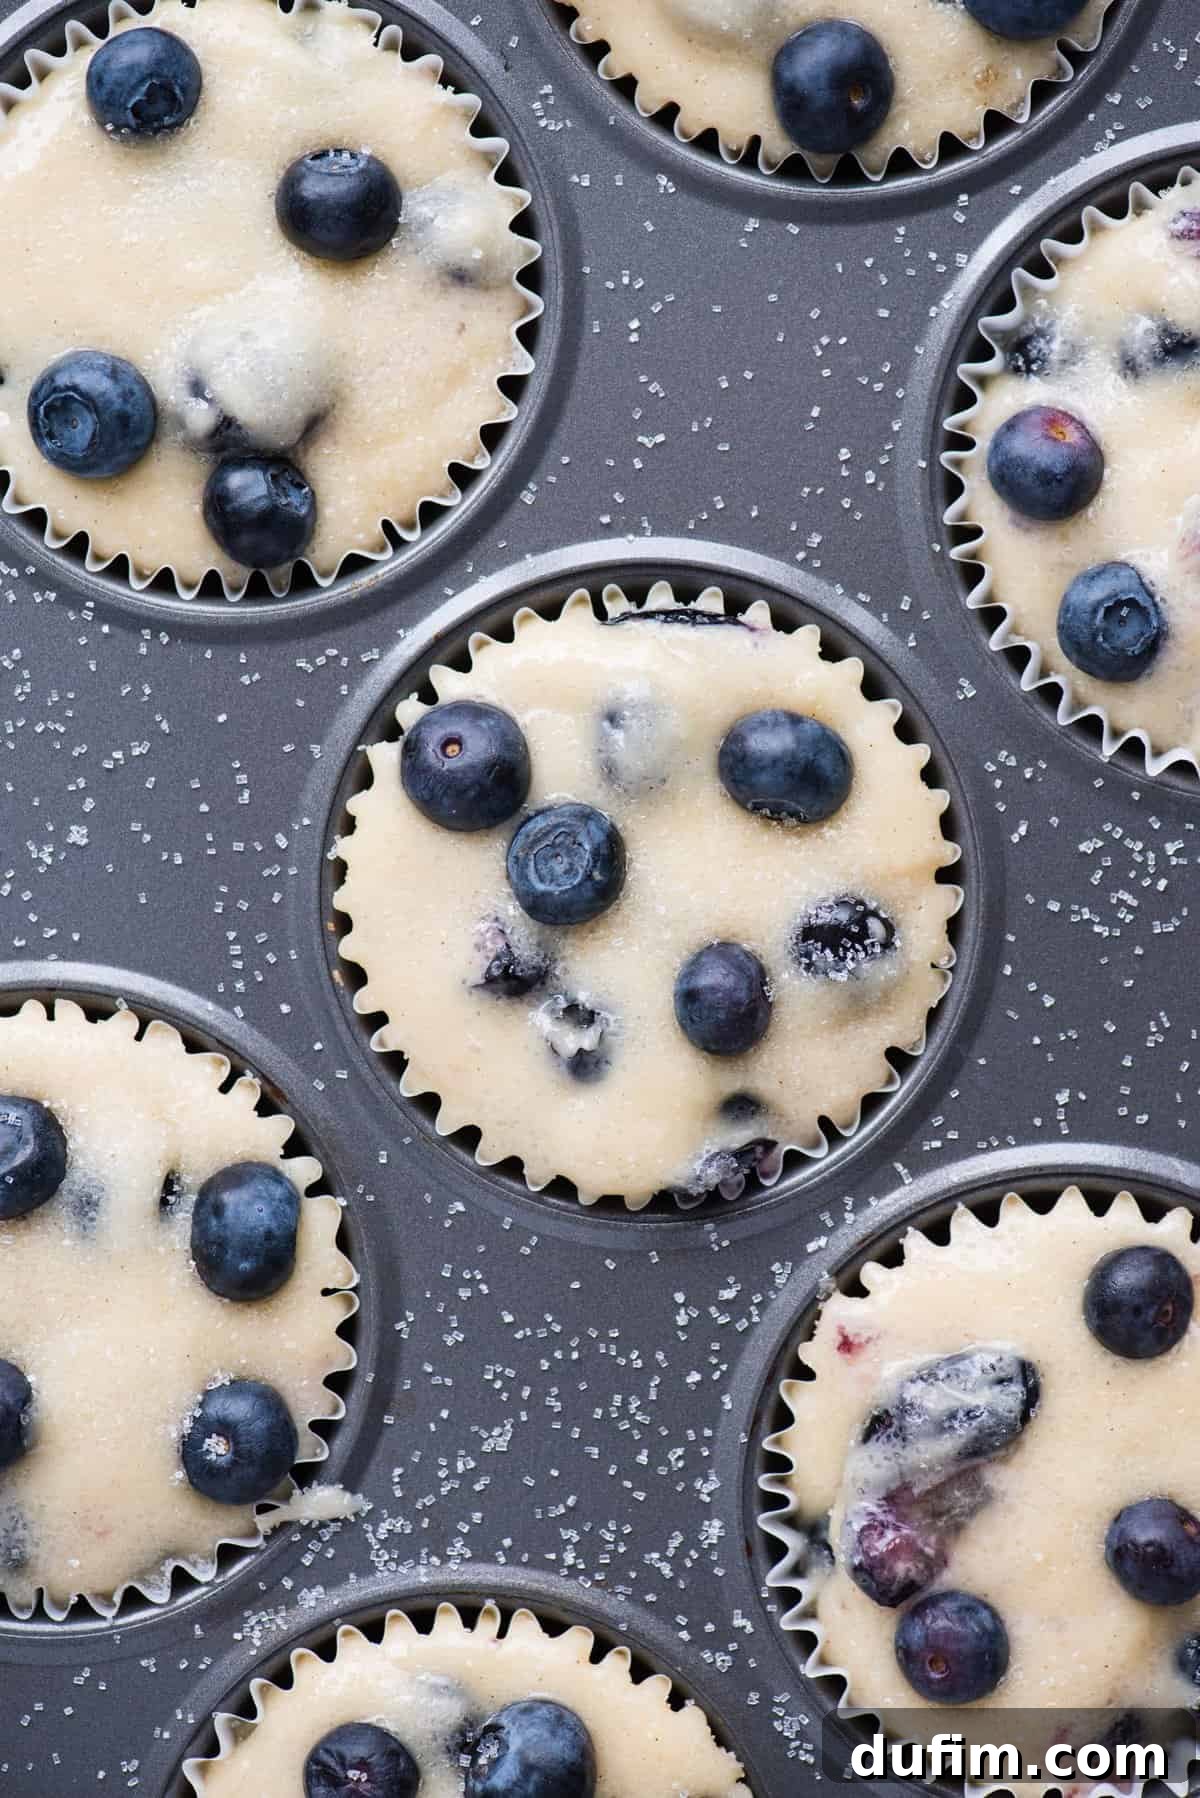
- **Prepare Muffin Pan for Bakery-Style Tops:** For those impressive bakery-style muffin tops, prepare a standard 12-count muffin pan by lining only every other muffin well with paper liners. This means you’ll only fill 6 wells in a 12-cup pan. This strategic spacing gives the muffins ample room to spread outwards and rise upwards without crowding each other, contributing significantly to their domed shape and even browning.
- **Fill Liners Generously:** Now, this is a key step often overlooked: fill each prepared muffin liner completely to the very top with the thick batter. Yes, you read that right – all the way to the top! Don’t be afraid; the thick batter will hold its shape and contribute to the magnificent rise. Use a butter knife or small offset spatula to smooth the tops if they appear lumpy.
- **Add Toppings (Optional but Recommended):** For an extra flourish and beautiful presentation, press the additional 1/2 cup of blueberries onto the top of each filled muffin cup. Then, sprinkle generously with sanding sugar. This not only adds a lovely sparkle and crunch but also enhances the overall flavor and aesthetic appeal, mimicking true bakery masterpieces.
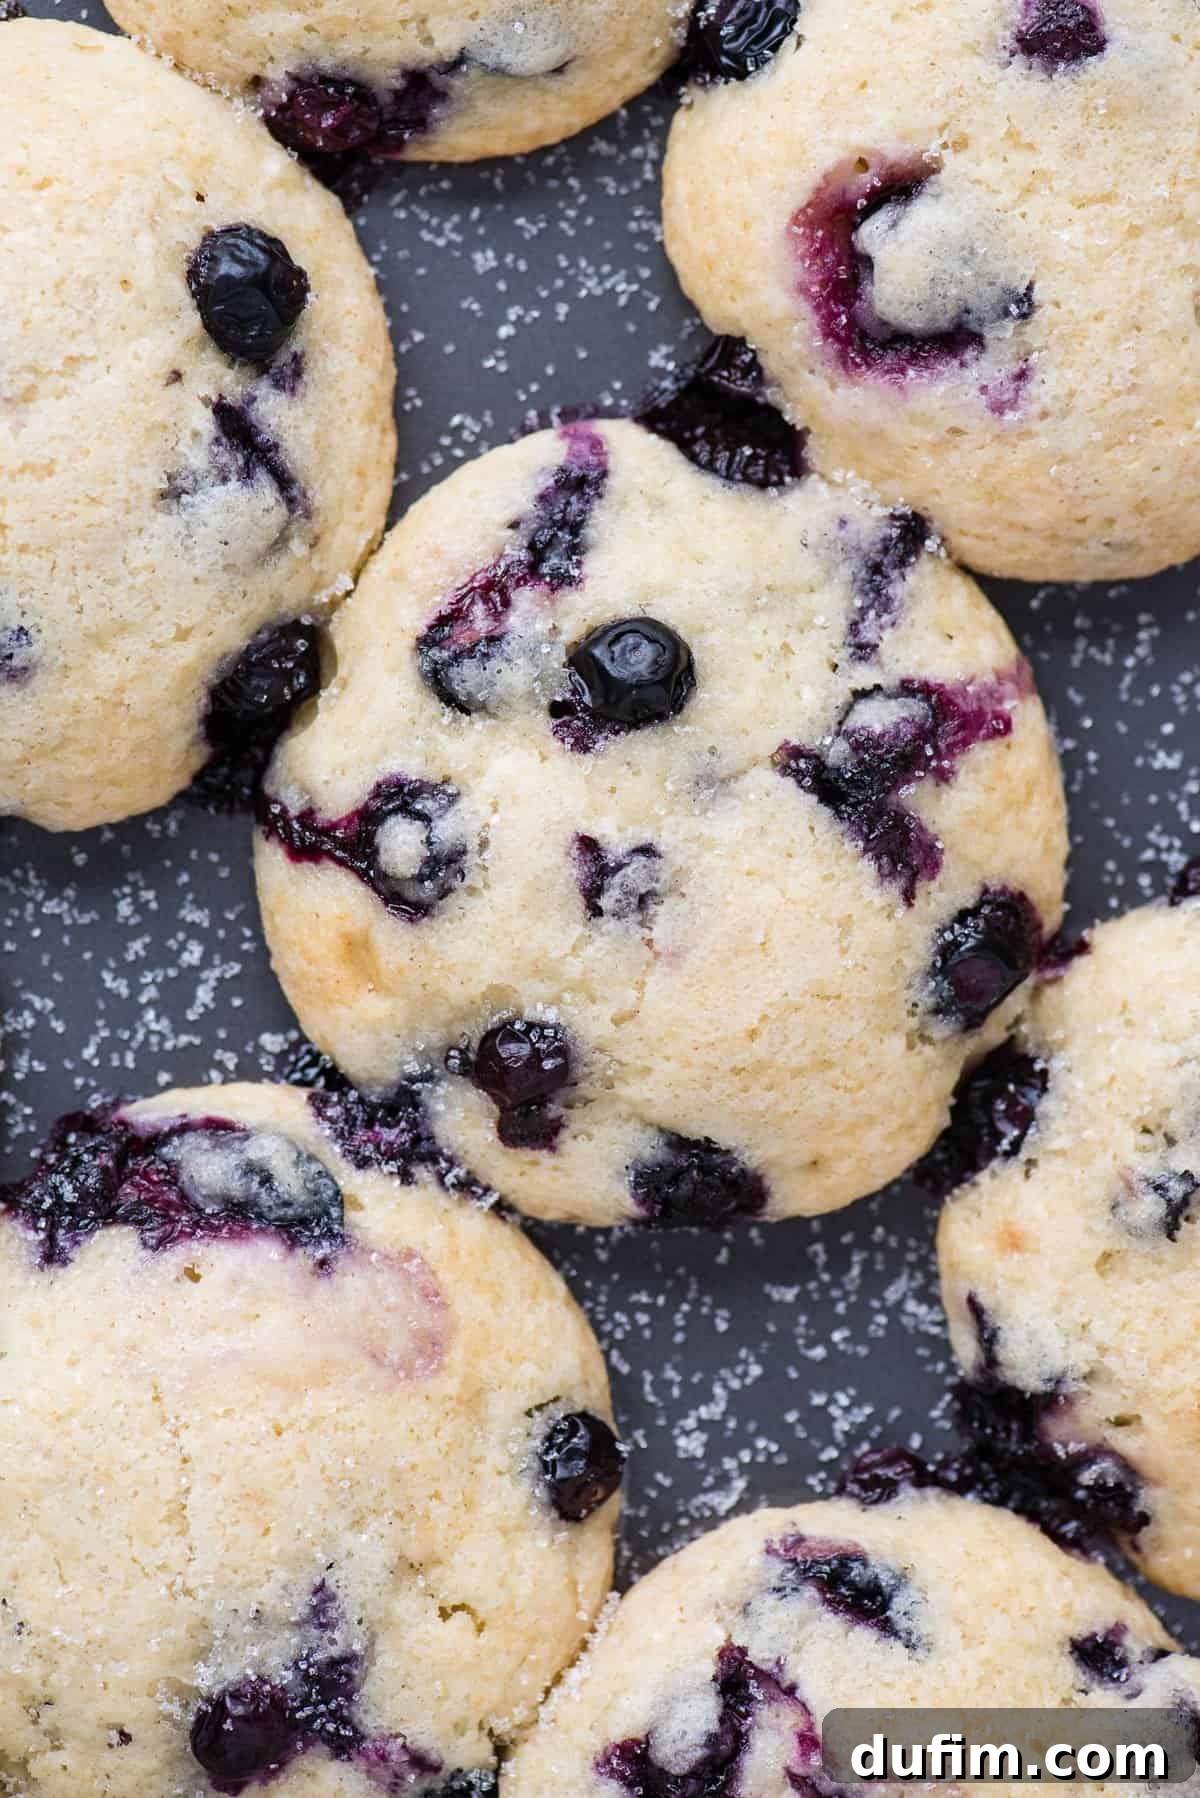
- **Bake with Temperature Adjustment:** Place the muffin pan in the center of your preheated oven. Bake for an initial 7 minutes at the high temperature of 425ºF (220ºC). Without opening the oven door, reduce the oven temperature to 350ºF (175ºC) and continue baking for another 22-25 minutes, or until a wooden skewer or toothpick inserted into the center of a muffin comes out clean. The initial high heat creates a strong burst of steam, causing the muffins to rise rapidly and set their domed tops.
- **Cool and Repeat:** Allow the muffins to cool in the pan for a few minutes before transferring them to a wire rack to cool completely. If you have remaining batter, remember to bump the oven temperature back up to 425ºF (220ºC) before baking the next batch, repeating steps 7 and 8.
Total Time Required for Your Muffin Masterpiece
From start to delicious finish, here’s a breakdown of the time you’ll invest in these gluten-free blueberry muffins:
- **Prep the Batter:** Approximately 5-10 minutes of active mixing.
- **Batter Rest:** A crucial 15-minute resting period to develop those domed tops.
- **Initial High-Heat Bake:** 7 minutes at 425ºF (220ºC).
- **Main Bake:** 22-25 minutes at 350ºF (175ºC).
- **Cooling Time:** Allow 20-30 minutes for muffins to cool in the pan and then on a wire rack before enjoying for best texture.
Gluten-Free Blueberry Muffin Recipe Pro Tips for Success
Achieving gluten-free muffin perfection is easier than you think with these expert tips:
- **Measure Flour Accurately:** Always use the spoon and level method, or even better, a kitchen scale. This prevents a common pitfall of dense GF baked goods.
- **Baking Powder is Key:** Stick to baking powder as specified; do not substitute with baking soda, as they react differently and will affect the rise and texture.
- **Buttermilk for Best Results:** For ultimate moistness and flavor, use buttermilk. This recipe is specifically developed with buttermilk, and substitutions with whole milk, skim milk, or non-dairy alternatives have not been tested and may alter the results.
- **Don’t Skip the Batter Rest:** Allowing the batter to rest for 15 minutes is a game-changer. It gives the flour time to hydrate, leading to a thicker batter and significantly contributing to those tall, domed tops.
- **Garnish for Bakery Appeal:** Top your gluten-free muffins with extra blueberries and a sprinkle of coarse sanding sugar before baking. This creates a beautiful, professional, bakery-style finish and adds a delightful texture.
- **Initial High-Temperature Bake:** The initial blast of high heat (425ºF) is essential. It causes the muffins to rise rapidly and sets their outer crust, locking in moisture and ensuring a beautifully domed top.
- **Thick Batter Prevents Sinking:** Because this muffin batter is designed to be quite thick, your blueberries will stay perfectly suspended throughout the muffins and won’t sink to the bottom. Therefore, there’s no need to toss the blueberries in flour beforehand, saving you an extra step!
- **Avoid Overmixing:** Mix the wet and dry ingredients just until combined. Overmixing can develop the starches in gluten-free flour too much, leading to a tougher muffin.
- **Room Temperature Ingredients:** Ensure eggs and buttermilk are at room temperature. This helps them emulsify better with the other ingredients, creating a smoother batter and a more even bake.
How to Create Bakery-Style Muffins: The Four Secrets Revealed
Bakery muffins are renowned for their impressive, sky-high domed tops and perfectly tender interiors. Achieving this signature look and texture with gluten-free ingredients might seem challenging, but with these four meticulously tested techniques, you’ll be baking show-stopping muffins every time. These strategies work synergistically to “lift” your gluten-free blueberry muffins to new heights, making them indistinguishable from their gluten-containing counterparts.
1. THE CRUCIAL REST PERIOD
Do not skip this step! After you’ve mixed your batter, cover the bowl and let it rest for at least 15 minutes before scooping it into the muffin pan. During this vital resting period, the starch molecules within the gluten-free flour are given time to fully absorb the liquid in the batter. This absorption causes the starches to swell, resulting in a significantly thicker and more viscous batter. A thicker batter provides more structure to trap the leavening gases, which in turn helps the muffins rise dramatically and maintain their domed shape during baking, as eloquently explained by resources like The Kitchen Whisperer.
2. BAKE AT HIGH TEMPERATURE INITIALLY
To kickstart an impressive rise, bake your muffins at a high temperature (425ºF or 220ºC) for the first 7 minutes, then lower the oven temperature to 350ºF (175ºC) for the remainder of the baking time. This initial blast of intense heat creates an immediate and rapid expansion of gases within the batter. This rapid rise quickly sets the outer surface of the muffin, effectively “locking in” the domed shape before the interior has a chance to fully bake and settle. This method is a cornerstone for achieving those tall, dramatic peaks.
3. FILL THEM TO THE TOP: DEFY CONVENTION
Forget everything you’ve heard about filling muffin liners only two-thirds full! For true bakery-style height, you must fill your muffin liners completely to the very top with batter. While this might seem counter-intuitive, especially with a thick gluten-free batter, this generous filling provides the necessary volume and mass for the muffins to expand significantly upwards. Coupled with the thick batter and initial high heat, this step is essential in helping your muffins gain that impressive height and substantial presence.
4. FILL EVERY OTHER MUFFIN CUP: THE SPACING SECRET
This particular tip has been an absolute game-changer for countless bakers seeking that perfect bakery dome. When preparing a standard 12-count muffin pan, only line and fill every other muffin well. This means you will fill a total of 6 muffin cups in a 12-cup pan, leaving empty wells between each filled cup. This strategic spacing is incredibly effective because it provides ample room for each muffin to spread outwards and dome without the interference or competition of neighboring muffins. Furthermore, the empty wells allow for better air circulation around each muffin, encouraging a more even bake and the development of a beautiful, golden-brown, crispy muffin top.
More Blueberry Recipes to Savor
If you love blueberries as much as we do, you’ll want to explore these other fantastic recipes:
- Blueberry Crisp: A warm, comforting dessert perfect with a scoop of ice cream.
- Blueberry Scones: Fluffy and tender, ideal for breakfast or tea time.
- Lemon Blueberry Dump Cake: An incredibly easy and flavorful dessert that practically makes itself.
Frequently Asked Questions (FAQ) About Gluten-Free Blueberry Muffins
Here are answers to some common questions you might have about baking these delicious gluten-free blueberry muffins:
Q: Can I make these muffins dairy-free?
A: While this recipe calls for buttermilk, which is dairy, you can often achieve a similar result by making a dairy-free “buttermilk” substitute. To do this, combine ¾ cup of your preferred unsweetened dairy-free milk (such as almond or soy milk) with 1 tablespoon of lemon juice or apple cider vinegar. Let it sit for 5-10 minutes until it curdles slightly before adding it to your wet ingredients. Ensure all other ingredients, like certain gluten-free flour blends, are also dairy-free if this is a strict requirement.
Q: How do I store these gluten-free blueberry muffins?
A: To keep your muffins fresh and moist, store them in an airtight container at room temperature for up to 3-4 days. For longer storage, you can freeze them! Once completely cooled, place muffins in a freezer-safe bag or container and freeze for up to 3 months. Thaw at room temperature or gently warm in the microwave for a quick treat.
Q: My muffins turned out dense. What went wrong?
A: The most common culprits for dense gluten-free muffins are overmixing the batter or inaccurate flour measurement. Ensure you mix the wet and dry ingredients only until just combined, stopping as soon as no dry streaks remain. Also, precisely measure your gluten-free flour using a kitchen scale or the spoon and level method to avoid adding too much flour, which can lead to a heavy texture.
Q: Can I add a streusel topping?
A: Absolutely! A streusel topping would be a fantastic addition. Before baking, sprinkle your favorite streusel mixture over the batter-filled muffin cups. A simple streusel can be made by combining 1/2 cup gluten-free flour, 1/4 cup granulated sugar, 1/4 cup cold butter (cut into small pieces), and a pinch of cinnamon, then crumbling it together.
Q: What if I don’t have buttermilk?
A: If you don’t have buttermilk, you can easily make a substitute. For ¾ cup buttermilk, measure ¾ cup of regular milk (dairy or non-dairy, see above) and stir in 1 tablespoon of white vinegar or lemon juice. Let it sit for 5-10 minutes until it slightly curdles. While this works well, using actual buttermilk often yields the best flavor and texture in this recipe.
Tap stars to rate!
Gluten Free Blueberry Muffin Recipe
Equipment
- Bakery Style Muffins Cookbook (optional)
- Muffin Pan
- KitchenAid 9-Speed Mixer (or hand mixer)
- Glass Mixing Bowl (large)
- Sanding Sugar (optional, for topping)
- Kitchen Scale (highly recommended for accurate flour measurement)
Ingredients
- 3 cups (360g) gluten-free all-purpose flour (I recommend King Arthur’s Gluten Free All Purpose Flour)
- 1 ½ cups (297g) granulated sugar
- 3 tsp baking powder
- ½ tsp salt
- ¼ tsp nutmeg or cinnamon
- 2 large eggs
- ¾ cup (177ml) buttermilk
- ½ cup (118ml) vegetable oil
- 2 tsp vanilla extract
- 2 cups (340g) fresh or frozen blueberries (do not thaw frozen blueberries)
To top the muffins (optional):
- ½ cup (85g) blueberries
- sanding sugar
Instructions
- In a mixing bowl, combine the gluten-free all-purpose flour, granulated sugar, baking powder, salt, and nutmeg or cinnamon. Stir with a spoon to combine thoroughly and set aside.
- In a larger mixing bowl, combine the eggs, buttermilk, vegetable oil, and vanilla extract. Stir to combine with a spatula or beat with an electric mixer on low for 30 seconds until well blended.
- Gradually mix the dry ingredients into the wet ingredients, mixing just until combined. Avoid overmixing. Using a spatula, gently fold in the 2 cups of blueberries. If using frozen blueberries, ensure they are added directly from frozen; do not thaw them. The batter will be very thick!
- Cover the bowl with a towel and allow the batter to rest for 15 minutes. During this time, preheat your oven to 425ºF (220ºC).
- For bakery-style muffin tops, line a 12-count muffin pan with only 6 muffin liners, filling every other muffin well. This spacing allows the muffins to spread and dome without running into each other. Fill the lined wells to the very top with batter. Yes – to the top! You might be surprised at how much batter fits. Use a butter knife to smooth the tops of the muffins if lumpy.
- Press the additional ½ cup of blueberries onto the top of the muffins and sprinkle with sanding sugar. This step is optional but highly recommended for visual appeal and added texture.
- Place one pan in the center of the oven and bake for 7 minutes at 425ºF (220ºC). Without removing the muffins, turn the oven temperature down to 350ºF (175ºC) and continue baking for another 22-25 minutes, or until a toothpick inserted into the center comes out clean. Allow the muffins to cool in the pan for a few minutes before transferring to a wire rack. Repeat with any remaining batter, remembering to increase the oven temperature back to 425ºF (220ºC) for the initial 7 minutes.
Video Tutorial
A detailed video tutorial demonstrating each step of this gluten-free blueberry muffin recipe is coming soon to help guide you to bakery-style perfection!
Notes
Refer to the “Gluten-Free Blueberry Muffin Recipe Pro Tips” and “How to Create Bakery-Style Muffins” sections above for detailed information about the importance of the batter rest period and the initial high-temperature bake. These are critical steps for achieving the best results!
Nutrition Information
Carbohydrates: 52g |
Protein: 5g |
Fat: 11g |
Saturated Fat: 2g |
Polyunsaturated Fat: 6g |
Monounsaturated Fat: 3g |
Trans Fat: 1g |
Cholesterol: 29mg |
Sodium: 230mg |
Potassium: 56mg |
Fiber: 4g |
Sugar: 30g |
Vitamin A: 81IU |
Vitamin C: 3mg |
Calcium: 102mg |
Iron: 1mg
Nutrition Disclosure
All nutritional values are approximate and provided to the reader as a courtesy. Changing ingredients and/or quantities will alter the estimated nutritional calculations.
Like this recipe? We’d love to hear from you!
Share your thoughts and experiences in the comments section below.