
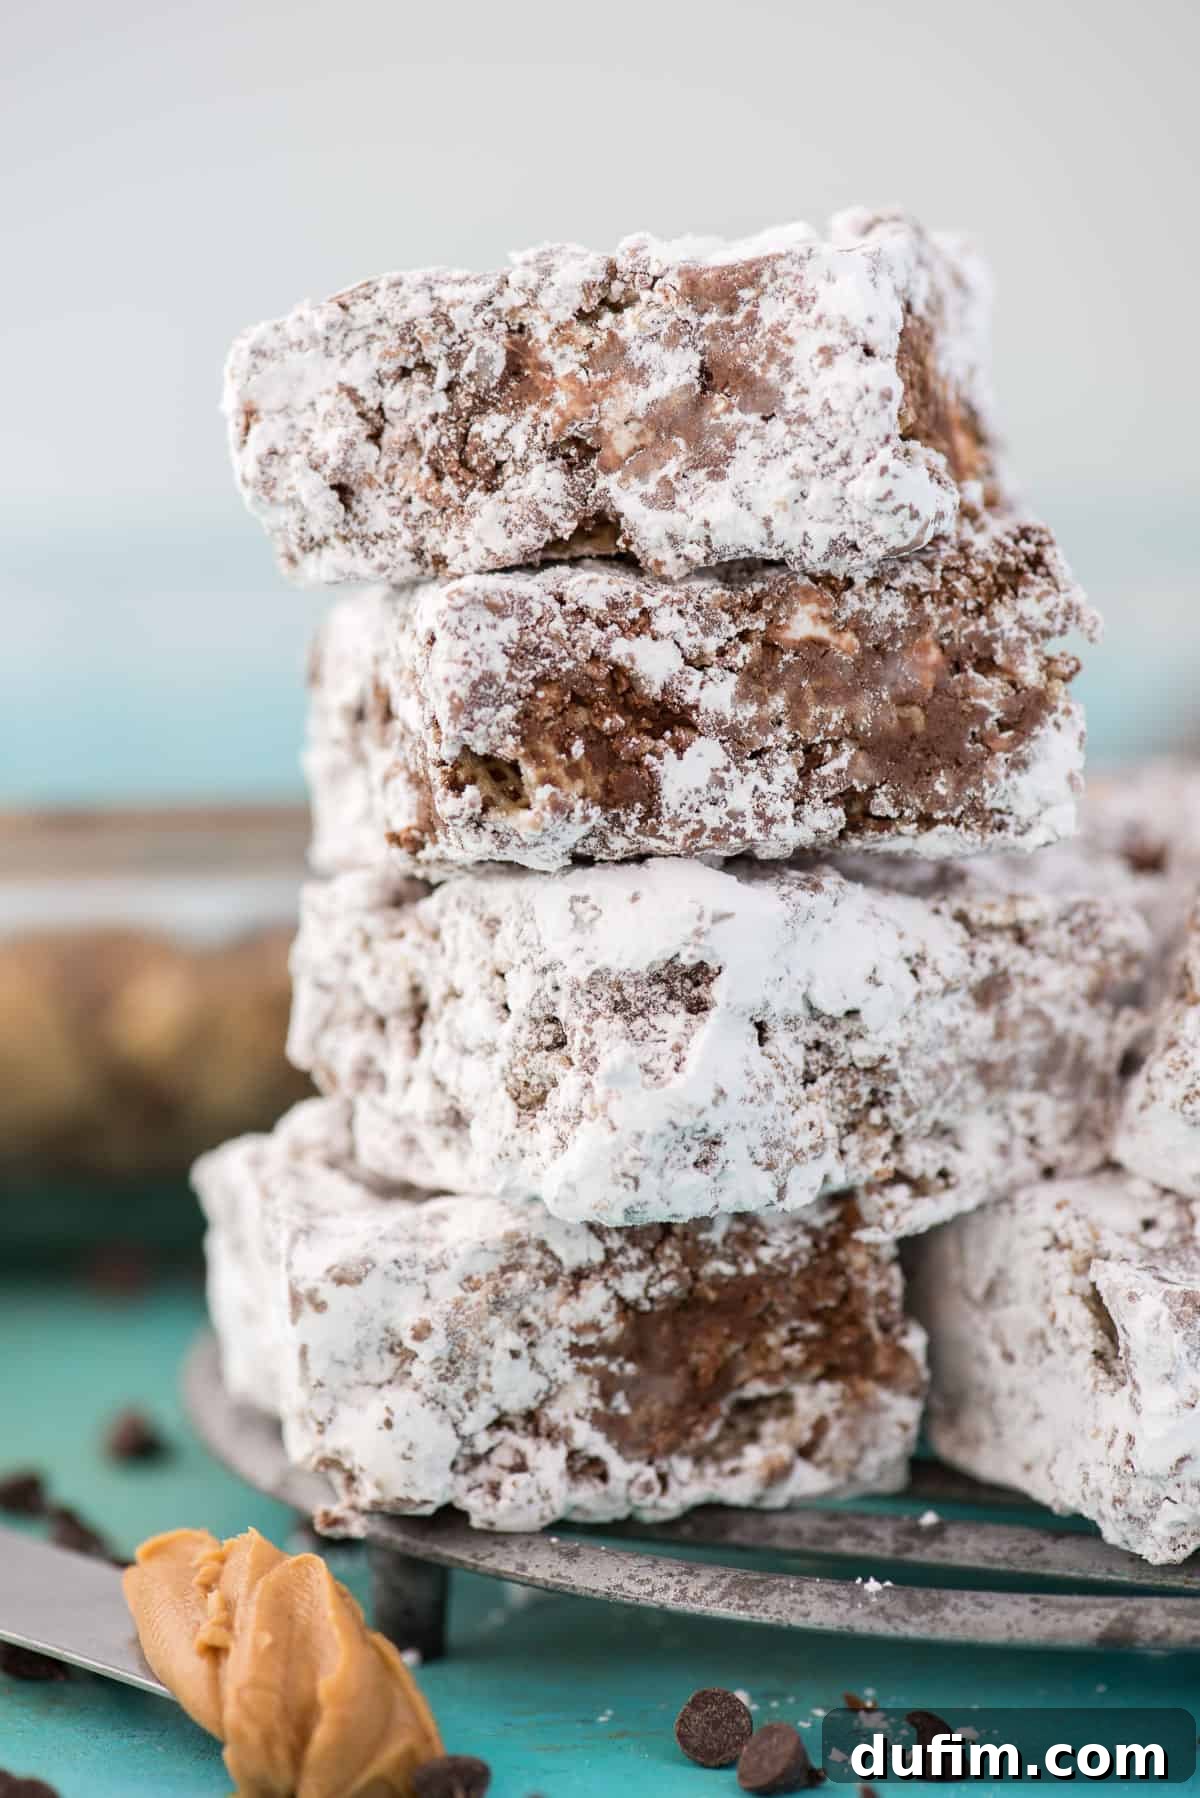
Prepare to meet your new favorite dessert! These incredible Puppy Chow Bars take everyone’s beloved party snack, often known as muddy buddies, and transform it into an even more irresistible no-bake treat. By adding the magic of melted marshmallows, we’ve created a delightful hybrid that combines the rich chocolate and peanut butter coating of classic puppy chow with the satisfying chewiness reminiscent of Rice Krispie treats. The result? A perfectly portable, deliciously messy-free bar that’s sure to become a staple in your recipe collection.
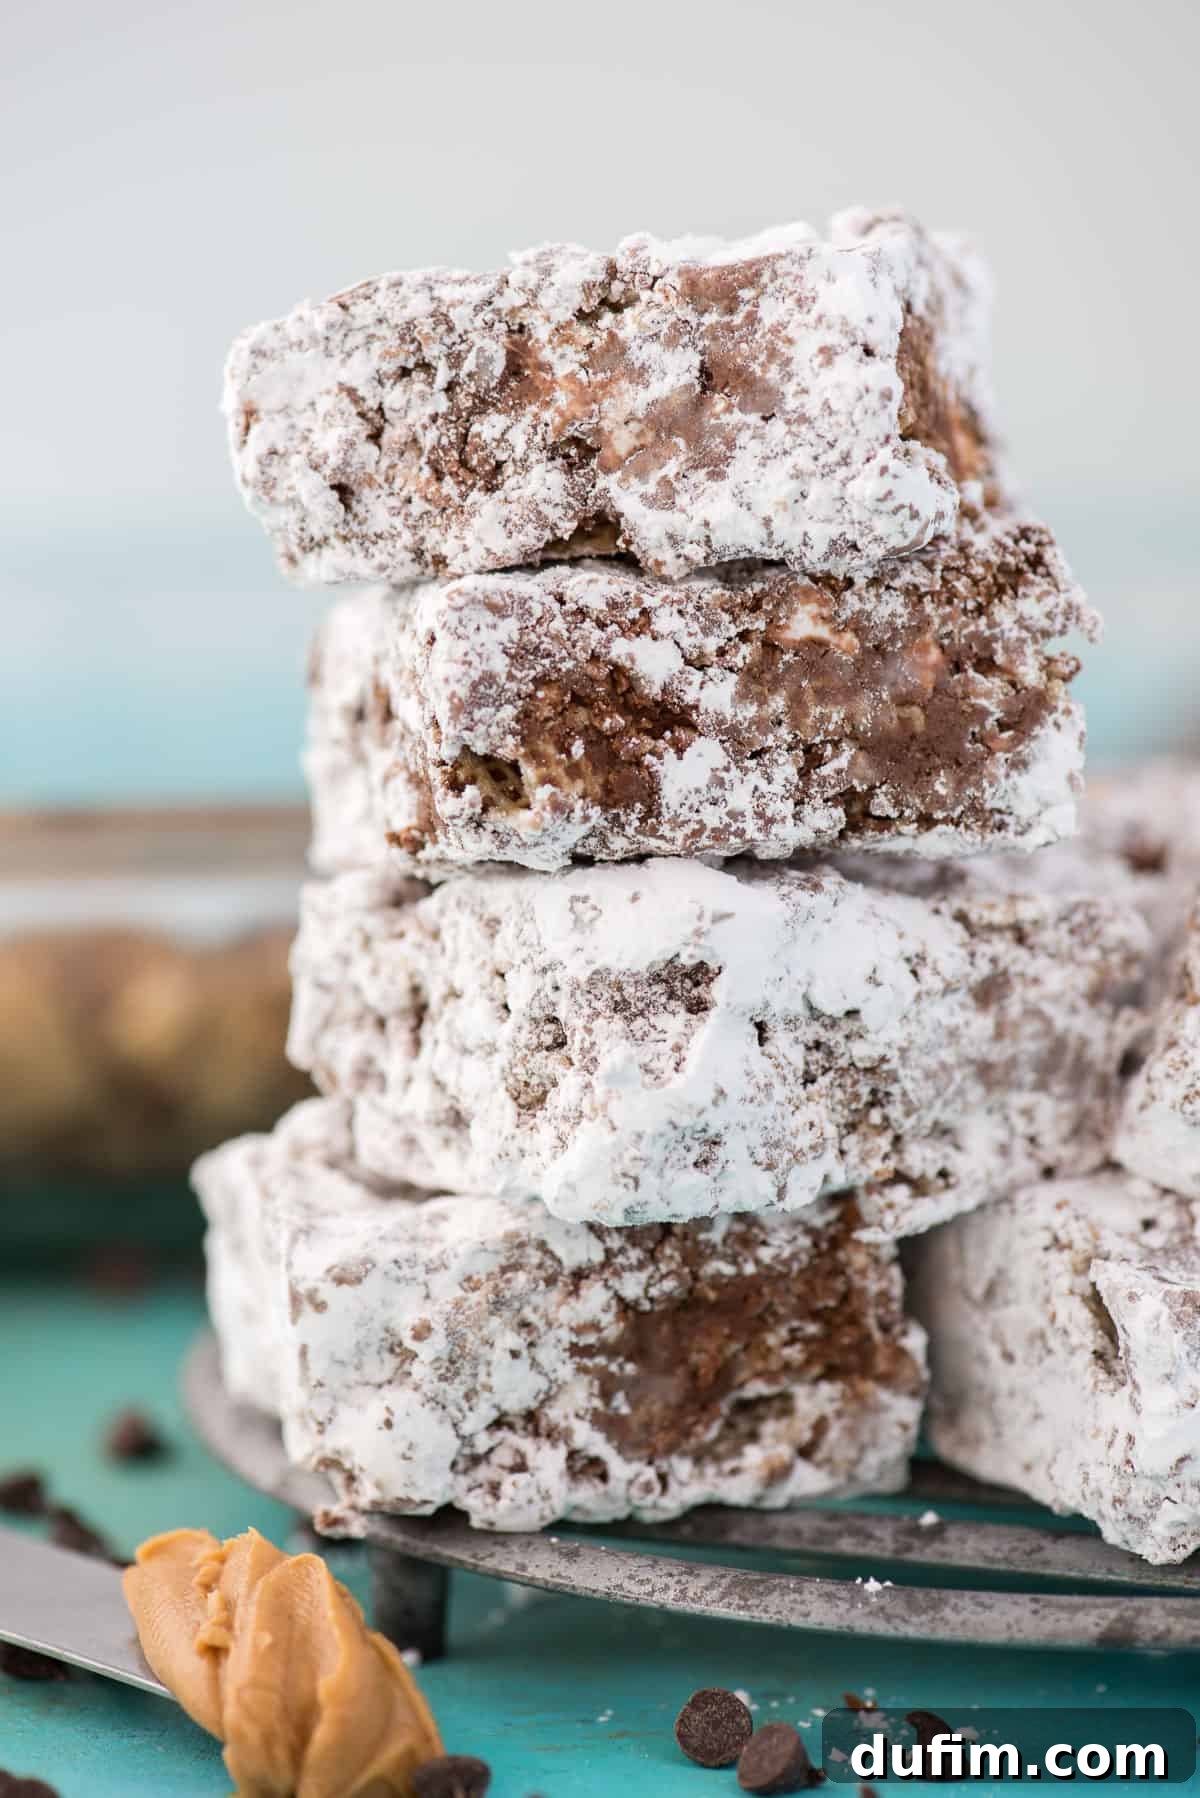
This dessert is such a crowd pleaser!! I made it for a potluck at work and everyone loved them. I got compliments on it all day long.
-Hallie
Ah, the age-old question that sparks friendly debates in households everywhere: is it “Puppy Chow” or “Muddy Buddies”? If you’re new to this delightful confection, you might be wondering about the fuss. This beloved dessert, regardless of its moniker, features crisp Chex cereal generously coated in a decadent mixture of melted chocolate and creamy peanut butter. Once coated, it’s shaken with a generous dusting of powdered sugar until every piece is perfectly enveloped in sweet, powdery goodness. It’s a simple, yet utterly delicious and highly addictive snack.
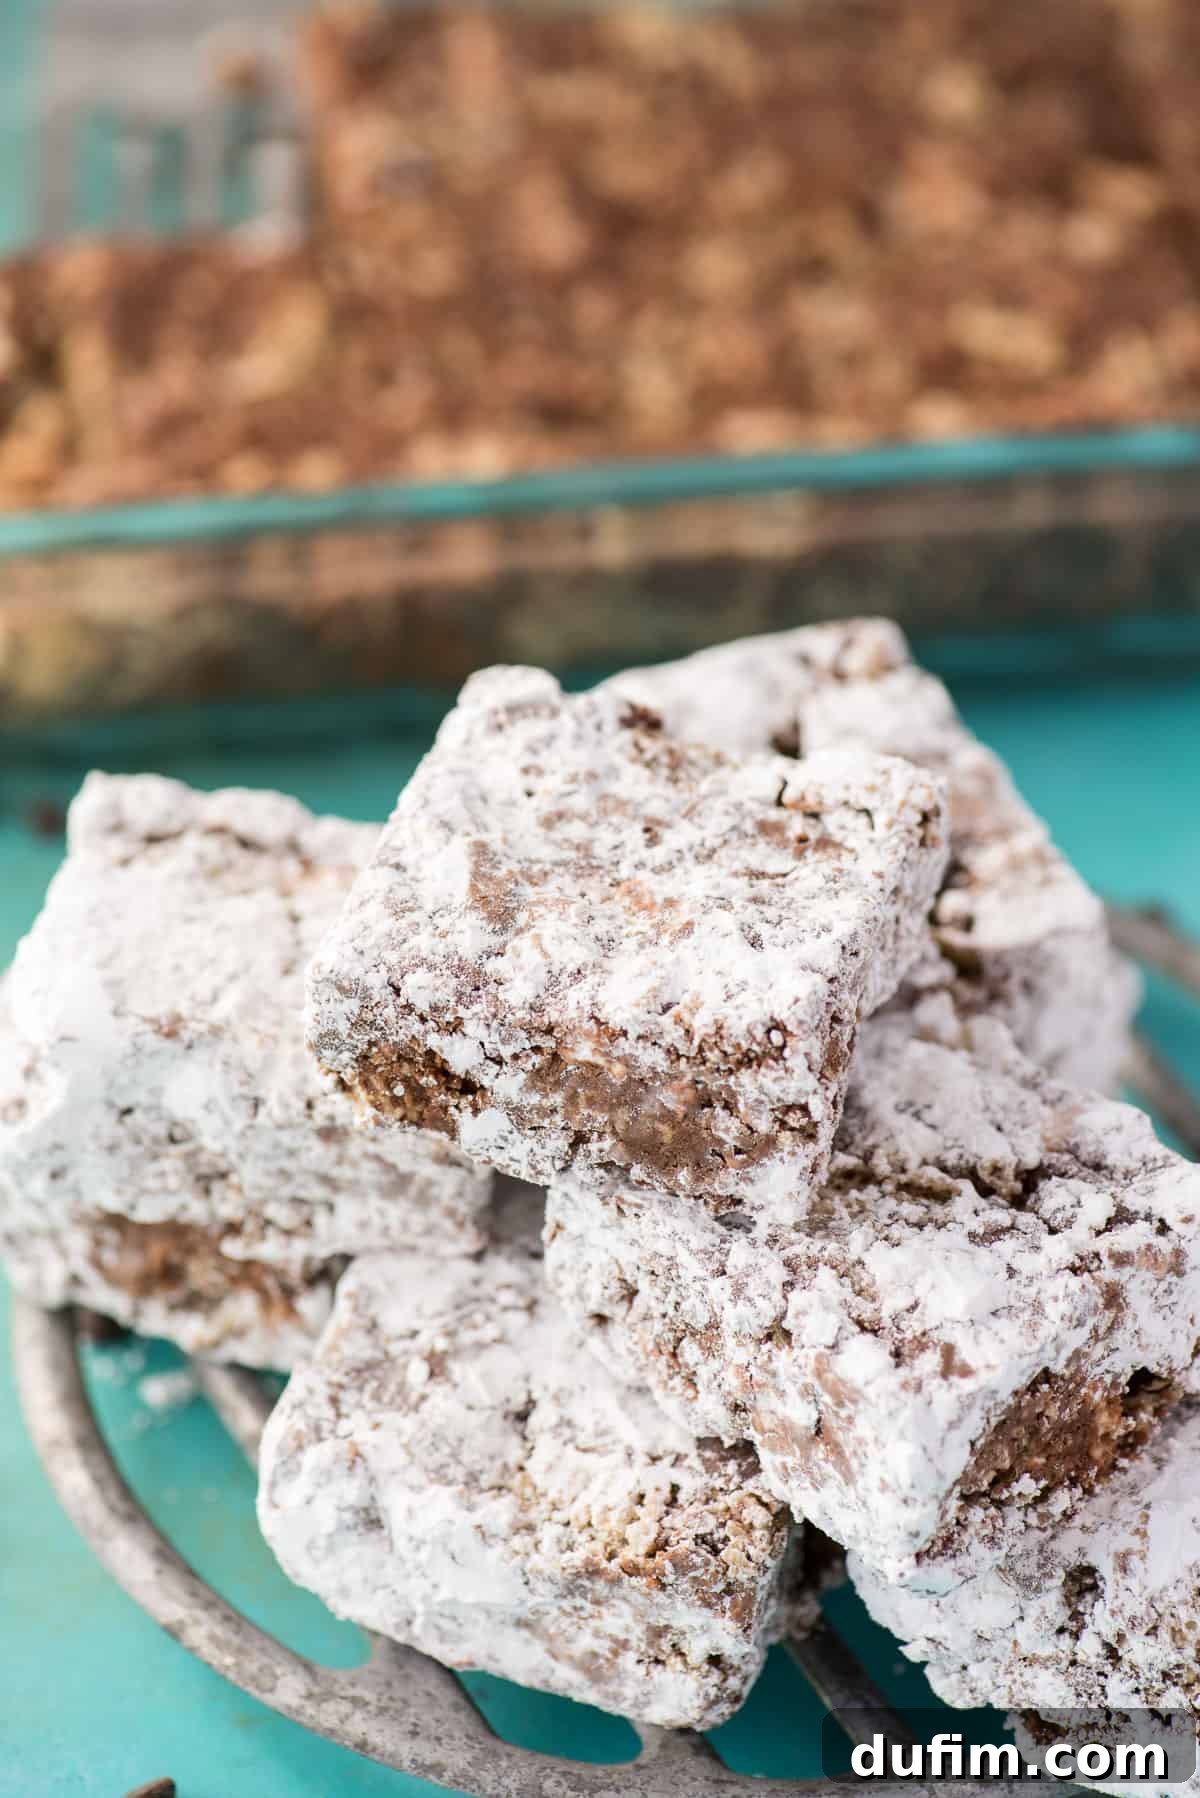
In my home, the “Puppy Chow versus Muddy Buddies” debate is a recurring, good-natured argument. I’ve always known it as “Puppy Chow” – that’s what I called it growing up. My husband, Ryan, however, firmly stands on “Team Muddy Buddies.” What makes this even more curious is that we both grew up in the same city, yet somehow learned different names for the exact same treat! Ryan often cites the back of the Chex cereal box as his primary evidence, claiming it officially labels them “Muddy Buddies.” While that seems pretty legitimate, we’ve agreed to politely disagree, and I continue to lovingly refer to these sweet squares as puppy chow. Ultimately, whatever you call them, their deliciousness remains undisputed.
The idea for transforming these classic bites into bars came from a brilliant friend on Instagram, and I immediately thought, “YES, this is genius!” The concept of a cohesive, easy-to-handle bar format for puppy chow was instantly appealing, promising to elevate this beloved snack to a new level of convenience and delightful texture.
Why Make Puppy Chow Bars Instead of Traditional Puppy Chow?
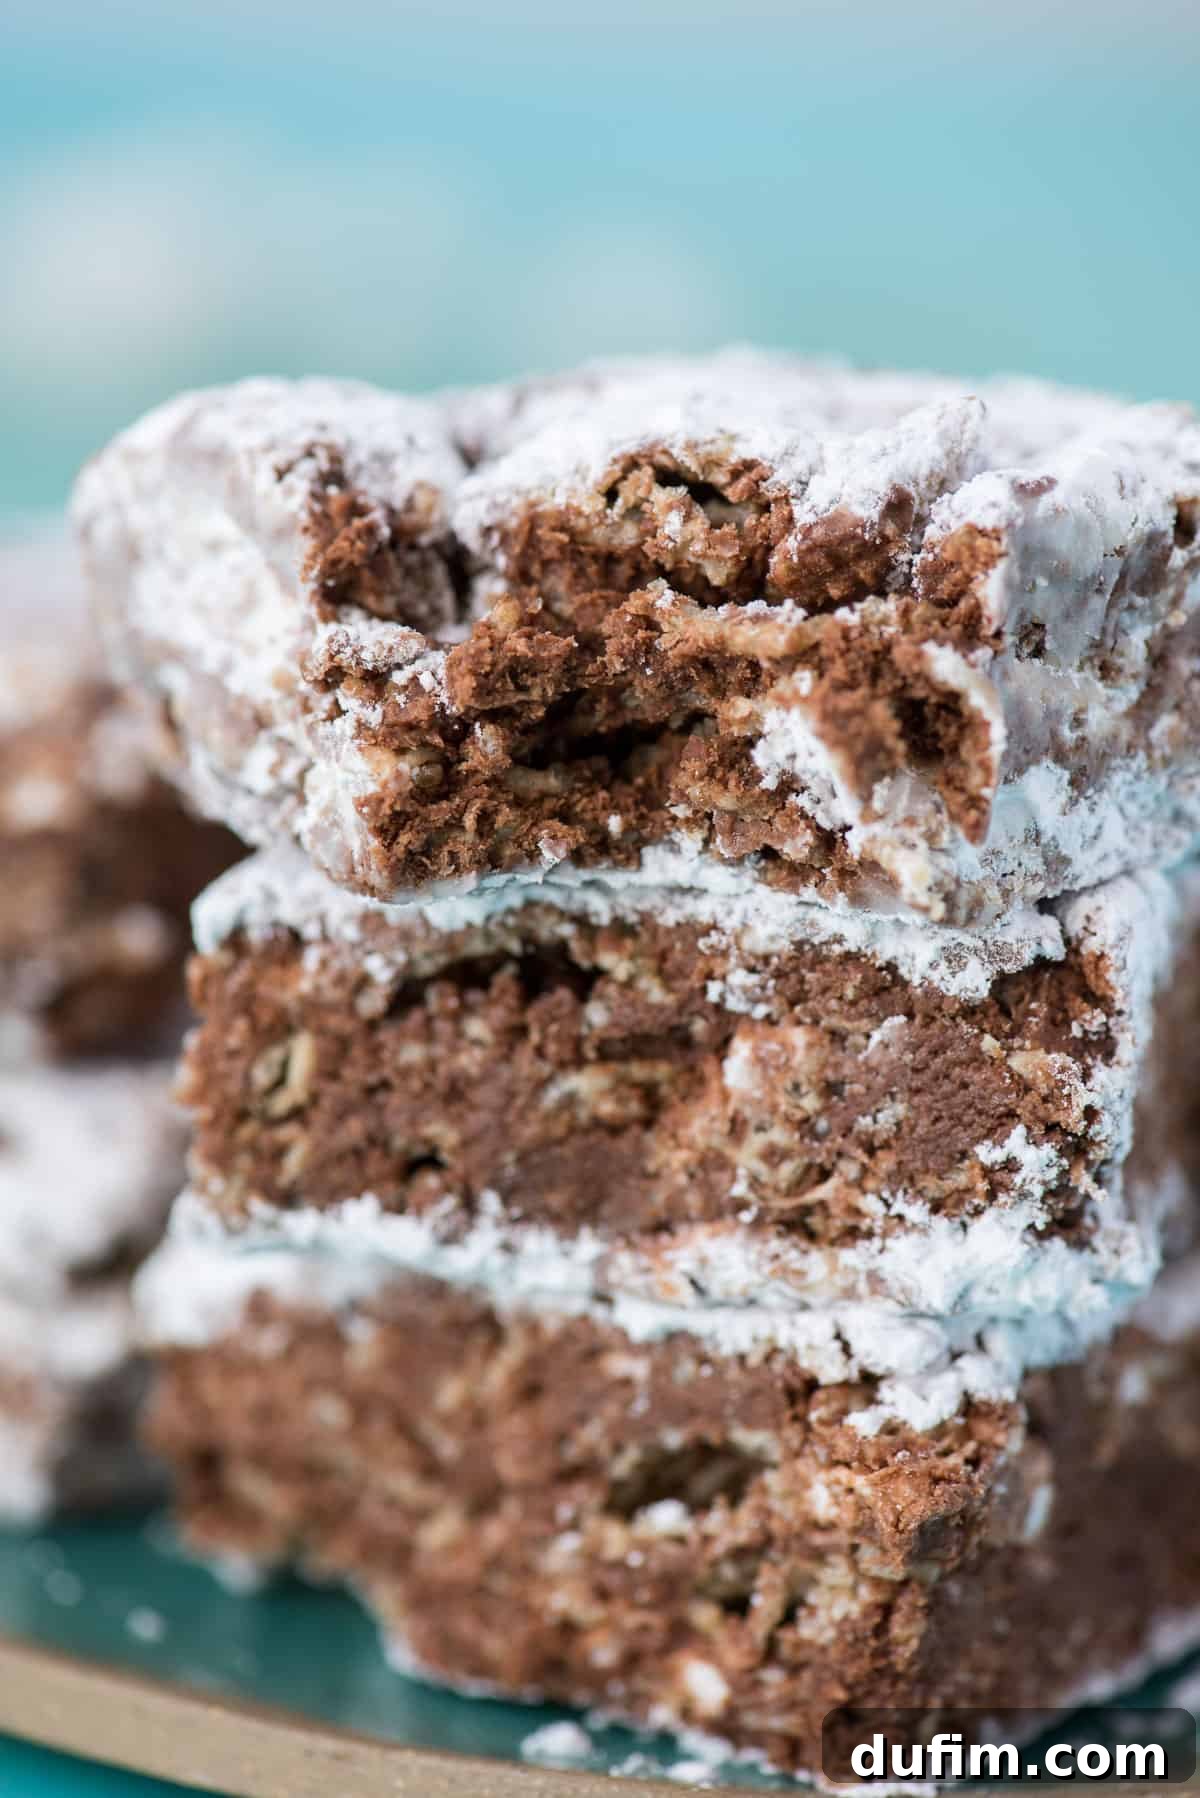
While the original loose puppy chow is undeniably fantastic, the bar format offers several distinct advantages that make it a compelling alternative. First and foremost, it’s a wonderfully surprising and innovative way to serve a universally adored dessert. Everyone has likely encountered classic puppy chow, but few have experienced the joy of biting into a perfectly structured, chewy, chocolate and peanut butter Chex cereal bar, generously coated in powdered sugar.
Beyond the novelty, these bars are incredibly practical. They are significantly less messy than their loose counterpart, making them ideal for picnics, potlucks, lunchboxes, or simply enjoying on the go. No more sticky fingers from individual pieces – these bars offer a clean, contained treat. The addition of marshmallows not only binds the ingredients together beautifully but also introduces a delightful chewiness that contrasts wonderfully with the crisp cereal, creating a multi-textured experience that sets them apart. They hold their shape, cut easily, and present beautifully, making them a fantastic option for entertaining or gifting.
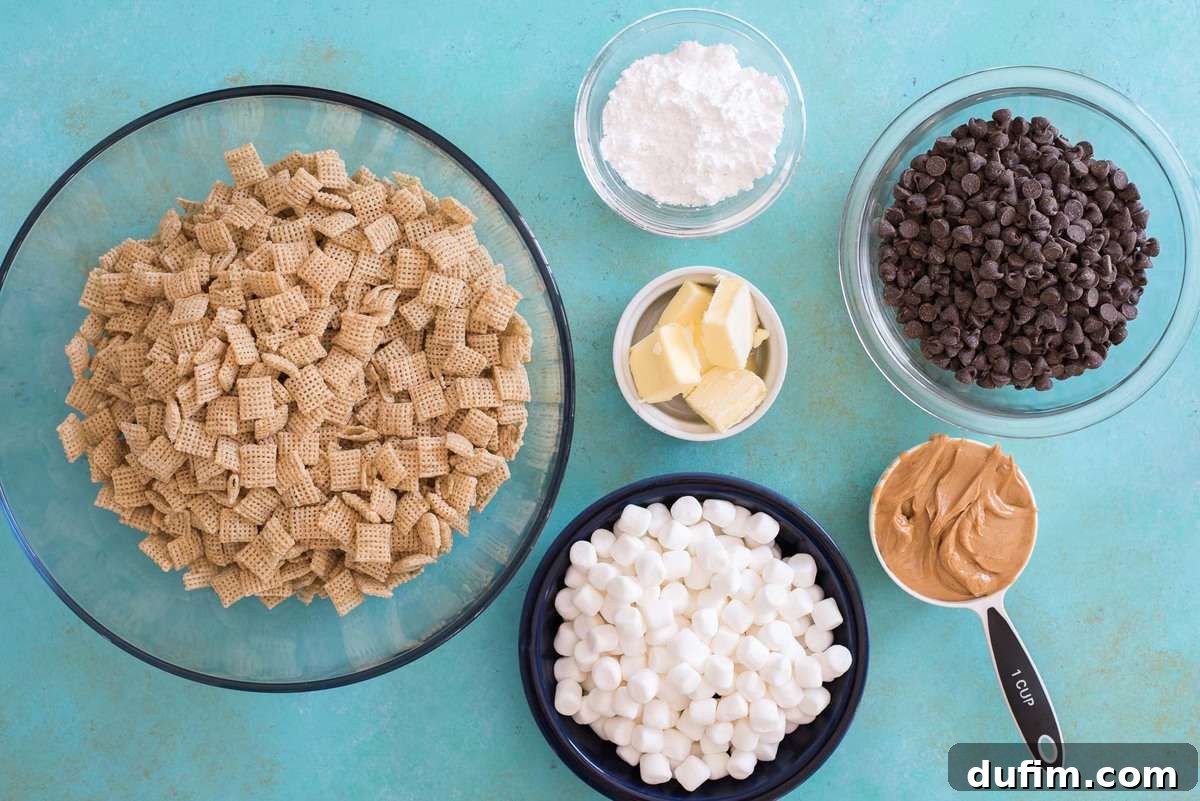
How to Make Irresistible Puppy Chow Bars (or Muddy Buddy Bars!)
Creating these delectable no-bake bars is surprisingly simple, building upon the core ingredients of traditional puppy chow with one magical addition: marshmallows! You’ll need crisp Chex cereal, rich chocolate chips, smooth creamy peanut butter, and a generous amount of powdered sugar. The secret ingredient that transforms them into bars? Mini marshmallows, which bind everything together and provide that wonderful chewy texture.
- Prepare Your Cereal: Measure out 7 cups of Chex cereal and place it in a very large mixing bowl. Set this aside; it will be ready for the coating mixture.
- Melt Chocolate and Butter: In a medium microwave-safe mixing bowl, combine the semi-sweet chocolate chips and unsalted butter. Microwave this mixture on 50% power in 1-minute intervals, stirring well after each minute, until the chocolate and butter are completely melted and smooth. This gentle melting prevents the chocolate from seizing.
- Incorporate Peanut Butter: Add the creamy peanut butter to the melted chocolate and butter mixture. Return it to the microwave for another 1-minute interval at 50% power, stirring until the peanut butter is fully incorporated and the mixture is smooth and glossy.
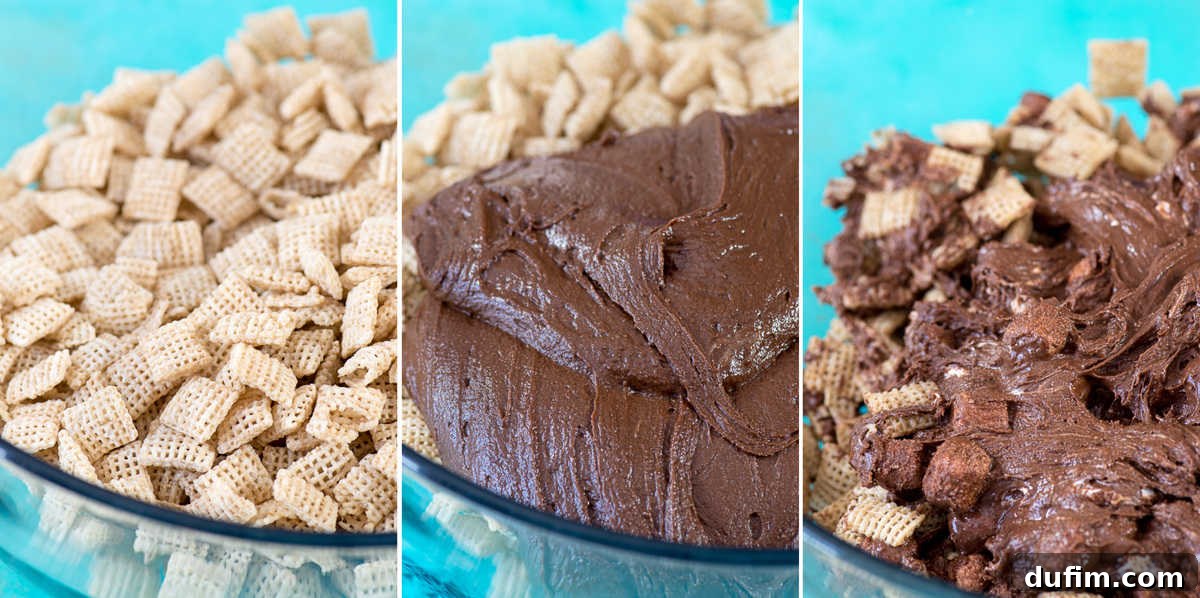
- Add Marshmallows: Stir in the mini marshmallows. Microwave again on 50% power for 1-minute intervals, stirring after each. The marshmallows won’t melt completely but will soften and become puffy, making the mixture quite thick and sticky. Continue stirring with a sturdy spatula until they are mostly incorporated and the mixture is cohesive.
- Combine with Cereal: Pour this warm, thick, chocolate-peanut butter-marshmallow mixture over the prepared Chex cereal. This is where the “elbow grease” comes in! Use a strong spatula (or even your hands, lightly greased if needed) to gently but thoroughly coat all the cereal pieces. Ensure every piece gets a good layer of the delicious coating.
- Press into Pan: Once the cereal is evenly coated, transfer the entire mixture into a greased 9×13 inch baking pan. Using your hands or the back of your spatula, press the mixture firmly and evenly into the pan. This compaction is key to forming sturdy bars.
- Chill to Set: Allow the bars to cool completely at room temperature, or speed up the process by placing them in the refrigerator for about an hour. They need to be firm before cutting.
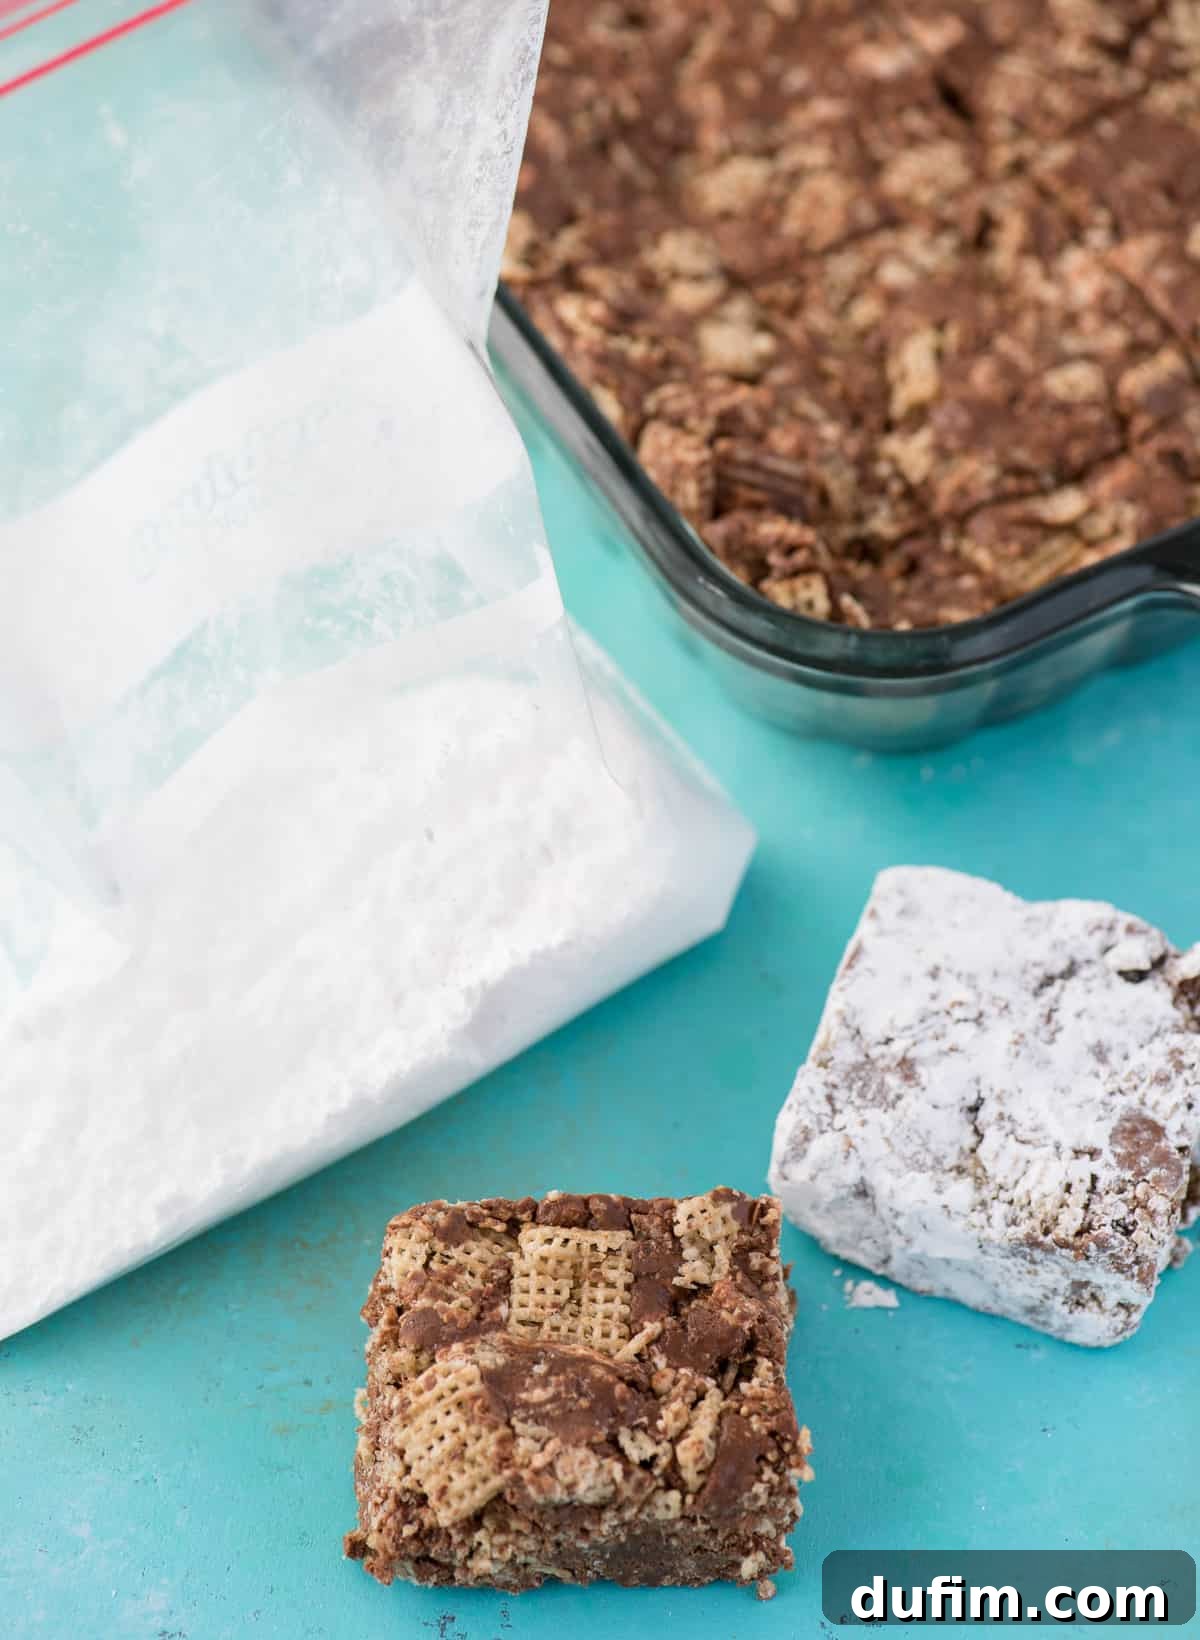
- Cut and Powder: Once thoroughly chilled and set, cut the slab into individual squares or bars. Place about 1 cup of powdered sugar into a large ziplock bag. Add one bar at a time, seal the bag, and shake gently until the bar is completely coated in a pristine layer of powdered sugar. Repeat this process for all the bars, adding more powdered sugar to the bag as needed.
- Serve and Enjoy: Arrange your freshly coated Puppy Chow Bars on a serving platter and get ready for rave reviews!
While some prefer a light dusting, I personally believe in a generous coating of powdered sugar for that iconic puppy chow look and taste. Feel free to adjust the amount of powdered sugar to your personal preference – it’s all about enjoying your treat!
Customizing Your Puppy Chow Bars
These Puppy Chow Bars are incredibly versatile and can be adapted to suit various dietary needs or taste preferences.
- For Gluten-Free Muddy Buddy Bars: Simply ensure you use certified gluten-free rice Chex cereal. Many brands offer this option, and most other ingredients like chocolate chips, peanut butter, marshmallows, and powdered sugar are naturally gluten-free. Always double-check labels to be safe.
- For Dairy-Free Puppy Chow Bars: Substitute the unsalted butter with an equal amount of coconut oil (refined coconut oil works best to avoid a coconut flavor, unless desired). The most crucial step is to use dairy-free chocolate chips. Happily, many brands now offer excellent dairy-free chocolate chip options; for example, Nestle’s Simply Delicious line has fantastic dairy-free chips that melt beautifully.
- Flavor Variations: Don’t hesitate to experiment! A tiny splash of vanilla extract can enhance the flavor profile. For a festive twist, consider adding a few drops of peppermint extract during the holidays, or a sprinkle of cinnamon for a warmer spice note.
- Mix-ins: While the classic is perfect on its own, you could press a layer of mini M&M’s, chopped nuts, or even sprinkles into the top of the bars before they set for extra crunch and visual appeal.
Serving and Storage Tips
These Puppy Chow Bars are best served at room temperature or slightly chilled. They are perfect for dessert tables, school lunches, or a quick snack any time of day. To store them, place the bars in an airtight container at room temperature for up to 3-4 days. For longer freshness, you can refrigerate them for up to a week. If stacking, it’s best to place parchment paper between layers to prevent sticking. They also freeze well for up to 2-3 months in an airtight container; simply thaw at room temperature before serving.
More Delicious Desserts to Try
If you loved these Puppy Chow Bars, you’re in for a treat with these other fantastic dessert recipes:
- How to Make Box Brownies Better
- Delightful Lemon Sugar Cookies
- Indulgent Oreo Brownies
- The Crowd-Pleasing Earthquake Cake
- Easy Sugar Cookie Bars
- No-Bake Butterscotch Marshmallow Bars
- Classic S’mores Bars
Readers love this recipe!
Puppy Chow Bars Recipe
Equipment
- 9×13 glass pan
- Sturdy spatula
- Large glass mixing bowl
Ingredients
- 7 cups (189g) Chex cereal
- 4 Tbsp (57g) unsalted butter, 1/2 stick
- 2 cups (340g) semi-sweet chocolate chips
- 1 cup (270g) creamy peanut butter
- 10 oz (283g) mini marshmallows, 1 bag
- 1 cup (113g) powdered sugar, or more as needed
Instructions
-
Measure out 7 cups of Chex cereal in a LARGE mixing bowl. Set aside.7 cups (189g) Chex cereal
-
In a medium sized microwave-safe mixing bowl, combine the chocolate chips and butter. Microwave on 50% power at 1-minute intervals, stirring until melted and smooth.4 Tbsp (57g) unsalted butter,
2 cups (340g) semi-sweet chocolate chips -
Add in the creamy peanut butter to the chocolate mixture. Microwave again on 50% power at 1-minute intervals, stirring until completely melted and well combined.1 cup (270g) creamy peanut butter
-
Stir in the mini marshmallows. Microwave on 50% power at 1-minute intervals, stirring after each. The marshmallows will soften and become puffy but may not melt completely; continue stirring with a sturdy spatula until the mixture becomes very thick and cohesive.10 oz (283g) mini marshmallows
-
Scoop this thick chocolate-peanut butter-marshmallow mixture over the Chex cereal in the large mixing bowl. Use a spatula (or your hands, lightly greased) to thoroughly coat all the cereal pieces. This requires some effort as the mixture is quite sticky!
-
Once the cereal is well coated, transfer the mixture into a greased 9×13 inch baking pan. Press it down firmly and evenly with your hands or the back of a spatula to form a compact layer.
-
Allow the bars to cool completely and set. This can be done at room temperature or by placing them in the refrigerator for at least 1 hour to speed up the process.
-
Once firm, cut the large slab into individual squares or bars. Place 1 cup of powdered sugar in a large ziplock bag. Add one bar at a time, seal the bag, and shake gently until the bar is completely coated in powdered sugar. Repeat with all the remaining bars, adding more powdered sugar to the bag as needed.1 cup (113g) powdered sugar
-
Arrange the finished Puppy Chow Bars on a serving tray and enjoy!
Nutrition (Approximate per bar, based on 16 servings)
- Calories:
- 429kcal
- Carbohydrates:
- 59g
- Protein:
- 8g
- Fat:
- 20g
- Saturated Fat:
- 9g
- Polyunsaturated Fat:
- 3g
- Monounsaturated Fat:
- 7g
- Trans Fat:
- 1g
- Cholesterol:
- 9mg
- Sodium:
- 246mg
- Potassium:
- 334mg
- Fiber:
- 6g
- Sugar:
- 30g
- Vitamin A:
- 387IU
- Vitamin C:
- 3mg
- Calcium:
- 80mg
- Iron:
- 10mg
Nutrition Disclosure
All nutritional values are approximate and provided to the reader as a courtesy. Changing ingredients and/or quantities will alter the estimated nutritional calculations.
Like this recipe? Let us know in the comments below!