

Unlock the Secret to Perfect Strawberry Scones: Tall, Flaky, and Bursting with Fresh Berry Flavor
Imagine biting into a scone that’s perfectly golden on the outside, incredibly flaky on the inside, and bursting with the sweet, tart goodness of fresh strawberries. These aren’t just any strawberry scones; they are bakery-style perfection, meticulously crafted to be tall, tender, and absolutely never soggy. Built upon my proven master scone recipe, this version has been rigorously tested and re-tested to perfectly balance the juicy freshness of strawberries with a flawless, light texture. If you’ve ever been disappointed by flat or soggy homemade scones, prepare for a revelation – this recipe will forever change your baking game.

Why You Can Trust This Strawberry Scone Recipe for Flawless Results
This isn’t just another scone recipe; it’s a culmination of extensive testing and a deep understanding of what makes a scone truly exceptional. My original master scone recipe, which forms the bedrock of this strawberry variation, took weeks to perfect. I experimented with everything from precise flour ratios to the ideal dairy selection, all to achieve that coveted tender crumb and towering height. That foundational recipe has already empowered thousands of home bakers – even those who considered themselves “scone skeptics” – to confidently bake impressive, bakery-quality scones.
However, incorporating fresh strawberries introduces a unique challenge: moisture. Juicy berries, while delicious, can easily weigh down dough, compromise structure, or create unpleasant soggy pockets if not handled correctly. Recognizing this, I returned to the kitchen for an intensive testing phase. I fine-tuned the flour measurements, adjusted chilling times, and refined techniques to strike the perfect balance, ensuring the dough can absorb the extra liquid from the fruit without becoming dense or dry. The result is a scone that highlights the vibrant flavor of fresh strawberries while maintaining its signature tall, flaky architecture.
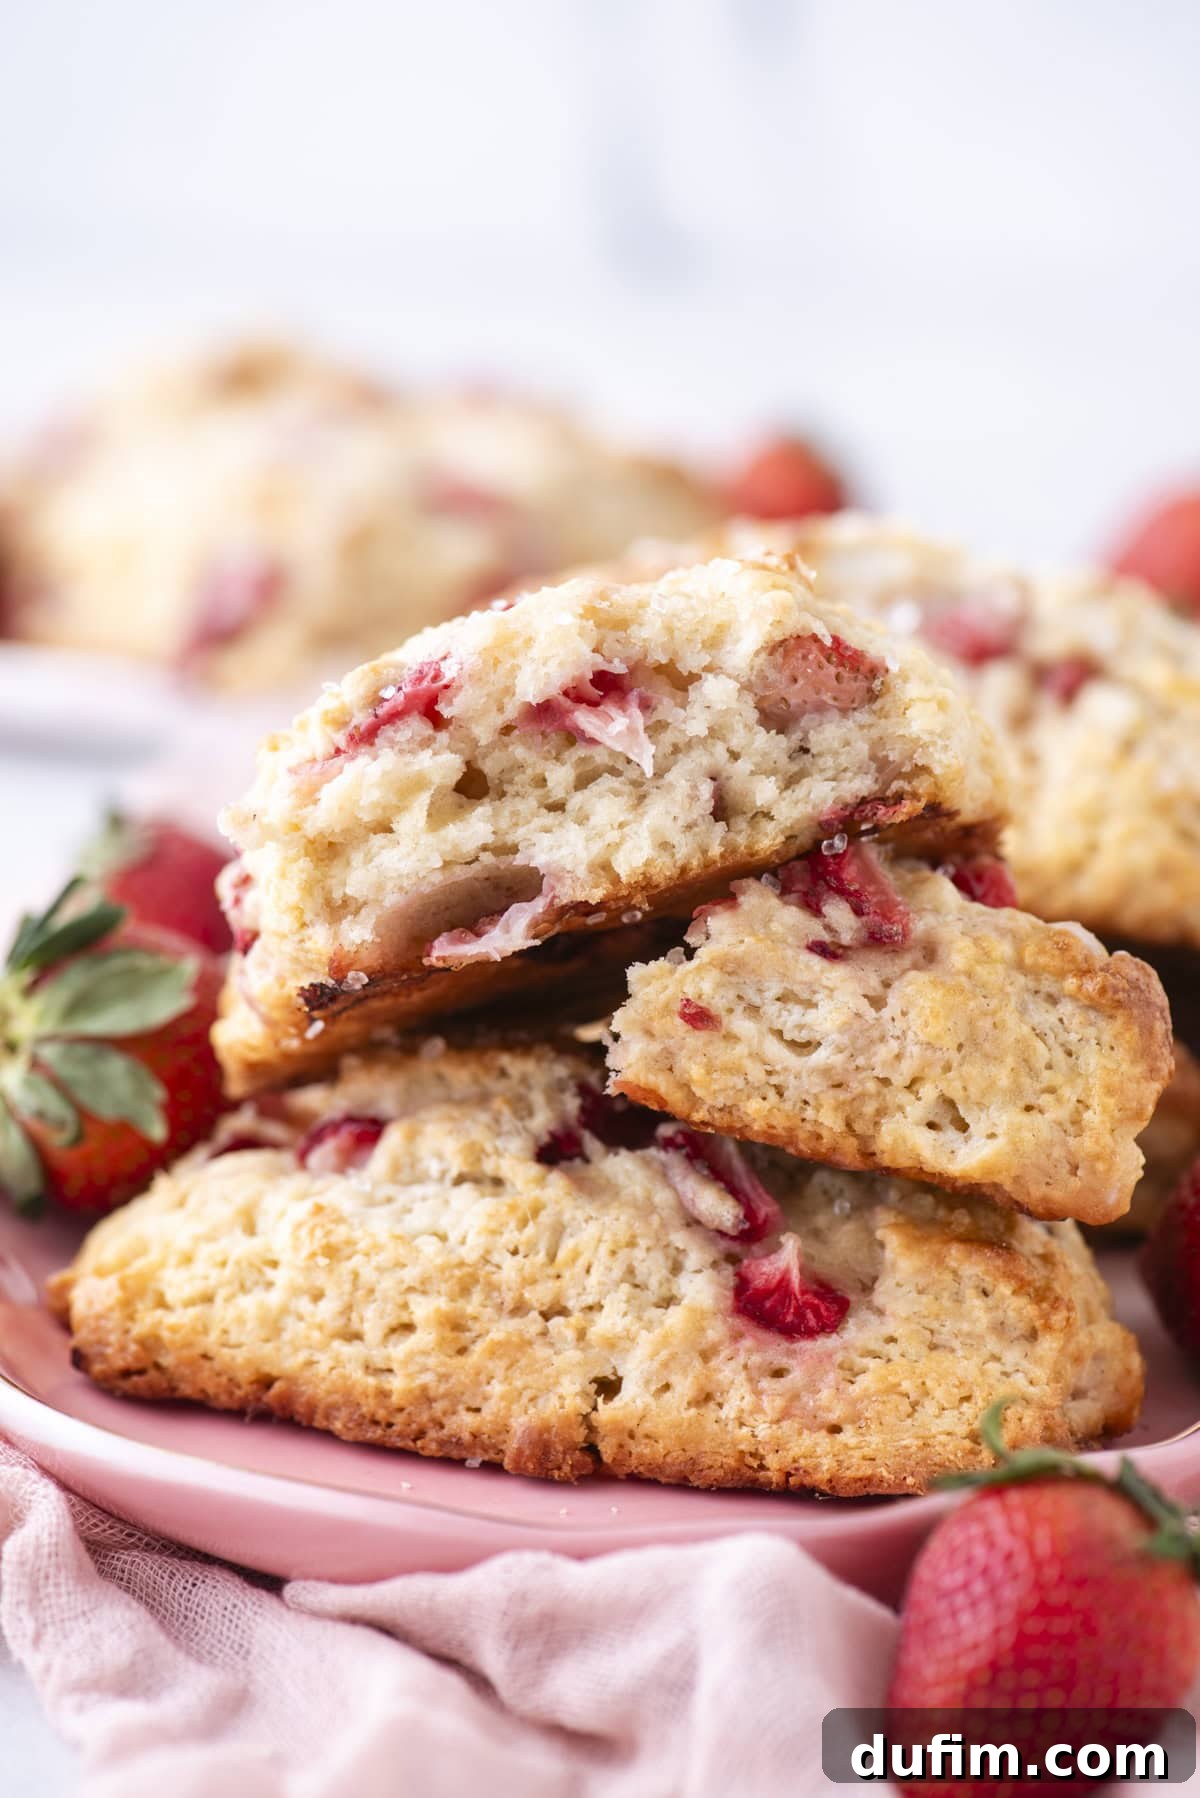
Every detail in this recipe has been meticulously thought through and proven in my kitchen. My goal is not just for you to bake good scones, but to empower you with the confidence and knowledge to bake great ones every single time. Whether you’re embarking on your first scone-making adventure or are already a fan of my lemon scones or cranberry orange scones, you’ll find clear, step-by-step guidance, invaluable baking tips, and a reliable formula that makes homemade, bakery-quality scones entirely achievable.

What Makes These Strawberry Scones Uniquely Special?
The magic lies in a combination of precise ingredients and a specific method that guarantees superior texture and flavor. These strawberry scones harness the power of **cold butter**, a crucial quick **chill**, and my unique **dough laminating technique** to create those coveted flaky layers and a tender, moist interior. The fresh strawberries remain juicy and bright without ever making the dough soggy, thanks to a carefully calculated flour adjustment tailored specifically for this fruit. Even if you’ve never ventured into scone baking before, this recipe provides a foolproof roadmap. Say goodbye to intimidating baking projects; achieving bakery-style strawberry scones at home is easier than you think.
Key Ingredients for Unforgettable Strawberry Scones and Their Purpose
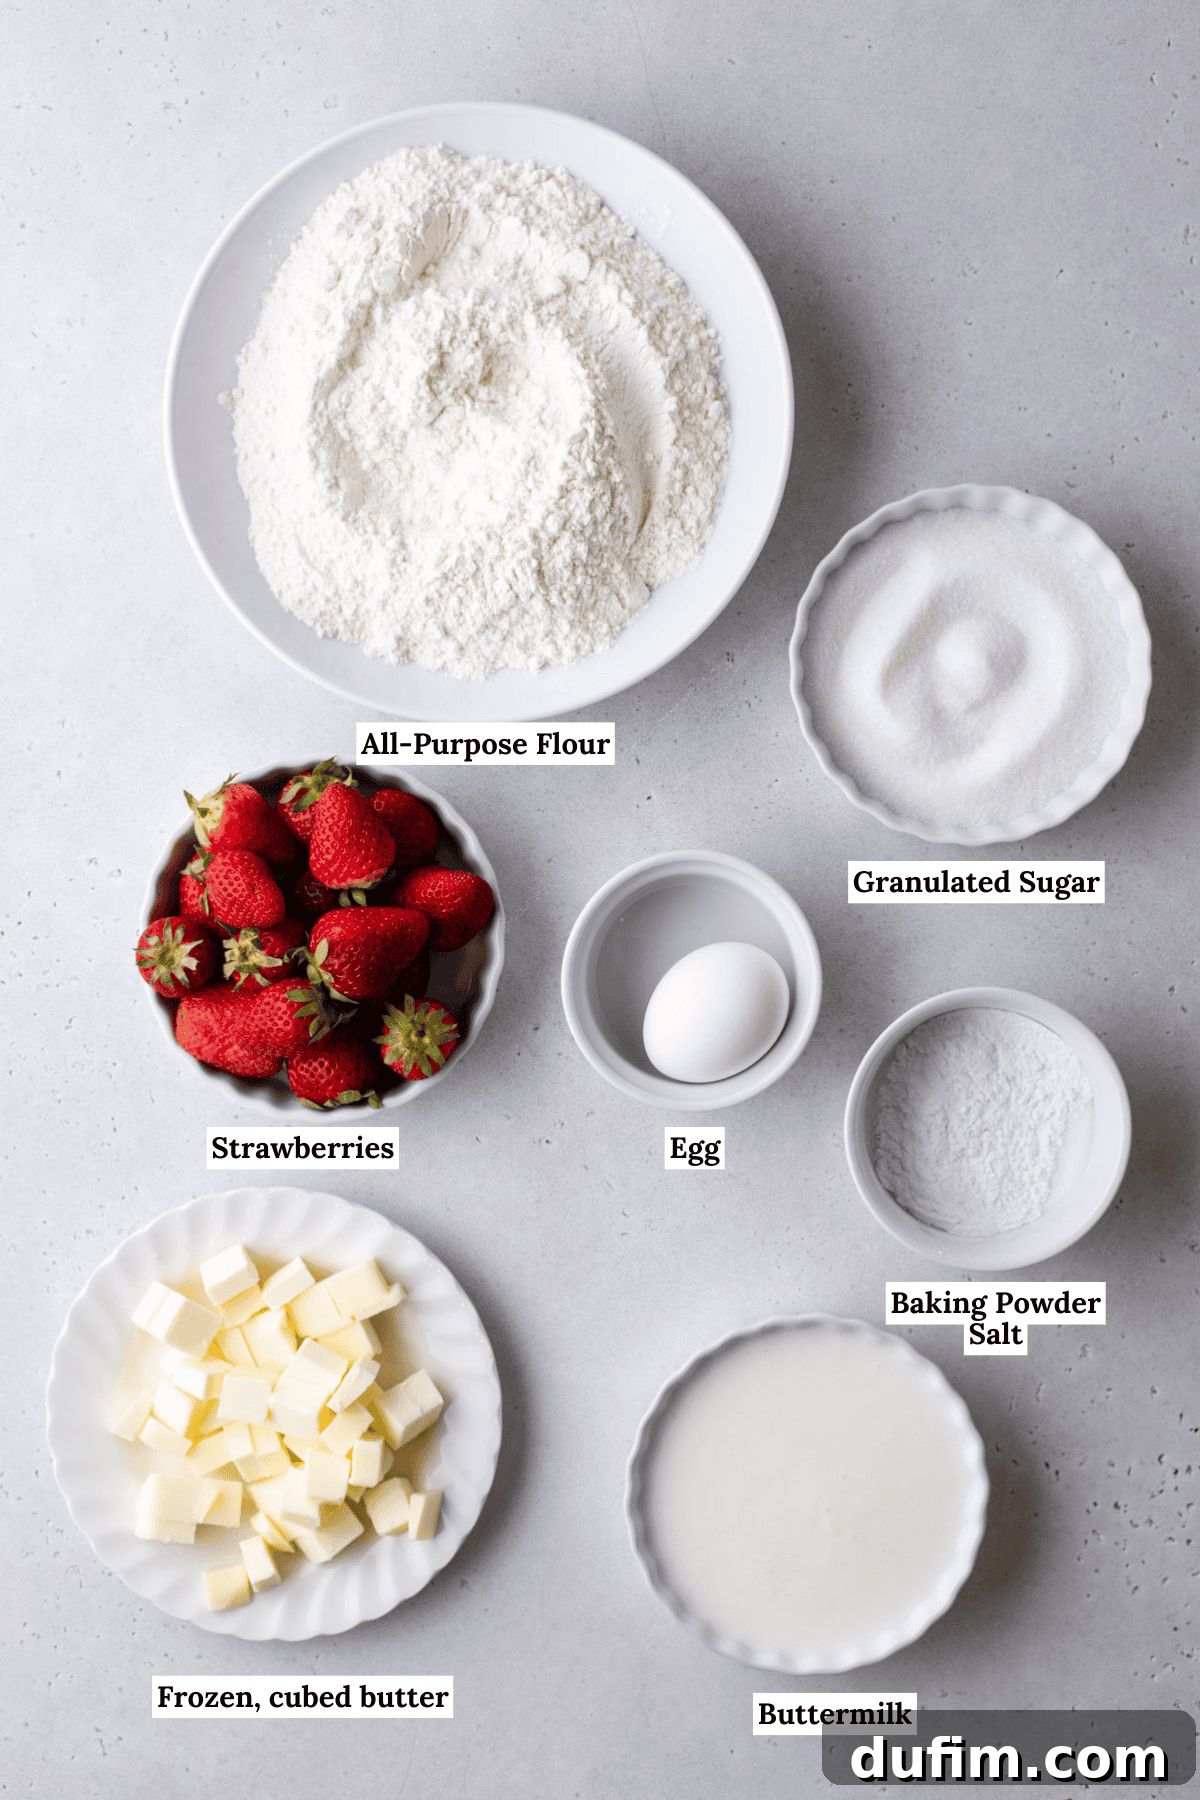
Each ingredient plays a vital role in achieving the perfect balance of flavor and texture in these delightful strawberry scones:
- All-Purpose Flour: This forms the essential structure of our scones. For this strawberry version, I’ve carefully adjusted the flour ratio to account for the natural moisture from the fresh berries, ensuring the dough remains workable and the final product is light and airy, not dense.
- Granulated Sugar: Provides sweetness, balancing the slight tartness of the strawberries, and contributes to the beautiful golden-brown crust.
- Baking Powder: Our primary leavening agent! Using a full tablespoon of baking powder is key to giving these scones their impressive height and a wonderfully light, airy lift.
- Salt: Essential for enhancing all the other flavors in the scone, providing a necessary counterpoint to the sweetness.
- Unsalted Butter (Cubed and Cold): This is perhaps the most crucial ingredient for texture. When cold butter is cut into the flour, it creates pockets. As the scones bake, these butter pockets melt and release steam, which separates the dough into distinct, flaky layers. Using unsalted butter allows you to control the overall saltiness of the recipe.
- Buttermilk: The secret weapon for tender scones! Buttermilk adds moisture and a subtle tang while its acidity reacts with the baking powder to supercharge the rise, resulting in an incredibly soft and tender crumb. It helps tenderize the dough without making it heavy, ensuring a delicate texture.
- Vanilla Extract: A touch of vanilla rounds out the flavors, adding a warm, aromatic note that beautifully complements the strawberries.
- Large Egg: Acts as a binder, contributing to the richness and structure of the dough. It also helps create a slightly richer, more golden crust.
- Fresh Chopped Strawberries: The star of the show! Fresh berries provide bursts of natural sweetness and vibrant flavor. It’s imperative to use fresh strawberries; frozen berries will release too much excess moisture, inevitably leading to soggy scones and a compromised texture.

How to Make Perfect Bakery-Style Strawberry Scones: A Step-by-Step Guide
Follow these detailed instructions to create strawberry scones that rival your favorite bakery:
- Prepare the Strawberries: The Critical First Step. After finely chopping your fresh strawberries, gently blot them thoroughly with paper towels. This crucial step absorbs excess moisture, preventing your scones from becoming soggy and ensuring they rise tall with beautiful, flaky layers. A few extra seconds here makes an enormous difference in the final texture and overall success of your scones!
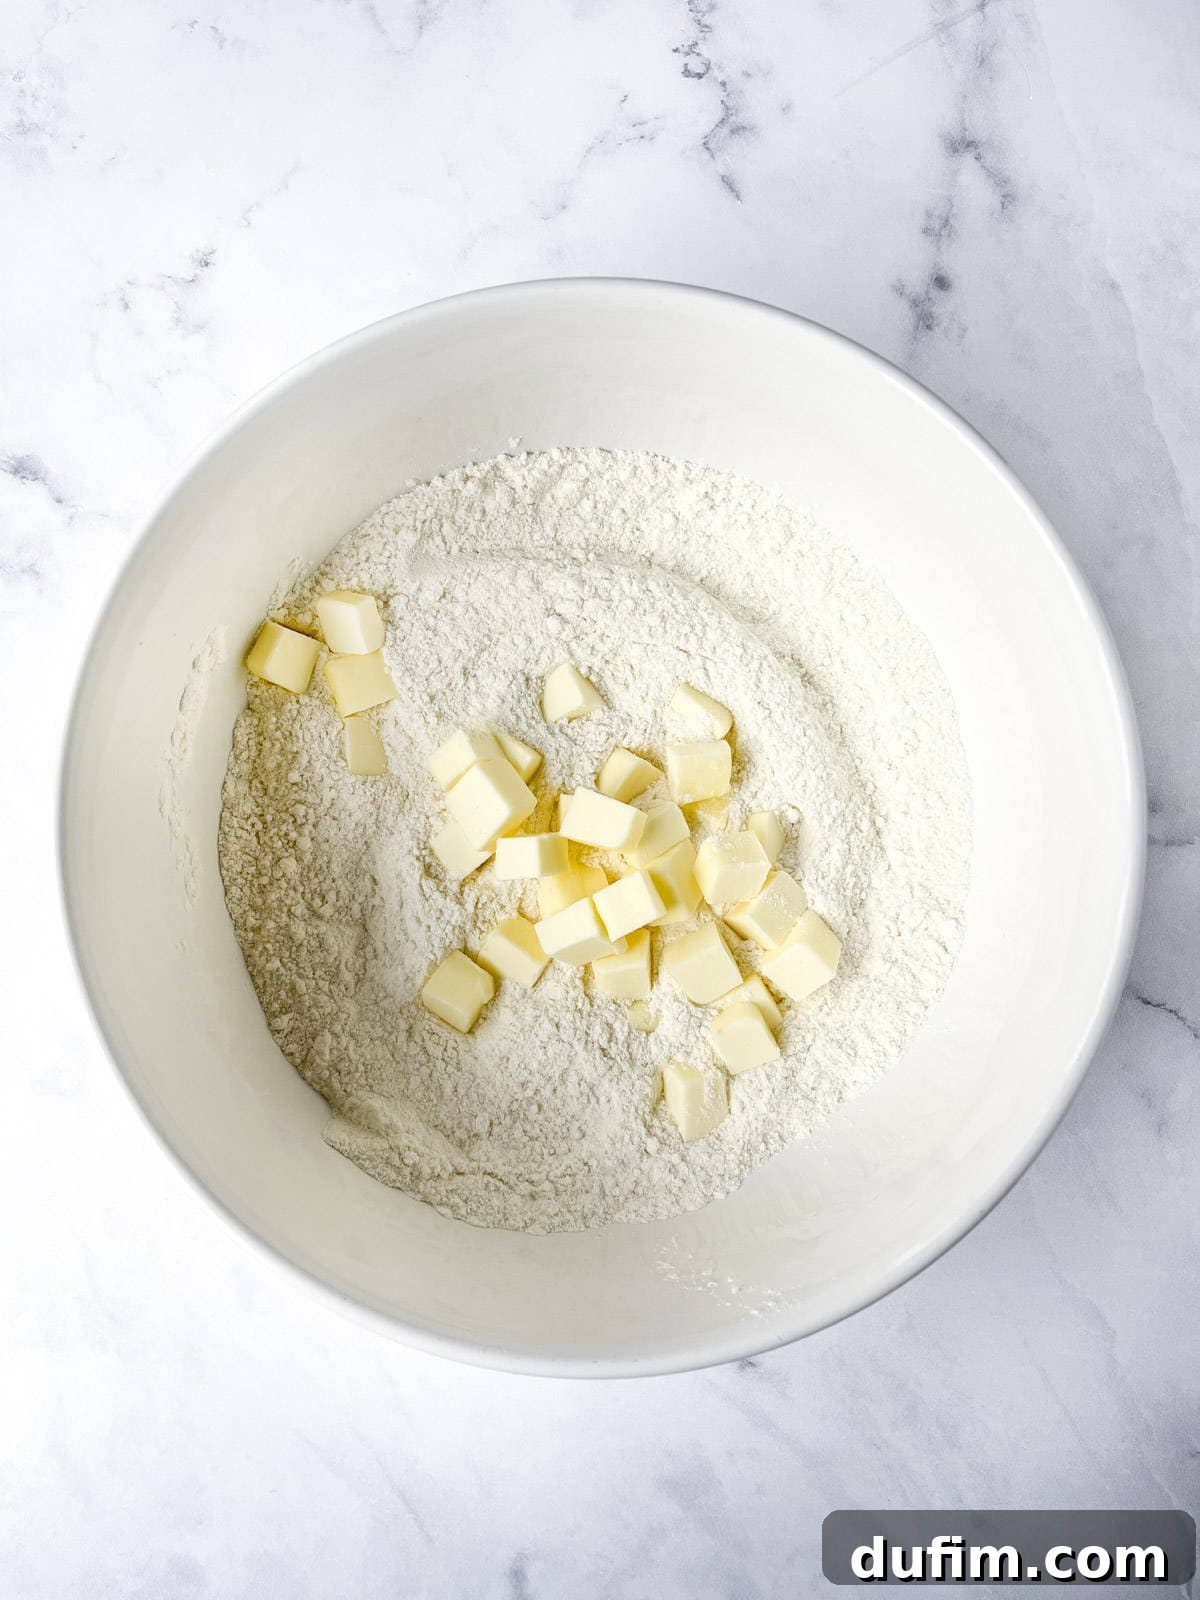
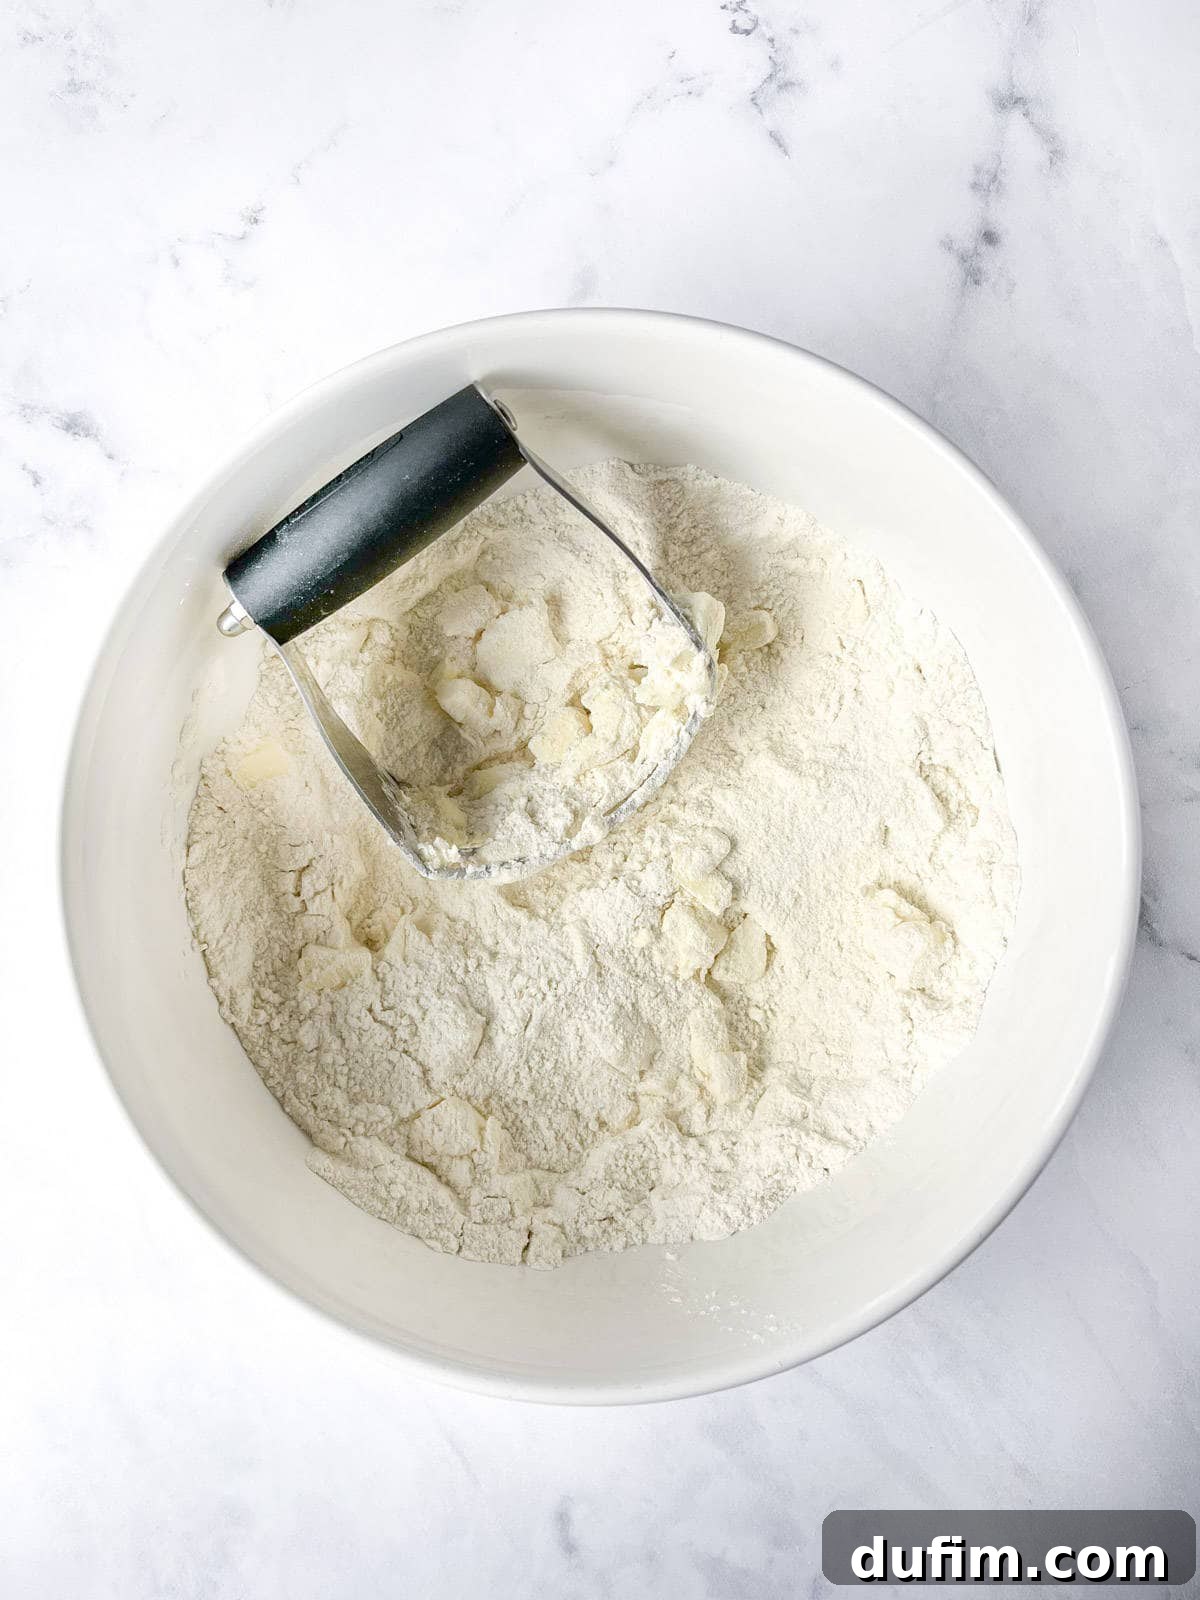
- Combine Dry Ingredients and Cut in Cold Butter. In a large mixing bowl, whisk together the all-purpose flour, granulated sugar, baking powder, and salt. Add the cold, cubed unsalted butter to the dry ingredients. Using your fingertips, a pastry blender, or two knives, quickly cut the butter into the flour mixture until it resembles coarse meal with pea-sized pieces of butter remaining. Work quickly to keep the butter as cold as possible.
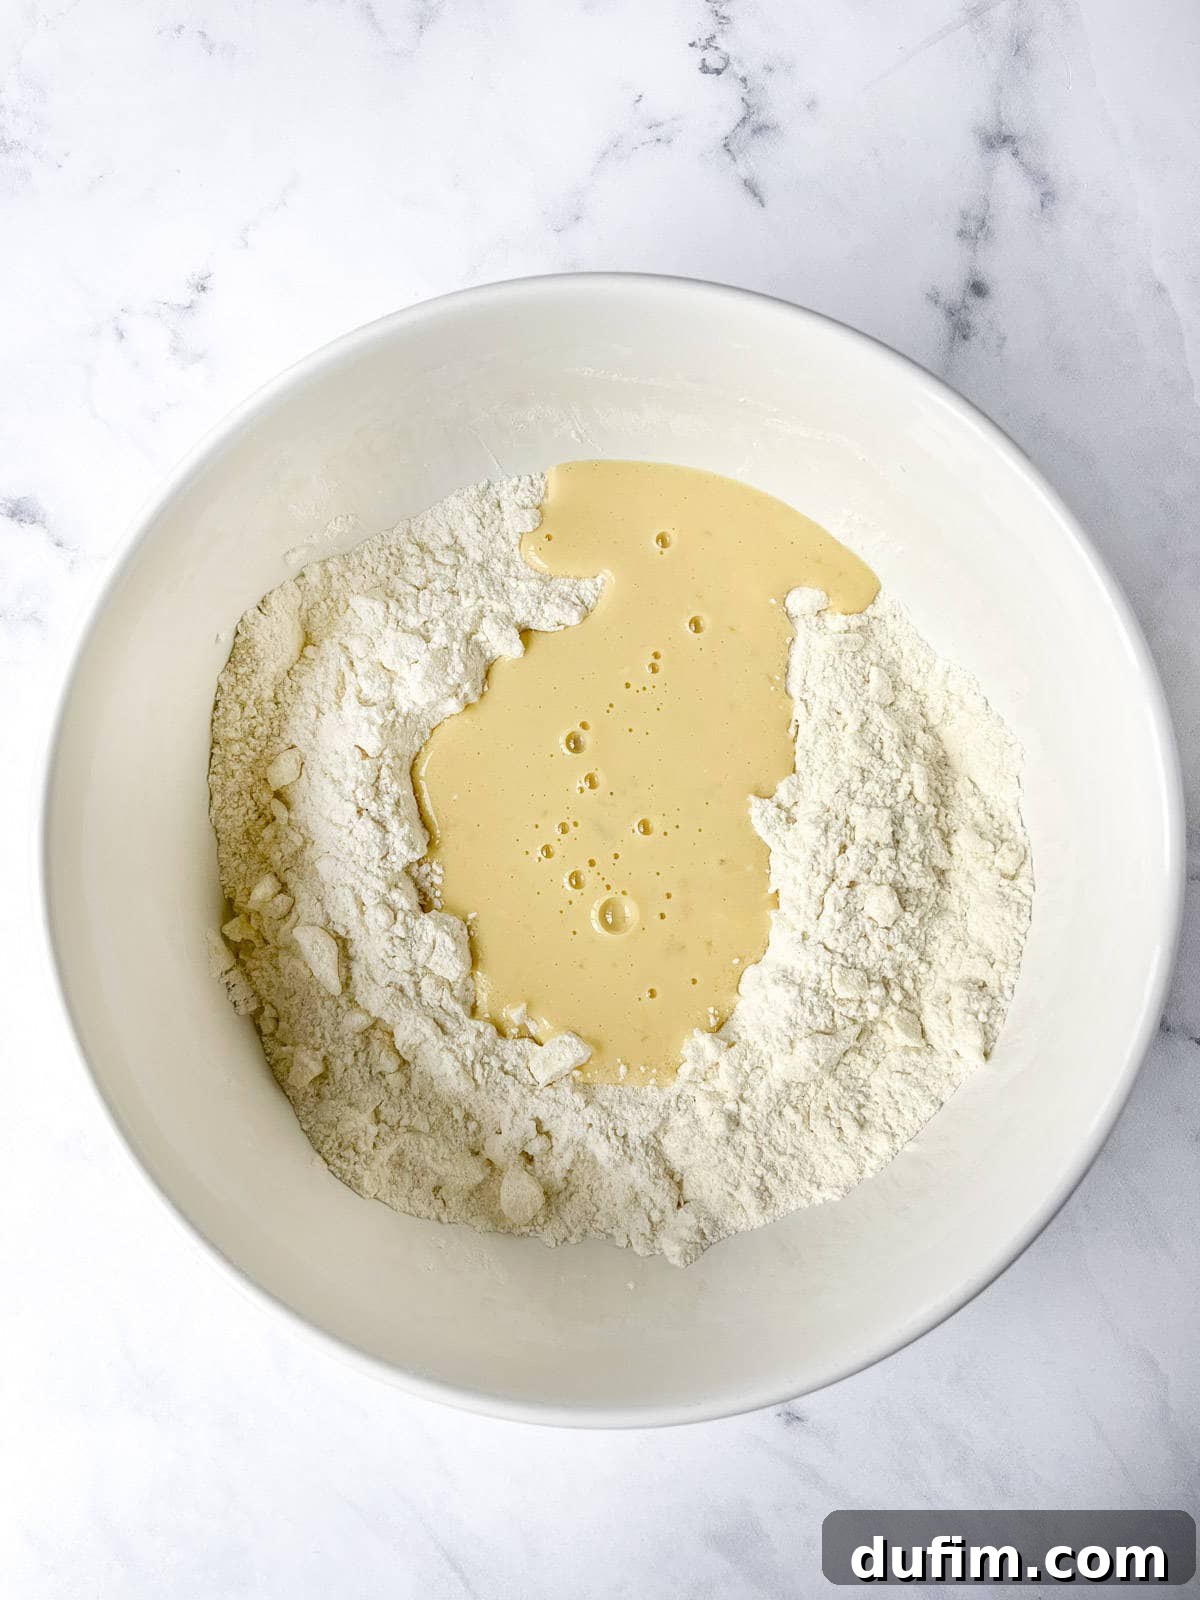
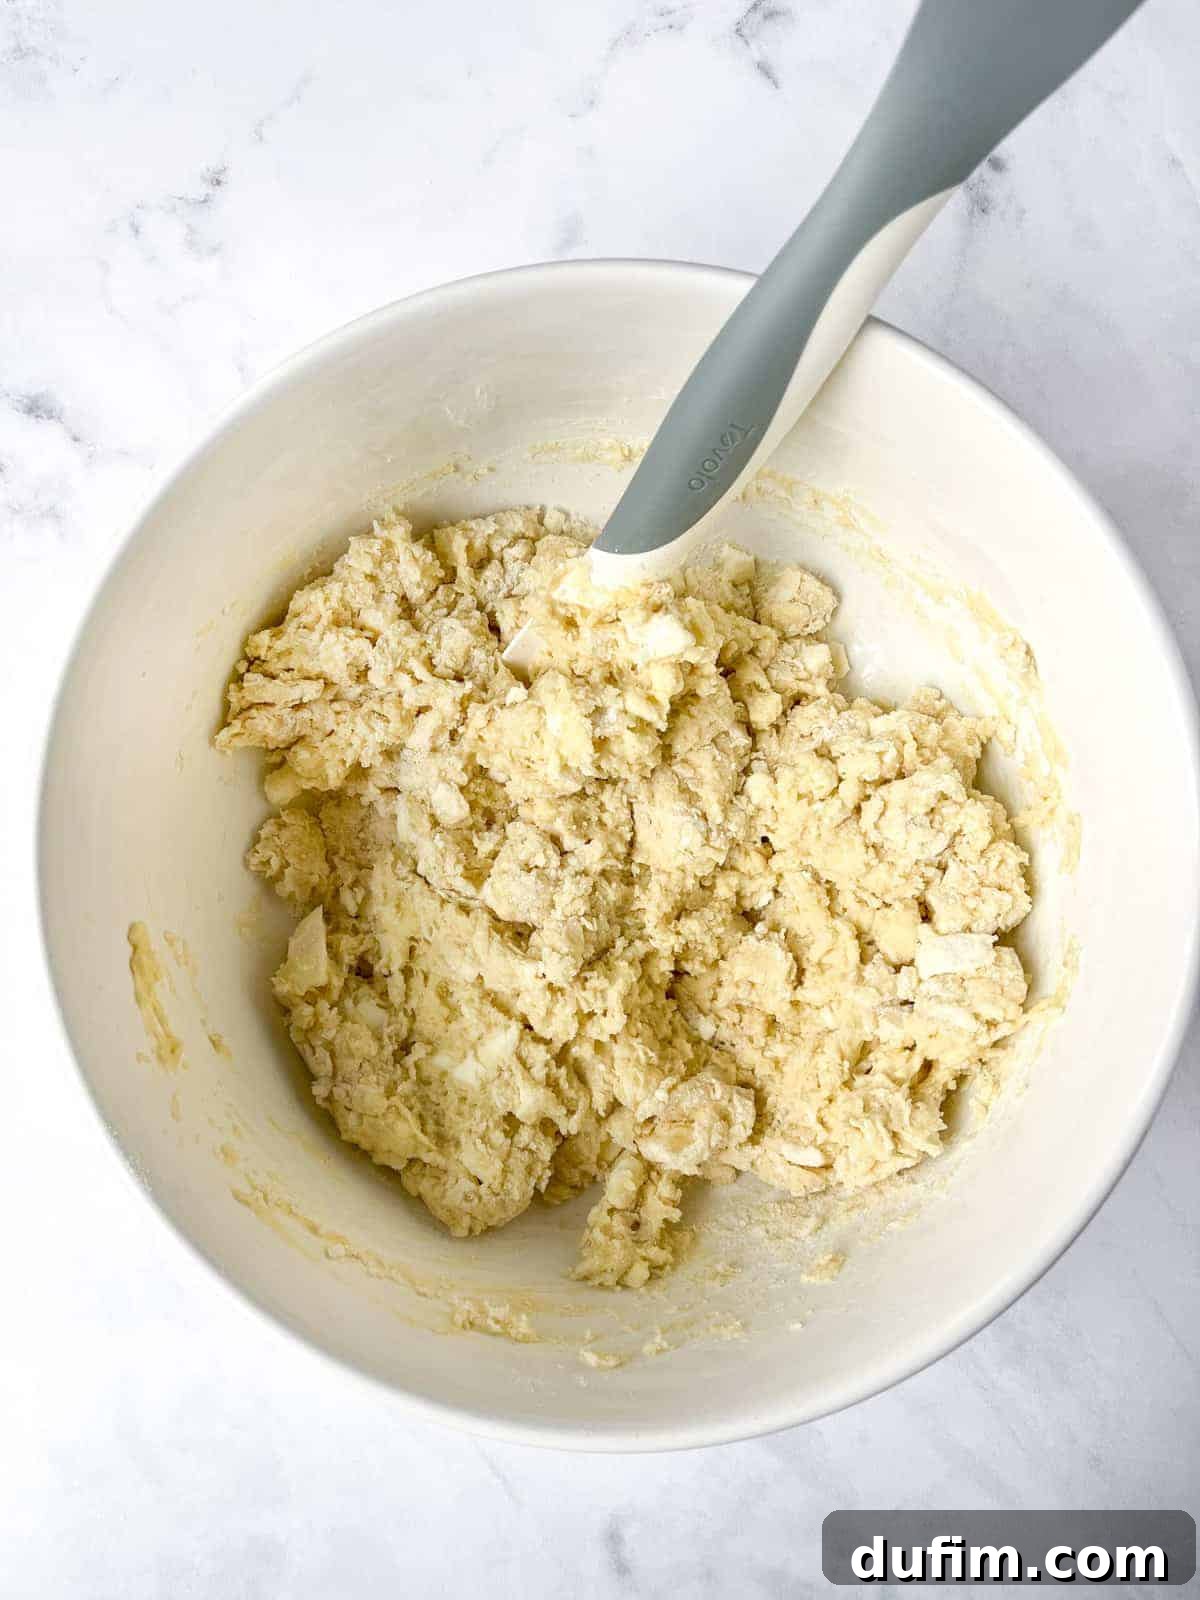
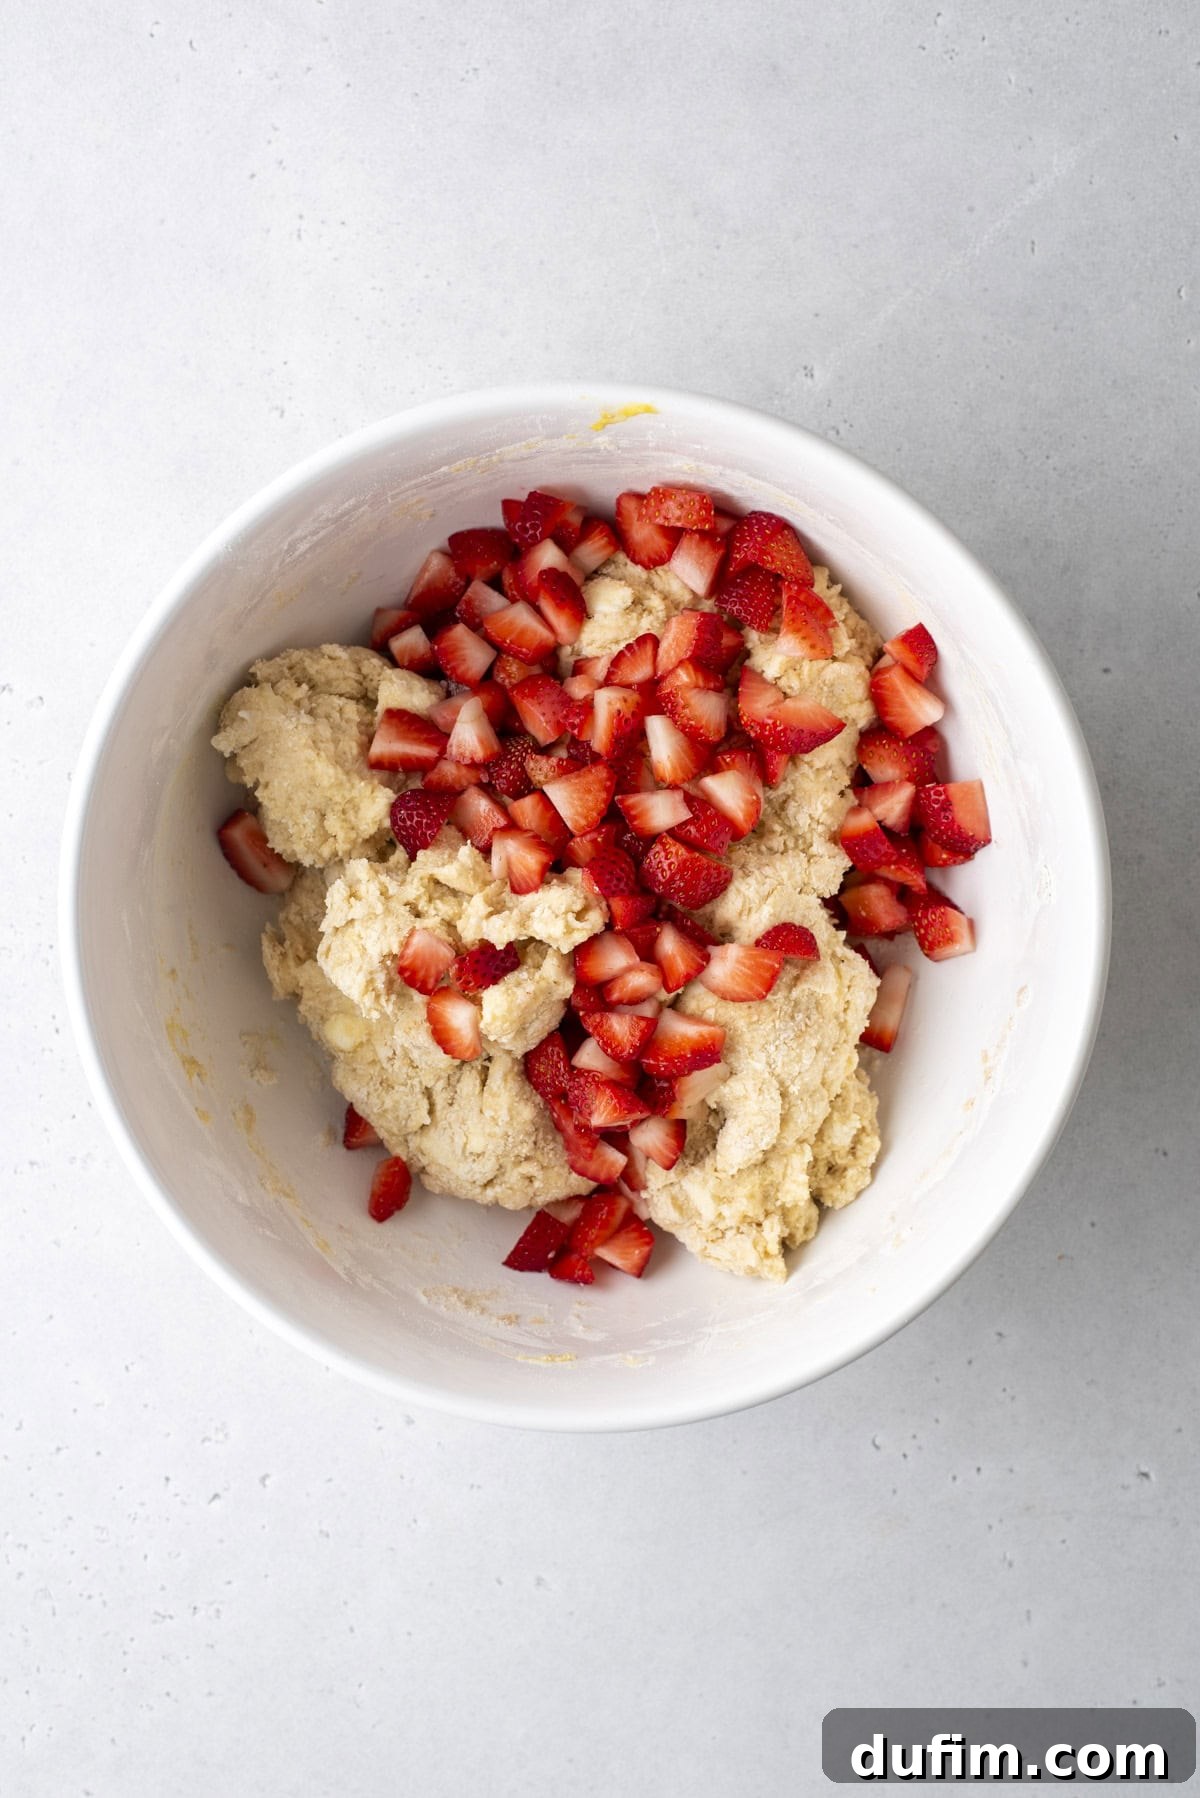
- Incorporate Wet Ingredients and Fold in Strawberries. Create a shallow well in the center of your flour and butter mixture. Pour in the cold buttermilk, vanilla extract, and the large egg. Using a silicone spatula or wooden spoon, gently mix from the center outwards, combining until the dough just comes together and is thick and somewhat sticky. Be careful not to overmix; overworking the dough can lead to tough scones. Finally, gently fold in the blotted chopped strawberries until they are evenly distributed.
- Lightly Knead the Dough. Turn the sticky dough out onto a lightly floured silicone mat or a clean kitchen counter. Gently knead the dough a few times, just enough to bring all the flour into the mixture and form a cohesive ball. If the dough feels excessively sticky, add 1-2 additional tablespoons of flour, but be cautious not to add too much, which can dry out the scones.
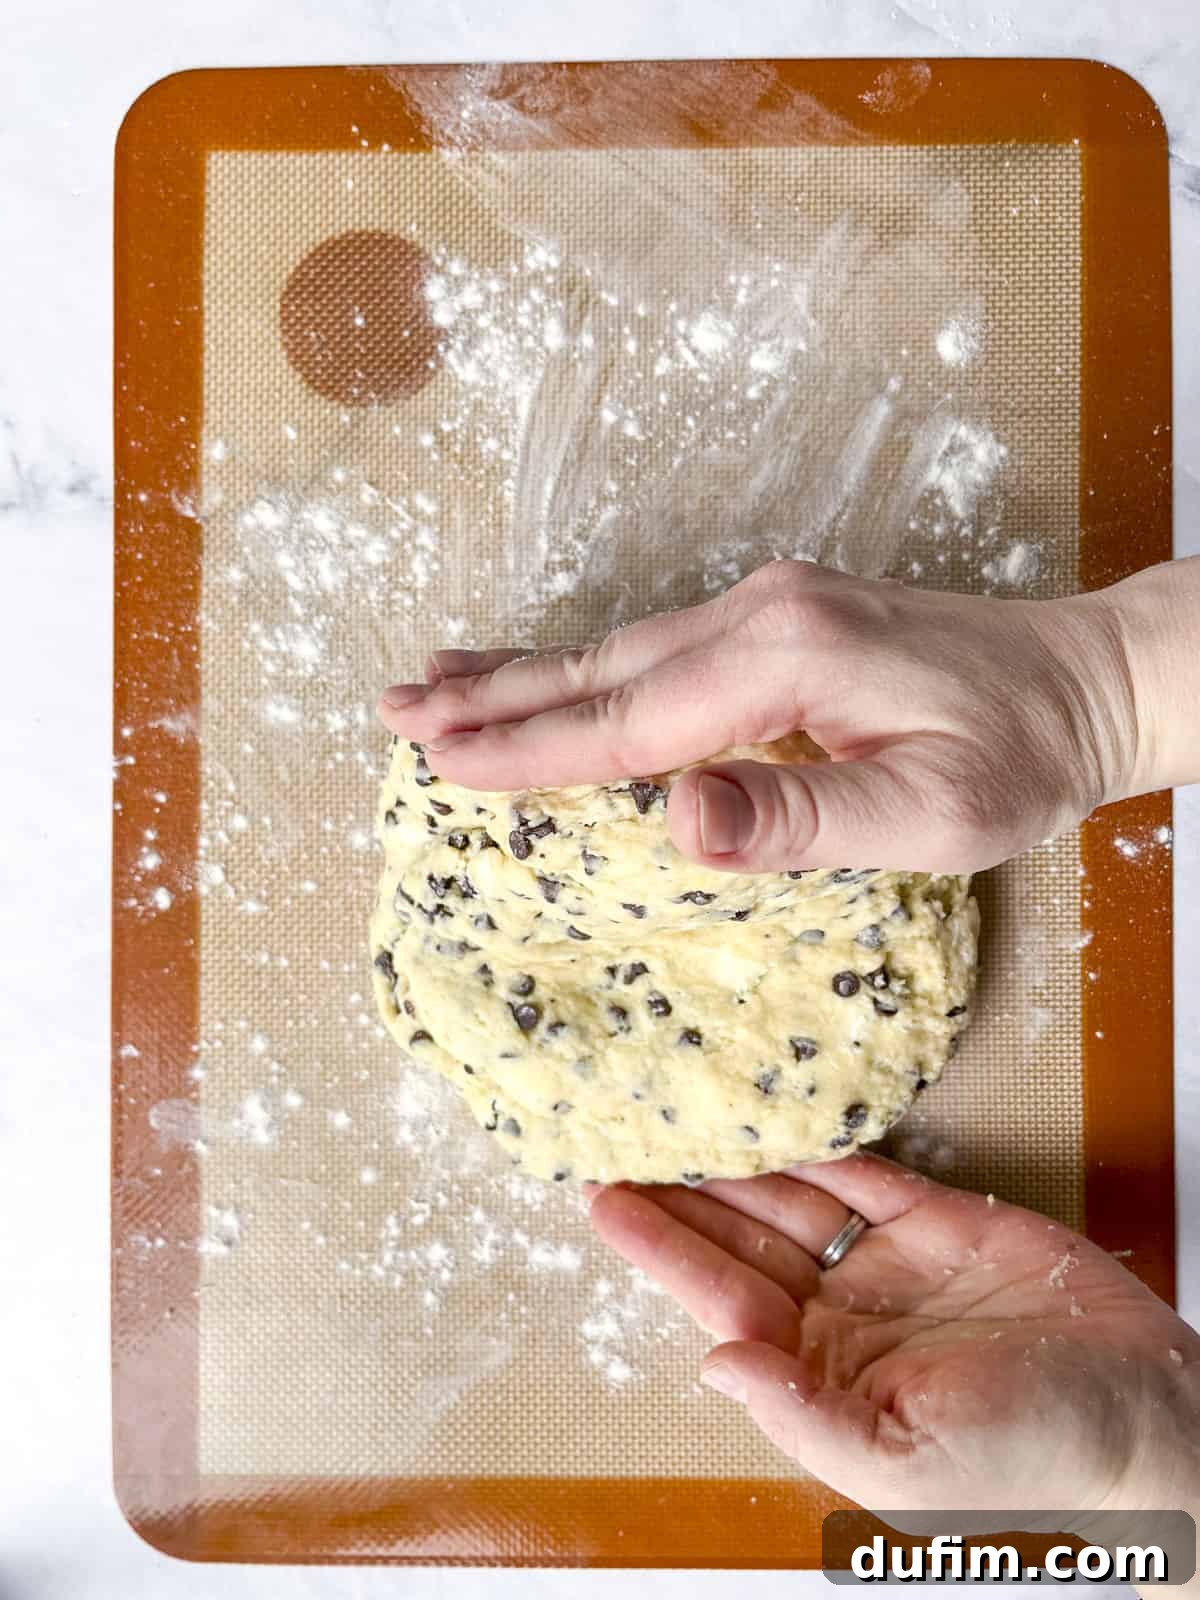
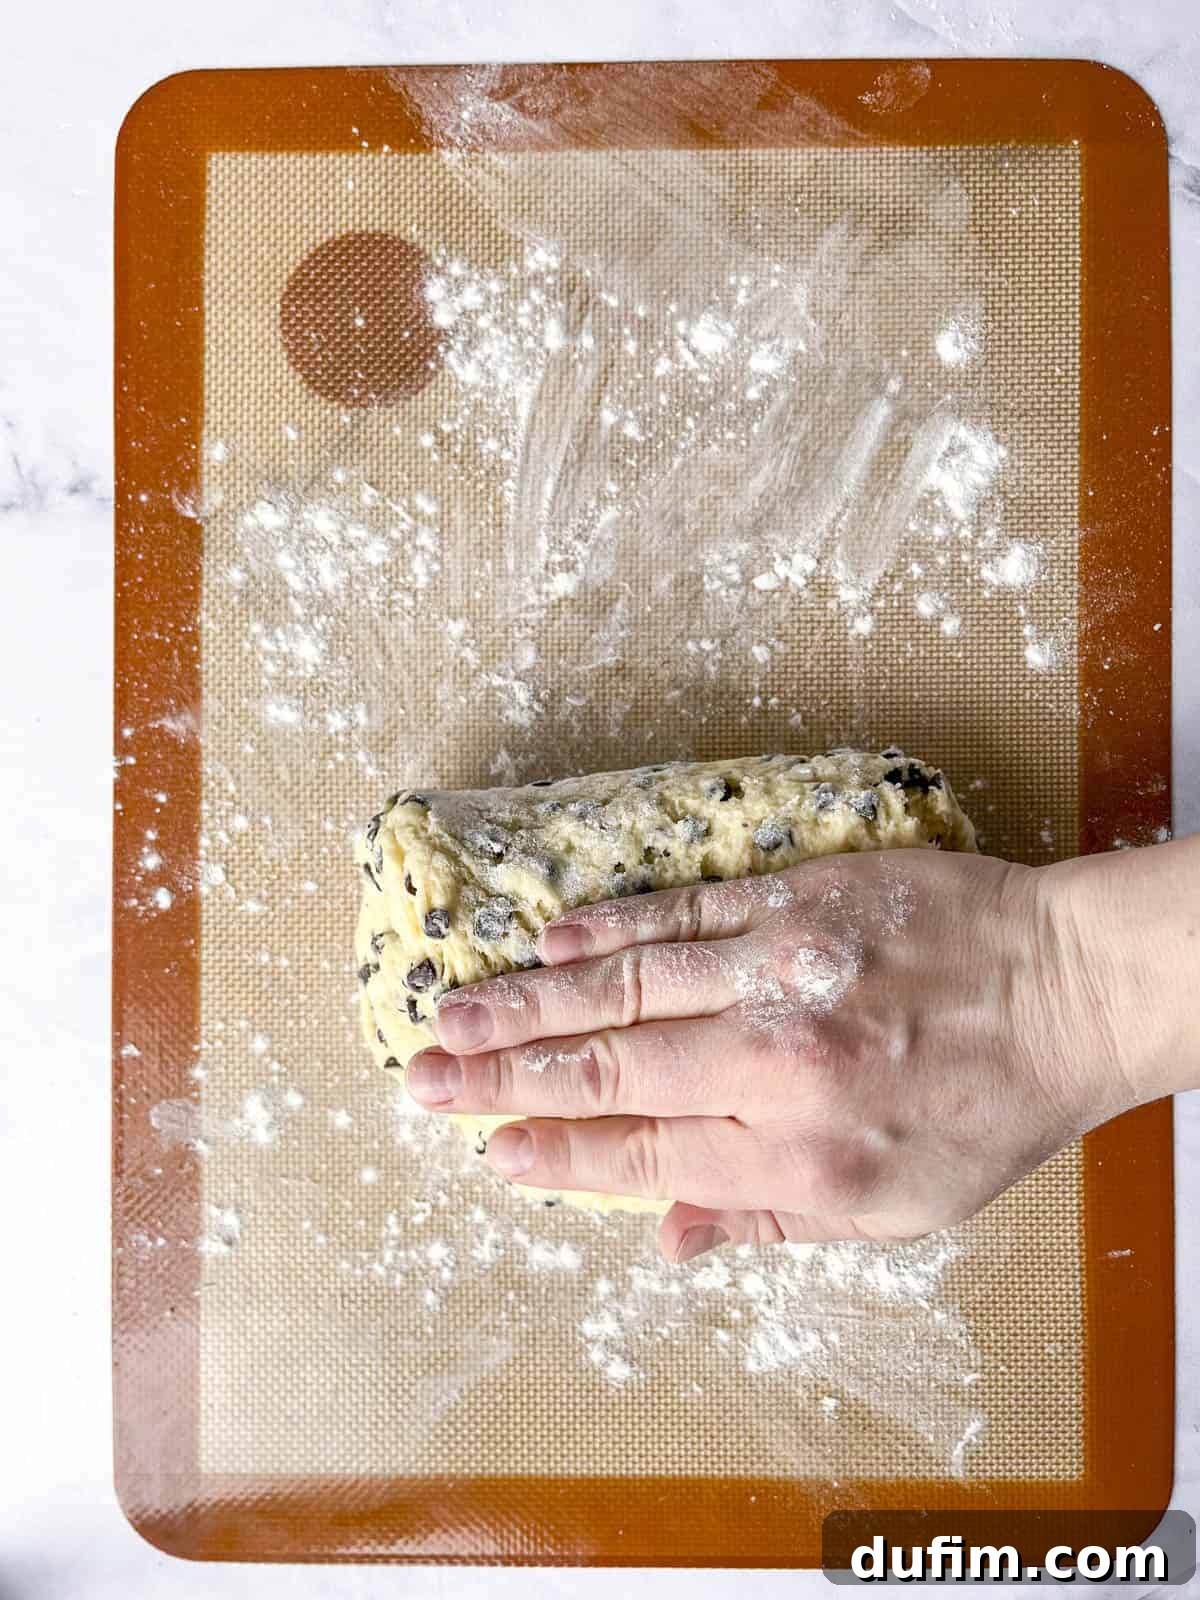
- Perform Lamination for Flaky Layers. This step is key for tall, flaky scones! Gently fold the dough in half, then lightly press it down. Rotate the dough 90 degrees and fold it in half again. Repeat this folding and turning process 4-5 times. This creates distinct layers of butter and dough, which will expand into beautiful, airy flakes during baking.
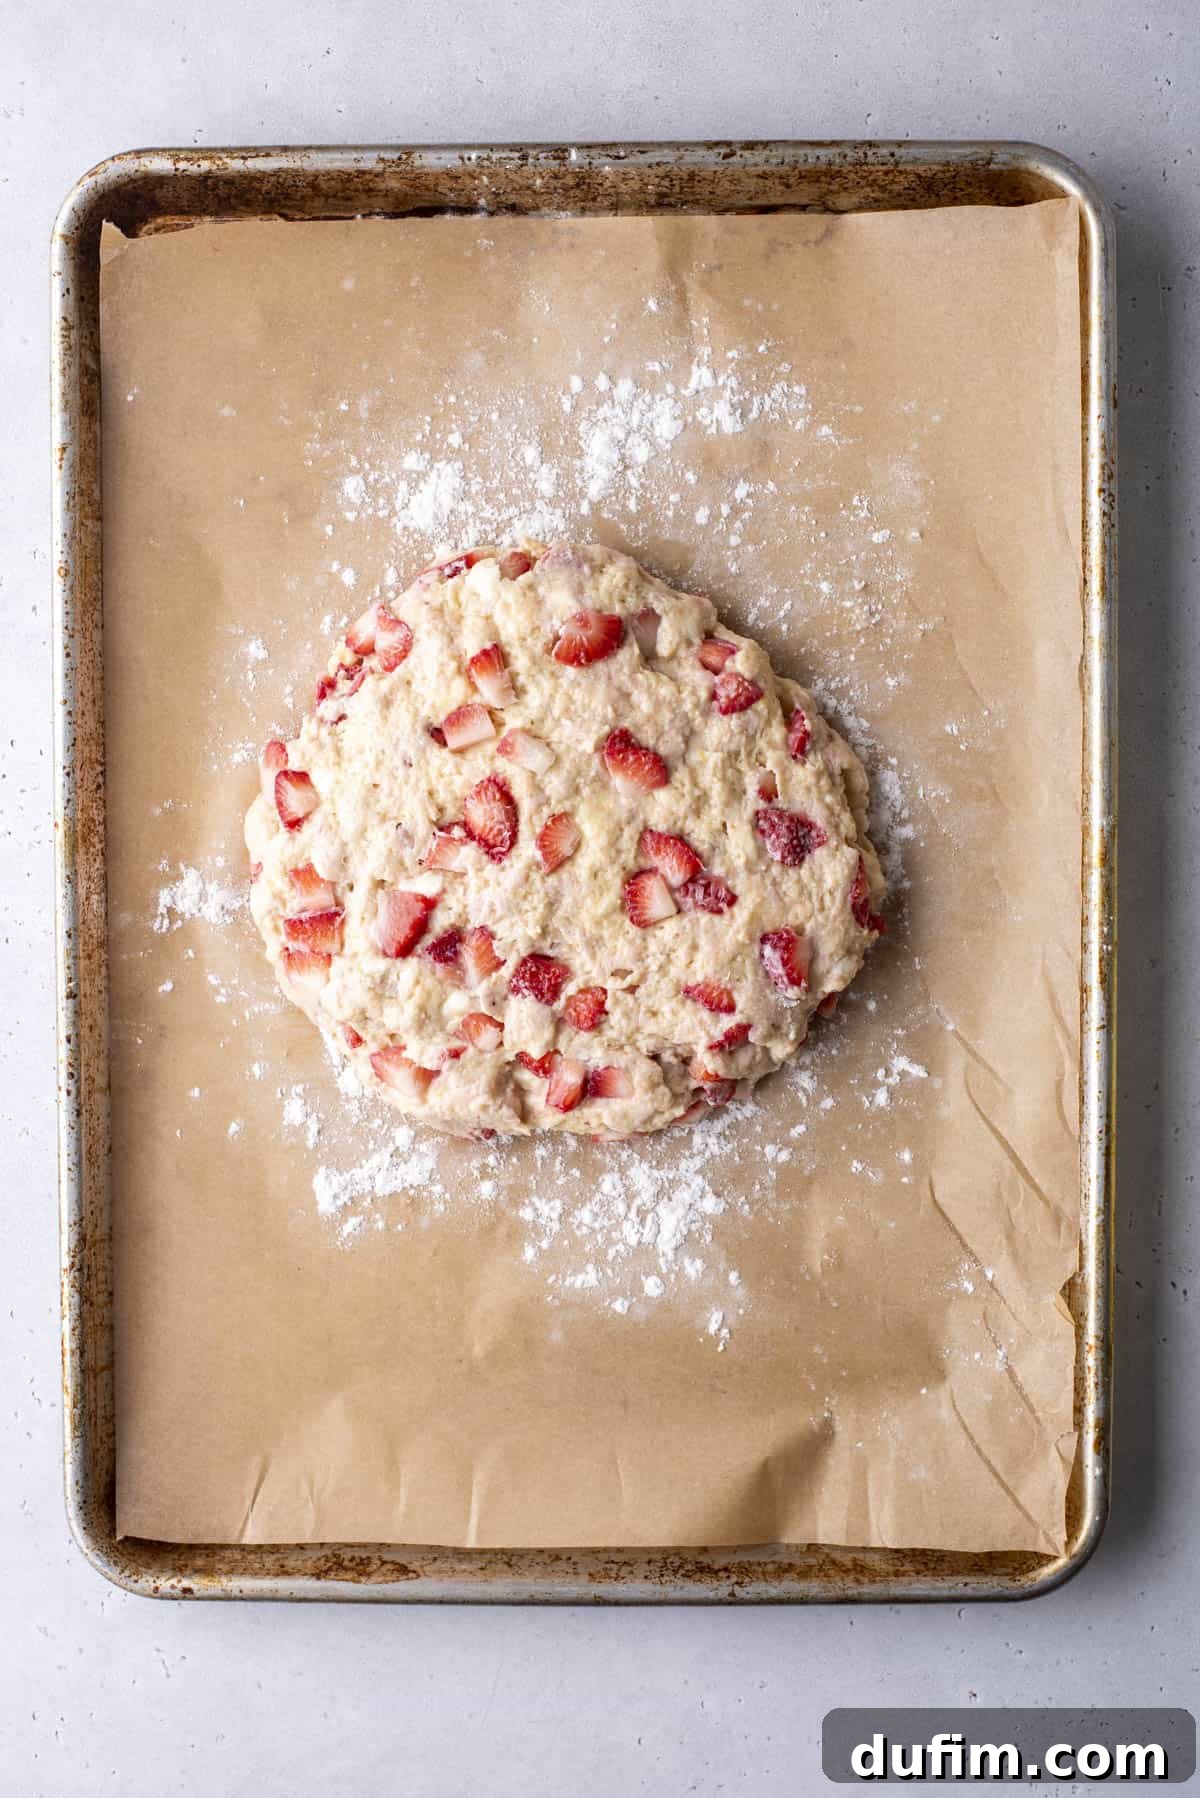
- Chill the Dough. After laminating, gently shape the dough into an 8-10 inch disc, aiming for a height of approximately 1.5 to 2 inches. Transfer the dough disc to a plate or baking sheet lined with parchment paper and refrigerate it for 5-10 minutes. This quick chill helps the butter firm up again, ensuring maximum flakiness.
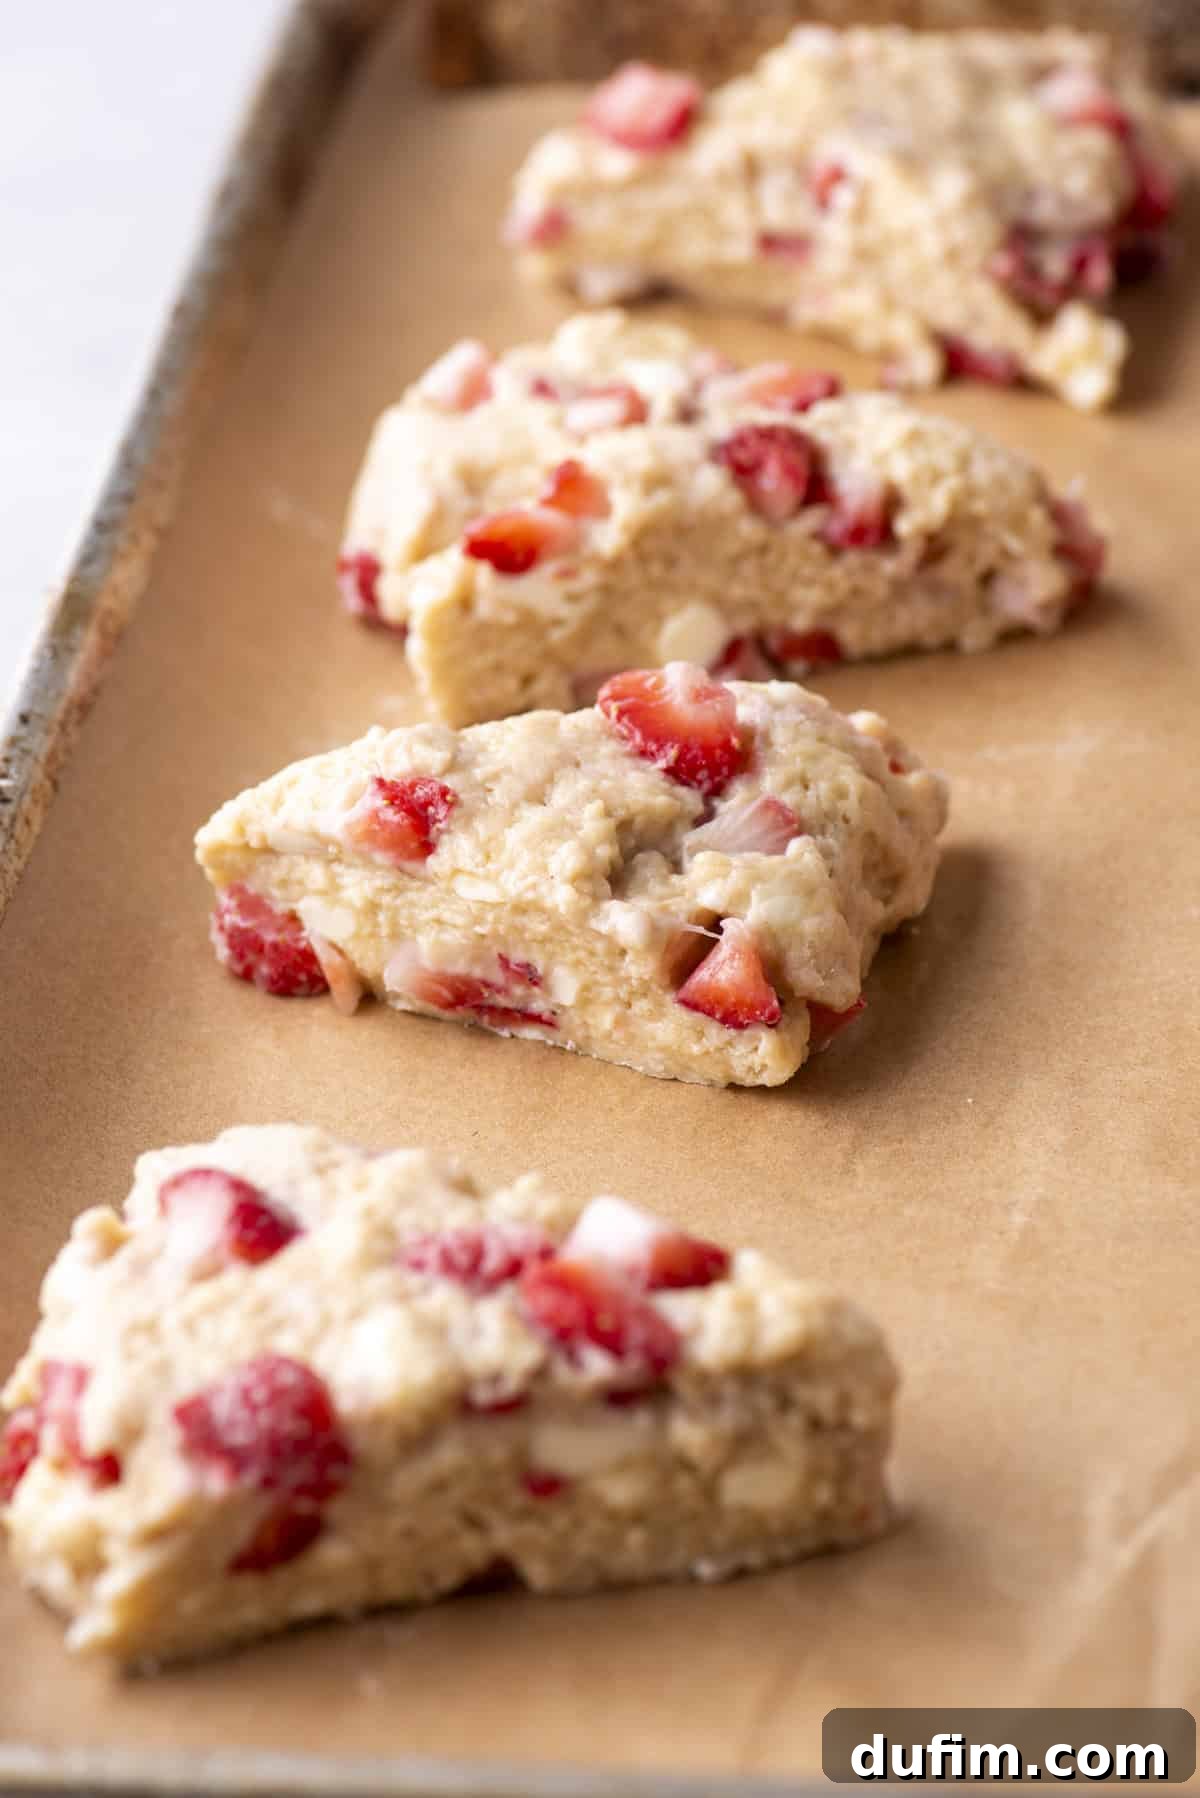
- Cut the Scones into Wedges. Once the dough is slightly chilled and firm, use a sharp knife or a pizza cutter to cut the large disc into 8 equal wedges. For a more traditional look, you can also use a round biscuit cutter, though this might result in more scraps that need to be re-rolled (and potentially overworked).
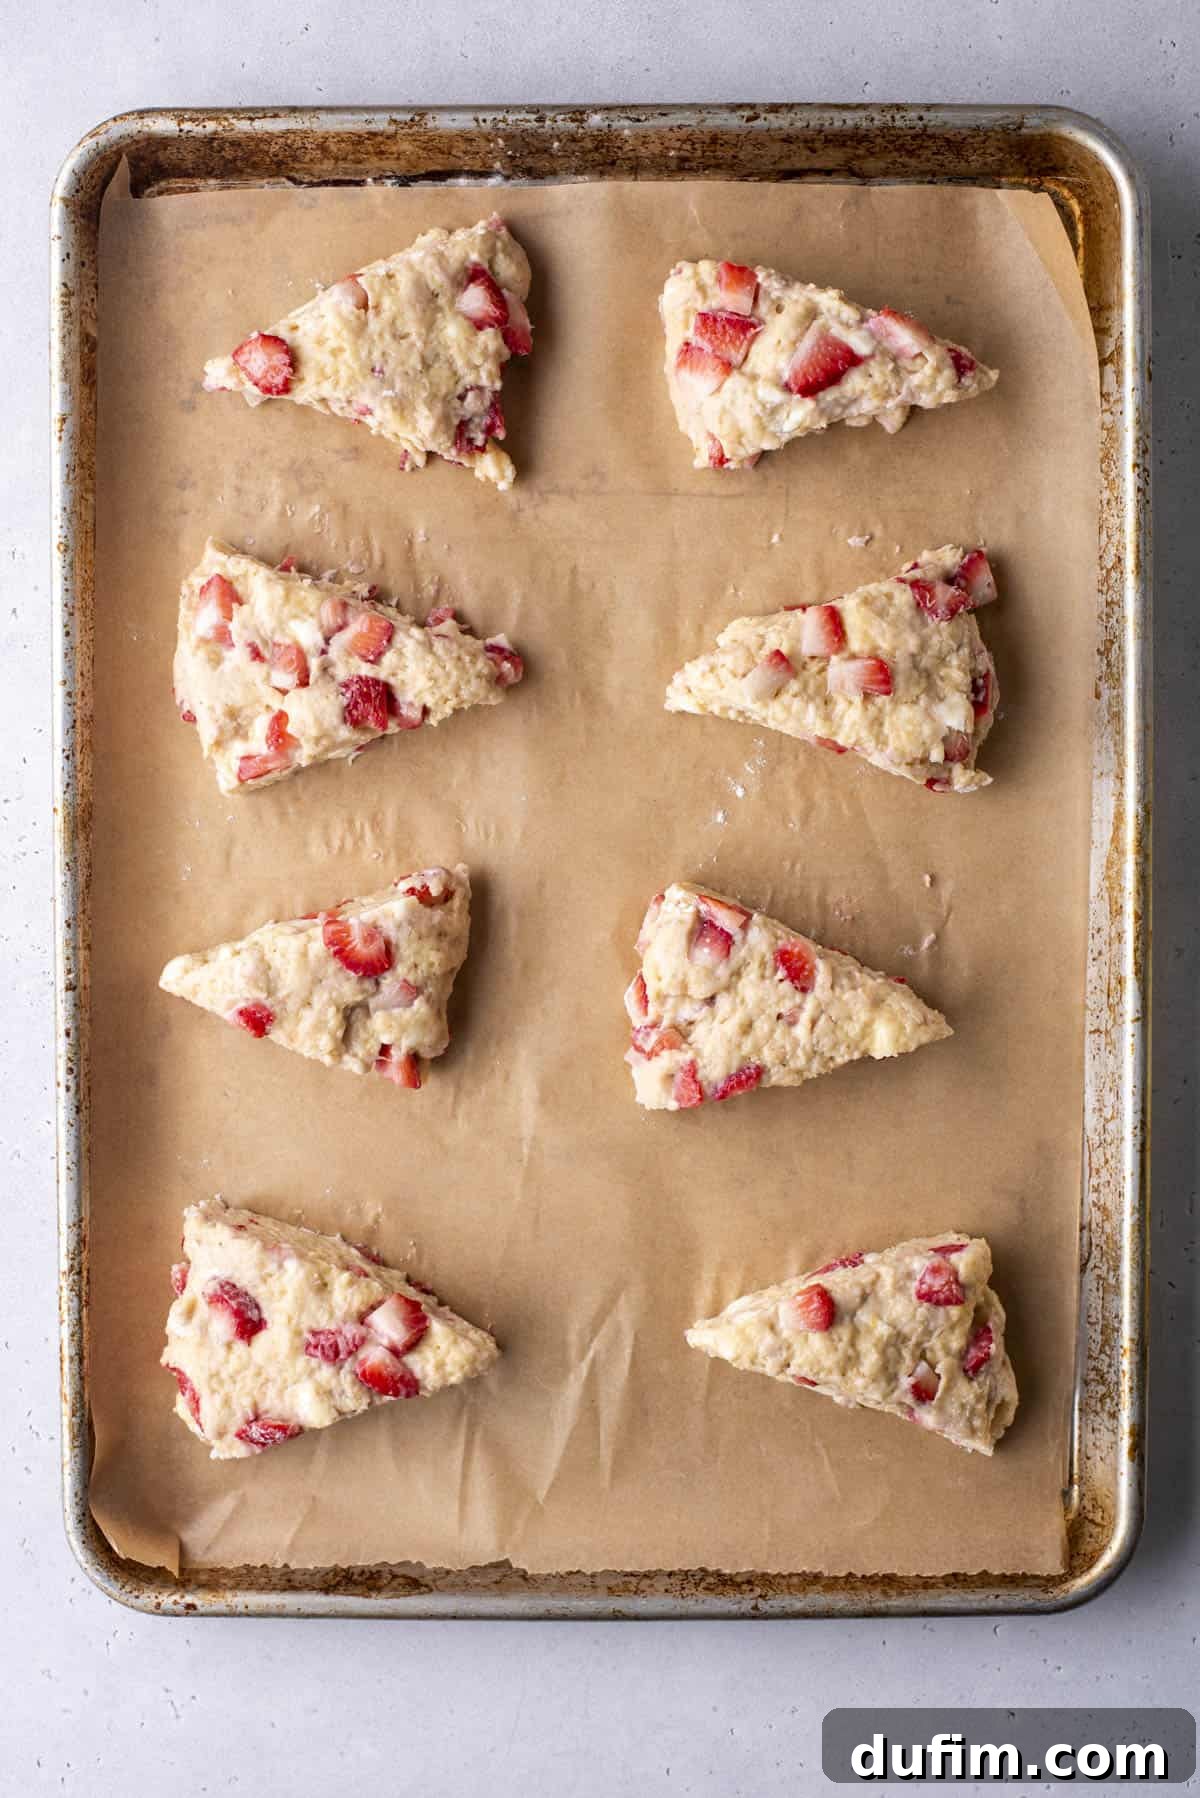
- Arrange Scones on Baking Sheet. Carefully transfer the cut scone wedges to a baking sheet lined with a silicone mat or parchment paper. Ensure they are spaced 2-3 inches apart to allow for proper air circulation and expansion during baking.
- Freeze Scones and Preheat Oven. This second chilling step is vital! Place the baking sheet with the scones into the freezer for 30 minutes. This firming up of the butter prevents the scones from spreading too much in the oven. During the last 5 minutes of freezing, preheat your oven to 400º F (200º C).
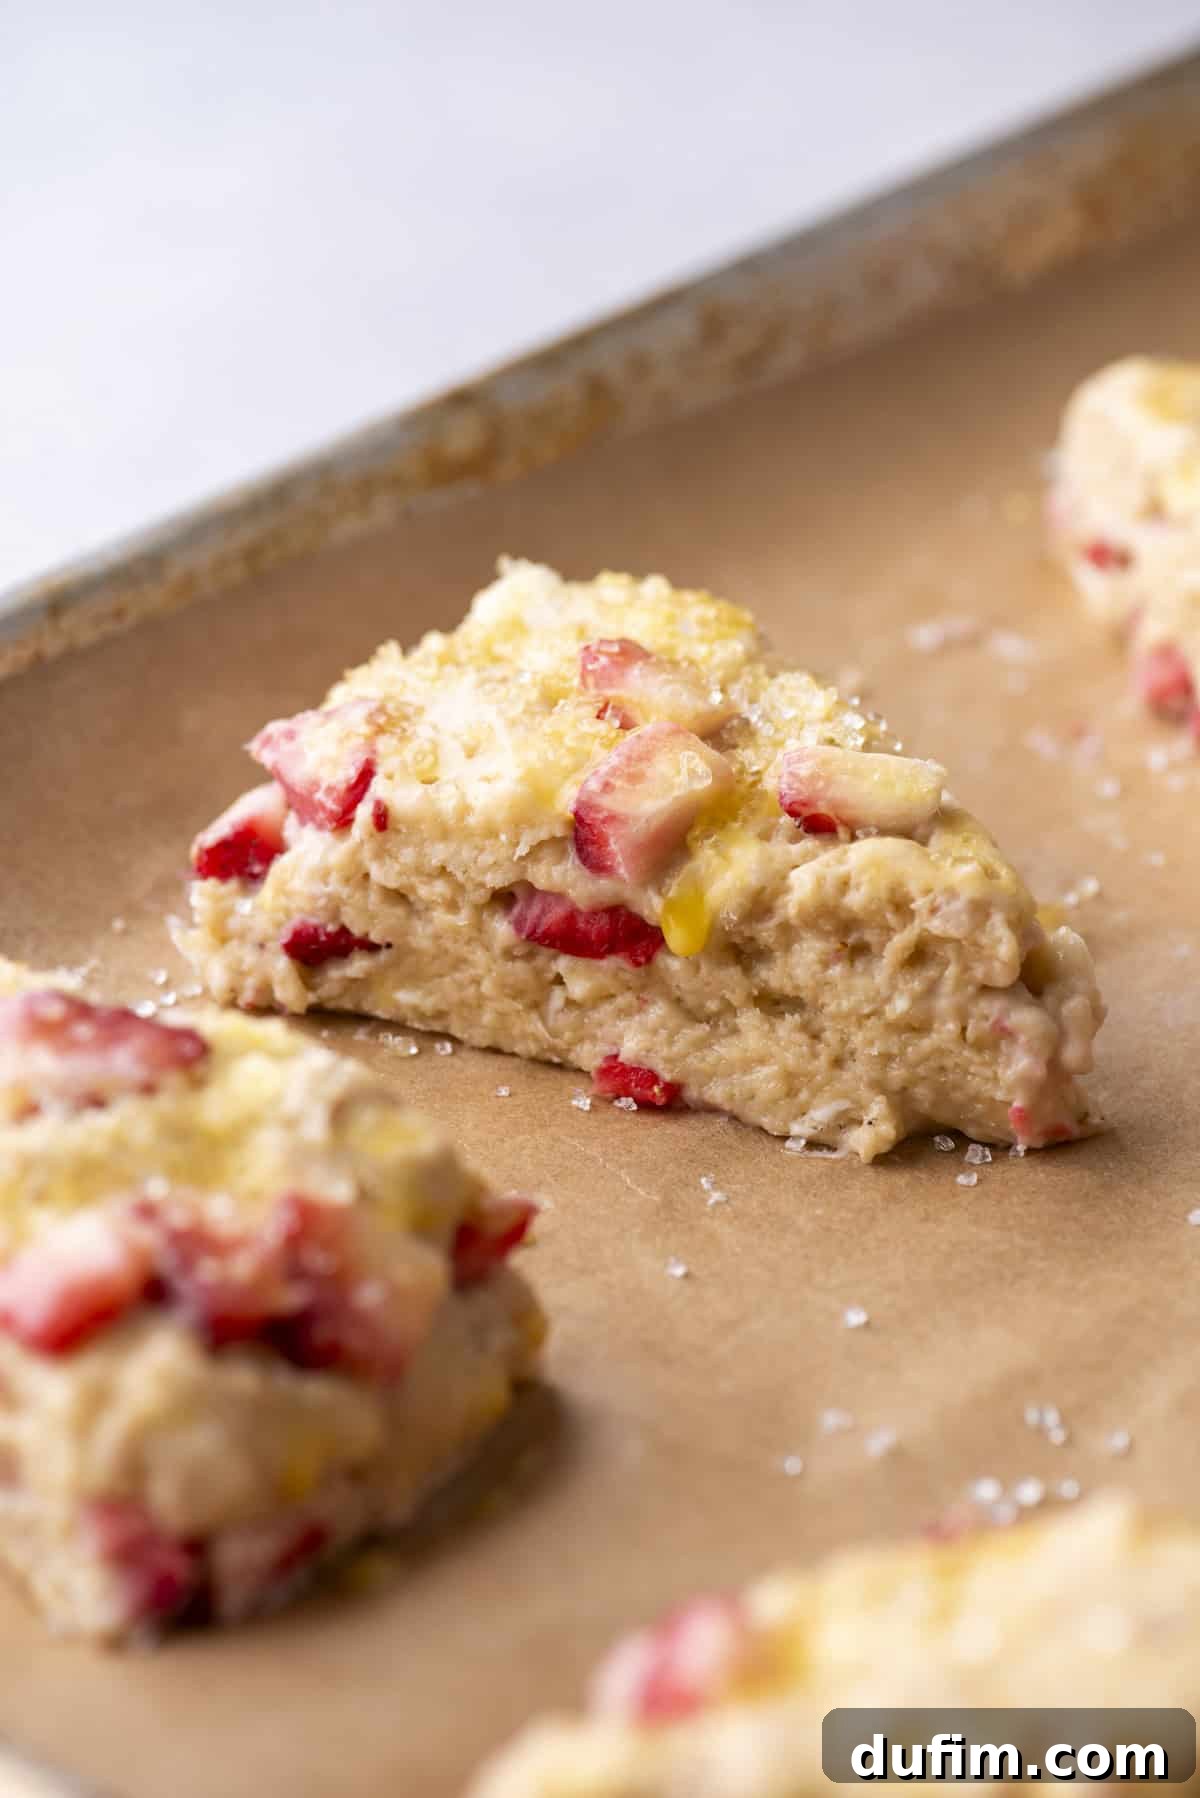
- Apply Egg Wash and Sugar (Optional). Just before baking, gently brush the tops of the frozen scones with an egg wash (one large egg beaten with one tablespoon of water), a little buttermilk, or heavy cream. This promotes a beautiful golden-brown crust. For an extra touch of sparkle and crunch, sprinkle coarse sanding sugar over the tops.
- Bake Until Golden and Cool. Bake the scones in the preheated oven for 20-26 minutes, or until they are puffed, golden brown on top, and cooked through. The internal temperature should reach about 200-205°F (93-96°C) if using a thermometer. Remove from the oven and allow the strawberry scones to cool on the baking sheet for a few minutes before transferring them to a wire rack to cool completely.
Expert Tips for Making Flawless Strawberry Scones
These crucial tips will elevate your scone-making experience and guarantee superior results every time:
- Only Use Fresh Strawberries: This cannot be stressed enough. Frozen strawberries contain significantly more water, which they release as they thaw during baking. This excess moisture will make your scone dough incredibly wet, resulting in a dense, heavy, and undeniably soggy scone. Always opt for fresh, ripe strawberries for the best flavor and texture.
- Proper Strawberry Preparation is Key: After chopping your fresh strawberries into small, consistent pieces, it is absolutely essential to blot them dry with paper towels. This simple step removes surface moisture, which helps prevent the dough from becoming overly hydrated. Dry strawberries allow the scones to rise higher and achieve those beautiful, flaky layers without compromising the delicate structure.
- Embrace the Power of Cold Butter: Cold butter is the cornerstone of flaky scones. Ensure your butter is straight from the refrigerator and cut into small, even cubes. When incorporated into the dry ingredients, these cold butter pieces create tiny pockets. As the scones bake, the butter melts and releases steam, pushing the layers of dough apart and creating that irresistible flaky texture. If your butter gets too warm, pop the bowl into the fridge for 5-10 minutes.
- The Unnegotiable Chill: Freeze the Dough Before Baking: Do not skip this critical step! Chilling the cut scone dough in the freezer for 30 minutes before baking serves several vital purposes. First, it helps the scones maintain their distinct shape and prevents them from spreading excessively on the baking sheet. Second, and most importantly, it re-firms the butter within the dough. This cold butter is what ensures maximum steam production in the hot oven, leading to those light, airy, and wonderfully flaky layers. A well-chilled scone is a well-risen scone.
- Avoid Overmixing the Dough: Scone dough is delicate. Overworking it develops the gluten in the flour too much, resulting in tough, dense scones rather than light and tender ones. Mix just until the ingredients are combined and no dry streaks of flour remain.
- Don’t Be Afraid to Laminate: The folding technique described in step 5 is crucial for lamination. It creates layers of butter between layers of dough. This is how you achieve those characteristic tall, flaky layers. It might seem like an extra step, but it makes all the difference!

How to Achieve Tall, Flaky Scones: The Art of Lamination
The secret to those magnificent, towering scones with distinct flaky layers lies in a classic baking technique called lamination. This isn’t just for croissants; it’s incredibly effective for scones too, and surprisingly simple!
Lamination works by strategically folding butter between layers of dough. As your scones bake in a hot oven, the butter melts and transforms into steam. This steam then forces the individual layers of dough to separate, creating countless airy, flaky pockets that give scones their signature light texture and impressive height.
The process of laminating scone dough is quick and easy. Once your dough is mixed and just comes together, simply turn it out onto a lightly floured surface. Fold the dough in half, gently press it down to seal slightly, then rotate the dough 90 degrees. Repeat this folding and turning process 4-5 times. This brief but impactful technique ensures you get those beautiful, distinct layers in every bite.
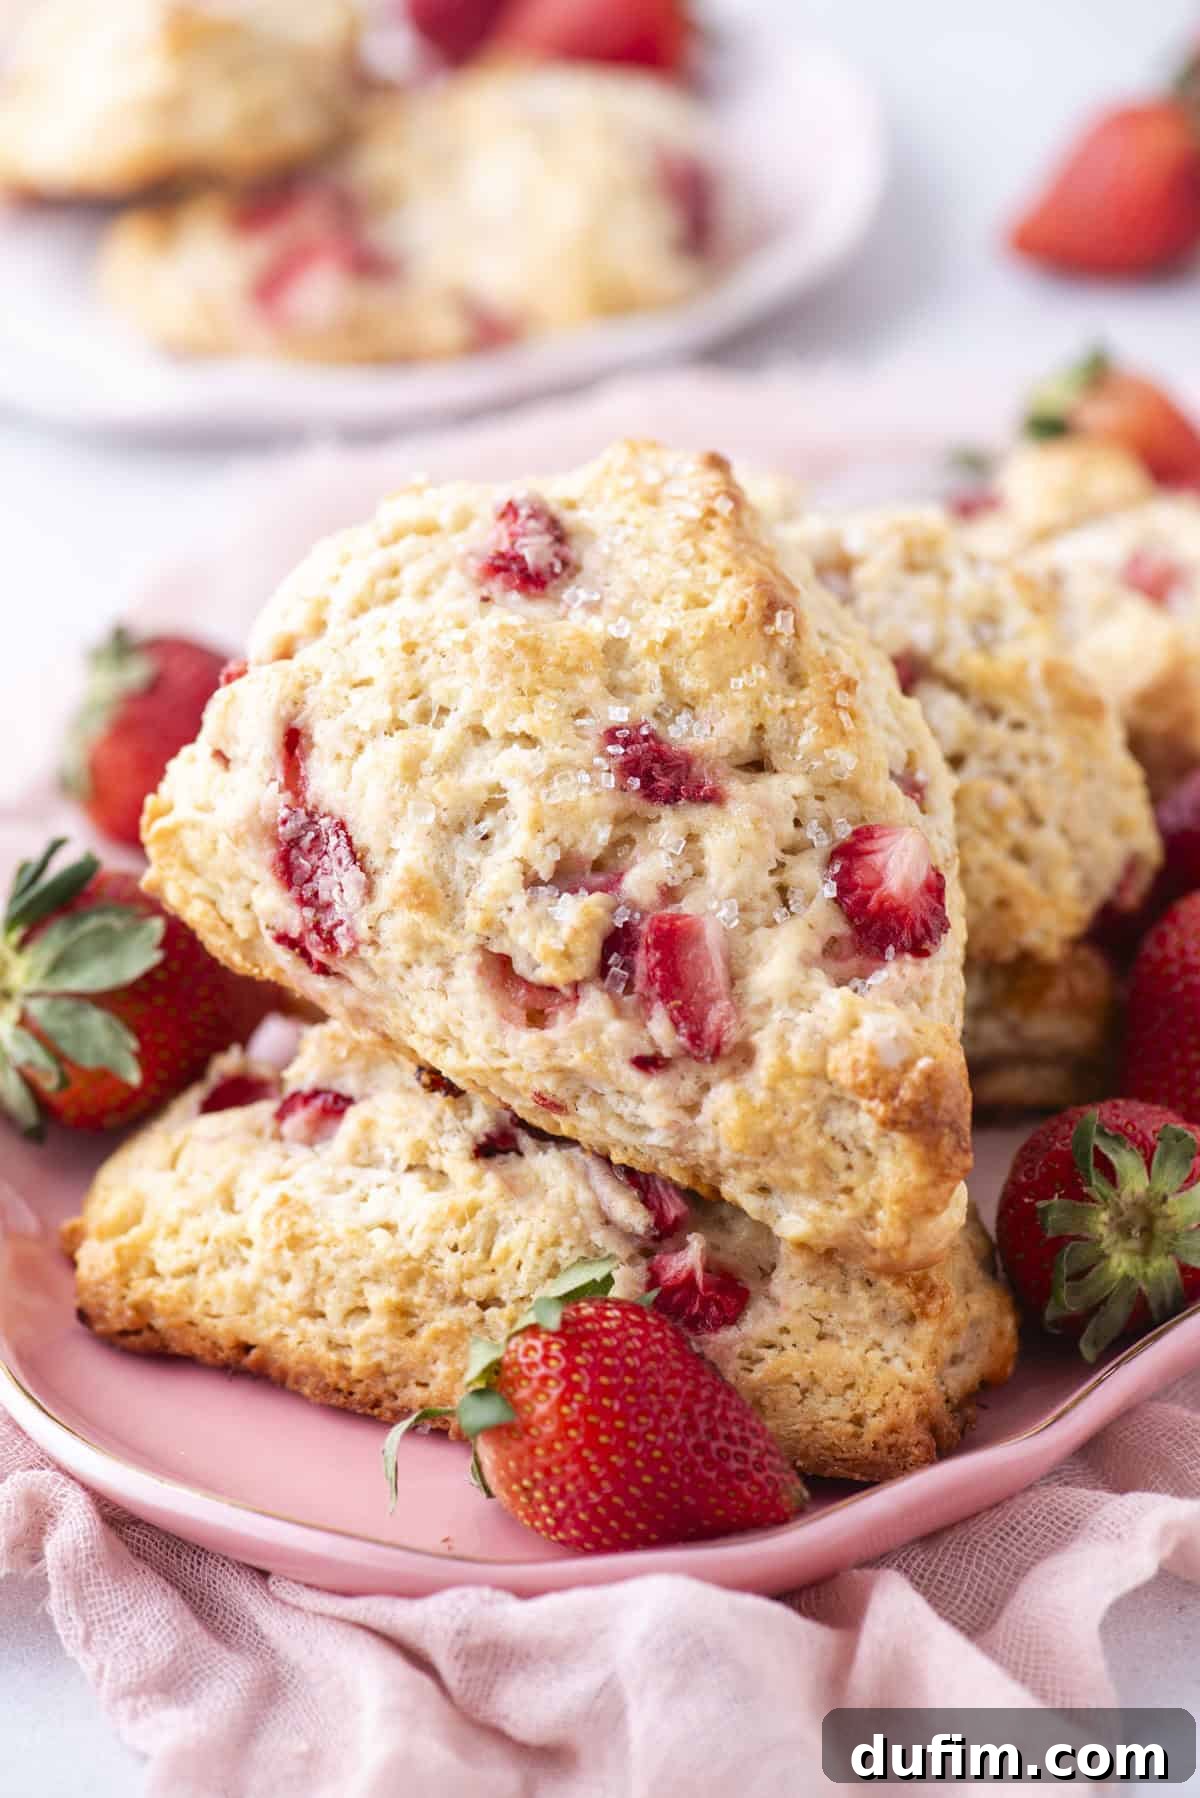
Serving Suggestions for Strawberry Scones
These strawberry scones are absolutely delicious on their own, but here are a few ways to elevate your serving experience:
- Classic with Cream and Jam: For a truly traditional experience, serve your warm scones split in half with a generous dollop of clotted cream (or whipped cream) and a spoonful of your favorite strawberry jam.
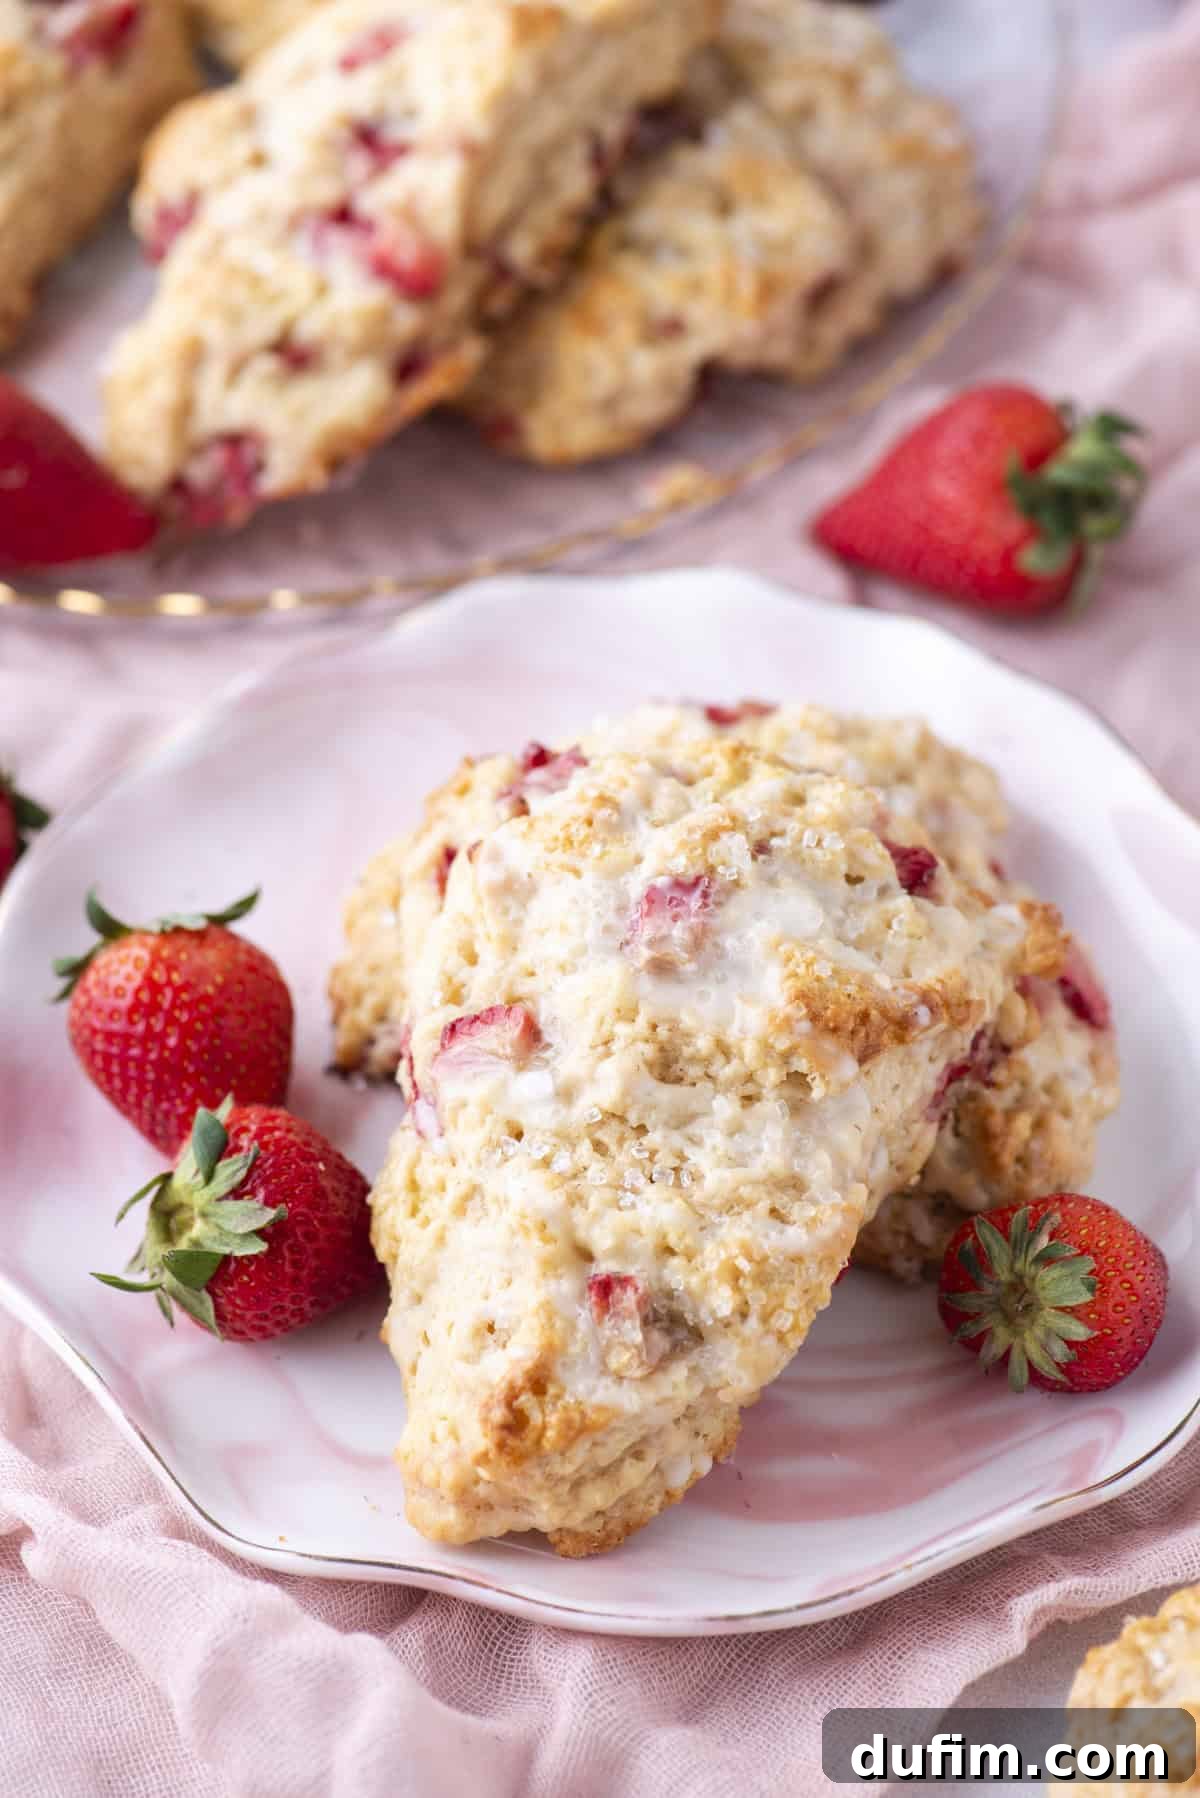
- Simple Glaze: A light lemon glaze or a simple powdered sugar glaze (powdered sugar mixed with a touch of milk or lemon juice) can add an extra layer of sweetness and elegance.
- With Fresh Berries: Garnish with extra fresh strawberry slices or a medley of berries for a vibrant presentation and a boost of fresh fruit flavor.
- Alongside Tea or Coffee: These scones are the perfect accompaniment to your morning coffee or an afternoon tea spread.
Frequently Asked Questions About Strawberry Scones
Here are answers to some common questions about baking these delightful scones:
- Can I use frozen strawberries? No, it is strongly advised against using frozen strawberries. As they thaw, they release too much moisture, which will make your dough soggy and prevent the scones from rising properly, resulting in a dense and flat texture. Stick to fresh strawberries for the best results.
- What if I don’t have buttermilk? You can easily make a substitute for buttermilk at home! For ½ cup (118ml) of buttermilk, measure out ½ cup (118ml) of regular milk (dairy or non-dairy) and stir in 1 teaspoon of white vinegar or lemon juice. Let it sit for 5-10 minutes until it slightly curdles.
- Why is my dough too sticky/too dry? The stickiness can be affected by the humidity in your kitchen and the exact moisture content of your strawberries. If the dough is too sticky to handle after adding all ingredients, add flour one tablespoon at a time until it’s workable. If it’s too dry and crumbly, add a teaspoon of buttermilk or milk at a time until it just comes together.
- Can I make the dough ahead of time? Yes! You can prepare the scone dough, cut the wedges, and then freeze them on a baking sheet until solid. Transfer the frozen scones to an airtight freezer bag for up to 2-3 weeks. When ready to bake, place them directly from the freezer onto a prepared baking sheet, brush with egg wash, and bake for a few minutes longer (approx. 25-30 minutes) than the fresh dough.
- How do I know when scones are done baking? Scones are ready when they are beautifully golden brown on top and firm to the touch. You can also test by inserting a wooden skewer into the center; if it comes out clean, the scone is done. For precision, an internal temperature of 200-205°F (93-96°C) indicates doneness.
How to Store Strawberry Scones to Maintain Freshness
Proper storage is essential to keep your strawberry scones delicious and tender. Make sure your scones have completely cooled to room temperature before storing them. Packing them while they’re still warm will trap condensation, leading to an undesirable soggy texture.
Once cooled, transfer your strawberry scones to a resealable ziploc bag or an airtight container. Store them at room temperature in a cool, dry place for 1 to 2 days for optimal freshness. Avoid refrigerating baked scones, as the cold air tends to dry them out quickly and can make them tough.
If you wish to preserve your delicious scones for a longer period, they freeze beautifully. Place fully cooled scones in a freezer-safe bag or airtight container, separated by parchment paper to prevent sticking. They can be frozen for up to one month. When you’re ready to enjoy them, simply let them defrost at room temperature, or warm them gently in a low oven (around 250°F / 120°C) for 5-10 minutes to refresh their texture.
More Delightful Scone Recipes to Explore
If you’ve loved these strawberry scones, be sure to explore more delicious variations from my collection:
- Pumpkin Spice Scones
- Chocolate Chip Buttermilk Scones
- Lemon Blueberry Scones
- Blueberry Buttermilk Scones

Tap stars to rate!
Strawberry Scones Recipe
Beth
10
minutes
30
minutes
40
minutes
8
scones
Rate
Ingredients
- 2 ½ cups (300g) all-purpose flour
- ½ cup (99g) granulated sugar
- 1 Tbsp baking powder
- ½ tsp salt
- ½ cup (113g) cold unsalted butter, cubed
- ½ cup (118ml) buttermilk
- 1 tsp vanilla extract
- 1 large egg
- 1 cup (180g) chopped fresh strawberries
Instructions
-
Don’t skip this step: After chopping the strawberries, blot them gently with paper towels before adding them to the dough. This helps absorb excess moisture, which keeps the scones from becoming soggy and helps them rise tall with flaky layers. A few extra seconds here makes a big difference in the final texture!
-
In a large mixing bowl combine the flour, granulated sugar, baking powder, and salt. Add in the cold, cubed butter and use your hands or a pastry cutter to cut in the butter until pea sized amounts of butter remain.2 ½ cups (300g) all-purpose flour,
½ cup (99g) granulated sugar,
1 Tbsp baking powder,
½ tsp salt,
½ cup (113g) cold unsalted butter -
Create a well in the center of the flour mixture. Add the buttermilk, vanilla extract and egg. Use a spatula to gently combine until the dough is thick and sticky. Gently stir in the chopped strawberries.½ cup (118ml) buttermilk,
1 tsp vanilla extract,
1 large egg,
1 cup (180g) chopped fresh strawberries -
On a silicone mat or kitchen counter, gently knead the dough, until all the flour is incorporated. Add 1-2 additional tablespoons of flour if the dough is too sticky.
-
Lamination (folding the dough to create flaky layers!): Fold the dough in half, press it down slightly, then turn the dough 90 degrees and fold in half again. Repeat this folding and turning process 4-5 times.
-
Shape the dough into a 8-10 inch disc that is about 1.5 to 2 inches tall. Refrigerate the scone in a disc for 5-10 minutes.
-
Use a knife or pizza cutter to cut the scones into 8 equal wedges.
-
Place the scones 2-3 inches apart on a baking sheet that’s lined with a silicone mat or parchment paper.
-
Freeze the scones for 30 minutes. The last 5 minutes, preheat the oven to 400º F.
-
Brush the tops of the scones with egg wash (1 large egg + 1 Tbsp water), buttermilk or heavy cream. Add coarse sanding sugar if desired.
-
Bake for 20-26 minutes or until the scones are lightly golden. Allow the scones to cool.
Video
Video: Strawberry Scones (Placeholder for video content. Please note, actual video embed code containing JavaScript has been removed as per instructions.)
Nutrition
Serving:
1
scones
|
Calories:
311
kcal
|
Carbohydrates:
44
g
|
Protein:
5
g
|
Fat:
13
g
|
Saturated Fat:
8
g
|
Polyunsaturated Fat:
1
g
|
Monounsaturated Fat:
3
g
|
Trans Fat:
0.5
g
|
Cholesterol:
53
mg
|
Sodium:
330
mg
|
Potassium:
74
mg
|
Fiber:
1
g
|
Sugar:
13
g
|
Vitamin A:
410
IU
|
Calcium:
118
mg
|
Iron:
2
mg
Nutrition Disclosure
All nutritional values are approximate and provided to the reader as a courtesy. Changing ingredients and/or quantities will alter the estimated nutritional calculations.