
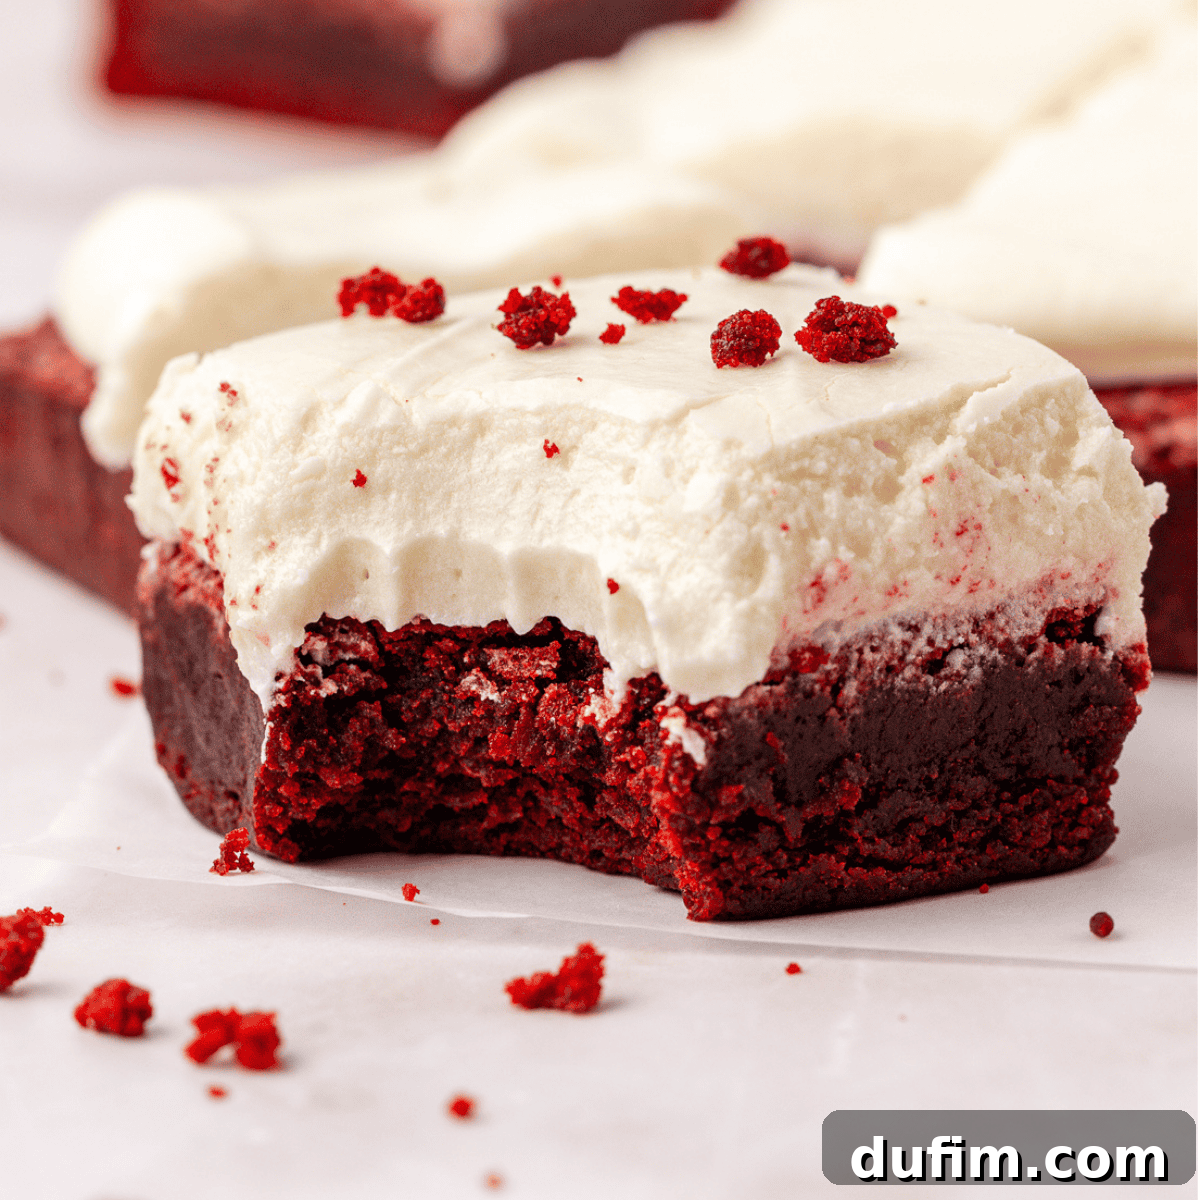
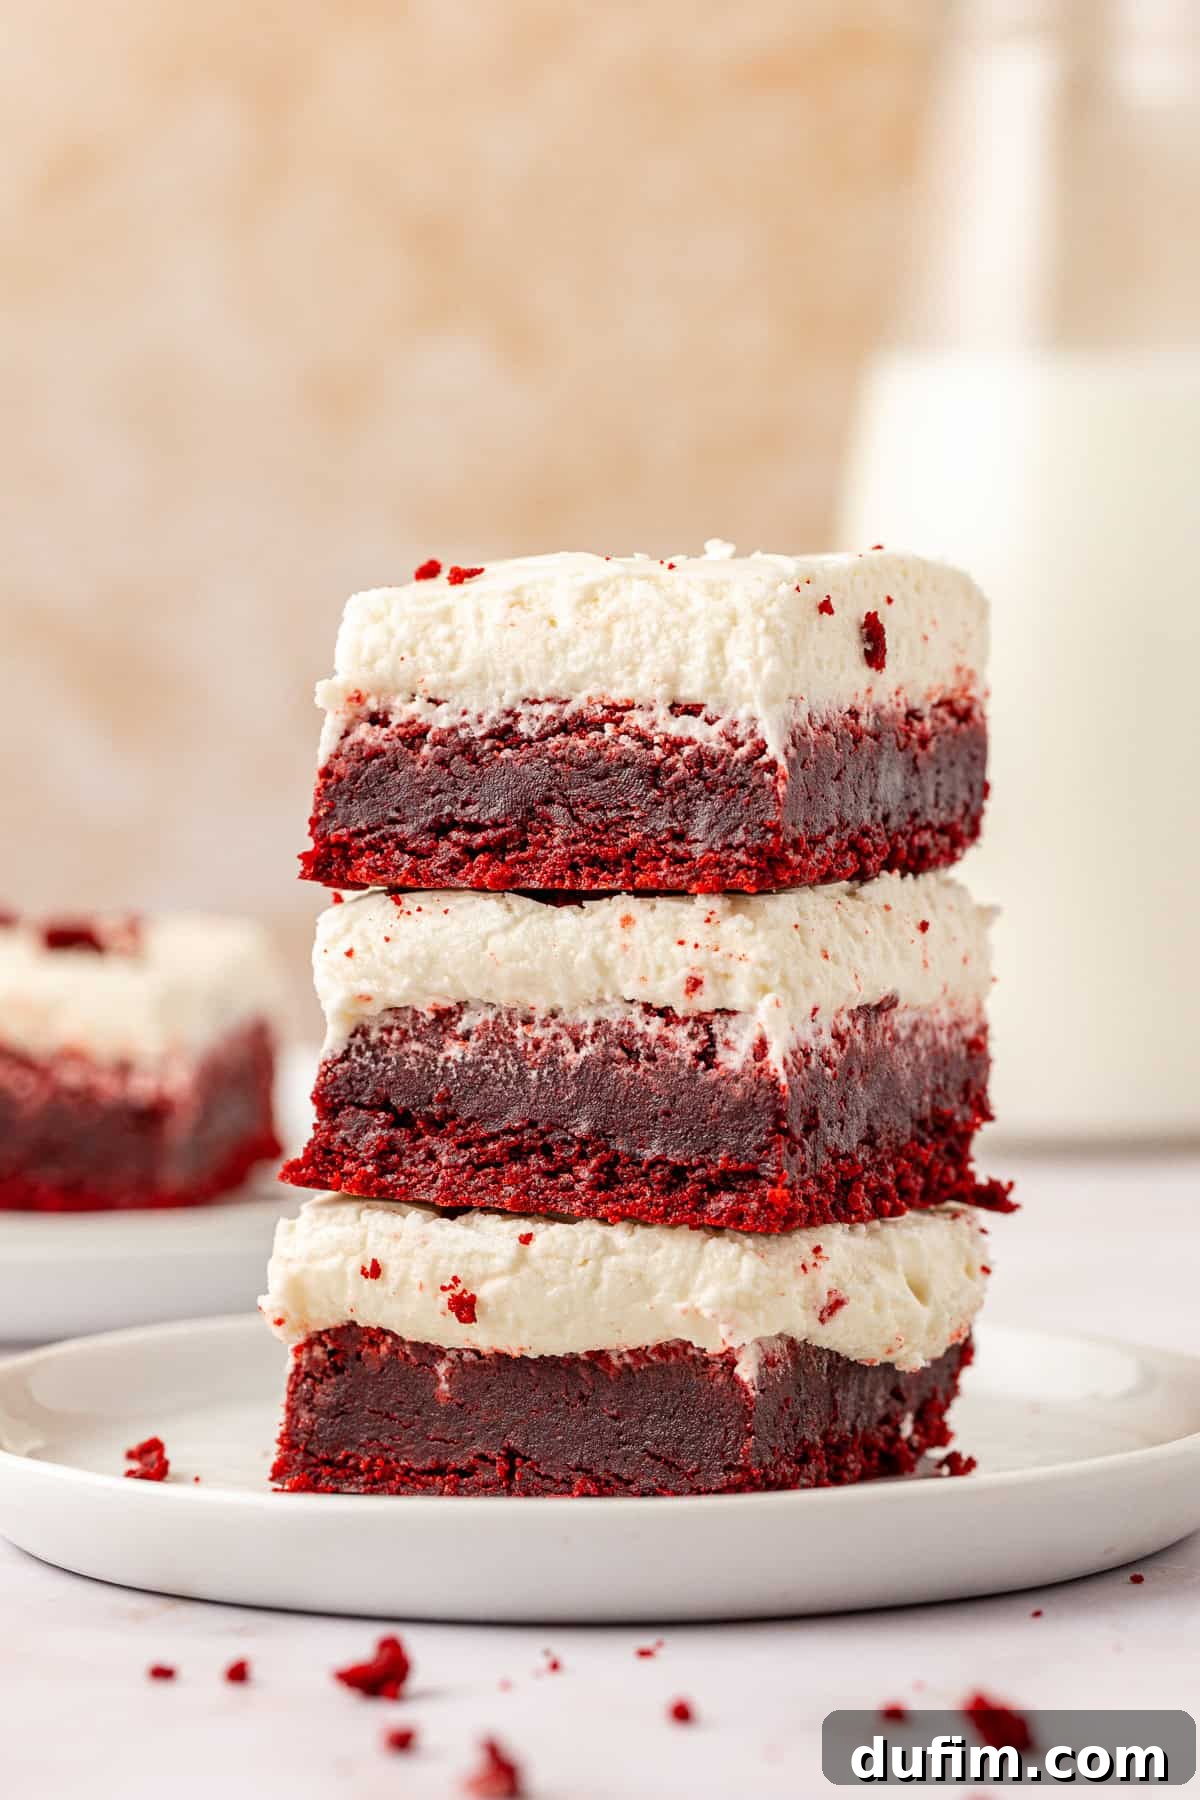
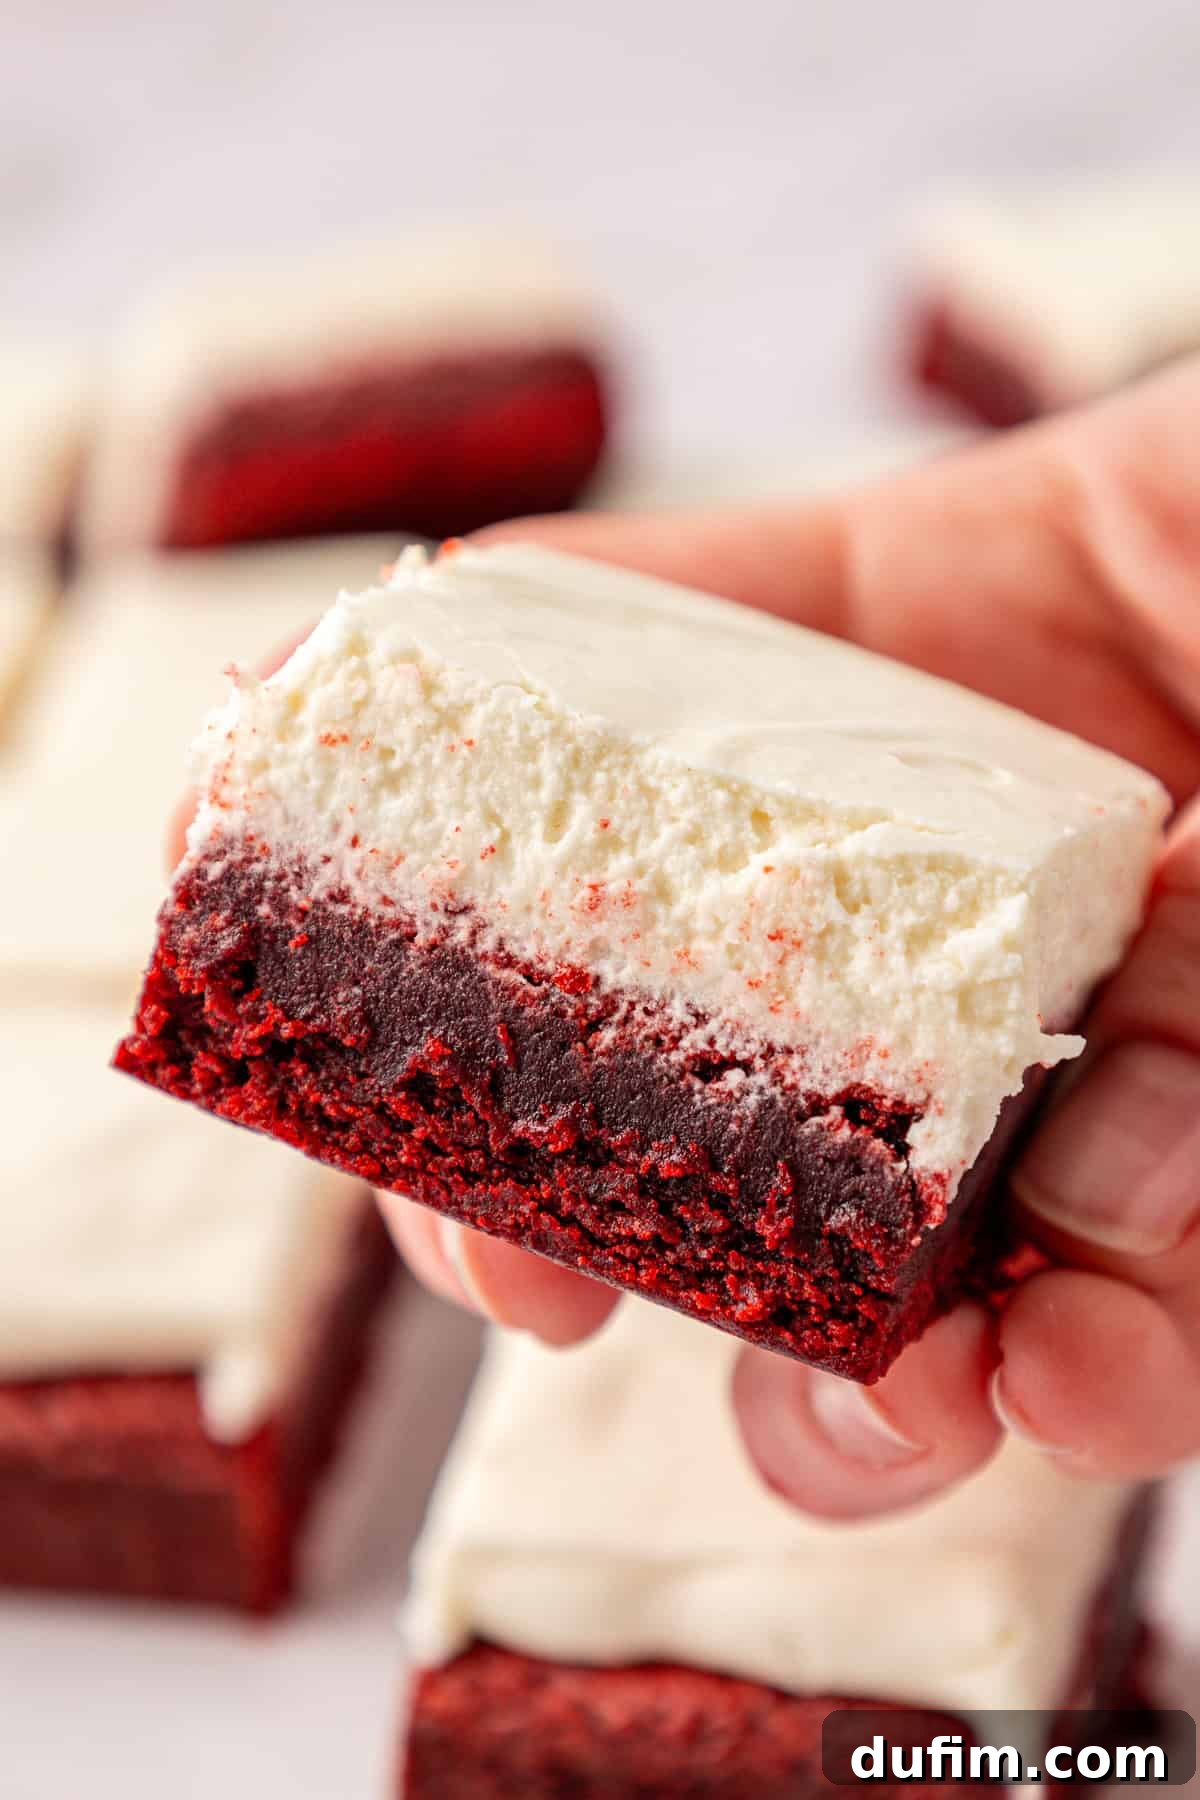
There’s something truly magical about red velvet—that subtle cocoa, a hint of tang, and just the right touch of sweetness. And when it comes to brownies, achieving that perfect red velvet balance, combined with an irresistible chewy texture, is an art form. After countless experiments and a few culinary mishaps, I’ve finally cracked the code to what I believe are the absolute best Red Velvet Brownies. Forget the melted chocolate that often overpowers the delicate red velvet flavor; my secret lies in using cocoa powder and ensuring they’re baked to perfection in a metal pan for that signature chewiness. Topping them with a luscious, tangy cream cheese frosting elevates these brownies from simply delicious to utterly divine.
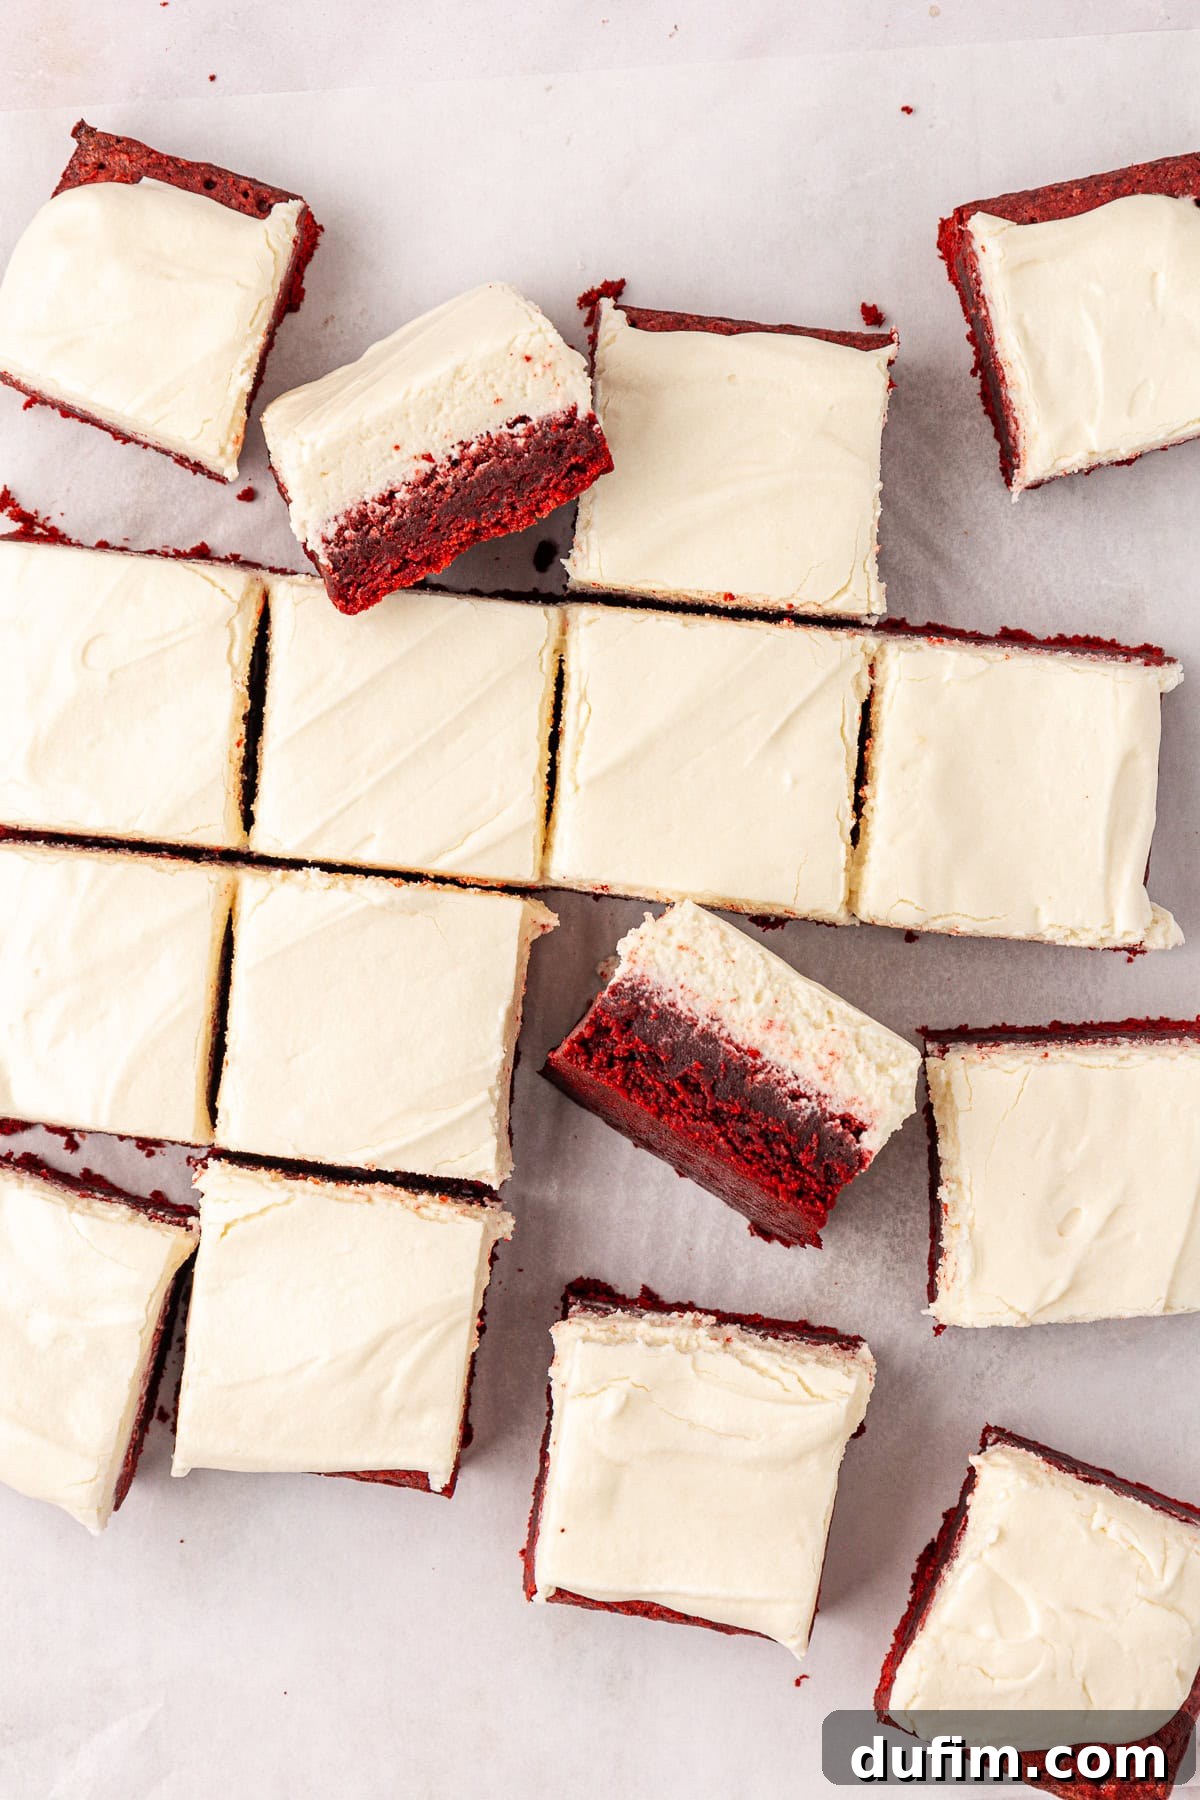
These turned out so delicious! Will definitely be making them again.
-Calla
Why You’ll Fall in Love with These Red Velvet Brownies
If you’re searching for a dessert that’s both visually stunning and incredibly delicious, look no further. These Red Velvet Brownies aren’t just a treat for the eyes with their vibrant ruby hue; they offer a symphony of flavors and textures that will captivate your taste buds. It’s more than just a pretty color—it’s about nailing that exquisite balance of slight cocoa bitterness, a distinctive tang from vinegar, and a carefully controlled sweetness that defines true red velvet.
The Secret to Authentic Red Velvet Flavor: Ditching Melted Chocolate
In my early attempts, I instinctively reached for my beloved classic brownie recipe, which calls for melted chocolate. I thought, “More chocolate, better brownie!” Oh, how wrong I was. The melted chocolate, while fantastic for a traditional fudgy brownie, completely masked the nuanced flavor of red velvet. It resulted in a brownie that was overly dense, almost underbaked, and lacked that signature tang. It also muted the beautiful red color I was striving for.
The game-changer? Ditching the melted chocolate entirely and relying solely on unsweetened cocoa powder. This simple switch transformed the brownies. Suddenly, the subtle cocoa notes came through, perfectly complemented by the tang and sweetness. The brownies baked up with the ideal chewy texture I craved, and the red food coloring truly popped, creating that iconic vibrant red that makes red velvet so special. This technique ensures that every bite delivers that authentic, complex red velvet taste, unburdened by an overwhelming chocolate presence.
The Importance of Your Baking Pan: Metal vs. Glass
Believe it or not, the type of baking pan you use significantly impacts the final texture of your brownies. I experimented with both glass and metal pans, and the differences were striking.
- Glass Pans: Glass conducts heat more slowly and retains it longer. This often leads to a denser, more fudgy brownie, and typically requires a longer baking time (an extra 10-15 minutes) to ensure they cook through. While delicious, this wasn’t the “chewy” texture I envisioned for my red velvet brownies.
- Metal Pans: For the ultimate chewy, classic brownie texture, a metal pan is your best friend. Metal heats up quickly and evenly, promoting faster baking and a crispier edge while keeping the inside perfectly soft and chewy. This ensures your red velvet brownies have those delightful slightly crisp edges and a wonderfully chewy center that defines a perfect brownie. For this recipe, a metal pan is non-negotiable for achieving the desired results.
The Iconic Pairing: Red Velvet and Cream Cheese Frosting
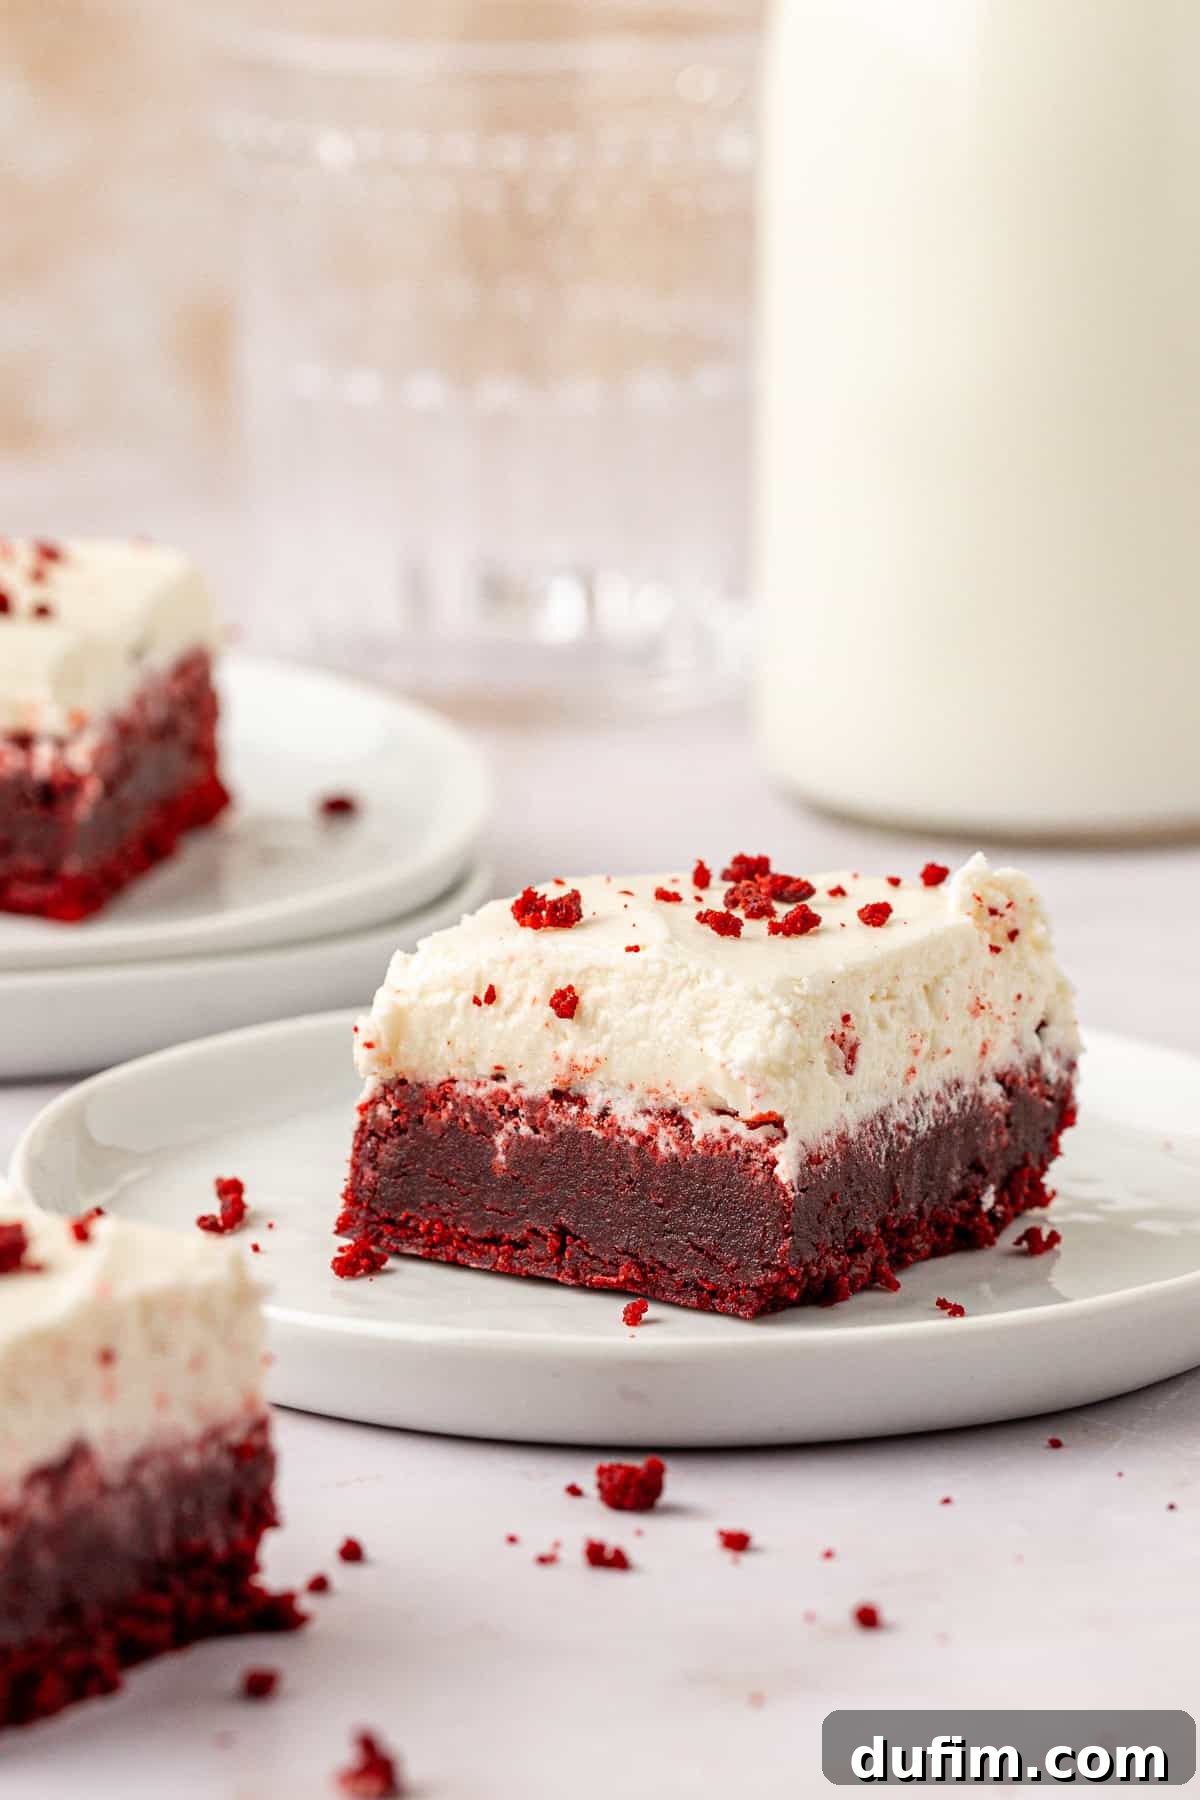
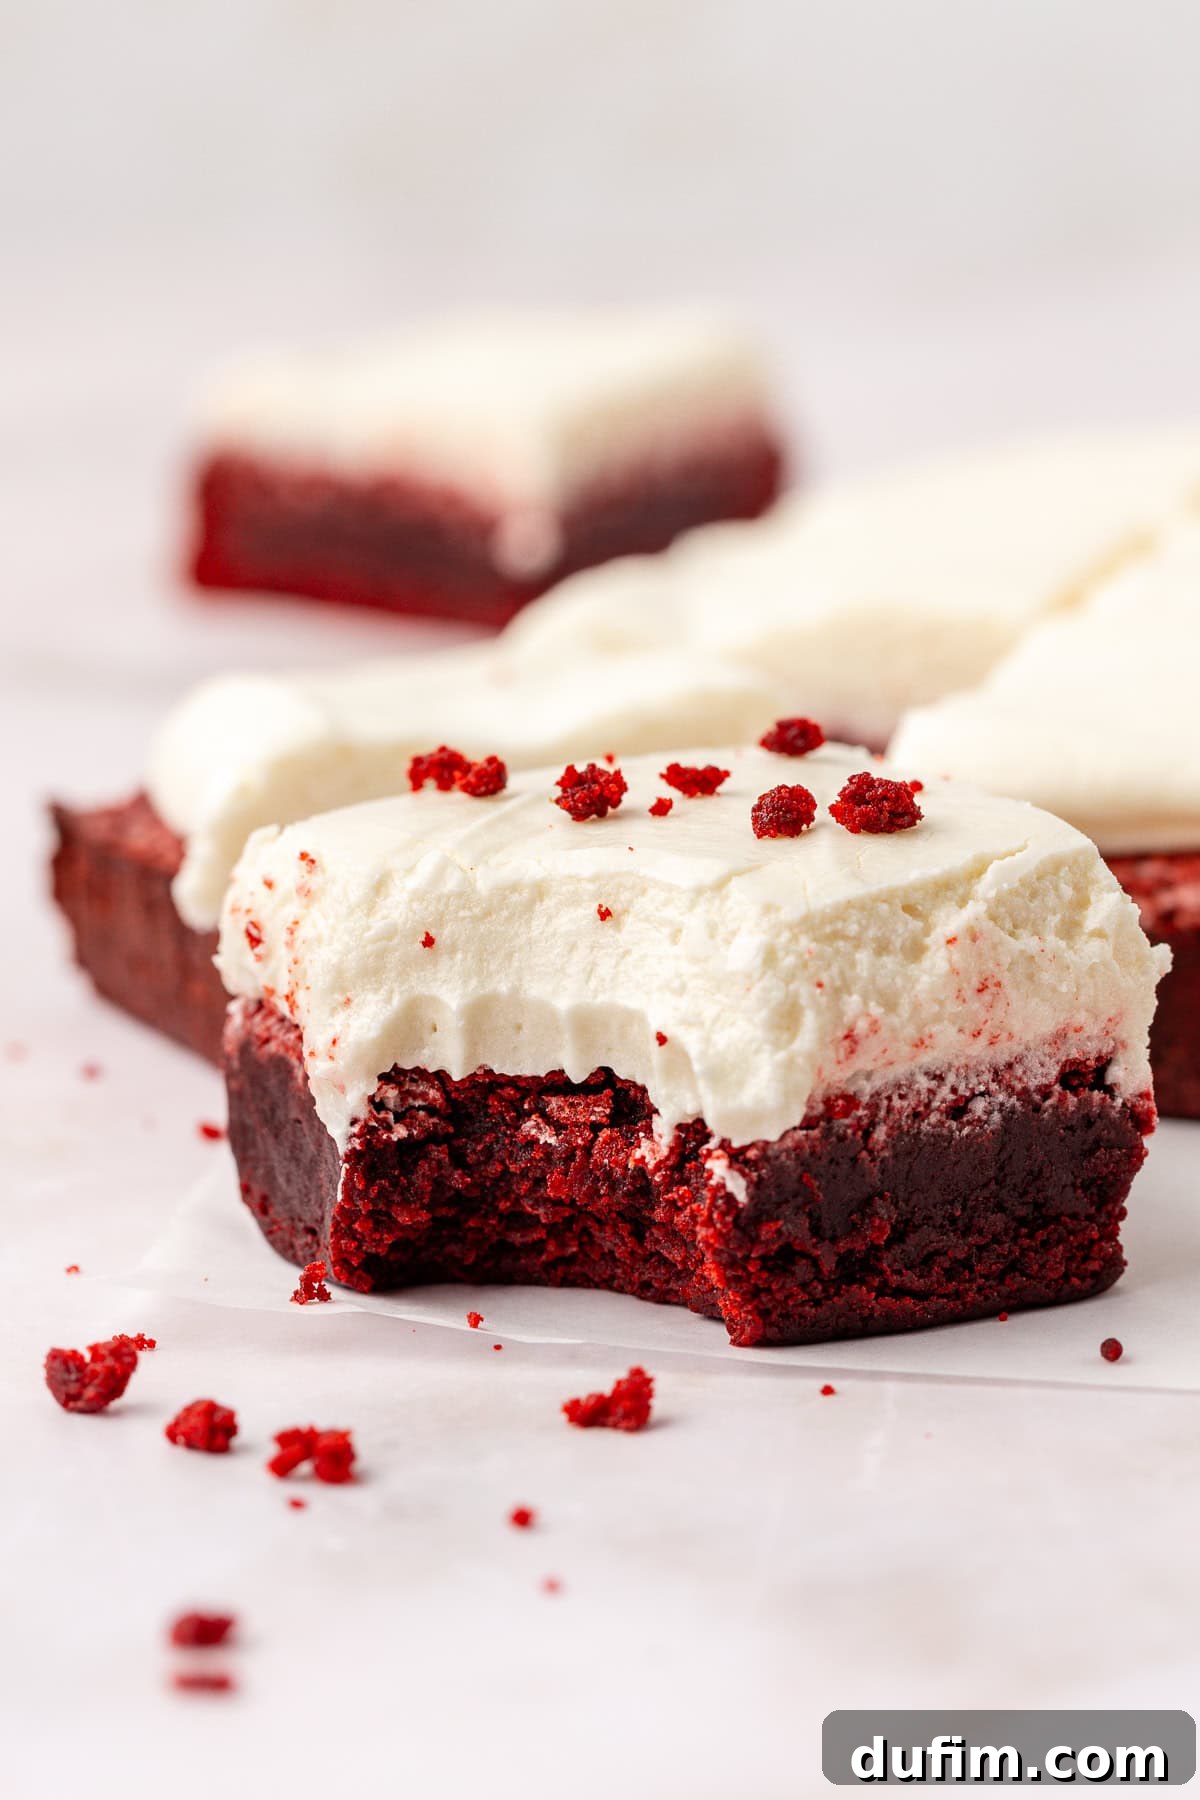
The combination of red velvet and cream cheese frosting is legendary for a reason—it’s simply a match made in culinary heaven! The slightly tangy, rich flavor of cream cheese frosting acts as the perfect counterpoint to the subtle cocoa and distinctive tang of the red velvet brownie. Each bite delivers a harmonious blend of sweet, tart, and subtly chocolatey notes that truly come alive together.
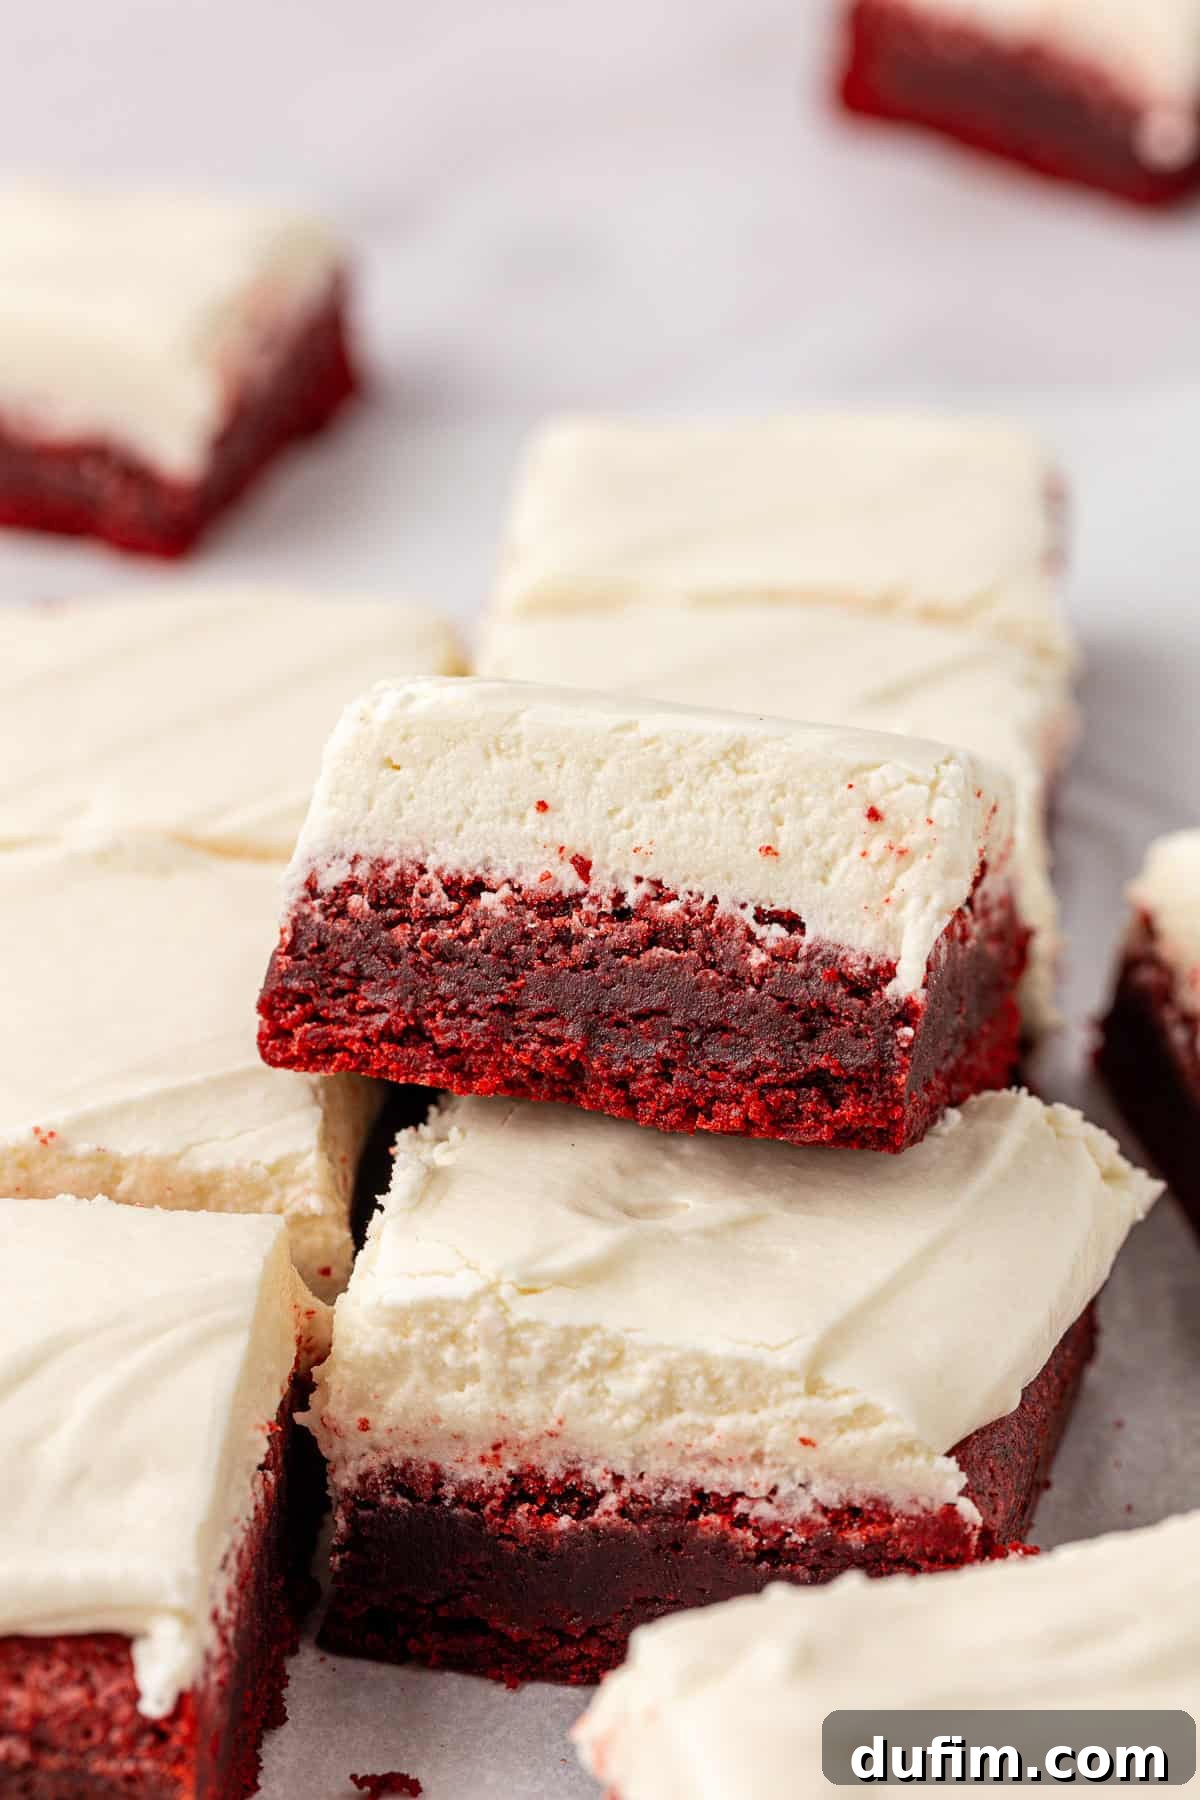
Beyond flavor, the contrasting textures are equally important. The smooth, velvety creaminess of the frosting provides a delightful counter to the soft, slightly dense, and chewy red velvet brownie. And let’s not forget the visual appeal: that vibrant red against a snowy white frosting creates a stunning presentation that’s elegant and utterly captivating. It’s a classic pairing that never fails to impress and delight.
Essential Ingredients for Perfect Red Velvet Brownies
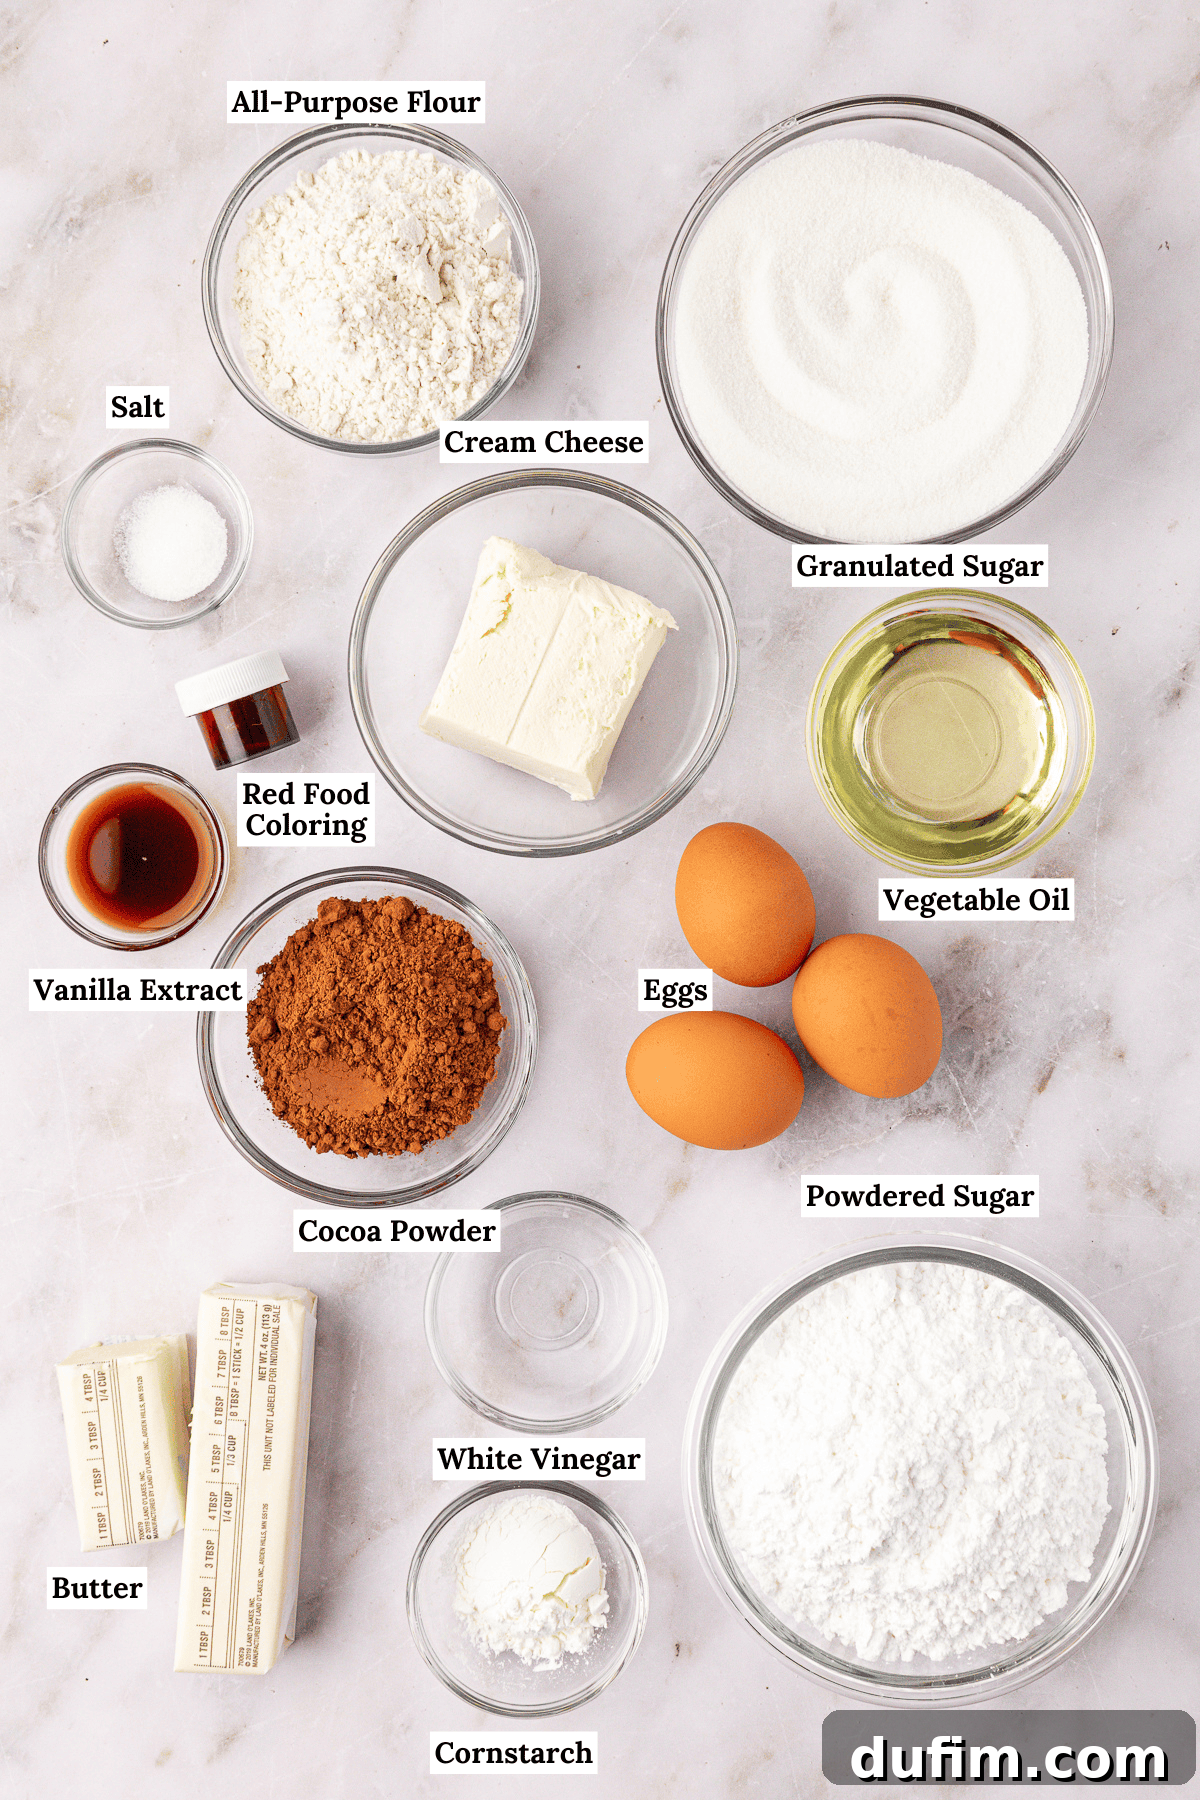
This recipe is a labor of love, designed to deliver the ultimate red velvet experience. It’s one of my favorite red velvet desserts, perfect for Valentine’s Day, holidays, or any special occasion that calls for a touch of elegance and indulgence. Below is a detailed breakdown of the ingredients you’ll need for both the brownies and the irresistible cream cheese frosting. For precise measurements, please refer to the full recipe card further down this page.
For the Red Velvet Brownies:
- Unsalted Butter, melted and cooled: Provides richness and moisture without overpowering the flavor. Ensure it’s cooled to avoid cooking the eggs.
- All-Purpose Flour: The structural base of our brownies.
- Cornstarch: A crucial ingredient for that sought-after chewy texture, helping to tenderize the gluten in the flour.
- Salt: Enhances all the flavors and balances the sweetness.
- Unsweetened Natural Cocoa Powder: The source of our subtle chocolate flavor and a key player in achieving the red velvet profile.
- Granulated Sugar: For sweetness and to contribute to the brownie’s moist, chewy texture.
- Eggs: Provide structure, richness, and help with leavening.
- Egg Yolk: Adds extra richness and contributes to a denser, chewier crumb.
- Vegetable Oil: Adds moisture and creates a tender crumb, keeping the brownies moist for longer.
- White Vinegar: Essential for the classic red velvet tang and helps to activate the cocoa powder for a deeper red color.
- Vanilla Extract: A universal flavor enhancer that rounds out the overall taste.
- Red Gel Food Coloring: To achieve that iconic, vibrant red hue. Gel coloring is preferred for its intensity without adding excess liquid.
For the Cream Cheese Frosting:
- Cream Cheese, softened: The star of the frosting, providing its signature tangy flavor and creamy texture. Ensure it’s at room temperature for smooth mixing.
- Unsalted Butter, softened: Adds richness and structure to the frosting. Also needs to be at room temperature for optimal whipping.
- Vanilla Extract: Complements the cream cheese and butter, enhancing the overall flavor profile.
- Powdered Sugar: For sweetness and to create a smooth, pipeable frosting. Start with less and add more to achieve desired consistency and sweetness.
- Salt and Dash of Milk or Heavy Cream (optional): Salt balances the sweetness, while milk or cream can be added to adjust the frosting’s consistency if it’s too thick.
Step-by-Step Guide to Making the Best Red Velvet Brownies
Follow these easy, detailed steps to create the most decadent and perfectly textured red velvet brownies you’ve ever tasted. Precision and patience are key for baking success!
Preparing Your Red Velvet Brownies
- Prepare Your Oven and Pan: Begin by preheating your oven to 350°F (175°C). This ensures a consistently hot oven from the start. Line an 8×8 or 9×9-inch metal baking pan with parchment paper, leaving an overhang on two sides. This parchment sling will make it incredibly easy to lift the cooled brownies out of the pan for neat slicing.
- Melt and Cool the Butter: In a microwave-safe bowl, gently melt the unsalted butter. Once melted, set it aside to cool slightly while you gather and prepare your dry ingredients. It’s important that the butter isn’t too hot when combined with the eggs later, as this could scramble them.
- Combine Dry Ingredients: In a medium-sized bowl, whisk together the all-purpose flour, cornstarch, salt, and unsweetened natural cocoa powder. Whisking ensures these ingredients are thoroughly combined and evenly distributed, preventing lumps in your batter and ensuring a consistent texture in your finished brownies.
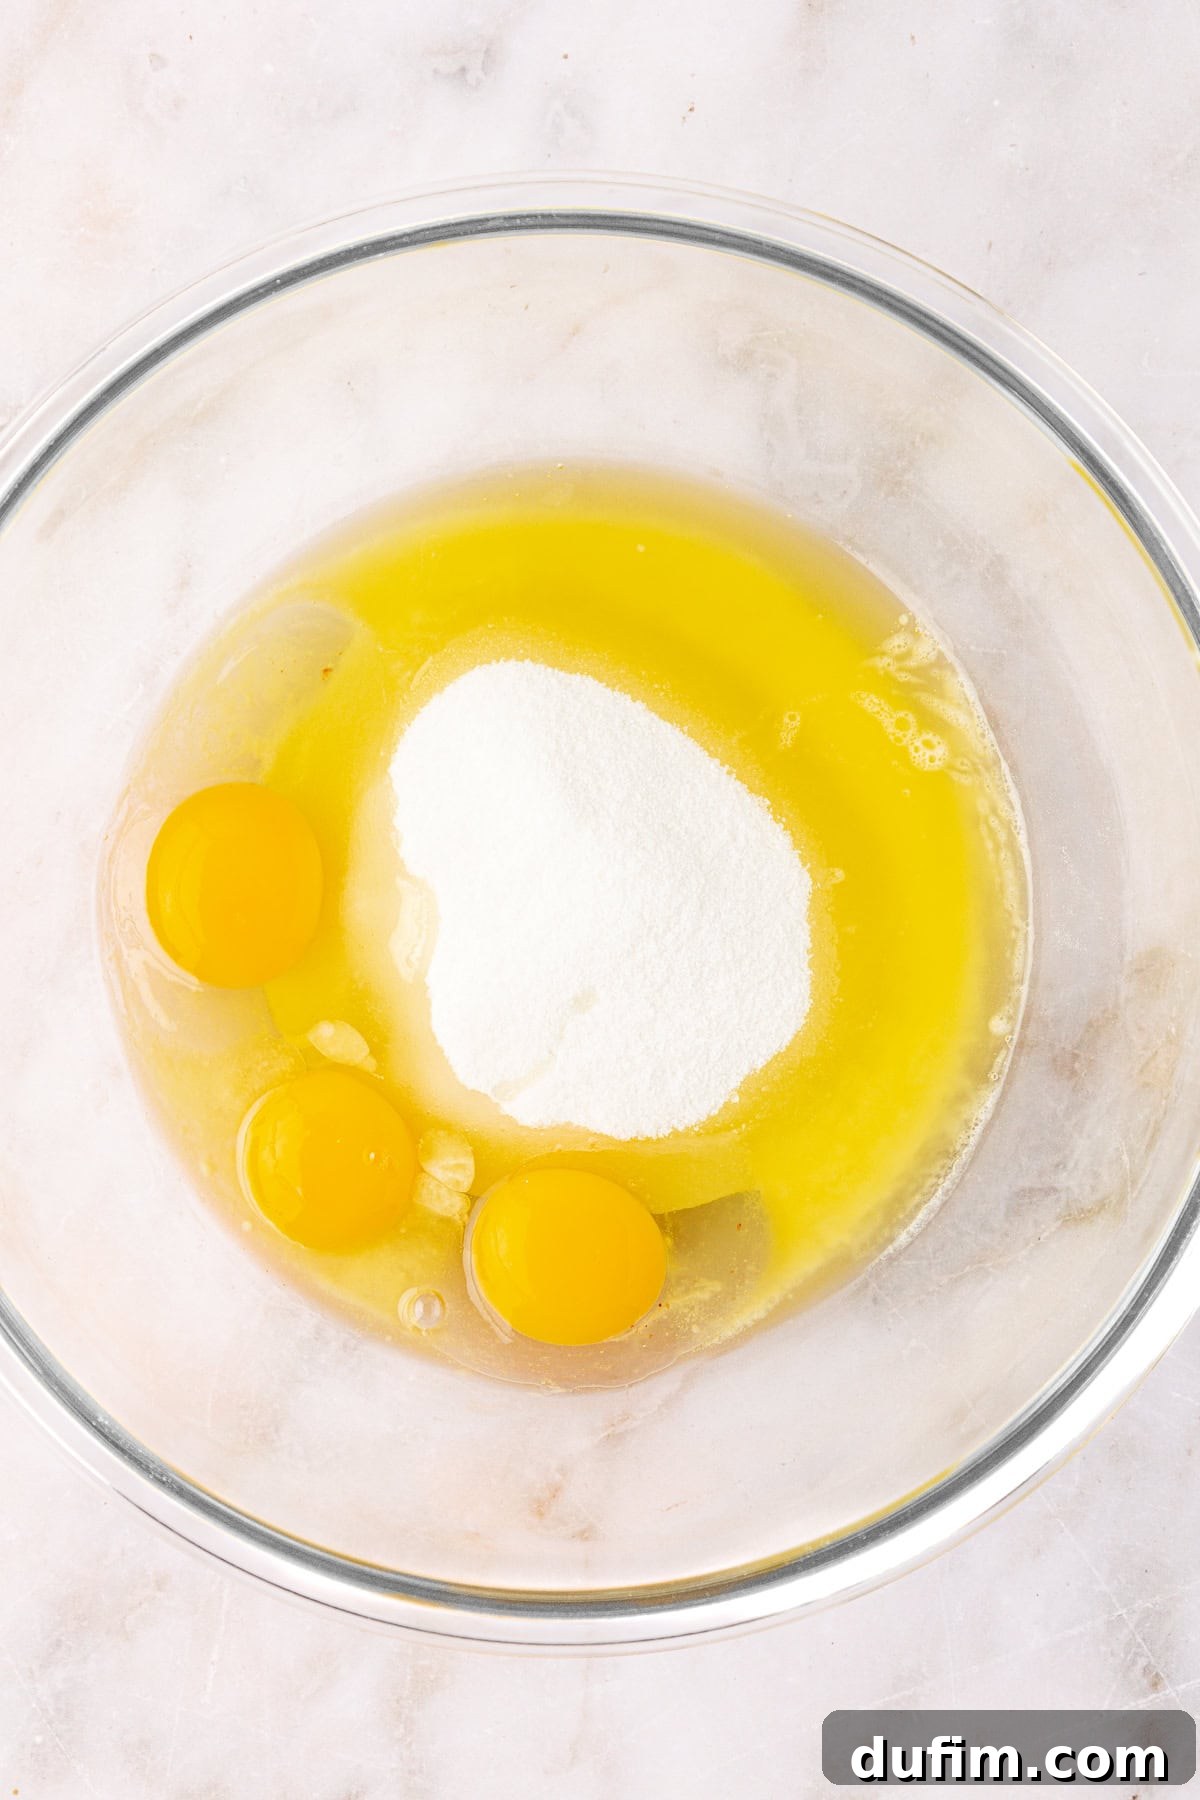
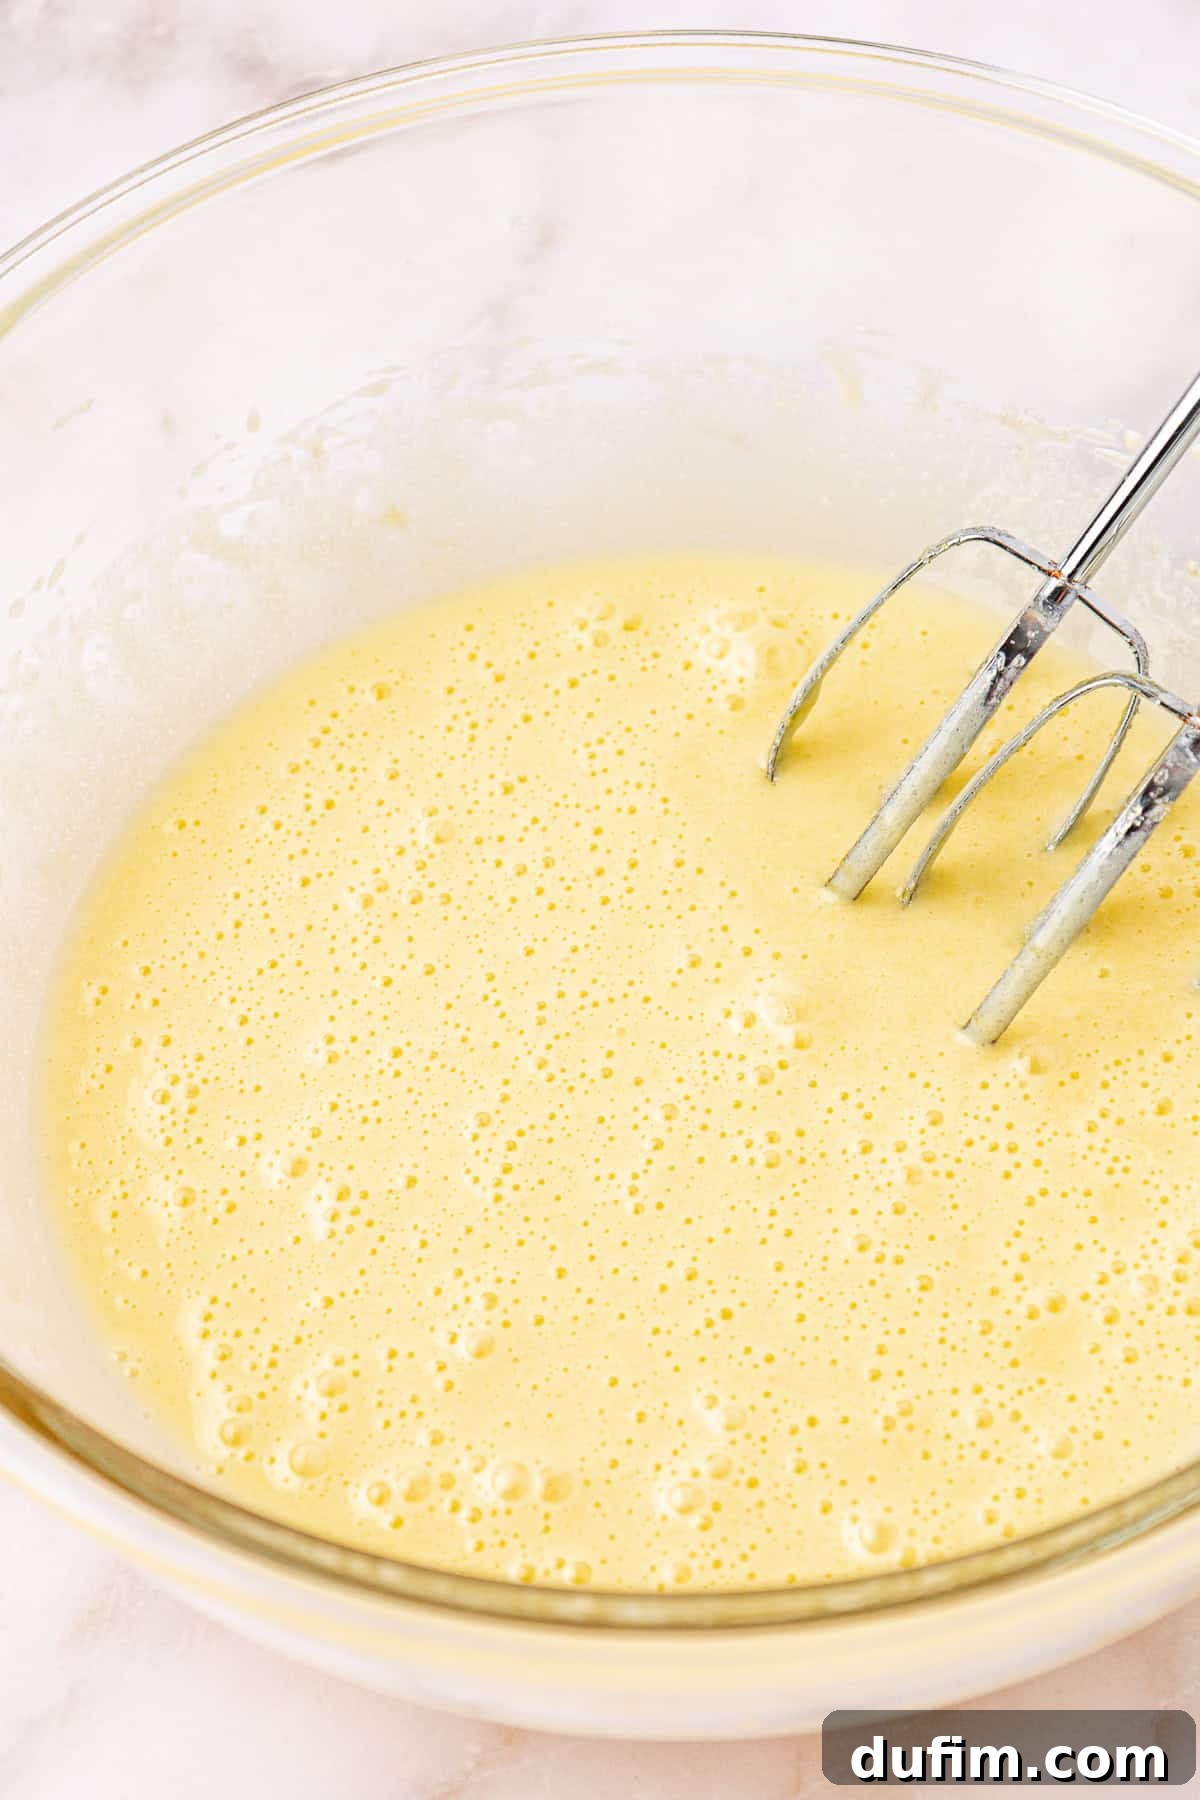
- Start Combining Wet Ingredients: In the bowl of a stand mixer fitted with the whisk attachment (or using a hand mixer in a large bowl), combine the cooled melted butter, granulated sugar, whole eggs, and the extra egg yolk. Beat these ingredients together on medium-high speed for about 60 seconds. You’re looking for the mixture to become noticeably pale yellow in color and to double in volume. This step incorporates air, which contributes to the brownies’ final texture and slight lift.
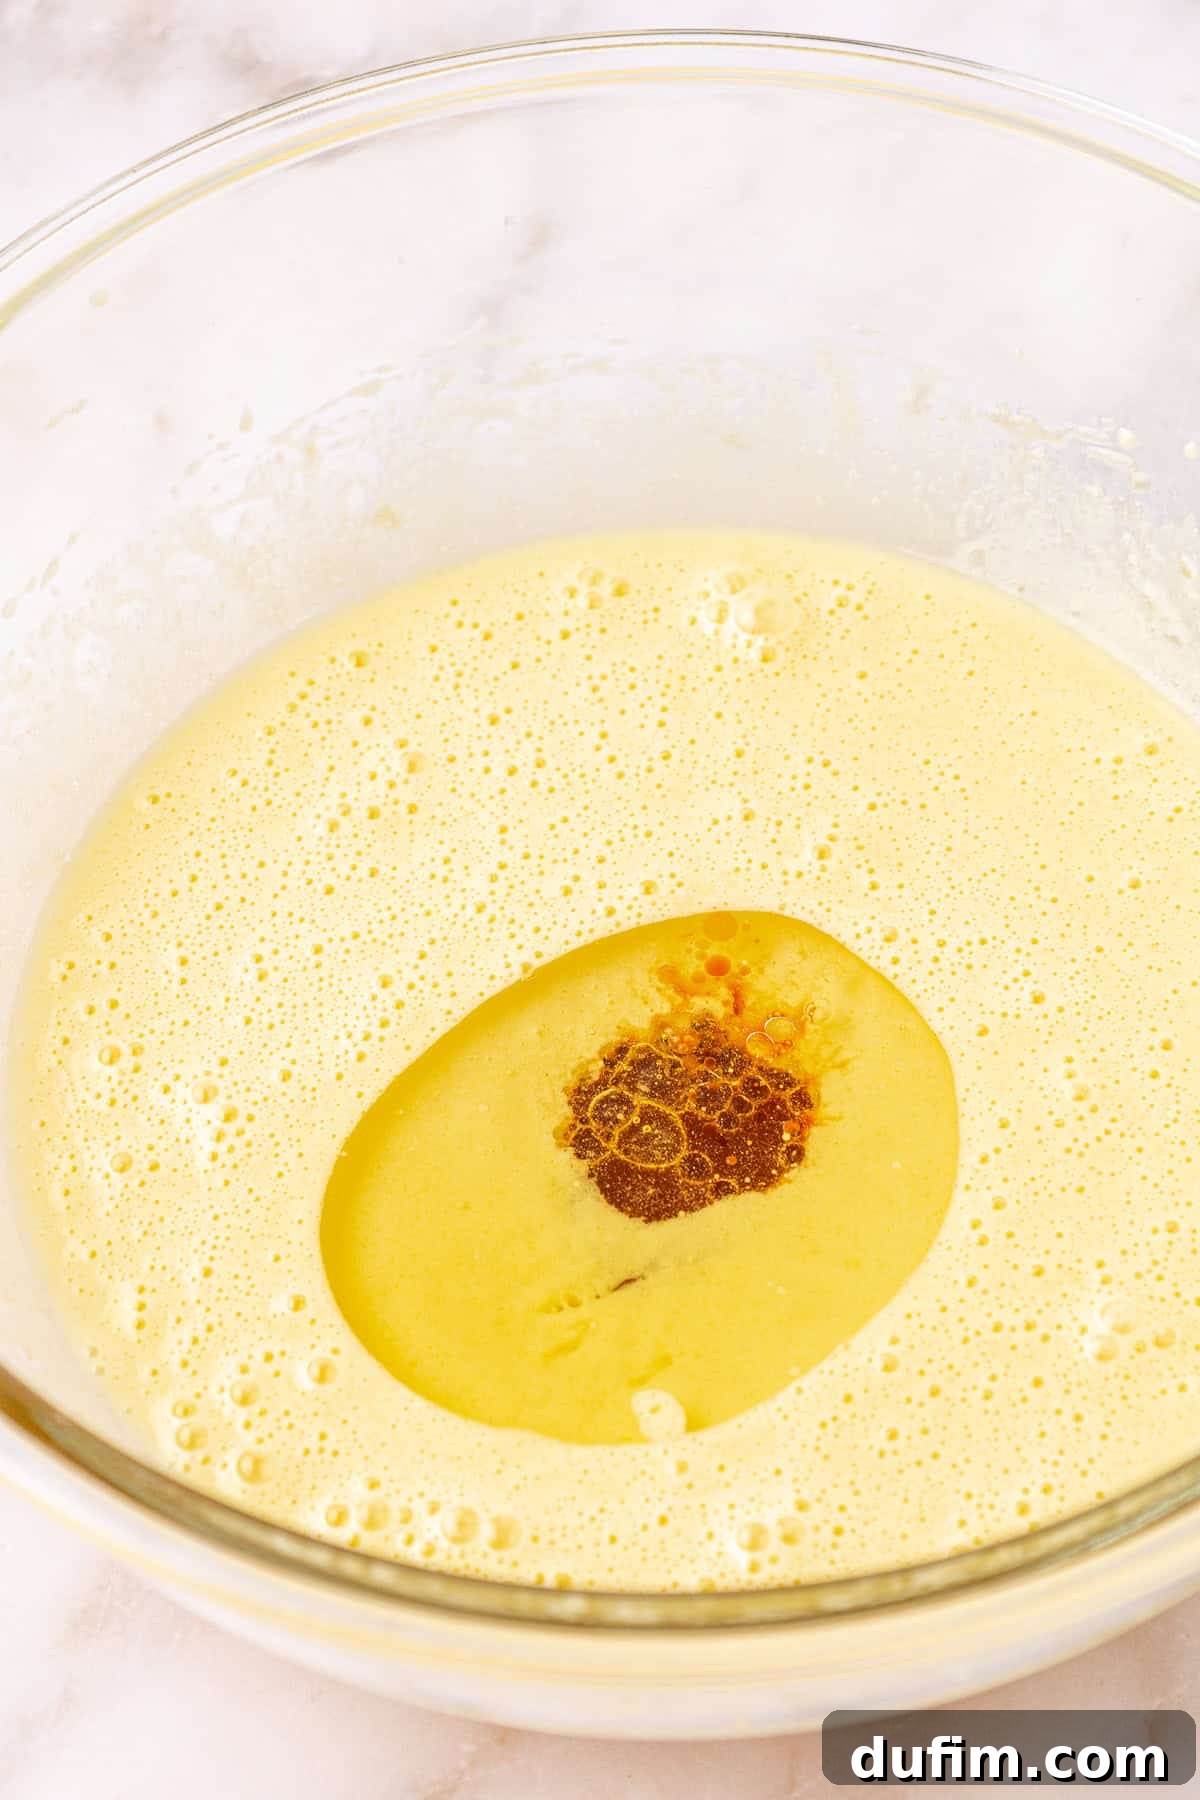
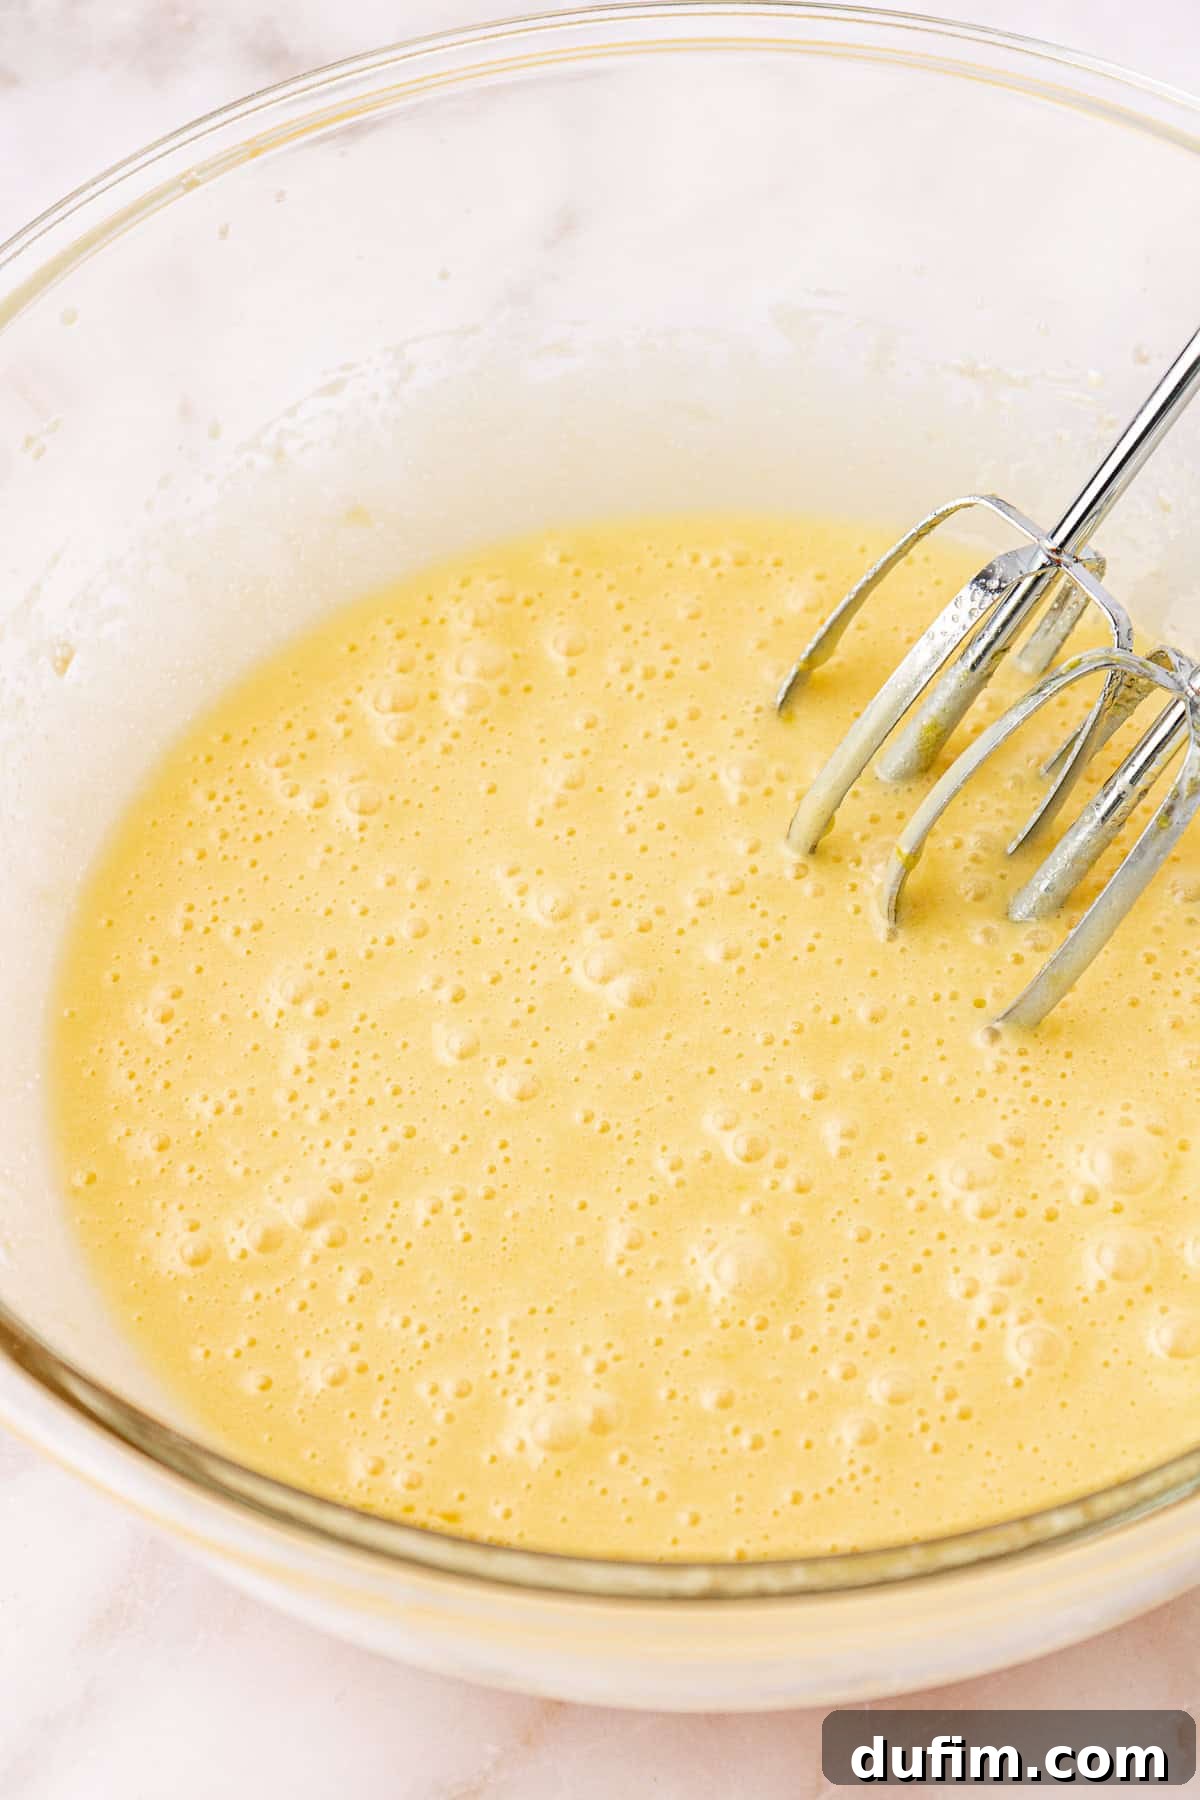
- Mix in Remaining Wet Ingredients: Reduce the mixer speed to low. Add the vegetable oil, white vinegar, and vanilla extract to the wet mixture. Continue to mix on low speed just until these ingredients are incorporated. Be careful not to overmix at this stage.
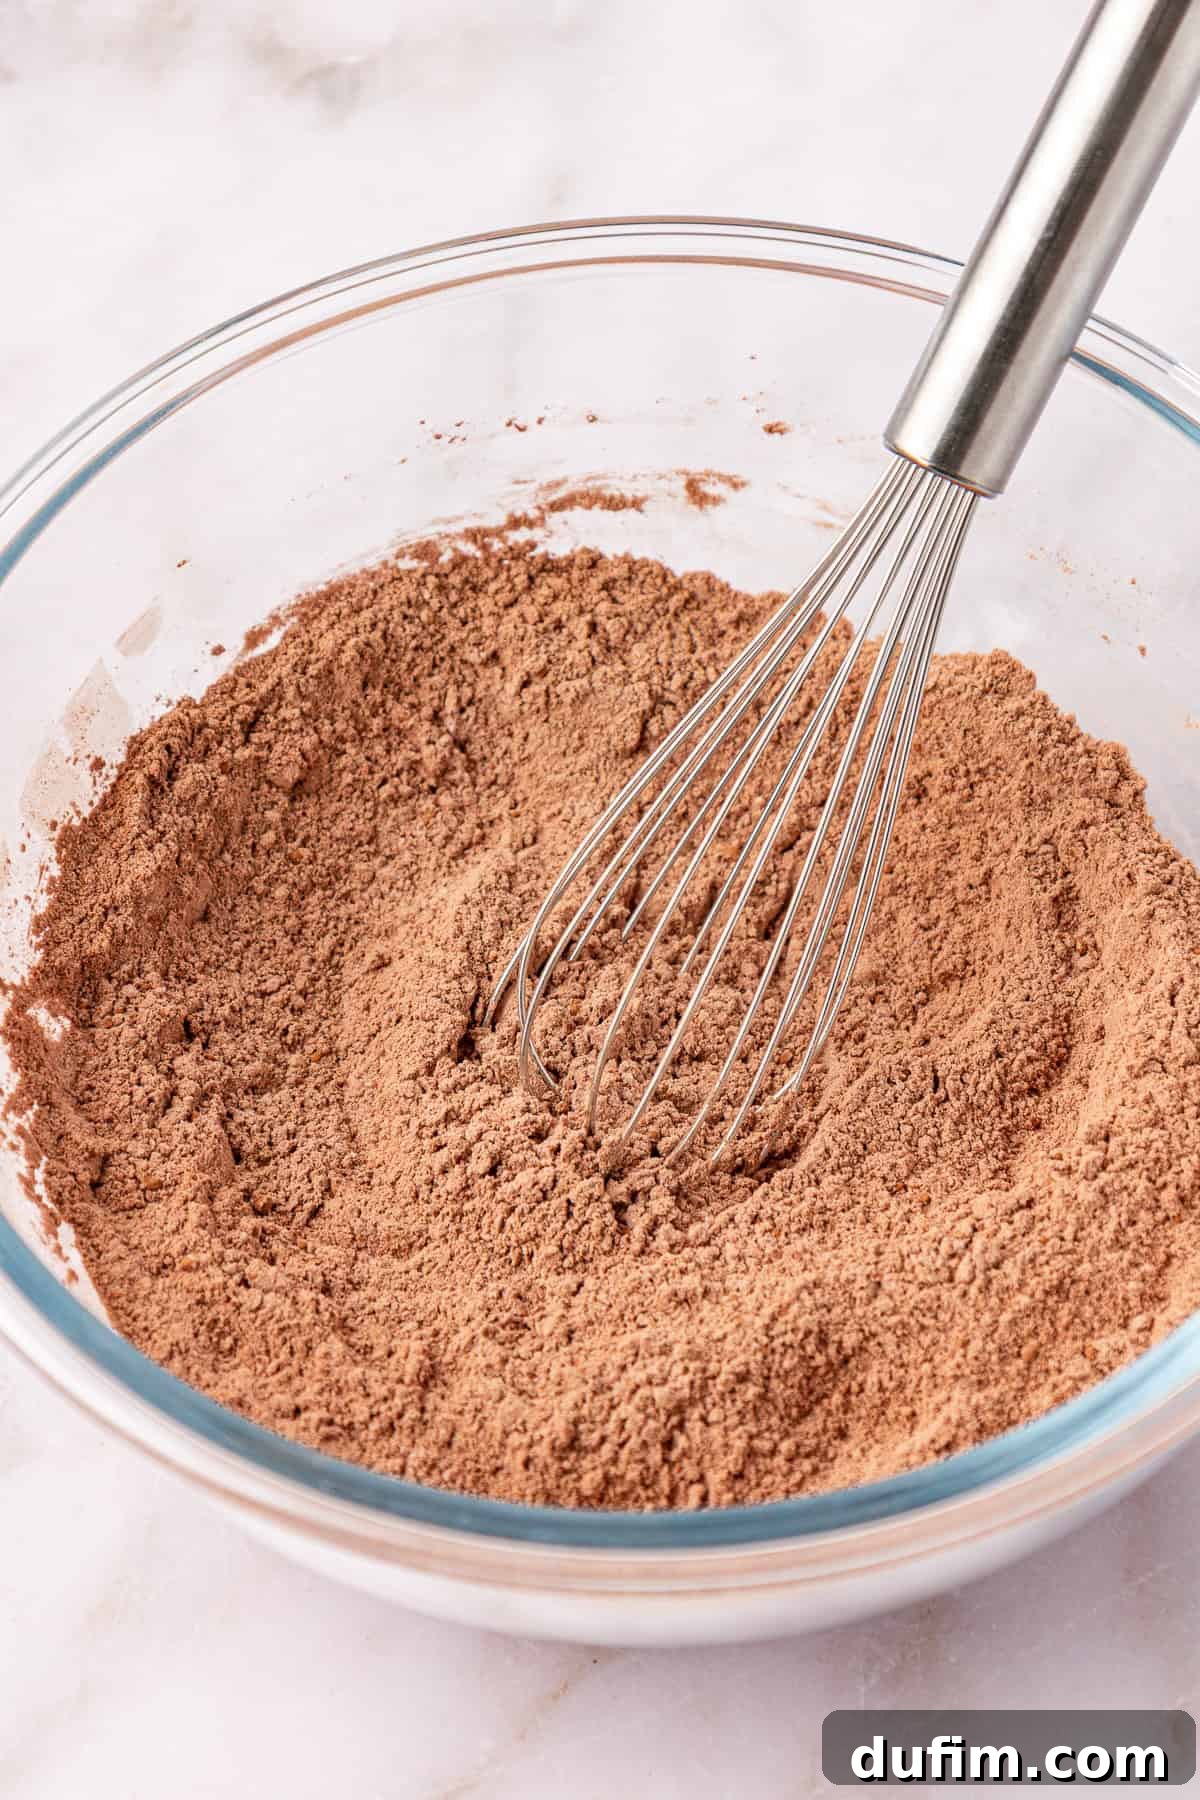
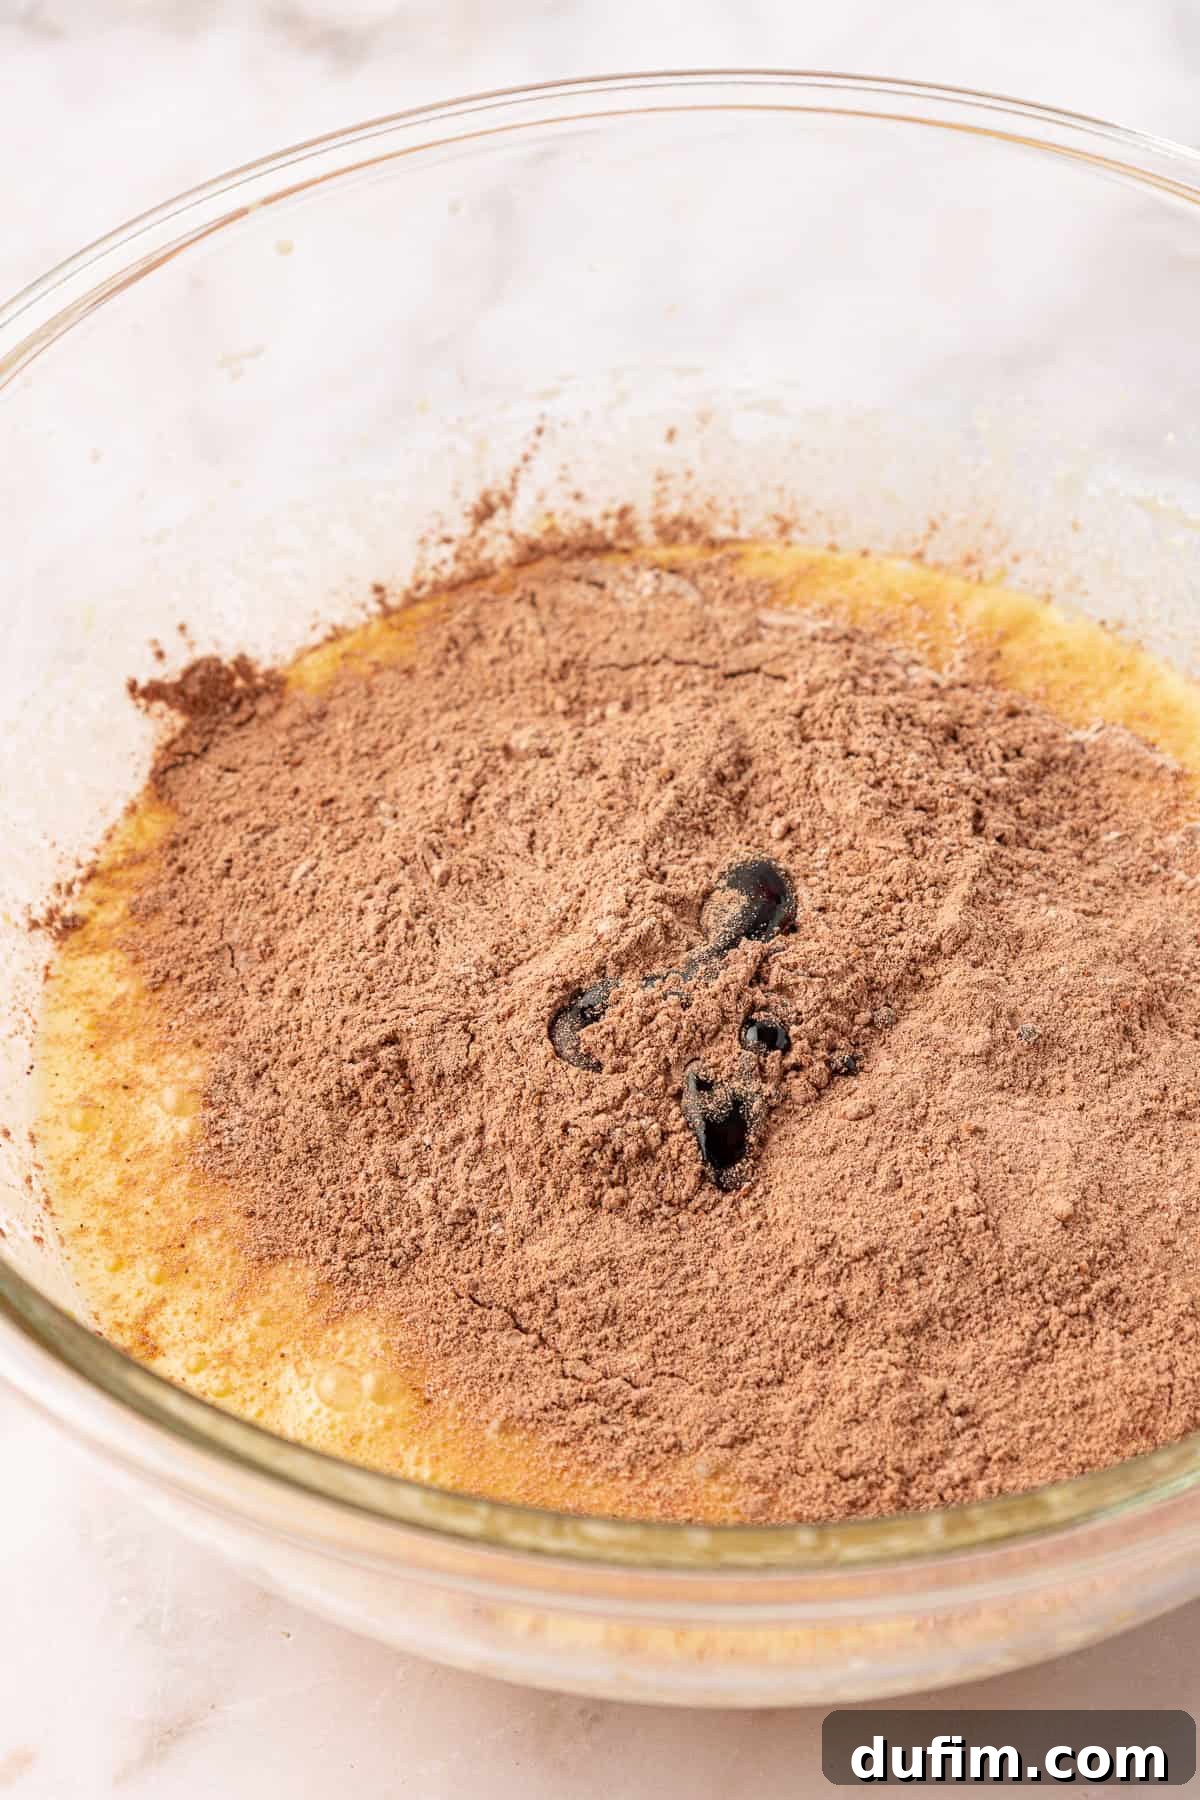
- Combine Wet and Dry Ingredients with Color: Gradually add the whisked dry ingredients to the wet mixture, along with the red gel food coloring. Mix on low speed, or gently fold by hand, until just combined. Overmixing can lead to tough brownies, so stop as soon as no dry streaks of flour are visible. The batter should be a beautiful, vibrant red.
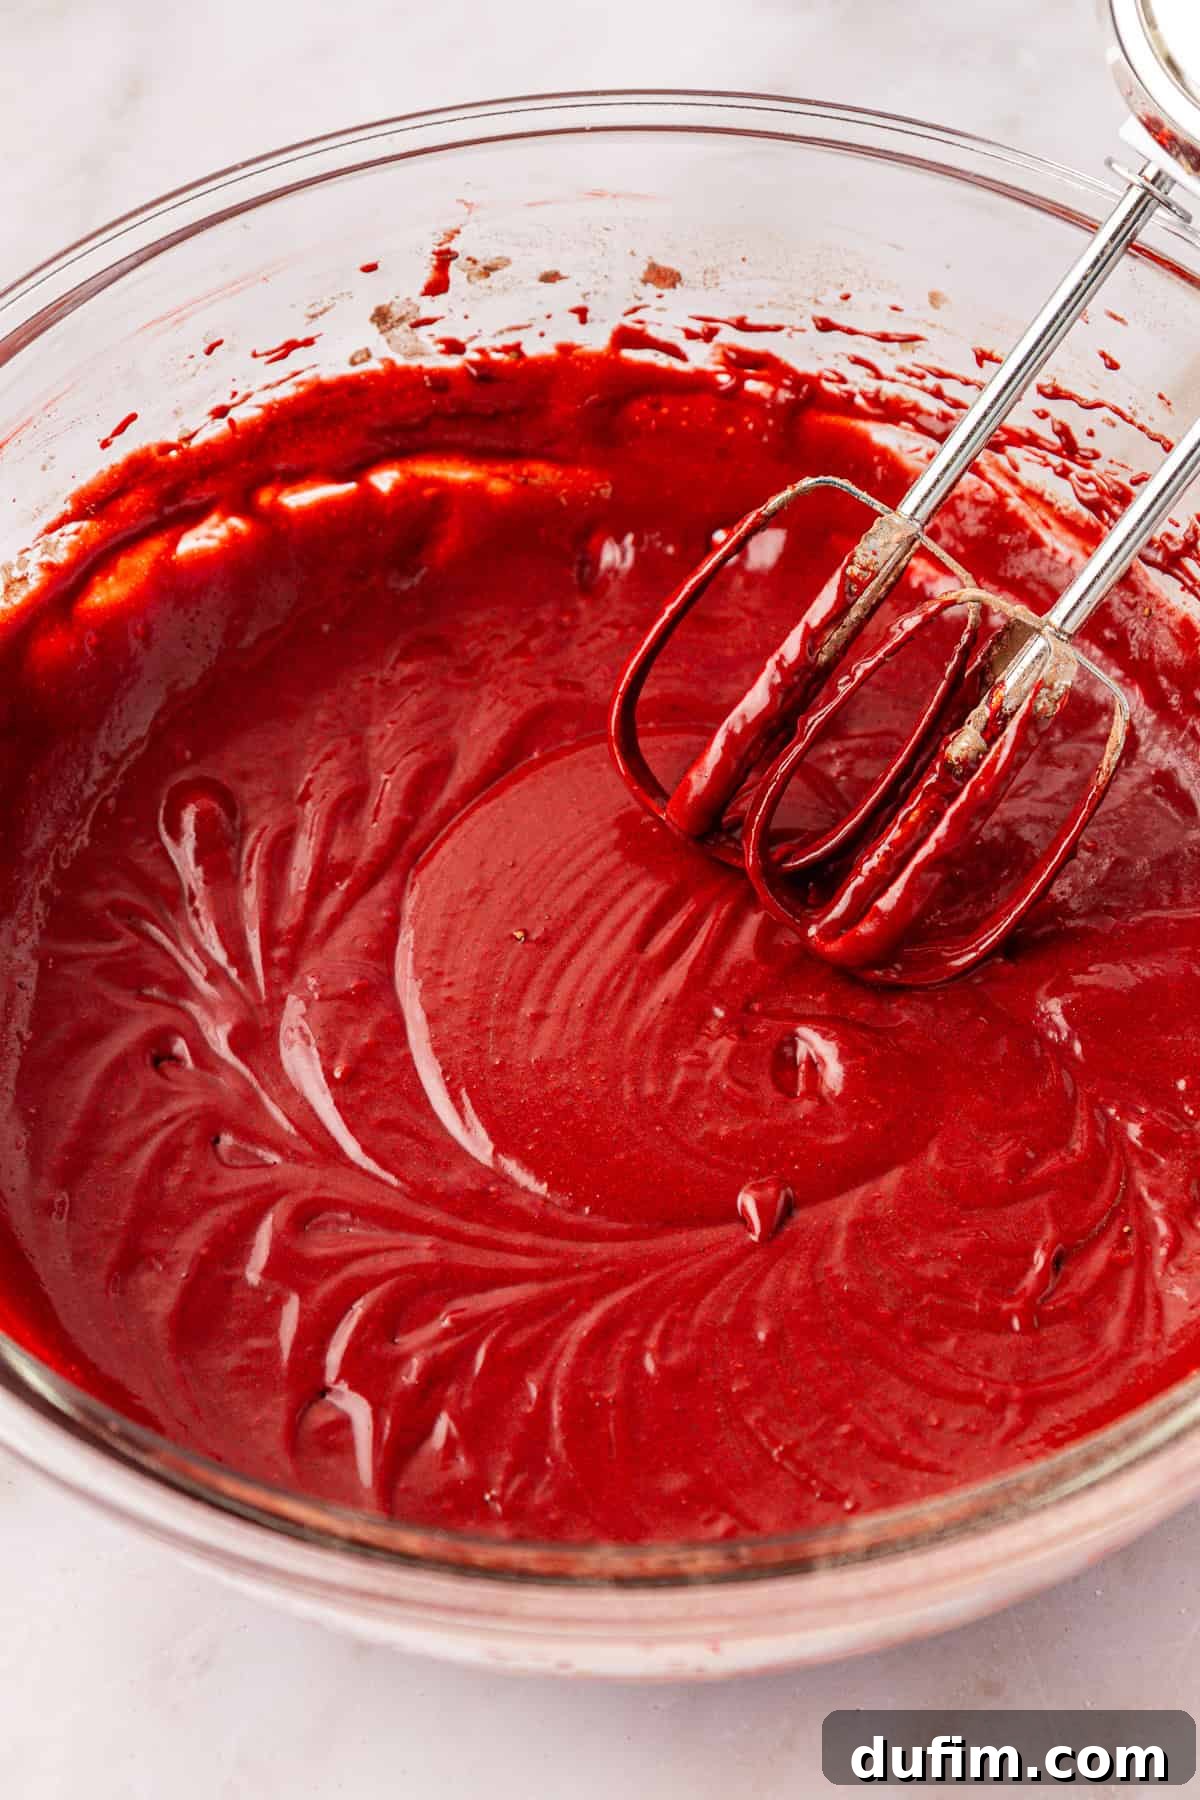
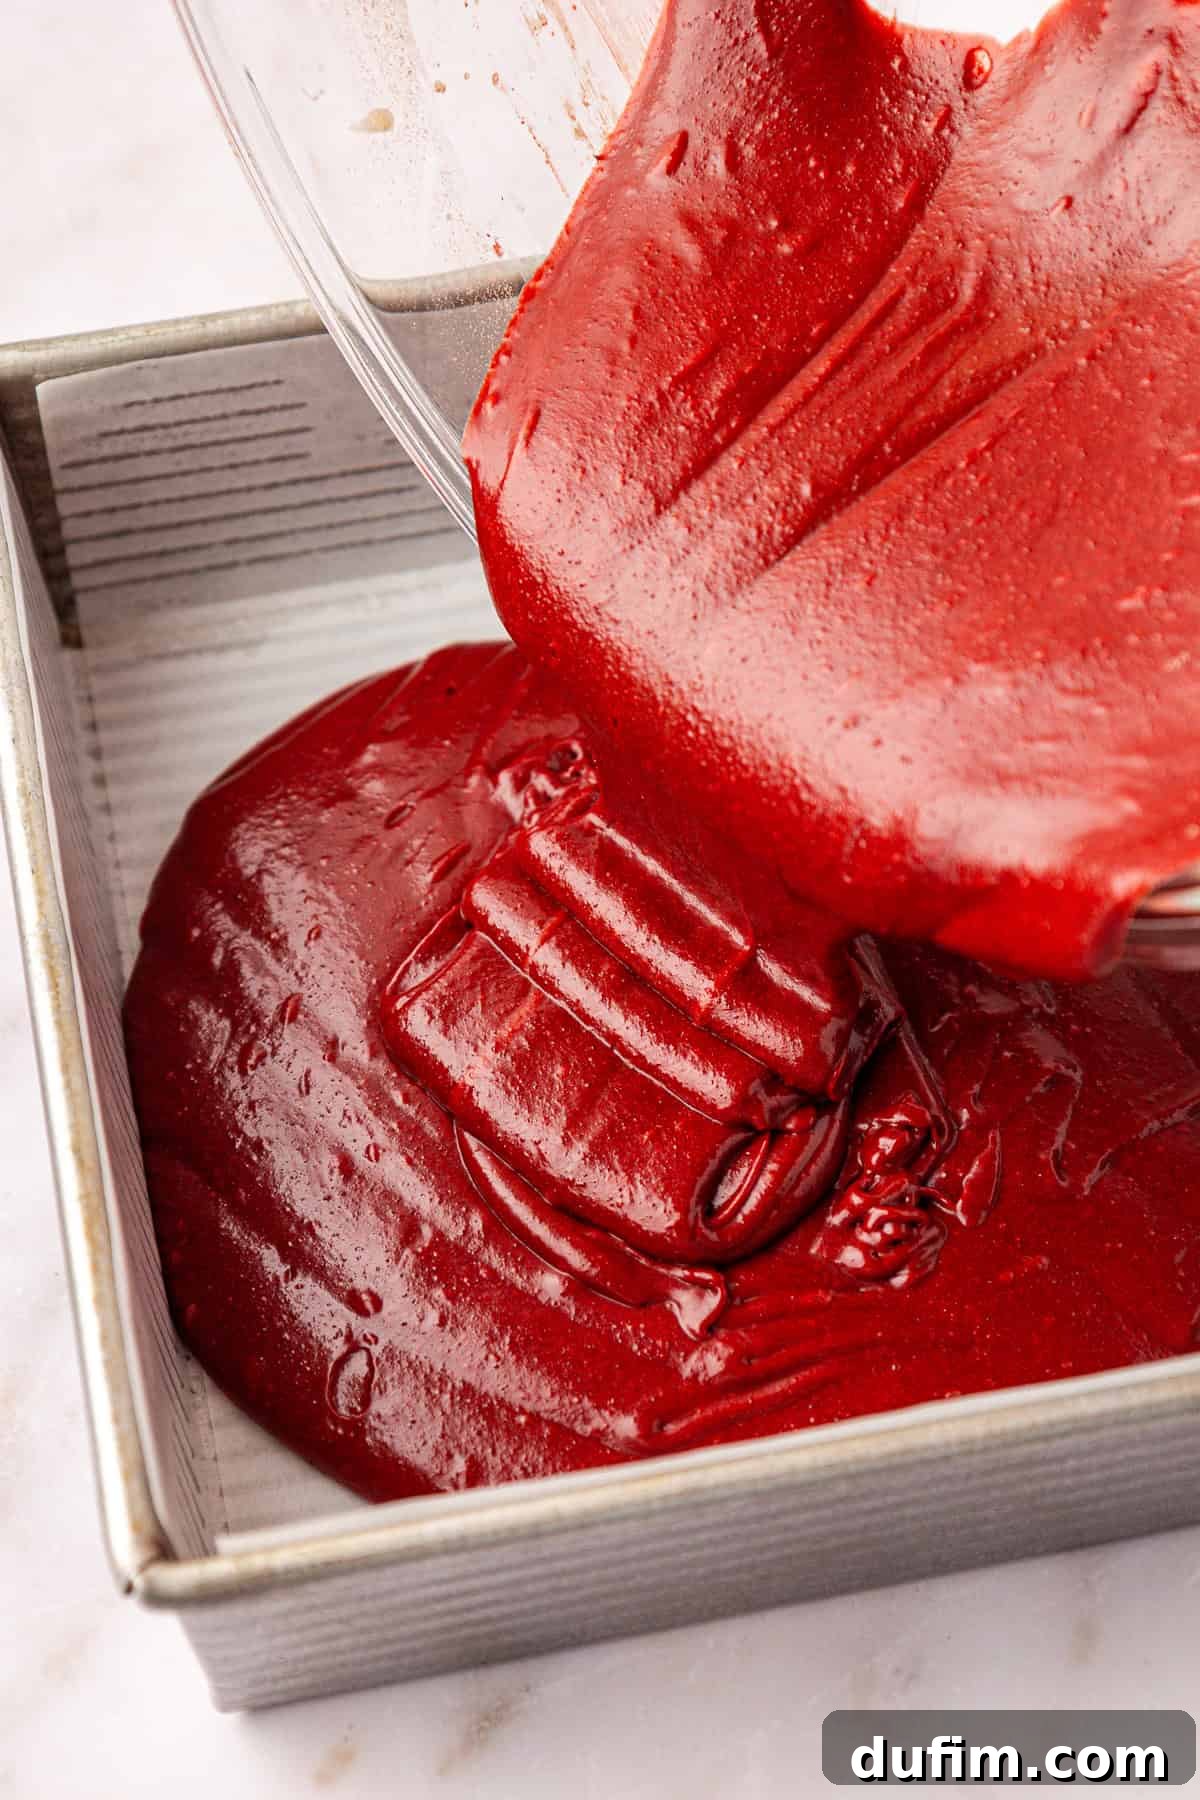
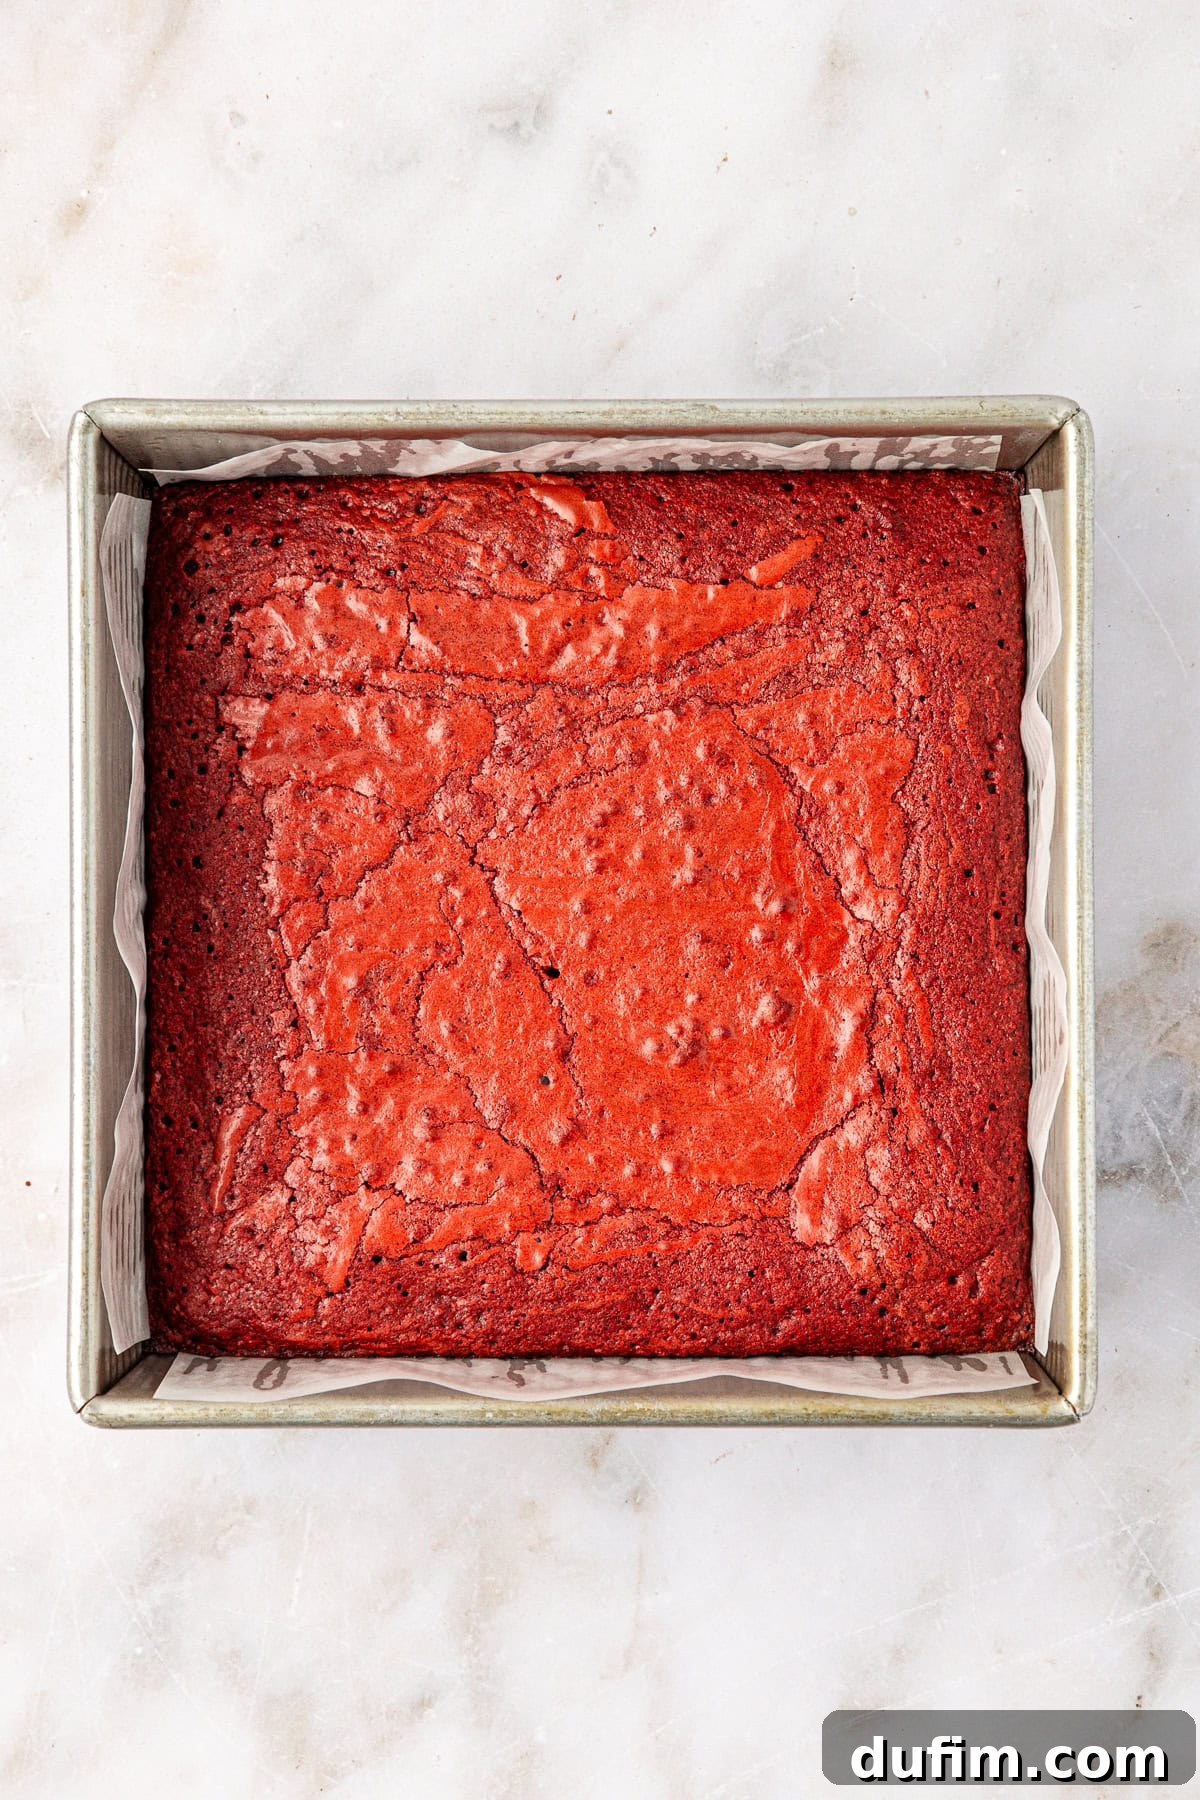
- Bake and Cool to Perfection: Pour the luscious red velvet batter evenly into your prepared metal pan. Bake for 30-35 minutes in a metal pan. If, for some reason, you’re using a glass pan, you’ll need to extend the baking time to 35-40 minutes. The brownies are done when a toothpick inserted into the center comes out with moist crumbs, but not wet batter. For an even chewier brownie (less fudgy), you can bake for an additional 5-10 minutes, aiming for 40-45 minutes total. Once baked, remove the pan from the oven and allow the brownies to cool completely on a wire rack before attempting to add the cream cheese frosting. Cooling is crucial for the frosting to set properly and for clean slices.
Crafting the Dreamy Cream Cheese Frosting
- Whip Butter and Cream Cheese: In a large mixing bowl, combine the room temperature unsalted butter and softened cream cheese. Using an electric mixer on medium speed, beat them together for 1-2 minutes until the mixture is light, fluffy, and well combined. Room temperature ingredients are vital for a smooth, lump-free frosting.
- Incorporate Remaining Ingredients: Add the vanilla extract and powdered sugar to the whipped mixture. If you’re using the optional dash of salt, add it now. Start mixing on low speed to prevent a cloud of powdered sugar, then increase to medium-low. Beat for another 1-2 minutes, scraping down the sides of the bowl occasionally, until all ingredients are fully incorporated and the frosting is smooth.
- Adjust Consistency (If Needed): If your frosting appears too thick or stiff, add a very small splash of milk or heavy cream (about half a teaspoon at a time) and beat until it reaches your desired creamy consistency. Be cautious not to add too much liquid, as it can make the frosting too runny.
- Frost and Slice: Once the brownies are completely cool, evenly spread the prepared cream cheese frosting over the top. To achieve perfectly clean slices and prevent the frosting from smearing, place the frosted brownies in the freezer for 15-20 minutes to allow the frosting to firm up slightly. Then, using a sharp knife, cut the brownies into squares. For the cleanest cuts, wipe the knife blade clean with a damp cloth after each slice.
Red Velvet Brownie Recipe Variations and Mix-Ins
These decadent red velvet brownies are absolutely perfect as they are, a true classic in their own right. However, if you’re feeling adventurous and want to customize them or add an extra layer of flavor and texture, here are some delightful ideas for variations and mix-ins to inspire your baking creativity:
- Nutella Swirl Brownies: After spreading the cream cheese frosting, add small dollops of Nutella evenly over the surface. Use a skewer or a knife to gently swirl the Nutella into the frosting for a beautiful marbled effect and a rich, hazelnut-chocolate twist.
- Espresso-Infused Red Velvet: To deepen and intensify the subtle chocolate flavor without making the brownies overtly chocolatey, add a teaspoon of instant espresso powder or fine coffee powder to the dry ingredients. It won’t make them taste like coffee, but it will enhance the cocoa notes beautifully.
- Spiced Red Velvet Brownies: For a unique warmth and aromatic complexity, mix in a pinch (¼ to ½ teaspoon) of ground cinnamon, a dash of nutmeg, or even a tiny amount of cayenne pepper (for a subtle kick!) with your dry ingredients. This adds an intriguing layer to the classic flavor profile.
- Nutty Crunch: If you love a contrasting crunch, fold in about ½ cup of finely chopped pecans, walnuts, or almonds into the brownie batter just before pouring it into the pan. Toasting the nuts lightly beforehand can further enhance their flavor.
- Tropical Coconut Twist: For a delightful tropical touch, stir in about ½ cup of shredded unsweetened coconut into the batter. The coconut’s texture and flavor pair surprisingly well with the red velvet’s notes.
- Fun & Festive: To make these brownies extra appealing for kids or festive occasions, fold in colorful M&M’s or sprinkles into the batter, or sprinkle them generously over the wet cream cheese frosting. This adds a pop of color and a playful element.
- White Chocolate Chunks: Introduce pockets of creamy sweetness by folding in ½ cup of white chocolate chunks or chips into the batter. These will melt slightly during baking, creating gooey surprises.
- Raspberry Ripple: For a fruity, tangy addition, swirl a few tablespoons of raspberry preserves or purée through the brownie batter before baking. The tartness of the raspberries beautifully complements the red velvet flavor.
Frequently Asked Questions About Red Velvet Brownies
Not at all! While red velvet does contain cocoa powder, its flavor profile is distinctly different from traditional chocolate cake or brownies. The essence of red velvet is a unique blend of mild, subtle cocoa, a noticeable tang (historically from buttermilk or vinegar, which also reacted with natural cocoa to create a reddish hue), and a gentle sweetness. The red color, which was originally a result of this chemical reaction, is now typically enhanced with red food coloring for a more consistent and vibrant appearance. So, while it shares an ingredient with chocolate desserts, red velvet offers a much more complex and nuanced flavor experience that is truly its own.
Traditionally, the reddish-brown color in red velvet desserts came from a natural chemical reaction between the anthocyanin pigment in old-fashioned, non-Dutched cocoa powder and acidic ingredients like vinegar or buttermilk, which were common in recipes. This reaction would create a subtle reddish tint. However, with modern processed cocoa and the desire for a truly vibrant hue, red gel food coloring is now almost universally used to achieve the striking deep red color that defines red velvet today.
Absolutely! Red velvet brownies are an excellent make-ahead dessert. You can bake the brownies a day in advance, let them cool completely, and then frost them. They often taste even better the next day as the flavors meld together. Store them in an airtight container in the refrigerator.
Yes, these brownies freeze beautifully! For best results, allow them to cool completely, then frost them. Once frosted, cut them into individual squares. Place the squares on a baking sheet and freeze until firm (about 1-2 hours). Then, transfer the frozen brownies to an airtight freezer-safe container or bag, separating layers with parchment paper. They can be stored in the freezer for up to 2-3 months. Thaw them in the refrigerator overnight or at room temperature for an hour or two before serving.
How to Store Red Velvet Brownies
Proper storage is key to keeping your delicious red velvet brownies fresh and moist. Because these brownies are topped with cream cheese frosting, they require refrigeration. Store any leftover brownies in an airtight container in the refrigerator. To prevent the frosting from sticking to other brownies or the lid, it’s best to store them in a single layer. If you need to stack them, place a piece of parchment paper between each layer of brownies. They will still adhere slightly to the paper, but will peel off easily. Stored this way, they will remain fresh and delightful in the refrigerator for up to four days.
Discover More Red Velvet Delights
If you’ve fallen in love with the unique flavor of red velvet, here are a few more recipes to satisfy your cravings and expand your baking repertoire:
- Red Velvet Cake Pops
- Cake Mix Cookies (Consider a red velvet cake mix version!)
- Chewy Red Velvet Cookies
- Classic Red Velvet Cake from Scratch
Tap stars to rate!
Recipe for Chewy Red Velvet Brownies with Cream Cheese Frosting
Beth
15 minutes
30-35 minutes
1 hour
12
brownies
Equipment
-
Red Gel Food Coloring
-
Large Mixing Bowl
-
Electric Mixer (Hand or Stand Mixer)
-
Rubber Spatula
-
Kitchen Scale (Optional, for accuracy)
-
8×8 or 9×9 inch Metal Baking Pan
-
Parchment Paper
-
Wire Cooling Rack
Ingredients
Red Velvet Brownies
- ½ cup (113g) unsalted butter, melted and cooled
- ¾ cup (90g) all-purpose flour
- 1 Tbsp cornstarch
- ½ tsp salt
- ⅓ cup (28g) unsweetened natural cocoa powder
- 1 ¼ cups (248g) granulated sugar
- 2 large eggs
- 1 large egg yolk
- ¼ cup (59ml) vegetable oil
- 1 Tbsp white vinegar
- 1 tsp vanilla extract
- 1 tsp red gel food coloring
Cream Cheese Frosting
- 4 oz (114g) cream cheese, softened
- ¼ cup (57g) unsalted butter, softened
- 1 tsp vanilla extract
- 2-4 cups (227-454g) powdered sugar
- optional: 1/8 tsp salt and dash of milk or heavy cream
Instructions
Red Velvet Brownies
-
Preheat the oven to 350°F (175°C). Line an 8×8 or 9×9-inch metal pan with parchment paper for easy brownie removal, ensuring an overhang on two sides.
-
In a microwave safe bowl, melt the unsalted butter. Set aside to cool to lukewarm while you prepare the dry ingredients.
-
In a medium bowl, whisk together the all-purpose flour, cornstarch, salt, and unsweetened natural cocoa powder until uniformly combined.
-
In a stand mixer (or with a hand mixer), beat the cooled melted butter, granulated sugar, large eggs, and egg yolk for approximately 60 seconds on medium-high speed. The mixture should become pale yellow and visibly doubled in volume.
-
Reduce mixer speed to low. Add the vegetable oil, white vinegar, and vanilla extract. Mix just until fully incorporated, being careful not to overmix.
-
Slowly add the prepared dry ingredients and the red gel food coloring to the wet mixture. Mix on low speed, or fold gently by hand, until the batter is uniformly combined and a vibrant red color, with no dry streaks of flour remaining.
-
Pour the batter into the prepared metal pan, spreading it evenly. Bake for 30-35 minutes, or until a toothpick inserted into the center comes out with moist crumbs attached (not wet batter). For a chewier brownie, bake for 40-45 minutes. Allow the brownies to cool completely in the pan on a wire rack before frosting.
Cream Cheese Frosting
-
Place room temperature unsalted butter and softened cream cheese in a large mixing bowl. Using an electric mixer on medium speed, beat together for 1-2 minutes until light, whipped, and fluffy.
-
Add in the vanilla extract and powdered sugar (and optional salt, if using). Beat again on low speed for 1-2 minutes, scraping down the sides of the bowl as needed, until everything is thoroughly incorporated and smooth.
-
If the frosting is too thick for your preference, add a small splash (½ teaspoon at a time) of milk or heavy cream and beat until it reaches a creamy, spreadable consistency.
-
Once the brownies are completely cool, spread the cream cheese frosting evenly over the top. For perfectly neat slices, place the frosted brownies in the freezer for 15-20 minutes to firm up the frosting. Use a sharp knife, cleaning the blade with a damp cloth after each cut for the best results.
Nutrition Information (Estimated)
Nutrition
Calories: 320kcal |
Carbohydrates: 49g |
Protein: 3g |
Fat: 13g |
Saturated Fat: 6g |
Polyunsaturated Fat: 3g |
Monounsaturated Fat: 3g |
Trans Fat: 0.2g |
Cholesterol: 66mg |
Sodium: 141mg |
Potassium: 73mg |
Fiber: 1g |
Sugar: 41g |
Vitamin A: 311IU |
Calcium: 22mg |
Iron: 1mg
Nutrition Disclosure
All nutritional values are approximate and provided to the reader as a courtesy. Changing ingredients and/or quantities will alter the estimated nutritional calculations.
Love this recipe? Share your thoughts below!