
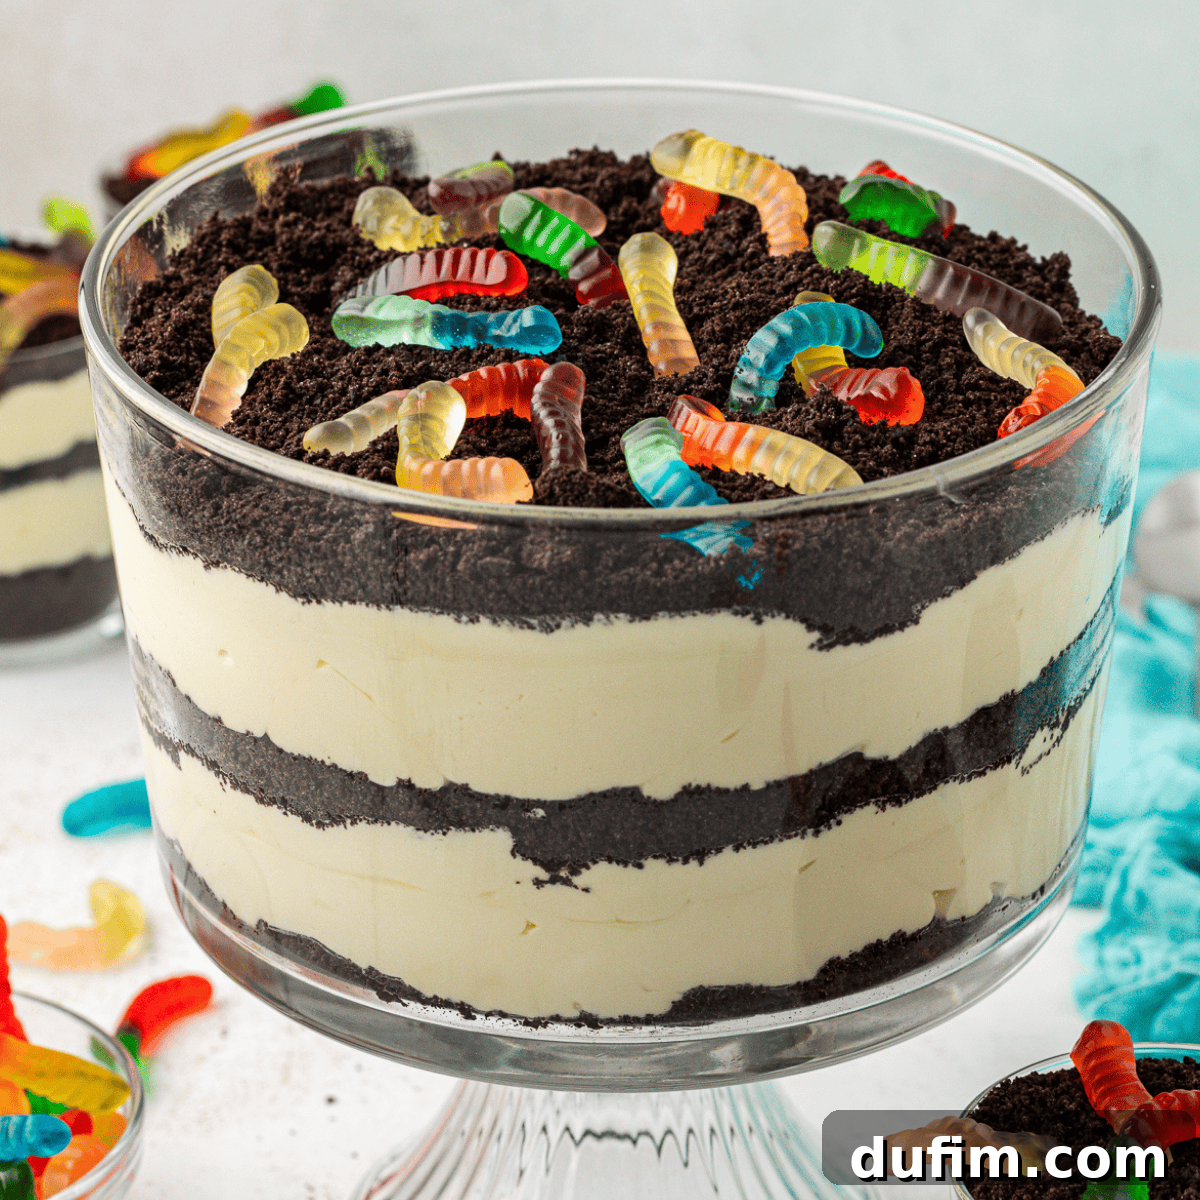
With years of experience as a baker, I’ve perfected the art of dirt cake, transforming a nostalgic childhood treat into a sophisticated, yet incredibly simple, dessert that consistently delights every palate. I’m thrilled to share my insights and foolproof methods with you, ensuring your dirt cake is not just good, but absolutely unforgettable. Follow these expert tips, and you’ll be whipping up professional-level dirt cake in no time!
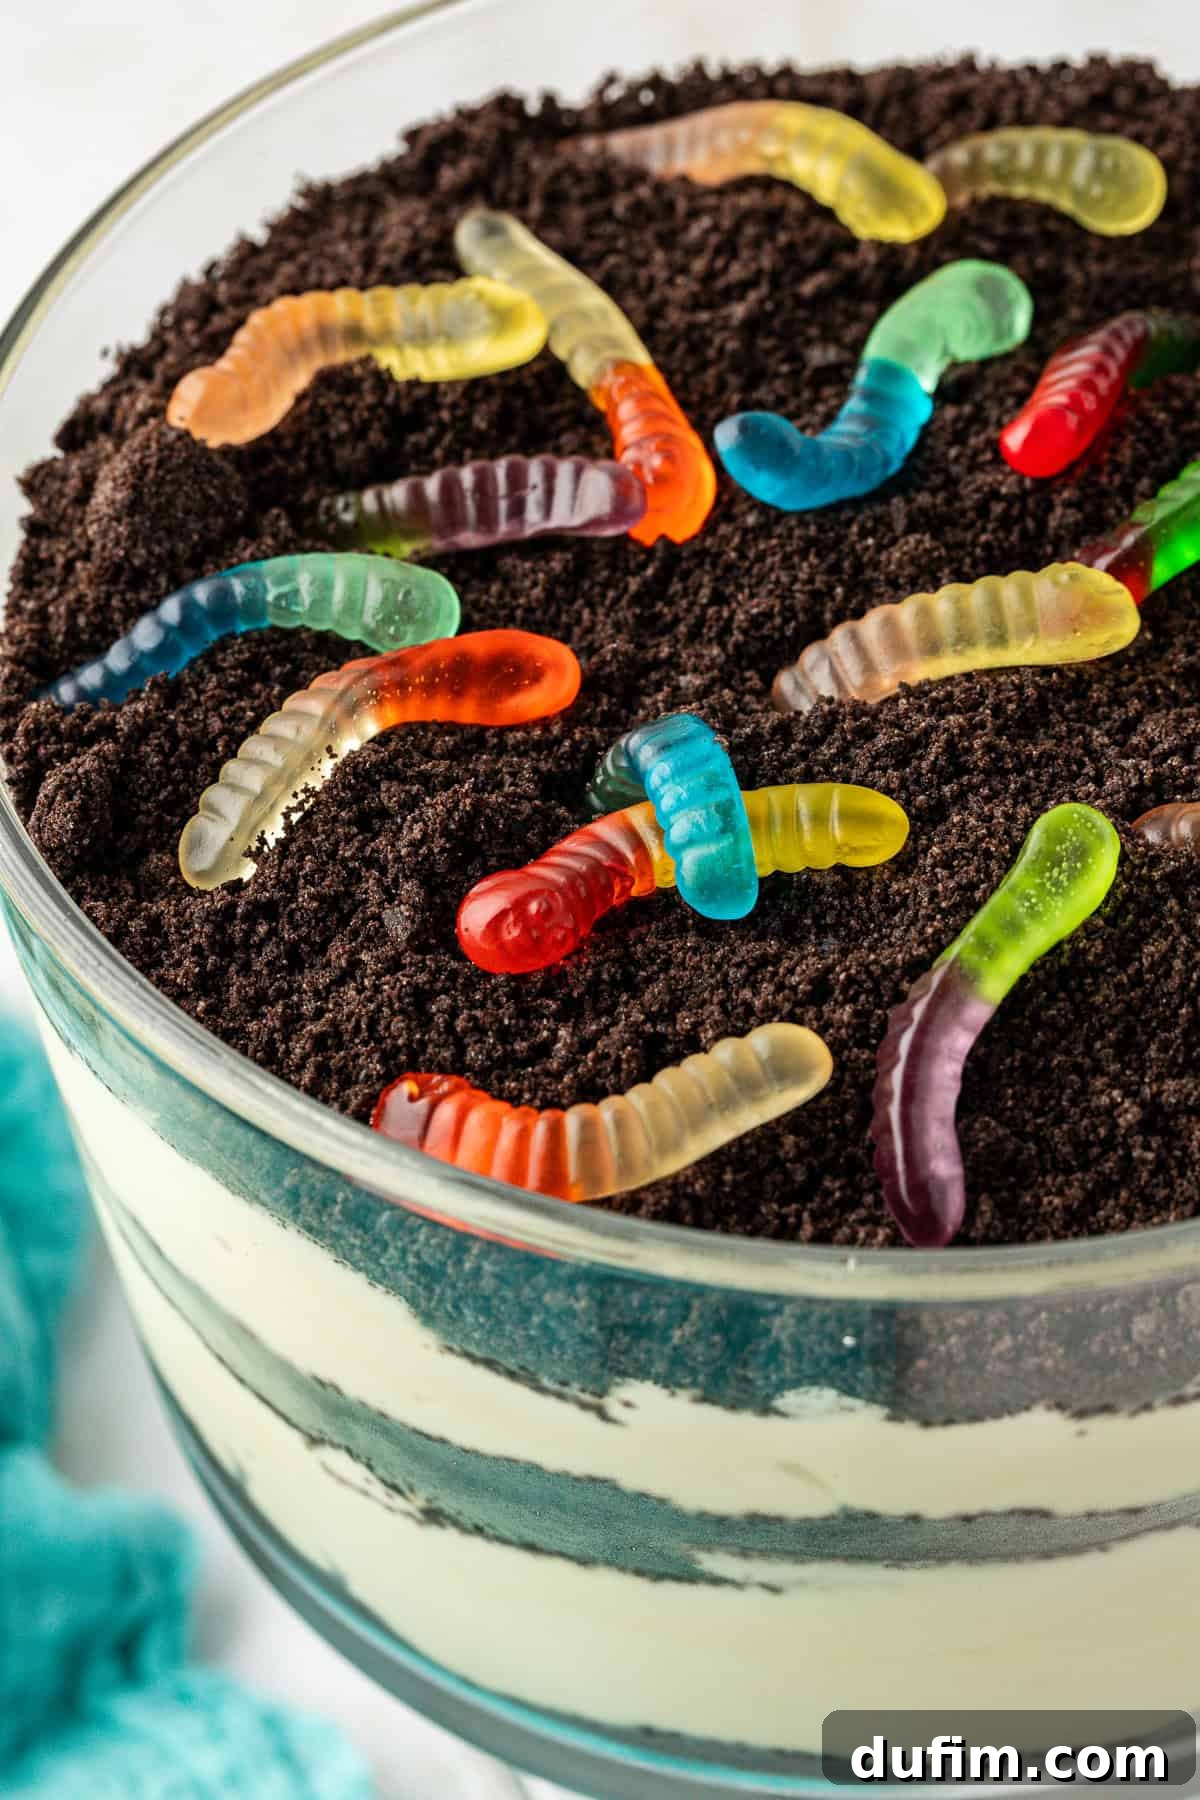
“It was so good and so easy to do. Definitely recommend!”
– Kathryn
Mastering the Ultimate Easy Dirt Cake Recipe: A Beloved Oreo Dessert
Few desserts evoke such joyful nostalgia as dirt cake. Perhaps you remember the charming “dirt cups” from childhood birthday parties or school events – individual servings of chocolatey goodness topped with gummy worms, creating a whimsical “dirt” effect. While those single servings were delightful, there’s something truly grand about presenting an entire, show-stopping dirt cake. As both a seasoned baker and a busy mom, I dedicated time to perfecting this classic, elevating it beyond the ordinary. My recipe offers a beautiful presentation and an addictive blend of tastes and textures that will make it a centerpiece at any gathering.
While making a classic dirt cake might seem straightforward, achieving that perfect balance of creamy and crunchy, ensuring your pudding sets beautifully, and creating distinct, flavorful layers can be a subtle challenge. But fear not! I’ve gathered all the essential tips and tricks you need to conquer these hurdles and nail this dessert every single time. Get ready to impress your family and friends with a dirt cake that tastes as incredible as it looks!
Common Dirt Cake Mistakes and How to Avoid Them
Even the simplest recipes can have pitfalls. Here are some common issues aspiring dirt cake creators face and my expert advice to overcome them:
- Runny Pudding: This is perhaps the most frequent complaint. The secret lies in using instant pudding mix and allowing ample time for it to set properly. Do not substitute with cook-and-serve pudding, as it won’t achieve the desired firm consistency. Ensure you whisk it thoroughly until it visibly thickens, then let it rest for at least 5-10 minutes before incorporating other ingredients.
- Soggy Cookies: While the crushed Oreos absorb some moisture, you don’t want them to become a mushy mess. Layer your cookies carefully, pressing them gently, and avoid over-soaking them with the pudding mixture. A good balance ensures a delightful crunch in every bite.
- Lumpy Cream Cheese Mixture: Nobody wants a chunky texture in their smooth, creamy dessert. To prevent this, always start with softened cream cheese and butter. Allow them to come to room temperature for at least 30 minutes (or longer, depending on your kitchen’s temperature) before beating. Beat them together until perfectly smooth and creamy before gradually adding powdered sugar.
And let’s dispel the myth that dirt cake is exclusively for children! While kids adore this playful dessert, my elevated version, with its rich, creamy layers and satisfying crunch, is a huge hit with adults too. One of my key tricks for enhancing both texture and taste is using full-fat ingredients. This adds a depth of flavor and a luxurious mouthfeel that makes all the difference.
Keep reading for my best tips on serving, storing, and customizing your dirt cake to truly make it your own!
Essential Oreo Dirt Cake Ingredients
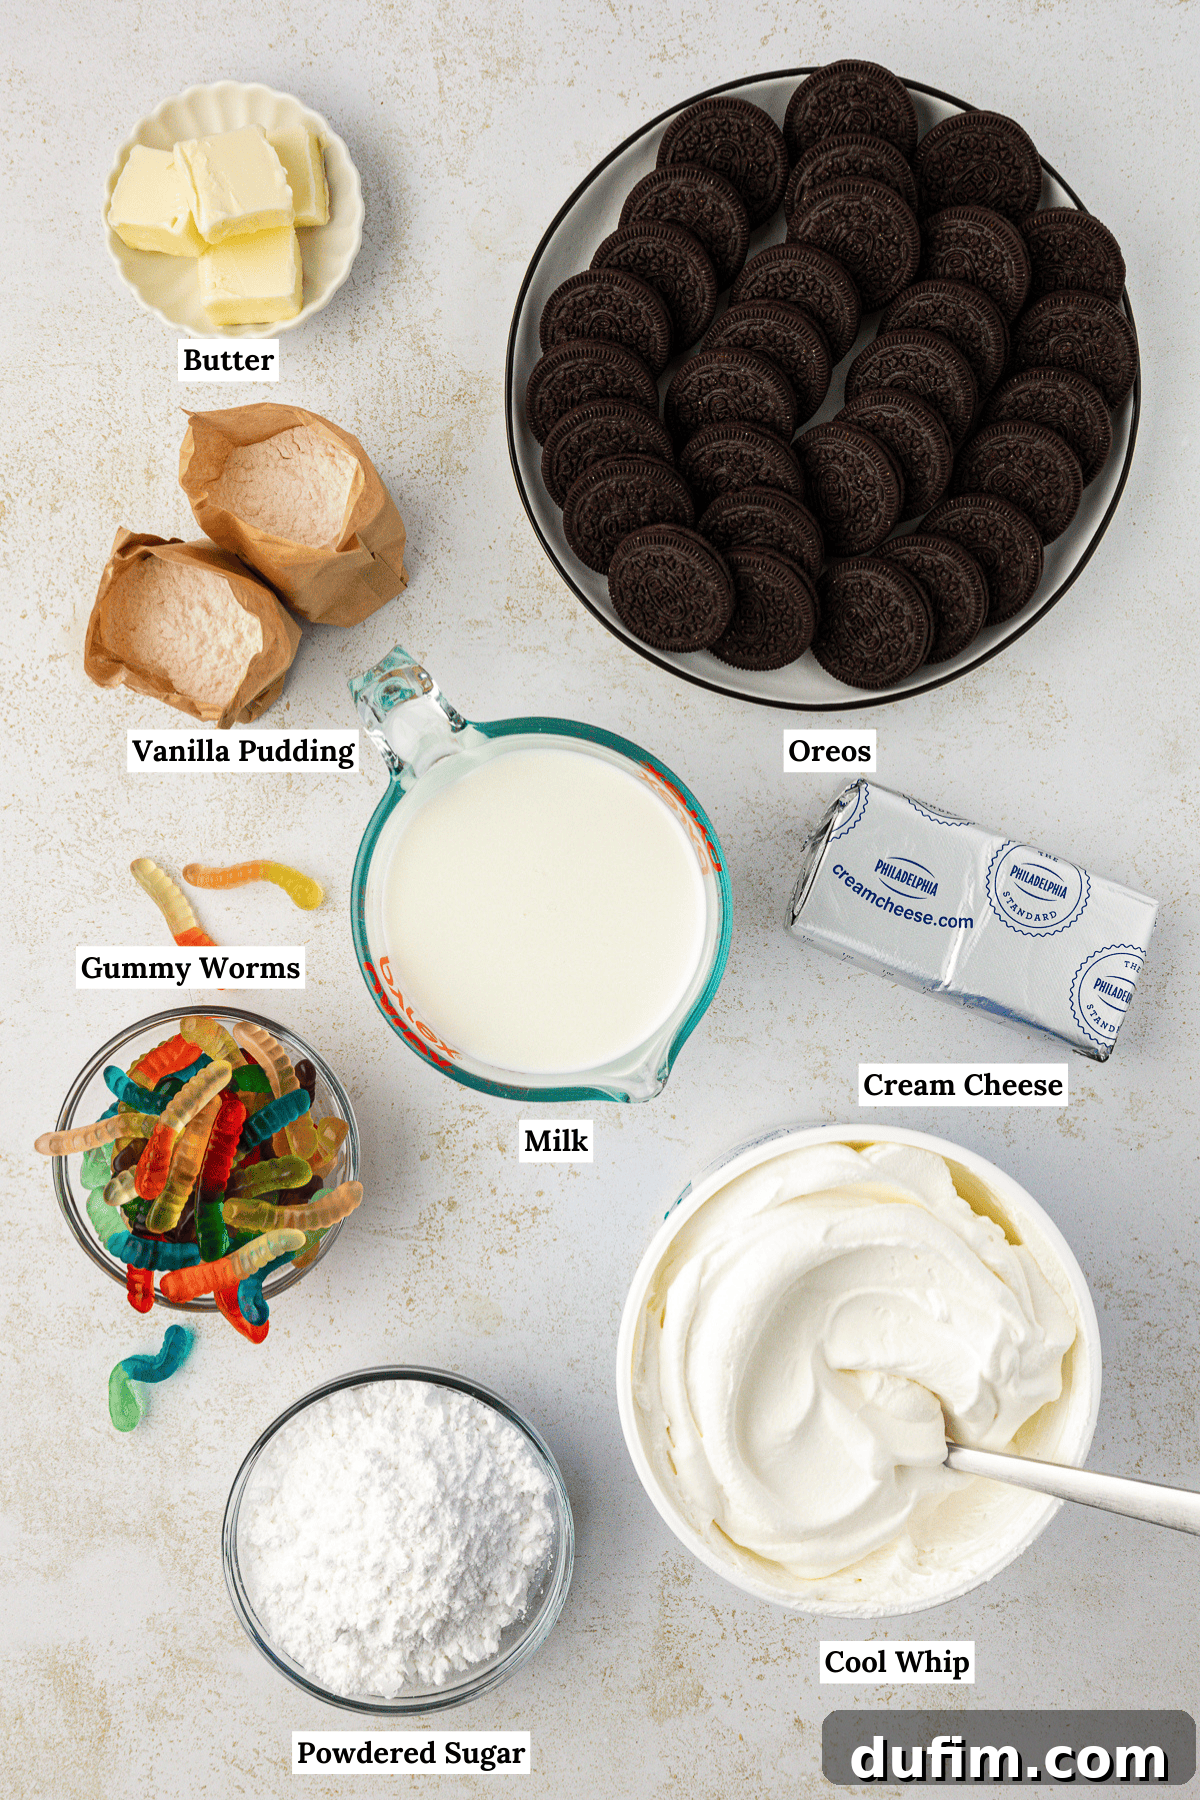
This delightful dirt cake recipe utilizes a handful of readily available, simple ingredients that come together to create a magical dessert. Here’s a detailed look at what you’ll need to gather:
- Milk: The base for your instant pudding. Use cold milk to help the pudding set quickly and properly. Whole milk often yields a creamier result, but 2% will also work.
- Instant Vanilla Pudding Mix: Crucial for the creamy layers. Be sure to pick up *instant* pudding, not the cook-and-serve variety, for the best consistency and ease of preparation. Vanilla is traditional, offering a sweet, neutral canvas for the Oreo flavor.
- Oreo Cookies: The star of the show! A family-size package ensures you have plenty for both the layers and the iconic “dirt” topping. The chocolatey crunch of these cookies is indispensable for the dirt cake experience.
- Unsalted Butter: Softened to room temperature, it blends smoothly with the cream cheese and powdered sugar, creating a rich, luscious base for your creamy filling.
- Cream Cheese: Also softened, full-fat cream cheese provides a tangy counterpoint to the sweetness and contributes significantly to the decadent texture of the pudding mixture. Make sure it’s at room temperature to avoid lumps.
- Powdered Sugar (Confectioners’ Sugar): This fine sugar dissolves easily into the cream cheese and butter mixture, ensuring a perfectly smooth and sweet filling without any grainy texture.
- Cool Whip (or other whipped topping): This lightens the cream cheese and pudding mixture, adding an airy, fluffy consistency that makes the dirt cake truly irresistible. Ensure it’s thawed but still cold.
- Gummy Worms: The classic, playful decoration that gives dirt cake its charming “worms” effect. Don’t be shy with these!
How to Make the Perfect Oreo Dirt Cake: Step-by-Step Instructions
One of the many reasons this recipe is a true winner, especially for busy individuals and hosts, is its incredible make-ahead potential. As a mom constantly juggling tasks, any dessert that comes together quickly and tastes even better after chilling earns top marks in my book! Here are the simple yet effective steps to creating this delightful dirt dessert:
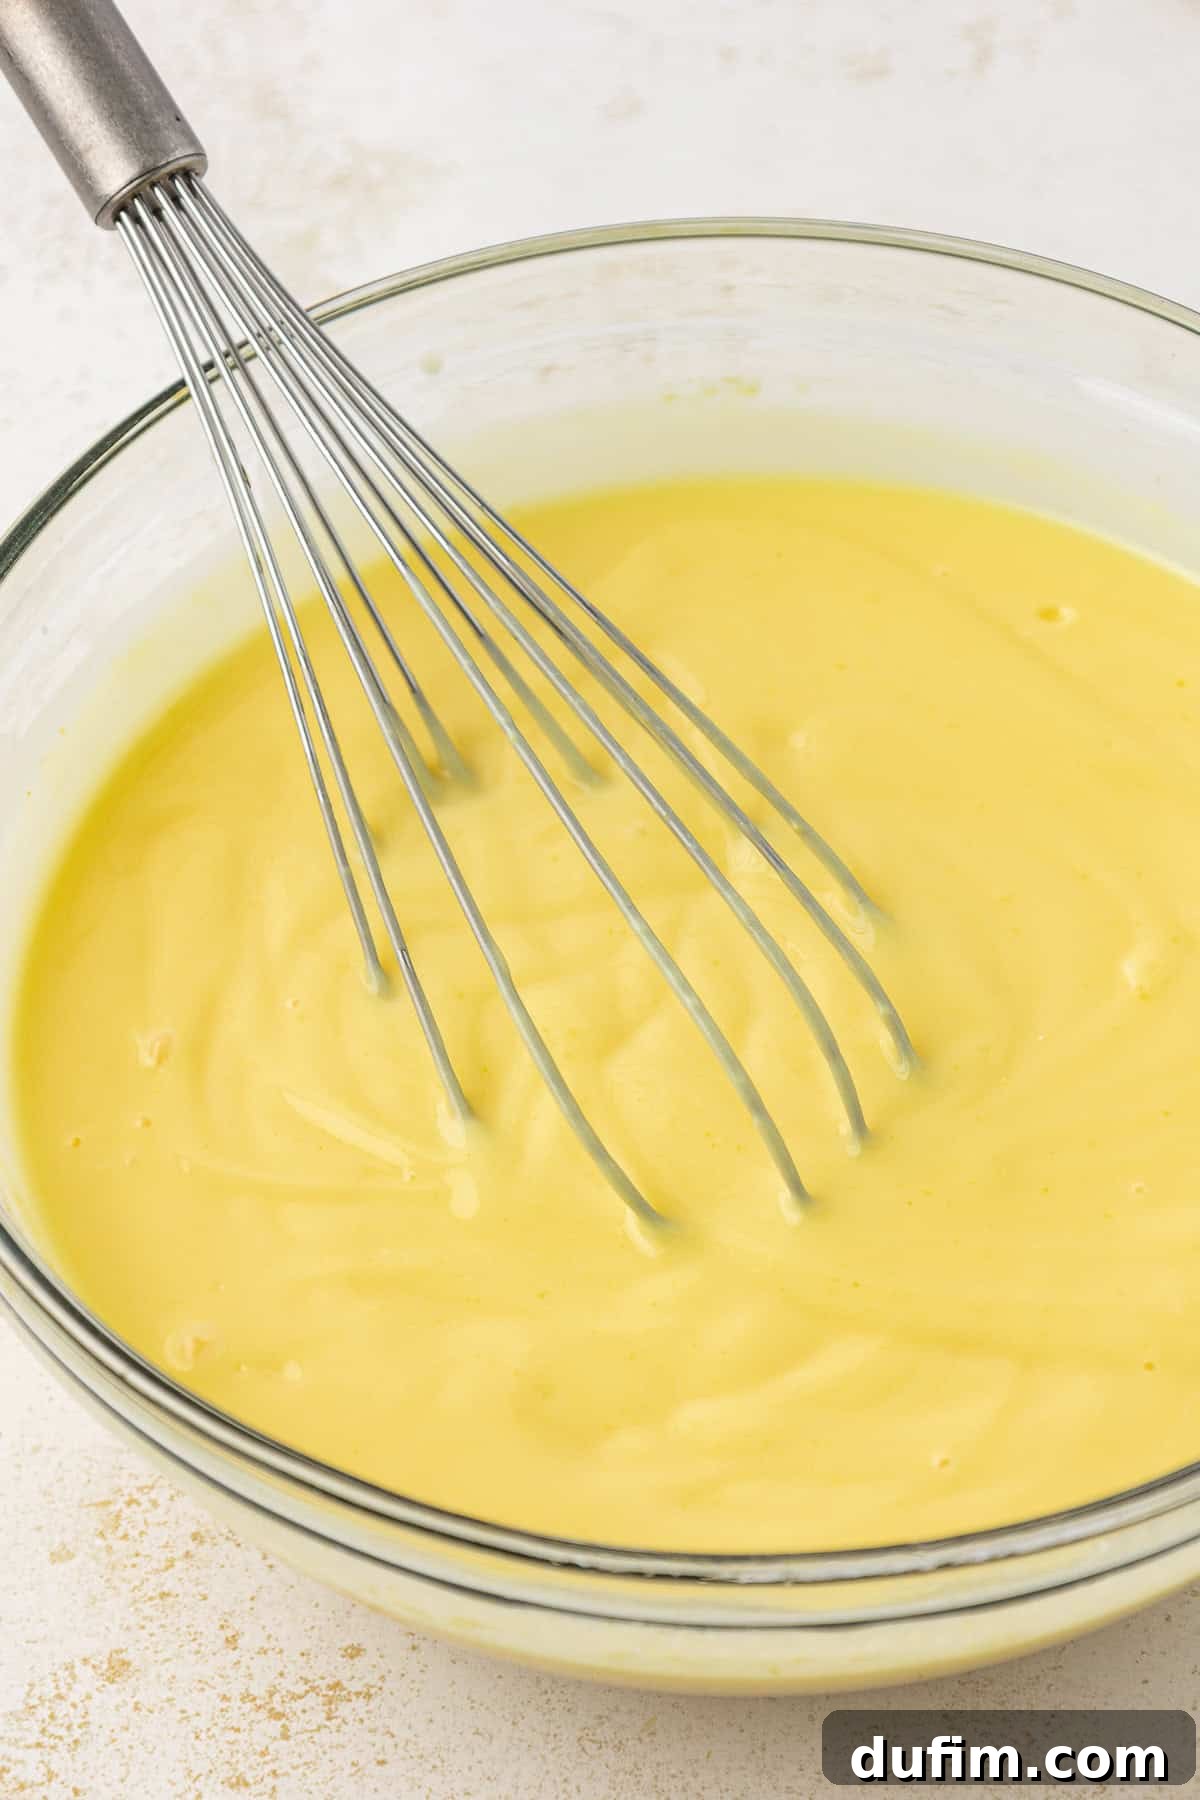
- Prepare the Pudding Base: In a large mixing bowl, combine the cold milk and two packages of instant vanilla pudding mix. Using a whisk, vigorously stir the ingredients together for about 2-3 minutes until the mixture visibly thickens to a smooth, creamy consistency. Set this aside and allow it to rest for a few minutes while you prepare the Oreos. This resting period is crucial for the pudding to fully set.
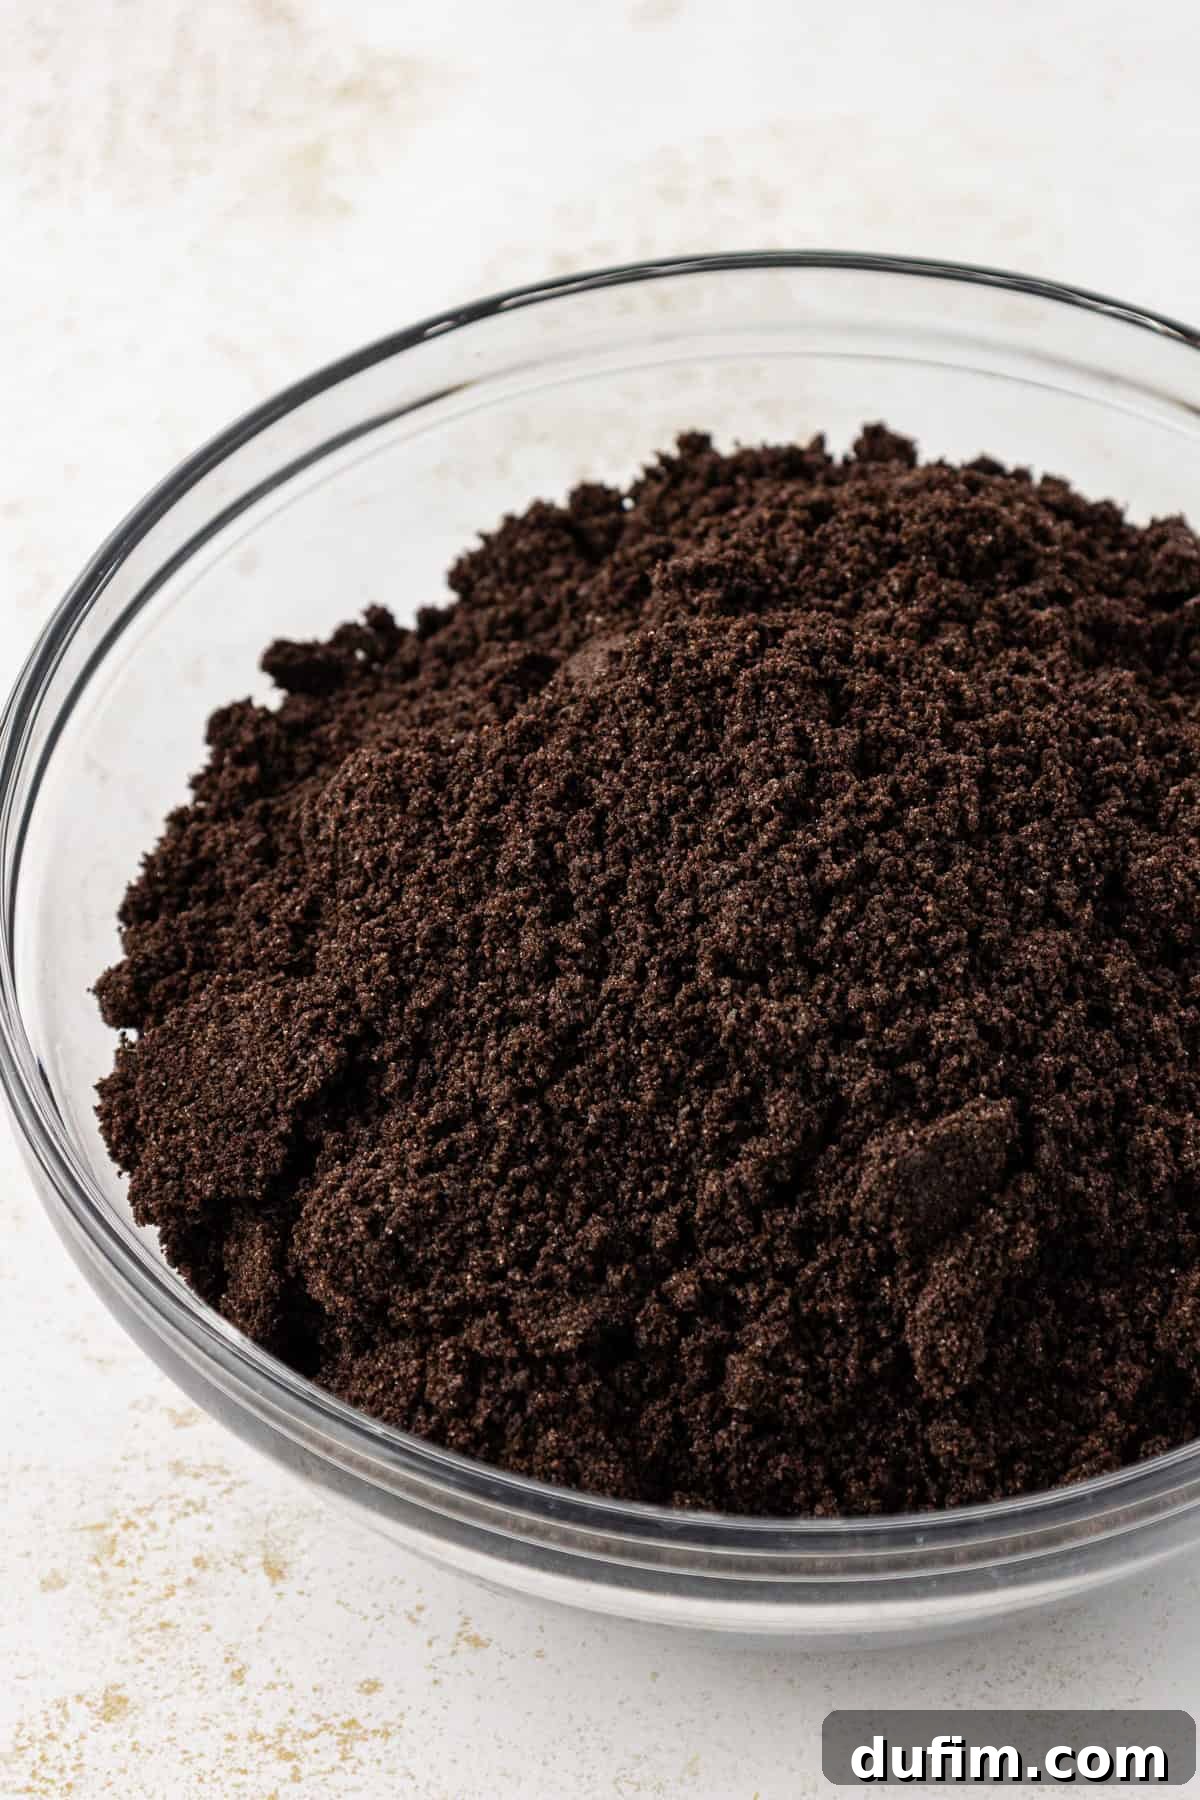
- Crush the Oreos: Take your family-size package of Oreo cookies. For the ideal “dirt” texture, place the entire cookies (including the cream filling) into a large, heavy-duty ziplock bag. Using a rolling pin, crush the cookies into fine crumbs. Alternatively, for a quicker and more uniform result, a food processor works wonders. Simply pulse until you achieve fine crumbs. Once crushed, set aside about one-quarter of the crushed Oreos in a separate small bowl; these will be used for the very top layer of your dirt cake.
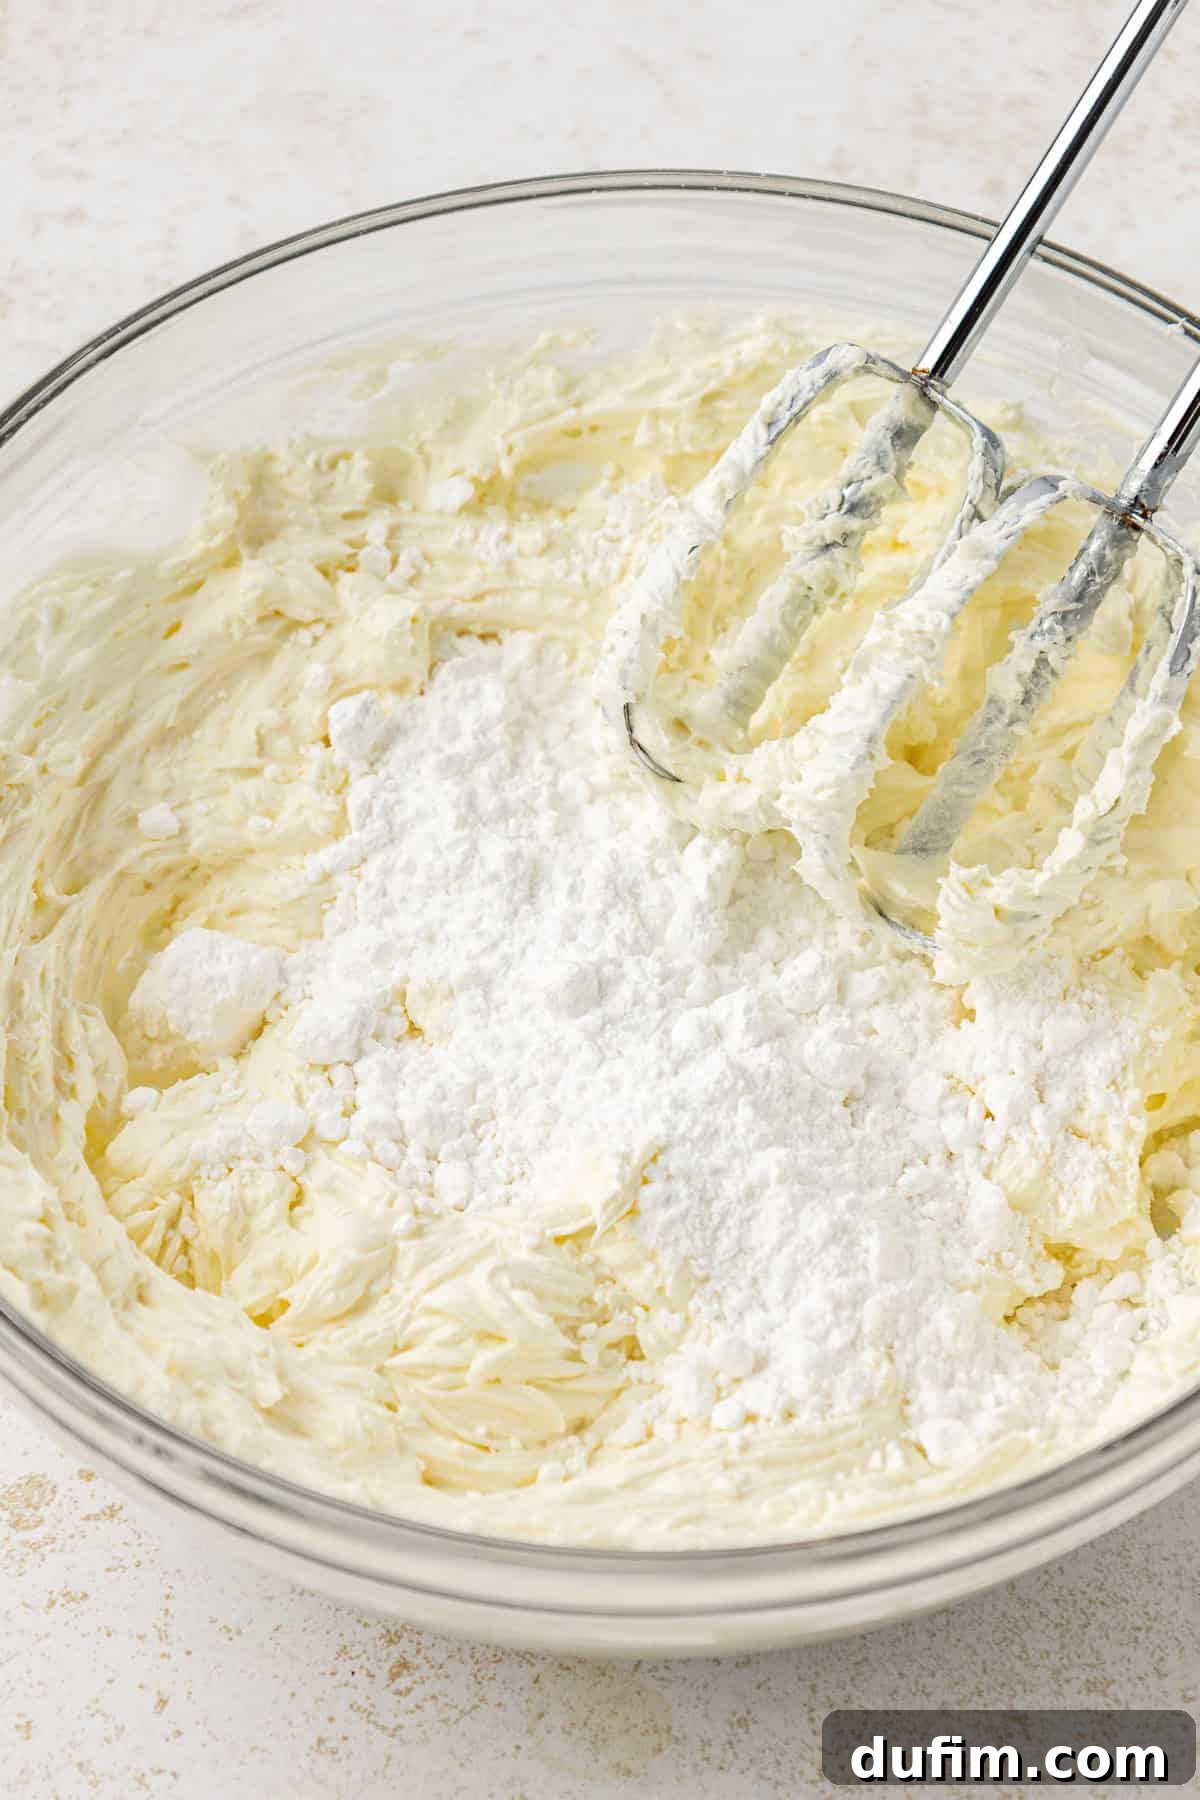
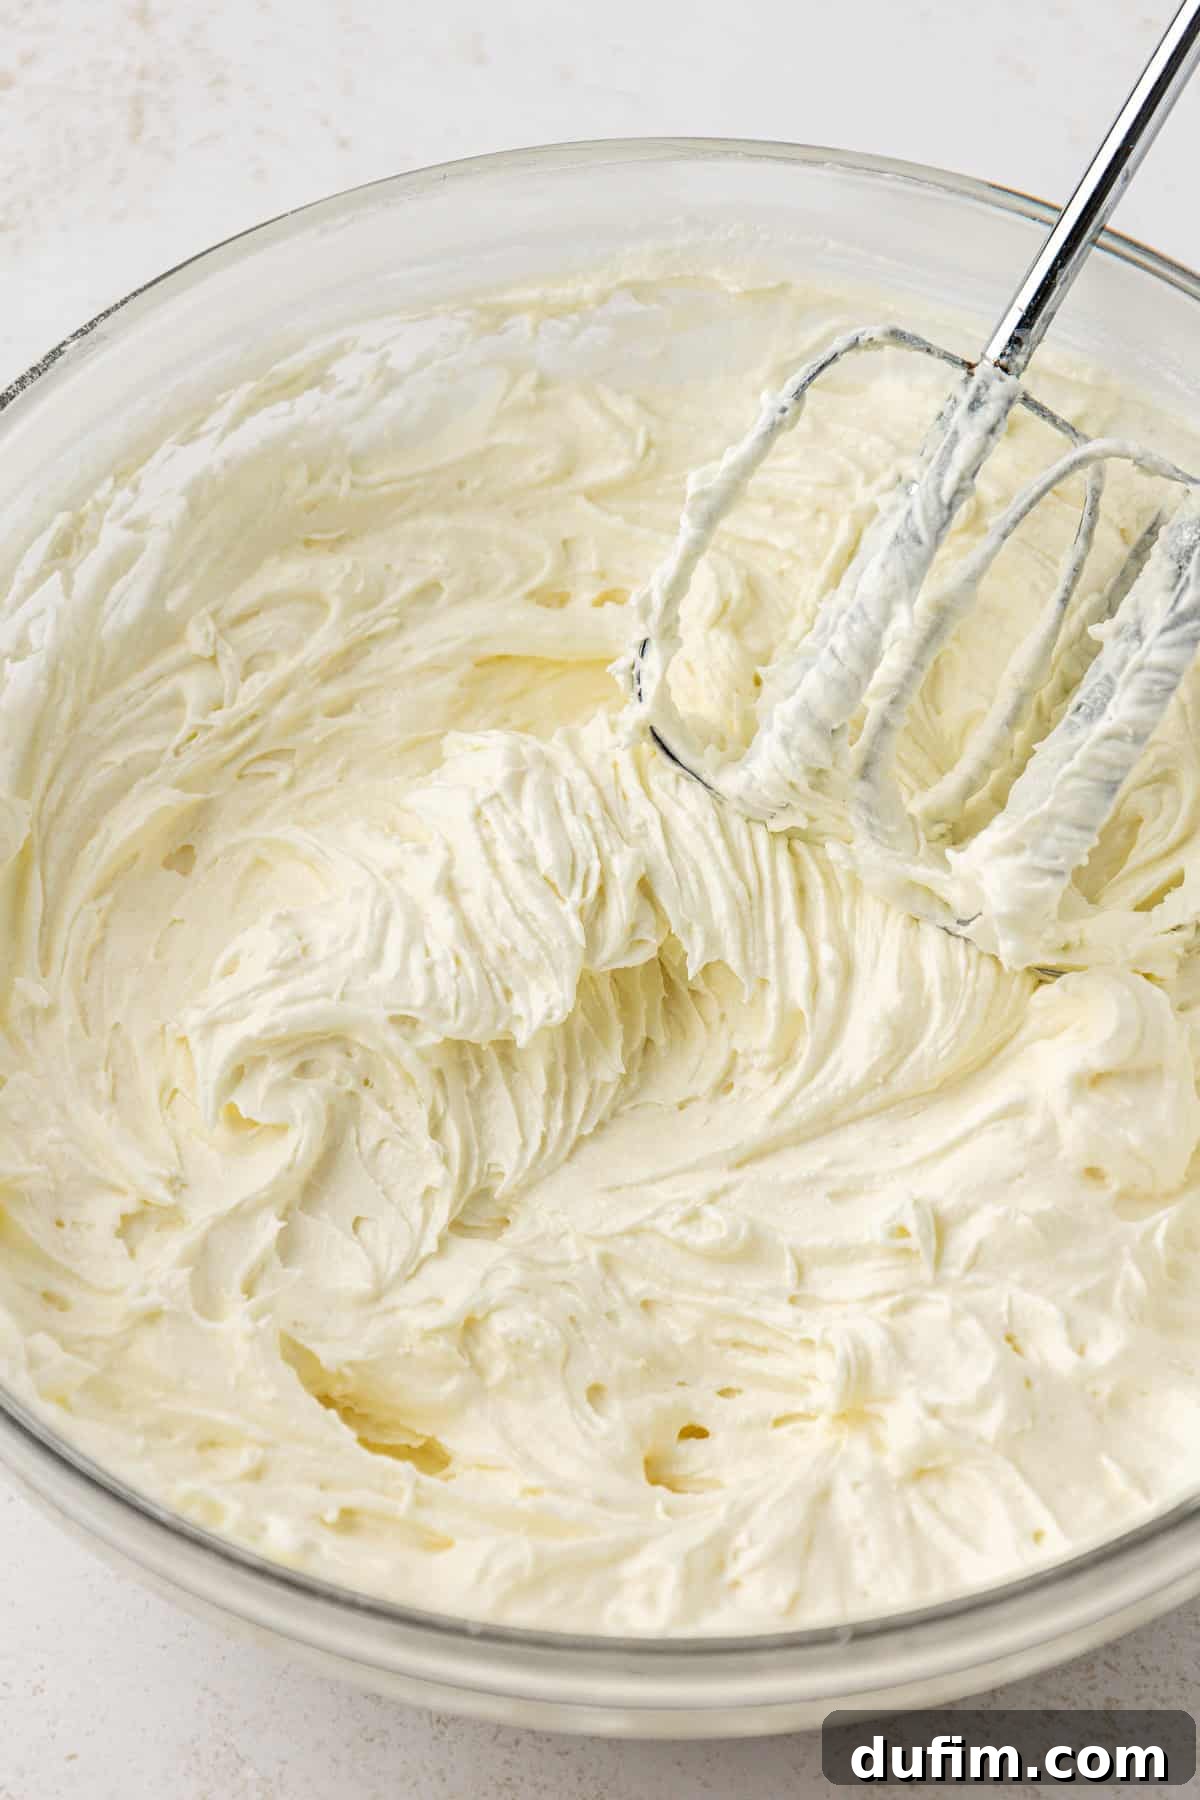
- Craft the Cream Cheese Mixture: In a separate, medium-sized mixing bowl, combine the softened unsalted butter and softened cream cheese. Using an electric mixer (or a sturdy whisk and some elbow grease), beat these two ingredients together until they are perfectly smooth, light, and creamy, with no lumps remaining. Gradually add the powdered sugar, beating until it is fully incorporated and the mixture is light and fluffy. Scrape down the sides of the bowl as needed to ensure everything is well combined.
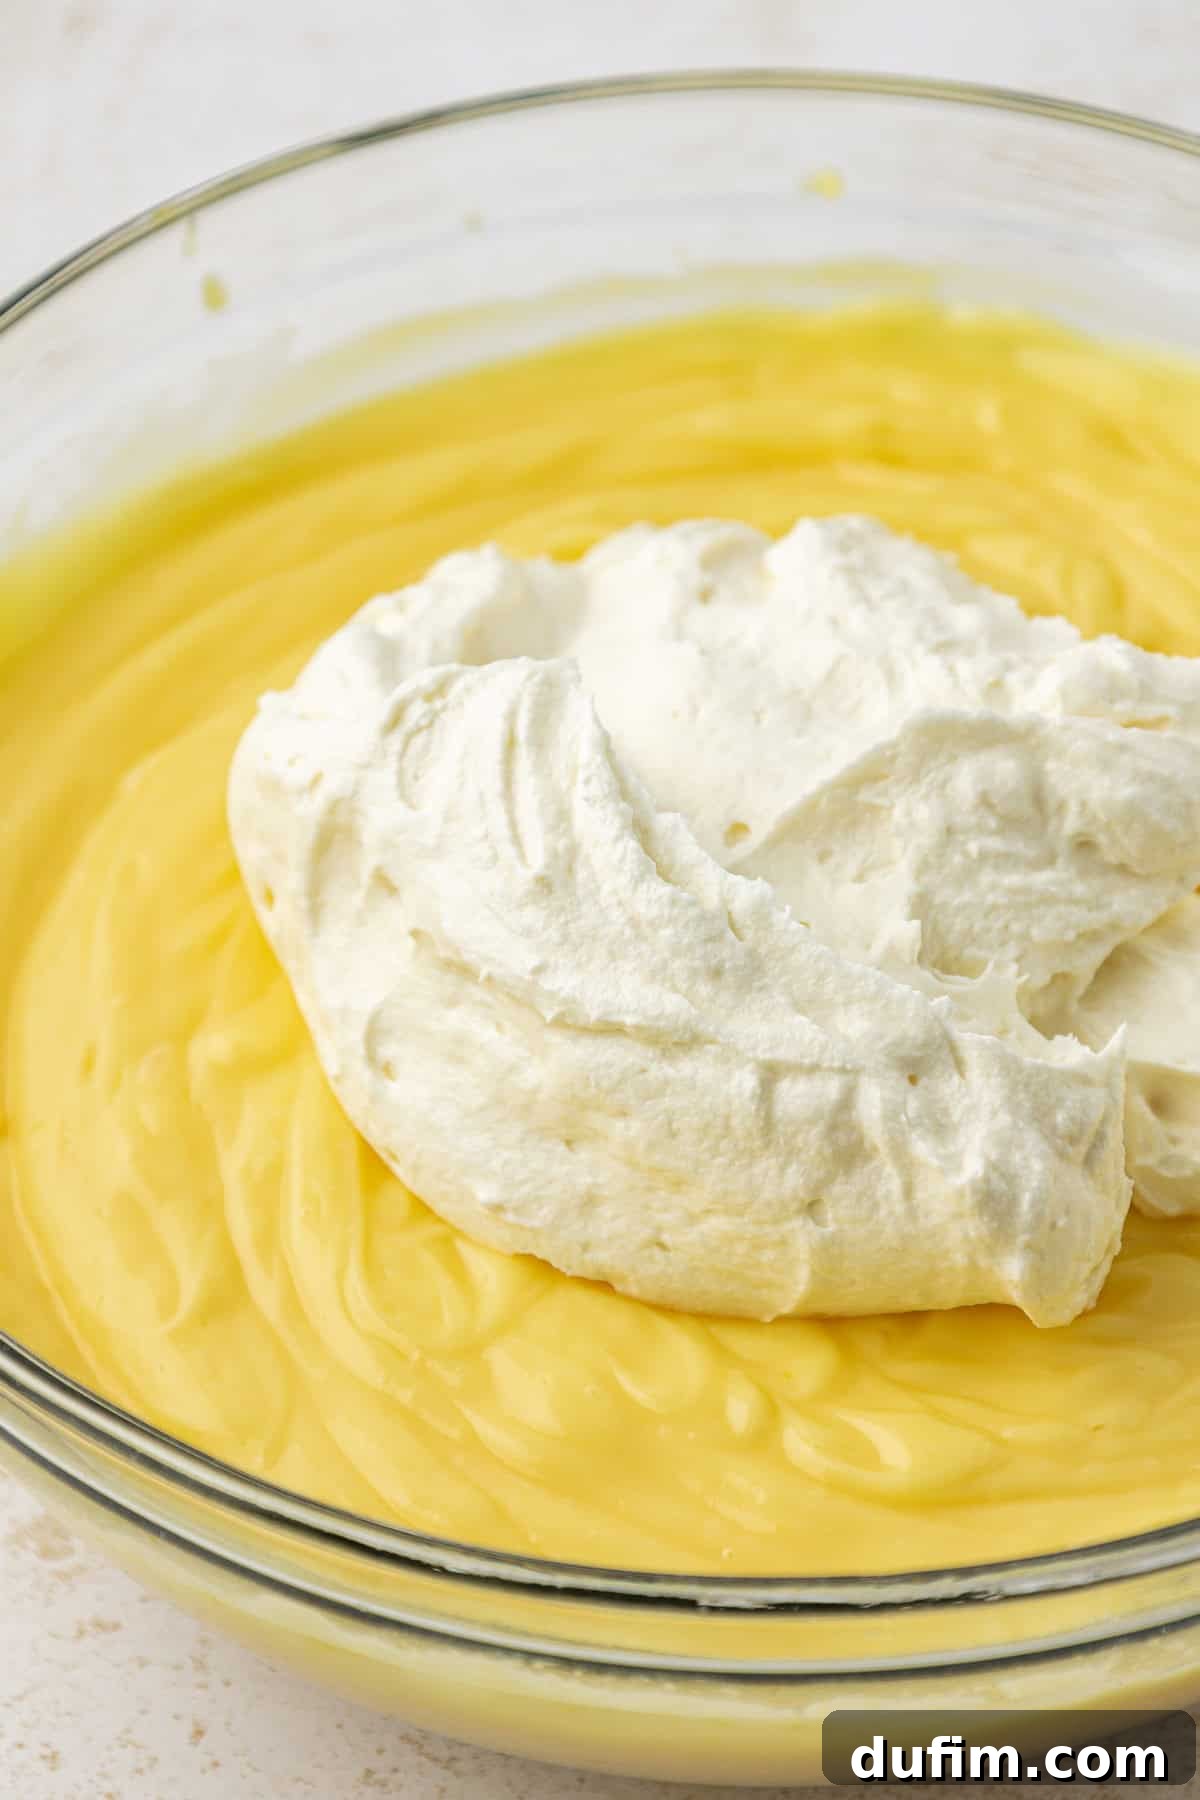
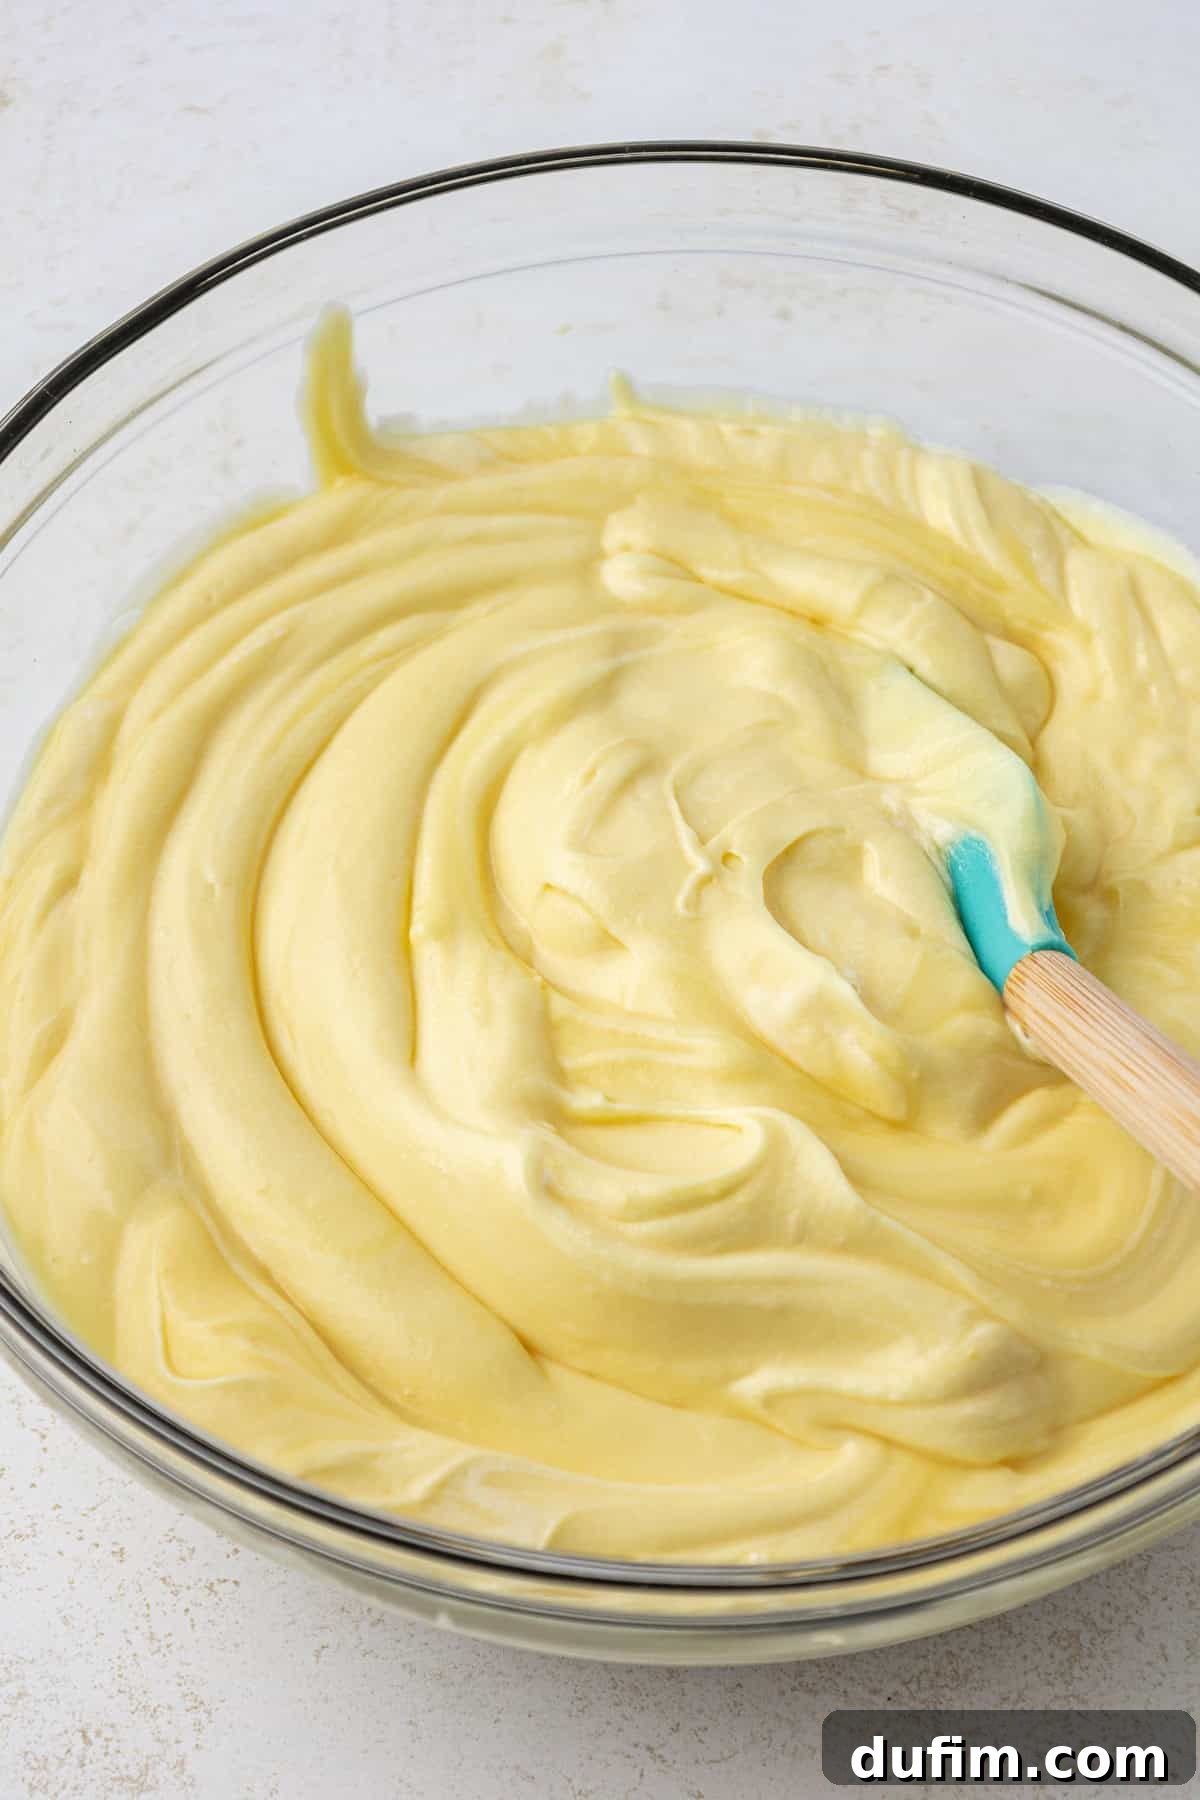
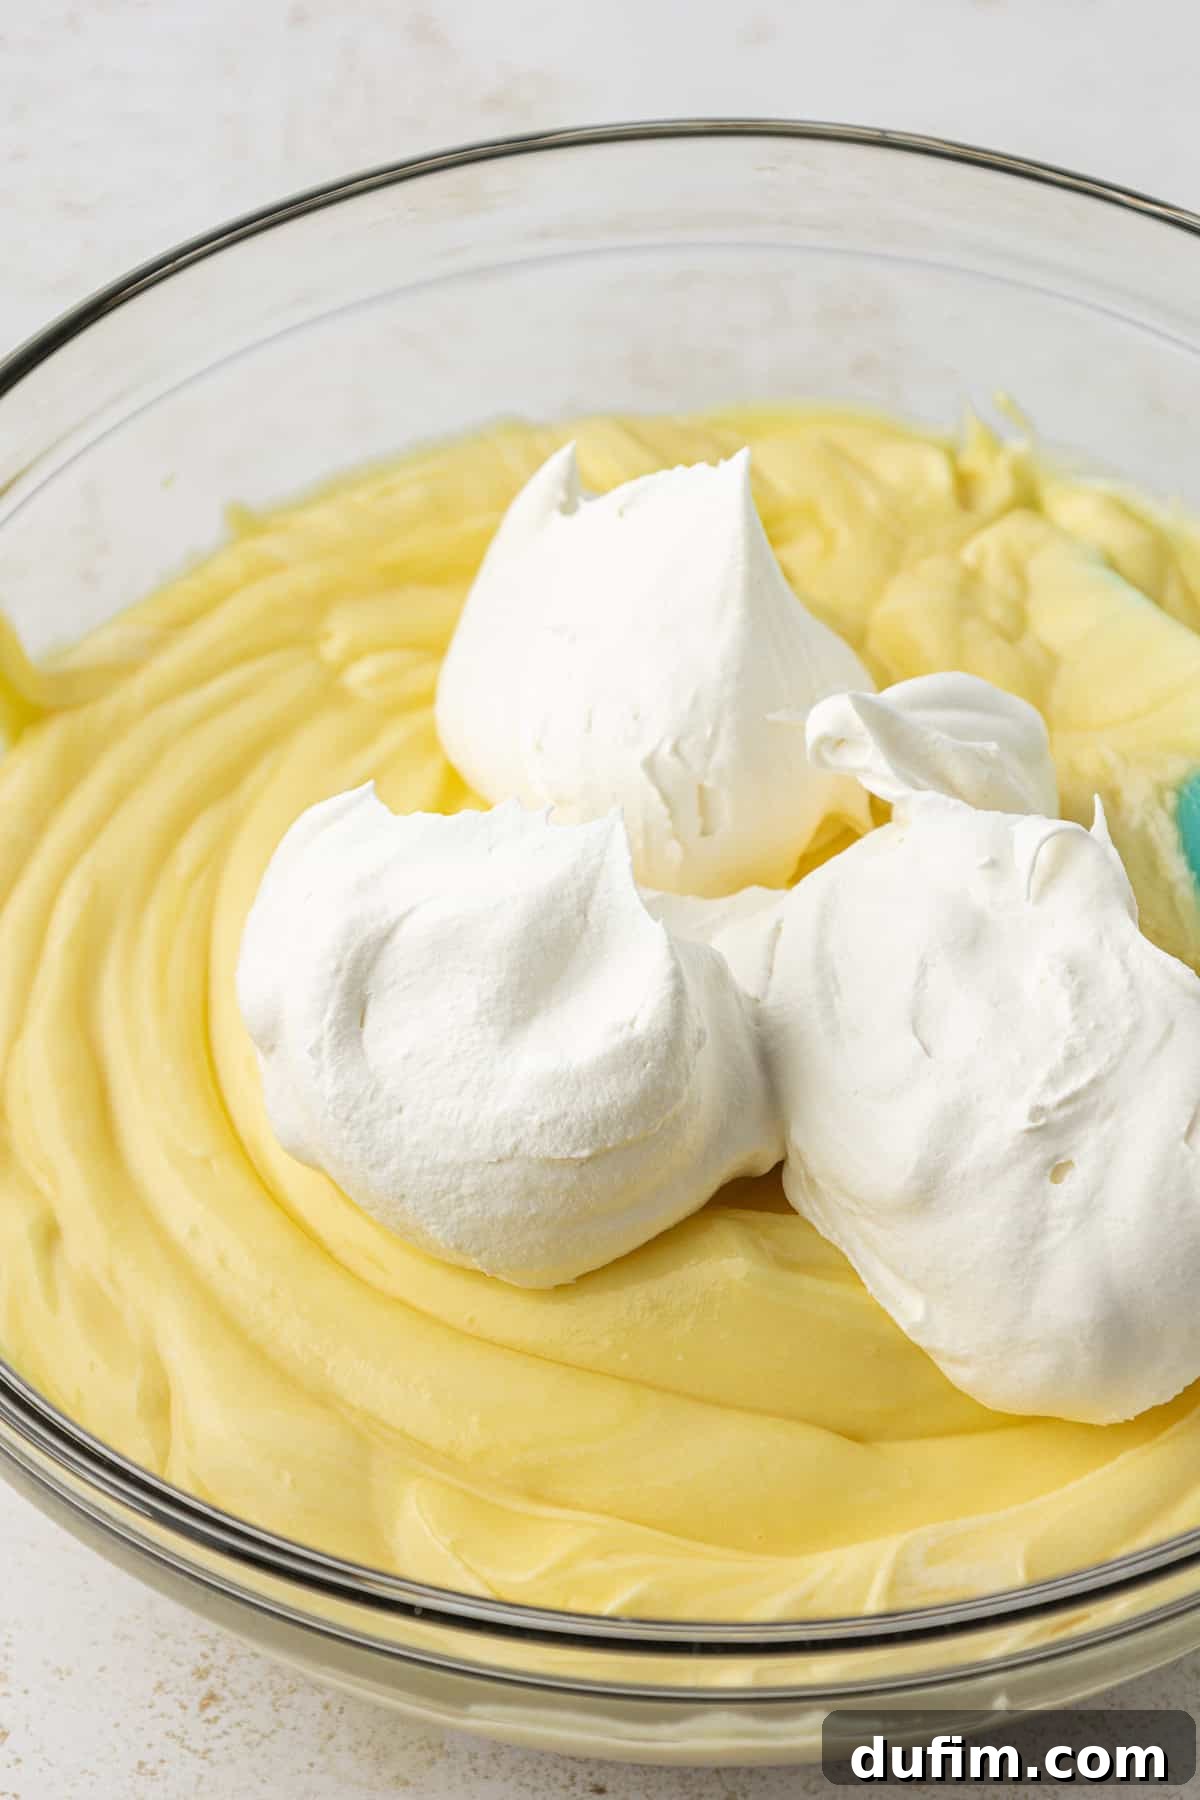
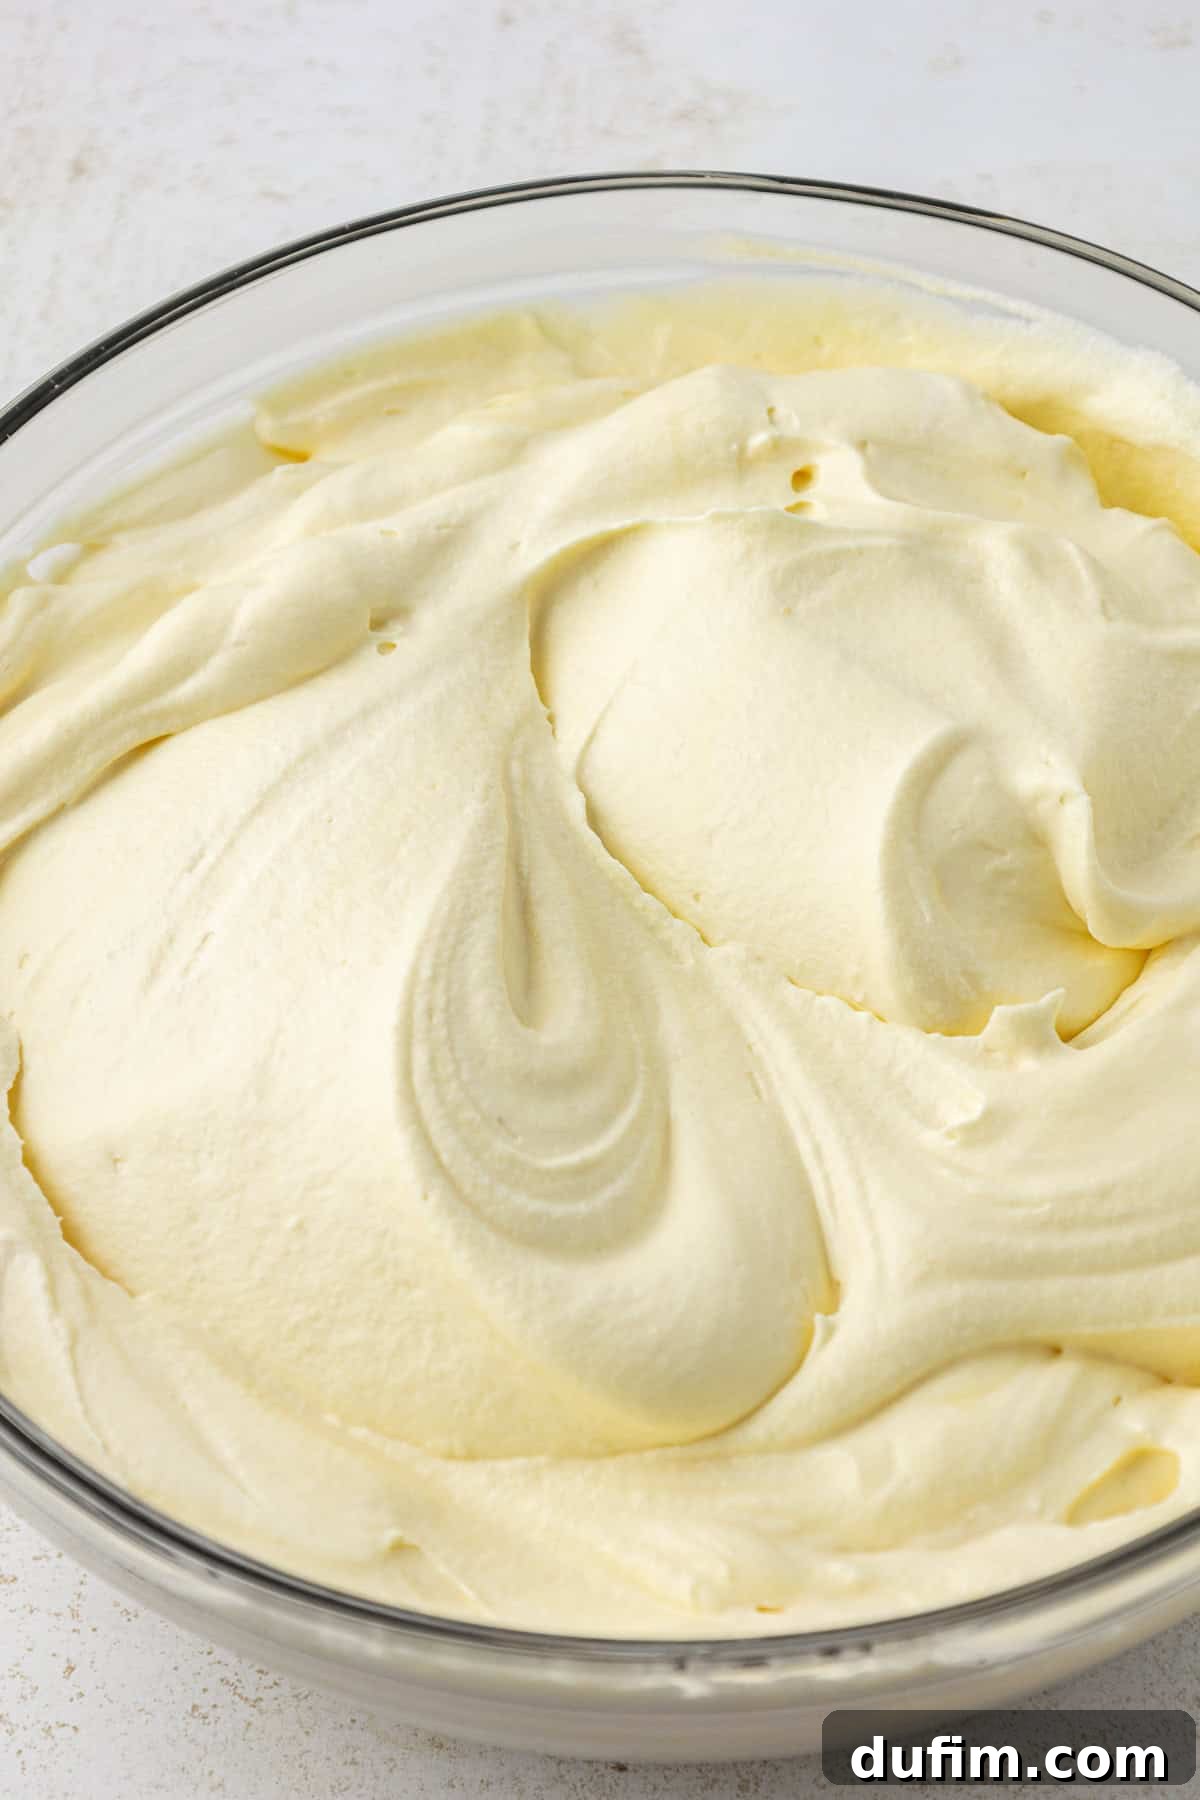
- Combine Pudding, Cream Cheese, and Cool Whip: Gently fold the prepared cream cheese mixture into the vanilla pudding mixture. Use a spatula to combine them thoroughly until no streaks of either mixture remain and the color is uniform. Next, carefully fold in the thawed Cool Whip. The goal here is to maintain the lightness of the Cool Whip, so fold gently until the entire mixture is smooth, creamy, and wonderfully uniform. Avoid overmixing, which can deflate the whipped topping.
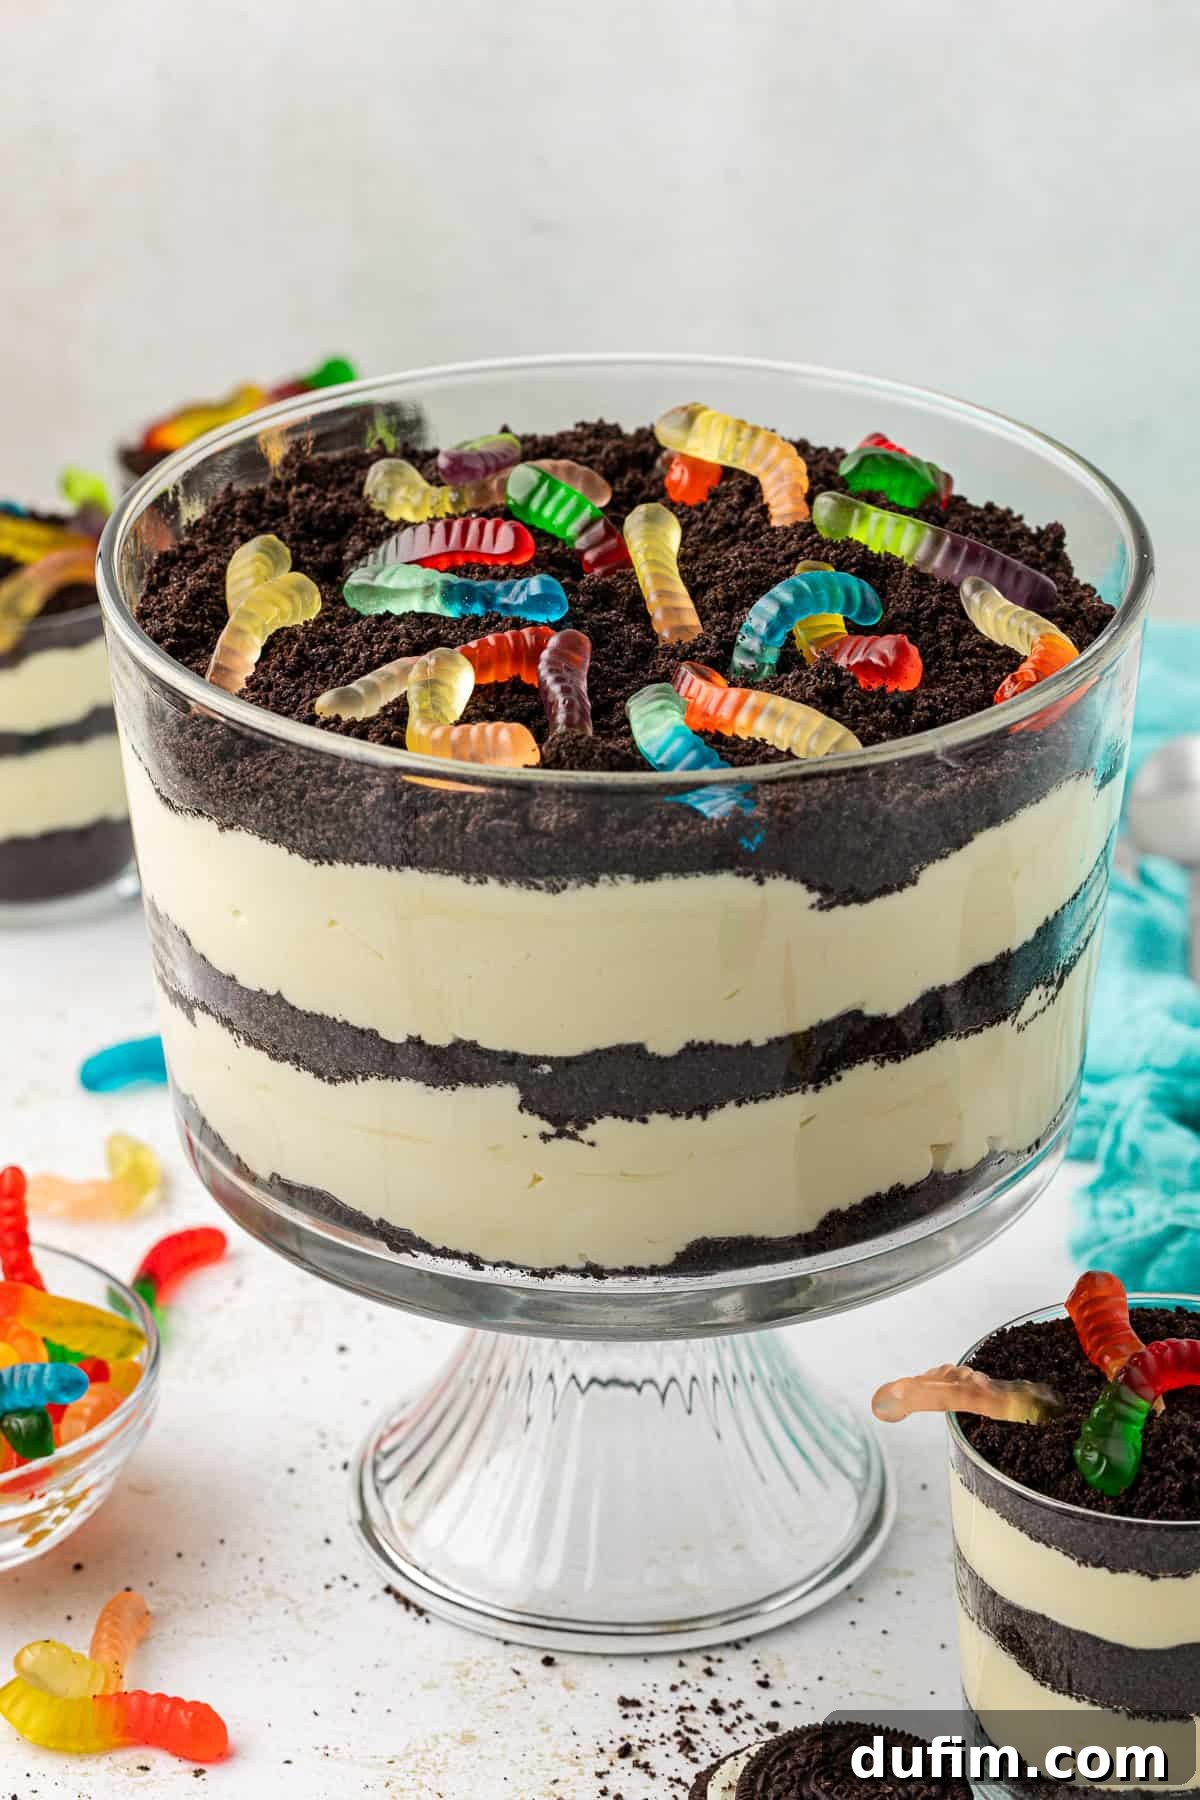
- Assemble the Trifle: Now for the fun part – layering! Choose a large, clear trifle dish or a similarly sized glass bowl to showcase the beautiful layers. Begin by adding a generous layer of the crushed Oreos at the very bottom, spreading evenly. Next, carefully spoon a layer of the creamy pudding mixture over the Oreos, spreading it gently to the edges. Continue this layering process, alternating between crushed Oreos and the pudding mixture, until you reach the top of your trifle dish. Ensure your final layer is the reserved crushed Oreos, creating that authentic “dirt” appearance.
- Decorate with Whimsy: Once your layers are complete and topped with a generous sprinkle of Oreo “dirt,” it’s time to add the classic touch: gummy worms! Arrange them artfully on the top layer, positioning some so they look like they’re playfully crawling out of or burrowing into the “dirt.” You can also add a few whole Oreos or a small artificial flower for extra flair.
- Chill and Serve: This crucial step allows the flavors to meld and the cake to set firmly, resulting in a perfectly scoopable dessert. Refrigerate your assembled dirt cake for a minimum of 2 hours. For best results and optimal texture, chilling overnight is even better. When you’re ready to serve, scoop generous portions into individual bowls, allowing everyone to appreciate the beautiful layered effect and enjoy the cool, creamy, crunchy deliciousness.
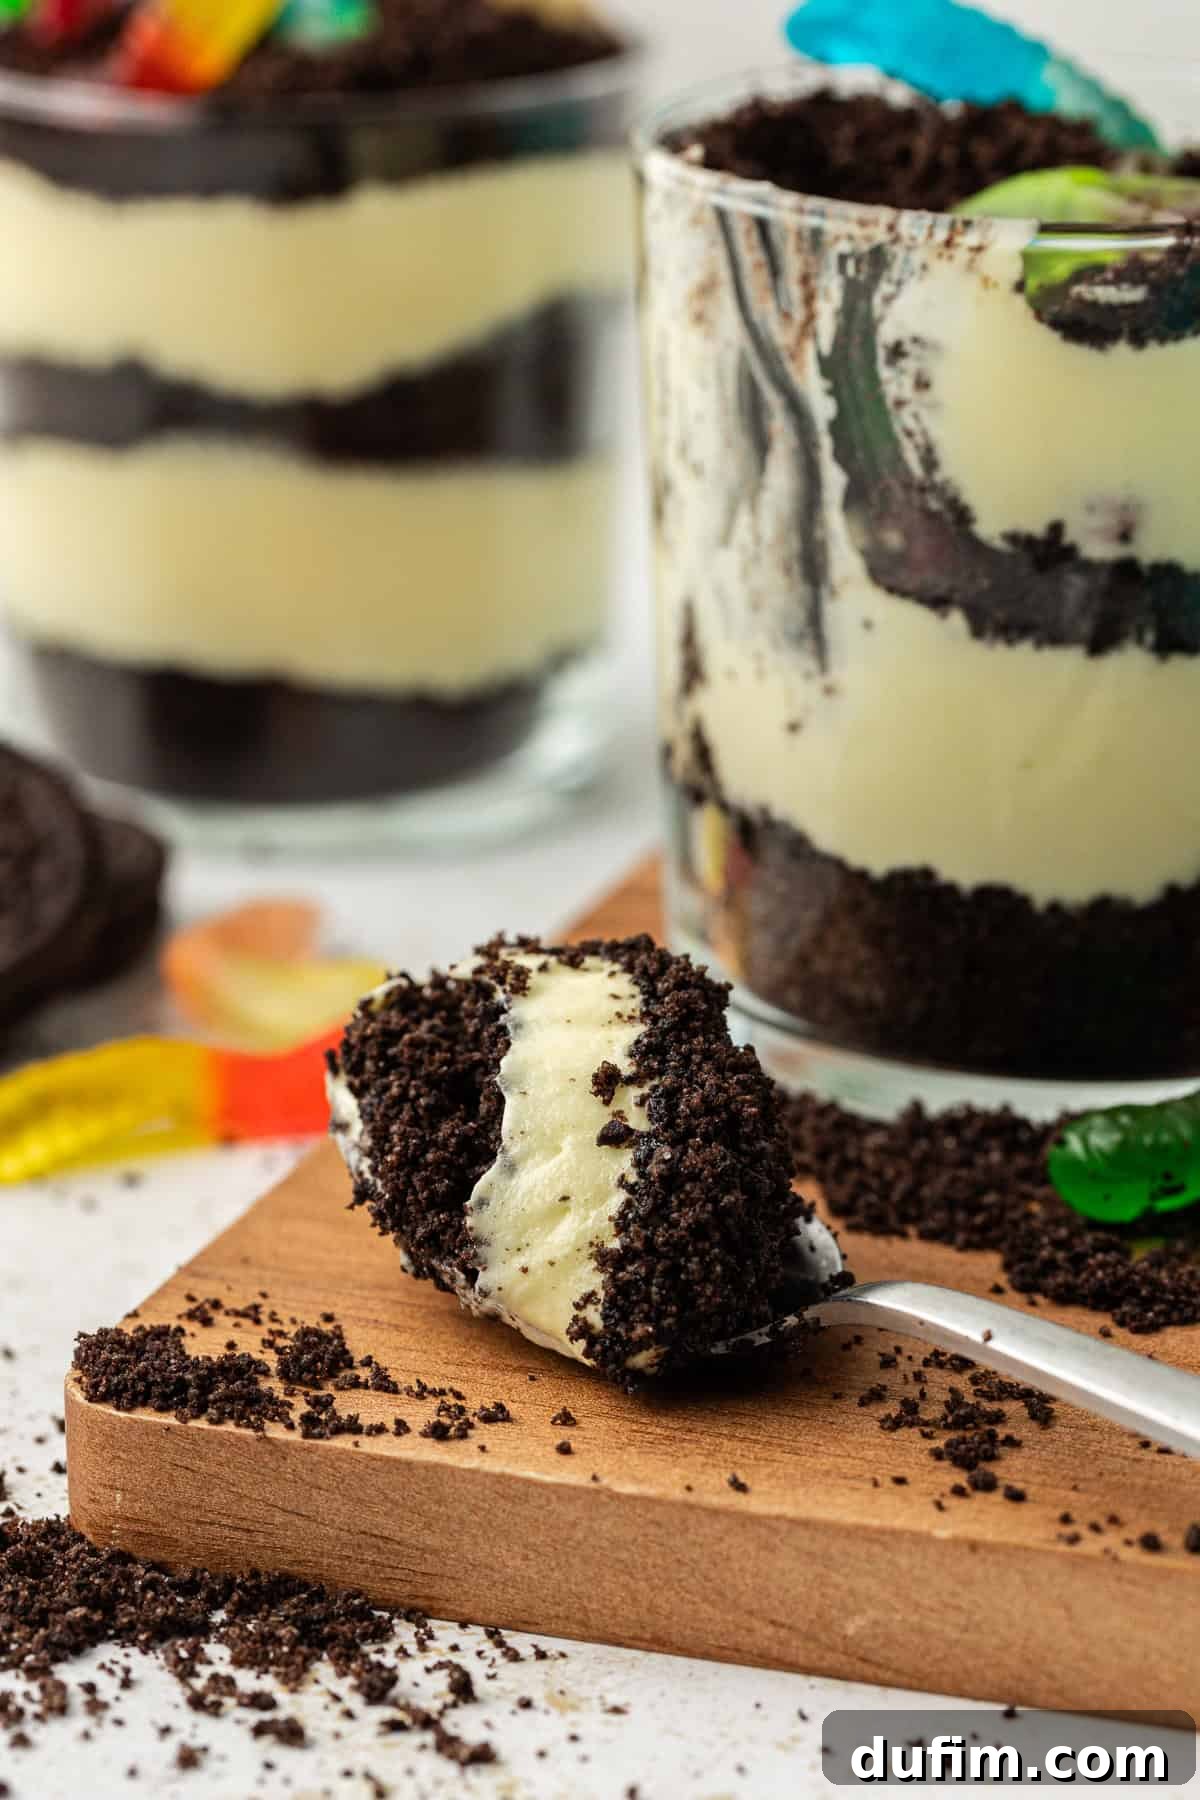
Dirt and Worms Cake Variations and Creative Twists
While the classic Oreo dirt cake is universally loved, this recipe is incredibly versatile, allowing for endless creative substitutions and variations to suit any taste or theme. Don’t be afraid to experiment!
- Change the Oreos: Dive into the vast world of Oreo flavors! Instead of classic chocolate, you could use:
- Golden Oreos: For a “sandy beach” themed dirt cake, perfect for summer parties.
- Mint Oreos: To add a refreshing twist, especially around the holidays or for mint chocolate lovers.
- Peanut Butter Oreos: For a rich, nutty flavor profile.
- Red Velvet Oreos: To create a festive or colorful dessert for specific occasions.
- Adjust the Size: This recipe is fantastic in a large trifle dish, but you can easily adapt it:
- Individual Cups: Layer in clear plastic cups, small glass jars, or even mini flower pots for charming, single-serving desserts that are easy to distribute at parties.
- Smaller Bowls: Use several medium-sized glass bowls for different flavor variations or to cater to smaller groups.
- Switch the Pudding Flavor: The base pudding can dramatically change the cake’s character:
- Chocolate Pudding: For an even richer, more intense chocolate experience, perfect for chocoholics.
- Cheesecake Pudding: Adds a tangy, creamy depth that complements the Oreos beautifully.
- Lemon Pudding: For a bright, zesty contrast to the chocolate, creating a surprisingly refreshing combination.
- White Chocolate Pudding: Offers a milder, sweeter flavor that pairs well with many toppings.
- Substitute the Gummy Worms: While gummy worms are traditional and iconic, feel free to get creative with your toppings to match a theme or preference:
- Candy Rocks: Small, colorful candy rocks can enhance the “garden” or “construction” theme.
- Edible Flowers: For a more elegant “garden” look, especially if serving to adults.
- Chocolate Bugs: If you’re going for an extra creepy-crawly effect for Halloween.
- Seasonal Candies: Use sprinkles, holiday-themed candies, or even small chocolate eggs for Easter variations.
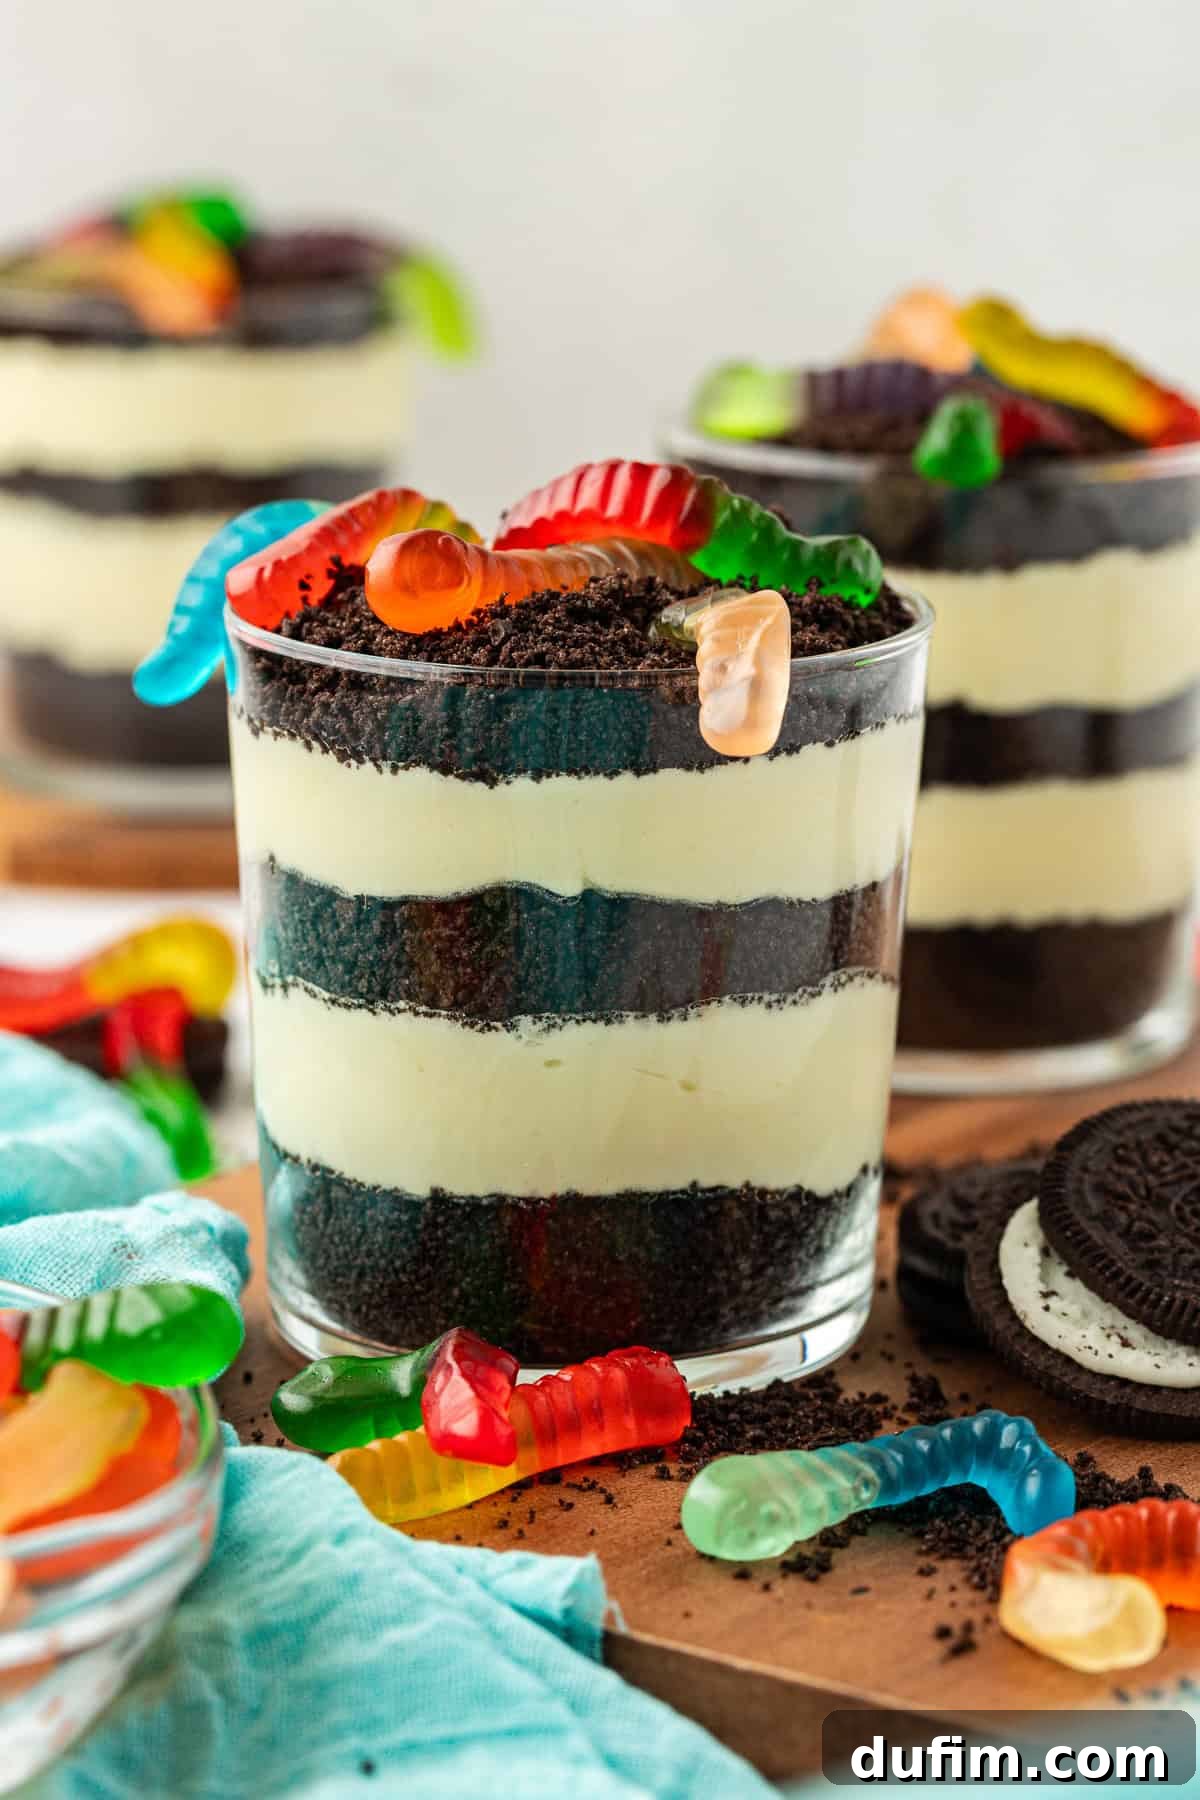
Easy Dirt Cake Recipe Serving Ideas for Any Occasion
Part of the charm of dirt cake is its playful presentation. Here are some incredibly creative and easy ways to serve your dirt cake, guaranteed to add an extra layer of fun to any gathering, from casual backyard BBQs to themed birthday parties:
- Flower Pots: For a truly authentic garden theme, serve individual portions in small, new, and thoroughly cleaned terracotta flower pots. Layer the cake inside, top with crushed Oreos, and then poke a few gummy worms out of the “dirt.” For an extra touch, stick an artificial flower or a fresh mint sprig into the center.
- Mini Buckets: Small metal or plastic pails (often found in party supply stores or craft shops) make for an adorable and whimsical serving option. They’re perfect for individual servings and add a rustic, playful element, especially for outdoor events.
- Mason Jars: Layering your dirt cake in mason jars creates a charming, rustic, and portable dessert. Guests can easily grab their own jar, making it ideal for picnics, potlucks, or backyard barbecues. Plus, they look beautiful with the visible layers!
- Toy Dump Trucks: This idea is a massive hit for construction or vehicle-themed birthday parties! Line the bed of a clean toy dump truck (new, food-safe plastic) with parchment paper, then fill it with a large batch of dirt cake. It’s an unforgettable centerpiece that kids (and adults!) will adore.
- Sand Pails: Perfect for beach-themed parties or summer gatherings, small, colorful sand pails make super cute serving containers. Fill them with dirt cake, add some gummy worms, and perhaps a mini plastic shovel for an extra touch.
- Individual Cups: The simplest and most practical option for easy serving and cleanup. Use clear plastic cups to show off the layers, top each with a gummy worm or two, and a small plastic spoon. This is ideal for large crowds or when you want minimal fuss.
- Terrarium Bowls: For a more elegant, “mini-garden” aesthetic, use small glass terrarium bowls. Layer the dirt cake, then decorate with gummy worms, candy rocks, and perhaps a small candy mushroom or edible moss (crushed green Oreos). This creates a delightful, naturalistic display.
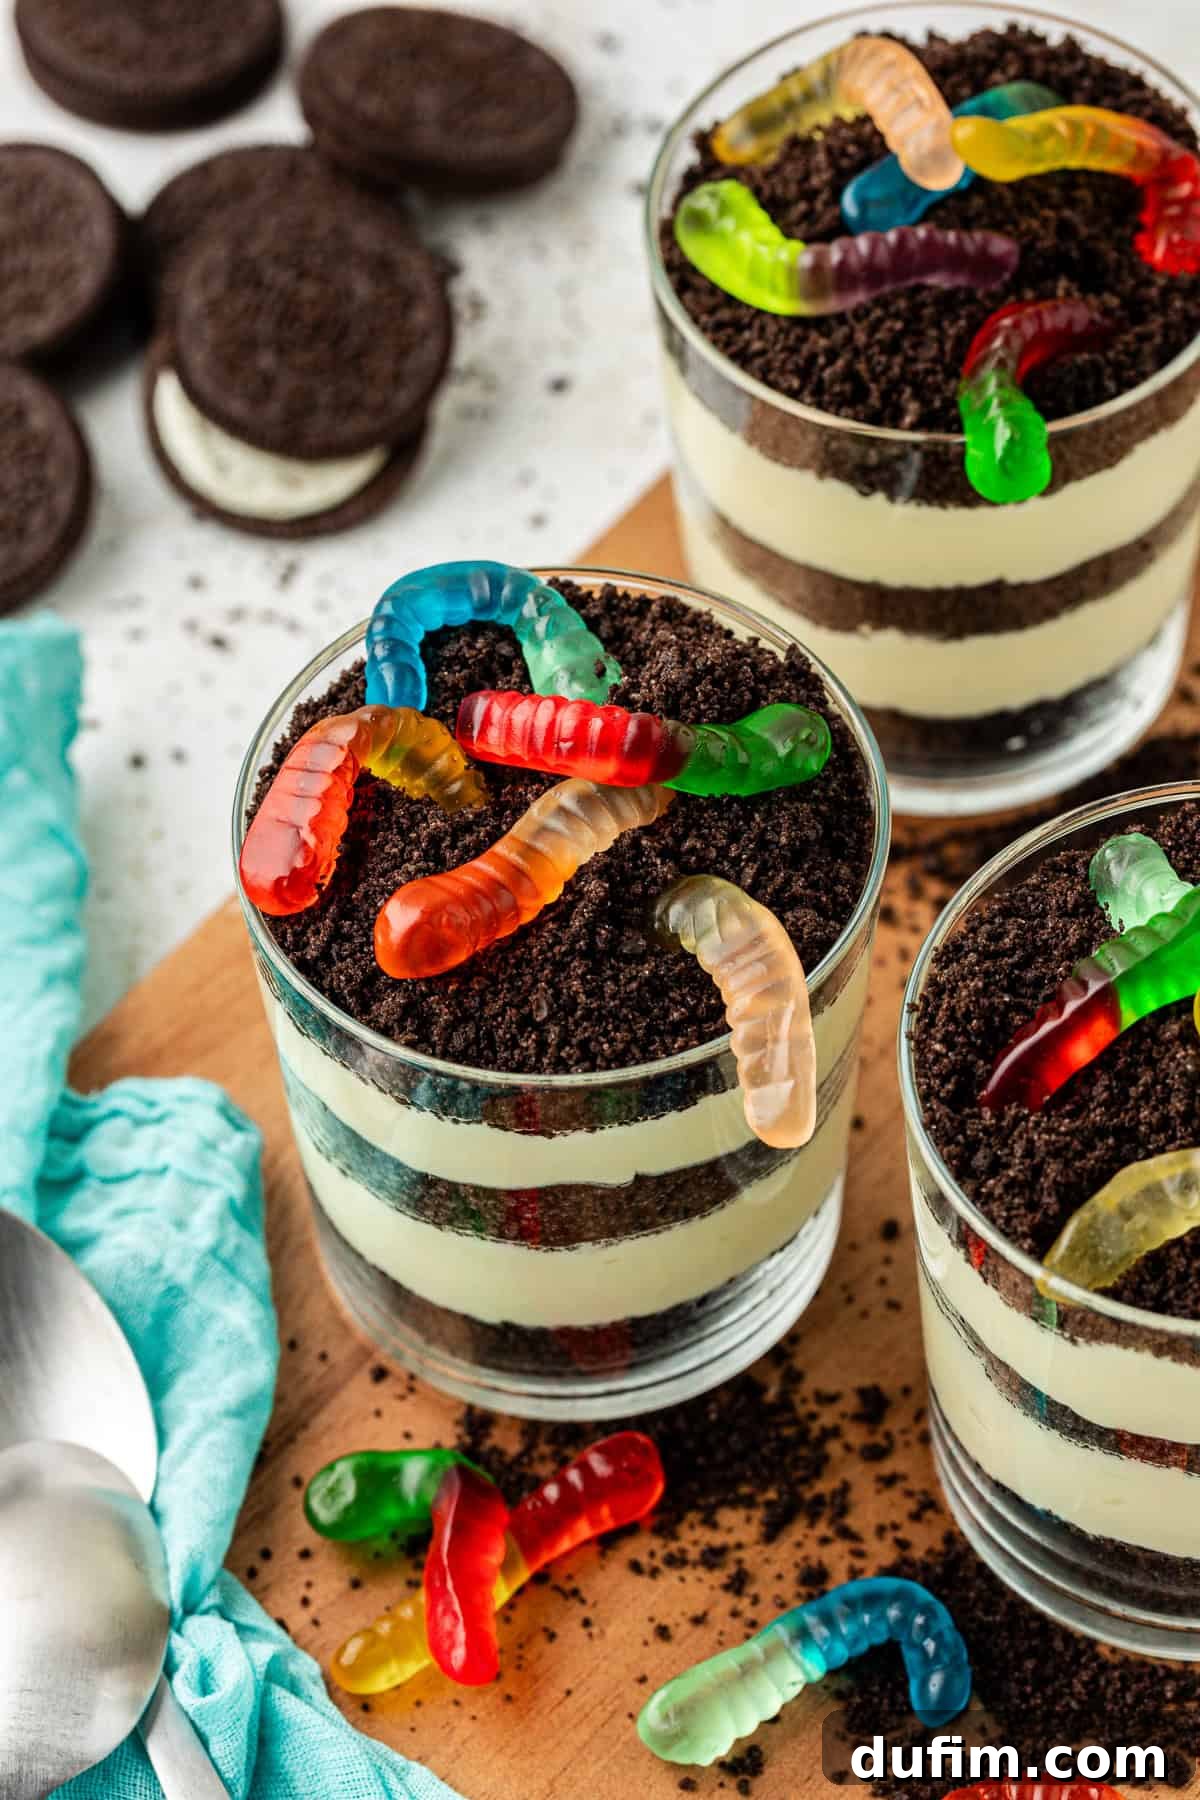
Storing Your Delicious Dirt Cake: Tips for Freshness
One of the many advantages of this easy dirt cake recipe is that it’s actually best when made in advance! The flavors have time to meld, and the pudding layers firm up beautifully, resulting in a perfectly scoopable and delicious dessert. To ensure your dirt cake remains fresh and delectable, proper storage is key:
- Refrigeration is Essential: Dirt cake, given its dairy-based ingredients (pudding, cream cheese, Cool Whip), must always be stored in the refrigerator. Never leave it at room temperature for extended periods.
- Airtight is Best: Whether you’ve assembled it in a large trifle dish or individual cups, ensure it’s tightly covered. For a trifle dish, wrap it securely with several layers of plastic wrap (saran wrap), making sure the wrap makes contact with the surface of the cake to prevent a skin from forming and to keep it fresh. If using individual cups, cover each tightly with plastic wrap or use containers with airtight lids.
- Storage Duration: When stored correctly, your dirt cake will stay fresh and delicious for up to 4 days in the refrigerator. This makes it an ideal make-ahead dessert for parties and events, allowing you to prepare it a day or two in advance and reduce stress on the day of your gathering.
Just remember, while the crushed Oreos will soften slightly over time, the overall texture and flavor remain fantastic, often even improving after a day in the fridge as the flavors deepen.
Dirt and Worms Cake: Frequently Asked Questions
Curious about dirt cake? Here are answers to some of the most common questions:
Oreo dirt pudding delivers a delightful combination of flavors and textures. You get the rich, chocolatey crunch of finely crushed Oreo cookies, which form the “dirt” layers. This is perfectly balanced with a sweet, creamy vanilla pudding and cream cheese mixture that is light and fluffy. The overall taste is a nostalgic blend of chocolate and vanilla, incredibly sweet but not overwhelmingly so, with a satisfying textural contrast from the cookies and the playful chewiness of the gummy worms.
Runny dirt pudding is usually due to one of two reasons: either you used the wrong type of pudding mix or you didn’t allow it enough time to set. Always use instant pudding mix, not cook-and-serve, as instant pudding is formulated to thicken quickly without heat. Additionally, ensure you whisk the milk and pudding mix thoroughly until it visibly thickens, and then give the assembled cake at least 2 hours (preferably more) in the refrigerator to allow all the layers to firm up properly. Cold ingredients, especially cold milk, also help the pudding set faster and firmer.
Yes, you absolutely can! The main ingredient to substitute for a gluten-free version is the Oreo cookies. Many brands now offer delicious gluten-free chocolate sandwich cookies that mimic the taste and texture of Oreos very well. Simply use a gluten-free alternative in place of regular Oreos, and ensure your instant pudding mix is also certified gluten-free (most instant pudding mixes are, but it’s always good to double-check the label). All other ingredients in this recipe are typically gluten-free.
While homemade whipped cream offers a delightful fresh flavor, Cool Whip (or other whipped toppings) is recommended for dirt cake due to its stability. Cool Whip is designed to hold its shape longer and is less prone to weeping or deflating, which helps the overall structure and consistency of the dirt cake, especially when made in advance. If you opt for homemade whipped cream, ensure it is very stiffly whipped and be aware that the cake might not hold its structure as firmly over time.
More Irresistible Pudding Recipes to Try
If you loved this dirt cake, you’ll surely enjoy exploring other delicious pudding-based desserts. Pudding is a versatile ingredient that forms the creamy heart of many fantastic no-bake and baked treats. Here are a few more recipes featuring pudding that I highly recommend adding to your baking repertoire:
- Classic Chocolate Cream Pie with Pudding
- The Best Easy Banana Pudding Recipe
- Spooky Boo Pudding Parfaits (Perfect for Halloween!)
- Refreshing No-Bake Lemon Pudding Pie
Classic Oreo Dirt Cake Recipe
This easy, no-bake dirt cake is an absolute crowd-pleaser, perfect for parties, potlucks, or just a fun family dessert. Layers of creamy vanilla pudding, rich cream cheese, and crunchy Oreo “dirt” are topped with playful gummy worms for a dessert that’s as fun to make as it is to eat!
Prep Time: 20 minutes | Chill Time: 2 hours | Servings: 10
Equipment
- Glass Mixing Bowl (large and medium)
- Whisk
- Electric Mixer (handheld or stand mixer)
- Rolling Pin (or food processor)
- Trifle Dish or Large Serving Bowl (clear is best for showing layers)
Ingredients
- 3 ½ cups (826ml) cold milk
- 2 (3.4 oz) packages instant vanilla pudding mix
- 1 (18.71 oz) package Oreo cookies, Family Size
- 4 Tbsp (57g) unsalted butter, softened
- 8 oz cream cheese, softened
- 1 cup (113g) powdered sugar
- 12 oz Cool Whip, thawed
- Gummy Worms, for decoration
Instructions
- Prepare the Pudding Base: In a large mixing bowl, combine the 3 ½ cups of cold milk and the 2 packages of instant vanilla pudding mix. Whisk vigorously for 2-3 minutes until the mixture thickens significantly. Set aside.
- Crush the Oreos: Place the entire package of Oreos into a large ziplock bag. Using a rolling pin, crush the cookies into fine crumbs, or use a food processor for a quicker result. Reserve about ¼ of the crushed Oreos in a separate small bowl for the top layer.
- Craft the Cream Cheese Mixture: In a separate medium mixing bowl, beat the softened unsalted butter and softened cream cheese together until completely smooth and creamy. Gradually add the 1 cup of powdered sugar, beating until well combined and fluffy.
- Combine Pudding, Cream Cheese, and Cool Whip: Gently fold the cream cheese mixture into the prepared pudding until thoroughly combined and uniform. Then, carefully fold in the thawed Cool Whip until the mixture is smooth and airy.
- Assemble the Trifle: In your chosen trifle dish or serving bowl, start by spreading a layer of the crushed Oreos at the bottom. Next, add a generous layer of the pudding mixture over the Oreos. Continue layering, alternating between the remaining crushed Oreos and the pudding mixture, until you reach the top of the dish. Finish with a final layer of the reserved crushed Oreos.
- Decorate with Whimsy: Arrange the gummy worms creatively on the top layer of crushed Oreos, making them look like they are crawling out of the “dirt.”
- Chill and Serve: Refrigerate the dirt cake for at least 2 hours to allow it to set completely and for the flavors to meld. For best results, chill overnight. Serve chilled, scooping into individual bowls to reveal the beautiful layered effect.
Nutrition Facts
All nutritional values are approximate and provided as a courtesy. Changing ingredients and/or quantities will alter the estimated nutritional calculations.
- Serving: 1g
- Calories: 514kcal
- Carbohydrates: 63g
- Protein: 8g
- Fat: 27g
- Saturated Fat: 13g
- Polyunsaturated Fat: 3g
- Monounsaturated Fat: 9g
- Trans Fat: 0.2g
- Cholesterol: 51mg
- Sodium: 335mg
- Potassium: 320mg
- Fiber: 2g
- Sugar: 44g
- Vitamin A: 643IU
- Calcium: 176mg
- Iron: 6mg
Enjoy this delightful and easy-to-make dirt cake, a timeless treat that brings smiles to faces of all ages!