

Irresistible Peppermint Chocolate Cookies: Your New Favorite Holiday Treat
Craving a cookie that embodies the festive spirit and delivers a burst of refreshing mint with rich chocolate? These peppermint chocolate cookies are an absolute dream, tasting remarkably like your beloved thin mints! Crafted with readily available Andes mint chips, this recipe is a holiday savior, requiring a mere 30 minutes from start to finish with no chilling time needed. Get ready to bake a batch of pure joy that will disappear faster than Santa’s sleigh!
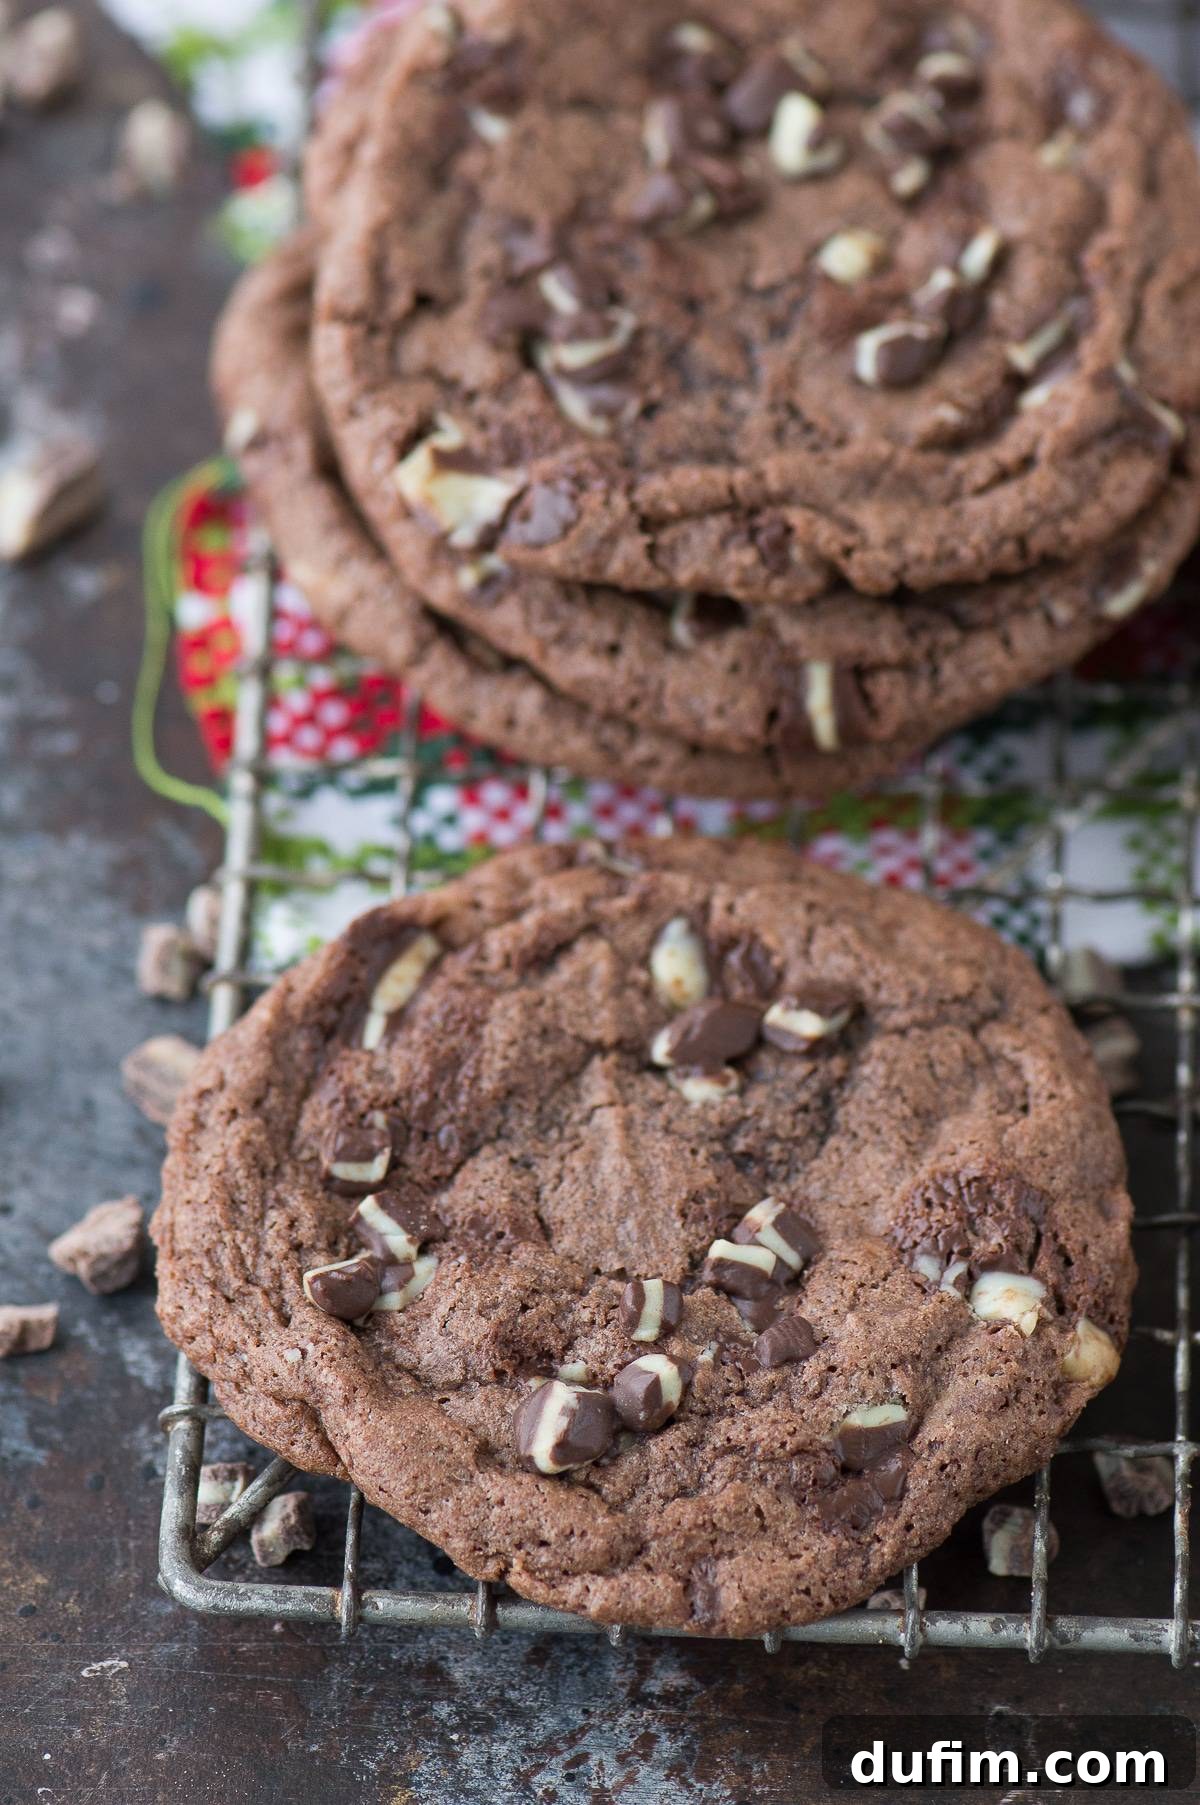
“OMG, I absolutely LOVE these, especially the chocolate! The perfect balance of mint and rich cocoa.”
– A Delighted Home Baker
As the holiday season draws near, our kitchens transform into bustling bakeries, filled with the comforting aromas of spices, chocolate, and, of course, freshly baked cookies. We’re enthusiastically expanding our collection of cookie recipes, just in time for all the festive baking excitement. These peppermint chocolate wonders are designed to bring maximum flavor with minimal fuss, making them an ideal choice for busy holiday schedules.
The Art of Perfect Cookies: Achieving Uniform Shapes
Baking cookies, while a joyful process, truly is an art form. Every baker dreams of consistently perfect, individual round cookies, and we’re here to share some invaluable tips to help you achieve just that. Through extensive testing with this very recipe, we’ve discovered a crucial detail: the dough produces the most beautifully shaped cookies when baked immediately after mixing.
For instance, our first batch of these delightful peppermint chocolate cookies emerged from the oven perfectly round and held their shape impeccably. However, the second batch, made from dough that had been left sitting on the counter while the first baked, didn’t maintain its pristine form as well. The slight warmth of the room can cause butter to soften further, leading to excessive spreading.
A simple solution would have been to place the remaining dough in the refrigerator. This brief chill would have helped solidify the butter, ensuring the cookies maintained their structure during baking. So, consider this your golden rule for achieving cookie perfection:
- Tip #1: Bake Your Cookie Dough Immediately. As soon as your dough is mixed, start scooping and baking.
- Tip #2: Refrigerate Waiting Dough. If you’re baking in batches, store any unbaked dough in the fridge. Even 10-15 minutes can make a significant difference in preventing spread.
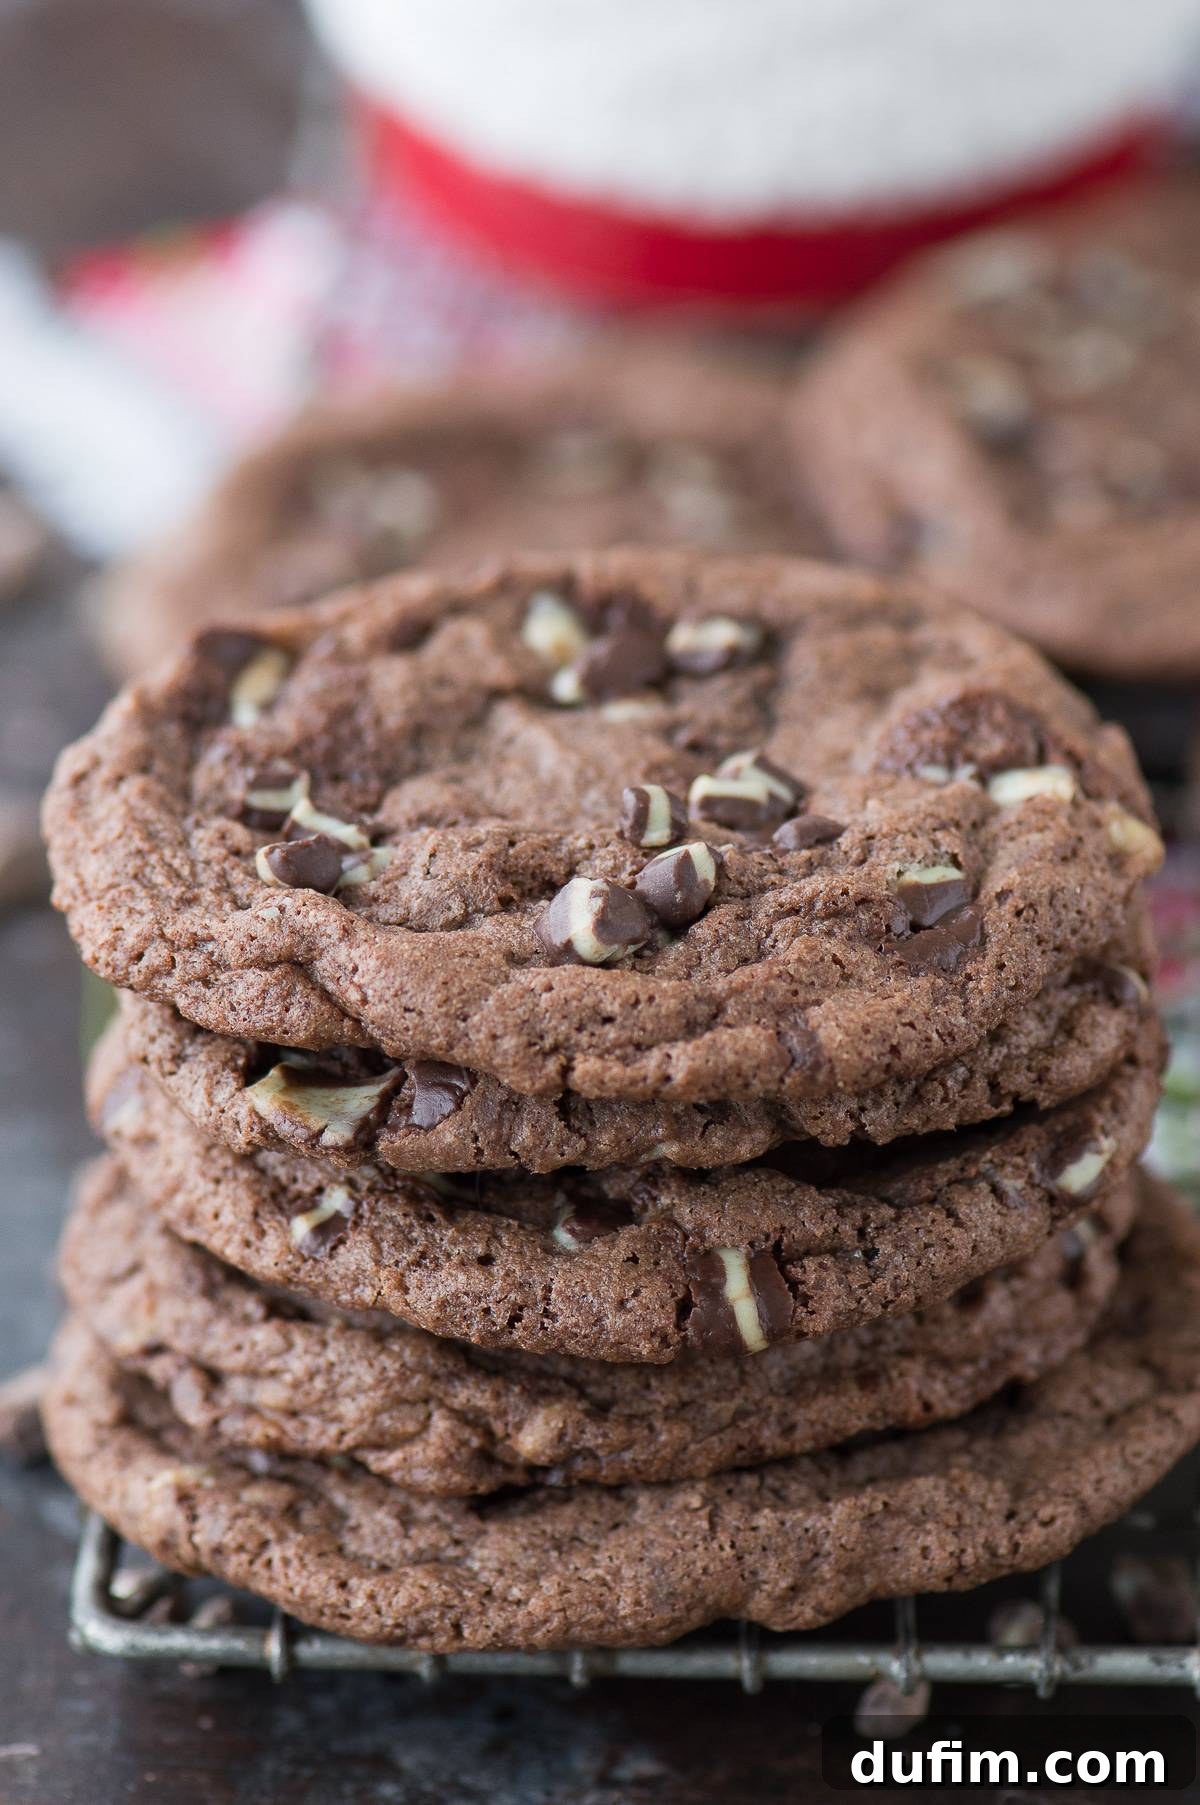
Essential Cookie Baking Tip: Proper Spacing
Beyond immediate baking or chilling, the secret to individual, perfectly formed cookies – rather than the dreaded “snowman cookies” (where they spread and merge into one giant cookie) – lies in adequate spacing on your baking sheet. Giving your cookie dough ample room to expand ensures each cookie bakes evenly and retains its distinct shape.
When using my largest cookie sheet, I typically employ a 3-2-3-2-3 pattern. This means I place three balls of dough in the first column, followed by two staggered in the next, then three, two, and finally three again. This allows for optimal airflow and prevents overcrowding. Regardless of the exact pattern you choose, always remember to give your peppermint cookies plenty of space to breathe and spread without touching!
Customizing Your Mint Experience: Recommended Amount of Mint Chips
The intensity of mint is a deeply personal preference. What’s perfectly refreshing for one person might be too overwhelming or too subtle for another. My husband, Ryan, and my dad (who conveniently served as a very lucky taste tester during his visit!), both prefer a rather robust mint flavor. I, on the other hand, enjoy a slightly more balanced profile where the chocolate still shines through prominently. Therefore, we’ve outlined a few recommendations for incorporating Andes mint chips to suit every palate:
- For Mint Lovers (More Minty than Chocolatey): Incorporate 1 cup of mint chips directly into the cookie batter, then sprinkle additional chips generously on top of each dough ball before baking. This yields a distinctly mint-forward cookie that true mint aficionados will adore.
- For a Balanced Flavor (Nice Balance of Mint and Chocolate): Use 1/2 cup of mint chips within the batter, augmented by extra chips pressed onto the top of the dough balls. This provides a harmonious blend where both the rich chocolate and the cool mint notes are equally celebrated.
- For a Hint of Mint (Chocolate with a Touch of Mint): Omit mint chips from the batter entirely, opting only to press them onto the outside of the dough balls before baking. This is perfect for those who enjoy the classic chocolate cookie experience with just a subtle, refreshing whisper of mint.
Baking Time Suggestions for Soft and Chewy Cookies
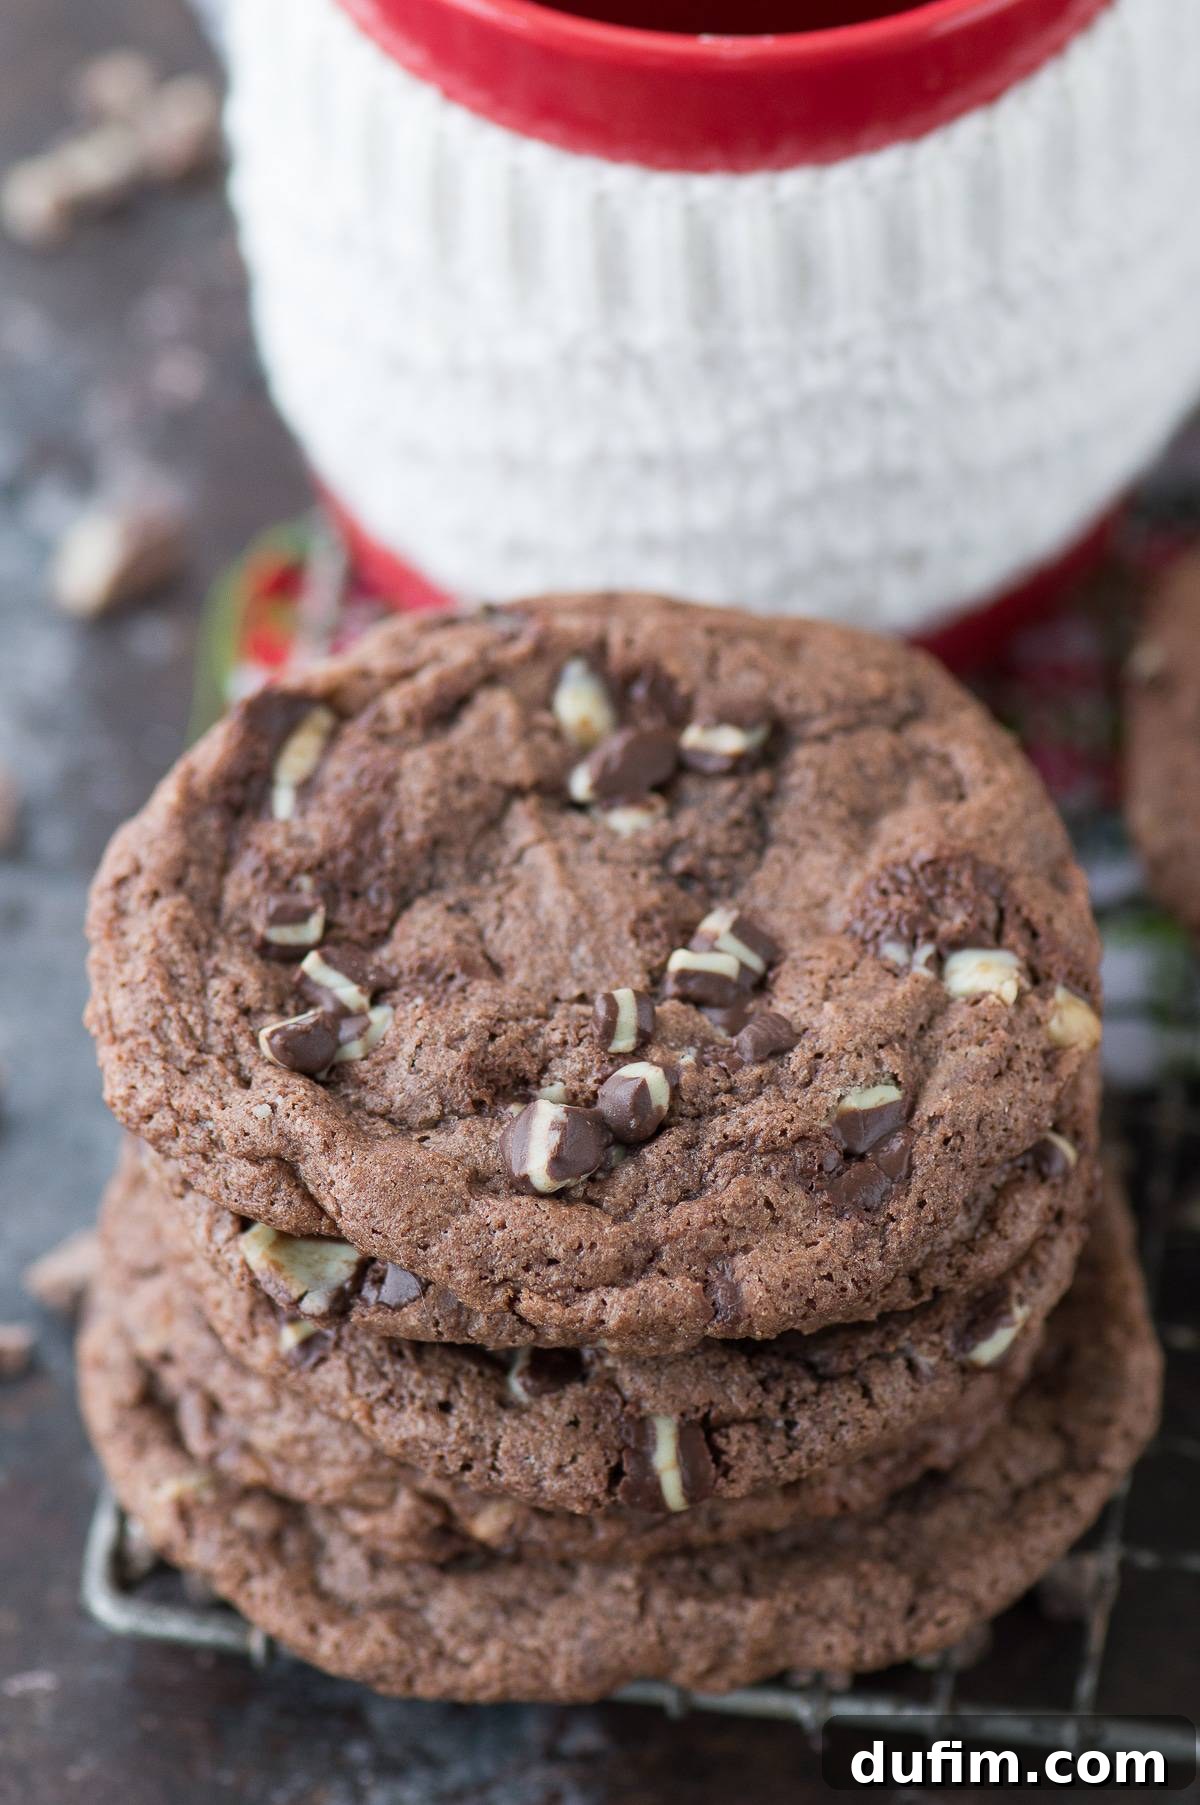
Achieving that coveted soft and chewy texture requires precise attention to baking time. For the decadent cookies featured in our photographs, each dough ball was approximately three heaping tablespoons – resulting in a generously sized cookie! We baked these larger cookies for 10-13 minutes. The key indicator for doneness is when the edges of the cookie just begin to firm up, while the center still appears slightly soft. This ensures a wonderfully tender interior.
If you opt for smaller dough balls, it’s crucial to reduce your baking time accordingly. Over-baking even by a minute or two can quickly transform these soft, chewy delights into drier, crispier cookies. Keep a close eye on them, as baking times can vary slightly depending on your oven and cookie size.
Total Time Required: Quick and Easy Baking
One of the best aspects of this recipe is its incredible efficiency. These aren’t just delicious; they’re also remarkably quick to prepare, making them perfect for last-minute treats or impromptu gatherings. Here’s a breakdown of the minimal time commitment:
- Preparation Time: Approximately 10 minutes to whip up the cookie dough.
- Baking Time: Just 10-13 minutes in the oven per batch.
- Cooling Time: Around 15 minutes to cool enough to handle and enjoy.
In roughly 35 minutes, you can have warm, freshly baked peppermint chocolate cookies ready to serve!
How to Freeze Cookie Dough for Future Enjoyment
Preparing a big batch of cookie dough and freezing portions for later is an excellent way to always have freshly baked cookies on hand. This method is perfect for holiday entertaining, last-minute treats, or simply satisfying a sudden cookie craving. Here’s how to easily freeze your peppermint chocolate cookie dough:
- Portion and Prepare: Scoop your cookie dough into desired ball sizes. For that extra visual appeal and flavor, gently press additional mint pieces onto the outside of each dough ball.
- Flash Freeze: Arrange the dough balls on a baking sheet lined with a silicone mat or parchment paper. You can place them relatively close together at this stage since they won’t be baking. Place the entire baking sheet into the freezer until the cookie dough balls are completely solid, which usually takes about 1 hour.
- Store Long-Term: Once frozen solid, transfer the dough balls from the baking sheet into a freezer-safe ziplock bag or an airtight container. Label the bag with the date and simple baking instructions to make future baking effortless.
- Freezer Lifespan: This cookie dough can be safely frozen for up to 3 months, ensuring you have a steady supply of delicious cookies whenever you desire.
- To Bake from Frozen: When you’re ready for freshly baked cookies, simply remove the desired number of dough balls from the freezer. Preheat your oven to 350ºF (175ºC). Arrange the frozen cookie dough balls on a lined baking sheet and bake for 10-13 minutes. Keep in mind that frozen cookies may require an additional 1-2 minutes of baking time compared to fresh dough.
Essential Tips for Making Perfect Peppermint Chocolate Cookies
Beyond the recipe itself, a few foundational baking techniques can elevate your peppermint chocolate cookies from good to absolutely spectacular:
- Measure Flour Accurately: Always properly measure your all-purpose flour. The “spoon and sweep” method is highly recommended: gently spoon flour into your measuring cup until it overflows, then level it off with the back of a knife. Avoid scooping directly with the measuring cup, as this can compact the flour and result in too much dry ingredient.
- Room Temperature Butter is Key: Ensure your unsalted butter is at true room temperature (soft enough to indent with a finger, but not melted). This allows for easier and more effective creaming with the sugars, creating an aerated mixture that contributes to a tender cookie texture.
- Use a Cookie Scoop for Uniformity: A cookie scoop is your best friend for consistency. It ensures each cookie is the same size, which means they will bake evenly and look professional. Uniformity prevents smaller cookies from burning while larger ones are still undercooked.
- Press Mint Pieces for Presentation: For that “loaded cookie” appearance you see in the photos, don’t just mix all the mint chips into the dough. Reserve about half a cup and gently press these additional mint pieces onto the outside of the dough balls just before baking. This not only enhances the visual appeal but also provides delightful pockets of minty flavor.
Discover More Delicious Cookie Recipes
If you’ve fallen in love with these peppermint chocolate cookies, we invite you to explore more delightful recipes from our collection. From classic comforts to seasonal favorites, there’s a cookie for every occasion and every craving:
- Pumpkin Chocolate Chip Cookies
- Classic Chocolate Chip Cookies
- Bright and Zesty Lemon Sugar Cookies
- Fun Cut Out Sugar Cookies
- Warm and Spicy Ginger Molasses Cookies
Tap stars to rate!
Peppermint Chocolate Cookies
Beth
15 minutes
10 minutes
10 minutes
35 minutes
16
-20 cookies
Rate This Recipe
Print Recipe
Equipment
-
Baking Sheet
-
Silicone Baking Mat
-
Cookie Dough Scoop
-
Glass Mixing Bowl
-
KitchenAid 9-Speed Mixer
-
Kitchen Scale
-
My favorite spatula!
Ingredients
-
1 ½ cups (180g) all-purpose flour -
¼ cup (21g) natural unsweetened cocoa powder -
½ tsp baking soda -
½ tsp salt -
1 cup (170g) mint baking chips, divided (e.g., Andes Mints) -
½ cup (113g) unsalted butter, softened, (1 stick) -
½ cup (99g) granulated sugar -
½ cup (107g) brown sugar -
1 large egg -
1 tsp vanilla extract
Instructions
-
Preheat your oven to 350ºF (175ºC). In a large mixing bowl, combine the all-purpose flour, cocoa powder, baking soda, salt, and 1/2 cup of the Andes mint chips. Whisk briefly to ensure all dry ingredients are well distributed.1 1/2 cups (180g) all-purpose flour,
1/4 cup (21g) natural unsweetened cocoa powder,
1/2 tsp baking soda,
1/2 tsp salt,
1/2 cup (85g) mint baking chips (from the 1 cup total) -
In a separate, larger mixing bowl, cream together the softened unsalted butter, brown sugar, and granulated sugar using an electric mixer on low speed until light and fluffy. This process typically takes 2-3 minutes.1/2 cup (113g) unsalted butter, softened,
1/2 cup (99g) granulated sugar,
1/2 cup (107g) brown sugar -
Beat in the large egg and vanilla extract, mixing on low speed just until fully incorporated. Scrape down the sides of the bowl as needed to ensure everything is well combined. Then, gently add the dry ingredients to the wet mixture, mixing on low or by hand just until no streaks of flour remain. Be careful not to overmix.1 large egg,
1 tsp vanilla extract -
Use a cookie scoop to drop uniform dough balls onto a baking sheet lined with a silicone mat or parchment paper. Take the remaining 1/2 cup of Andes mint chips and gently press them onto the outside of each dough ball for added minty flavor and visual appeal.
-
Space the cookies approximately 3 inches apart on the prepared baking sheet. Bake for 10-13 minutes, or until the edges are just set but the centers still appear soft. Allow the cookies to cool on the baking sheet for 10 minutes before carefully transferring them to a wire cooling rack to cool completely. For best results, bake one cookie sheet at a time.
Notes
- For an even more intense mint flavor, increase the amount to 1 cup of mint chips incorporated into the batter, in addition to those pressed on top.
Nutrition
Calories:
232
kcal
|
Carbohydrates:
32
g
|
Protein:
3
g
|
Fat:
11
g
|
Saturated Fat:
8
g
|
Polyunsaturated Fat:
1
g
|
Monounsaturated Fat:
2
g
|
Trans Fat:
1
g
|
Cholesterol:
27
mg
|
Sodium:
124
mg
|
Potassium:
49
mg
|
Fiber:
1
g
|
Sugar:
21
g
|
Vitamin A:
193
IU
|
Calcium:
35
mg
|
Iron:
1
mg
Nutrition Disclosure
All nutritional values are approximate and provided to the reader as a courtesy. Changing ingredients and/or quantities will alter the estimated nutritional calculations.
Like this recipe? Rate and comment below!