
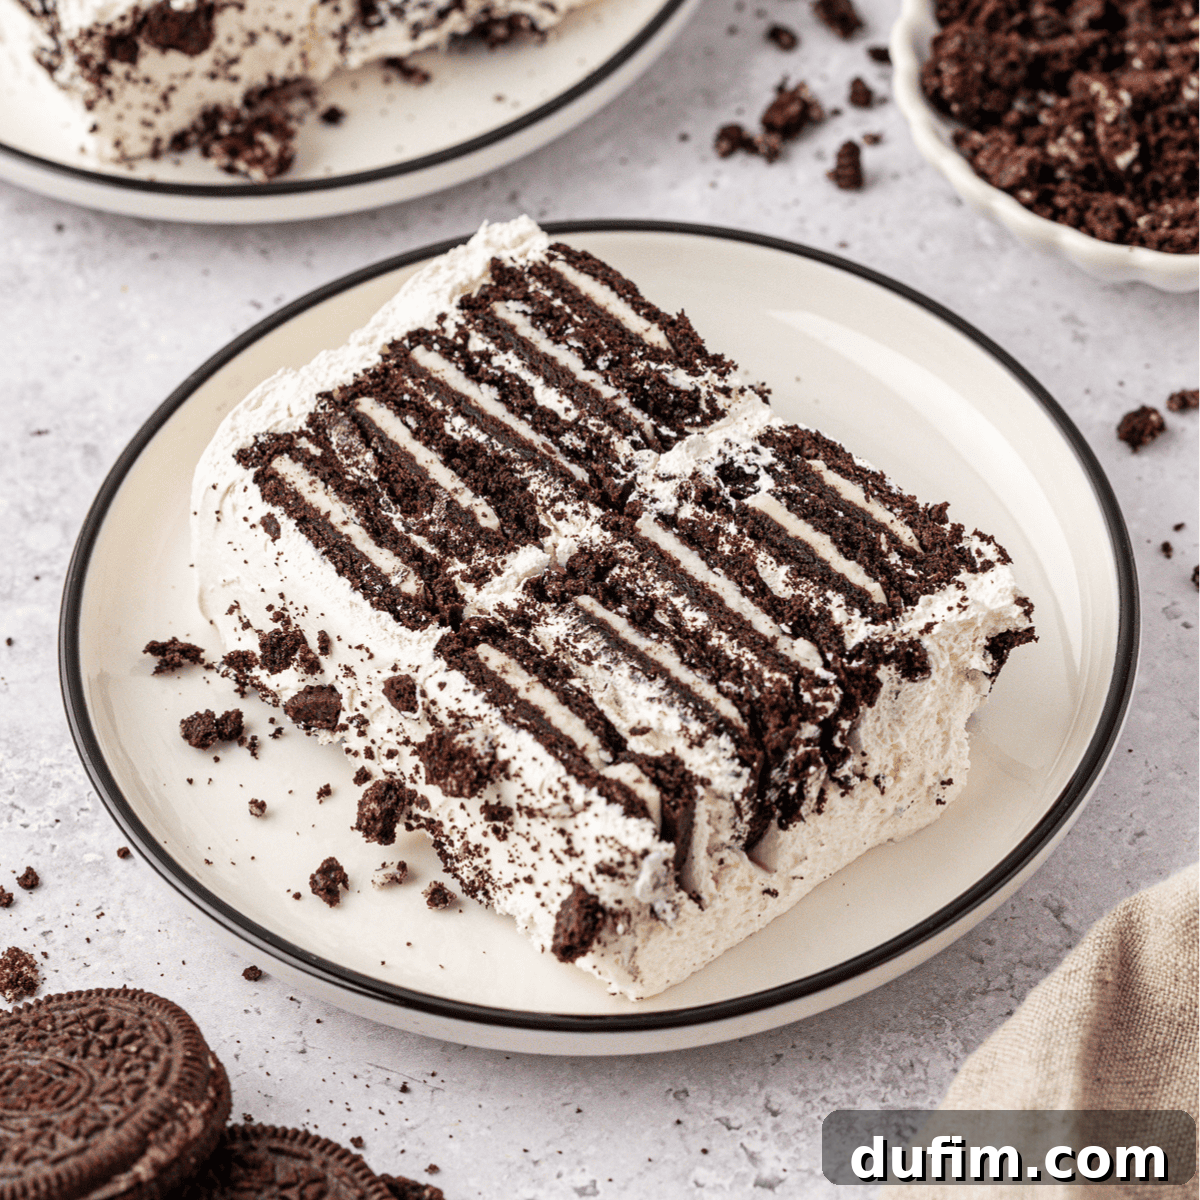
No-bake, no fuss, just pure cookies-and-cream magic! This Oreo icebox cake is a recipe I’ve tested and trusted for years. It delivers minimal effort with a maximum crowd-pleasing payoff, making it an absolute must-try for any dessert lover.
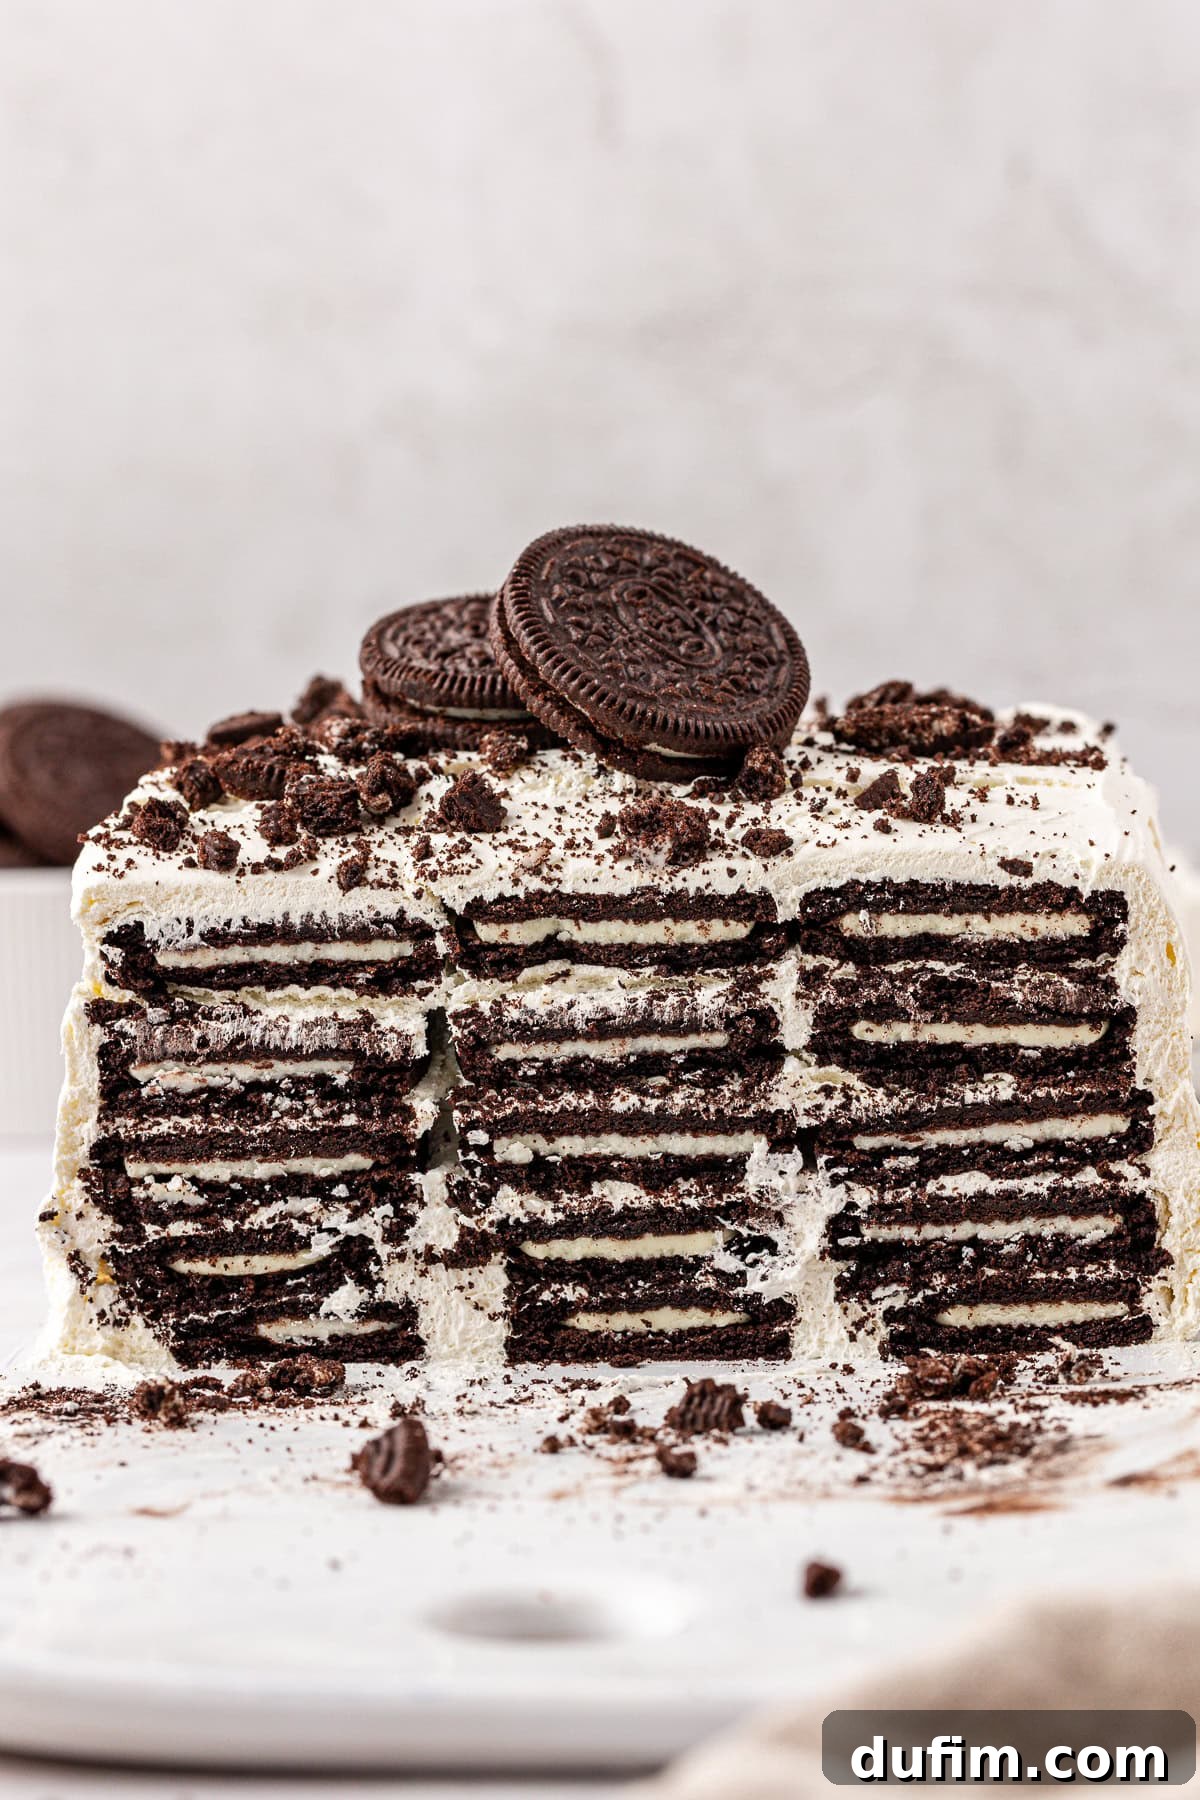
The Ultimate Easy No-Bake Oreo Icebox Cake
This no-bake Oreo icebox cake stands as undeniable proof that you don’t need a mixer, a vast array of ingredients, or even an oven to create a dessert that everyone will rave about. I’ve been making various icebox cakes for years, experimenting with all sorts of combinations and flavors. However, this particular recipe, featuring America’s favorite cookie – Oreos – consistently takes the crown for its simplicity and irresistible taste.
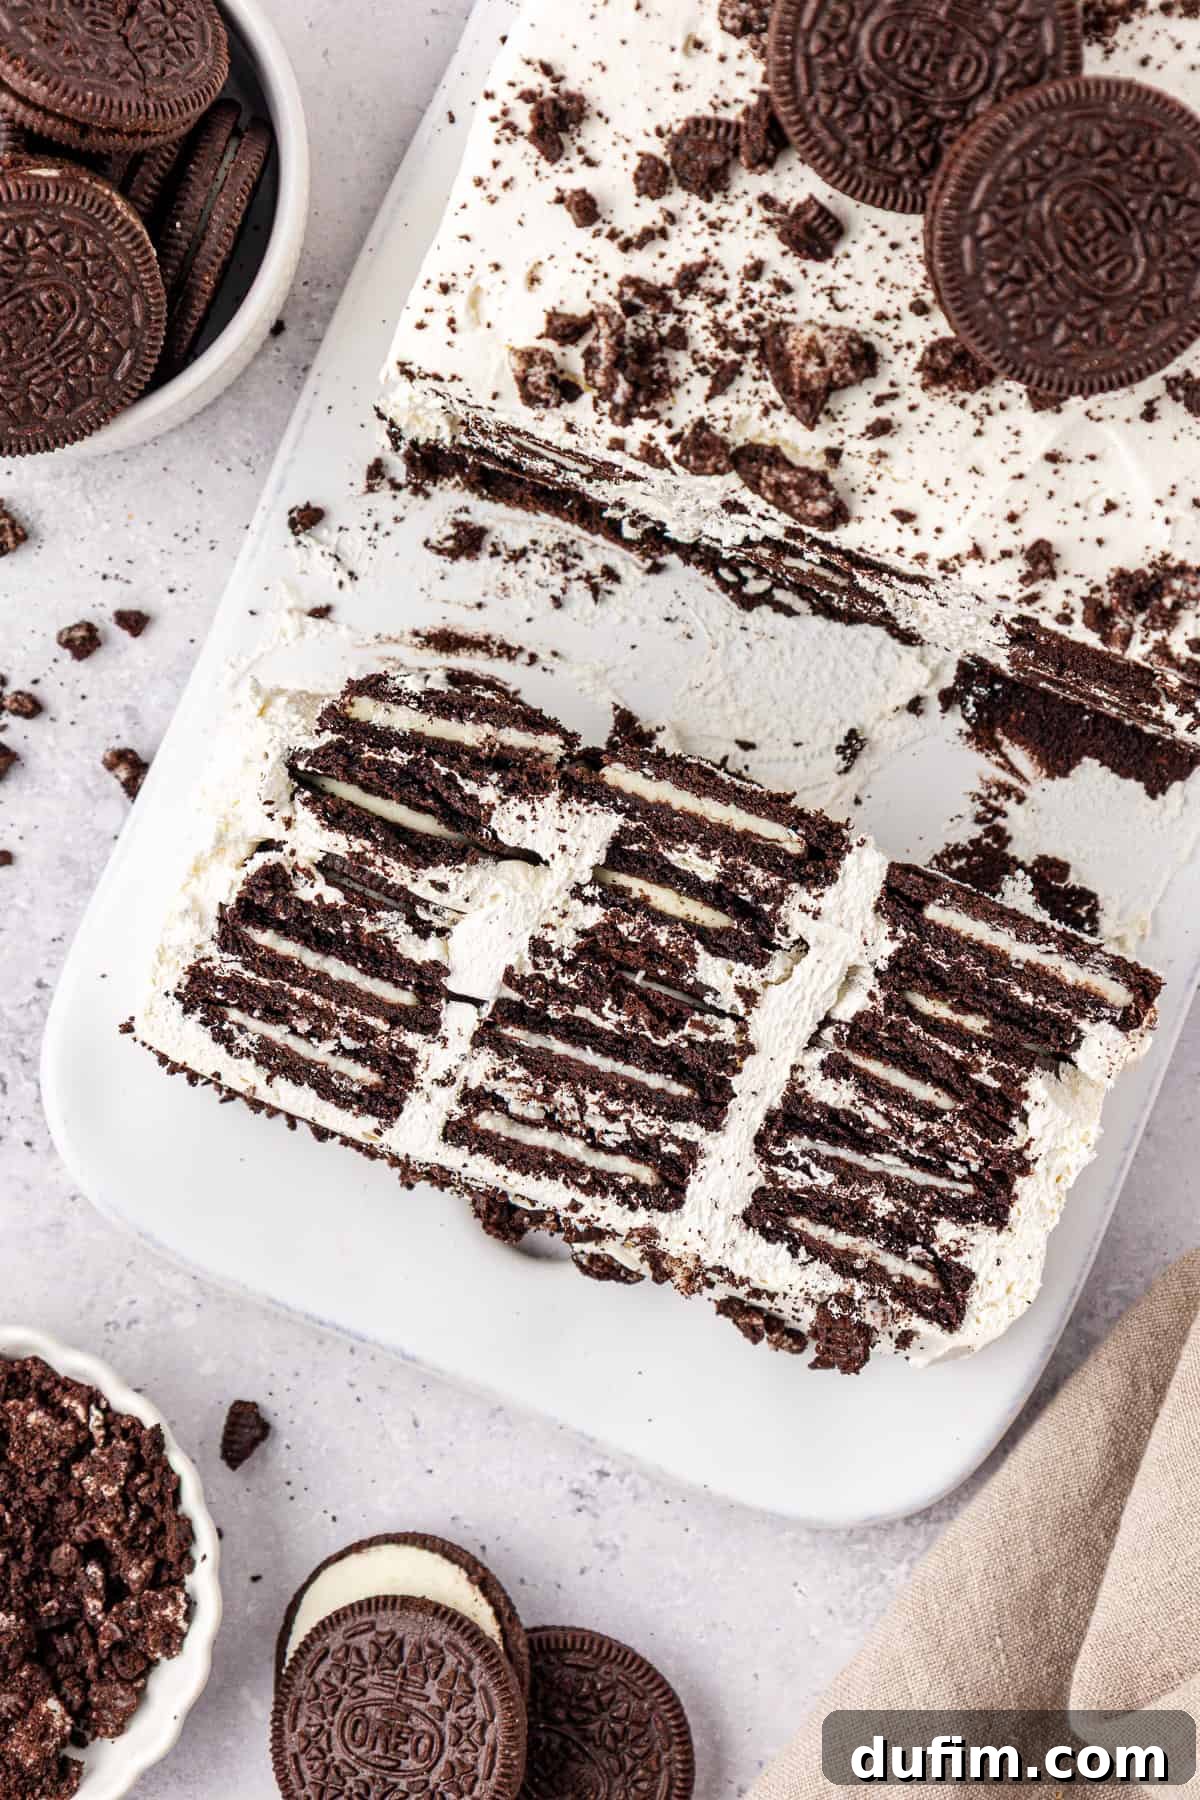
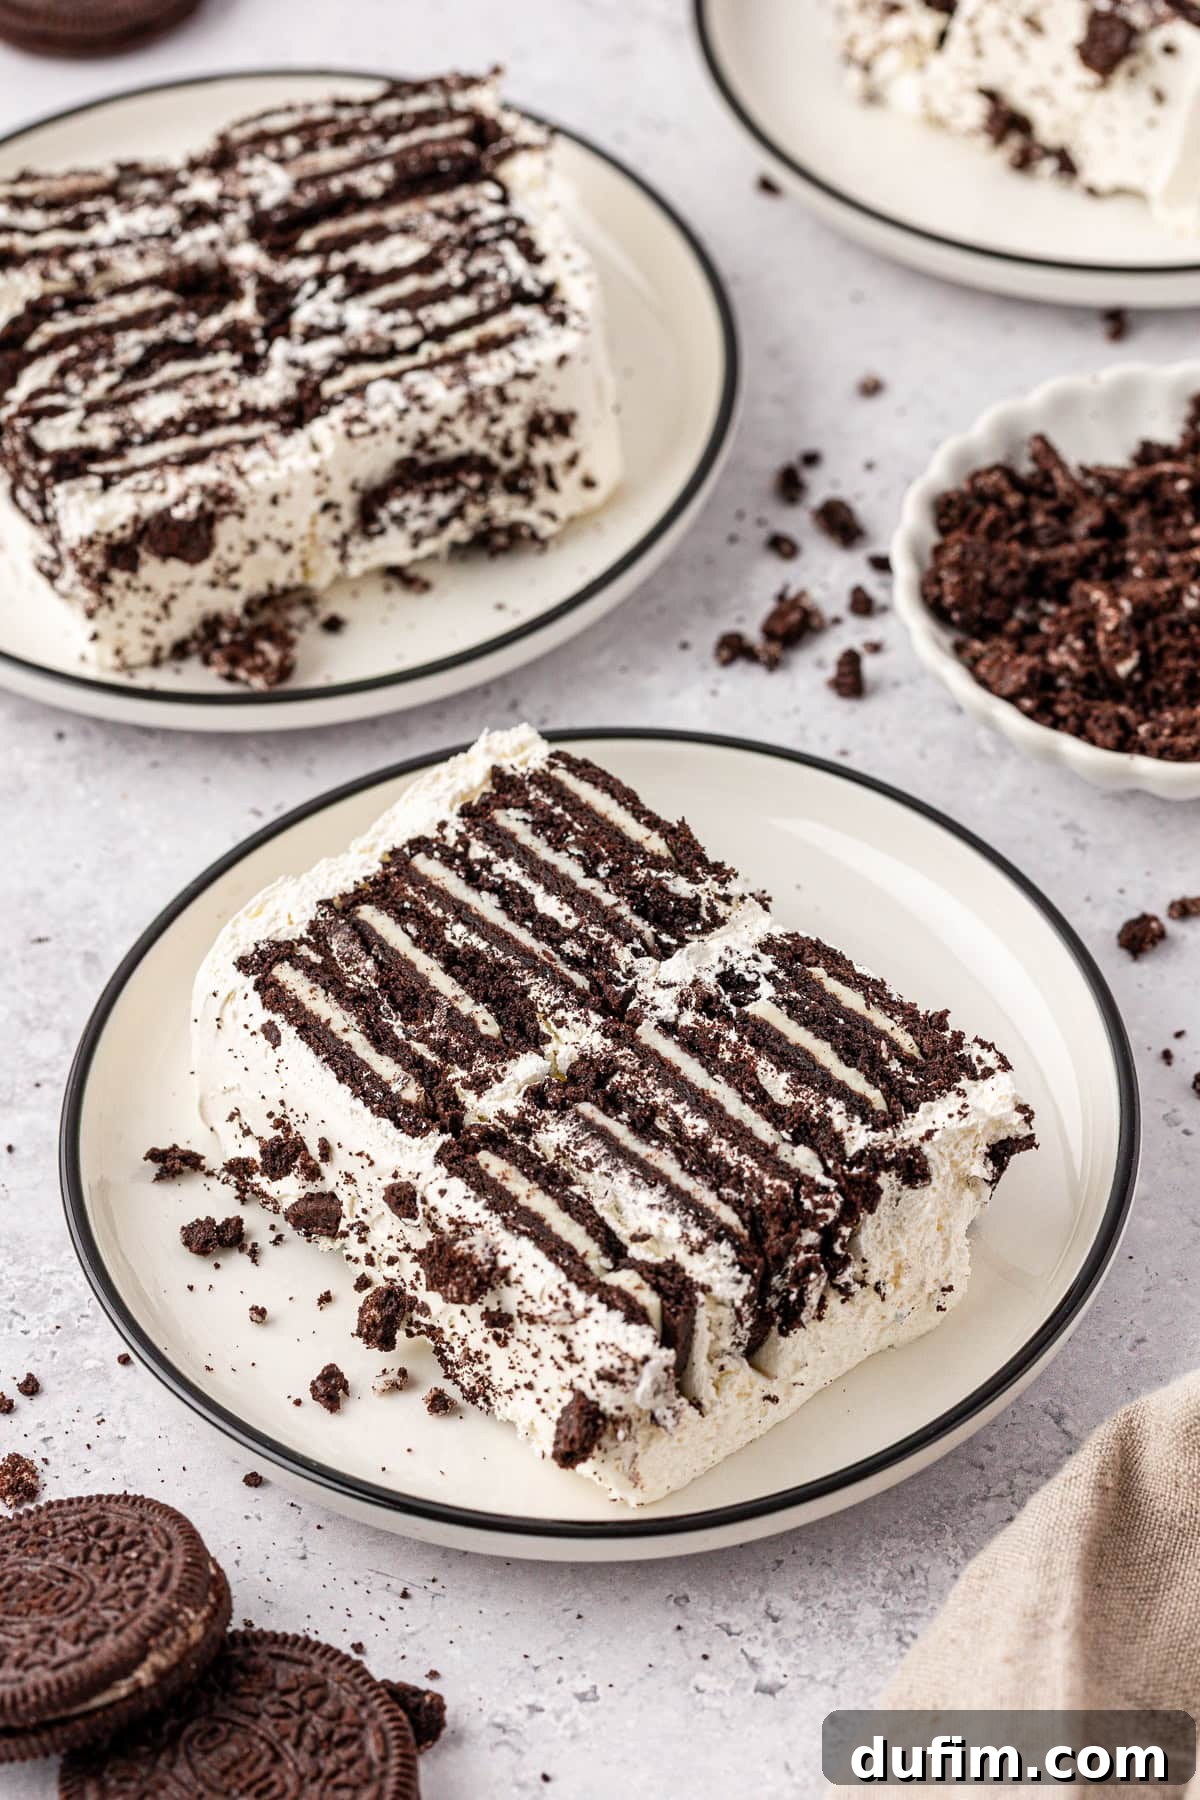
Imagine this: with just three core ingredients and a little patience in the refrigerator, you’ll be rewarded with a perfectly chilled, easily sliceable cake. Each layer of chocolate sandwich cookies softens beautifully, transforming into a tender, cake-like texture, while creamy Cool Whip acts as a dreamy, rich frosting, binding everything together. The result is a nostalgic cookies-and-cream flavor that tastes far more impressive than the minimal effort involved in its preparation. I’ve meticulously tested the ratios to ensure the texture is always just right – never too soggy, never too crunchy, but always melt-in-your-mouth delightful.
If you’ve ever doubted that a no-bake dessert could be truly showstopping, this is the recipe that will undoubtedly change your mind. Whether you consider yourself a beginner baker, a busy parent looking for a quick treat, or simply someone who wants to avoid turning on the oven, especially during warmer months, this Oreo icebox cake delivers every single time. It’s an incredibly versatile and satisfying recipe that you’ll find yourself returning to throughout the summer and beyond.
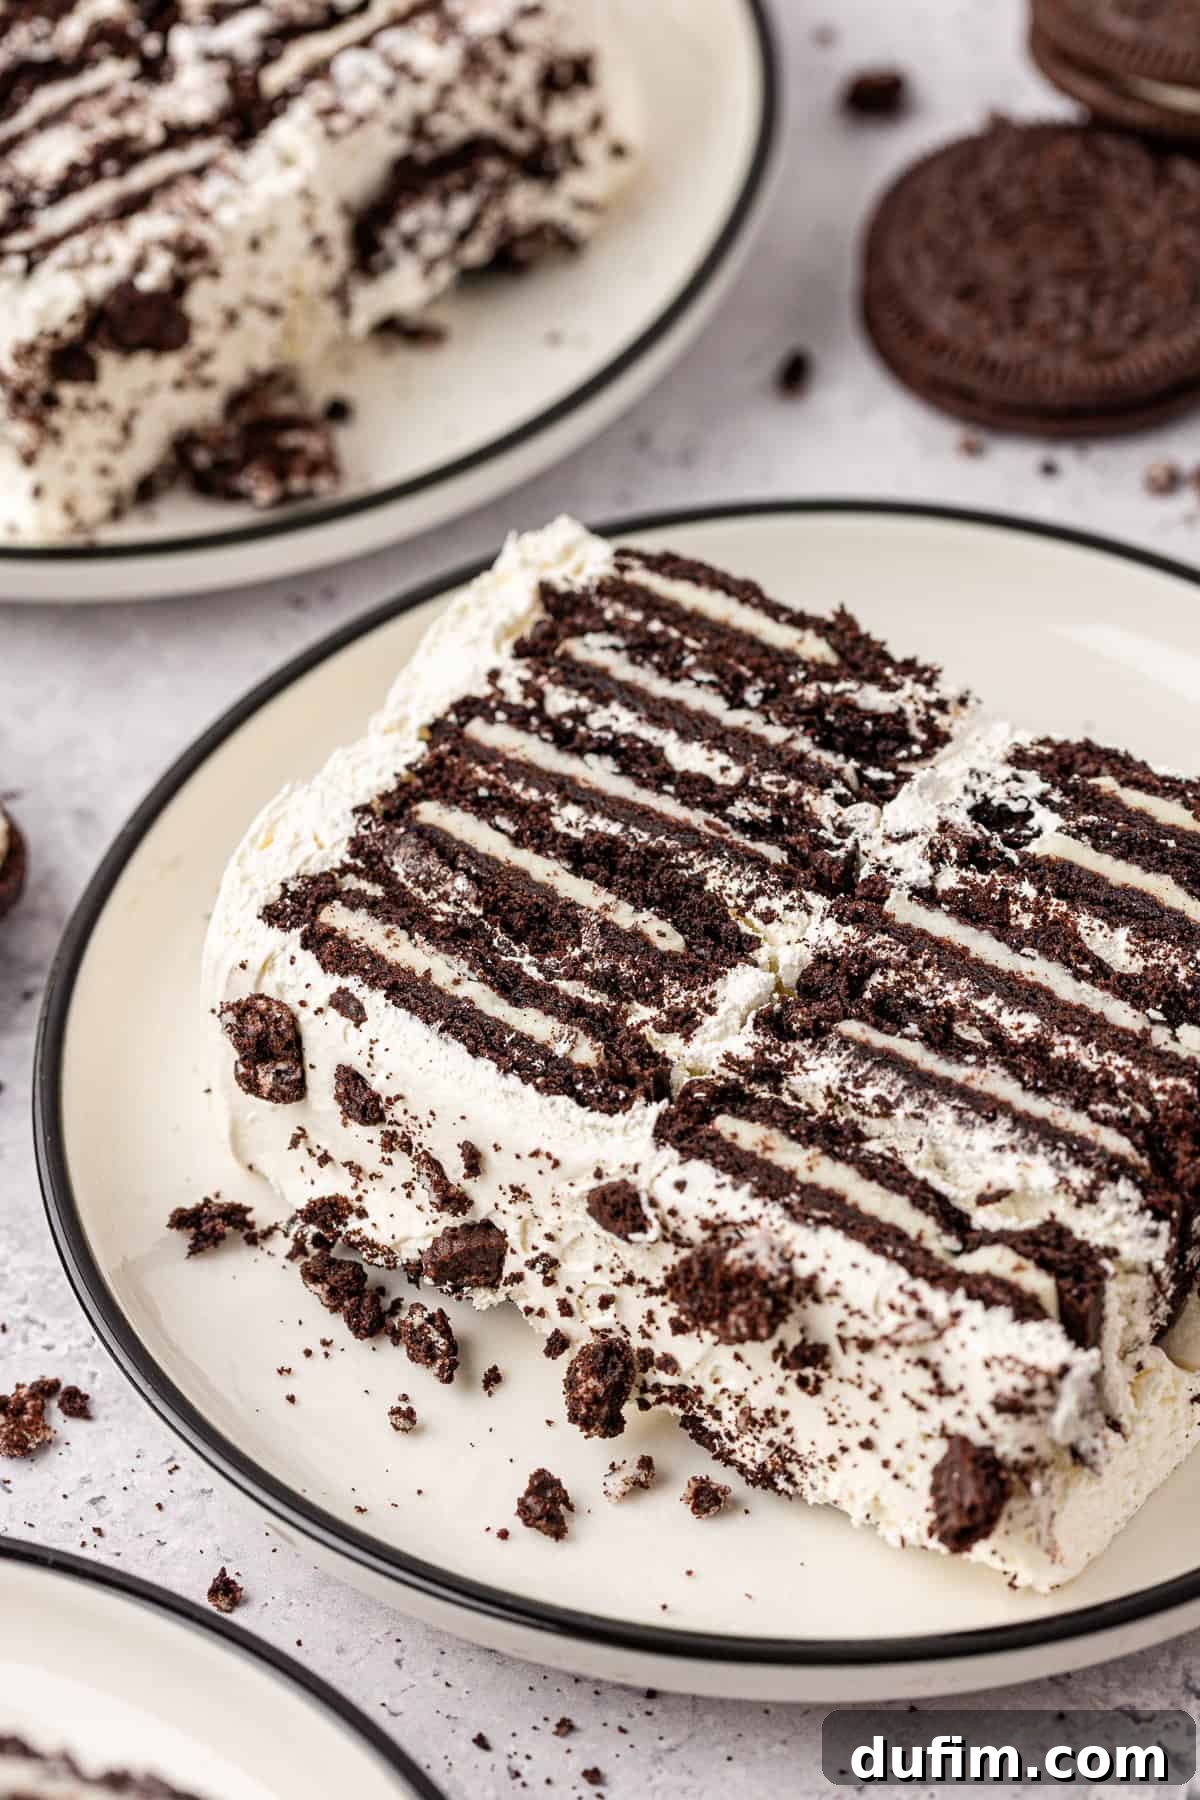
Why Is It Called an Icebox Cake? A Sweet History
The intriguing name “icebox cake” takes us back in time to the 1920s and ’30s, a period before modern refrigerators became commonplace in every home. During this era, households relied on insulated “iceboxes” – essentially non-mechanical cabinets filled with large blocks of ice – to keep perishable foods cold. These ingenious no-bake desserts were a popular solution for home cooks, allowing them to create delicious treats without the need for an oven, which was particularly appealing during hot summer months.
The concept was simple yet brilliant: layers of crisp cookies or wafers were meticulously stacked with generous amounts of whipped cream. Once assembled, these layered concoctions were placed inside the icebox to chill. Over several hours, or often overnight, the moisture from the whipped cream would gradually soften the cookies, transforming their crunchy texture into something remarkably similar to a tender, moist cake. This magical transformation, occurring entirely within the cool confines of the icebox, gave the dessert its enduring name. Even though we now enjoy the convenience of modern electric refrigerators, the charming historical moniker of “icebox cake” has stuck, serving as a delightful nod to its origins.
Gather Your Simple Ingredients
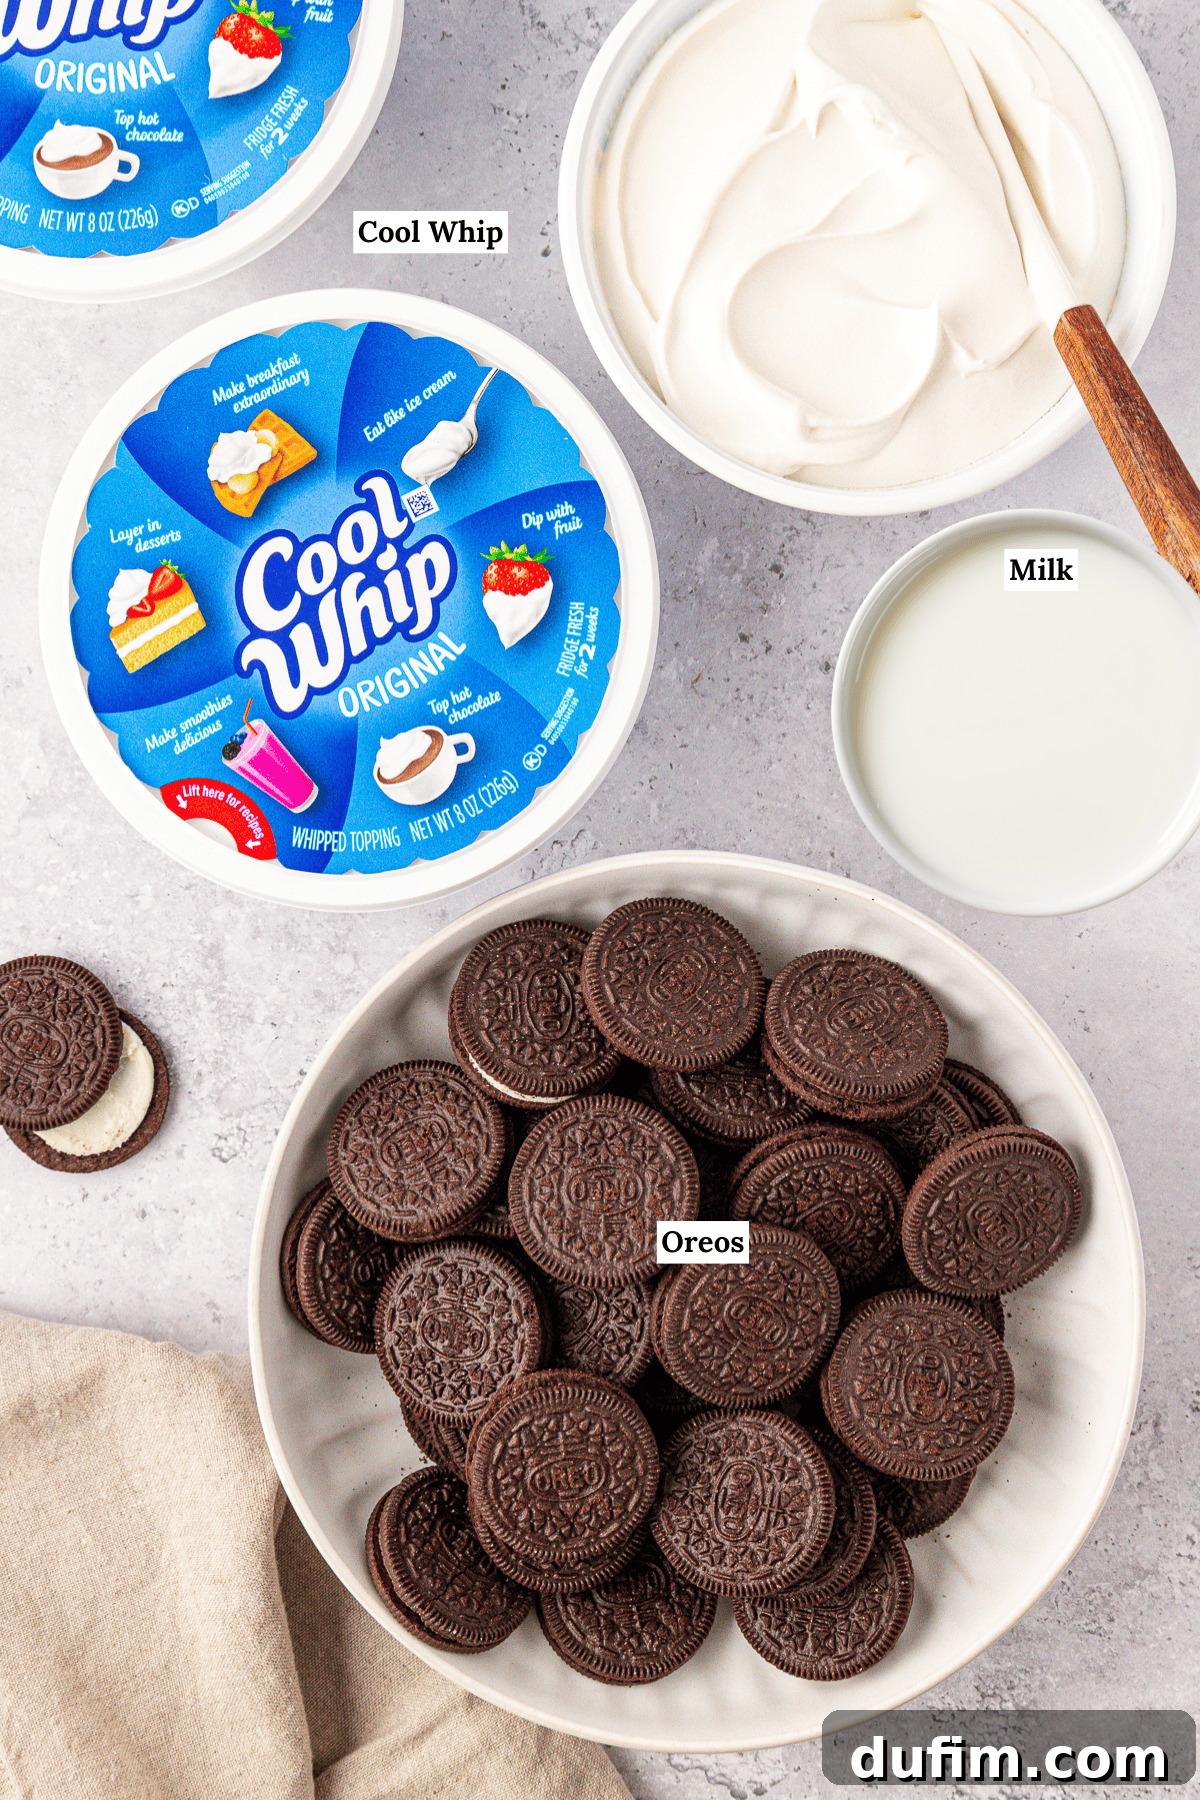
The beauty of this Oreo icebox cake lies in its minimal ingredient list, proving that sometimes, less truly is more. You only need three essential items to create this crowd-pleasing dessert:
- Oreo Cookies: The star of the show! Family-sized packages (18.12 oz each) work best to ensure you have enough for multiple layers and some for garnish. Original Oreos are classic, but feel free to experiment with different flavors like Golden Oreos, Mint Oreos, or Peanut Butter Oreos for unique twists.
- Cool Whip: This ready-to-use whipped topping provides the creamy, dreamy layers that soften the cookies and hold the cake together. While you can make homemade whipped cream, Cool Whip offers unmatched stability and convenience, making it ideal for an icebox cake. Its light and airy texture complements the rich chocolate cookies perfectly.
- Milk: A small amount of milk is crucial for dipping the Oreos. This quick dip jumpstarts the softening process, ensuring your cookies achieve that desirable cake-like consistency after chilling. Any type of milk (whole, 2%, skim, or even a non-dairy alternative like almond or oat milk) will work effectively.
Optional garnishes include additional crushed Oreos, chocolate sauce, chocolate shavings, or fresh berries to elevate the presentation and add extra flair.
How to Make the Best No-Bake Oreo Icebox Cake
Creating this delicious icebox cake is incredibly straightforward. Follow these easy steps to make a no-bake masterpiece like a pro:
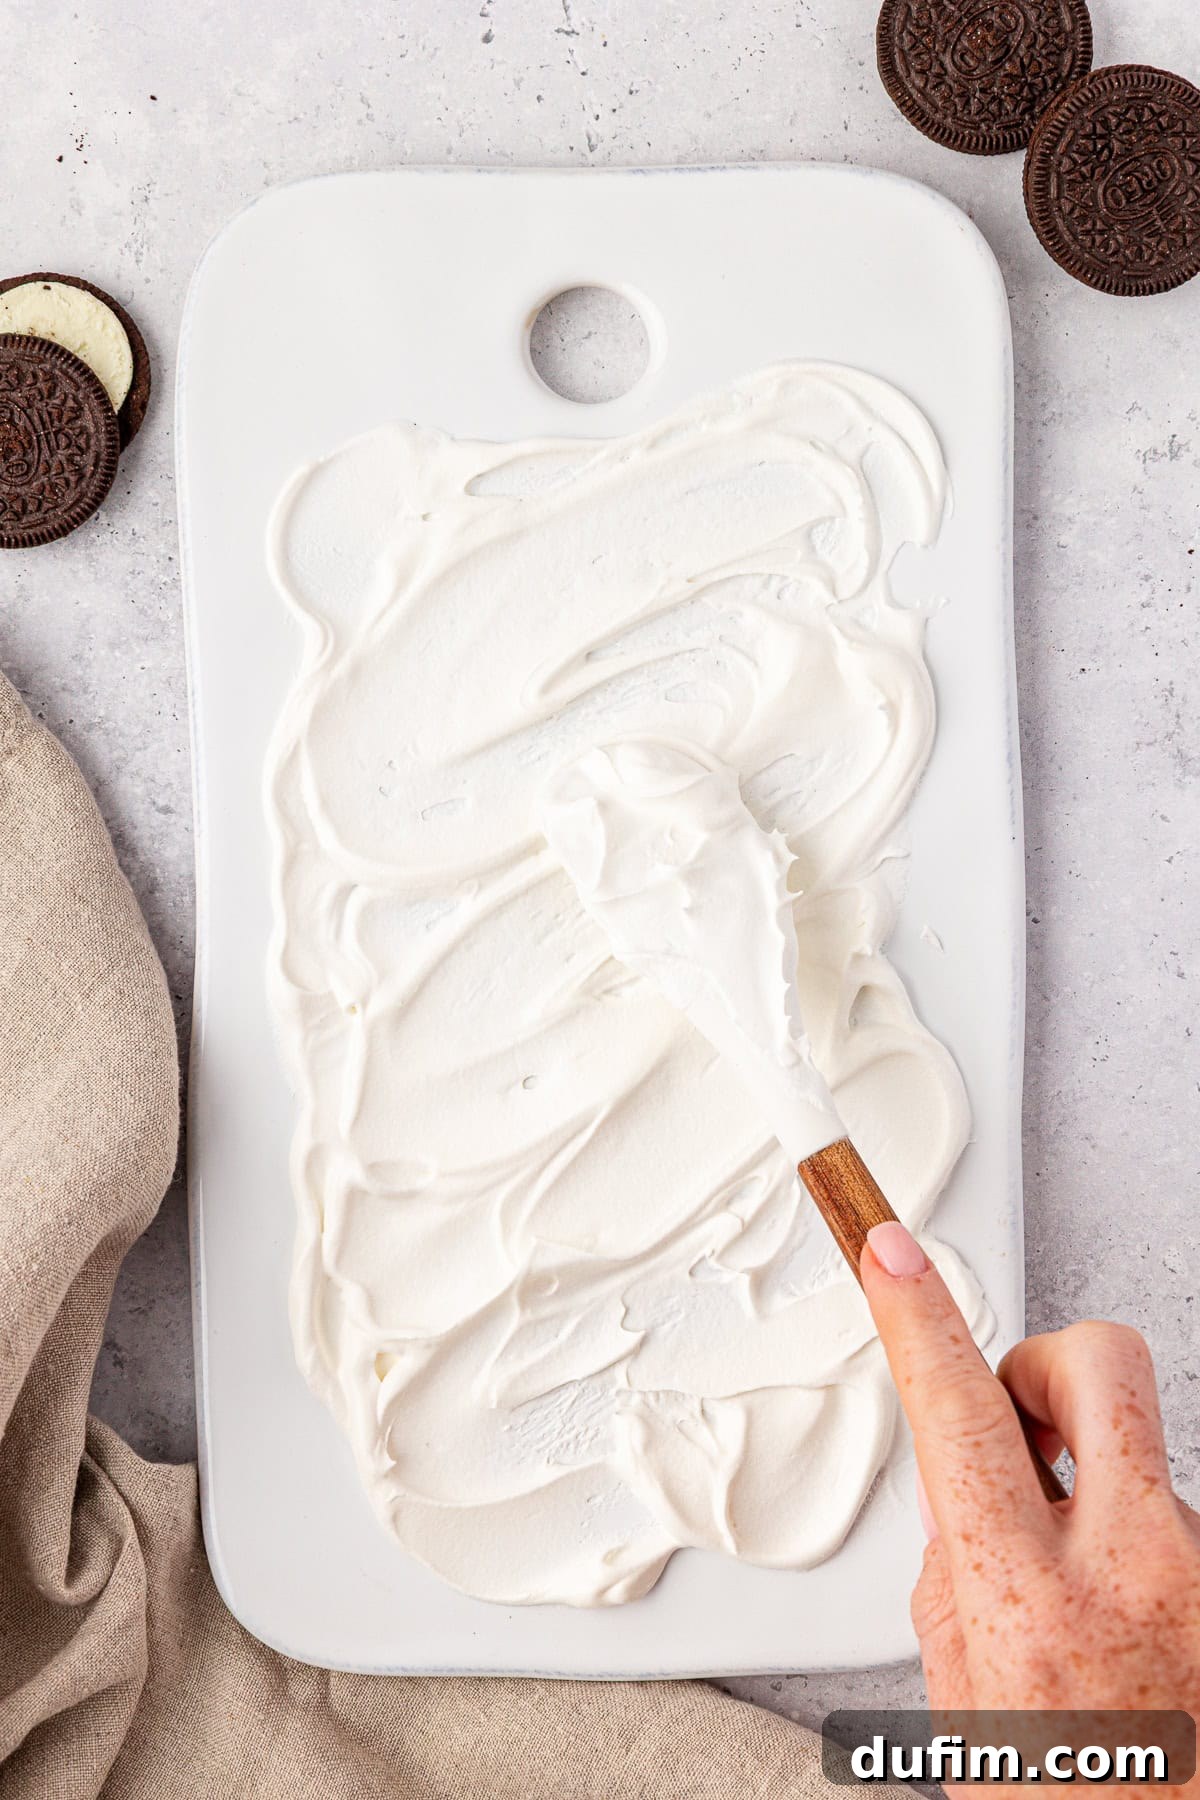
- Prepare Your Base: On your chosen serving platter or in a rectangular dish (a 9×13 inch dish works perfectly for a standard family-sized cake), spread a small, thin amount of Cool Whip. This initial layer acts like an adhesive, ensuring your first layer of Oreos stays firmly in place during assembly and transport.
- Dip the Oreos: Pour your milk into a shallow dish or container wide enough to comfortably dip an Oreo. This step is crucial for achieving that desirable cake-like texture. Quickly dip each Oreo cookie into the milk for just 1-2 seconds per side. Don’t over-soak, or they’ll become too soft and break apart. The milk helps soften the cookie, ensuring they’re not still crunchy after refrigeration. This brief dip initiates the magic!
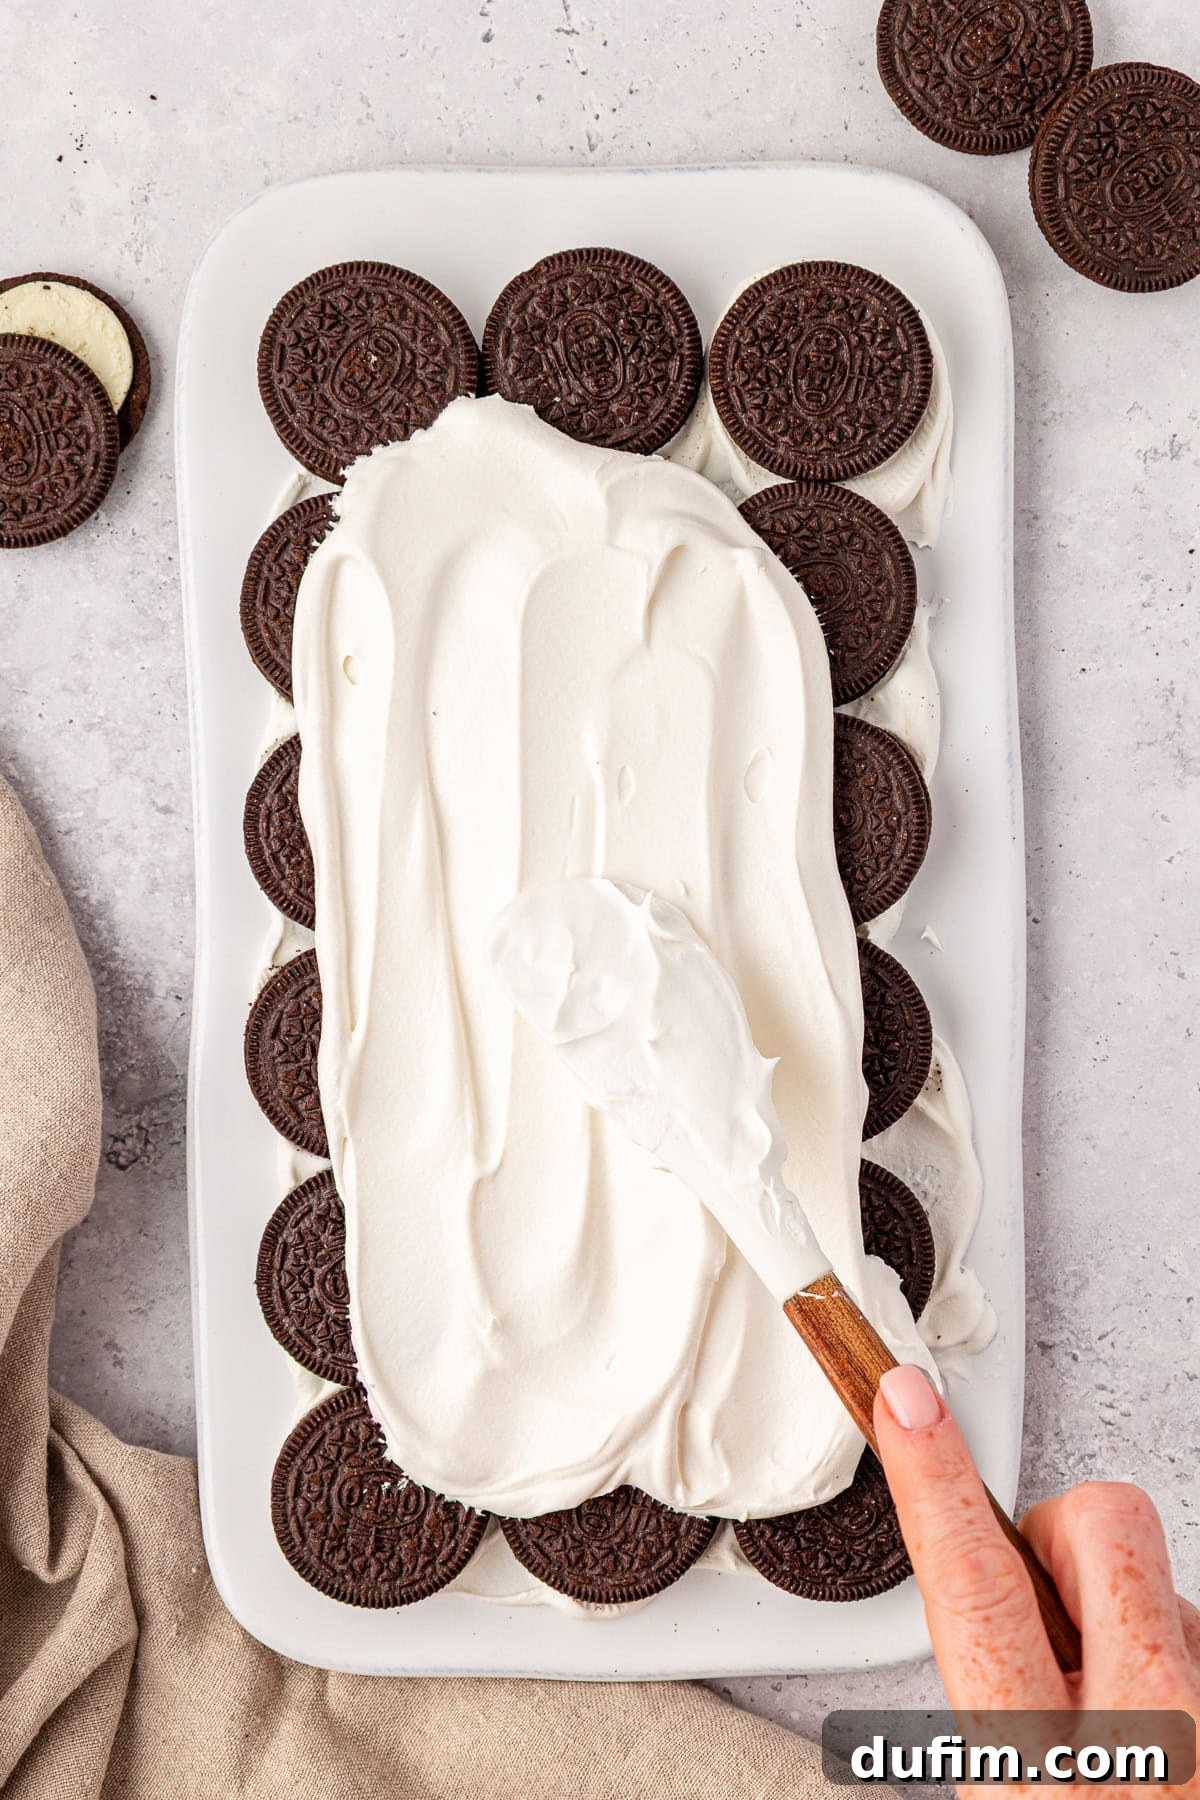
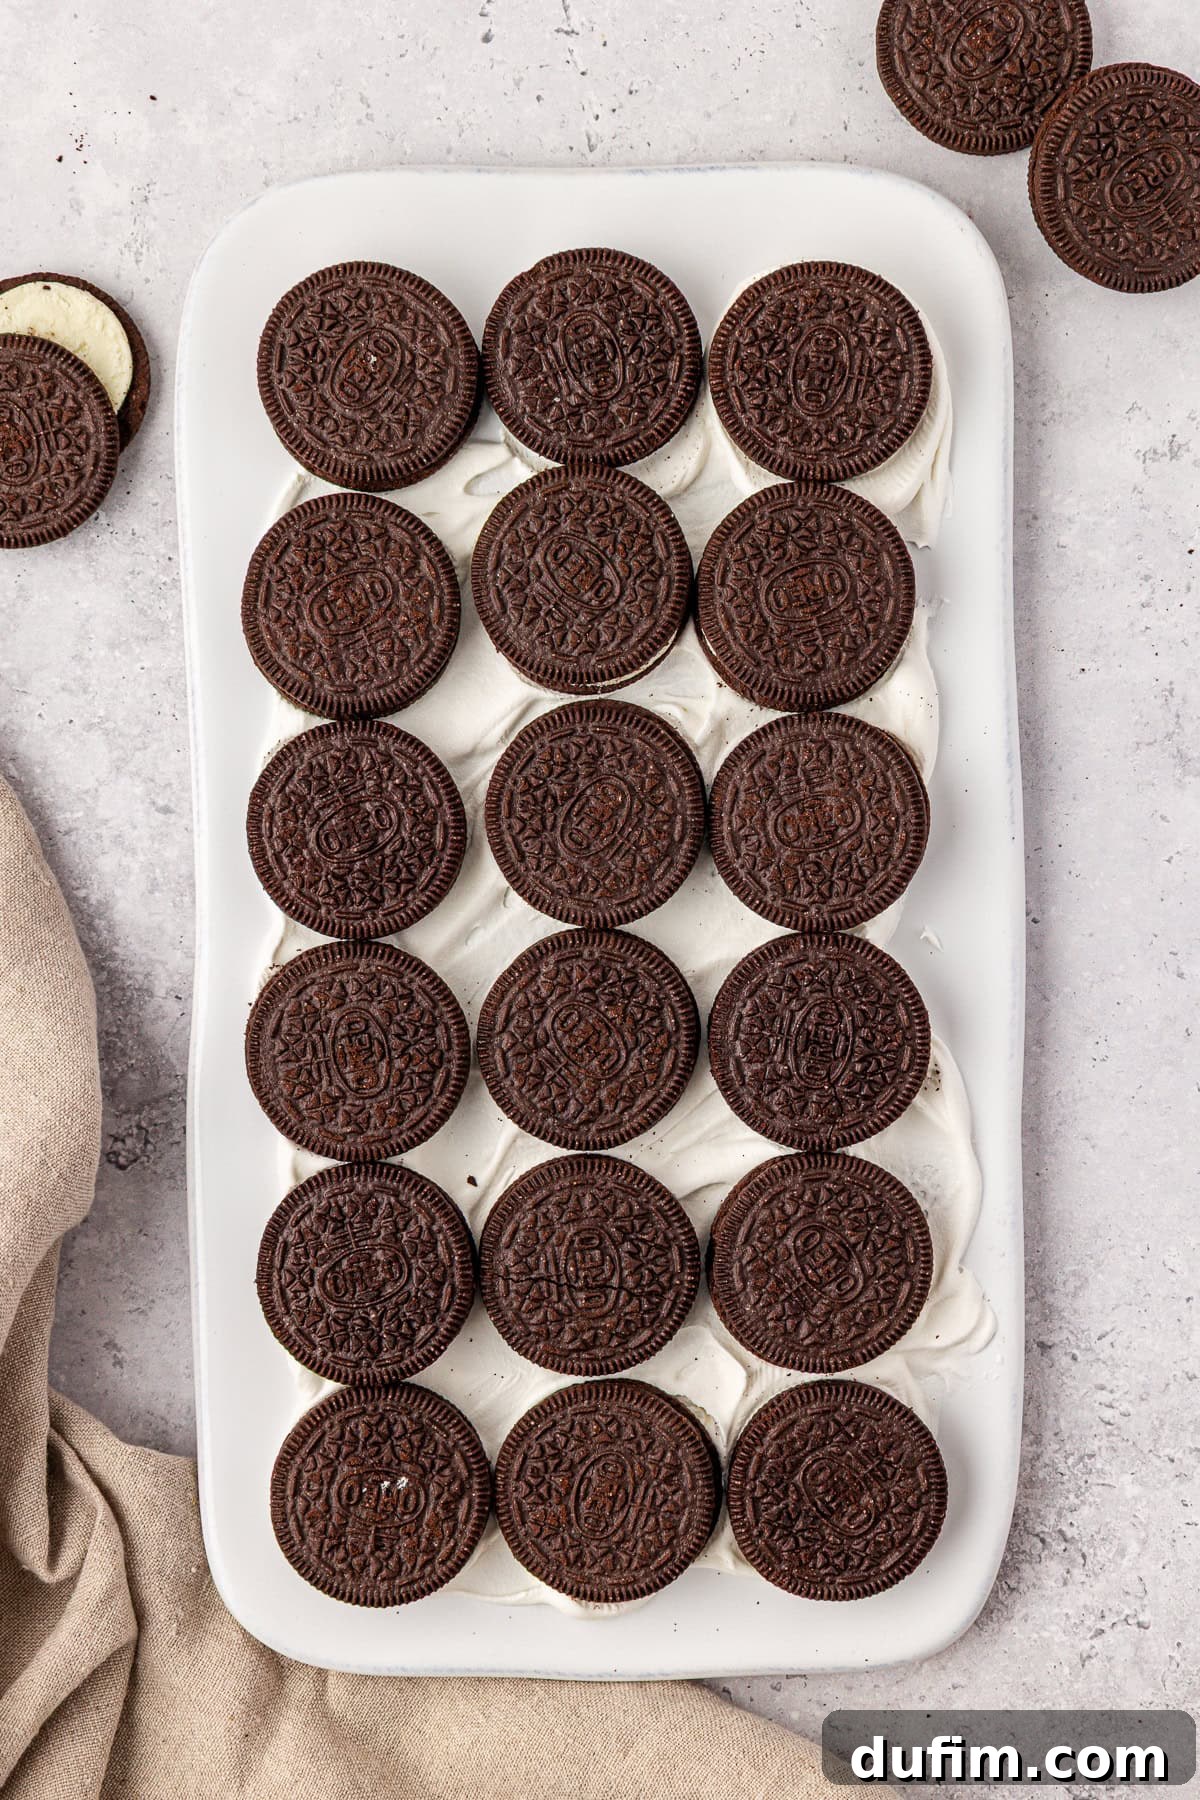
- Begin Layering: Once dipped, arrange approximately 18 Oreos (or enough to cover the surface) in a single layer over the Cool Whip, typically in a neat 3×6 rectangle if using a standard rectangular dish. Once the cookie layer is complete, spread a generous and even layer of Cool Whip over the Oreos, ensuring they are completely covered. This layer will provide moisture to soften the cookies and act as the cake’s “frosting.”
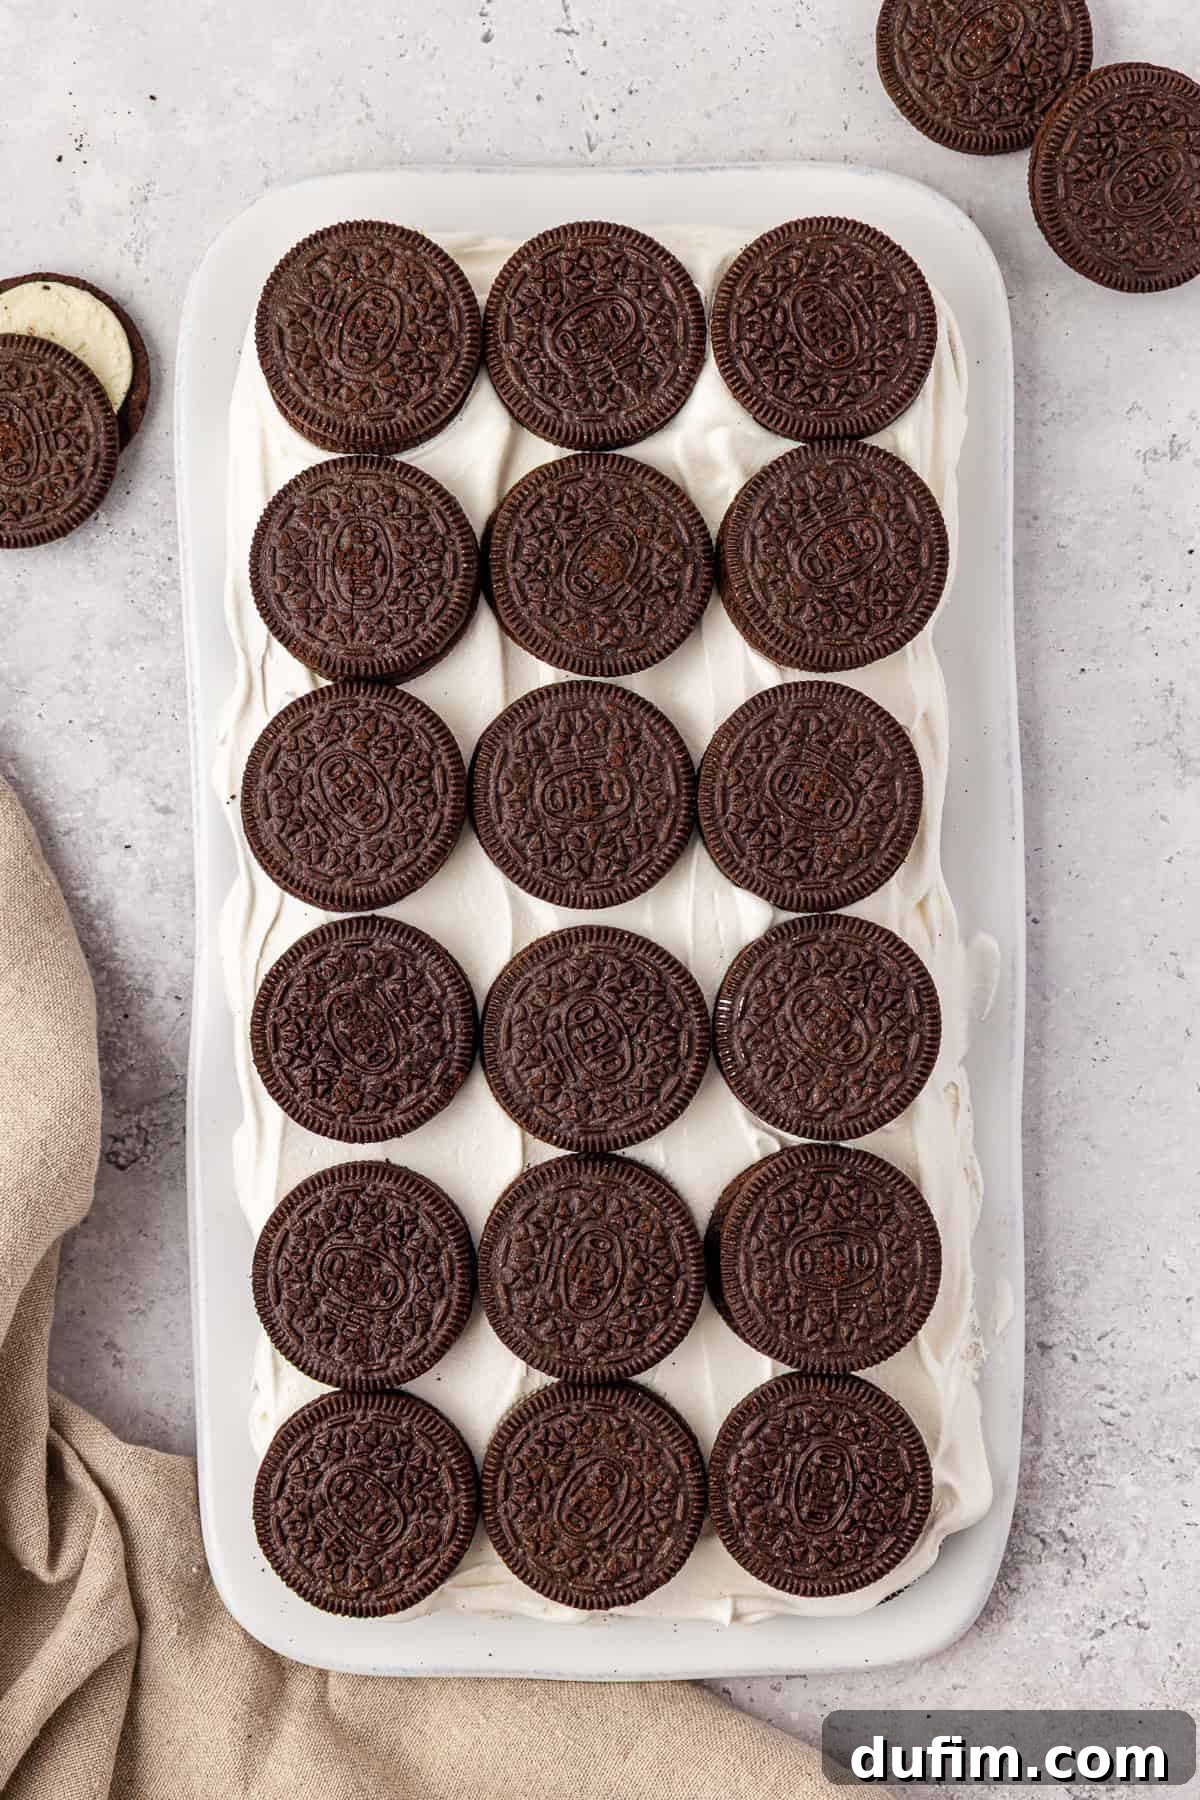
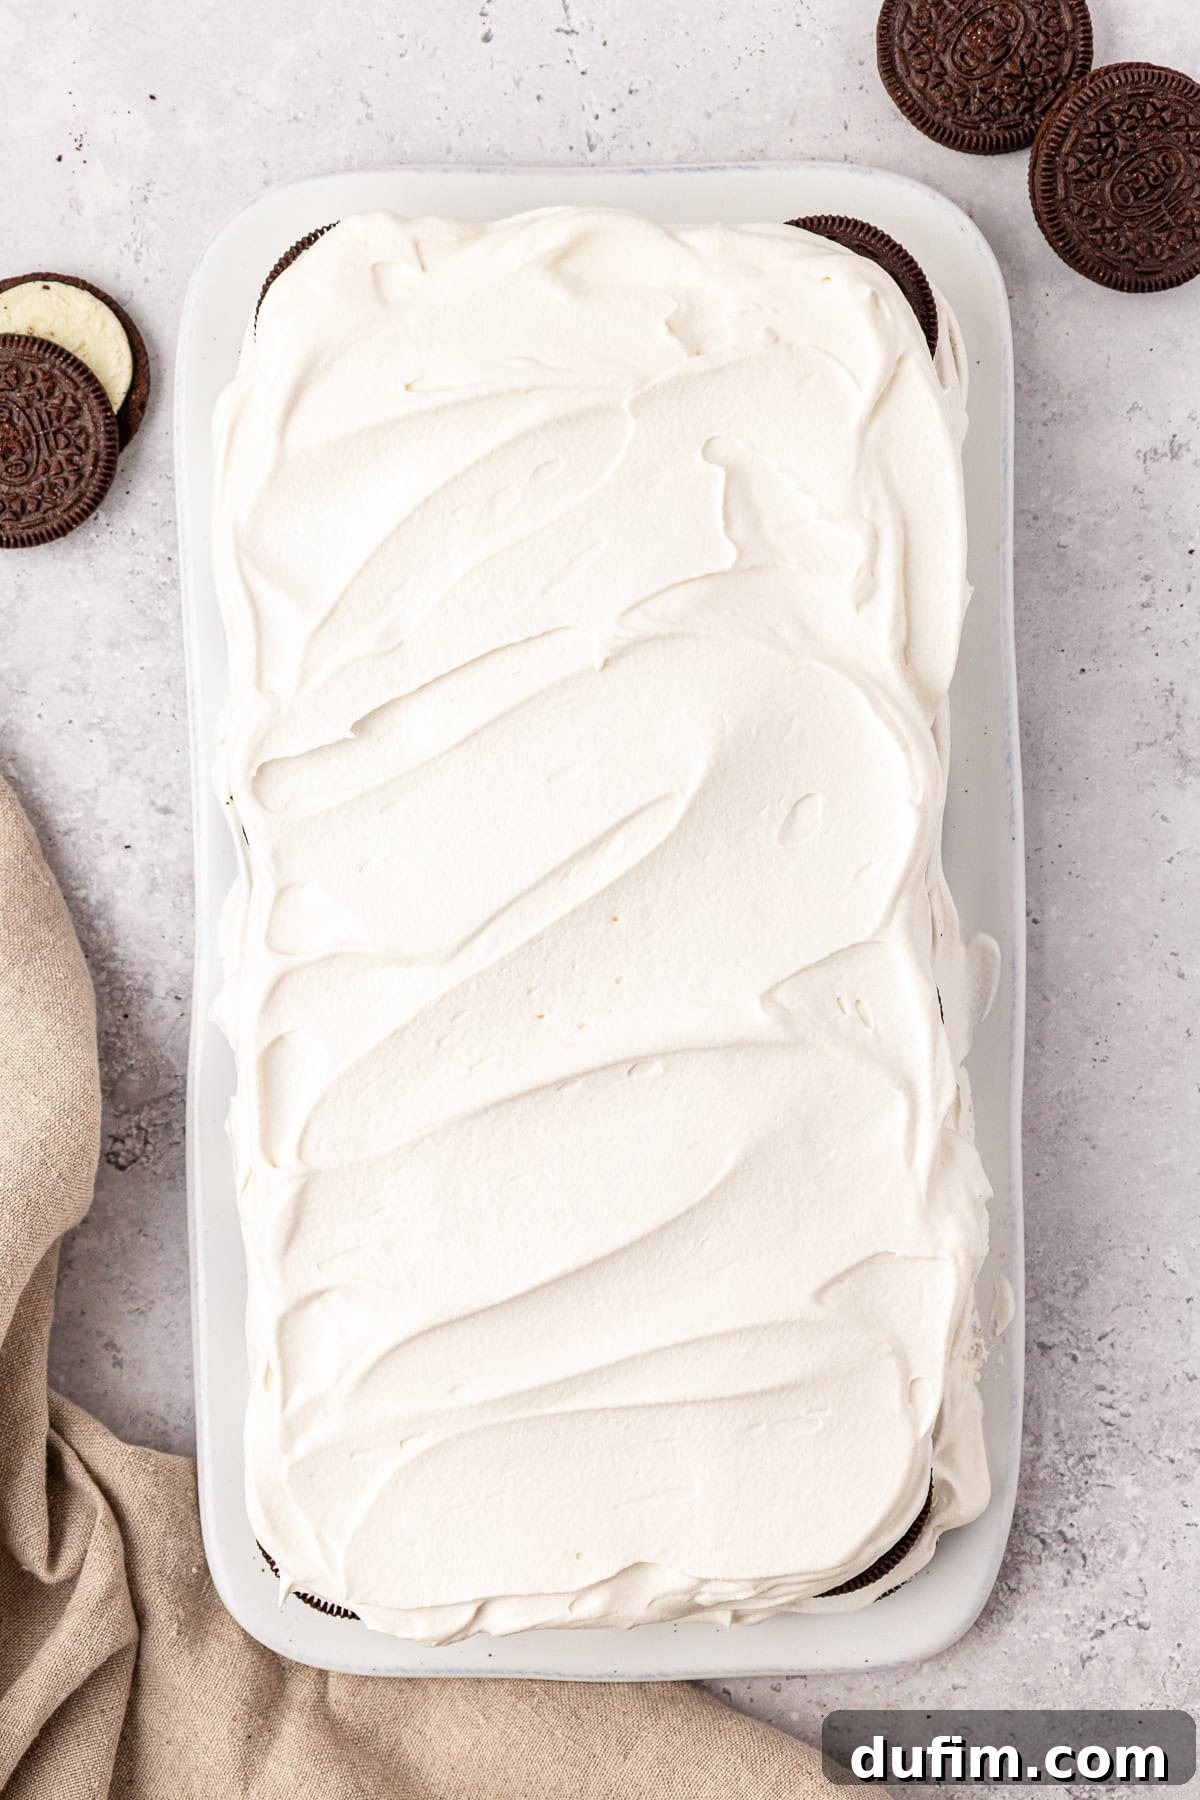
- Repeat the Process: Continue building your cake by repeating step 3. Dip more Oreos in milk and alternate layers of cookies and Cool Whip. Aim for even layers to create a visually appealing and structurally sound cake. Most icebox cakes typically have 4-6 layers of cookies, depending on the depth of your dish and desired cake height.
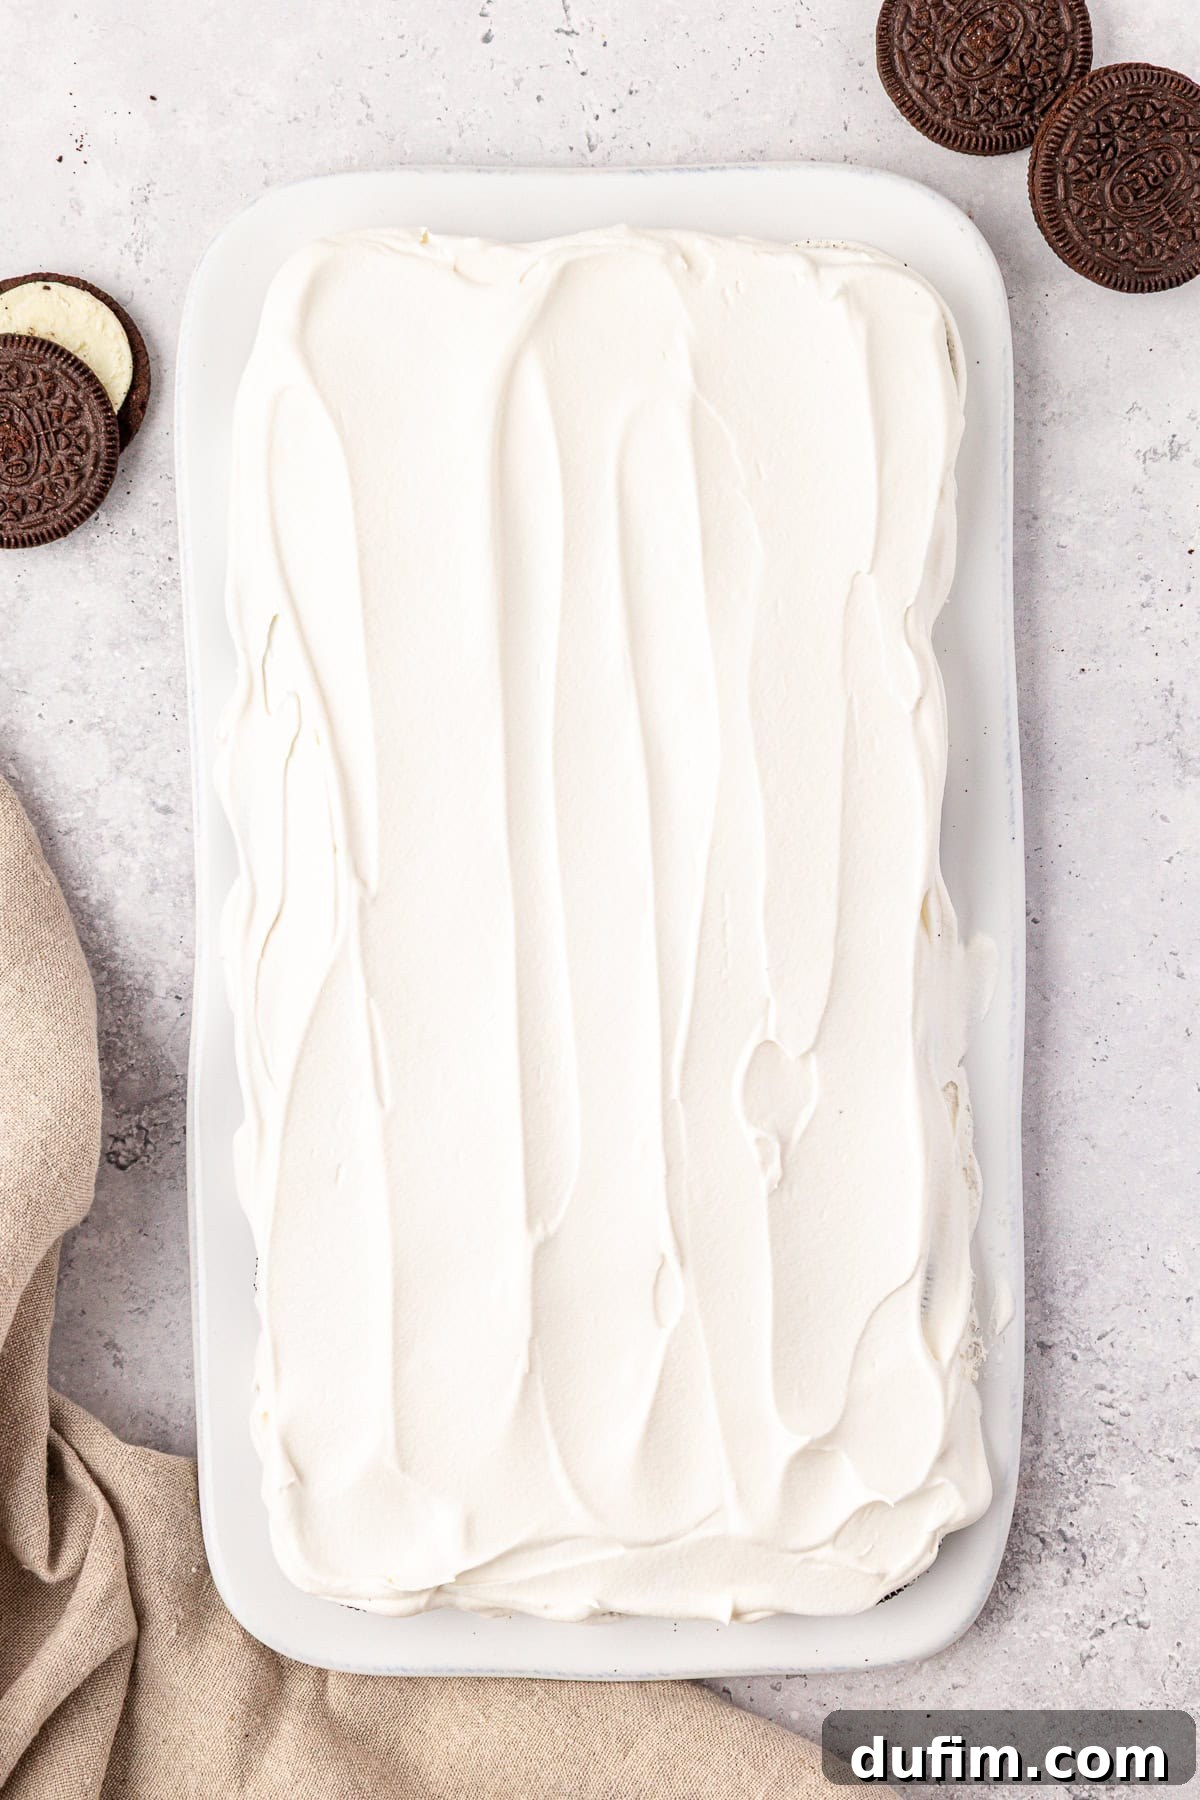
- Top and Chill: Once all your cookie and cream layers are assembled (I typically achieve 5 distinct layers of Oreos), finish the cake with a final, smooth, and generous layer of Cool Whip on top. This will be the canvas for your garnishes. Once complete, cover the entire cake tightly with plastic wrap to prevent it from absorbing refrigerator odors and to lock in moisture. Refrigerate the cake for a minimum of 9 hours, or ideally overnight (12-24 hours). This extended chilling time is essential for the cookies to fully soften and for the flavors to meld beautifully.
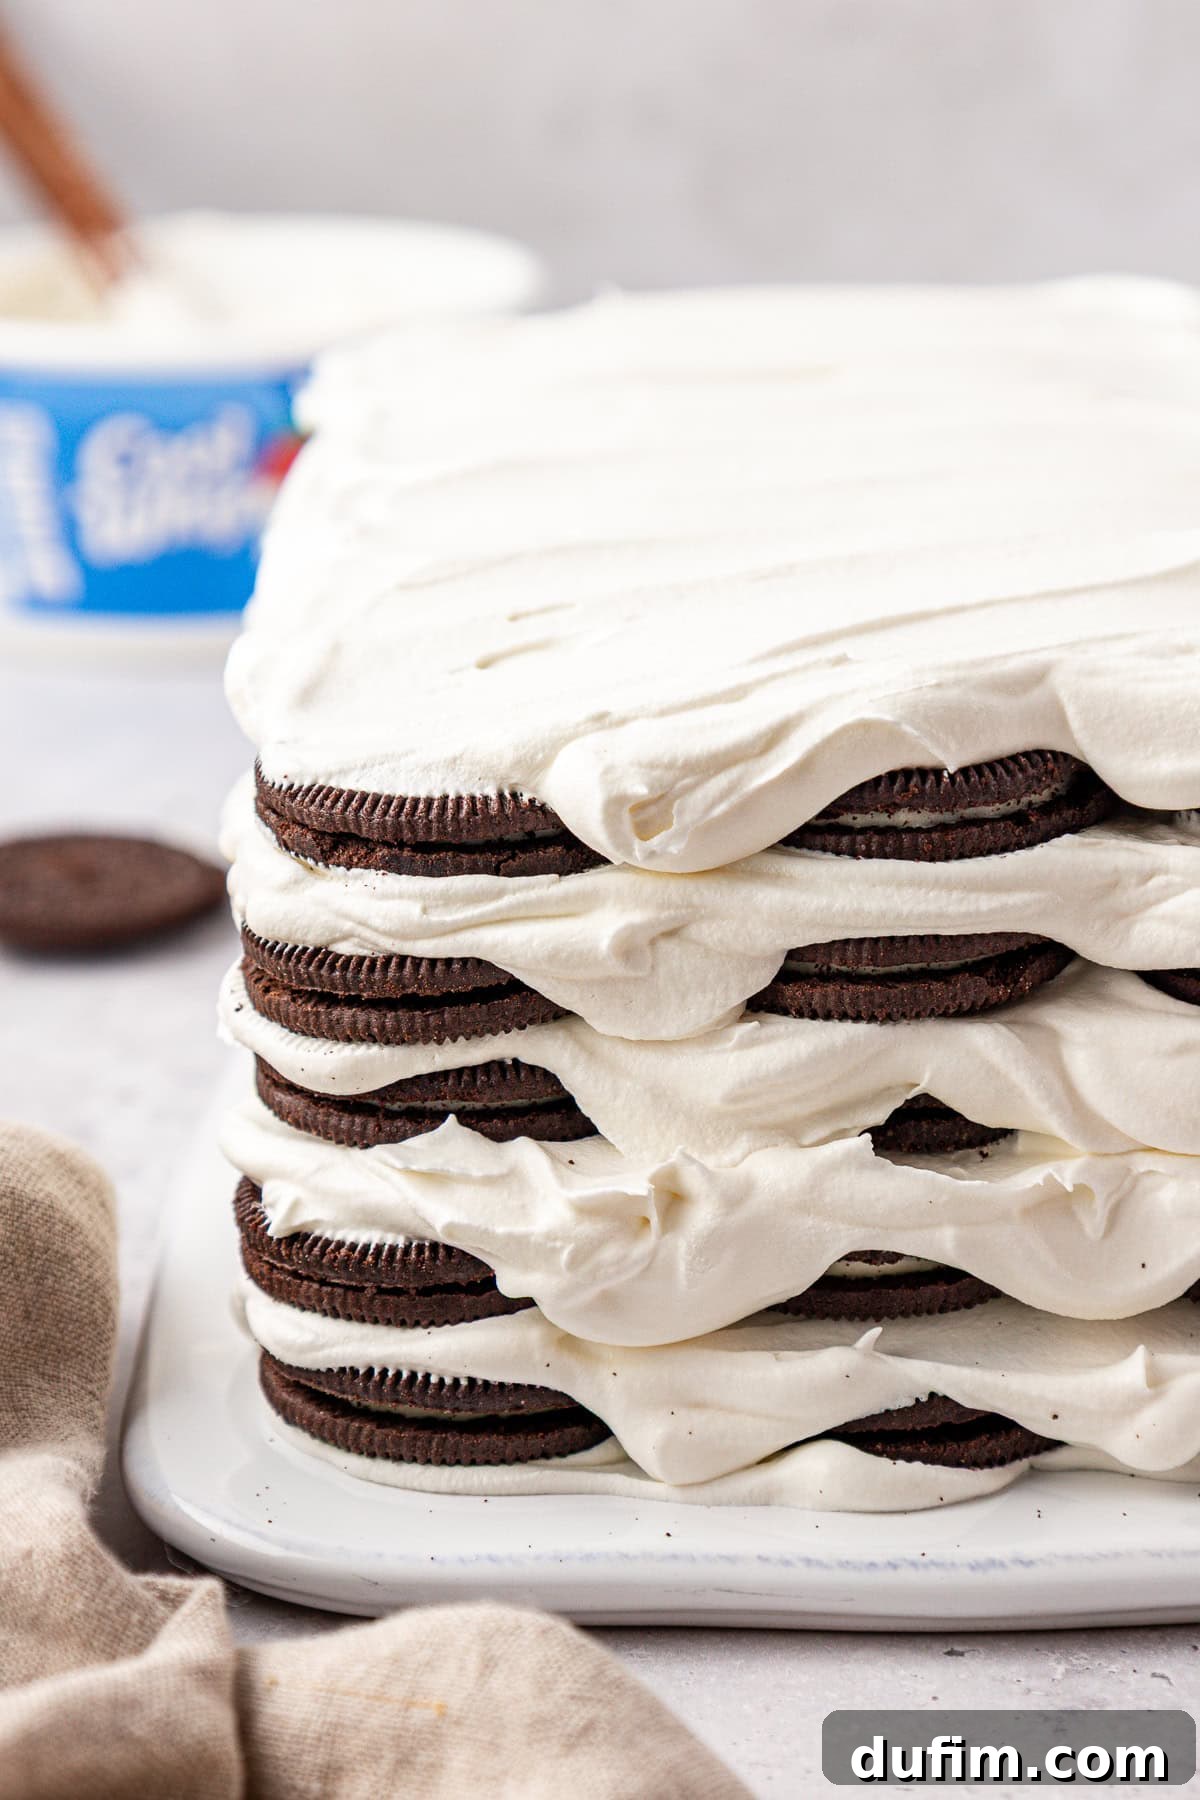
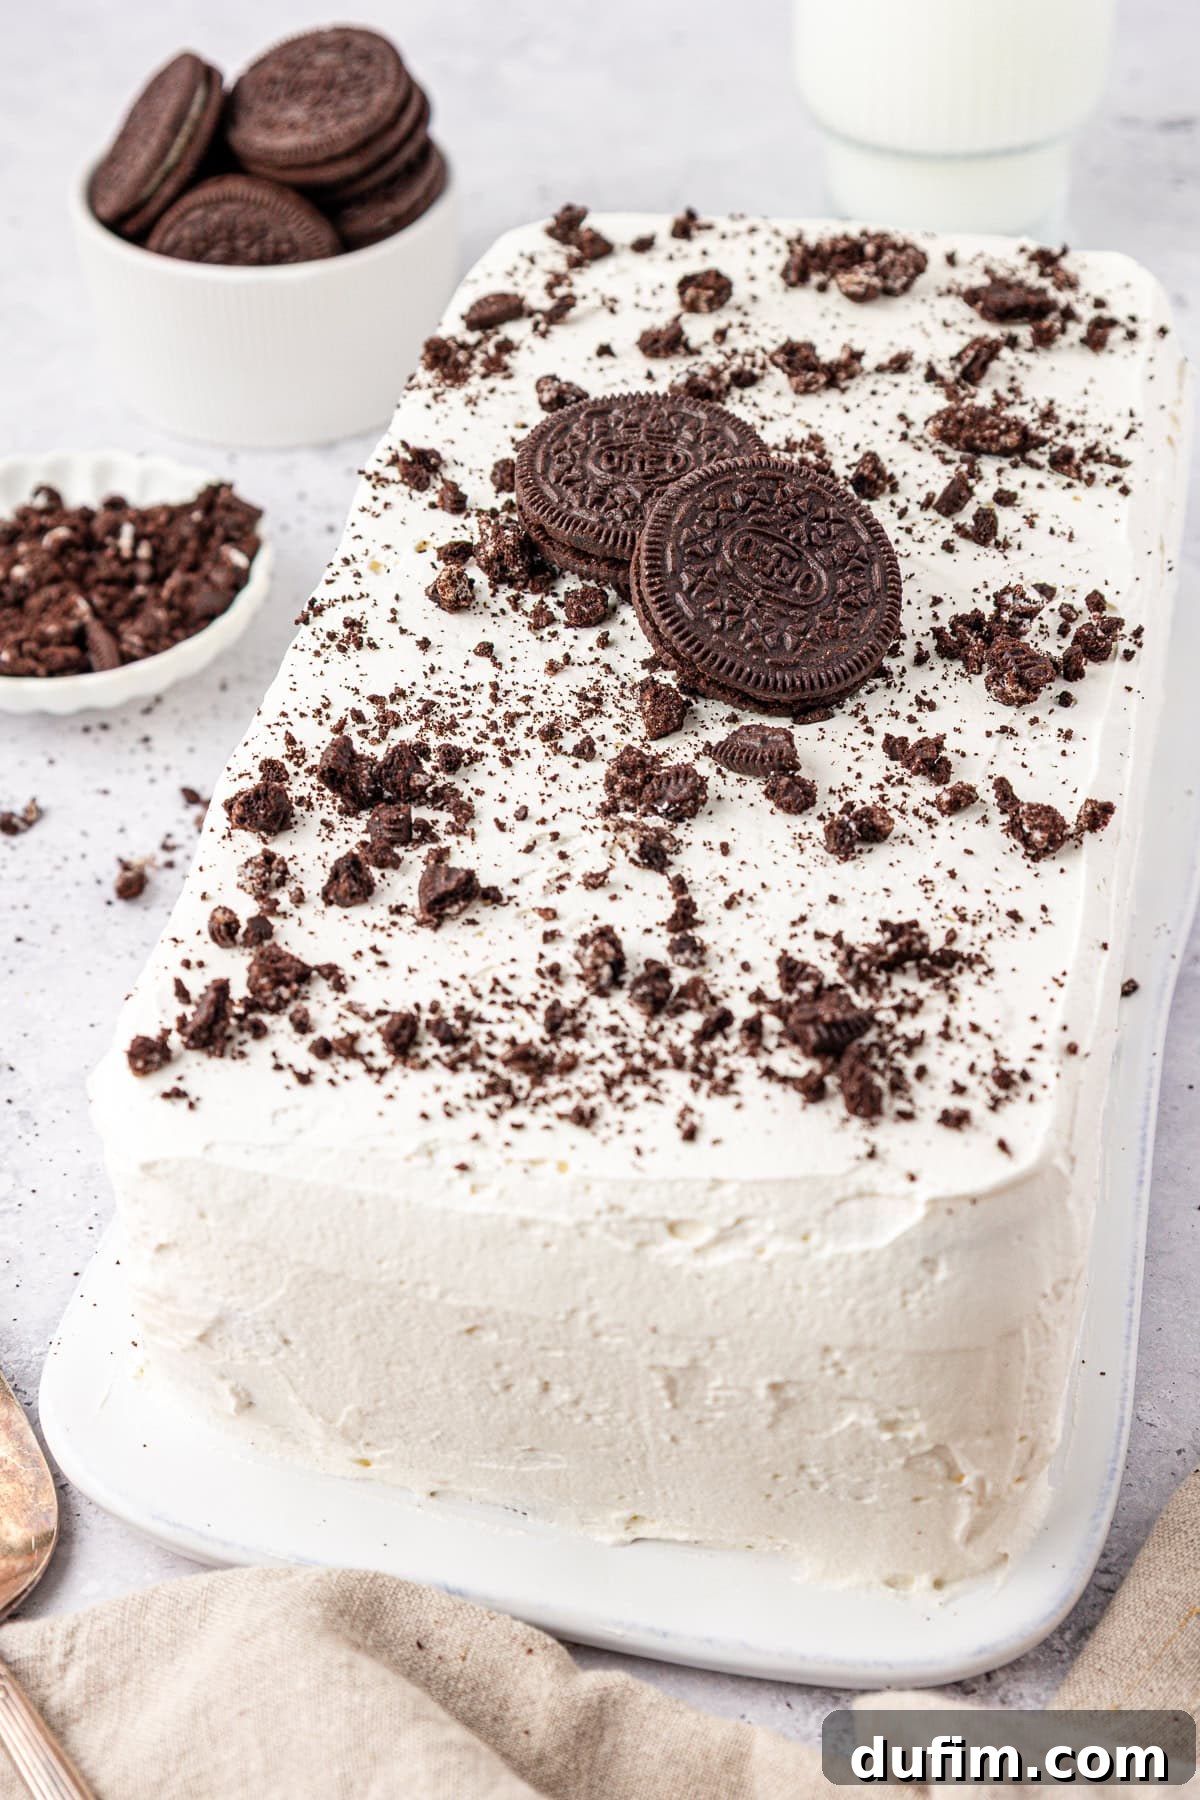
Serving Your Oreo Icebox Cake
Before serving, remove the plastic wrap and get creative with your toppings! Add a sprinkle of crushed Oreos for texture and visual appeal, drizzle with rich chocolate sauce, or scatter delicate chocolate shavings. Fresh fruit like sliced strawberries or raspberries can also add a burst of color and freshness. Slice with a sharp knife, wiping the blade clean between slices for neat presentation. Enjoy your perfectly chilled, soft, and utterly delicious no-bake Oreo icebox cake!
Variations & Creative Substitutions for Your Icebox Cake
One of the many charms of this no-bake icebox cake recipe is its incredible adaptability. It serves as a fantastic base for all sorts of flavor explorations. If you’re looking to put your own spin on this classic or simply want to try something new, here are some delightful ideas for variations and substitutions:
- Change the Cookies: While Oreos are iconic, don’t limit yourself! You can easily swap them for other types of cookies or wafers to create entirely different flavor profiles.
- Graham Crackers: Classic for a subtly sweet, crumbly texture. Use chocolate graham crackers for a richer base.
- Vanilla Wafers: Offer a lighter, crisp texture that softens beautifully and pairs well with many flavors.
- Biscoff Cookies: For a spiced, caramel-like flavor that’s truly unique.
- Chocolate Chip Cookies: Use store-bought or leftover homemade cookies for a different kind of chocolatey layer.
- Thin Mint Cookies: Especially delicious around the holidays or for mint lovers, creating a mint chocolate dream.
- Get Creative with the Garnish: The final touch can truly elevate your icebox cake.
- Chocolate Chips or Curls: Add a layer of mini chocolate chips between cream layers or sprinkle chocolate curls on top for elegance.
- Sprinkles: A festive and fun option, especially for birthdays or celebrations.
- Fresh Fruit: Sliced strawberries, raspberries, blueberries, or bananas add a lovely contrast in flavor and freshness. Layer them between cream and cookie layers or arrange them artfully on top.
- Cocoa Powder: A light dusting of unsweetened cocoa powder can add a sophisticated finish.
- Chopped Nuts: Toasted pecans, walnuts, or almonds can add a delightful crunch.
- Caramel or Hot Fudge Drizzle: For an extra decadent touch before serving.
- Flavor the Cool Whip: Infuse your whipped topping with different extracts or additions.
- Vanilla Extract: A splash of pure vanilla extract enhances the overall flavor.
- Peppermint Extract: For a festive, minty twist (pairs wonderfully with original or chocolate Oreos).
- Cream Cheese: Blend softened cream cheese into the Cool Whip for a richer, tangier, and more stable cream cheese frosting-like layer.
- Pudding Mix: Whisk in a packet of instant pudding mix (like chocolate, vanilla, or cheesecake flavor) into the Cool Whip to add depth and a firmer texture.
Storage Tips for Your Oreo Icebox Cake
One of the many perks of this no-bake dessert is how well it stores, making it an ideal make-ahead option for parties and gatherings.
Refrigeration
To store any leftover icebox cake or keep a freshly made one, ensure it’s properly covered. Drape it tightly with plastic wrap, making sure the wrap doesn’t directly touch the Cool Whip if possible (you can use toothpicks to create a dome). Alternatively, transfer it to an airtight container. Stored this way in the refrigerator, your icebox cake will remain delicious for 3–4 days. Keep in mind that as time passes, the cookie layers will continue to soften, becoming even more tender, but it will retain its wonderful flavor.
Freezing
Another fantastic advantage of this recipe is its freezer-friendly nature! Freezing an icebox cake is a brilliant way to prepare it far in advance or save leftovers for a future craving. To freeze, first wrap the entire cake tightly in several layers of plastic wrap, then follow with a layer of heavy-duty aluminum foil. This double-layer protection is key to preventing freezer burn. Alternatively, you can place it in a freezer-safe, airtight container. The cake will keep beautifully in the freezer for up to 3 months.
When you’re ready to enjoy your frozen icebox cake, simply transfer it from the freezer to the refrigerator and let it thaw for a few hours or overnight. This slow thawing process ensures the textures remain perfect. Once thawed, it will be just as delightful as when it was first made!
More Irresistible No-Bake Dessert Recipes
If you’ve fallen in love with the ease and deliciousness of this Oreo icebox cake, you’re in for a treat! There’s a whole world of no-bake desserts waiting to be explored. Here are some more fantastic recipes that require no oven time, perfect for satisfying your sweet tooth:
- No Bake Lemon Pudding Pie
- S’Mores Cheesecake Cups
- Best Ambrosia Salad Recipe
- Kool Aid Pie
Tap stars to rate!
Oreo Icebox Cake Recipe
By: Beth
Prep Time: 10 minutes | Chill Time: 9+ hours | Servings: 12 slices
No-bake, no fuss, just pure cookies-and-cream magic! This Oreo icebox cake is a recipe I’ve tested and trusted for years. Minimal effort, maximum crowd-pleasing payoff.
Ingredients
- 2 cups (473ml) milk
- 3 (8oz) containers Cool Whip
- 2 (18.12oz) packages Oreos, Family Size
- Additional Oreos, chocolate sauce or chocolate shavings for decoration (optional)
Instructions
- On a serving platter, spread a small amount of Cool Whip in a rectangular shape—this will help hold the first layer of Oreos in place.
- Place the milk in a shallow container. Quickly dip each Oreo in the milk (1-2 seconds per side) before assembling to help soften the cookie.
- Arrange 18 dipped Oreos on top of the initial Cool Whip layer in a 3×6 rectangle. Spread a generous layer of Cool Whip over the Oreos to cover them completely.
- Repeat the process, dipping Oreos in milk and alternating layers of Oreos and Cool Whip until you have built up your desired cake height (typically 5 layers of Oreos).
- Once all layers are assembled, cover the entire cake with a final smooth layer of Cool Whip. Cover the cake tightly with plastic wrap and refrigerate for at least 9 hours (preferably overnight) to allow the cookies to fully soften. Before serving, add crushed Oreos, chocolate sauce, or chocolate shavings for decoration.
Video
Watch how to make this delicious no-bake Oreo icebox cake!
Nutrition Information
All nutritional values are approximate and provided to the reader as a courtesy. Changing ingredients and/or quantities will alter the estimated nutritional calculations.
- Serving: 1 slice
- Calories: 25 kcal
- Carbohydrates: 2g
- Protein: 1g
- Fat: 1g
- Saturated Fat: 1g
- Polyunsaturated Fat: 0.05g
- Monounsaturated Fat: 0.3g
- Cholesterol: 5mg
- Sodium: 16mg
- Potassium: 61mg
- Fiber: 0.001g
- Sugar: 2g
- Vitamin A: 66 IU
- Calcium: 50mg
Like this recipe? Rate and comment below!
We’d love to hear your thoughts and see your creations.