
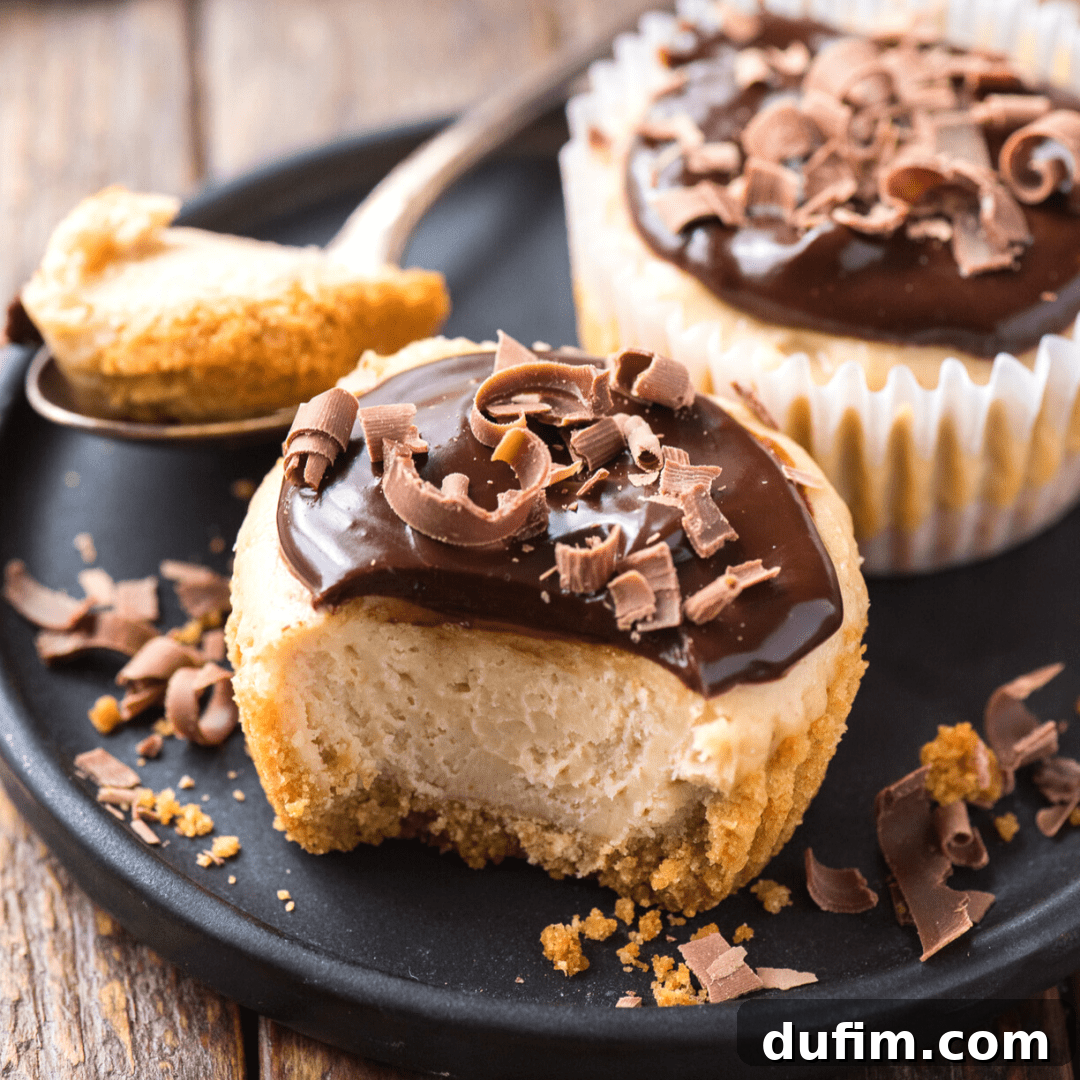
Indulge in the simplest pleasure with our delightful mini peanut butter cheesecakes! These personal-sized treats are incredibly easy to prepare right in a standard muffin pan, requiring only 7 essential ingredients for a truly satisfying dessert experience. This streamlined cheesecake recipe features a wonderfully crisp 2-ingredient crust and a lusciously smooth 5-ingredient peanut butter cheesecake filling. Craving a classic candy bar twist? Easily substitute traditional graham cracker crumbs with Oreo crumbs for an irresistible Reese’s-style cheesecake!
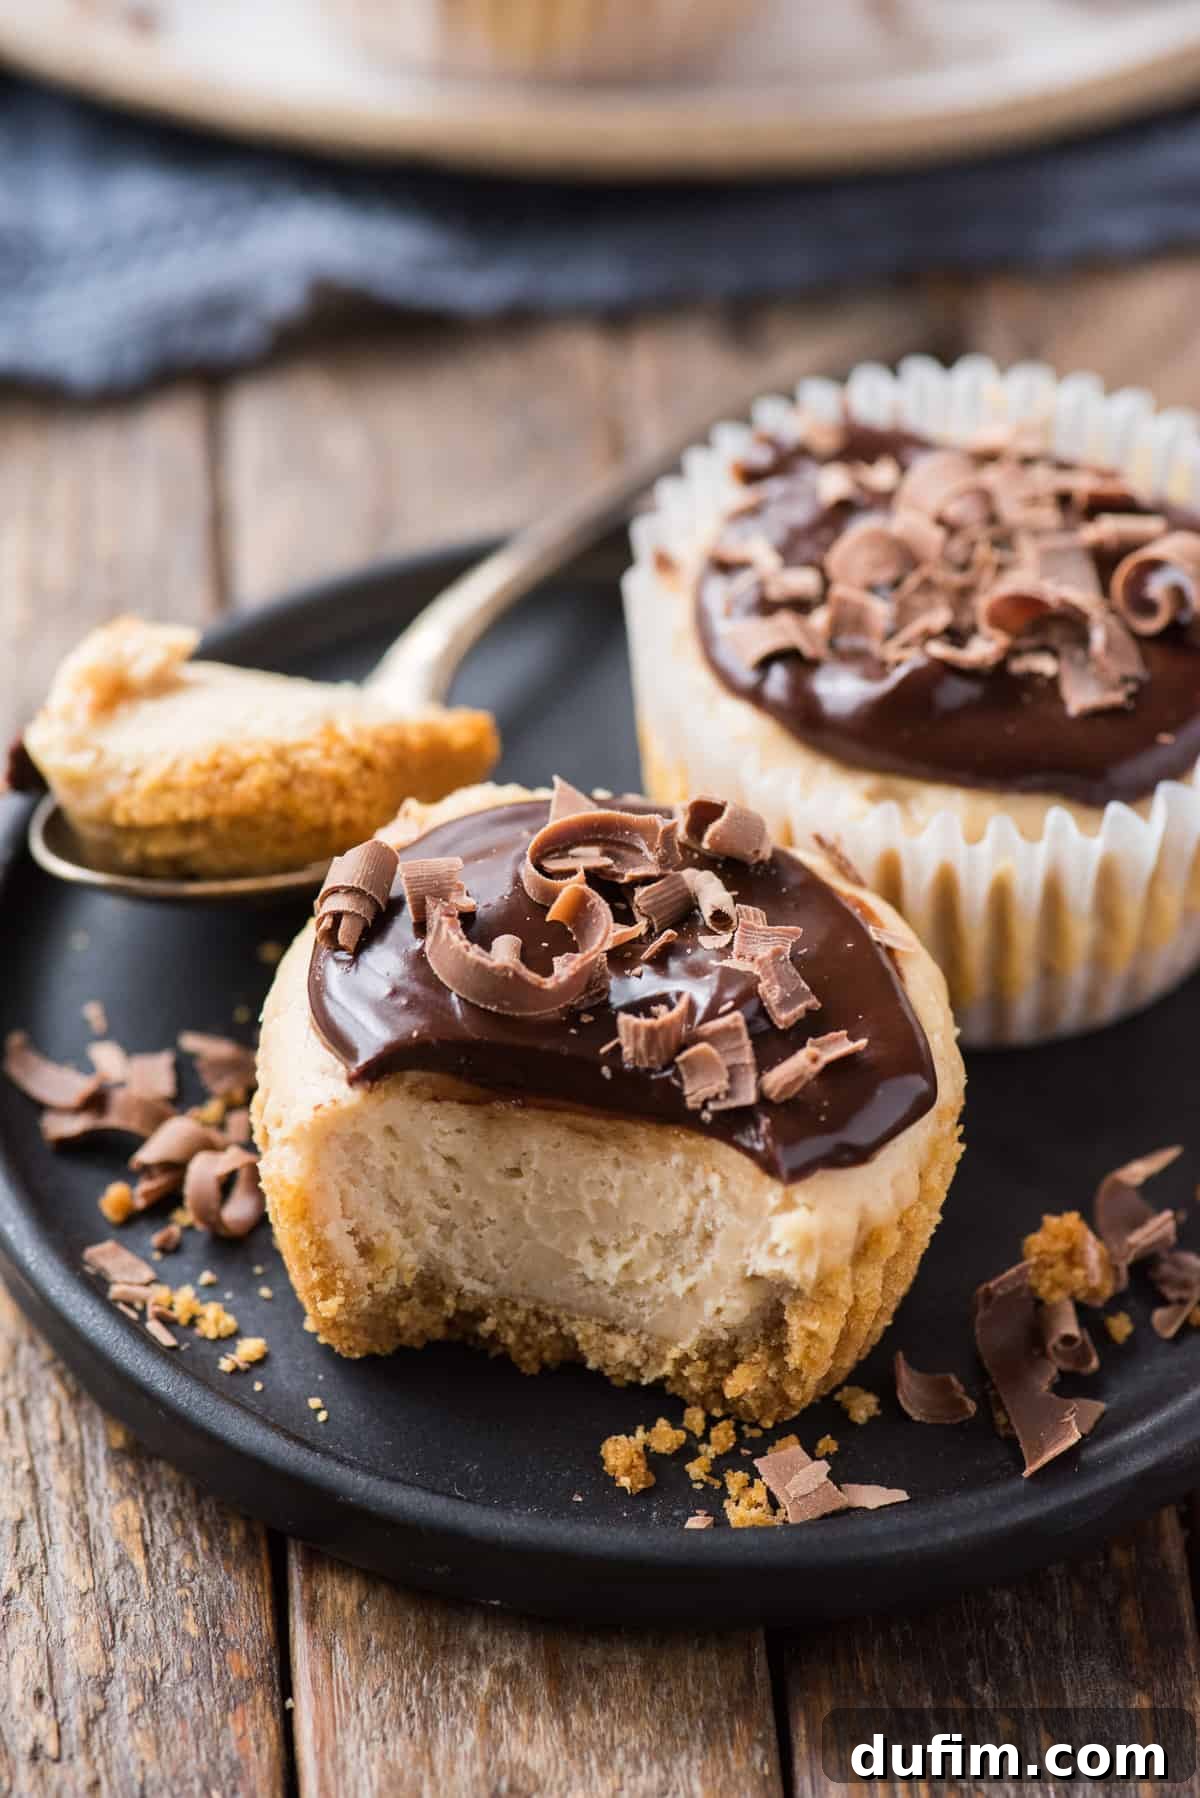
“I decided to make these mini cheesecakes for a gathering, and they were an absolute sensation! The recipe was incredibly straightforward, and I already had most of the ingredients stocked in my pantry. The cheesecake itself was wonderfully light and boasted a fluffy texture. I opted for a classic graham cracker crust, and every single one disappeared before any other dessert I offered! A huge thank you for sharing such a fantastic recipe.”
-Sharon
Easy Mini Peanut Butter Cheesecakes: Your Ultimate Guide to a Simple, Delicious Dessert
There’s something uniquely appealing about a personal-sized dessert, and these mini peanut butter cheesecakes are no exception. They combine the rich, nutty flavor of peanut butter with the smooth, creamy texture of classic cheesecake, all wrapped up in a convenient, individual serving. Whether you’re a seasoned baker or just starting, this recipe is designed for success, offering a hassle-free approach to one of the most beloved desserts.
Forget the intimidating water baths and complex techniques often associated with traditional cheesecakes. Our mini version bakes up beautifully in a muffin pan, simplifying the process without compromising on taste or texture. With just a handful of readily available ingredients, you can create a dessert that’s perfect for entertaining, family gatherings, or simply treating yourself.
Why Choose Mini Cheesecakes? The Benefits of Baking Small
Opting for mini cheesecakes over a large springform version offers several advantages:
- Effortless Portion Control: Each cheesecake is perfectly portioned, making serving a breeze and helping guests (or yourself!) enjoy just the right amount without overindulging.
- Faster Baking Time: Mini cheesecakes bake significantly faster than their full-sized counterparts, getting you to dessert quicker.
- No Water Bath Required: One of the most common anxieties with cheesecake baking, the water bath, is completely unnecessary for these mini treats, reducing stress and simplifying cleanup.
- Reduced Cracking Risk: The smaller size and baking method inherently minimize the chances of dreaded cracks on the surface, ensuring a beautiful presentation every time.
- Versatile & Customizable: Easily experiment with different crusts or toppings for each individual cheesecake, catering to various tastes.
- Perfect for Any Occasion: From elegant dinner parties to casual potlucks or a simple weeknight treat, mini cheesecakes are always a crowd-pleaser and easy to transport.
Essential Tools for Miniature Cheesecake Perfection
Gathering the right equipment before you start ensures a smooth and enjoyable baking process. Luckily, you won’t need many specialized items for these mini cheesecakes:
- Standard Size Muffin Pan: This is the star of the show, allowing you to create individual cheesecakes. A 12-cup pan is ideal.
- Paper Muffin / Cupcake Liners: These are crucial for easy removal and neat presentation. Choose standard-sized liners.
- Electric Mixer (Handheld or Stand Mixer): Essential for achieving a smooth, lump-free cheesecake batter.
- Mixing Bowls: You’ll need at least two: one for the crust ingredients and one for the cheesecake filling.
- Measuring Cups and Spoons: For accurate ingredient measurements.
- Rubber Spatula: Great for scraping down the sides of the bowl and folding ingredients gently.
- Small Pot (for ganache): If you plan to add the optional chocolate ganache topping.
Making individual cheesecakes in a muffin pan is a brilliant technique to scale down a classic cheesecake recipe. As mentioned, mini cheesecakes bypass the need for a fussy water bath and bake much faster than their larger versions, making them perfect for busy schedules.
The Simple Ingredients You’ll Need
Our mini peanut butter cheesecakes truly shine with their straightforward ingredient list. You’ll be amazed at the rich flavor created from just a few quality components. For best results, ensure your cream cheese and eggs are at room temperature before you begin mixing.
For the Irresistible Crust (2 Ingredients!)
- Graham Cracker Crumbs: These form the sweet, buttery foundation of your cheesecake. You can buy pre-crushed crumbs or crush whole graham crackers in a food processor or by hand using a ziplock bag and rolling pin.
- Unsalted Butter (Melted): The melted butter acts as the binder, holding the graham cracker crumbs together to form a firm crust. Using unsalted butter gives you control over the overall sodium content.
- *Crust Variation Idea:* For a “Reese’s Peanut Butter Cup” experience, substitute the graham cracker crumbs with finely crushed Oreo cookie crumbs (filling removed or left in, depending on preference).
For the Creamy Peanut Butter Filling (5 Ingredients!)
- Full-Fat Cream Cheese: Use two 8 oz (226g) packages, softened to room temperature. This is crucial! Full-fat cream cheese provides the rich, creamy texture and classic tanginess that defines a great cheesecake. Avoid low-fat or fat-free varieties as they can result in a watery or crumbly texture.
- Creamy Peanut Butter: This is where all the wonderful peanut butter flavor comes from. Opt for a classic creamy peanut butter (like Jif or Skippy) for the smoothest texture and consistent results. Natural peanut butter can be used, but ensure it’s well-stirred and smooth, as its oil separation can sometimes affect cheesecake texture.
- Granulated Sugar: Balances the tanginess of the cream cheese and adds the perfect amount of sweetness to the filling.
- Vanilla Extract: Just a teaspoon significantly enhances the overall flavor profile, adding a warm, aromatic note that complements the peanut butter beautifully. Use good quality pure vanilla extract for the best taste.
- Large Eggs: Eggs are vital for binding the cheesecake ingredients together, providing structure and contributing to the smooth, custardy texture. It is absolutely essential to mix them in one at a time, just until the yolk breaks and is barely incorporated. Over-beating the eggs is the leading cause of air bubbles and ultimately, cracks in your cheesecake, as we’ll discuss later.
Optional: Decadent Chocolate Ganache Topping (2 Ingredients!)
- Semi-Sweet Chocolate Chips: The base for your rich ganache. Good quality chocolate chips will melt smoothly.
- Heavy Whipping Cream: When heated and combined with chocolate, it creates a luscious, pourable ganache that sets beautifully.
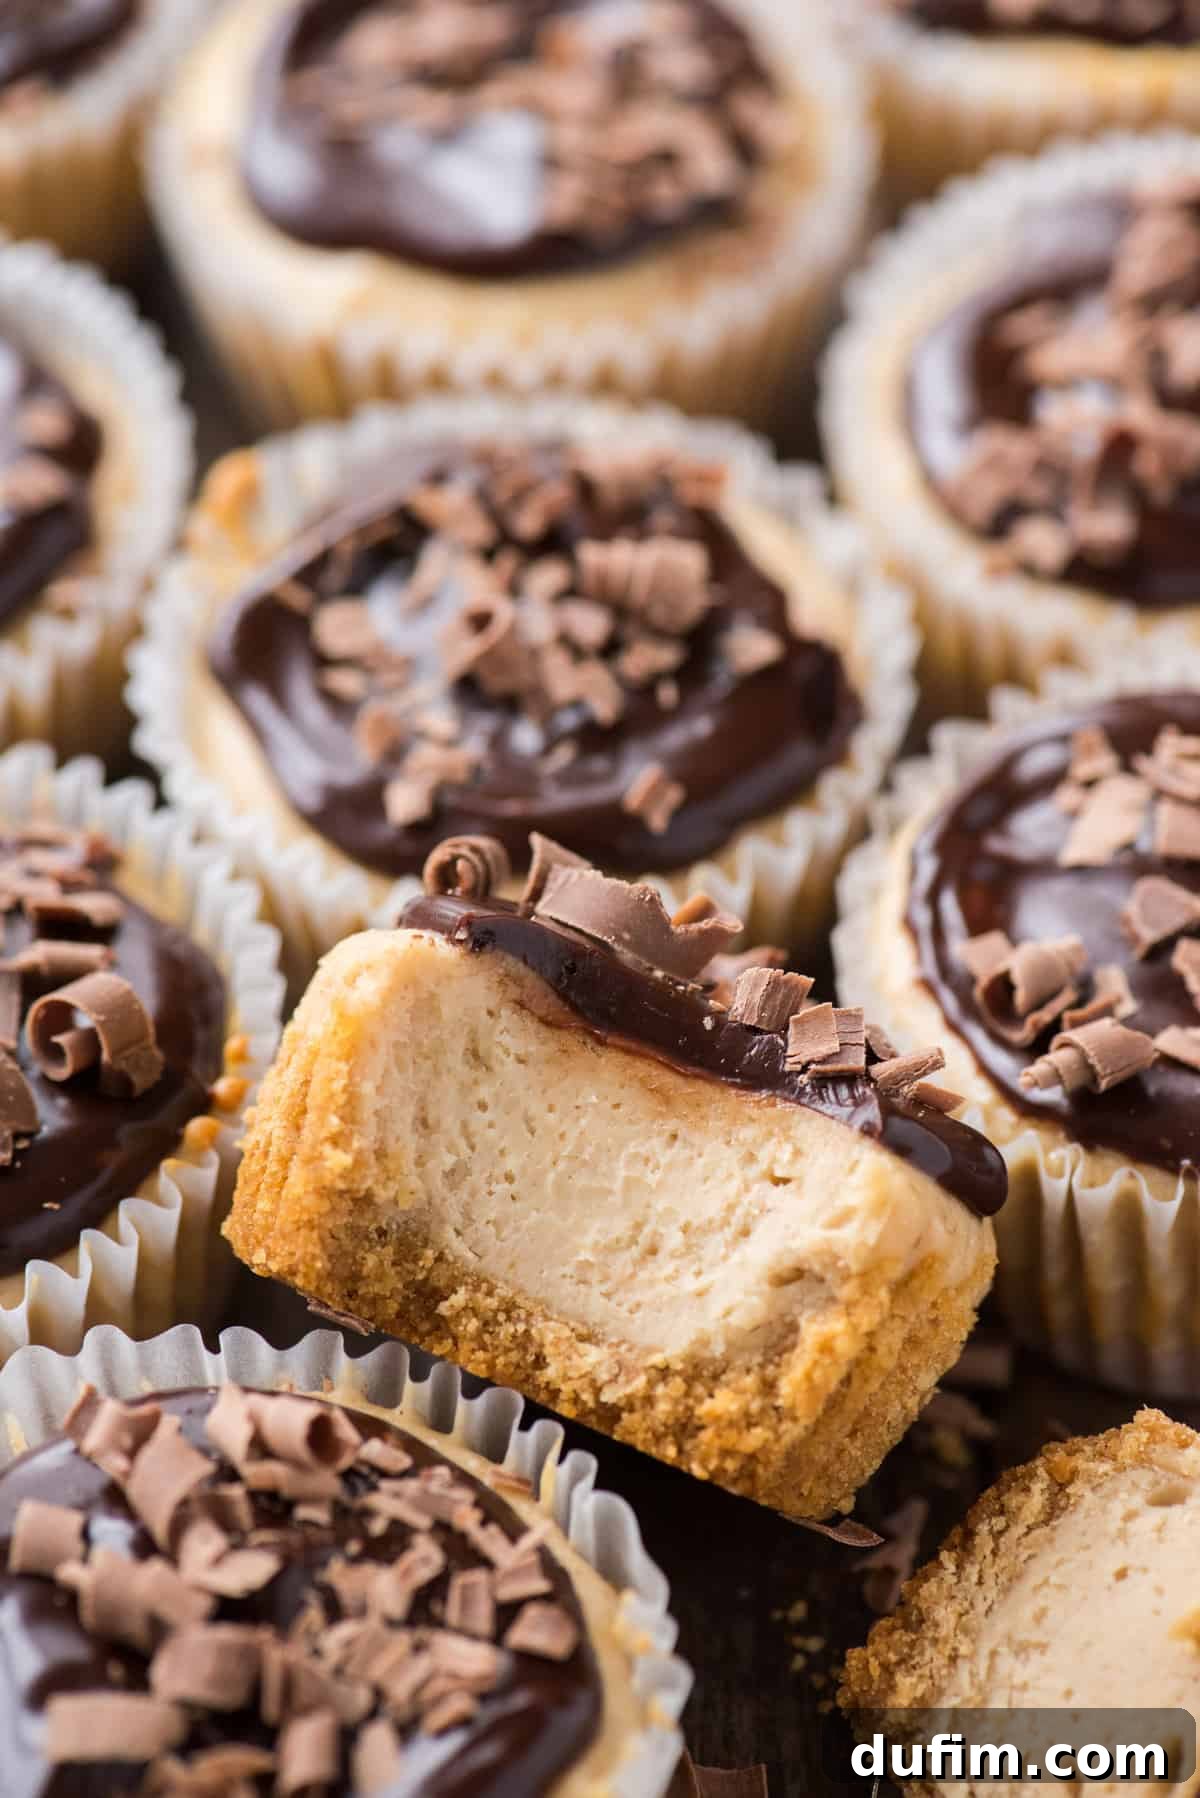
Step-by-Step: Crafting Your Easy Mini Peanut Butter Cheesecakes
Follow these detailed steps to create perfectly baked, individual peanut butter cheesecakes:
Preparing the Perfect Crust
- Preheat & Line: Begin by preheating your oven to 350°F (175°C). Line a standard 12-cup muffin pan with paper cupcake liners. These liners are key for easy removal of your finished cheesecakes.
- Mix the Crust: In a medium mixing bowl, combine the graham cracker crumbs and melted unsalted butter. Stir until the mixture is evenly moistened and resembles coarse, wet sand.
- Press the Crust: Place about 1 to 2 tablespoons of the crumb mixture into the bottom of each lined muffin cup. Using the bottom of a measuring cup, a tart tamper, or even your fingers, firmly press the crumbs down to create a compact, even crust. This step is crucial for preventing a crumbly crust.
- Pre-bake the Crust: Bake the prepared crusts in the preheated oven for 5 minutes. This light pre-bake helps to set the crust, preventing it from becoming soggy once the cheesecake filling is added. Remove the muffin pan from the oven and allow the crusts to cool completely while you prepare the cheesecake filling.
Mixing the Silky Smooth Cheesecake Batter
- Cream the Base: In a large mixing bowl, using an electric mixer, beat together the softened full-fat cream cheese, creamy peanut butter, and granulated sugar on medium speed. Continue mixing for 1 to 2 minutes, or until the mixture is completely smooth, creamy, and free of any lumps. Scrape down the sides of the bowl frequently to ensure everything is well combined.
- Add Vanilla: Beat in the vanilla extract until just incorporated.
- Incorporate Eggs Gently: This is the most crucial step for a perfect, crack-free cheesecake. Add the large eggs one at a time. After each egg, mix on low speed just until the yolk breaks and the egg is *barely* combined into the batter. Do not over-beat! Over-mixing at this stage introduces too much air, which can cause the cheesecakes to puff up excessively, then sink and crack as they cool.
Baking and Cooling for Optimal Results
- Fill the Liners: Evenly divide the prepared cheesecake batter among the cooled, crust-lined muffin cups, filling each liner almost to the top.
- Bake to Perfection: Return the muffin pan to the preheated oven and bake for 15-17 minutes. The cheesecakes are done when the edges appear set and slightly puffy, but the very center of the cheesecake still has a slight, delicate jiggle when you gently shake the pan. Avoid over-baking, as this can lead to a dry texture and cracking.
- Cool Gradually: Once baked, remove the muffin pan from the oven and place it on a wire rack on your counter. Allow the mini cheesecakes to cool completely to room temperature within the muffin pan. This gradual cooling prevents sudden temperature changes that can cause sinking or cracking.
- Chill Thoroughly: Once cooled to room temperature, loosely cover the muffin pan with plastic wrap (to prevent a skin from forming) and place it in the refrigerator. Chill the cheesecakes for at least 4 hours, though ideally overnight. Thorough chilling is essential for the cheesecake to fully set, develop its rich flavor, and achieve that perfect creamy texture.
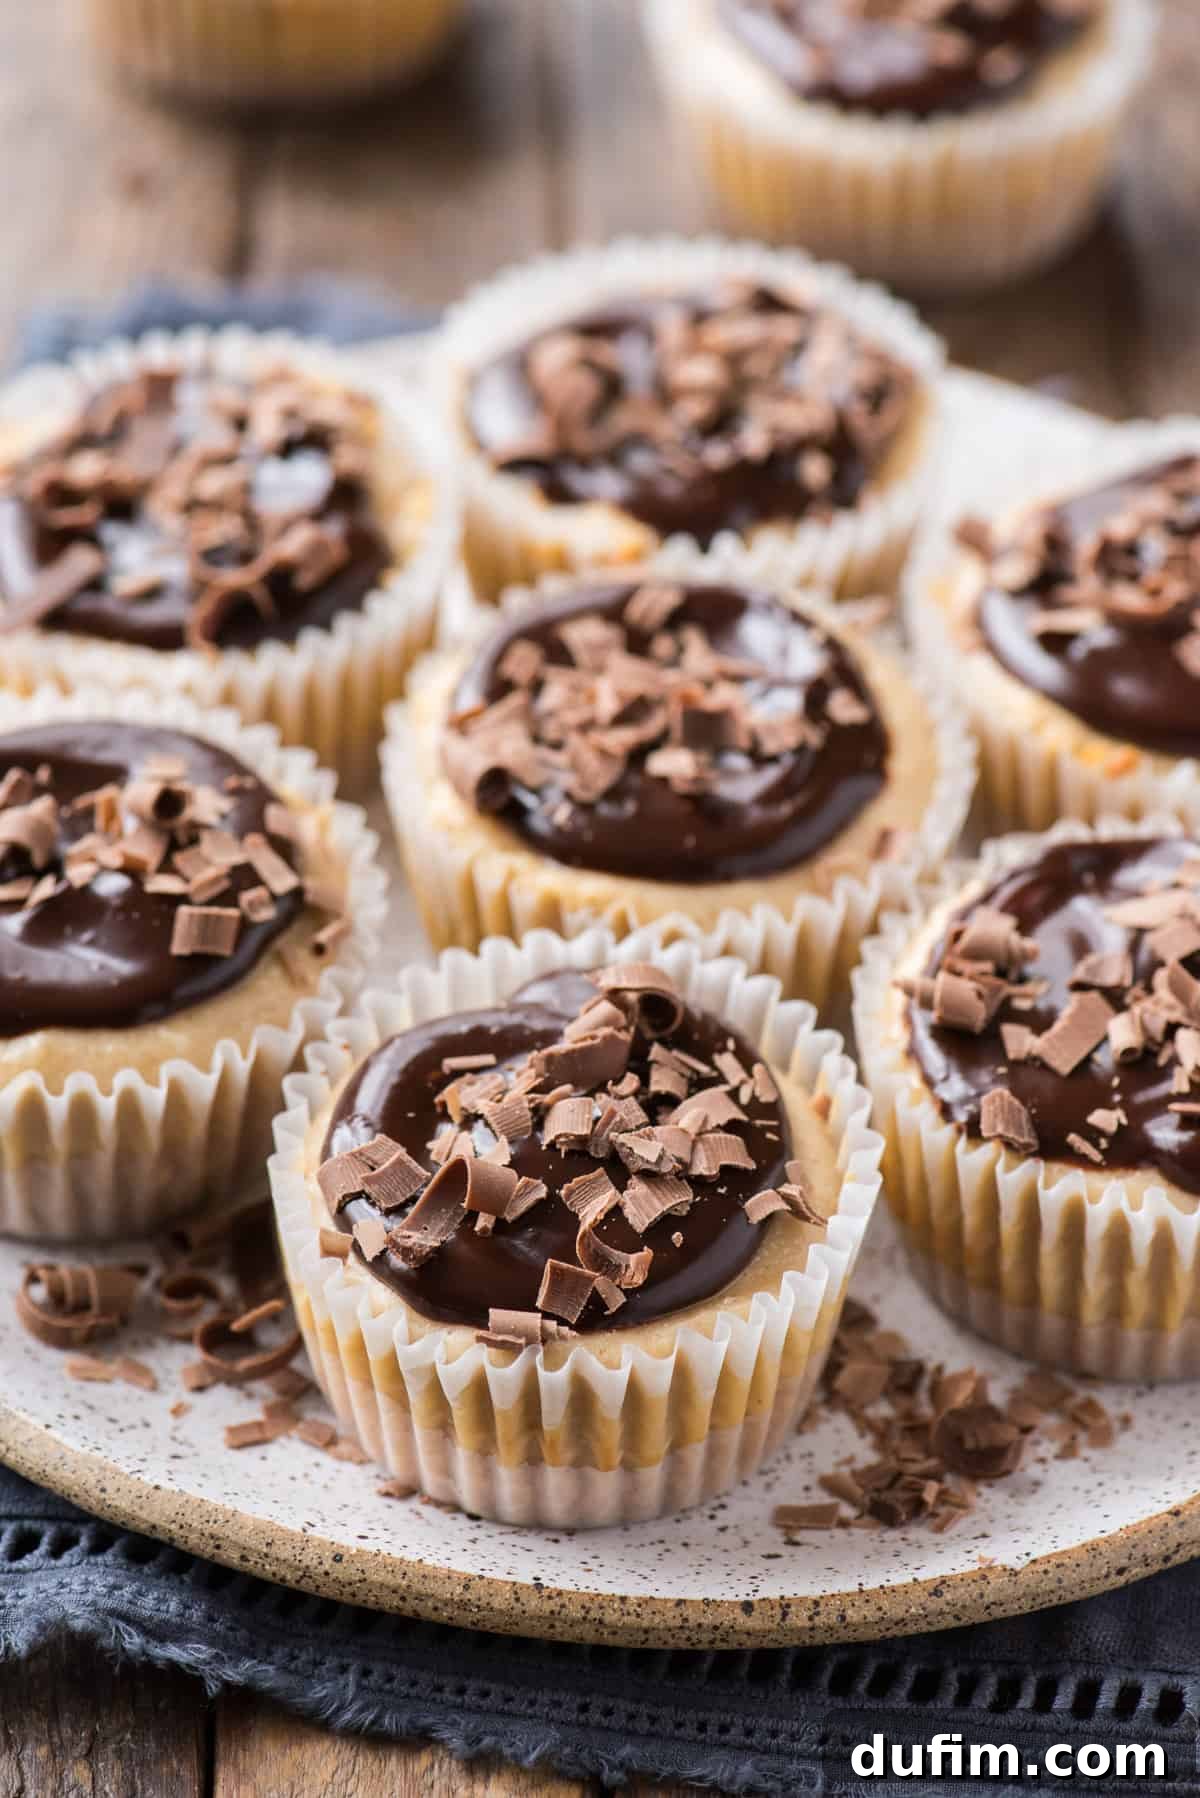
Total Time Required for Your Dessert Masterpiece
While the actual “hands-on” time is minimal, remember that chilling is key for a fantastic cheesecake!
- Crust Prep: 4 minutes
- Crust Pre-bake: 5 minutes
- Cheesecake Batter Prep: 5 minutes
- Cheesecake Bake Time: 15-17 minutes
- Cooling & Refrigeration: At least 4 hours (overnight for best results)
- Optional Ganache Prep: 5-10 minutes (plus cooling time for ganache)
How to Tell When Mini Cheesecakes are Done Baking
The “jiggle test” is your best friend when baking cheesecakes, both large and small. Here’s how to apply it to your mini peanut butter cheesecakes:
Gently shake the muffin pan. The center of each cheesecake should still jiggle slightly, like firm gelatin or a barely set custard. The edges, however, should appear set, slightly puffed, and potentially a shade lighter. If the entire cheesecake is firm and no longer jiggles, it’s likely over-baked, which can lead to a drier texture and increased risk of cracking during cooling. Trust the jiggle – it indicates a perfectly creamy interior.
How to Cool Mini Cheesecakes Properly
Proper cooling is just as important as baking correctly to ensure a beautiful, crack-free cheesecake:
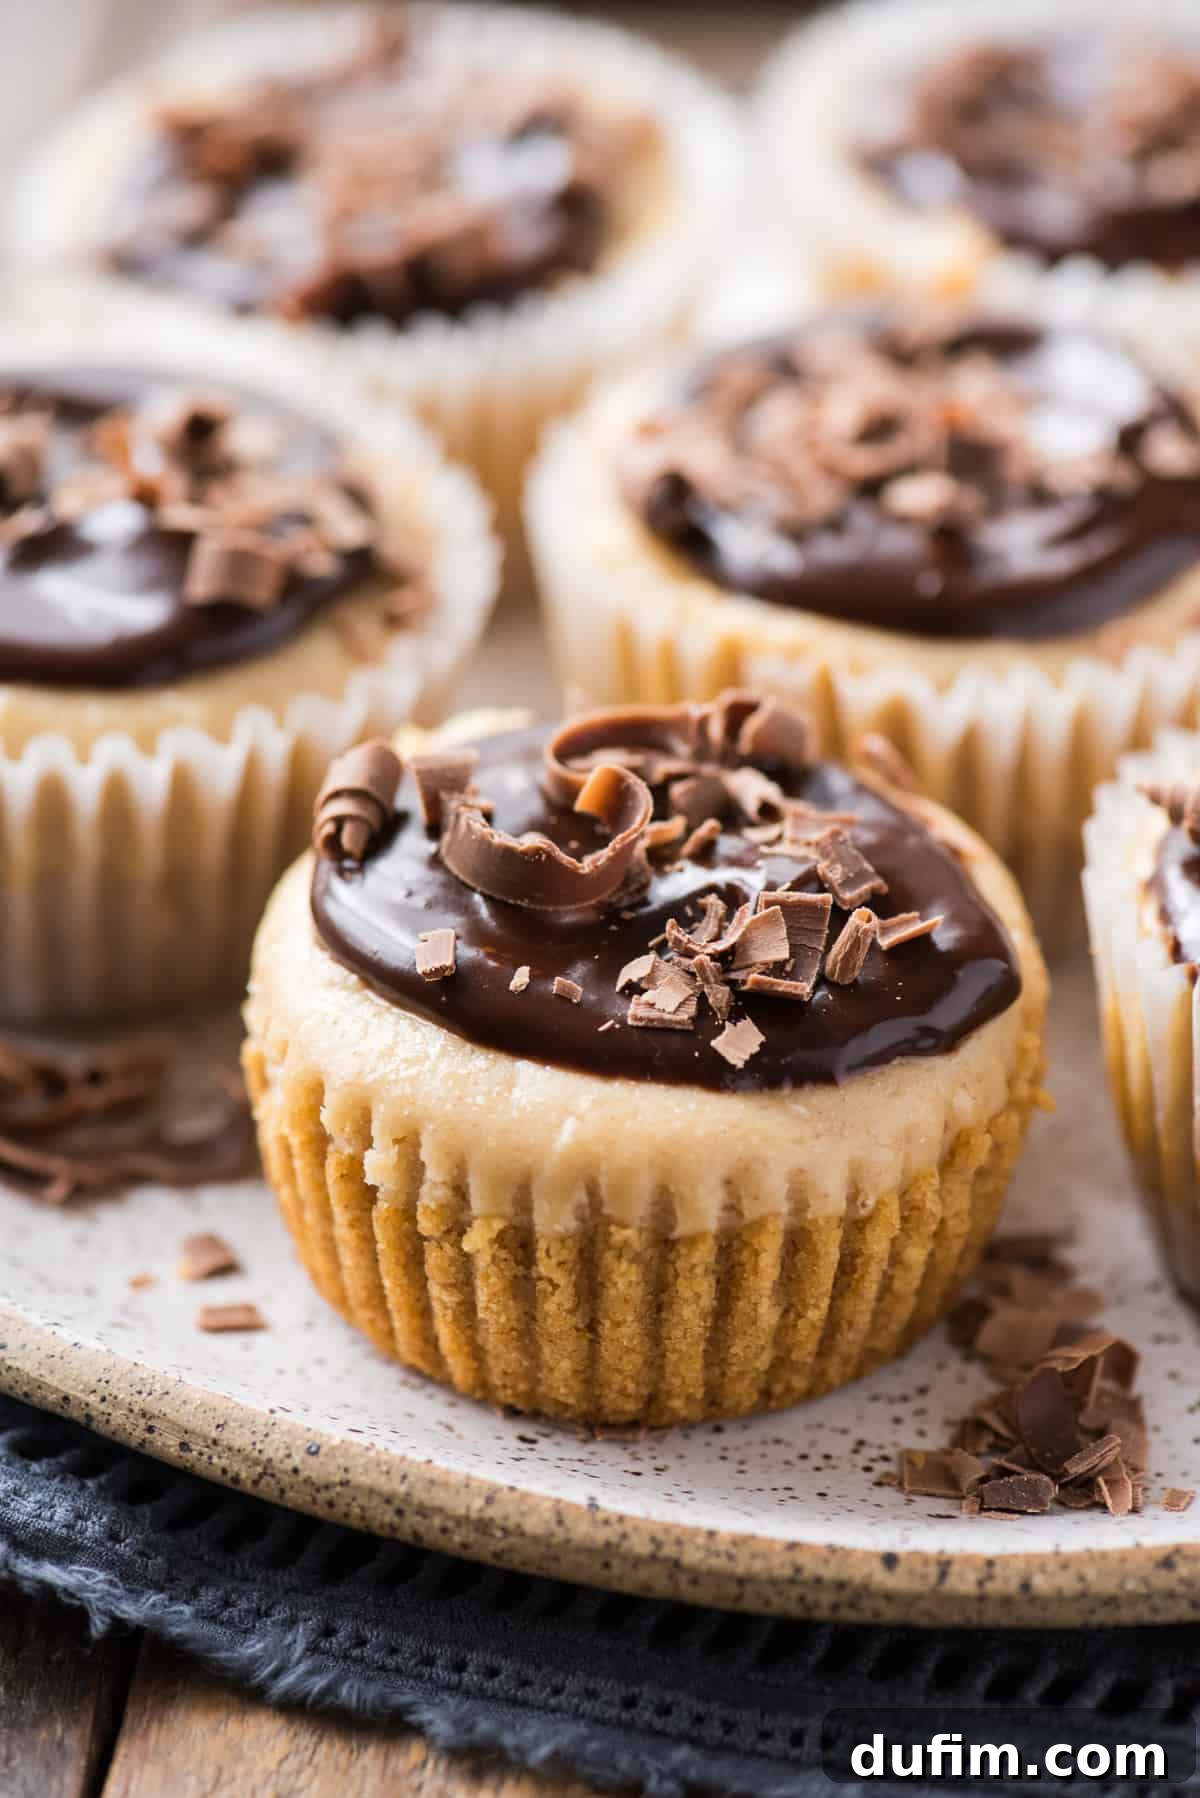
Once your mini cheesecakes pass the jiggle test, immediately remove the muffin pan from the hot oven. Place the entire pan on a wire cooling rack on your kitchen counter. Allow the cheesecakes to cool undisturbed to room temperature. This gradual decrease in temperature prevents rapid contraction, which can cause the centers to sink or the surfaces to crack. Once completely cool, loosely cover the muffin pan with plastic wrap or aluminum foil and transfer it to the refrigerator. Chill the cheesecakes for a minimum of 4 hours, but for the absolute best flavor and firmest texture, refrigerating them overnight is highly recommended.
Troubleshooting Common Mini Cheesecake Issues
Even with simple recipes, questions can arise. Here are solutions to common mini cheesecake problems:
Why Did My Mini Cheesecakes Sink or Crack?
This is the most common issue bakers face with cheesecakes, and it almost always comes down to one primary culprit: over-beating the eggs. When eggs are excessively mixed into the batter, too much air is incorporated. This air causes the cheesecakes to puff up significantly during baking. As they cool, the air escapes, and the cheesecake deflates rapidly, leading to a sunken center or surface cracks.
To prevent this, remember the golden rule: mix the eggs in gently, one at a time, just until the yolk has broken and is barely combined with the rest of the batter. Once all eggs are added, beat for no more than 30-60 seconds on low speed, ensuring they are fully incorporated without introducing excess air.
Another factor contributing to sinking or cracking can be rapid temperature changes during cooling. Always allow cheesecakes to cool gradually to room temperature on a wire rack before refrigerating.
How to Freeze Mini Cheesecakes for Future Enjoyment
Mini cheesecakes freeze beautifully, making them excellent for meal prep or having a spontaneous dessert ready. Here’s how to freeze them properly:
- Ensure Complete Cooling: Before freezing, make sure your mini cheesecakes are completely cooled to room temperature and thoroughly chilled in the refrigerator. This prevents ice crystals from forming.
- Skip the Toppings: Freeze cheesecakes without any garnishes like ganache, fruit, or whipped cream. These are best added fresh after thawing.
- Flash Freeze: Place the cooled, ungarnished mini cheesecakes (still in their paper liners) on a baking sheet, uncovered. Transfer the baking sheet to the freezer and flash freeze them for 1-2 hours, or until they are solid. This prevents them from sticking together.
- Wrap Individually: Once flash-frozen, remove the cheesecakes from the baking sheet. Carefully wrap each individual cheesecake tightly in aluminum foil, followed by a layer of plastic wrap, or place them in a freezer-safe ziplock bag. Double-wrapping helps protect them from freezer burn.
- Store: Place the wrapped cheesecakes back into the freezer. They can be frozen for up to 4 months.
- Thaw & Serve: To thaw, simply transfer the frozen cheesecakes (still wrapped) to the refrigerator overnight. Once thawed, unwrap them, and add your desired toppings before serving.
Creative Variations and Serving Suggestions
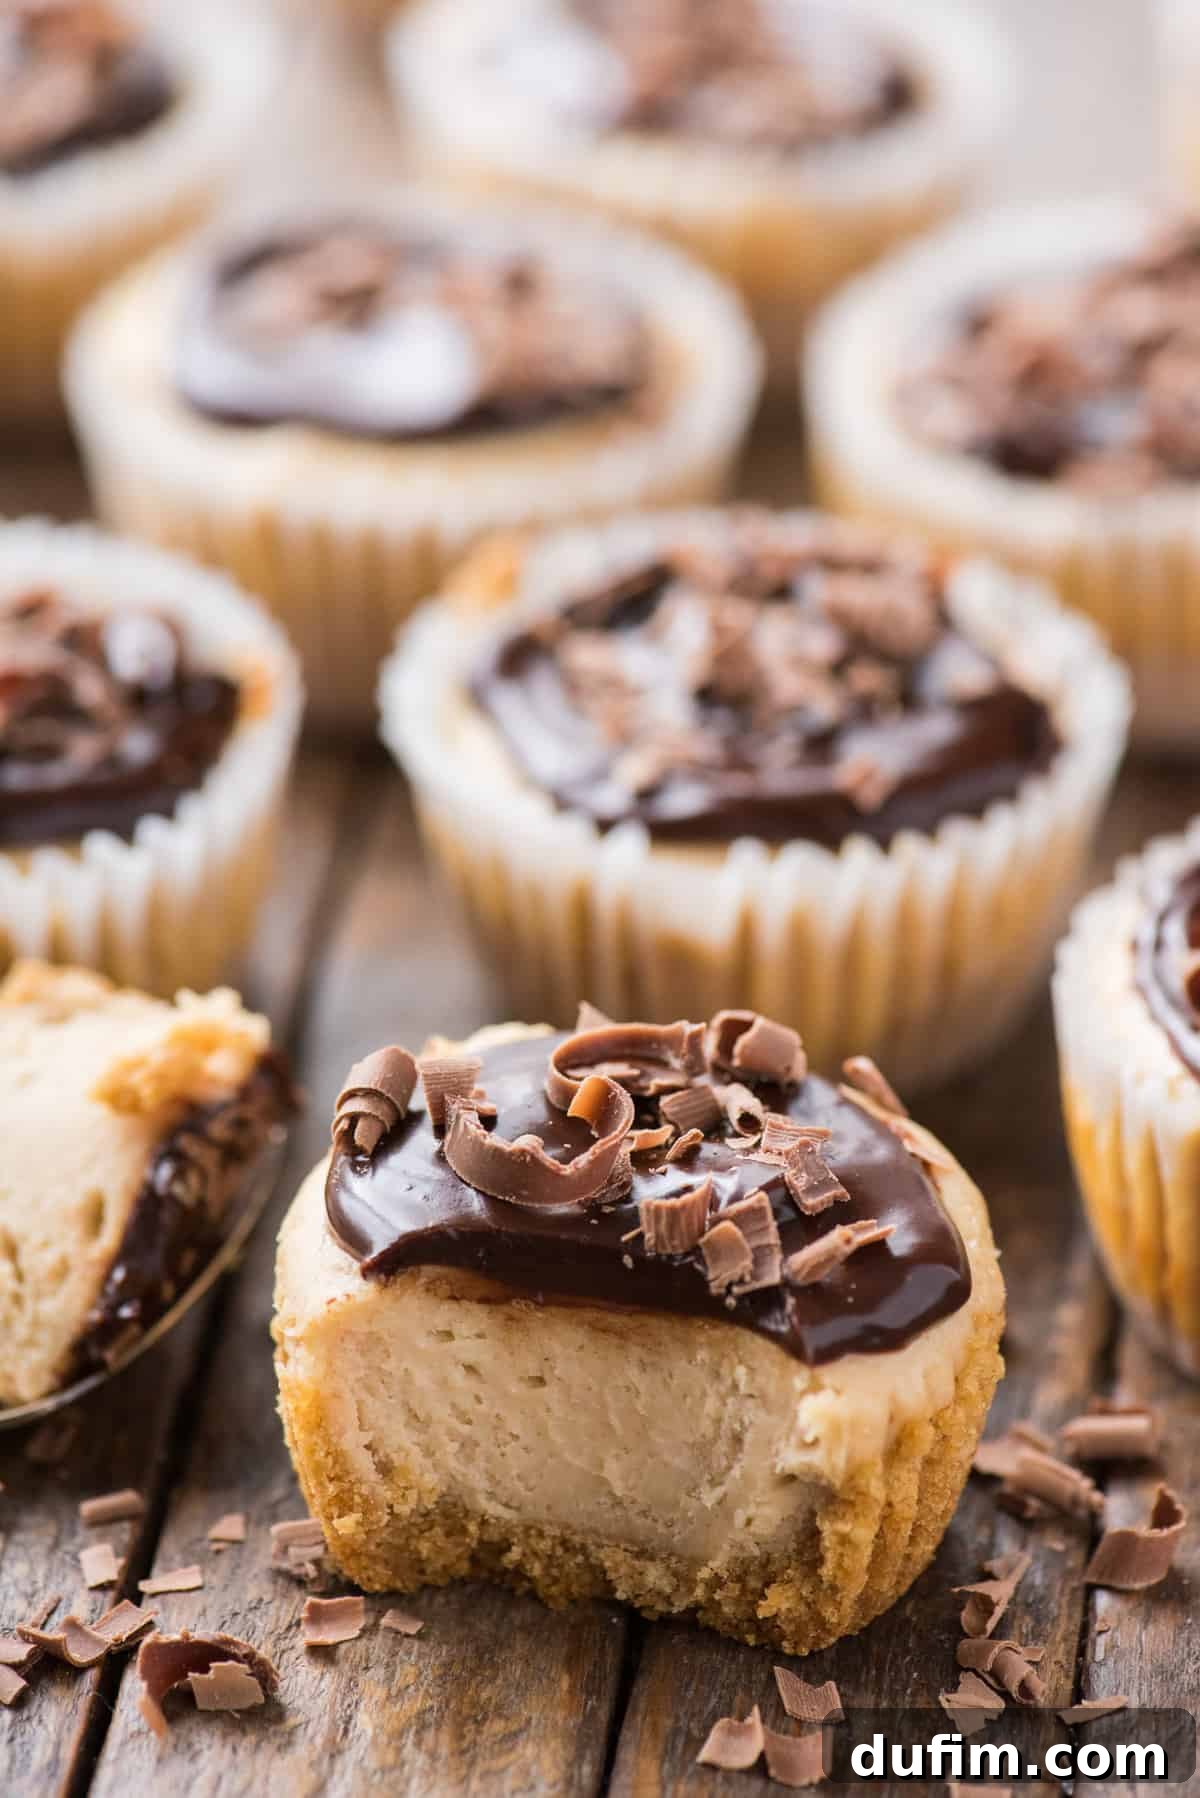
While delicious on their own, these mini peanut butter cheesecakes are also a fantastic base for customization!
Make it a Reese’s Peanut Butter Cup Cheesecake!
Easily transform these into a beloved candy bar flavor by:
- Oreo Crust: Instead of graham cracker crumbs, use finely crushed Oreo cookies (cream filling included or removed) for the crust.
- Add Candy: Once the cheesecakes are cooled, top them with chopped Reese’s Peanut Butter Cups, mini Reese’s Pieces, or even a drizzle of peanut butter sauce in addition to (or instead of) the chocolate ganache.
Other Delicious Topping Ideas:
- Caramel Drizzle: A luscious caramel sauce would perfectly complement the peanut butter.
- Whipped Cream: A dollop of freshly whipped cream lightens the richness.
- Chocolate Shavings or Curls: A classic and elegant finish.
- Crushed Nuts: A sprinkle of chopped peanuts or other nuts adds texture.
- Jam/Jelly Swirl: For a PB&J cheesecake twist, swirl a bit of your favorite berry jam on top of the batter before baking.
Top Tips for Cheesecake Success Every Time
To ensure your mini peanut butter cheesecakes turn out perfectly, keep these essential tips in mind:
- Room Temperature Cream Cheese: Always allow your cream cheese to soften to room temperature before beating it. Cold cream cheese will result in a lumpy batter and a less smooth cheesecake texture.
- Don’t Over-mix Eggs: As highlighted, the eggs are the last ingredient to be added to the cheesecake batter. Incorporate them one at a time, mixing only until the yolk breaks and is just combined. Over-mixing introduces air, which leads to sinking and cracking.
- Chill Thoroughly: Patience is a virtue in cheesecake baking! Thoroughly chilling your mini cheesecakes in the refrigerator for at least 4 hours (preferably overnight) is crucial for them to fully set, firm up, and achieve their optimal flavor and texture.
- Quality Ingredients: Using full-fat cream cheese and good quality peanut butter and vanilla extract will significantly impact the final taste and texture of your cheesecakes.
Explore More Cheesecake Creations
If you’ve fallen in love with making cheesecakes, explore some of our other delicious recipes:
- Classic Cheesecake
- Mini Chocolate Cheesecakes
- Espresso Cheesecake
- No Bake Cheesecake
Recipe Card: Easy Mini Peanut Butter Cheesecakes
Tap stars to rate!
Mini Peanut Butter Cheesecakes
By: Beth
These delightful mini peanut butter cheesecakes are incredibly easy to make in a muffin pan and require only 7 simple ingredients! This recipe features a quick 2-ingredient crust and a creamy 5-ingredient cheesecake filling. For a fun twist, try substituting Oreo crumbs for a Reese’s-style cheesecake!
| Prep Time: | 15 minutes |
| Cook Time: | 20 minutes |
| Additional Time (Chill): | 4 hours (minimum) |
| Total Time: | 4 hours 35 minutes |
| Servings: | 12 cheesecakes |
Pin Recipe
Rate Recipe
Print Recipe
Equipment
- Glass Mixing Bowl
- Electric Mixer (Handheld or Stand)
- Rubber Spatula
- Standard Muffin Pan
Ingredients
Crust
- 1 cup (113g) graham cracker crumbs
- 4 Tbsp (57g) unsalted butter, 1/2 stick, melted
Cheesecake Filling
- 16 oz (452g) full-fat cream cheese, softened to room temperature (2 x 8 oz packages)
- ½ cup (135g) creamy peanut butter
- ½ cup (99g) granulated sugar
- 1 tsp vanilla extract
- 2 large eggs
Optional: Chocolate Ganache Topping
- ½ cup (85g) semi-sweet chocolate chips
- ¼ cup (59ml) heavy whipping cream
Instructions
CRUST
- Preheat oven to 350º F (175°C). Line a standard muffin pan with paper cupcake liners.
- In a mixing bowl, combine graham cracker crumbs and melted butter until it resembles coarse, moist sand.
- Place 1-2 tablespoons of crumbs into each muffin cup. Use the bottom of a measuring cup or similar tool to press the crumbs down firmly into an even layer.
- Bake the crust for 5 minutes. Remove the pan from the oven and allow it to cool completely while you prepare the cheesecake filling.
CHEESECAKE FILLING
- In a mixing bowl, using an electric mixer, beat the softened cream cheese, peanut butter, and granulated sugar until smooth and creamy, about 1-2 minutes. Scrape down the sides of the bowl as needed.
- Beat in the vanilla extract until just combined.
- Add the large eggs, one at a time, mixing on low speed just until the yolk breaks and is incorporated. Do not over-beat, as this can cause air bubbles and cracking in the baked cheesecake.
- Evenly divide the cheesecake batter among the cooled muffin cups, filling each liner almost full.
- Bake for 15-17 minutes, or until the edges are set and slightly puffy, but the center of the cheesecake still jiggles slightly when the pan is gently shaken.
- Remove the pan from the oven and allow the cheesecakes to cool completely to room temperature on a wire rack. Then, loosely cover them with plastic wrap and refrigerate for at least 4 hours, or preferably overnight, to chill thoroughly before serving.
OPTIONAL: CHOCOLATE GANACHE TOPPING
- Place the semi-sweet chocolate chips in a medium heatproof bowl.
- In a small pot over low heat, gently heat the heavy cream until it just begins to simmer around the edges (do not let it boil vigorously).
- Pour the hot heavy cream over the chocolate chips. Let the mixture sit undisturbed for 1-2 minutes to allow the chocolate to melt.
- Using a spatula, gently stir the mixture from the center outwards until it is completely smooth and glossy.
- Allow the ganache to cool to room temperature until it thickens slightly but is still pourable. Spoon or drizzle the ganache onto each chilled cheesecake. Garnish with chocolate shavings or chopped peanuts if desired.
Nutrition Information
All nutritional values are approximate and provided to the reader as a courtesy. Changing ingredients and/or quantities will alter the estimated nutritional calculations. Per serving (1 cheesecake):
- Calories: 361 kcal
- Carbohydrates: 21g
- Protein: 7g
- Fat: 28g
- Saturated Fat: 14g
- Polyunsaturated Fat: 3g
- Monounsaturated Fat: 9g
- Trans Fat: 1g
- Cholesterol: 90mg
- Sodium: 231mg
- Potassium: 194mg
- Fiber: 1g
- Sugar: 15g
- Vitamin A: 744 IU
- Vitamin C: 1mg
- Calcium: 61mg
- Iron: 1mg
Like this recipe? We’d love to hear your thoughts! Rate and comment below!