
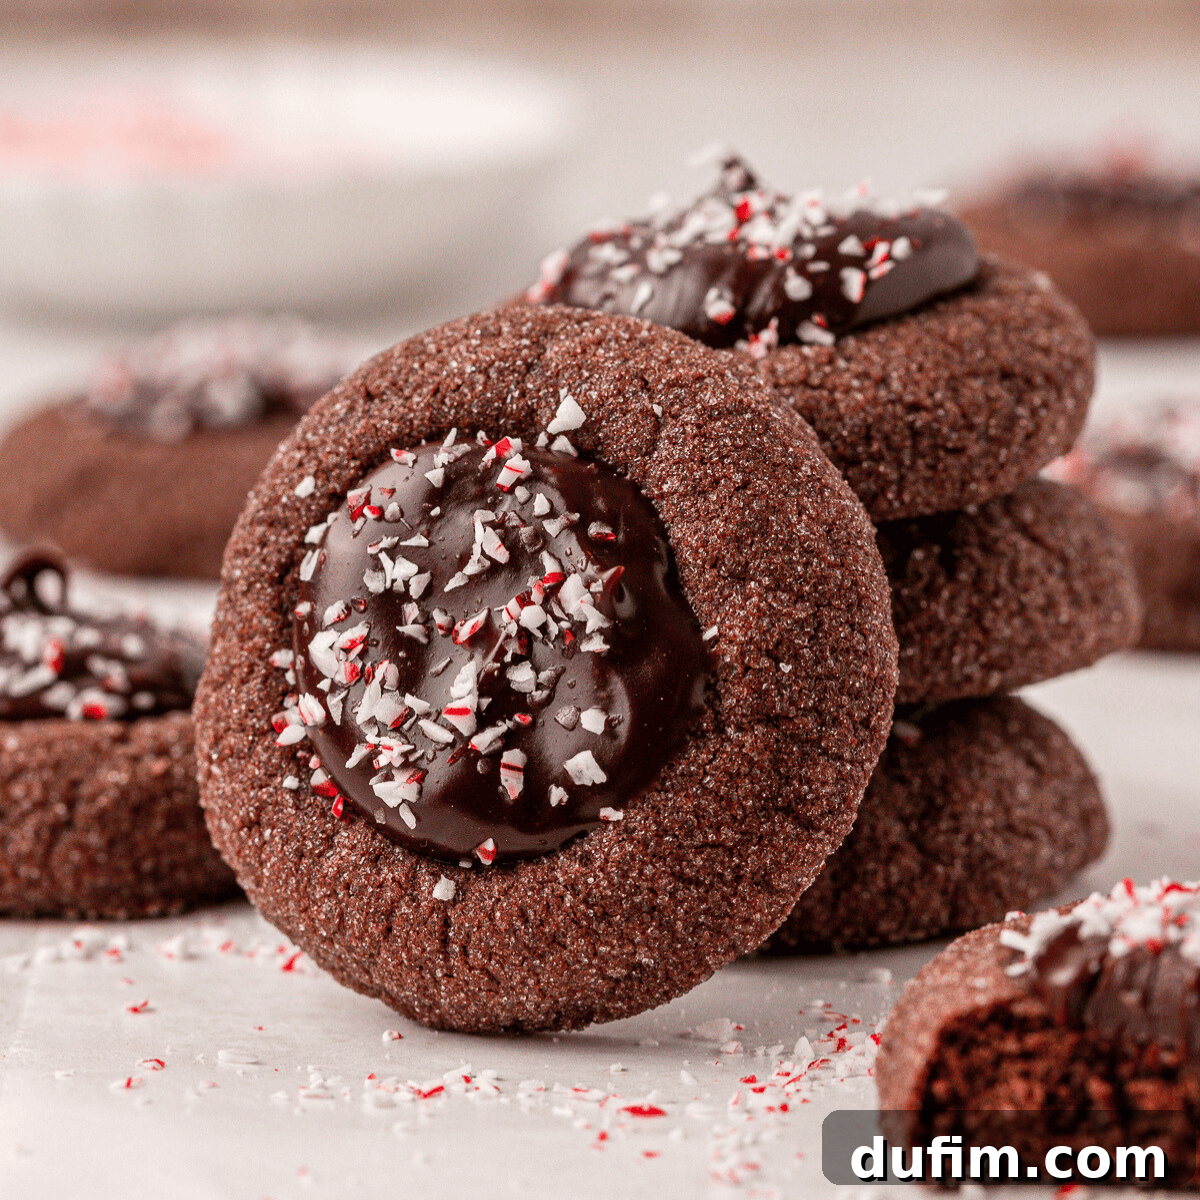
Ultimate Chocolate Peppermint Thumbprint Cookies: Your New Holiday Favorite
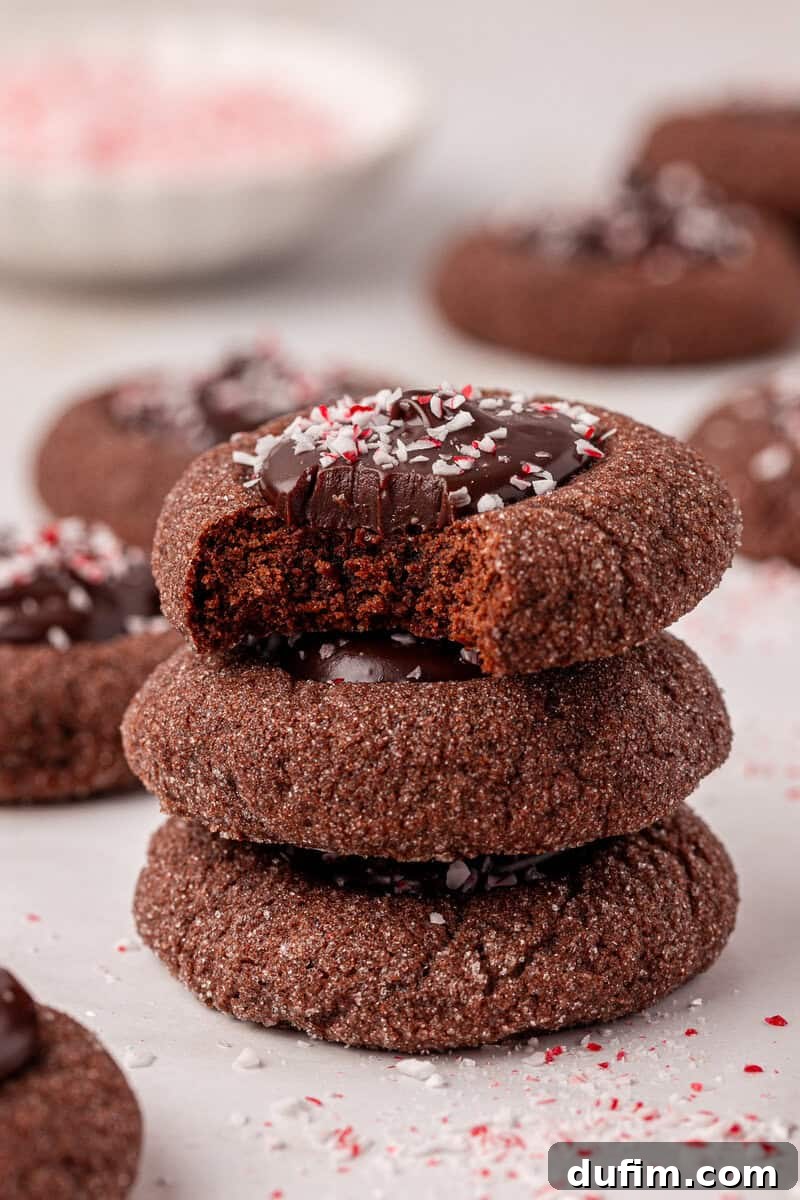
Step into a world of cozy holiday indulgence with these irresistible chocolate peppermint thumbprint cookies. Imagine a rich, fudgy brownie base, perfectly soft and chewy, crowned with a velvety, cool peppermint ganache, and finished with a delightful crunch of crushed candy canes. This isn’t just another cookie recipe; it’s the result of meticulous testing and passionate baking, ensuring every single cookie holds its perfect thumbprint shape and delivers an unparalleled festive flavor experience. Prepare to impress your family and friends with a treat that tastes like pure holiday magic.
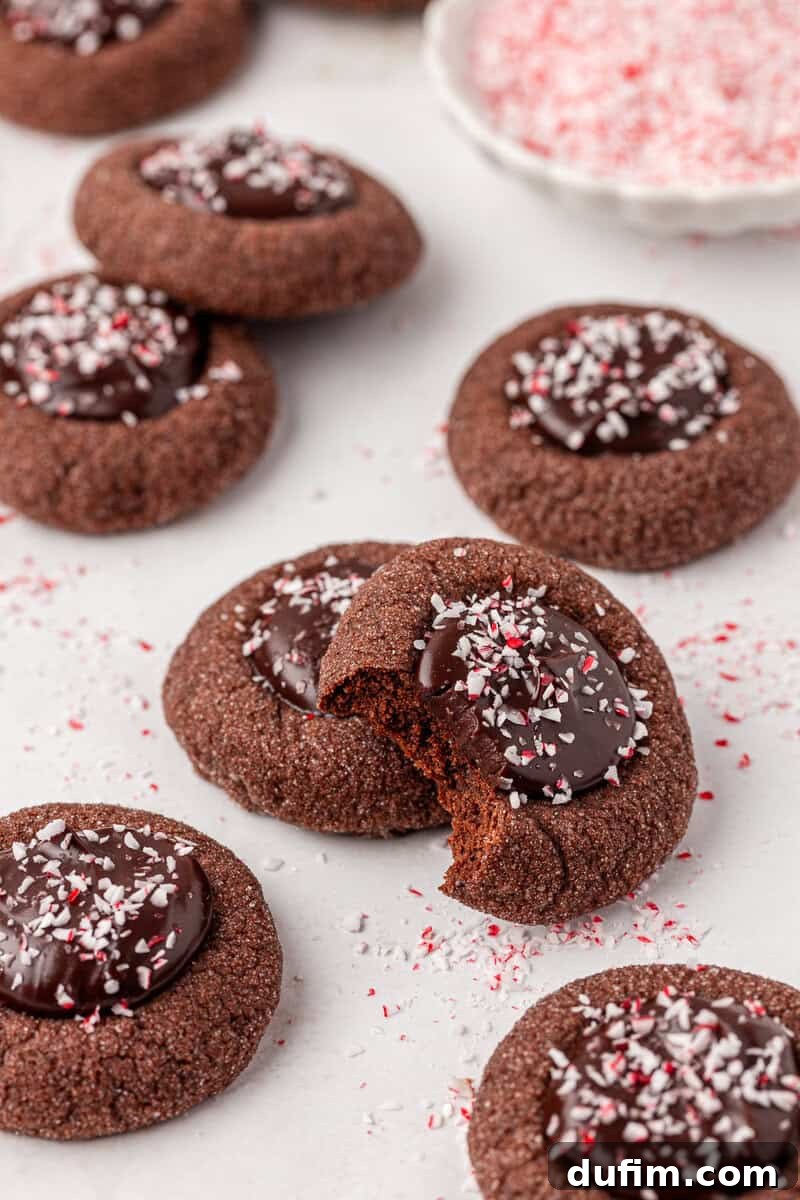
The Journey to the Perfect Thumbprint: A Baker’s Quest
Crafting the perfect chocolate peppermint thumbprint cookie was a delightful, albeit challenging, culinary adventure. My initial thought was to adapt a beloved chewy and rich chocolate cookie base, one that had proven its versatility in many previous baking endeavors. However, when the first batch emerged from the oven, a disheartening sight greeted me: the carefully pressed thumbprints had completely vanished, leaving behind smooth, flat chocolate discs. Even an extended thirty-minute freeze of the dough offered no reprieve, indicating that this particular cookie required a bespoke dough formula, specifically engineered to maintain its distinctive indentation.
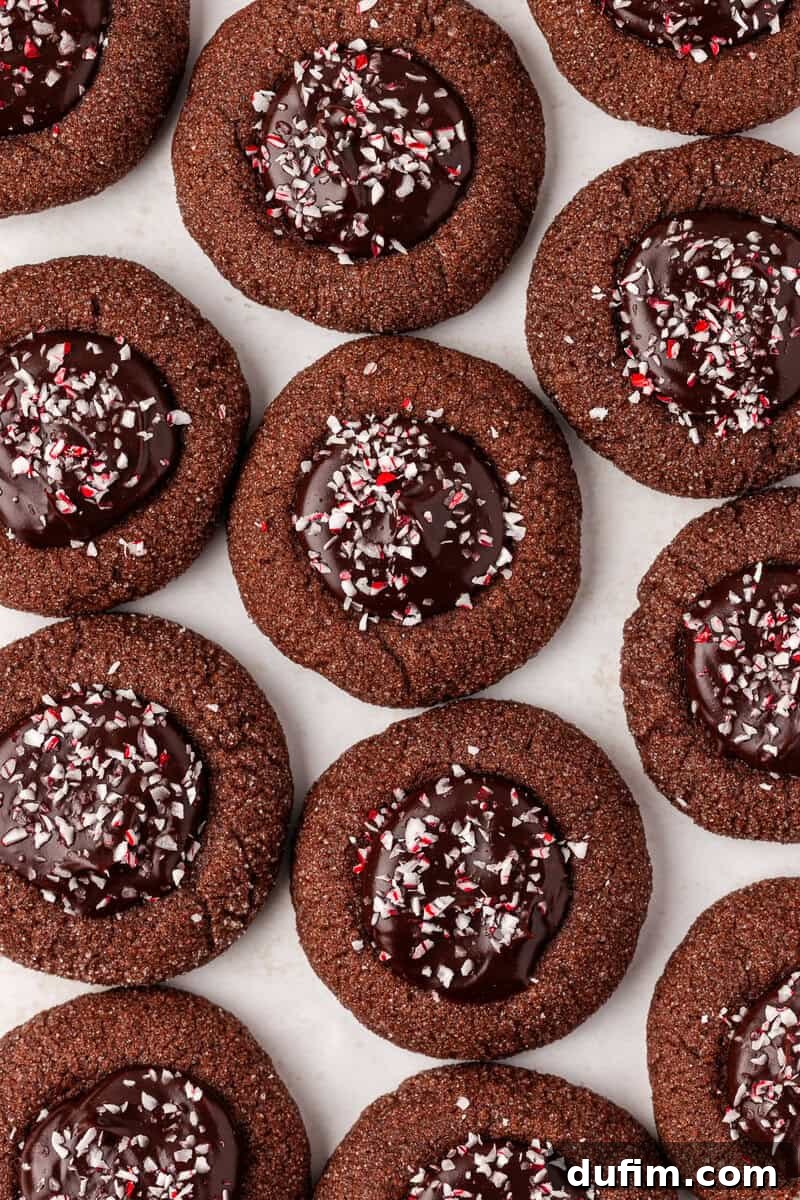
This setback sparked a dedicated process of dough reformulation. Each ingredient and its ratio was carefully reconsidered. To enhance the dough’s structural integrity and prevent spreading, I progressively increased the flour content. Baking powder was introduced to provide just the right amount of lift, ensuring a tender crumb without compromising the cookie’s form. Cornstarch, a secret weapon in many baking recipes, was retained for its unparalleled ability to add stability, crucial for holding the thumbprint’s shape throughout the baking process. Perhaps the most significant breakthrough came with the adjustment of the egg component: I transitioned from a whole egg to two egg yolks. This change was strategic; by removing the corn syrup present in the original base, the dough needed additional fat and richness, which the extra yolk abundantly provided.
The initial attempts with the revised dough presented new hurdles. One test batch yielded cookies that were far too dry, cracking instantly upon the gentlest press of a teaspoon. A subsequent iteration, even with increased butter and a modified sugar ratio, still lacked the desired suppleness. The true “aha!” moment arrived when I incorporated yet another egg yolk. This seemingly small alteration transformed the dough into a remarkably soft, yet stable, masterpiece. It now consistently held its shape, baked beautifully, and produced the perfectly formed thumbprints I had envisioned from the start. This rigorous testing ensures that every home baker can achieve professional-quality results with confidence.
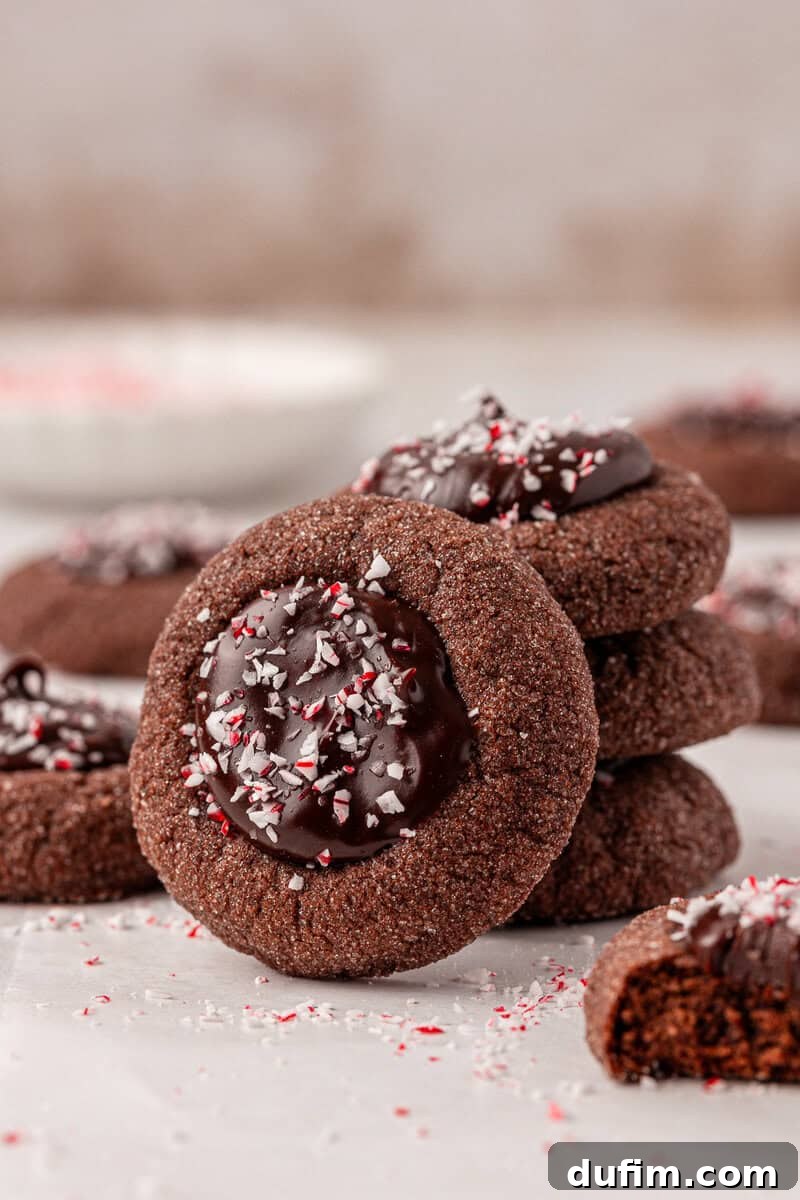
Crafting the Perfect Peppermint Ganache
With the cookie base finally perfected, my attention turned to the star of the filling: the peppermint ganache. My goal was clear: a filling that was not only incredibly smooth and intensely chocolatey but also perfectly balanced in its peppermint flavor. I aimed to create a harmonious blend, avoiding the overly aggressive, “candy cane explosion” taste that can sometimes overwhelm delicate chocolate. Through various trials and adjustments of chocolate-to-cream ratios and peppermint extract measurements, I achieved a ganache with a luxuriously creamy consistency – rich enough to complement the cookie, yet thick enough to beautifully nestle within each thumbprint without spreading.
To elevate these holiday treats, a sprinkle of vibrantly crushed candy cane was added to the top of each cookie. This final touch provides a welcome textural contrast with its delightful crunch and adds an undeniable festive sparkle, making these cookies as visually appealing as they are delicious. Each step, from the precise dough formulation to the nuanced ganache development and the final decorative flourish, was purposefully tested and refined. This meticulous process guarantees that every batch of these chocolate peppermint thumbprint cookies will bake up soft, maintain its appealing shape, and deliver the precise, comforting peppermint-chocolate flavor you crave, making them a reliable and much-loved addition to your holiday baking repertoire.
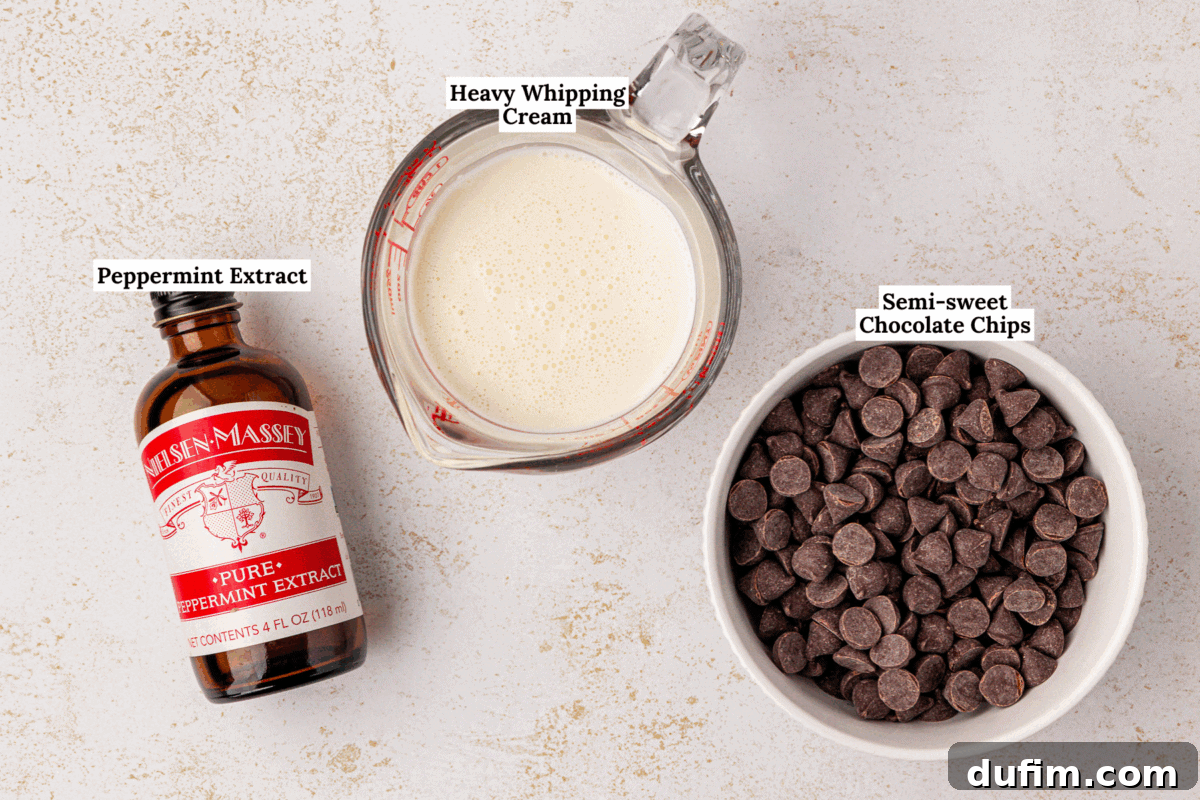
Essential Ingredients and Why They Matter for the Best Chocolate Peppermint Cookies
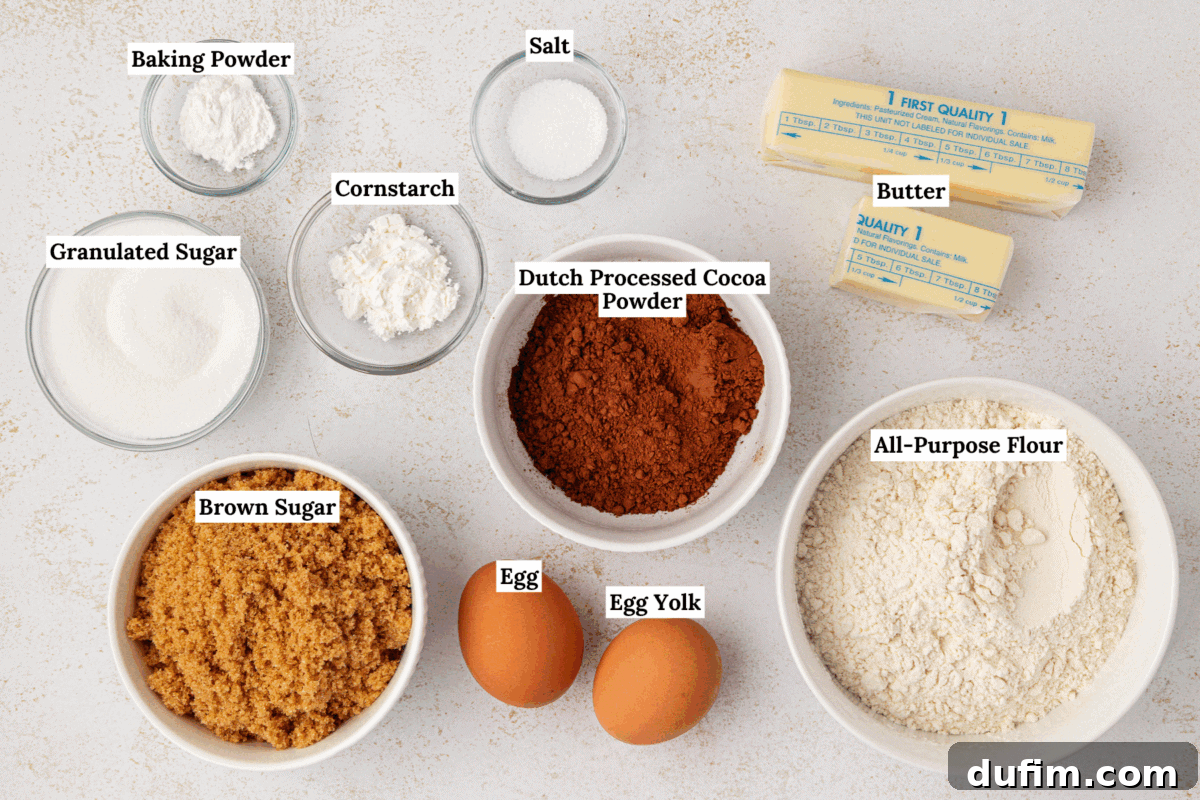
Every ingredient in this recipe plays a crucial role in achieving the perfect texture and flavor profile for these holiday cookies. Understanding their purpose will help you appreciate the careful balance within this recipe. For the full, detailed instructions, you can also jump to the recipe card below.
- Dutch-Processed Cocoa Powder: This isn’t just any cocoa powder. Dutch-processed cocoa powder undergoes an alkalizing process that neutralizes its acidity, resulting in a darker, richer color and a smoother, less bitter, and more mellow chocolate flavor. It reacts differently with leavening agents than natural cocoa, contributing to the distinct texture and deep chocolate hue of these cookies.
- Brown Sugar: Beyond its sweetness, brown sugar brings a unique moistness and chewiness to the cookies, thanks to its molasses content. This subtle caramel note beautifully complements the bold chocolate and refreshing peppermint, adding depth to the overall flavor experience.
- Unsalted Butter: The foundation of any good cookie, butter provides richness, flavor, and contributes significantly to the cookie’s tenderness. Using unsalted butter allows you to control the exact amount of salt in the recipe, ensuring a balanced taste. Its fat content helps create a soft crumb that still manages to hold its intricate thumbprint shape.
- Cornstarch: A true baking hero, cornstarch is paramount for the structural integrity of these thumbprint cookies. It helps to tenderize the dough while providing crucial stability, preventing the cookies from spreading too much during baking and ensuring the thumbprint indentation remains perfectly defined.
- Egg Yolks: The inclusion of an extra egg yolk (in addition to a whole egg) is a game-changer for these cookies. Egg yolks are rich in fat, which imparts incredible softness and richness to the dough. This added fat content is vital in preventing the cookies from becoming dry or cracking when the thumbprint is pressed, resulting in a perfectly tender cookie every time.
- Semi-Sweet Chocolate Chips: These form the delectable base of our peppermint ganache. Their balanced sweetness and smooth melting properties are essential for creating a glossy, silky-smooth filling that sets beautifully in the cookie’s center.
- Peppermint Extract: The key to that signature minty freshness! Peppermint extract delivers a cool, invigorating mint flavor. We use just the right amount to complement the chocolate without overwhelming it, creating a refreshing yet harmonious balance.
- Crushed Candy Canes: This festive topping not only adds a vibrant splash of color but also introduces a wonderful textural contrast. The crunchy candy canes provide a delightful snap and an extra burst of minty sweetness, making each bite truly special and reminiscent of classic holiday treats.
How to Make the Best Chocolate Peppermint Thumbprint Cookies
Ready to bake these delightful cookies that are a perfect symphony of peppermint and chocolate? Follow these simple, step-by-step instructions. For a concise overview of the recipe, feel free to jump directly to the recipe card.
For the Cookies: Crafting the Perfect Base
1. Prep Baking Sheets: Begin by lining your baking sheets with parchment paper or silicone mats. This prevents sticking and ensures even baking, making cleanup a breeze.
2. Combine Dry Ingredients: In a medium bowl, whisk together the all-purpose flour, Dutch-processed cocoa powder, salt, baking powder, and cornstarch. Whisking ensures these ingredients are thoroughly combined and evenly distributed throughout the dough. Set this mixture aside.
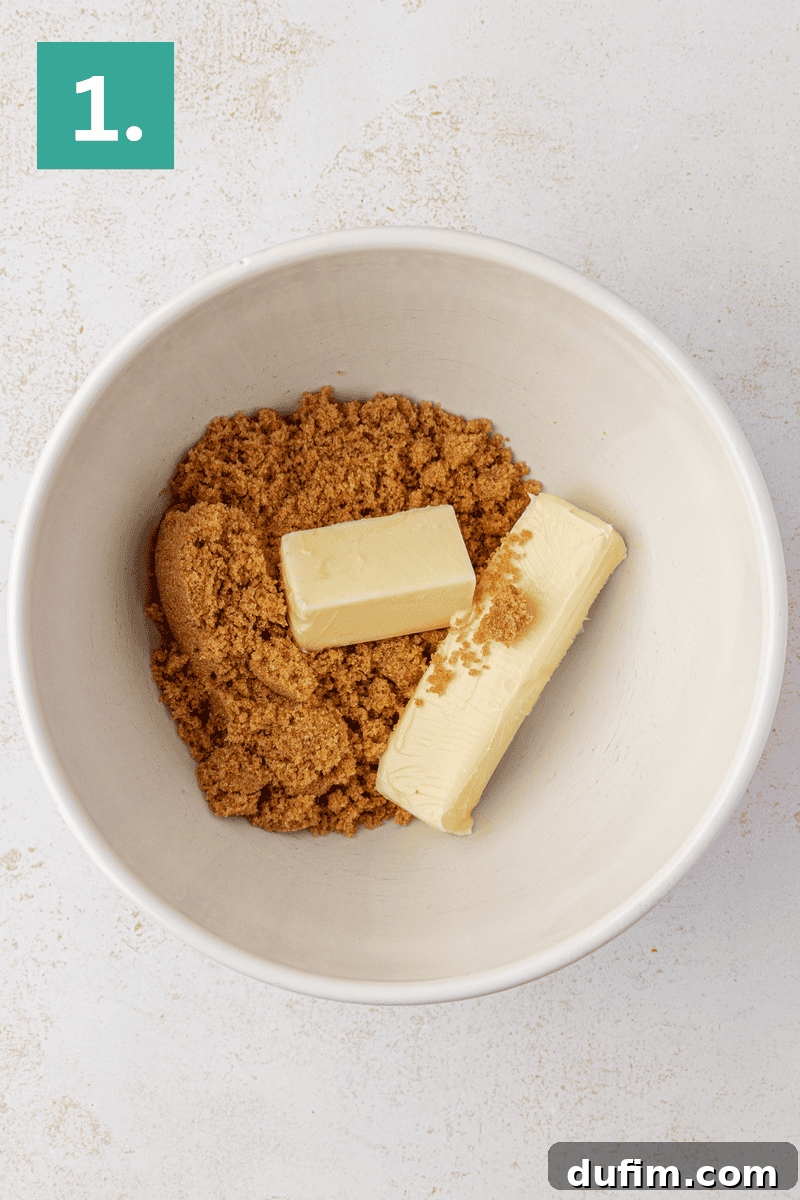
3. Beat Butter and Sugar: In a large mixing bowl, using an electric mixer, beat the softened unsalted butter and brown sugar on medium speed. Continue mixing for about 1–2 minutes until the mixture becomes light, fluffy, and well-creamed. This creaming process incorporates air, contributing to the cookies’ soft texture.
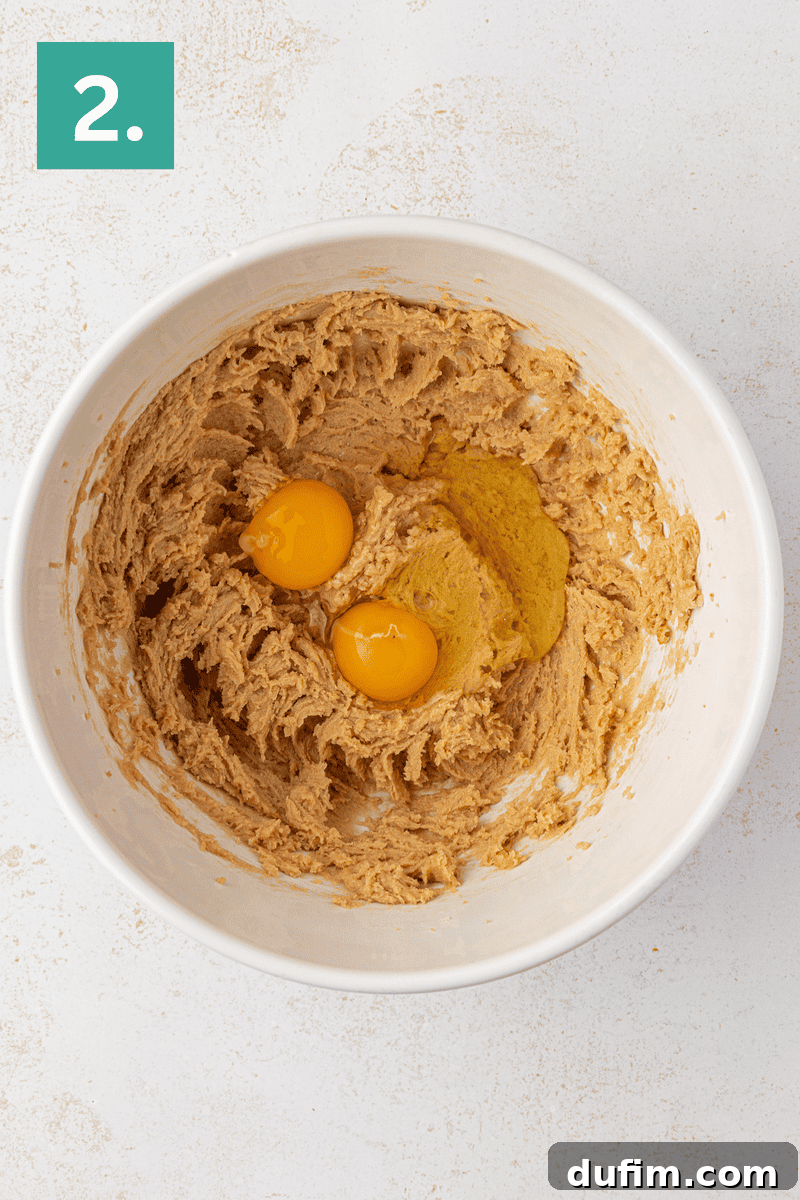
4. Add Eggs: Beat in the large egg and the large egg yolk for approximately 30 seconds. Remember to scrape down the sides of the bowl with a spatula as needed to ensure all ingredients are fully incorporated.
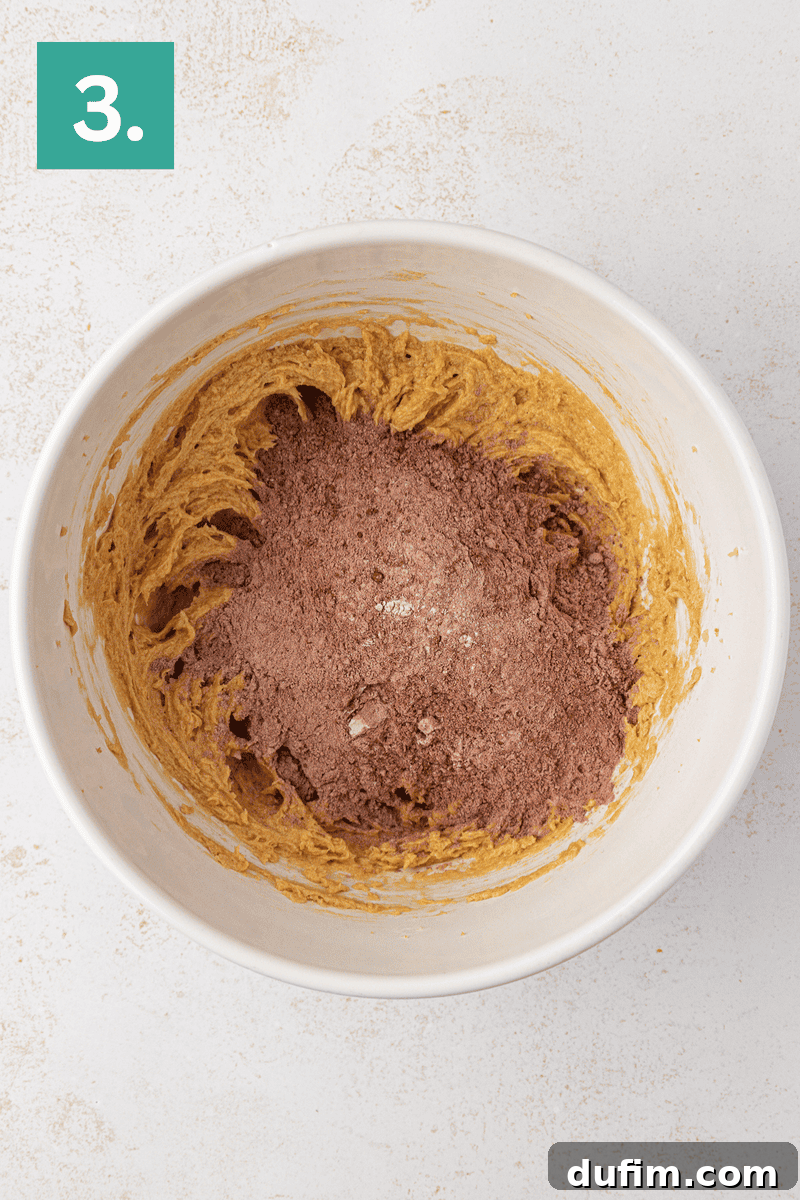
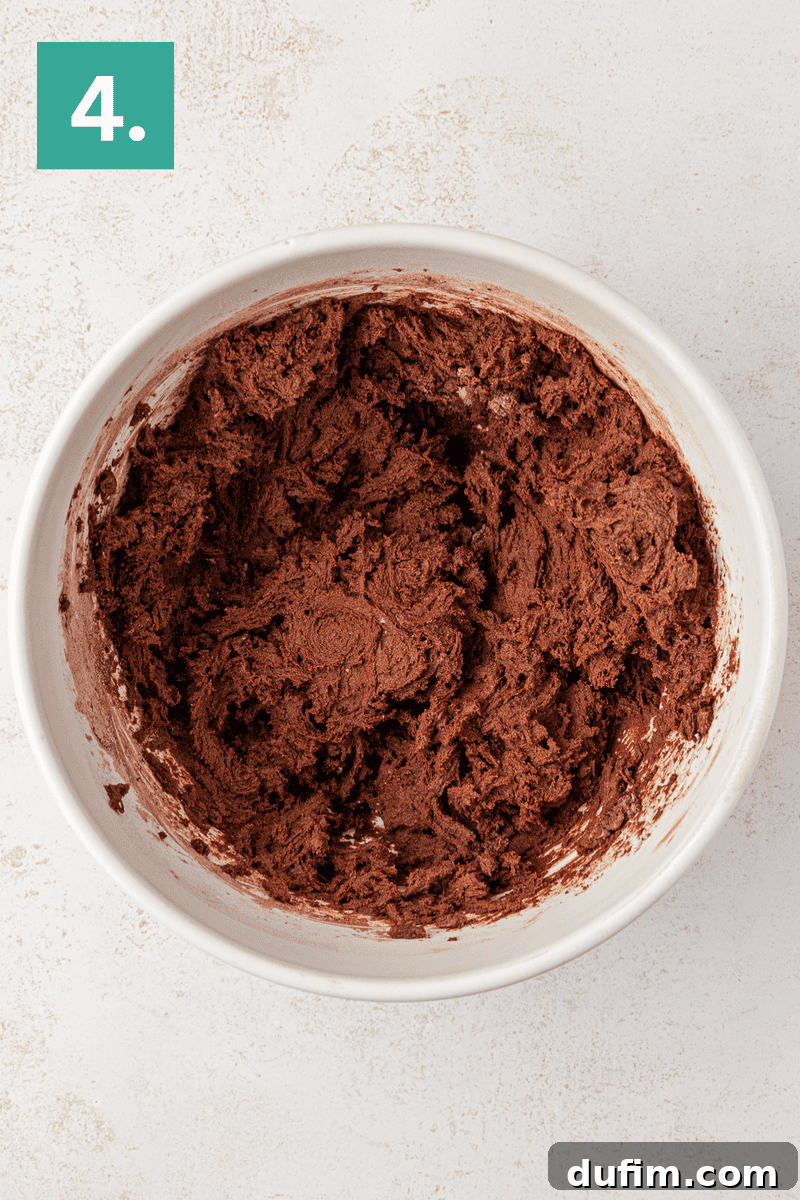
5. Combine Wet and Dry Ingredients: Gradually add the whisked dry mixture to the wet ingredients in the large mixing bowl. Mix on low speed until just combined. Be careful not to overmix, as this can lead to tough cookies. The resulting dough will be notably thick.
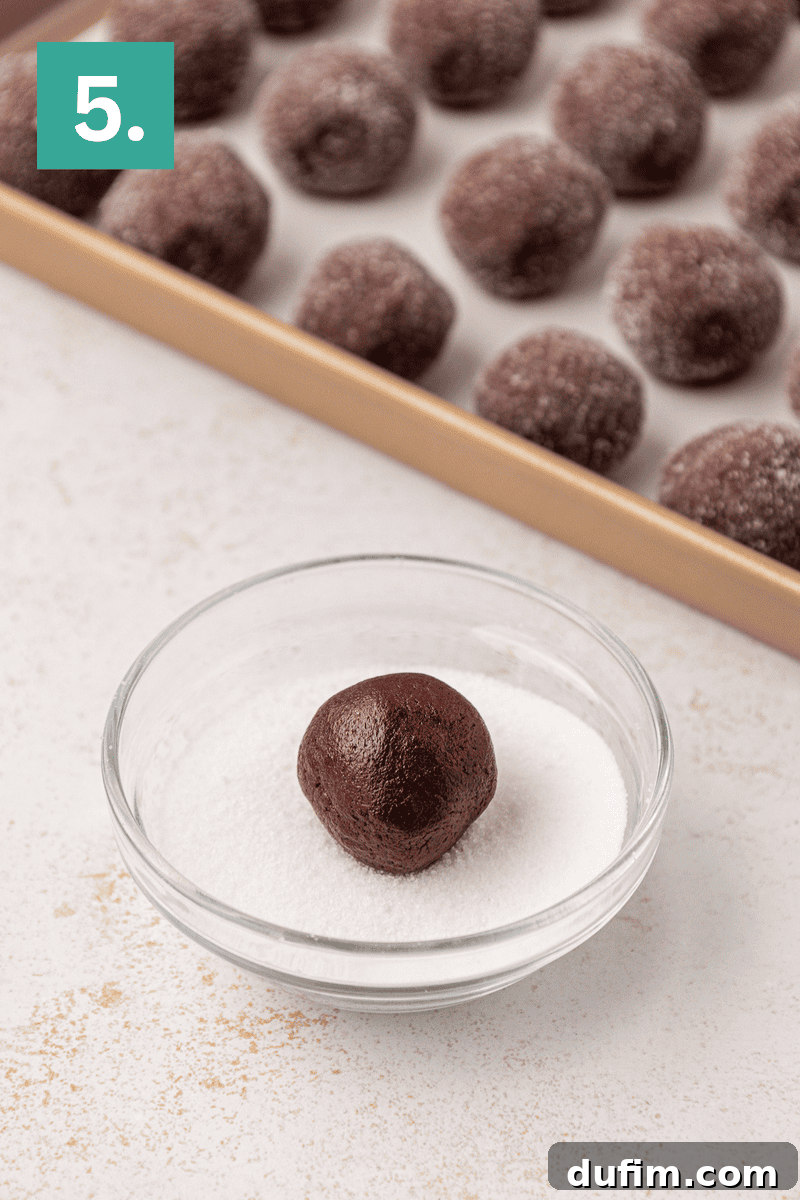
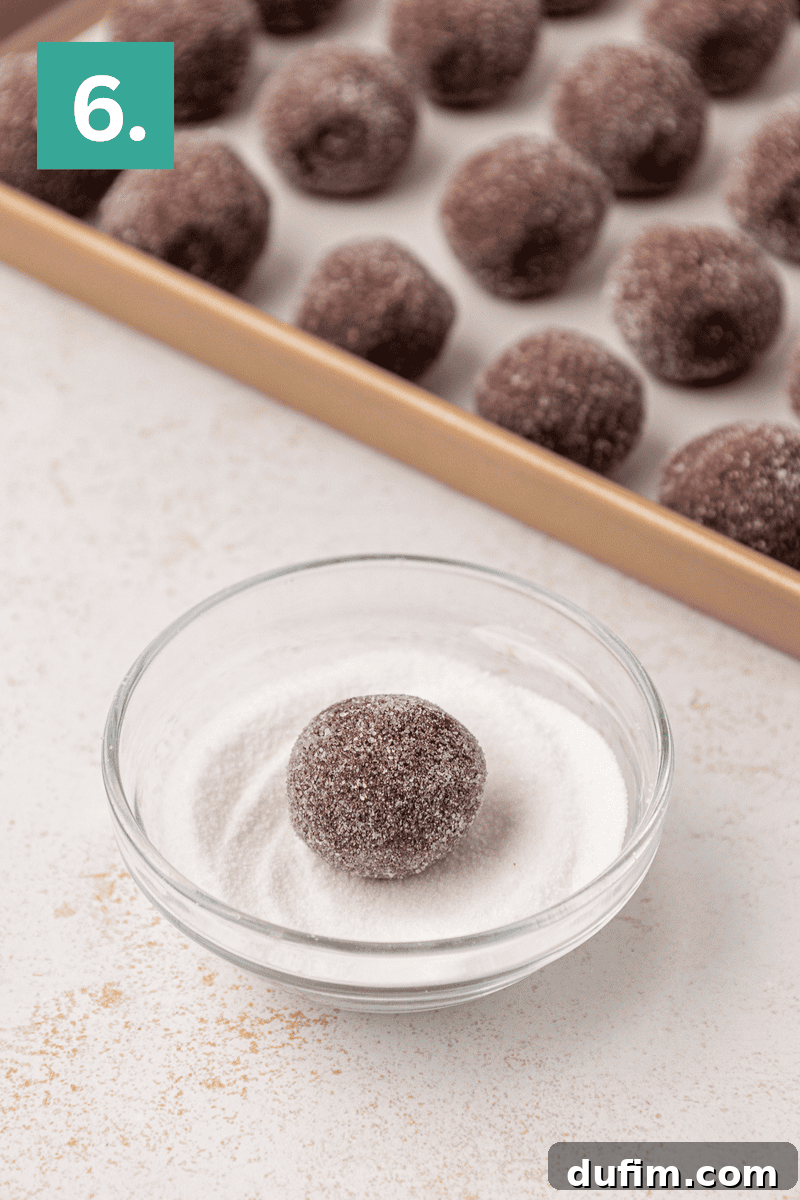
6. Form Dough Balls: Using a #60 cookie scoop (approximately 1 tablespoon), portion out the dough. Roll each portion into a smooth, even ball. Then, roll each dough ball in granulated sugar, ensuring it’s fully coated for a beautiful sparkling finish. Place the sugared balls about 2 inches apart on your prepared baking sheets to allow for slight spreading.
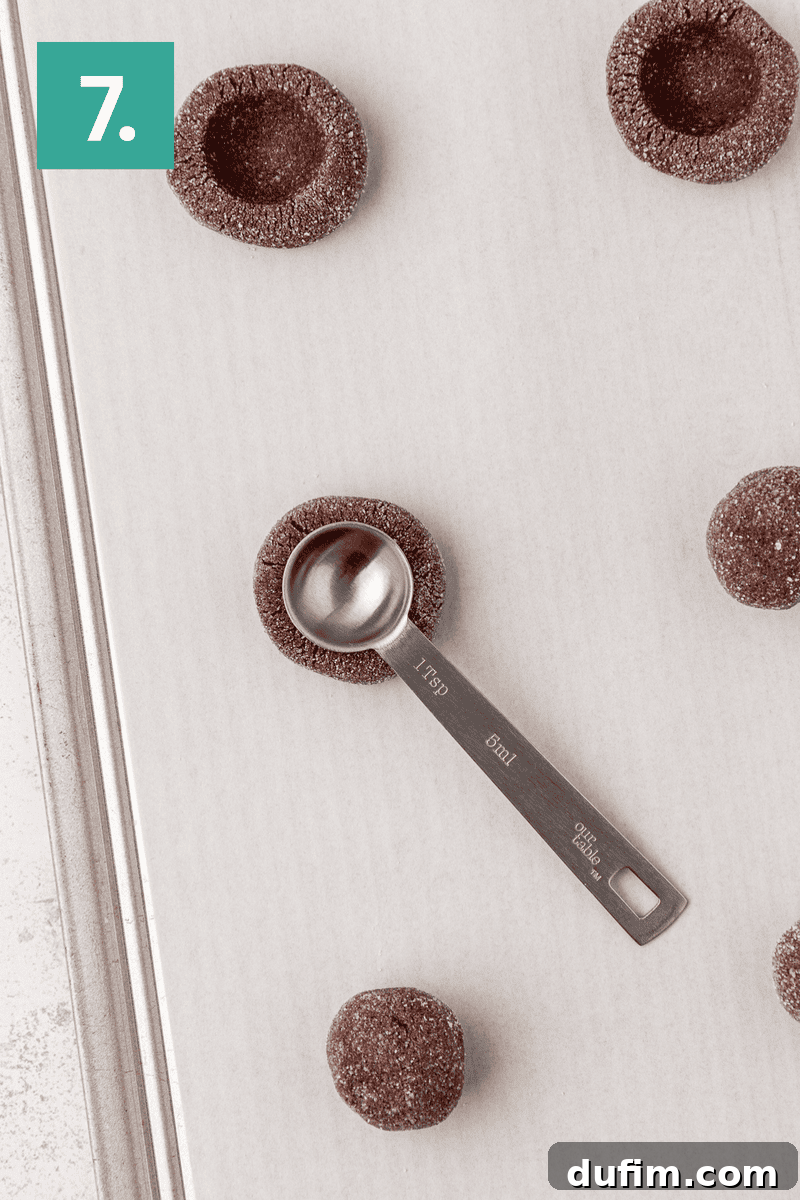
7. Press and Chill Cookies: Use the back of a teaspoon (or your thumb, for a true “thumbprint”) to gently press a divot into the center of each dough ball. This creates the well for your ganache filling. Once all cookies are indented, place the entire baking sheet into the freezer for 10 minutes. This crucial chilling step helps the dough firm up, preventing the cookies from spreading excessively and ensuring the thumbprint maintains its shape during baking. You can chill longer if you have time, or if your kitchen is particularly warm.
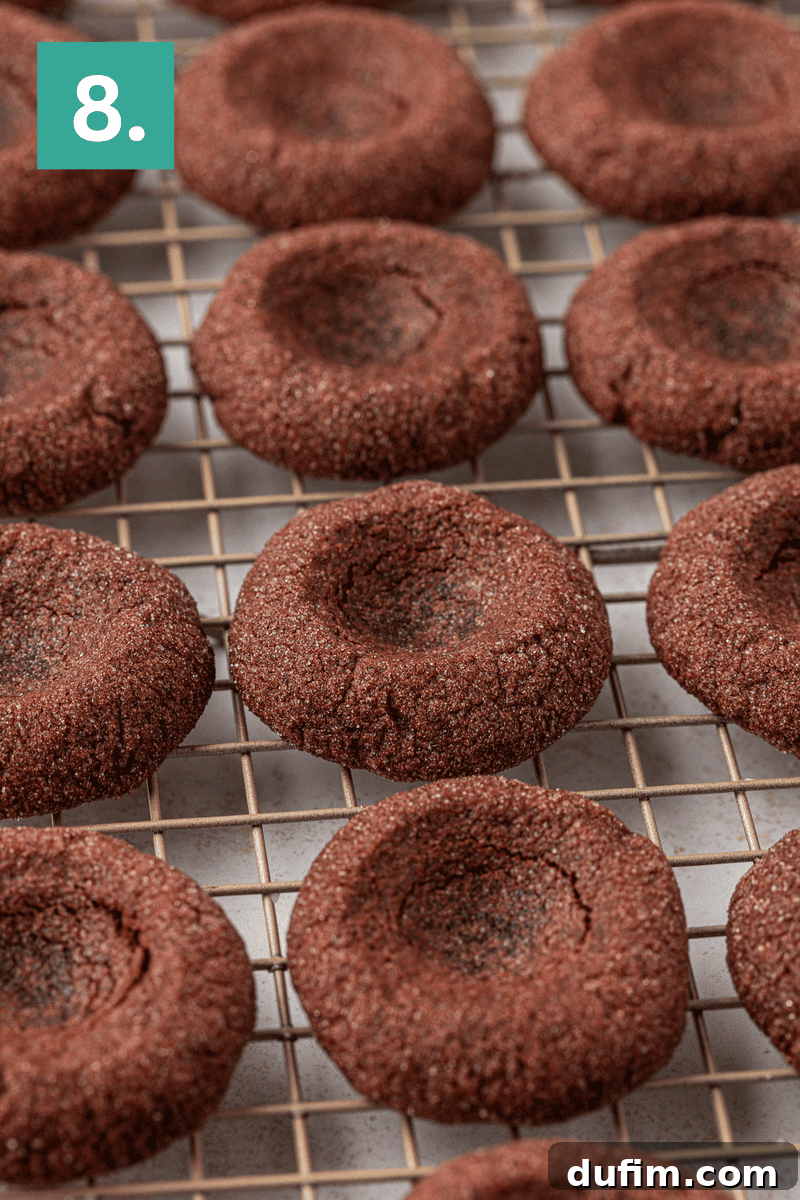
8. Bake and Finish: While the cookies are chilling, preheat your oven to 350°F (177°C). Bake the chilled cookies for 10-11 minutes, or until the edges appear set but the centers still look delightfully soft. As soon as you remove them from the oven, immediately use the back of the teaspoon again to gently deepen the center indentation. This is important because the cookies will naturally puff up slightly during baking, diminishing the divot. This quick re-indentation ensures a perfect well for the ganache.
9. Cool: Transfer the cookies to a wire rack and allow them to cool completely before proceeding to the filling stage. Rushing this step could cause your ganache to melt or become too runny.
For the Filling: Creating the Silky Peppermint Ganache
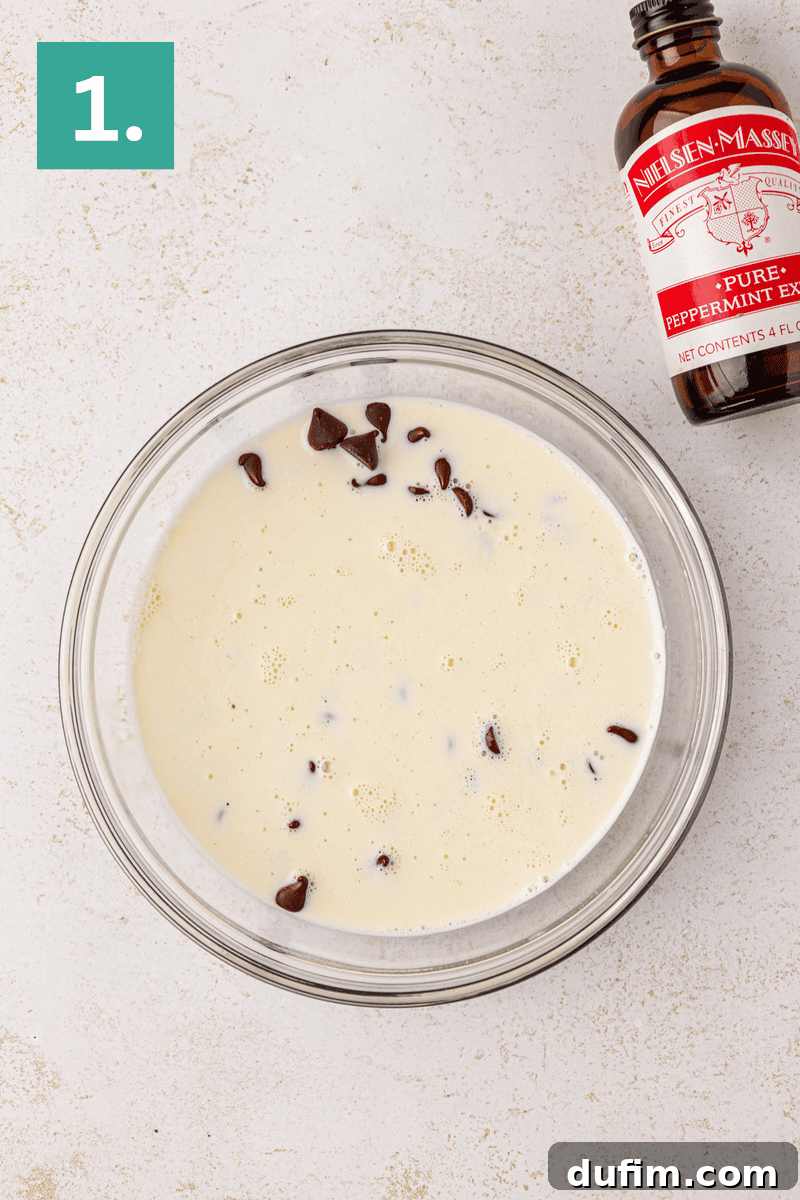
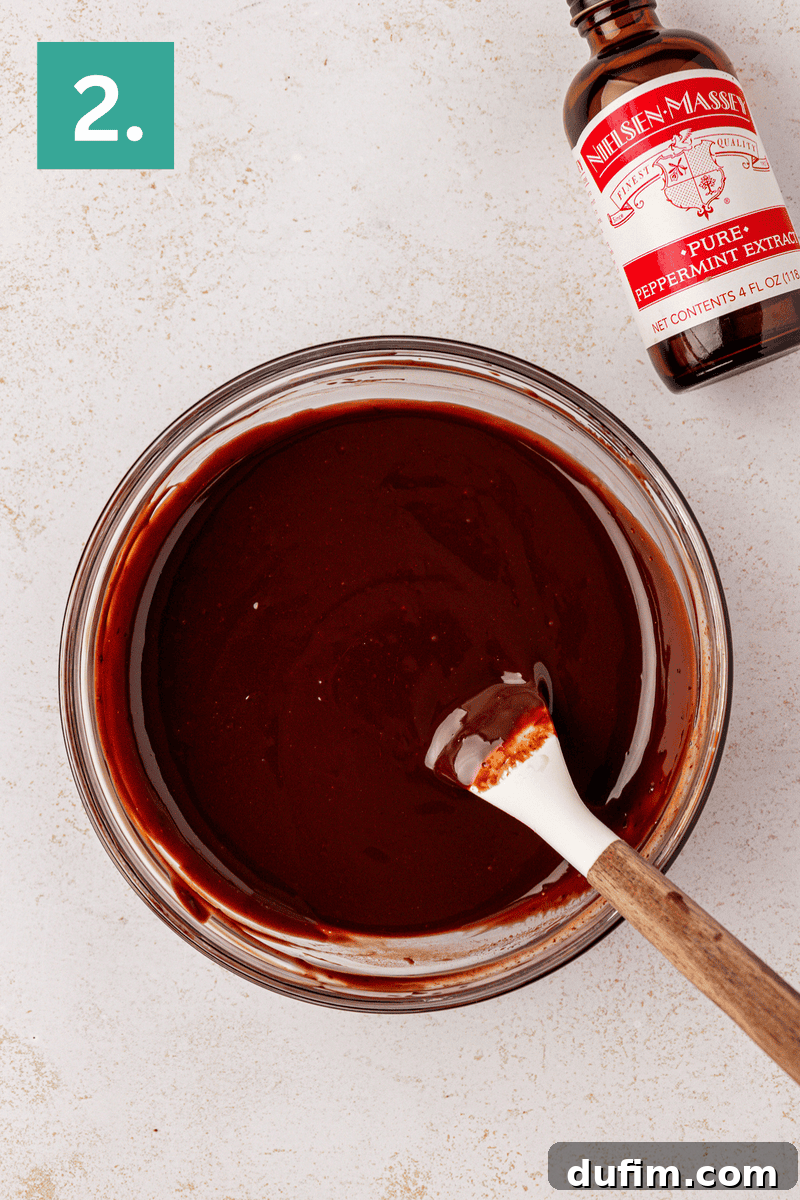
1. Combine Filling Ingredients: Place your semi-sweet chocolate chips into a heatproof bowl. In a separate microwave-safe measuring cup, heat the heavy whipping cream in the microwave for 45 to 60 seconds, or until it is steaming hot and just about to simmer. Pour the hot cream directly over the chocolate chips. Let it sit undisturbed for 2 to 3 minutes; this allows the residual heat from the cream to melt the chocolate. After resting, stir the mixture gently with a spatula or whisk until the chocolate is fully melted and the ganache is wonderfully smooth and glossy. Finally, stir in the peppermint extract until well combined. Allow the ganache to cool for 10 to 15 minutes, or until it thickens slightly to a spoonable consistency – not too runny, but still easy to work with.
2. Add Filling to Cookies: Once the cookies are completely cool and the ganache has slightly thickened, spoon about 1 teaspoon of the luscious peppermint ganache into the center indentation of each cookie. Work relatively quickly here. Immediately after filling, sprinkle the tops generously with crushed candy canes. The slight warmth and stickiness of the ganache will help the candy cane pieces adhere perfectly. Let the cookies sit at room temperature until the ganache sets completely, which may take an hour or two depending on your room temperature.
Equipment Needed for Baking Success
Having the right tools makes all the difference in baking. Here’s what you’ll need to create these stunning chocolate peppermint thumbprint cookies:
- Silicone Baking Mat (or parchment paper)
- Baking Sheets
- Electric Mixer (stand mixer or hand mixer)
- Cookie Dough Scoop (#60, 1 tablespoon size)
- Mixing Bowls (various sizes)
- Spatula
- Measuring Cups and Spoons
- Wire Cooling Rack
Tips for Baking Perfect Chocolate Peppermint Thumbprint Cookies
Achieving bakery-quality thumbprint cookies is easier than you think with these expert tips:
- Room Temperature Ingredients: Ensure your butter and egg are at true room temperature. This allows them to cream together properly, creating an emulsified mixture that traps air and leads to a lighter, more consistent cookie dough. Cold ingredients can result in a lumpy, dense dough.
- Don’t Overmix the Dough: Once you add the dry ingredients to the wet, mix only until just combined. Overmixing develops the gluten in the flour, which can lead to tough, dry cookies instead of the desired soft and chewy texture.
- Chill Time is Crucial: Do not skip the 10-minute freezer chill! This quick chill firms up the butter in the dough, preventing the cookies from spreading too much in the oven and helping the thumbprint hold its shape.
- Deepen the Indent Immediately: The cookies will puff up during baking. As soon as they come out of the oven, gently press the back of your teaspoon into the indentations again. This ensures you have a nice, deep well for your ganache.
- Measure Flour Correctly: For accurate results, especially if you don’t use a kitchen scale, use the spoon and level method. Fluff up your flour first, then spoon it into your measuring cup, and level off the top with a straight edge. Never scoop directly from the bag, as this compacts the flour and can add up to 25% more than needed, leading to dry cookies.
- Ganache Consistency: Make sure your ganache has cooled and thickened slightly before spooning it into the cookies. If it’s too warm or runny, it will seep out or create a messy pool rather than a neat, set filling.
Storage and Make-Ahead Options
These chocolate peppermint thumbprint cookies are perfect for holiday gift-giving or enjoying throughout the festive season. Here’s how to store them and prepare them in advance:
- To Store: Keep the finished cookies in an airtight container at room temperature for up to 4 days. The ganache will remain creamy, and the cookies will stay soft.
- To Make Ahead (Dough): You can prepare the cookie dough up to 24 hours in advance. After mixing, cover the bowl tightly with plastic wrap and refrigerate. When ready to bake, let the dough sit at room temperature for about 15-20 minutes to soften slightly before rolling into balls, coating in sugar, and pressing the thumbprints.
- To Freeze Baked Cookies: These cookies freeze beautifully! Once the ganache has fully set, arrange the cookies in a single layer on a baking sheet and flash freeze them until solid (about 1-2 hours). Once frozen, transfer them to a freezer-safe airtight container or bag, separating layers with parchment paper to prevent sticking. They can be frozen for up to 2-3 months. To thaw, simply place a single layer of cookies on a plate or baking sheet at room temperature overnight.
- To Freeze Cookie Dough: Roll the dough into balls as instructed, but do not press the thumbprints or roll in sugar yet. Flash freeze the dough balls on a baking sheet until solid, then transfer them to a freezer-safe bag. They can be frozen for up to 3 months. To bake from frozen, thaw the dough balls in the refrigerator overnight. Then, roll them in granulated sugar, create the thumbprints, chill for 10 minutes in the freezer, and bake as directed. You might need to add an extra minute or two to the baking time.
More Chocolate Peppermint Delights
If you’re as enamored with the classic combination of chocolate and peppermint as we are, you’ll love these other festive recipes:
- Peppermint Oreo Balls
- Chewy Chocolate Peppermint Cookies
- Peppermint Bark Pretzels
- Homemade Chocolate Peppermint Bark

Rating: 5 from 1 rating
Chocolate Peppermint Thumbprint Cookies
Print Recipe
These chocolate peppermint thumbprint cookies taste like a cozy holiday brownie topped with creamy peppermint ganache. I tested the dough through several versions to make sure the thumbprint keeps its shape and stays soft. You can trust this recipe to give you festive, comforting cookies every time.
Equipment
-
Electric Mixer
-
Cookie Dough Scoop
-
Silicone Baking Mat (or parchment paper)
-
Baking Sheets
-
Mixing Bowls
-
Spatula
-
Wire Cooling Rack
Ingredients
Cookies
- 1 ¾ cup (210g) all-purpose flour
- ½ cup (40g) Dutch-processed cocoa powder
- ½ tsp salt
- ½ tsp baking powder
- 1 tsp cornstarch
- ¾ cup (170g) unsalted butter, softened
- 1 cup (213g) brown sugar, packed
- 1 large egg
- 1 large egg yolk
- ¼ cup (50g) granulated sugar, for rolling
Filling
- ½ cup (113g) heavy whipping cream
- 1 cup (170g) semi-sweet chocolate chips
- ⅛ tsp peppermint extract
- Crushed candy canes, for dusting the top
Instructions
Cookies
- Line baking sheets with parchment paper or silicone mats.
- In a medium bowl, whisk together the flour, cocoa powder, salt, baking powder, and cornstarch. Set aside.
- In a large mixing bowl, beat the butter and brown sugar on medium speed until light and fluffy, about 1–2 minutes.
- Beat in the egg and egg yolk for 30 seconds, scraping down the sides as needed.
- Gradually add the dry mixture to the wet ingredients, mixing on low speed until just combined. The dough will be very thick.
- Scoop 1 tablespoon of dough (use a #60 cookie scoop) and roll into smooth balls. Roll each ball in granulated sugar and place 2 inches apart on prepared baking sheets.
- Use the back of a teaspoon to press a divot into the center of each cookie before baking. Place the baking sheet in the freezer for 10 minutes to firm up the dough. You can freeze longer if needed.
- Preheat the oven to 350°F (177°C). Bake for 10-11 minutes or until the edges are set but the centers still look soft. Remove from the oven and immediately use the teaspoon again to gently deepen the center indentation as it disappears while baking.
- Allow cookies to cool completely before filling.
Filling
- Place the chocolate chips in a bowl. In a separate microwave-safe measuring cup, microwave the heavy whipping cream for 45 to 60 seconds, or until steaming and very hot. Pour the cream over the chocolate chips and let it sit for 2 to 3 minutes. Stir until the chocolate is fully melted and the ganache is smooth. Stir in the peppermint extract. Let the ganache cool for 10 to 15 minutes, or until it thickens slightly but is still spoonable.
- Spoon about 1 teaspoon of ganache into the center of each cookie. Immediately sprinkle the tops with crushed candy canes so they stick to the warm ganache. Let the cookies sit until the ganache sets.
Notes
Gluten Free: Use a 1:1 gluten-free baking flour blend in place of all-purpose flour. I recommend King Arthur’s Measure for Measure Gluten Free Flour for best results.
To Store: Keep in an airtight container at room temperature for up to four days for optimal freshness.
To Make Ahead: You can prepare the cookie dough and chill it in the refrigerator for up to twenty-four hours before shaping and baking. This can help deepen the flavors.
To Freeze:
• To freeze baked cookies: Flash freeze the finished cookies on a baking sheet until solid. Once frozen, transfer them to a freezer-safe container or bag, separating layers with parchment paper. To thaw, place a single layer of cookies on a baking sheet and thaw on the counter overnight.
• To freeze cookie dough: Roll the dough into balls and flash freeze on a baking sheet until solid. Then transfer to a freezer-safe container or bag. To thaw, place the dough balls in the refrigerator overnight. Once thawed, roll in granular sugar, make the indentations, and bake as per the instructions.
How to Properly Measure Flour: The most accurate way to measure flour is by using a kitchen scale and weighing it in grams. If you do not have a scale, use the spoon and level method. Start by aerating the flour with a whisk or spoon because flour becomes compact as it sits. Spoon the flour into your measuring cup without tapping or shaking the cup, since that packs in extra flour. Level off the top with the back of a butter knife. Re-fluff the flour each time you scoop so you get a consistent and accurate measurement.
Nutrition
Serving: 1 cookie | Calories: 135kcal | Carbohydrates: 16g | Protein: 2g | Fat: 8g | Saturated Fat: 5g | Polyunsaturated Fat: 0.3g | Monounsaturated Fat: 2g | Trans Fat: 0.2g | Cholesterol: 25mg | Sodium: 46mg | Potassium: 70mg | Fiber: 1g | Sugar: 10g | Vitamin A: 189IU | Vitamin C: 0.02mg | Calcium: 19mg | Iron: 1mg
Nutrition Disclosure
All nutritional values are approximate and provided to the reader as a courtesy. Changing ingredients and/or quantities will alter the estimated nutritional calculations.
Like this recipe? Rate and comment below!