
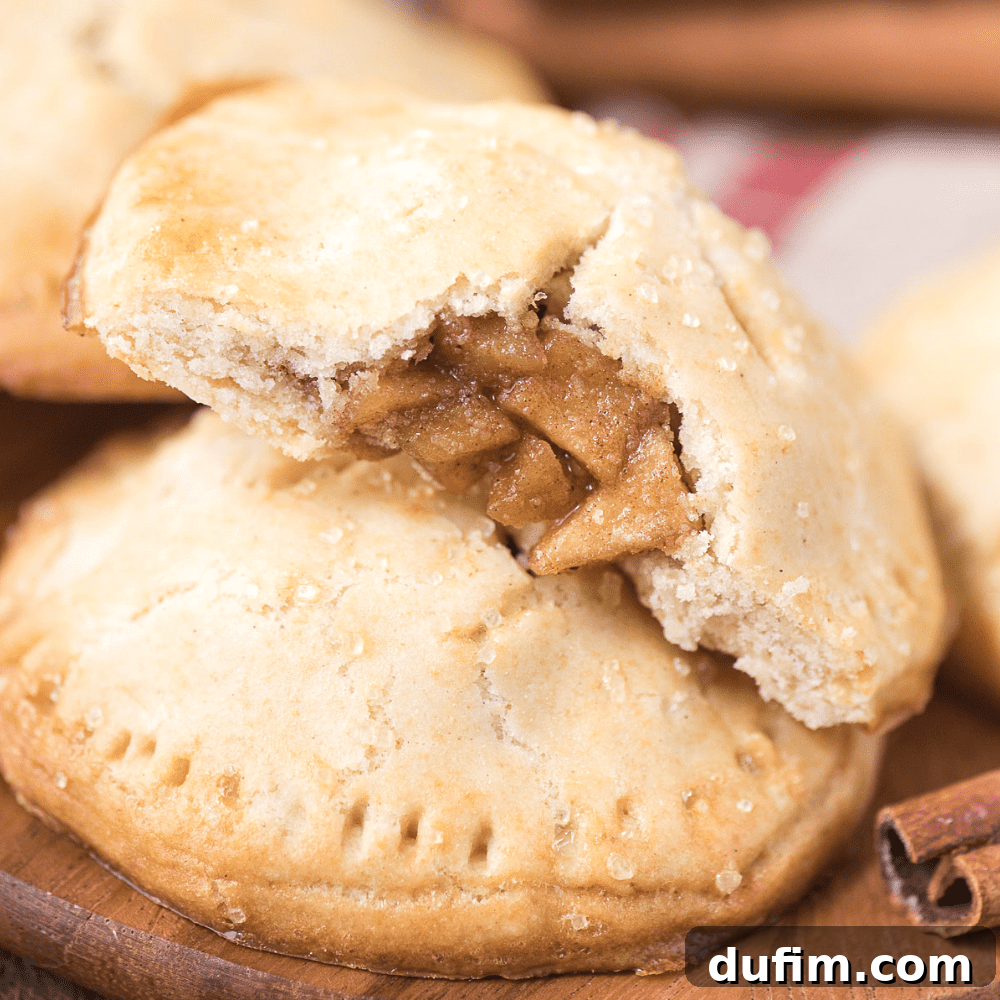
Forget everything you thought you knew about traditional apple pies, because these aren’t just any homemade apple hand pies. We’ve perfected a recipe that elevates this classic dessert into an irresistible, portable treat. Imagine a golden, impossibly flaky crust enveloping a warm, perfectly spiced apple filling, all in a convenient single-serving package. Our secret lies in a meticulously crafted, no-fail puff pastry crust and an apple filling where every piece is cut to the ideal size, ensuring a delightful texture in every bite. Combined with the comforting aromas of quintessential Fall spices, these mini apple pies are guaranteed to become your new favorite dessert.

These are super cute! I froze some to save for later and they bake wonderfully from frozen!
-Emily
The quest for the ultimate apple hand pie requires attention to detail. In my culinary journey, I’ve discovered that a truly perfect apple hand pie must boast a superbly flaky crust and a deeply flavorful filling with just the right texture. This dedication led me to extensive testing of various apple piece sizes. It’s not just about the flavor; it’s about the mouthfeel. Apple pieces can’t be too large, preventing proper cooking, nor too small, turning into mush. Much like Goldilocks’ famous preference, the apples must be cut to *just the right size*—a crucial factor that profoundly impacts the overall enjoyment of the filling. This balance ensures that each bite offers a tender, yielding texture that complements the crispiness of the crust.
Beyond the texture, the interplay of spices and sweetness in the apple filling creates a comforting warmth that evokes the essence of autumn. We’ll delve into the specific spice blend that makes this recipe shine, turning ordinary apples into an extraordinary delight. Keep reading for all my best tips and insights, plus follow along with a step-by-step video that guides you through every stage of this delightful baking adventure!
The Inspiration Behind Our Homemade Apple Hand Pies
This delightful recipe for homemade apple hand pies emerged from a collaborative “fall recipe call” I hosted on Instagram. While hand pies weren’t my usual go-to, the overwhelming suggestion from my amazing audience inspired me to step outside my culinary comfort zone. And I’m incredibly glad I did! These hand pies proved to be not only immensely fun to create but also unbelievably delicious, quickly becoming a cherished new addition to my repertoire.
Hosting these recipe calls serves several important purposes:
- Breaking Culinary Patterns: As a baker, it’s easy to fall into a routine, often gravitating towards familiar recipes—in my case, usually involving lots of chocolate! Your suggestions push me to explore new ingredients, techniques, and flavor profiles, leading to exciting discoveries like these apple hand pies.
- Audience-Driven Content: You, my readers, are at the heart of what I do. What better way to ensure I’m creating content you genuinely want to see than by directly asking for your input? This direct feedback loop ensures that the recipes I share are relevant, exciting, and tailored to your preferences.
- Sparking Creativity: Even the most passionate bakers experience creative blocks. Your diverse and innovative ideas are a fantastic source of inspiration, helping me to think beyond the ordinary and develop unique, mouth-watering recipes.
Therefore, consider this recipe extra special—it’s a direct result of our wonderful community’s shared passion for baking. It’s truly “just for you, my friends!”
Essential Ingredients for Flawless Apple Hand Pies
Crafting these delectable apple hand pies requires a careful selection of fresh ingredients for both the rich apple filling and the tender, flaky crust. Here’s what you’ll need:
- For the Apple Filling:
- Fresh, crisp apples (such as Granny Smith, Honeycrisp, or Fuji)
- Unsalted butter for richness
- Packed brown sugar for deep, caramelized sweetness
- Ground cinnamon, nutmeg, and cloves for classic Fall warmth and spice
- For the Flaky Pie Crust:
- All-purpose flour (or a high-quality gluten-free alternative)
- Powdered sugar for subtle sweetness and tenderness
- Baking powder for a delicate lift
- Salt to balance flavors
- Cold unsalted butter, cut into small cubes, for ultimate flakiness
- Large egg yolks for richness and binding
- Cold milk to bring the dough together

Crafting Your Own Baked Apple Hand Pies: A Step-by-Step Guide
Making these delicious baked apple hand pies is a rewarding process. Follow these key steps to achieve perfect results:
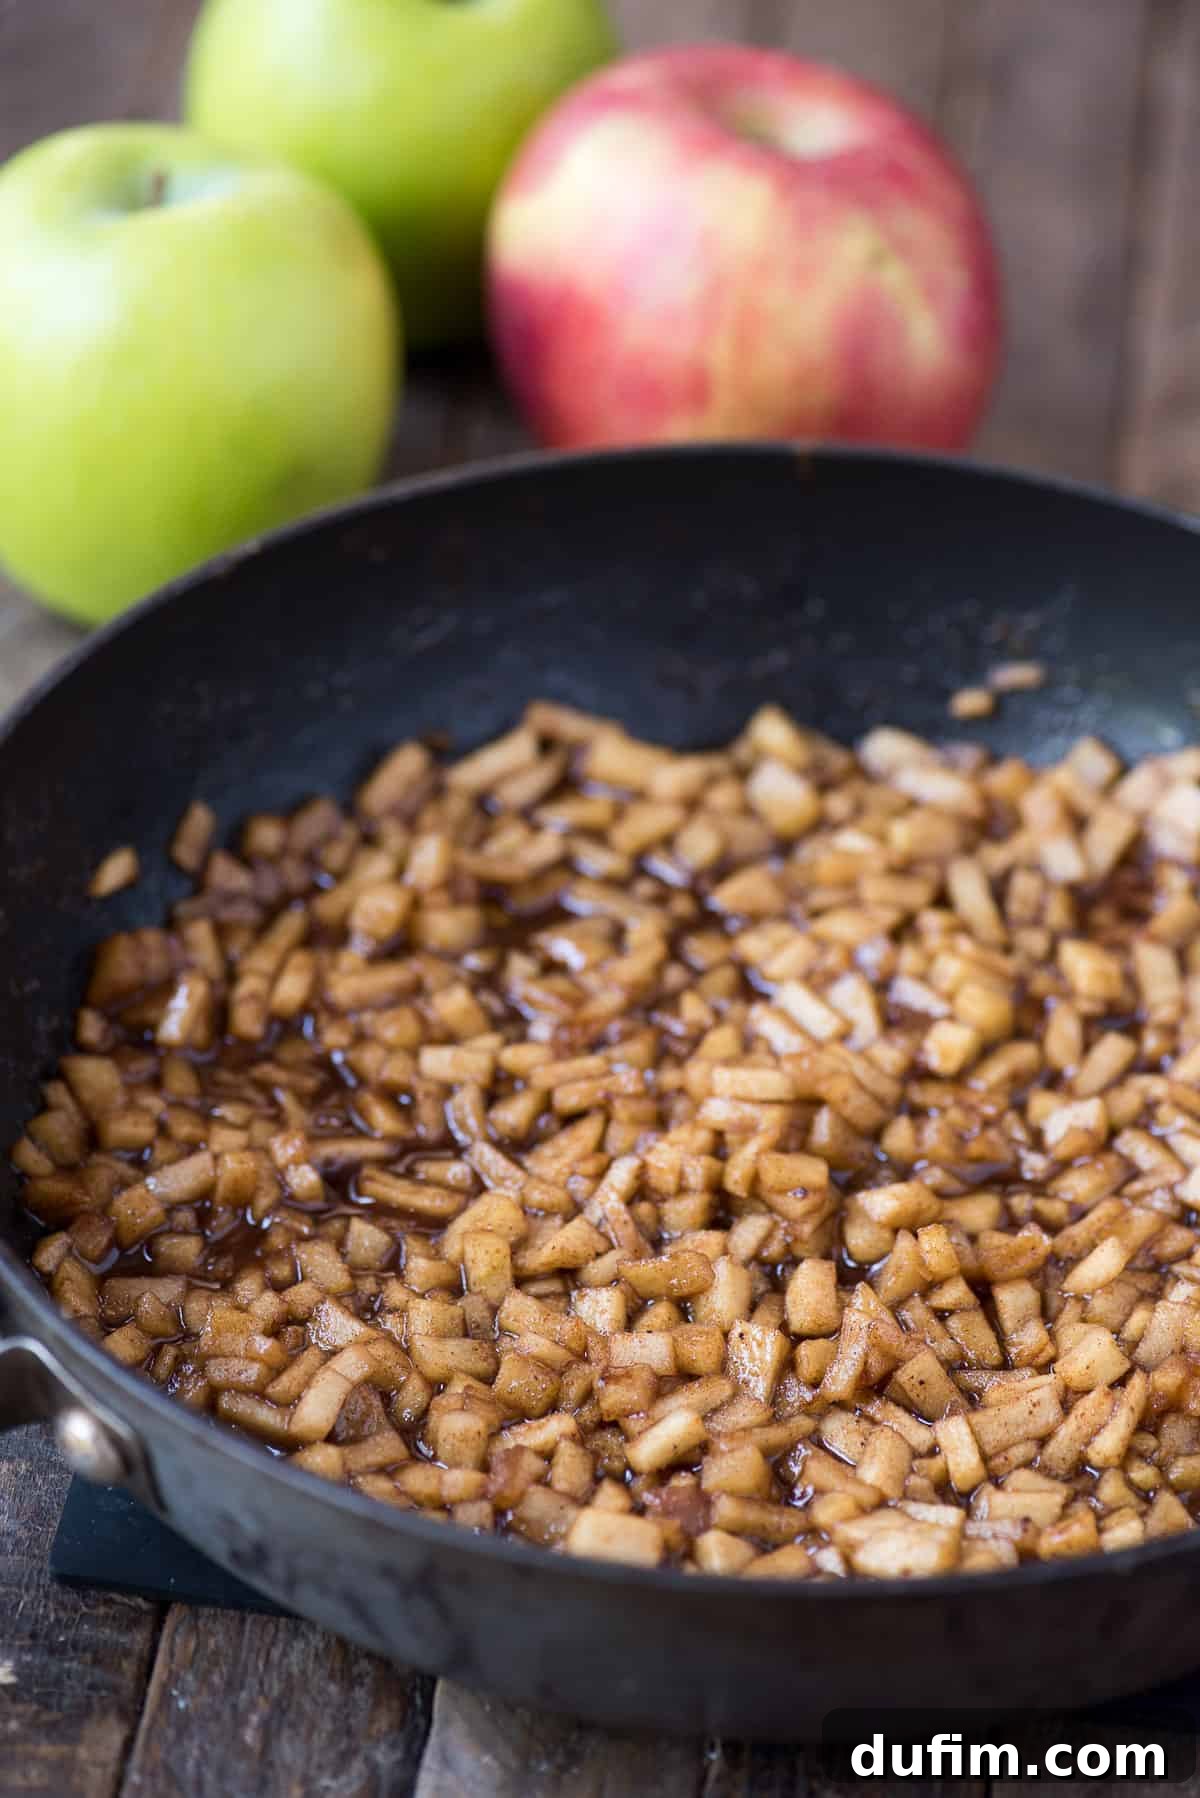
- Prepare the Apple Filling: Begin by cooking your finely diced apples with butter, brown sugar, and a blend of cinnamon, nutmeg, and cloves. Simmer until the apples are tender and the flavors have melded beautifully. This crucial step ensures the apples are perfectly soft and flavorful within the short baking time of the hand pies. You can prepare this filling up to three days in advance and store it in the refrigerator, making your baking day even smoother.
- Create the Flaky Dough: Next, prepare the signature flaky pie crust. Once the dough is mixed, gently roll it out to an even thickness. Use a 3 or 4-inch round cookie cutter to cut out uniform circles. Precision here helps ensure even baking and a consistent size for your mini pies.
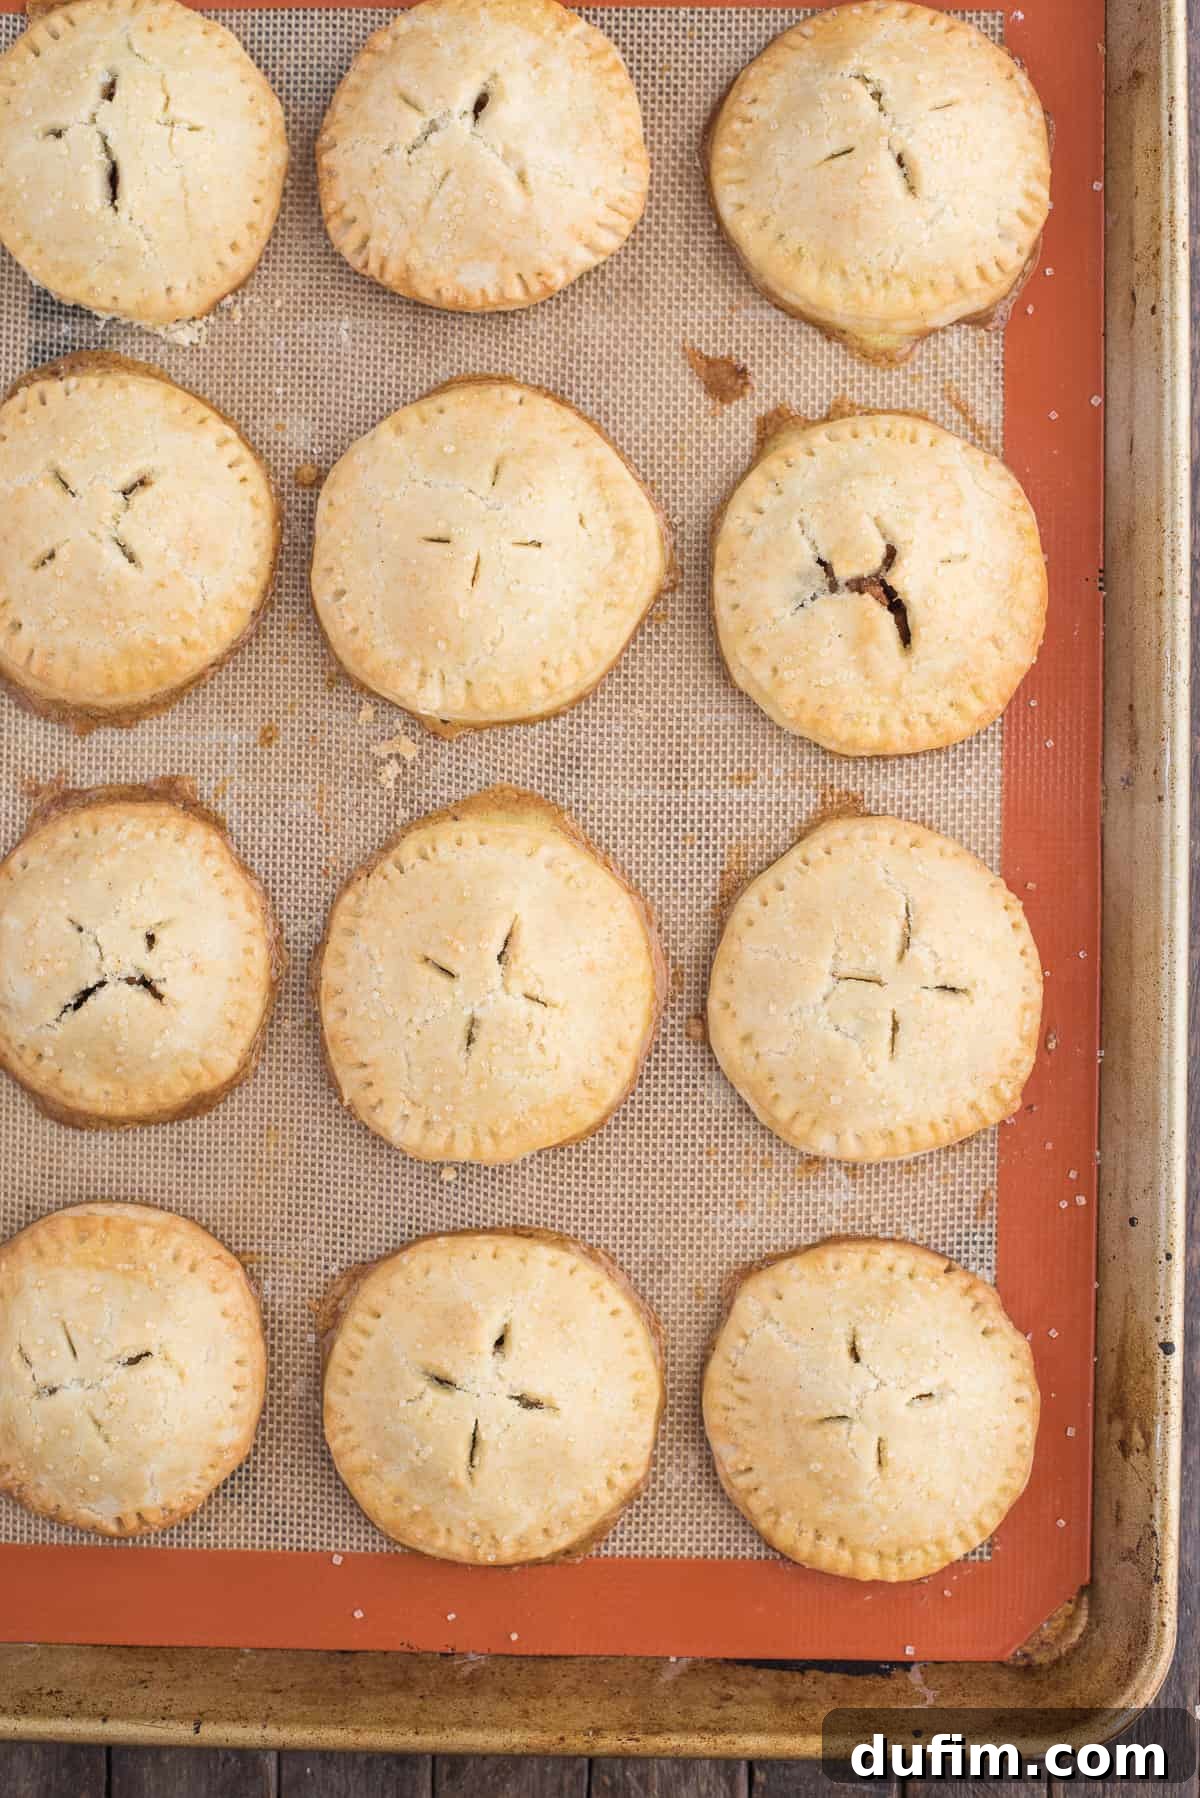
- Assemble the Hand Pies: Place a dollop of your cooled apple filling in the center of half of your dough circles. Lightly moisten the edges of these circles with water or egg wash. Then, carefully place a second dough circle on top, aligning the edges. Using the tines of a fork, firmly press around the entire circumference of each pie to crimp and seal the edges, preventing any delicious filling from escaping during baking. Don’t forget to create a few small slits or holes on the top crust of each pie to allow steam to vent.
- Chill for Flakiness: This is a critical step for achieving that coveted flaky crust. Once assembled, transfer the mini pies to a silicone-lined baking sheet and refrigerate them for at least 30 minutes. This chilling period allows the butter in the dough to firm up, which then rapidly melts and creates pockets of steam in the oven, resulting in an exceptionally light and flaky texture.
- Egg Wash and Bake: Before baking, brush the tops of your chilled hand pies with an egg wash (a simple mixture of one egg and a tablespoon of water). This gives them a beautiful golden sheen and helps any sprinkled sugar adhere. Bake in a preheated oven until the crust is golden brown and the filling is bubbly.
Expert Tips for the Best Apple Hand Pies
Achieving bakery-quality apple hand pies at home is entirely possible with a few insider tricks. Here are my top tips to ensure your mini apple pies are nothing short of perfect:
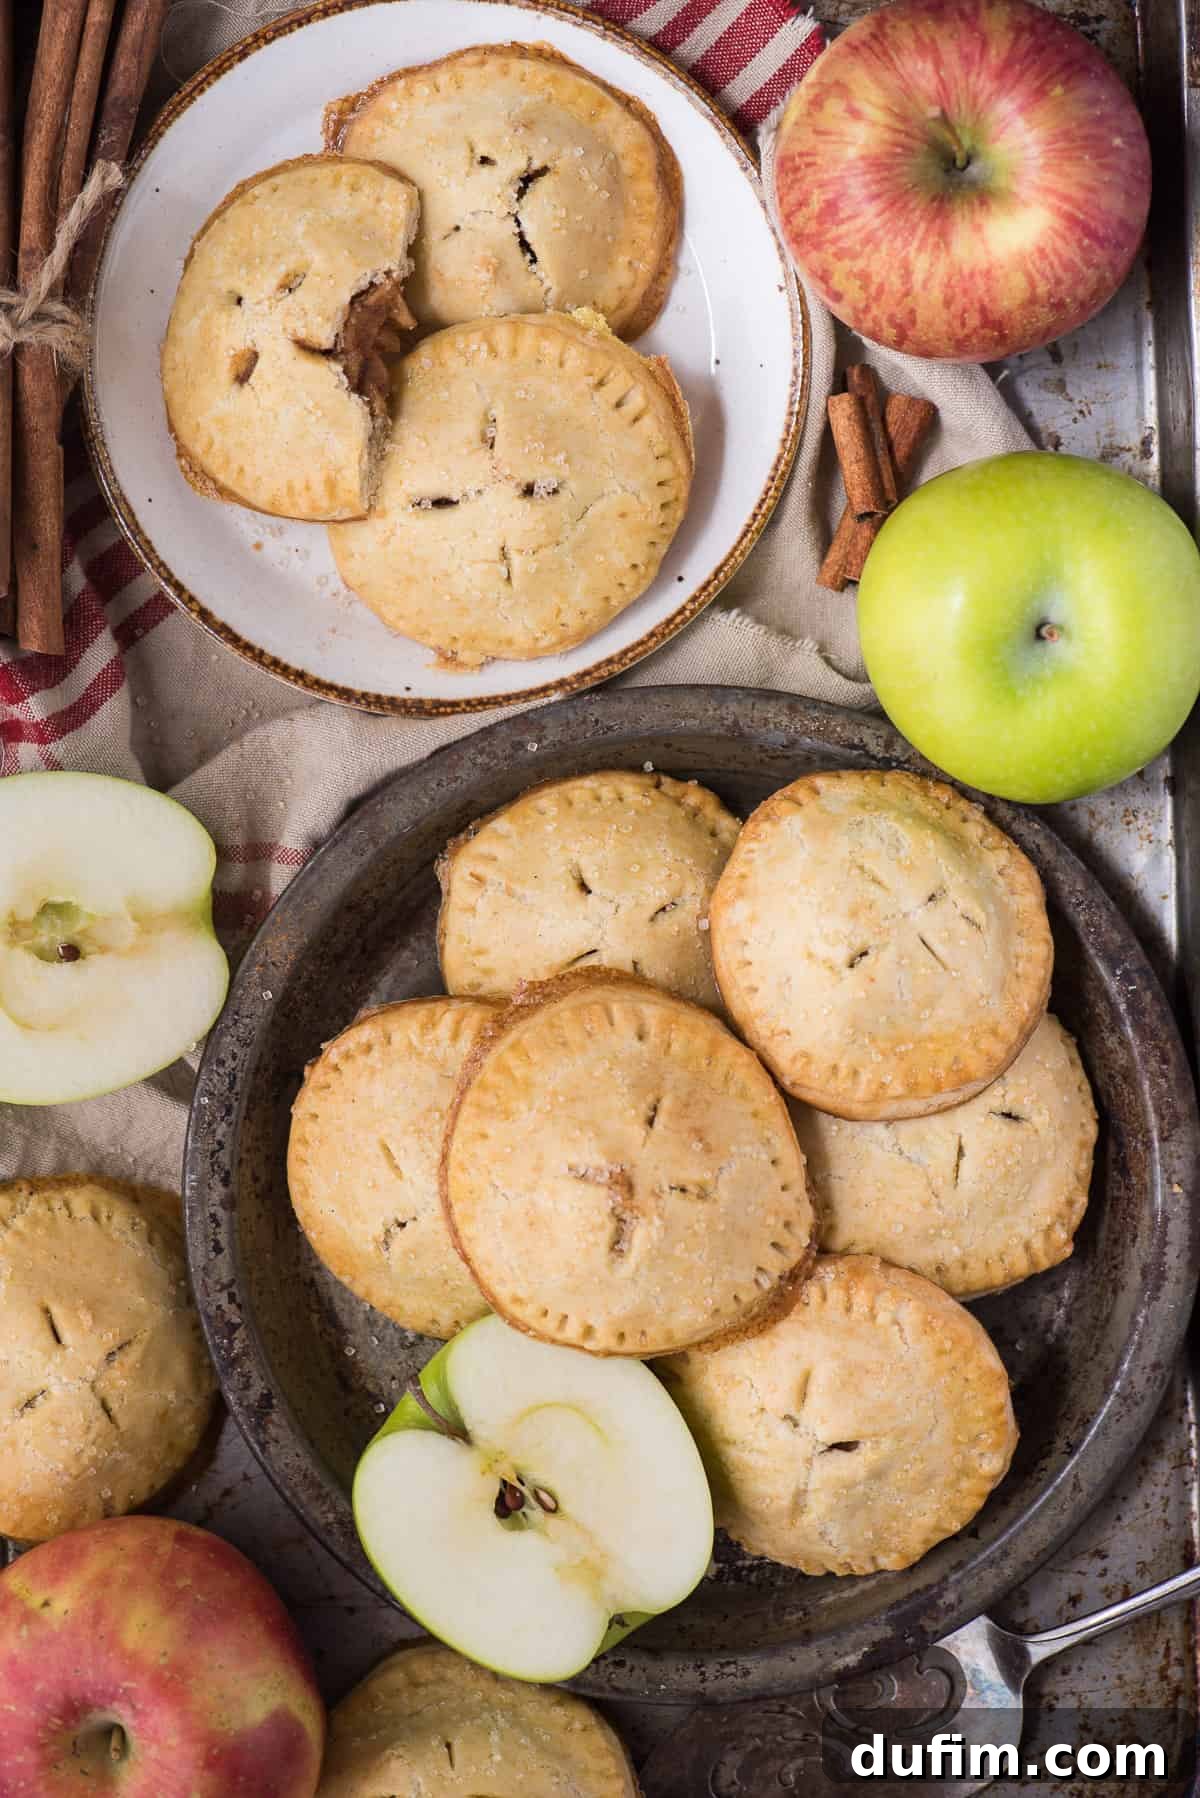
- Choosing the Right Cookie Cutter: For ideal mini pie sizing, a 3-inch or 4-inch circle cookie cutter is essential. Anything smaller might make the pies too delicate to handle or too difficult to fill adequately. Don’t worry if you don’t have a dedicated circle cutter; get creative! I’ve even used a Christmas ornament cookie cutter in a pinch. The goal is a uniform shape for consistent baking.
- The Importance of Pre-Cooking the Apple Filling: This step is non-negotiable. The apple mixture *must* be pre-cooked before assembly. Apples require more time to soften than the pie crust needs to bake, meaning they won’t reach the desired tender consistency if simply baked raw inside the hand pies. Pre-cooking ensures a soft, flavorful filling that harmonizes perfectly with the flaky crust.
- Make Ahead for Convenience: Streamline your baking process by preparing the apple filling in advance. The cooked filling can be stored in an airtight container in the refrigerator for up to 3 days. This is a fantastic time-saver, allowing you to assemble and bake the pies on demand, reducing your active preparation time significantly.
- Preventing Soggy Bottoms: A common challenge with any pie is a soggy bottom. To combat this, ensure your filling isn’t overly wet. If the apples release too much liquid while cooking, simmer it down until it thickens slightly. Additionally, pre-chilling the assembled pies (as discussed below) helps create a barrier against moisture.
- Ventilation is Key: Always remember to cut small slits or poke holes in the top crust of each hand pie. These vents allow steam to escape during baking, preventing the pies from puffing up excessively and potentially bursting, which can lead to messy leaks.
- Even Baking: For uniform golden-brown crusts, consider rotating your baking sheet halfway through the baking time, especially if your oven has hot spots.
Exciting Apple Hand Pie Recipe Variations
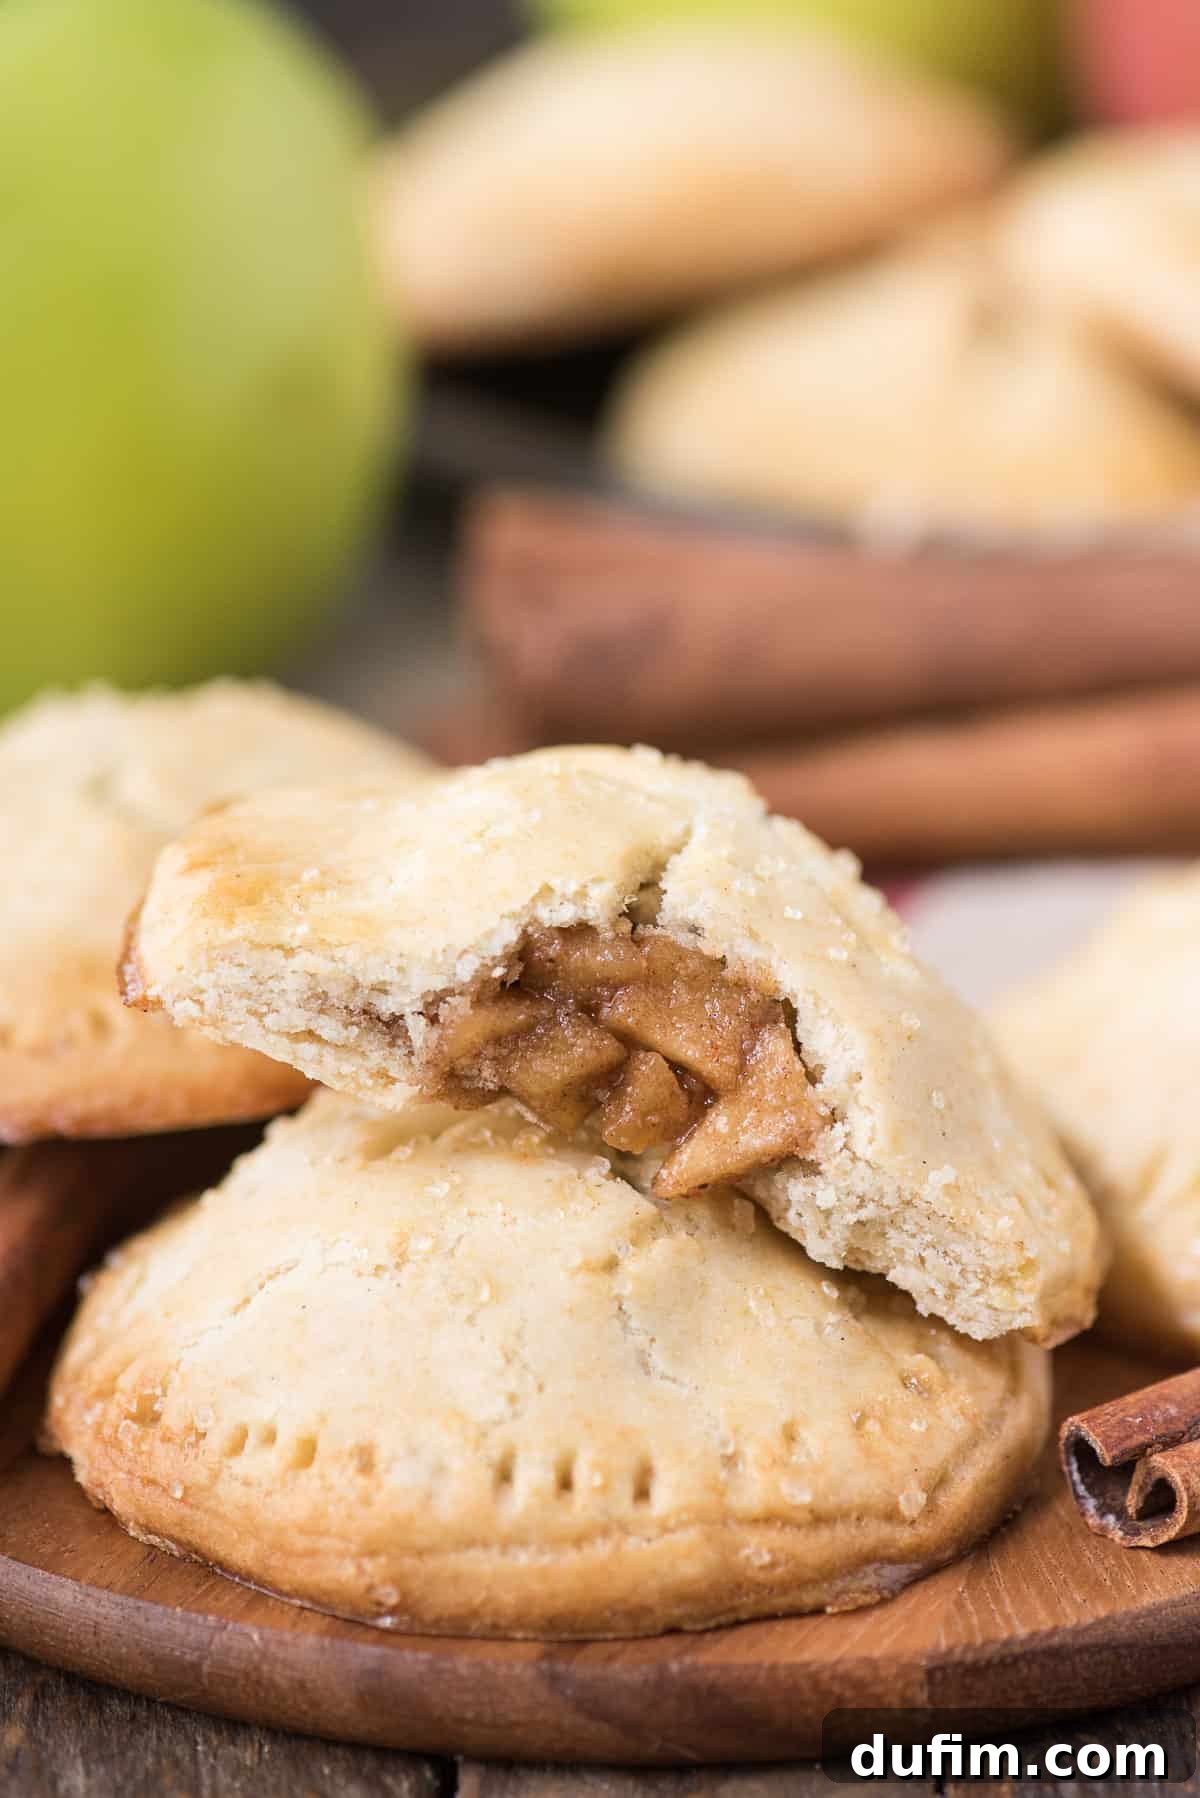
While the classic apple hand pie is undeniably delicious, it also serves as a fantastic canvas for creative culinary experimentation. Apple hand pies are a beloved fall treat that can be easily customized with various flavors and textures to suit any palate. Here are three delightful variations to inspire your next baking session:
- Caramel Apple Hand Pies: Elevate the sweetness by adding a luxurious touch of caramel. Before sealing your pies, drizzle a teaspoon of rich caramel sauce directly onto the apple mixture. This creates a gooey, decadent interior that pairs perfectly with the spiced apples and flaky crust.
- Apple Cinnamon Cream Cheese Hand Pies: For a creamy, tangy contrast, introduce a dollop of sweetened cream cheese. Prepare a simple mixture of softened cream cheese, a touch of sugar, and a hint of vanilla extract. Place this alongside the apple filling in each pie, creating a wonderfully complex flavor profile and an incredibly tender texture.
- Spiced Apple and Pecan Hand Pies: Add an irresistible crunch and nutty depth by incorporating pecans. Fold a handful of finely chopped toasted pecans into your apple mixture. The pecans not only provide a delightful textural contrast but also a warm, earthy flavor that beautifully complements the cinnamon, nutmeg, and cloves.
Each of these variations adds a unique twist to the traditional apple hand pie, making them perfect for different tastes and occasions. Don’t hesitate to experiment further with other nuts like walnuts, or a sprinkle of ginger or cardamom for an extra layer of spice!
The Secret to a Flaky Crust: Why Chilling Pie Dough is Essential
Chilling pie dough, both before rolling and especially after forming your pies, is one of the most critical steps for achieving that coveted flaky texture. The principle is similar to chilling cut-out sugar cookie dough: it helps the dough maintain its shape and prevents excessive spreading during baking. However, for pie crusts, chilling has an even more profound effect on texture.
The key lies in the butter. When the butter in your dough is cold and firm, it melts quickly and releases steam in the hot oven. This steam creates tiny pockets, separating the layers of dough and resulting in the signature flaky, airy crust. If the butter is too warm, it will simply melt into the dough before the crust has a chance to set, leading to a tougher, less desirable texture.
Instead of merely chilling the dough in a ball after mixing, I’ve found it significantly more effective to chill the dough *after* the little pies are fully formed and filled. Once you’ve assembled your hand pies, filled them, and crimped the edges, arrange them on a silicone-lined baking sheet and refrigerate them for a solid 30 minutes before they go into the oven. This final chill ensures the butter is perfectly firm just before it hits the heat, maximizing the flakiness. When the chilling time is up, you can simply pop the entire baking sheet directly into the preheated oven, ready for baking perfection!
Troubleshooting Hand Pies: How to Prevent Leaks
Preventing hand pies from leaking can sometimes be a challenge, but with a few key tips and careful execution, you can keep that delicious filling securely inside your flaky crust:
- Don’t Overfill the Pies: This is arguably the most common culprit for leaky hand pies. While it’s tempting to pack in as much filling as possible, too much will inevitably ooze out during sealing or baking.
Tip: Use just enough filling to flavor the pie generously without causing it to bulge or overflow when you try to seal it. Typically, 1 to 2 tablespoons of filling per pie is sufficient, depending on the size of your dough circles. Less is often more when it comes to preventing leaks. - Seal the Edges Properly: A secure seal is your best defense against leaks.
Tip: After placing the filling on the bottom crust, lightly brush the edges of the dough with a small amount of water, egg wash, or milk. This acts as a natural glue, helping the two dough layers adhere firmly. Then, press the edges together with the tines of a fork to create a classic crimped seal, or gently fold the top crust slightly over the bottom and press firmly again for an even tighter closure. Ensure there are no gaps! - Vent the Pies: Steam needs an escape route!
Tip: Before baking, cut small slits or poke several holes in the top crust of each pie. These vents allow steam generated by the cooking apples and butter to escape. Without proper ventilation, steam can build up pressure inside the pie, causing the crust to burst open and the filling to leak out. - Chill the Pies Before Baking: This step helps firm up both the butter in the crust and the filling.
Tip: After assembling and sealing your pies, place them in the refrigerator for at least 30 minutes (as detailed in the “Why Chill Pie Dough?” section). This firms up the dough and slightly thickens the filling, significantly reducing the chance of leakage by giving the crust a stronger structure before it hits the hot oven.
Storing and Reheating Your Delicious Apple Hand Pies
One of the many charms of apple hand pies is their versatility in storage, allowing you to enjoy them fresh, later, or even freeze them for a future treat. Proper storage ensures they remain as delightful as the day they were baked.
- Room Temperature Storage: Once completely cooled, baked apple hand pies can be stored in an airtight container at room temperature for up to 2 days. For best flavor and texture, particularly if they have a crispy crust, avoid excessive humidity.
- Refrigeration: For slightly longer freshness, refrigerate your cooled hand pies in an airtight container for up to 5 days. This is especially recommended in warmer climates or if your filling contains dairy.
- Freezing for Long-Term Enjoyment: To extend their shelf life significantly, freeze the cooled pies. Wrap each hand pie individually in plastic wrap, then place them in a freezer-safe bag or container. They can be stored in the freezer for up to 2-3 months. This is perfect for meal prepping desserts or having a quick treat on hand.
- Thawing Frozen Pies: Thaw frozen pies in the refrigerator overnight.
- Reheating for Freshness: To restore their delightful crispiness and warmth, reheat thawed pies in a preheated oven at 350°F (175°C) for 10-15 minutes, or until warmed through and the crust is crisp again. If reheating directly from frozen, this time will be longer, approximately 25-35 minutes.
- Pro Tip for Freezing: If you plan to freeze a batch of hand pies, consider slightly underbaking them initially (by about 5-7 minutes). This way, when you reheat them from frozen, they won’t become overcooked, maintaining a perfect texture.
Delightful Serving Suggestions
These homemade apple hand pies are incredibly versatile and can be enjoyed in many ways. While they are fantastic on their own, here are a few ideas to elevate your serving experience:
- Warm & Simple: Serve them slightly warm, allowing the filling to be perfectly gooey and the spices to shine.
- A La Mode: A scoop of vanilla bean ice cream melting over a warm apple hand pie is a classic pairing that never disappoints.
- Whipped Cream or Custard: A dollop of freshly whipped cream or a spoonful of rich crème anglaise (custard sauce) adds an extra layer of indulgence.
- Caramel Drizzle: For an extra touch of sweetness, drizzle some homemade or store-bought caramel sauce over the top just before serving.
- Powdered Sugar Dusting: A simple dusting of powdered sugar adds an elegant finish and a hint of extra sweetness.
- Maple Glaze: Whisk together powdered sugar with a touch of maple syrup and a splash of milk for a quick and easy maple glaze to drizzle over cooled pies.
- Coffee or Tea Companion: These mini pies make an excellent companion to your morning coffee or afternoon tea.
Explore More Delicious Apple Desserts
If you’re an apple enthusiast, you’re in luck! Apples are incredibly versatile, forming the base for countless comforting and delicious desserts. If you’ve enjoyed these apple hand pies, be sure to try some of our other favorite apple-inspired recipes:
- Easy Apple Coffee Cake with Cake Mix
- Apple Butter Muffins
- Caramel Apple Fudge
- Applesauce Cake
Tap stars to rate!
Recipe For Apple Hand Pies
Rate
Equipment
-
Glass Mixing Bowl
-
Pastry Cutter
-
Kitchen Scale
Ingredients
APPLE FILLING
- 2 heaping cups finely diced apples
- 2 Tbsp (29g) unsalted butter
- ⅓ cup (71g) packed brown sugar
- 1 ½ tsp cinnamon
- ½ tsp nutmeg
- ¼ tsp cloves
Crust
- 2 cups (240g) all purpose flour, we’ve also used King Arthur’s Gluten Free Flour with awesome success!
- ½ cup (56g) powdered sugar
- 2 tsp baking powder
- ½ tsp salt
- ¾ cup (170g) cold butter, cut into small cubes, 1 and 1/2 sticks
- 2 large egg yolks
- 2 Tbsp cold milk
Instructions
Apple Filling
-
Combine the diced apples, butter, brown sugar and all spices in a skillet over medium-low heat on the stove. Stir occasionally while mixture simmers, 5-7 minutes or until the apples are tender. Note: you can make the apple filling up to 3 days ahead of time and store in the fridge until ready to use.2 heaping cups finely diced apples, 2 Tbsp (29g) unsalted butter, 1/3 cup (71g) packed brown sugar, 1 1/2 tsp cinnamon, 1/2 tsp nutmeg, 1/4 tsp cloves
CRUST
-
In a large mixing bowl, combine the flour, powdered sugar, baking powder, and salt.2 cups (240g) all purpose flour, 1/2 cup (56g) powdered sugar, 2 tsp baking powder, 1/2 tsp salt
-
Using your fingers or pastry cutter, cut in the butter until the mixture is crumbly.3/4 cup (170g) cold butter, cut into small cubes
-
Add the egg yolks and milk, mix with spatula until the dough is just combined.2 large egg yolks, 2 Tbsp cold milk
-
It may be easier to divide the dough in half while rolling it out – its up to you! On a lightly floured surface, roll out the dough to about 1/8 inch thick. Use a 3 inch (or 4 inch) circle cookie cutter and cut out as many circles as you can. Re-roll the dough and cut more circles as needed.
-
Place the bottom crust of the hand pies on a silicone lined baking sheet about 2 inches apart. Add 1 & 1/2 to 2 tablespoons of apple filling to the center of each crust.
-
Before adding the top crust, use a butter knife to create air vent holes. The pattern of vent holes is up to you.
-
Place the top crust over the filling and use your fingers to crimp the edges, sealing the bottom and top crusts together.
-
Use a fork to create the decorative detail on the edges of the pies.
-
Place the baking sheet in the fridge for 30 minutes to chill the dough before baking!!
-
After 30 minutes, preheat the oven to 350º F.
-
Brush each pie with egg wash (1 egg mixed with 1 tbsp of water) and sprinkle with sanding sugar or sugar.
-
Bake for 18-22 minutes or until the pies begin to turn golden. Serve warm or cold.
Video
Watch the video below for a visual guide on how to prepare these delicious apple hand pies:
Notes
Nutrition
Nutrition Disclosure
All nutritional values are approximate and provided to the reader as a courtesy. Changing ingredients and/or quantities will alter the estimated nutritional calculations.
Love this recipe? Leave a rating and a comment below!