
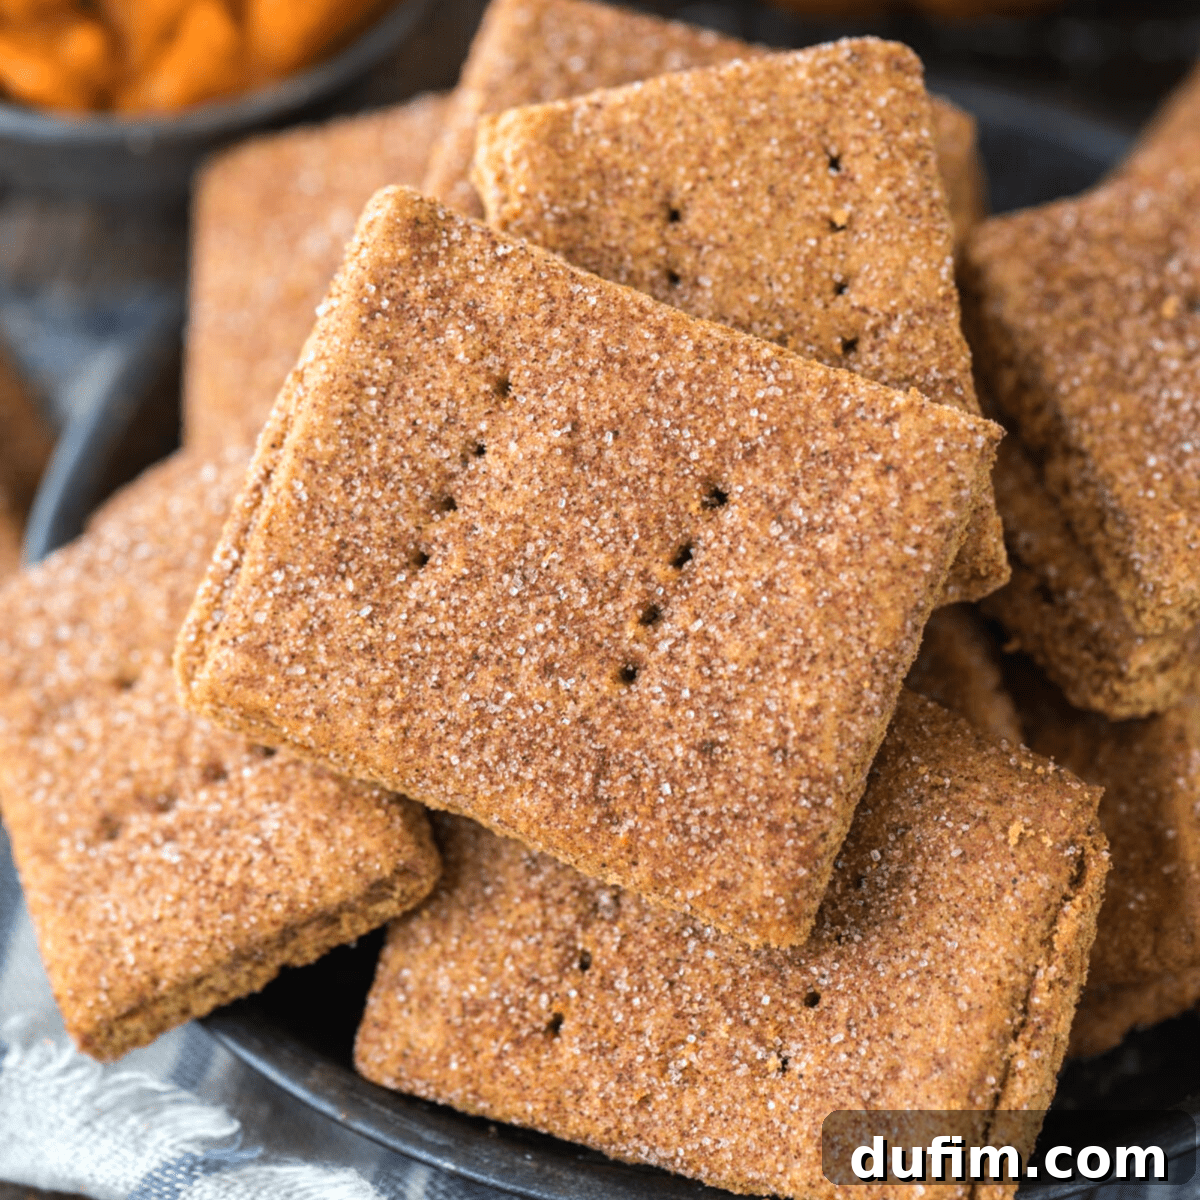
Irresistible Homemade Pumpkin Graham Crackers: Your Ultimate Fall Baking Guide
Embrace the cozy flavors of autumn with these delightful homemade pumpkin graham crackers! Infused with the perfect blend of pumpkin spice, these crackers offer a superior taste and texture that store-bought versions simply can’t match. What’s more, they are incredibly easy to make gluten-free with a simple flour substitution. Get ready to impress your family and friends with these seasonal treats all through the fall!
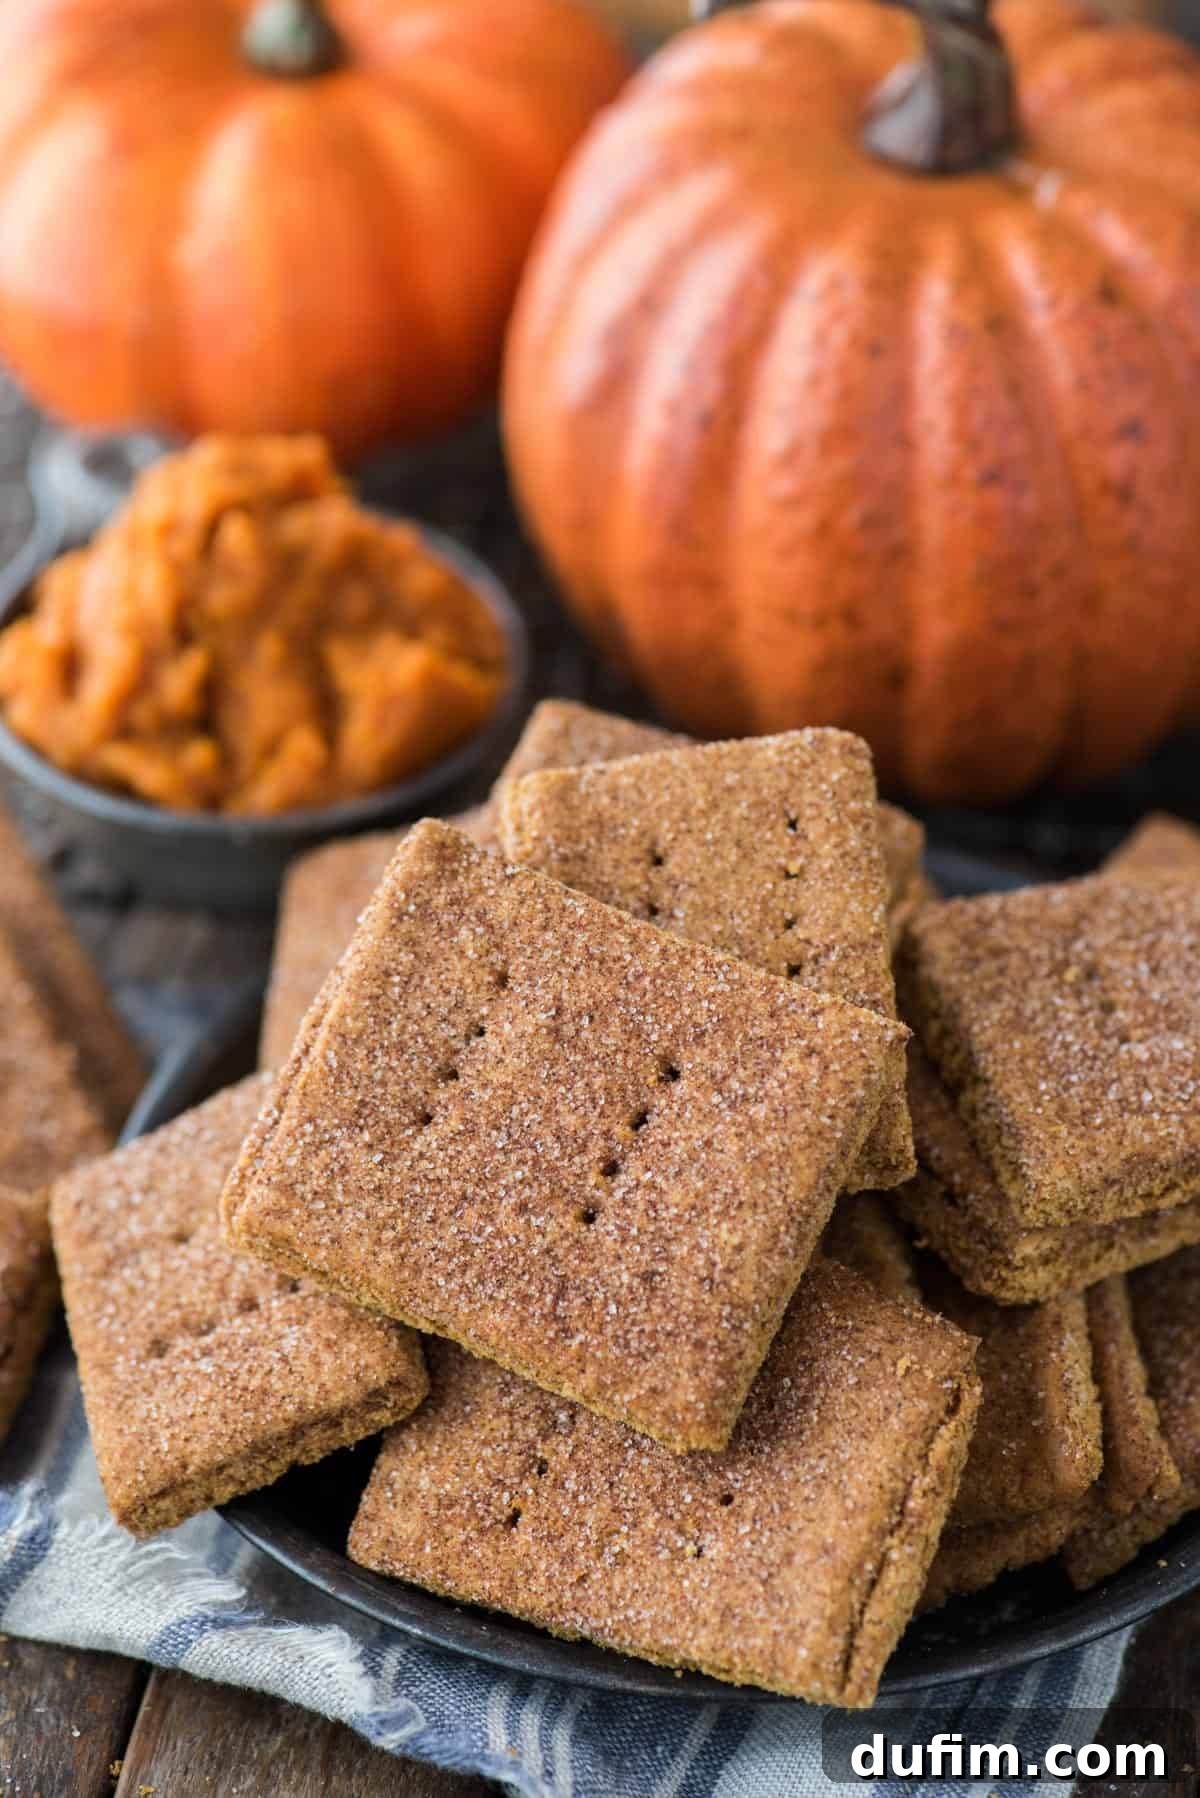
Unlock Your Inner Baker: The Joy of Homemade Graham Crackers
There’s a unique satisfaction that comes from baking something from scratch, especially a beloved classic like graham crackers. While grabbing a box from the store is undeniably quicker, the experience of crafting your own homemade graham crackers is incredibly rewarding. Not only do they taste exponentially better, but the process itself is a wonderful way to boost your kitchen confidence and create cherished memories, especially when baking with children.
Imagine the aroma of warm cinnamon, ginger, nutmeg, and allspice filling your home as these golden crackers bake. This isn’t just about making a snack; it’s about creating an experience, a sense of accomplishment, and a truly delicious treat tailored to your preferences. Whether you’re a seasoned baker or just starting out, this recipe is designed to guide you every step of the way, helping you channel your inner culinary pro.
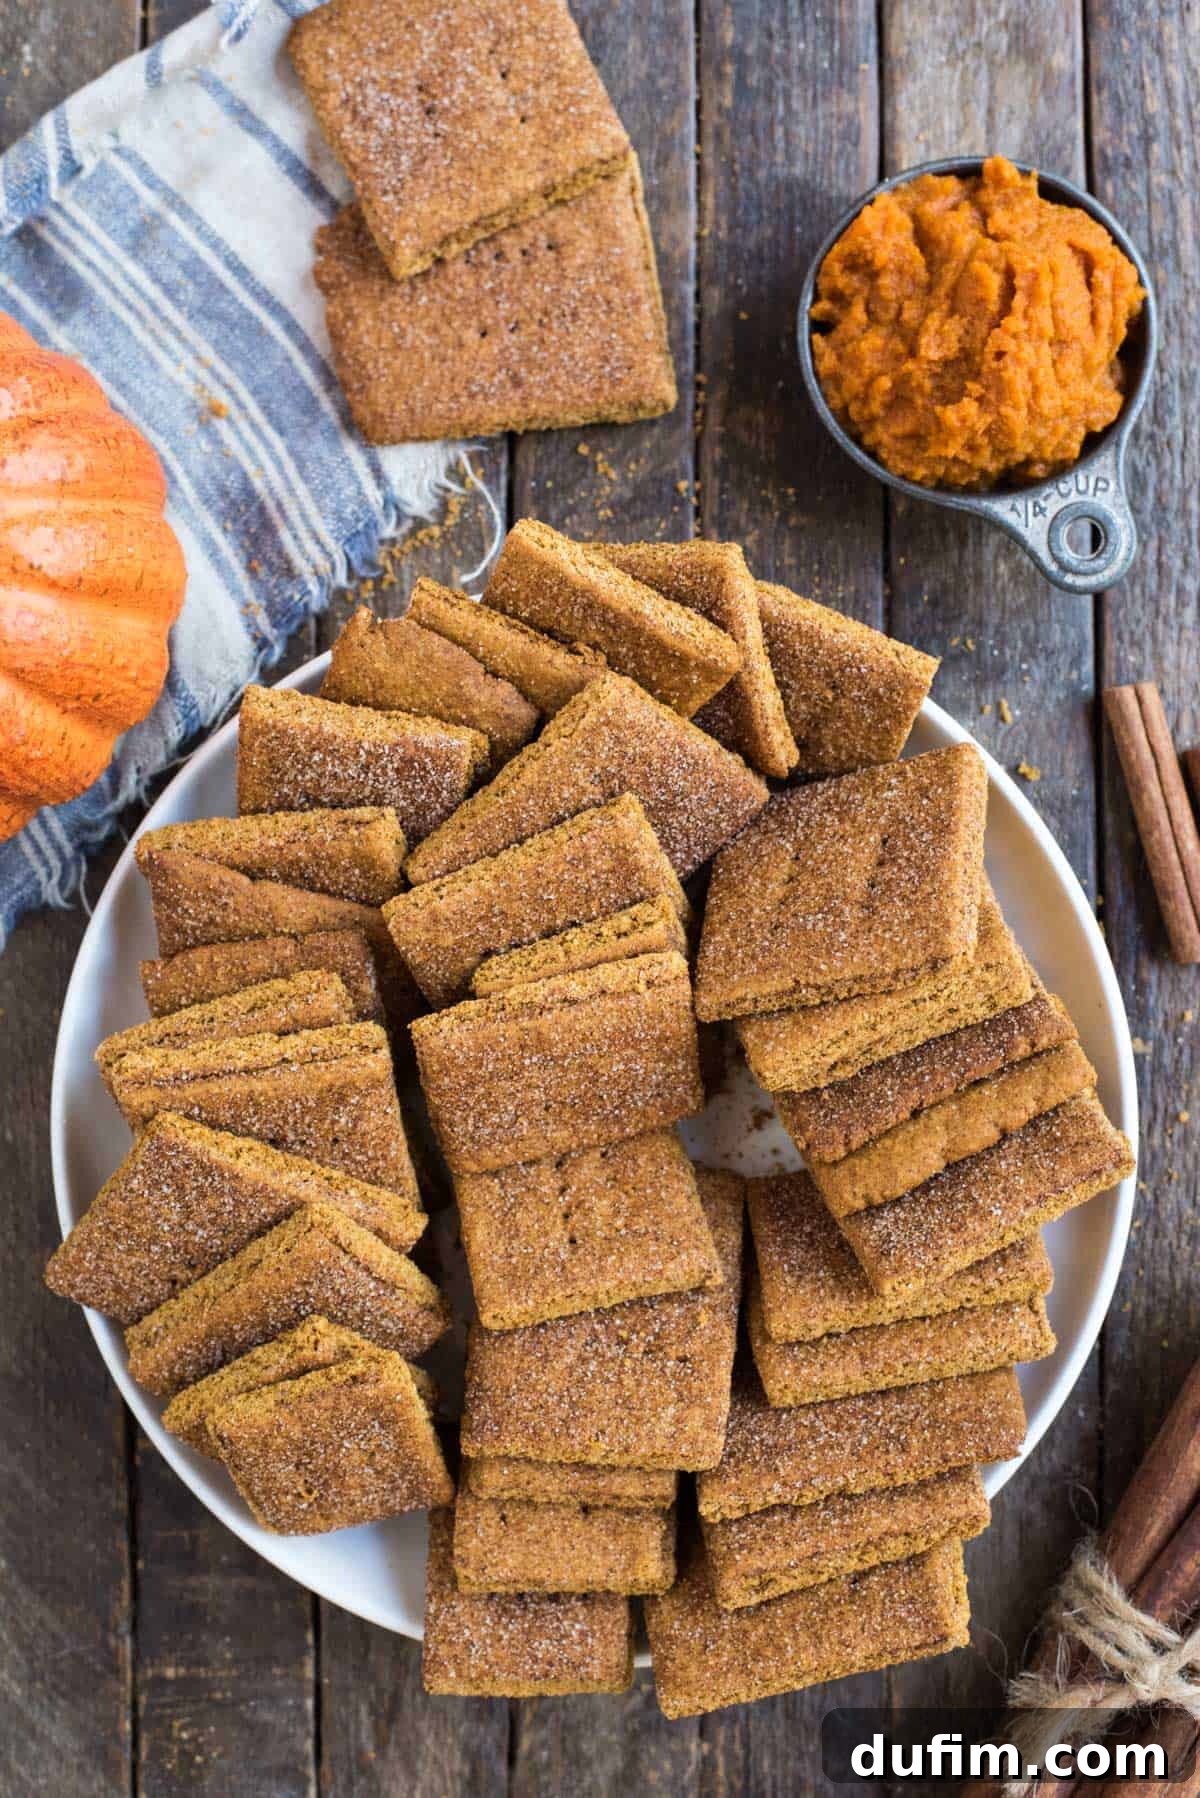
The Secret to Perfect Pumpkin Spice Graham Crackers: Your Texture, Your Choice
One of the most remarkable aspects of this pumpkin graham cracker recipe is its versatility when it comes to texture. Do you prefer a tender, slightly soft cracker that melts in your mouth, or a crisp, snappy graham perfect for dipping and crumbling? With this recipe, the power is in your hands!
The baking time is your secret weapon. For a delightful, softer cracker, aim for about 20 minutes in the oven. If you crave that satisfying crunch, extend the baking time to 25-28 minutes. It’s crucial to remember that your graham crackers will continue to firm up and become crunchier as they cool. So, if you’re unsure, slightly underbake them initially, let them cool, and if they’re not quite crispy enough, you can always pop them back in the oven for a few more minutes until they reach your desired crispness. This flexibility ensures every batch is just right for your palate.
Effortlessly Gluten-Free Baking: Pumpkin Graham Crackers for Everyone
Good news for those with gluten sensitivities or dietary preferences! These pumpkin graham crackers are incredibly easy to adapt to a gluten-free diet without sacrificing taste or texture. We’ve successfully experimented with King Arthur’s Gluten Free Measure for Measure Flour, achieving fantastic results. This particular blend is designed to be a direct, one-to-one substitute for traditional all-purpose flour, making the transition seamless.
When opting for gluten-free flour, ensure you choose a high-quality “measure for measure” or “1:1 baking blend” specifically formulated for replacing wheat flour in recipes. While the texture might have a slightly different chew, the rich pumpkin spice flavor remains just as prominent and delicious. This means everyone can enjoy the comforting taste of homemade fall treats, making these crackers a perfect addition to any gathering.
Precision in the Kitchen: How to Accurately Measure Flour
Accurate flour measurement is a cornerstone of successful baking, and it’s especially critical for achieving the perfect texture in your homemade graham crackers. Improperly measured flour can lead to dry, crumbly, or overly dense baked goods. The most reliable method is the “spoon and level” technique:
- **Spoon:** Use a spoon to gently scoop flour from its container into your dry measuring cup. Do not directly dip the measuring cup into the flour bag, as this compacts the flour.
- **Level:** Once the measuring cup is overflowing, use the flat side of a butter knife or a straight edge to level off the excess flour, ensuring it’s flush with the rim of the cup.
Avoid packing the flour into the cup. Both scooping directly from the bag and packing will add more flour than the recipe intends, leading to a drier dough that can be difficult to roll and result in tough crackers. For the ultimate precision, especially if you bake frequently, investing in a digital food scale is highly recommended. Measuring flour by weight (grams) eliminates any guesswork and ensures consistent results every time.
Unleash Creativity: Cutting Fun Shapes with Your Fall Graham Crackers
Who says graham crackers have to be plain squares? This recipe invites you to get creative in the kitchen! Using your favorite cookie cutters, you can transform these fall-flavored graham crackers into an array of exciting shapes. Imagine adorable pumpkins, autumn leaves, or even spooky ghosts for Halloween!
After cutting your shapes, don’t forget to gently poke a few holes in each cracker with a fork. This not only adds to the classic graham cracker aesthetic but also helps prevent them from puffing up excessively during baking, ensuring an even texture. Arrange your festive shapes on a silicone-lined baking sheet and bake for approximately 15 minutes. Keep a close eye on them, as smaller or thinner shapes may bake faster. You can always continue baking for a few extra minutes if you prefer a crispier result. This is a fantastic way to involve kids in the baking process and add a personalized touch to your treats.
The Art of Rolling Dough for Homemade Graham Crackers
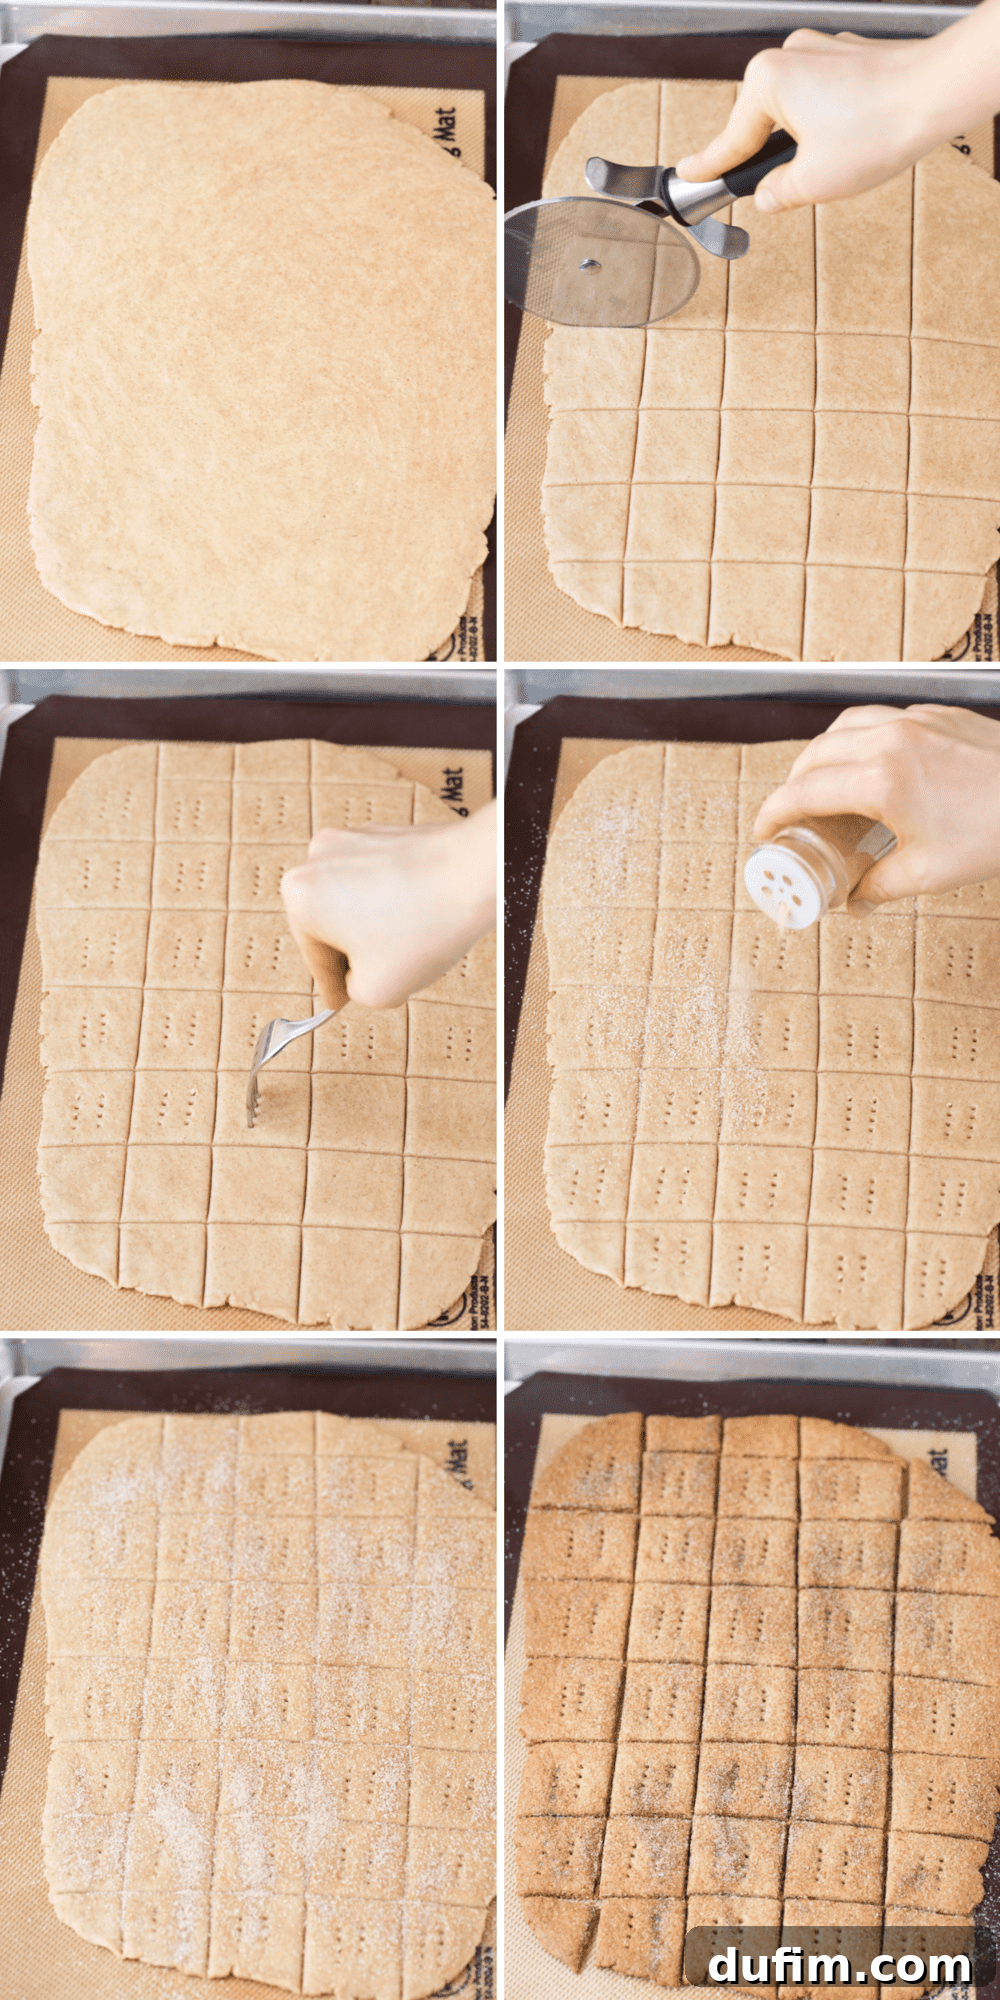
Rolling out graham cracker dough effectively is key to achieving that perfect uniform texture and prevents burning or undercooking. Here’s a detailed guide to my preferred method for rolling out homemade graham cracker dough:
- **Prepare Your Surface:** Begin by lightly sprinkling a small amount of all-purpose flour onto a silicone baking mat. A silicone mat is ideal as it prevents sticking and provides a clean, flexible surface. If you don’t have a silicone mat, parchment paper can also work well.
- **Divide and Flatten:** Take one half of your chilled dough and gently flatten it into a rough disk shape with your hands. Place this disk in the center of your prepared baking mat.
- **Flour Your Tools:** Lightly dust the top of the dough with a minimal amount of flour. Also, lightly coat your rolling pin with flour to prevent sticking. The goal is to use as little extra flour as possible to avoid drying out the dough, but enough to prevent it from adhering to your rolling pin and surface.
- **Even Rolling:** Begin gently rolling out the dough. Start from the center and roll outwards in all directions, rotating the mat or dough as needed to maintain an even thickness. Continue rolling until the dough is uniformly about 1/2 cm (approximately 1/5 inch) thick.
- **Thickness Matters:** It’s better to err on the side of rolling the dough slightly too thick than too thin. If the dough is rolled too thinly, it will cook much faster and become prone to burning, resulting in overly crunchy, brittle crackers. A slightly thicker dough ensures a more tender interior while still allowing for a pleasant crispness.
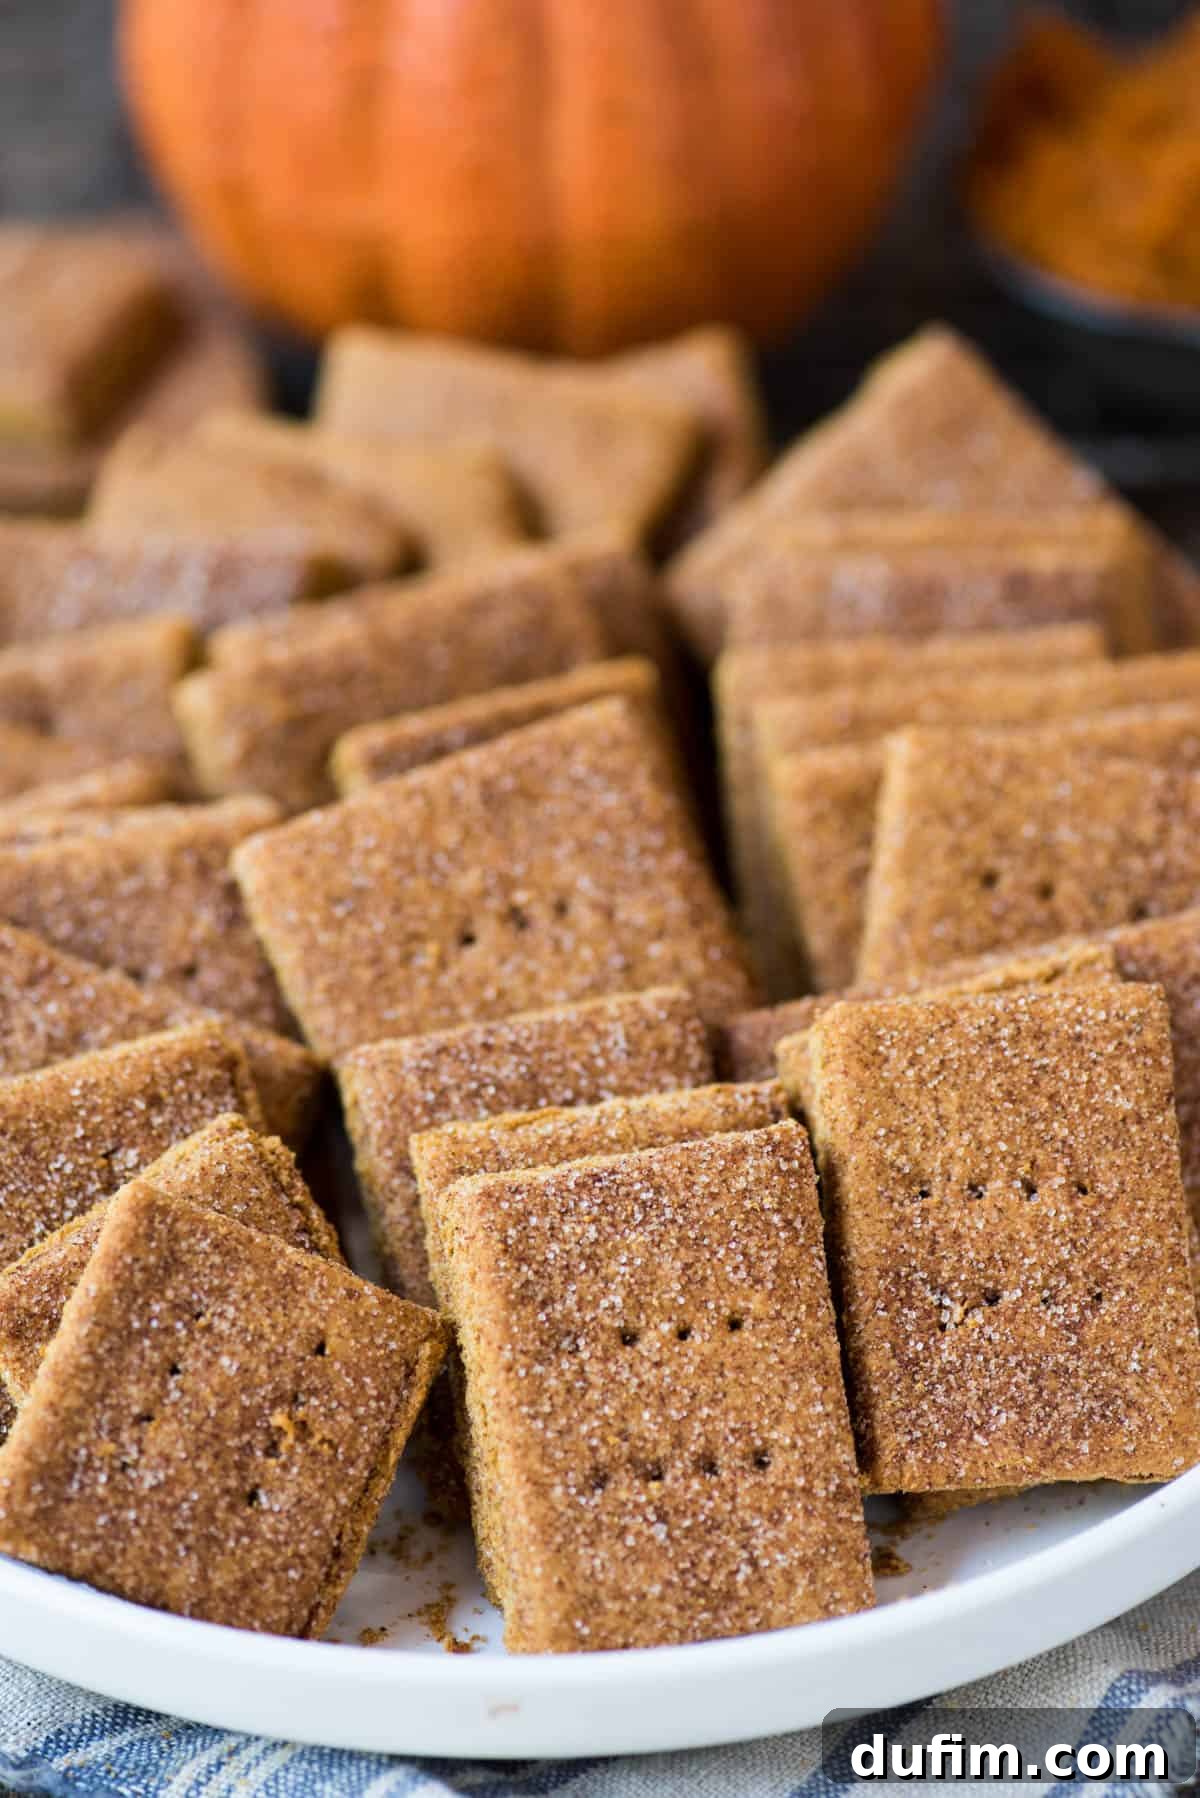
The Final Touches: Cutting and Seasoning Your Graham Crackers
Once your dough is perfectly rolled to the ideal thickness, it’s time to transform it into individual graham crackers. A pizza cutter is your best friend for this step, allowing for quick and clean cuts. You can freehand the cuts for a rustic look or use a ruler for precise, uniform squares – the choice is yours!
After cutting, use a fork to poke two distinct holes in the center of each cracker. This traditional step is not just for aesthetics; it helps the crackers bake evenly and prevents them from puffing up like pita bread. Next, generously sprinkle your freshly cut grahams with the fragrant cinnamon-pumpkin spice-sugar mixture. This topping not only adds a beautiful sparkle but also a burst of irresistible flavor.
Bake your crackers as directed in the recipe. Once they are done baking and still warm from the oven, quickly go back over your initial cut lines with the pizza cutter. This “rescoring” step is crucial because the crackers will be much easier to break apart cleanly once they have cooled completely, preventing uneven edges and breakage. Allow them to cool fully on the baking sheet before handling, and then enjoy your perfectly crafted pumpkin graham crackers!
Average rating: 4.84 from 6 ratings
Pumpkin Graham Crackers
Beth
45
20
1 5
50 crackers
Rate
These homemade pumpkin graham crackers are packed with pumpkin spice flavor and give store-bought grahams a run for their money! You can easily make these graham crackers gluten-free with GF all-purpose flour! Your family will love eating these pumpkin spice graham crackers all fall.
Equipment
-
Spatula
-
Silicone Baking Mat
-
Pastry Cutter
-
Glass Mixing Bowl
Ingredients
- 2 ¼ cups (270g) all purpose flour or gluten-free all purpose flour
- ½ cup (107g) packed brown sugar
- 1 tsp cinnamon
- ½ tsp ginger
- ¼ tsp nutmeg
- ¼ tsp allspice*
- ½ tsp baking soda
- ½ tsp salt
- 7 Tbsp (100g) unsalted butter, cold, cut into small pieces
- 4 ½ Tbsp pumpkin puree, not pumpkin pie filling
- 2 Tbsp honey (spray the tablespoon with non-stick spray before measuring the honey for easy release)
Pumpkin Spice Cinnamon Sugar Topping
- 2 Tbsp sugar
- 1 ½ tsp cinnamon
- 1 ½ tsp pumpkin pie spice
Instructions
-
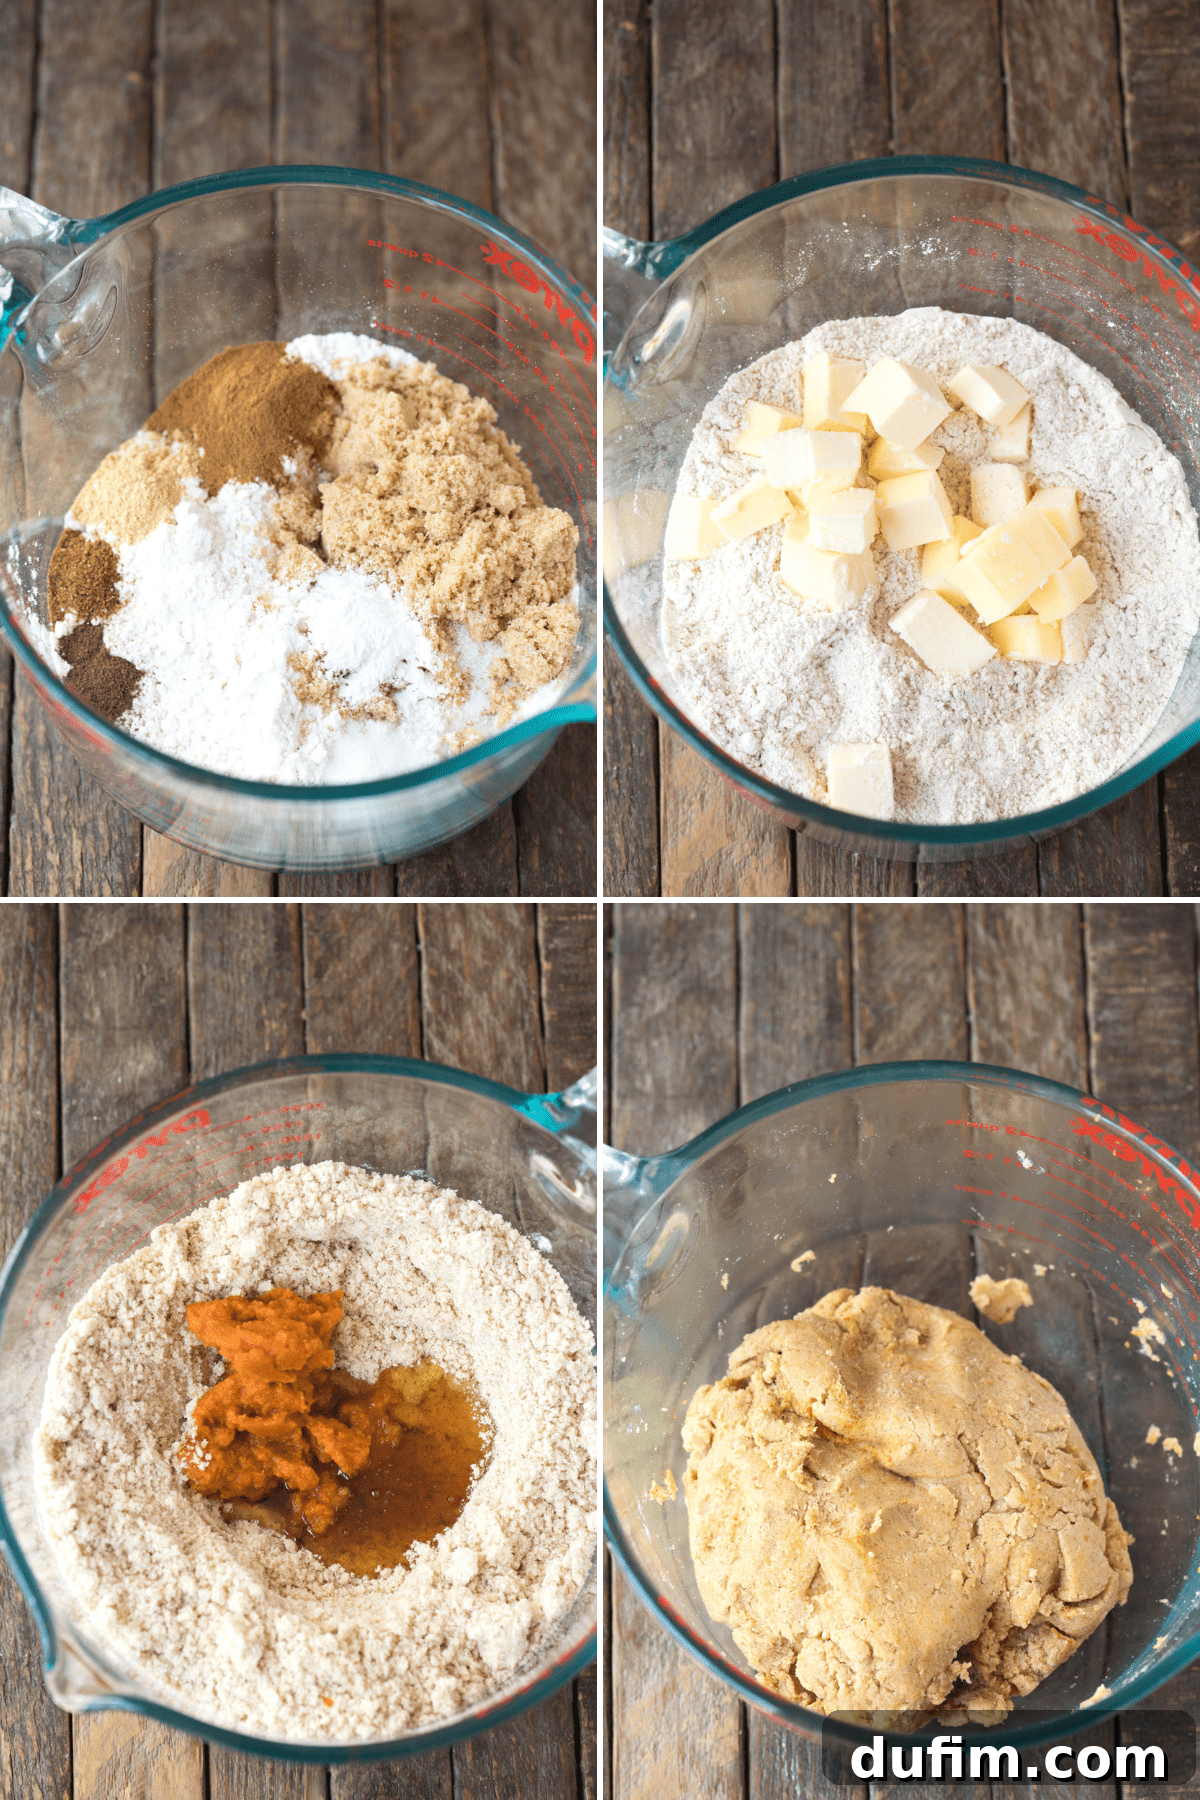
In a medium bowl, combine the flour, brown sugar, cinnamon, ginger, nutmeg, allspice, baking soda, and salt. (NOTE: You can substitute 2 tsp pumpkin pie spice for the cinnamon, ginger, nutmeg and allspice if preferred.)
-
Cut the cold butter into small pieces. Using your fingers or a pastry cutter, quickly cut the butter into the dry ingredients. Work swiftly to ensure the butter remains cold, stopping once you have pea-sized pieces of butter incorporated throughout the mixture.
-
Add the pumpkin puree and honey to the mixture. Stir to combine with a spatula until a thick dough forms. If the dough appears too dry, add water in ½ tsp increments until it comes together.
-
Divide the dough in half and gently shape each half into a flat disk. Wrap each disk tightly with plastic wrap and refrigerate for at least 30 minutes. Chilling the dough is essential as it firms up the mixture, making it much easier to roll out.
-
After 30 minutes, preheat your oven to 350° F (175° C). Remove one half of the dough from the fridge.
-
Lightly flour a silicone baking mat. Place one dough disk in the center, sprinkle lightly with flour, and dust your rolling pin. Gently roll the dough in all directions until it reaches a uniform thickness of about ½ cm (approx. 1/5 inch). Add more flour sparingly if needed to prevent sticking. Remember, it’s better for the dough to be slightly thicker than too thin to prevent burning.
-
Once the dough is rolled, use a pizza cutter to slice it into desired shapes (traditionally squares). You can eyeball the cuts or use a ruler for precision.
-
Poke each cracker twice with a fork. Then, generously sprinkle the surface with the pumpkin spice cinnamon sugar topping.
-
Bake for 18-20 minutes. For softer crackers, remove them at 20 minutes. For crunchier crackers, continue baking for an additional 5-8 minutes. Keep in mind that crackers will crisp up further as they cool. You can always re-bake cooled crackers if they’re not crunchy enough.
-
Immediately after removing the hot crackers from the oven, use the pizza cutter to re-score your previous cut lines. This will ensure they break cleanly once completely cool. Store your homemade pumpkin graham crackers in an airtight container to maintain freshness.
Notes
*Or use 2 teaspoons pumpkin pie spice in place of the individual cinnamon, ginger, nutmeg, and allspice measurements.
Nutrition
Calories: 48kcal | Carbohydrates: 8g | Protein: 1g | Fat: 2g | Saturated Fat: 1g | Polyunsaturated Fat: 1g | Monounsaturated Fat: 1g | Trans Fat: 1g | Cholesterol: 4mg | Sodium: 35mg | Potassium: 14mg | Fiber: 1g | Sugar: 3g | Vitamin A: 260IU | Vitamin C: 1mg | Calcium: 5mg | Iron: 1mg
Nutrition Disclosure
All nutritional values are approximate and provided to the reader as a courtesy. Changing ingredients and/or quantities will alter the estimated nutritional calculations.
Baking Success: Tips for Your Homemade Pumpkin Graham Crackers
To ensure your homemade pumpkin graham crackers turn out perfectly every time, keep these additional tips in mind:
- **Chilling is Crucial:** Don’t skip the refrigeration step! Cold dough is easier to handle, less sticky, and prevents the butter from melting too quickly, which is essential for a tender, flaky cracker.
- **Don’t Overwork the Dough:** Over-mixing or over-handling the dough can develop the gluten too much, leading to tough crackers. Mix just until combined and then chill.
- **Even Baking:** For uniformly baked crackers, ensure your oven is preheated fully and consider rotating your baking sheets halfway through the cooking time, especially if your oven has hot spots.
- **Storage:** Once completely cooled, store your graham crackers in an airtight container at room temperature for up to a week. For longer storage, you can freeze them for up to a month.
- **Troubleshooting Dry Dough:** If your dough feels too dry and crumbly after mixing, add very small amounts (½ tsp at a time) of water or milk until it just comes together.
Creative Ways to Enjoy Your Pumpkin Graham Crackers
These homemade pumpkin graham crackers are so much more than just a snack. Their rich flavor and delightful crunch make them incredibly versatile. Here are some ideas to enjoy your freshly baked treats:
- **Classic S’mores:** Elevate your s’mores game! The pumpkin spice flavor pairs incredibly well with toasted marshmallows and chocolate for an autumn twist on a campfire favorite.
- **Pie Crust Perfection:** Crush them into crumbs to create a unique and flavorful base for pumpkin cheesecakes, key lime pies, or any no-bake dessert.
- **Yogurt or Ice Cream Topping:** Break them into pieces and sprinkle over vanilla yogurt, pumpkin ice cream, or a parfait for added texture and a burst of fall flavor.
- **Dippers Delight:** Serve them alongside cream cheese dips, fruit salsas, or even a warm mug of hot chocolate.
- **Simple Snacking:** Sometimes, the best way to enjoy them is simply on their own, perhaps with a cup of coffee or tea, allowing their homemade goodness to shine.
A Fall Baking Tradition in the Making
Making homemade pumpkin graham crackers is an incredibly fulfilling activity that yields truly delicious results. From the comforting aroma that fills your kitchen to the joy of sharing these perfectly spiced treats with loved ones, every step is a delight. Whether you’re aiming for soft or crunchy, gluten-free or traditional, this recipe provides the flexibility and guidance you need to succeed.
So, this fall, step into your kitchen with confidence, gather your ingredients, and embark on a baking adventure that promises warmth, flavor, and unforgettable moments. These pumpkin graham crackers are more than just a recipe; they’re an invitation to create new traditions and savor the magic of the season. Don’t hesitate to give this recipe a try and experience the superior taste of homemade goodness!