

Want an incredibly easy royal icing that simplifies your decorating process by requiring no meringue powder or raw eggs? This foolproof, corn-syrup based royal icing recipe is your secret weapon for beautifully decorated sugar cookies, festive gingerbread, and all your holiday baking needs. It hardens perfectly, offering a stunning glossy finish without the fuss. Below, you’ll find the complete recipe along with invaluable tips to master your icing consistency and achieve spectacular results every single time.

This was the best, easiest and most FUN icing! Thank you for making my mommying life easier while getting to make memories with my kiddos!
-Hope
Discover Your Go-To Royal Icing: A Meringue Powder-Free Recipe You’ll Adore
For years, as a dedicated cookie decorator, one of my biggest hurdles was finding a royal icing recipe that delivered professional results without the need for meringue powder or liquid egg whites. I yearned for a solution that was straightforward, consistently reliable, and utilized ingredients readily available in my pantry. After countless rounds of experimentation—meticulously adjusting powdered sugar ratios, fine-tuning corn syrup quantities, and experimenting with various consistencies—I finally perfected this recipe. It dries beautifully hard, maintains its shape flawlessly for intricate piping details, and is incredibly forgiving, making it ideal for both novice and experienced decorators alike.
My extensive testing covered all essential consistencies: outlining, flooding, and fine detail piping. This ensures that the recipe is easily adaptable to whatever decorating style you envision. Whether you need a thick consistency for borders or a thinner one for smooth fills, I’ve included simple, effective adjustments that guarantee the perfect texture every time. Say goodbye to guesswork and hello to confidence in your cookie creations!
This unique no-meringue-powder royal icing has become an indispensable part of my kitchen, especially during the bustling holiday season when I find myself decorating dozens, if not hundreds, of cookies. It dries firm enough for effortless stacking and packaging, yet retains a desirable smooth, slightly glossy finish that elevates any cookie. The overwhelming positive feedback from my readers, who have successfully used it on everything from classic sugar cookies to spiced gingerbread, confirms its reliability, ease of mixing, and suitability for decorators of all skill levels. My ultimate goal is to provide you with a recipe that performs flawlessly, allowing you to immerse yourself fully in the joyful and creative process of decorating.
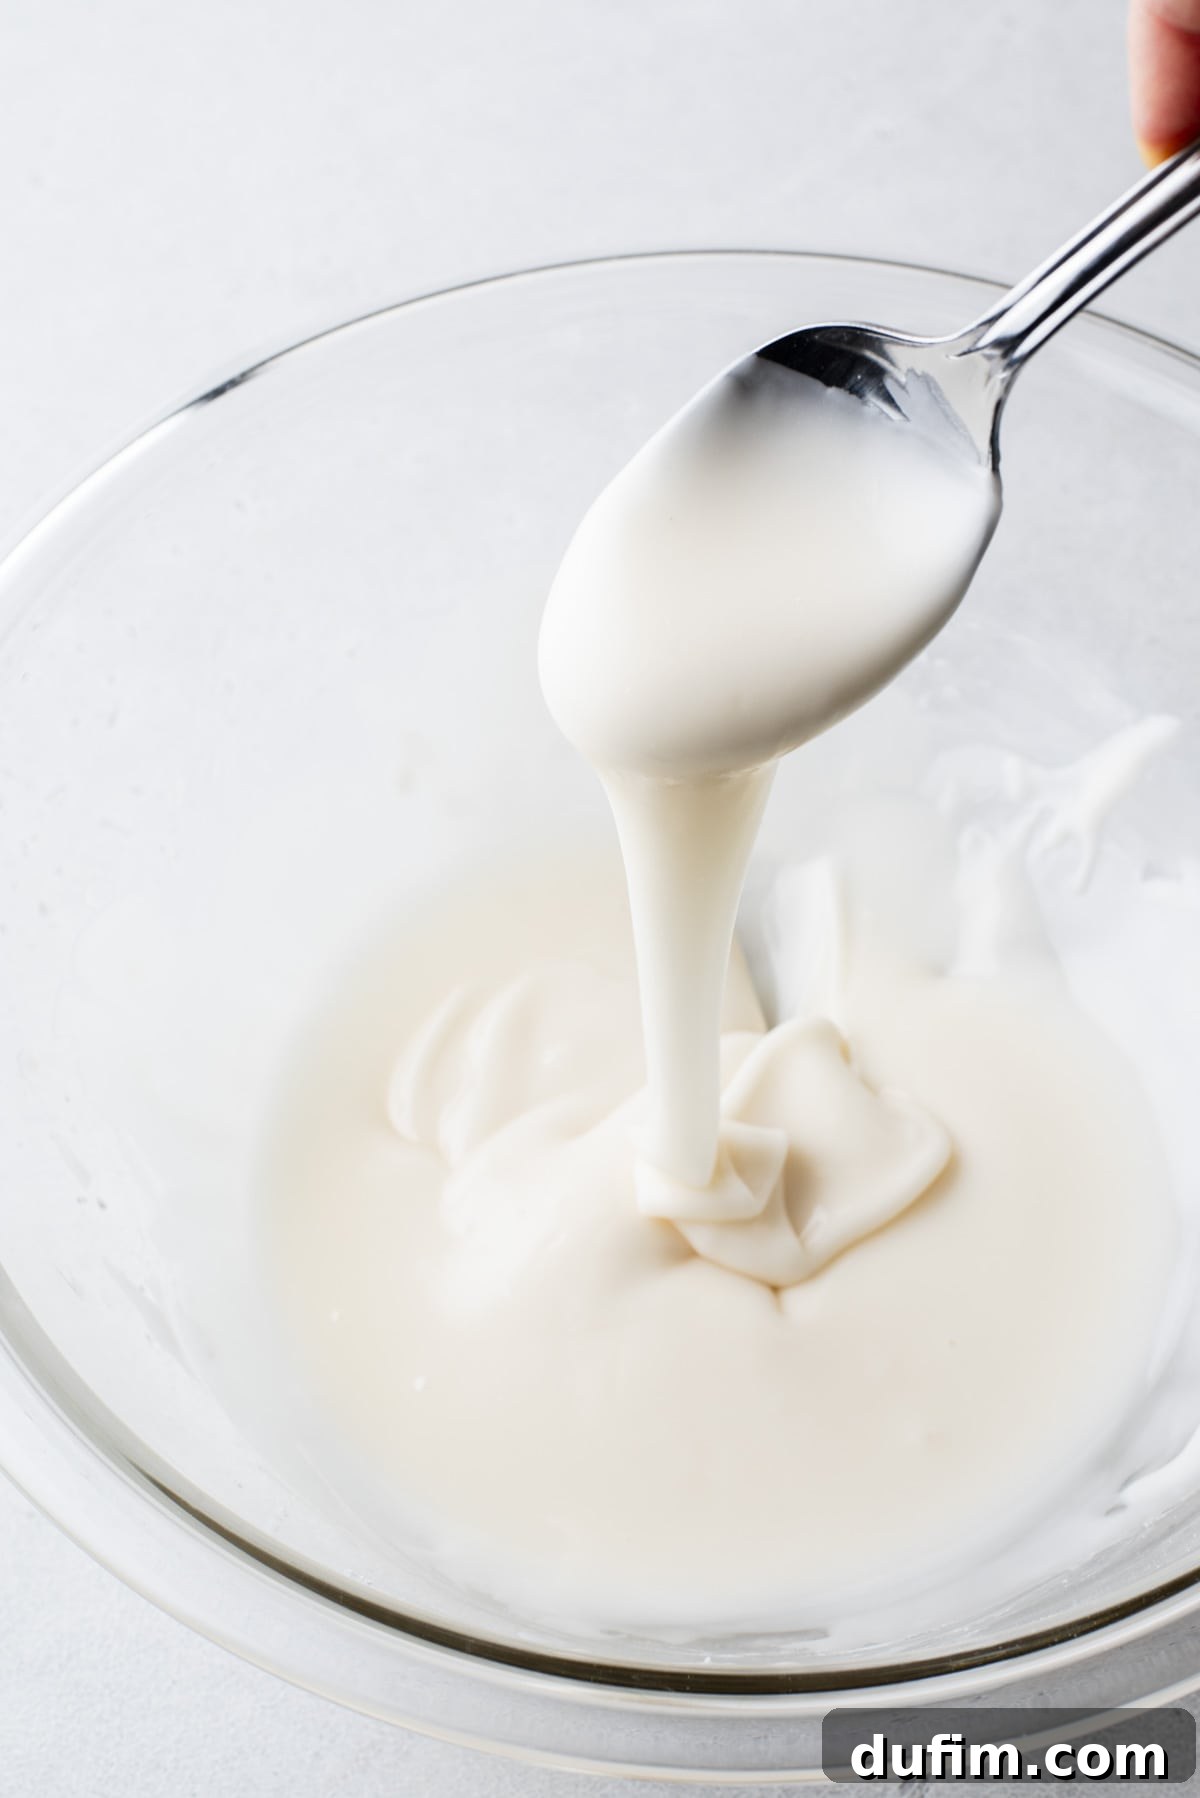
Here are just a few compelling reasons why this will become your favorite royal icing recipe:
- Quick & Easy: Ready in just 10 minutes, making it perfect for last-minute decorating.
- Minimal Ingredients: Requires only 4 simple ingredients, plus optional coloring.
- Perfect Consistency Every Time: Detailed expert tips guide you to achieve ideal outlining, flooding, and piping consistencies.
- Effortless Storage: Bonus tips ensure your leftover icing stays fresh and ready for future use.
- Beginner-Friendly: Foolproof steps guarantee perfect results, even if you’re new to cookie decorating.
- No Meringue Powder: Avoids hard-to-find ingredients, making it accessible for everyone.
- Reliably Hard-Drying: Achieve that classic, crisp royal icing finish that’s essential for stacked and packaged cookies.

What Exactly is Royal Icing? Understanding this Versatile Confection
Royal icing is a classic, hard-setting confectionary glaze known for its sweet taste and smooth, opaque finish. Traditionally, it’s made from powdered sugar, egg whites (or meringue powder), and sometimes a touch of lemon juice or vinegar. It’s incredibly versatile and most famously used to decorate sugar cookies, gingerbread cookies, and elaborate gingerbread houses. Its ability to be easily colored and its unique property of drying to a firm, durable finish makes it perfect for creating intricate designs, delicate details, and a variety of textures on baked goods. While traditional recipes often use raw egg whites or meringue powder for structure and stability, this innovative recipe achieves the same beautiful, hard-setting results using a simple pantry staple: corn syrup. This ensures safety and accessibility without compromising on quality or appearance, making it the ideal choice for creating stunning, professional-looking sugar cookies and other festive treats.
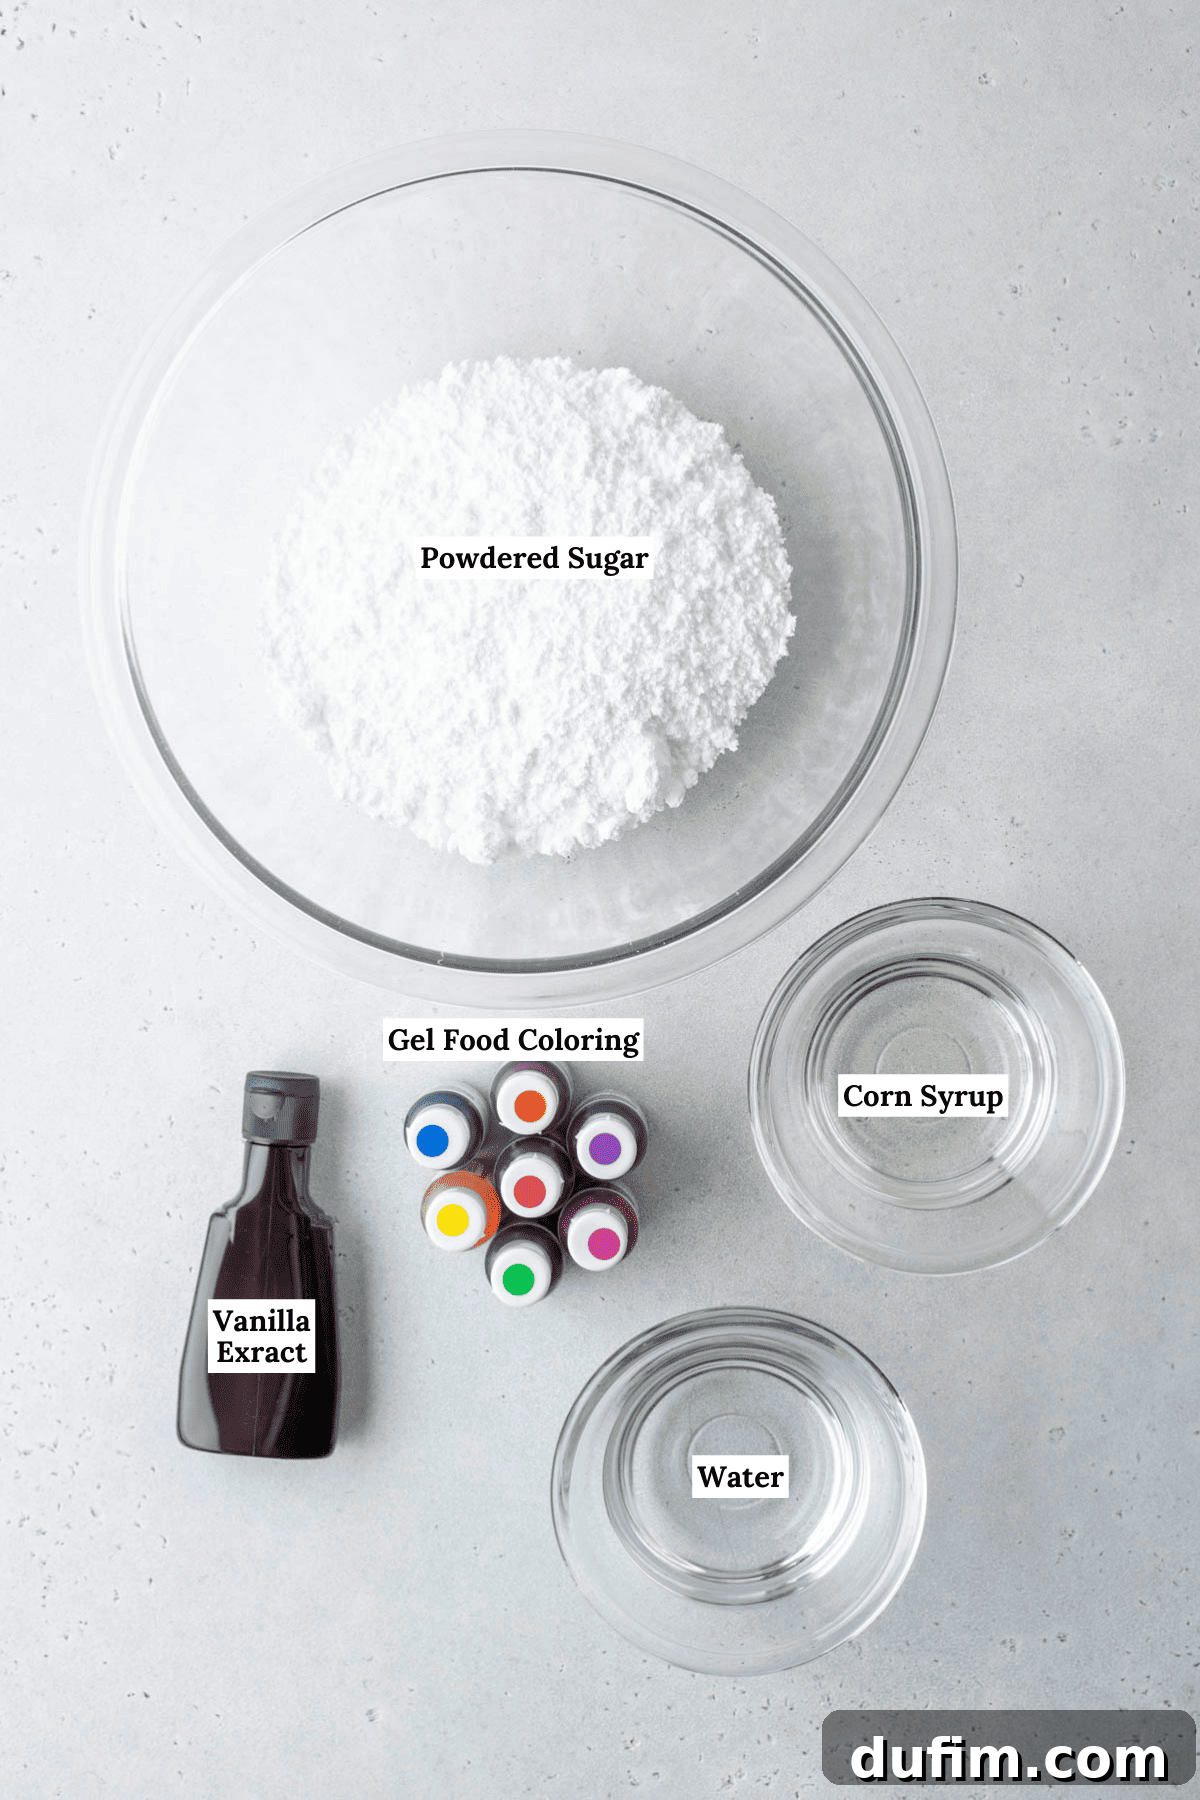
Essential Ingredients for Your Perfect Royal Icing
This incredibly simple royal icing recipe relies on just four basic ingredients, which you likely already have on hand. For vibrant designs, you’ll also want some optional gel food colors and squeeze bottles for precision decorating and convenient storage. Continue reading for my comprehensive expert tips on achieving flawless results, and find the full recipe with precise measurements and detailed directions in the recipe card below.
The Four Core Ingredients:
- Powdered Sugar (Confectioners’ Sugar): The foundation of our icing, providing sweetness and structure. Sifting is highly recommended for a truly smooth consistency.
- Milk or Warm Water: Used to thin the icing and achieve the desired consistency. Start with milk for a slightly richer flavor, or warm water for a neutral base.
- Corn Syrup: Our “secret ingredient” that replaces meringue powder or egg whites. It’s crucial for achieving that beautiful sheen and ensuring the icing dries hard and stable.
- Vanilla or Almond Extract: Adds delicious flavor. Vanilla is a classic choice, while almond extract offers a distinct, complementary taste, especially with sugar cookies.
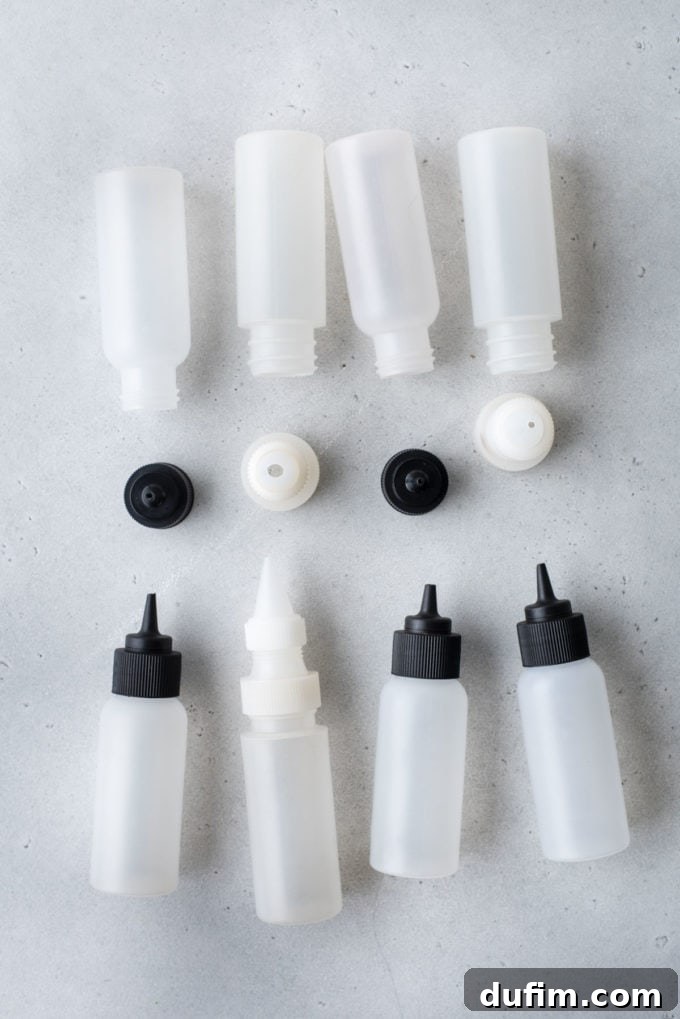
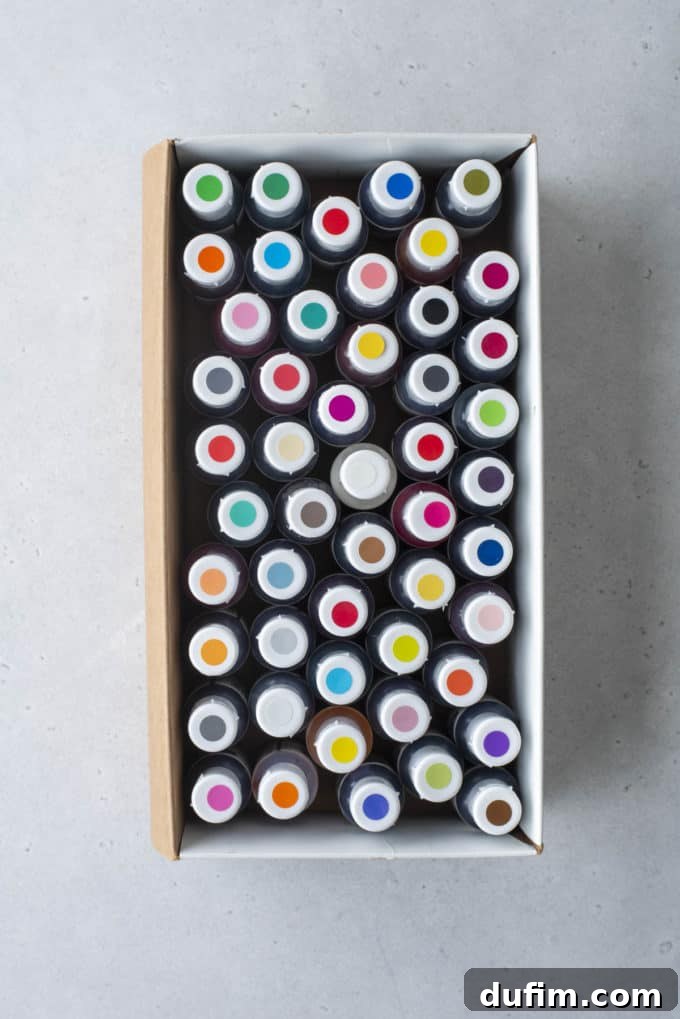
Recommended Optional Supplies for Easy Decorating
- Gel Food Coloring: Unlike liquid food coloring, gel colors are highly concentrated and won’t thin your icing. They provide vibrant hues without altering consistency, which is crucial for royal icing.
- Squeeze Bottles: These are game-changers for royal icing. They offer incredible control for outlining and flooding, are easy to fill, and come with caps for convenient storage.
- Piping Bags and Tips: If you prefer traditional piping, high-quality piping bags and various decorating tips (like PME, Wilton, or Ateco) can help you create stunning intricate details.
- Toothpicks or Scribes: Essential tools for spreading icing into corners, popping air bubbles, and creating marbled or detailed designs.
- Sifter: Sifting your powdered sugar ensures a lump-free, super smooth icing, which is key for a flawless finish.
Mastering Royal Icing: Your Step-by-Step Guide Without Meringue Powder
Crafting this smooth, hard-setting royal icing is remarkably straightforward, involving just a few easy steps. The fourth step focuses on smart storage to keep your creations fresh and your workflow efficient.
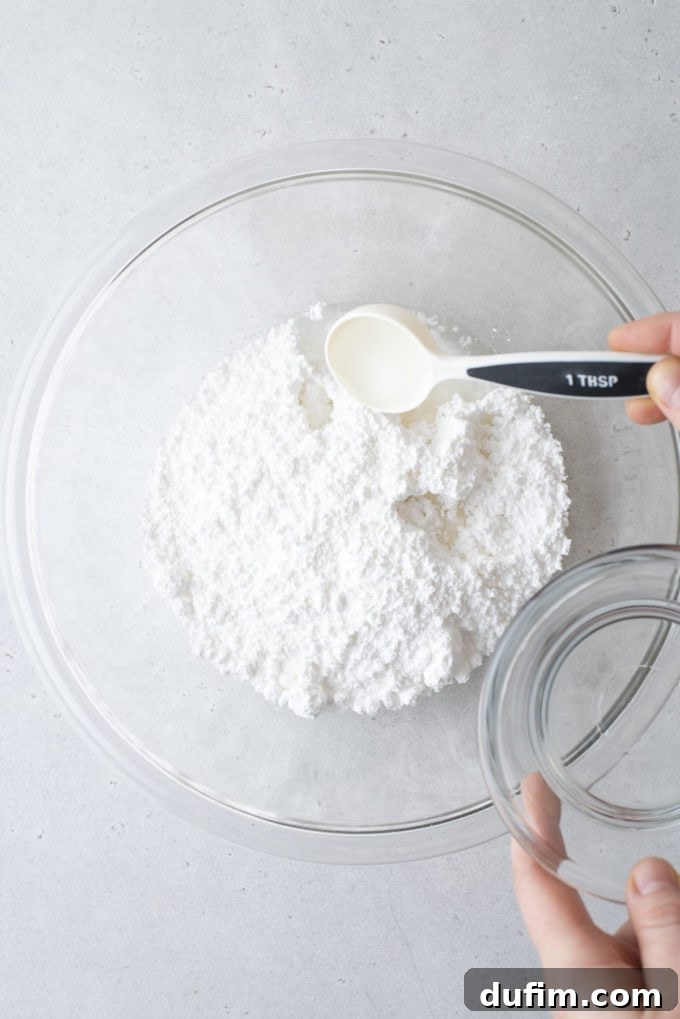
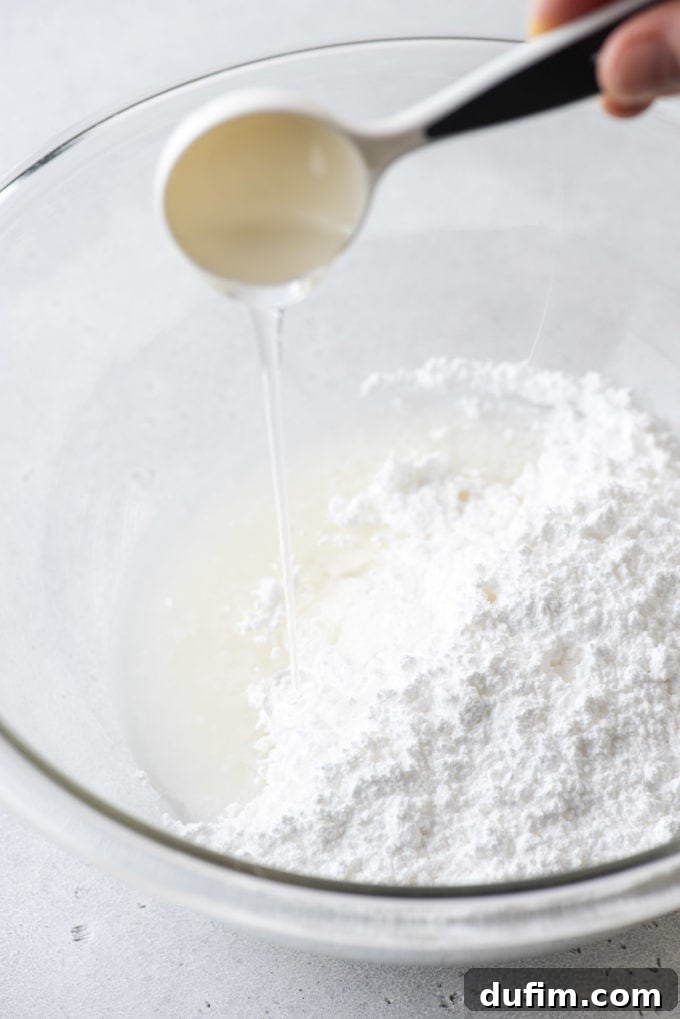
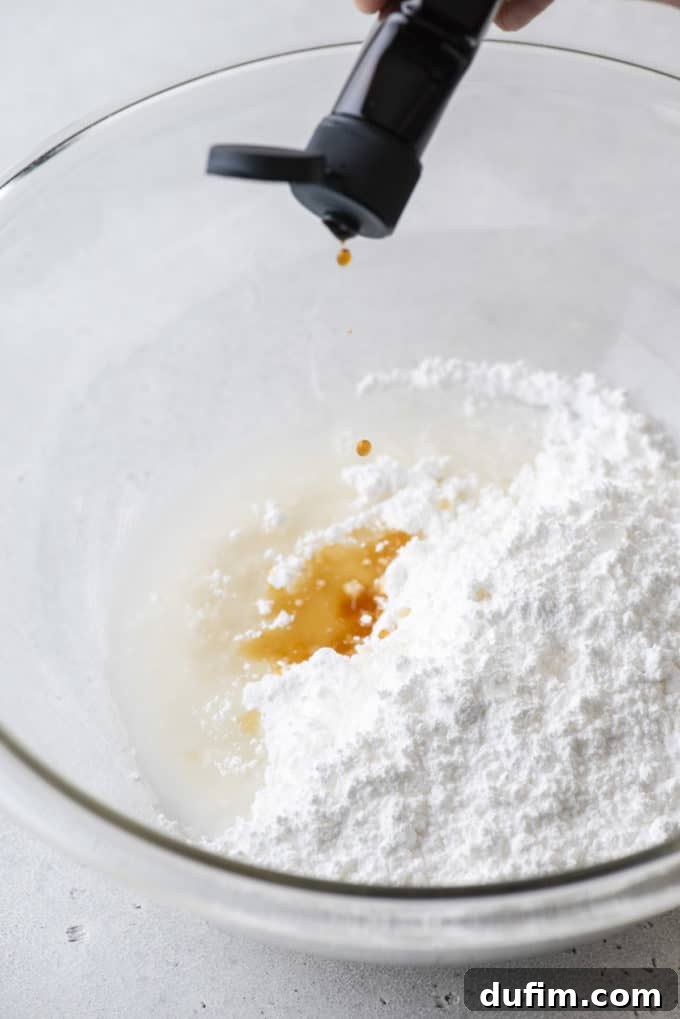
- Combine All Ingredients (Except Food Coloring): In a medium to small mixing bowl, combine the powdered sugar, milk (or warm water), corn syrup, and vanilla (or almond) extract. Using a spatula or an electric mixer on low speed, mix these ingredients until they are completely smooth and free of any lumps. Ensure your powdered sugar is sifted beforehand for the smoothest result.
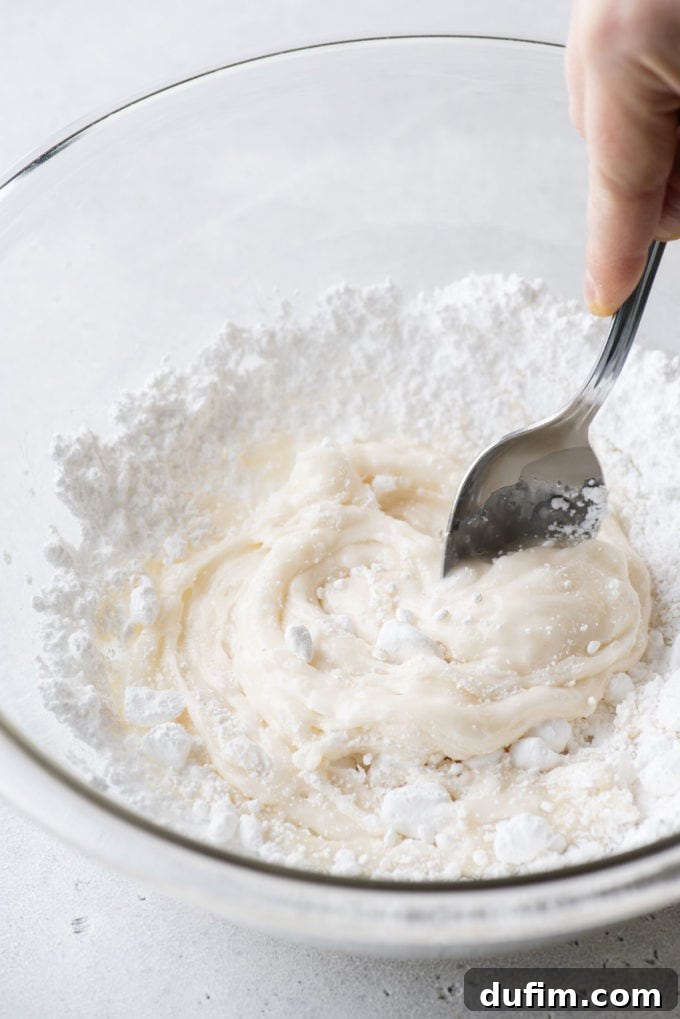
- Achieve Your Desired Consistency: This is where the magic happens! The initial mixture will be quite thick, similar to an outlining consistency. To thin it for flooding or finer details, add more milk or water, one teaspoon at a time, mixing thoroughly after each addition. If you accidentally make it too thin, simply add a tablespoon of powdered sugar at a time to thicken it back up. The ideal “flood” consistency is achieved when you lift your spoon or mixing utensil, and the icing that falls back into the bowl disappears and becomes smooth within 5 to 10 seconds. This is often referred to as the “5-10 second rule.” A thicker consistency (for outlining) will take longer to smooth out, while a thinner consistency (for very fine details) will smooth almost instantly.
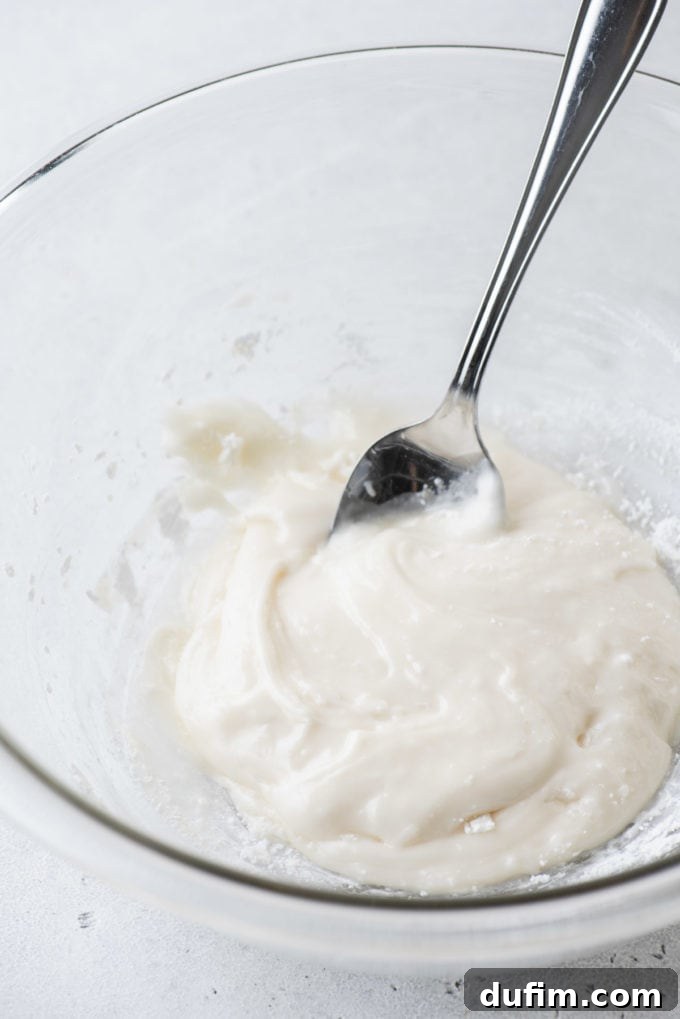
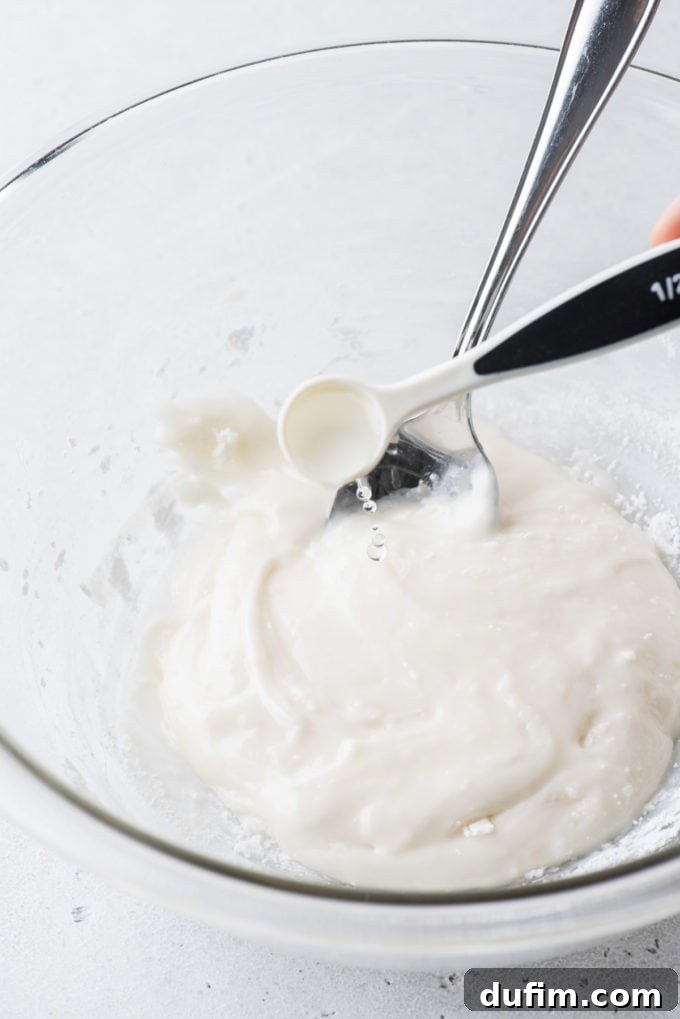
- Divide and Color Your Icing: Once you have your primary batch of icing, divide it into separate bowls, one for each color you plan to use. Add your chosen gel food coloring sparingly with a toothpick, mixing well until you achieve the desired shade. Remember, a little gel goes a long way. After coloring, carefully transfer the icing into squeeze bottles or piping bags, ready for decorating.
- Store for Freshness: Proper storage is key to extending the life of your royal icing. I highly recommend using squeeze bottles, as their design allows you to cut the tips to various widths for different applications, and many come with convenient caps. If your bottles don’t have caps, or if you’re using piping bags, cover the openings with a small piece of damp paper towel before sealing them in an airtight container. This prevents the icing from drying out and forming a crust overnight.
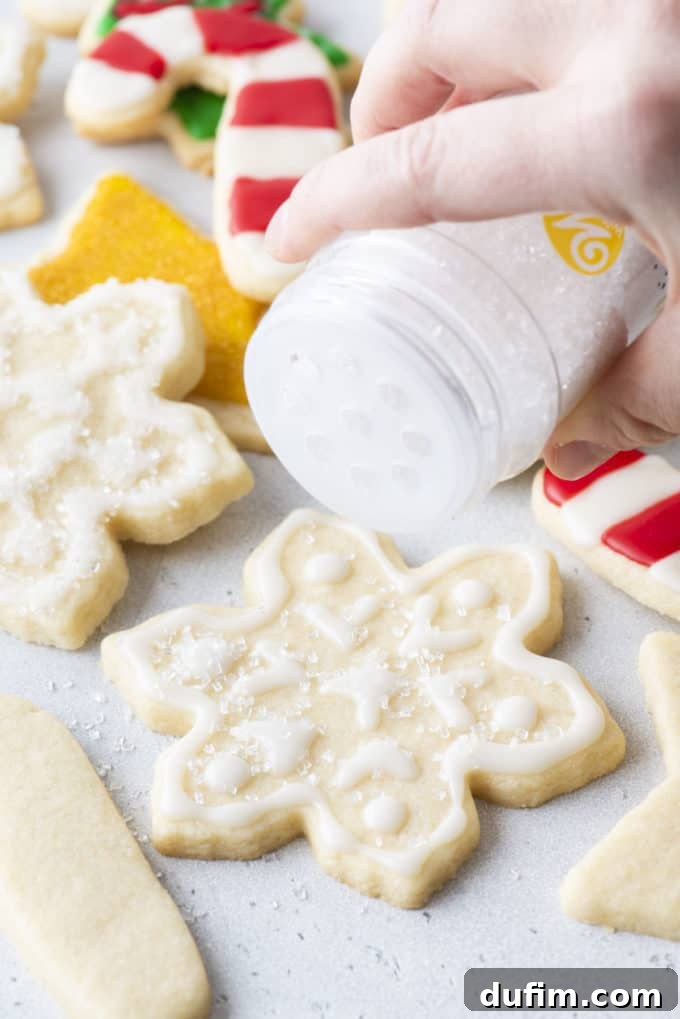

Creative Applications: How to Use This Versatile Royal Icing
This classic royal icing recipe isn’t just easy to make; it’s also incredibly versatile for decorating a wide array of baked goods. Its ability to dry hard and smooth opens up a world of creative possibilities. Here are some of my favorite and most popular ways to utilize this fantastic icing:
- Elevate Your Sugar Cookies: Transform simple sugar cookies into edible works of art. Try it with my easy and delicious sugar cookie recipe, these perfectly shaped cut-out sugar cookies, or my equally tasty and easy-to-make gluten-free sugar cookies!
- Perfect Your Gingerbread Creations: Whether you’re making individual cookies or constructing a festive house, this icing acts as both a delicious decoration and a sturdy edible “glue.” It’s ideal for my soft and chewy gingerbread cookies.
- Construct and Decorate Gingerbread Houses: This icing is strong enough to hold together the walls and roof of your gingerbread house while also providing a beautiful snowy or festive finish. Check out all my best gingerbread house decorating tips here for inspiration!
- Adorn Your Oreo Balls: Add a festive touch to your no-bake treats. This icing is fantastic for decorating my gingerbread men Oreo balls, charming candy cane Oreo balls, and adorable Christmas present Oreo balls.
- Unleash Your Creativity: Don’t limit yourself to just cookies! Get creative with different recipes like my whimsical Easter egg rice krispies, charming Nilla wafer snowman cookies, or these delightful maple acorn cookies. The possibilities are endless!

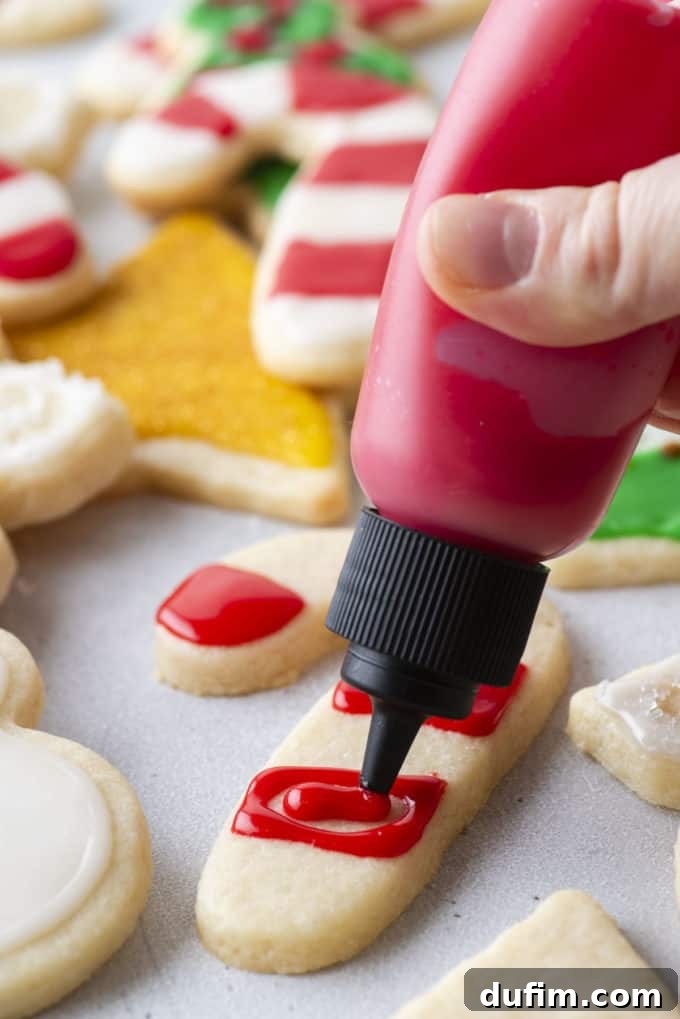

Pro Tip: When working with royal icing, especially for detailed designs, toothpicks are incredibly useful! They come in handy for nudging icing into tight spots, spreading thinner consistencies evenly, and correcting minor mistakes to keep those intricate design details perfectly intact.
Maximizing Freshness: How to Properly Store Your Royal Icing
Proper storage is essential to extend the life of your royal icing, whether you’re working on a multi-day project or saving leftovers. If you find yourself with extra icing that you don’t use up in one day, I highly recommend storing it in squeeze bottles. These bottles are not only excellent for decorating due to their customizable tip widths, but many also come with caps, making storage incredibly convenient. When storing, always cover the tops of the squeeze bottles with a small piece of damp paper towel (if they don’t have caps) before sealing, or if storing in bowls, cover the surface of the icing directly with plastic wrap to prevent air exposure and keep it from drying out.
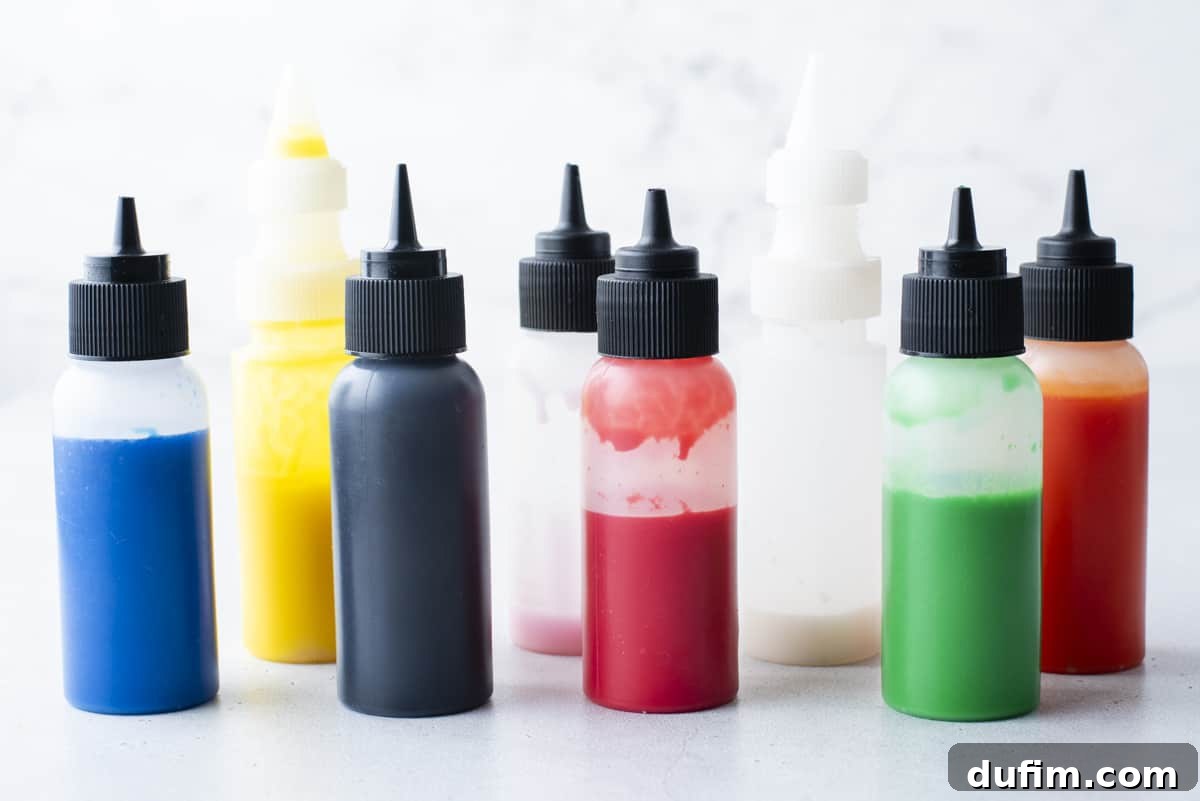
This particular royal icing can be made 2-3 days in advance of your decorating session. Store it securely in an airtight container in the refrigerator to maintain its freshness. When you’re ready to use it, simply remove it from the fridge and allow it to come to room temperature. A gentle stir might be needed to bring it back to a uniform consistency. If, at this point, you find the icing too thick for your needs, slowly add a few drops of water at a time, mixing carefully until you reach your desired consistency. Avoid adding too much water at once, as it’s easier to thin than to thicken.
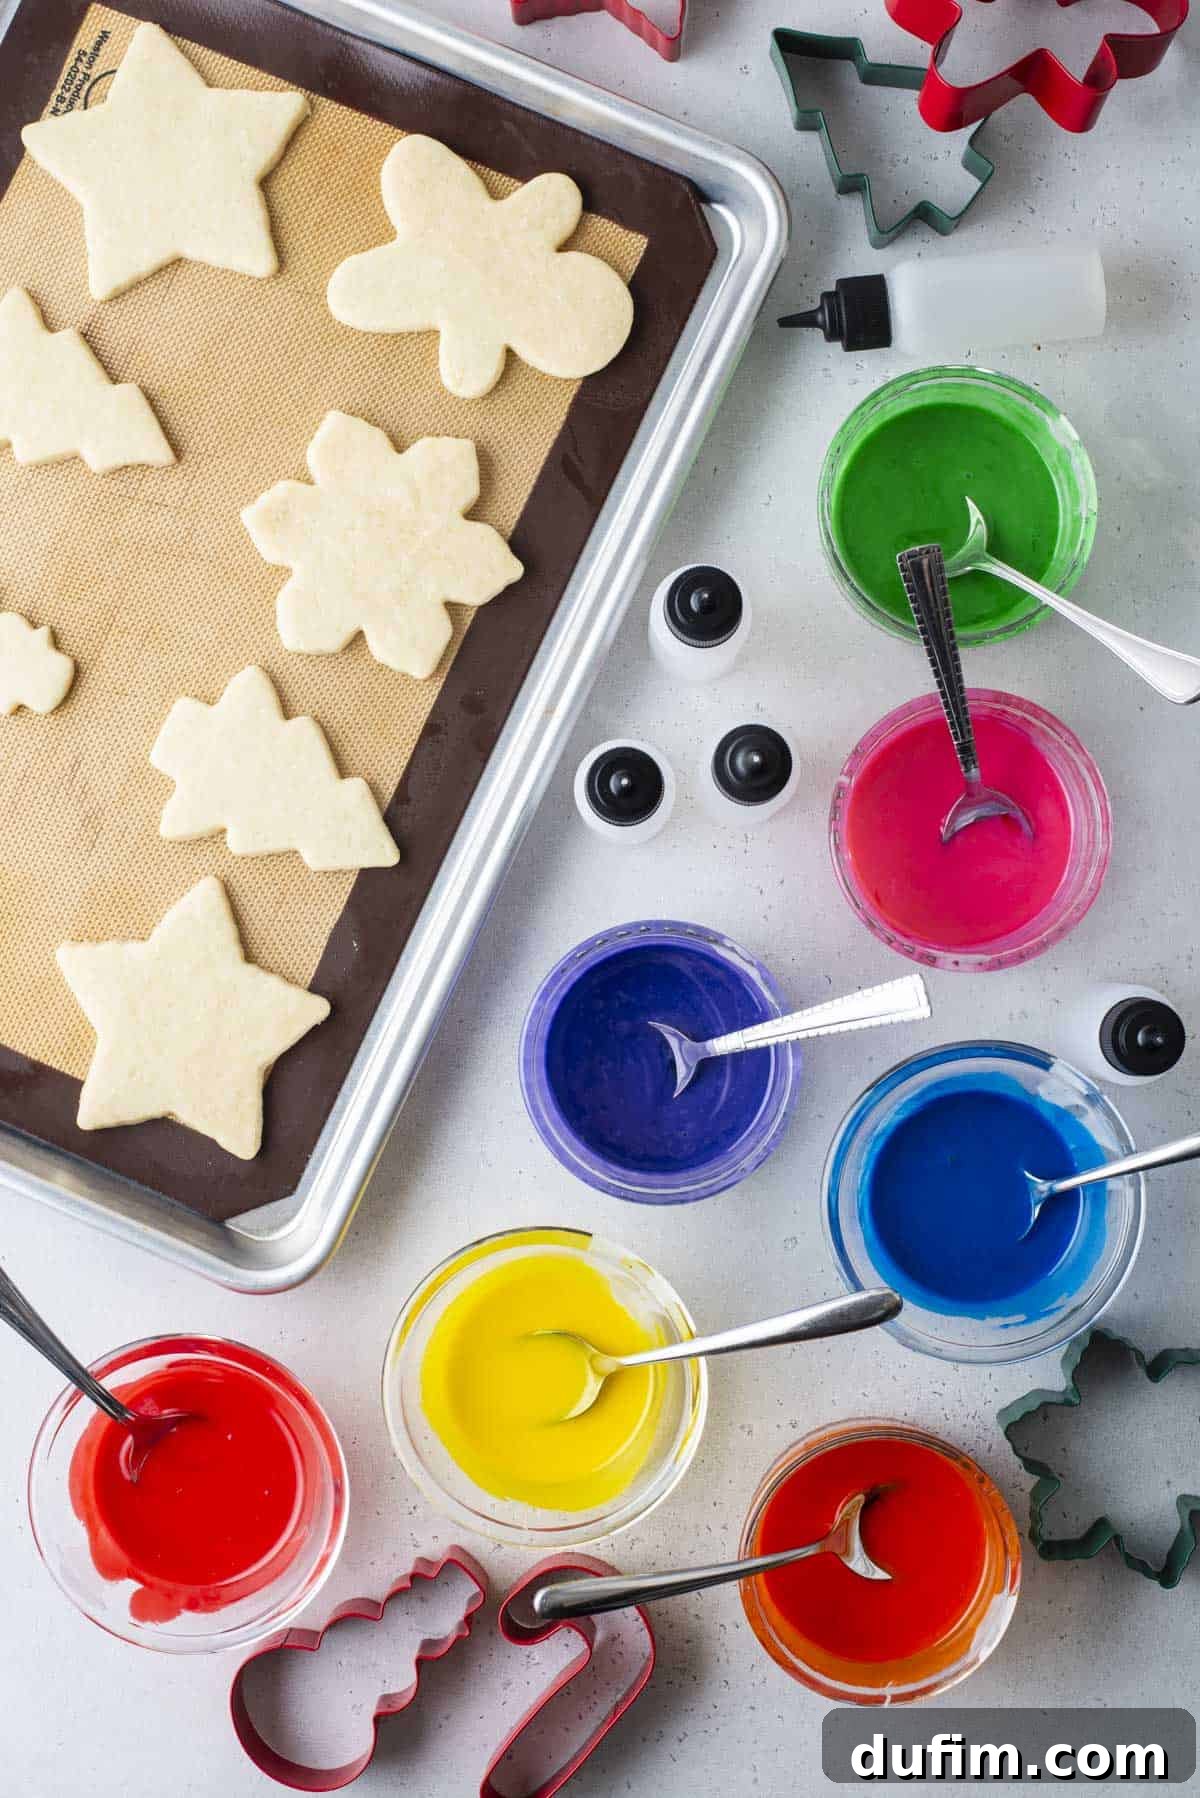
Can You Freeze Royal Icing? Absolutely!
Yes, this easy cookie icing is perfectly suitable for freezing, making it an excellent option for meal prep or saving leftover batches! To freeze, place your royal icing in a freezer-safe bag (squeeze out as much air as possible) or an airtight container. It can be frozen for up to 2 months without compromising its quality. If you’ve colored your icing into different hues, it’s best practice to store each color separately in its own bag or container to prevent colors from bleeding or mixing during thawing.
When you’re ready to embark on your next decorating project, simply transfer the frozen icing from the freezer to the refrigerator and allow it to thaw overnight. Once thawed, bring it to room temperature before use. Give it a good stir to reincorporate any separated liquids, and if necessary, adjust the consistency with a few drops of water until it’s perfect for decorating.
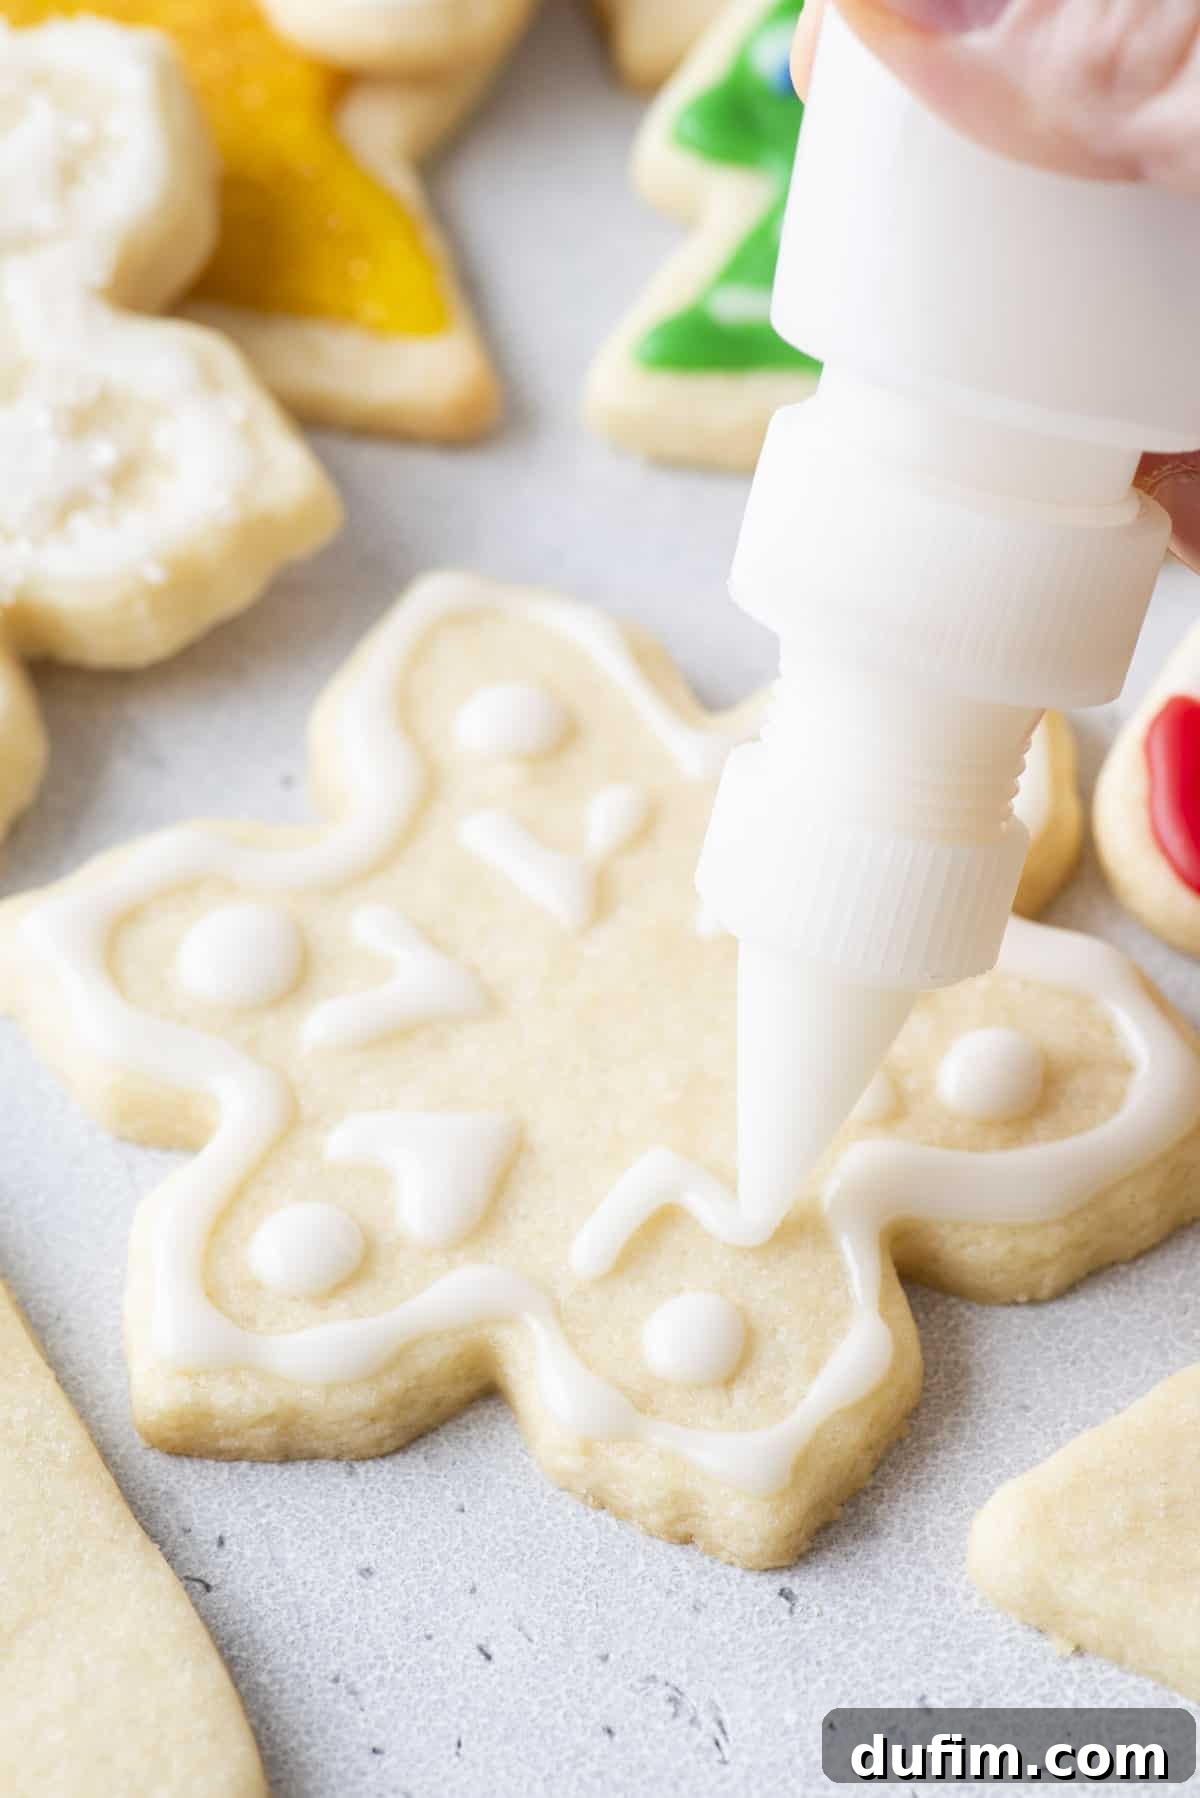
You can also conveniently freeze cookies that have already been decorated with this royal icing, preserving their beauty and flavor for future enjoyment. To freeze baked and decorated cookies:
- Stacking: Group cookies of similar shapes together. For example, stack all the candy canes or all the gingerbread men. Place a small piece of parchment paper between each cookie to prevent sticking and protect the delicate icing designs. Stacking them 4-5 cookies high usually works well.
- Wrapping: Carefully wrap each stack of cookies tightly in several layers of plastic wrap. Ensure there are no exposed areas to prevent freezer burn.
- Freezer Storage: Place the plastic-wrapped bundles inside a heavy-duty ziplock freezer bag or a sturdy airtight freezer container. This provides an additional layer of protection against odors and moisture.
- Thawing: To thaw your beautifully decorated cookies, remove them from the freezer bag or container (but keep them in their plastic wrap). Place the wrapped cookies on your kitchen counter and allow them to come to room temperature gradually. If stored in a container, simply place the entire container on the counter to thaw. This slow thawing process helps prevent condensation from affecting the royal icing.

Your Top Questions Answered: Royal Icing Without Meringue Powder FAQs
Does this icing dry hard?
Absolutely! This corn-syrup based royal icing is specifically designed to dry to a firm, hard finish, much like traditional royal icing. This characteristic is crucial for protecting your decorated cookies, allowing them to be stacked, packaged, and transported without damage. It typically takes about 6-8 hours for the royal icing to fully set and dry hard enough to stack cookies without fear of smudging or sticking.
How do I change the consistency of royal icing?
One of the best features of this recipe is how easily you can customize its consistency to suit your decorating needs, whether you’re outlining, flooding, or piping intricate details. The recipe begins with a thicker consistency, which is generally perfect for outlining. To thin it for flooding, gradually add a few drops of milk or warm water at a time, mixing until you reach your desired flow. For a thicker consistency, simply mix in a small amount of extra powdered sugar, a tablespoon at a time, until the icing achieves the desired stiffness. Remember the “5-10 second rule” for flooding consistency: if a dropped line of icing disappears back into the surface within 5-10 seconds, it’s perfect.
How can I thicken royal icing if it’s too thin?
If your royal icing becomes too thin for your liking, the most effective way to thicken it is by gradually adding more powdered sugar (also known as confectioners’ sugar). I recommend adding it in small increments, perhaps a tablespoon at a time, and mixing thoroughly after each addition. This allows you to slowly build up the consistency without making it overly thick or excessively sweet. Continue until you achieve the desired thick royal icing texture for outlining or detailed piping.
Does Royal Icing need to be refrigerated?
Unlike traditional royal icing recipes that contain liquid egg whites, this particular recipe, made without meringue powder or raw eggs, does not strictly require refrigeration for safety. This means you can confidently store your beautifully iced cookies at room temperature once they are fully dry. For leftover icing that you plan to use within 2-3 days, storing it in an airtight container in the refrigerator is a good practice to maintain optimal freshness and consistency. Always bring it to room temperature before re-using.
Explore More Delicious Frosting & Icing Recipes
If you loved this royal icing recipe, you’ll be thrilled to discover other fantastic frosting and icing options perfect for all your baking adventures. Expand your repertoire with these delightful recipes:
- Cinnamon Cream Cheese Frosting: A wonderfully spiced and tangy frosting that pairs perfectly with carrot cake, red velvet, or pumpkin desserts.
- Classic Vanilla Frosting: The quintessential frosting, incredibly versatile for cupcakes, cakes, and cookies, offering a rich and creamy vanilla flavor.
- Light & Fluffy Cool Whip Frosting: A lighter alternative to traditional buttercream, perfect for those who prefer a less sweet and airier topping for their desserts.
- Sweet Strawberry Cream Cheese Frosting: Infused with the fresh, fruity flavor of strawberries, this frosting is vibrant and decadent, ideal for spring and summer treats.
This is much easier to make than royal icing and was very easy for my 4 year old to decorate with! Will definitely be making this again!
-Heather

Tap stars to rate!
Best Royal Icing Recipe
By: Beth
Prep Time: 10 minutes
Yields: 1.5 cups
I’ve tested countless royal icing methods over the years, and this no-meringue-powder version is the one I rely on every holiday season. It uses simple pantry ingredients, dries smooth with a glossy finish, and is easy to adjust for outlining or flooding.
Equipment
- KitchenAid 9-Speed Mixer
- Glass Mixing Bowl
- My favorite spatula!
Ingredients
- 2 cups (227g) powdered sugar
- 2 Tbsp milk or warm water
- 1 Tbsp corn syrup
- ½ tsp vanilla or almond extract
- Gel food coloring (optional)
- Squeeze bottles (optional, but highly recommended)
Instructions
- In a medium to small sized mixing bowl, combine all of the ingredients (minus the gel food coloring) and mix with a spatula or mixer until smooth.
- Add more milk or water, 1 tsp at a time, if the frosting is too thick. You can pick your desired consistency and manipulate it by adding more water or more powdered sugar. Ideally, when you lift the spoon or mixing utensil up, you want the royal icing that falls into the bowl to disappear within 5-10 seconds.
- Divide into bowls and add gel food coloring. Transfer to piping bags or squeeze bottles to easily decorate the cookies.
- I really like these squeeze bottles because you can cut the tips to varying widths and they come with caps. However, if you don’t have caps, cover the tops of the squeeze bottles with a wet paper towel to prevent them from drying out if storing overnight.
Nutrition
Calories: 680kcal | Carbohydrates: 172g | Protein: 1g | Fat: 1g | Saturated Fat: 0.4g | Polyunsaturated Fat: 0.02g | Monounsaturated Fat: 0.1g | Cholesterol: 2mg | Sodium: 20mg | Potassium: 35mg | Sugar: 169g | Vitamin A: 32IU | Calcium: 28mg | Iron: 0.1mg
Nutrition Disclosure
All nutritional values are approximate and provided to the reader as a courtesy. Changing ingredients and/or quantities will alter the estimated nutritional calculations.