
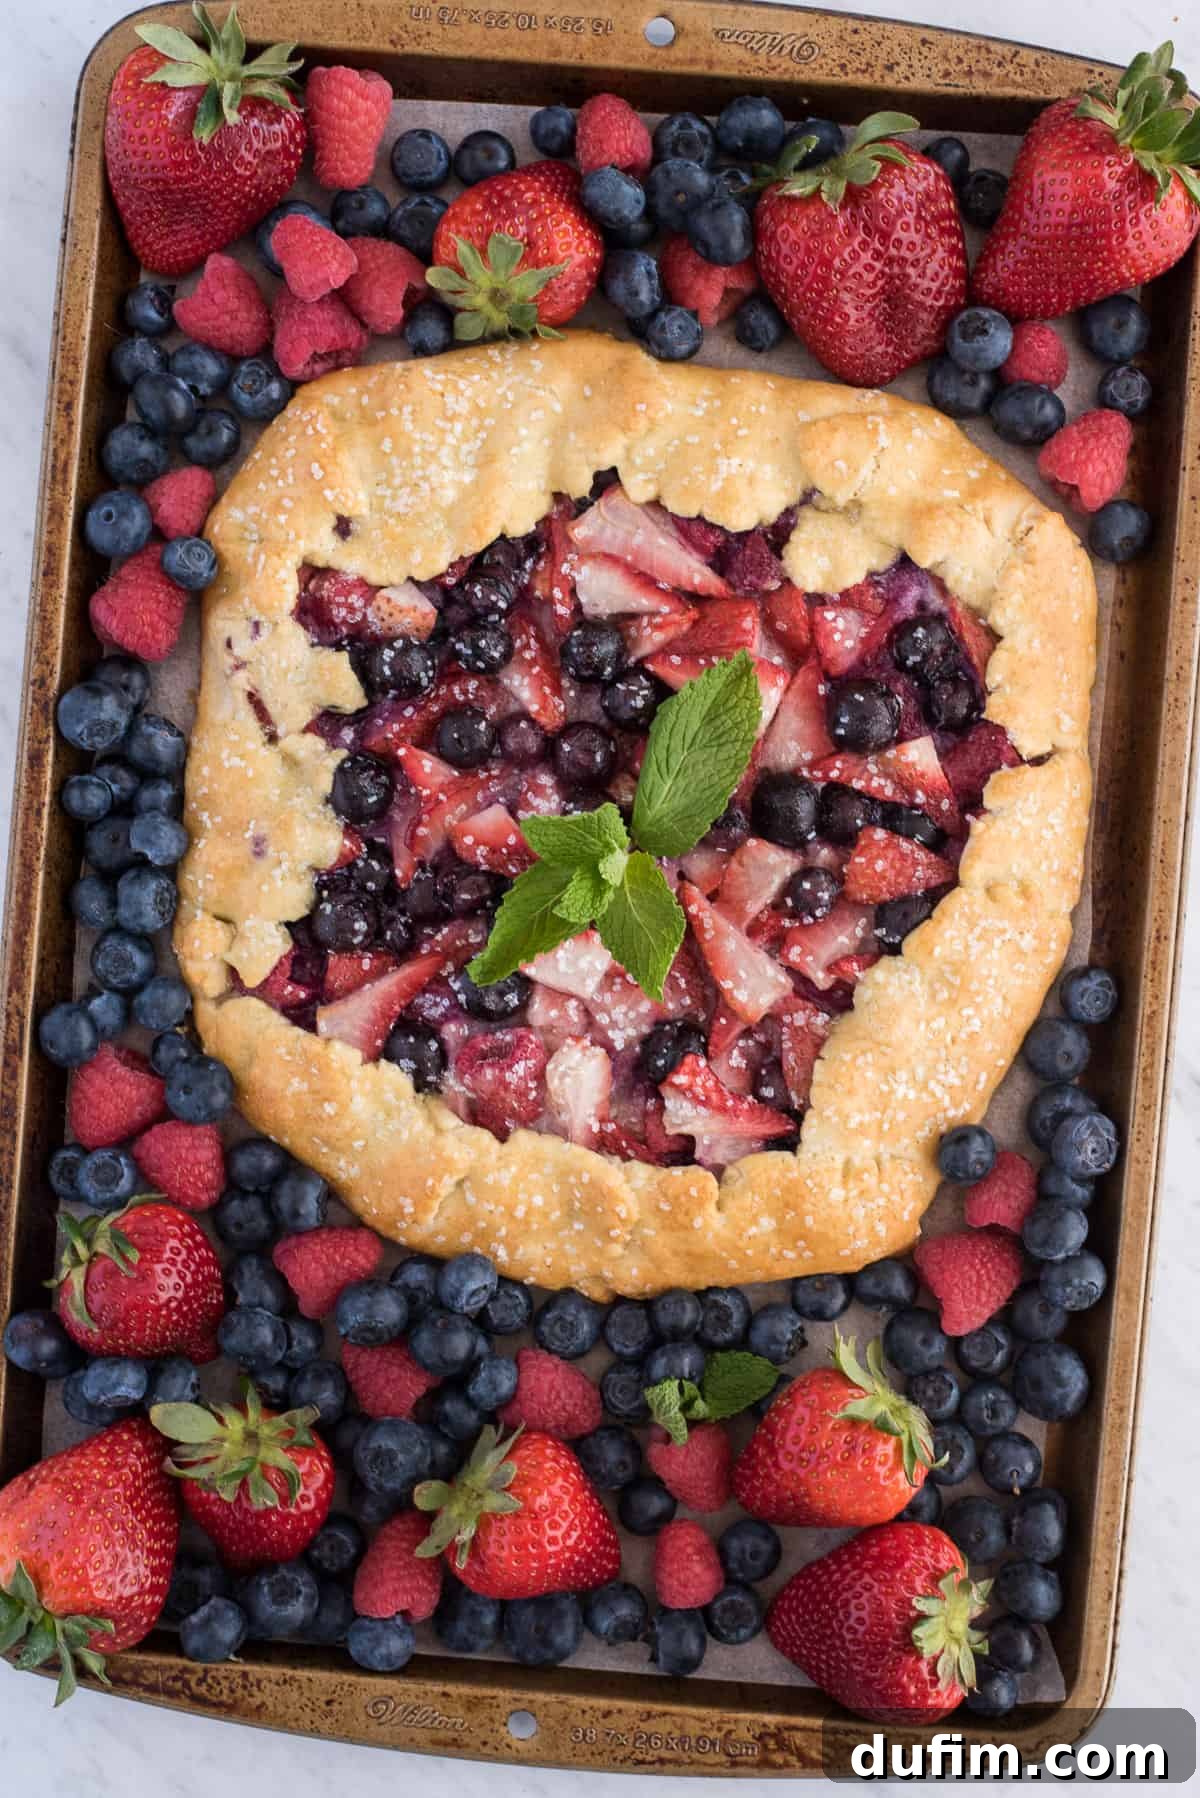
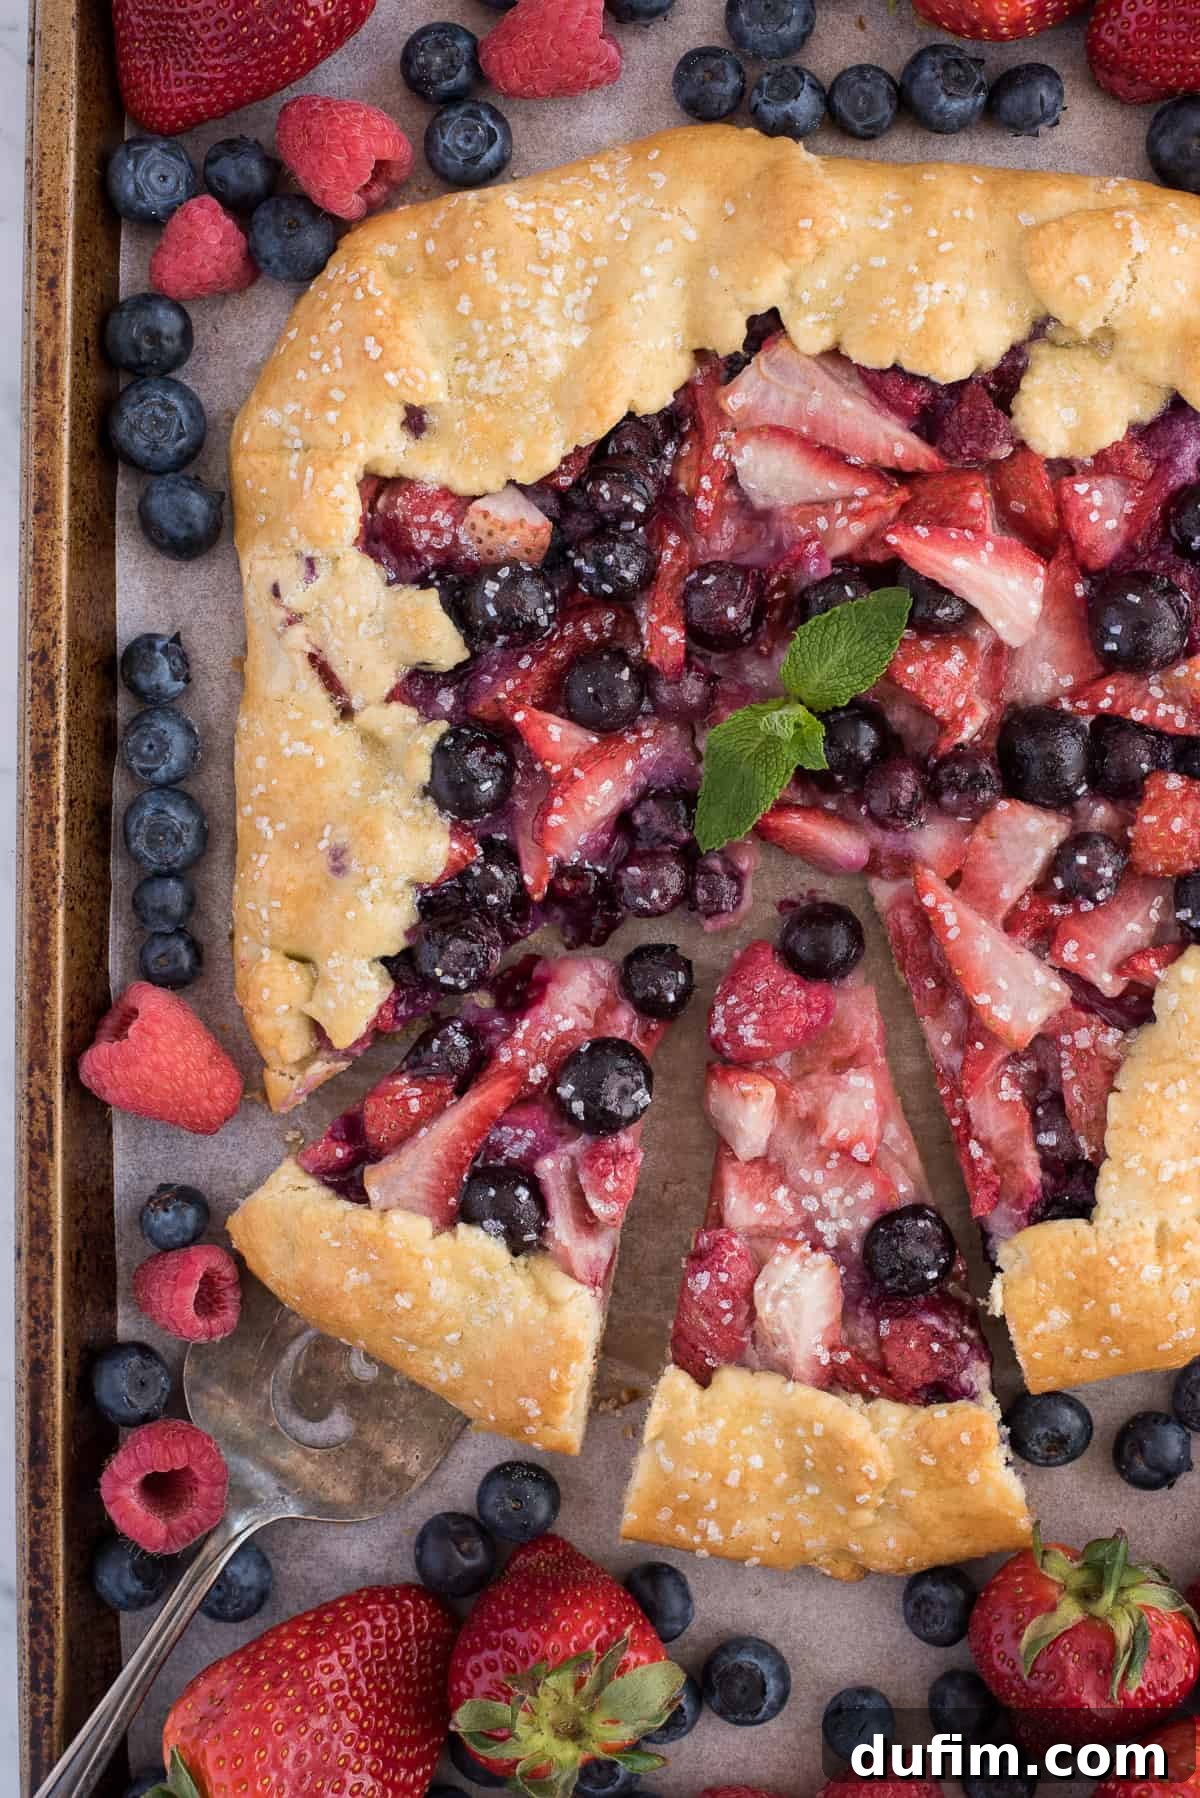
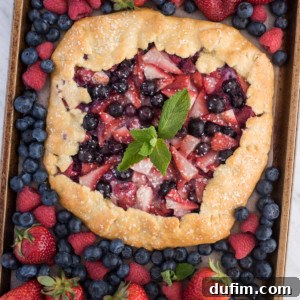
Get ready to fall in love with the most enchanting dessert you’ll ever bake: the mixed berry galette! I’ve spent countless hours perfecting this rustic, free-form pie, and I’m thrilled to share my foolproof recipe with you. Whether you have an abundance of fresh summer berries or a stash of frozen gems, this recipe delivers a dessert that is both stunningly beautiful and unbelievably delicious. Best of all, it’s crafted with an all-butter pastry crust that’s far simpler to master than any traditional fruit pie.
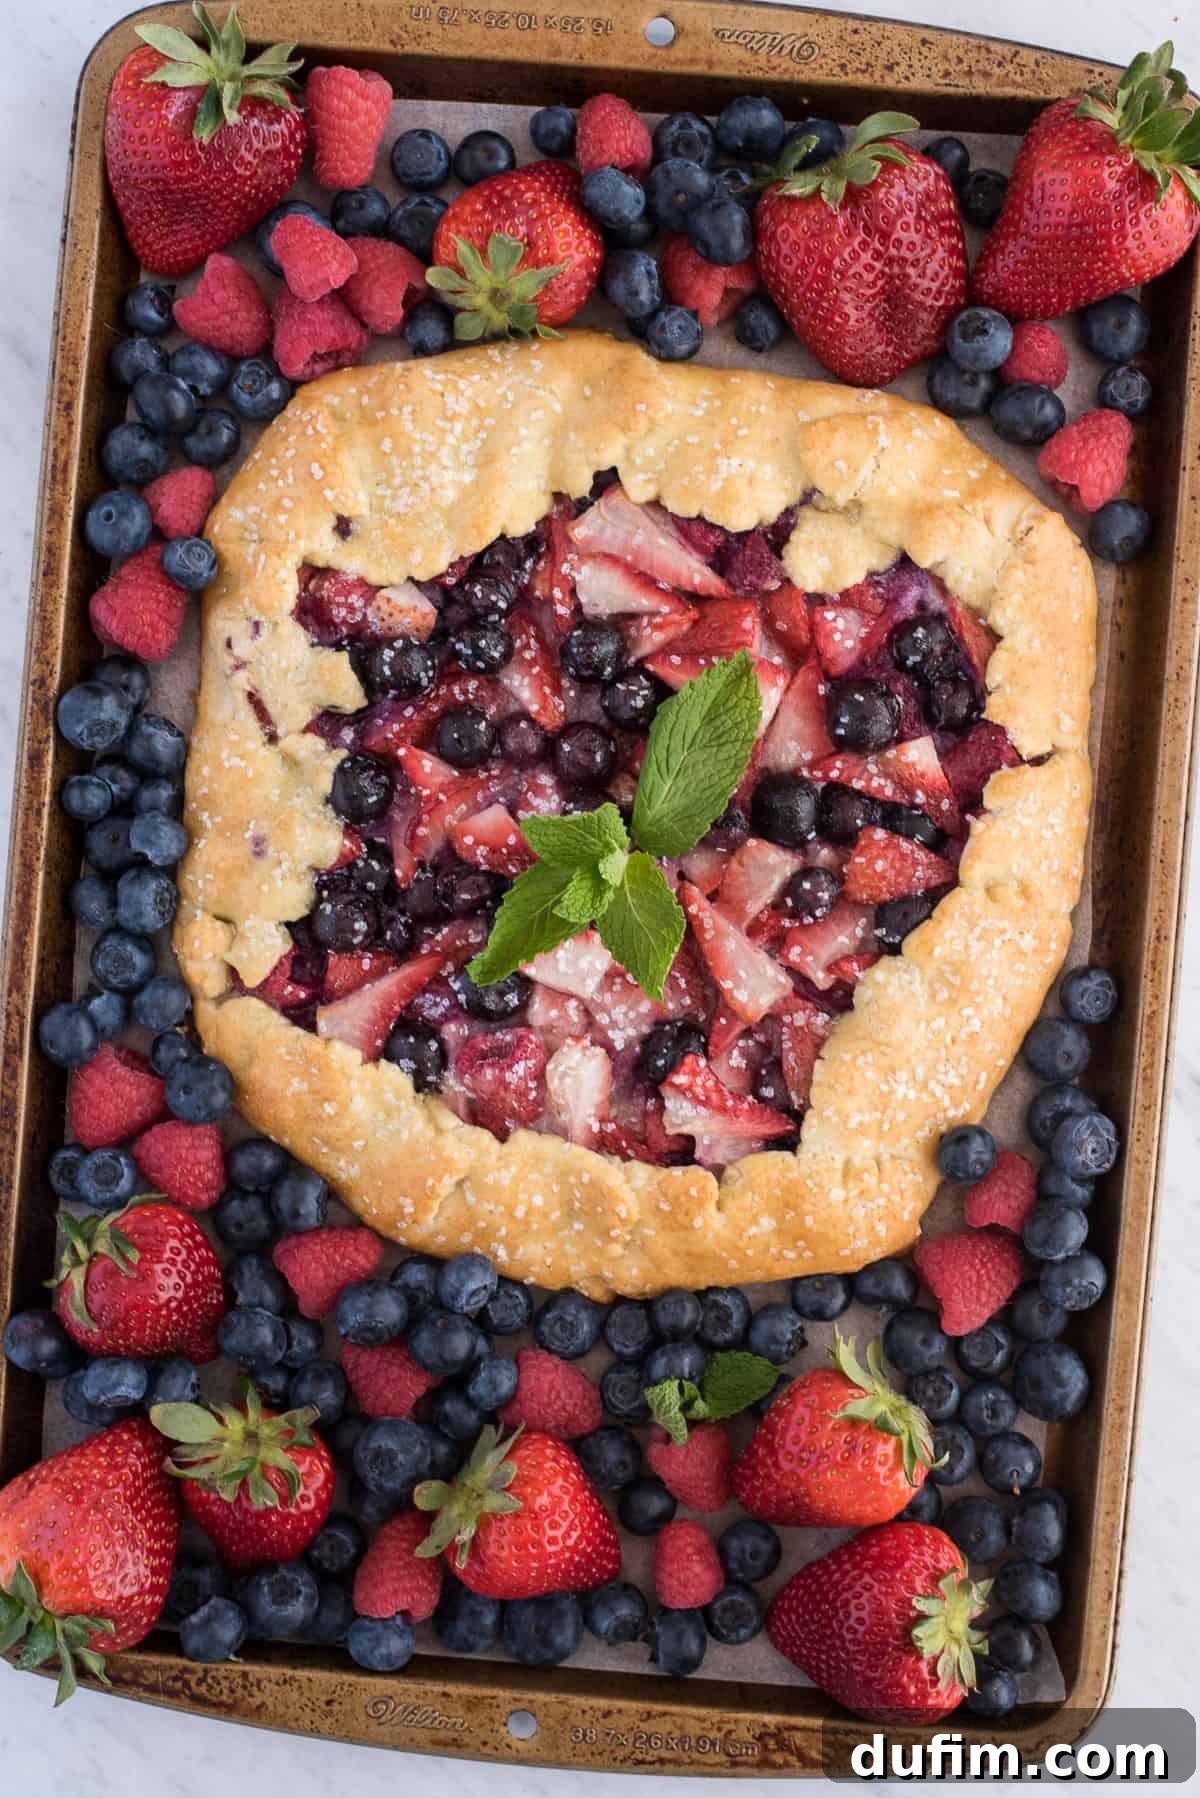
I’ve made this recipe twice now and it is fabulous!
-June
If you’ve ever attempted a fruit pie or a berry galette only to be met with the disheartening sight of a soggy bottom crust, you know the struggle. I’ve been there, and through trial and error, I’ve not only conquered that culinary challenge but also perfected my own set of tried-and-true tips to ensure your galette is perfectly baked, with no over-browning or sticking. This recipe promises a golden, crisp crust every single time, letting the vibrant berry flavors shine through without compromise.
Fair warning: once you taste this incredible berry galette, you’ll be tempted to make it a daily indulgence. The buttery pie crust is the stuff of dreams – impossibly flaky, delightfully puffy, and perfectly sweet, thanks to a delicate sprinkle of sugar before baking. The fruit filling, a harmonious blend of sweet and subtly tangy berries, truly melts in your mouth, creating a symphony of flavors and textures that is utterly irresistible. It’s a dessert that feels gourmet yet is incredibly approachable for any home baker.
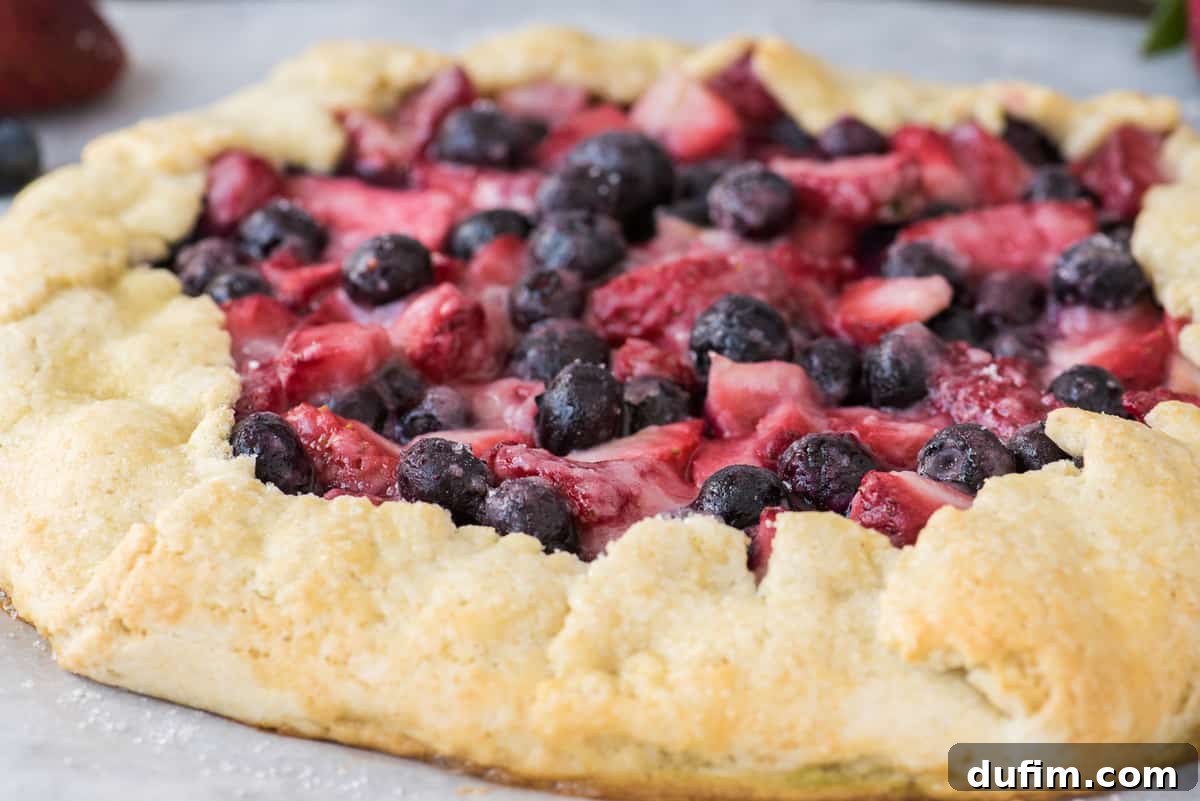
The Ultimate Mixed Berry Galette: Your New Favorite Dessert
What Exactly is a Galette? Unveiling this Rustic French Delight
A galette is a wonderfully rustic, free-form French pastry that can be either sweet or savory. Unlike traditional pies that require a pie plate, a galette is baked directly on a baking sheet. Its charm lies in its deliberately imperfect, “country-style” appearance, where the pie dough is simply folded up and over the filling, creating its own edible border. This makes it a much less intimidating dessert to tackle than a perfectly crimped pie, without sacrificing any flavor or appeal.
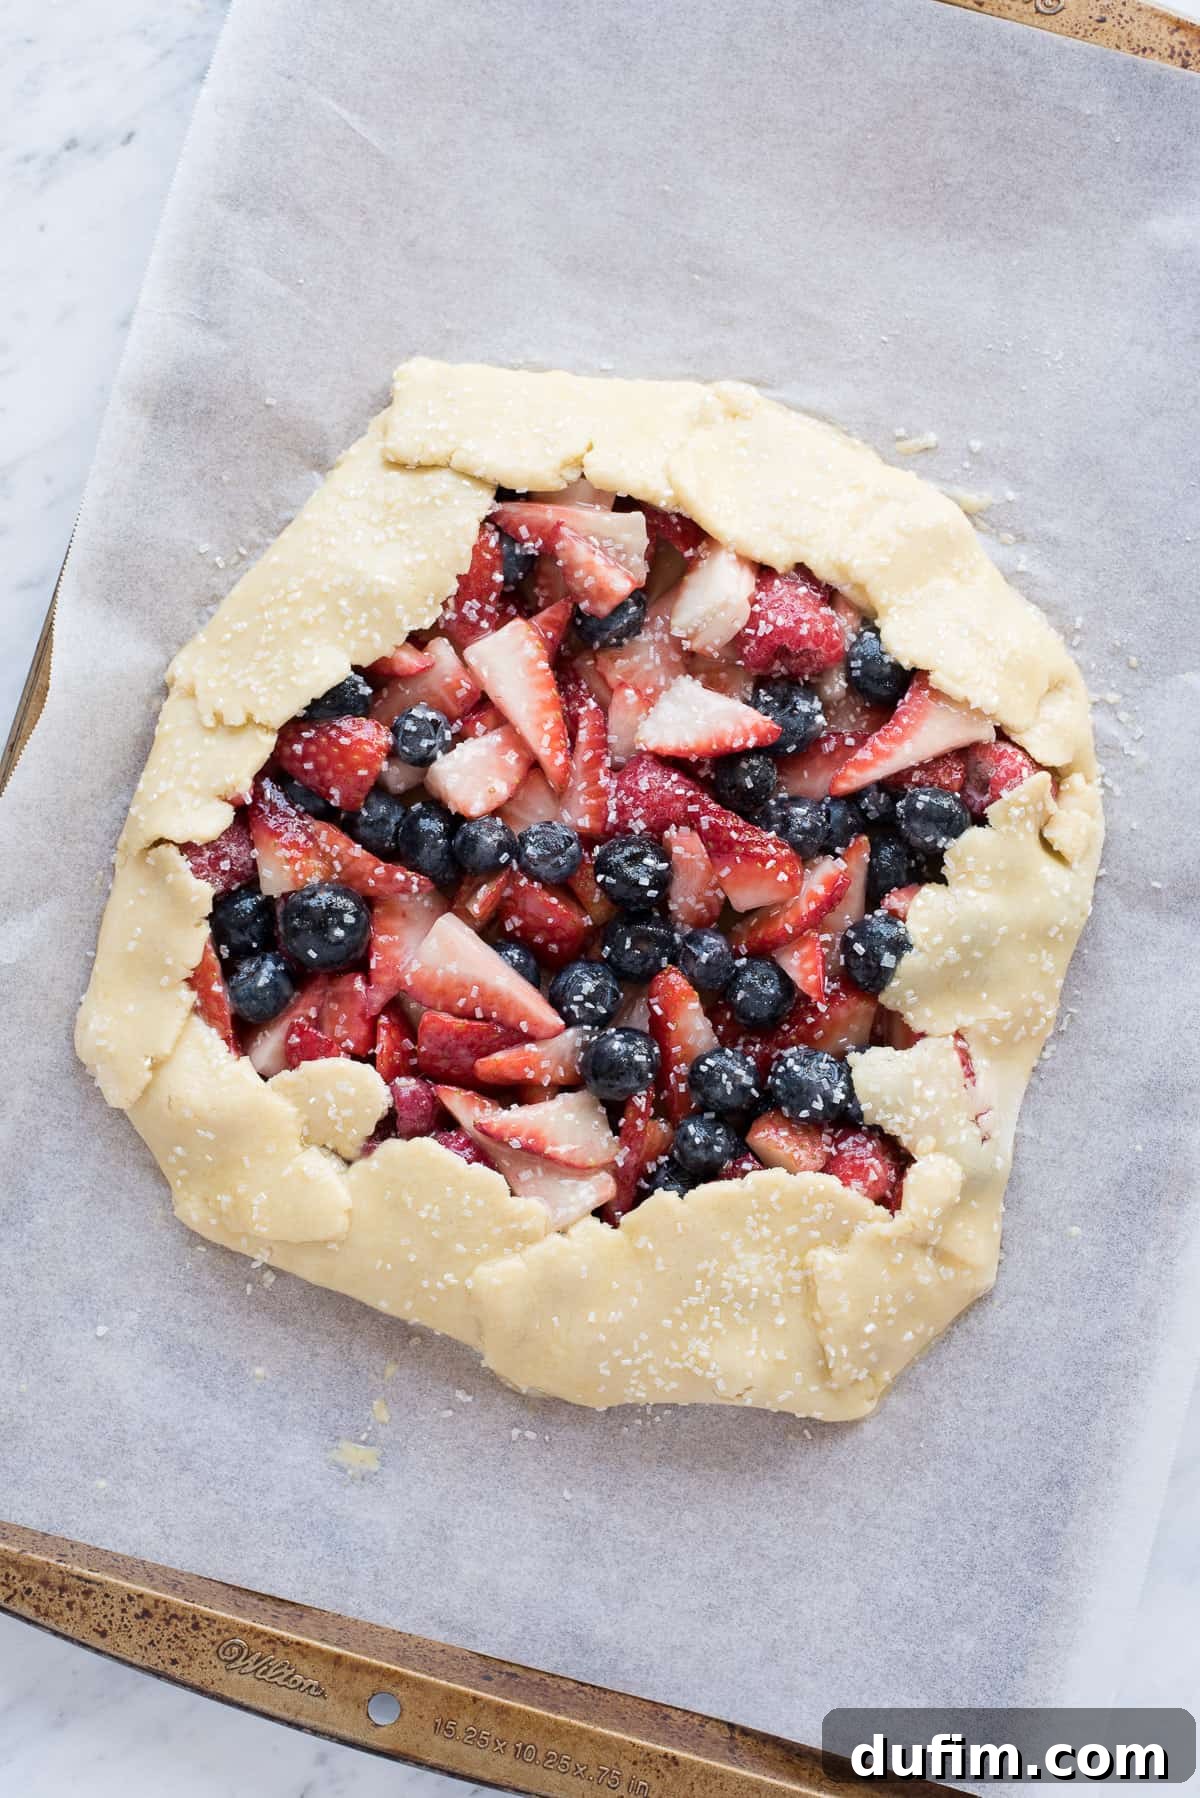
For a sweet galette, like our mixed berry masterpiece, you simply pile your fruit mixture (often combined with sugar and a thickener) into the center of a rolled-out disk of dough. The edges of the dough are then gracefully folded inwards, creating a beautiful, organic crust that partially encloses the fruit. This simple technique not only looks effortlessly elegant but also allows the fruit to caramelize beautifully as it bakes, creating a rich, flavorful syrup. The entire process, from assembly to baking, can be incredibly quick, yielding a heavenly dessert in typically under 30 minutes of oven time.
The beauty of the galette also lies in its versatility. While traditional pies can sometimes feel heavy, a galette offers a lighter, crispier crust-to-filling ratio, allowing the natural flavors of the fruit to truly shine. It’s the perfect dessert for showcasing seasonal produce, offering a delightful balance of flaky pastry and juicy fruit that is both satisfying and refreshing.
Why You’ll Adore This Mixed Berry Galette Recipe
This isn’t just another fruit pie recipe; it’s a game-changer! Here’s why this particular mixed berry galette stands out and is destined to become a beloved staple in your kitchen:
- No More Soggy Crusts: My unique approach ensures a crisp, golden-brown crust every single time. We tackle the common issue of moisture from the fruit by using the right thickeners and baking methods, leaving you with nothing but flaky perfection.
- Effortlessly Elegant: The rustic, free-form nature of a galette means there’s no need for perfectly shaped pie dishes or intricate crimping. It looks stunning with minimal effort, making it ideal for both casual weeknight desserts and impressive dinner party finales.
- All-Butter Perfection: The crust is made with cold, unsalted butter, resulting in an exceptionally tender, flaky, and rich pastry that practically melts in your mouth. It’s a taste experience that elevates the entire dessert.
- Versatile Berry Filling: Whether it’s peak berry season or the dead of winter, this recipe works beautifully with fresh or frozen mixed berries. You can customize the berry blend to your liking, making it adaptable all year round.
- Perfectly Balanced Sweetness: The fruit filling is sweetened just enough to enhance the natural tang of the berries without being cloyingly sweet. A sprinkle of sugar on the crust adds a delightful textural crunch and extra sweetness.
- Quick to Prepare: With minimal chilling time for the dough and a relatively short baking duration, you can have this exquisite dessert ready to enjoy sooner than you think.
Essential Ingredients for Your Triple Berry Galette
Creating this magnificent mixed berry galette requires a few simple, high-quality ingredients. Each component plays a crucial role in achieving the perfect balance of flavor and texture:
For the Flaky Galette Crust:
- All-Purpose Flour: The foundation of our tender crust. For a gluten-free option, King Arthur’s Gluten-Free Measure for Measure Flour works wonderfully!
- Powdered Sugar: Adds a delicate sweetness to the crust, contributing to its melt-in-your-mouth texture without making it grainy.
- Baking Powder: A touch of leavening to ensure a slightly puffy and lighter crust.
- Salt: Essential for balancing flavors and enhancing the richness of the butter.
- Cold Unsalted Butter: The star of the crust! Using extremely cold butter, cut into small cubes, is key to achieving that desirable flakiness. The tiny bits of butter create steam pockets as they melt during baking, separating the layers of dough.
- Large Egg Yolk: Adds richness and helps bind the dough, contributing to a tender crumb.
- Cold Milk: Provides just enough moisture to bring the dough together without making it tough. Keeping it cold helps maintain the butter’s temperature.
For the Irresistible Fruit Filling:
- Fresh Mixed Berries: A delightful blend of strawberries (hulled and sliced), plump blueberries, and juicy blackberries. For best results, ensure they are thoroughly washed and dried to prevent excess moisture. This trio offers a beautiful medley of colors and flavors.
- Granulated Sugar: Sweetens the berries to perfection, balancing their natural tartness. Adjust to your preference based on the sweetness of your fruit.
- All-Purpose Flour: Acts as a natural thickener for the fruit juices, preventing a runny, soggy filling and ensuring a beautifully set center. Cornstarch can be substituted if preferred.
For the Golden Egg Wash & Sparkling Finish:
- Large Egg (beaten with water): Creates a brilliant, golden-brown sheen on the crust and helps the sanding sugar adhere.
- Sanding Sugar: A sprinkle of sanding sugar on the crust before baking adds a beautiful sparkle and a delightful, subtle crunch. Turbinado sugar also works well for this purpose.
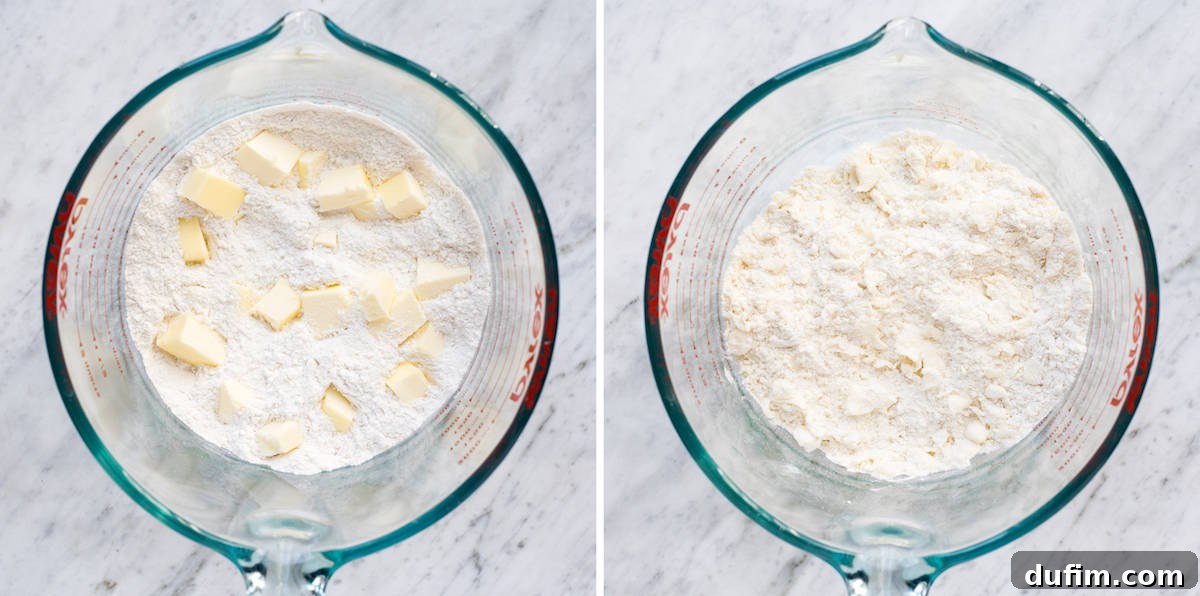
Step-by-Step Guide: Crafting Your Rustic Berry Galette
Follow these detailed steps to create a beautiful and delicious mixed berry galette that will impress everyone:
Part 1: Preparing the Flaky Galette Dough
- Combine Dry Ingredients: In a large mixing bowl, whisk together the all-purpose flour, powdered sugar, baking powder, and salt. This ensures all dry ingredients are evenly distributed.
- Cut in the Cold Butter: Add the cold unsalted butter, cut into small cubes, to the dry ingredients. Using a pastry cutter, your fingertips, or a food processor, work the butter into the flour mixture until it resembles coarse crumbs with some pea-sized pieces of butter still visible. This is crucial for flakiness.
- Add Wet Ingredients: In a separate small bowl, whisk together the egg yolk and cold milk. Pour this mixture into the flour and butter mixture.
- Form the Dough: Using a spatula or your hands, gently mix until the dough just comes together. Be careful not to overmix, as this can develop the gluten too much and result in a tough crust.
- Chill the Dough: Gather the dough into a cohesive ball, flatten it slightly into a disc, and wrap it tightly with plastic wrap. Refrigerate for a minimum of 30 minutes. This chilling period allows the gluten to relax and the butter to firm up, making the dough easier to roll and ensuring a flaky crust. You can refrigerate the dough for up to 24 hours.
Part 2: Assembling and Baking Your Galette
- Prepare Oven and Fruit: Preheat your oven to 350ºF (175ºC). In a medium bowl, gently toss the fresh, washed, and dried mixed berries with the granulated sugar and all-purpose flour. The flour helps absorb excess moisture from the fruit and thickens the juices.
- Roll Out the Dough: On a lightly floured surface or, preferably, directly on a sheet of parchment paper or a silicone baking mat (which prevents sticking), roll out the chilled dough into a circle approximately 10-12 inches in diameter and about ⅛ inch thick. If using parchment paper, you can transfer it to a baking sheet.
- Arrange the Fruit: Carefully spoon the berry mixture into the center of the rolled-out dough, leaving a generous 1 ½ to 2-inch margin around the edge.
- Fold the Edges: Gently fold the bare edges of the dough up and over the fruit filling, pleating the dough as needed to create a rustic, free-form border. Don’t worry about perfection; the charm of a galette is its imperfect beauty.
- Apply Egg Wash and Sugar: In a small bowl, whisk the remaining egg with 1 tablespoon of water to create an egg wash. Lightly brush the folded dough edges with this egg wash. Then, generously sprinkle the sanding sugar over the egg-washed crust. This creates a beautiful golden crust and a delightful crunchy texture.
- Bake to Perfection: Transfer the baking sheet with the galette to the preheated oven. Bake for 20-25 minutes, or until the crust is beautifully golden brown and the berry juices are bubbling enticingly in the center. The fruit should be tender.
- Cool and Serve: Carefully remove the galette from the oven and let it cool on the baking sheet for at least 10-15 minutes before slicing. This allows the fruit filling to set slightly. Serve warm and enjoy!
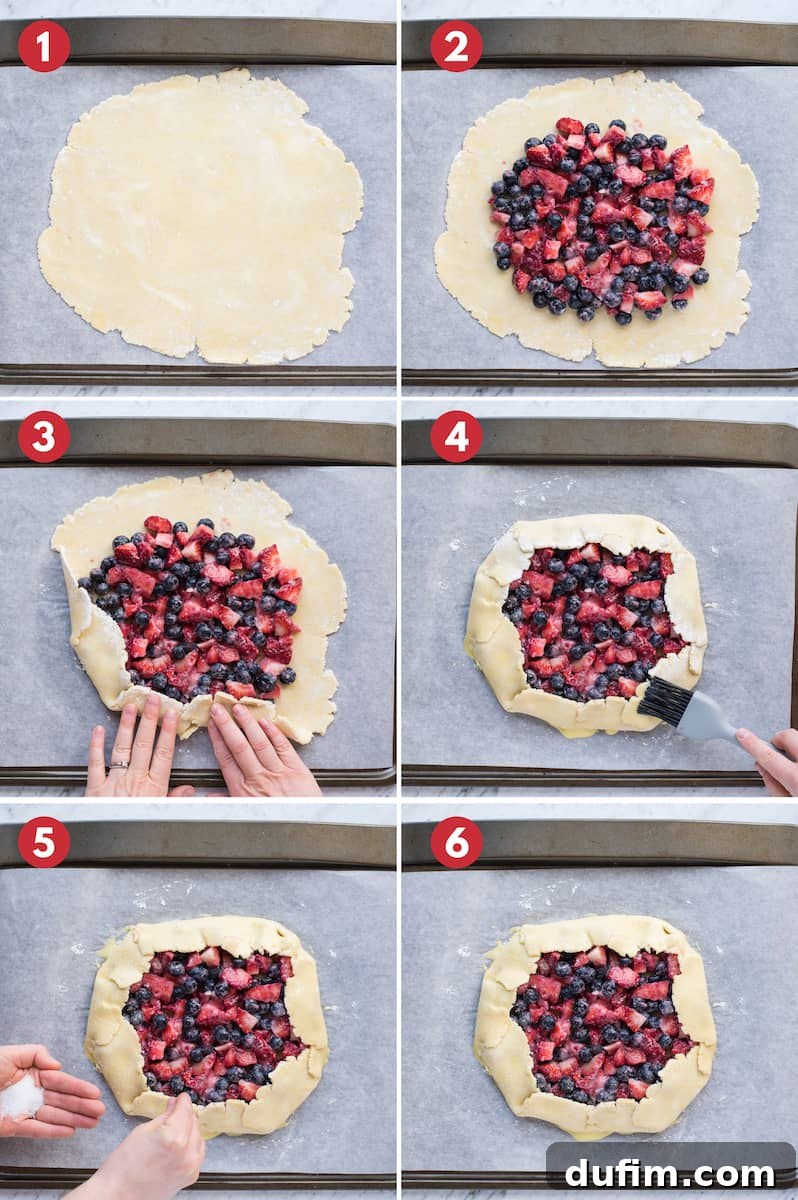
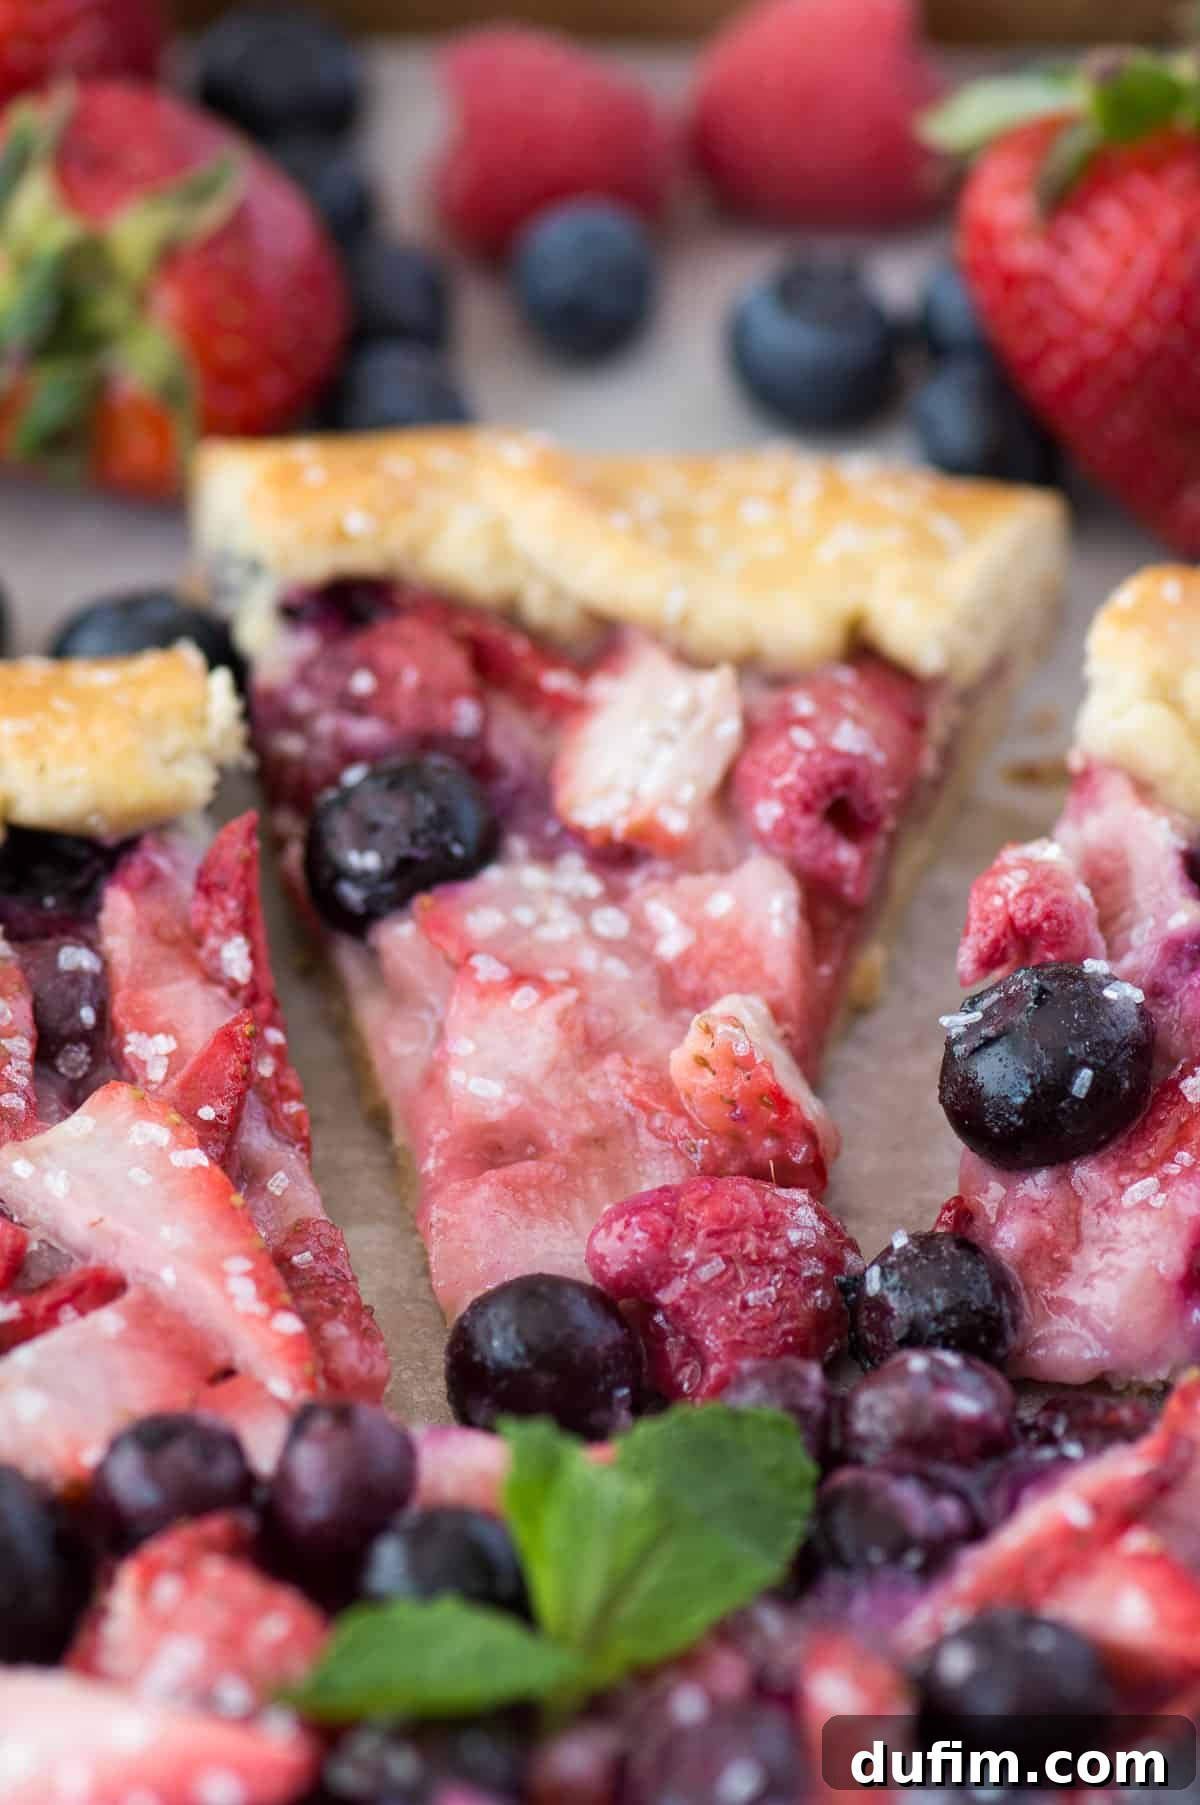
Timing Your Perfect Galette: A Breakdown
One of the many advantages of a galette is its relatively quick preparation time. Here’s a quick overview:
- Dough Preparation: Approximately 10 minutes (hands-on time).
- Dough Refrigeration: A crucial 30 minutes (passive chilling time).
- Fruit Preparation & Tossing: A swift 1-2 minutes.
- Dough Rolling & Assembly: About 5 minutes (depending on your speed).
- Baking Time: Roughly 20-25 minutes.
- Total Active Time: Less than 20 minutes!
- Total Time (including chilling): Approximately 1 hour to 1 hour 10 minutes.
Mixed Berry Galette: Creative Recipe Variations & Substitutions
While the mixed berry galette is a classic for a reason, its beauty lies in its adaptability. Feel free to experiment with different fruits and flavor combinations to suit your taste and the season:
- Apple Cinnamon Galette: Thinly slice 2-3 medium apples (Granny Smith or Honeycrisp work well), toss them with 2 tablespoons of granulated sugar, 1 teaspoon of ground cinnamon, a pinch of nutmeg, and a squeeze of lemon juice to prevent browning.
- Peach and Thyme Galette: Combine 2 cups of sliced ripe peaches with 2 tablespoons of brown sugar, ½ teaspoon of fresh thyme leaves (finely chopped), and a splash of vanilla extract for an unexpected aromatic twist.
- Fig and Honey Galette: Arrange fresh, quartered figs on the dough, drizzle generously with honey, and sprinkle with a few sprigs of fresh rosemary for a sophisticated flavor profile.
- Stone Fruit Medley Galette: A delightful mix of sliced plums, apricots, and cherries creates a beautiful and flavorful summer galette. Add a hint of almond extract to complement these fruits.
- Pear and Ginger Galette: Sliced pears (like Bosc or Anjou) tossed with a tablespoon of grated fresh ginger, brown sugar, and a dash of cardamom make for a warm, comforting dessert.
- Tropical Galette: A vibrant mix of diced mango, pineapple, and a squeeze of lime juice for a sunny, refreshing twist.
- Spice it Up: Don’t hesitate to add other spices like cardamom, allspice, or a touch of black pepper to your fruit fillings for an extra layer of complexity.
Making This Warm Berry Galette with Frozen Fruit
No fresh berries on hand? No problem! This recipe is incredibly forgiving and works wonderfully with frozen fruit. Simply substitute 2 cups of your preferred frozen mixed berries for the fresh fruit. There’s no need to thaw them beforehand; just toss them directly with the sugar and flour as instructed. The baking time might be extended by a few minutes as the fruit releases more moisture, but the end result will be just as delicious and satisfying.
Expert Tips for Making the Best Mixed Berry Galette
Achieving galette perfection is easy with these insider tips:
- Always Use Cold Butter: This is the golden rule for a flaky crust. Cold butter creates pockets of steam in the oven, which leads to those wonderful, airy layers. If your kitchen is warm, you can even chill your flour for a few minutes before starting.
- Don’t Overwork the Dough: Mix the dough just until it comes together. Overmixing develops gluten, which can make your crust tough instead of tender and flaky.
- Chill Your Dough: The 30-minute refrigeration isn’t just a suggestion; it’s essential. It allows the butter to firm up and the gluten to relax, making the dough easier to roll and preventing shrinkage in the oven. You can even chill it for up to 24 hours for added convenience.
- Prevent Sticking: Always bake your fruit galette on parchment paper or a silicone baking mat. These surfaces are non-stick wonders that ensure your beautiful galette lifts off the baking sheet effortlessly.
- Thicken the Fruit: The addition of flour (or cornstarch) to the fruit filling is crucial for preventing a soggy bottom. It absorbs excess fruit juices, ensuring your filling sets beautifully.
- Customize Your Sweetness: The amount of sugar in the fruit filling can be adjusted based on the sweetness of your berries and your personal preference. Taste a berry before you mix!
- Watch for Browning: Keep an eye on your galette as it bakes. If the crust starts to brown too quickly, you can loosely tent it with aluminum foil.
- Double the Recipe: If you’re feeding a larger crowd or simply want an extra treat, easily double this recipe to make two gorgeous galettes.
Serving Your Warm Berry Galette
A warm berry galette is a delight on its own, but it truly transforms into an unforgettable dessert when paired with the right accompaniments:
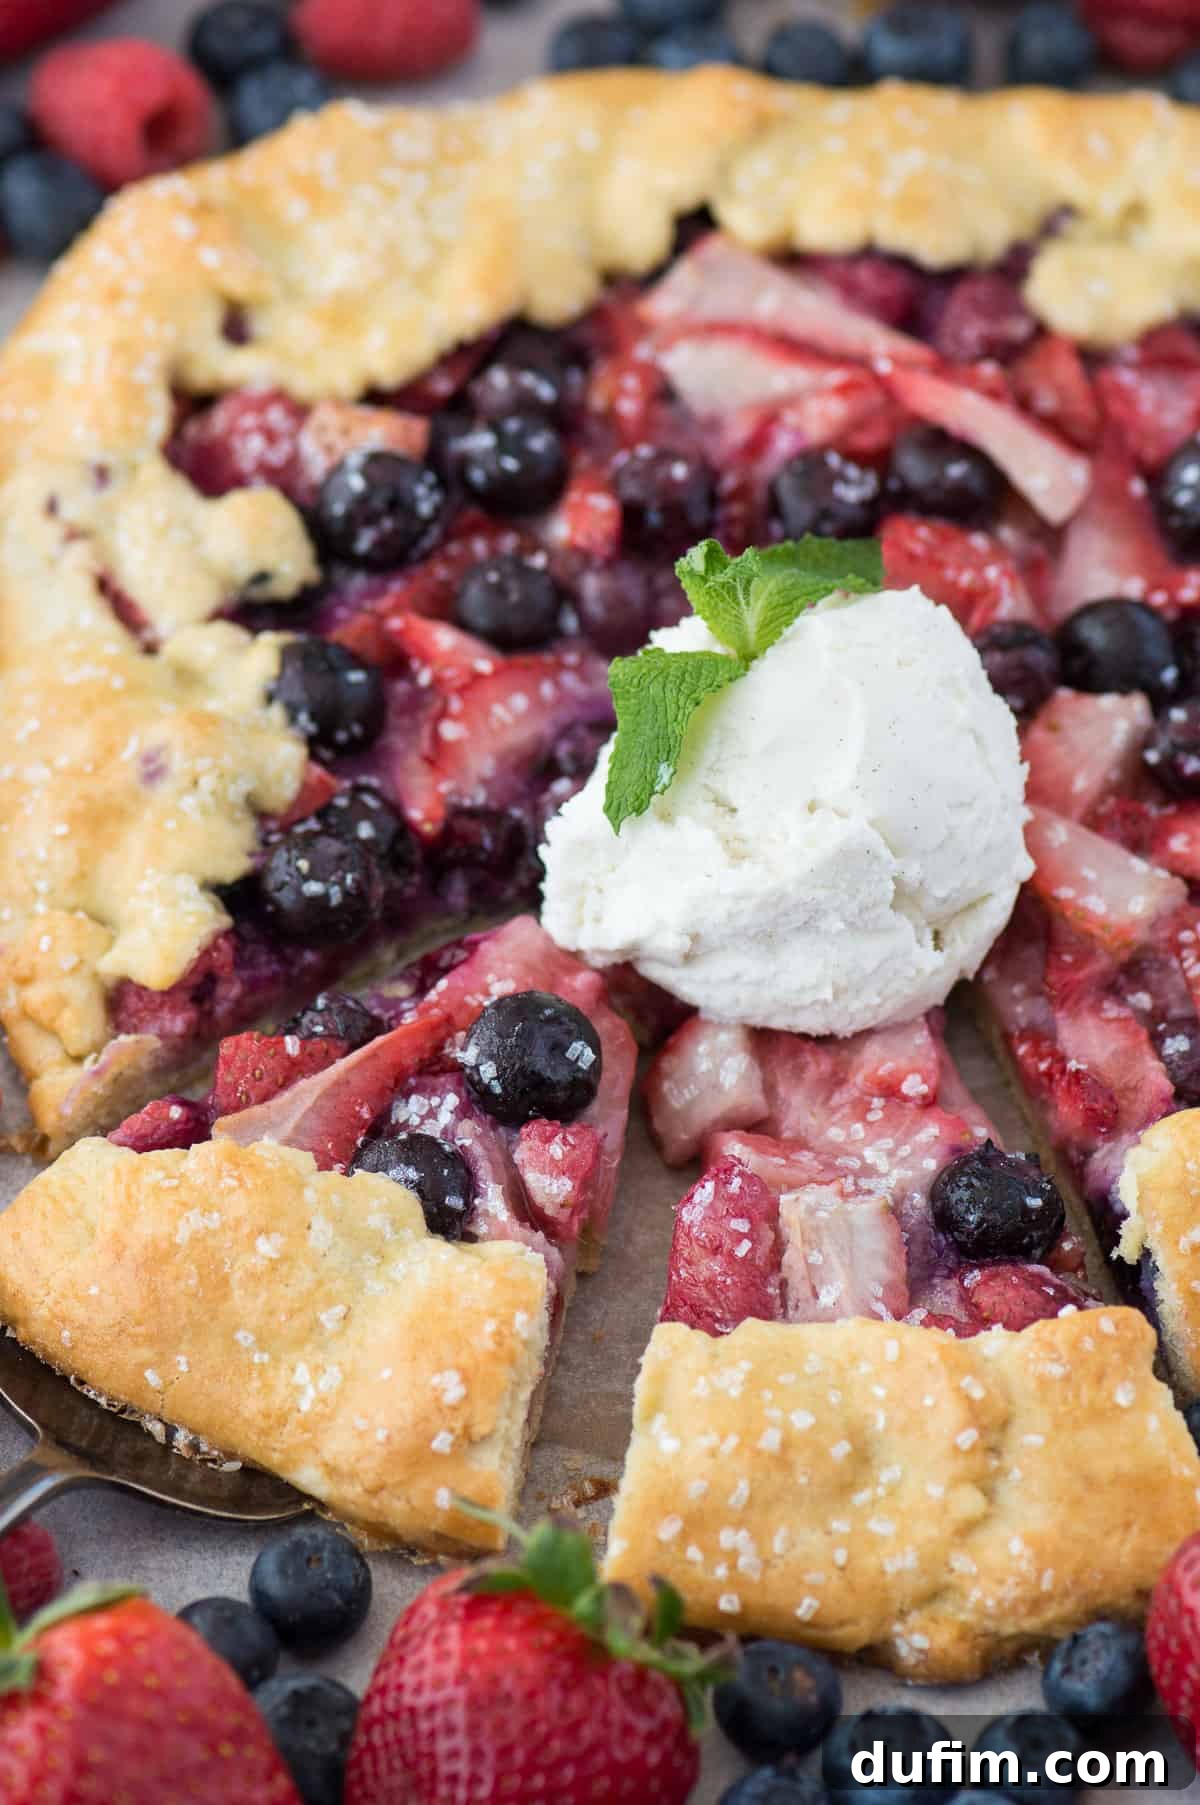
- Classic with Vanilla Ice Cream: A scoop of rich vanilla bean ice cream melting over the warm, fruity galette creates an incredible contrast of temperatures and textures. The cool creaminess perfectly complements the sweet, tangy berries.
- Dollop of Whipped Cream: A generous dollop of freshly made whipped cream adds a light, airy richness that’s simply divine. You can even infuse the cream with a hint of vanilla or almond extract.
- Custard or Crème Anglaise: For a more sophisticated touch, serve slices with a pour of warm custard or crème anglaise.
- Lemon Zest or Mint: A fresh sprinkle of lemon zest or a few delicate mint leaves can brighten the flavors and add a beautiful garnish.
- Simple & Rustic: Sometimes, the best way to enjoy a galette is simply as it is, allowing the natural beauty and flavors to speak for themselves.
Storing Your Delicious Fruit Galette
To keep your berry galette fresh and flavorful for as long as possible:
At Room Temperature: A freshly baked galette can be left at room temperature, loosely covered with foil or plastic wrap, for up to 1-2 days. If your kitchen is particularly warm or humid, it’s best to refrigerate it sooner.
In the Refrigerator: For longer storage, wrap any leftover galette tightly in plastic wrap or aluminum foil to prevent it from drying out. You can also place it in an airtight container for additional protection. It will stay fresh in the refrigerator for up to 3-5 days. To reheat, warm individual slices in a 350°F (175°C) oven for about 5-10 minutes, or until heated through and the crust is crisp again. Avoid microwaving, as it can make the crust soggy.
Freezing Galette Dough for Future Enjoyment
Preparing the dough ahead of time is a fantastic way to streamline your baking process. You can keep the prepared galette dough, tightly wrapped in plastic wrap, in the refrigerator for up to 4 days. For even longer storage, the dough freezes beautifully:
- To Freeze: After preparing the dough, press it into a flat 2-inch round disc. Wrap it very well in at least two layers of plastic wrap, then place it inside a freezer-safe ziplock bag or airtight container. Label with the date. The dough can be frozen for up to 2-3 months.
- To Thaw: When you’re ready to bake, transfer the frozen dough disc from the freezer to the refrigerator and let it thaw overnight (about 8-12 hours). Once thawed, allow it to sit at room temperature for about 10-15 minutes before rolling it out, as extremely cold dough can crack.
Frequently Asked Questions (FAQ) About Galettes
Here are answers to some common questions you might have:
- Can I use other fruits besides berries? Absolutely! Galettes are incredibly versatile. Apples, peaches, plums, pears, figs, cherries, or a combination of seasonal fruits all work beautifully. Adjust sugar content based on fruit sweetness.
- How do I prevent a soggy bottom crust? The key is using a thickener (like flour or cornstarch) tossed with your fruit and ensuring your oven is preheated to the correct temperature. Baking on parchment paper or a silicone mat also helps. Using cold butter and not overworking the dough contribute to a flakier crust that resists moisture.
- Do I need special equipment to make a galette? Not really! A rolling pin, a large mixing bowl, and a baking sheet are the main tools. A pastry cutter is helpful for incorporating butter, but your fingertips work just fine. Parchment paper or a silicone mat is highly recommended for easy cleanup and non-stick baking.
- Can I make the dough in a food processor? Yes, you can. Pulse the dry ingredients, then add cold butter and pulse until crumbly. Finally, add the wet ingredients and pulse just until the dough comes together. Be careful not to overmix.
- What kind of berries are best for a mixed berry galette? A mix of strawberries, blueberries, and blackberries is classic and delicious. Raspberries can also be added, but be mindful of their delicate nature. Use ripe, flavorful berries for the best results.
More Irresistible Pie Desserts to Try
If you’ve loved this galette, you’ll surely enjoy these other delightful pie recipes:
- Decadent Chocolate Peanut Butter Pie
- Refreshing No-Bake Lemon Pudding Pie
- Rich & Indulgent Turtle Pie
- Charming Hand Apple Pies
Tap stars to rate!
The Best Mixed Berry Galette
Beth
15 minutes
20 minutes
30 minutes
1 hour
5 minutes
12
servings
Equipment
-
Silicone Baking Mat
-
White Sparkling Sugar (for garnish)
-
Baking Sheet
-
Large Glass Mixing Bowl
-
Pastry Cutter
-
Spatula
Ingredients
Crust
- 1 cup (120g) all-purpose flour, we’ve also used King Arthur’s Gluten-Free Flour with awesome success!
- ¼ cup (28g) powdered sugar
- 1 tsp baking powder
- ¼ tsp salt
- 6 Tbsp (86g) cold unsalted butter, cut into small cubes
- 1 large egg yolk
- 1 Tbsp cold milk
Fruit Filling
- 2 cups (334g) fresh strawberries, blueberries and blackberries, washed and dried
- 2 Tbsp granulated sugar
- 2 Tbsp all-purpose flour
Egg Wash & Garnish
- 1 large egg beaten with 1 Tbsp water
- 1 Tbsp sanding sugar for sprinkling on top
Instructions
Crust Preparation
-
In a large mixing bowl, combine the flour, powdered sugar, baking powder, and salt.
-
Using your fingers or a pastry cutter, cut in the cold butter until the mixture resembles coarse crumbs with some pea-sized pieces of butter remaining.
-
Add the egg yolk and cold milk, then mix with a spatula until the dough is just combined. Be careful not to overmix.
-
Gather the dough into a ball, flatten it slightly into a disc, and cover or wrap tightly with plastic wrap. Refrigerate for at least 30 minutes.
Assemble & Bake
-
Preheat the oven to 350º F (175ºC). In a medium bowl, gently toss the fresh, washed, and dried mixed berries with the granulated sugar and all-purpose flour.
-
Roll out the chilled dough onto a piece of parchment paper or a silicone baking mat into a 10-12 inch circle. You may need a light dusting of flour to prevent sticking.
-
Place the berry filling in the middle of the dough, leaving a 1 ½ to 2-inch margin all around the edge. Fold the edges of the dough toward the center, pleating as necessary to form a rustic crust.
-
Brush the folded edges of the galette with the egg wash (1 large egg beaten with 1 tbsp water) and sprinkle generously with 1 Tbsp of sanding sugar. Bake for 20-25 minutes, or until the crust is golden brown and the fruit juices are bubbling.
-
Remove from oven and let cool on the baking sheet for at least 10-15 minutes before slicing and serving warm.
Notes
You can substitute 2 cups frozen fruit for the fresh fruit. No need to thaw beforehand!
Double this recipe if you want 2 pies that will feed a larger crowd.
Nutrition
Carbohydrates: 16g |
Protein: 2g |
Fat: 7g |
Saturated Fat: 4g |
Polyunsaturated Fat: 1g |
Monounsaturated Fat: 2g |
Trans Fat: 1g |
Cholesterol: 46mg |
Sodium: 92mg |
Potassium: 60mg |
Fiber: 1g |
Sugar: 7g |
Vitamin A: 223IU |
Vitamin C: 14mg |
Calcium: 33mg |
Iron: 1mg
Nutrition Disclosure
All nutritional values are approximate and provided to the reader as a courtesy. Changing ingredients and/or quantities will alter the estimated nutritional calculations.
I hope you’re as excited as I am to try this incredible mixed berry galette! It truly is a simple yet impressive dessert that celebrates the vibrant flavors of berries and the joy of home baking. Give it a try, and I’m confident it will become a cherished recipe in your culinary repertoire. Don’t forget to rate and comment below to share your experience!