
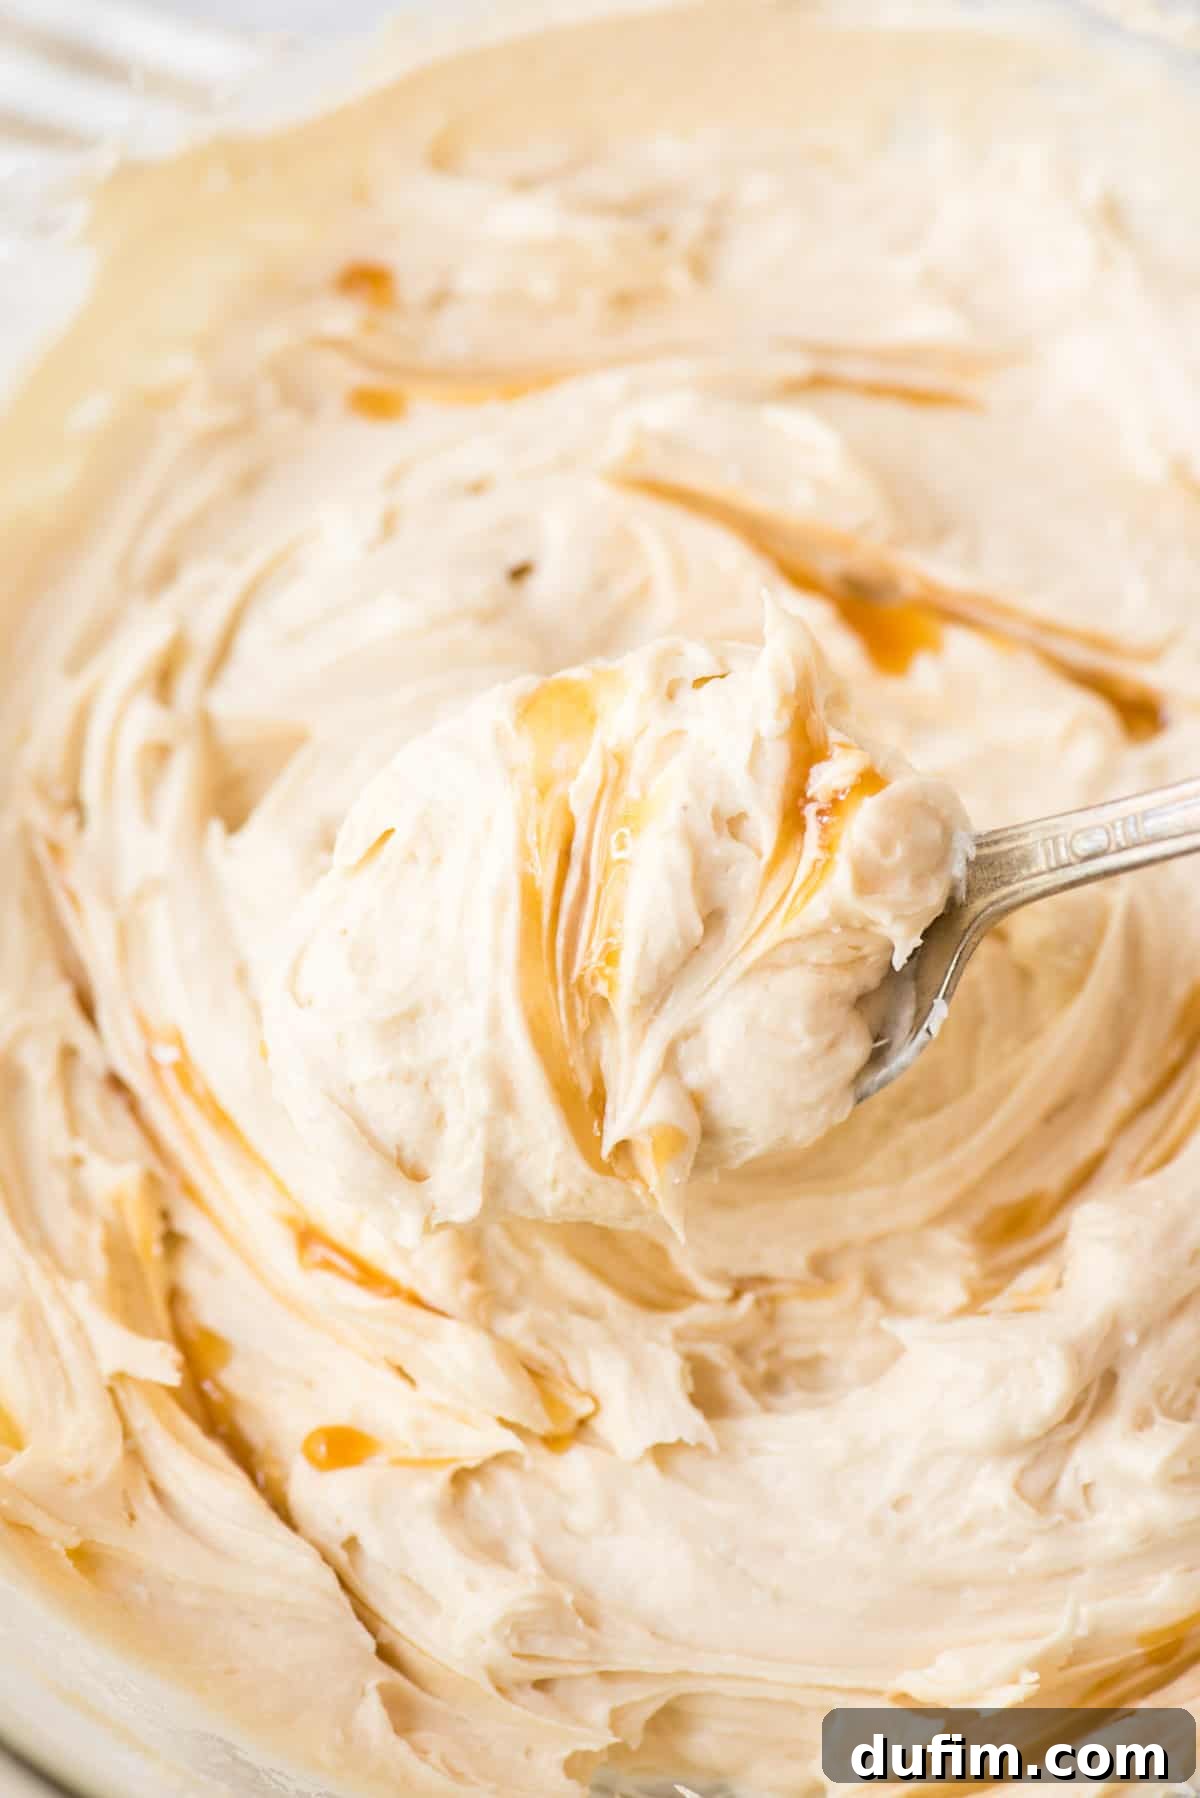
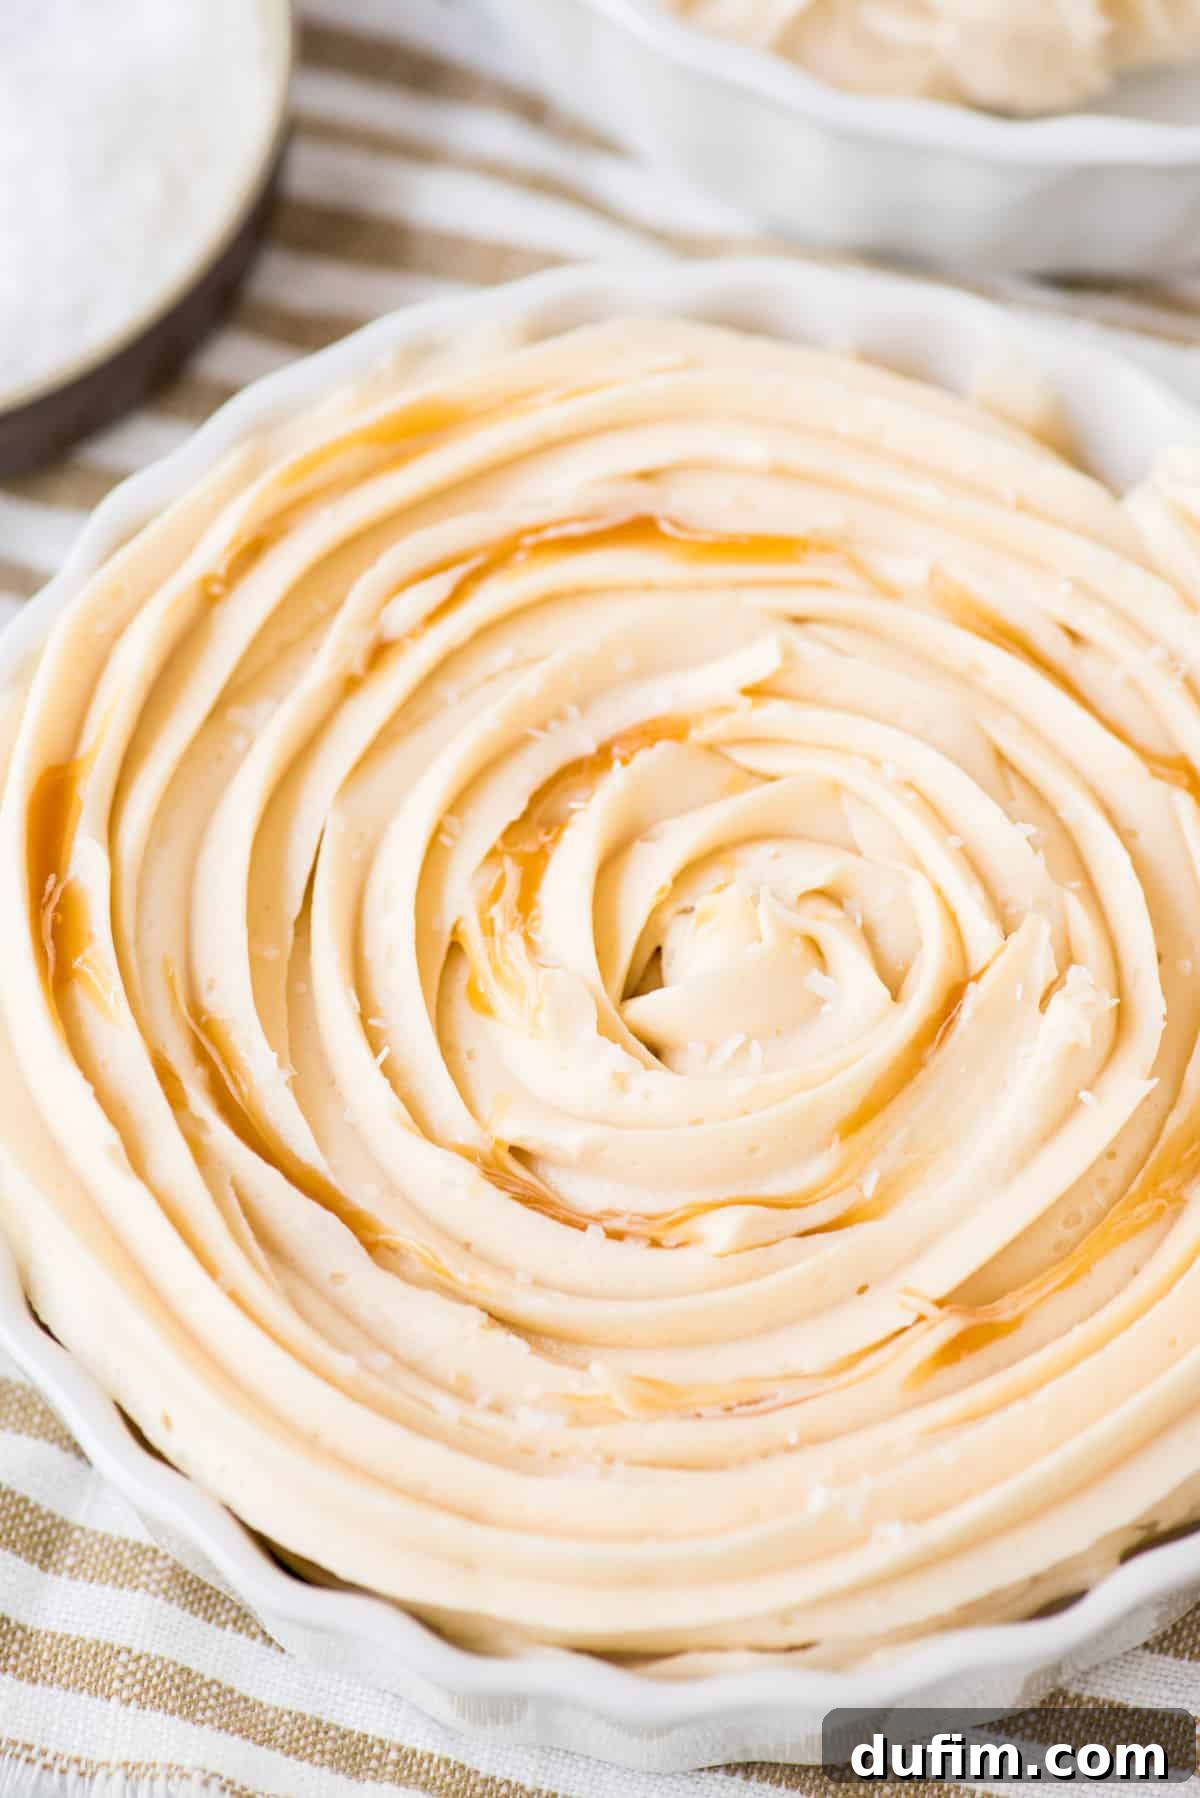
Welcome to the definitive guide for crafting the most exquisite salted caramel frosting you’ll ever taste! With over a decade of dedicated experience in developing and perfecting frosting and cake recipes, I’ve refined this particular salted caramel masterpiece to absolute perfection. The secret lies in a meticulous combination of room-temperature butter, a high-quality jarred caramel sauce, and specific techniques designed to ensure a consistently smooth, wonderfully fluffy texture, completely free of frustrating air bubbles. Prepare to elevate your baking with this truly irresistible recipe.
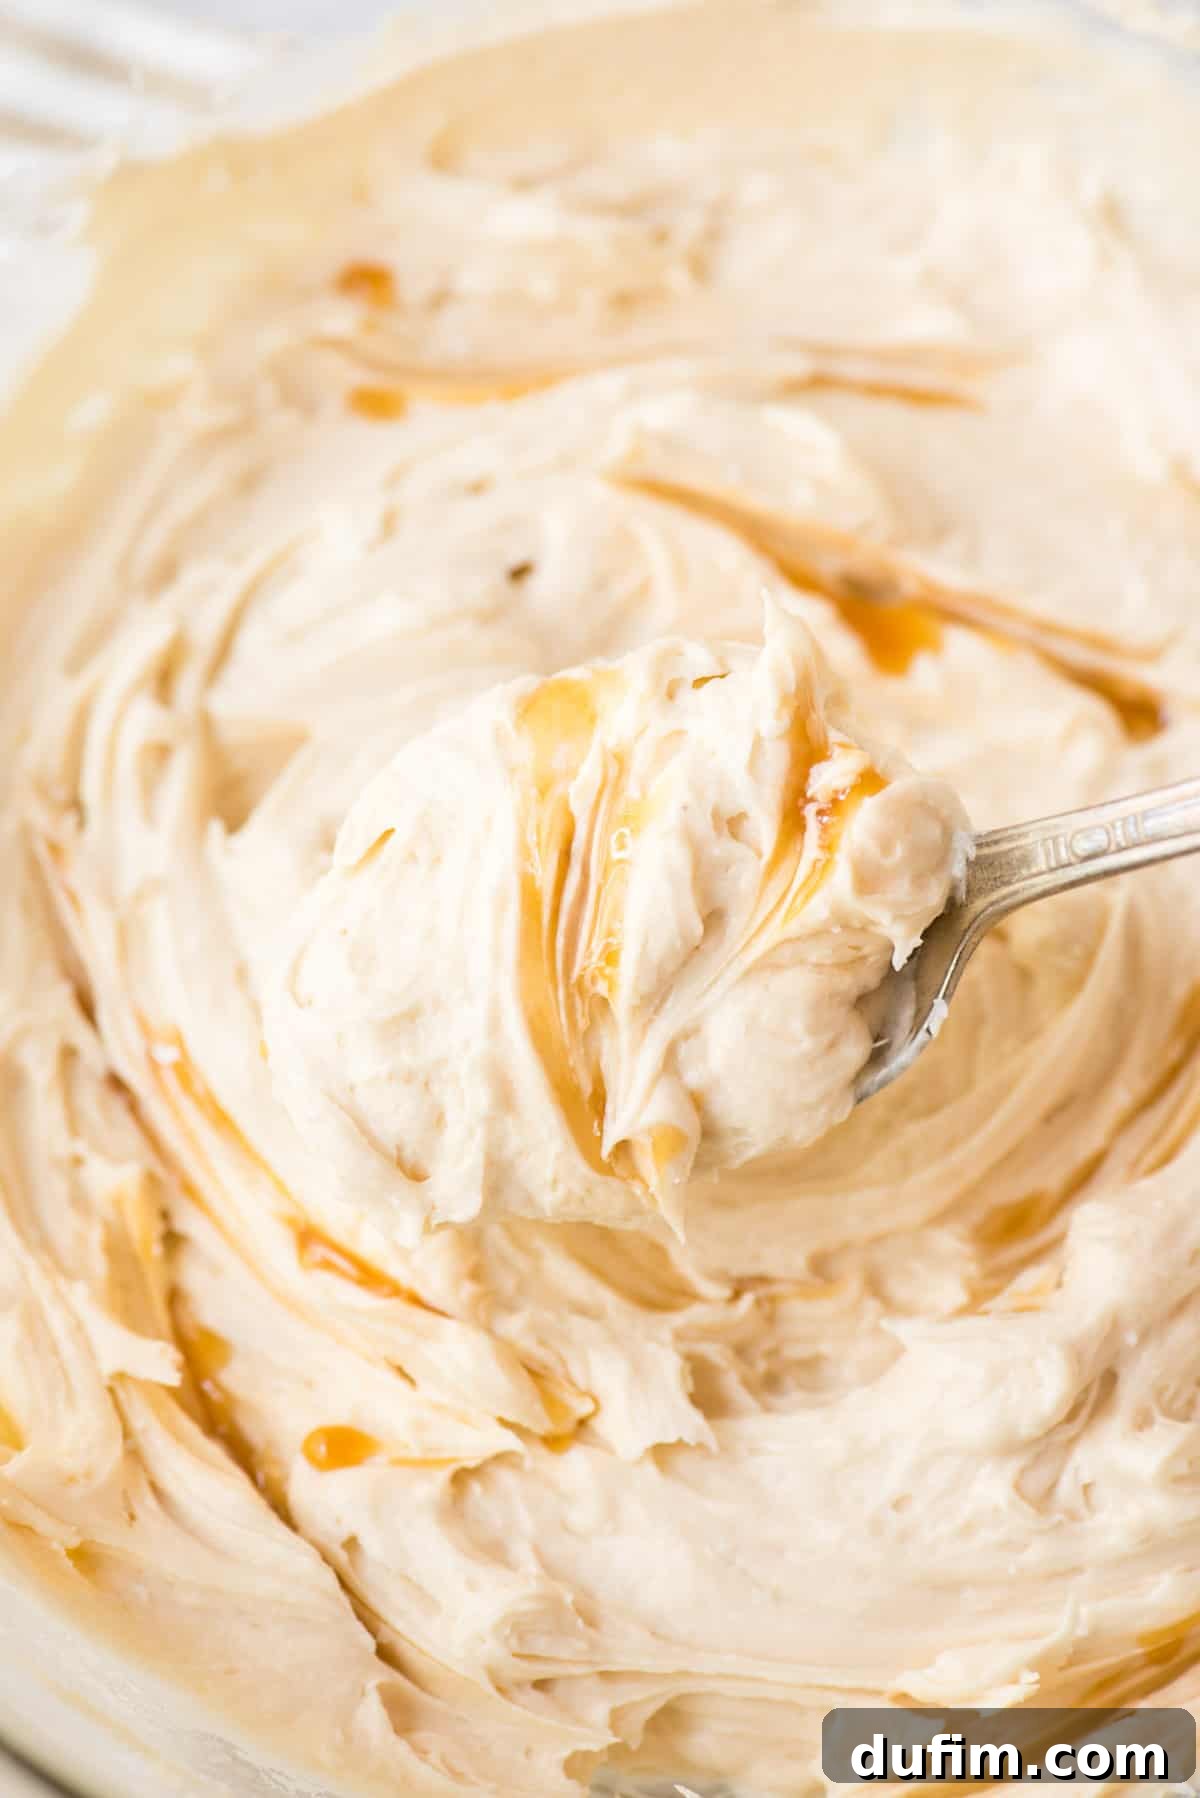
Why This Salted Caramel Frosting Recipe Is an Absolute Essential!
For years, my go-to frostings were undeniably classic chocolate or creamy peanut butter. However, after more than ten years of dedicated experimentation and crafting countless single and layered cakes, I finally achieved what I consider the ultimate salted caramel frosting. This recipe quickly became a reader favorite, and for good reason!
My unique approach guarantees a consistently fluffy, melt-in-your-mouth smooth texture every single time. This perfection is largely attributed to using precisely room-temperature butter, which whips effortlessly to create incredible volume, and incorporating a high-quality jarred caramel sauce – like Smucker’s in a glass jar – for that deep, authentic caramel flavor that truly shines. The choice of caramel sauce is pivotal here; opt for a rich, thick sauce over thinner syrups to achieve the desired richness and consistency.
Furthermore, I specifically address common frosting frustrations, particularly the appearance of air bubbles. With a simple, yet effective, technique involving a low-speed mix or gentle hand-stirring, you can achieve a silky, professional-grade finish that rivals any bakery. This luxurious salted caramel frosting is not just a topping; it’s the perfect complement to a wide array of desserts, from warm apple spice cupcakes to elegant layer cakes and simple yet sublime brownies.
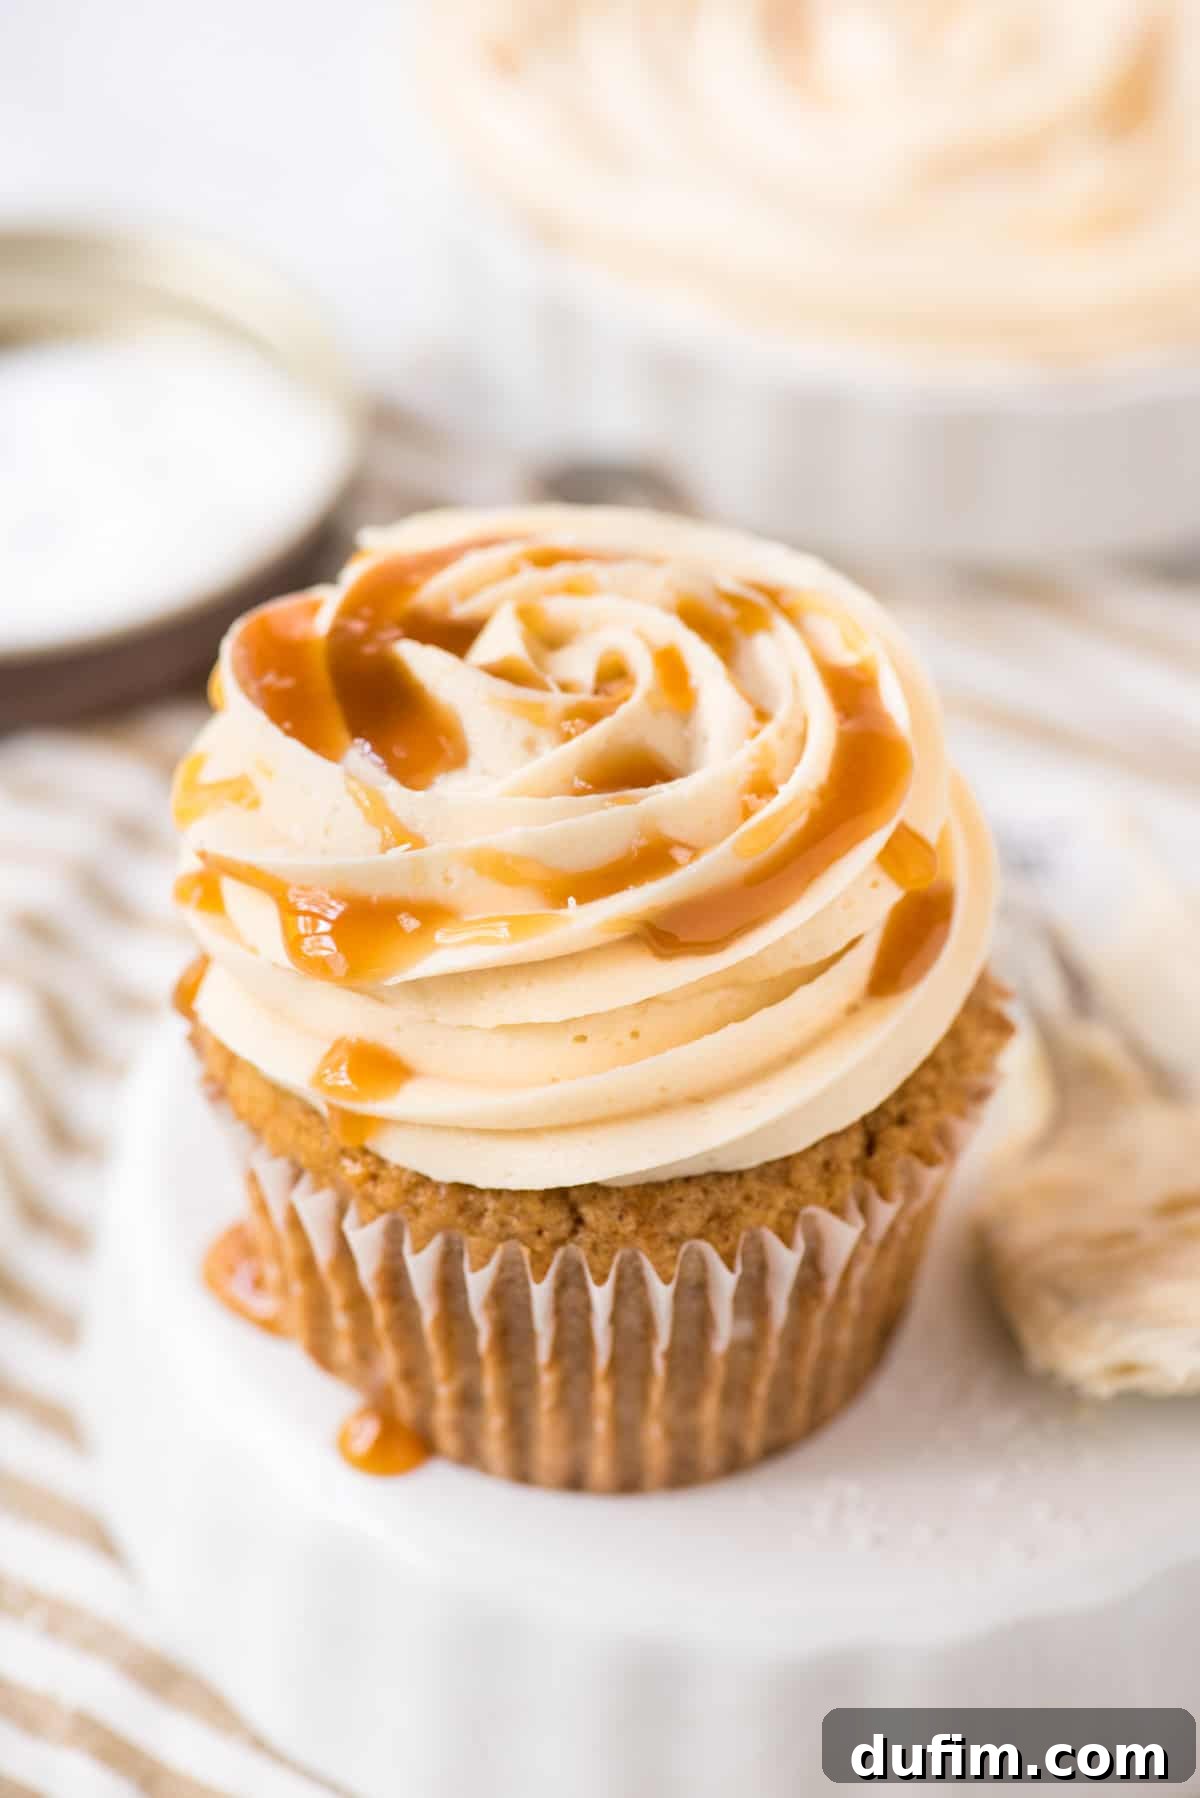
Understanding Buttercream Frosting: A Foundation of Flavor
At its core, buttercream is a beloved type of frosting celebrated for its rich flavor and versatile texture. This classic confection is typically created by creaming together softened butter and powdered sugar (also known as confectioners’ sugar) until light, airy, and wonderfully fluffy. This process incorporates air into the mixture, giving buttercream its characteristic volume and delicate mouthfeel.
American buttercream, the style used in this recipe, is particularly popular due to its simplicity and stability. It’s the quintessential frosting often seen crowning everything from elaborate wedding cakes to simple, comforting cupcakes. Its ease of preparation and ability to hold intricate piped designs make it a favorite among home bakers and professionals alike. While other buttercreams exist, such as Swiss or Italian meringue buttercreams which use cooked egg whites for a lighter, less sweet profile, American buttercream offers a straightforward path to deliciousness, focusing on the pure, decadent combination of butter and sugar, elevated by the addition of our star ingredient: salted caramel.
Essential Ingredients for Your Easy Caramel Frosting
Creating this irresistible salted caramel frosting requires just a handful of simple ingredients. Each component plays a crucial role in achieving the perfect balance of flavor and texture:
- Unsalted Butter: The foundation of any good buttercream. Using unsalted butter allows you to control the exact amount of salt in your frosting, crucial for balancing the sweetness of the caramel. Ensure it’s at perfect room temperature for optimal whipping and emulsification.
- High-Quality Caramel Sauce: This is where the magic happens! Do not skimp on quality. A rich, thick, and flavorful jarred caramel sauce (like Smucker’s in a glass jar, or a gourmet brand) will make all the difference. Avoid thin caramel syrups often found near ice cream toppings, as they won’t provide the depth of flavor or desired consistency.
- Fine Salt: Essential for the “salted” aspect of our caramel. It cuts through the sweetness and enhances the overall flavor profile. Table salt works perfectly for mixing into the frosting, while a sprinkle of flaky sea salt on top can add a gourmet touch and textural contrast.
- Powdered Sugar (Confectioners’ Sugar): This finely milled sugar dissolves seamlessly into the butter, creating a smooth and non-gritty frosting. Sifting it before use is highly recommended to prevent lumps and ensure the silkiest texture possible.
- Milk or Heavy Cream: Your secret weapon for adjusting the frosting’s consistency. A dash of milk will lighten the texture, while heavy cream adds an extra layer of richness and body. Add gradually, just a tablespoon at a time, until your desired spreadable or pipeable consistency is achieved.
Salted Caramel Frosting Recipe: Easy Step-by-Step Instructions
Follow these simple steps to create a truly unforgettable salted caramel frosting:
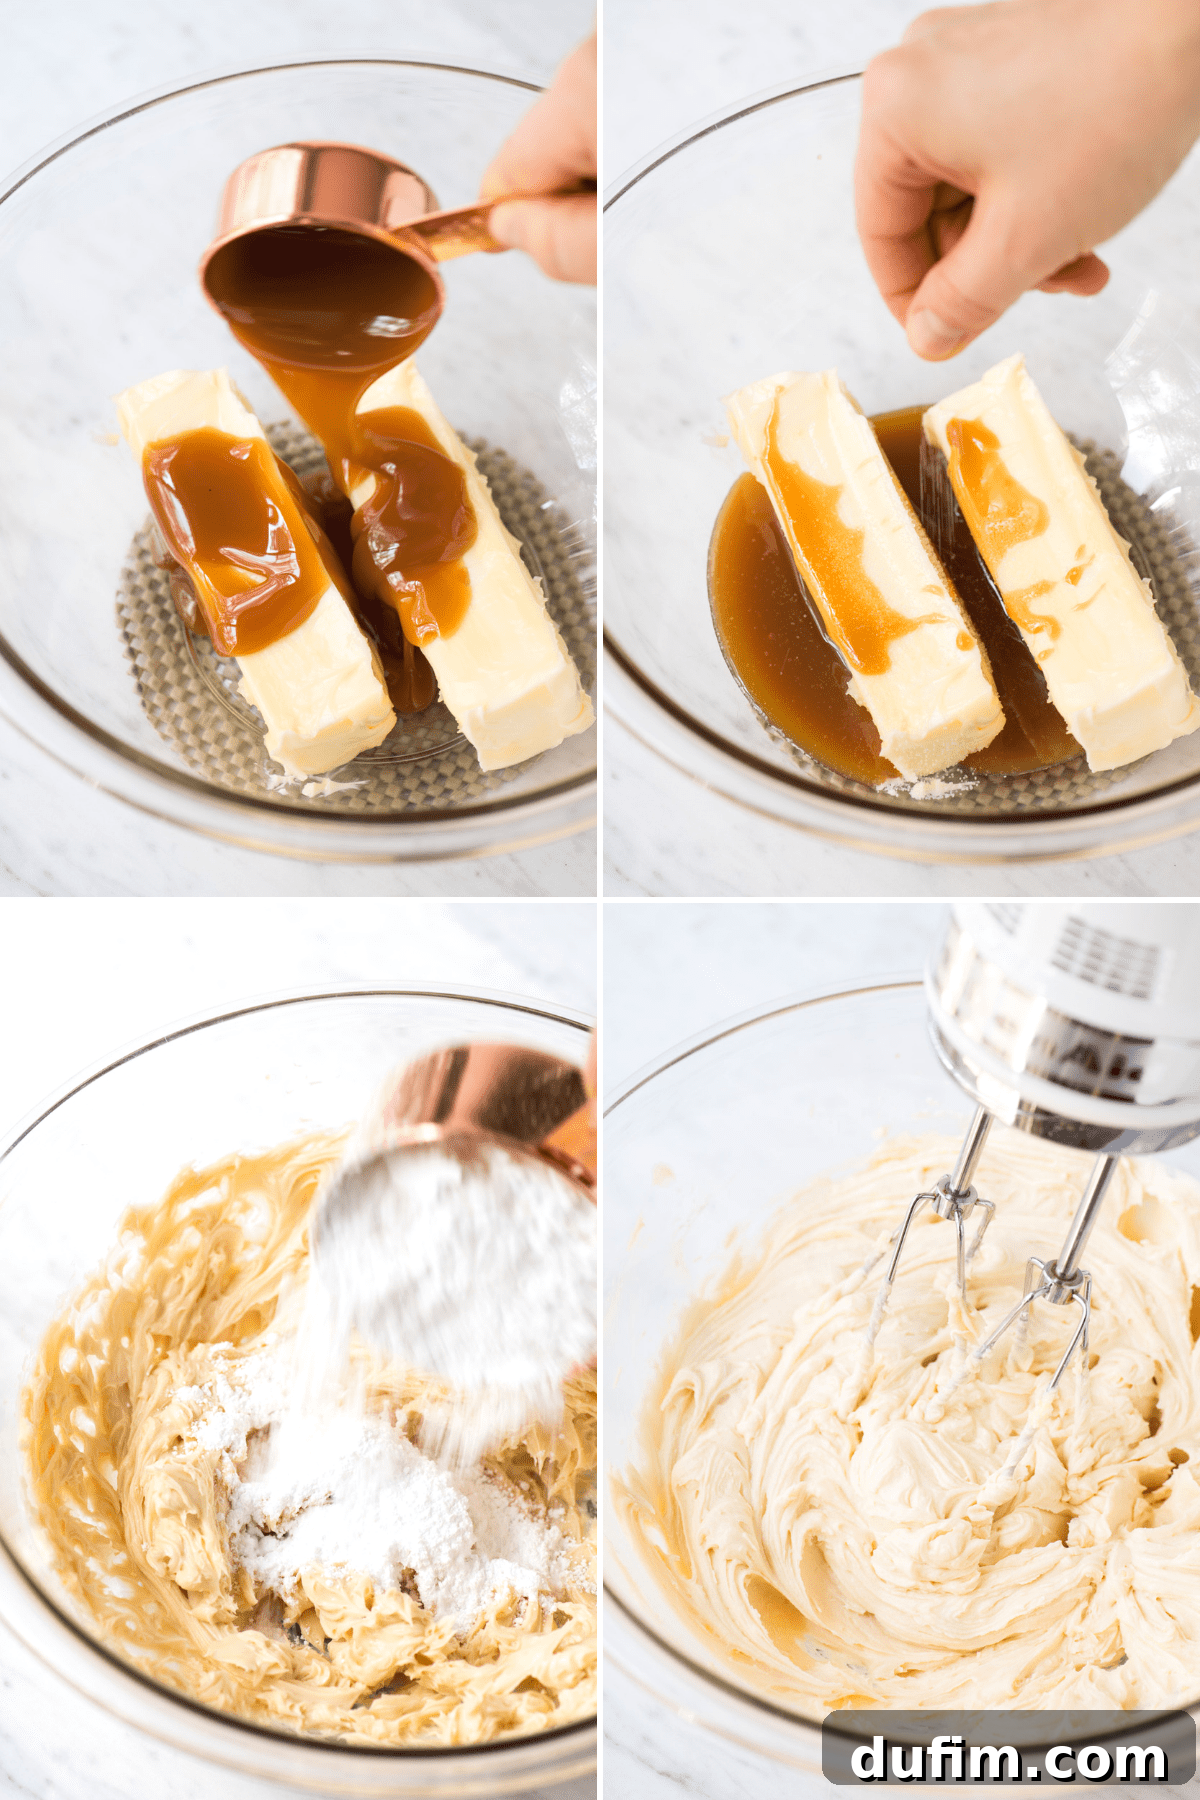
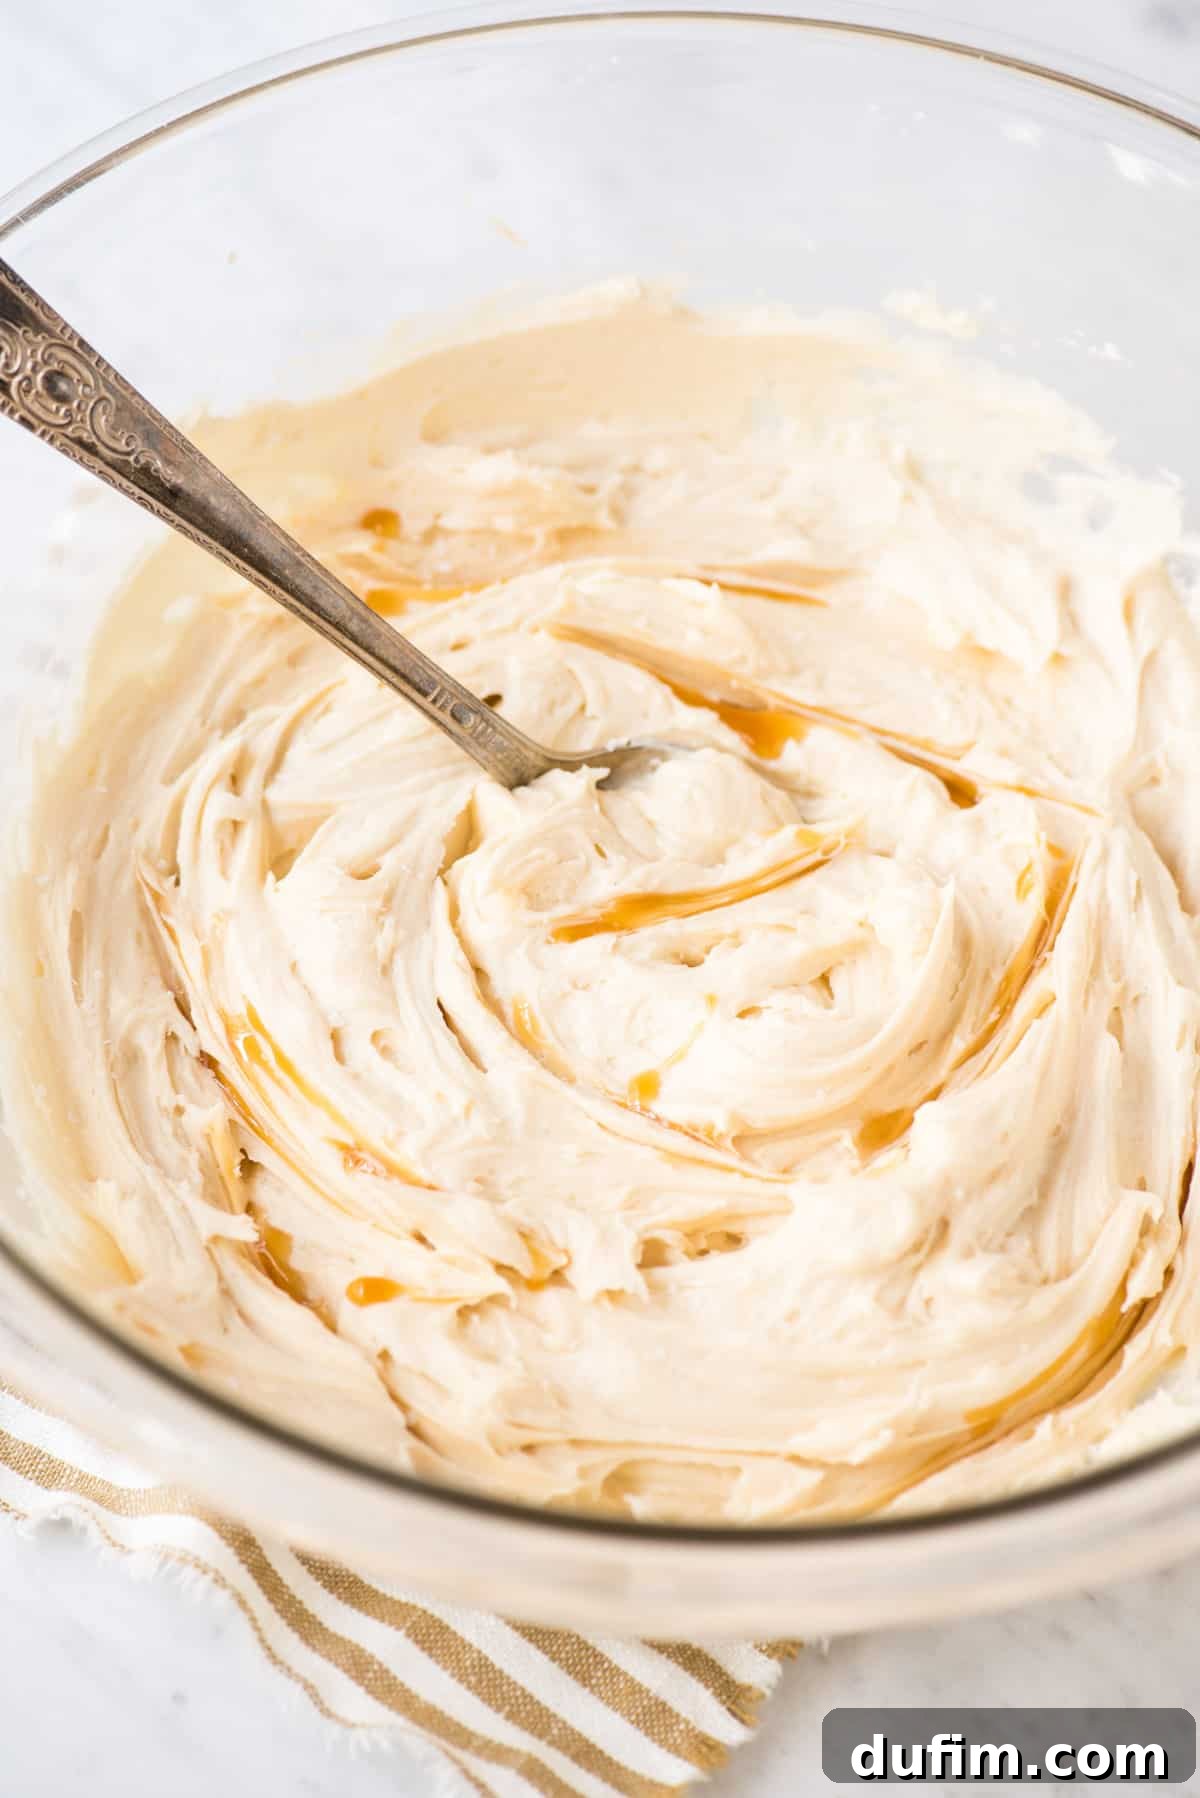
- Prepare the Base: In a large mixing bowl, combine your perfectly room-temperature unsalted butter, the high-quality caramel sauce, and the specified amount of salt. Using an electric mixer (stand mixer with paddle attachment or hand mixer), beat these ingredients on medium speed for a full minute. The goal here is to whip the butter until it’s noticeably lighter in color, incredibly fluffy, and well combined with the caramel and salt. This initial whipping step is key to creating that airy, light texture.
- Incorporate the Sweetness: Gradually add the powdered sugar to the whipped mixture. Begin by beating on low speed for 1-2 minutes. This slow incorporation prevents a “sugar cloud” from forming in your kitchen and ensures the sugar is fully integrated without overwhelming the mixture. Once the initial sugar is incorporated, you can increase the speed to medium if needed, ensuring to frequently scrape down the sides and bottom of the bowl with a spatula. This ensures all ingredients are thoroughly combined and prevents any dry pockets of sugar from remaining. Continue mixing until the frosting is smooth and light.
- Adjust Consistency (if needed): If, after adding all the powdered sugar, your frosting appears too thick or stiff for your intended use (whether spreading or piping), it’s time to add a liquid. Incorporate milk or heavy cream, adding only one tablespoon at a time. Beat the frosting again on low speed after each addition until it reaches a creamy, spreadable, or pipeable consistency. Be careful not to add too much liquid too quickly, as it’s easier to add more than to correct an overly thin frosting.
Perfect Pairings: What Complements Salted Caramel Frosting?
The beauty of salted caramel frosting lies in its incredible versatility. Its sweet, salty, and buttery notes make it a phenomenal partner for a wide array of baked goods, elevating simple desserts to gourmet status. Here are some of my favorite combinations:
- Doctored Up Pumpkin Cake: The warm, earthy spices of pumpkin cake find a perfect harmony with the rich, buttery notes of salted caramel, making for an ideal autumn treat.
- Cinnamon Spice Crazy Cake: The spicy kick of cinnamon and other warming spices is beautifully mellowed and enhanced by the creamy sweetness and hint of salt from the caramel frosting.
- Doctored Up Chocolate Cupcakes: A classic for a reason! The slight bitterness of chocolate is wonderfully contrasted by the sweet and salty caramel, creating an addictive flavor profile.
- Homemade Brownies: Transform ordinary brownies into an extraordinary dessert by slathering them with this decadent frosting. The chewiness of the brownie and the creaminess of the frosting are a match made in heaven.
- White Cupcakes: Allow the salted caramel to be the star! A delicate white cupcake provides a neutral canvas, letting the frosting’s complex flavors shine.
- Doctored Up White Cake: Similar to white cupcakes, a doctored-up white cake offers a light base that beautifully highlights the caramel’s richness.
- Sugar Cookies Bars: For a truly indulgent twist, replace traditional vanilla frosting with salted caramel on your sugar cookie bars. The combination is surprisingly delicious.
- Homemade Chocolate Cupcakes: Another delightful pairing that marries the deep cocoa notes with the luscious caramel, creating a luxurious dessert experience.
Beyond these classic pairings, don’t hesitate to experiment! This frosting is also fantastic as a filling for sandwich cookies, a topping for a warm apple pie, or even drizzled over your morning pancakes for a decadent breakfast treat.
Expert Tips and Tricks for Perfect Caramel Frosting
Achieving bakery-quality salted caramel frosting is easier than you think, especially with these insider tips:
- Embrace Room Temperature Butter: This is arguably the most critical tip. Butter that is too cold won’t cream properly, resulting in a lumpy, dense frosting. Butter that is too soft or melted will lead to a greasy, separated texture. Aim for butter that yields slightly when pressed but still holds its shape. This allows it to whip easily, incorporating the necessary air for a fluffy texture.
- Whip it Good (Initially!): For truly fluffy frosting, whipping is absolutely key. In the initial steps, beat the butter, caramel, and salt for a solid minute on medium speed. This aeration is what gives buttercream its signature lightness and volume. Don’t rush this step!
- Choose Your Caramel Wisely: The quality of your caramel sauce significantly impacts the final taste and texture. Always opt for a good-quality jarred caramel sauce, such as Smucker’s in a glass jar, or any brand that offers a thick, rich, and deeply flavored caramel. Avoid thin caramel syrups (often found in squeeze bottles for coffee or ice cream toppings) as they lack the body and intense flavor required for this recipe, and can make your frosting too thin and less flavorful.
Why Do I Get Air Bubbles in My Frosting, and How Can I Get Rid of Them?
Air bubbles are a common phenomenon in buttercream frosting, and they primarily form during the whipping process – which, as we’ve established, is a necessary step to achieve that light and fluffy texture! While whipping introduces air, excessive or high-speed whipping can incorporate too much, resulting in noticeable bubbles that can make your frosting look less smooth and polished. The good news is, getting rid of them is quite simple.
To reduce the amount of air bubbles and achieve a beautifully smooth, bakery-quality finish, follow these techniques: After all ingredients are combined and the frosting is at your desired consistency, switch your electric mixer to its lowest speed (or use a stand mixer with a paddle attachment) and beat for an additional 1-2 minutes. Alternatively, you can hand-mix the frosting vigorously with a sturdy spatula, pressing it against the sides of the bowl. This action essentially “pushes” the excess air out of the frosting, compacting it slightly and creating a denser, silkier texture that is perfect for spreading or piping without imperfections.
Storing Your Delicious Caramel Frosting
Proper storage is key to enjoying your homemade salted caramel frosting for longer. Here’s how to keep it fresh and ready for your next baking project:
- Countertop Storage: For short-term storage, you can keep the frosting in an airtight container on your kitchen counter for up to 2 days. This is convenient if you plan to use it within a day or two and prefer it at a consistently soft, spreadable temperature.
- Refrigerator Storage: To extend its shelf life, transfer the frosting to a sealed, airtight container and store it in the refrigerator for up to 1 week. When you’re ready to use it, remove the container from the fridge and allow it to come to room temperature completely. This can take anywhere from 1-3 hours, depending on the ambient temperature. Once softened, give it a quick whip with an electric mixer for a minute or two until it regains its original fluffy and creamy consistency. This re-whipping step is crucial to restore its texture after chilling.
- Freezing for Long-Term Storage: For even longer storage, buttercream frosting freezes exceptionally well. Place the frosting in an airtight, freezer-safe container or a heavy-duty freezer bag, pressing out any excess air. It can be stored in the freezer for up to 3 months. When ready to use, thaw it in the refrigerator overnight, then let it come to room temperature on the counter. Re-whip it with an electric mixer until it’s light and fluffy again before applying to your baked goods.
Yes, this salted caramel frosting recipe is naturally gluten-free! All the ingredients listed (butter, caramel sauce, salt, powdered sugar, milk/cream) are typically gluten-free. However, it’s always wise to double-check the labels of your specific caramel sauce and powdered sugar brands, as some may contain additives or be processed in facilities that handle gluten. Always read ingredient labels carefully if you have a severe gluten allergy or intolerance.
Tap stars to rate!
Caramel Frosting Recipe (Easy)
Beth
15
minutes
15
minutes
3
cups
Rate & Comment
Print Recipe
Equipment
-
Large Glass Mixing Bowl
-
Electric Mixer (Stand or Handheld)
-
Rubber Spatula
Ingredients
- 1 cup (226g) unsalted butter, 2 sticks, at room temperature
- ⅓ cup (79ml) high-quality caramel sauce
- ¼ tsp fine salt, use table salt in frosting; optional flaky sea salt for garnish
- 4-6 cups (454-680g) powdered sugar, sifted if prone to lumps
- 1-2 tablespoons milk or heavy cream, added as needed for consistency
Instructions
-
Place room temperature unsalted butter, caramel sauce, and salt in a large mixing bowl. Using an electric mixer, beat on medium speed for 1 minute until the mixture is whipped, fluffy, and well combined.
-
Gradually add the powdered sugar, beating on low speed for 1-2 minutes until everything is fully incorporated. Be sure to scrape down the sides and bottom of the bowl frequently to ensure even mixing and prevent any sugar lumps.
-
If the frosting appears too thick or stiff, add milk or heavy cream, one tablespoon at a time, beating on low speed after each addition until the desired creamy consistency is achieved. Spread or pipe onto your favorite cakes, cupcakes, or brownies.
Notes
How long does salted caramel frosting keep?
You can store this homemade salted caramel frosting in a sealed container on the countertop for up to 2 days.
Alternatively, store the frosting in an airtight container in the refrigerator for up to 1 week. Before using, allow it to come to room temperature on the counter. Then, give it a quick whip with an electric mixer to restore its fluffy texture. For longer storage, it can be frozen for up to 3 months (thaw in the fridge, then re-whip).
Nutrition Information (Approximate)
- Serving: 2 tablespoons
- Calories: 171kcal
- Carbohydrates: 18g
- Protein: 1g
- Fat: 11g
- Saturated Fat: 7g
- Polyunsaturated Fat: 1g
- Monounsaturated Fat: 3g
- Trans Fat: 1g
- Cholesterol: 30mg
- Sodium: 55mg
- Potassium: 8mg
- Fiber: 1g
- Sugar: 15g
- Vitamin A: 357IU
- Vitamin C: 1mg
- Calcium: 6mg
- Iron: 1mg
Nutrition Disclosure
All nutritional values are approximate and provided to the reader as a courtesy. Changing ingredients and/or quantities will alter the estimated nutritional calculations.
Enjoyed this recipe? Please share your feedback!
Rate and leave a comment below to let us know how your salted caramel frosting turned out!